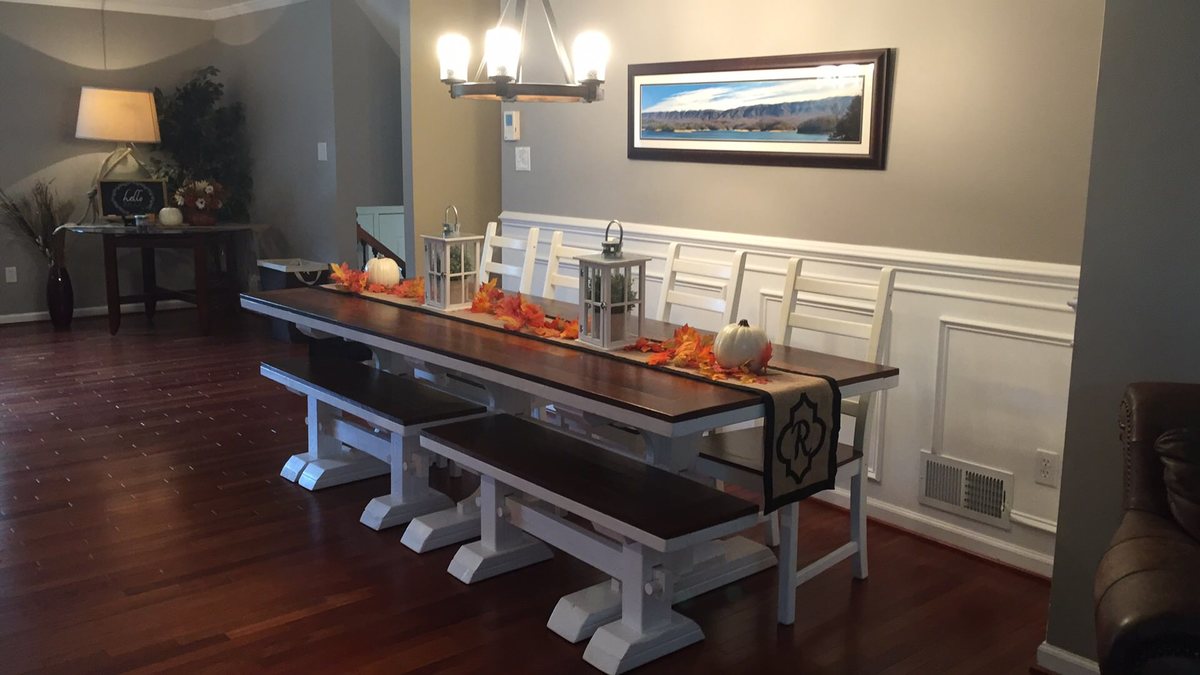
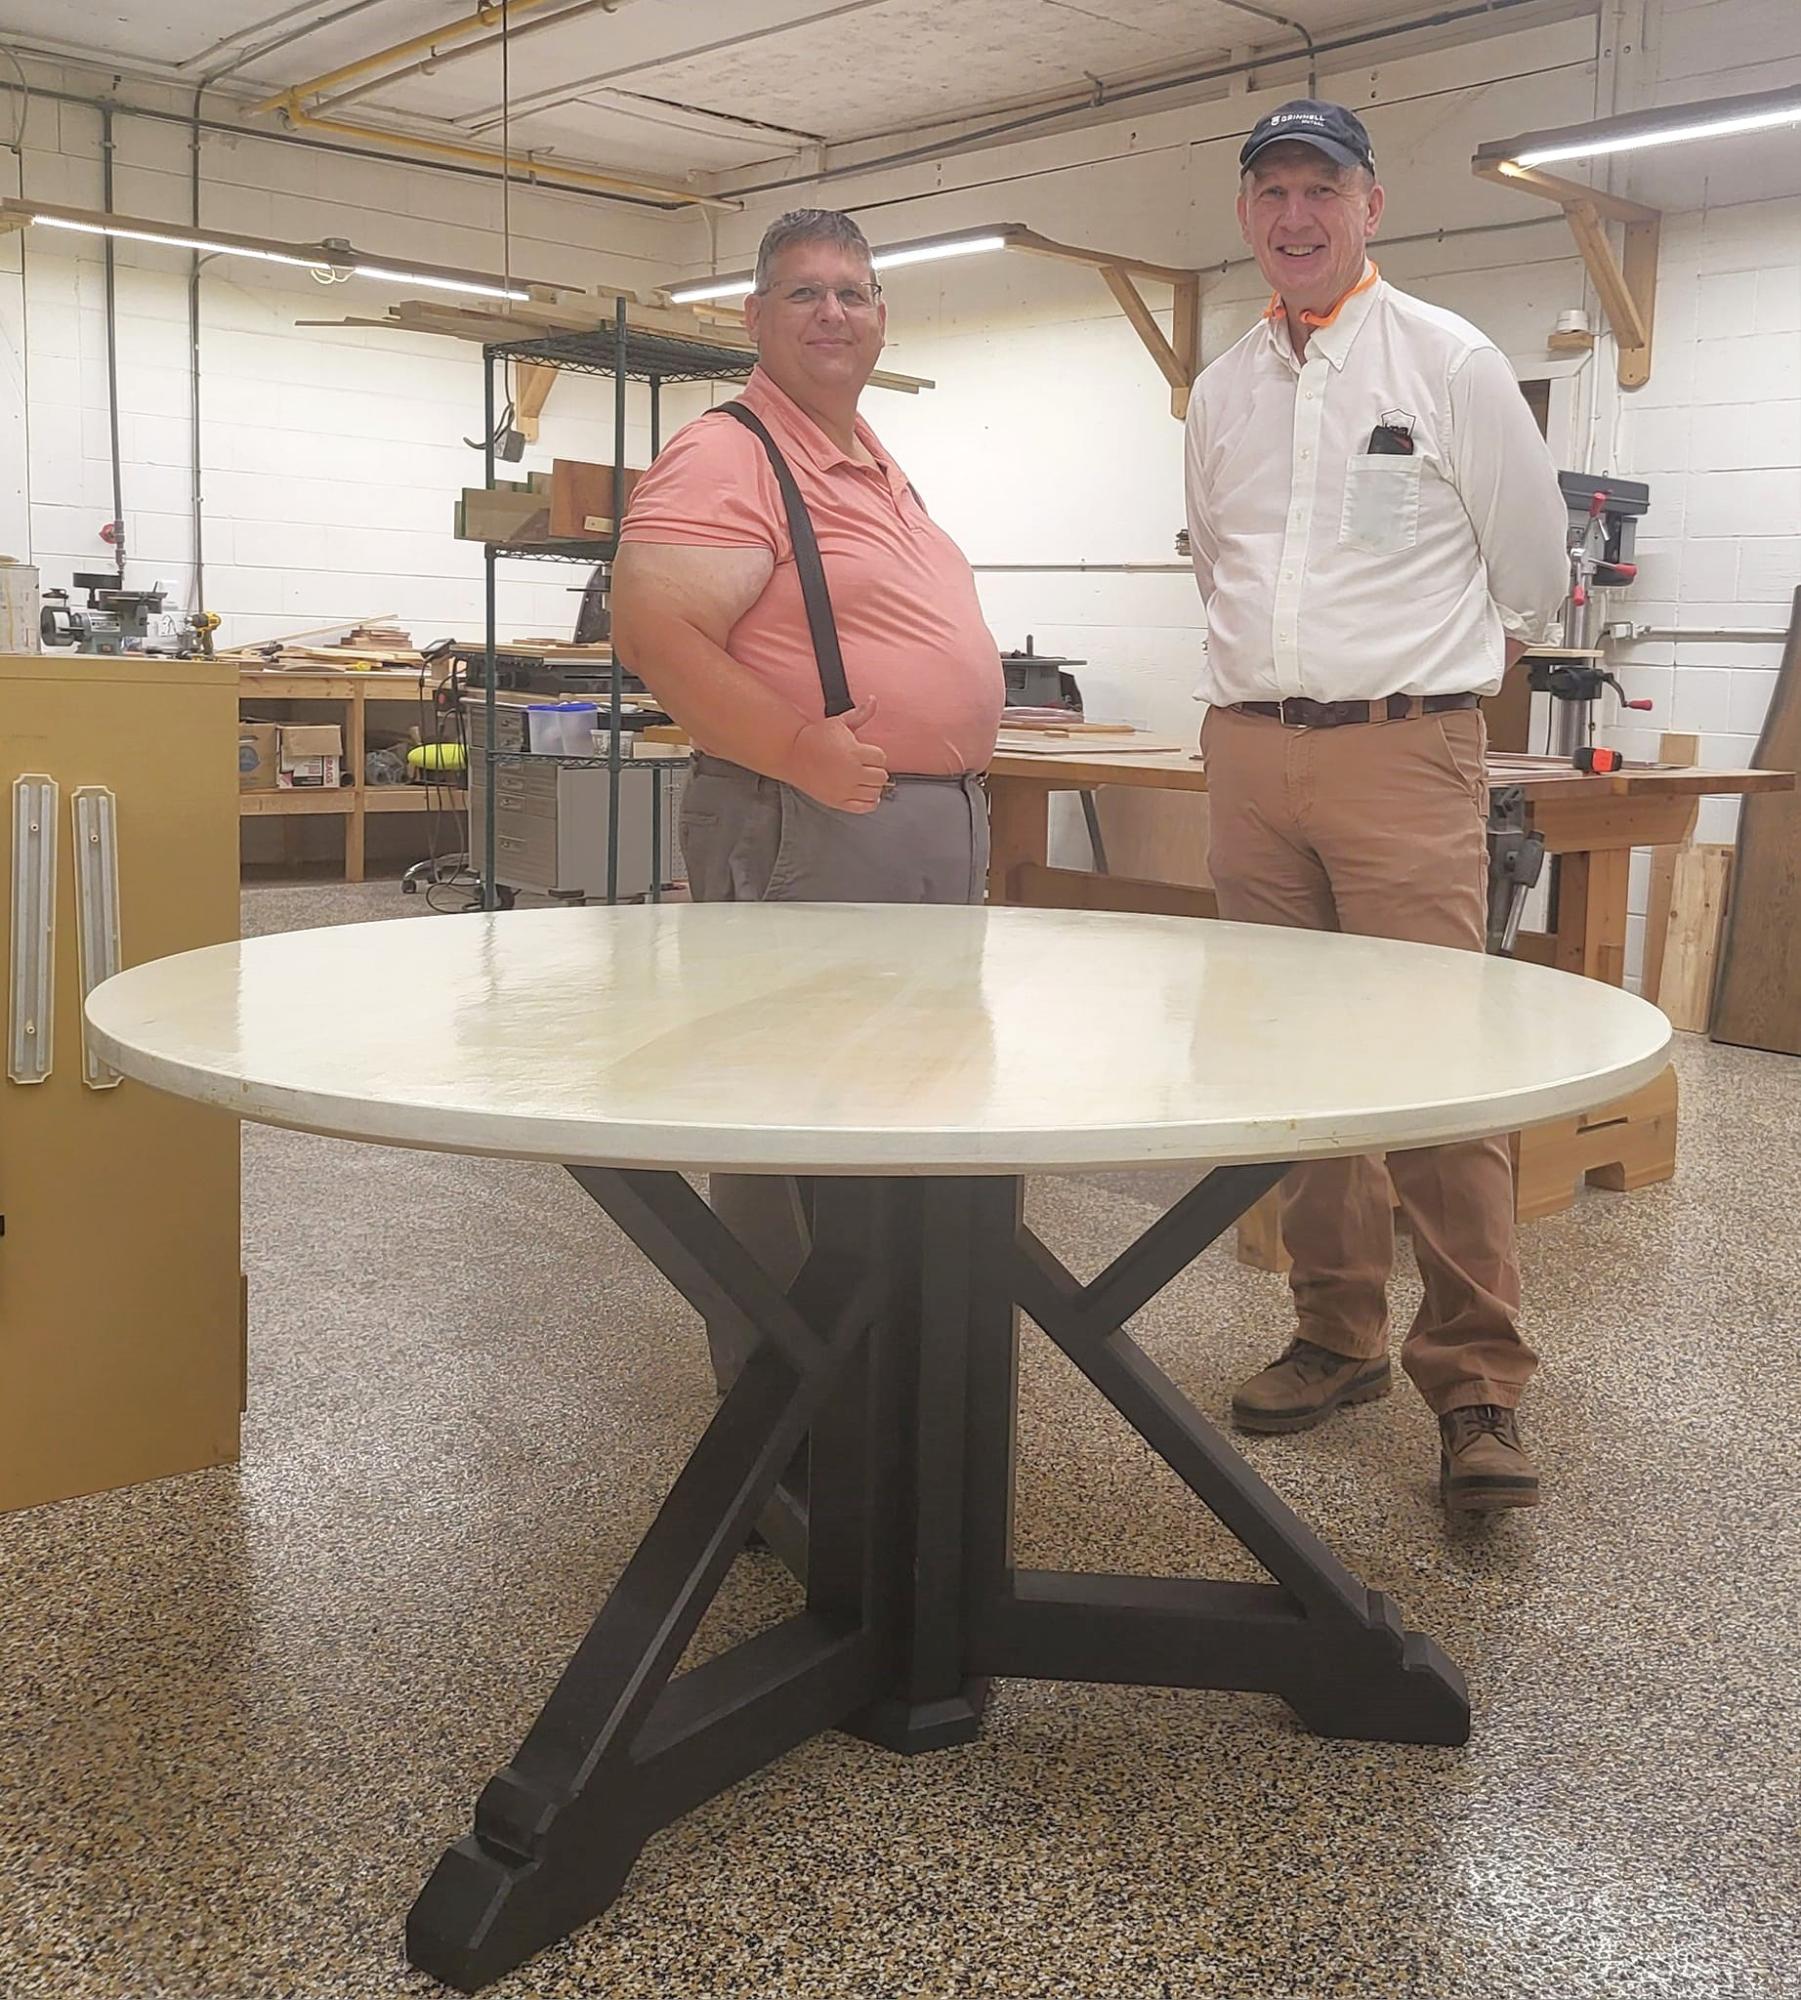
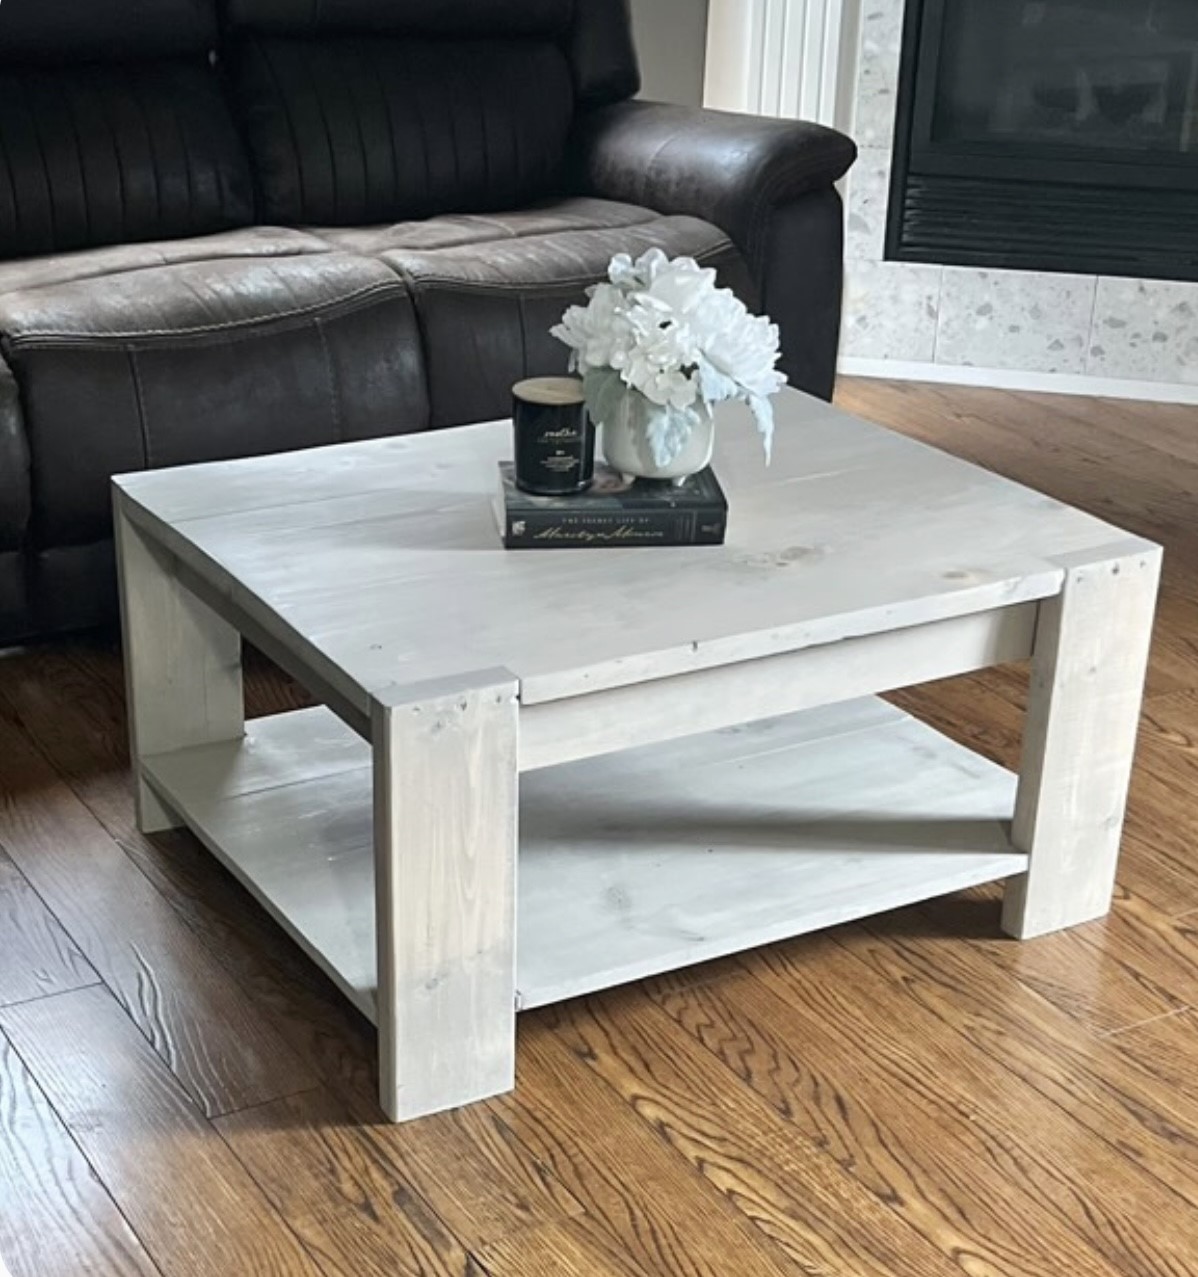
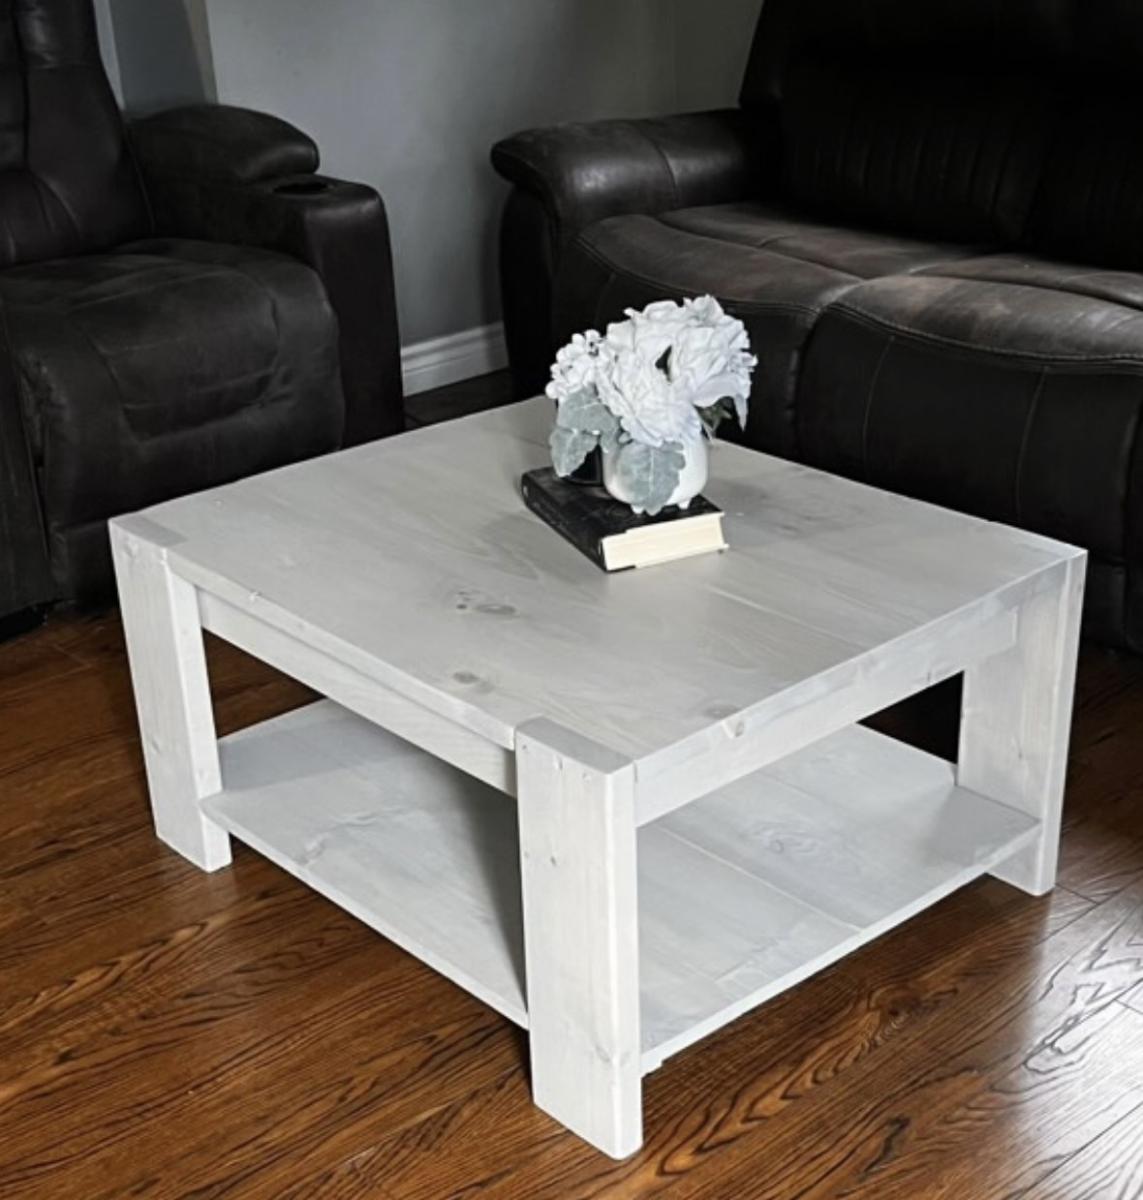
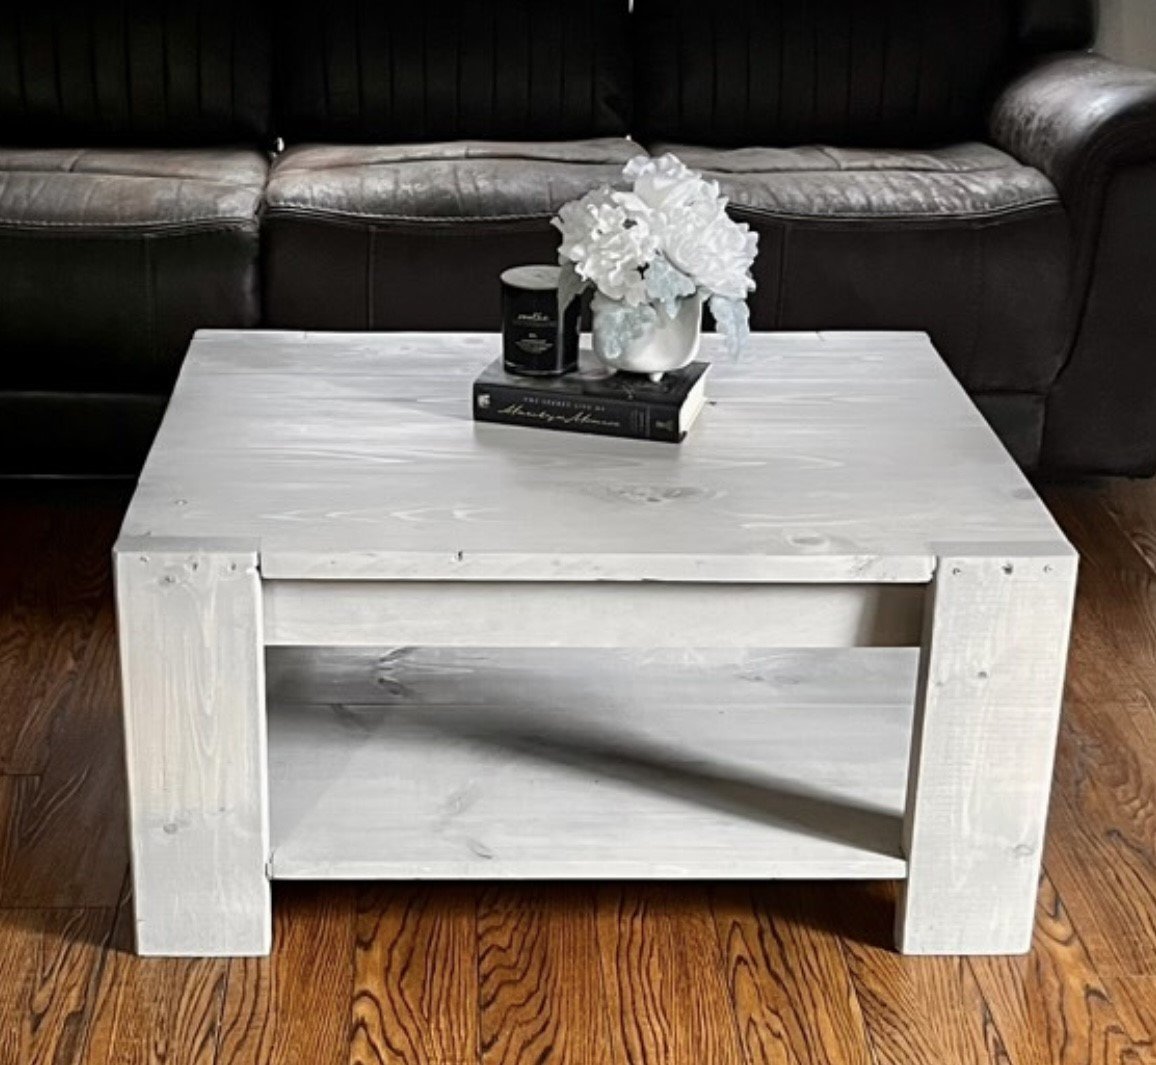
I've been a fan of Ana White’s Round Farmhouse Table for years, always intending to build it, but life kept getting in the way. Last year, after we remodeled our kitchen, my wife mentioned she wanted a 5-foot round table for the dining room. I immediately thought of Ana's design, but with no space to work on it, the project was delayed. That all changed in January when I discovered our community's Woodworking Club offering a 6-week class where you could bring your own project. I jumped at the chance!
While Ana White’s plans are geared toward simple tools, I was fortunate to have access to a fully equipped woodshop and guidance from a former high school shop teacher. With these resources, the Round Farmhouse Table became my personal project—and I decided to make a few custom modifications to fit my vision.
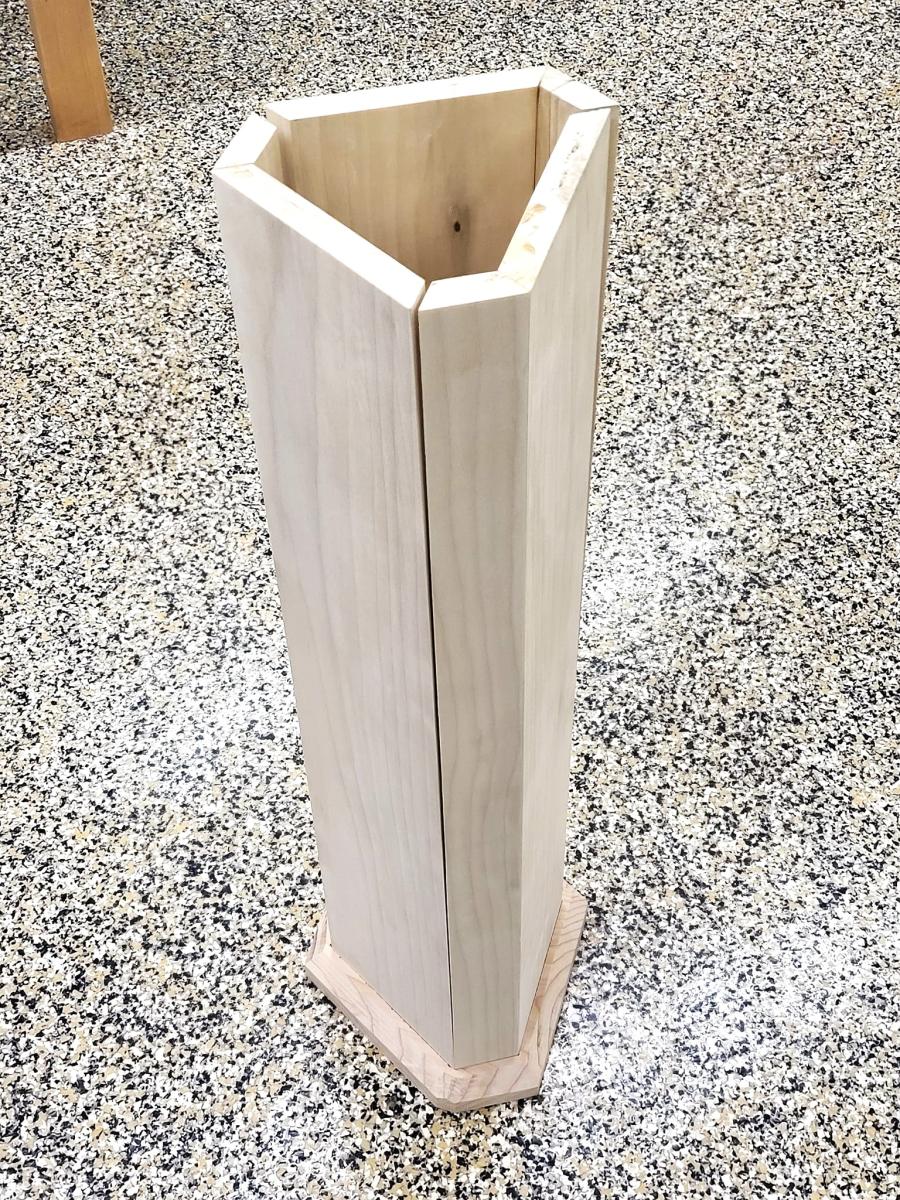
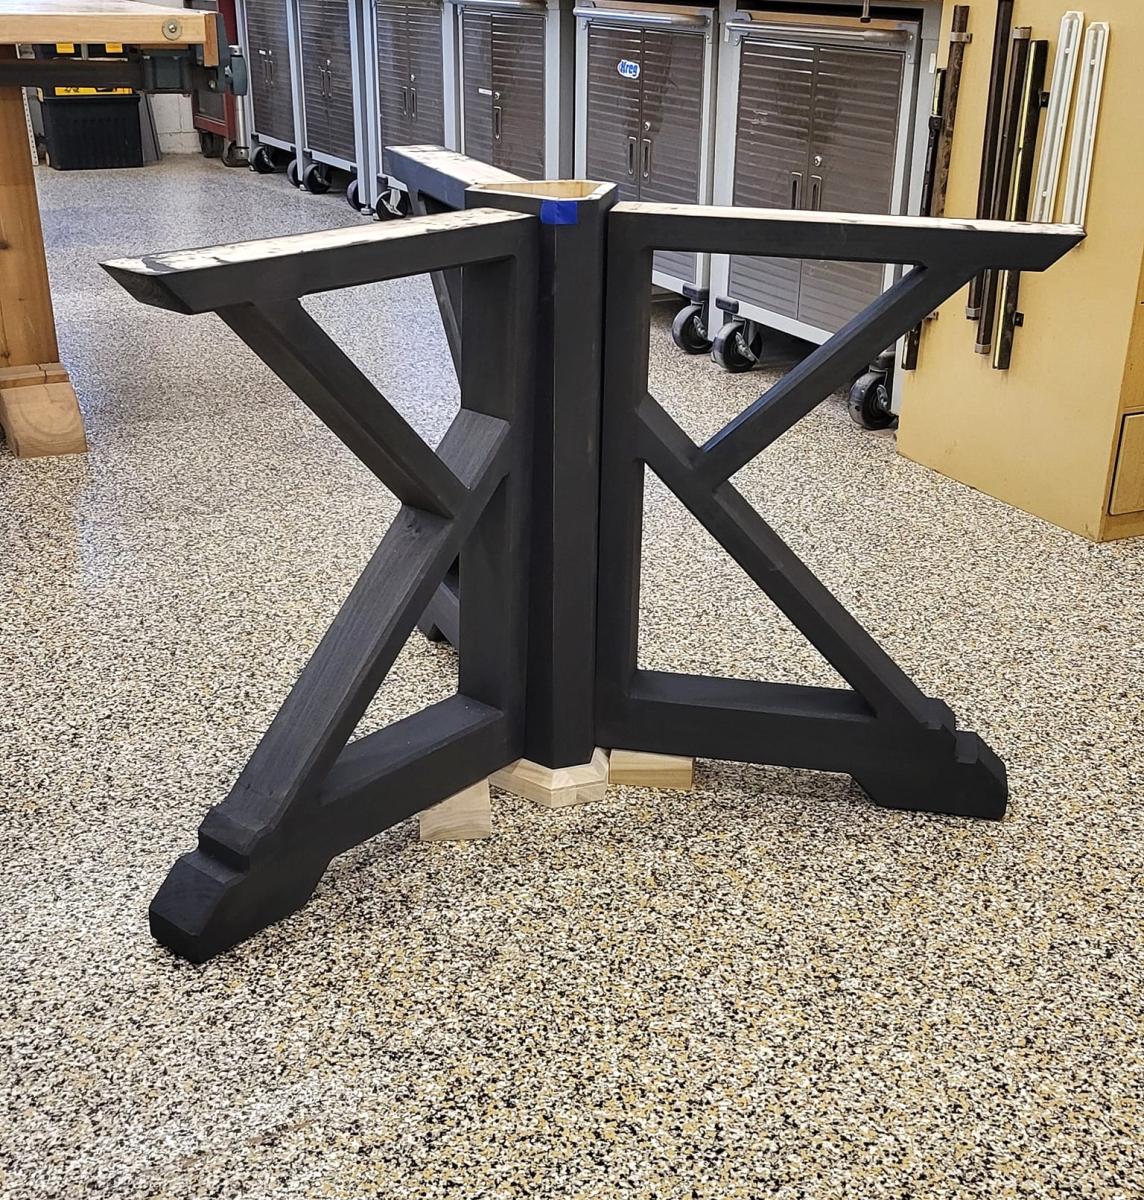
Leg Design: I didn’t want the legs to look like basic 2x4s. My instructor suggested ordering rough-cut poplar and shaping it myself. With $150 worth of poplar delivered, I learned to use the jointer, planer, and tablesaw to mill the pieces I needed for both the legs and tabletop.
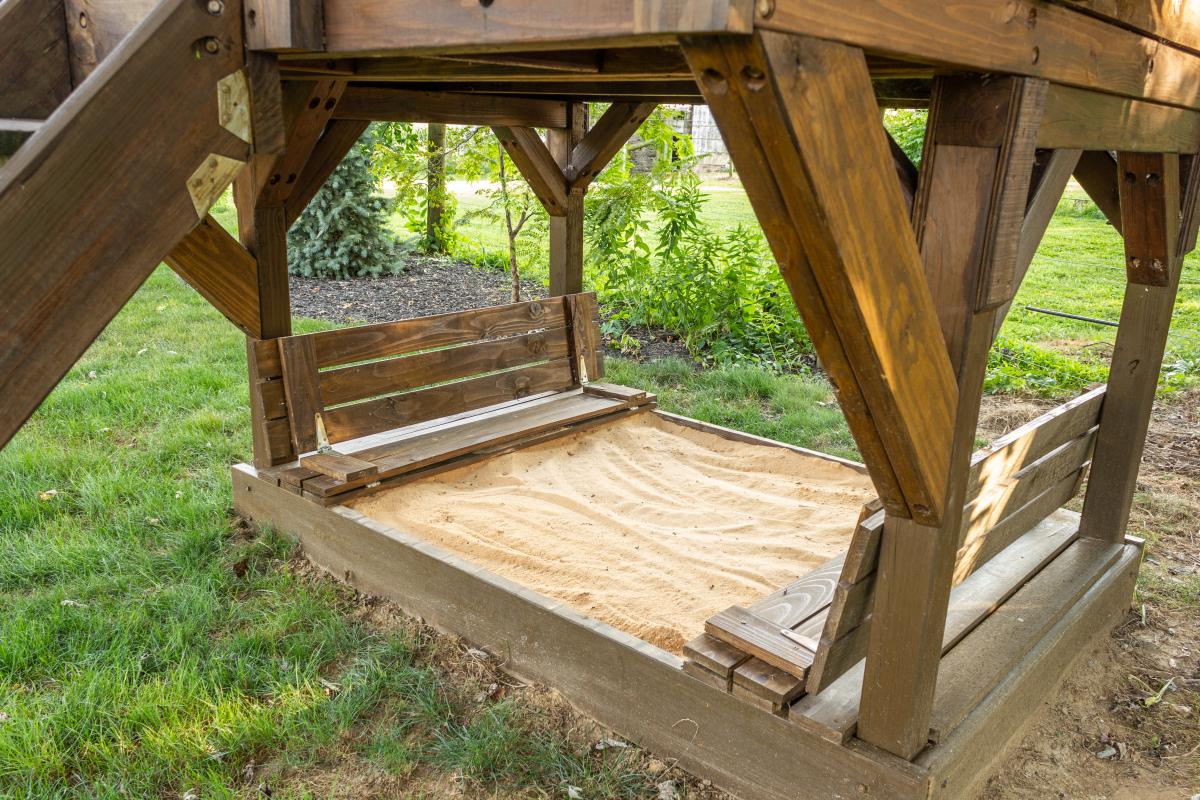
Seating & Structure: Since I wanted the table to comfortably seat six, I was concerned the original four-leg design would interfere with the chairs. So, I reimagined the table with three legs instead of four. This led to a big departure from the original plans. I created a hexagon core using 1x6 and 1x2 boards, and I even learned vCarve Pro to design a custom core base on the CNC router.
Mobility: Knowing we might need to move the table in the future, I designed it to be disassembled. The table breaks down into five pieces—the tabletop, three legs, and core base. Two bolts per leg securely attach the top to the base, making it easy to take apart and transport.
The tabletop was finished with a whitewash and sealed with TotalBoat Halcyon poly. I stained the legs with a deep Graphite color, finishing them with a satin poly spray for a smooth, polished look.
This project was a blast, and I couldn’t have done it without the inspiration from Ana White. Thanks for the great plans, Ana! - Scott Fosseen


Comments
booksnotbombs
Sat, 09/06/2014 - 18:35
These are beautiful!!
These are beautiful!!
larvaman
Sun, 09/07/2014 - 09:19
Thank you for the comment.
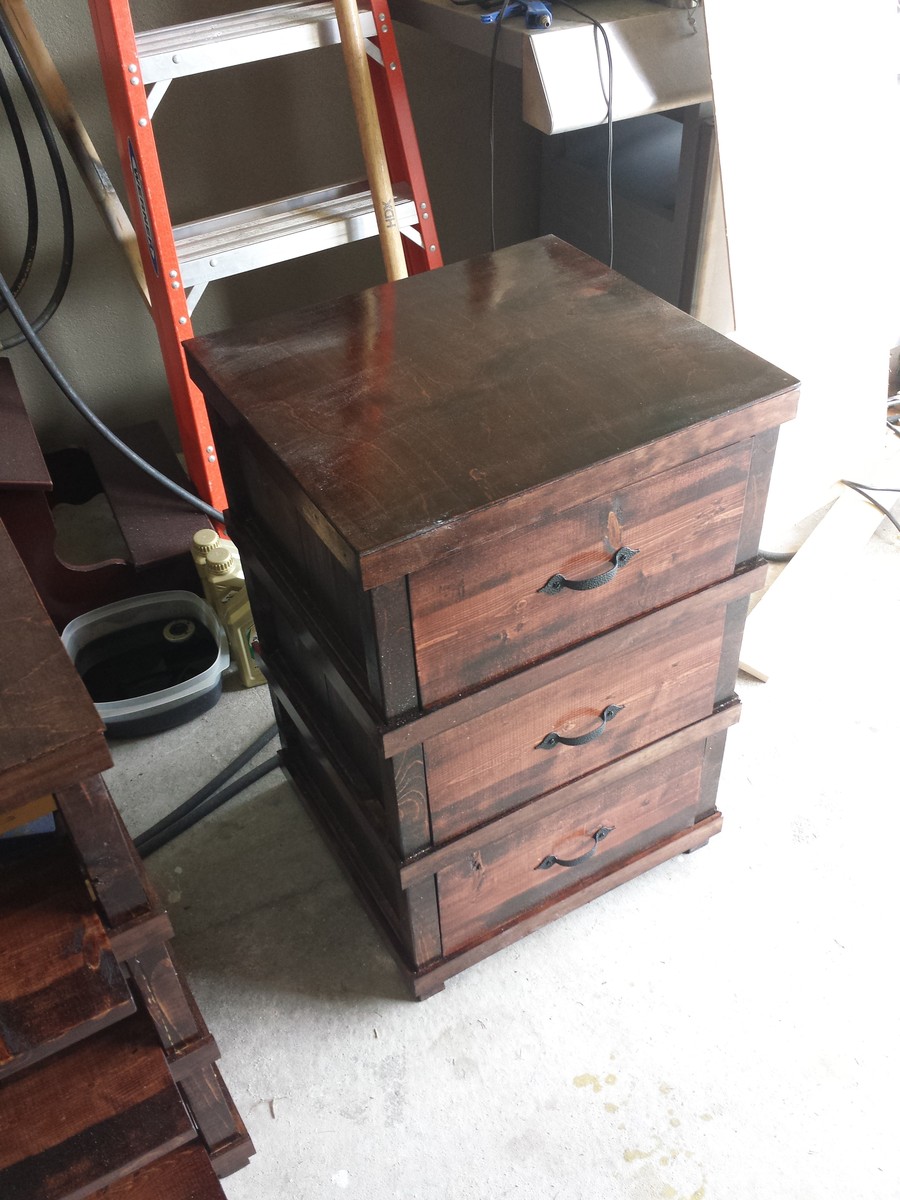
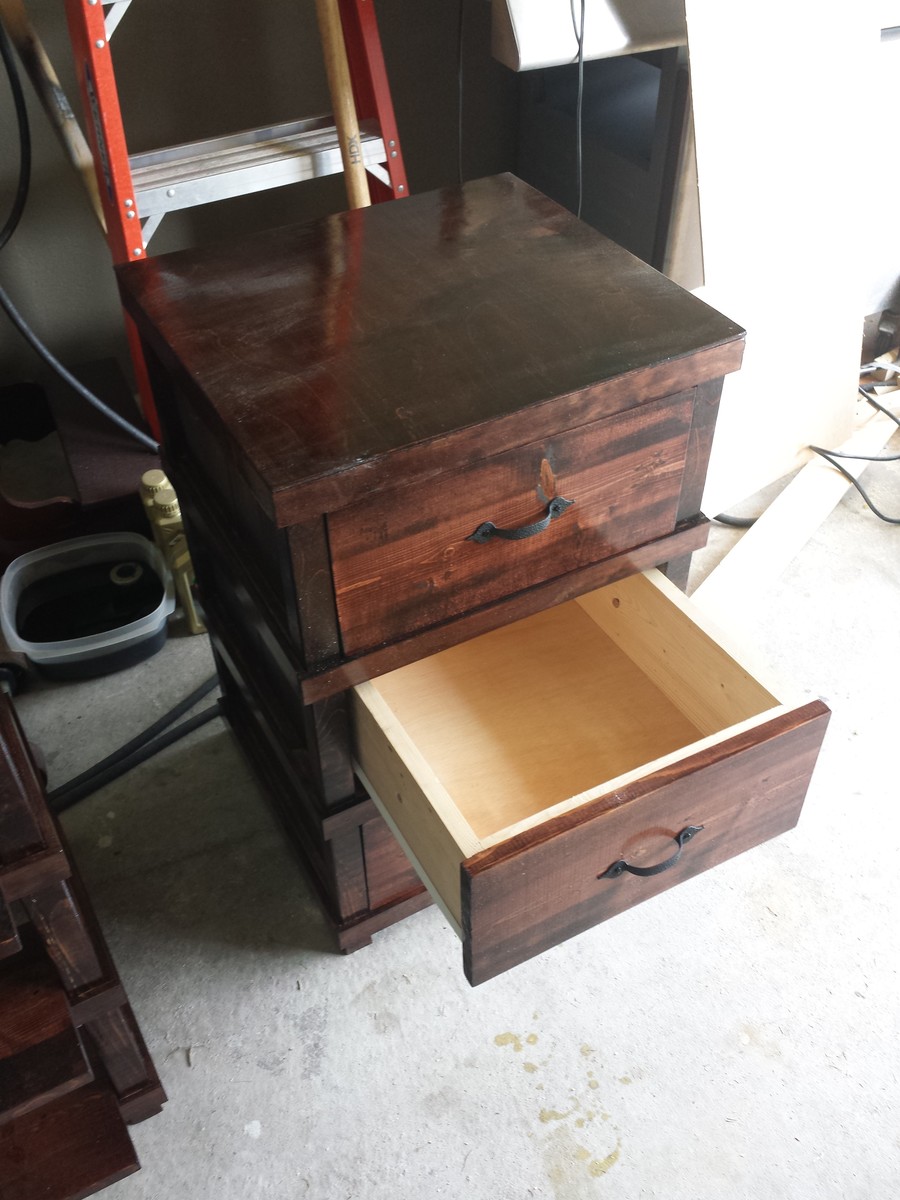
Thank you for the comment now the wife wants me to take the design and modify it into a dresser.