Community Brag Posts
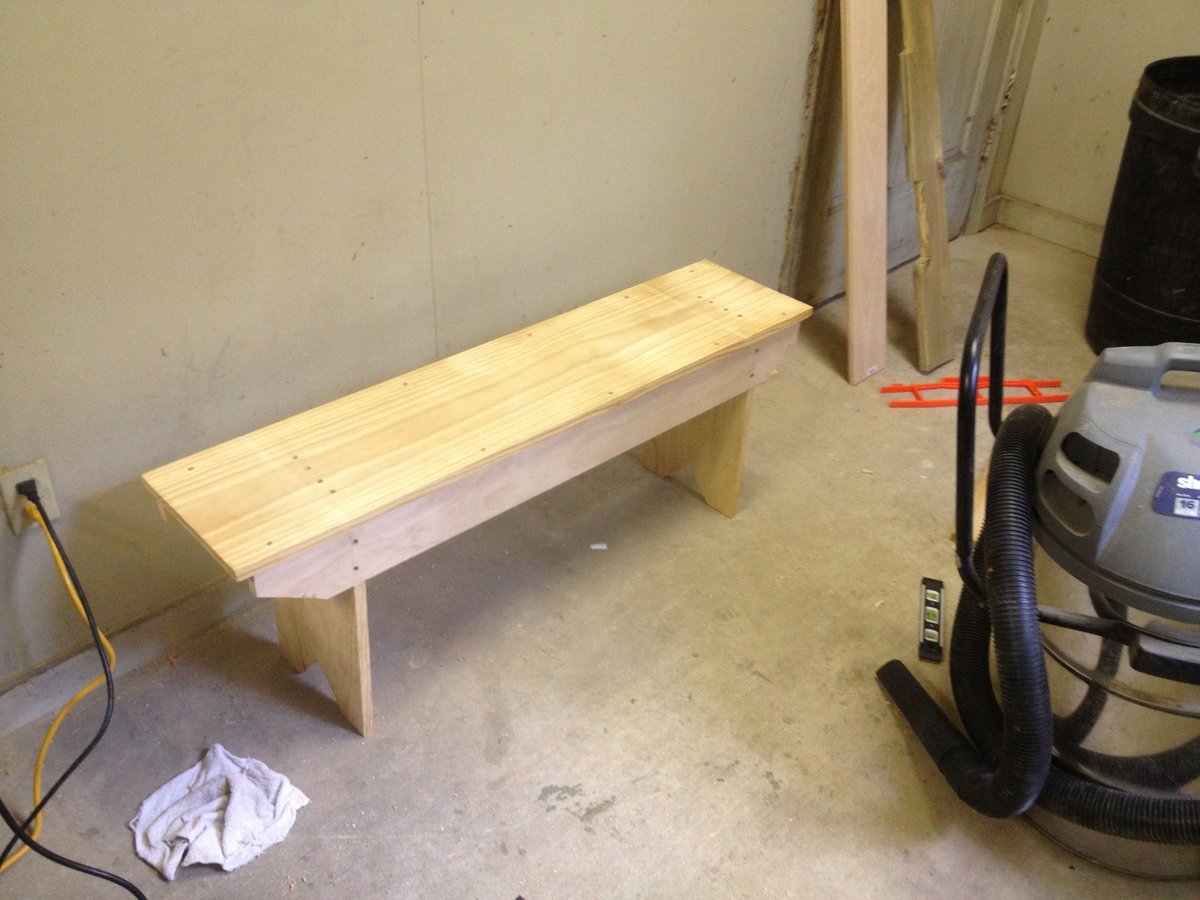
Miter saw Cart
works great!
Built from Plan(s)
Estimated Time Investment
An Hour or Two (0-2 Hours)
Recommended Skill Level
Beginner
Combination of the Emme Twin Bed and Farmhouse Storage Bed
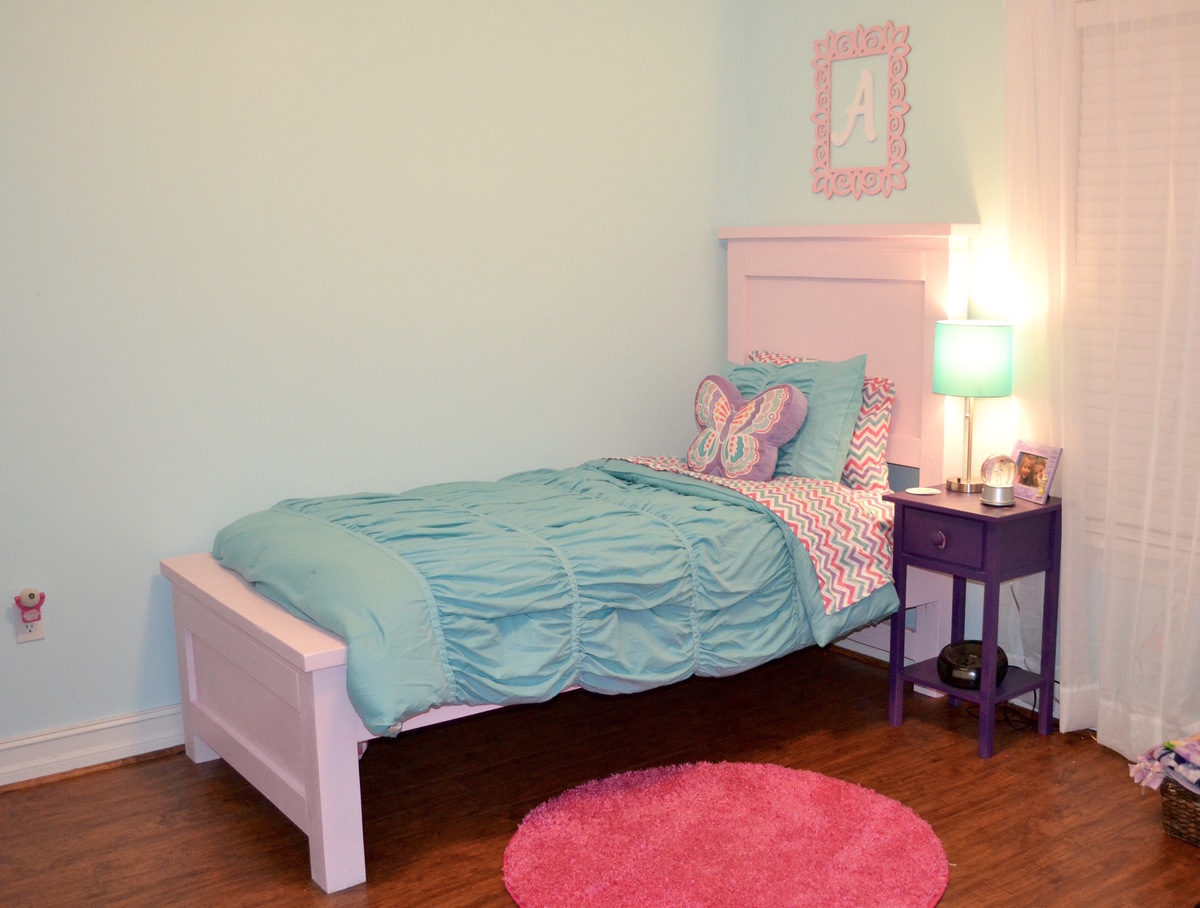
I used elements of both the Emme Twin Bed and Farmhouse Storage Bed to create this perfect bed for my daughter. Thank you so much for your fantastic plans Ana!
Built from Plan(s)
Estimated Time Investment
Weekend Project (10-20 Hours)
Finish Used
We used a soft pink paint/primer in an Eggshell finish. I applied two coats of paint and sanded between coats.
Recommended Skill Level
Beginner
Christmas tree shelves

I built 7 of these for christmas gifts this year. 4 of them from cheap pine, and 3 from reclaimed barn wood. Everyone was very pleased with their presents.


Estimated Cost
15 dollars a piece
Estimated Time Investment
An Hour or Two (0-2 Hours)
Finish Used
I used a white acrylic paint for the pine, and nothing but a good brushing and cleaning for the barnwood.
Recommended Skill Level
Beginner
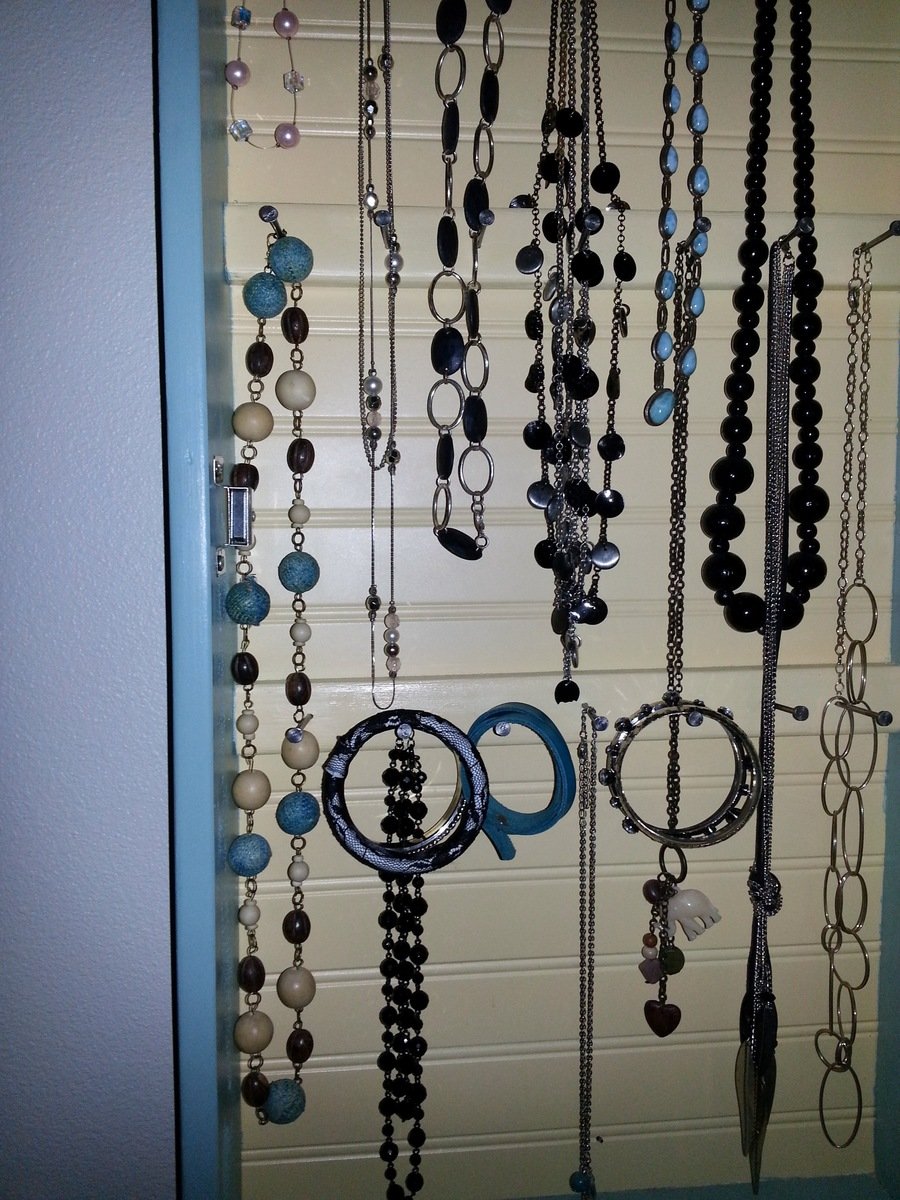
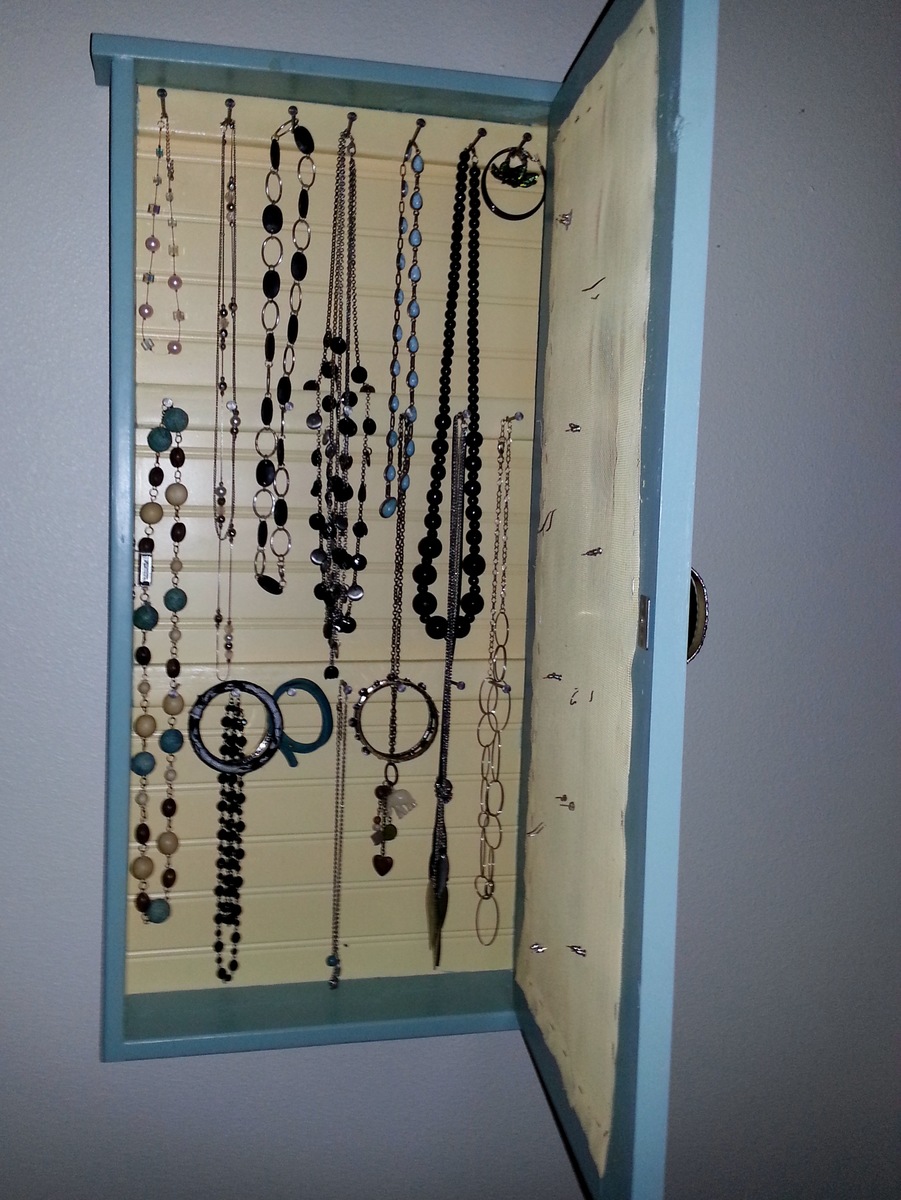
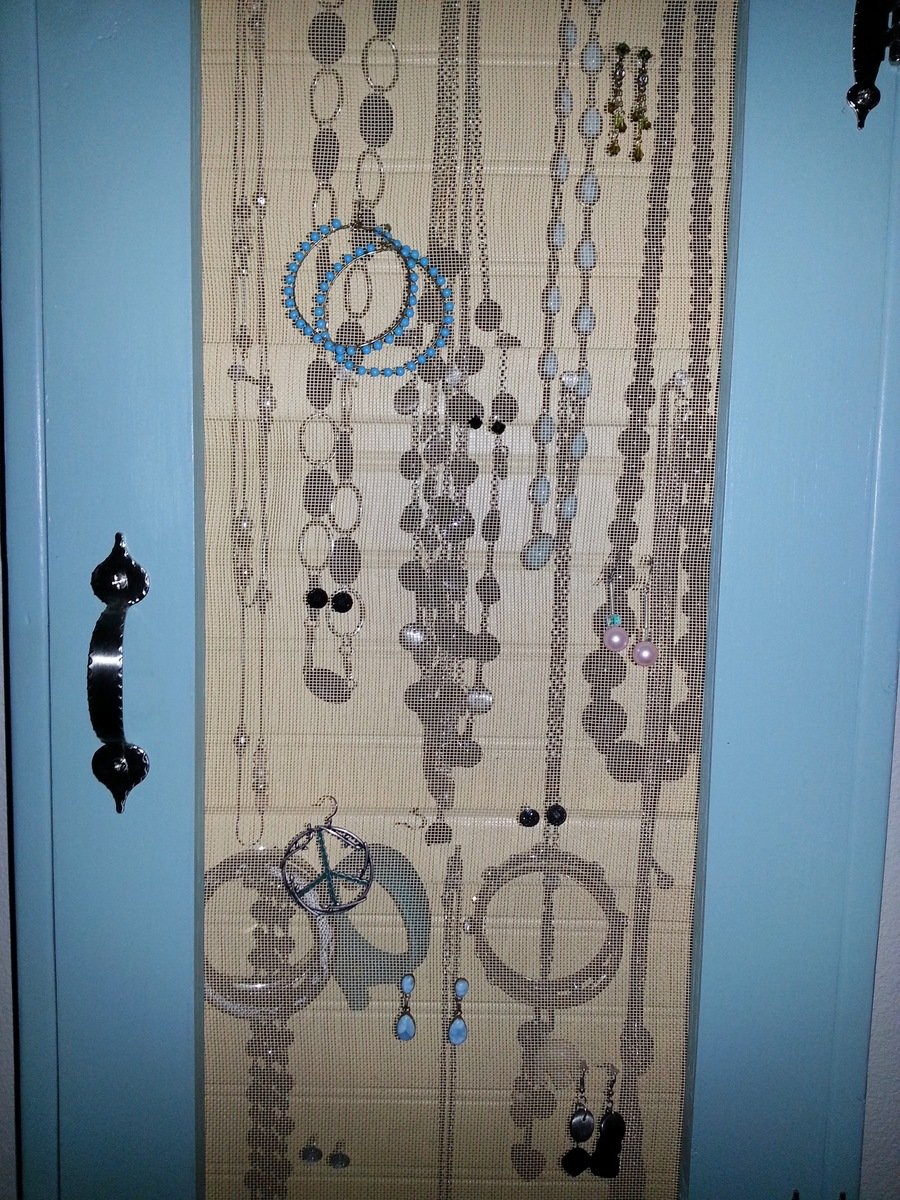
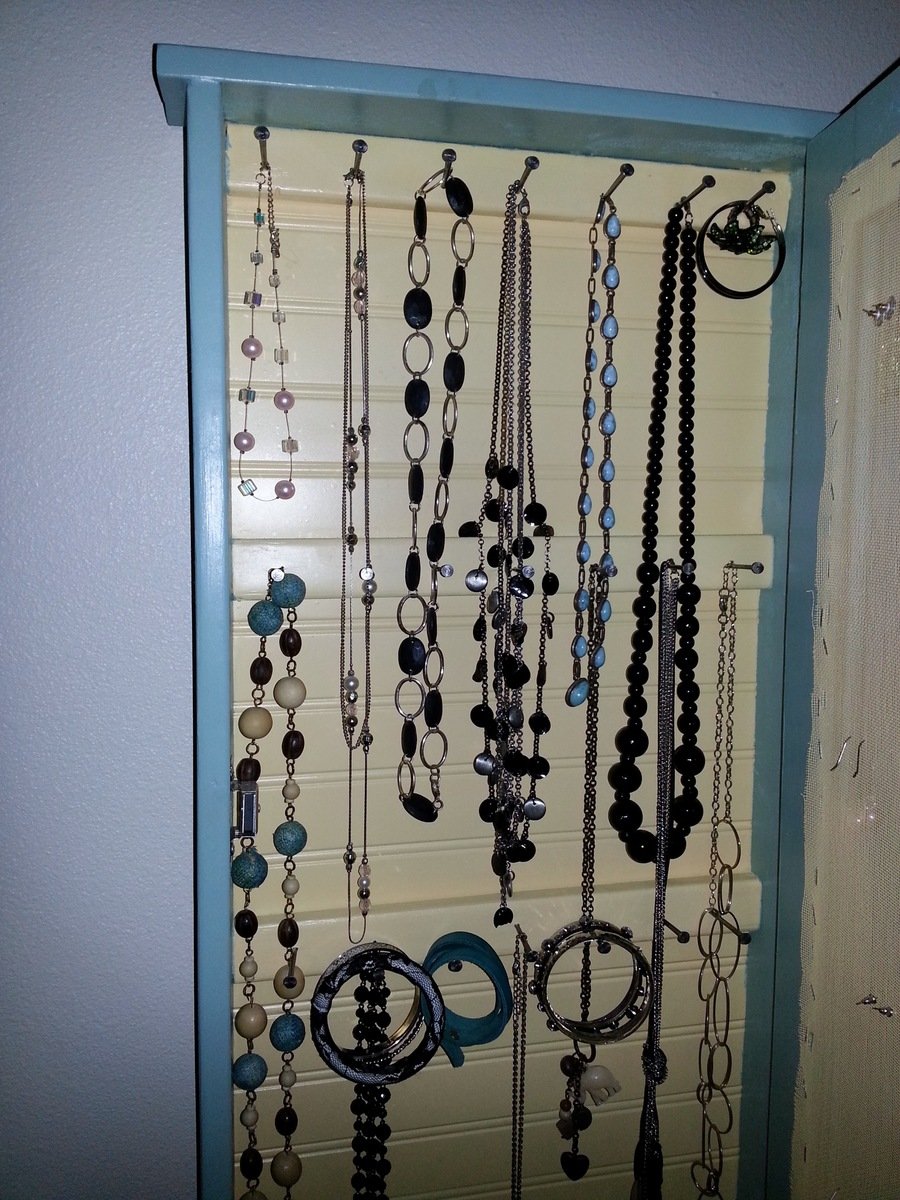
Jewelry Wall Cabinet
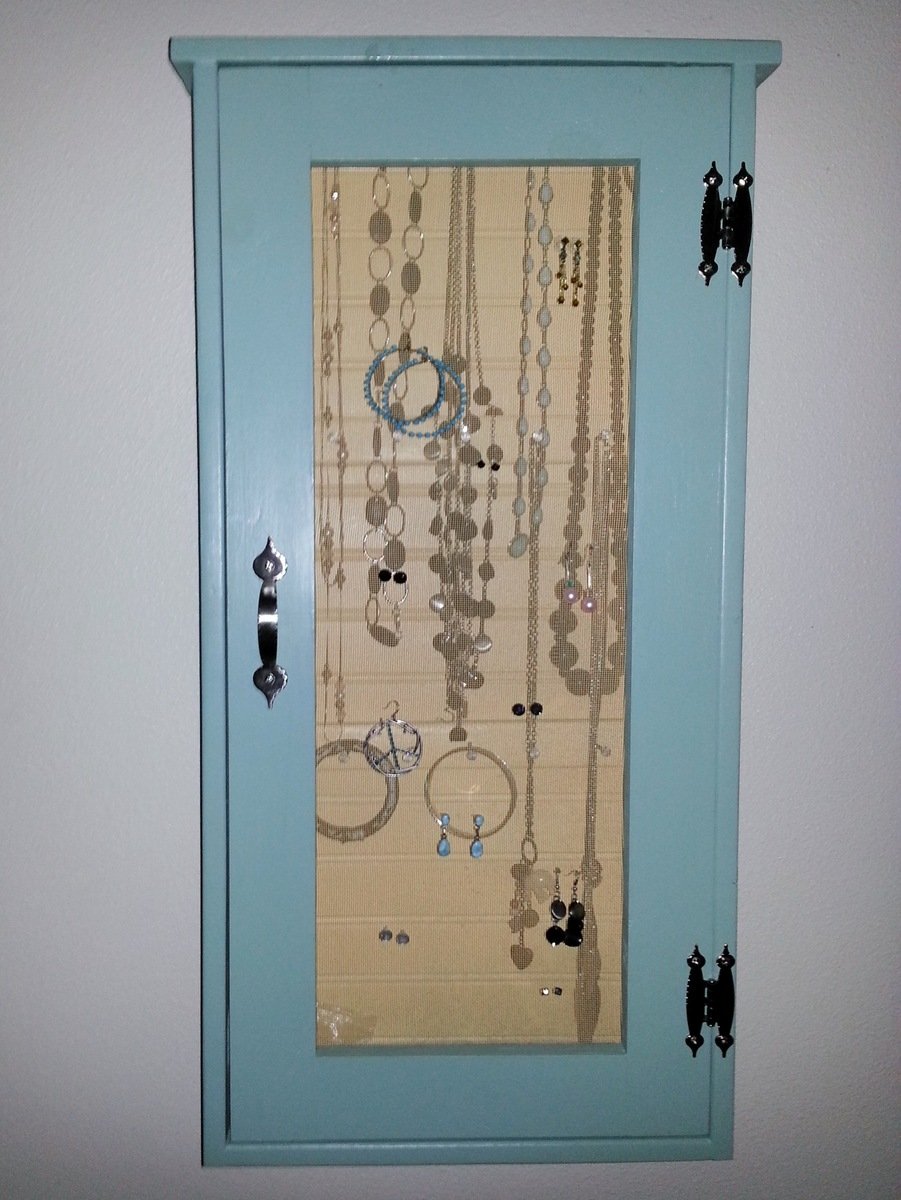
I am completely obsessed with this jewelry cabinet - Thank you so much for posting this plan! This was my third woodworking project since discovering Ana White, and it was very easy to make and the plan was super easy to follow.
Built from Plan(s)
Estimated Cost
$15
Estimated Time Investment
Afternoon Project (3-6 Hours)
Finish Used
Instead of chicken wire on the door, I used window screen so I could hang my stud earrings. I spray painted the bead board backing and the window screen with a ValSpar spray paint and used a brush to paint the cabinet.
Recommended Skill Level
Beginner
Comments
Fri, 02/07/2014 - 10:52
I love it! Where did you find
I love it! Where did you find the hardware for it? I have been looking for something pretty that is also narrow enough and haven't had much luck.
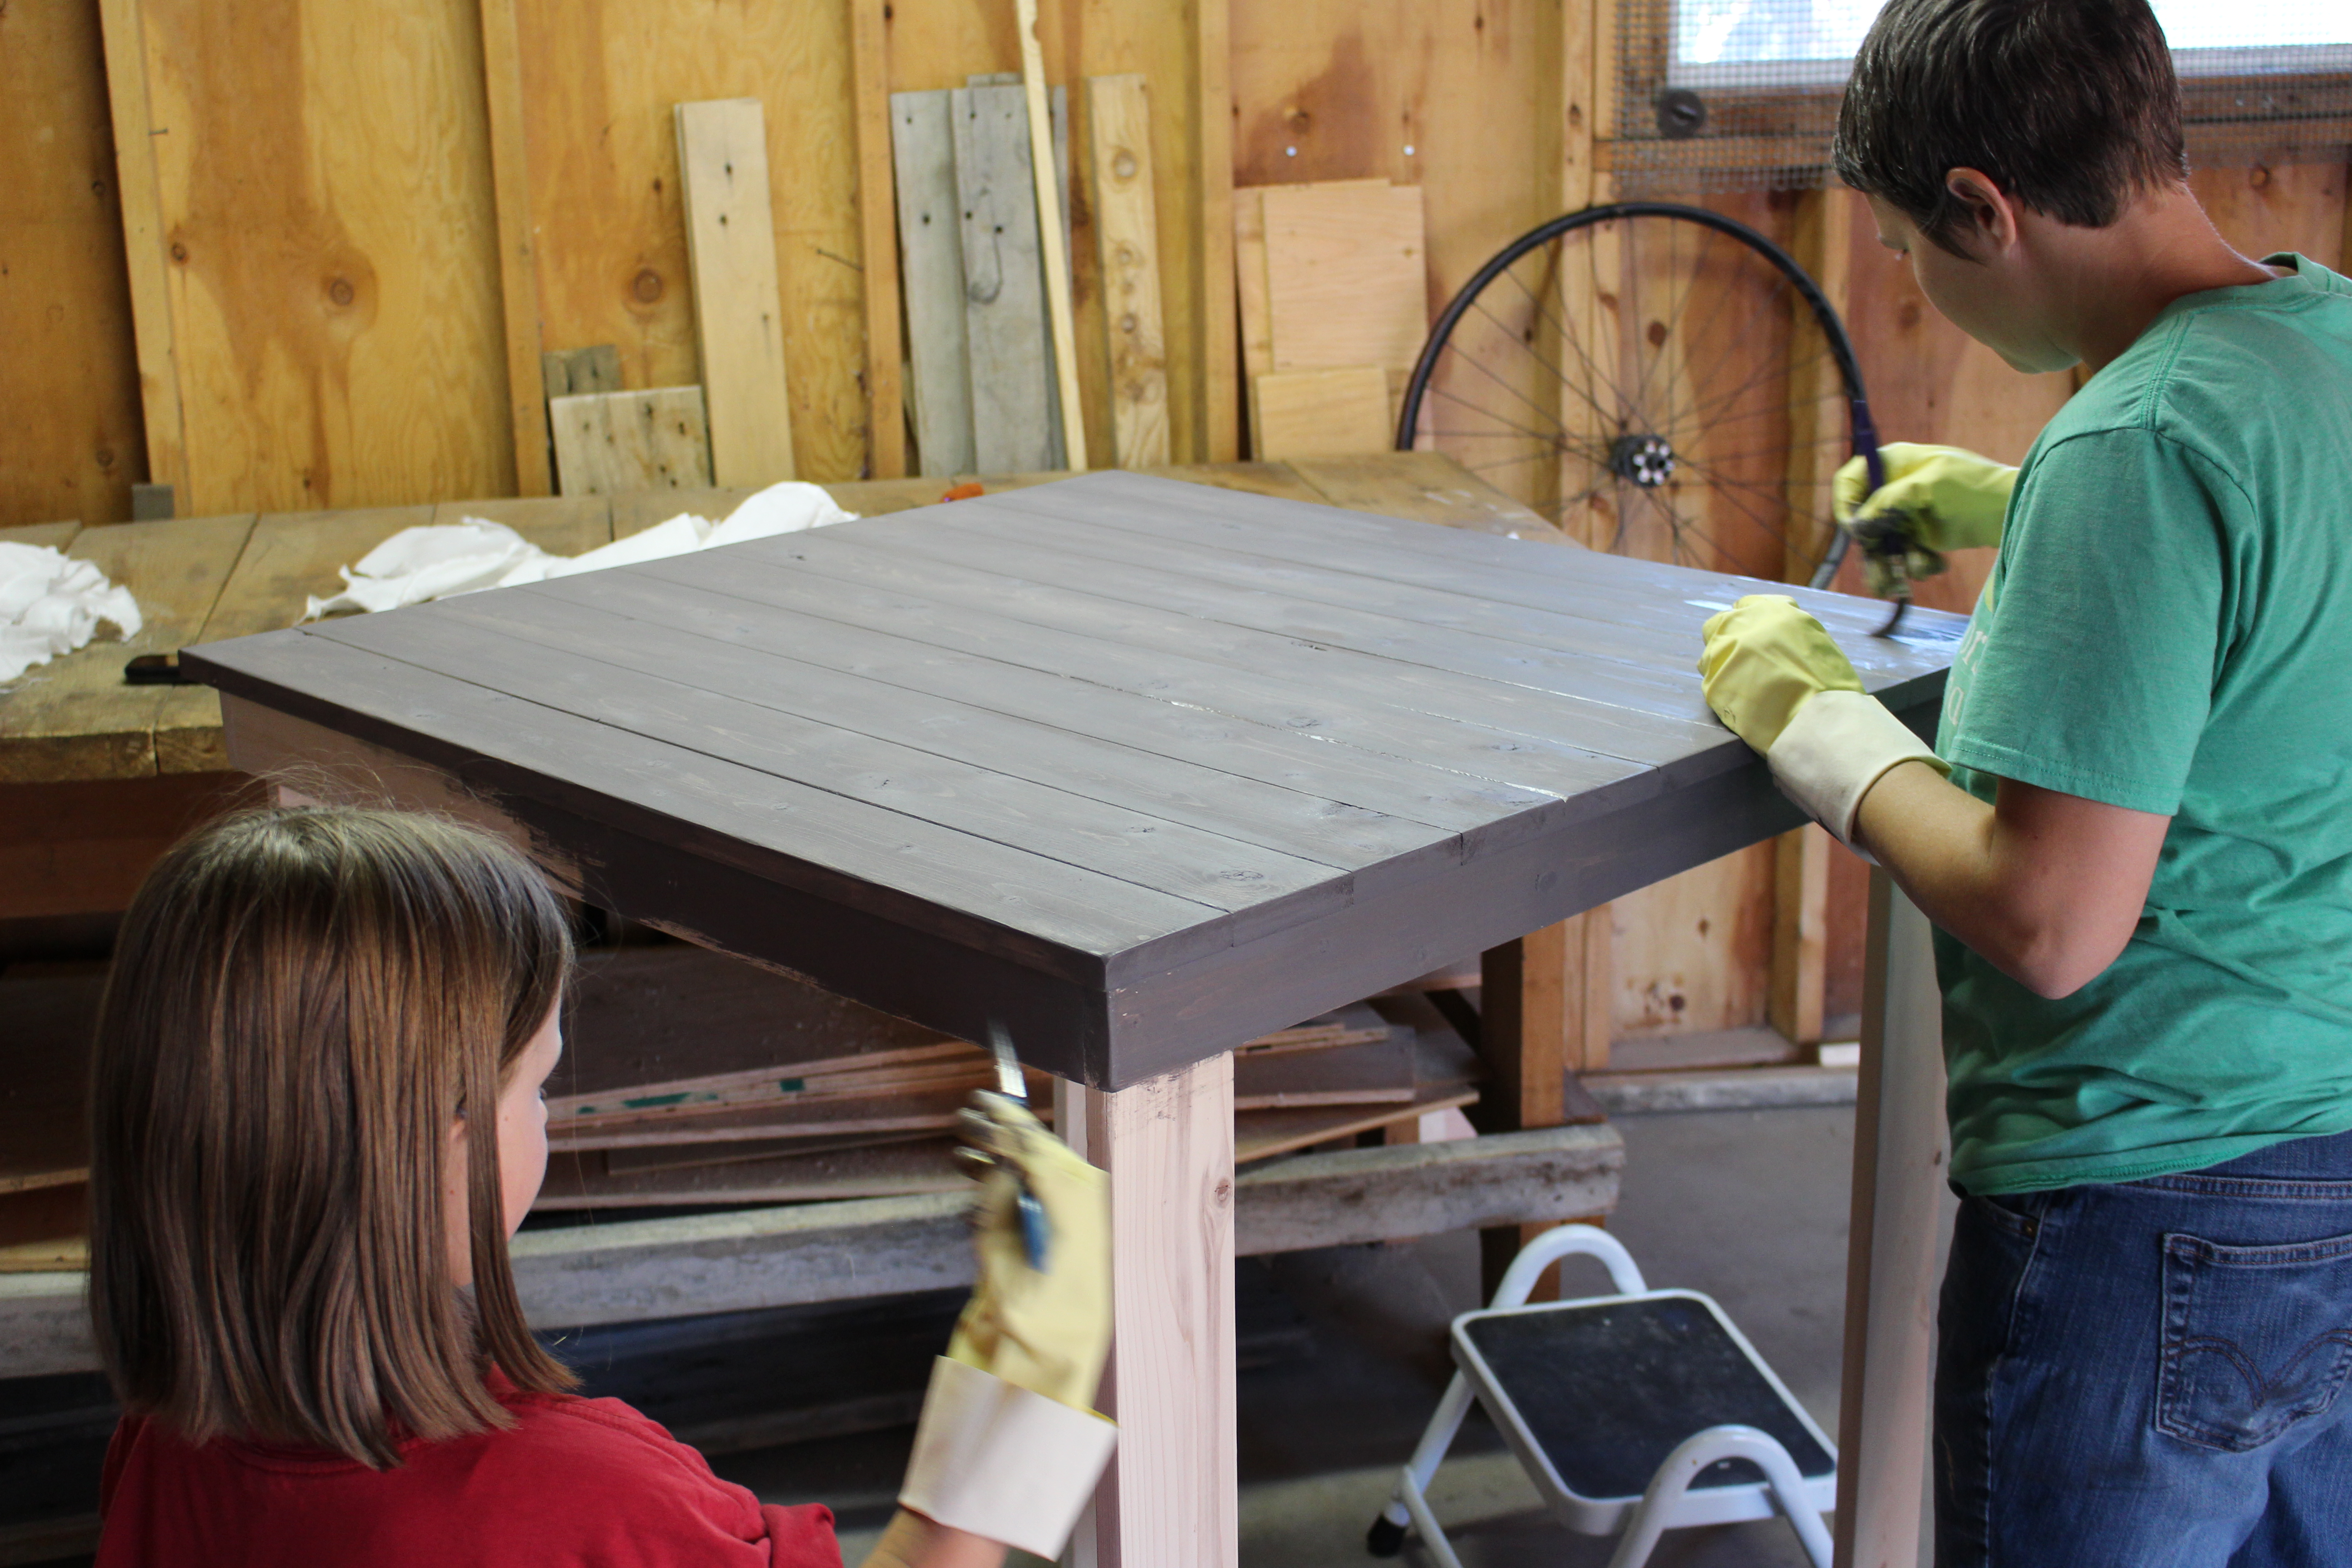
New Kitchen Table
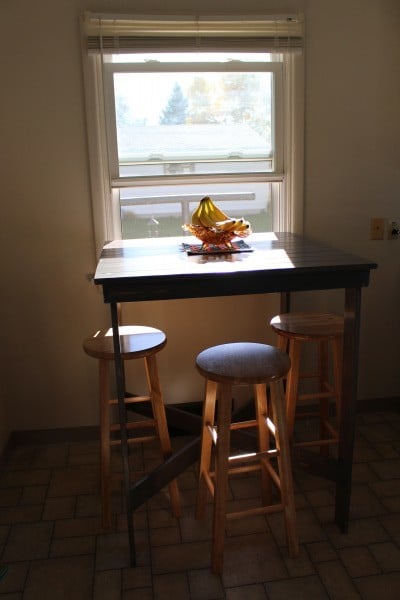
We recently moved from a 530 sq ft rental house to a 1700 sq ft rental house. The one kitchen table that we had in the little place was needed in our library/craft/homeschool room so I needed something knew for the kitchen. My 8 year old daughter helped a lot (she loves using the Kreig Jig).
I love how this (my second wood working project ever!) came out.
Thanks for making it so easy to create beautiful and custom furniture for me and my family!
Built from Plan(s)
Estimated Cost
$100- $150 and that includes all the tools/supplies I needed to purchase (pocket-hole jig, pocket-hole screws, etc.)
Estimated Time Investment
Weekend Project (10-20 Hours)
Recommended Skill Level
Beginner
Comments
Fri, 12/05/2014 - 17:31
New at Bragging
This is my first brag post. Any tips on why the photo is sideways and there are weird links in odd spots?
Thanks!
Tina
Fri, 12/05/2014 - 19:59
sideways photo
When my photos posted sideways, I used microsoft paint to rotate and saved as a new photo. This seemed to solve the issue.
Mostly Made With Reclaimed Materials
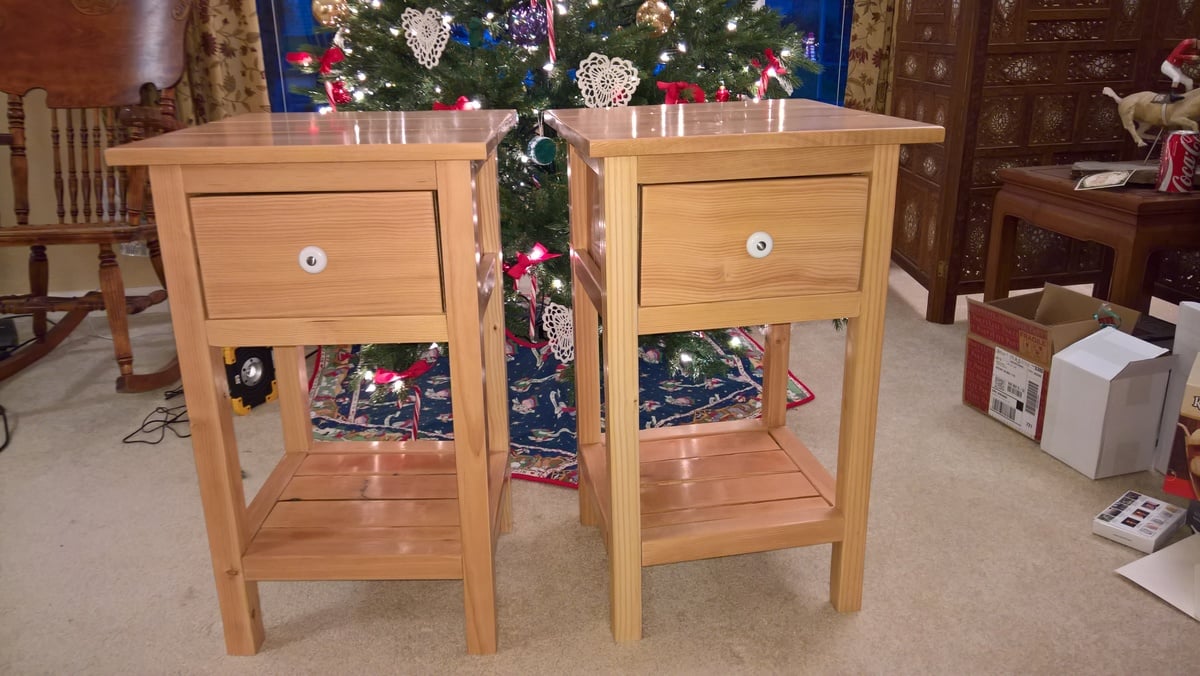
I made these nightstands with reclaimed siding and fir flooring, and scrap wood from a remodel they will ultimately furnish. I found the matching knobs for $1 each at a building materials salvage yard.
Built from Plan(s)
Estimated Cost
Not sure
Estimated Time Investment
Week Long Project (20 Hours or More)
Finish Used
I used Fast Dry Semi Gloss Interior Varathane. It's water clean-up and has a blue label. I wish I'd used some light stain to warm the color of the wood a little. I like to use the semi gloss and remove the last imperfections in the finish with 0000 steel wool. In the end the finish is closer to satin.
Recommended Skill Level
Beginner
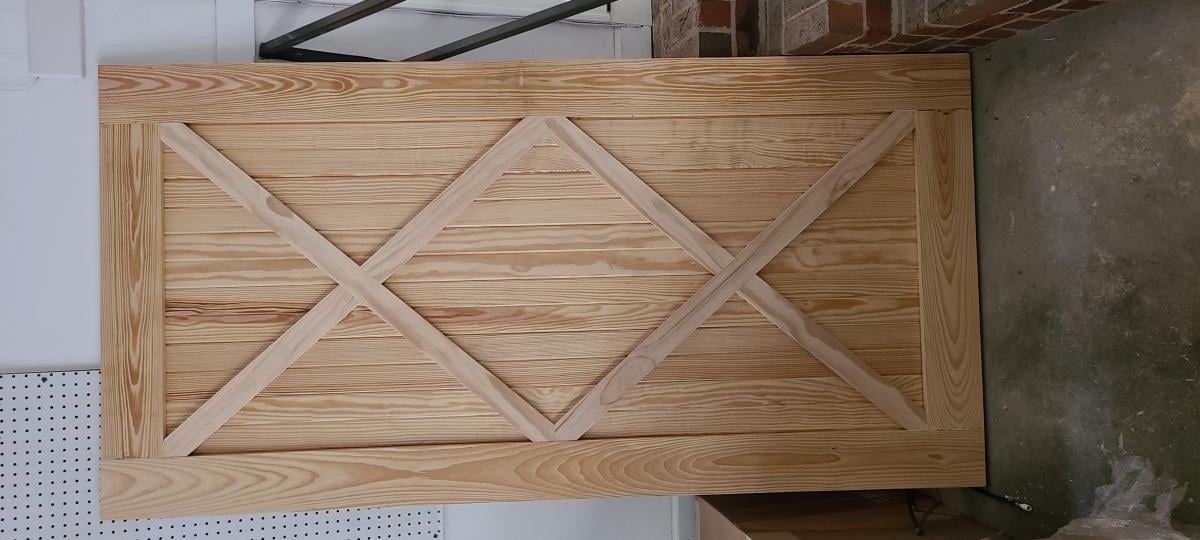
Double X barn door
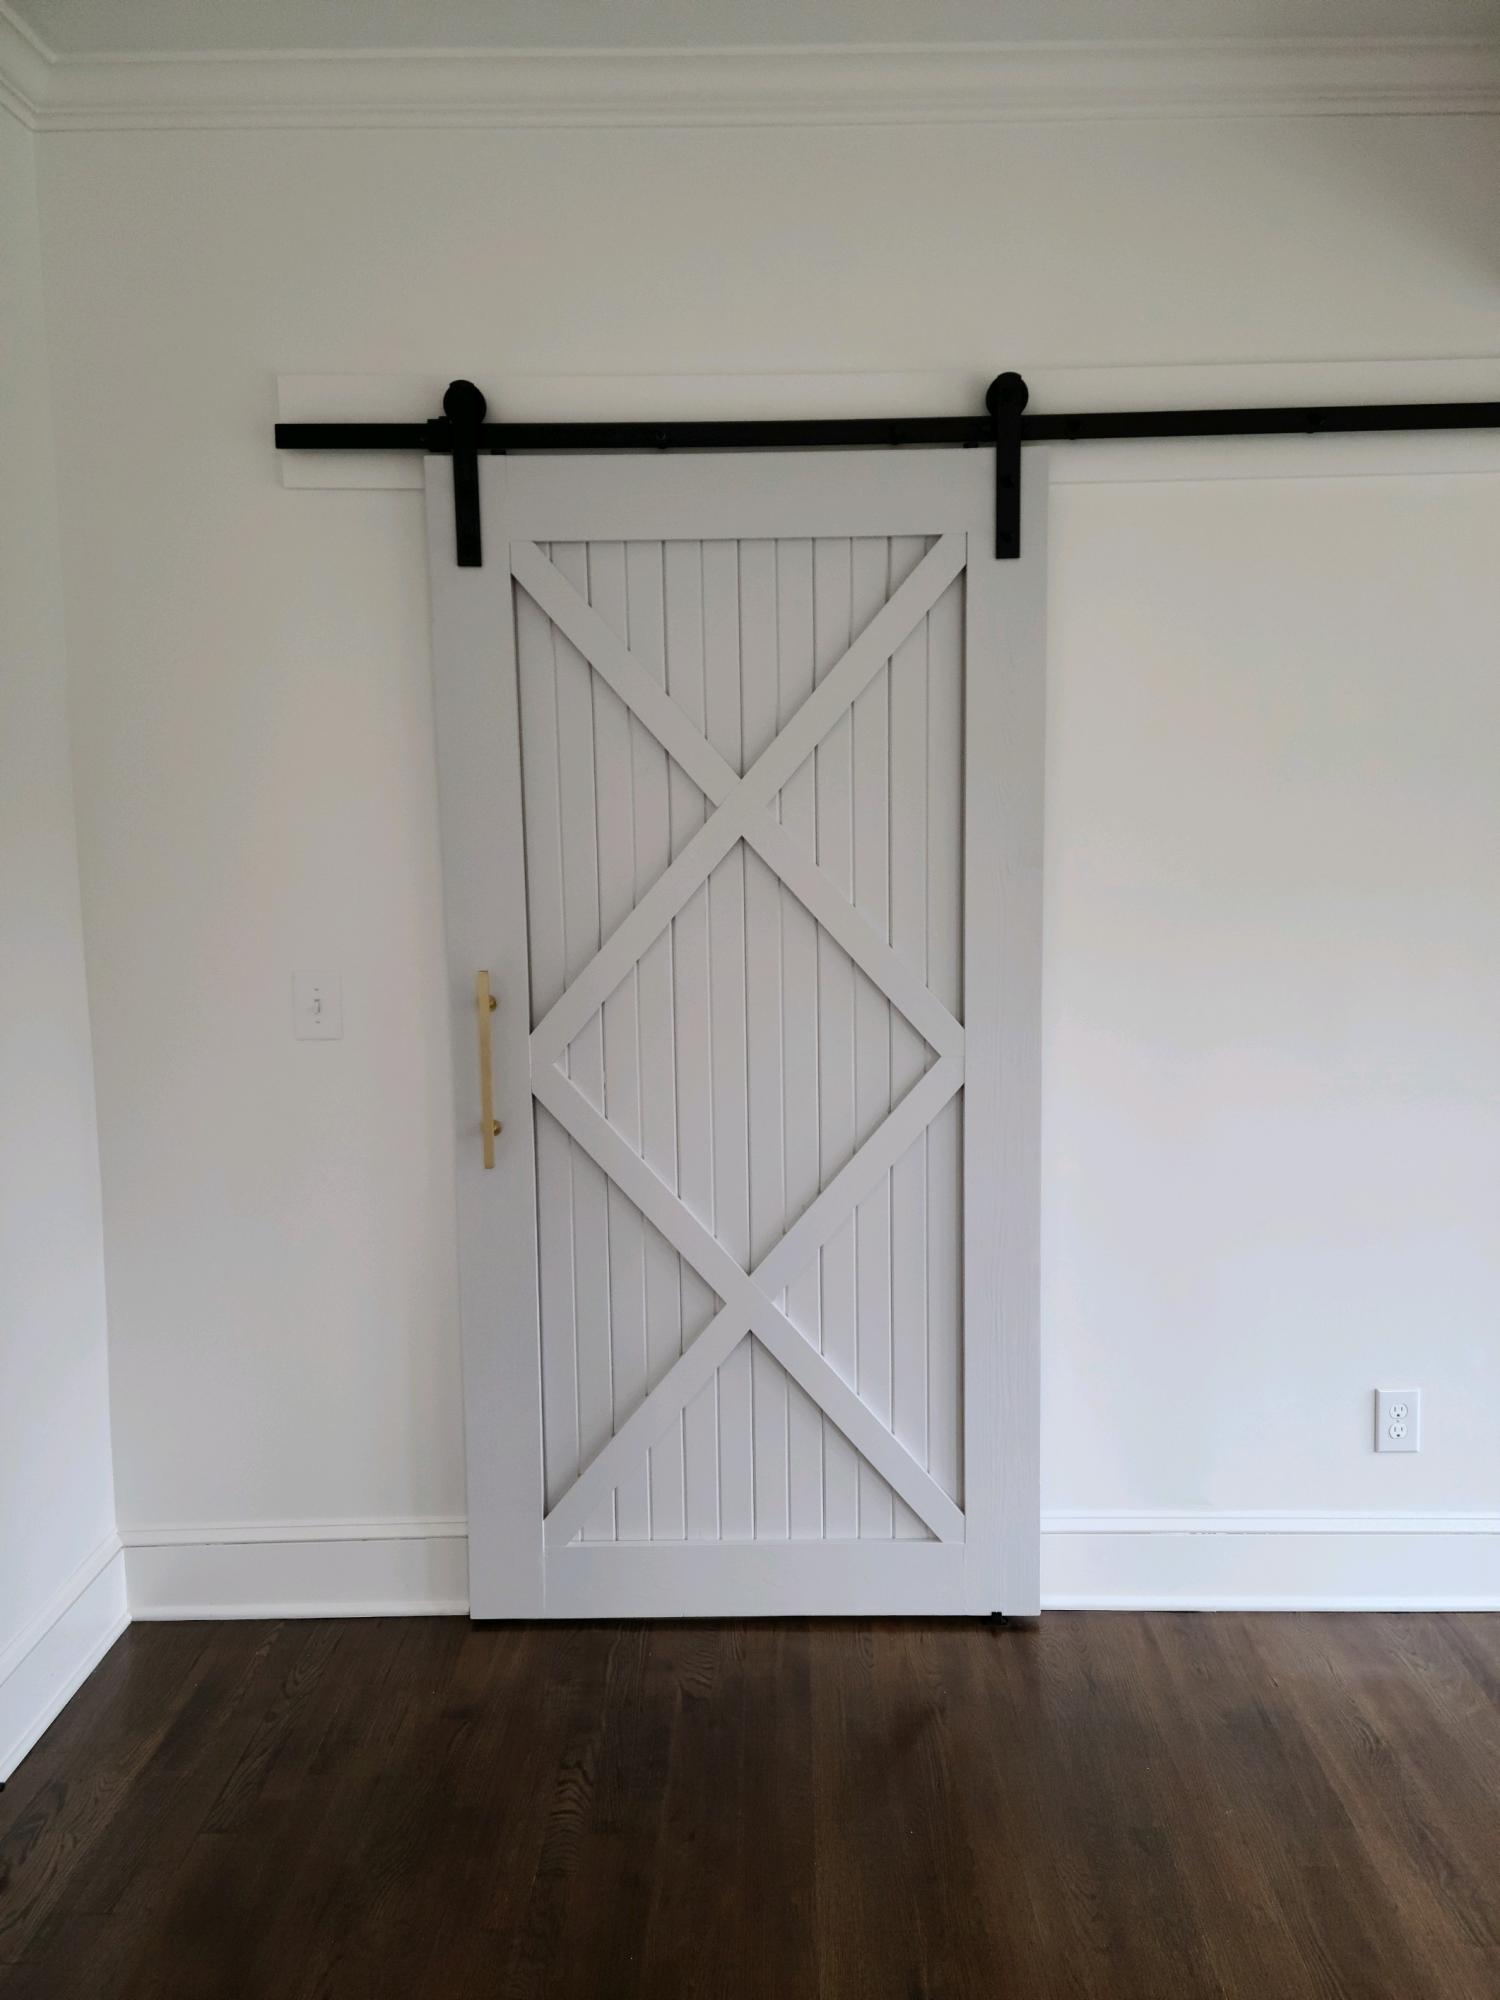
This is a sliding barn door I built for some friends. It's constructed from standard pine boards and premade tongue and groove beadboard planks.
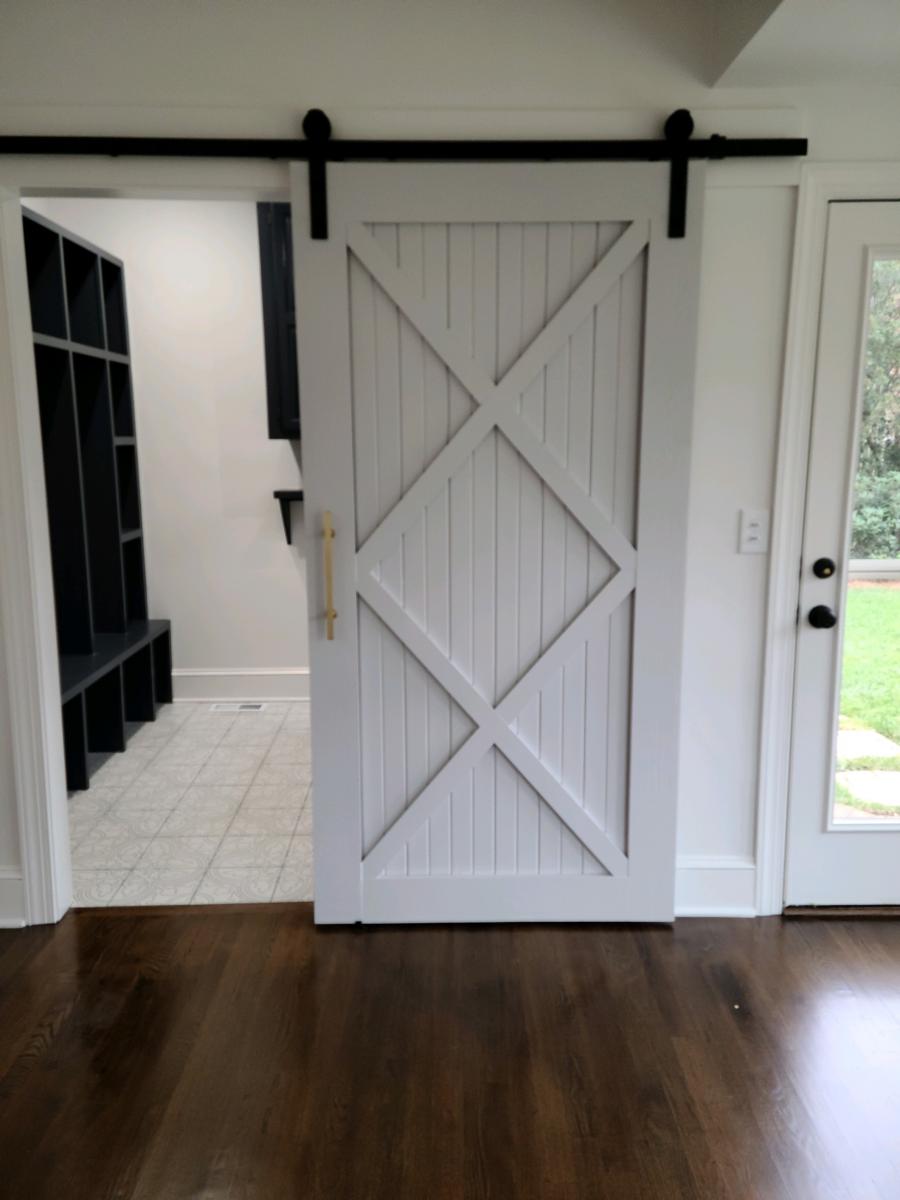
Estimated Cost
$180
Estimated Time Investment
Day Project (6-9 Hours)
Finish Used
Sherwin Williams kem aqua, sprayed on
Recommended Skill Level
Intermediate
Scaled down Shanty Cabinet
I Scaled down this Buffet and Hutch from the Shanty 2 Chic gal. Had to make it fit to our dining room. Wife loves it

Built from Plan(s)
Estimated Cost
150
Estimated Time Investment
Weekend Project (10-20 Hours)
Finish Used
Miniwax Provincial and Jacobean
Recommended Skill Level
Beginner
Simple Modern Outdoor Sectional
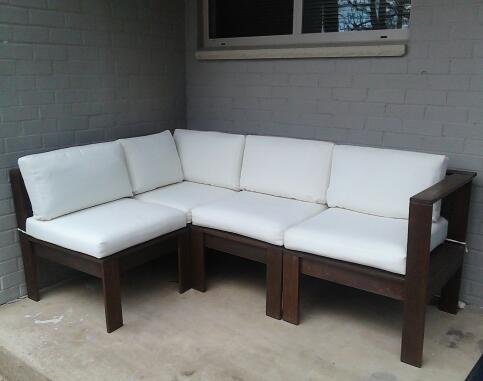
So glad these plans were posted so that I could build my own outdoor sectional. I built two armless and two corner/end pieces. I used cedar with American Walnut stain and clear/satin spar urethane. I purchased the cushions online. They only had 24x24"; so for the back cushions, I used a seam ripper to open the cushion, cut the foam and extra fabric, and re-sew.
Built from Plan(s)
Estimated Cost
500 including cushions
Estimated Time Investment
Week Long Project (20 Hours or More)
Finish Used
American Walnut water-based stain
Clear/Satin spar urethane
Clear/Satin spar urethane
Recommended Skill Level
Beginner
Comments
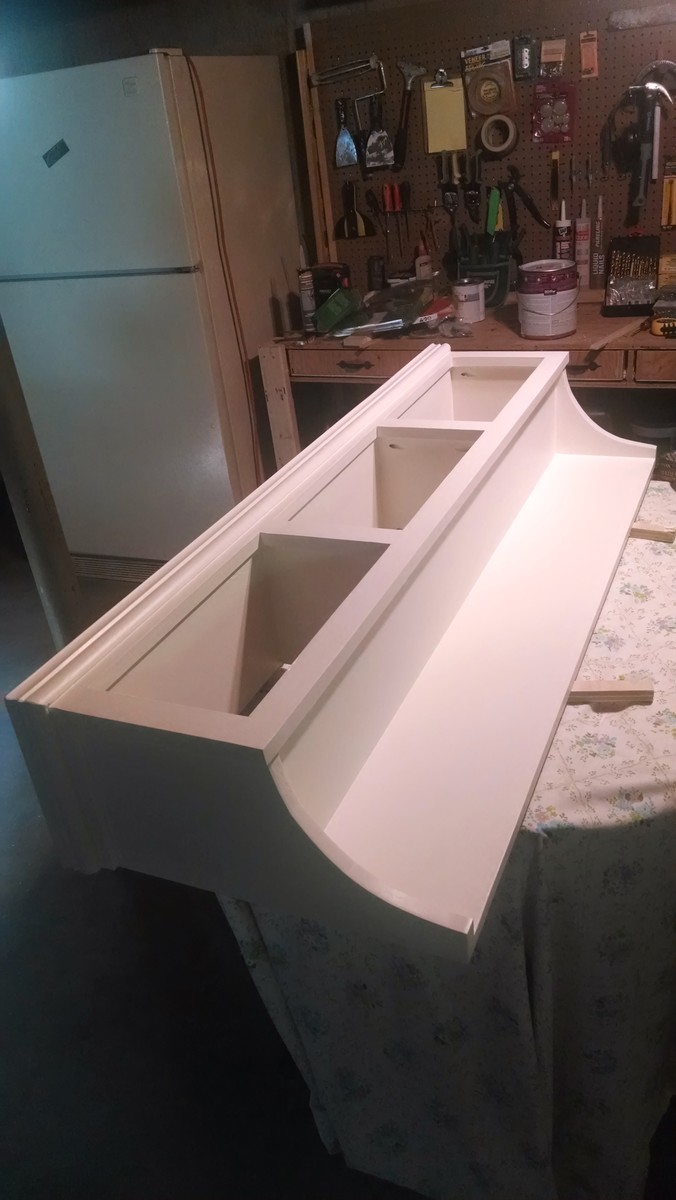
Entryway coat hanger
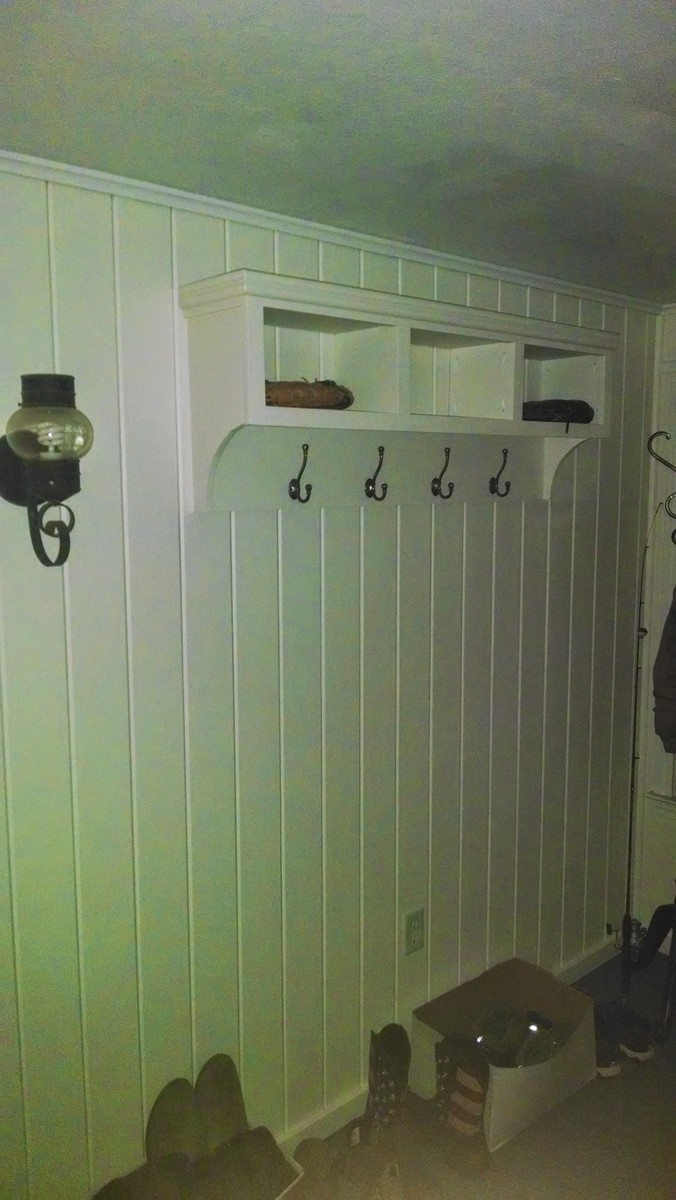
Easy build and flexible to modify size
Recommended Skill Level
Beginner
Comments
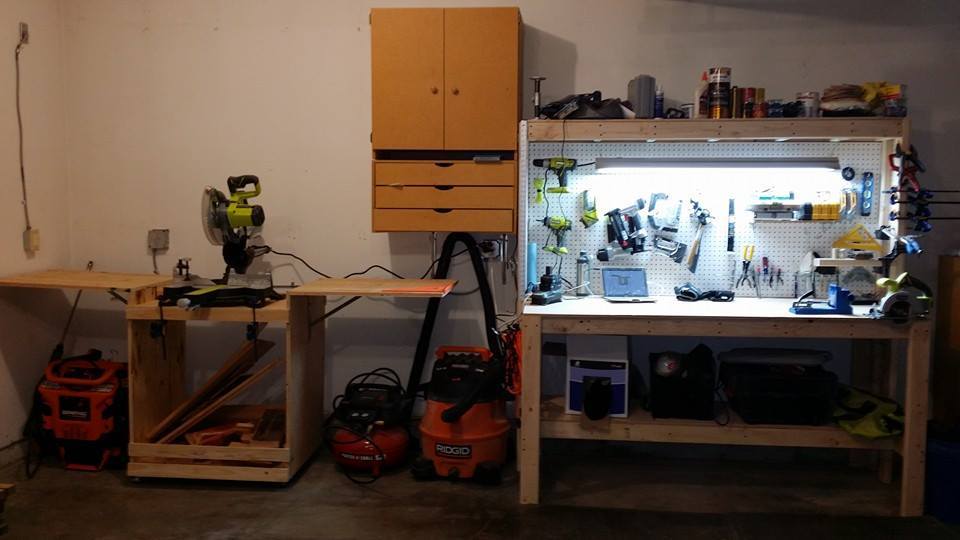
Two Station Desk
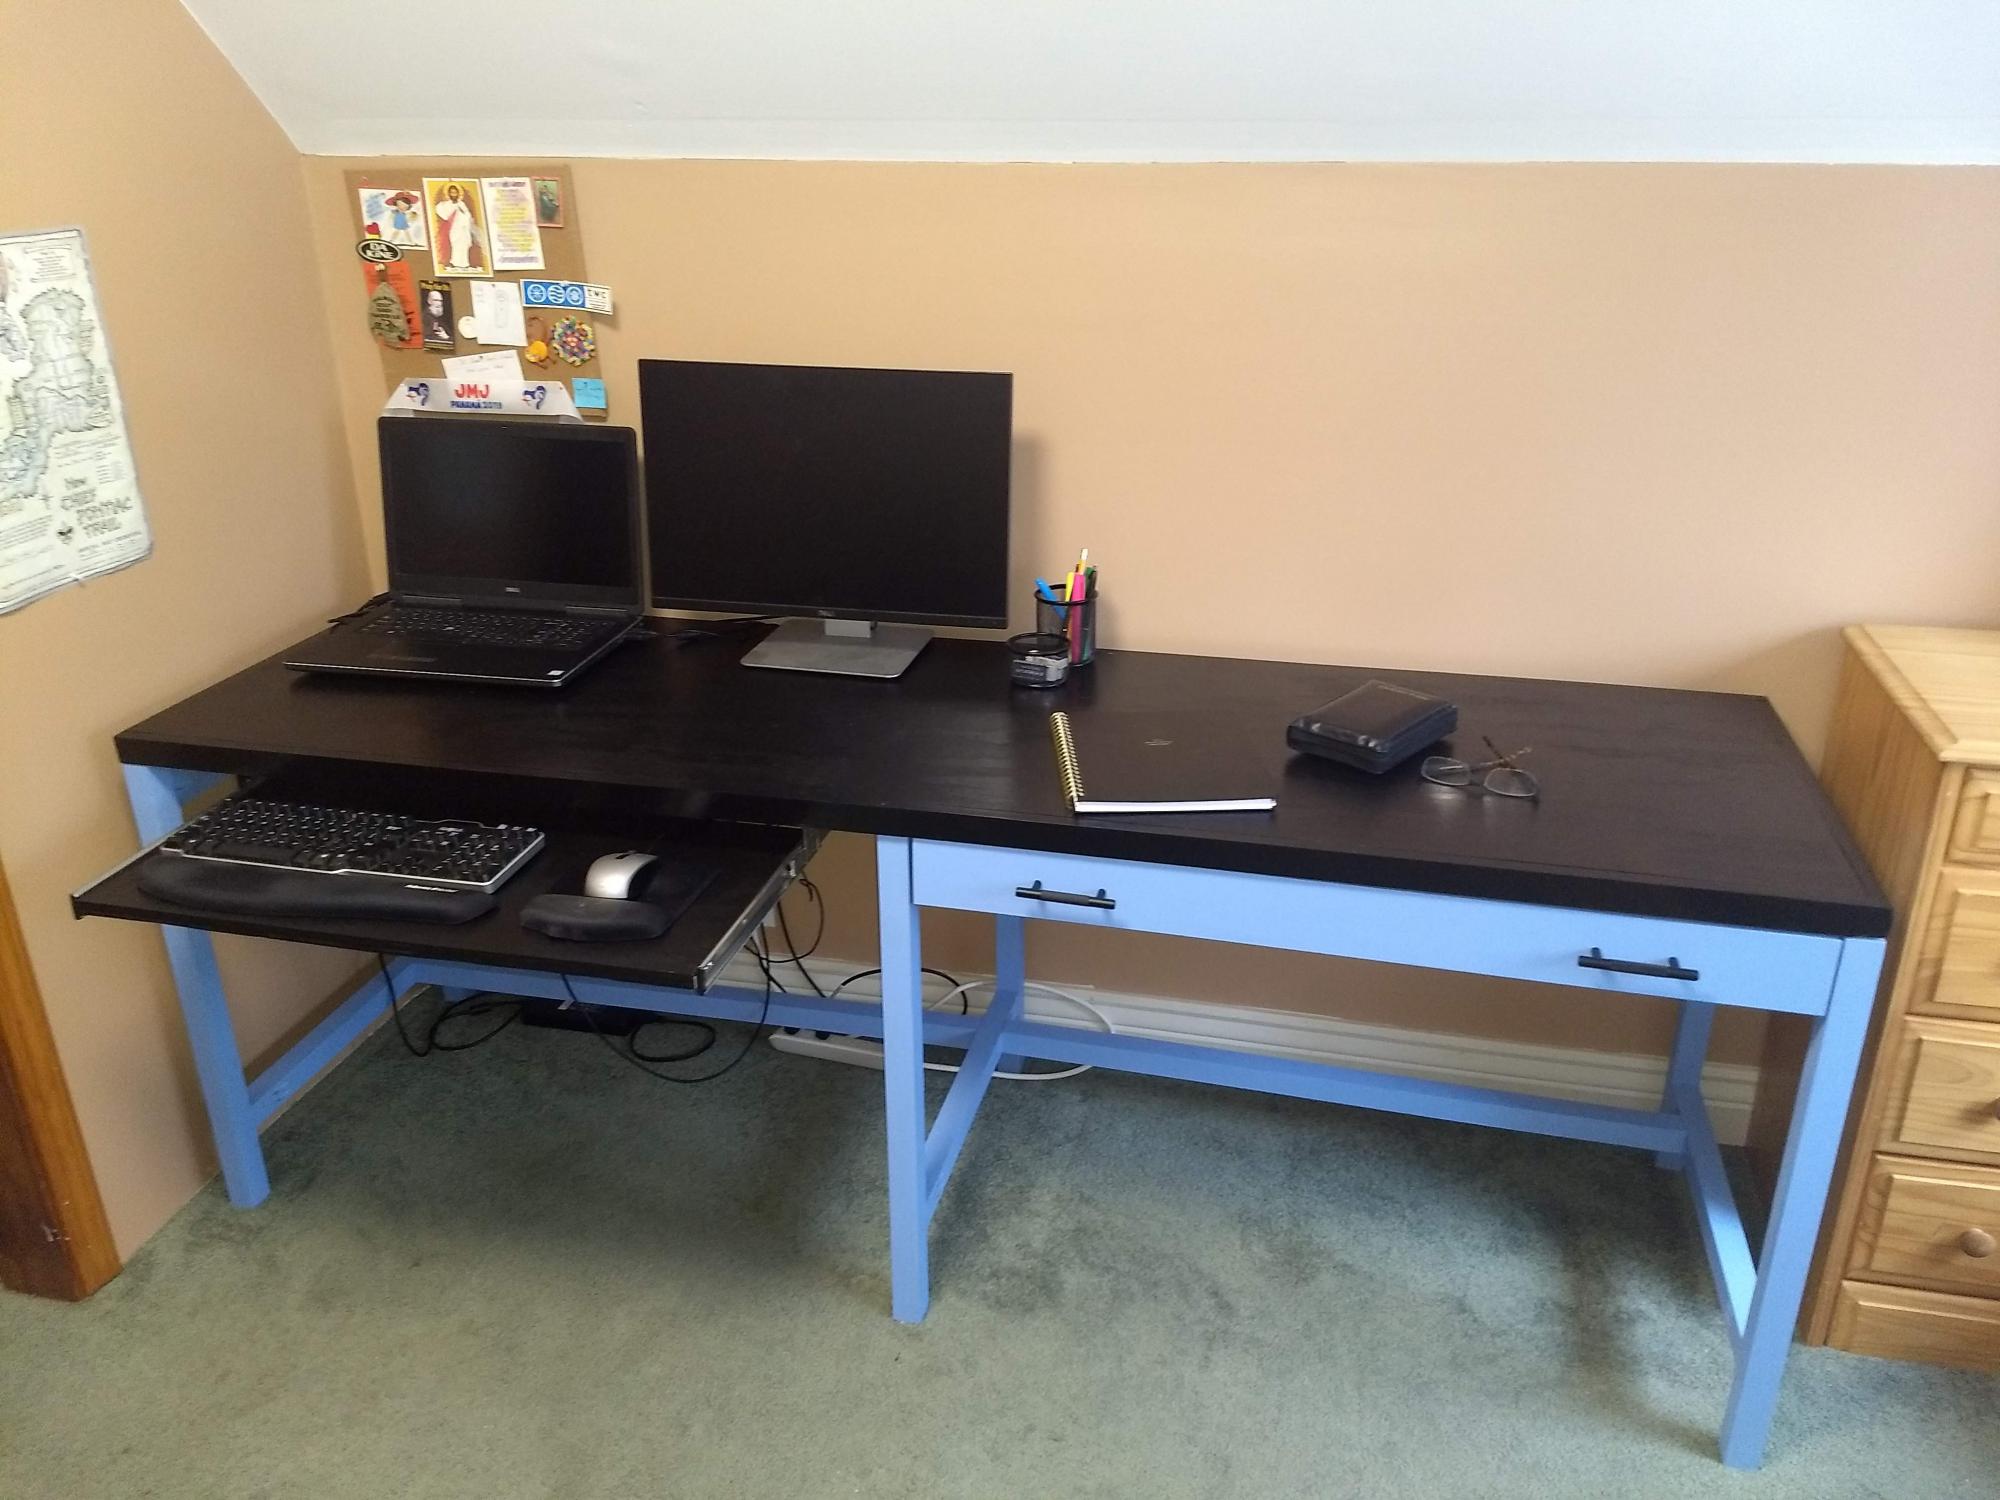
Since I've been working at home, I needed a desk with space for both my work station and for my personal use. This plan was quite easy to adapt into a two-position desk. On the left side I substituted a keyboard tray for the drawer. I also made mine 2" deeper than the original plans, since that fit my needs better.
Estimated Cost
Probably around $200, not counting the cost of upgrading to a nicer Kreg jig, which was well worth it.
Comments
Sun, 01/03/2021 - 10:14
Excellent mods!
This looks amazing, I really like the added keyboard slide out!
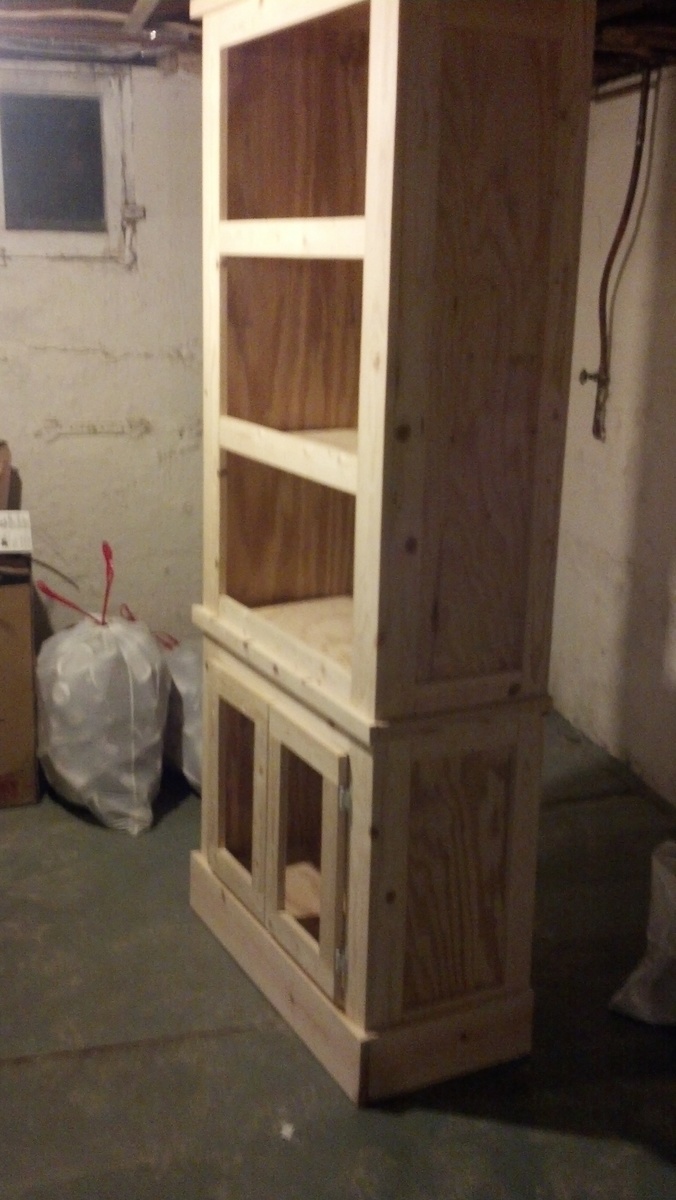
Bookcase
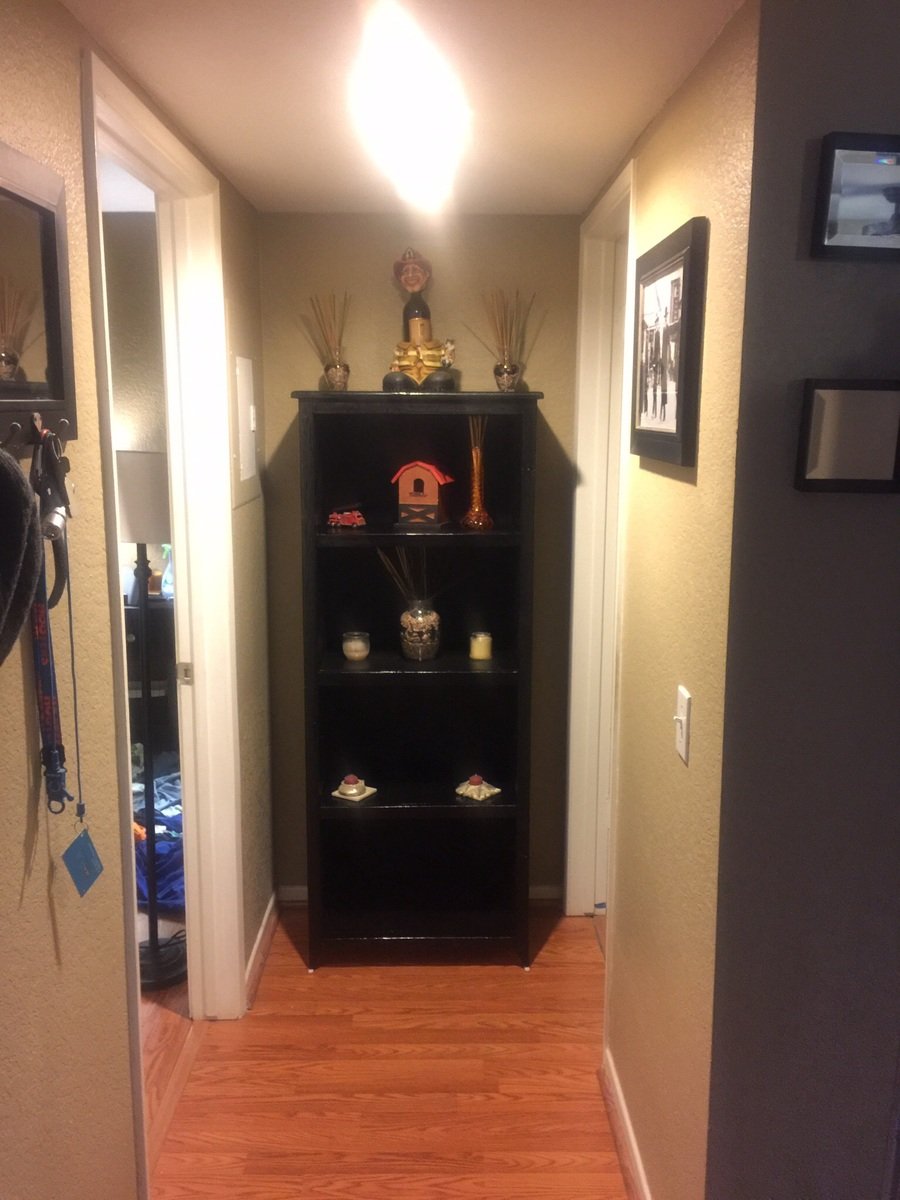
here is my version
Built from Plan(s)
Finish Used
Polyurathane
Recommended Skill Level
Beginner
Comments

Mon, 12/15/2014 - 12:22
Wow this is really great! I
Wow this is really great! I love the wall color too! Nice work!
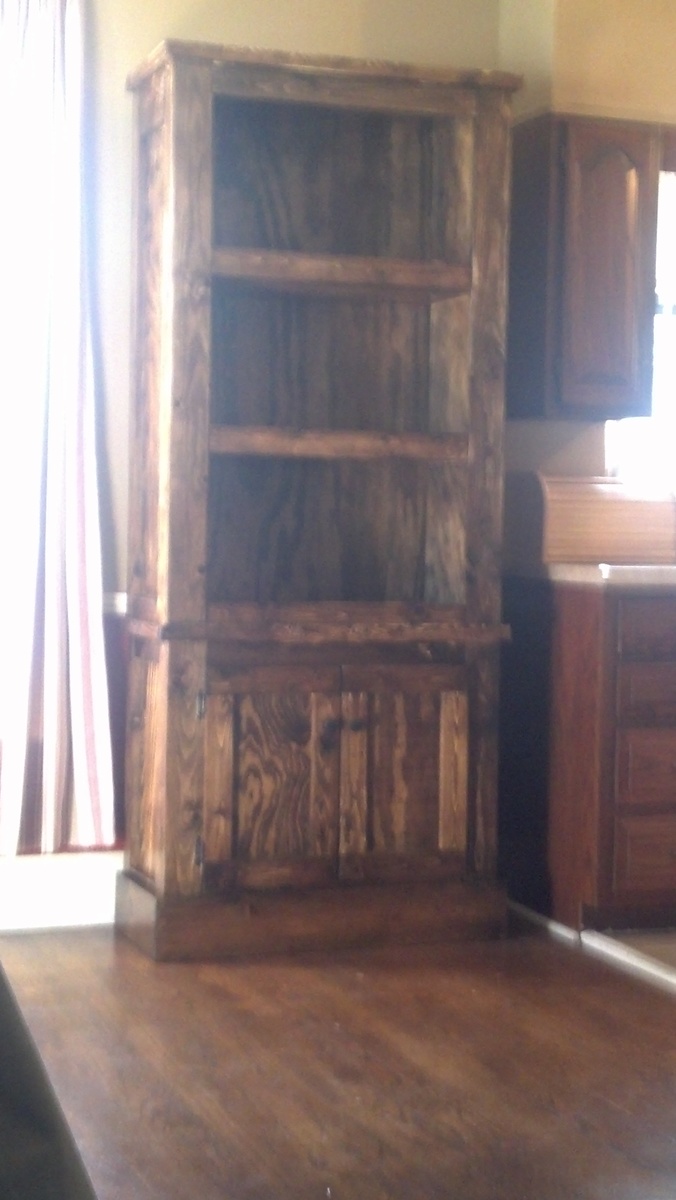
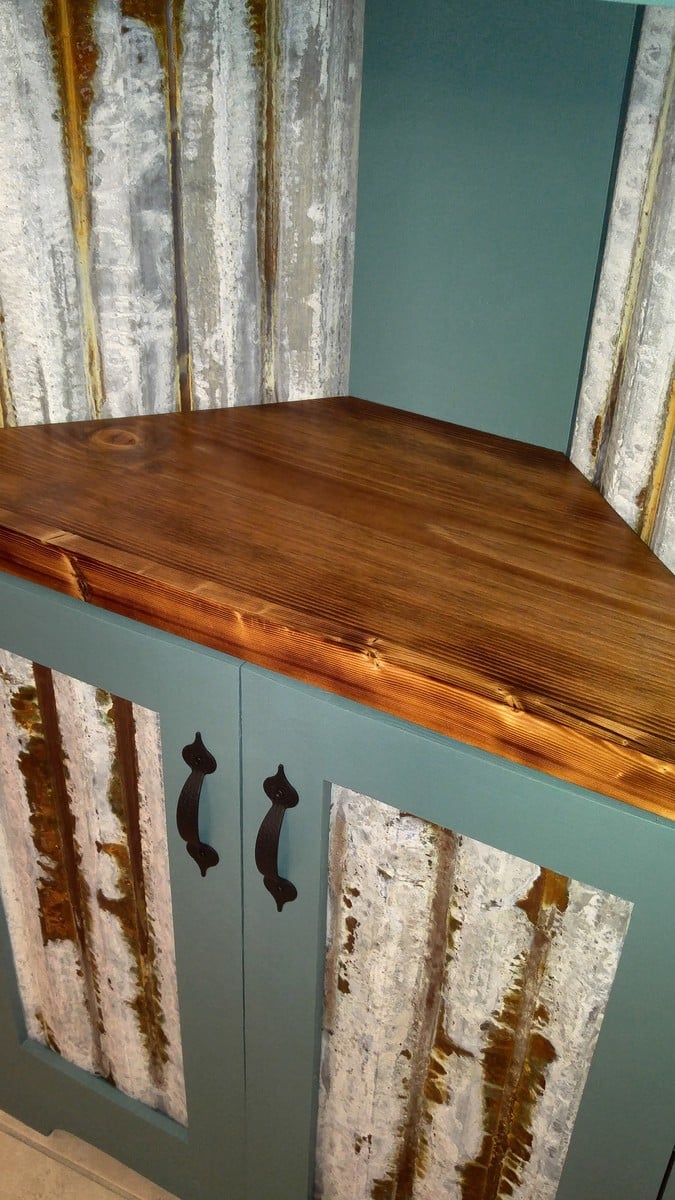
Rustic Corner Cupboard-Bar
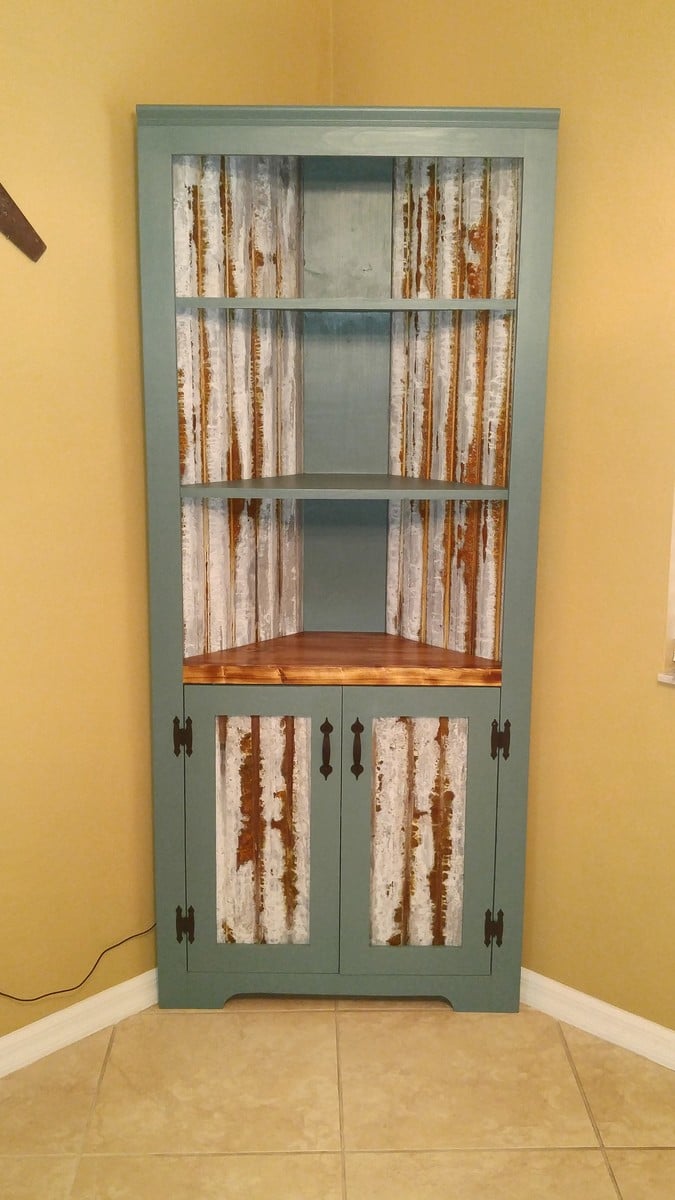
Corner Cupboard built for use as a dry bar with a few mods for a more rustic look.
Built from Plan(s)
Estimated Time Investment
Weekend Project (10-20 Hours)
Recommended Skill Level
Intermediate
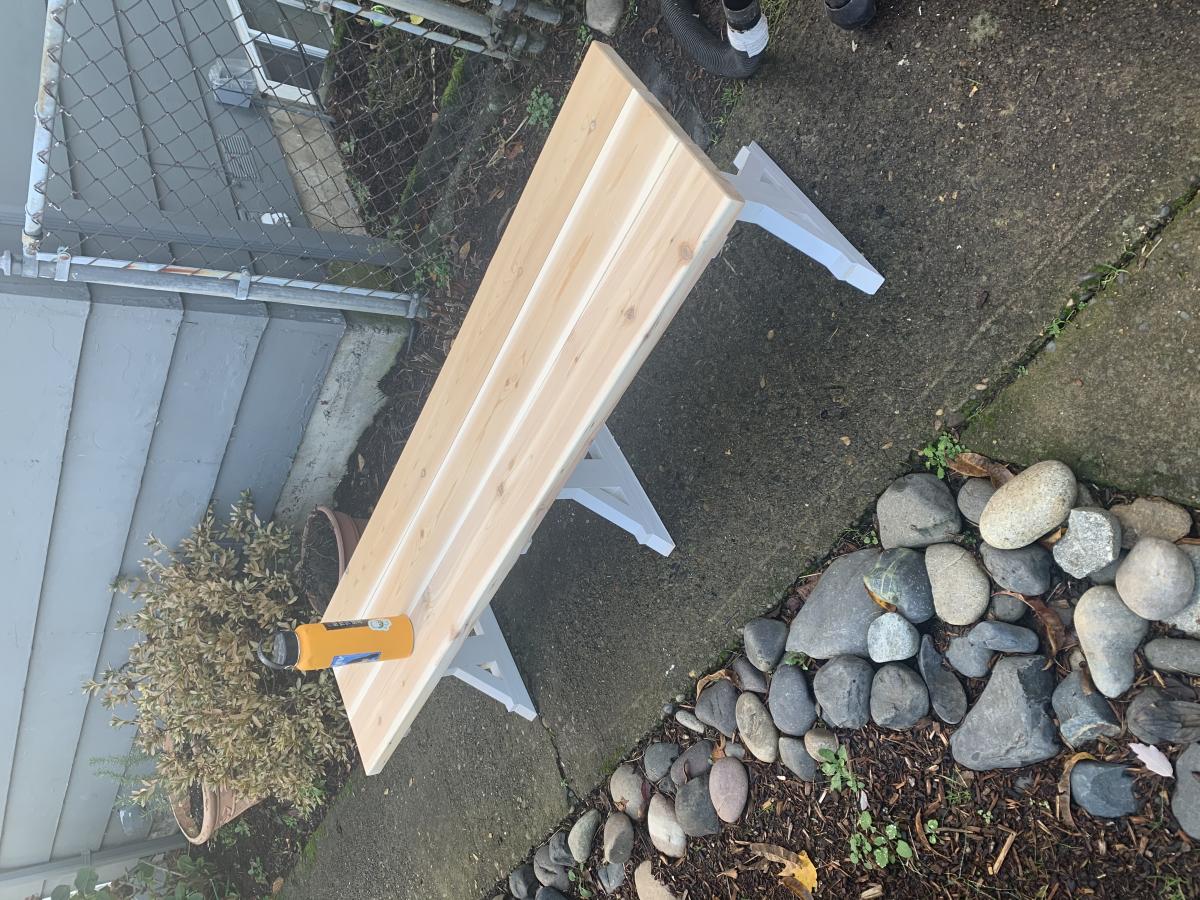
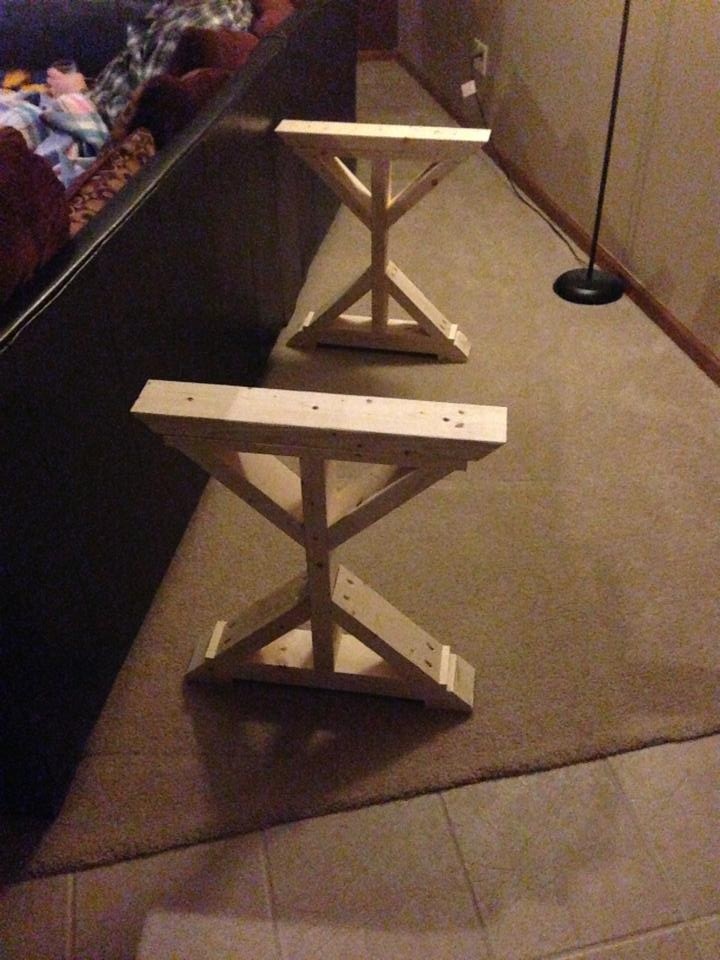
Different take on the farmhouse X table + bench
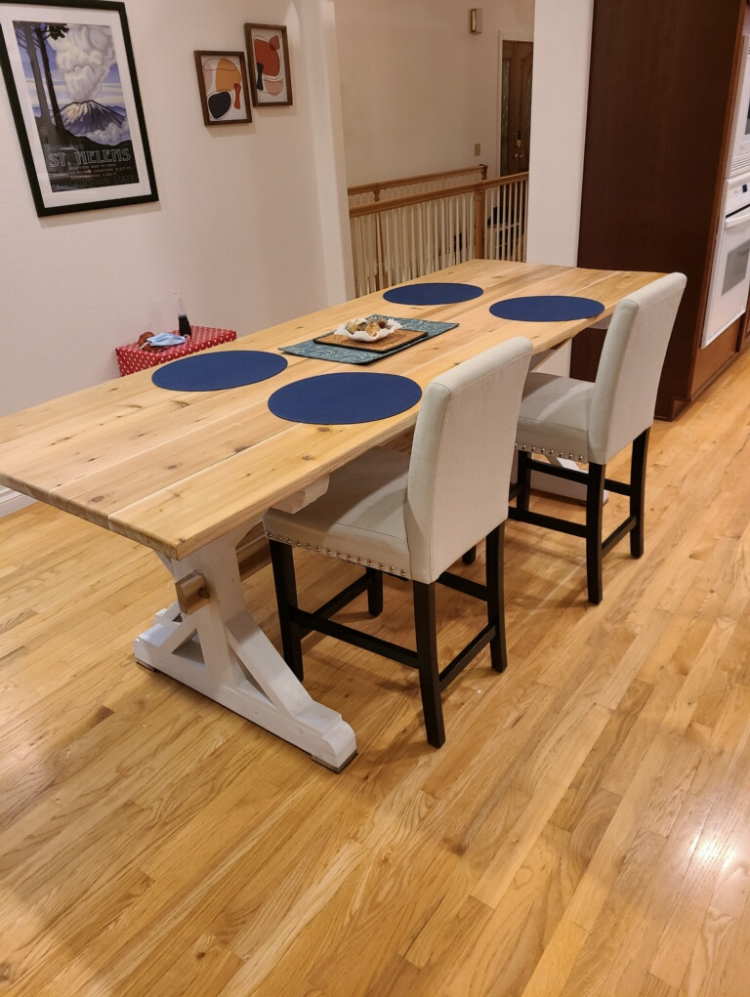
Wife found a post where someone did a riff on farmhouse X table where instead of supports at the floor and top of the base, there was one support in the middle of the X. The riff made the table taller than the original (which I didn’t realize till we had the x bench put up against the ‘riff’ table - about 3 inches too low which I’ll fix this weekend. It only works ok for my 6’7” brother law lol.
Other alterations i made - turned the X support into through tenons (my first - future ones will be cooler) and decorative cross 2x2 under the table top similar to the way they are on the bench.
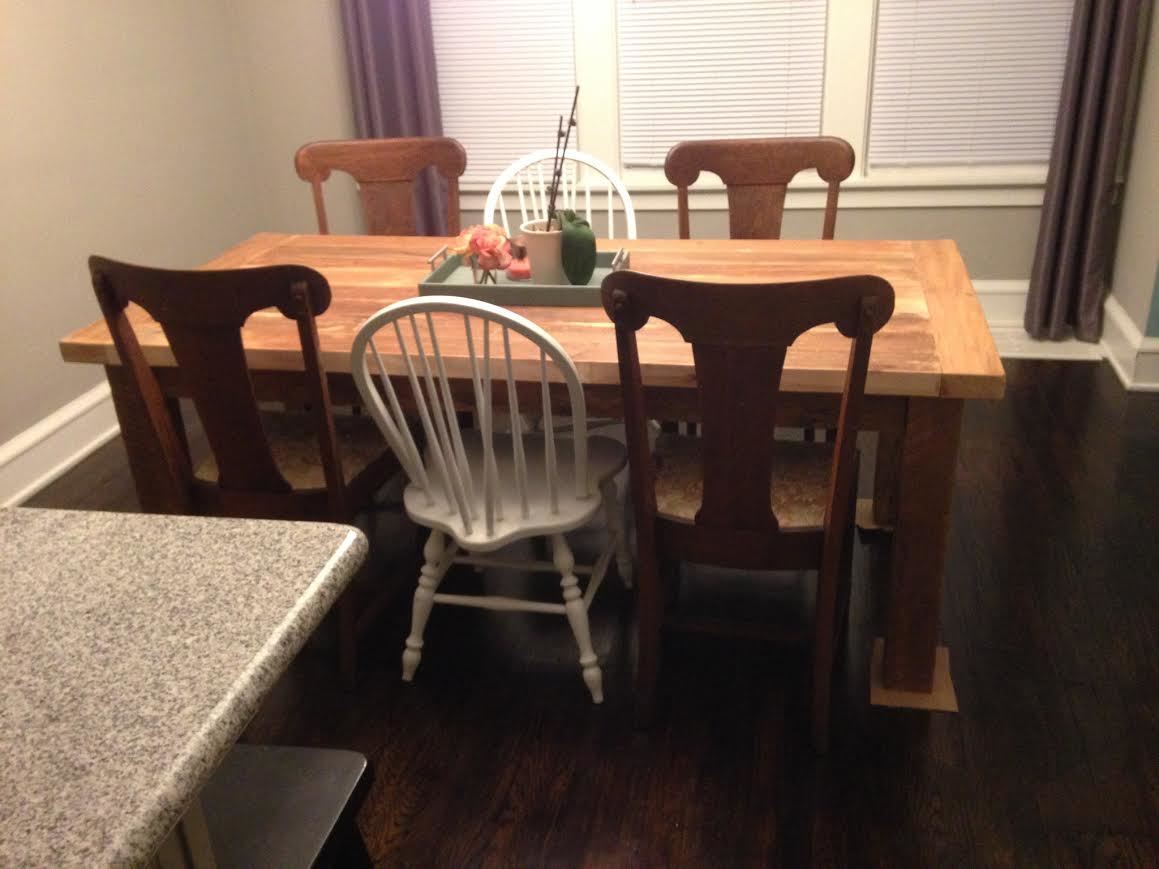
Turns out, looks pretty cool with taller bar chairs!
Built from Plan(s)
Estimated Cost
$300 - cause it’s all cedar. Cheaper if you use pine.
Estimated Time Investment
Week Long Project (20 Hours or More)
Finish Used
Spar Urathane 3 coats
Comments
Fri, 01/08/2021 - 10:21
Love your mods!
It's absolutely beautiful, love the height with the taller chairs!
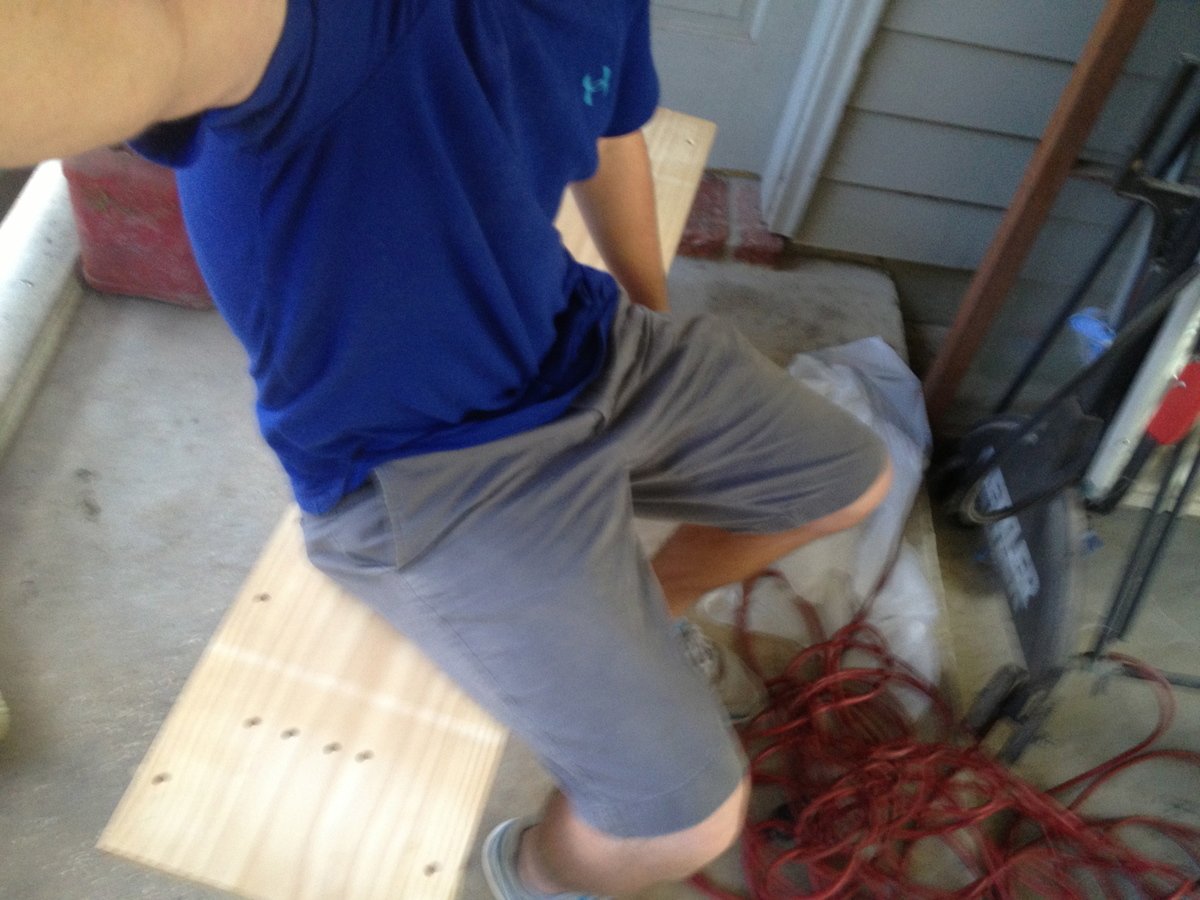
First project!
Just finished the legs on my first project tonight. Instead of using the Krejig I found a really nice pocket hole jig that had some amazing reviews at my local Harbor Freight. Turned out really nicely if I do say so myself. I intend on finishing tomorrow as far as building goes. Will probably sand and stain a dark espresso in the next week or two.

Estimated Time Investment
Afternoon Project (3-6 Hours)
Finish Used
Will post more as it gets finished
Recommended Skill Level
Starter Project
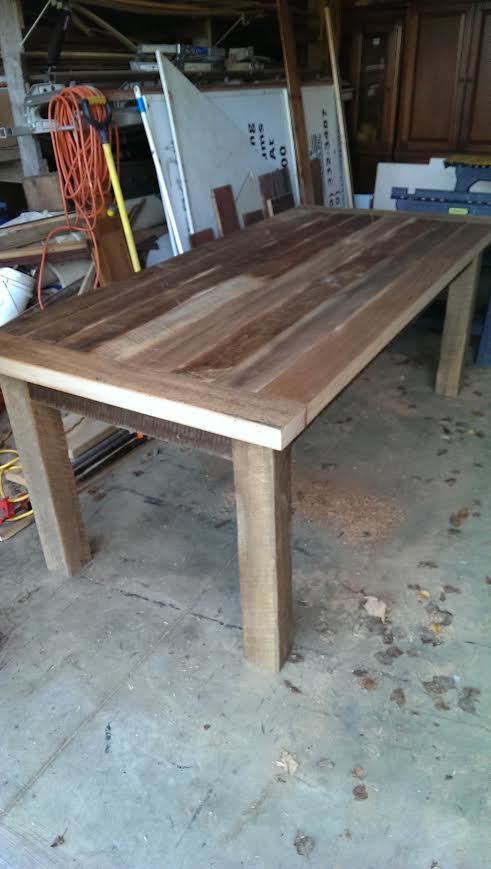
Farmhouse Table - Wedding Gift for my sister
This was a fun project that my Dad and I had the opportunity to work on together. We were able to locate an old barn that and recently been blown over (farmer gladly told us to take whatever we wanted). We salvaged the wood, hit it with a little sand paper that provided the true rustic farm house look. With some modifications and a biscuit joiner we were able to fit this together. All in all I think I spent a total of $6 on the lag blots for the legs.

Built from Plan(s)
Estimated Cost
$6 and some free wood from an old Ohio Barn
Estimated Time Investment
Weekend Project (10-20 Hours)
Finish Used
Unfinished - to be determined later
Recommended Skill Level
Advanced
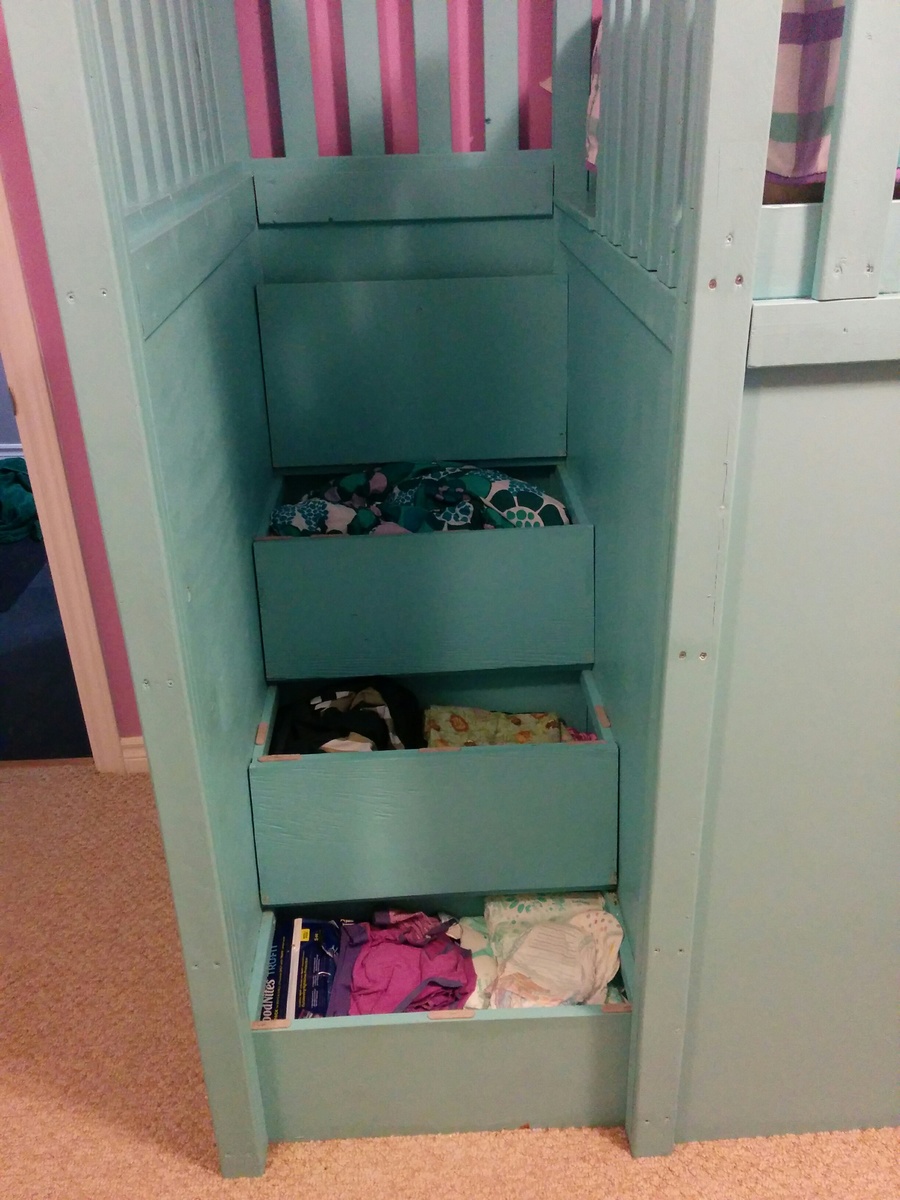
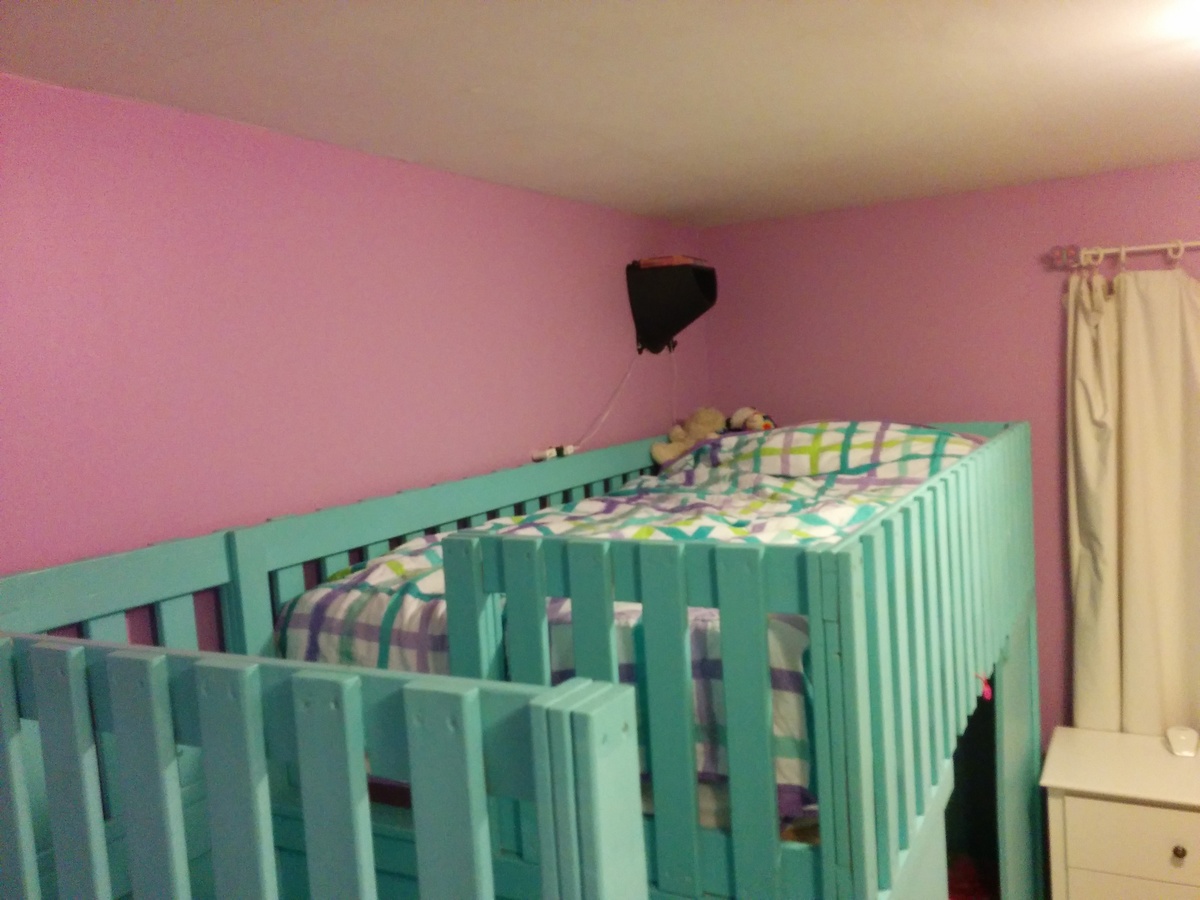
Play house bed with storage stairs
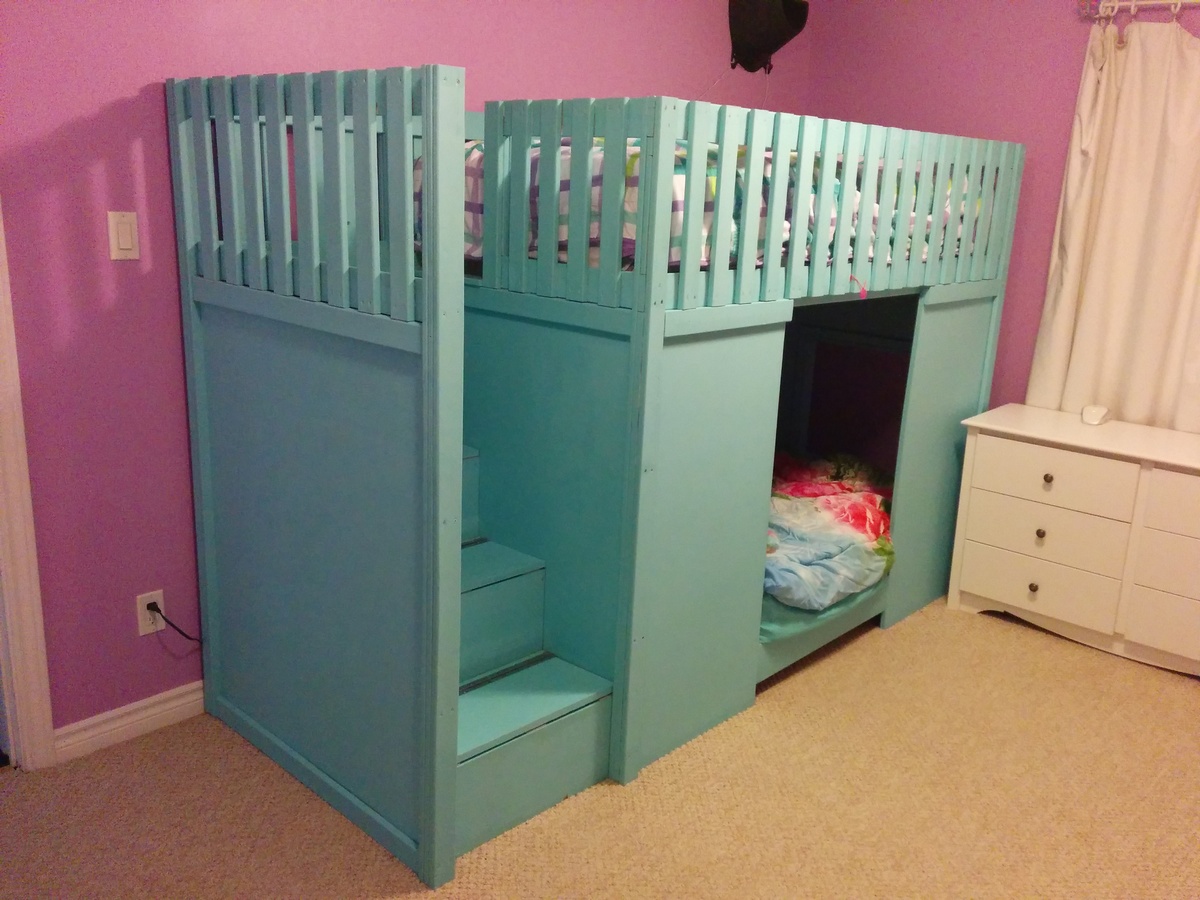
Made in 2014 from the playhouse bed plans with the storage stairs as well.
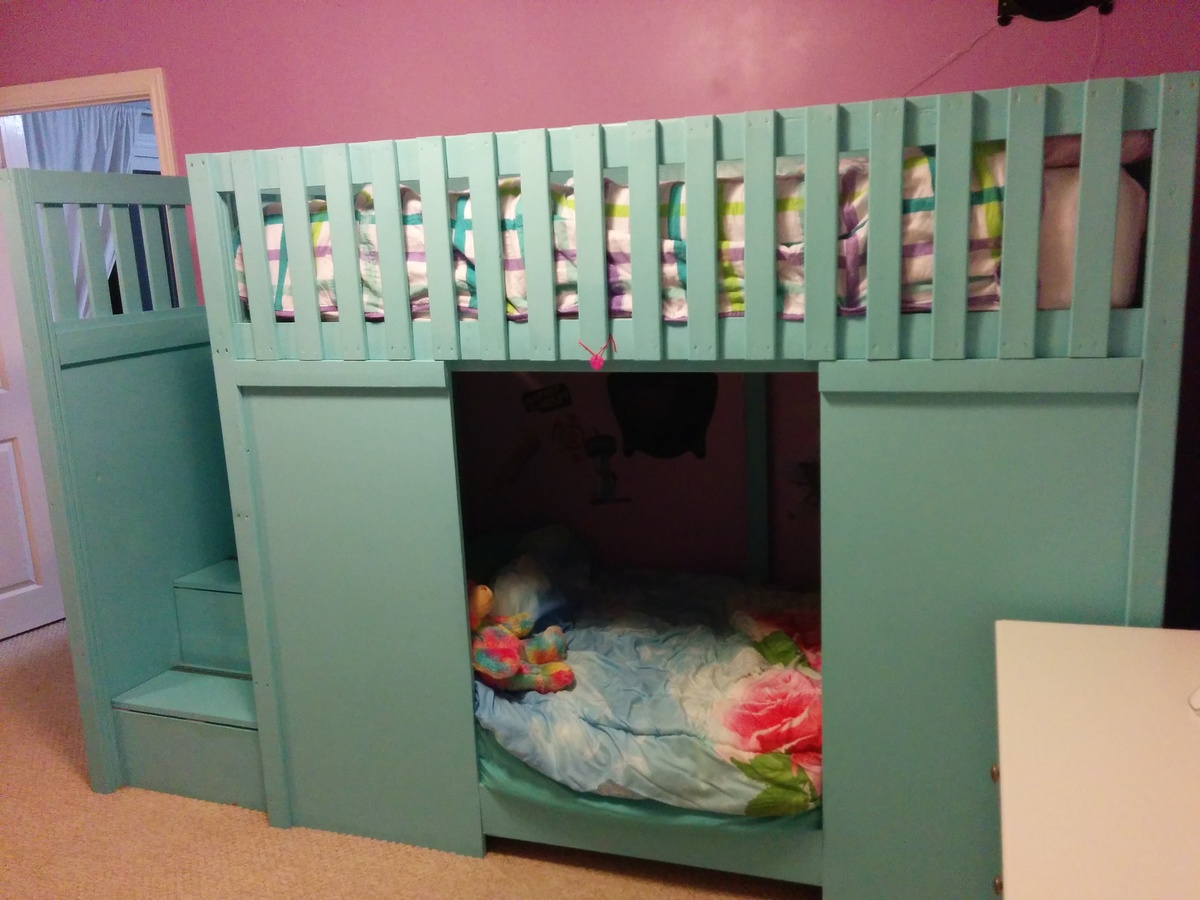
Estimated Cost
$200 for materials + paint +approximately $50 for the bottom bunk we added.
Estimated Time Investment
Weekend Project (10-20 Hours)
Finish Used
Primer + paint
Recommended Skill Level
Intermediate
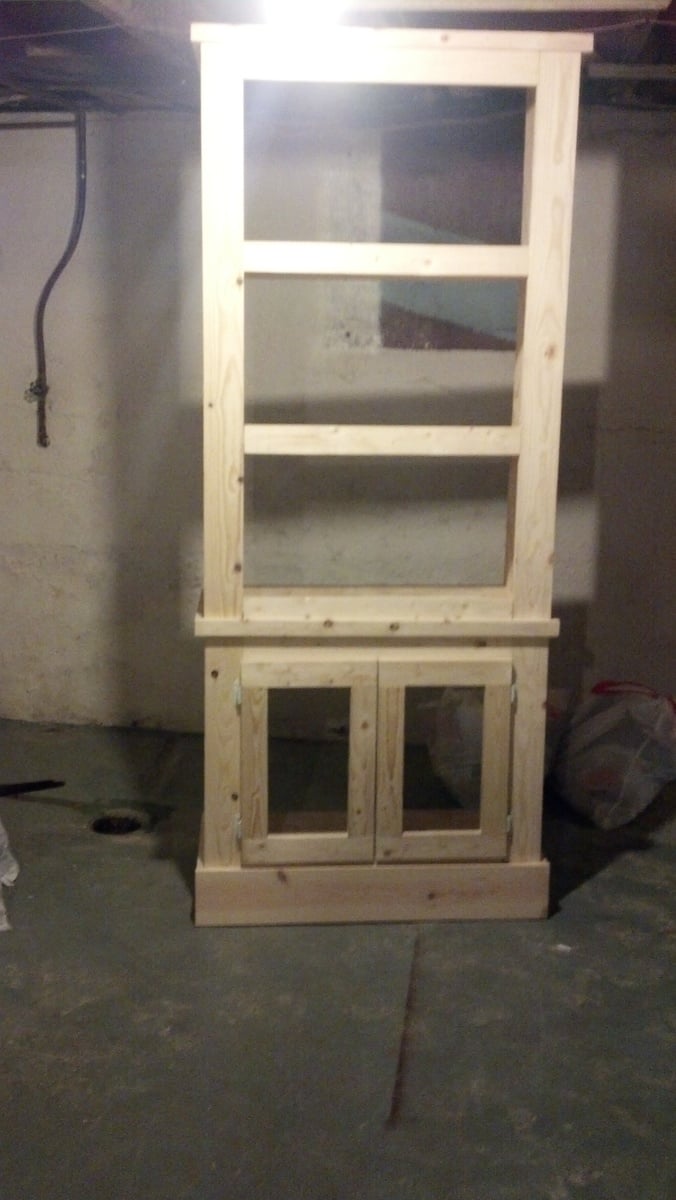
Kitchen Pantry
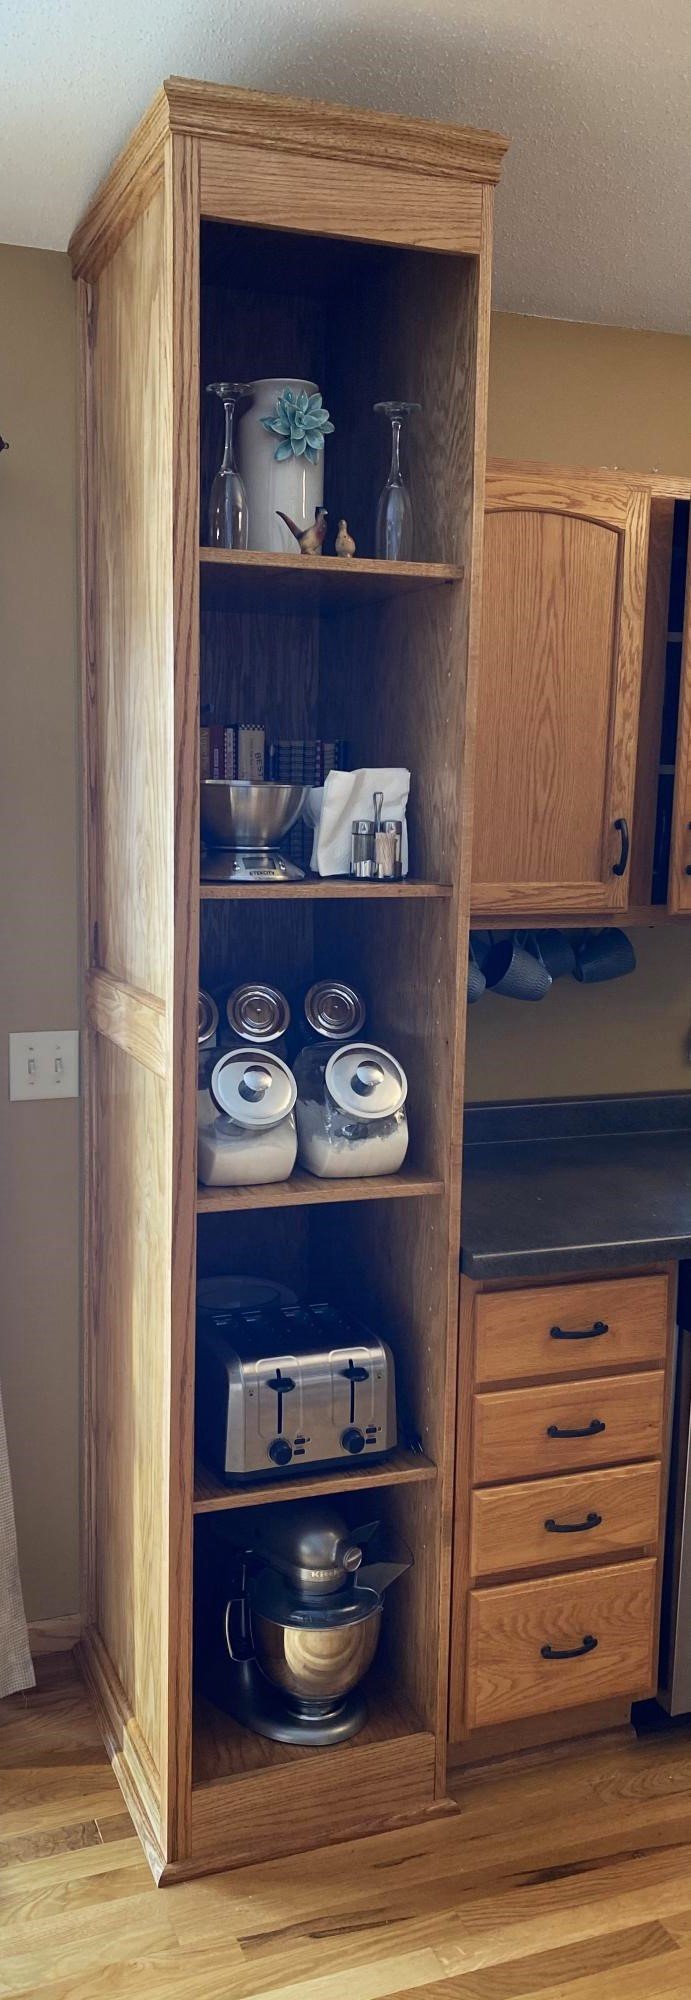
I took some ideas from an Ana White wine rack I saw and made this Pantry for our kitchen. Pretty happy with how it turned out.
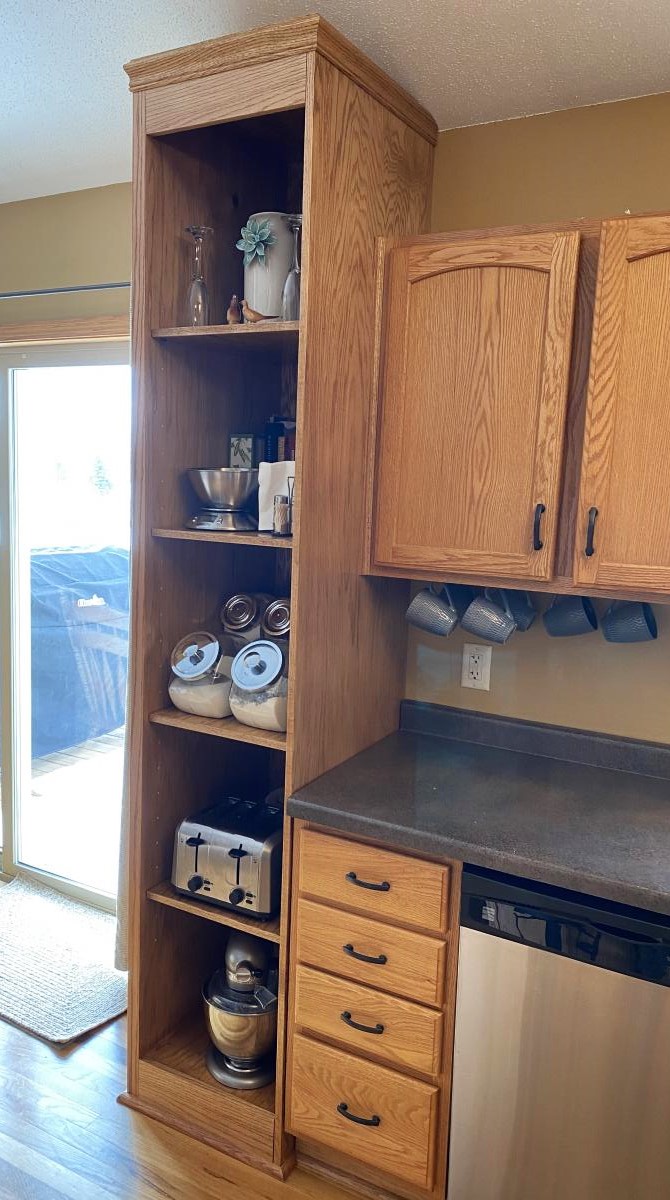
Estimated Cost
$300
Estimated Time Investment
Weekend Project (10-20 Hours)
Finish Used
Golden Oak stain
Recommended Skill Level
Beginner
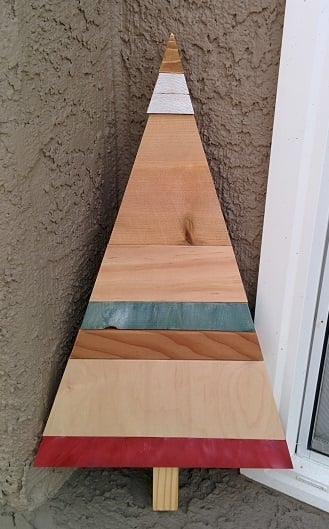
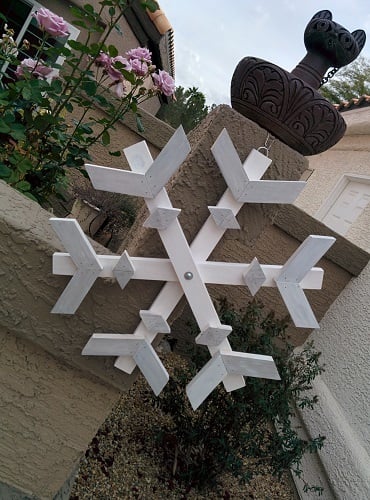
snowflake and Christmas tree from scrap wood
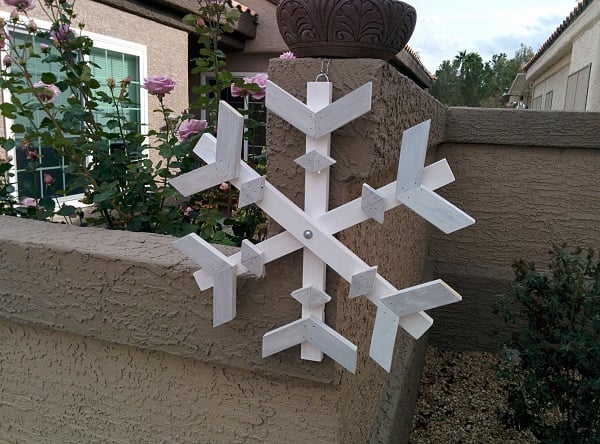
I made a couple of decorations from my scrap wood. On the snowflake, I had some extra parts of 1x2s laying around so sized this down to 20" and used those. The tree is just a bunch of different types of wood I had left over. This was really fun to do.
It took me a little over a day as I had to paint and wait for it to dry before I could assemble.
Thank you for the ideas and plans.
Built from Plan(s)
Estimated Cost
Free as I used scrap wood
Estimated Time Investment
Day Project (6-9 Hours)
Finish Used
Tree - most wood left unfinished, a few painted with craft paint.
snowflake, main body white craft paint with metallic silver on top.
snowflake, main body white craft paint with metallic silver on top.
Recommended Skill Level
Starter Project
Comments

Tue, 12/16/2014 - 19:16
Excellent!
This is beautiful! It's so gratifying to use up scrap and turn it into something like this. :)

In reply to Thanks Pauline by CSaintD
Tue, 12/16/2014 - 20:38
RYOBI Giveaway
I have a RYOBI giveaway on my blog, you should submit this photo.
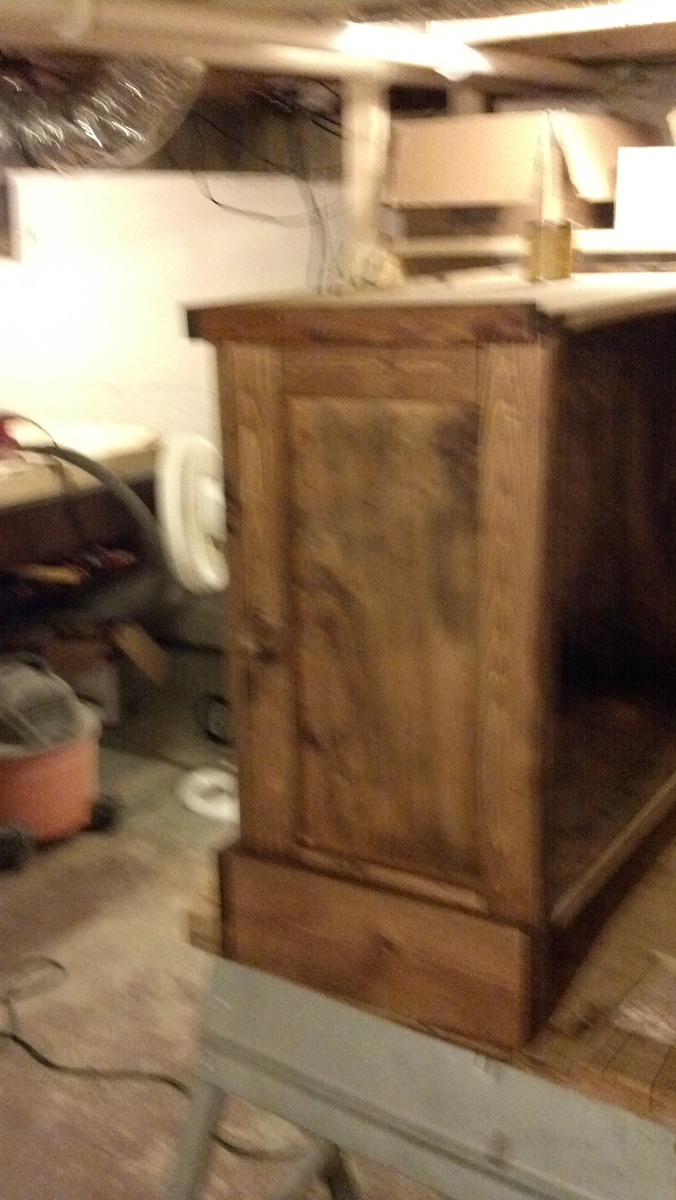
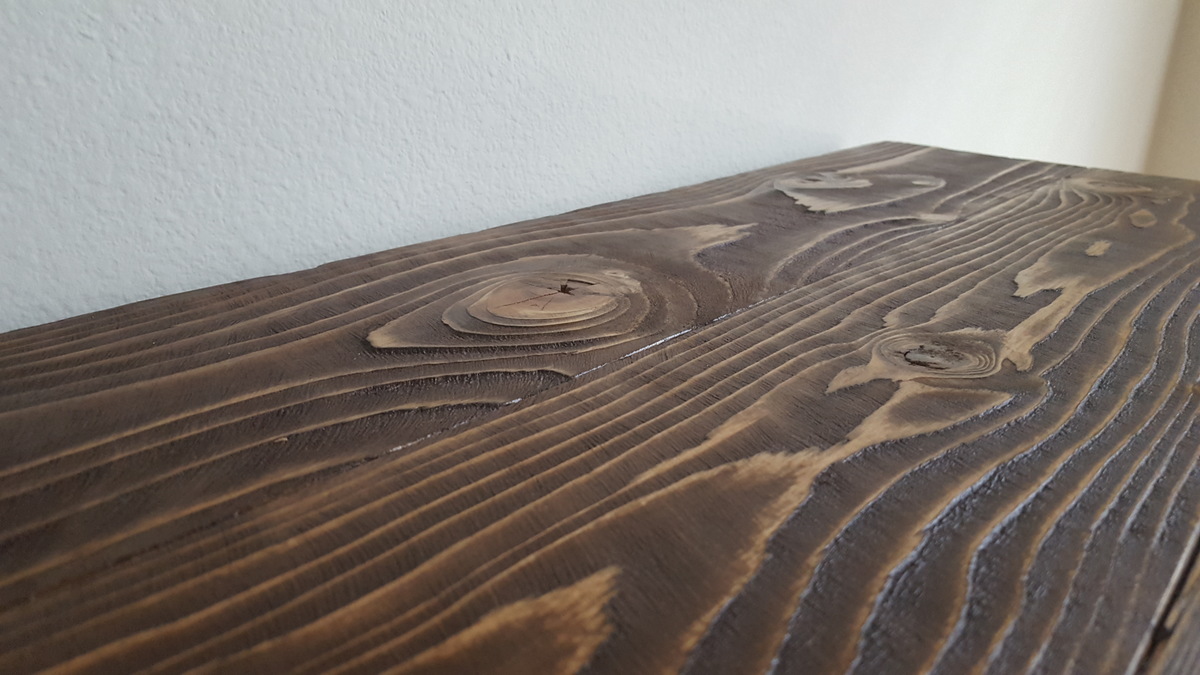
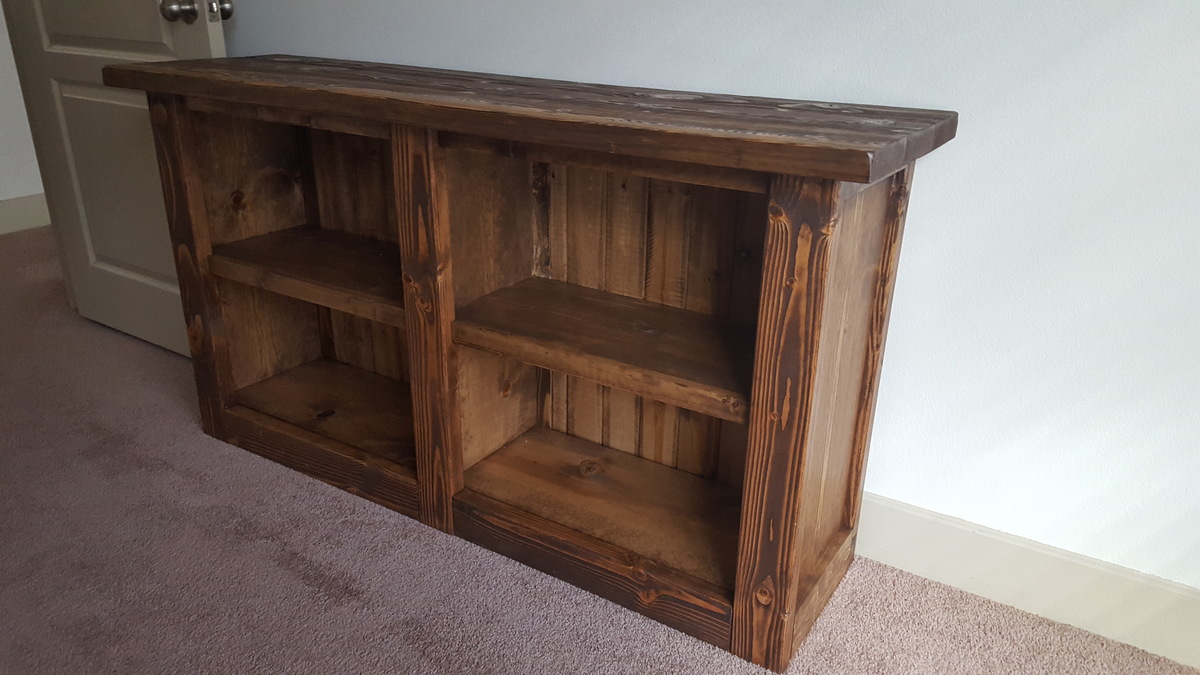
Rustic Bookshelf

So, after having built the rustic console and rustic end table, I was staring at the blank space in my room and the stack of books and decided that I could fix two problems with just a slight adjustment of the console plans. Basically the structure is exactly the same for the top, "legs" and shelves, but then instead of running 2" x 2" trim, I did 1" x 2" and 2" x 4" at the base (mostly to keep the dust bunnies as bay). The other significant difference is the ends, which I paneled and trimmed out rather than doing the open "X". And then ran tongue and groove paneling along the back to finish it out.
As with my other rustic builds, I left off the metal trim (again, for now at least) and distressed the top and face with a rotary wire brush. The texture on the top of this one turned out really wonderful. I hate to even put anything on top to hide all that grain. Price was a little more too, mainly for the extra 1" x 12" x 6' and the pack of tongue and groove panel boards.
Estimated Cost
$100
Estimated Time Investment
Afternoon Project (3-6 Hours)
Finish Used
Minwax Special Walnut with a layer of poly on top
Recommended Skill Level
Beginner
Comments
Pam the Goatherd
Fri, 02/01/2013 - 09:57
Looks good! Are you going to
Looks good! Are you going to paint it or stain it now?
jamesryan9
Fri, 02/01/2013 - 17:01
Haven't decided yet. I don't
Haven't decided yet. I don't have much experience with staining. What do you recommend?