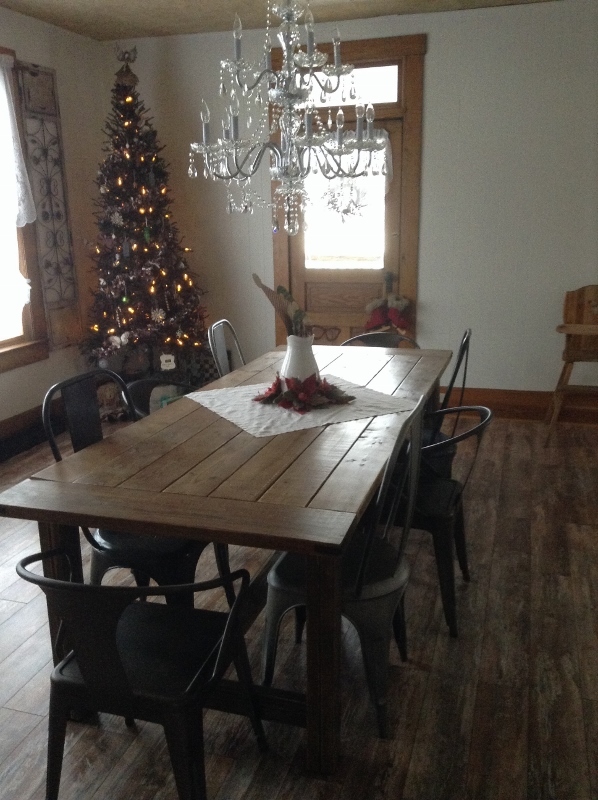
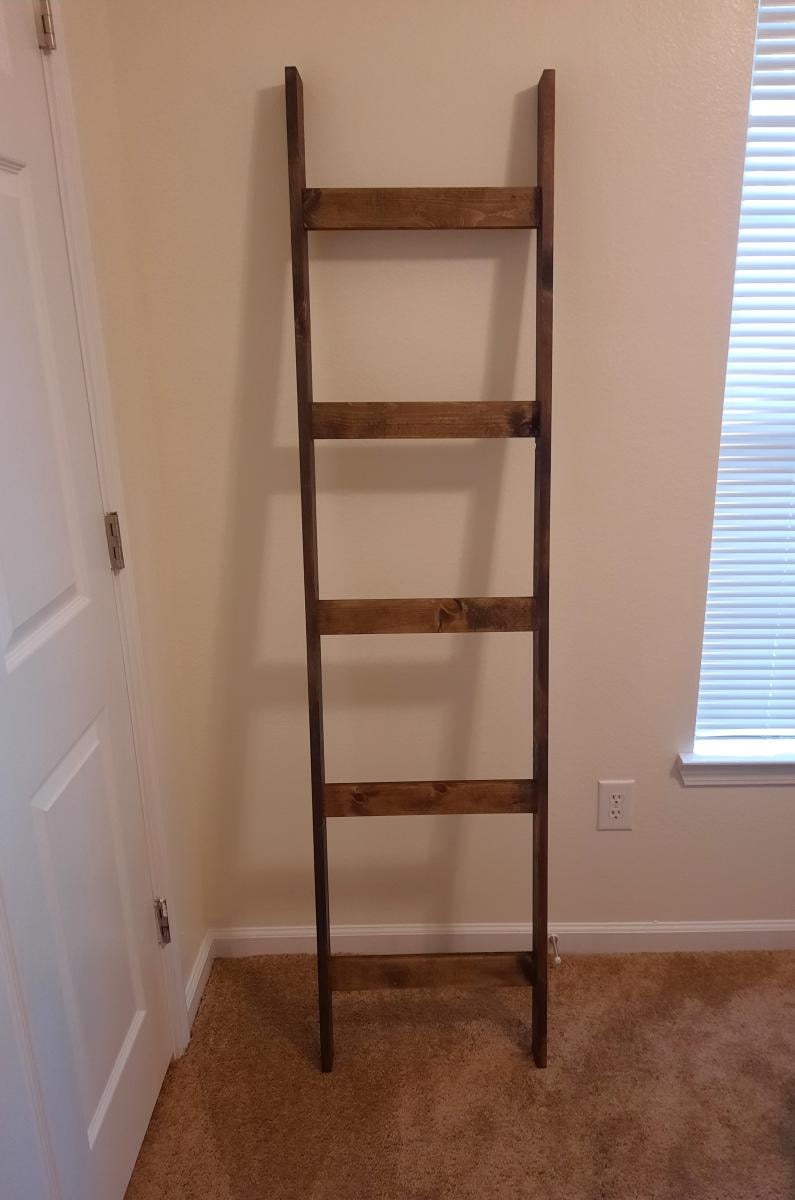
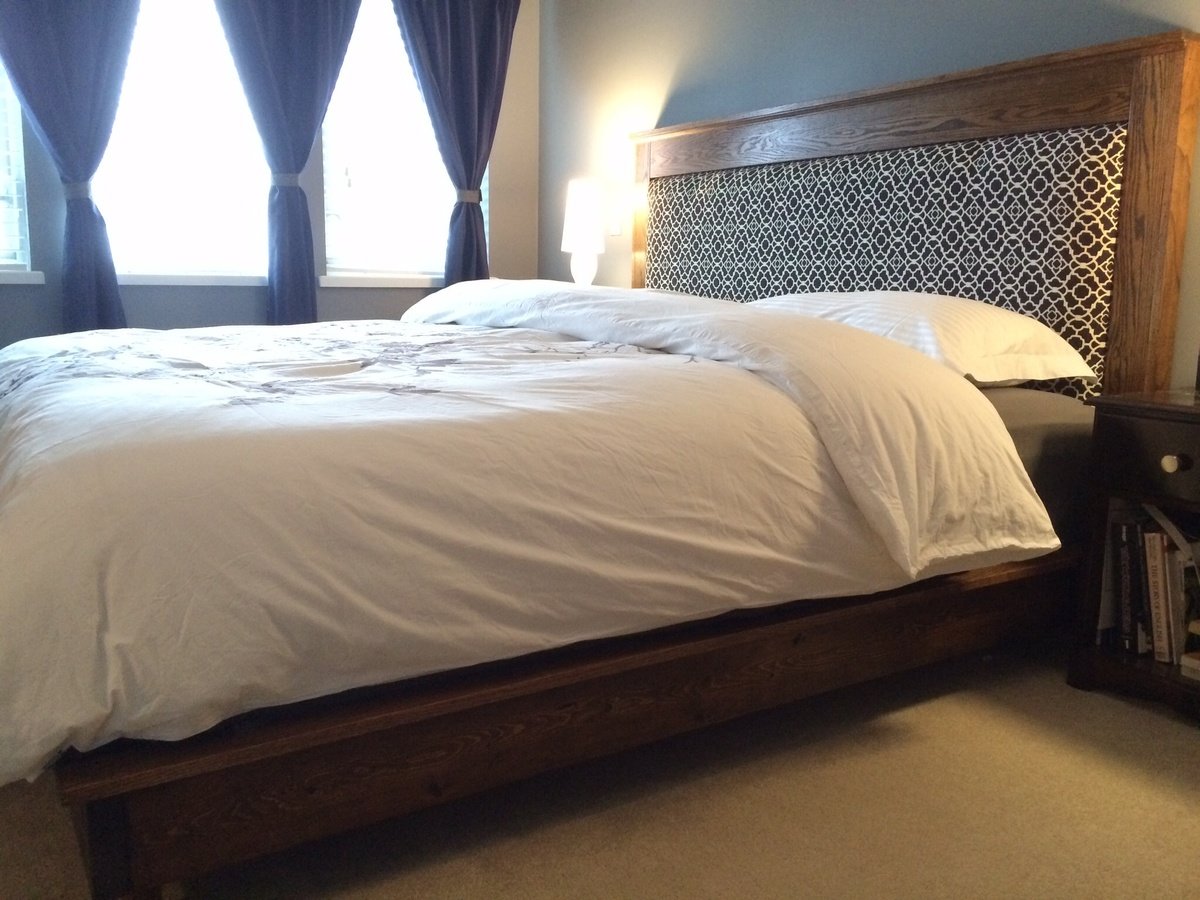
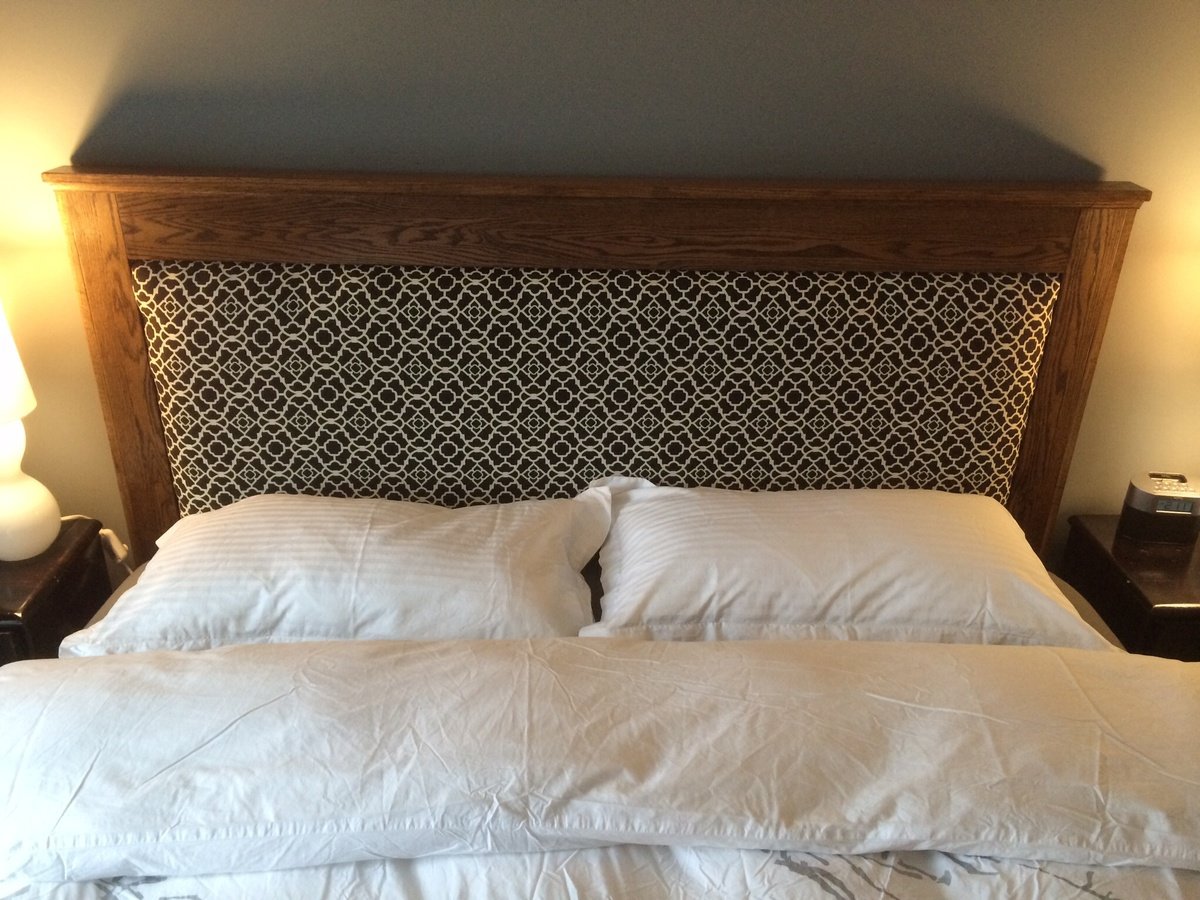
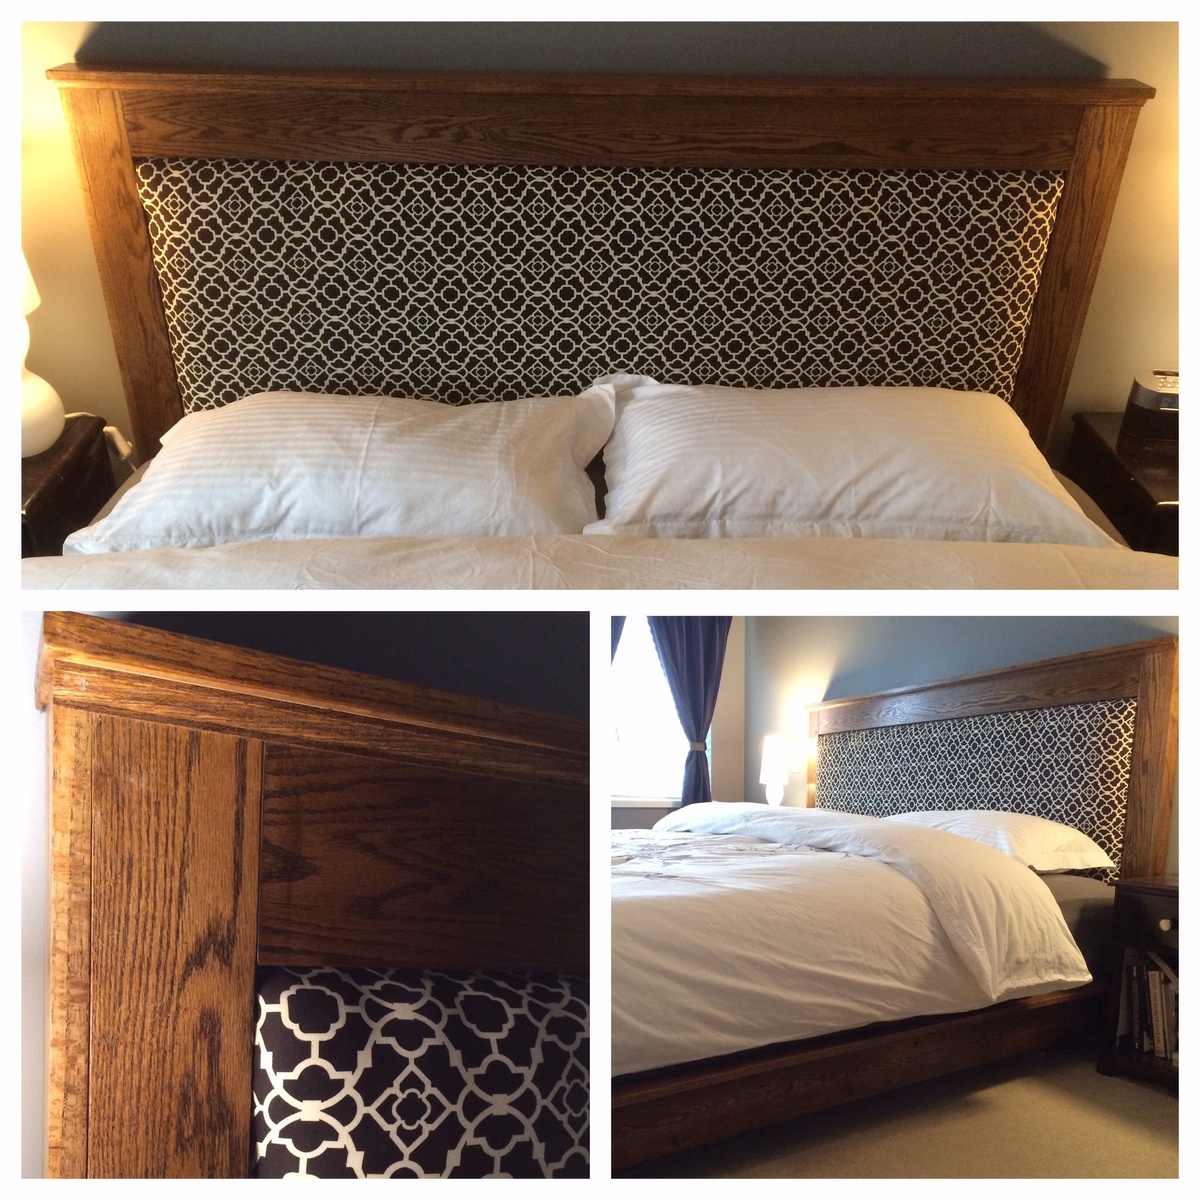
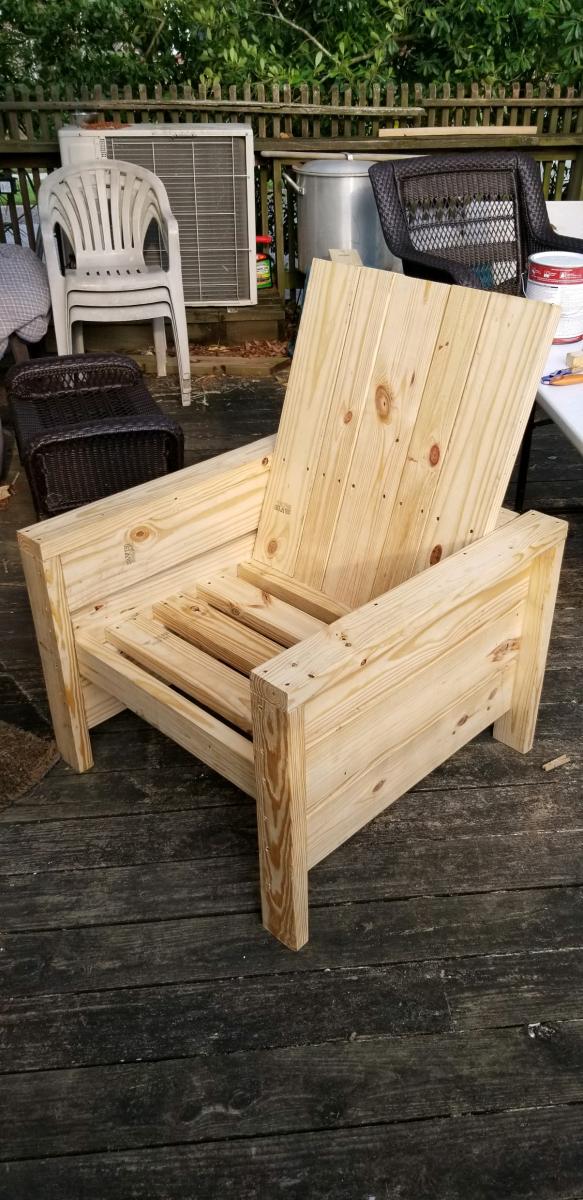
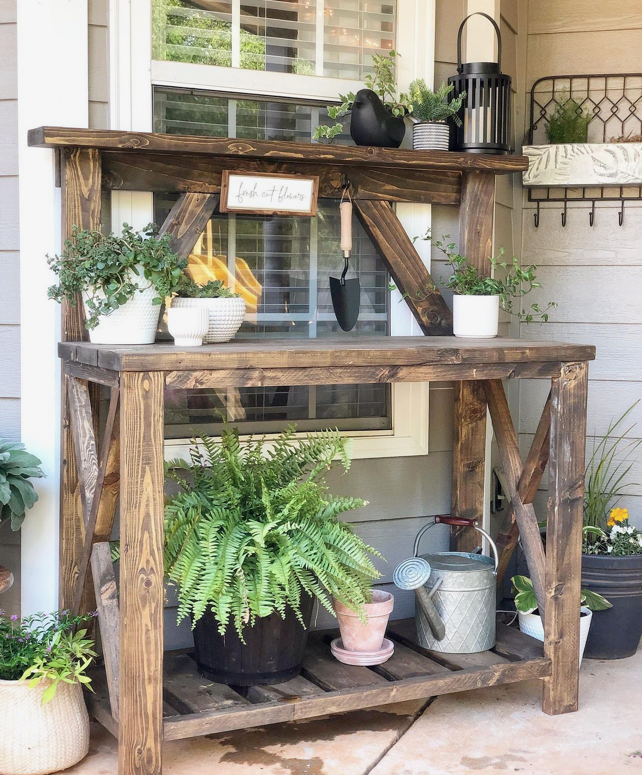
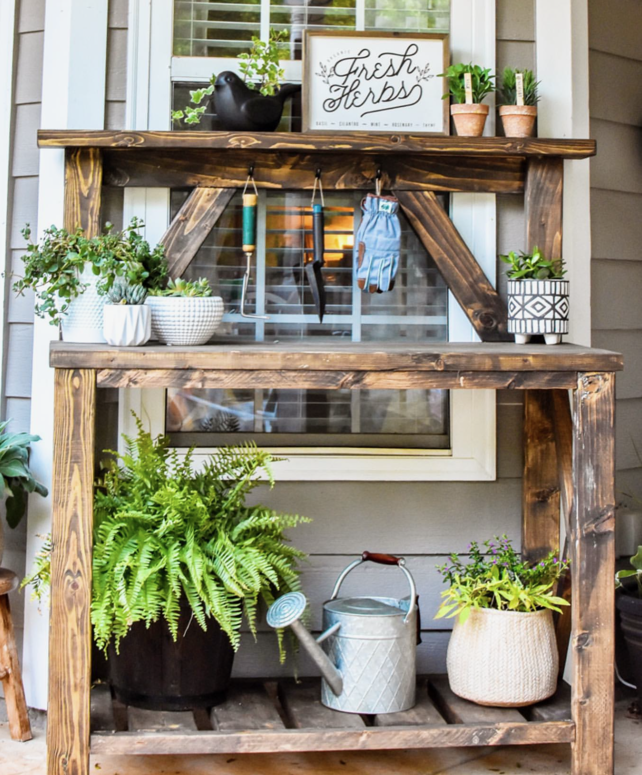
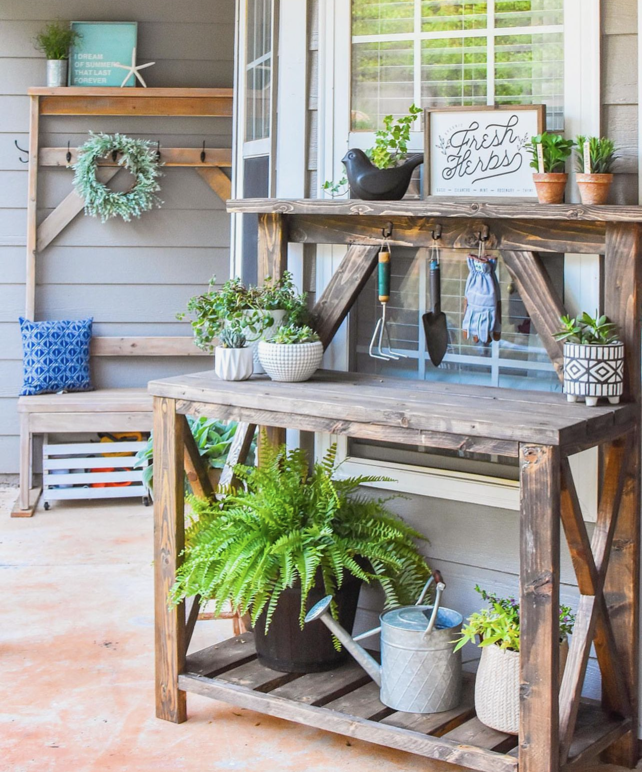
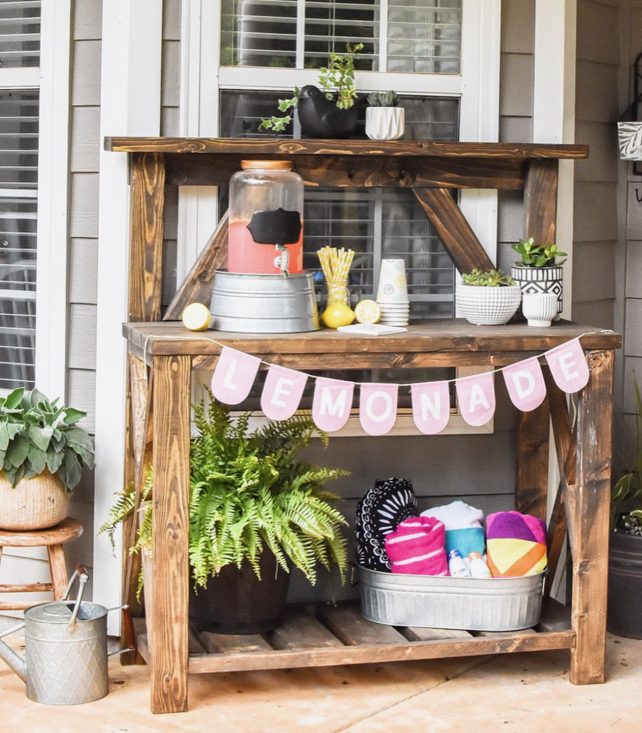
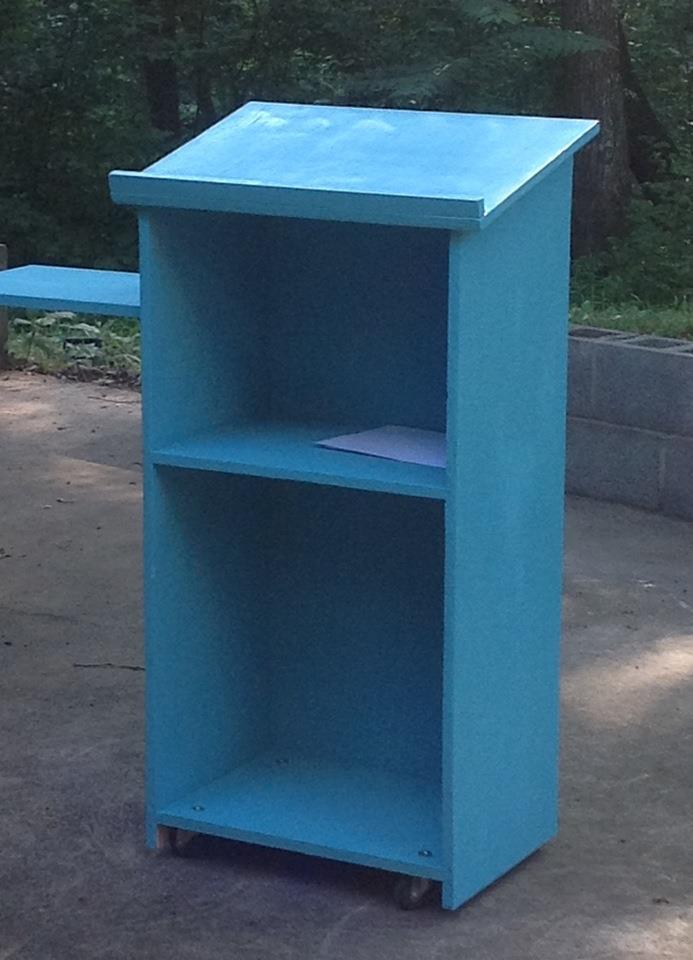
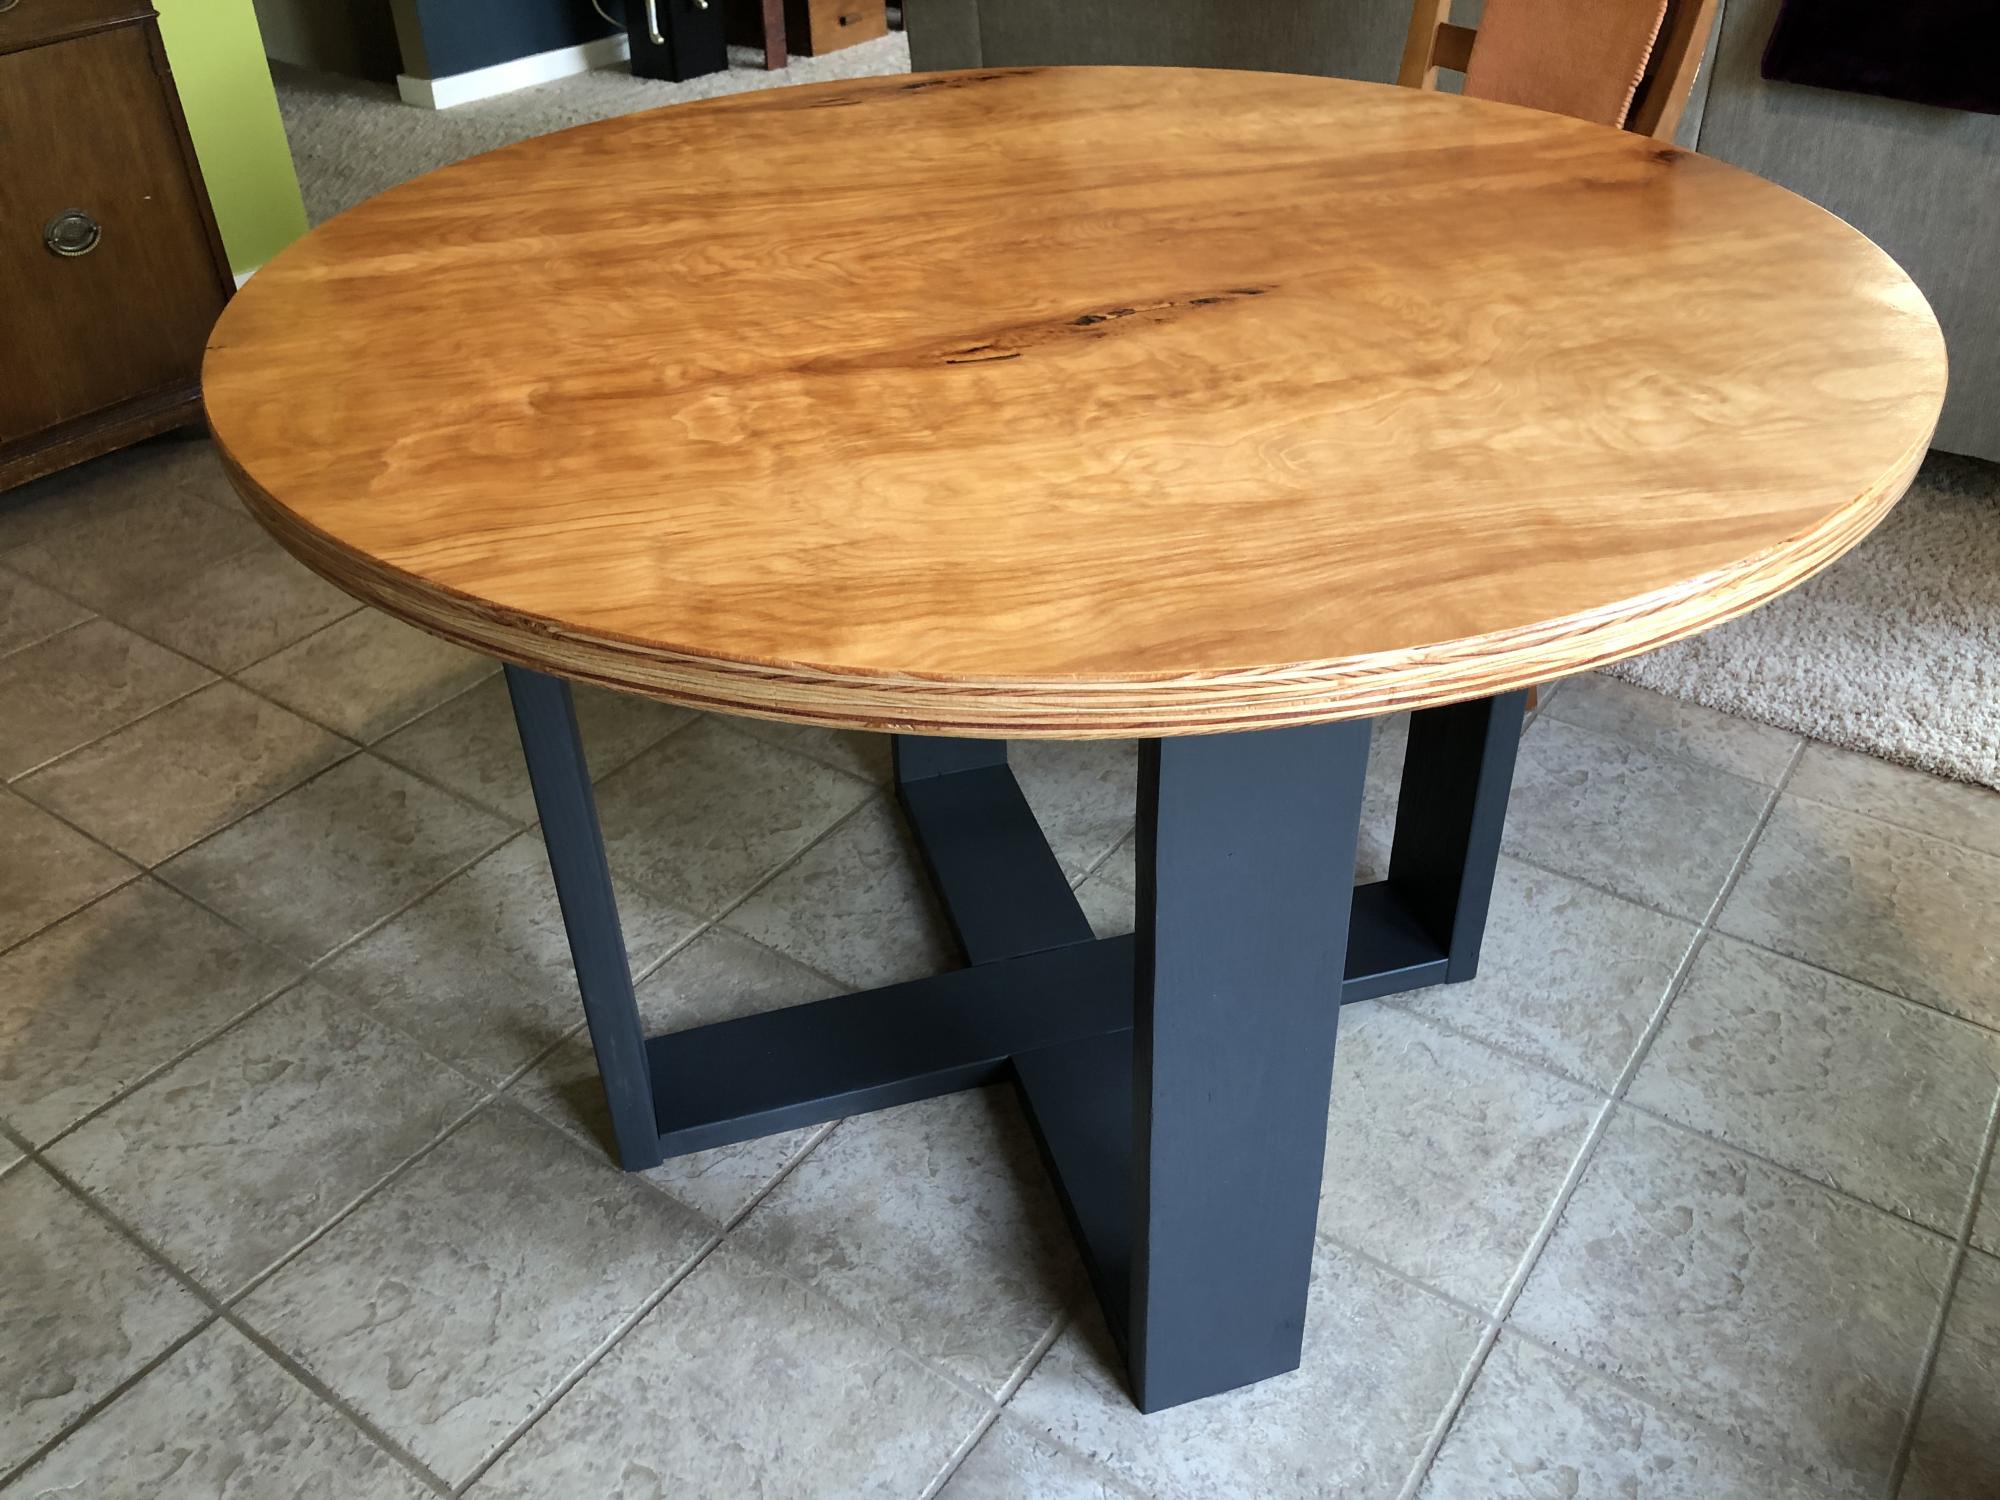
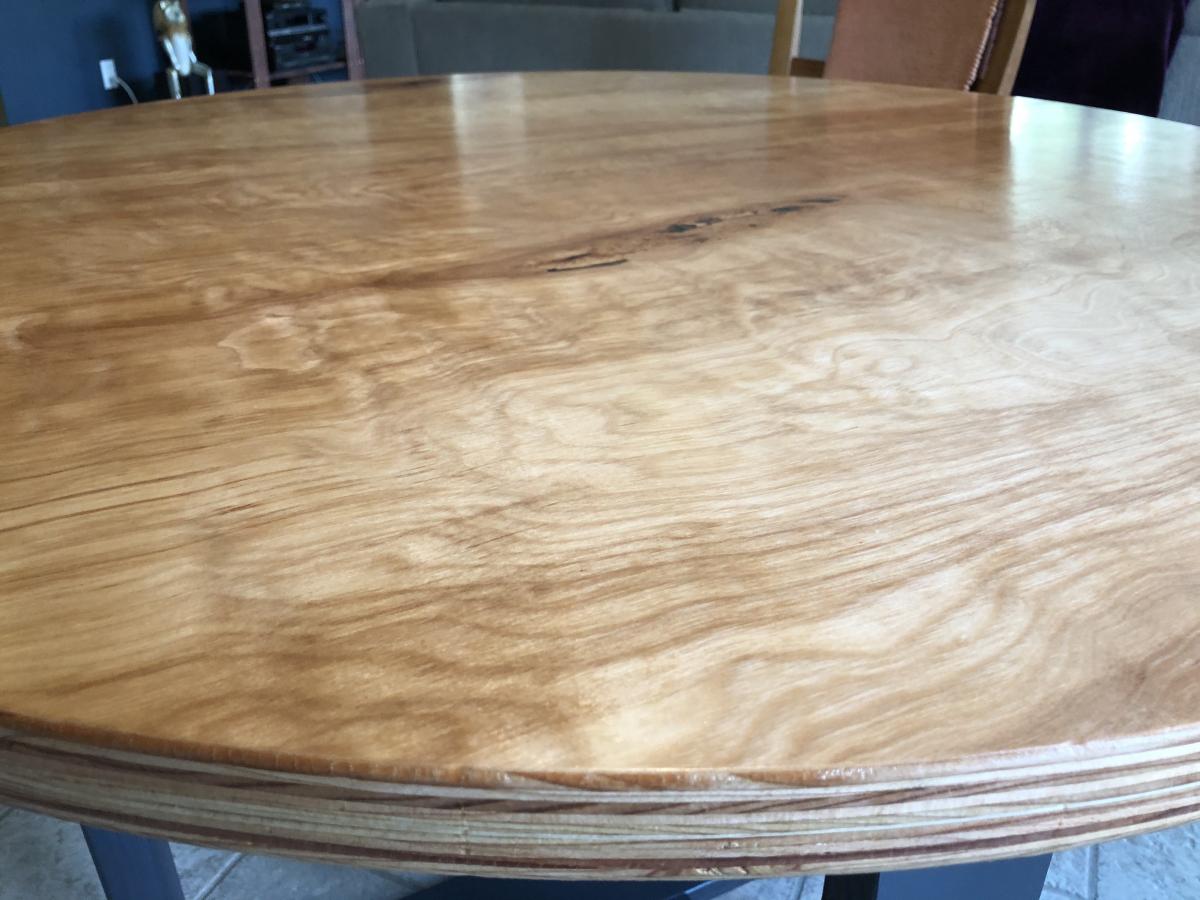
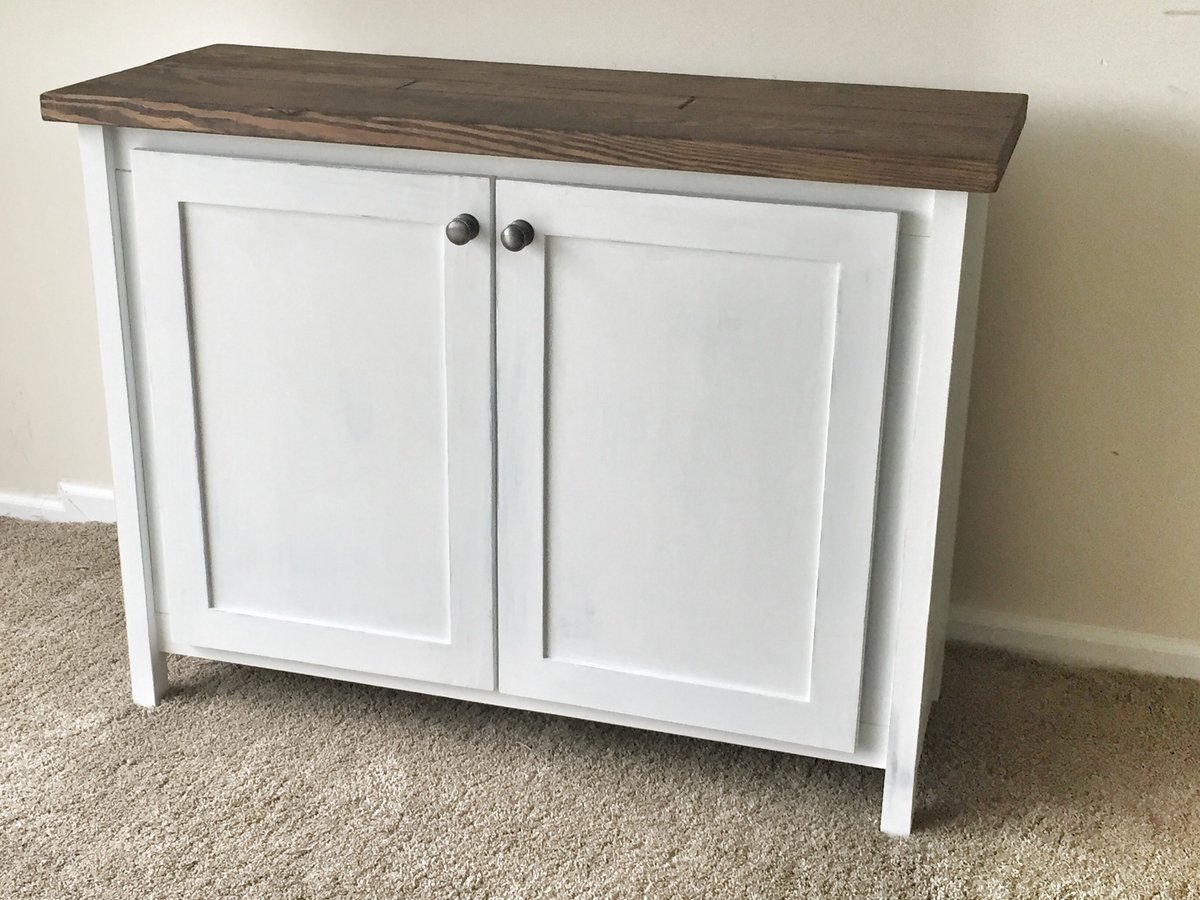
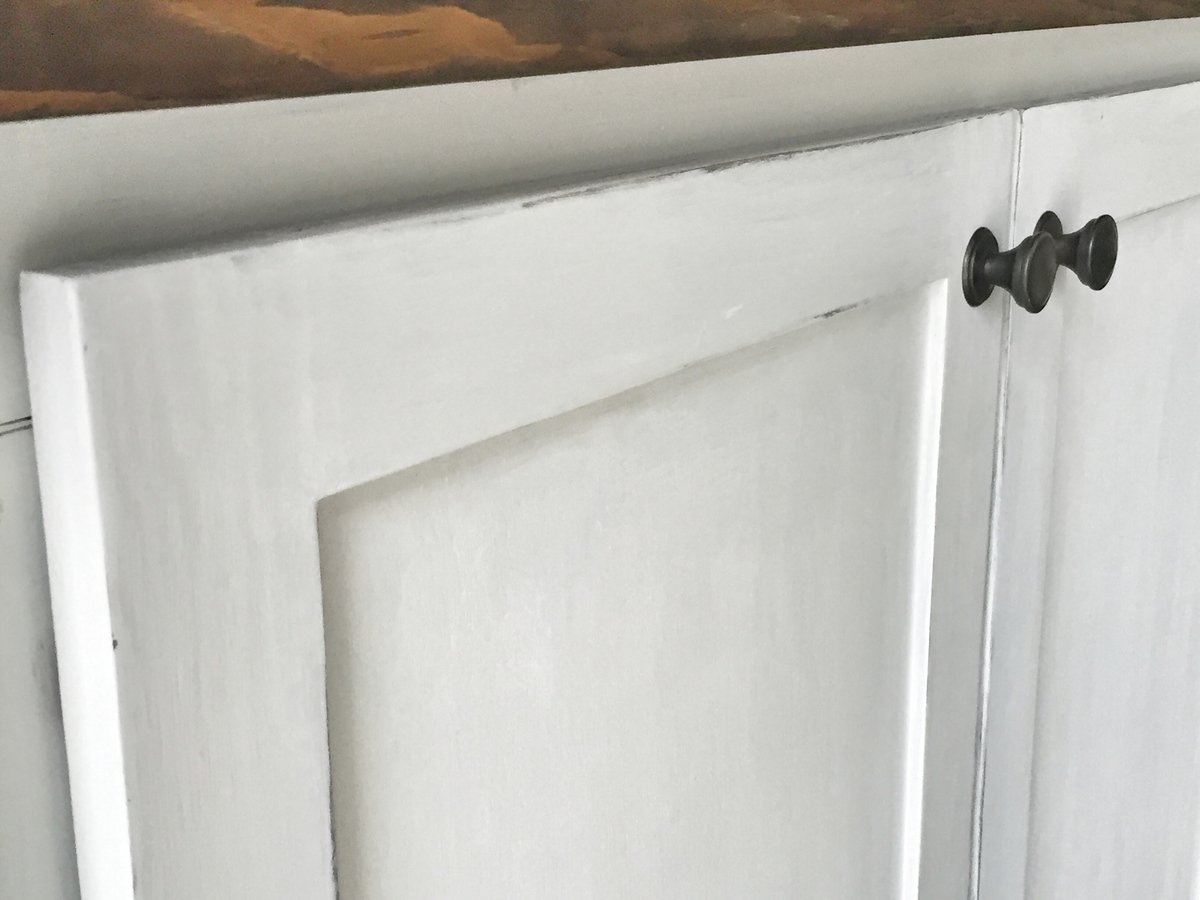
Fancy Hall Tree Bench
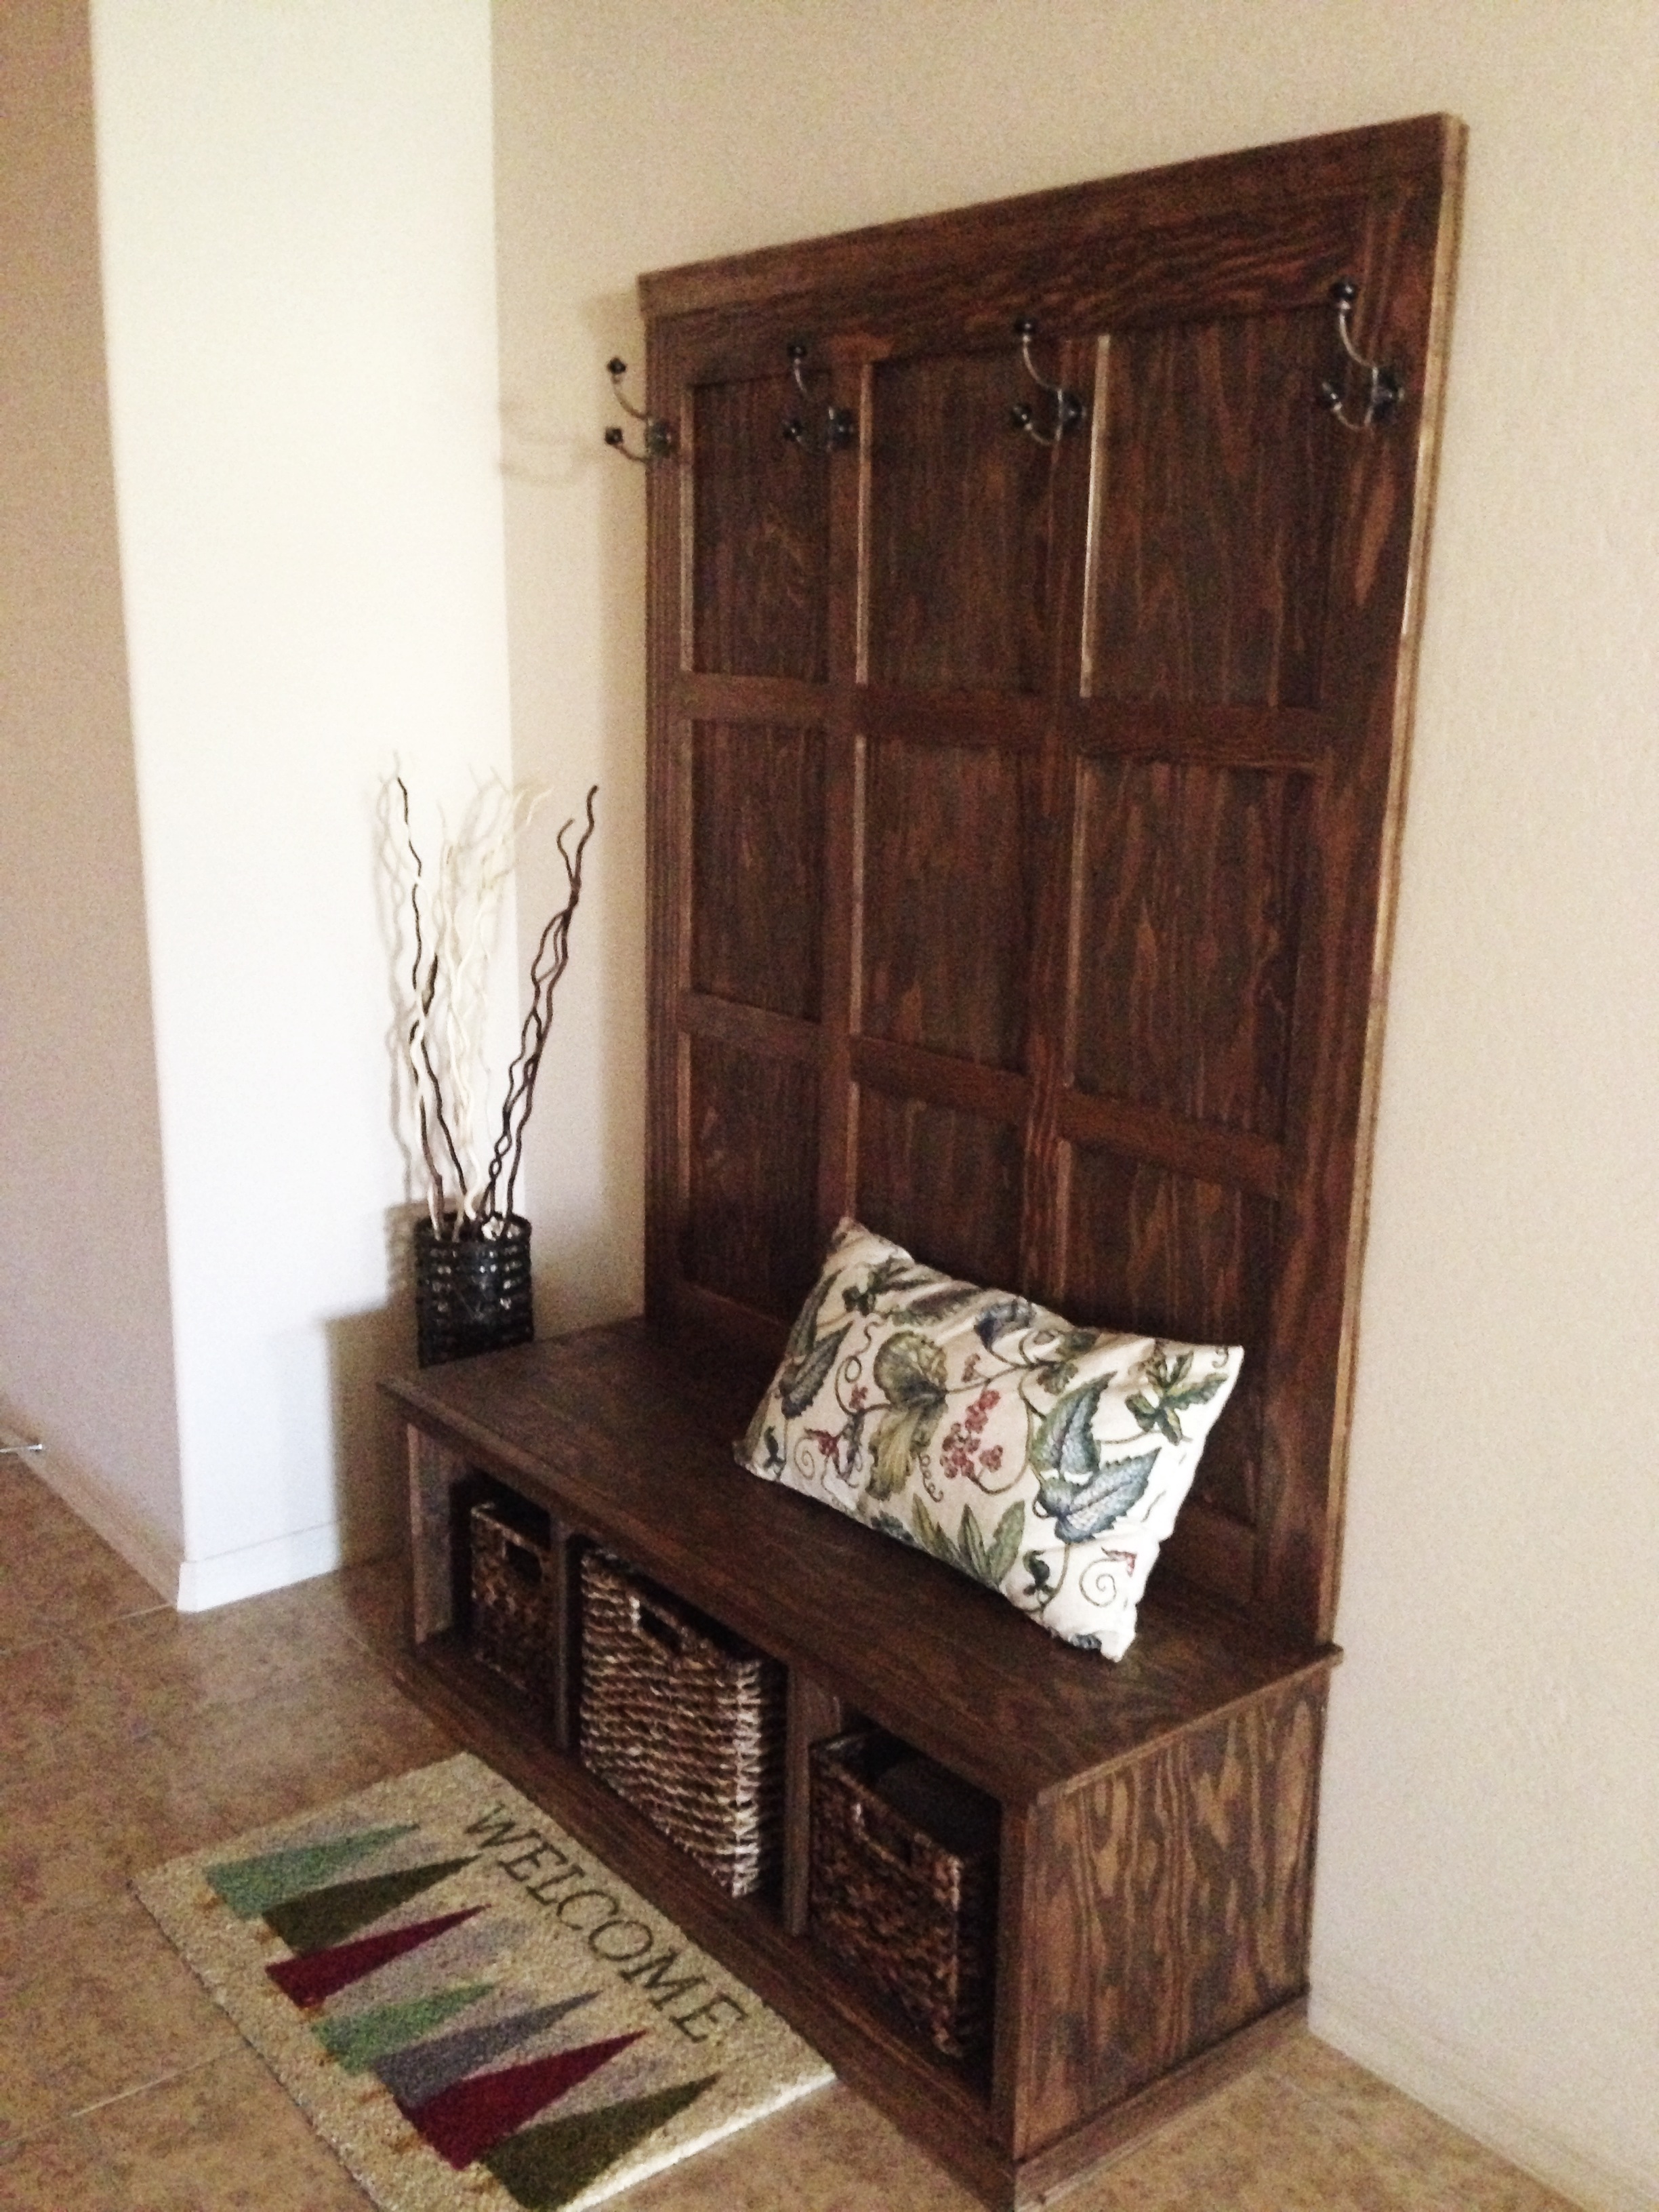
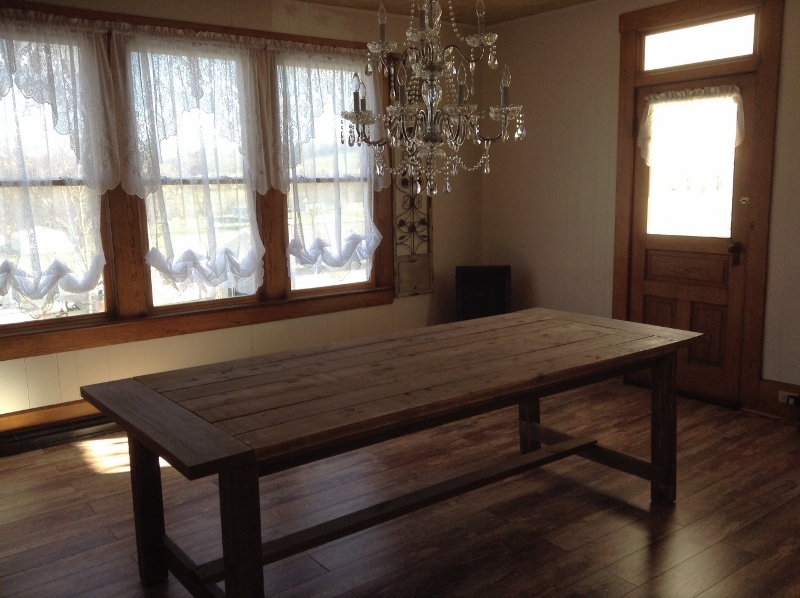
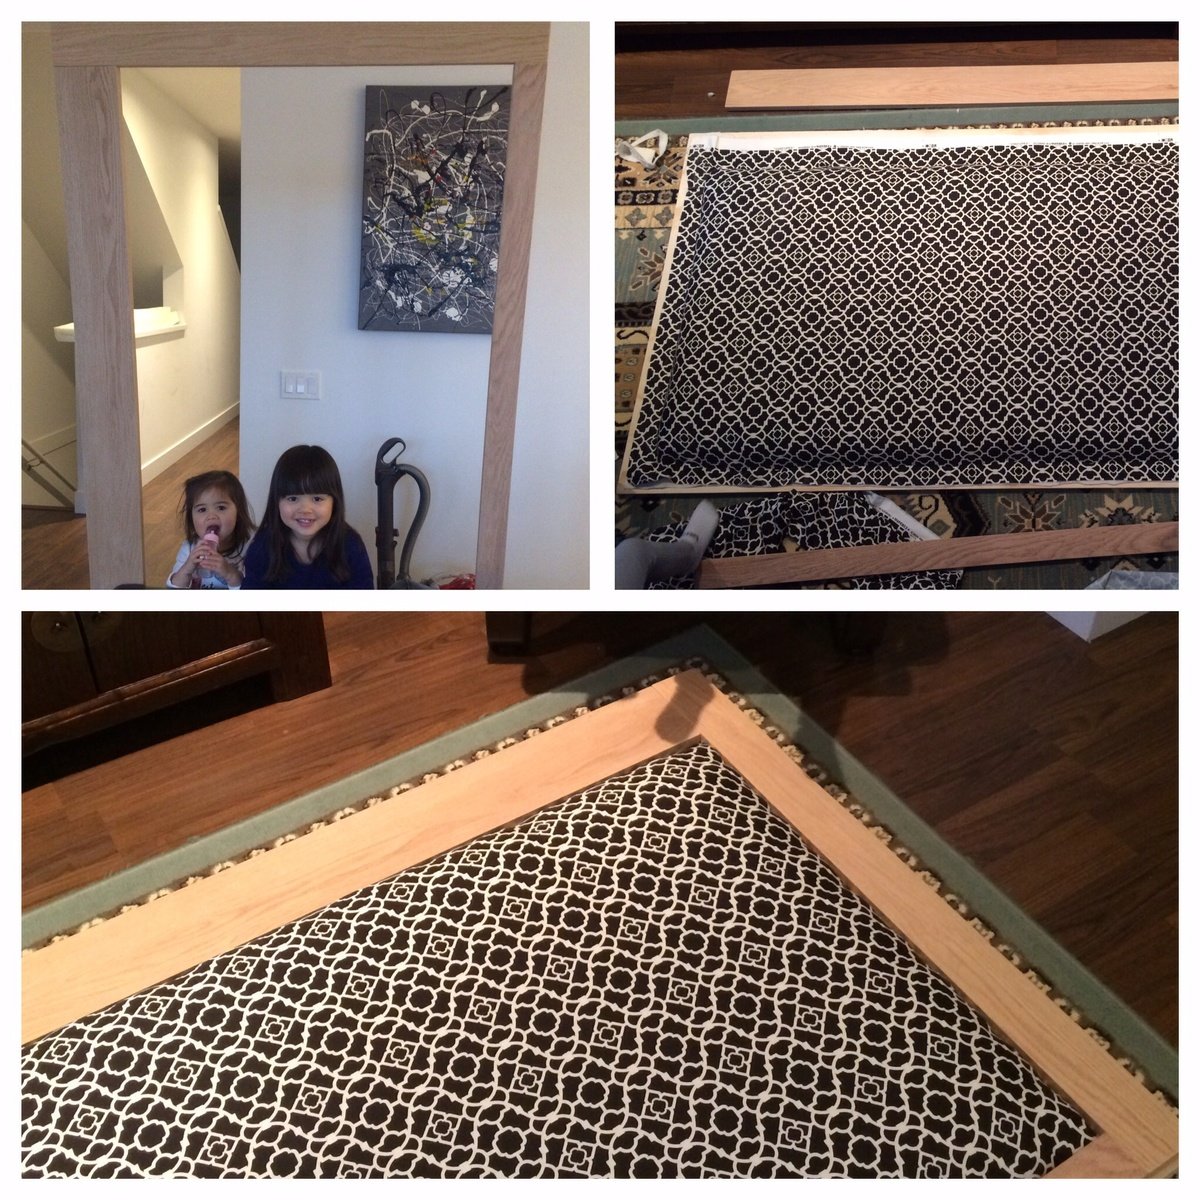
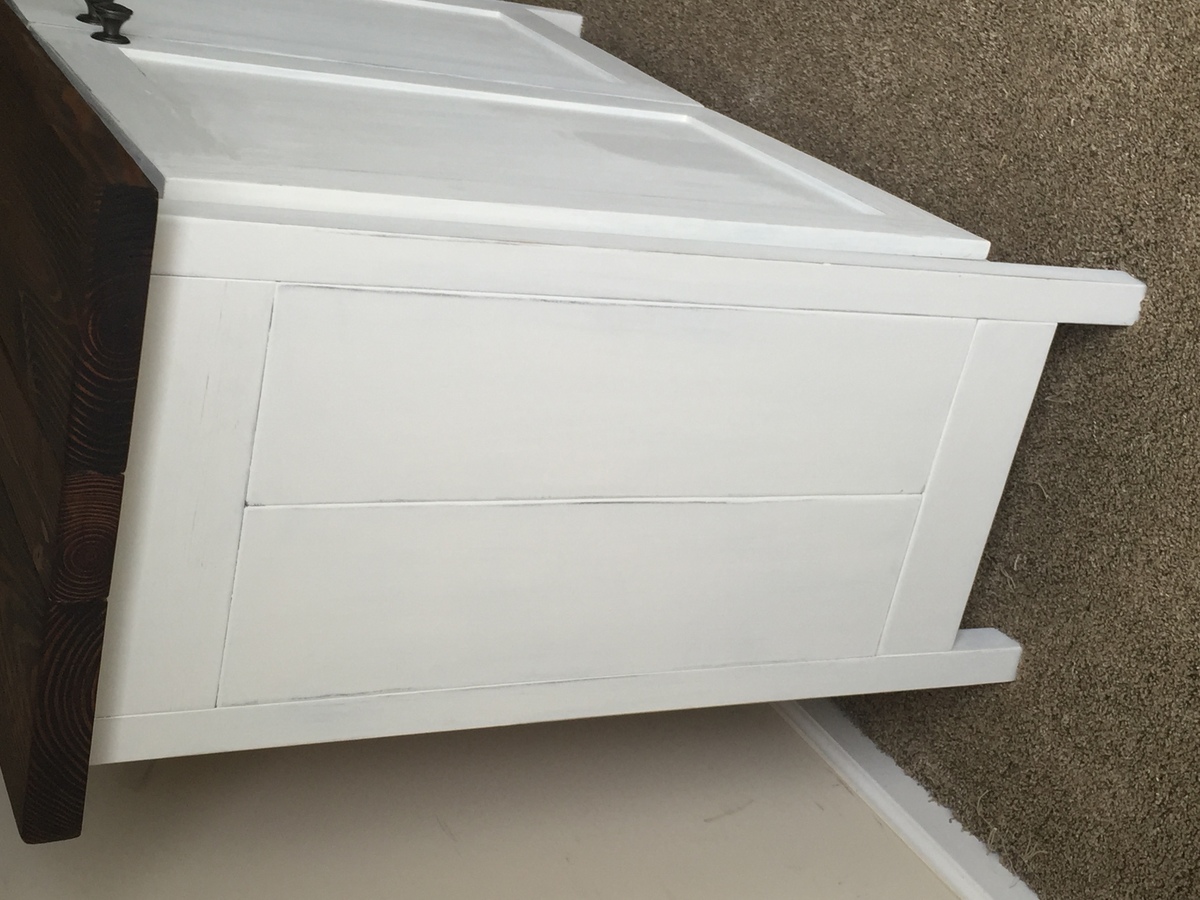
I saw the plans for this and had to have it! My husband had it assembled pretty easily (we've built several dining tables/benches, but this was our first piece that went out of that box, lol) and the whole project took maybe a day or two including staining. We left of the end pieces just because we were trying to get it done quickly for Thanksgiving; we intended to add them on later, but I kind of like it open. Everyone who has seen it loves it!
Built from Plan(s)
Estimated Cost
$75
Estimated Time Investment
Day Project (6-9 Hours)
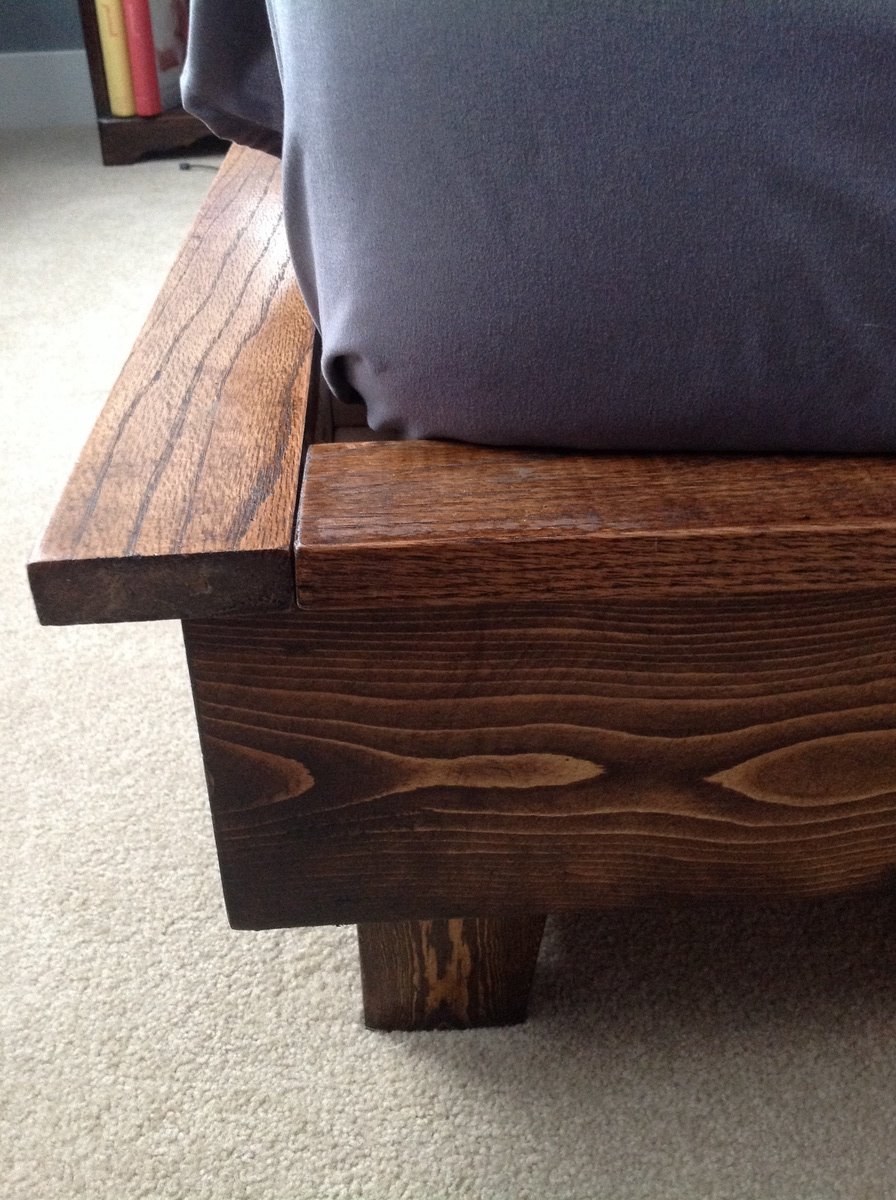
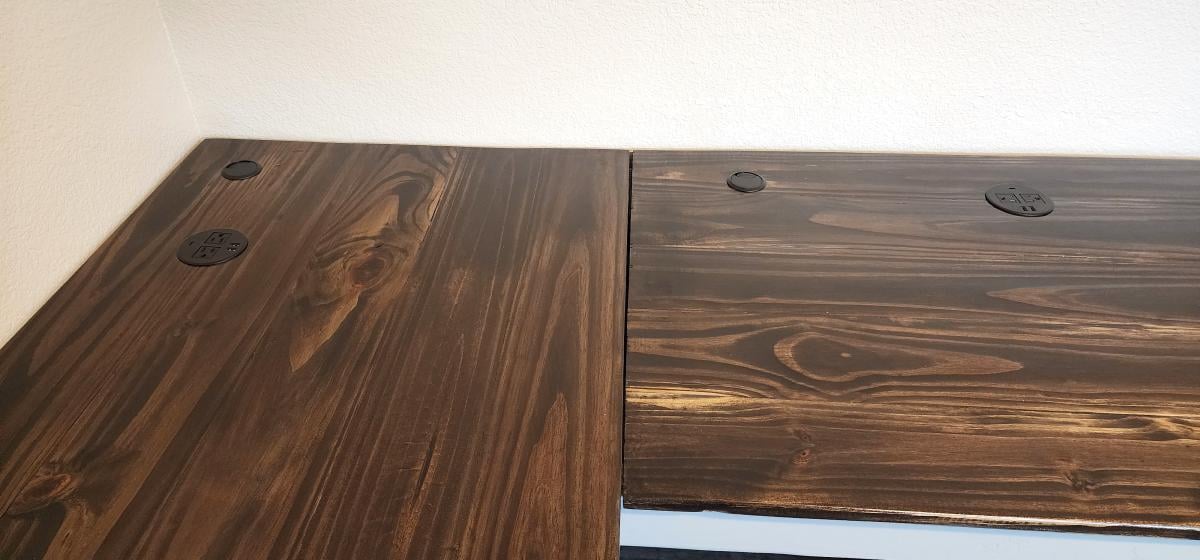
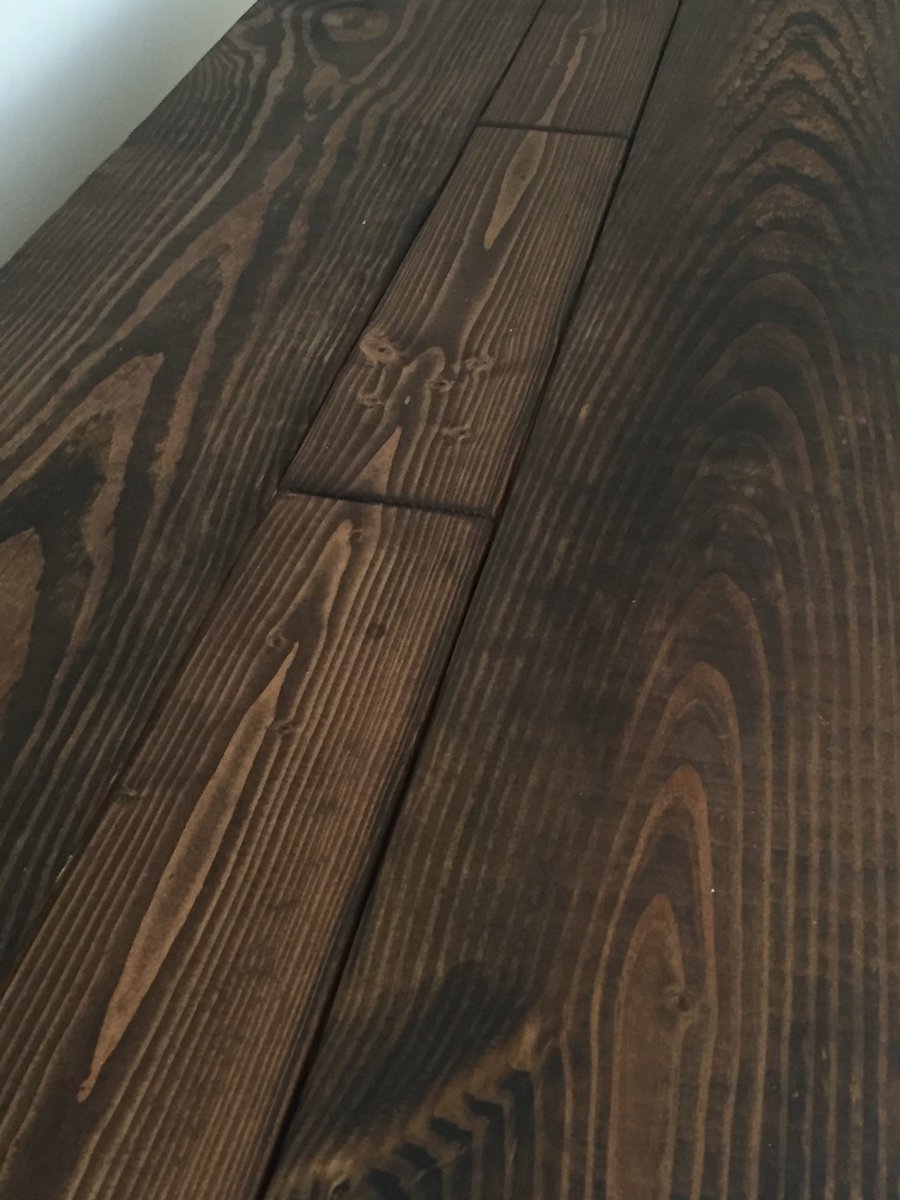
Finish Used
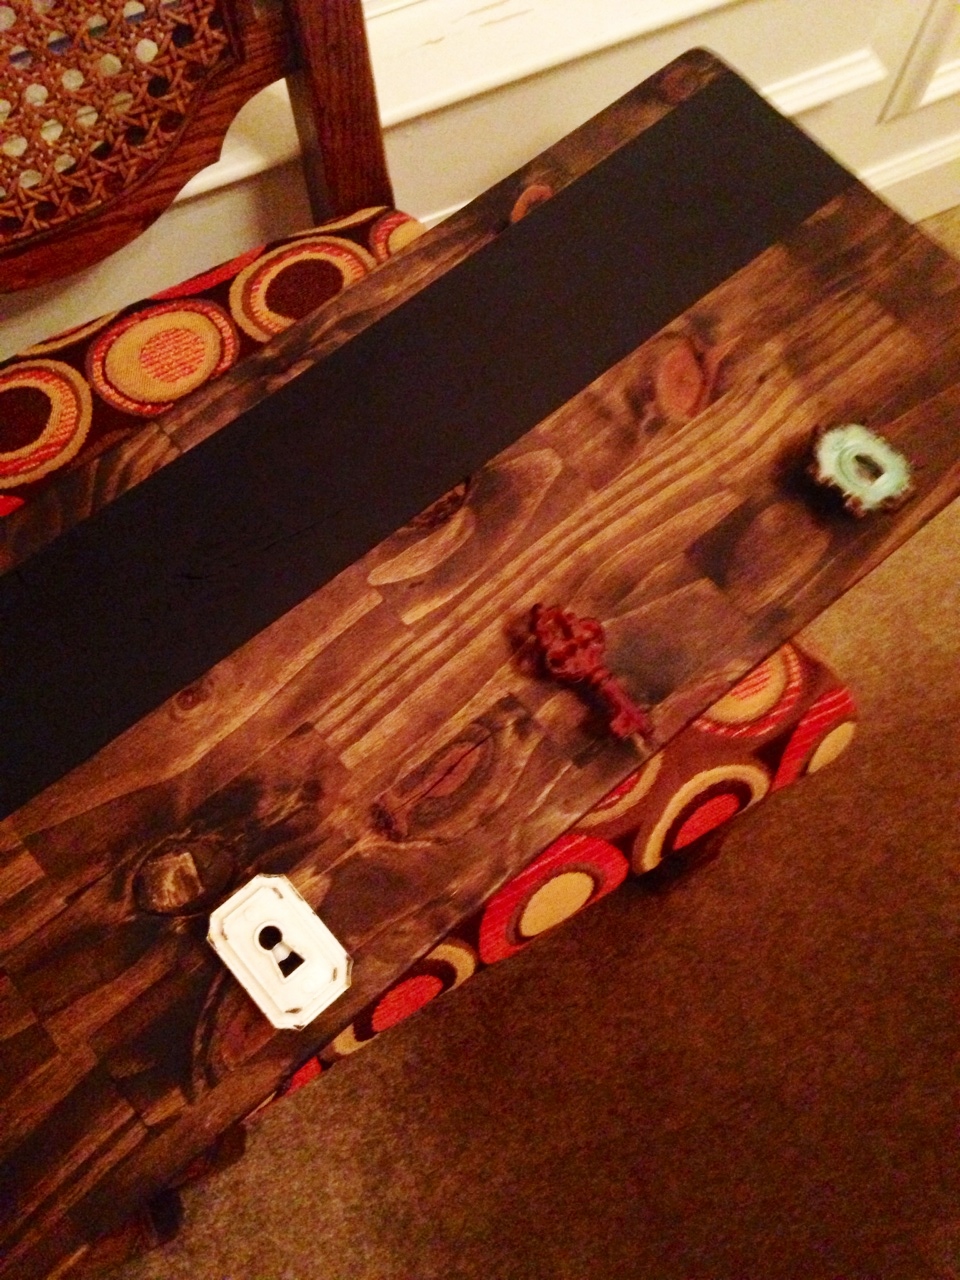
Rustoleum Ultimate in Early American with two coats of poly. If I had to do it again, I would stain the pieces used for the bench before they were assembled; staining inside those cubes was a bit difficult.
Recommended Skill Level
Beginner


Comments
Val Manchuk
Sat, 12/07/2013 - 21:46
Nice Work!
Your hall tree looks really good! (Early American is my favorite stain color!)
Val @ artsybuildinglady.blogspot.ca
Whitney1417
Sun, 01/14/2018 - 13:29
Beautiful
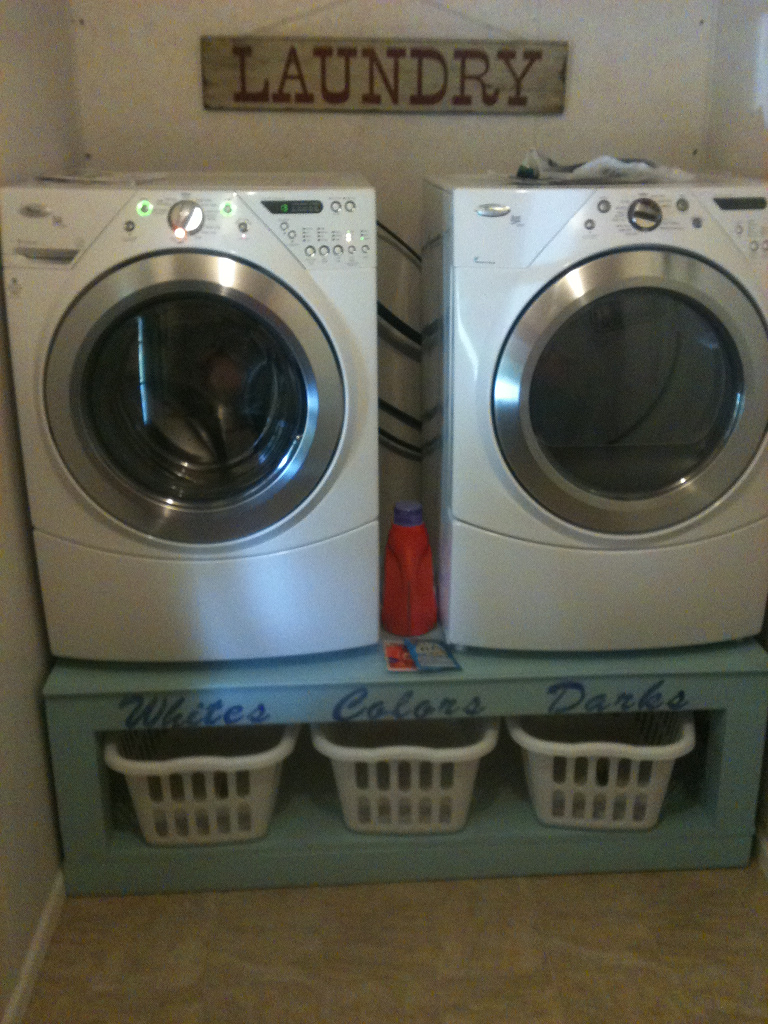
Where were you able to find the bins at?