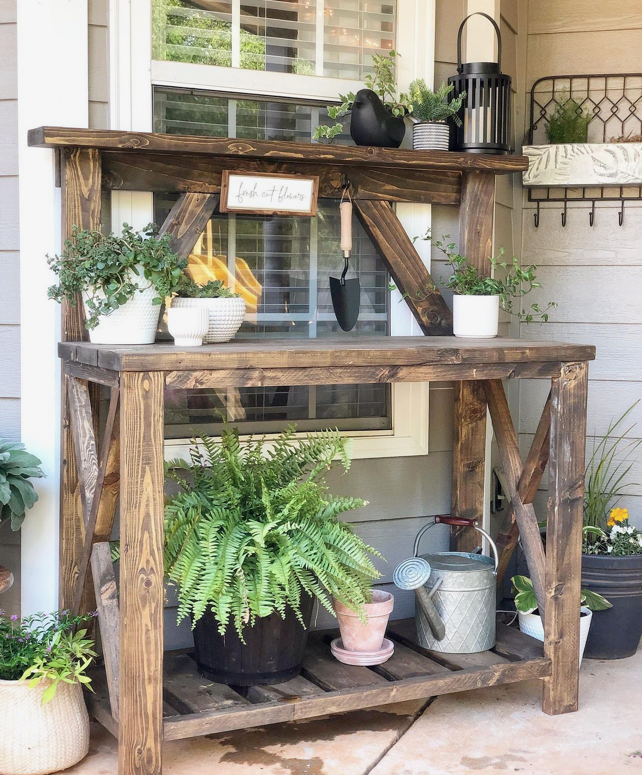
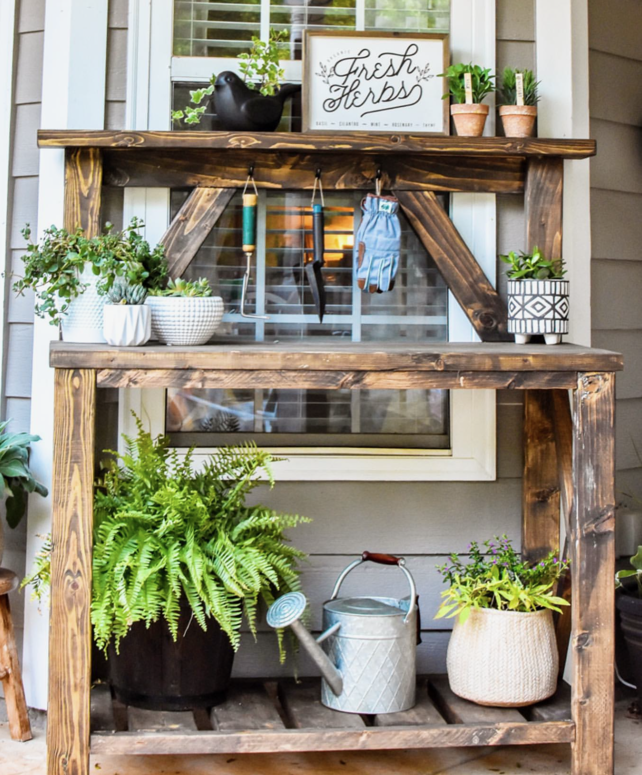
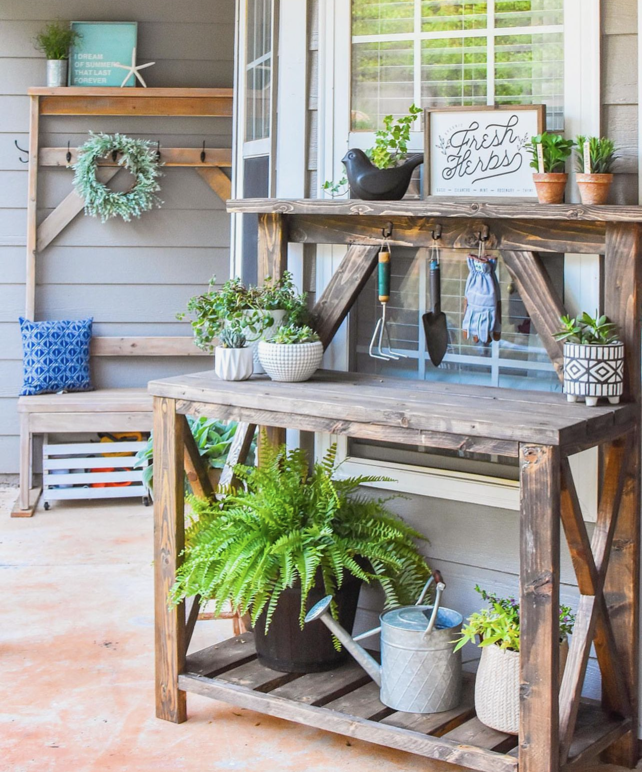
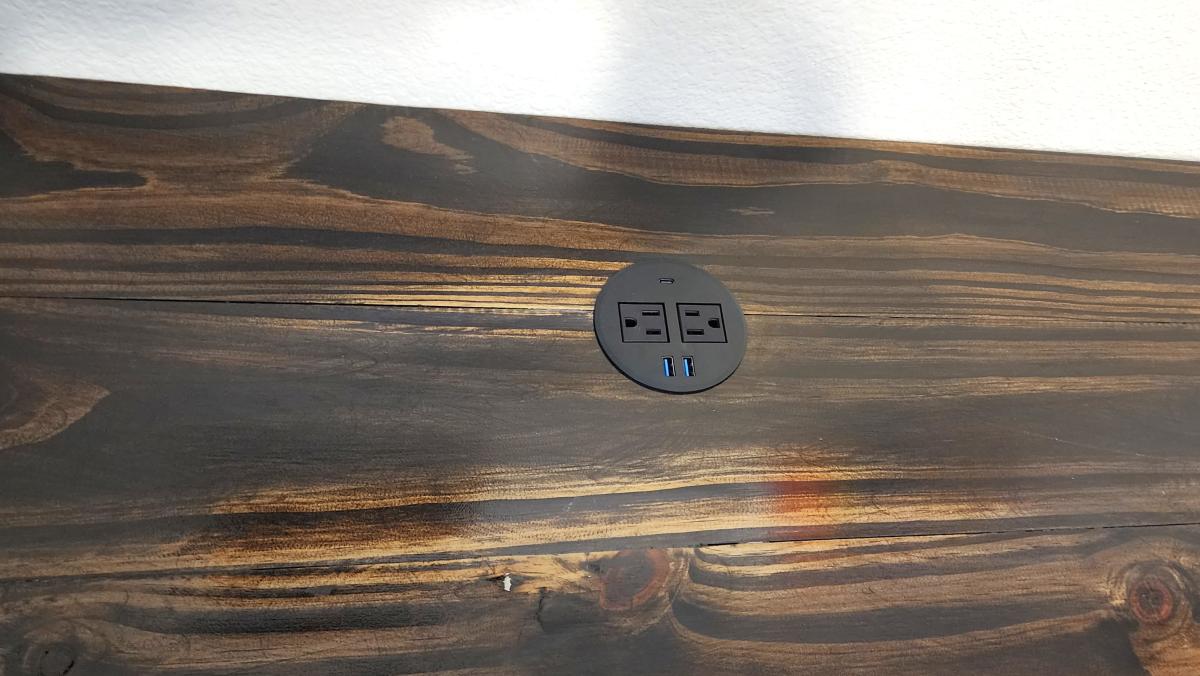
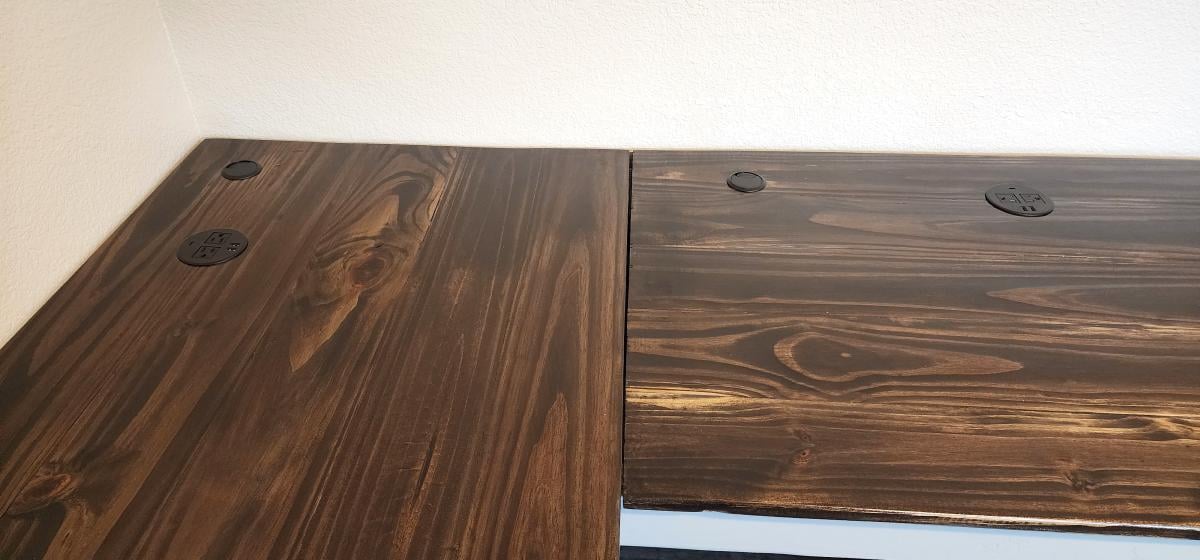
Farmhouse Craft Station
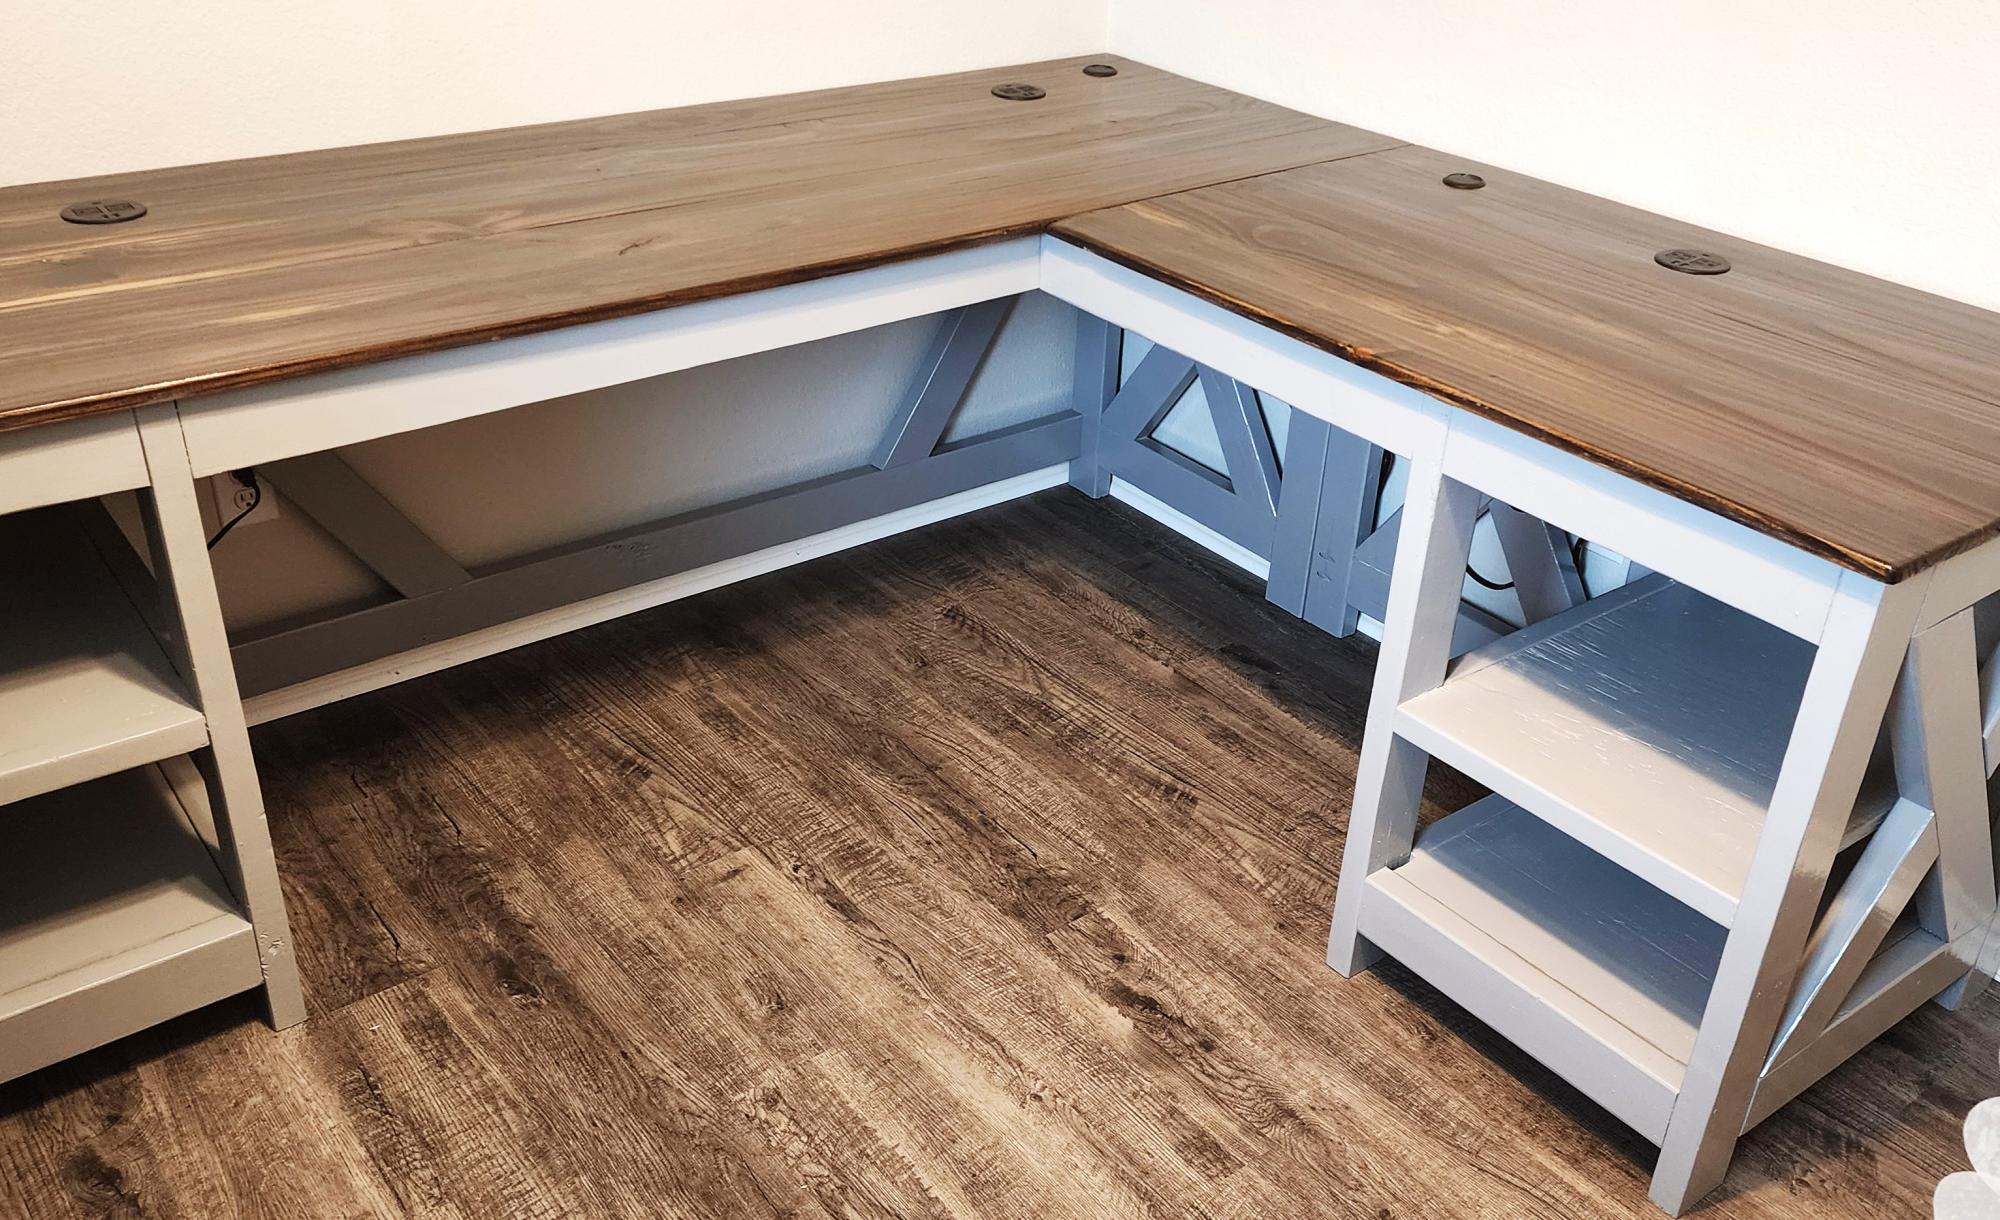
Desk for my wifes craft room.
Joshua Moore
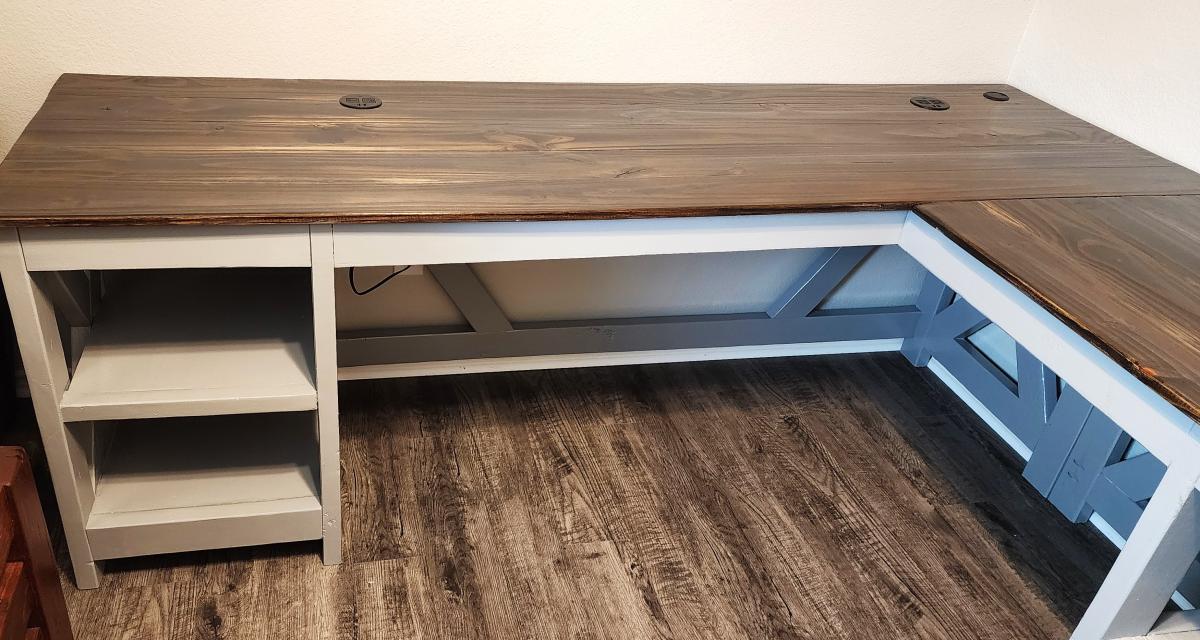
Built from Plan(s)
Desk for my wifes craft room.
Joshua Moore
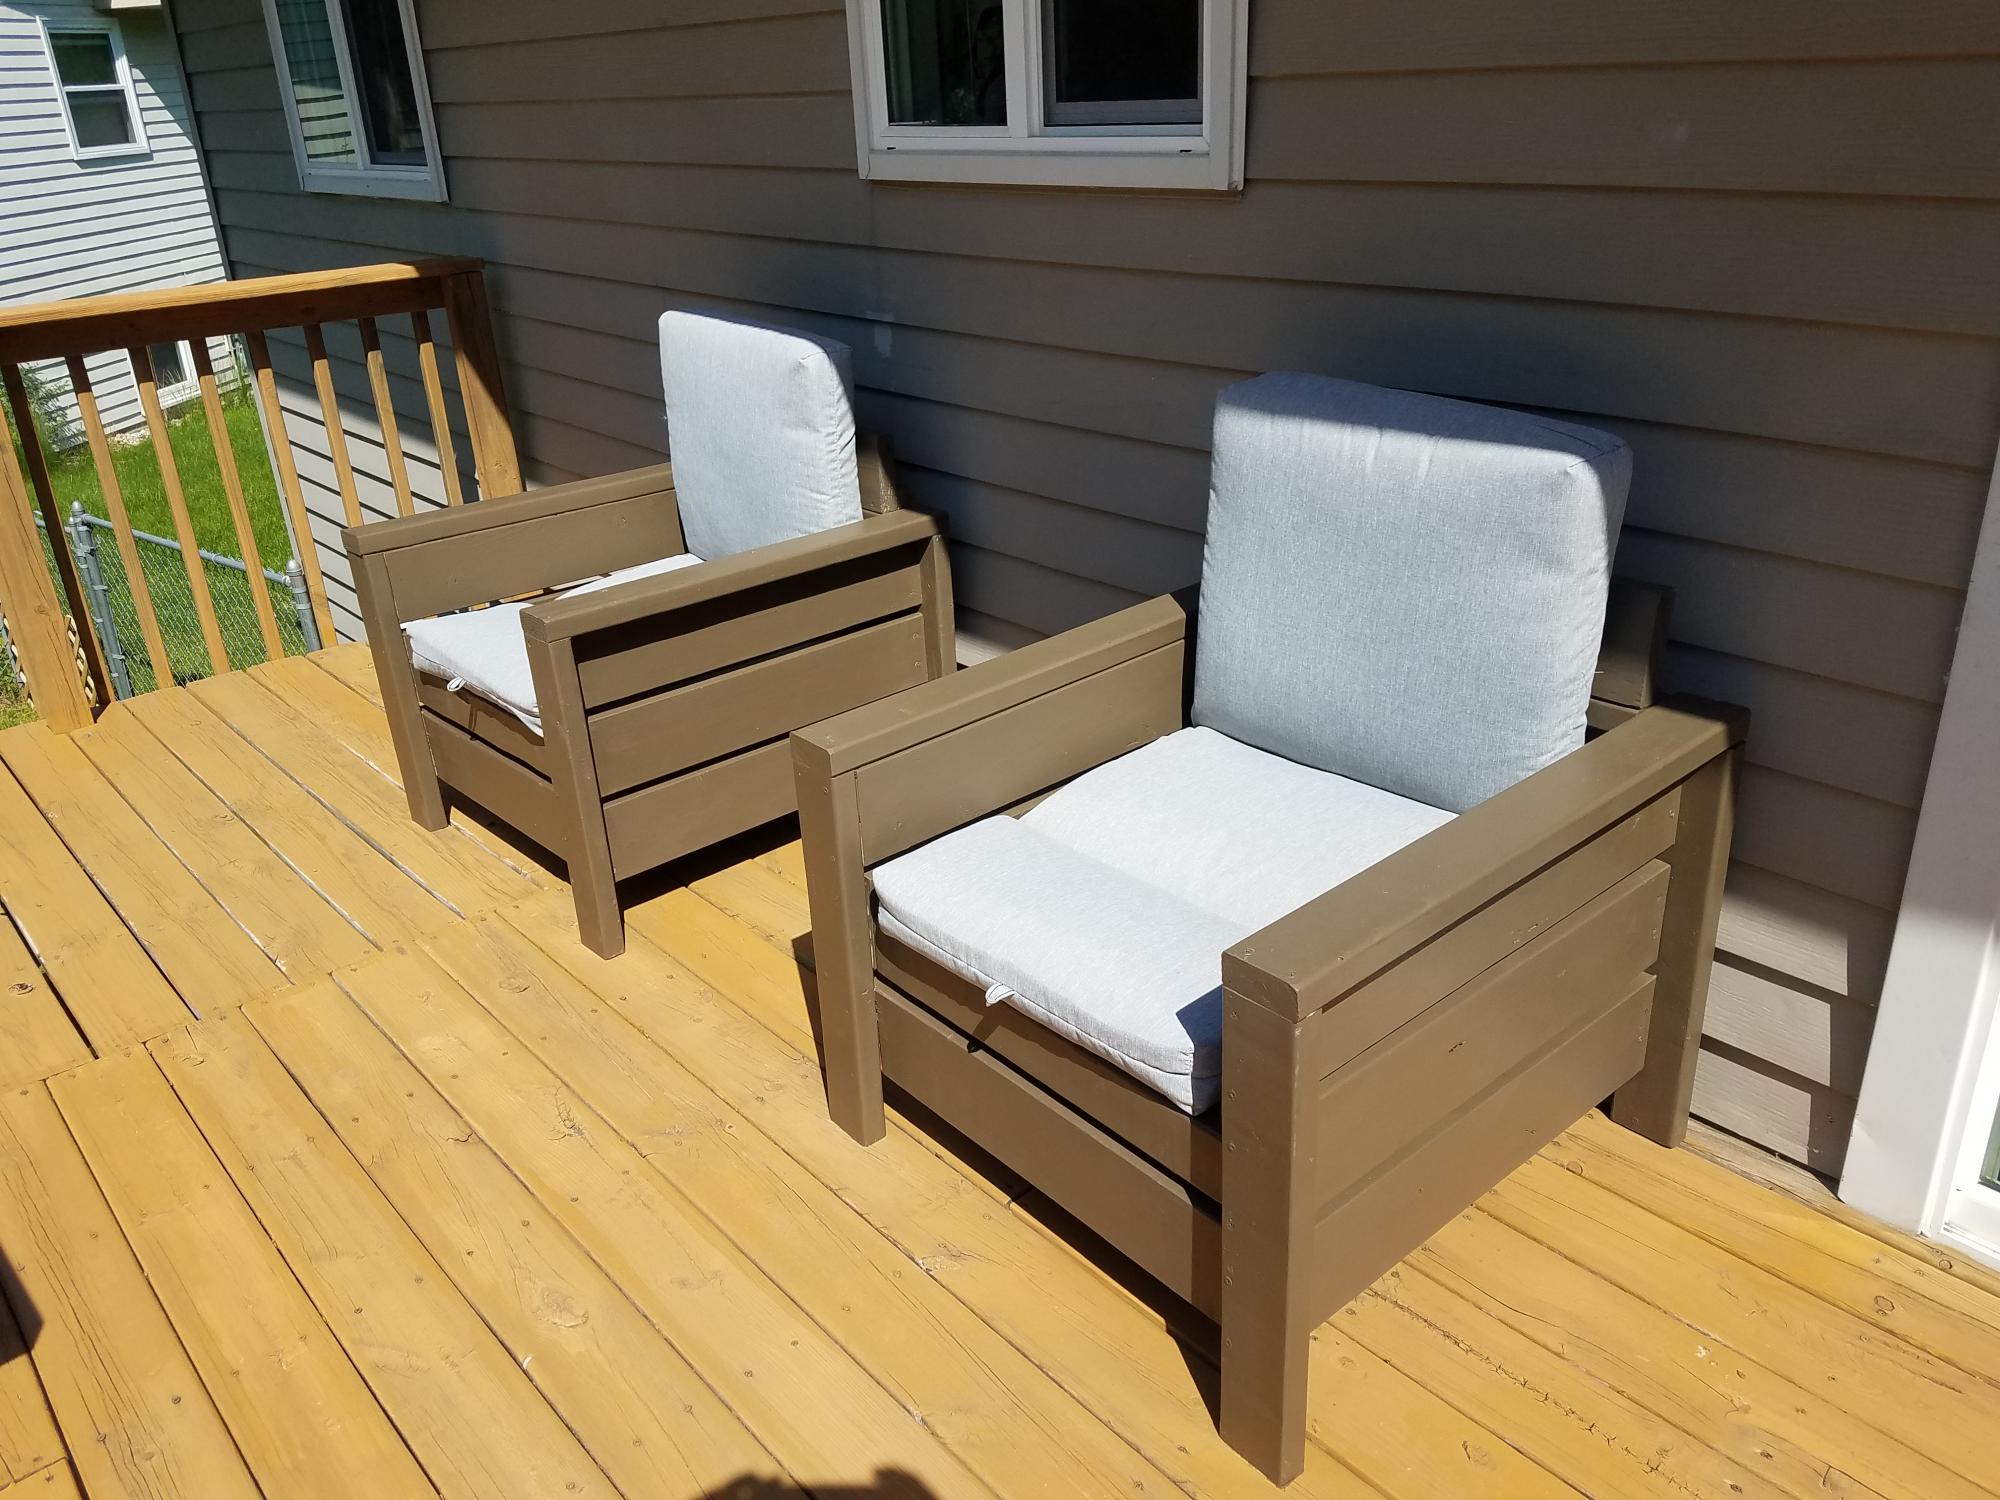
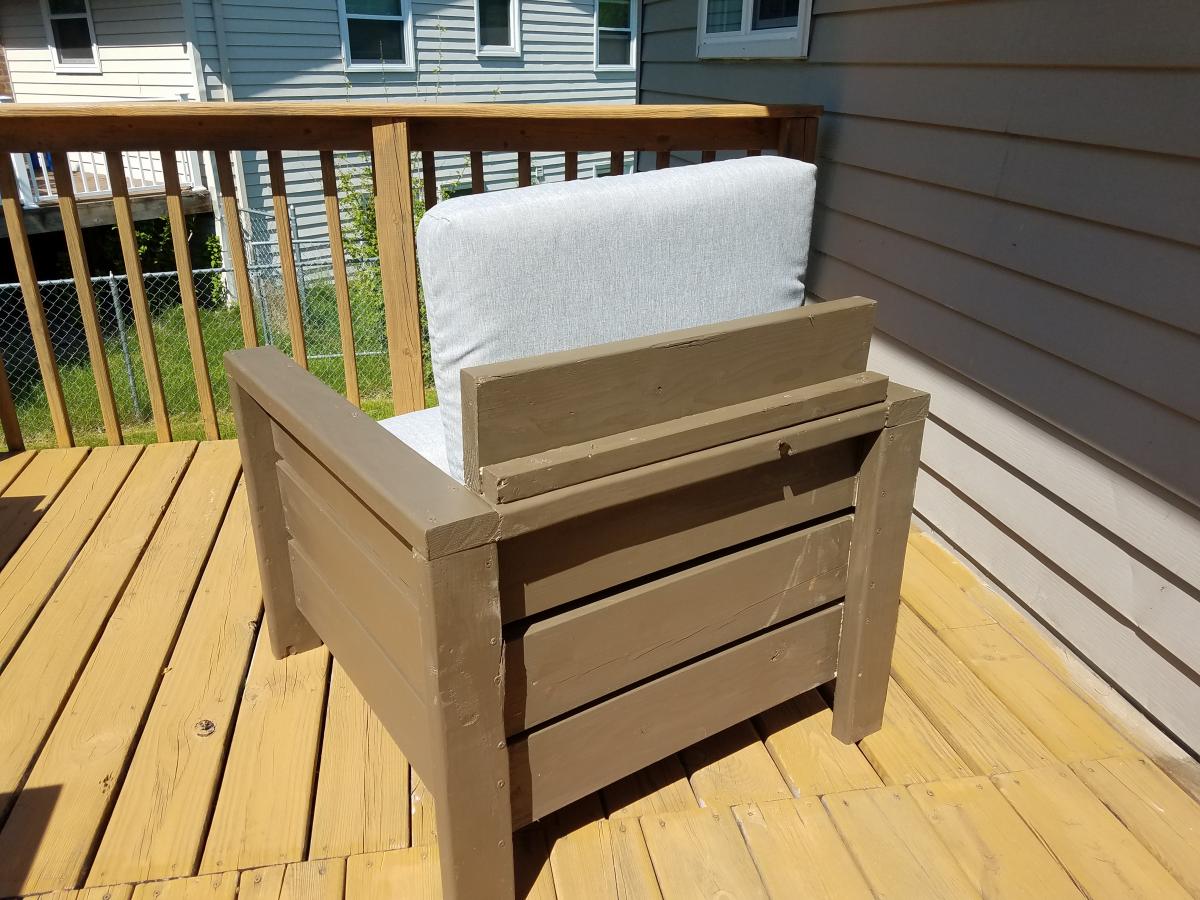
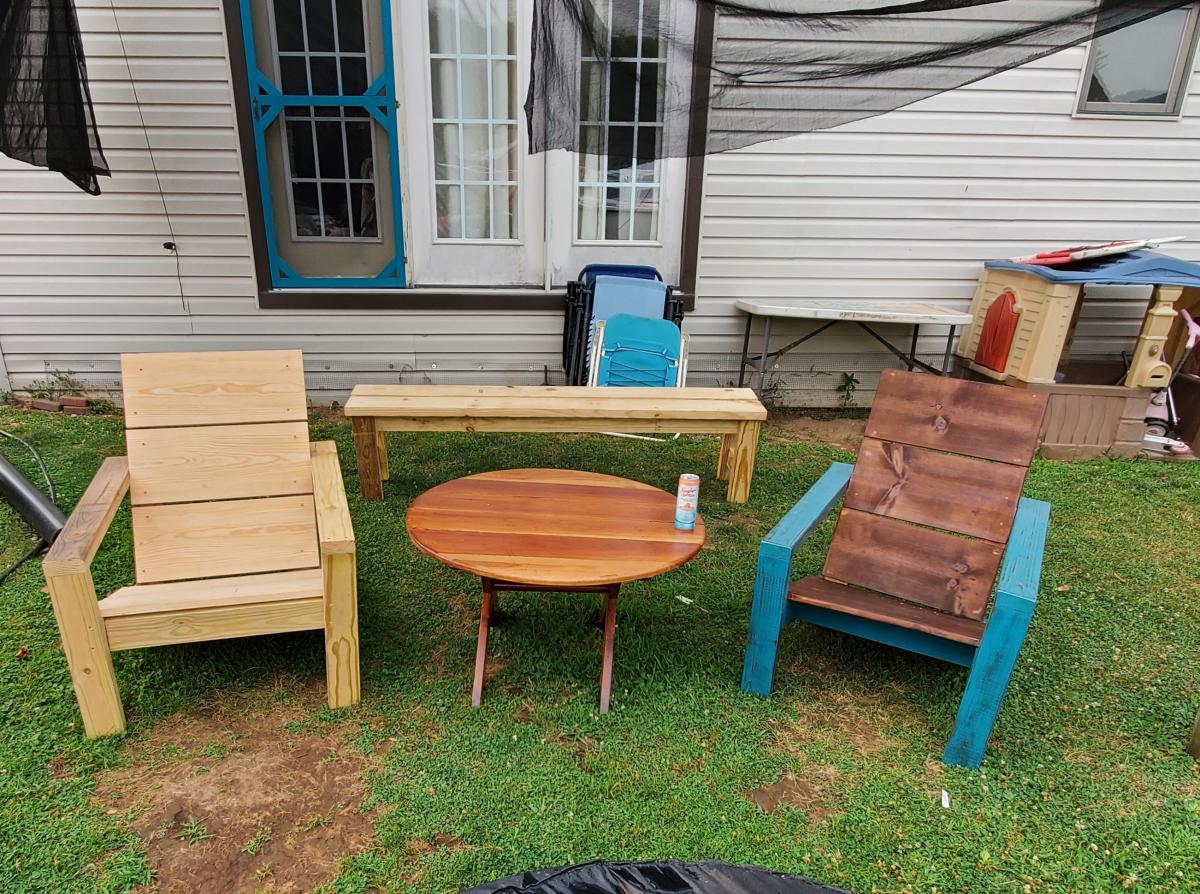
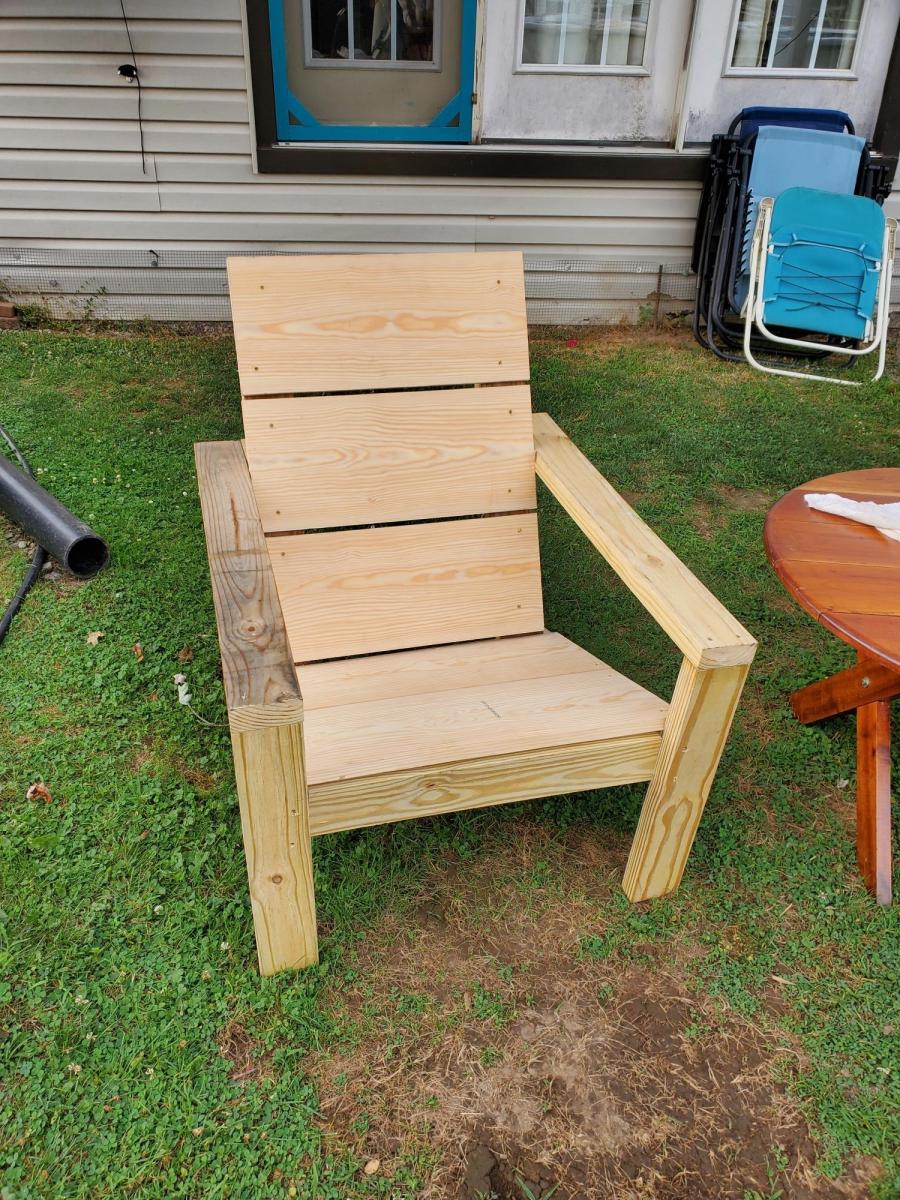
My first crack at building outdoor furniture. I built two of the Modern Outdoor Chairs built with 2 x 4 and 2 x 6. The first one was a little rough, but the second one was much better. In order to accommodate the higher cushions and make the chairs more comfortable, I added piece 2 x 6 secured to a 2 x 2 to make a partial backrest.
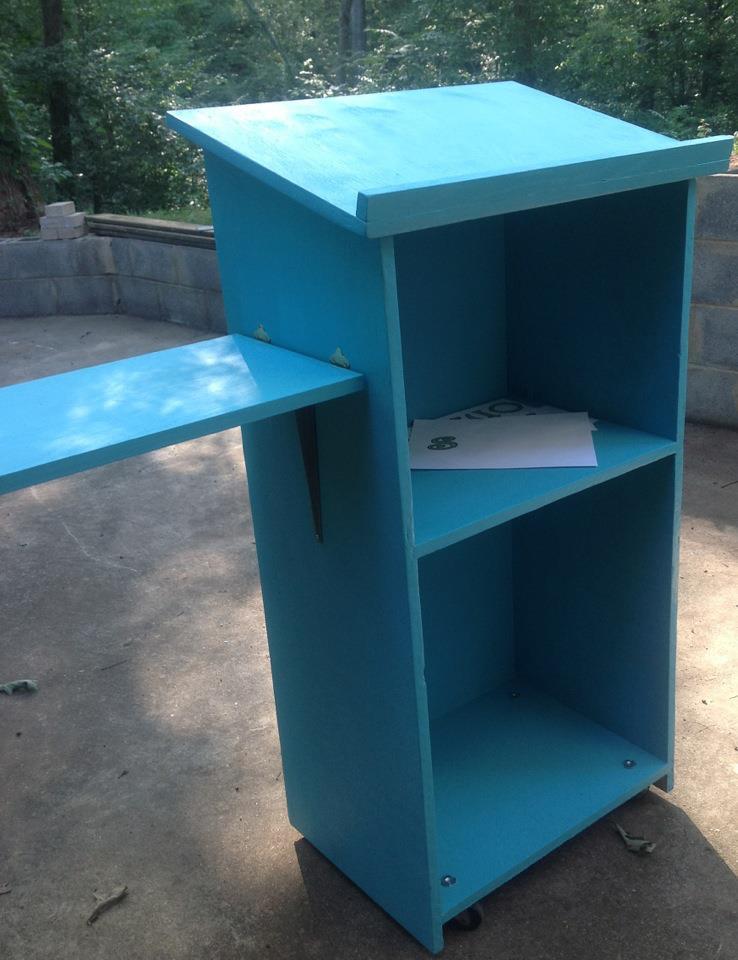
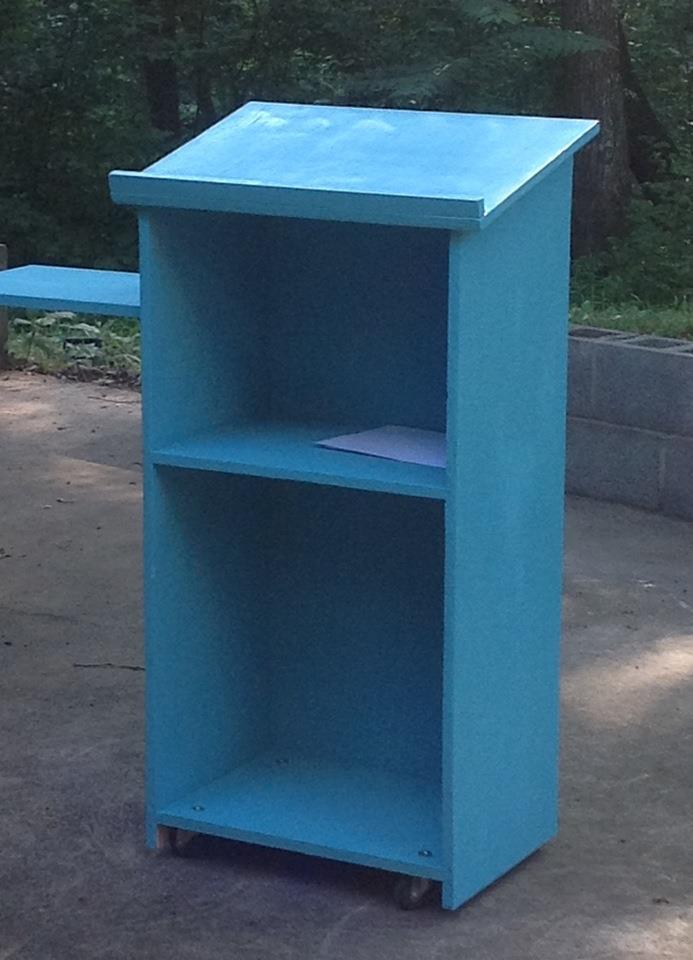
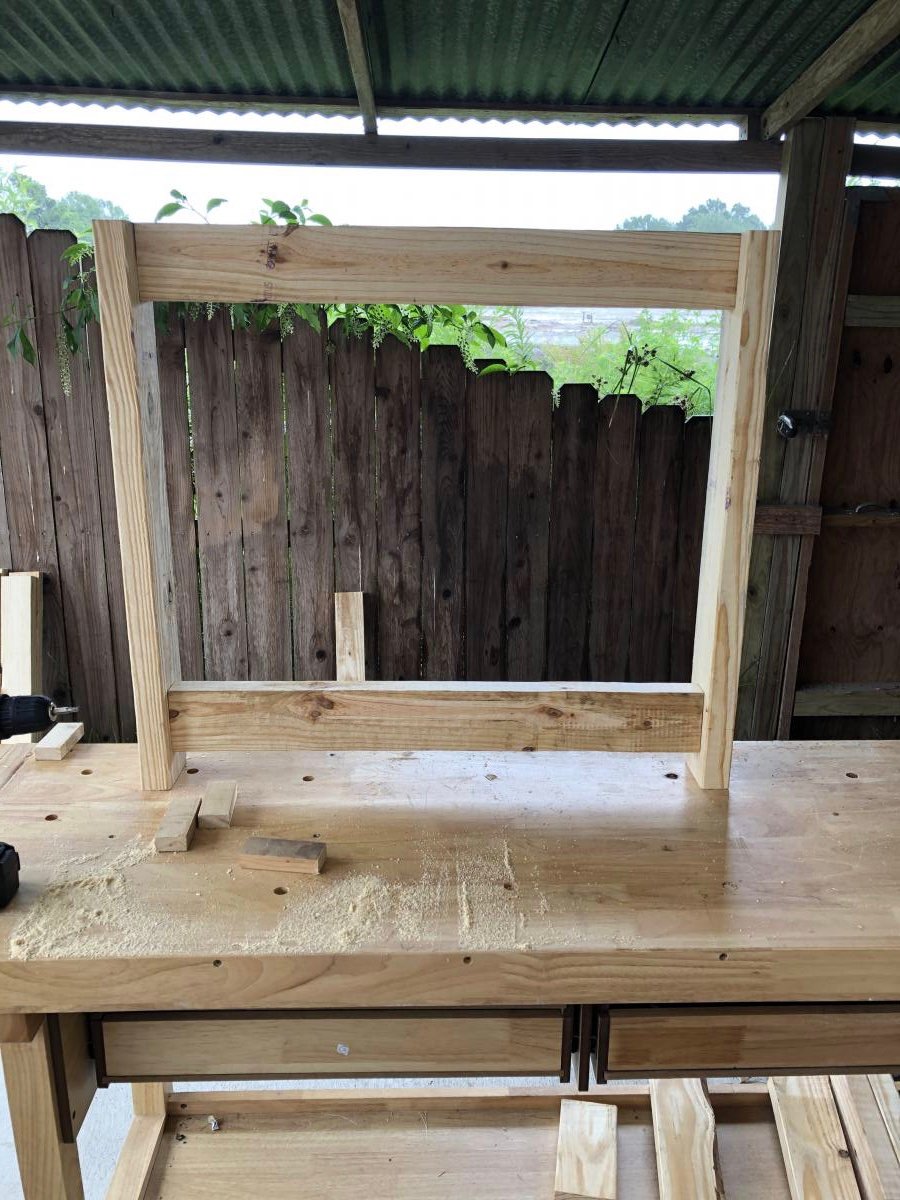
I recently landed my first teaching position, and unfortunately my predecessor left quite a blank canvas for my classroom. I will be teaching math and definitely needed a lectern to hold my book as reference for examples during instructional time. However, I was completely unable to fork over $200 for a lectern...so of course I turned to Ana White! I saw the Podium Plan that another had submitted, and used it as a guide with some changes:
1) My dimensions are 15" wide by 21" long by 43" tall (I'm shorter than your average bear).
2) Used the table saw set at 45 degrees to create mitered joint edges with my plywood
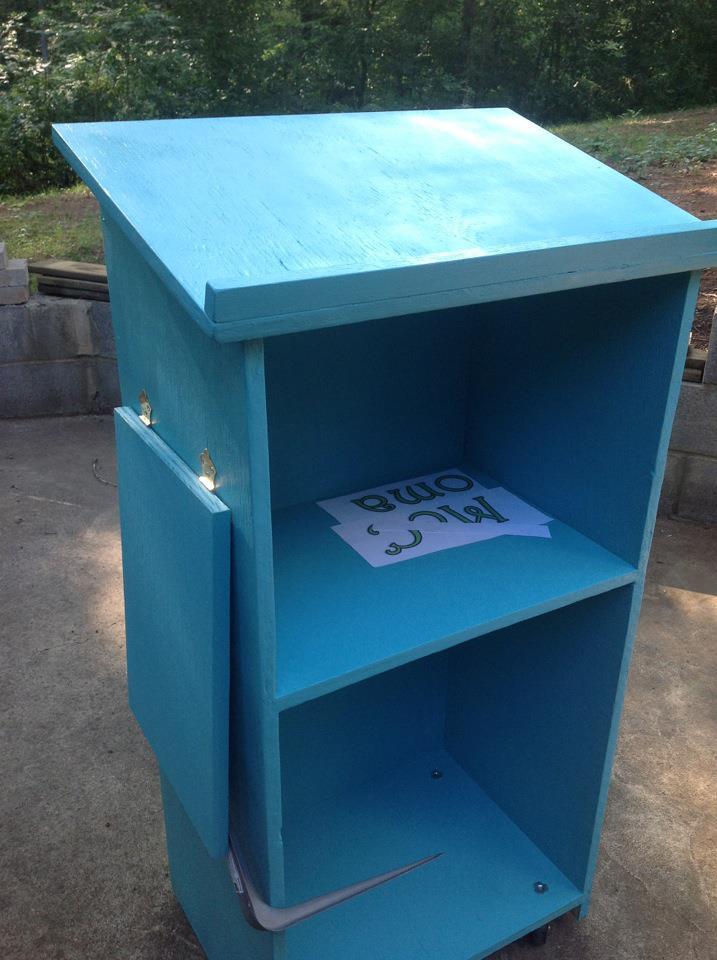
3) Inset the shelves into the frame for added stability using a router.
4) Added casters to the base for maneuverability
5) Added an easily-removable laptop shelf for the side for easy hook-up to the Promethean Board in the classroom.
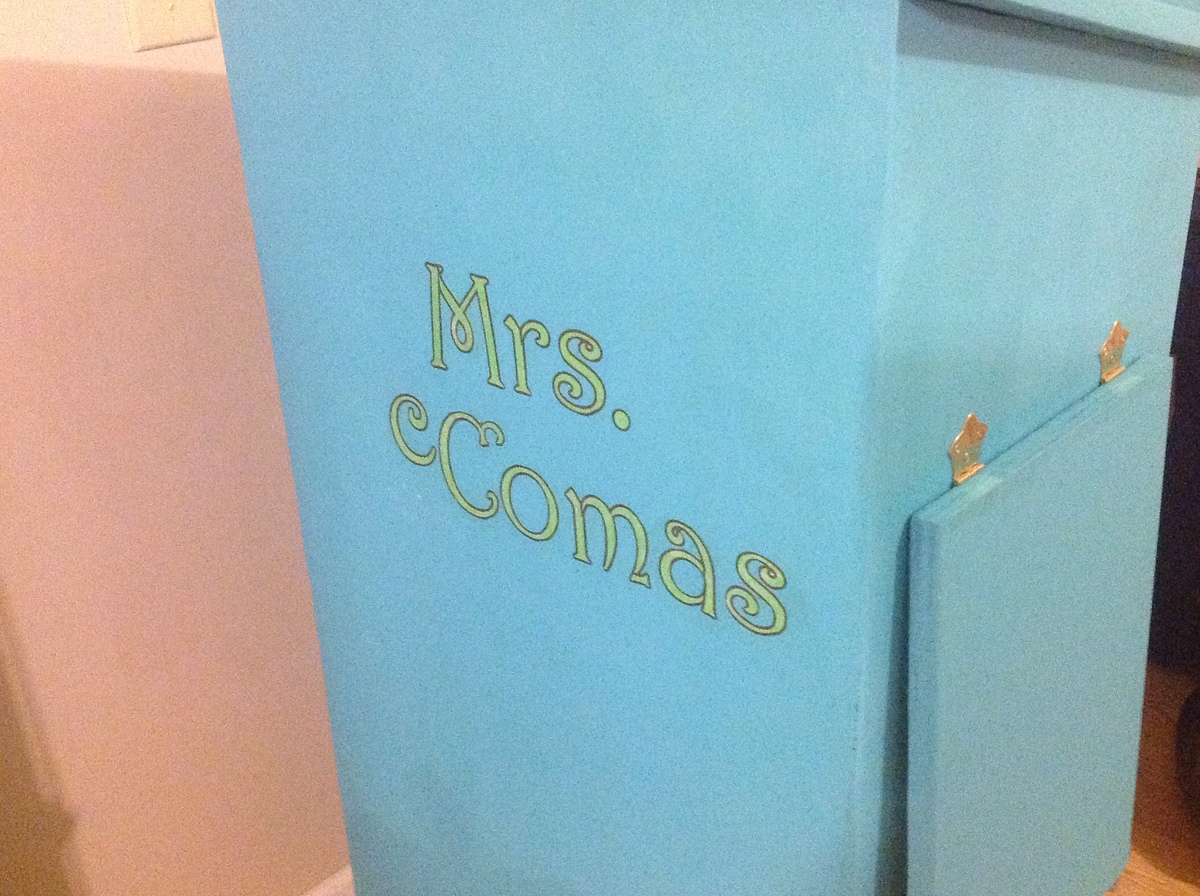
6) Decoupaging my name to the front for some visual interest...(and of course to claim ownership...:) )
My room is painted yellow, and all of my accessories are teal, lime green, and brown. This is gonna look GREAT in there, and best of all, it's attractive AND functional!

Sat, 07/28/2012 - 22:23
I don't remember having ANY teachers with anything this cool and personal in their classroom (except maybe woodshop, har-de-har-har). All the other teachers will be jealous!
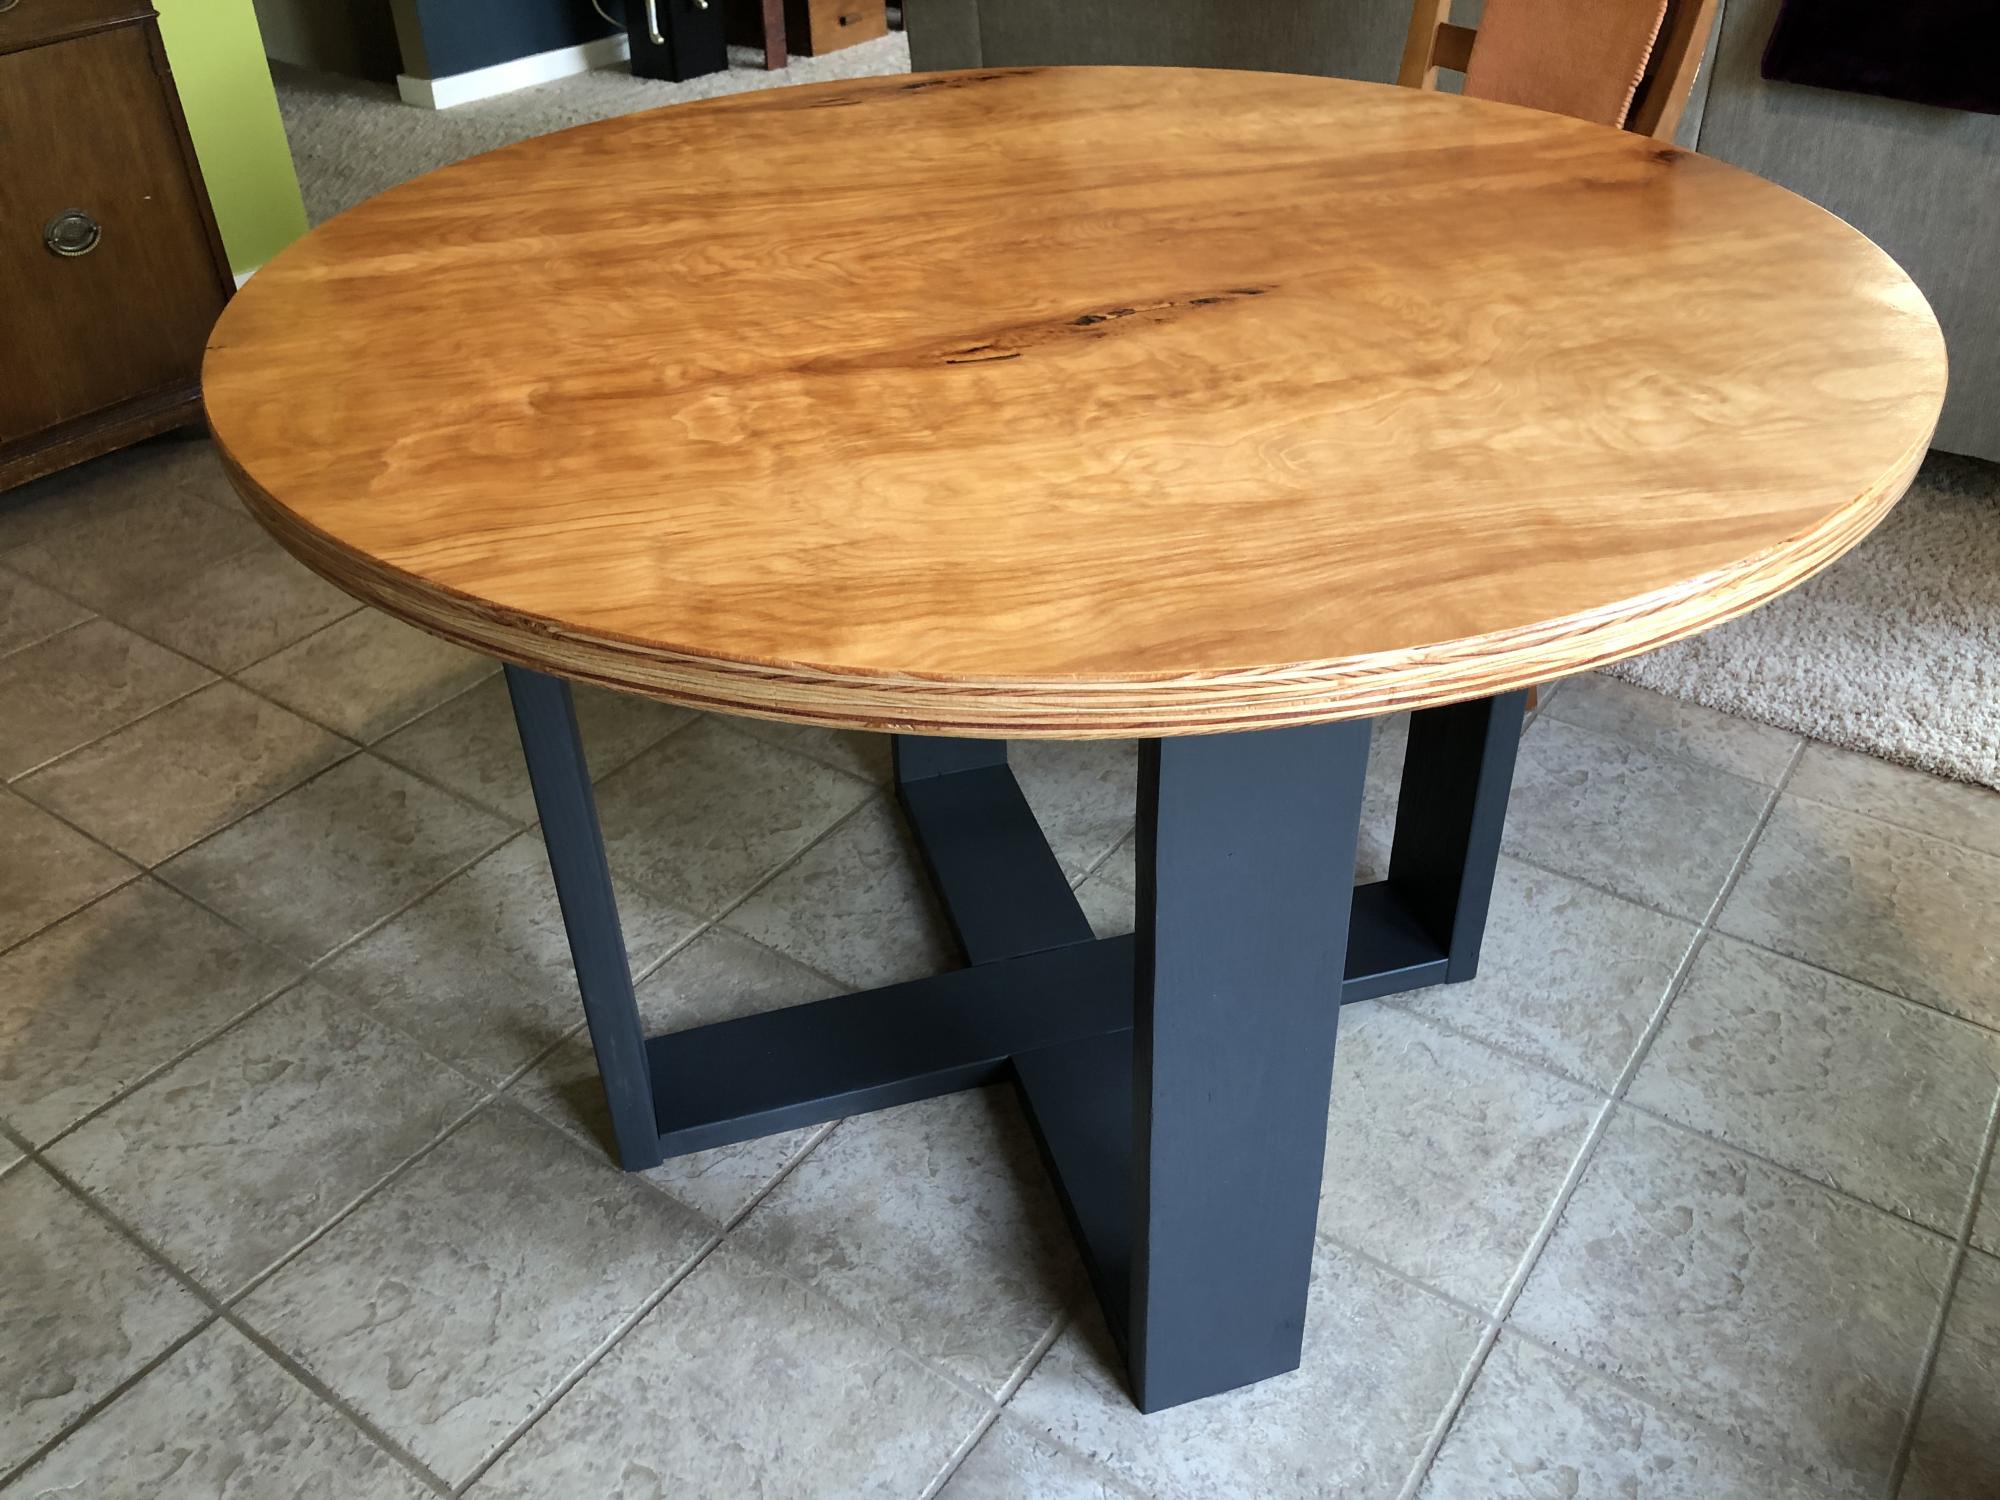
Like any good DIY project, I started with plans and then changed pretty much everything.
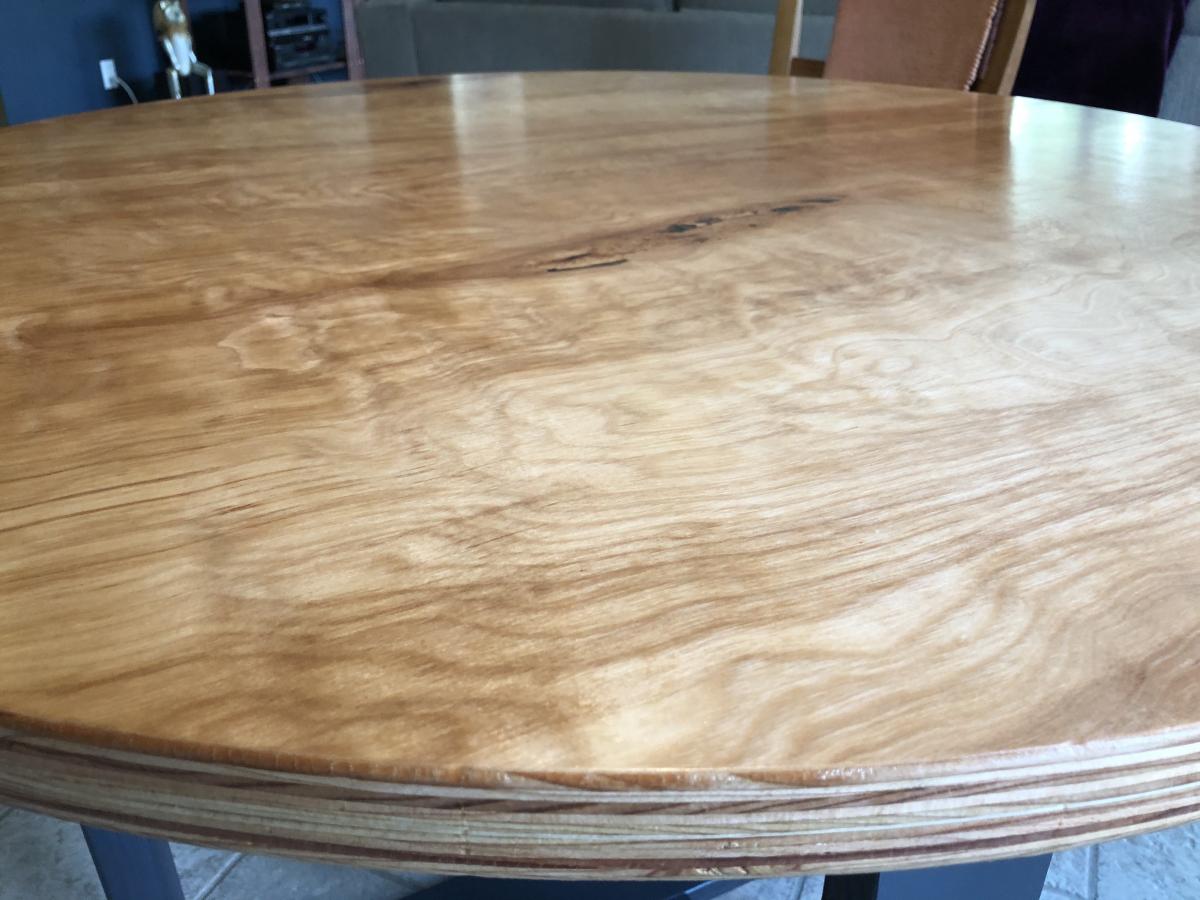
We wanted a modern but sort of rustic table for our dining area. The Modern Round Table plans almost fit the bill but not quite. The local Lowe’s had the perfect answer—Birch plywood. It also fit our Alaska setting.
I laminated two half sheets of 3/4” together, then cut out a 48” round top with a router.
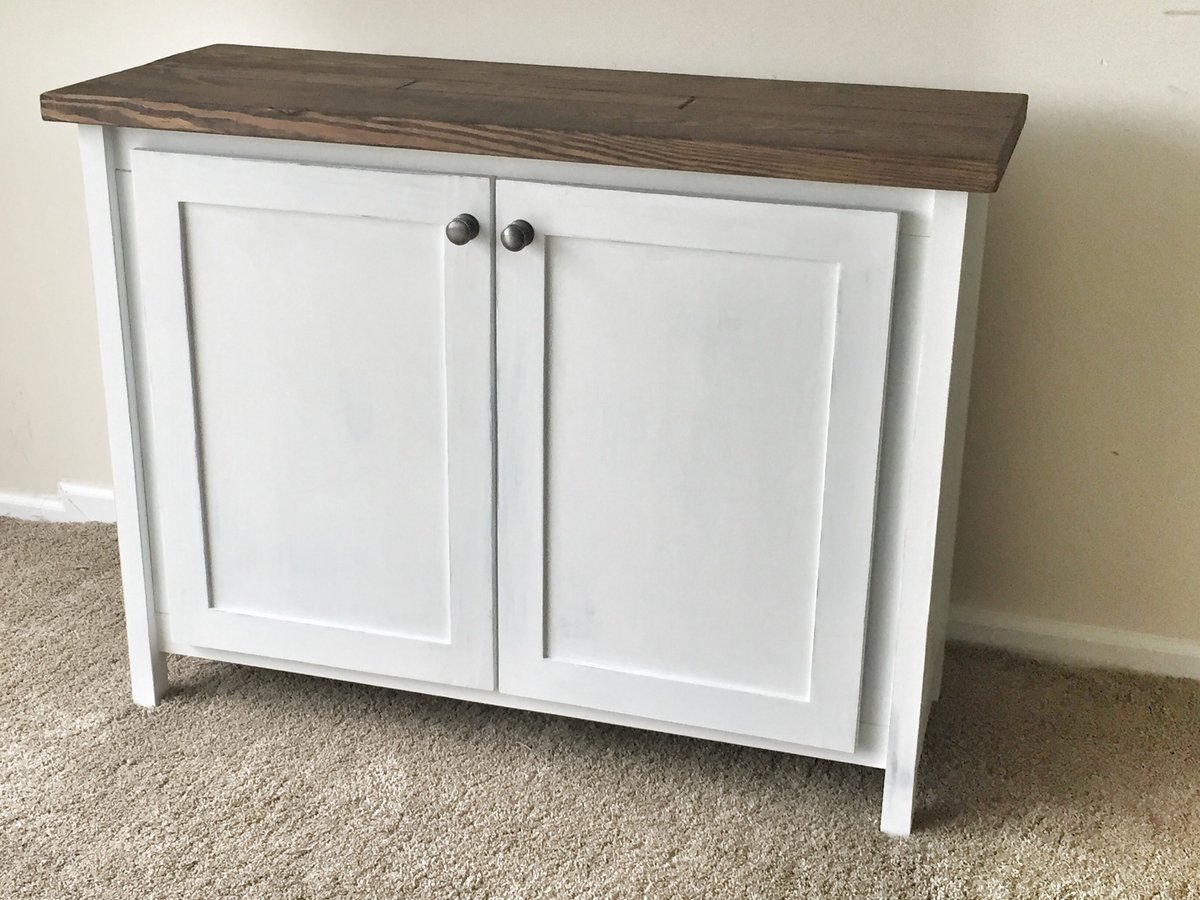
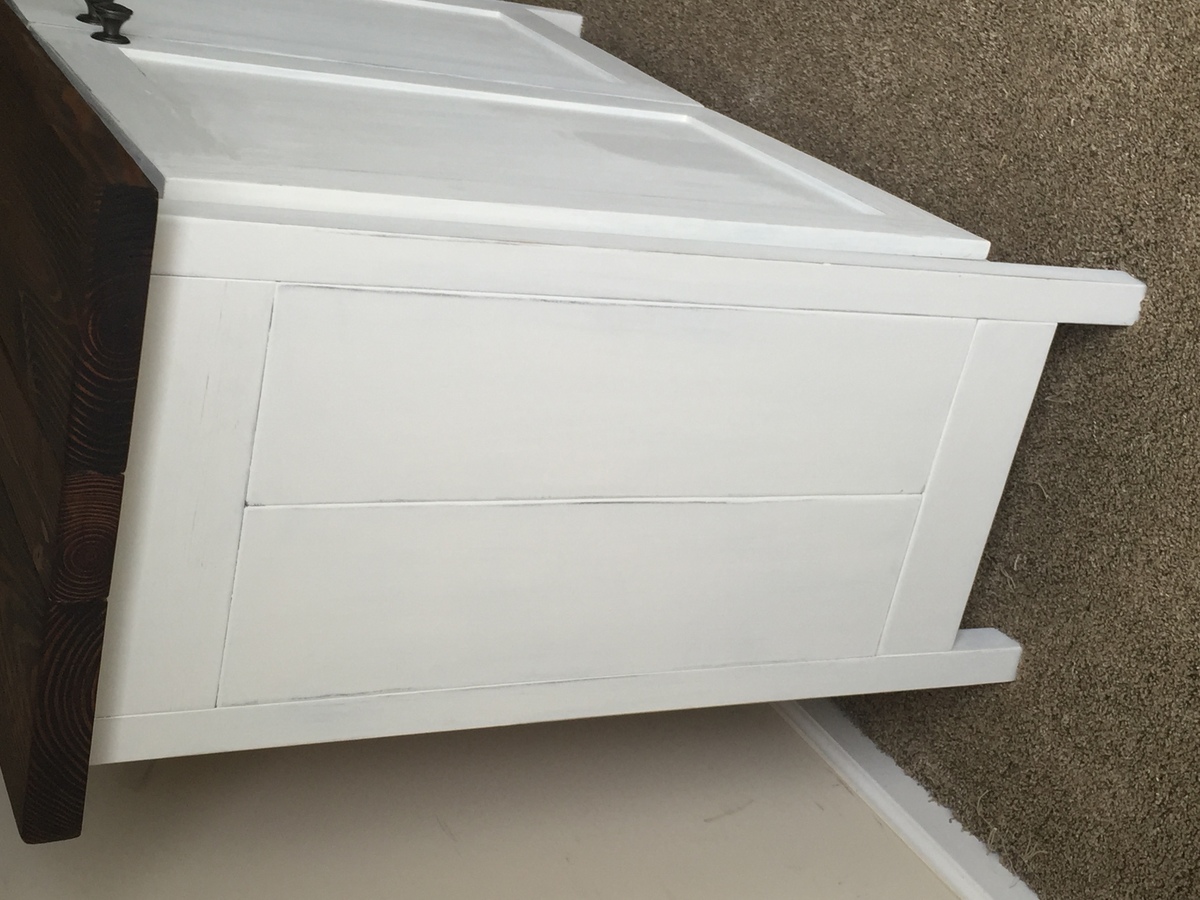
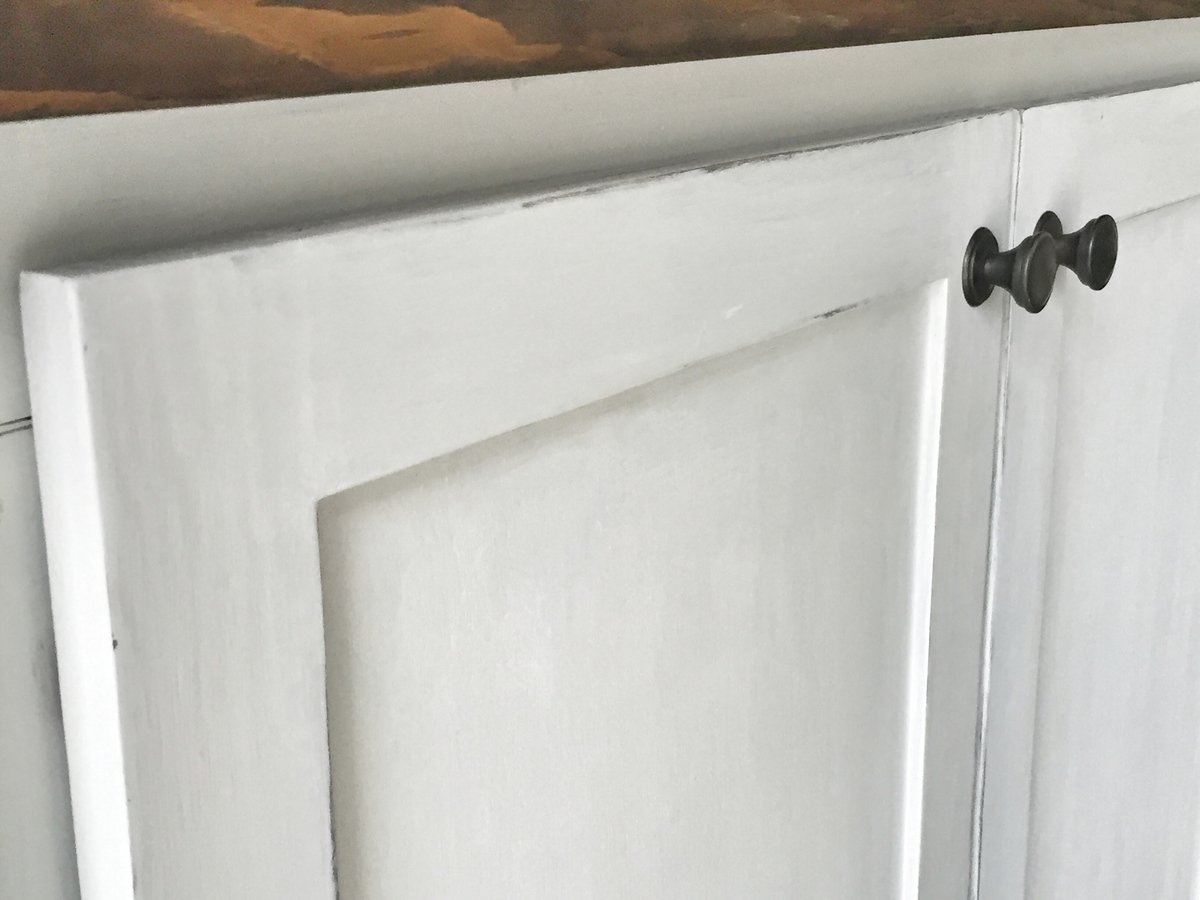
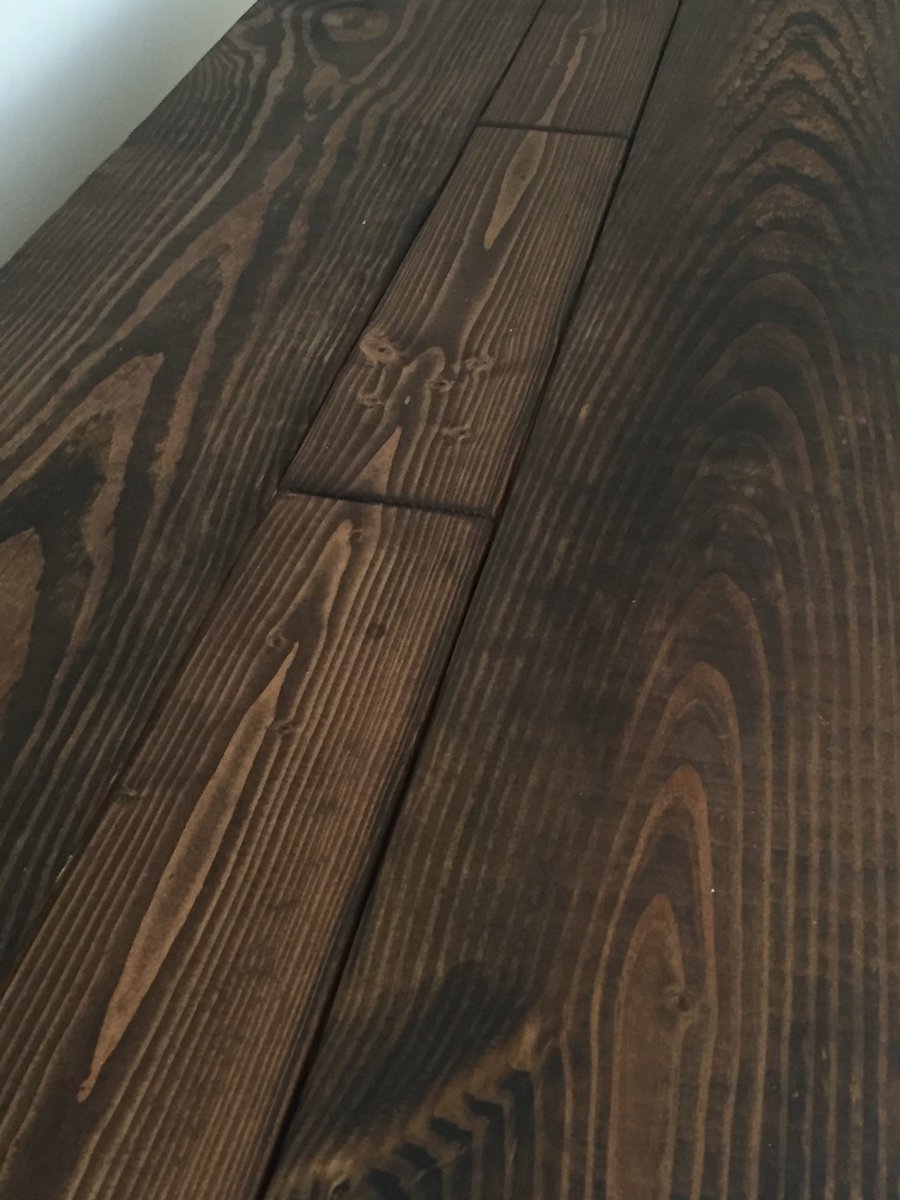
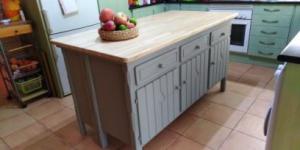
White cabinet made from some doors and hardware left over from my built in book case project and other wood left over from the book case and closet projects. All I bought was the wood for the top and the legs.
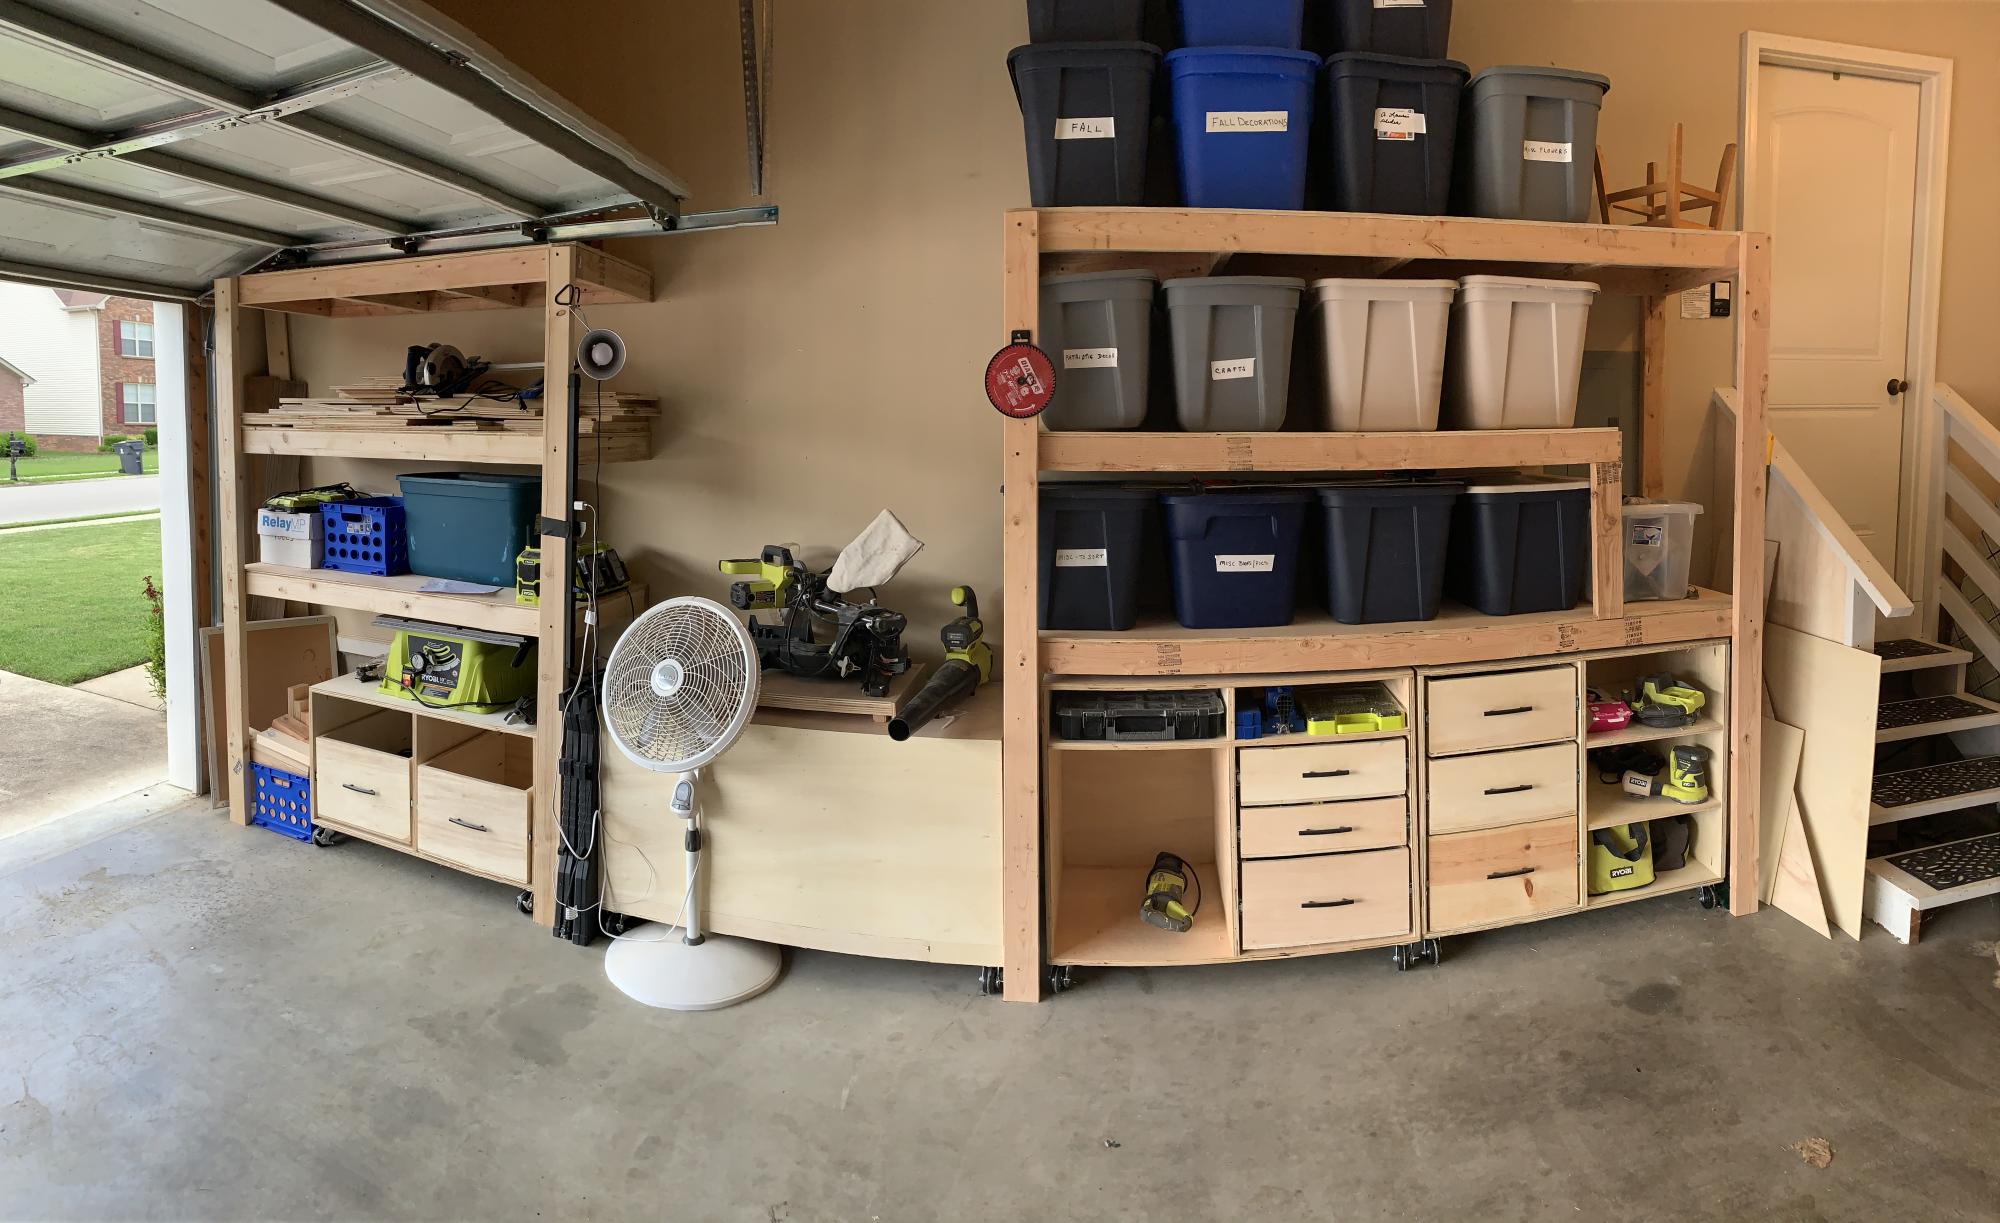
I bought a whole workshop full of Ryobi tools second hand from my brother over a year ago. I started researching workshop plans and came across Anna White’s Ryobi Nation Dream Workshop. I downloaded the plans and spent about 2-3 months working on it in my spare time. I made a lot of mistakes along the way but I’m pretty happy with it overall!
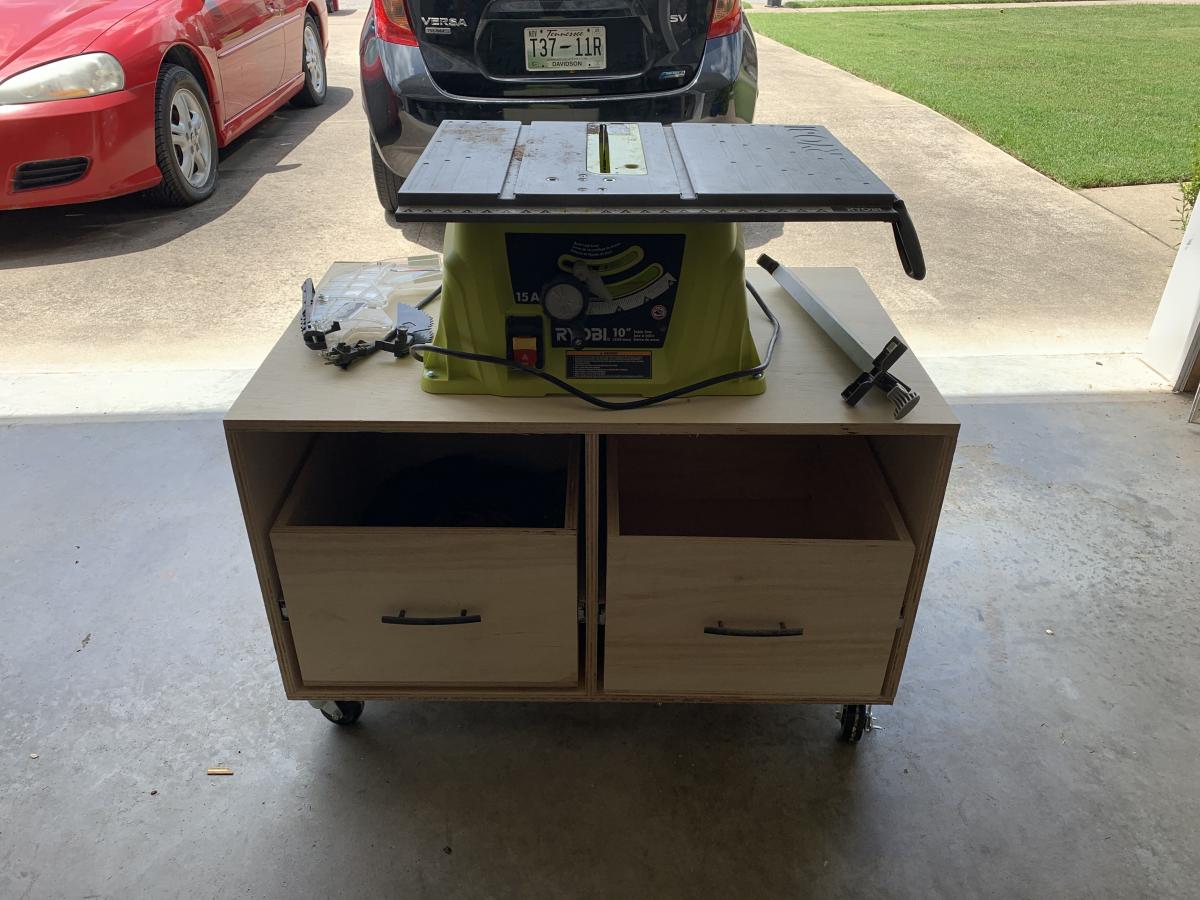
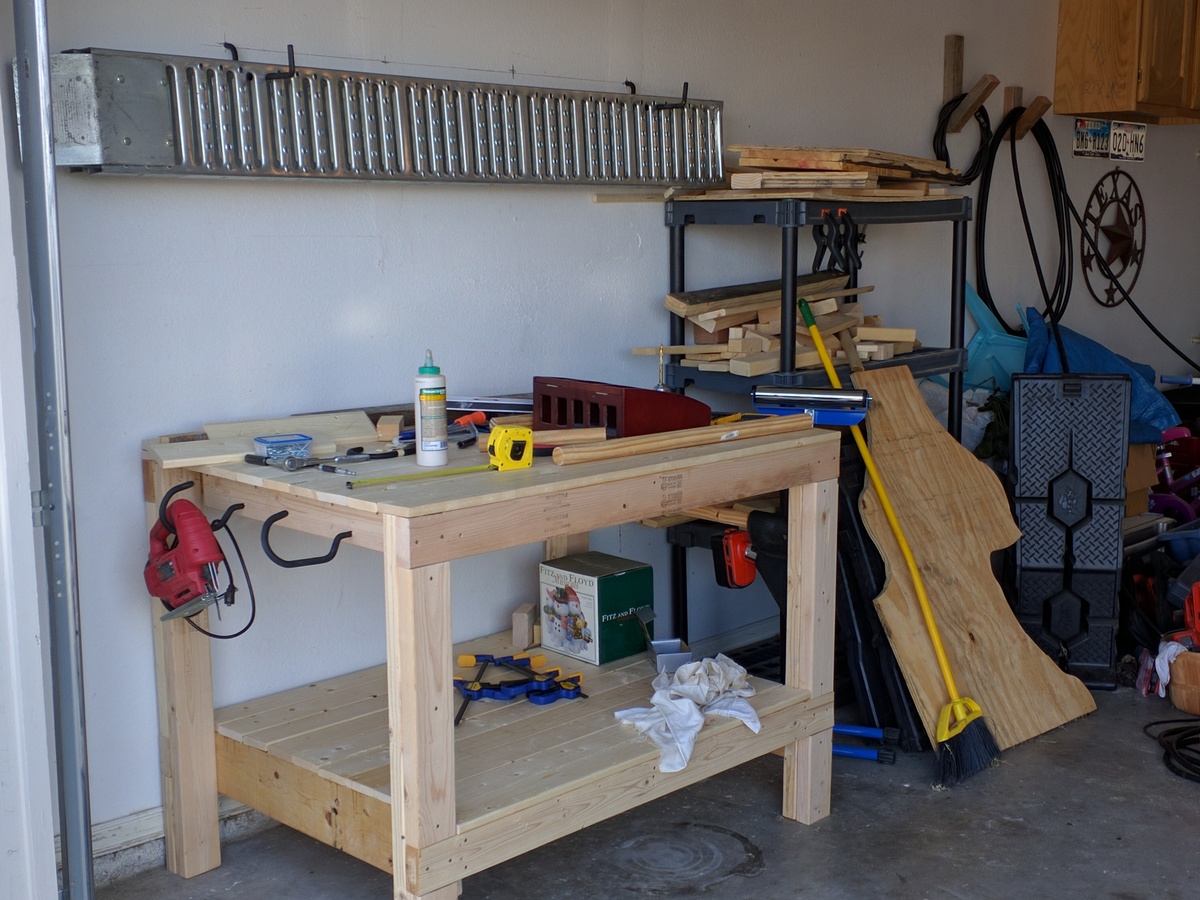
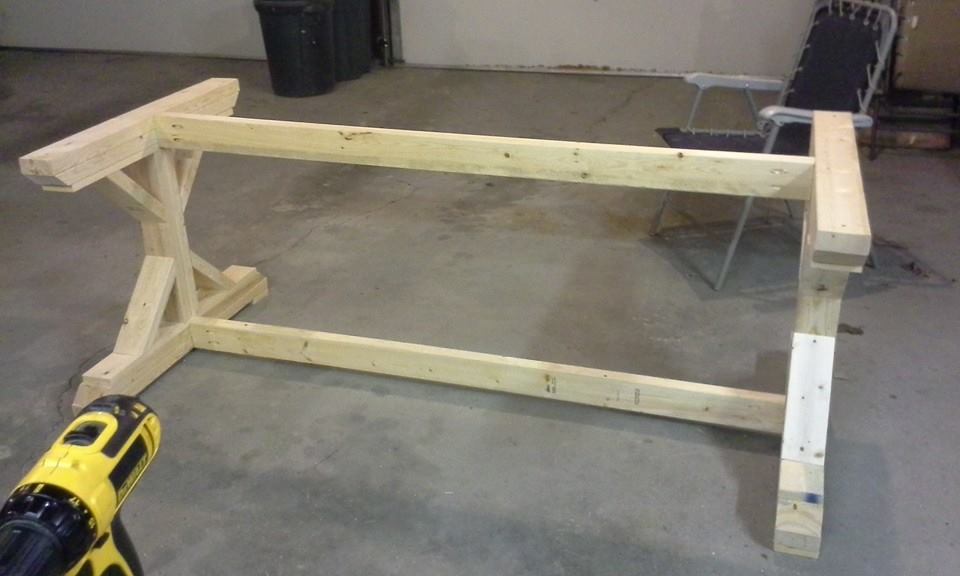
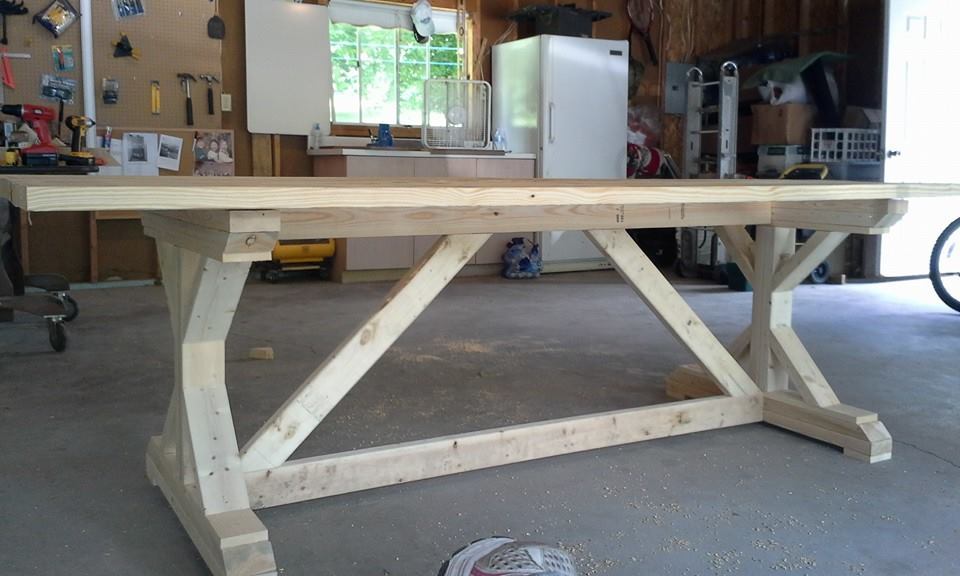
Altered the original plan only enough to accommodate the materials I had lying around without going to buy more lumber. The workbench I built is not as wide being only 48" instead of the 55" noted in the plans. For the top of the workbench and the lower shelf I used 1x4 furring boards again, because it is what I had for material at the time of building.
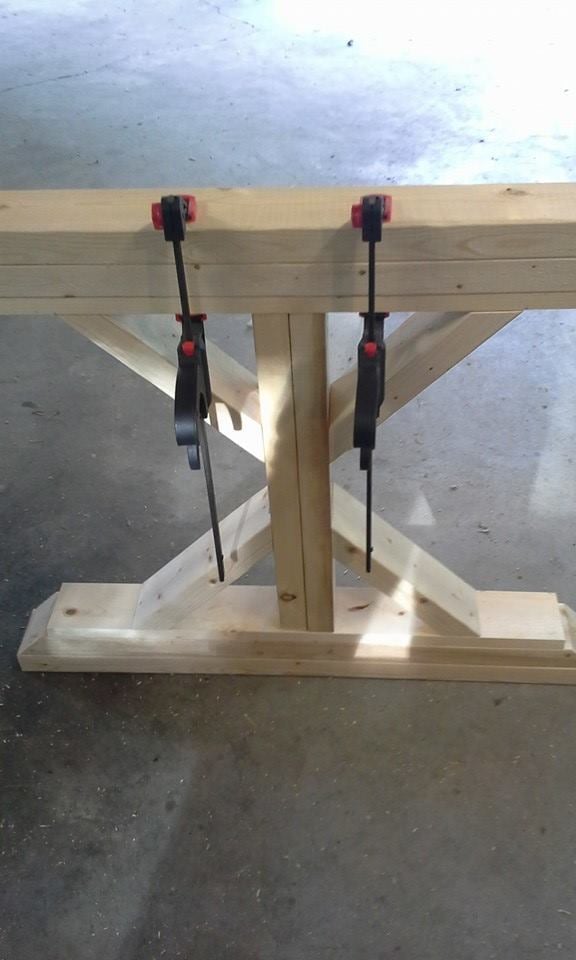
Once I made the basic frame, I squared it and then installed the supports for the table top and the lower shelf. Once the supports were in I cut the 1x4's to the appropriate length. As I laid each respective board, I also laid a good dose of wood glue down and then clamped them in place. I let those boards set with glue for about 5 minutes before going back and using a 2" brad nailer to finish them off. Once the nailing was done, I removed the clamps and moved to the next series of boards. Because I had several clamps I was able to lay about three boards at a time and let the glue set for another 10-15 minutes. Working slowly and methodically got the whole job done in a couple of days of a few hours a piece before completion.
Easy project and something that will last a long time when done correctly.

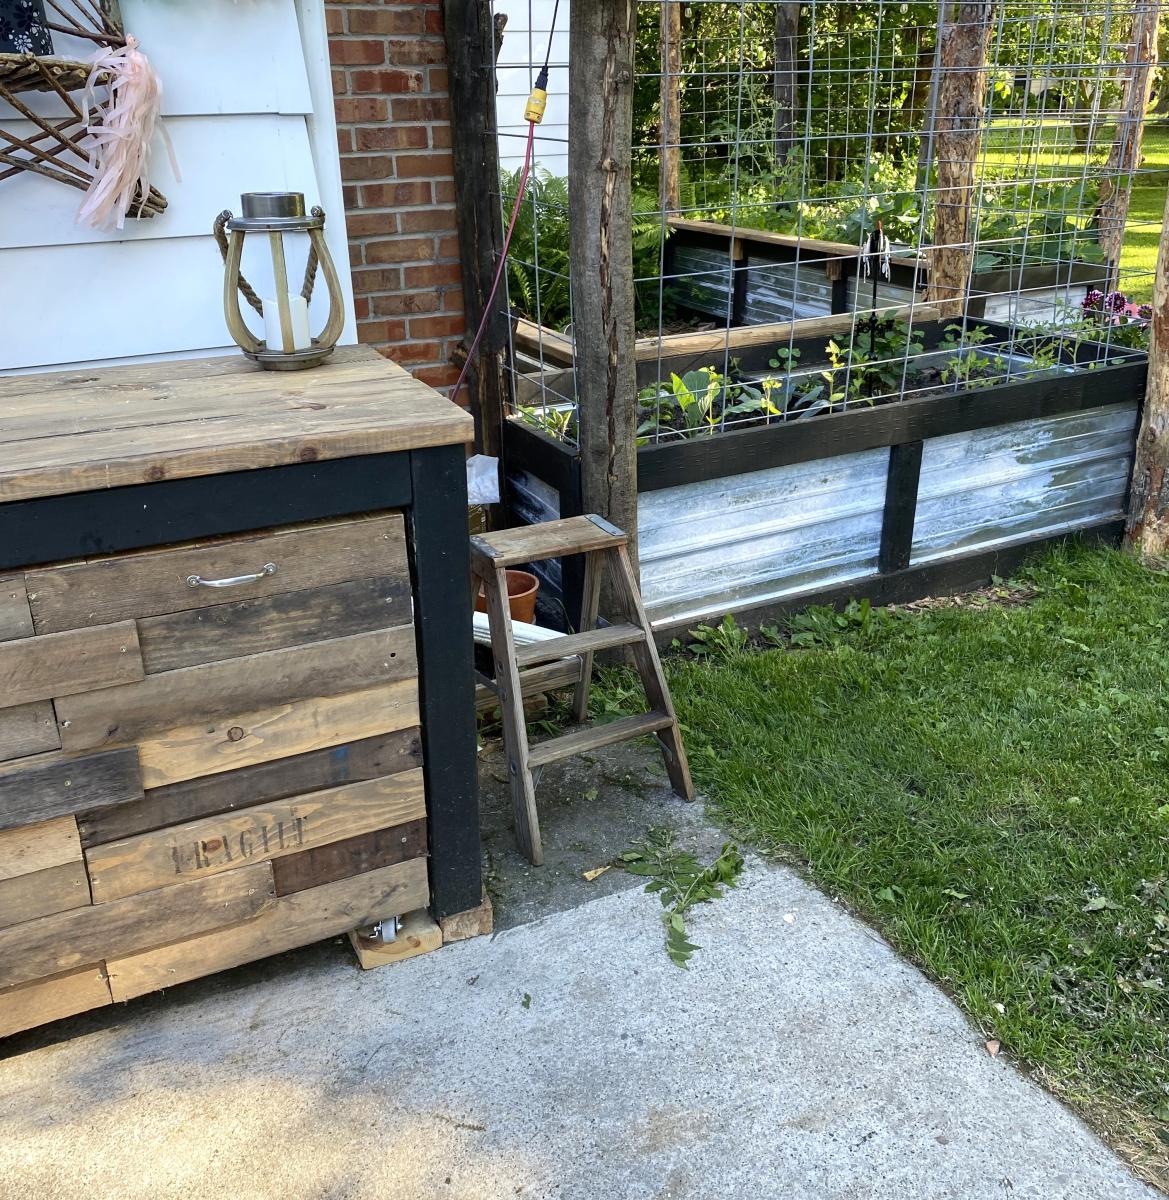
I made the grill table to match my chicken coop and my garden beds. Absolutely LOVE it!! (Ignore my cracked concrete (the table is level). The plans were easy to follow and it all came together great!! Thank you!
Kelly


I LOVE this project!!!! Great directions! Amazing results. It makes a very comfortable, and sturdy chair. So far, I have made two. Three more to go. 😄
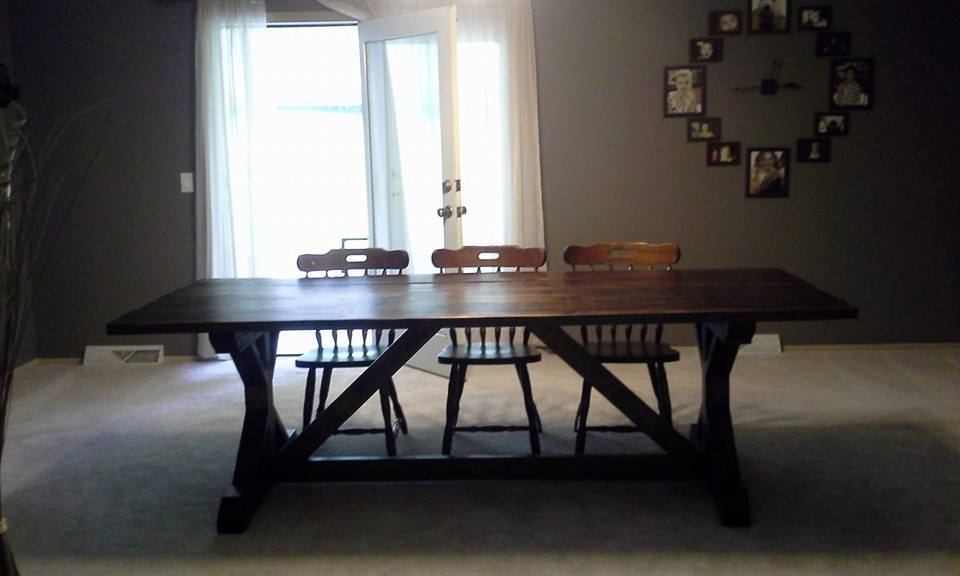
This was not my first build, but it was the first time I have done miter cuts. It was an easy to follow plan. The hardest part was trying to decide on the stain color! I am thrilled with the way it turned out. This table will easily seat 10 people which will be perfect for parties and dinners.
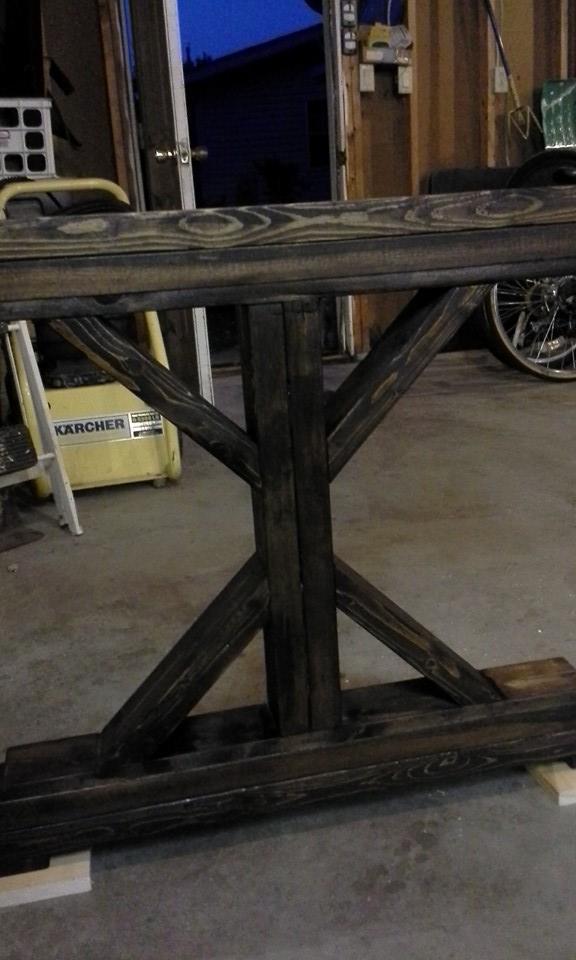
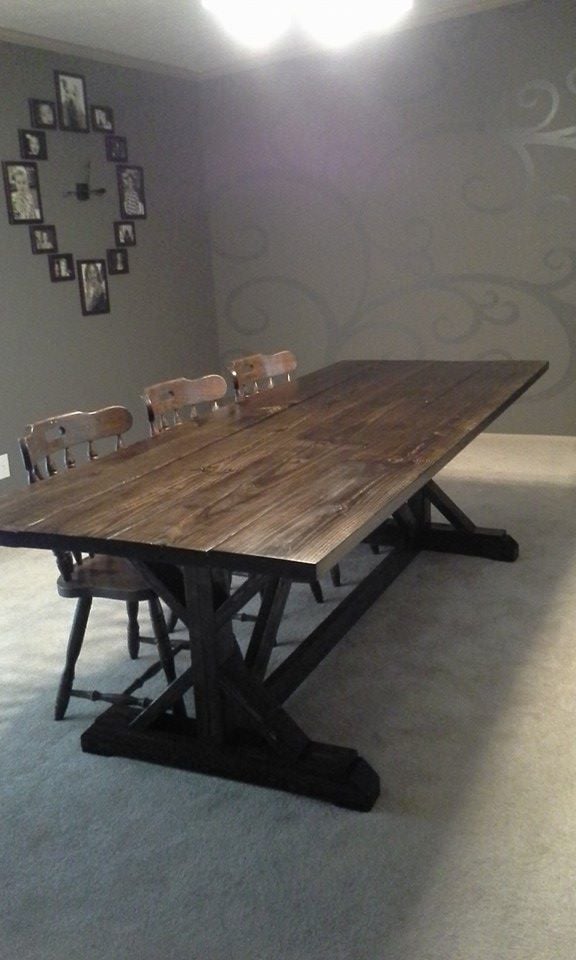
I built the Rustic Farmhouse table and I only had to make minor changes because I got the wood rough cut milled in my neighbor's backyard. I built the bench with the left over pieces without any plans, just tried to make it match the table. We love it and it is definitely a step up from what we had before! I just have to browse your chair plans now because these chairs in the picture are from our old table.
Wed, 08/13/2014 - 13:07
Are you willing to divulge your exact paint color and stain? Is it white? Looks kind of bluish. Love the contrast. Great job.
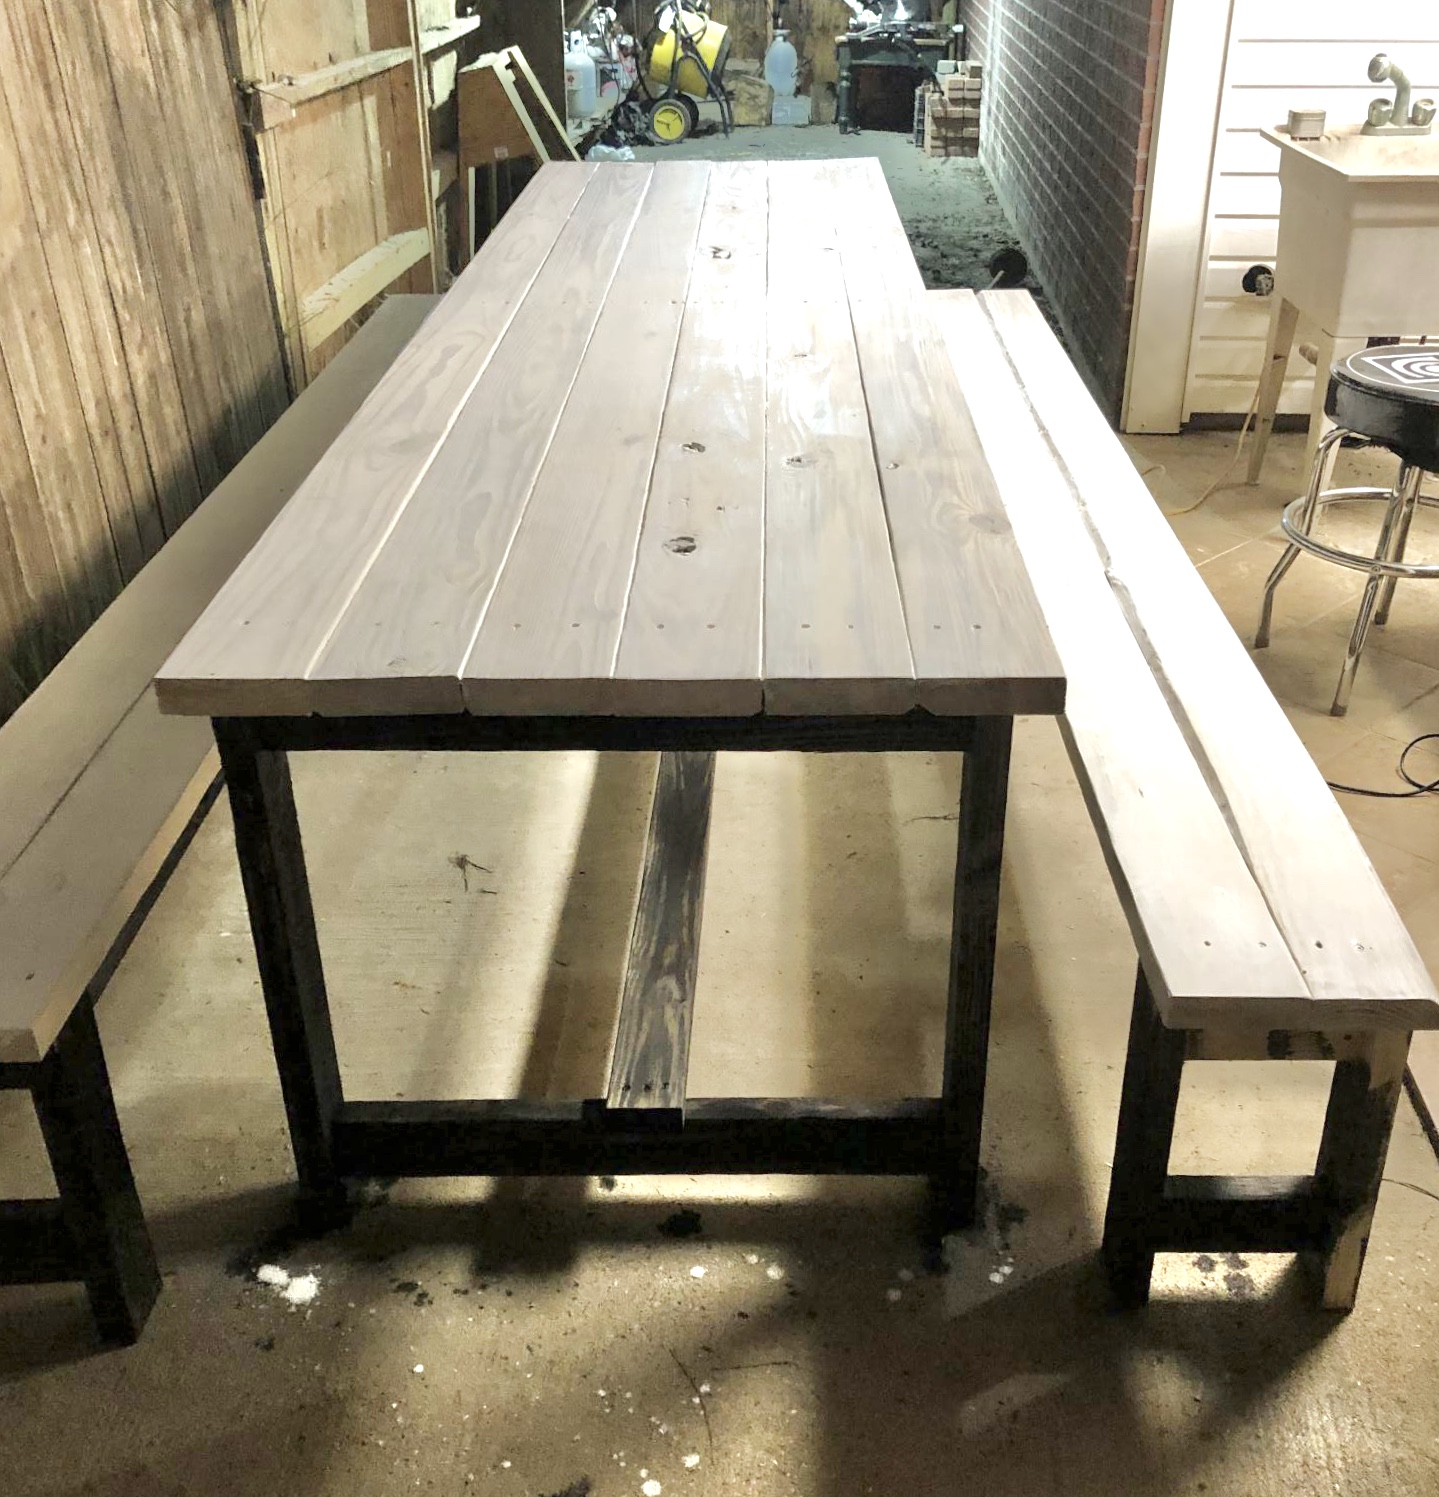
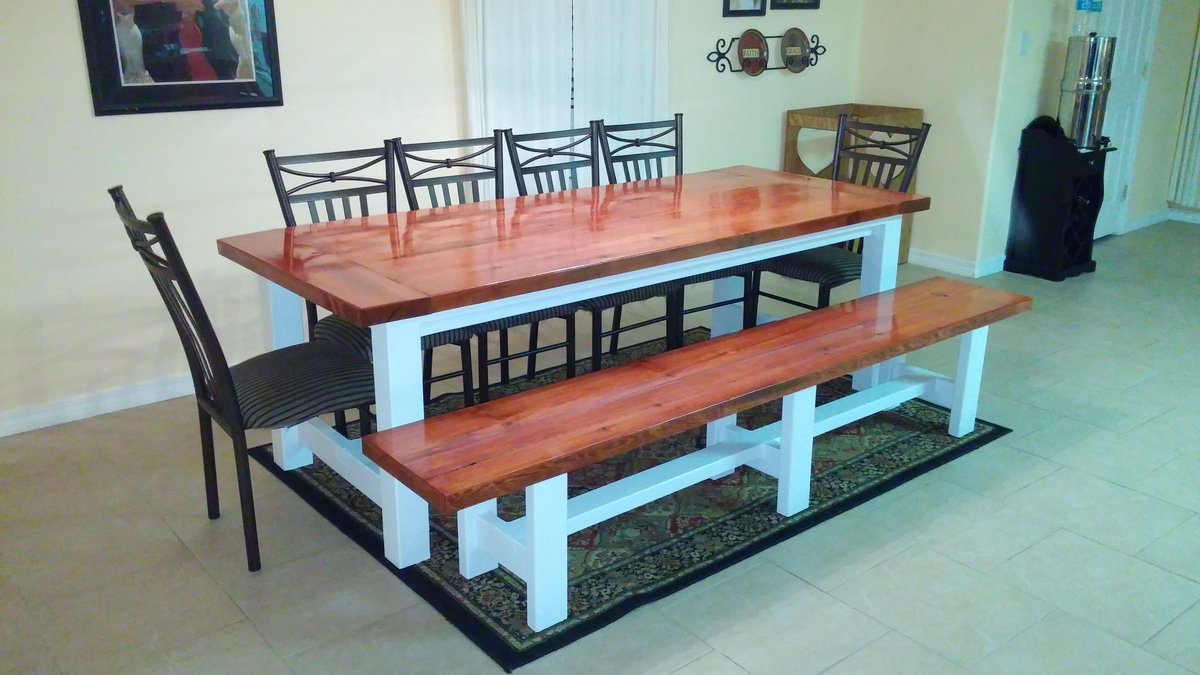
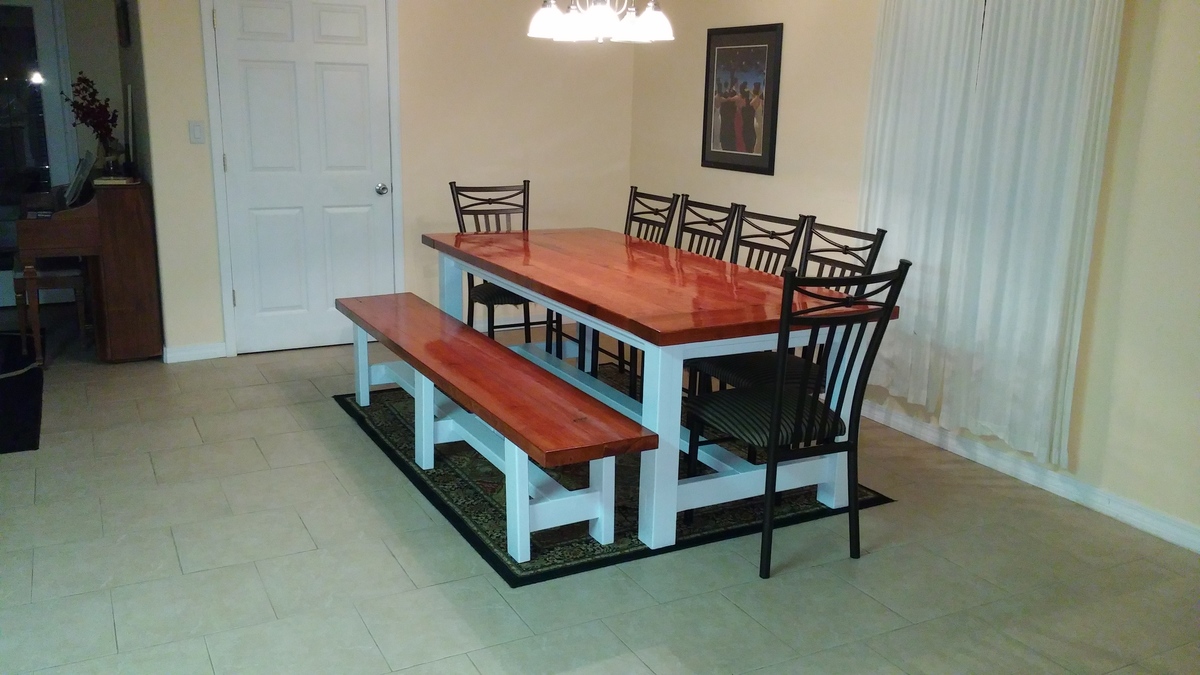
We built a larger version of the farmhouse table. It’s always been a dream to have a massive table for family dinners. I loved the look of the table and have wanted to attempt it for a couple of years. I finally got the courage up. We kept the legs the same size and just used 10 ft 2x6 and stretchers. It’s extremely solid and heavy! We are exhausted, it took all day! But we are so proud of ourselves. It’s definitely not perfect but it was our first and we love it!
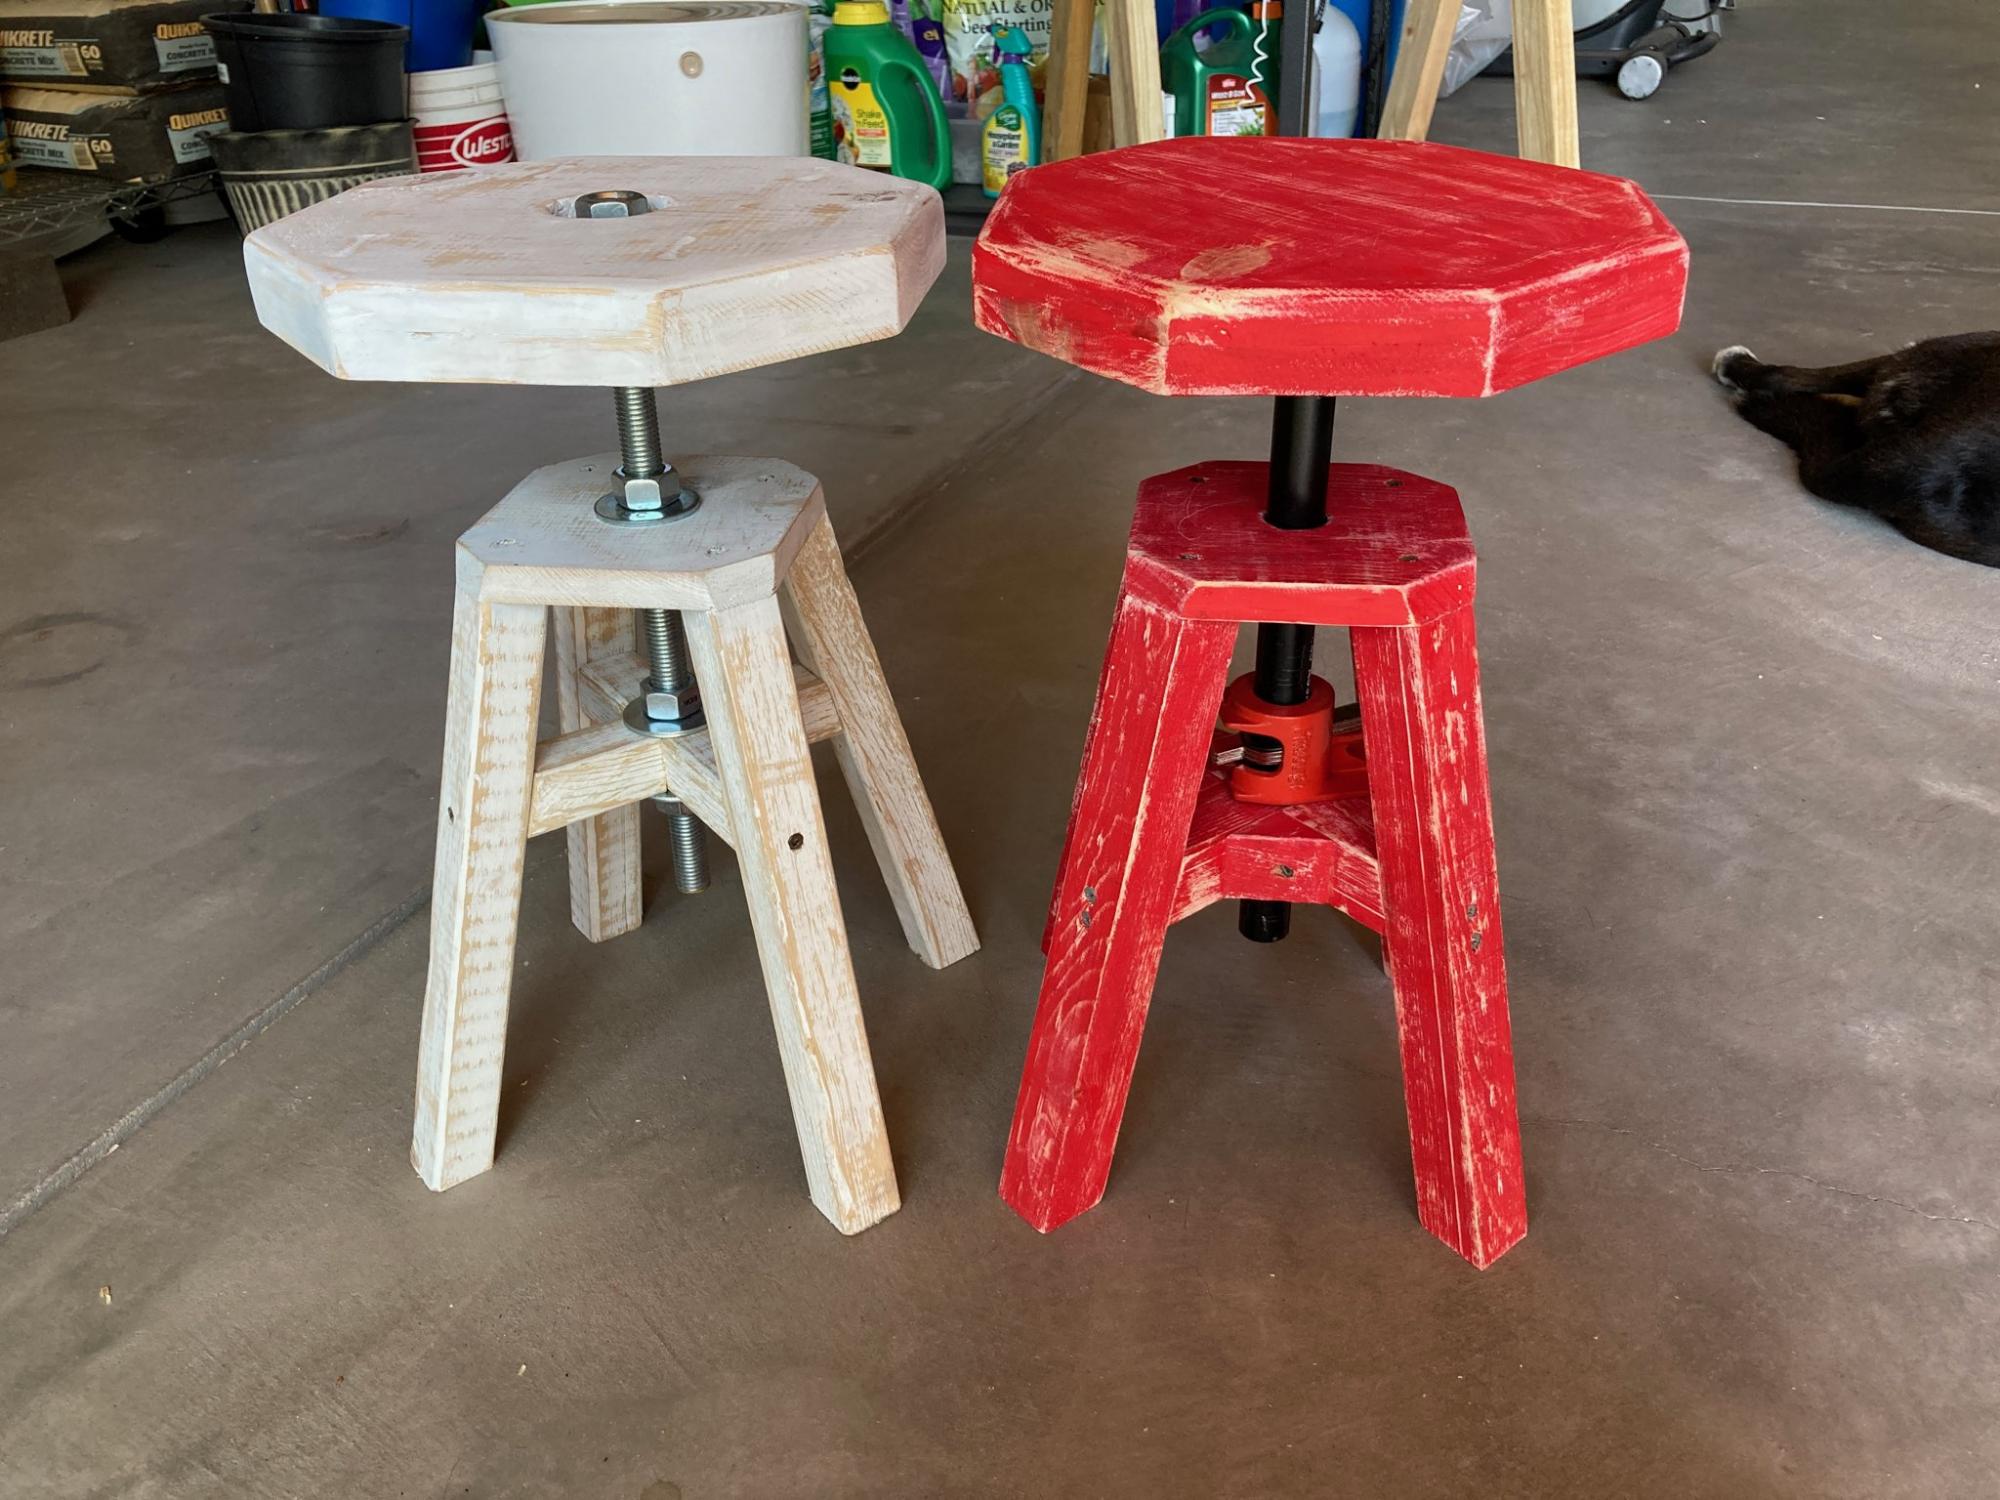
White chair was made first mostly based on the original plans, but my pipe flange broke immediately. So I just bolted the top on and then made red chair with a pipe and harbor freight pipe clamp instead of all-thread and nuts. It allows easy instant adjustment and a better fit with the pipe flange.
The reason I made the change is that pipe threading has a tapered angle, so when used with all-thread which is a strait cylinder, it doesn't make proper thread contact. On top of that, the only all thread I could find had a different threads per in (10 vs 14) than standard pipe and cross threaded my flange, causing it to break on the first use.
I used 3/4ths pipe because I was trying to avoid all possible problems from the first try (which used a 1/2 in pipe flange) and this took too much material out of my cross supports for my comfort. So I added 45 deg right triangle scrap to the corners to beef it up. Probs would be much cheaper and still work fine with 1/2 in pipe.
Finally both chairs have much shorter legs than suggested in the plans because I needed regular chair height stools, not bar stools. And they still get high enough to be usable at counter height (but not ideal).

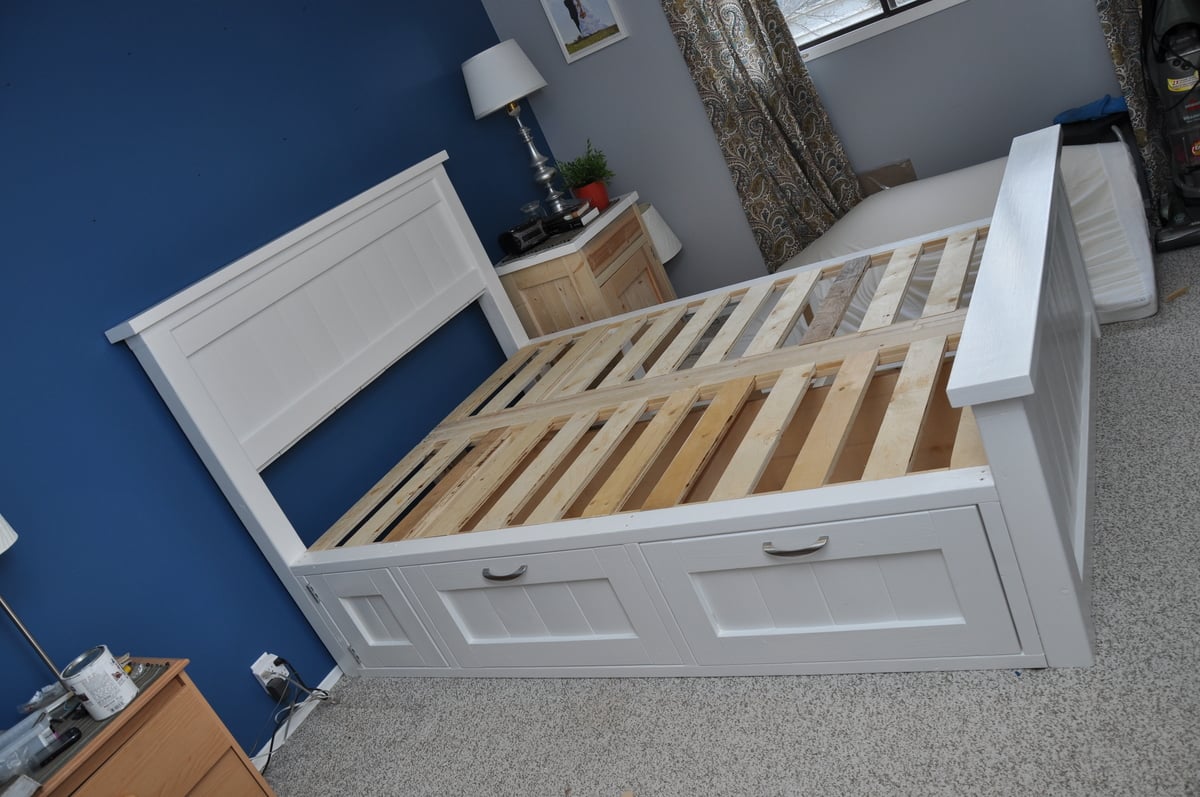
I had to come on here to thank you all for inspiring me to build this bed! The thought of building such a big piece of furniture never really occurred to me until I saw the Farmhouse queen plans, which really got the gears turning.
I wanted to add some storage to the bed, though, and so I kept looking at other projects on this site. I don't know which plans are all combined into this one, but you can see the one side table in some of the pictures which is based on a hutch plan here, and the concepts there are used in the drawer fronts on the bed. I still plan to build a matching side table for this side of the bed and also a dresser unit to complete the bedroom set.
This entire project was built on my deck as I don't have a garage. Started at the end of September and working by flood light on nights where I could find the time. It was finally moved inside to paint. The bed is built into four sections for disassembly - headboard, footboard, and a base section that is split in half with knockdown fasteners. The headboard and footboard are also attached with knockdowns, so the entire bed comes apart with an allen key.
The cost was incredibly low. My biggest cringe costs were for the 4x4 posts, which I had to buy in cedar, and the birch 3/4" plywood for the drawers. All in costs are still under $200, though I did own a Kreg system which got used a fair amount.
I did modify the footboard / headboard construction since I had the Kreg system. Rather than using a 1x4 backing board with 1x verticals and a 1x4 front board, I used a Kreg'ed 2x4 as the backing board, flush to the 4x4 post... no 4 1/2" screws required! The 1x verticals were then glued and nailed onto the 2x4s, and the 1x4 front board was glued and nailed to it.
The drawers are huge! 29" wide x 26" deep x 14" tall (more or less). Also, they are positioned so that when a side table is placed beside the bed the drawers can still open. The panel at the head of the bed is a door with a magnetic catch. I think of that area as 'deep storage' as you would have to move a side table to get in there. The door is there to get there if you want to though.
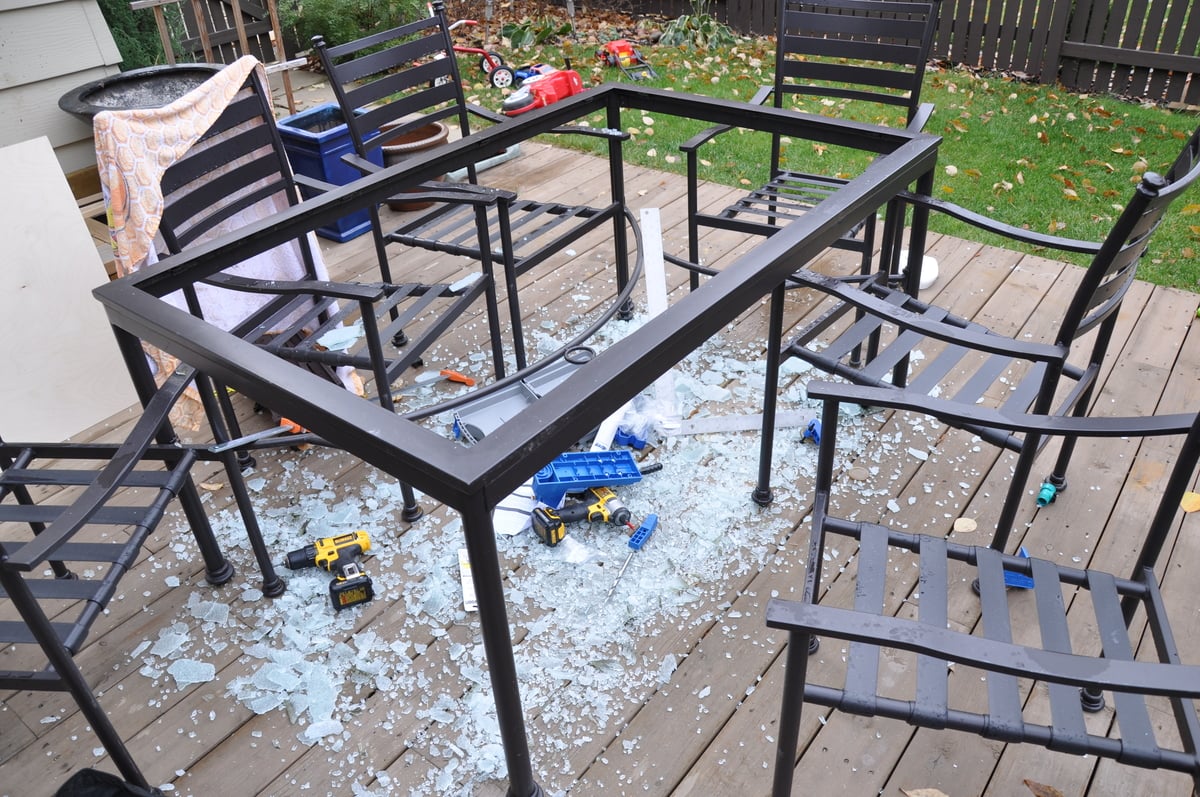
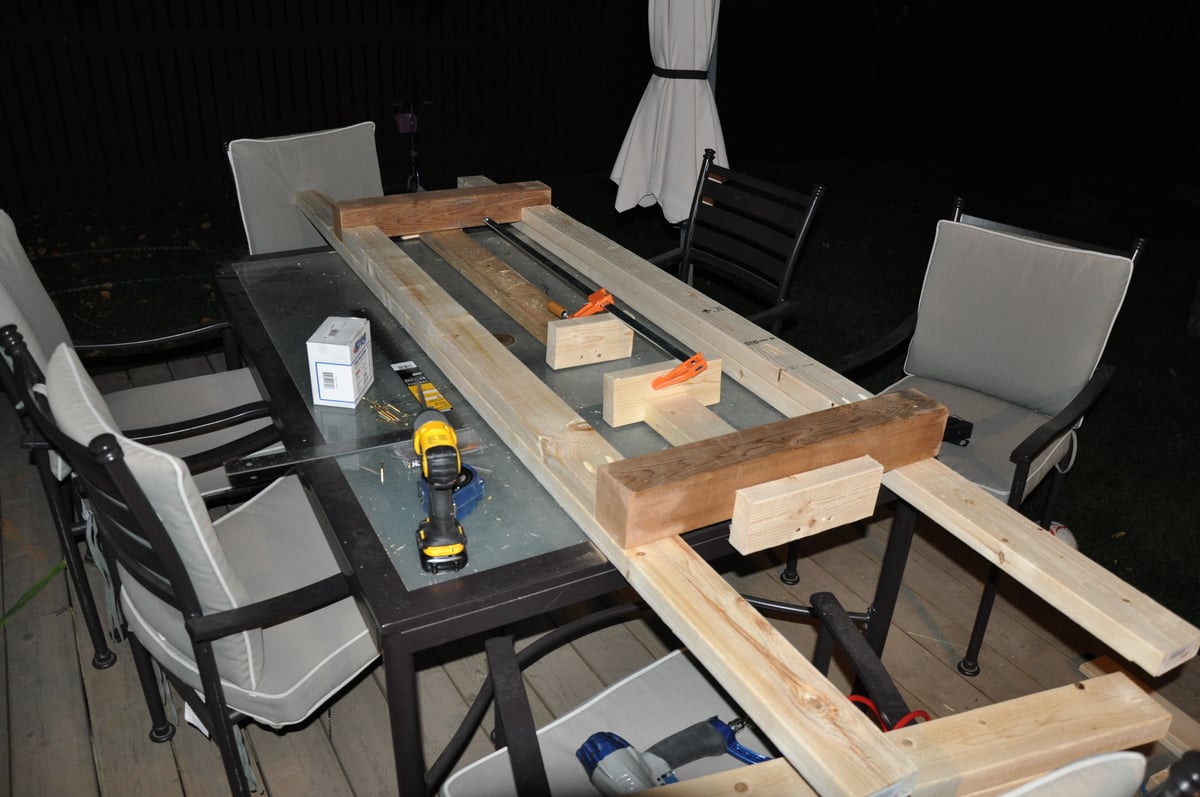
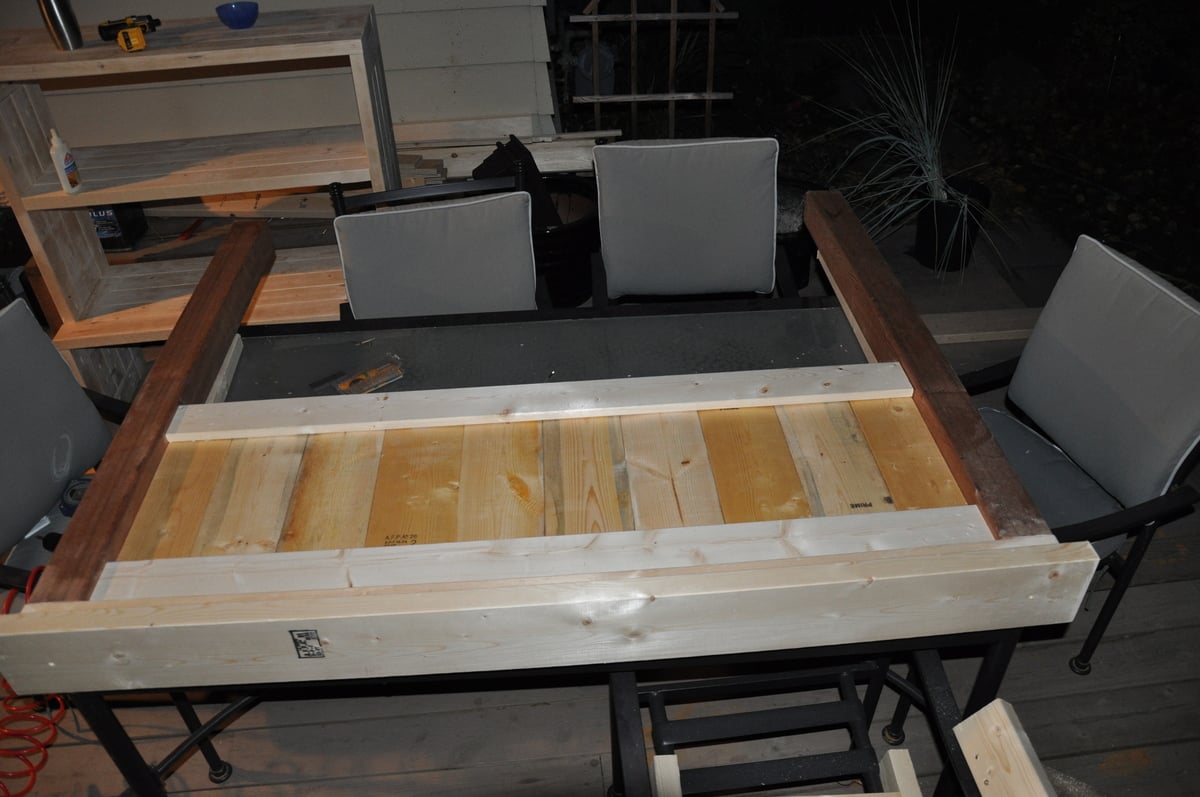
One cost not accounted for... my 'work bench' patio table sustained an injury. I still maintain I did not drop anything onto it. In fact, I was using a tape measure to measure a drawer length when the glass shattered out from under the piece I was measuring. It was cold in the morning, so maybe that had something to do with it. But now I just have to add 'fix patio table' to the project list.
Thanks again!
Mark
Tue, 10/23/2012 - 19:04
I can't wait until we have time to build a farmhouse storage bed. Yours looks great!.
Sun, 01/06/2013 - 19:35
Very smart placement of the drawers - I too am aspiring to build this some day and wondered about a fix on that - do I just store things in that drawer I rarely want to get at? No, I like your idea better. Beautiful job on the bed - it looks nice.
Sun, 11/10/2013 - 17:49
This is exactly what I'm looking for. I love the drawers. Would you be willing to share more on how you did those, vs the plywood boxes in the plans?
Thu, 03/20/2014 - 11:40
Sorry for taking so long to reply to your question! I missed it.
I don't have any pictures / details on how it was done, but I can explain it. The front face is built as a 2x4 surround with 1x6 inset boards. I then put a dado in the bottom side 1/4" up from the bottom.
I then made a drawer box from 5/8" plywood, kreg jigged to the front face. A 1/4" piece of plywood was used as the drawer bottom, and inset into the front face of the drawer.
This all sounds a bit difficult and confusing, but it isn't. Maybe I should take some pictures. Let me know if you'd like to see them.
Wed, 07/30/2014 - 10:55
Great build! I'd love to see some more photos of the drawer surround/frame with the drawers out. Is it all 2x3 stud construction? Any problems with warping or the drawer slides not square/plum?
Thu, 10/16/2014 - 10:22
Racking my brains out trying to figure out how you laid those slats across the top of the drawers... If you wouldn't mind posting a few more pics, I would really appreciate it. My daughter wants this for her birthday.
Thanks!
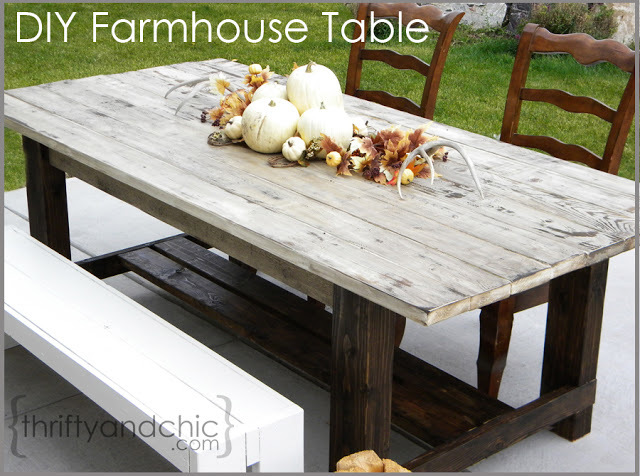
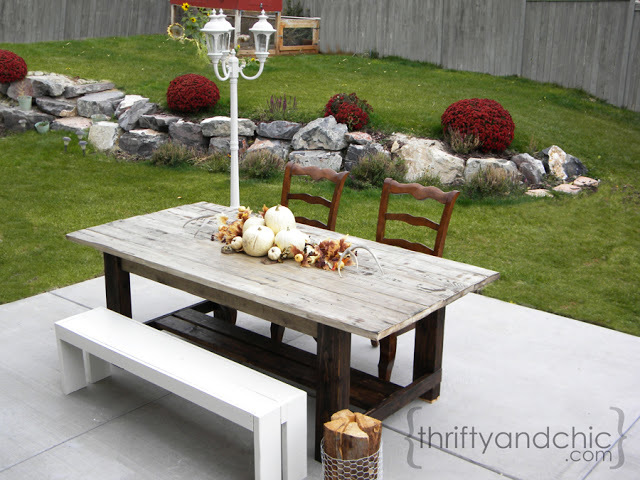
I've been wanting to build an outdoor farmhouse table for quite some time. Getting it to look old with new materials was the idea.Using notches to hold part of the base and experimenting with finishes got the 'rustic' look. I took a few ideas from the Gaby Kitchen Island and implemented my own; it turned out to be a great weekend project!

Fri, 10/26/2012 - 23:43
Love the table, especially the finish you used, it looks amazing. just have a question about if it is waterproof...i know it is an outdoor table, but is it protected by a veranda or is it completely exposed to the elements. i want to make one but am hesitant as it will be completely outside! Thanku!
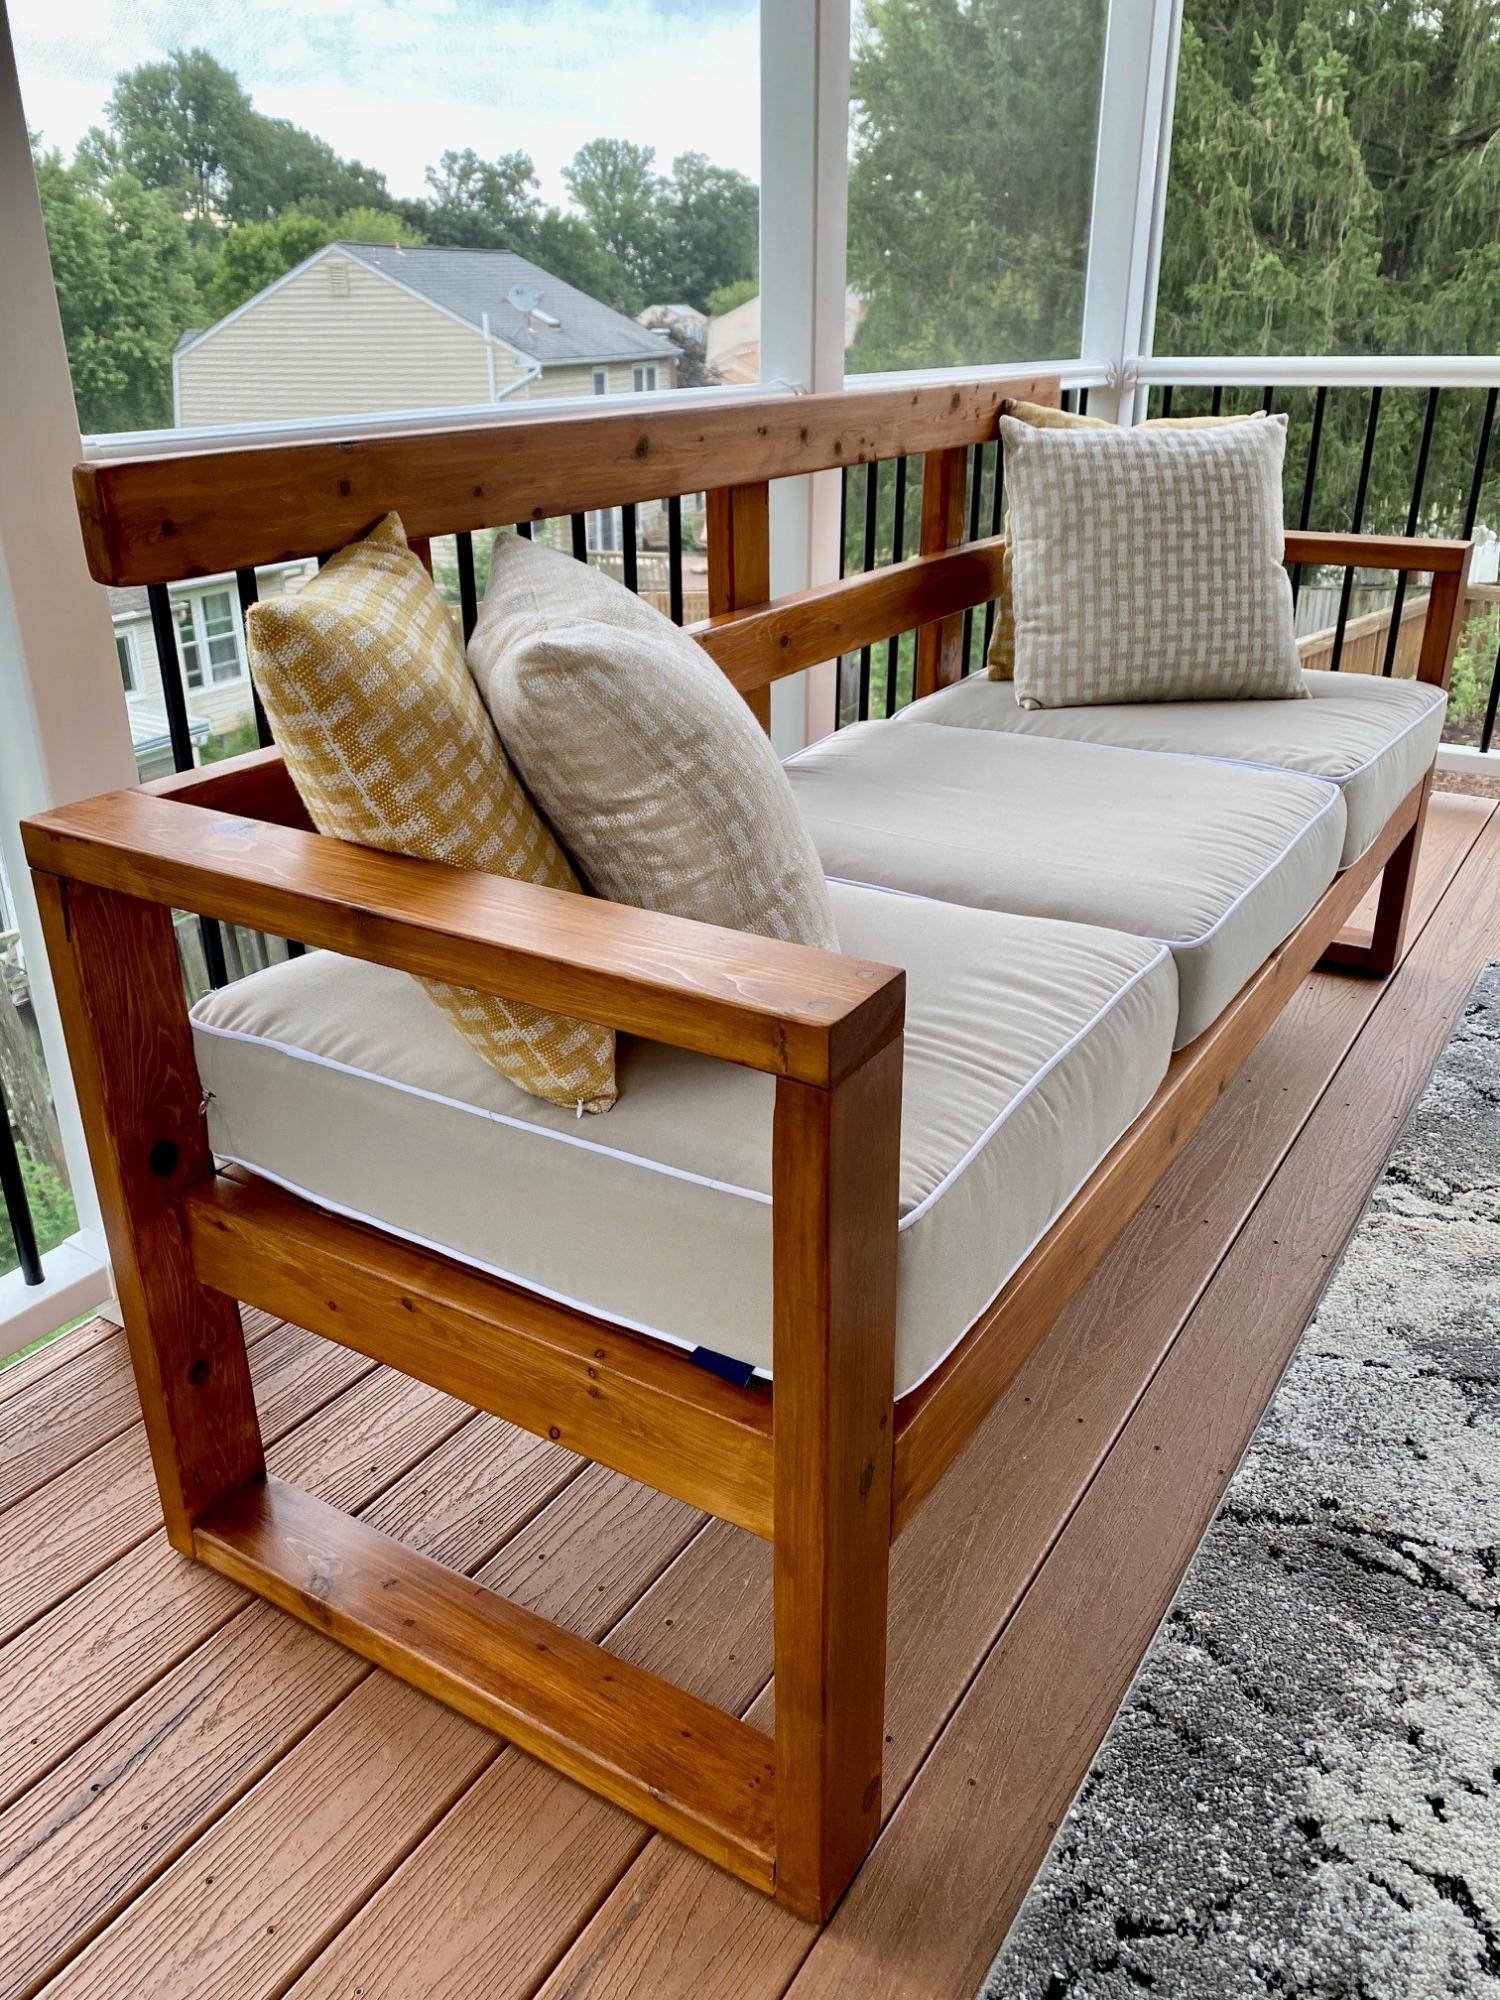
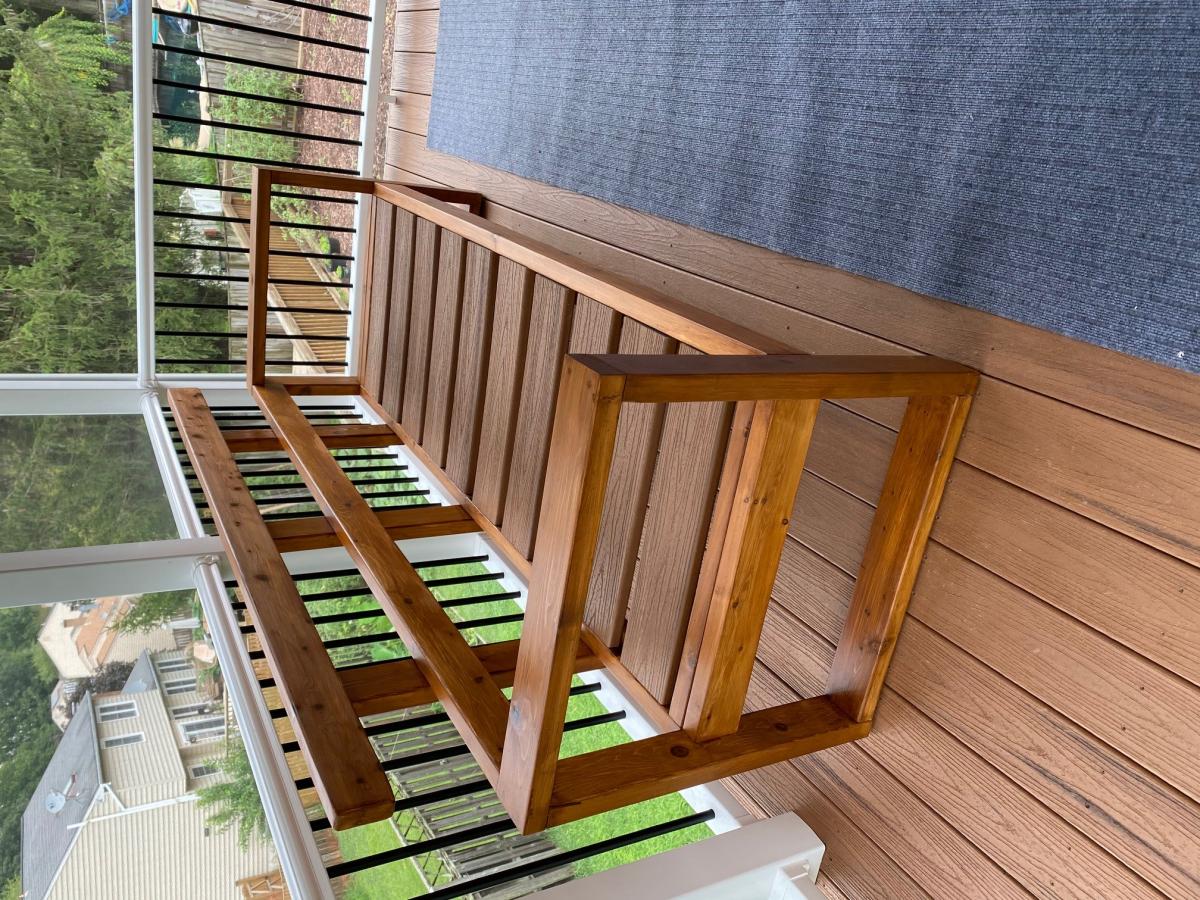
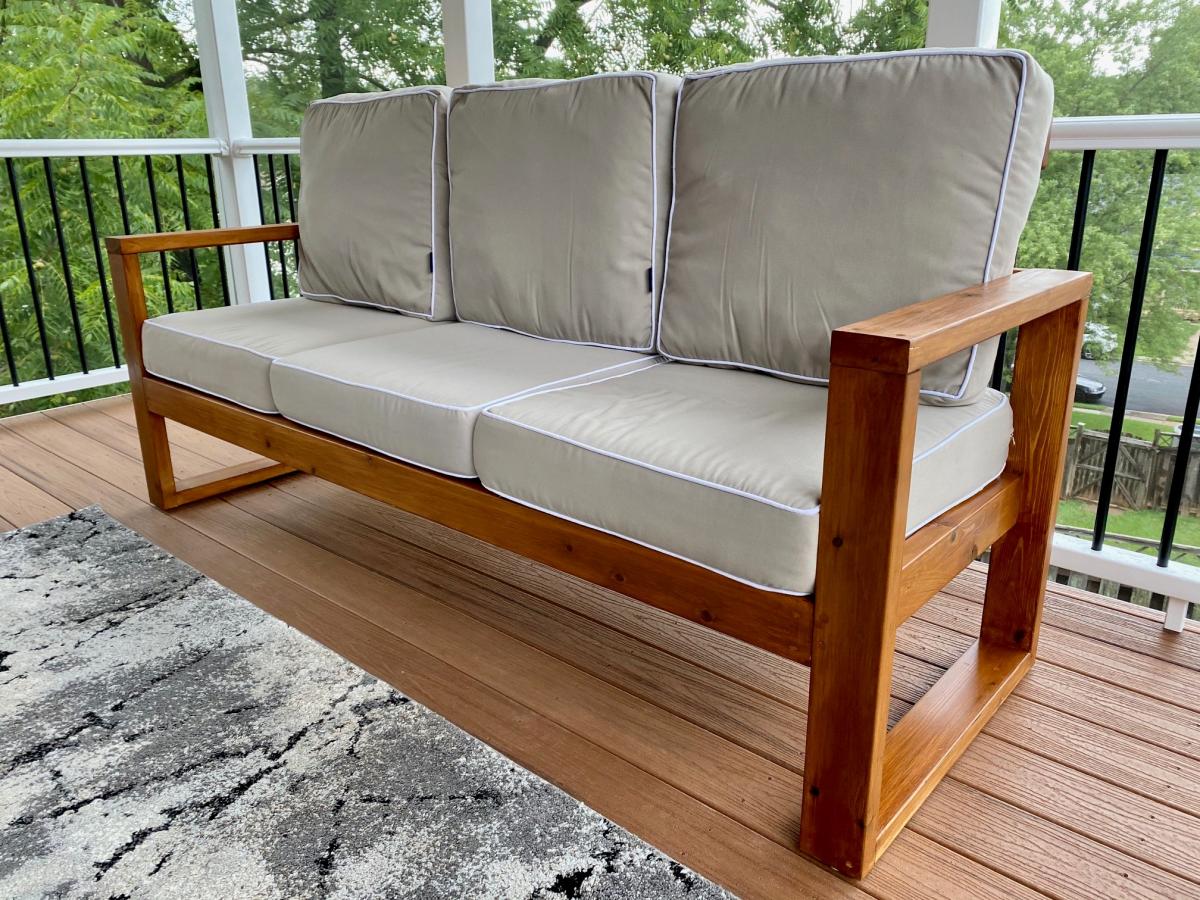
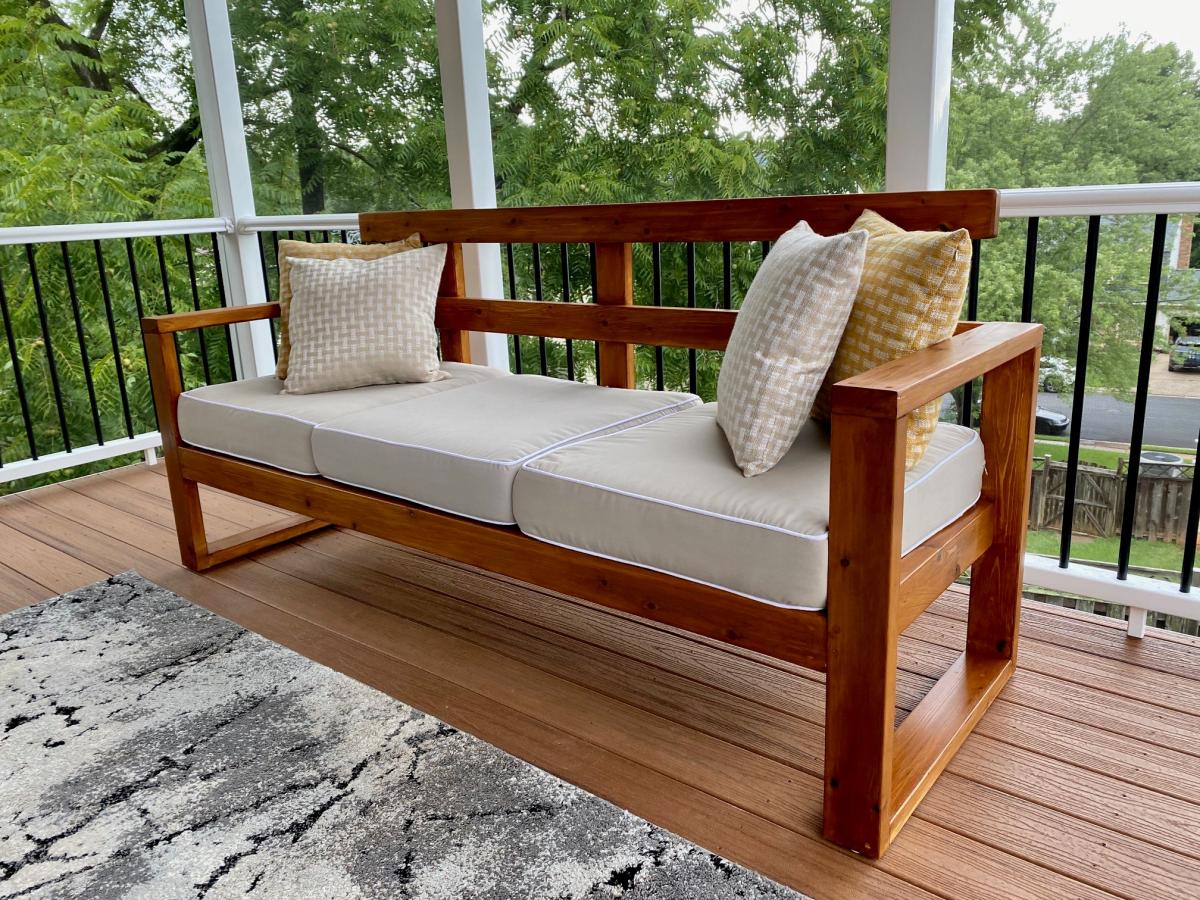
Built this beautiful Sofa from Ana White's Plan, had to modify a bit as I had left over small pieces of trex from my Deck , and the back rest cushions were higher.

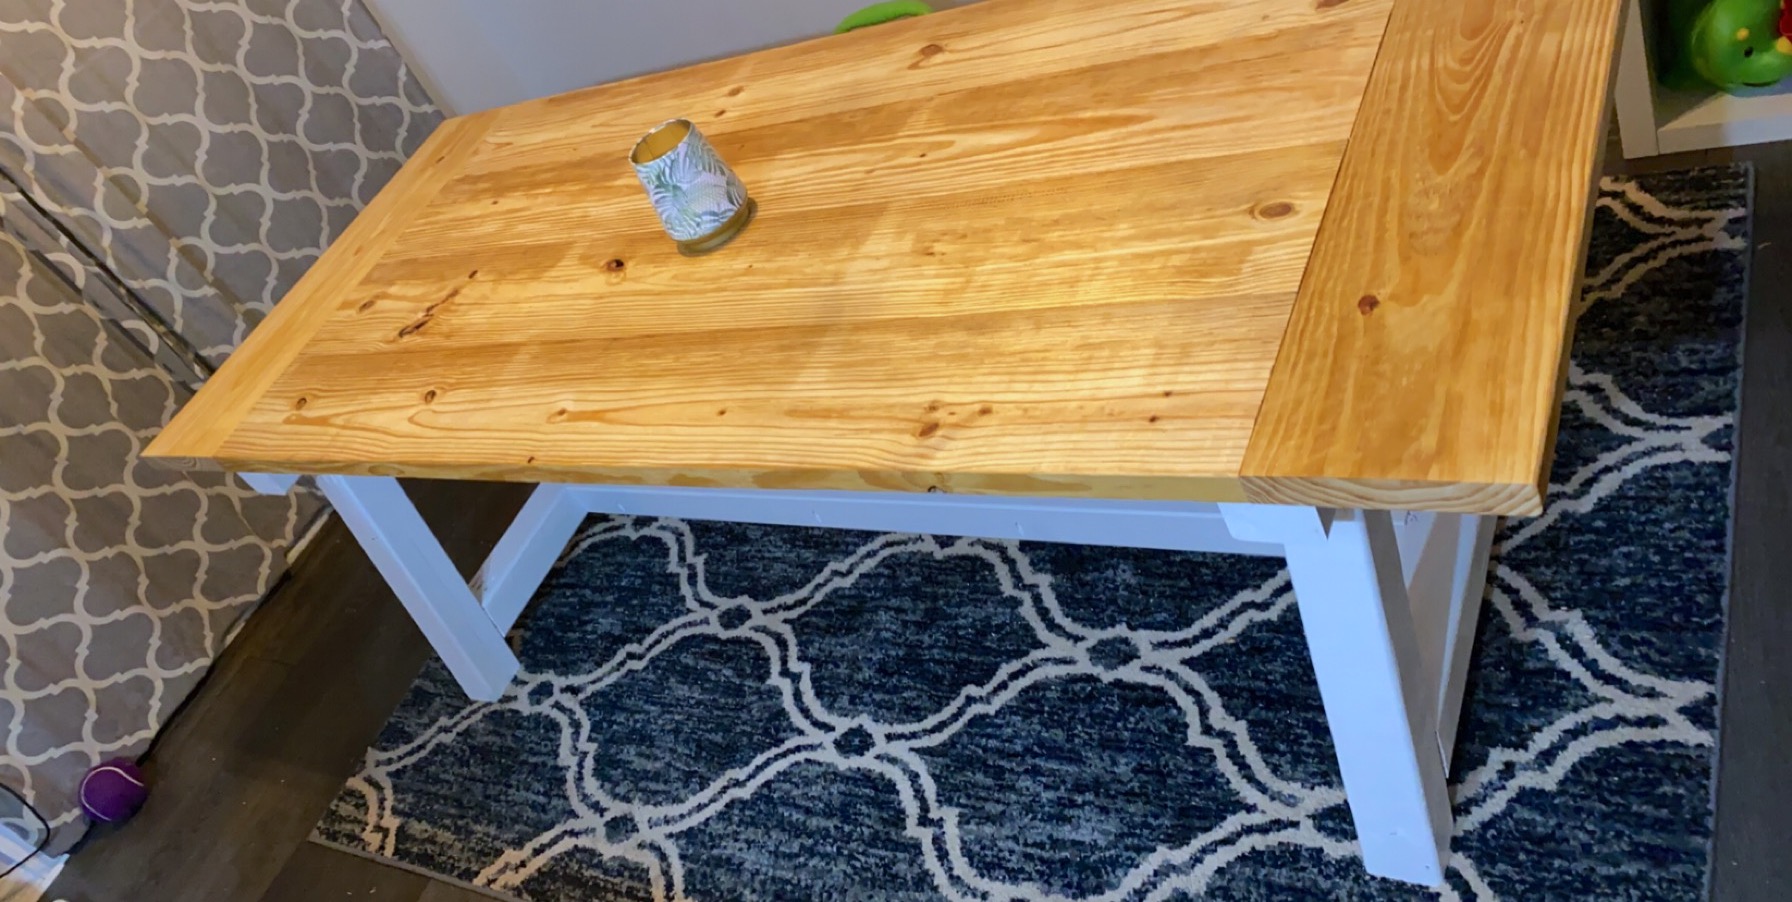
Built this table for my wife a few weeks ago. Pleasantly surprised how it turned out. Love this site and it has sparked a real joy within me in woodworking.
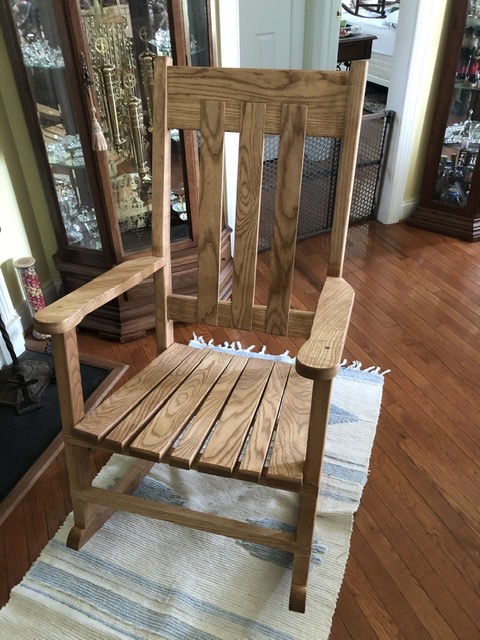
Getting ready for retirement, so I thought I needed a rocking chair.
No plans, just built what looked and felt right.
Thu, 03/18/2021 - 01:27
Lovely chair. Nice proportions. Would like to copy it. Have you got any plans, sketches, or dimensions to share?
Fri, 02/10/2023 - 13:10
Love this rocking chair! Do you have any dimensions or plans. I would live to take this project on. Thank you.
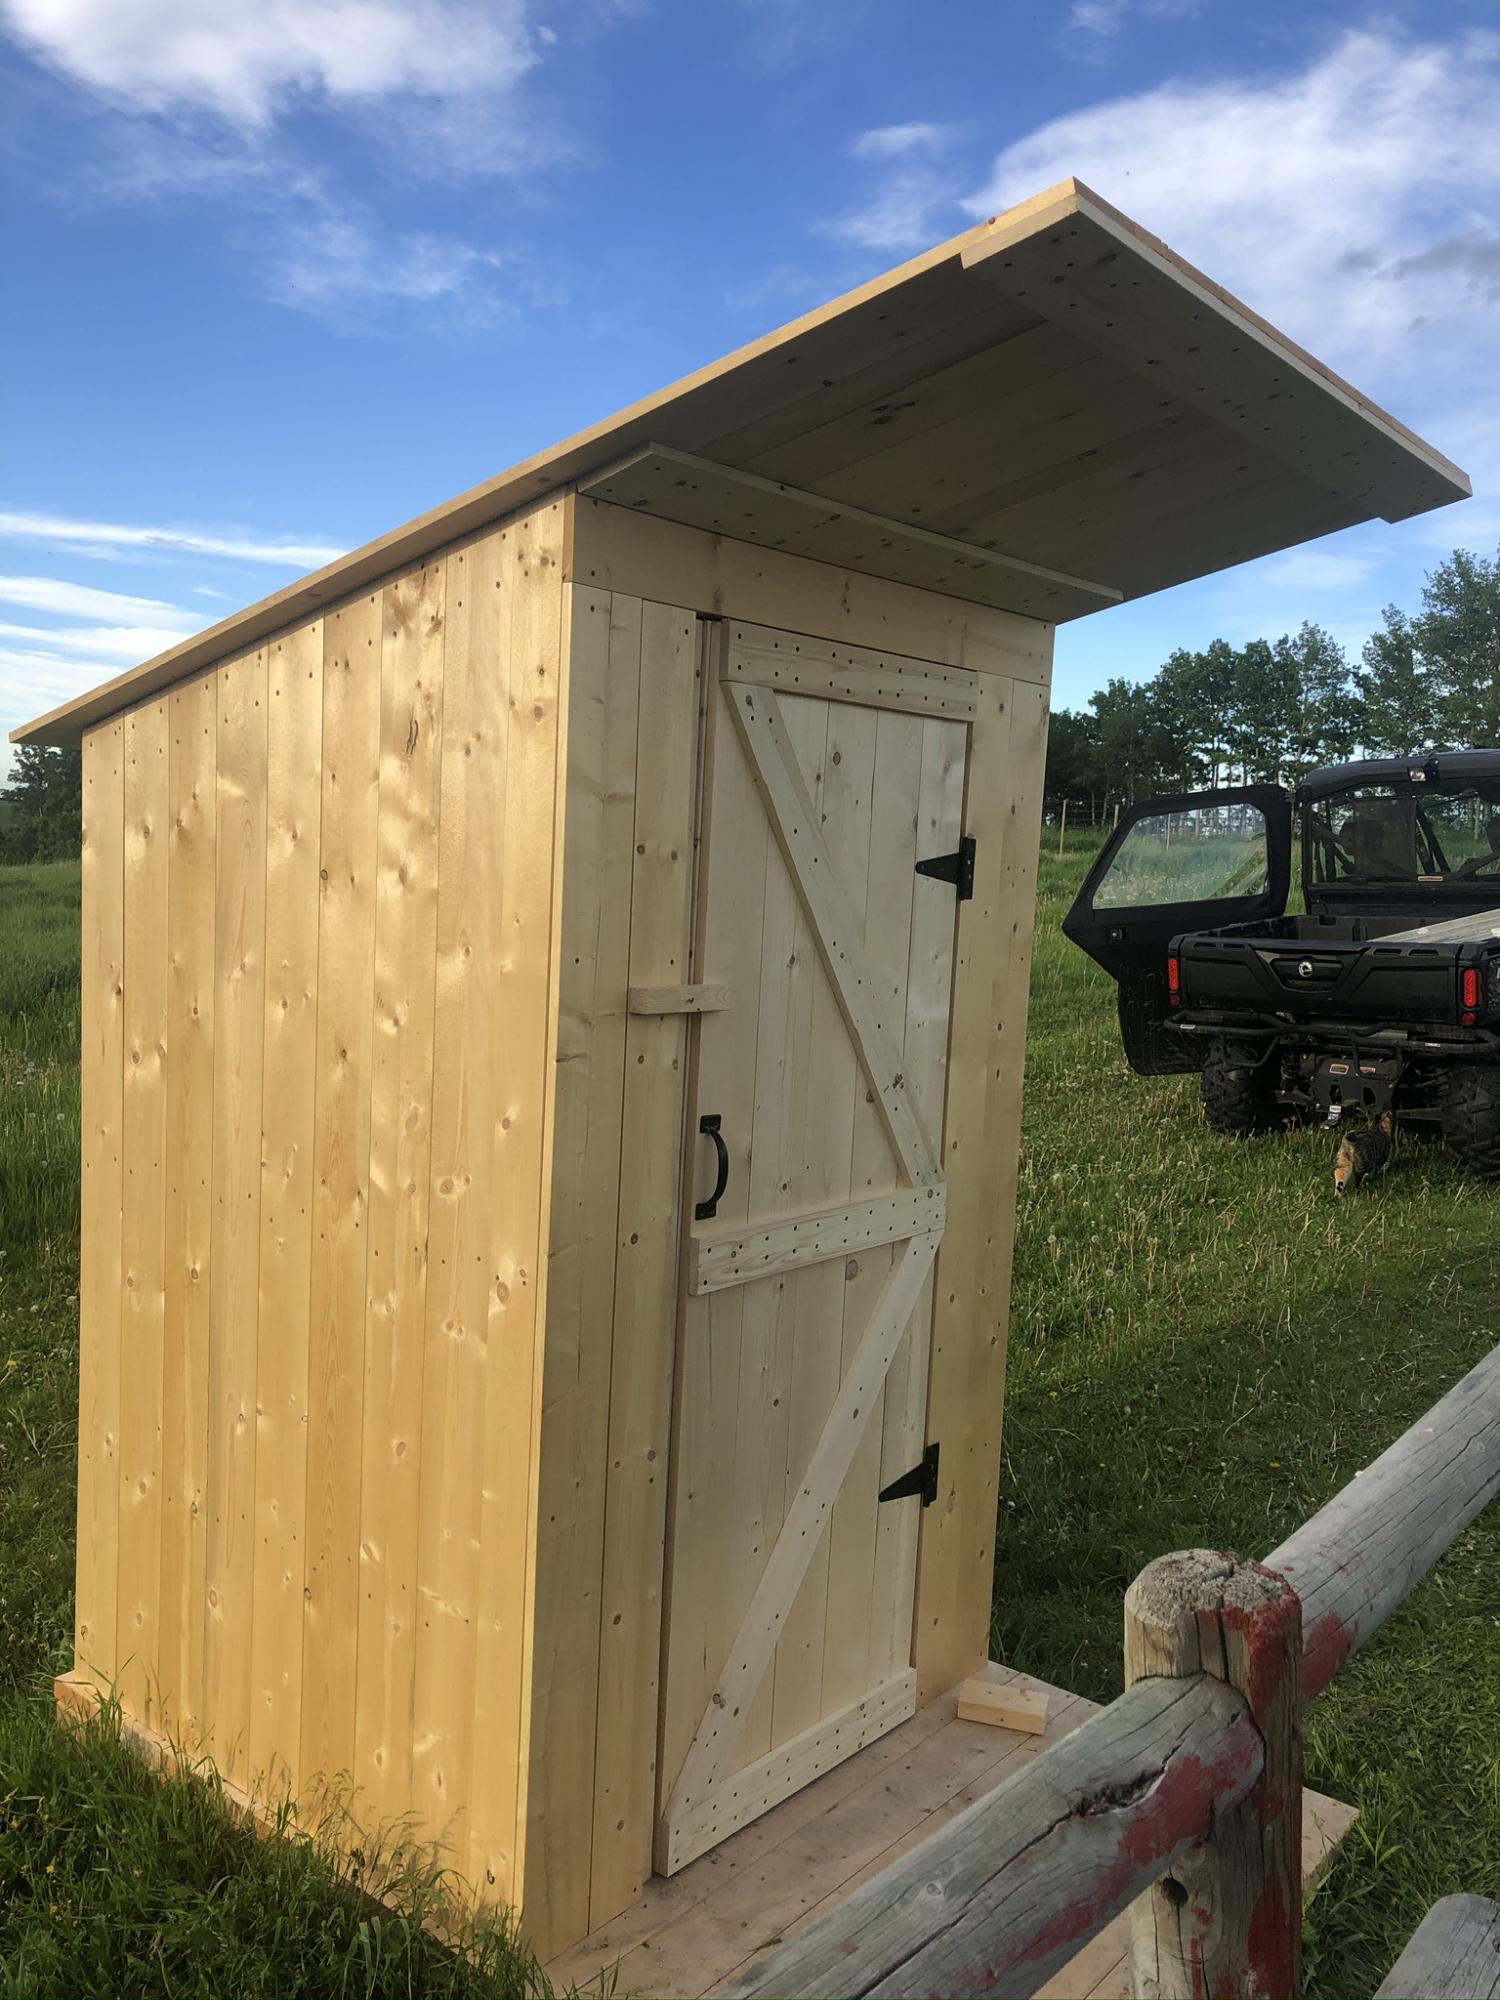
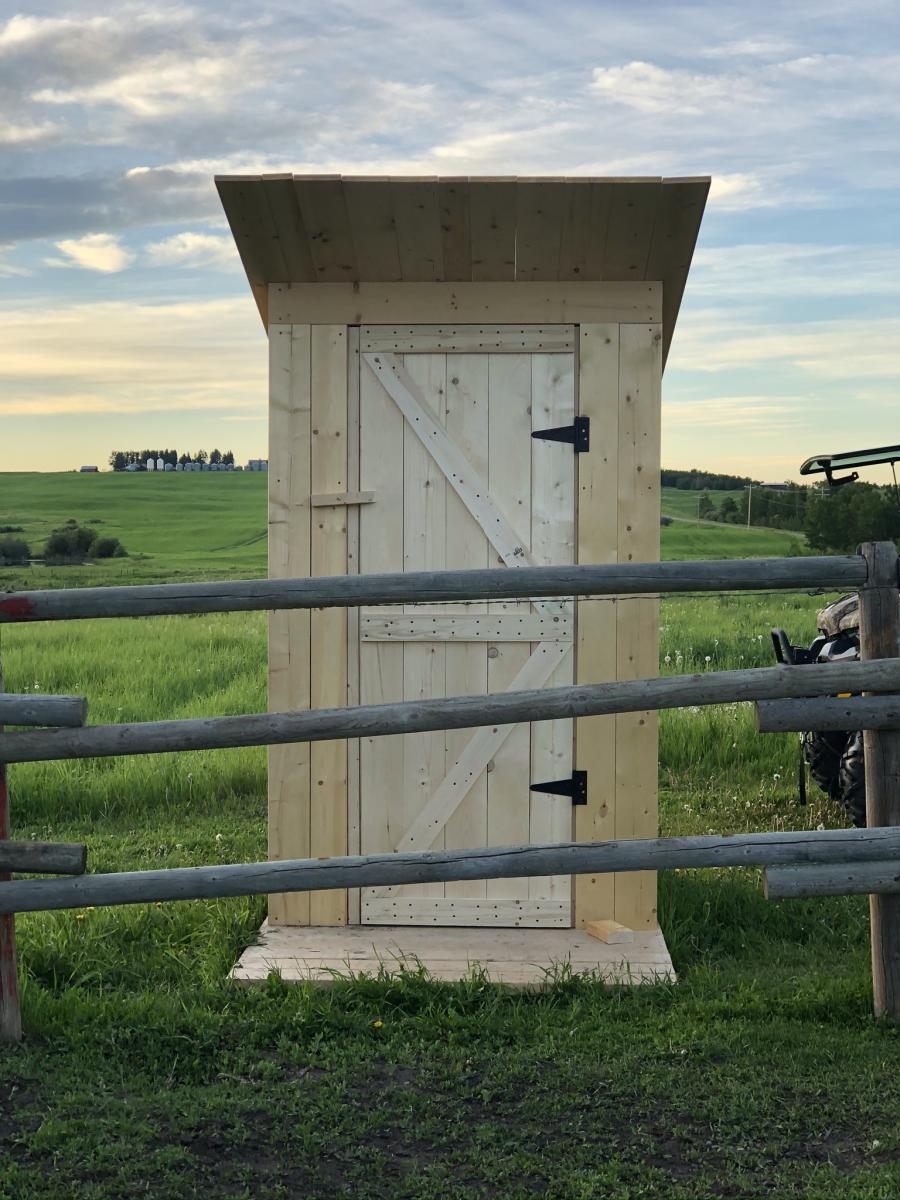
I built this outhouse for beside our barn. My first large project and I’m really pleased with how it turned out!