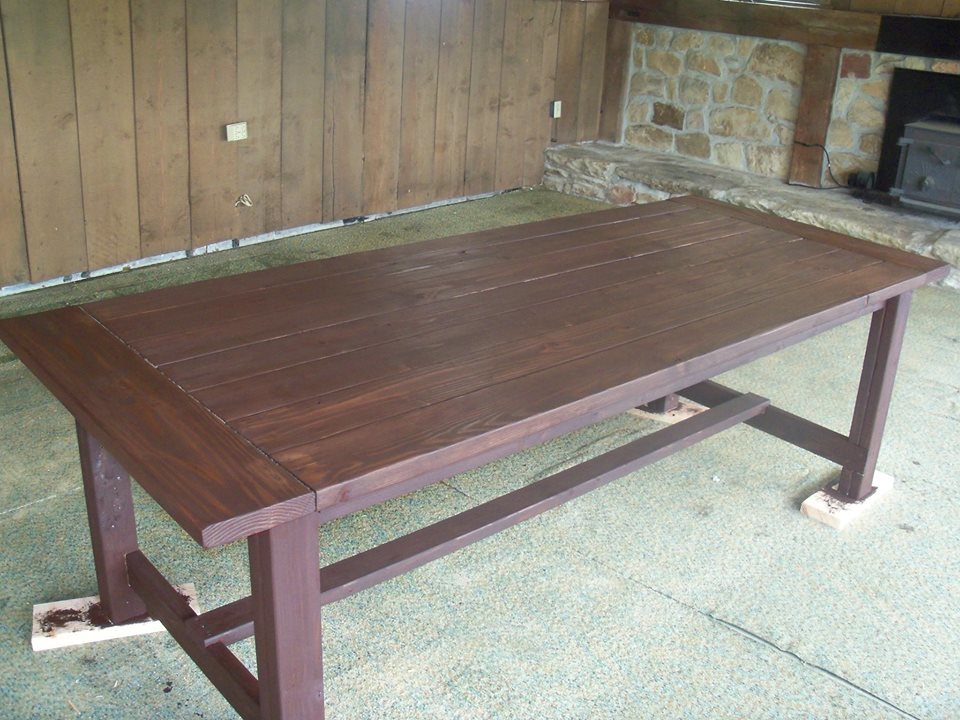
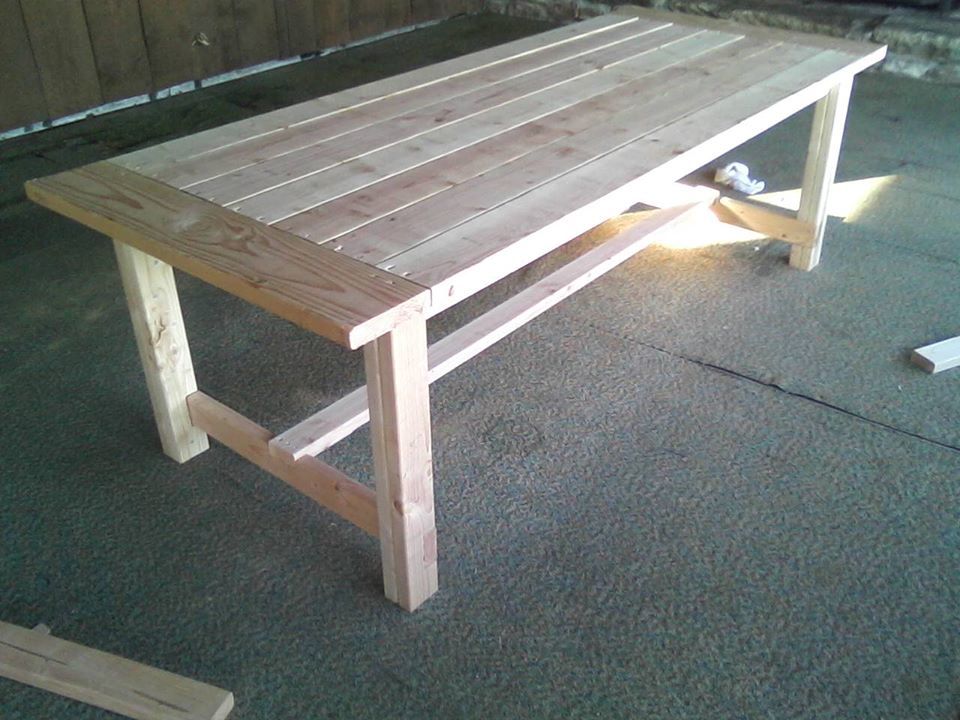
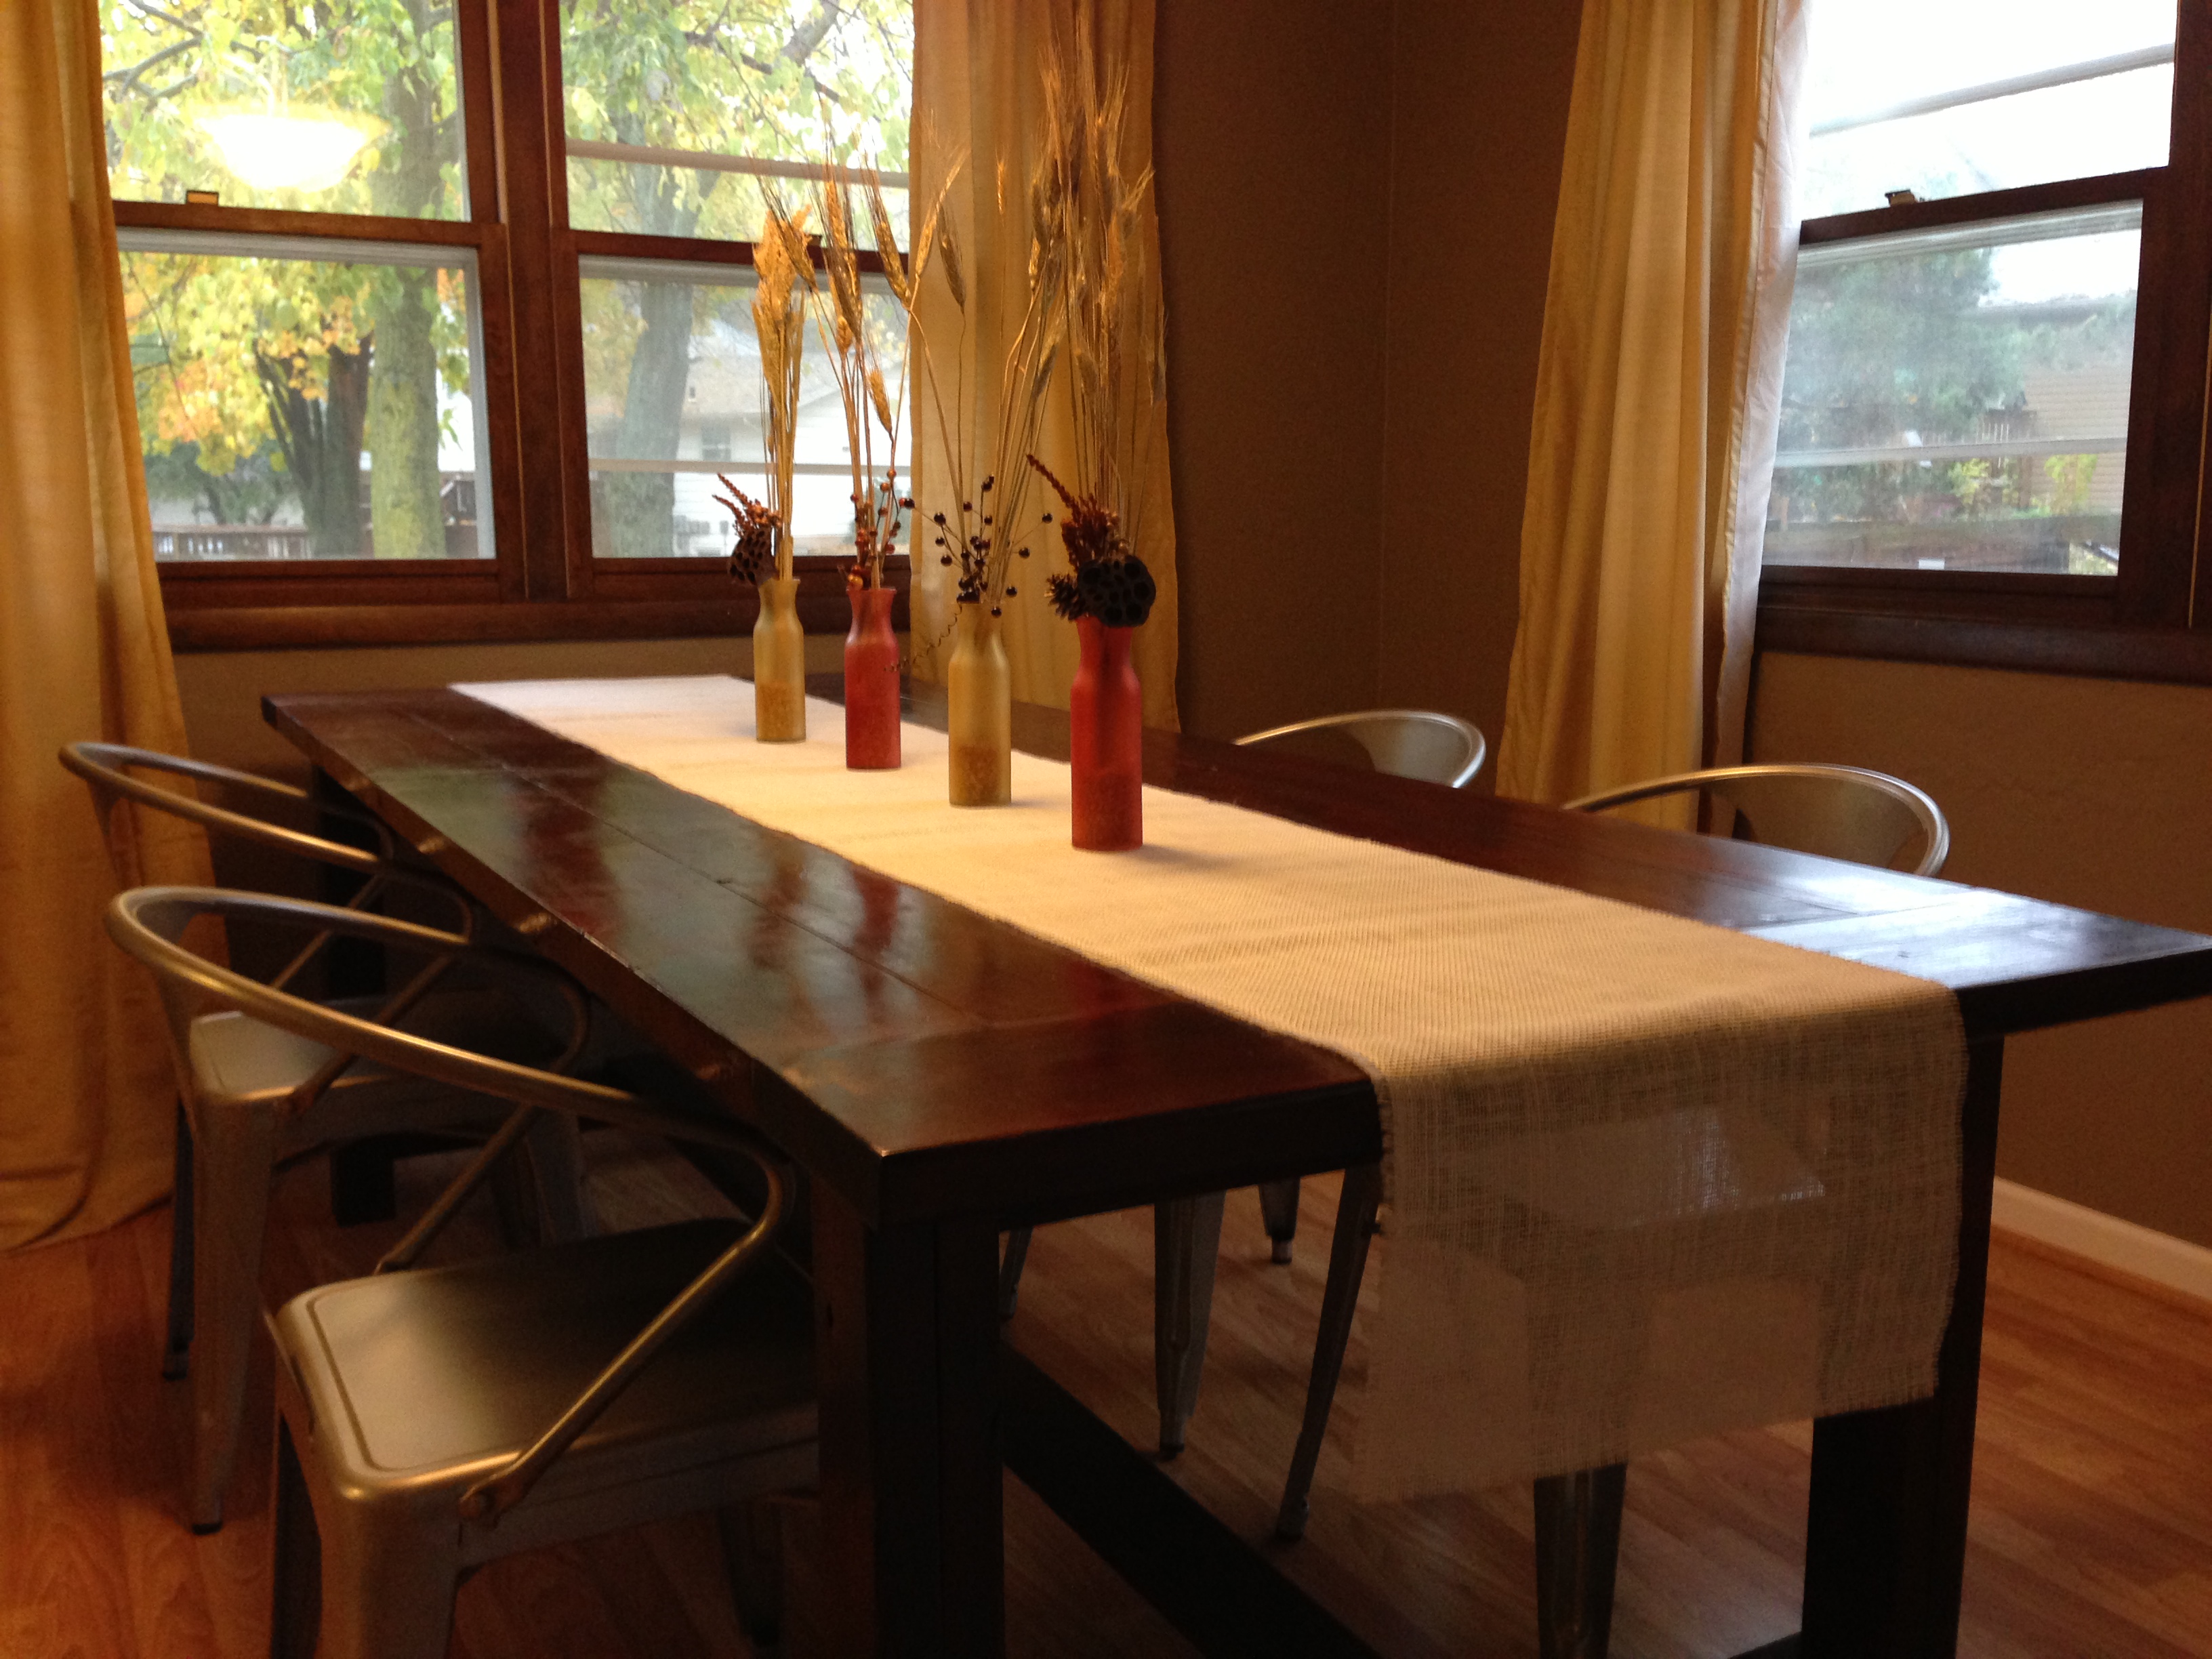
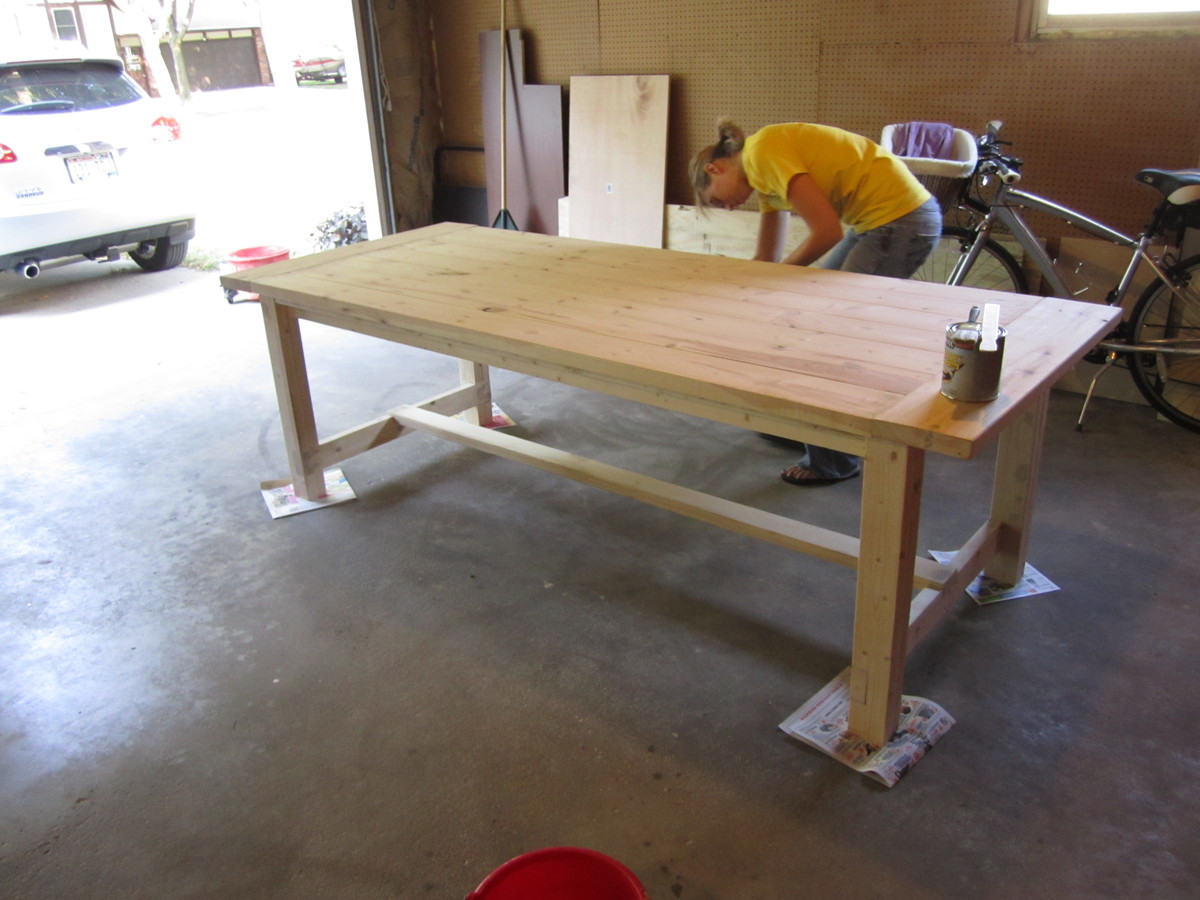
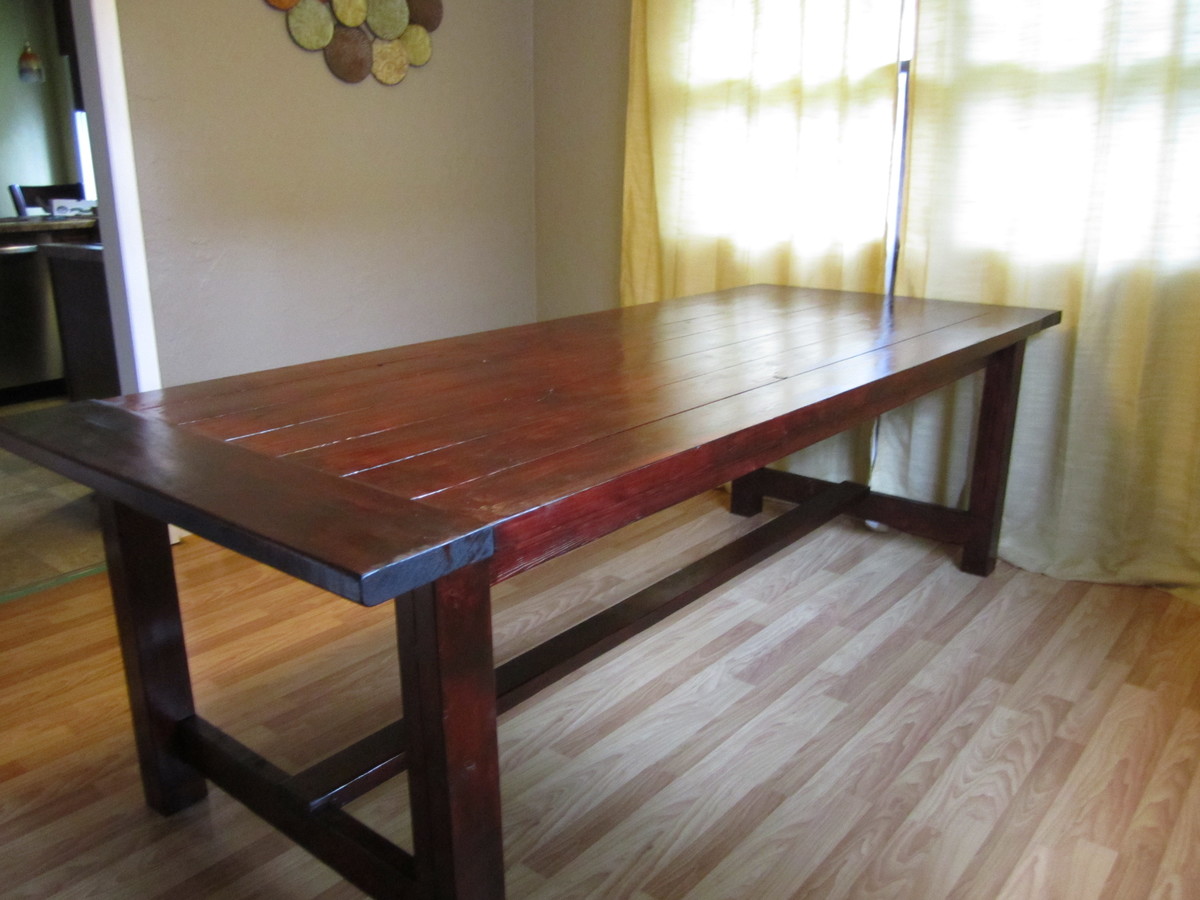
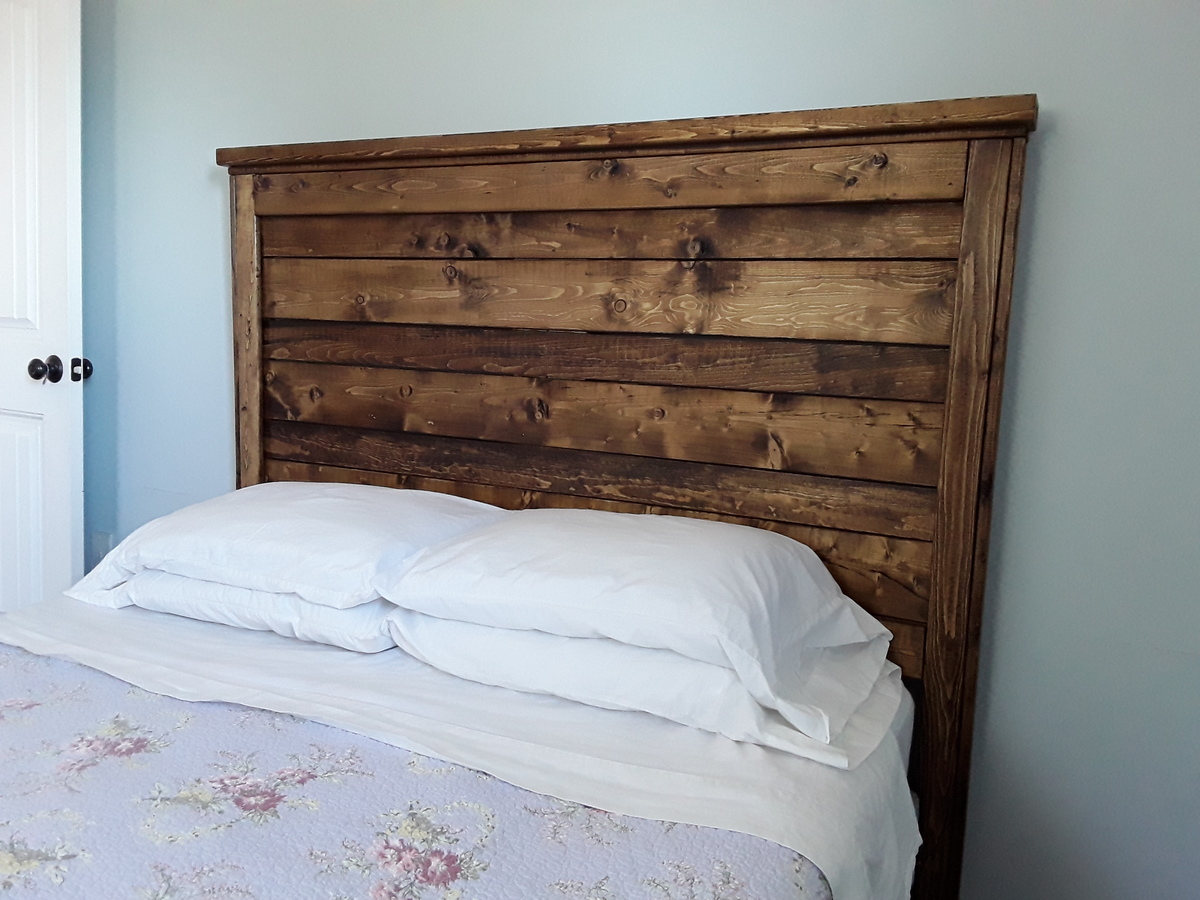
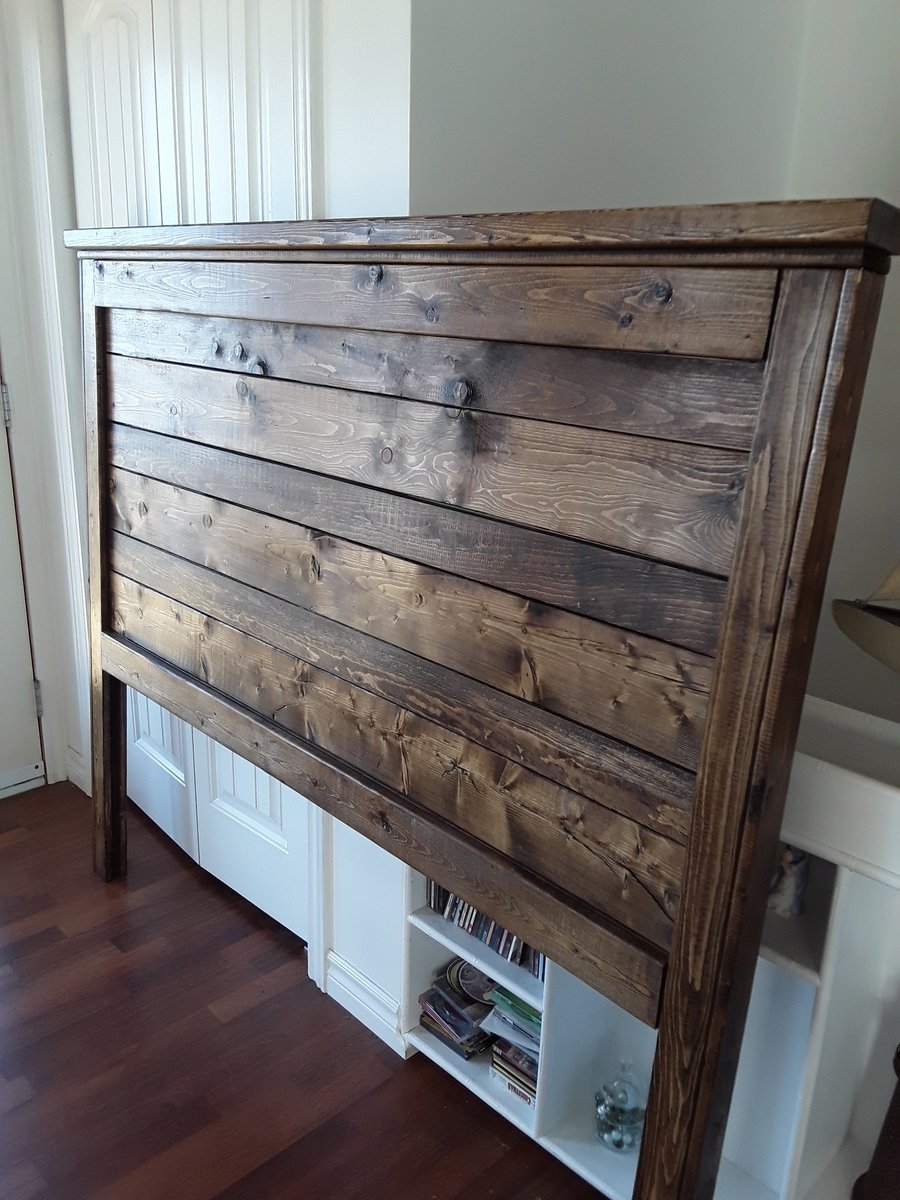
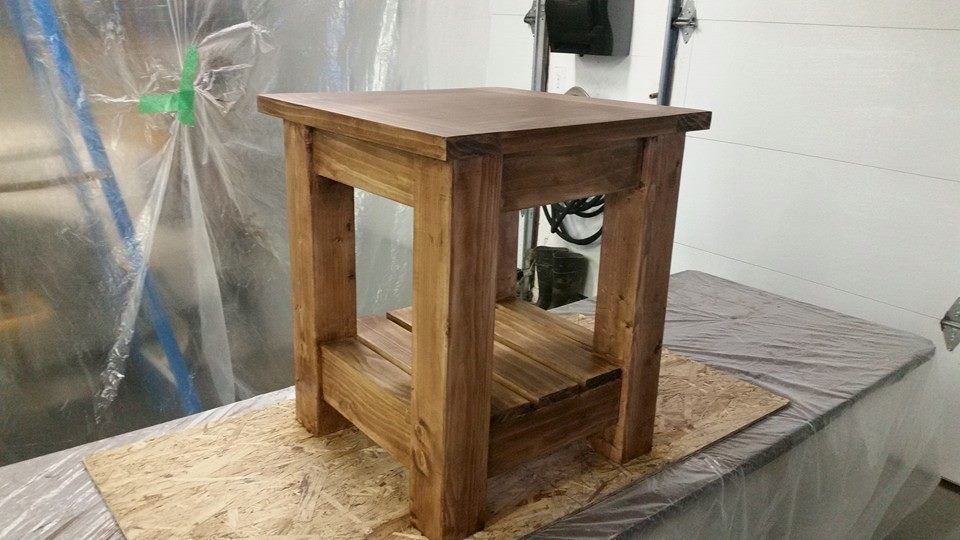
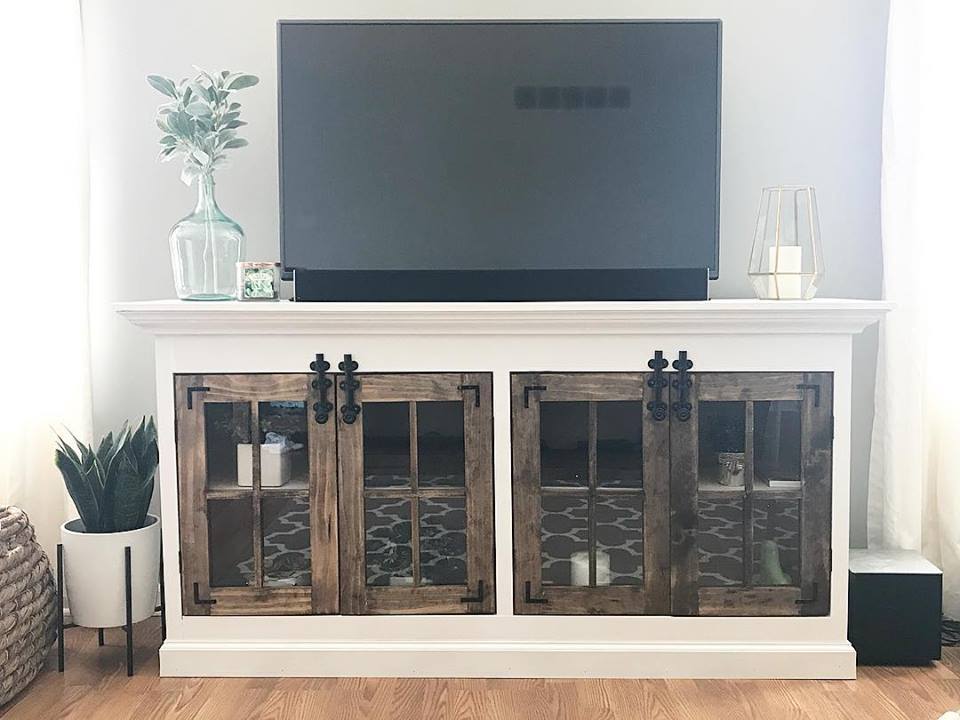
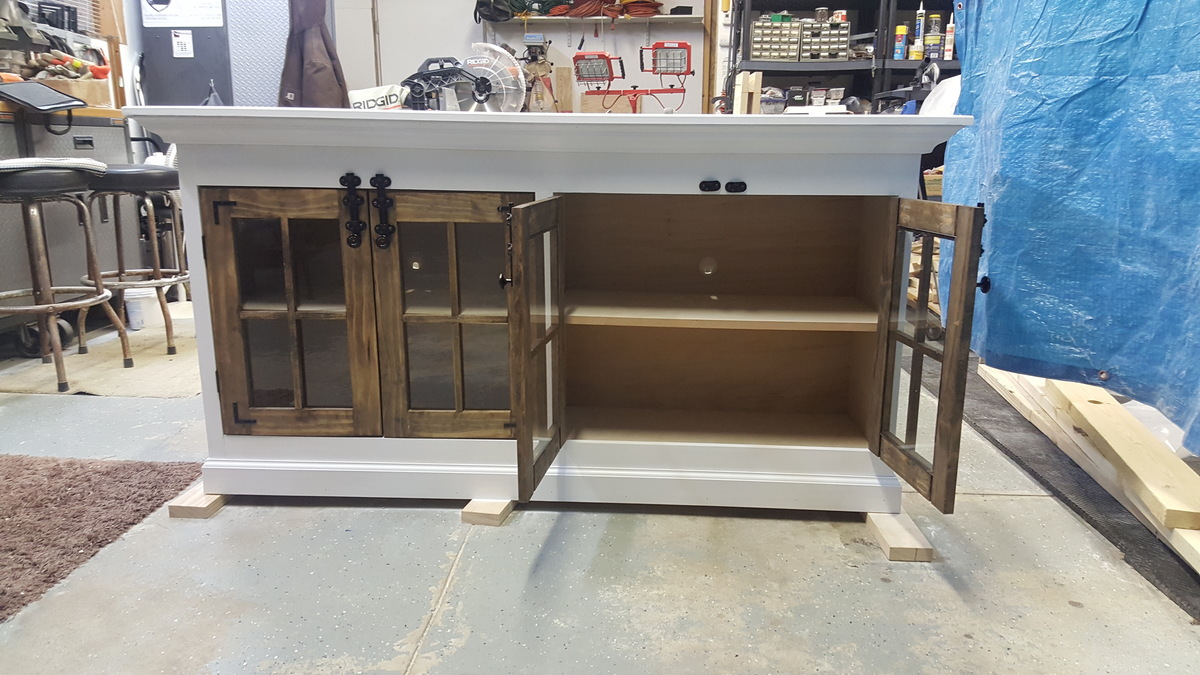
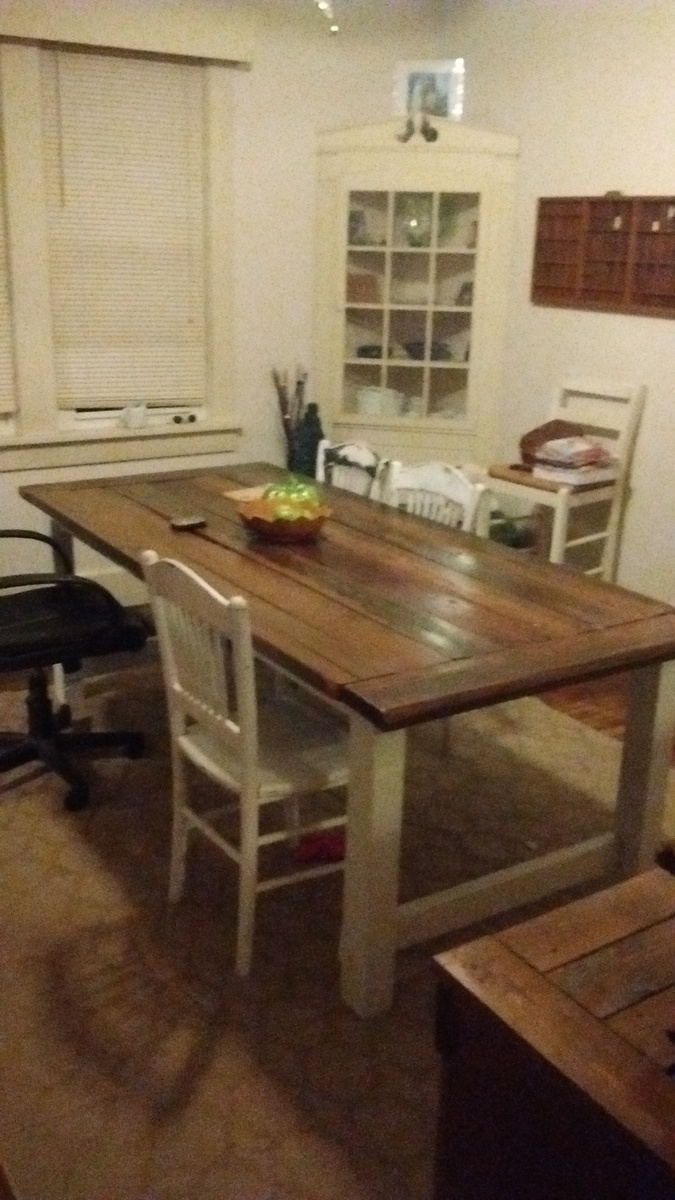
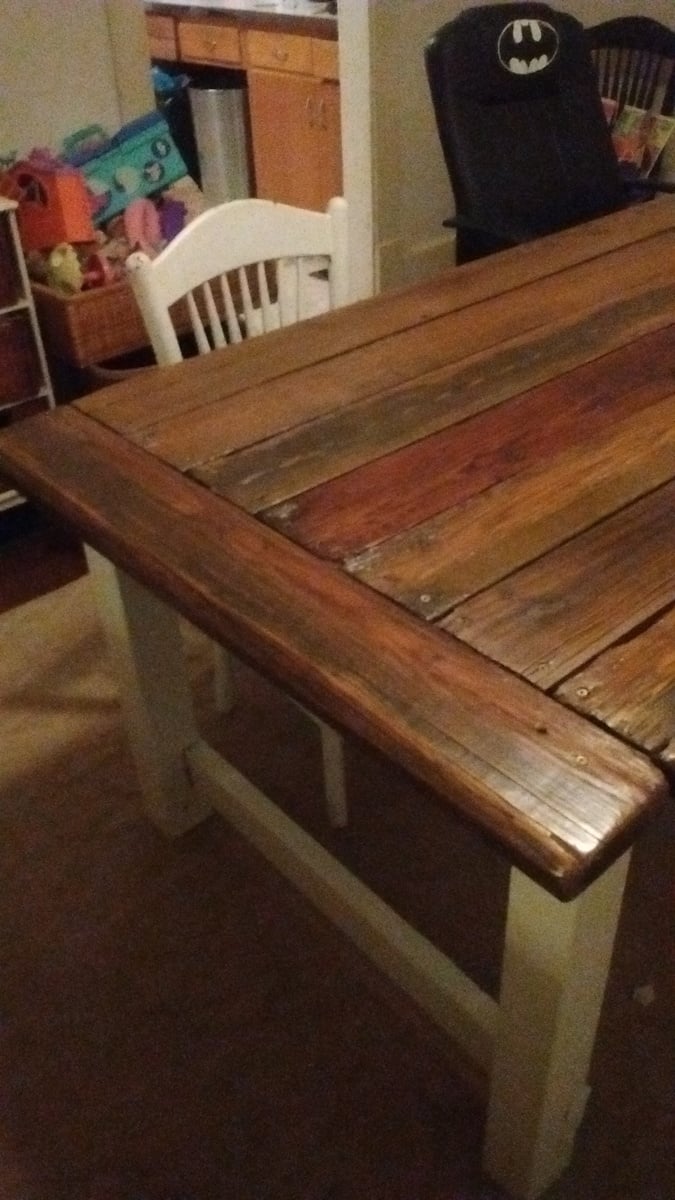
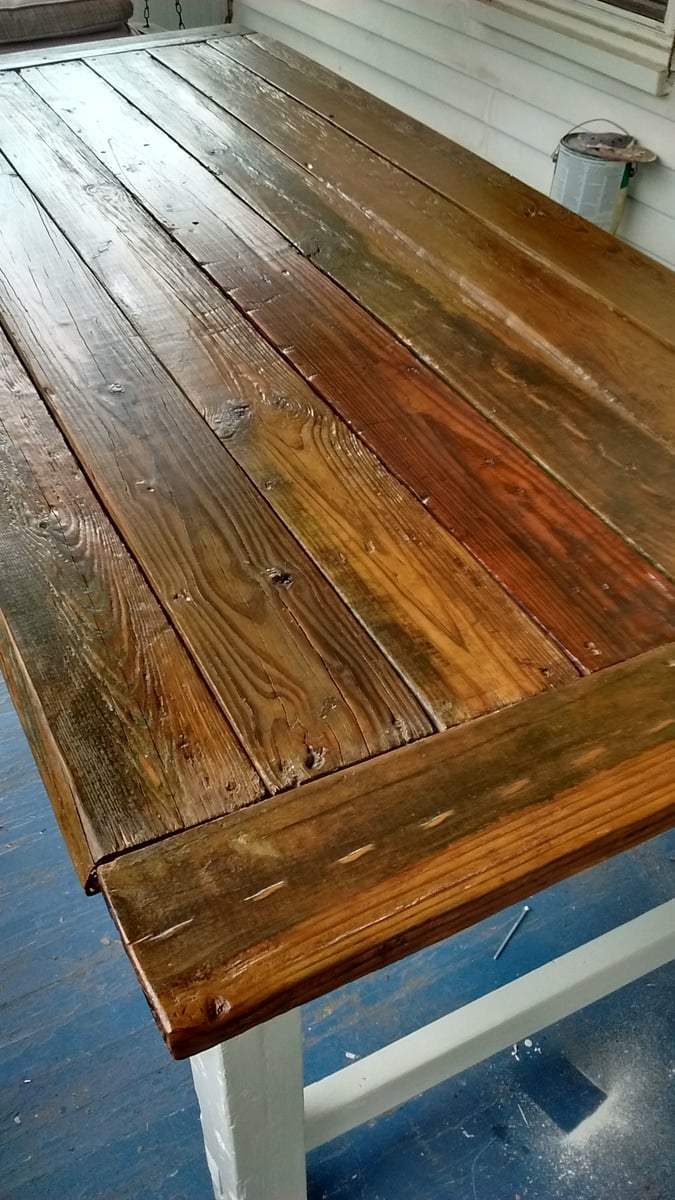
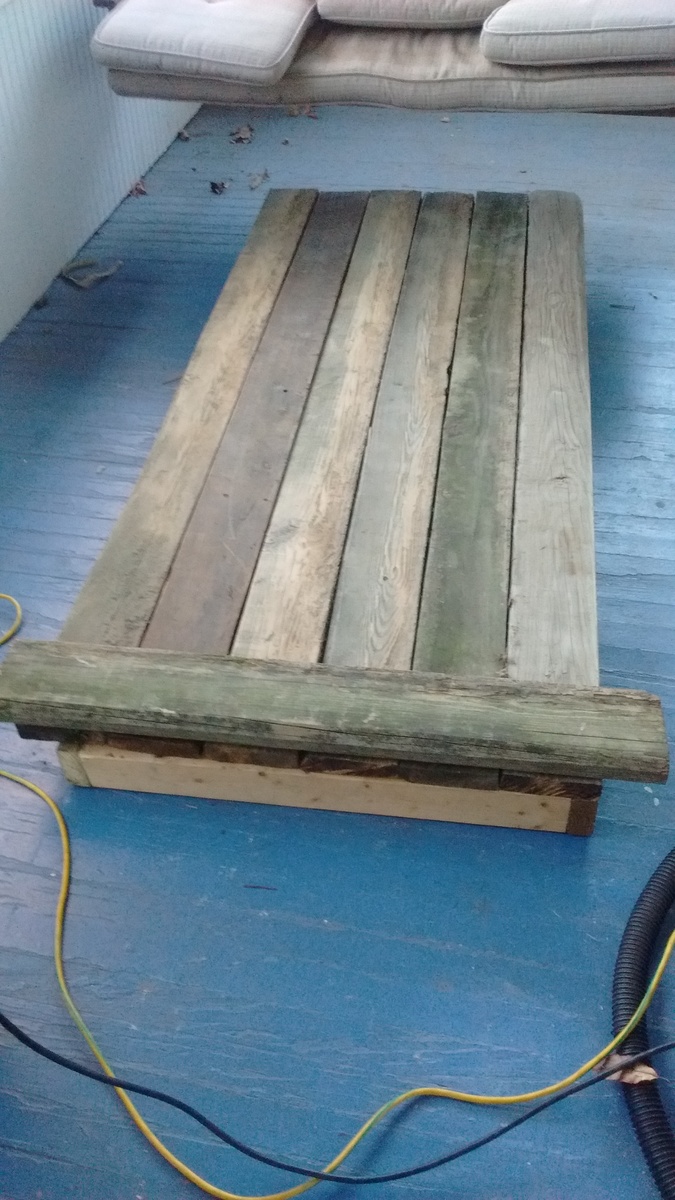
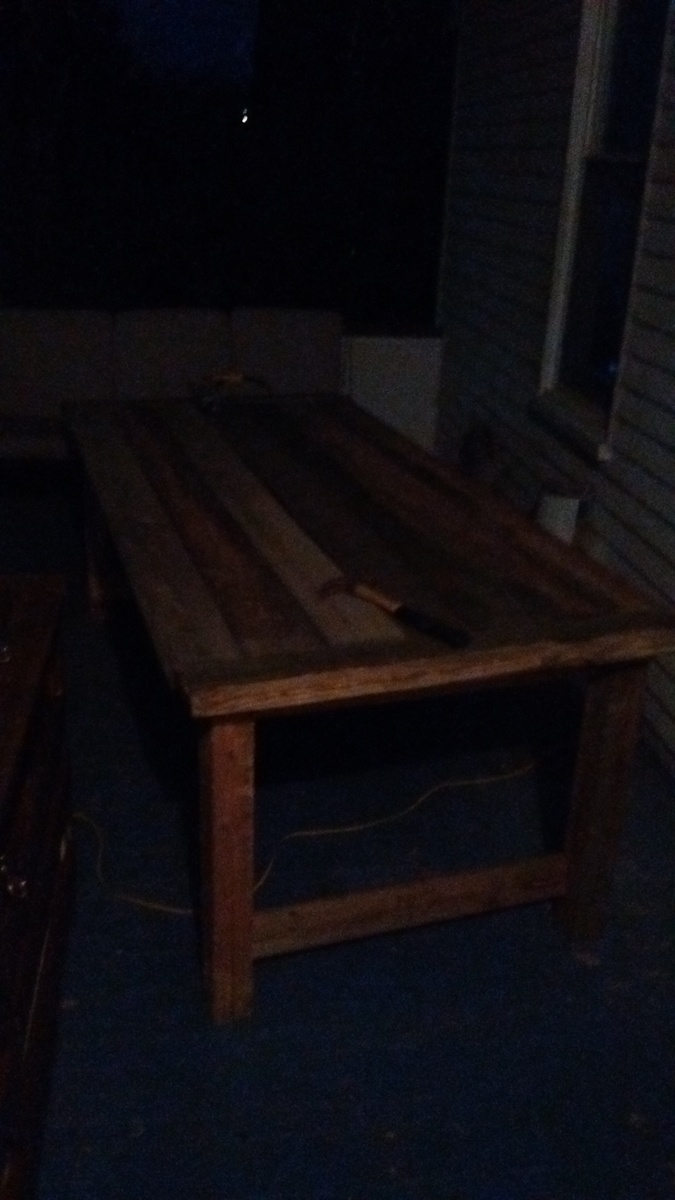
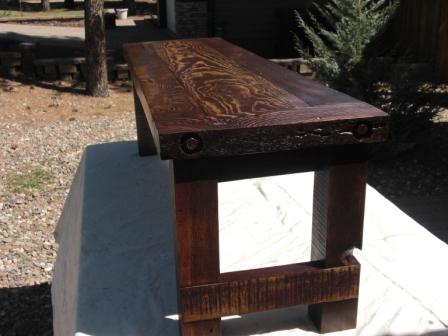
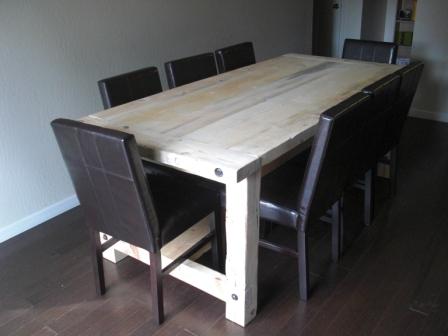
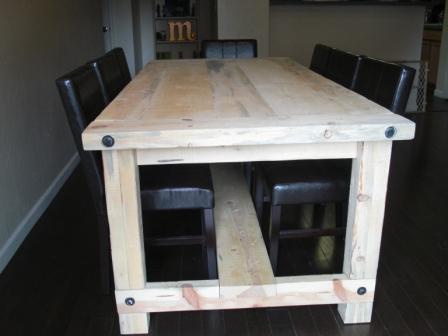
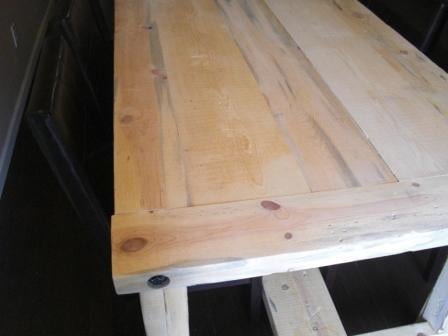
Farm House Bench
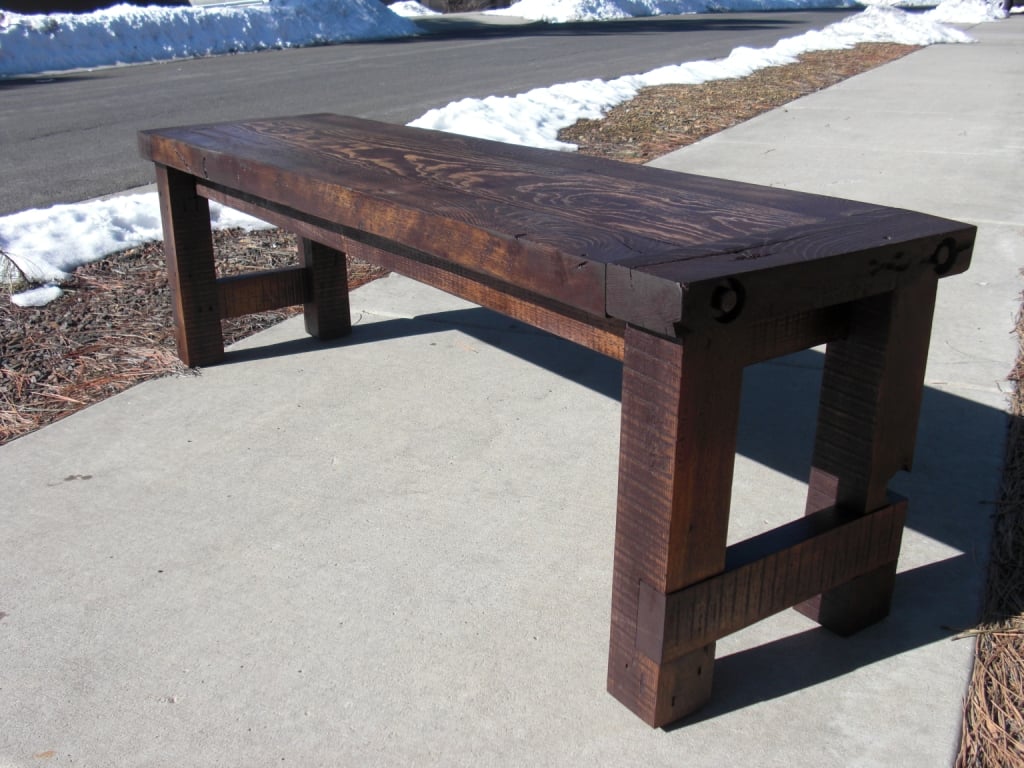
First bench to match the Farm House table I have built. Istill need to finish my table now to match the bench.
Estimated Cost
$35
Estimated Time Investment
Day Project (6-9 Hours)
Finish Used
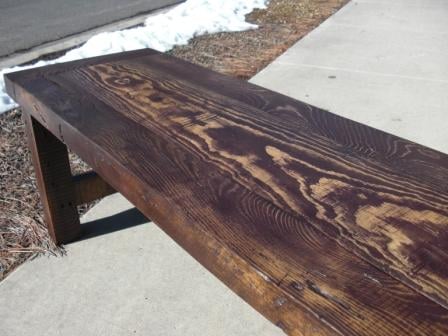
I first started my staining this bench with ZAR Moorish Teak (looked like I had painted it brown) sanded it down a little added Minwax dark walnut LOVED it! Added 3 coats of Deft stain lacquer.
Recommended Skill Level
Intermediate