Adirondack Chair with Bottle Opener
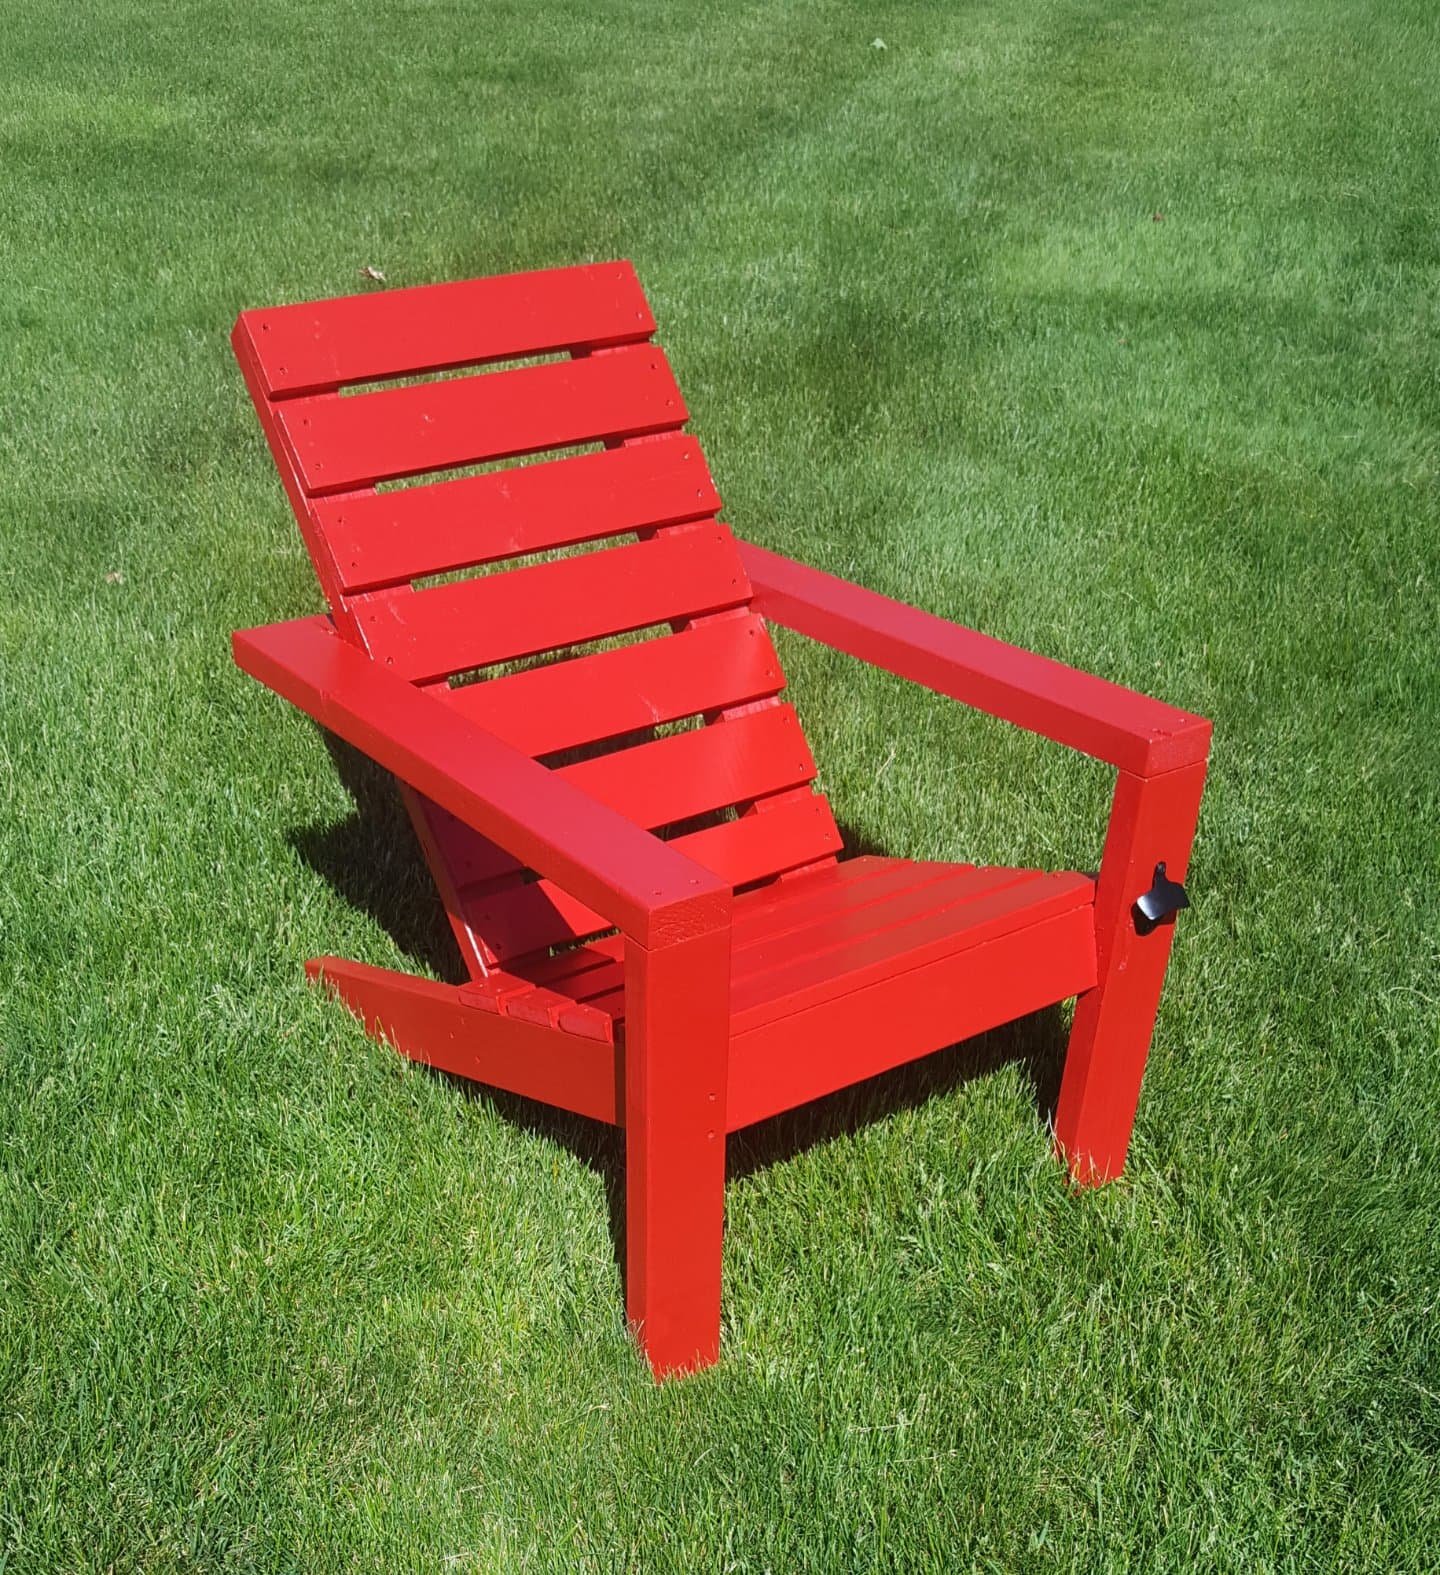
Went with the horizontal slats and added a bottle opener on the left leg.
Built from Plan(s)
Went with the horizontal slats and added a bottle opener on the left leg.
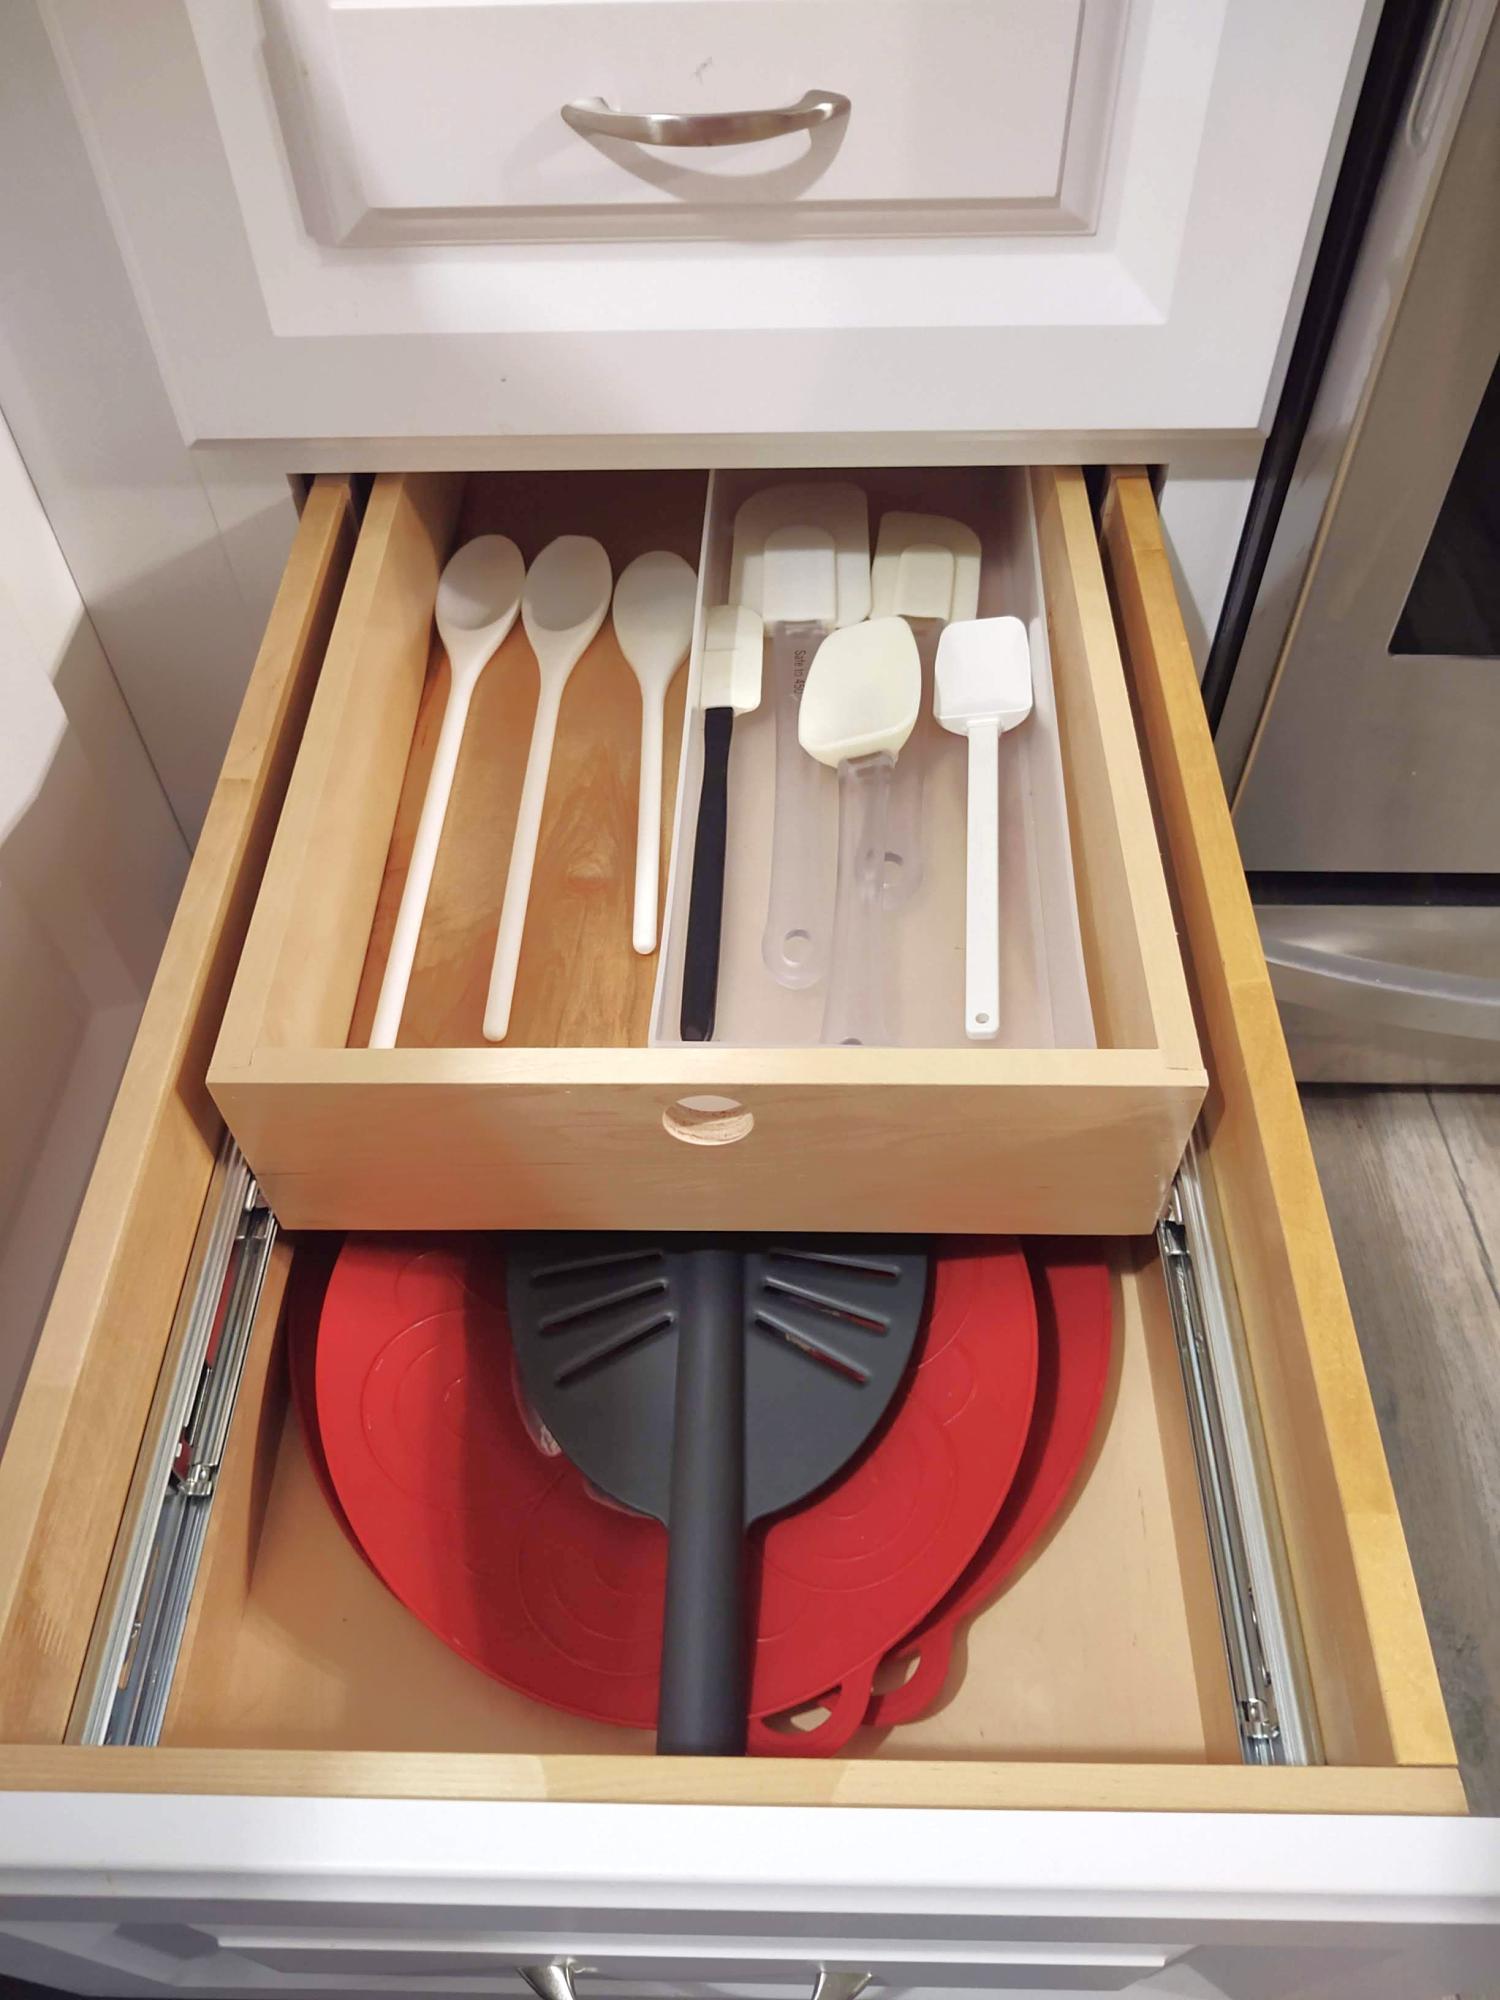
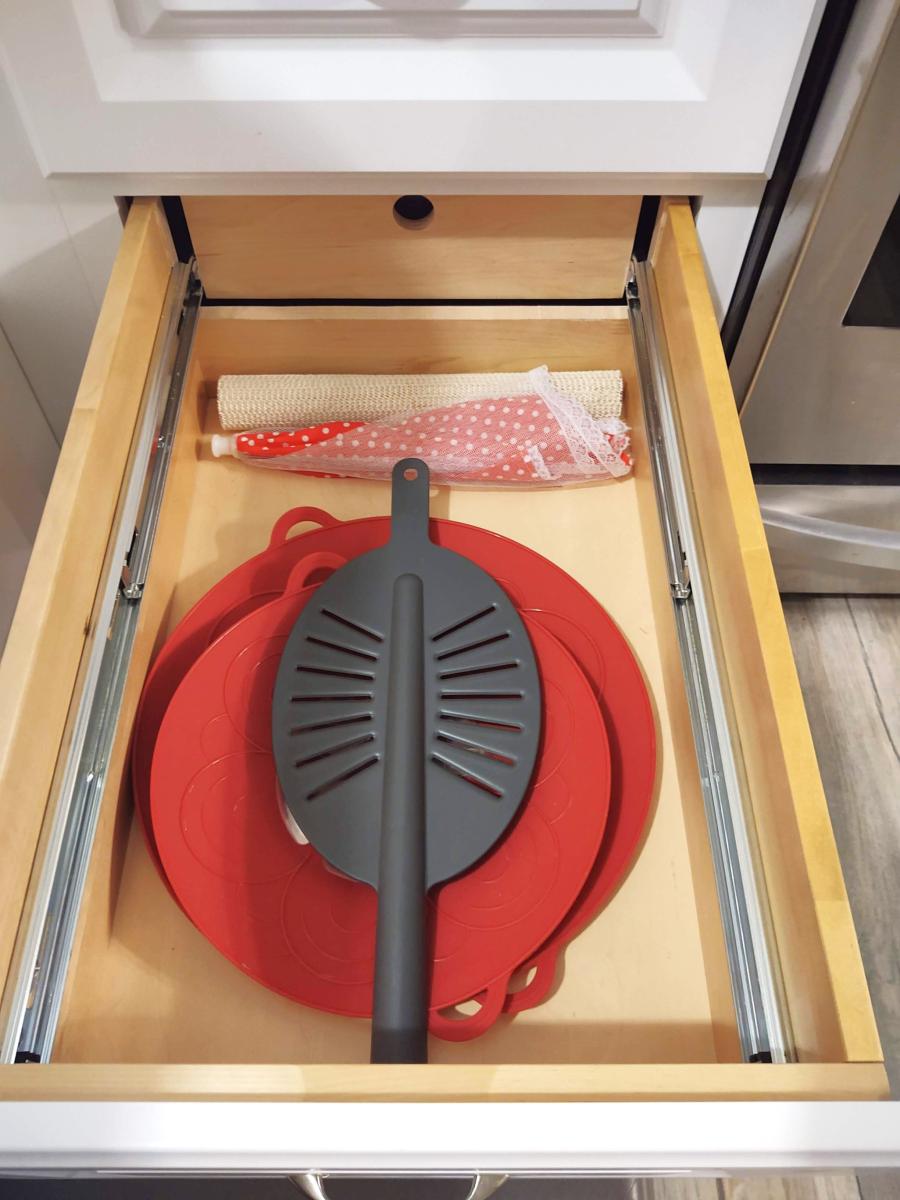
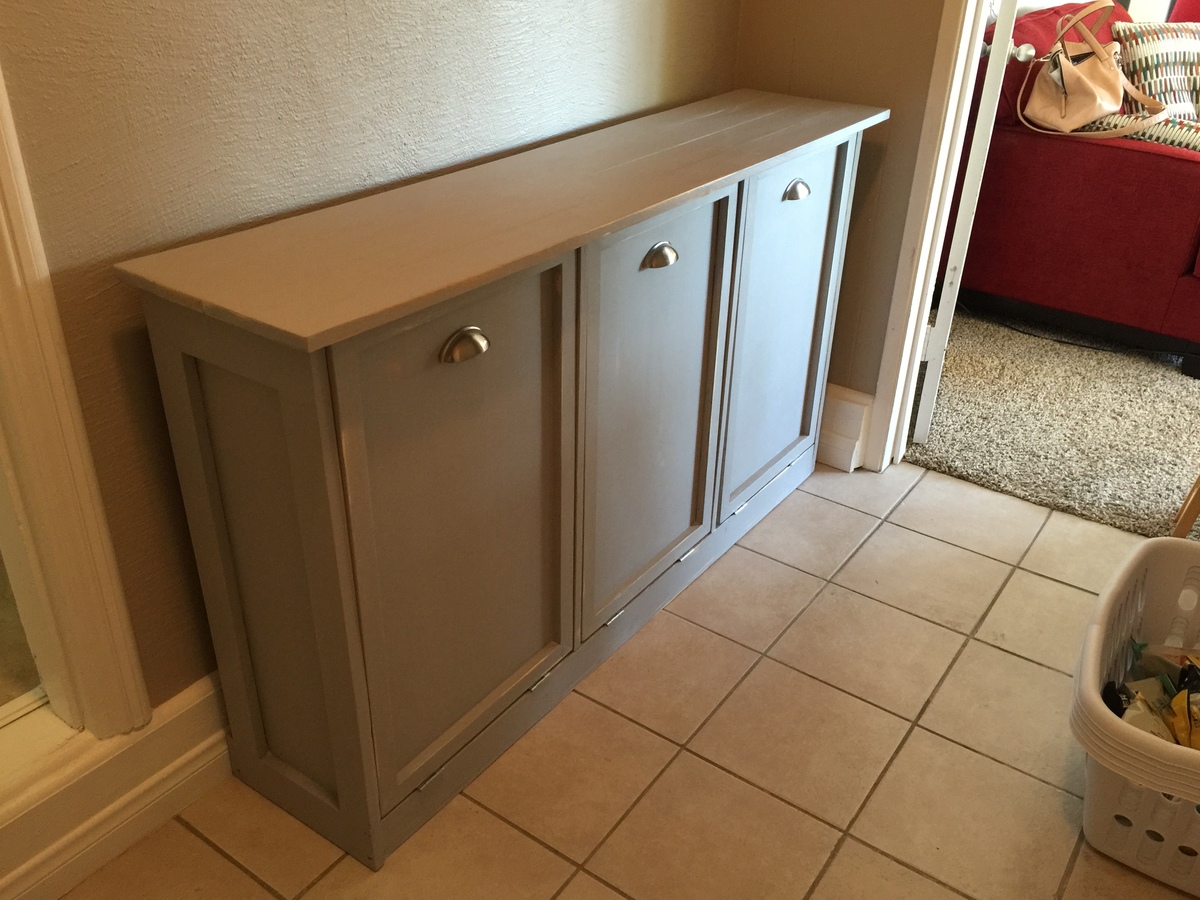
I had a friend who does cabinets, complete two drawers for me from your example. And he did two for my sister's place (one being a double decker slider because her drawers are deeper). Thank you for the inspiration!!
Michelle R.
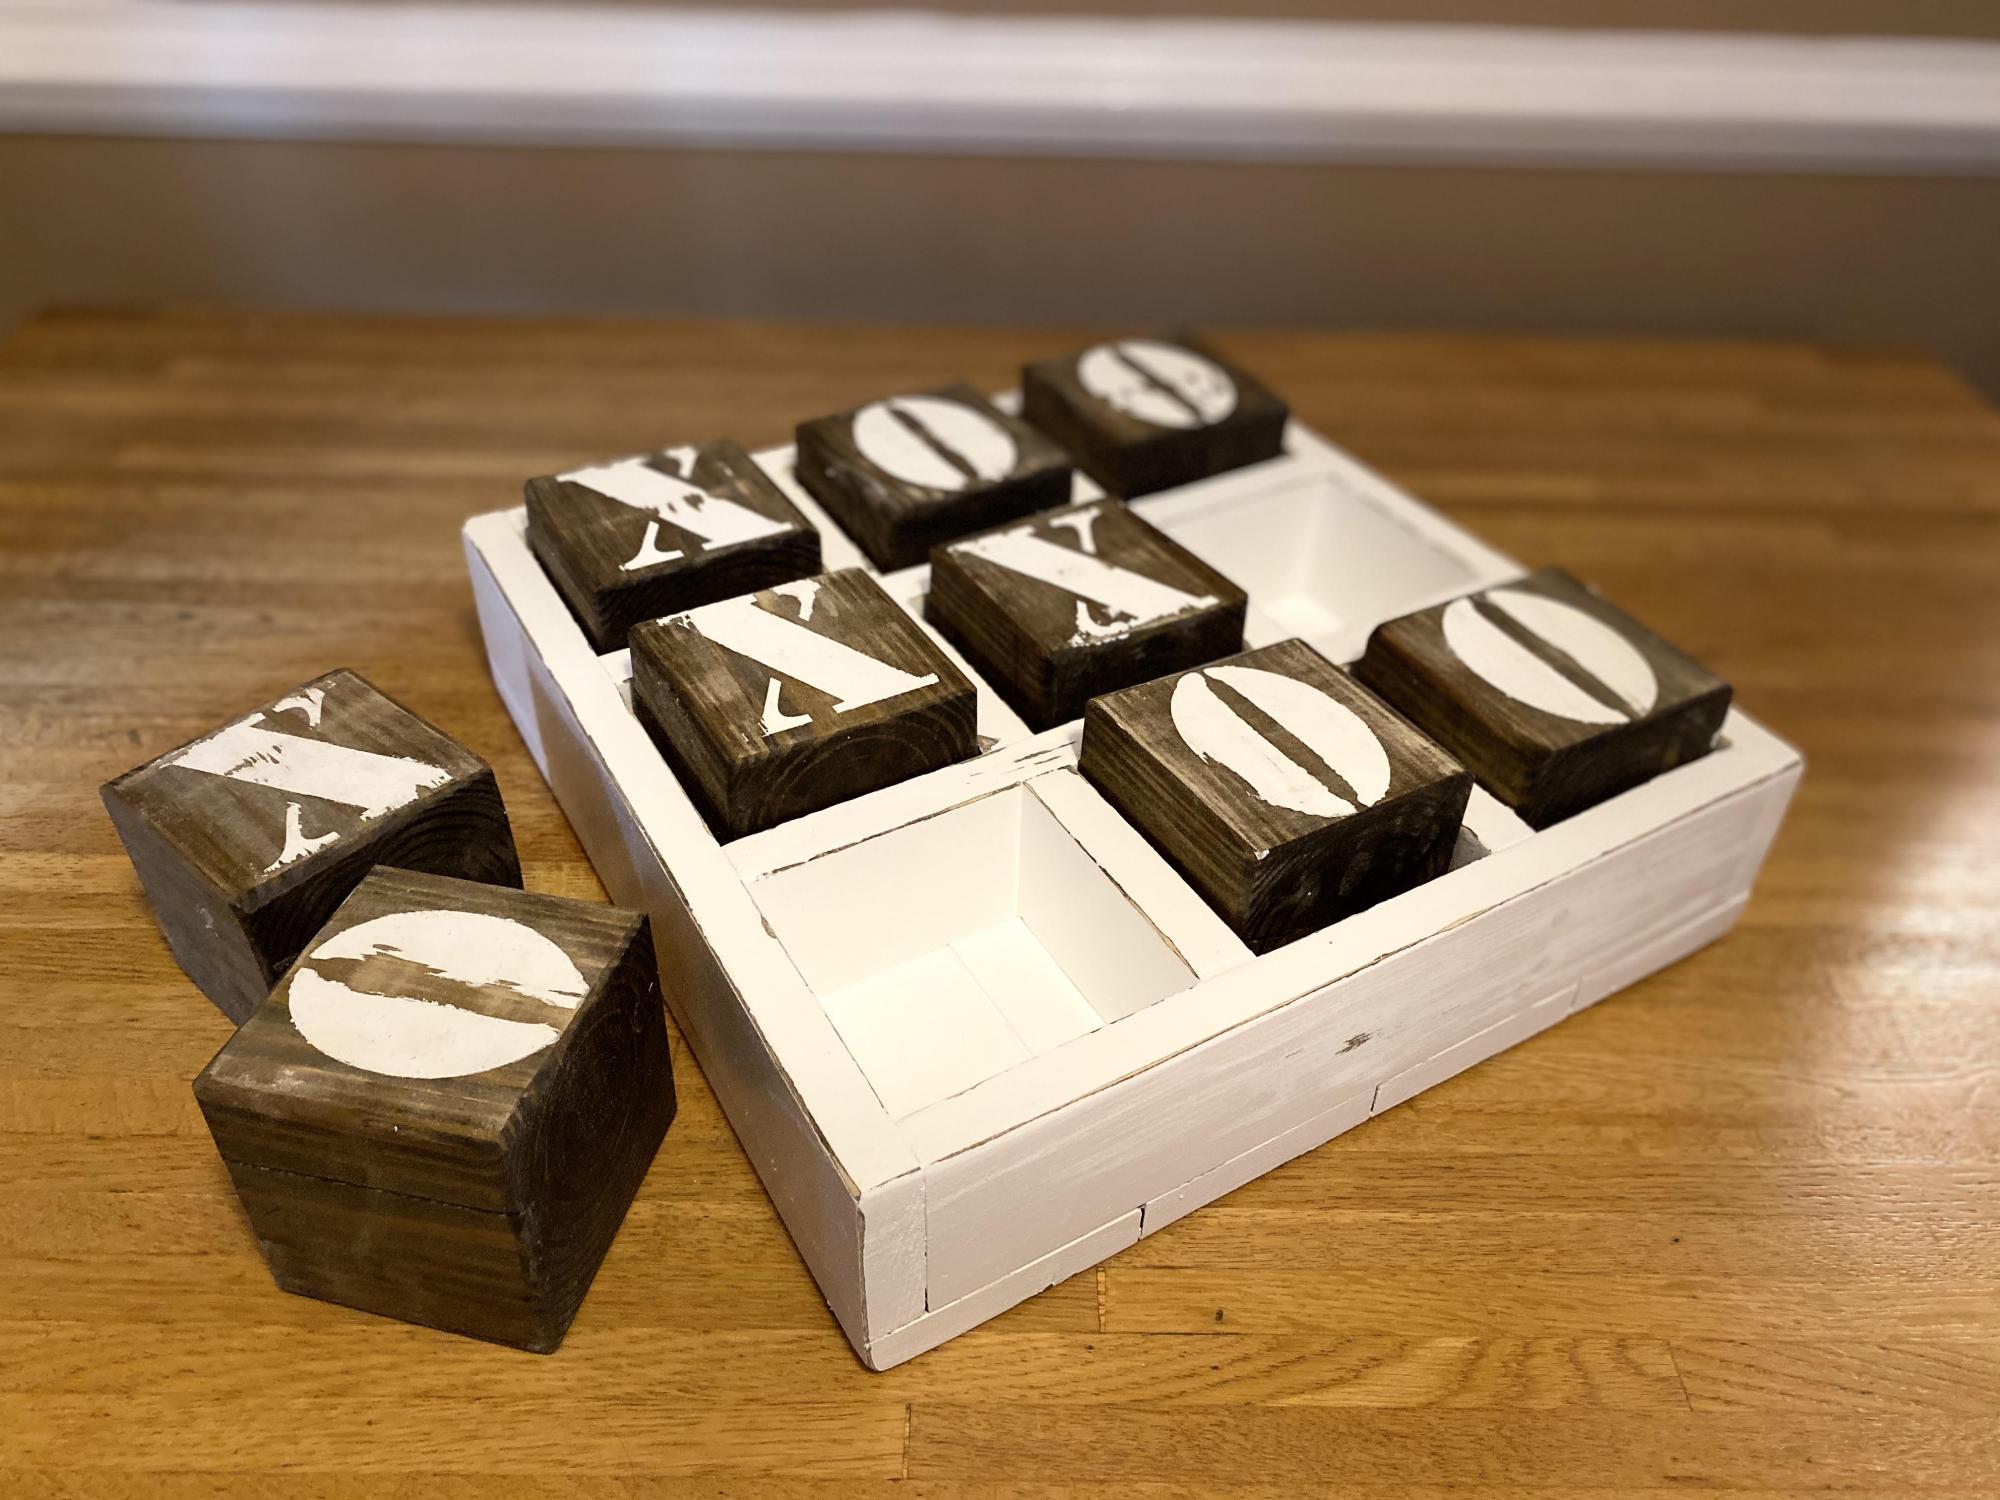
Took some liberties with this one and combined with another plan. My first stencil project.
Wed, 05/27/2020 - 08:28
I love this. Functional but also decorative. Would you mind sharing the plan for your version?
Thank you for all the wonderful plans!
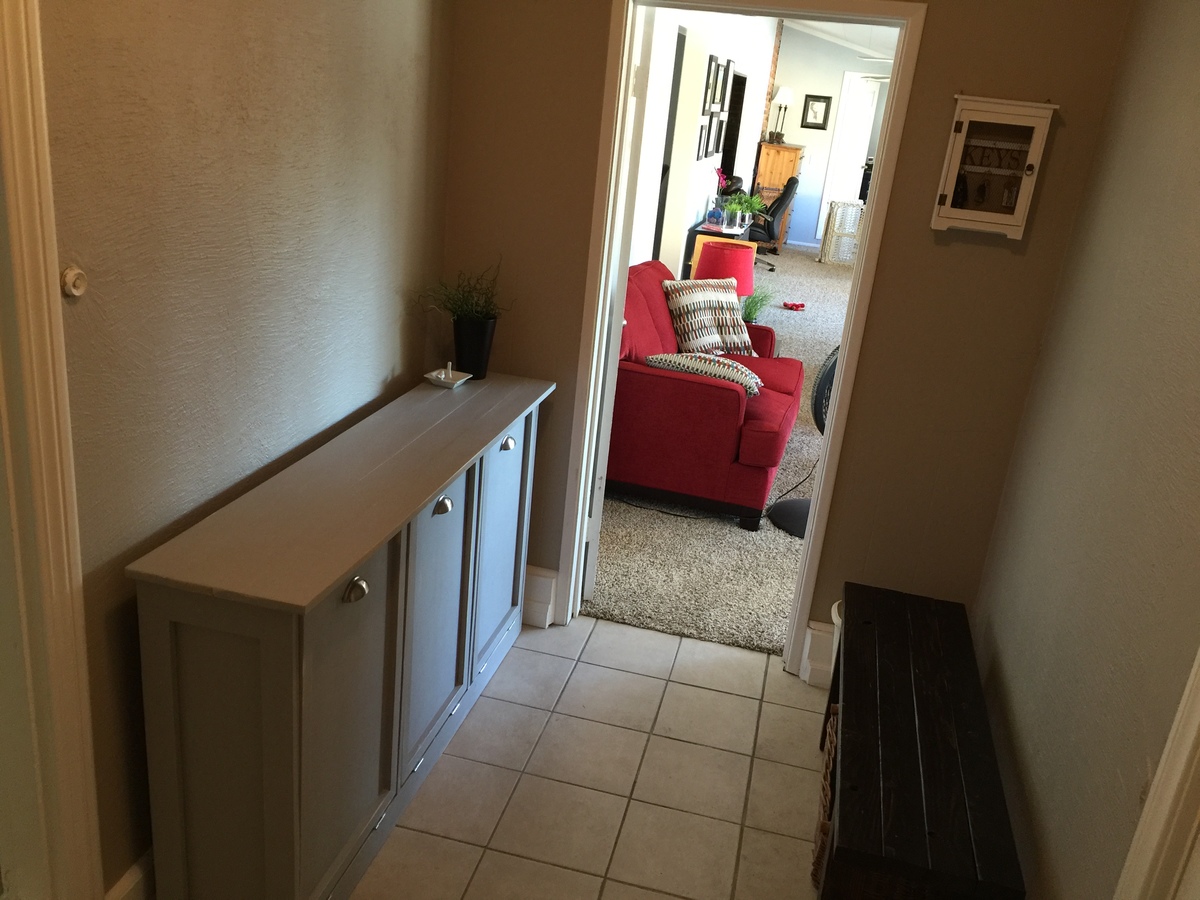
i used the modified plan of the tilt out waste bin that Shanty2chic put out as a three bin laundry sorter. It turned out great!
It is finished with chalk paint, lightly distressed.
Fri, 10/30/2020 - 10:44
Hi, you mentioned that you used the modified plan of the tilt out waste bin that Shanty2chic put out as a three bin laundry sorter. Can you share that please? Thanks!!
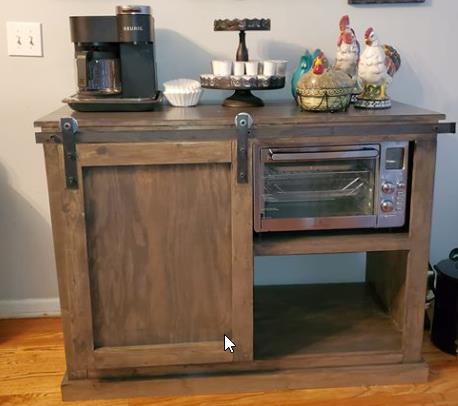
I built this from the plans on this site My wife wanted a coffee bar and I saw this plan and she fell in love with it. I love the Barn door hack and how everything came out.
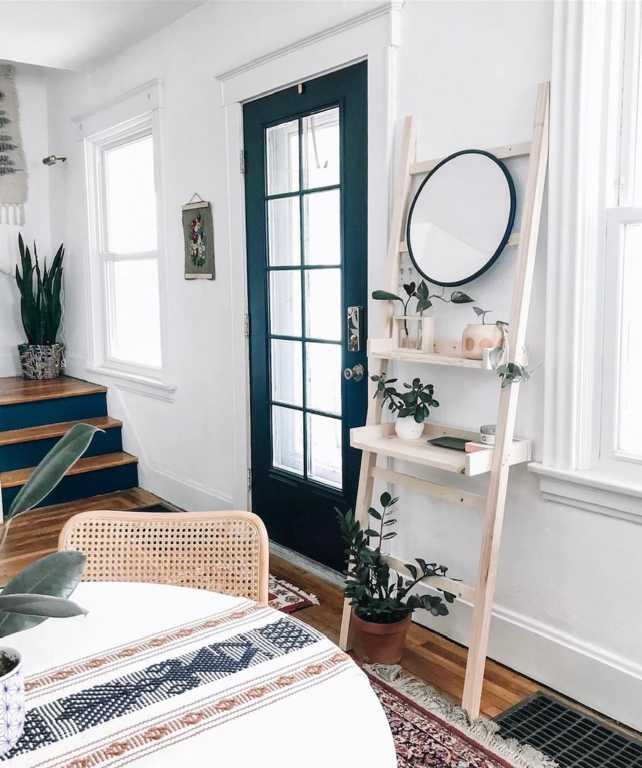
PErfect for smaller spaces or homes without mudrooms. Love the minimalist style!
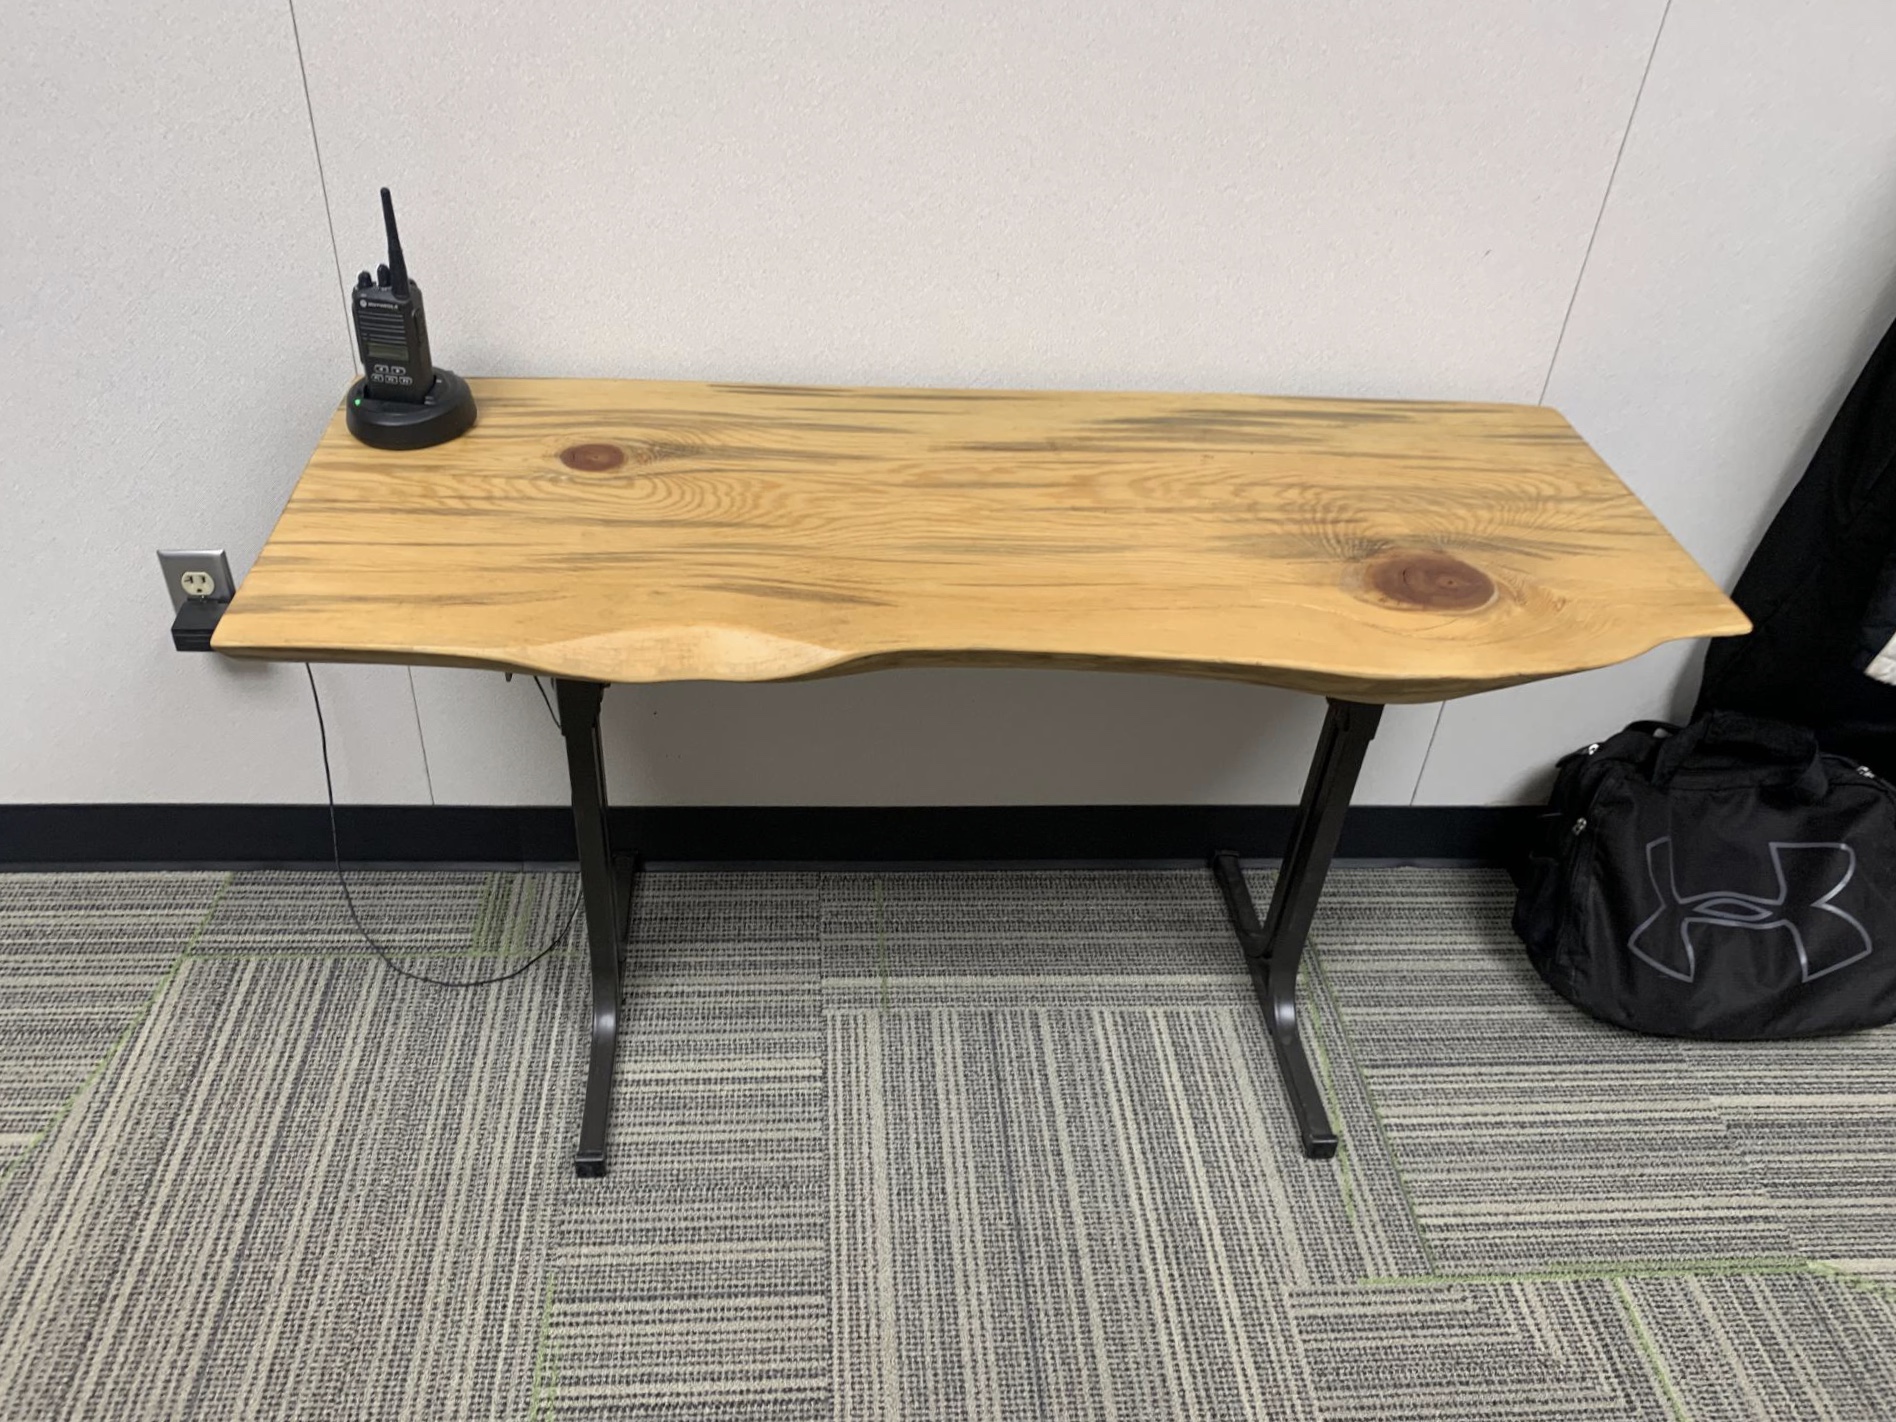
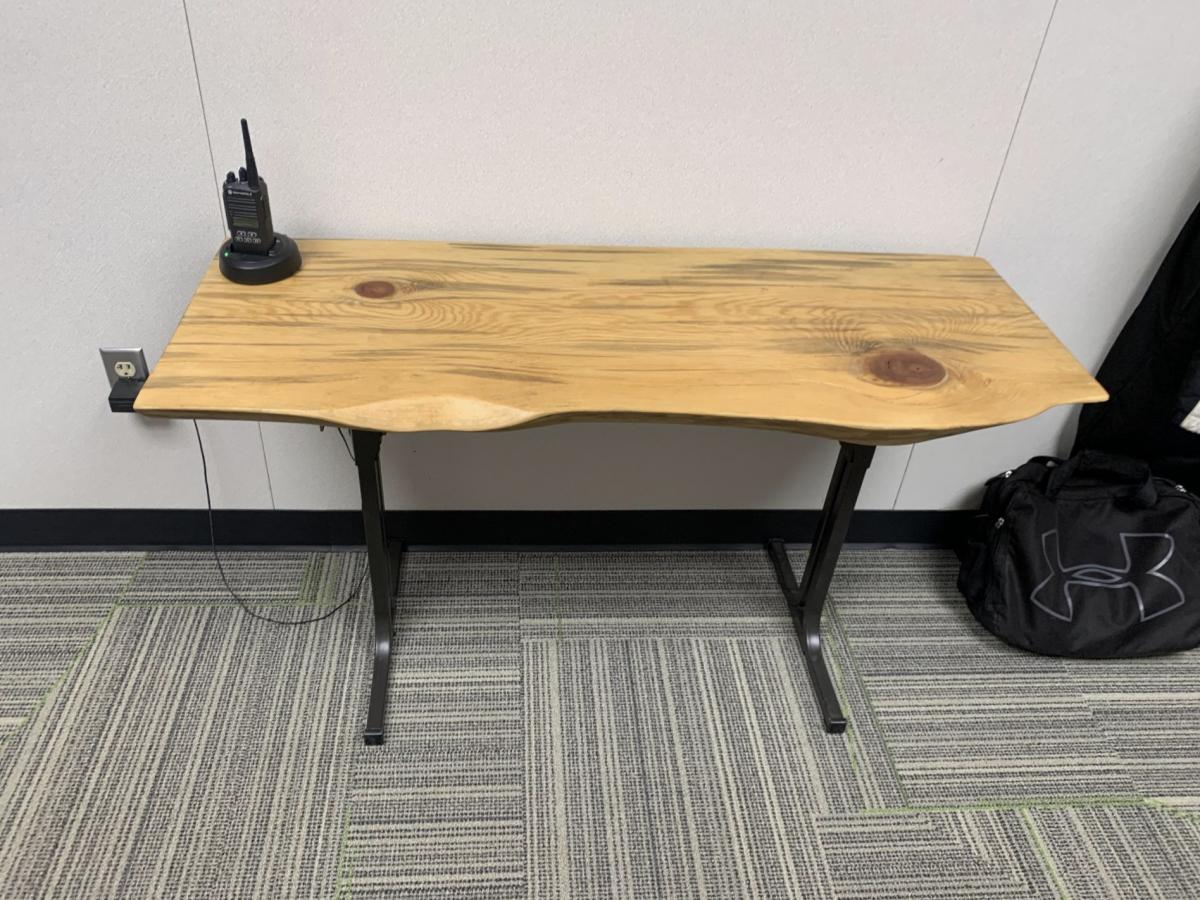
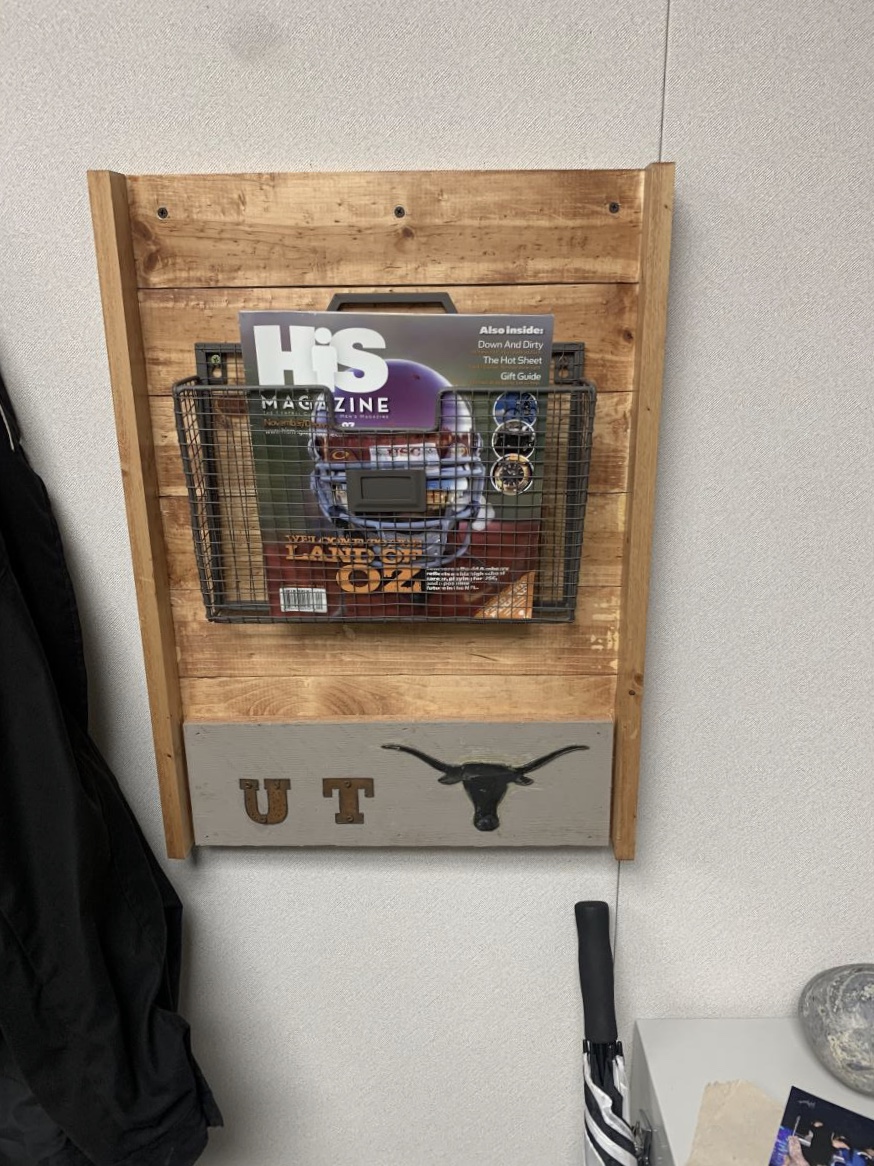
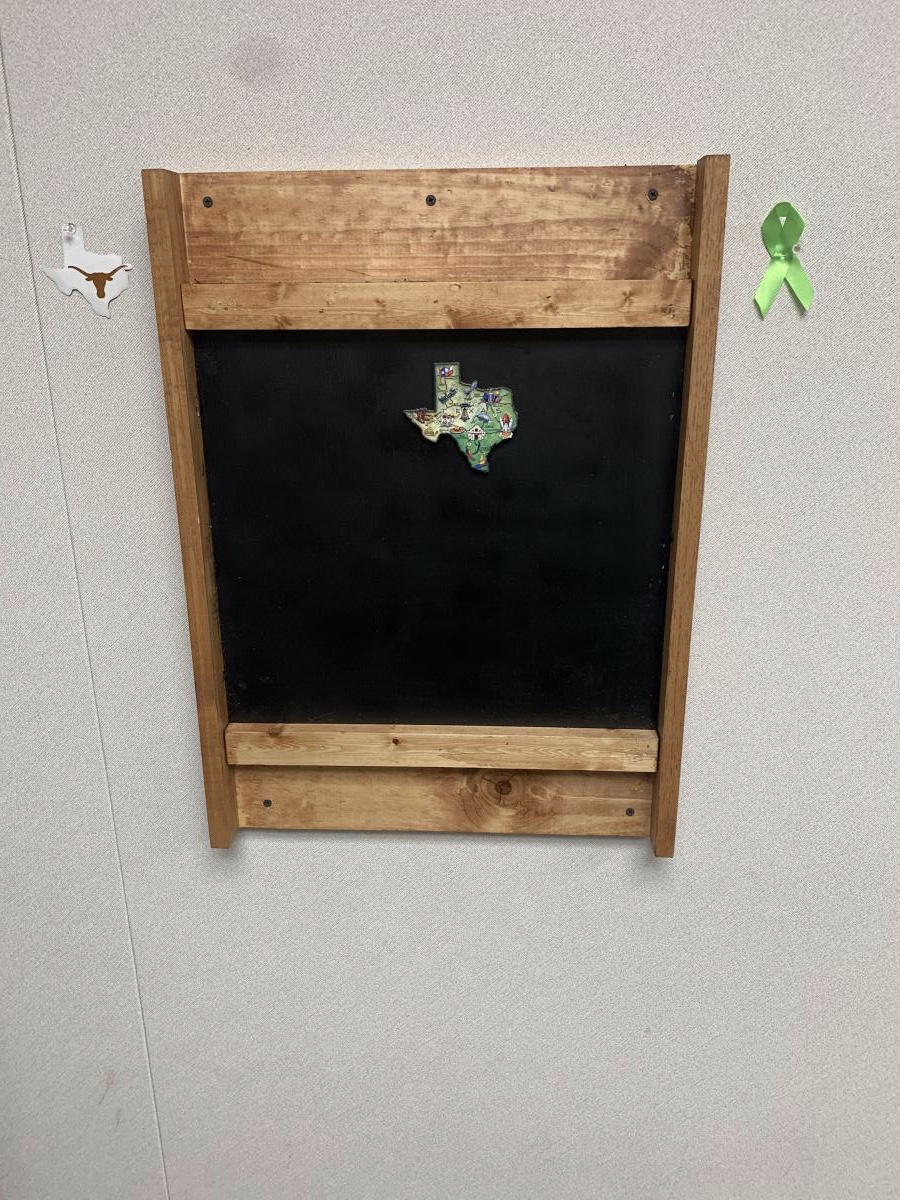
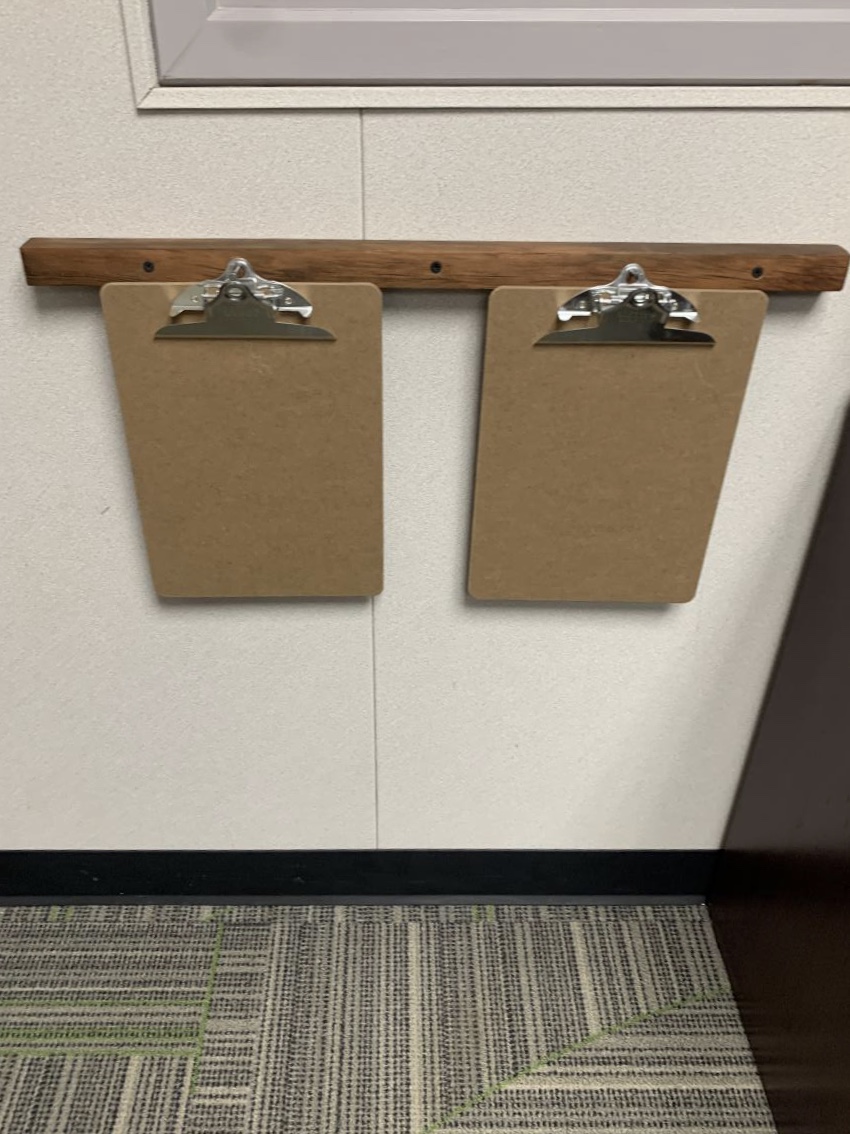
Remodeled my office at work.
1x2 and 1x1 for picture holders
1x4 and 1x1 plus old white board painted in magnetic chalk paint
Old metal desk legs that were sanded and painted and added a wooden slab to the top
1x3 and 1x1 for magazine rack. Picked up basket at Hobby Lobby and had the Univ of Texas metal pieces
1x2 and nails for the clipboard holder
Sanded all wood and used teak oil.
Easy weekend project

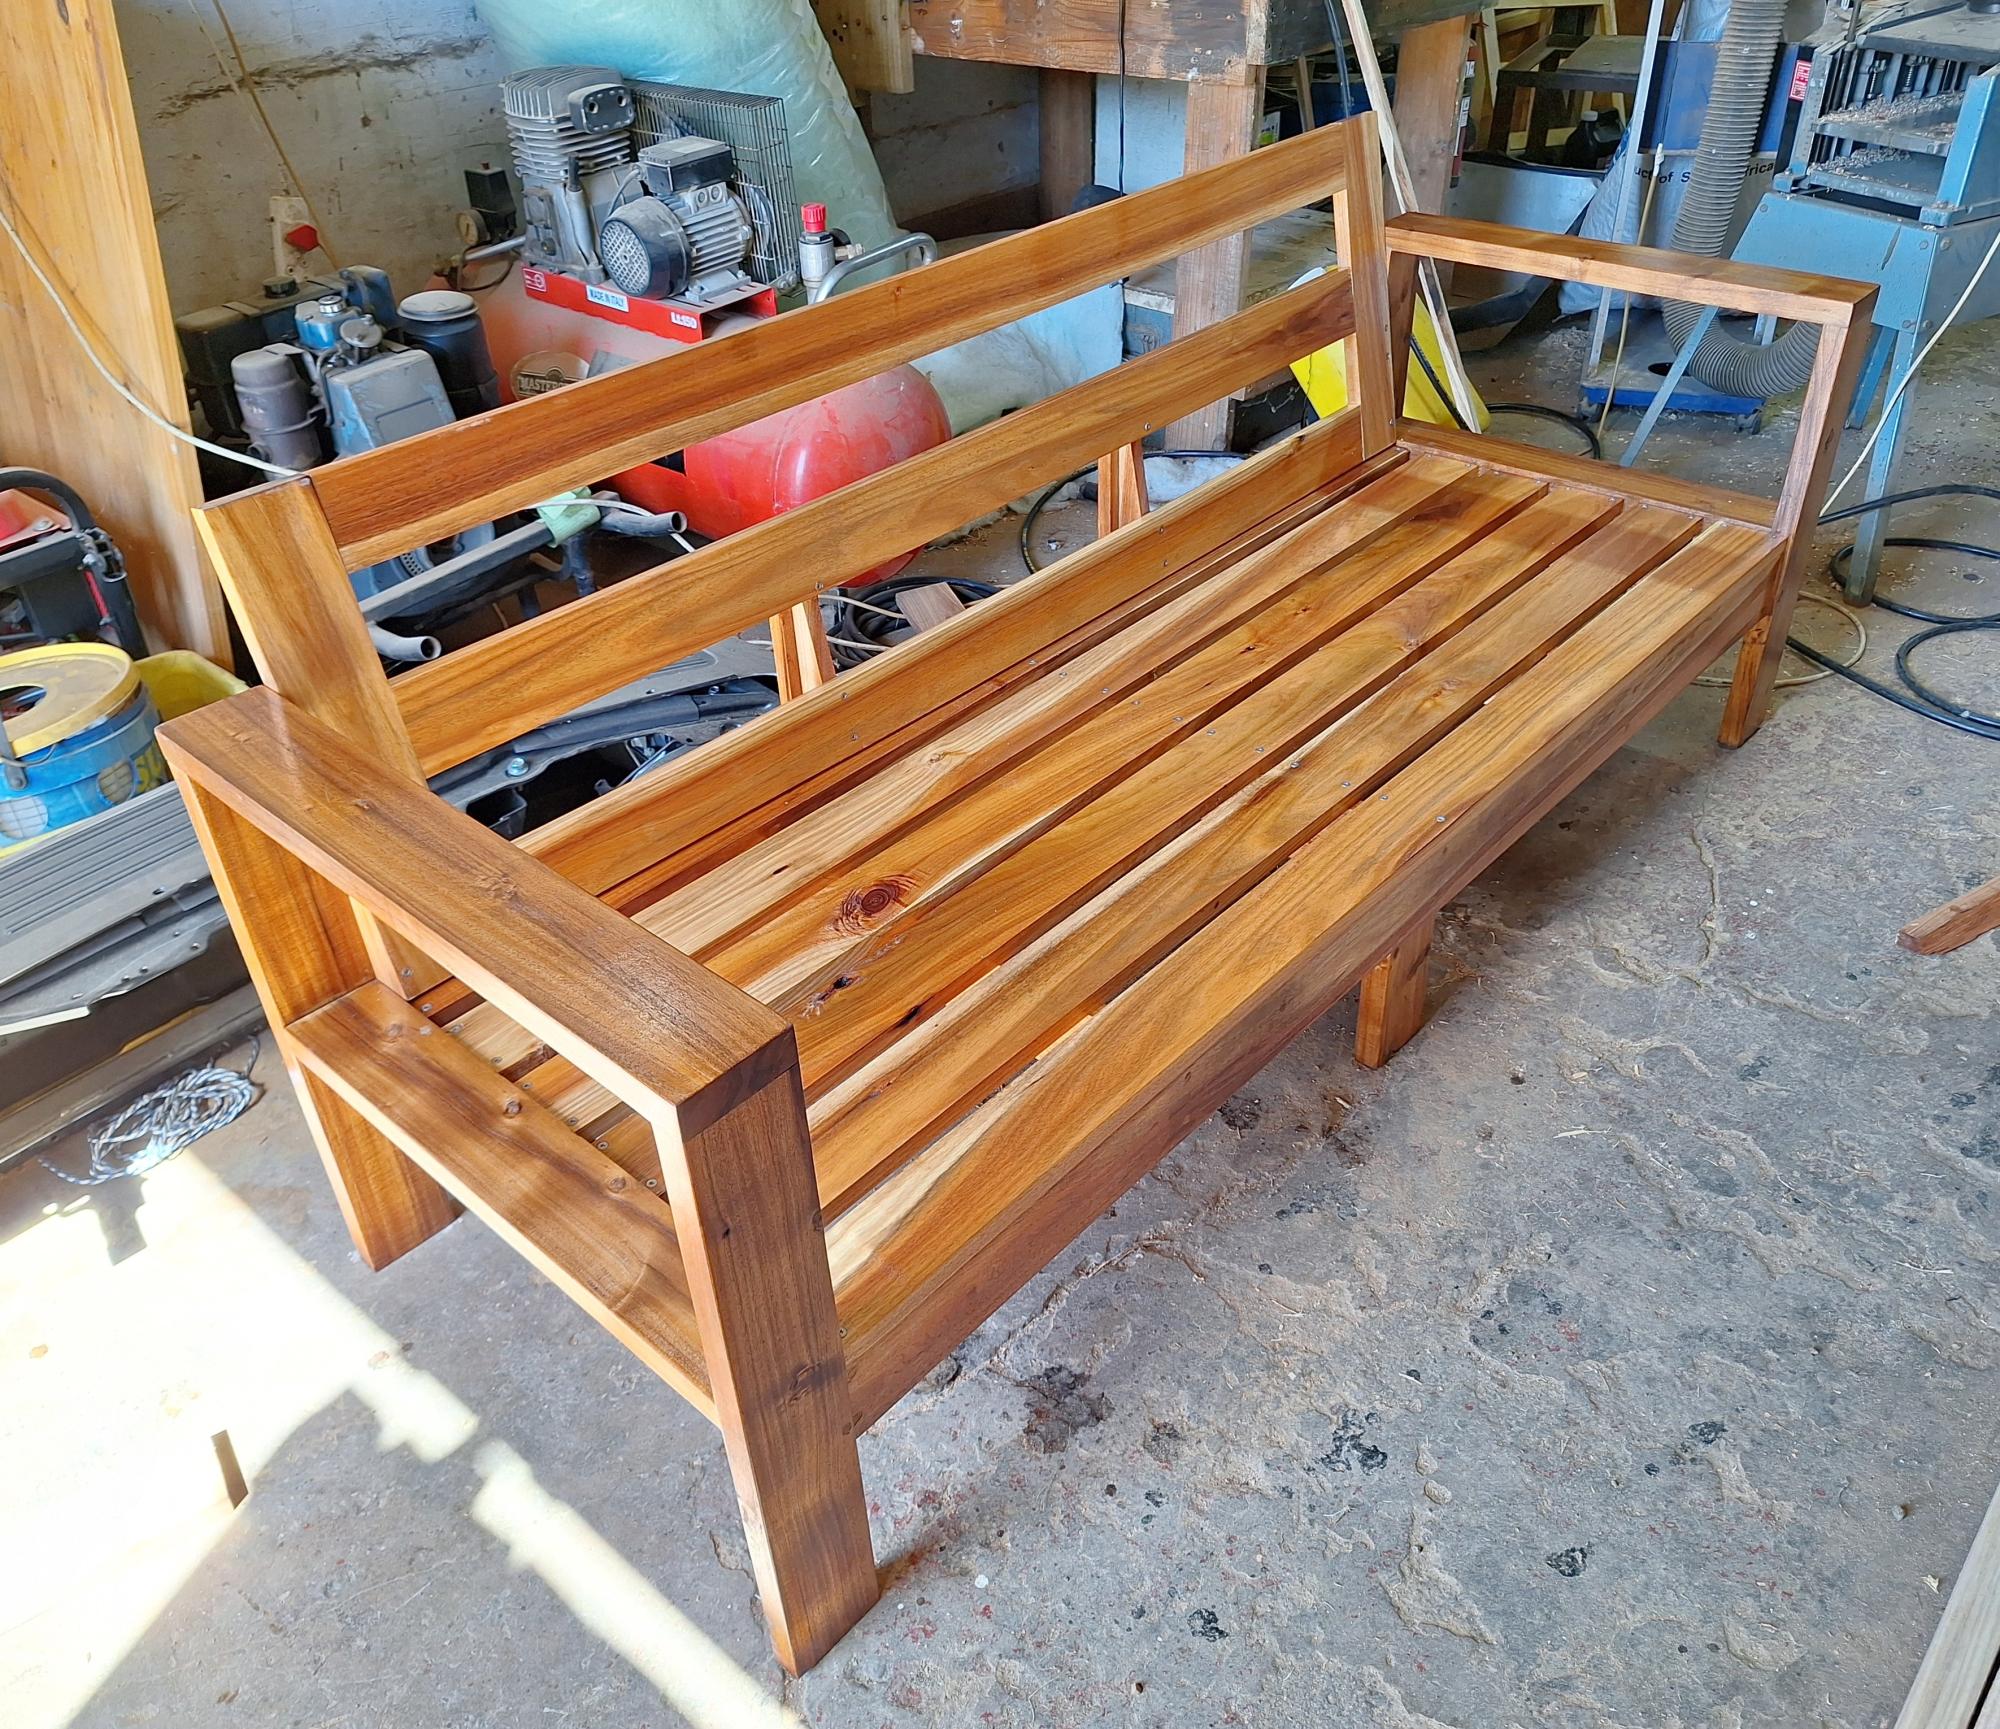
I built this outdoor sofa out of Blackwood. I tweaked Ana's plan to include a backrest and a support in the front, as my planks are only 23mm thick.
Gordon Smith
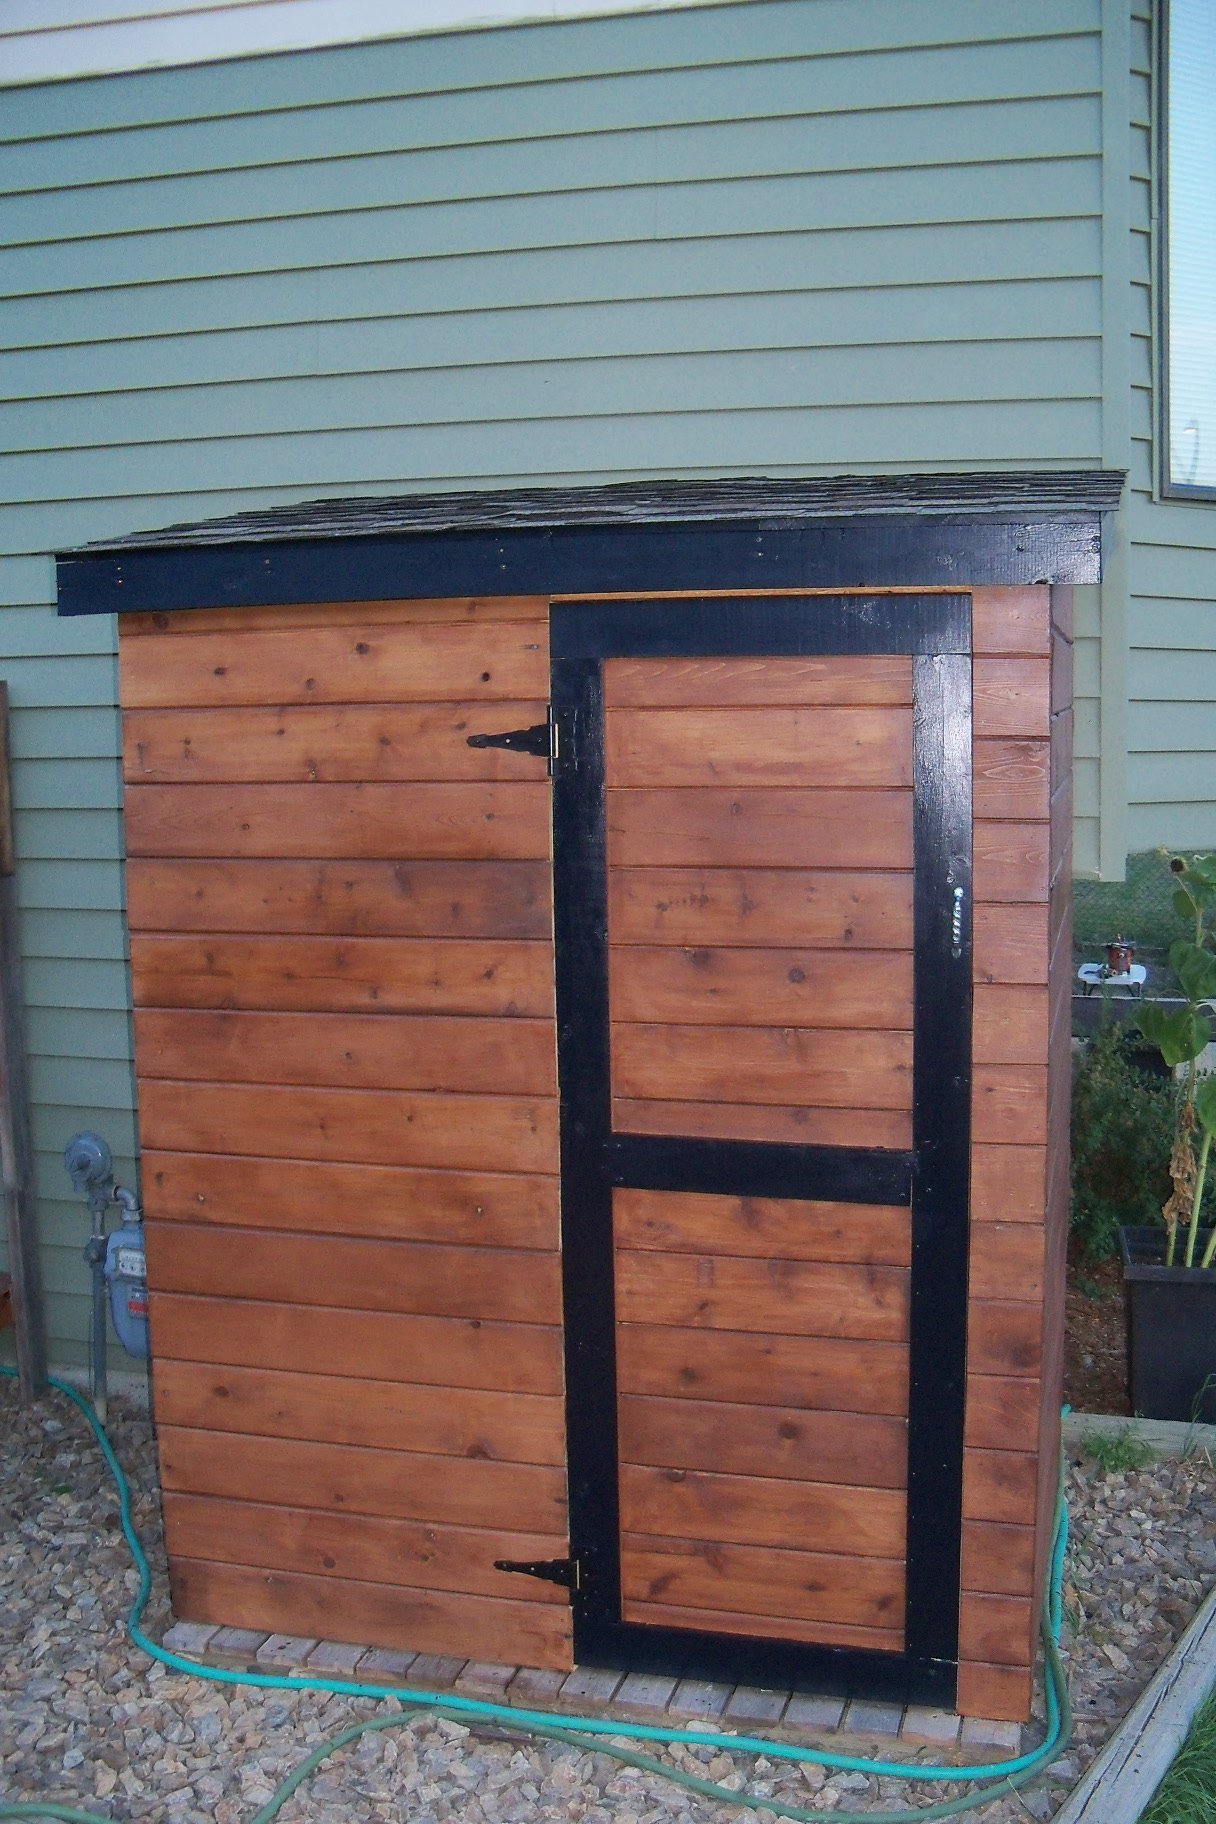
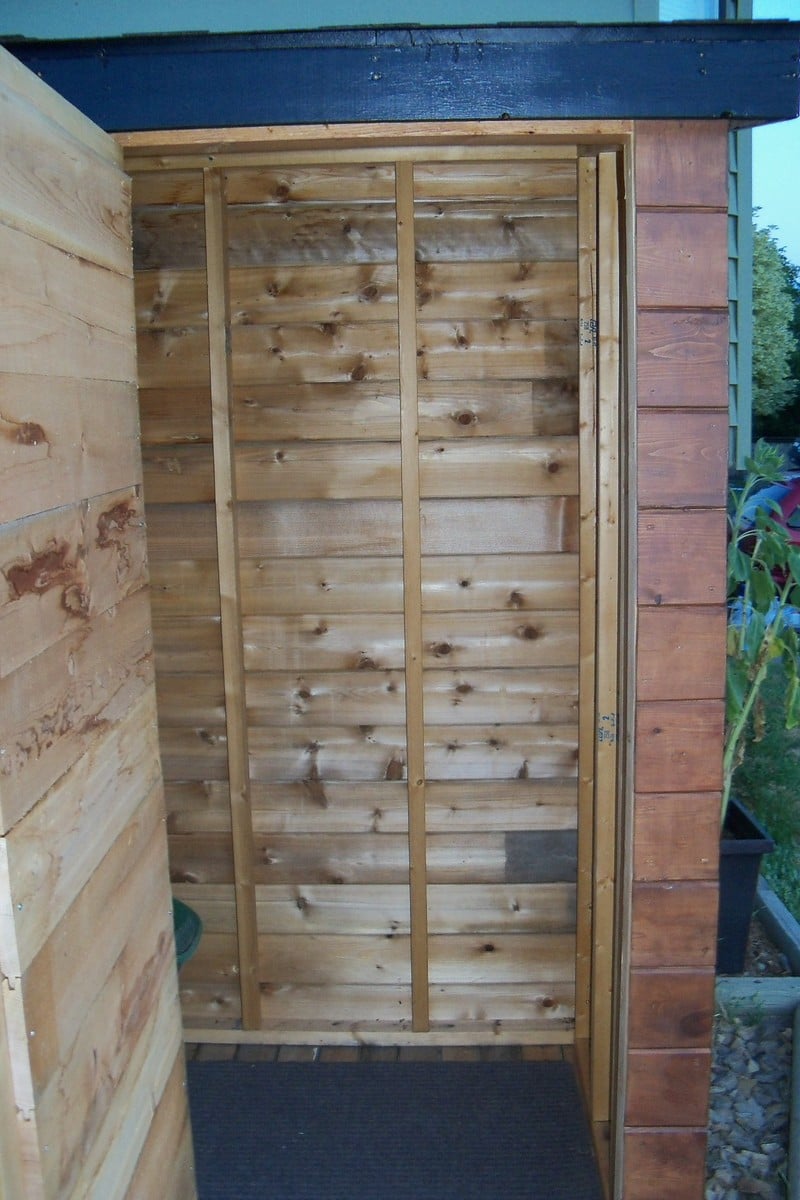
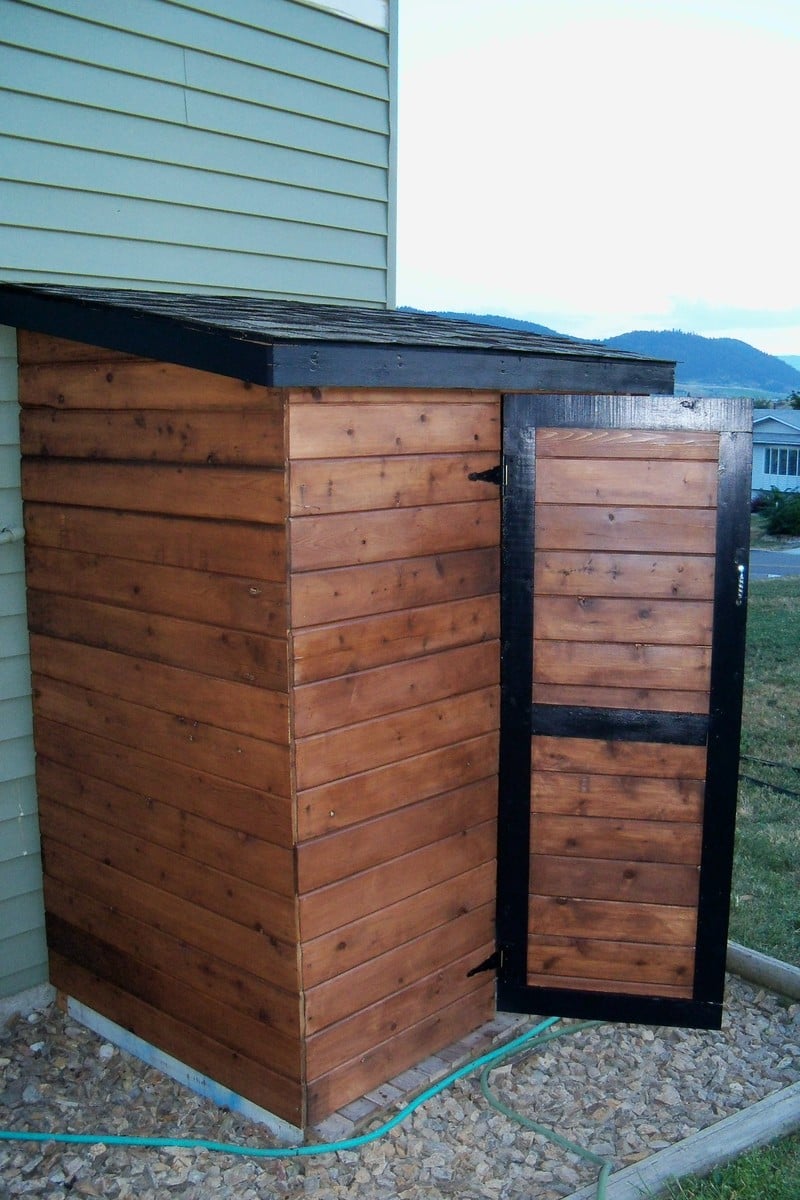
Built this as a garden shed so I had to modify the front into a small 26 inch door.
My shed size was 5 x 4 as I had limted space.
My roof is angled at 10 degrees.
I used my new Kreg jig for the door that was fun!
Frame is from 2 x 3's.
The total cost for me was under $70 as I salvaged the cedar, 1 x 4's, roof felt, and shingles.
Paint for the trim was a $5.00 oops.
I am more than pleased with the outcome.
I built the potting table first before this.
So this was my second item to build and I really enjoyed it.
Can't remember much more about how I built it as I started it a while back.
This site is really amazing.

These chairs are fairly easy to make. The side boards were the hardest part.


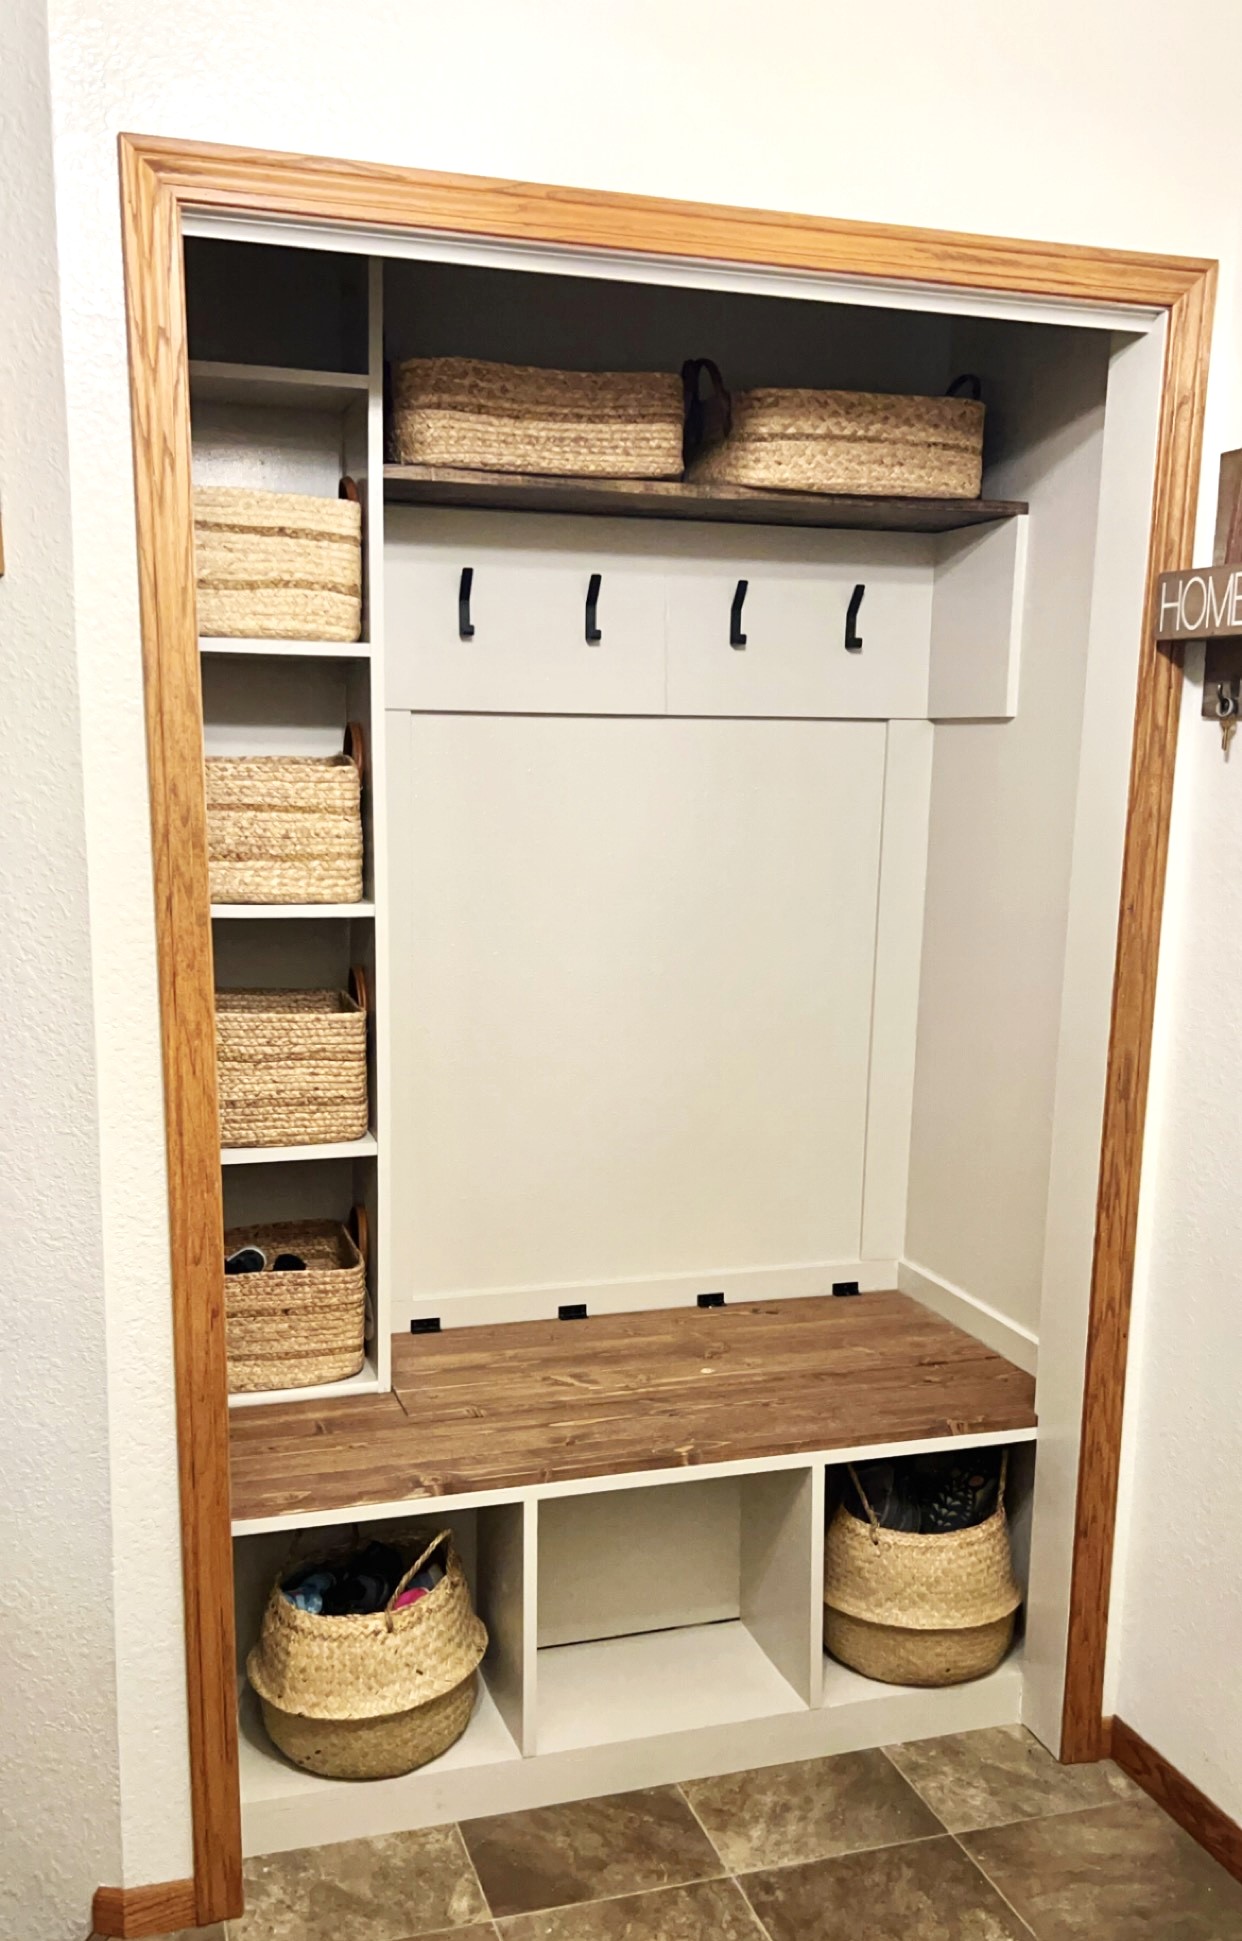
DIY Home Closet Upgrade
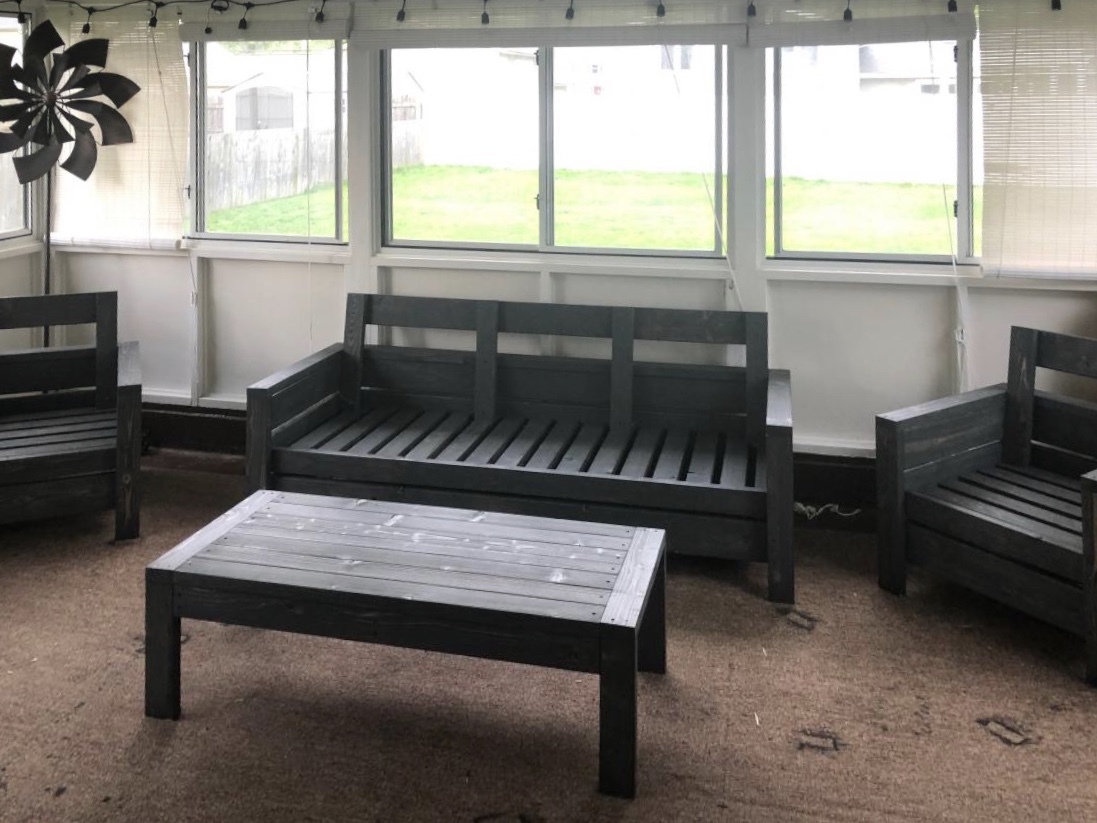
At the start of the COVID situation, I decided to make a furniture set for my three seasons room. I figured, i had all the tools, so why not. We used the Modern Chair and Modern Love Seat ( but extended the love seat for 3 seats). I added a middle support on the couch to accommodate the longer length. I also added the backs, because we found out that the cushions we ordered liked to fall off the back. I just made a 10 degree cut on 2x4's and added a 2x6 piece for the top of the backs. I also ripped a 2x4 down to make the table top close to seamless ( I did not properly join the 2x4's) It was a great project, my wife and i enjoy doing these projects together. We cant put a children's play set together, but we can create things from scratch.

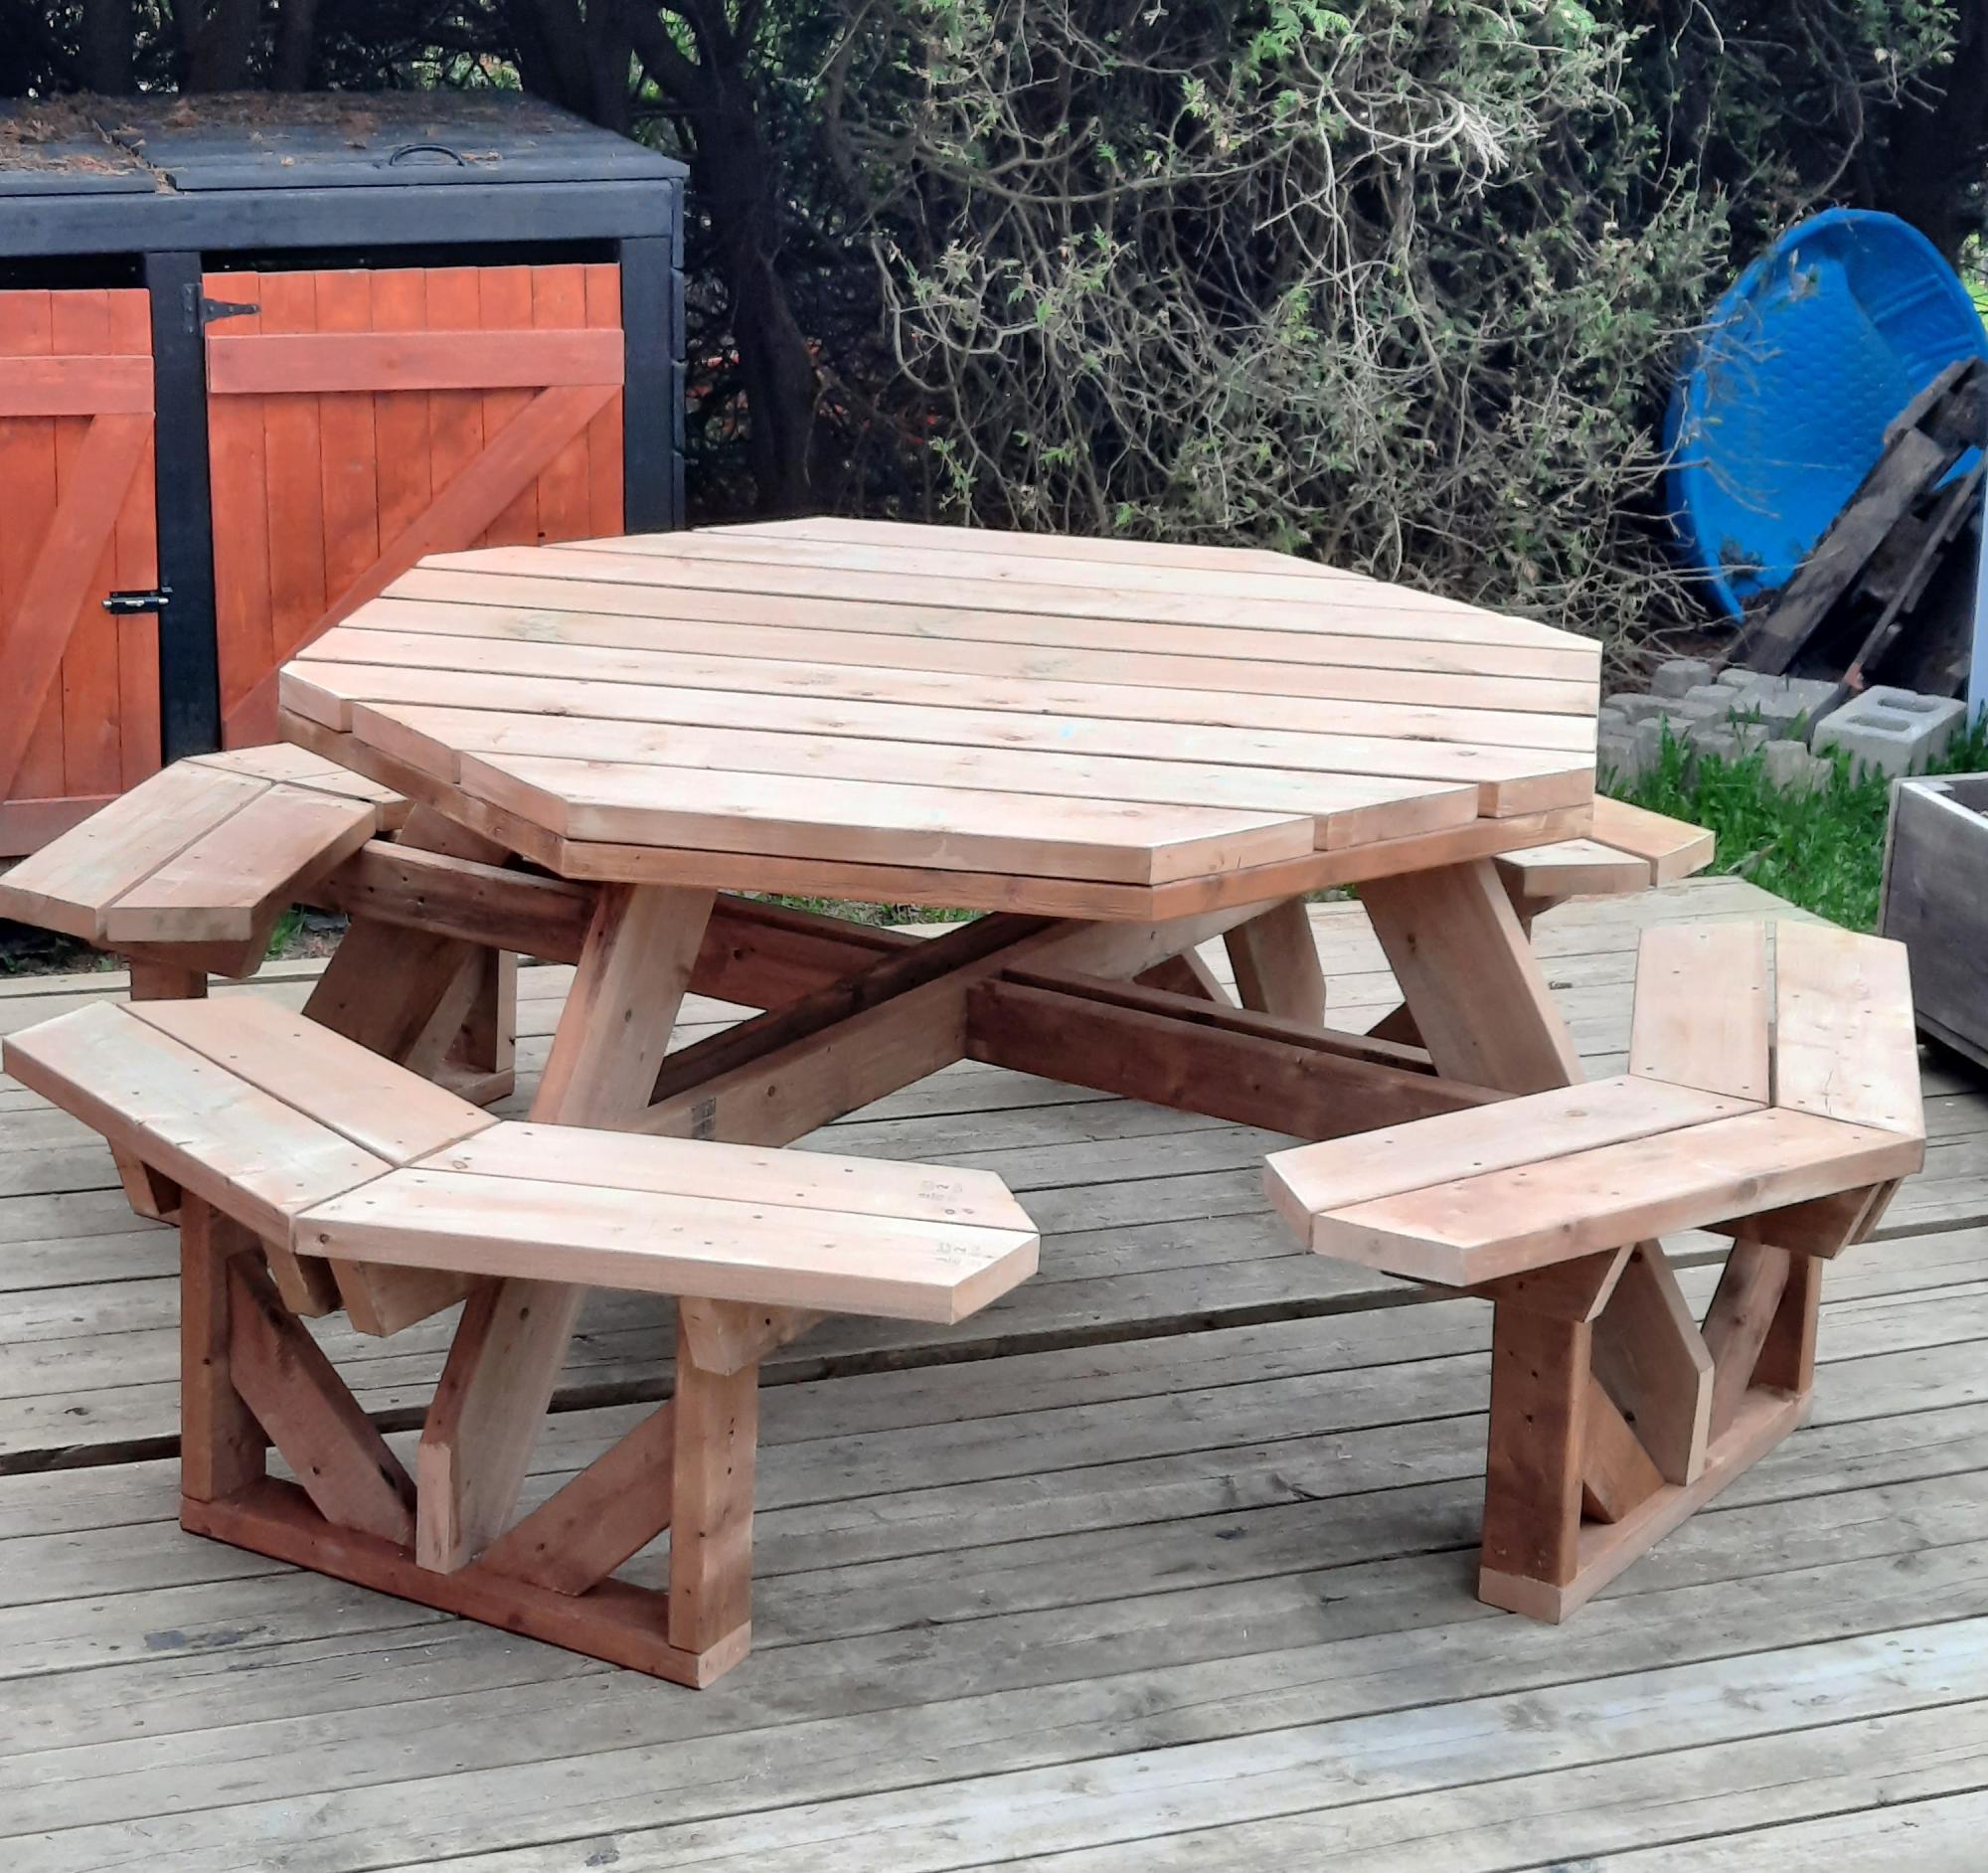
I had a lot of fun building this table! Ana's plan was easy to follow, even for a beginner like myself! The only thing it needs is exterior paint. I will definitely try another project from this site! Thank you Ana!
Vicky Shank
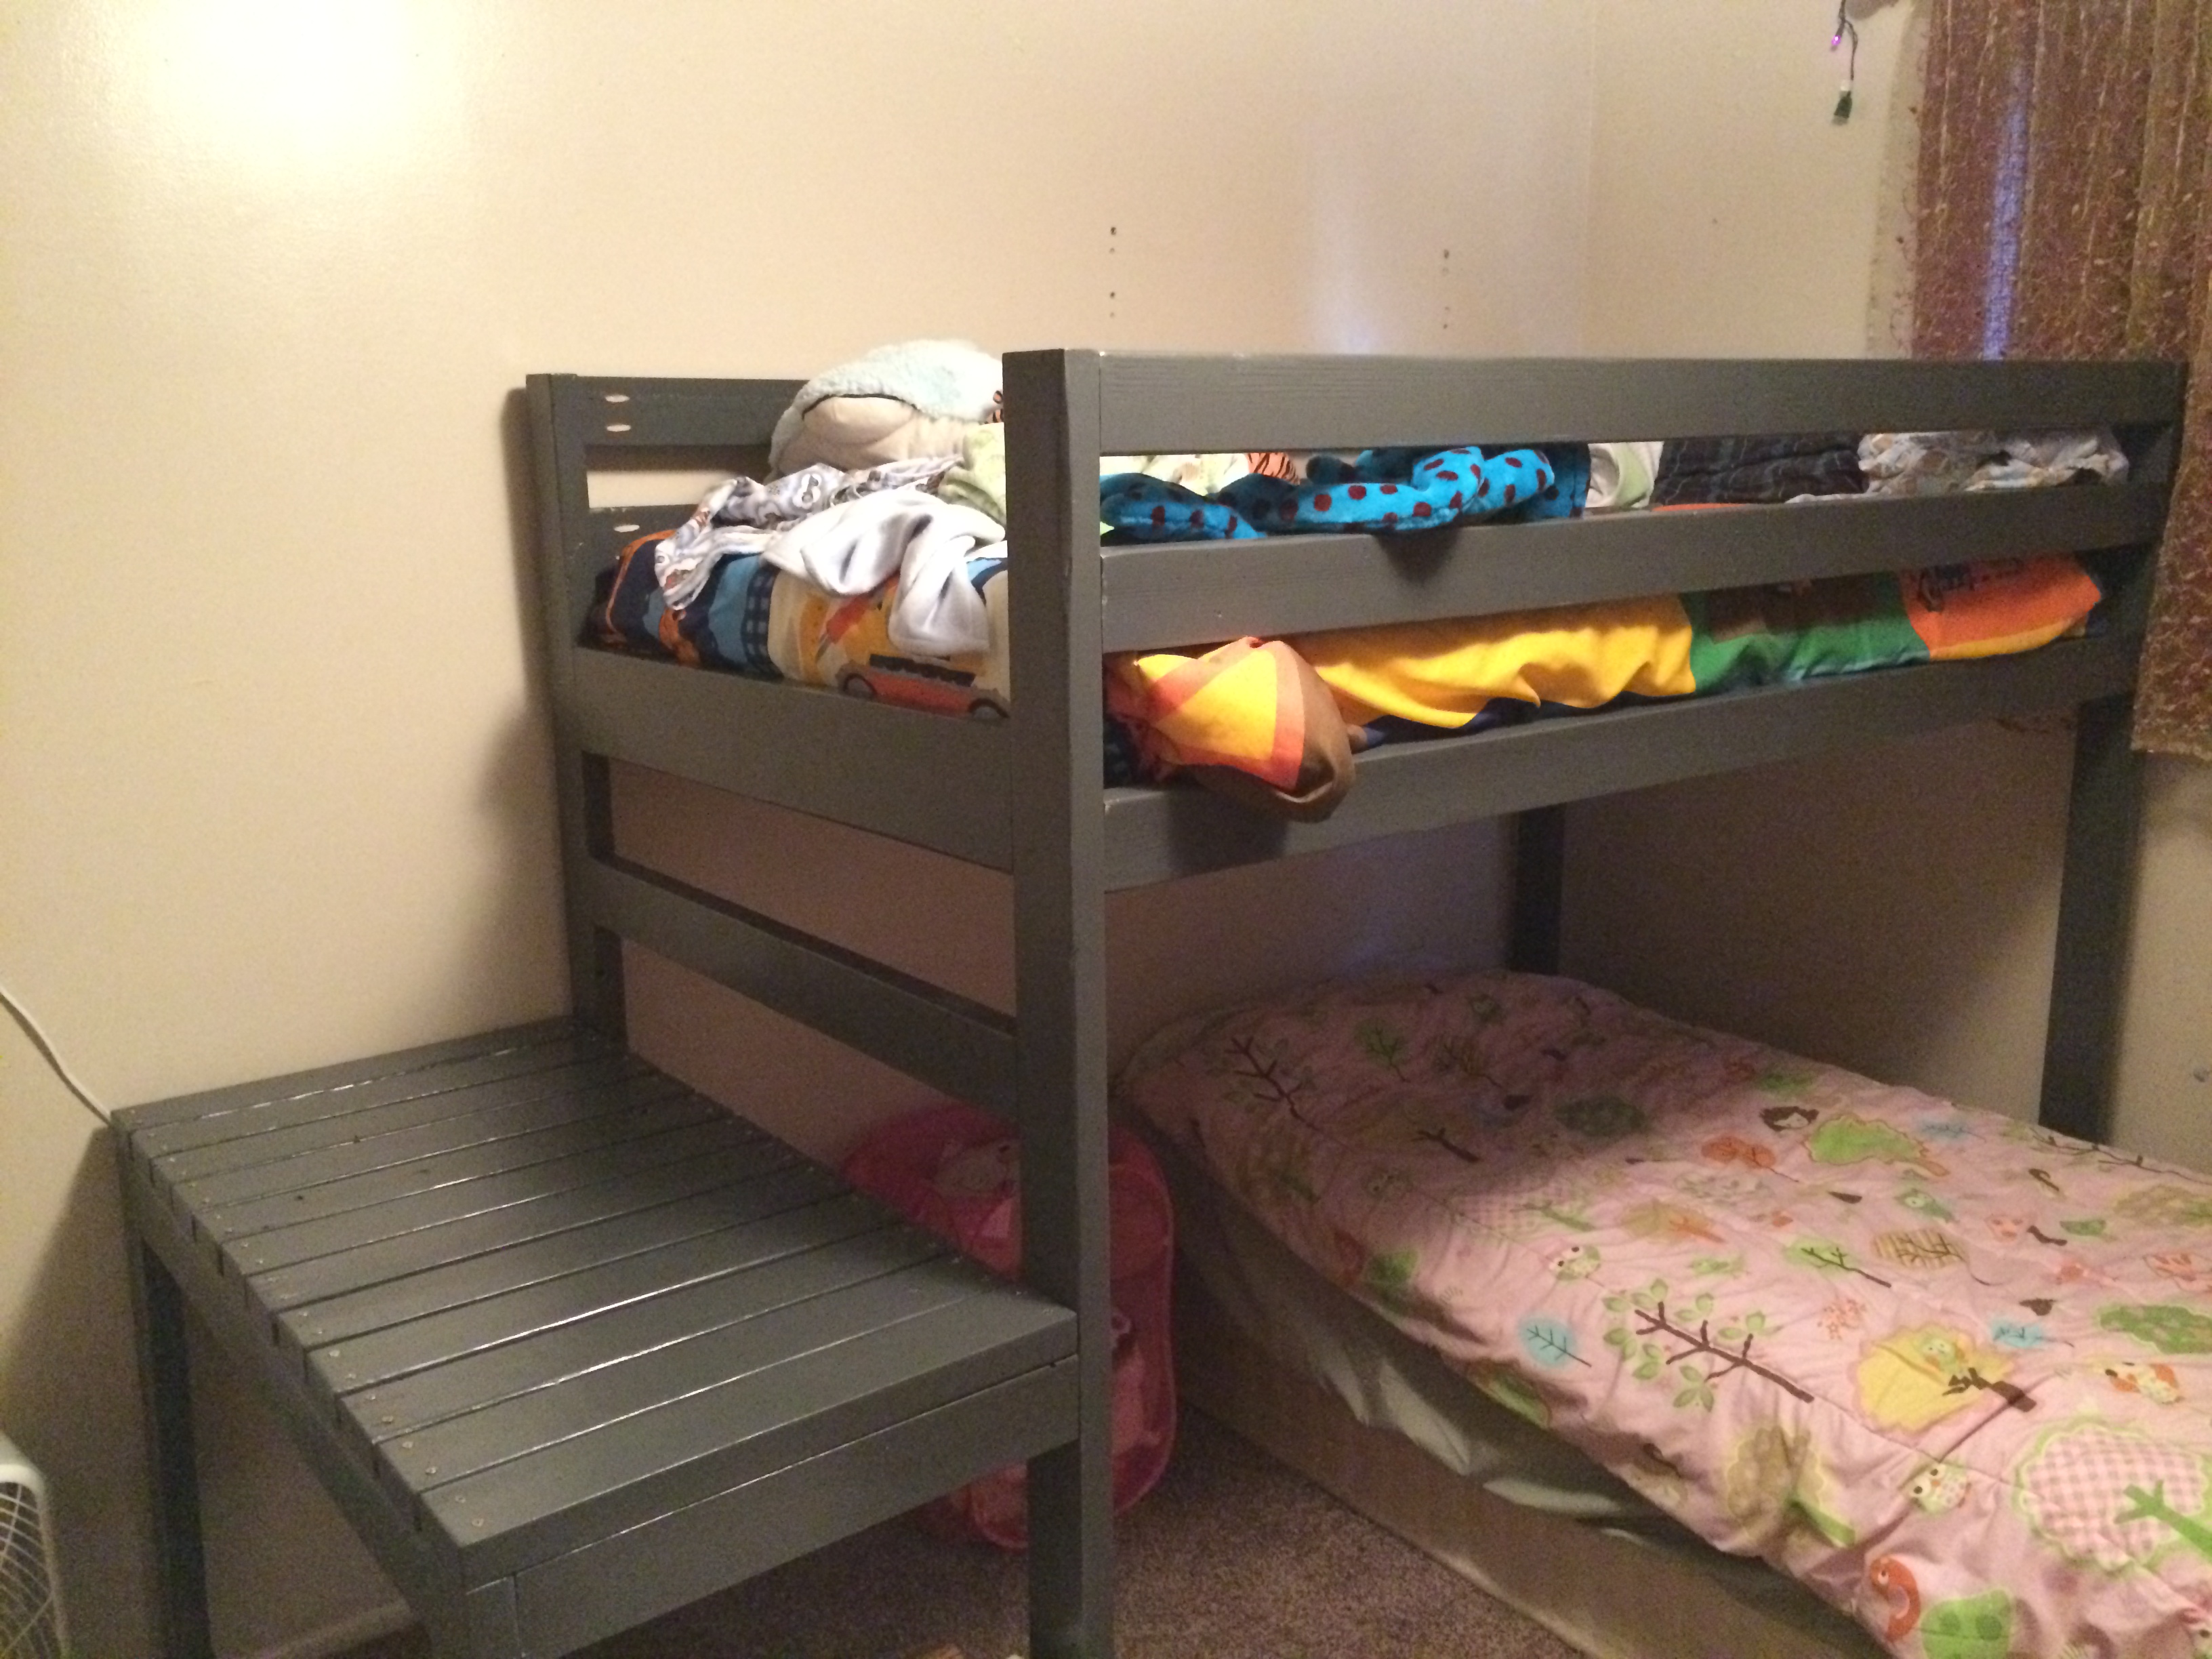
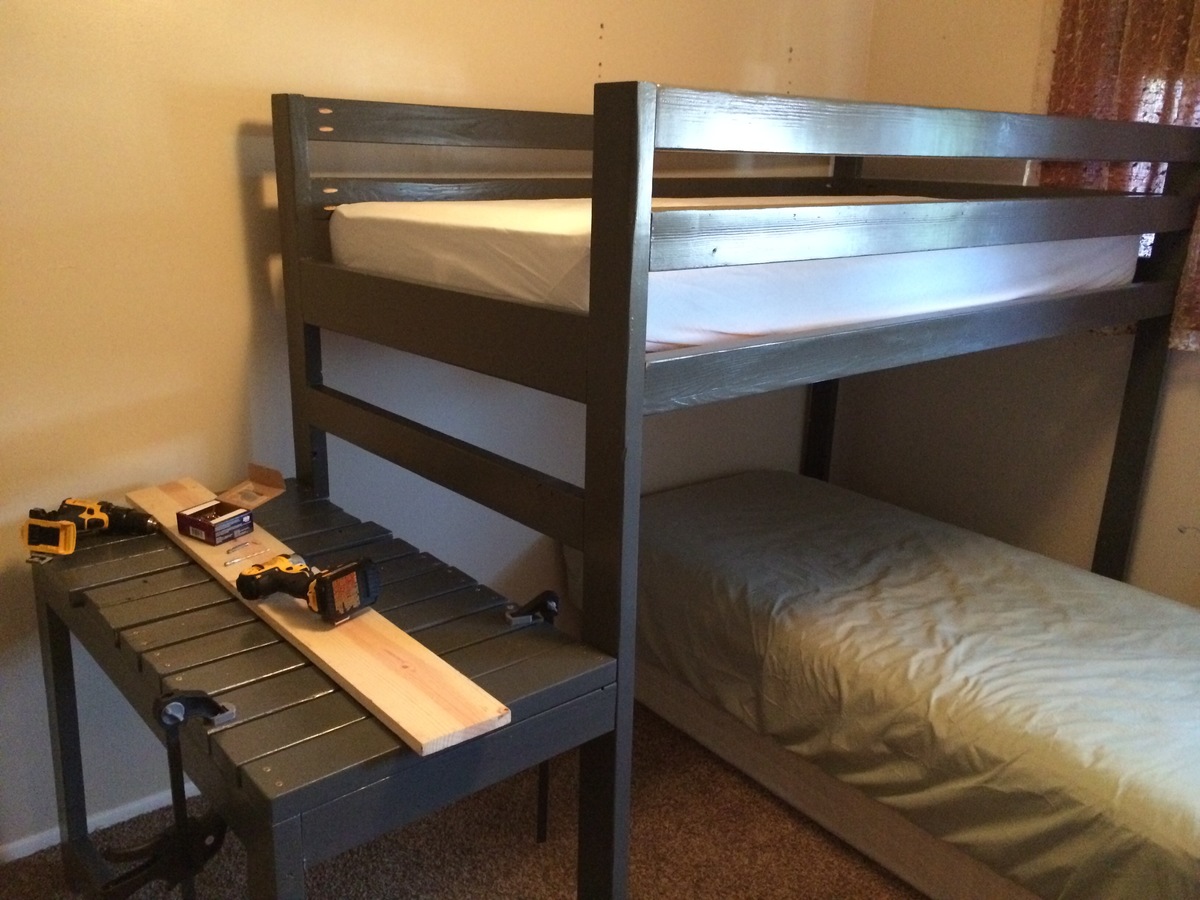
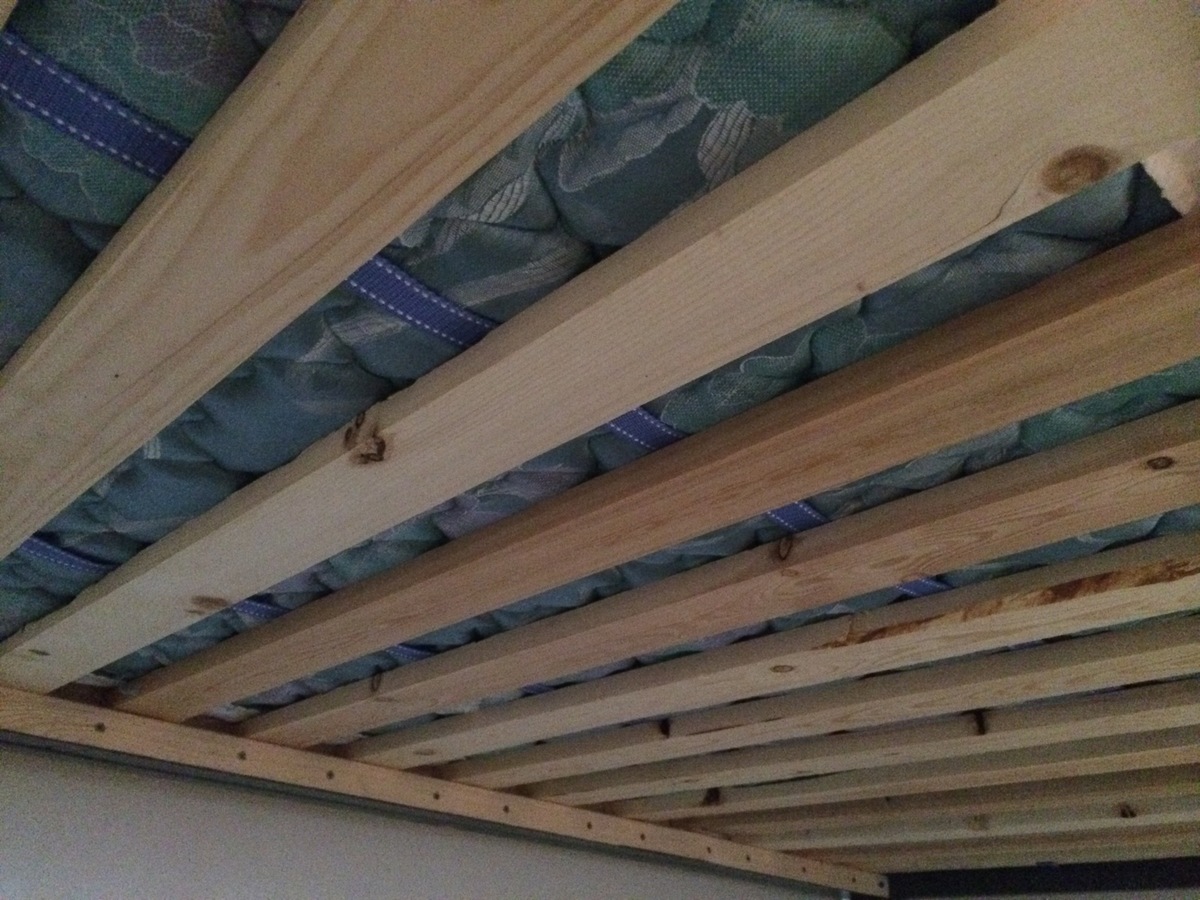
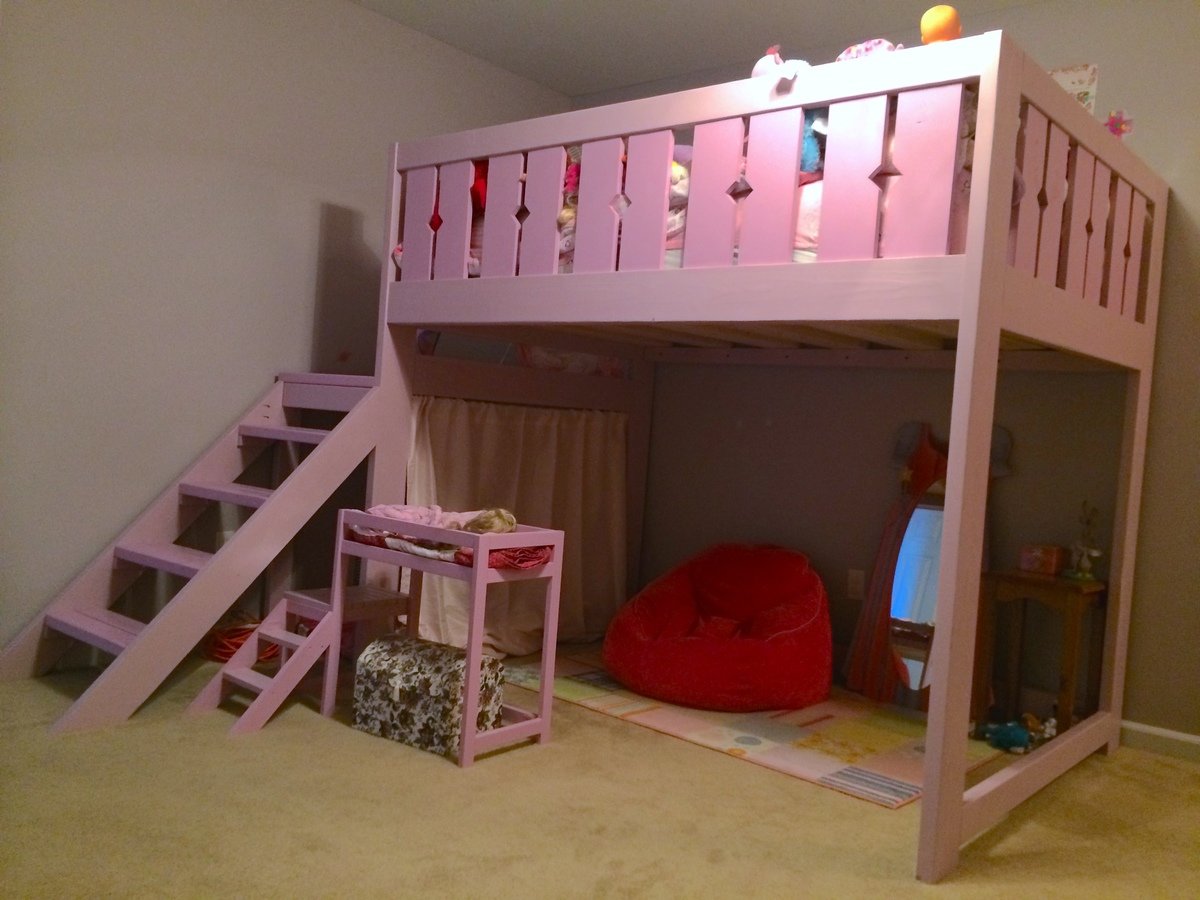
Made this loft bunk a few hours at a time, over the course of several months. Spare time and weather in Utah has been less than cooperative. I used some back pack strapping screwed to 1x3's for the mattress supports. For the finish I used 2 coats of paint with primer, and 3 coats of high use water base polyurethane. With a 5 and 7 year old I didn't want to be worried the paint would be getting dented and chipped off for a long time. I wanted to stain it originally but failed to remember to wipe off the wood glue before it dried so it got painted. This was a very fun project to build, my son loves it. Now to build another one for his sister.
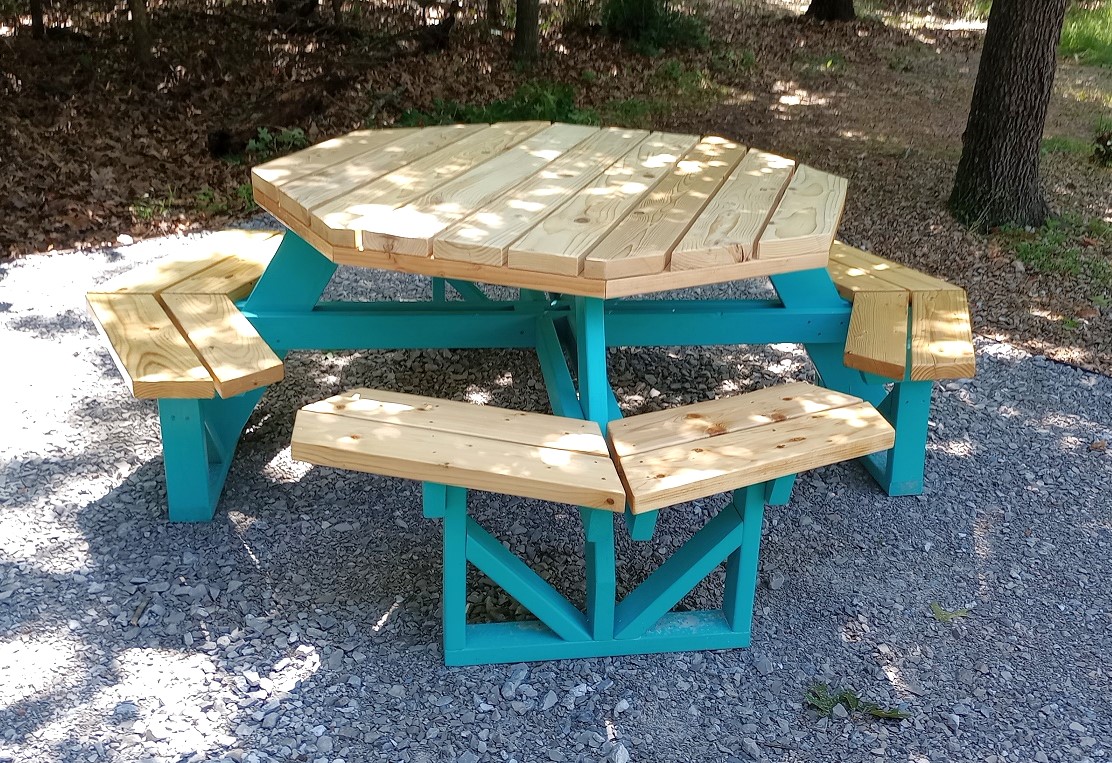
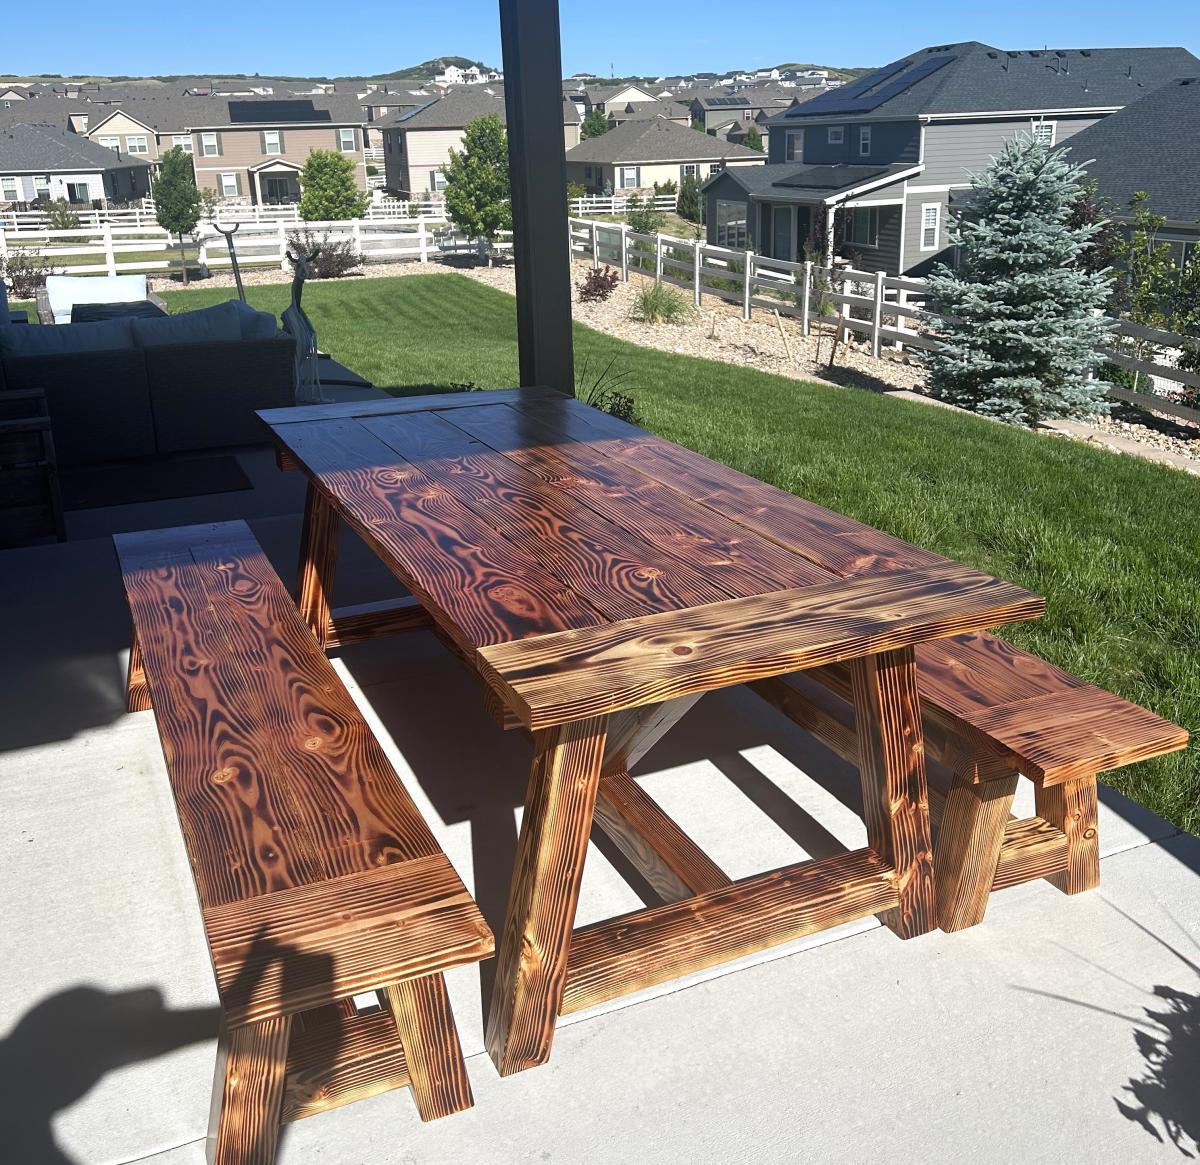
My take on the Octagon Picnic Table.
Brad Tom
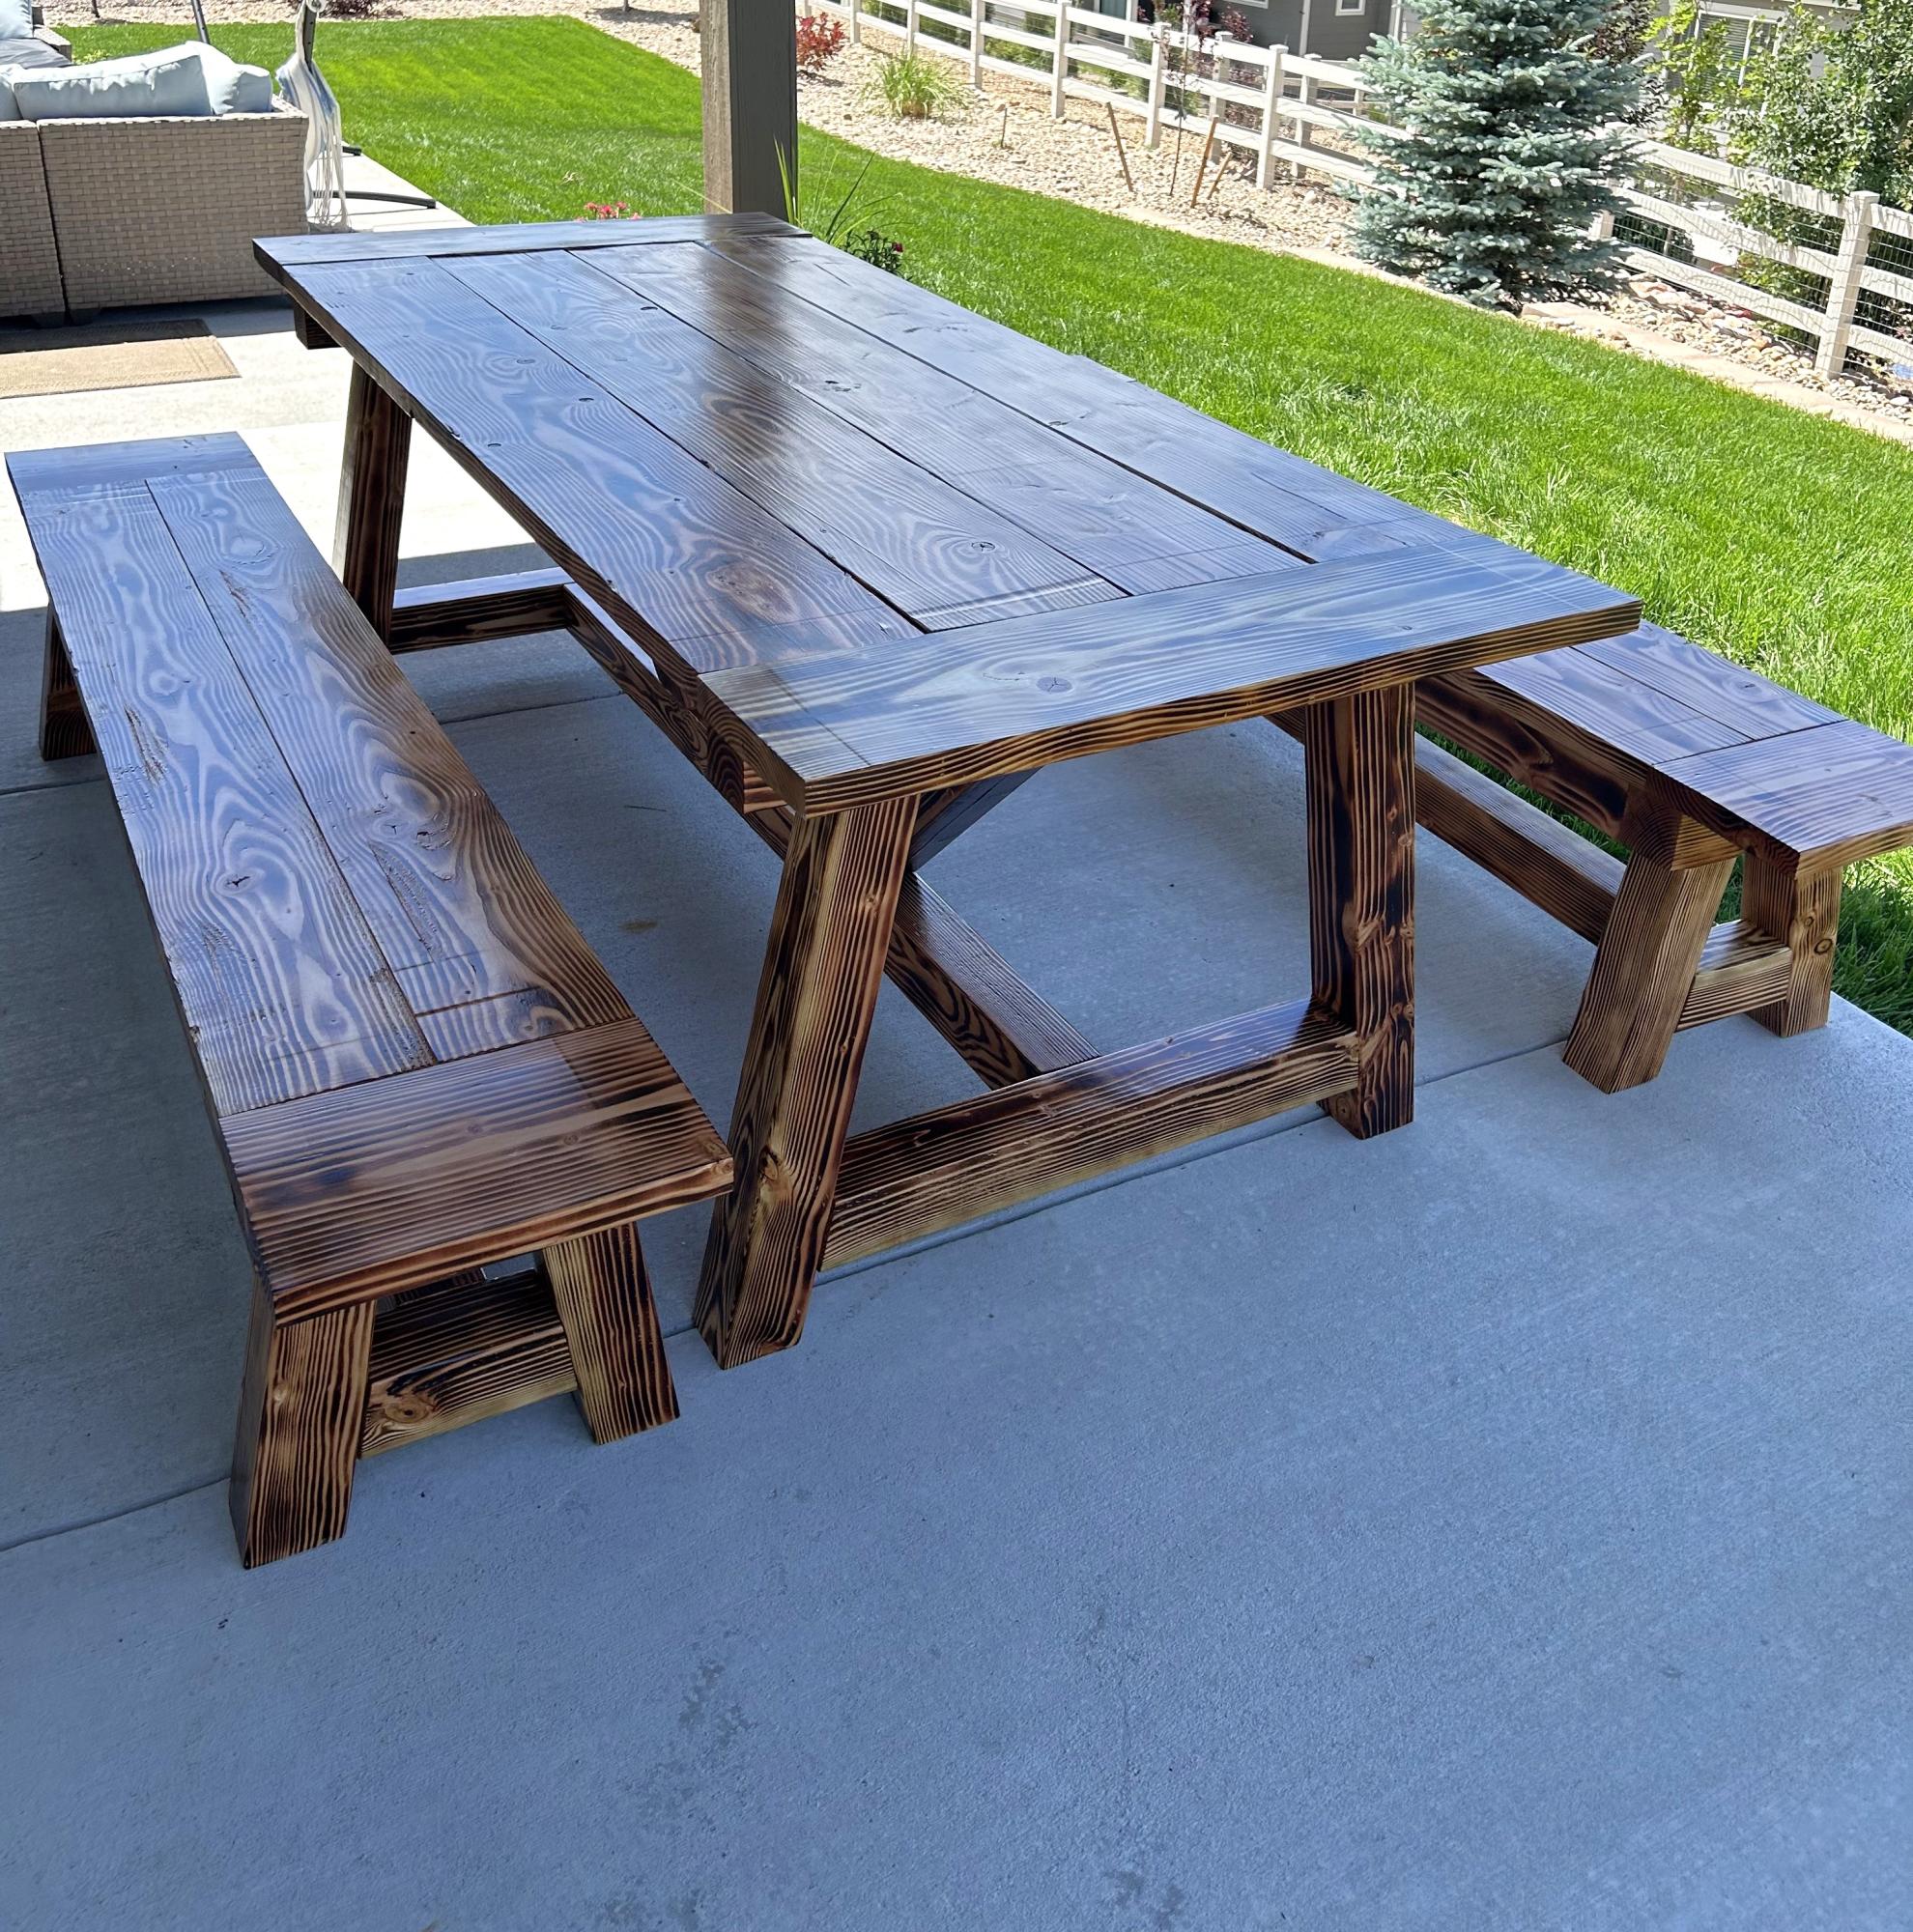
Used box store lumber and did a light burn, tung oil and sealant.
Tim H
We built two of these beds for our daughters and modified the plan for their full size mattresses. Also modified the rails for a different look. Of course their dolls needed matching beds as well :)
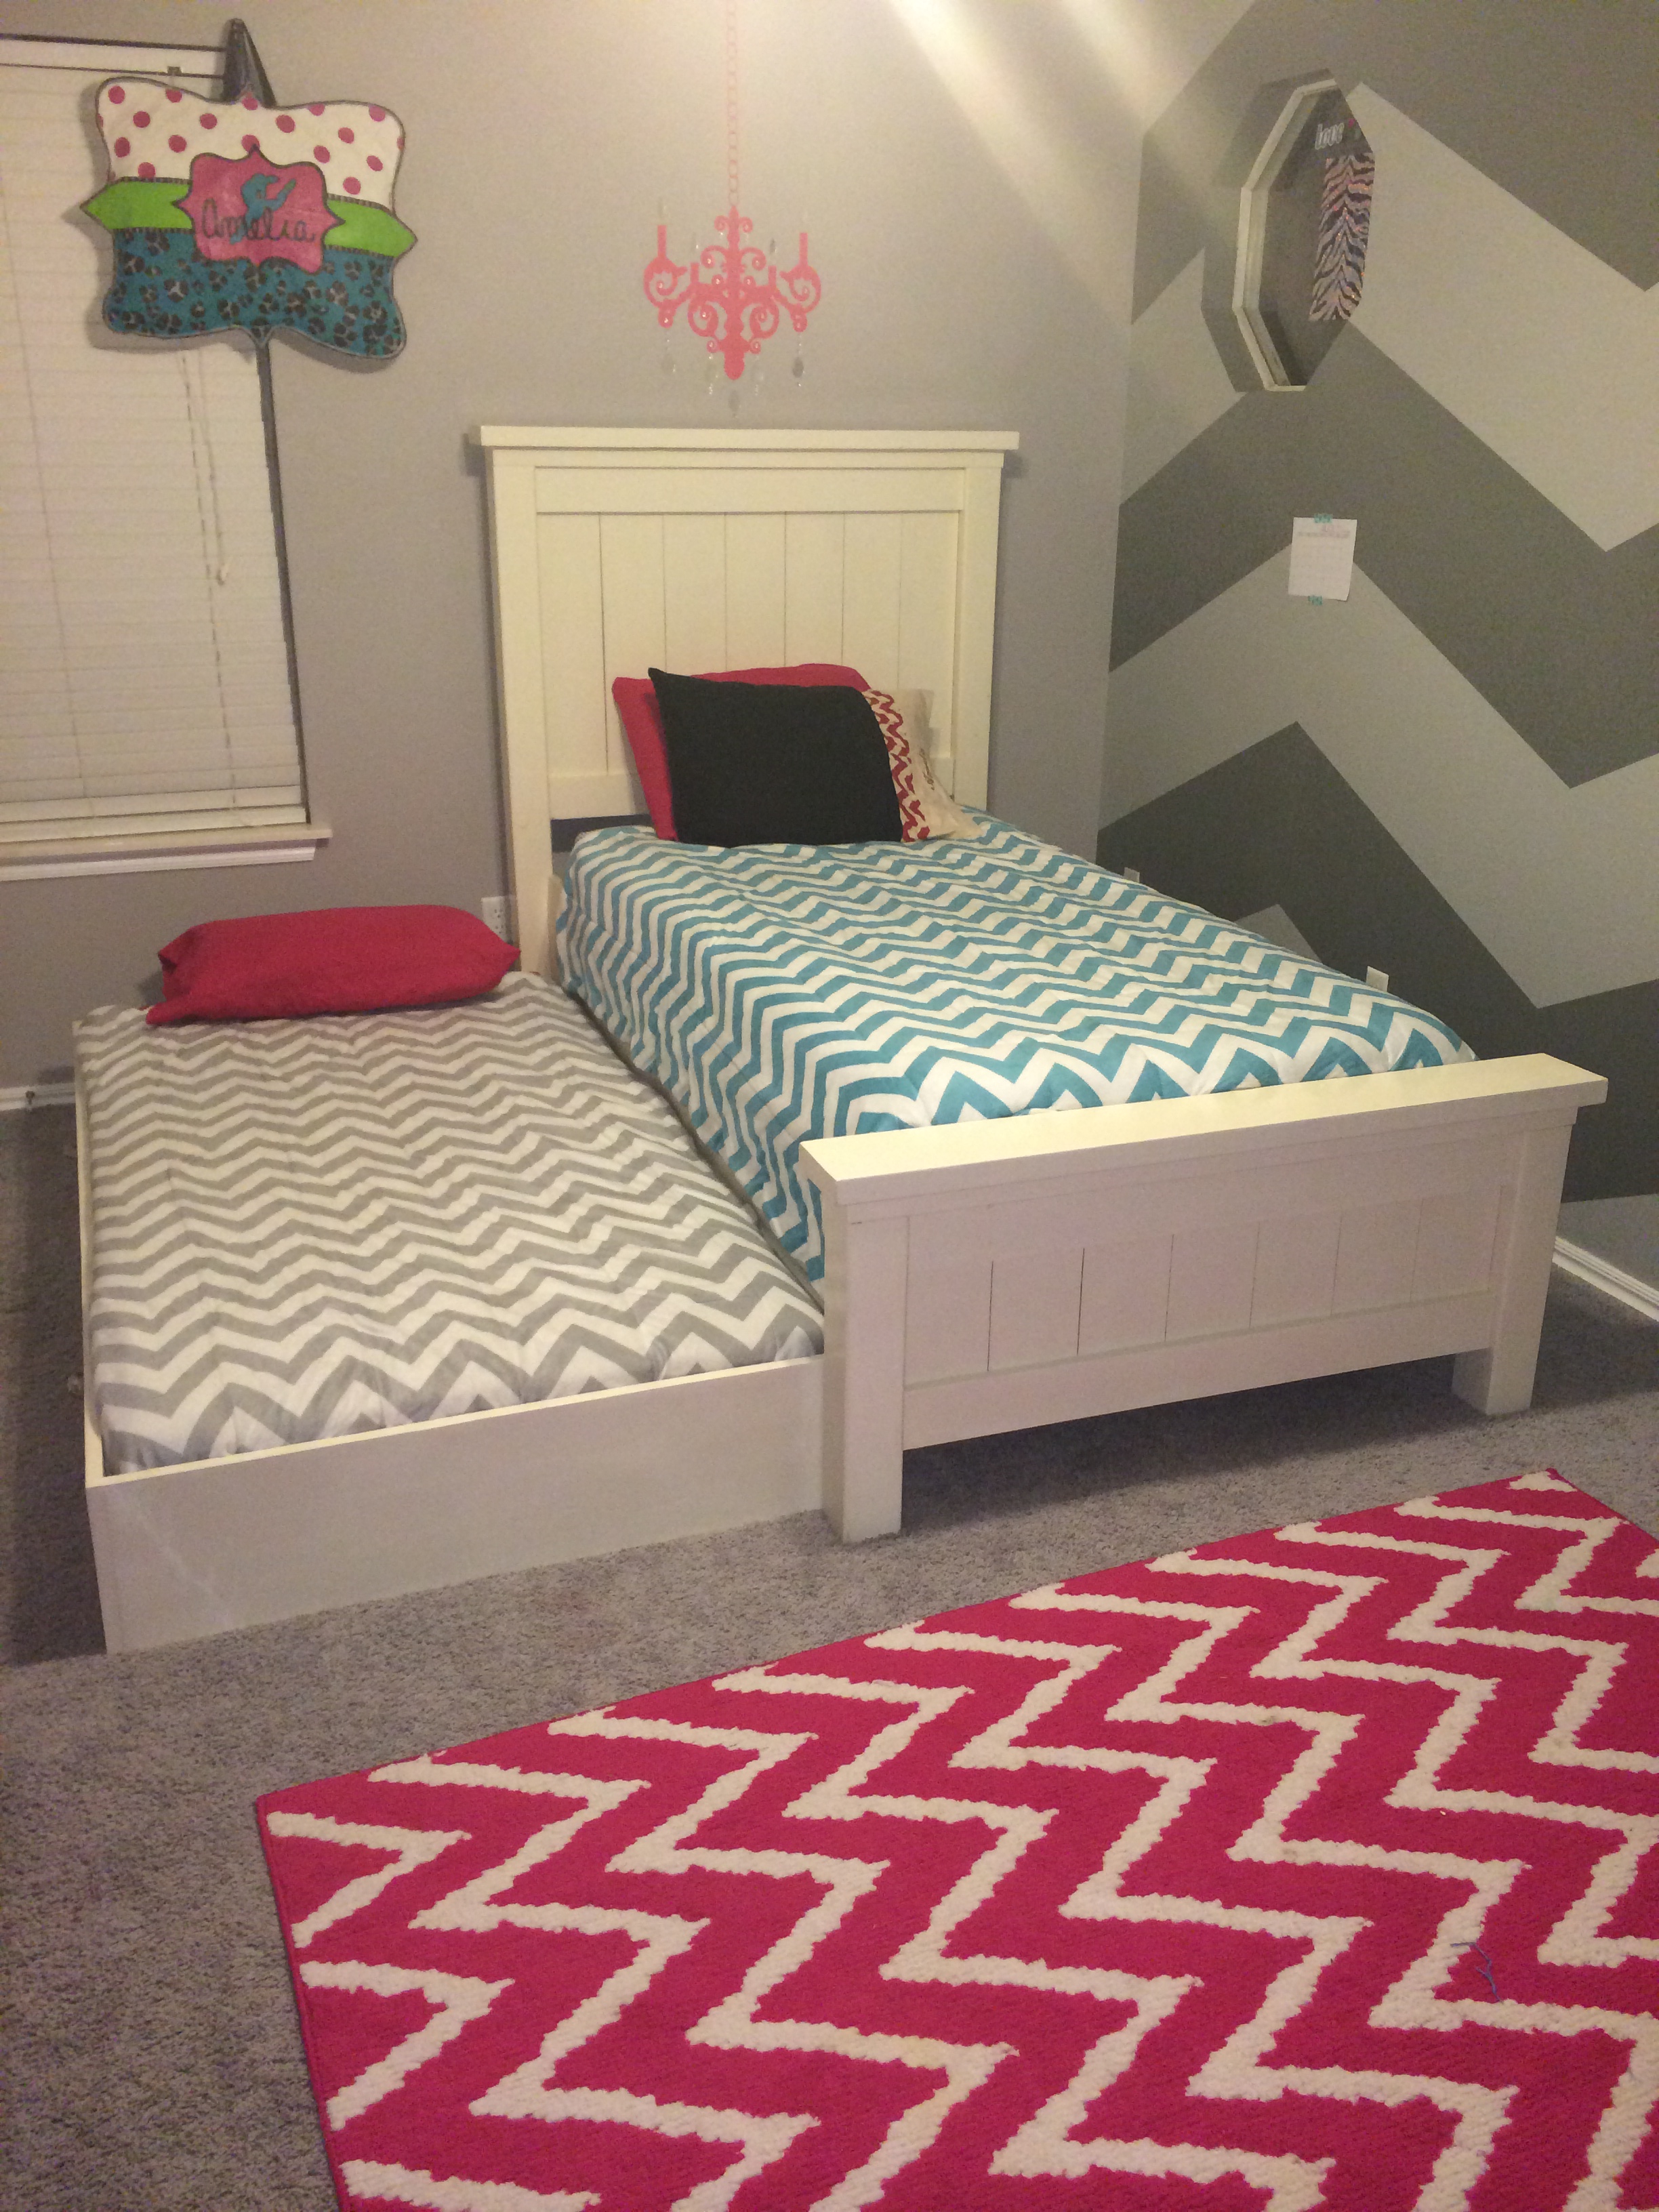
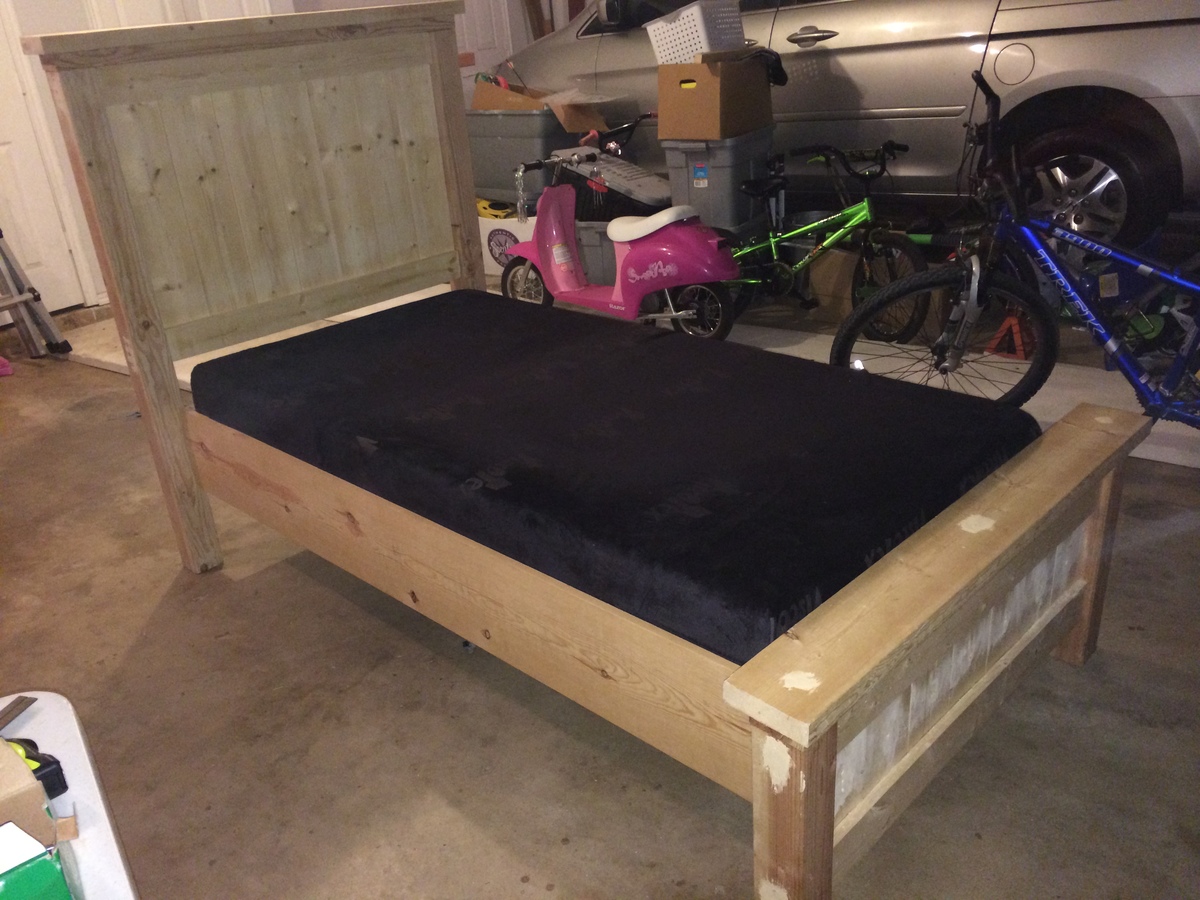
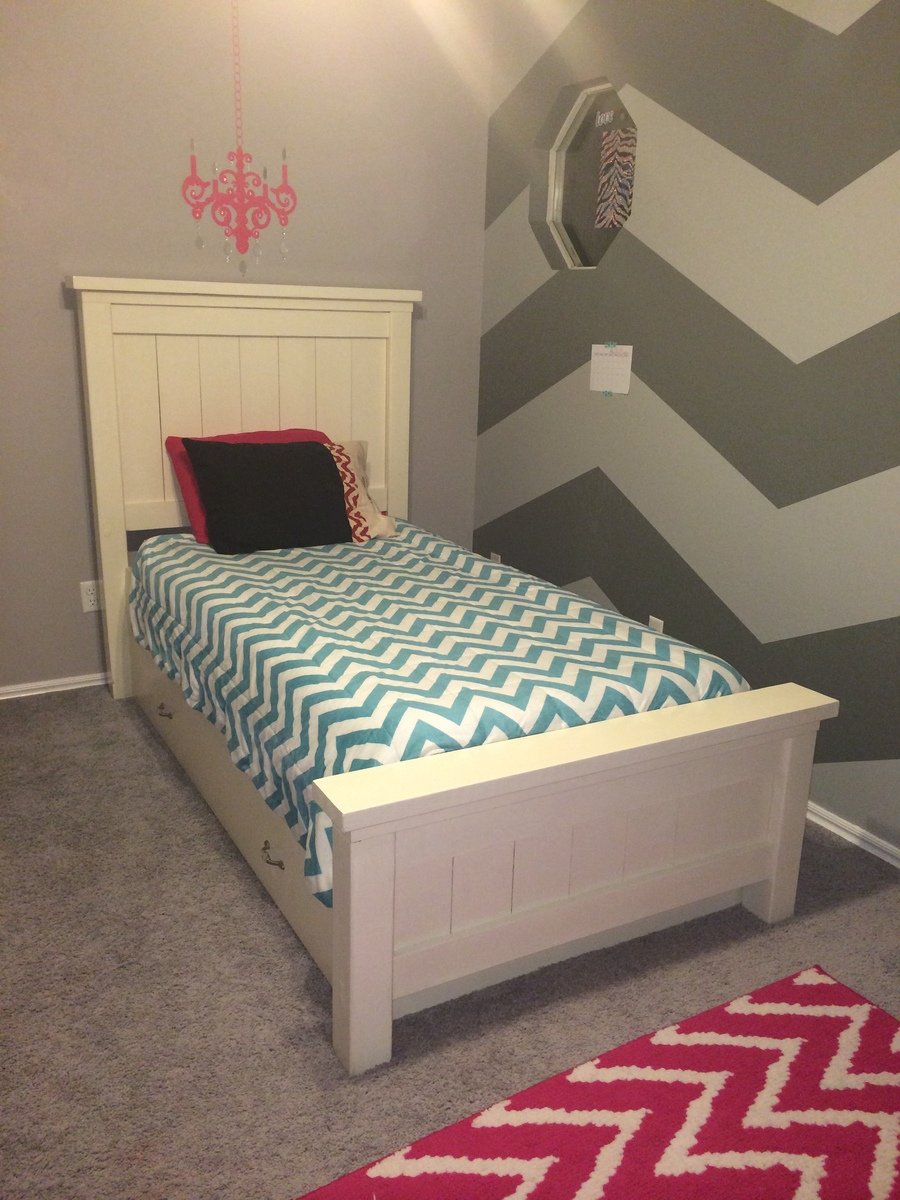
We made the traditional Twin Farmhouse bed using Ana's plans. We did modify the height of the headboard and foot board in case we decide to move the bed to under her window.
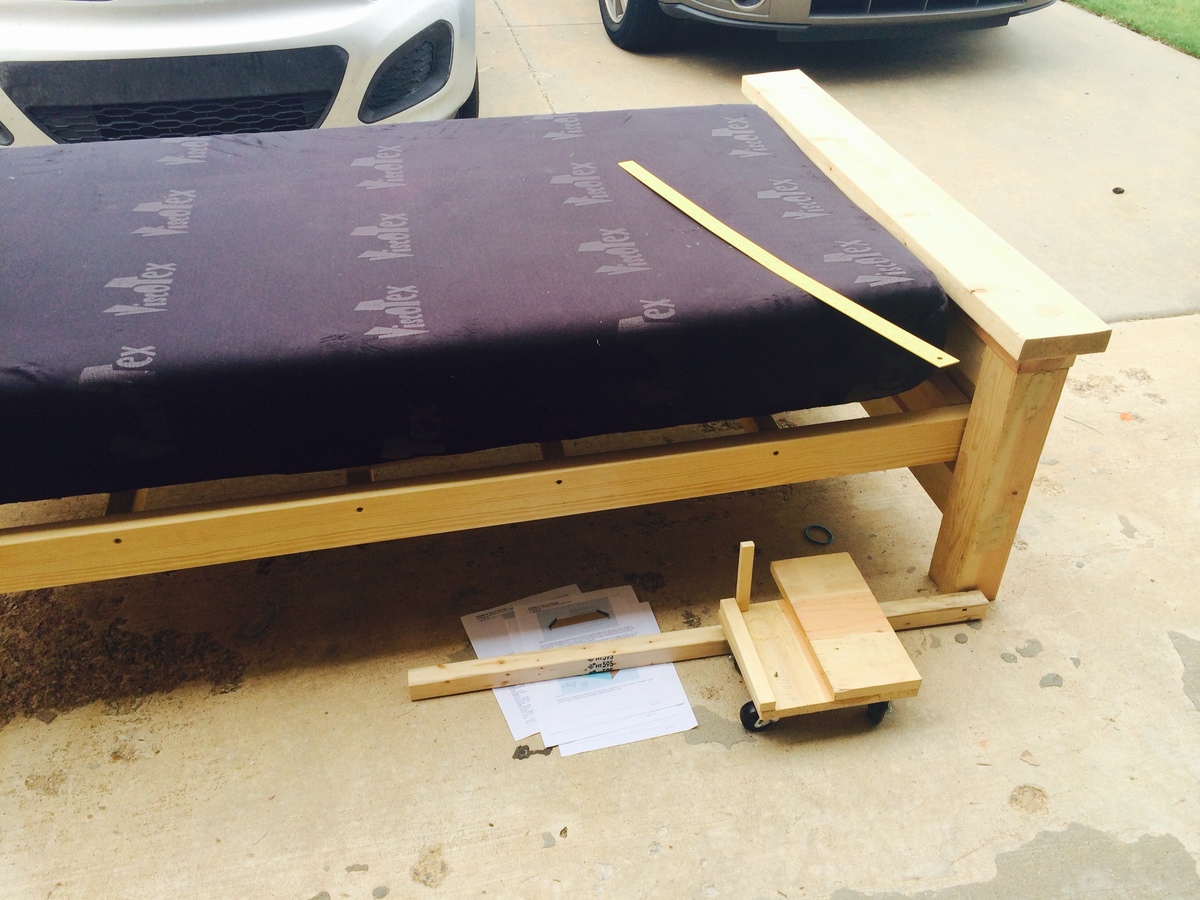
I was very particular about the sizing and placements of the sideboard/trundle. I did not want a big gap between the mattress and the trundle. Also, did not want the actual bed mattress to sit down too far into the 1X10 and look like a crib.
Very happy with the results. Thanks so much, Ana!!!
Mon, 08/18/2014 - 05:01
This looks great! I see you have carpet (as do I) did you use caster wheels? It looks like it's resting on the floor. I want t build but, I'm concerned about the ease of sliding. Tips appreciated.
Thanks in advance.
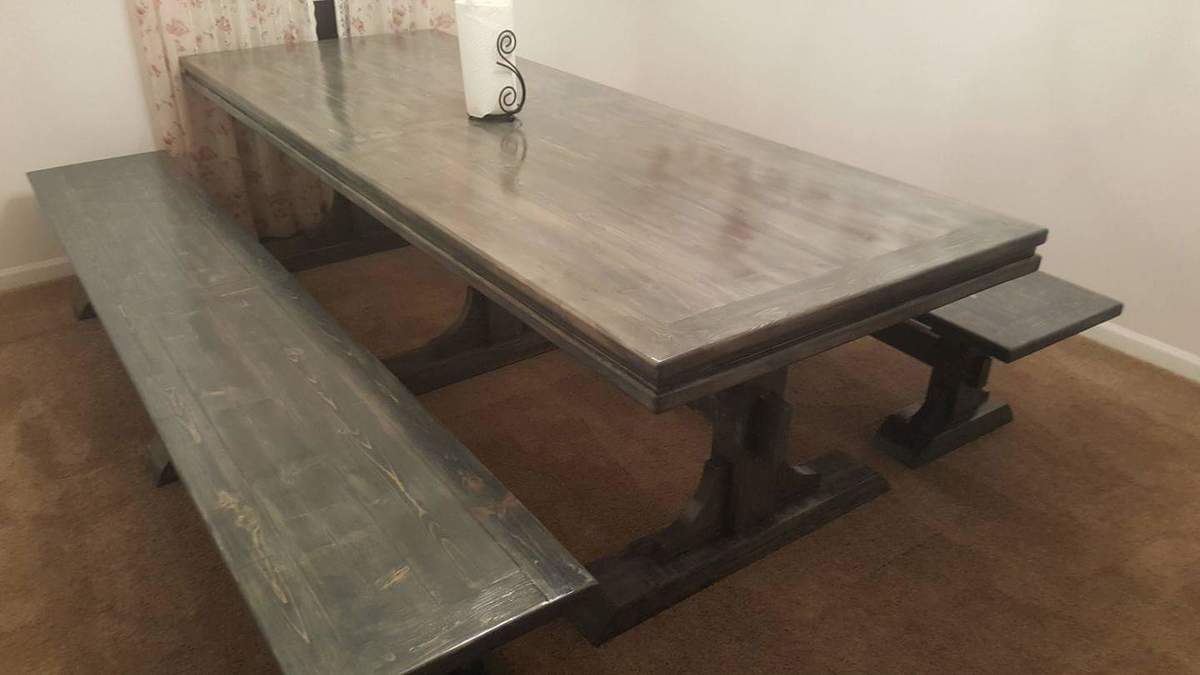
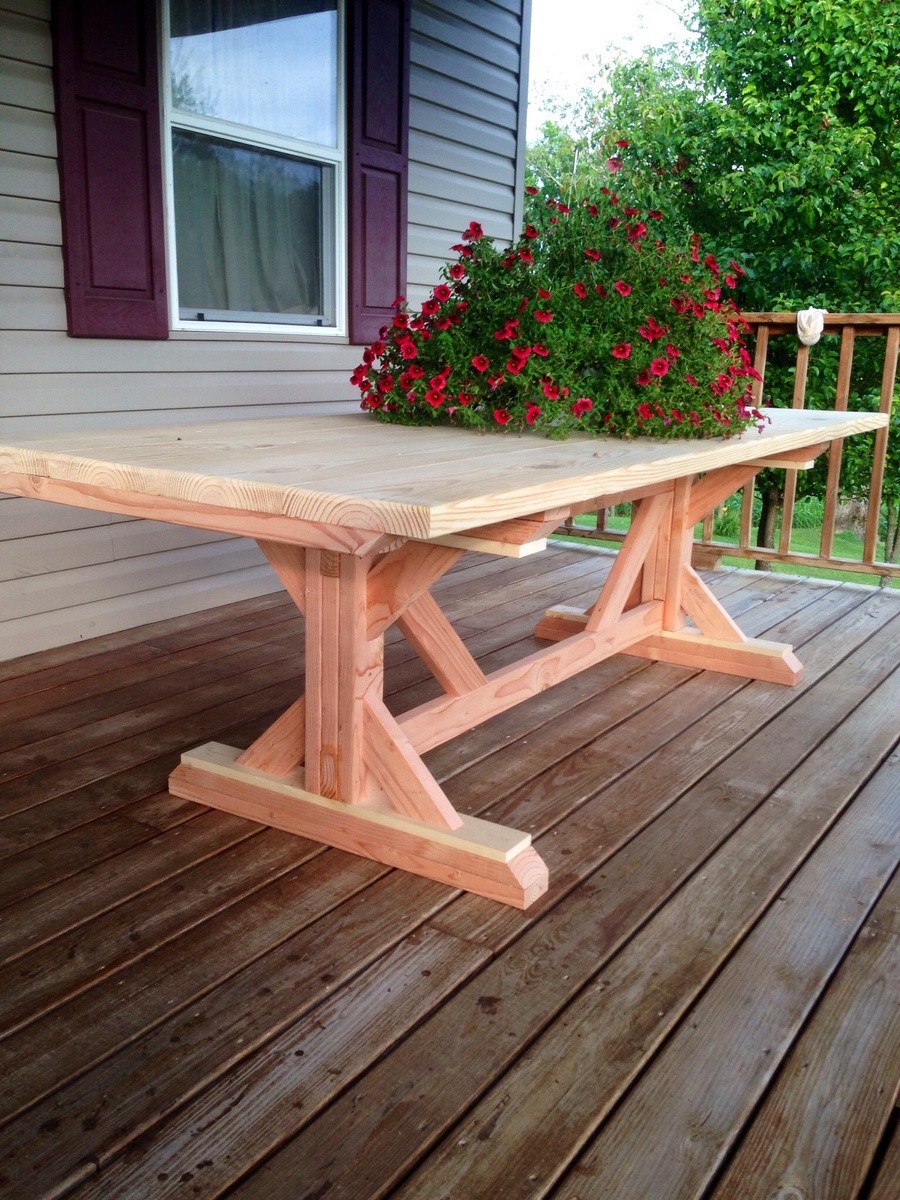
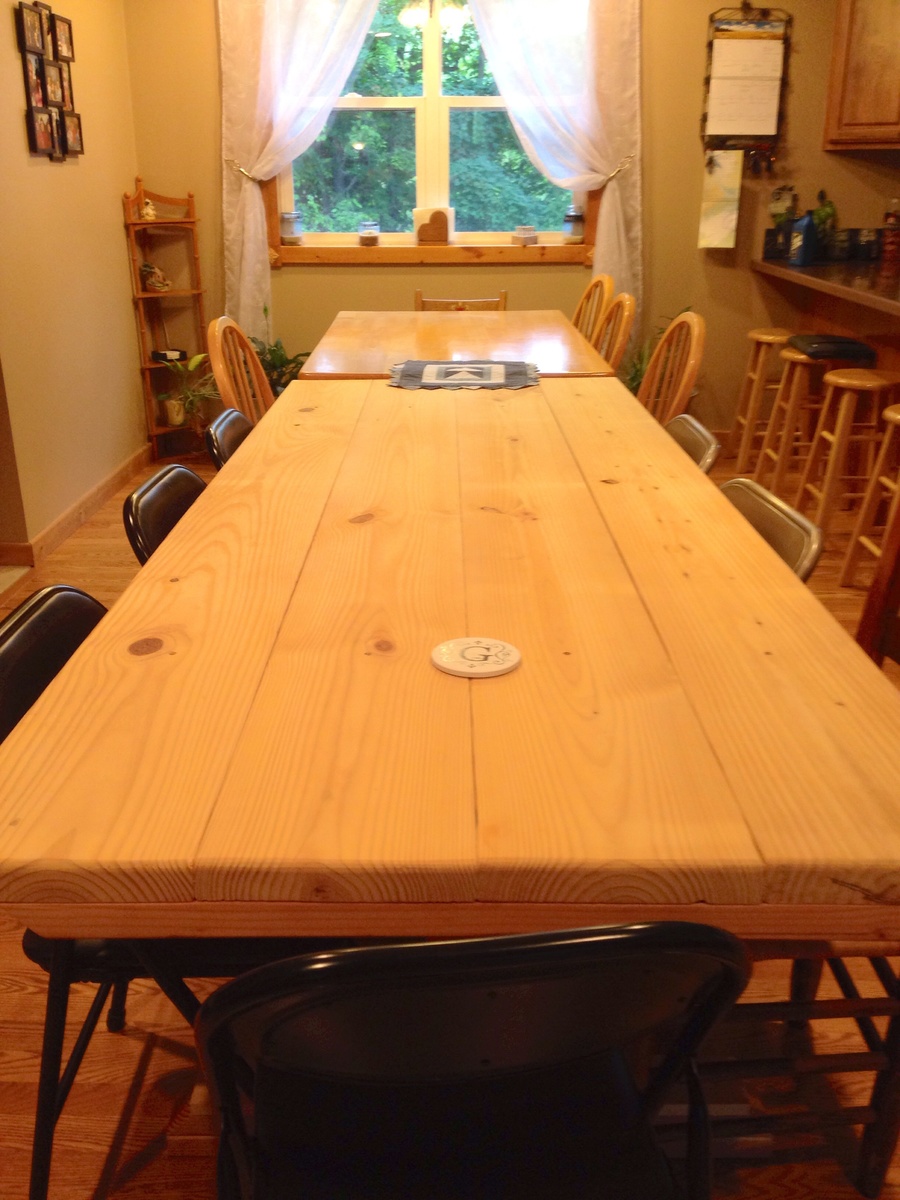
My dad was a lot more particular with this than a farmhouse table is intended to be. Lol
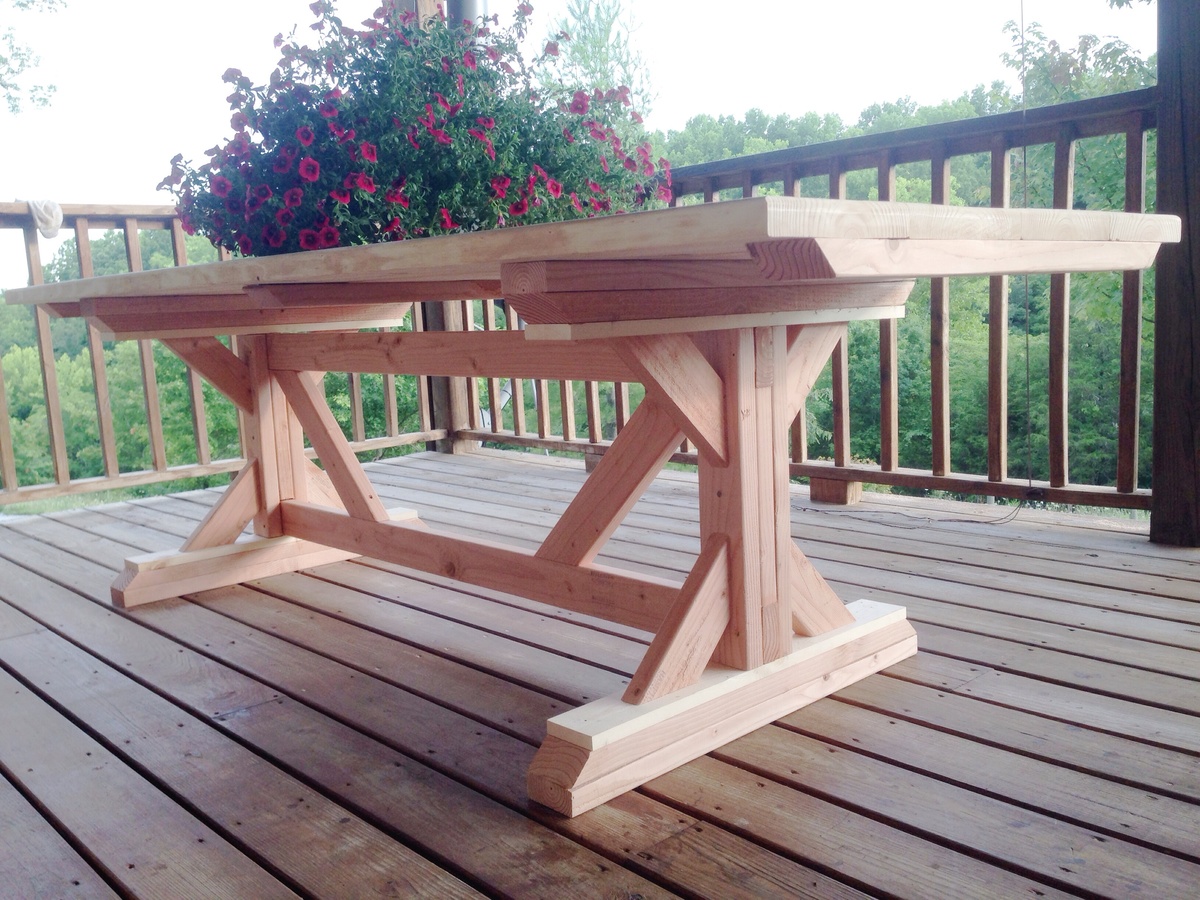
I followed the plans pretty closely. As you can see, I added an extra 2X4 inside the uprights. This gave me room to mortise the 2X4s that run under the table top. Very sturdy and useful. The third pic shows when we used this table for a birthday party. Matched up exactly with our dining room table! It only took one extra 2x4 to make the alterations.