Planter Box
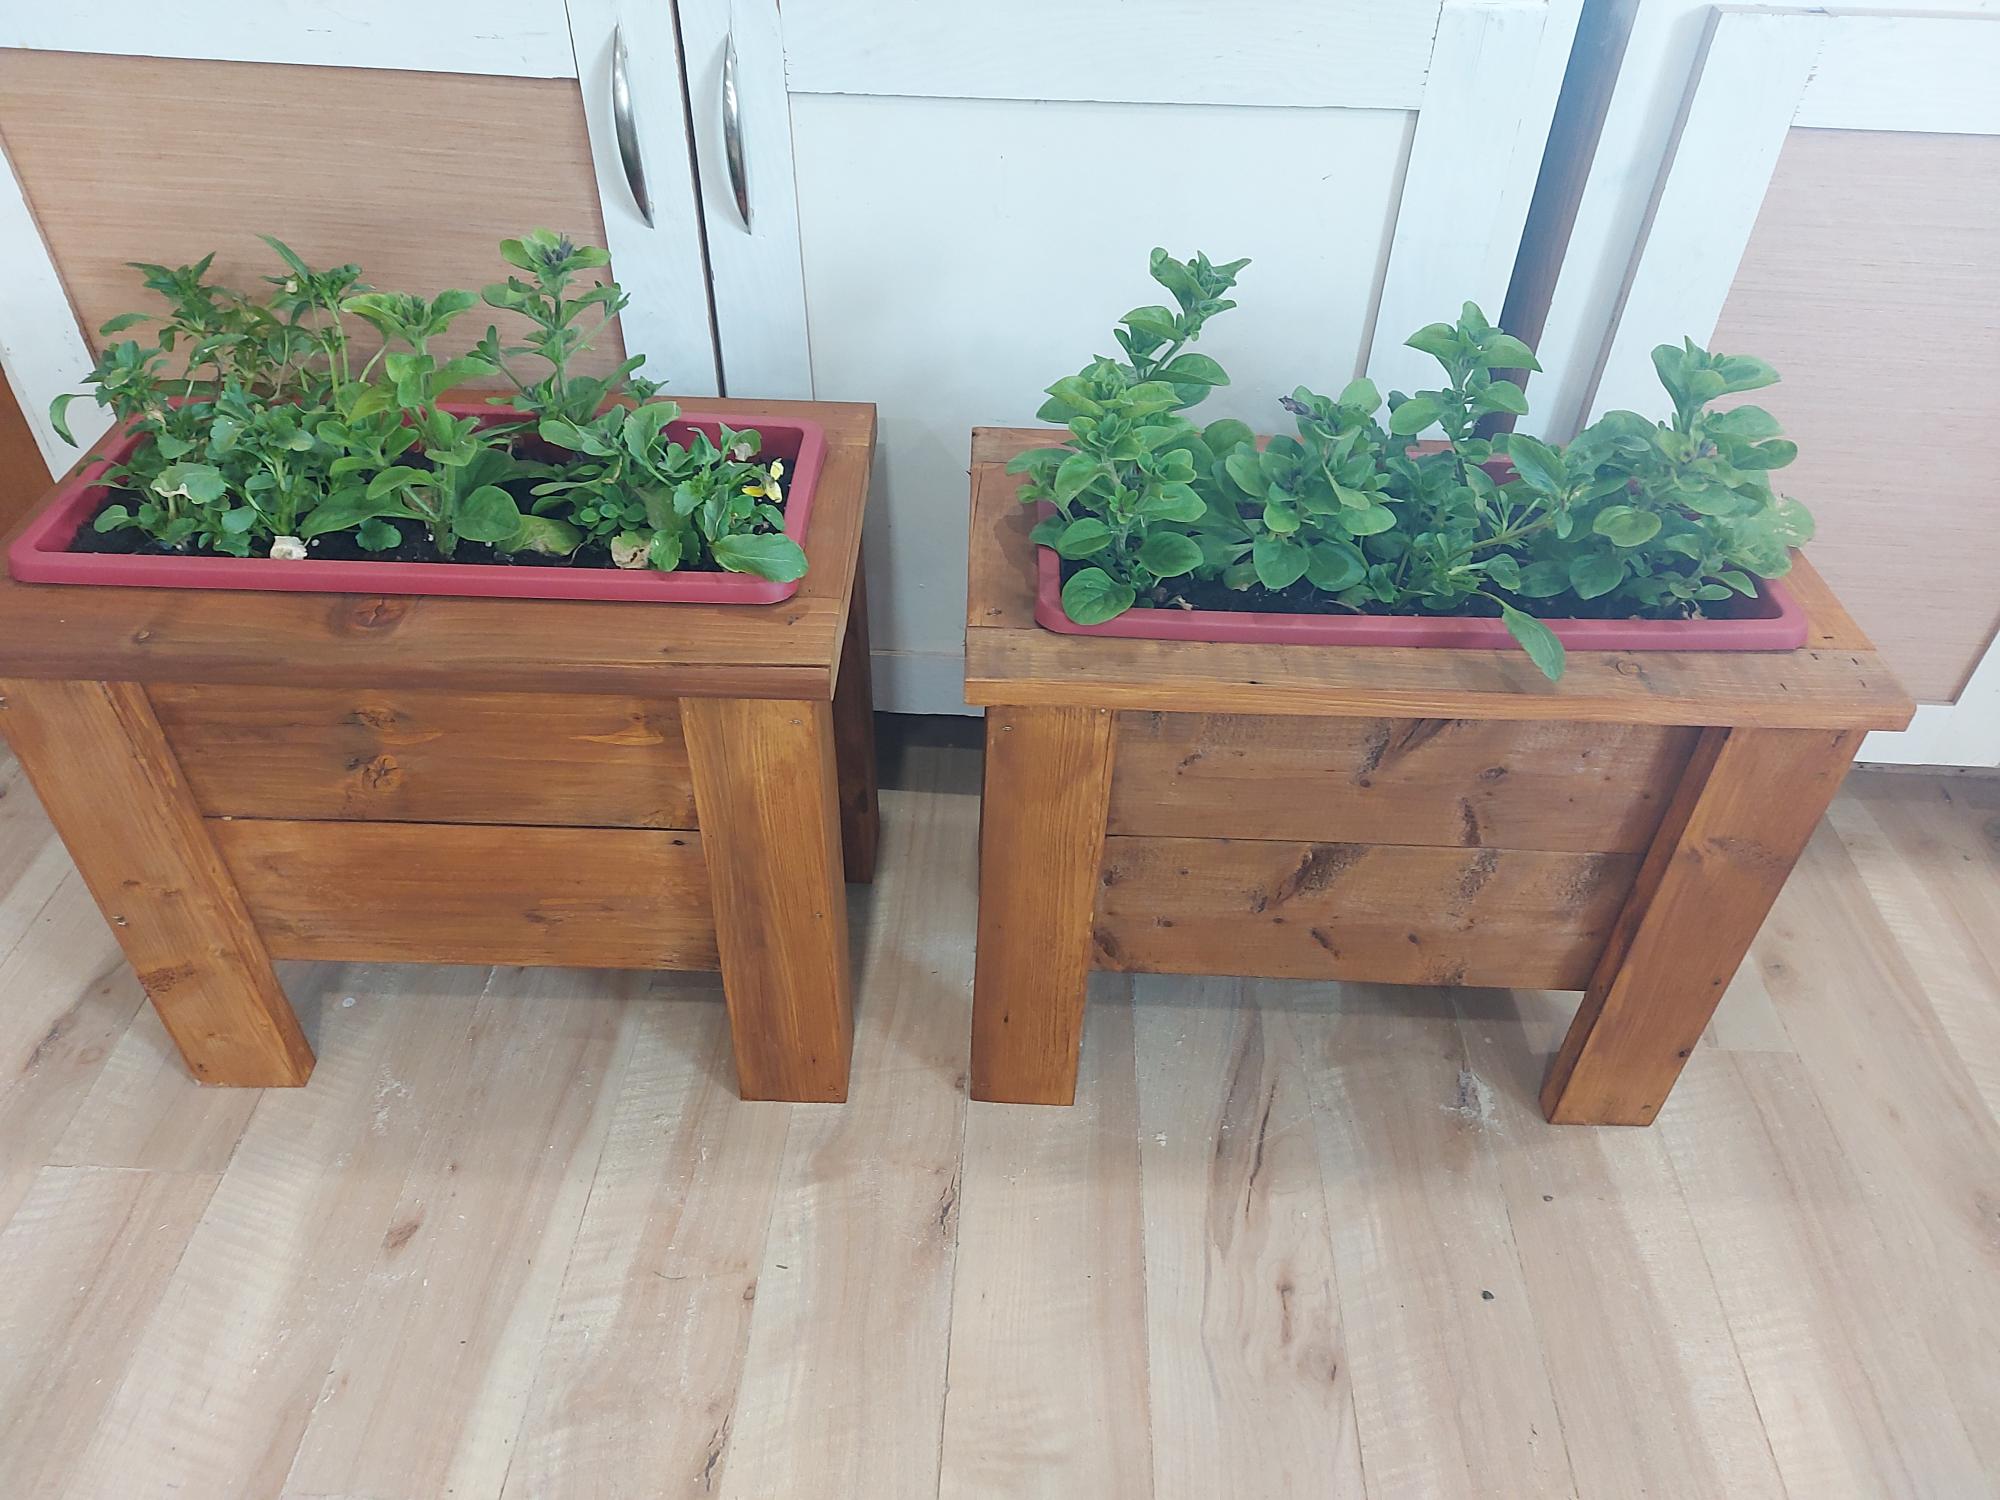
Made these to fit Dollarstore pots. These plans were so easy to follow and adjust for pot size. I used scrap wood and sealed them with a stain sealant. I love your plans!
Denise
New Brunswick, Canada

Built from Plan(s)
Made these to fit Dollarstore pots. These plans were so easy to follow and adjust for pot size. I used scrap wood and sealed them with a stain sealant. I love your plans!
Denise
New Brunswick, Canada
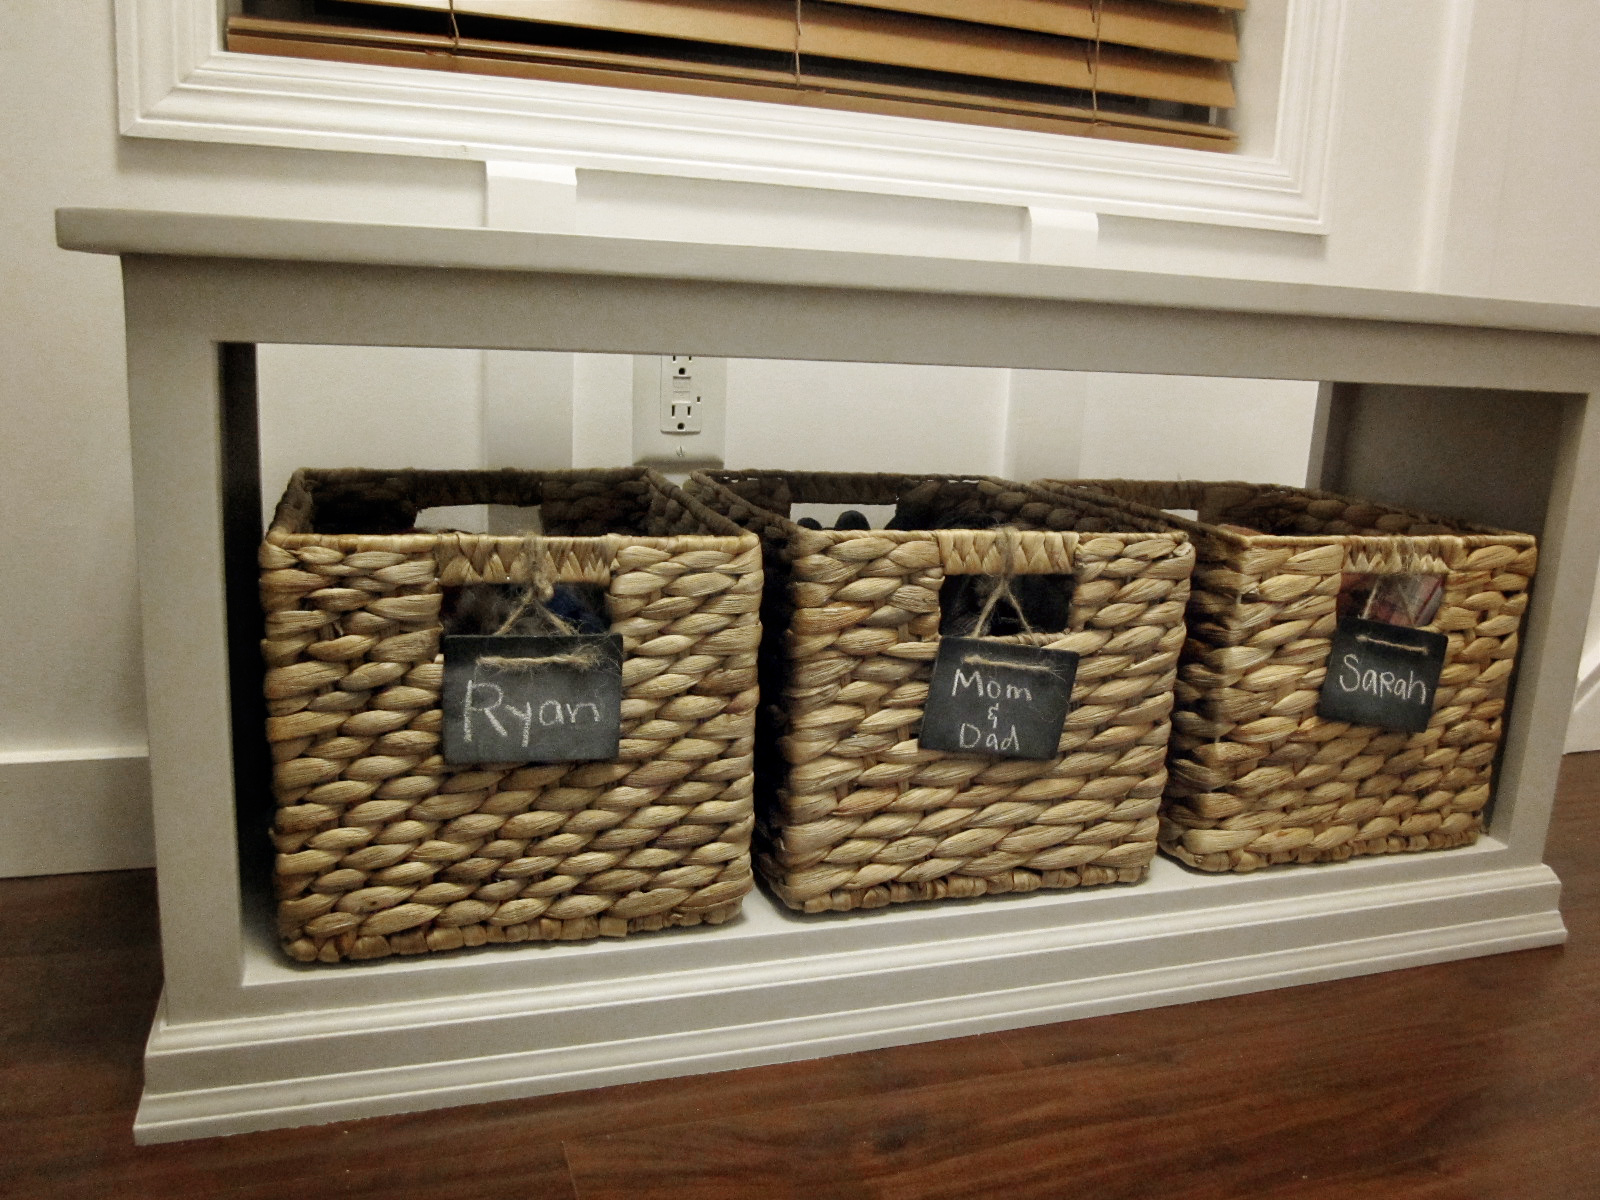
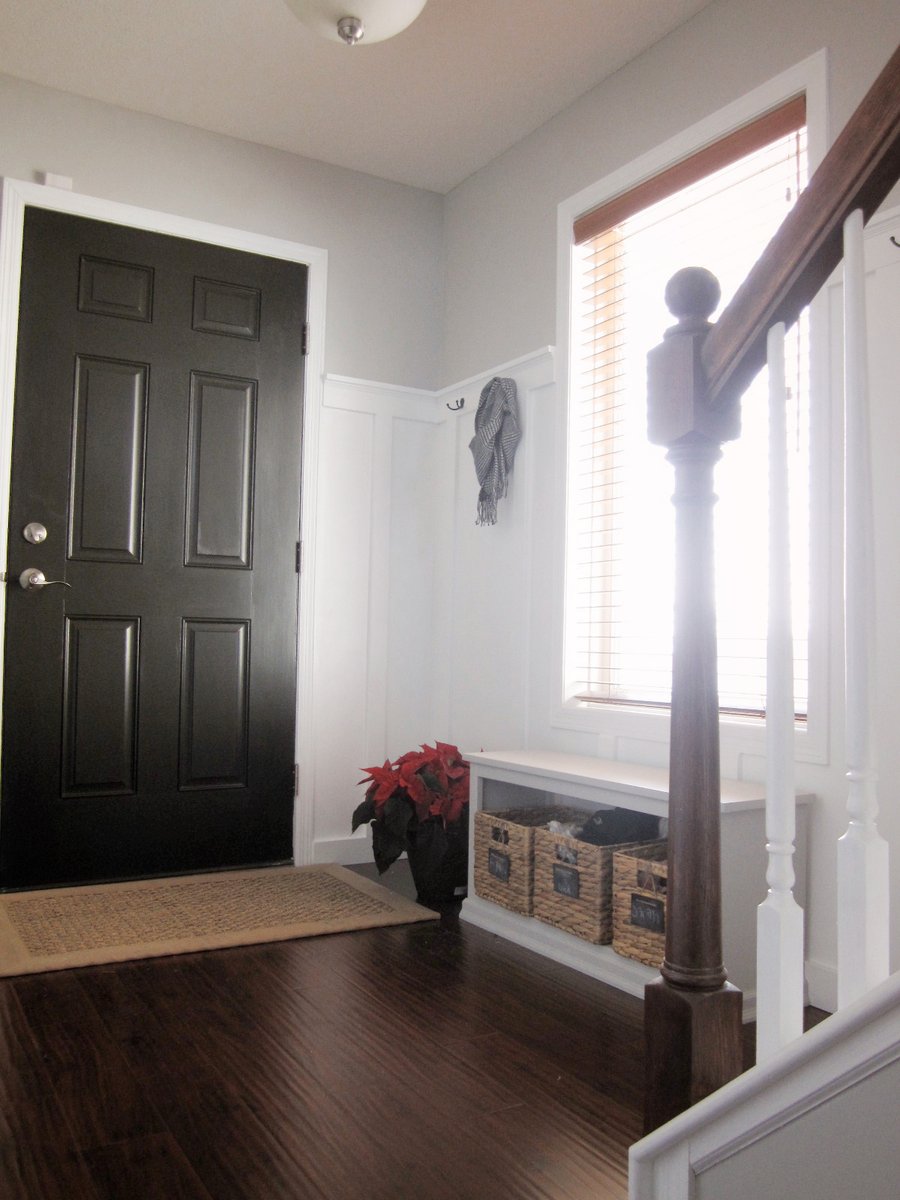
I picked this bench because our entryway isn't very big and this was small enough that I didn't have to make any alterations to the size.

Mon, 01/30/2012 - 14:04
It looks really nice, I like the paint color and the baskets are cute!

Mon, 01/30/2012 - 15:05
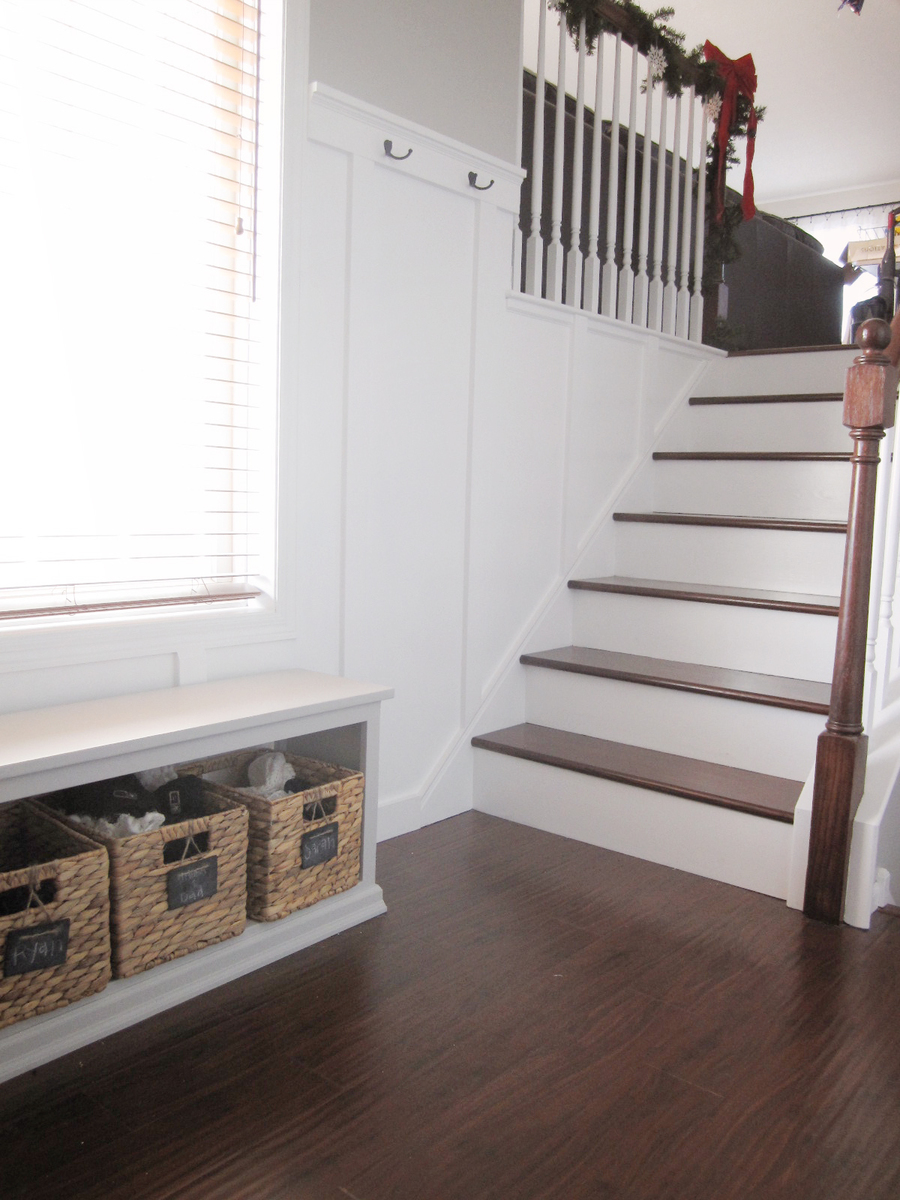
That looks great! It looks great on it's own, but it also looks fab in your beautiful house!
Tue, 01/31/2012 - 11:58
What type of floor is that and color, it's beautiful!, as well as the bench,love it
Wed, 02/01/2012 - 09:00
Thanks for the compliment on our floors!! My husband and I just installed them a few months ago. I love them but I'm always a little embarrassed to say this, because I'm a bit of a wood snob, but it's laminate. Kensington Manor 12mm Imperial Teak Handscraped, from Lumber Liquidator. We bought it when it was on sale for $1.99 a square foot. Can't beat that!
Thu, 04/05/2012 - 05:49
these things looks realy nice,i would like to appreciate u
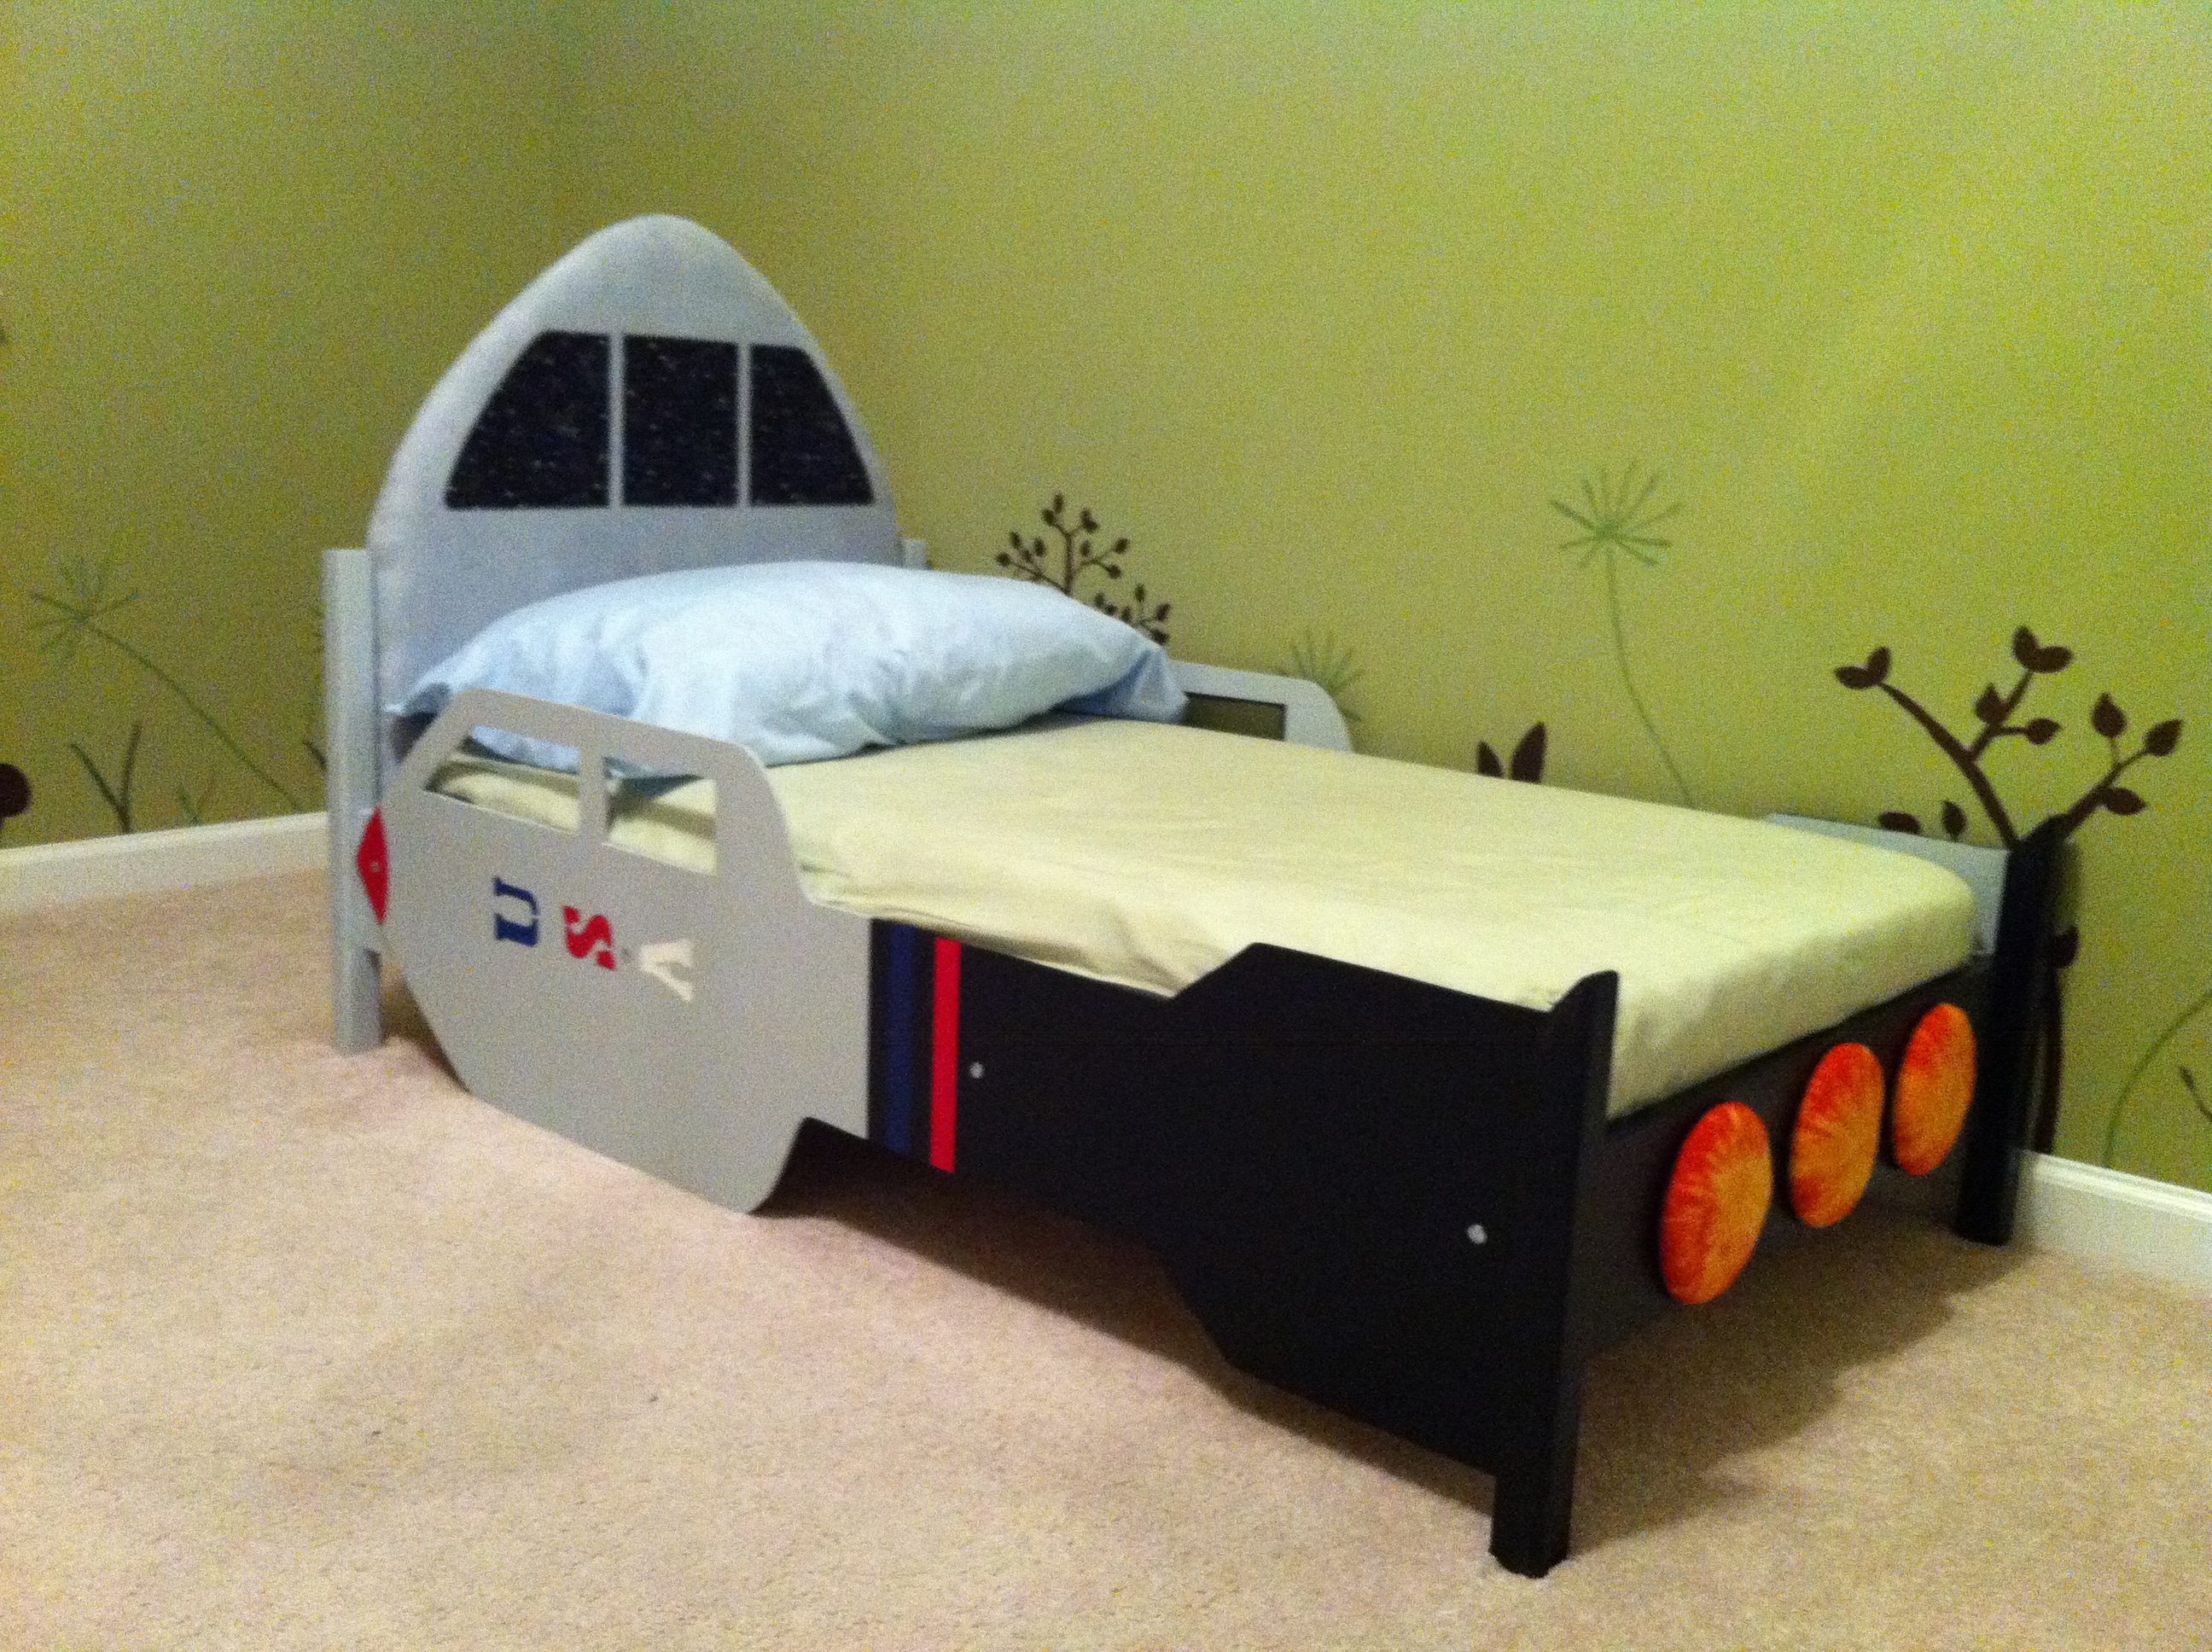
Did this in January 2013.
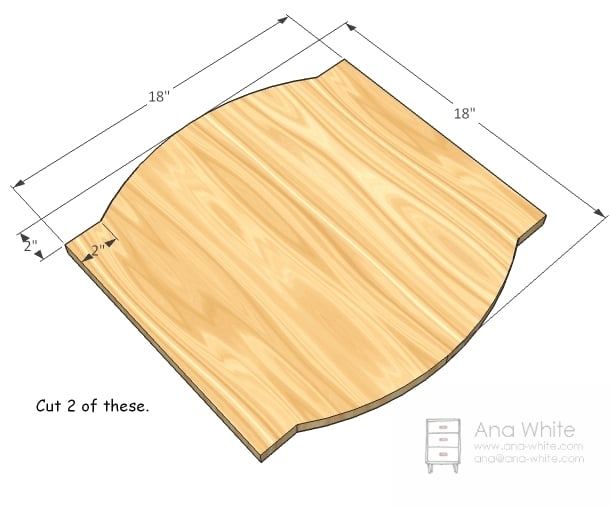
Slight alteration of the Traditional Wood Toddler bed:
http://ana-white.com/2011/10/traditional-wood-toddler-bed
Made the rear posts taller so I could cutoff the triangle shape for the rockets. The front is the same with no real headboard just some support and used a custom upholstered padded headboard there for the view from the cockpit. The sides are cut out of thin plywood and screwed onto the bad (eliminated rails). The rocket engines are upholstered circles I cut.
The main bed is cheap, easy, and quick to build. Designing the rockets, and painting and polying the whole thing are what takes most of the time (along with trying to get everything to dry in my garage in the middle of winter). The fabric, stencils, and paint probably cost as much as the wood.
I thought I had more pics and I probably still have my scribbles for measurements and cuts (if for some reason someone wants them).
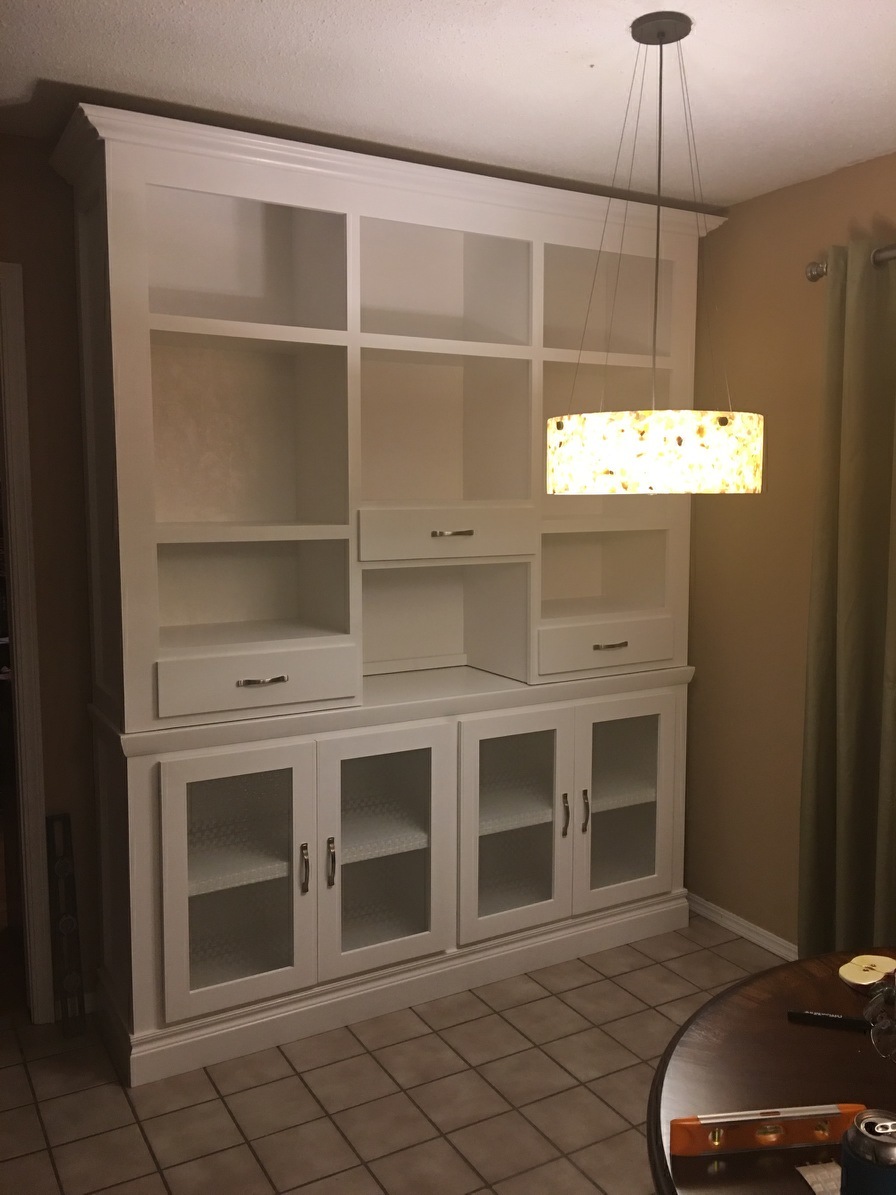
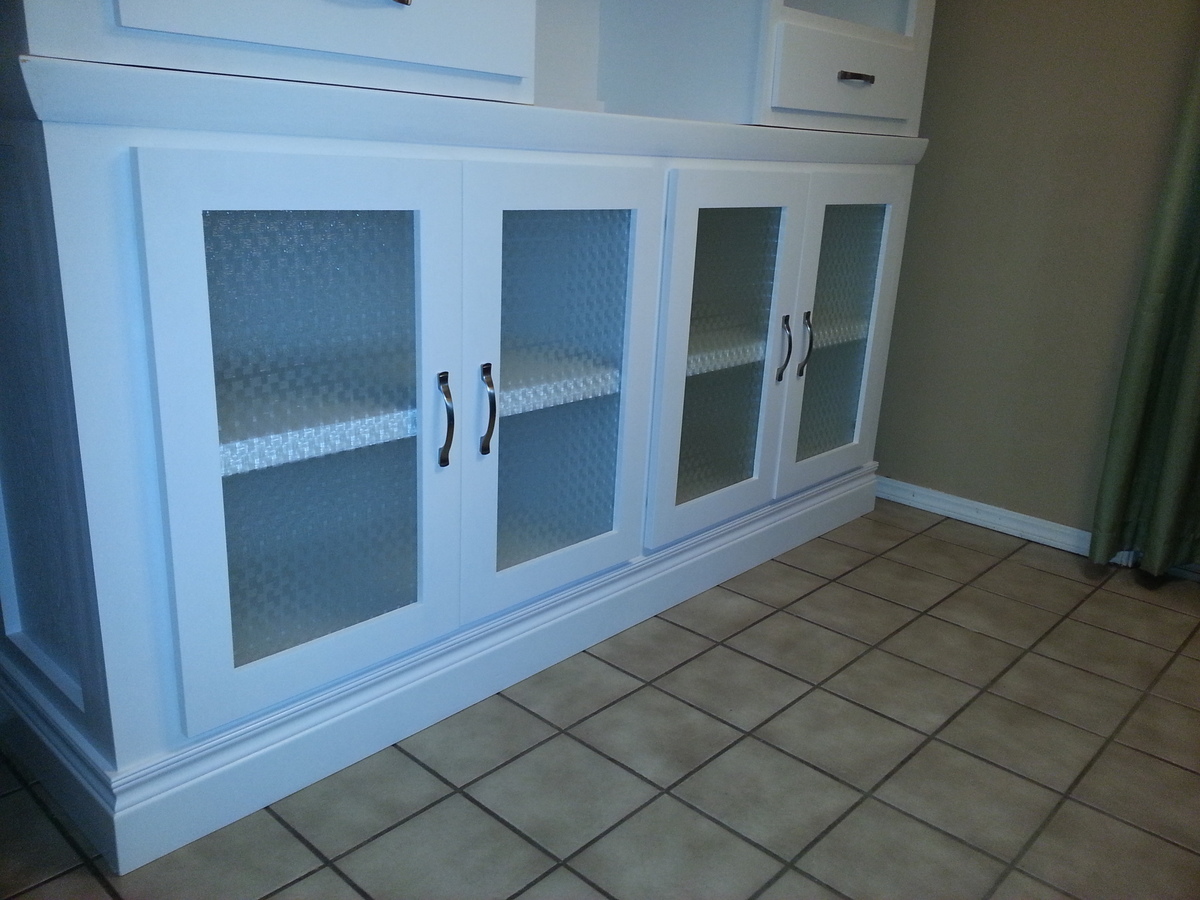
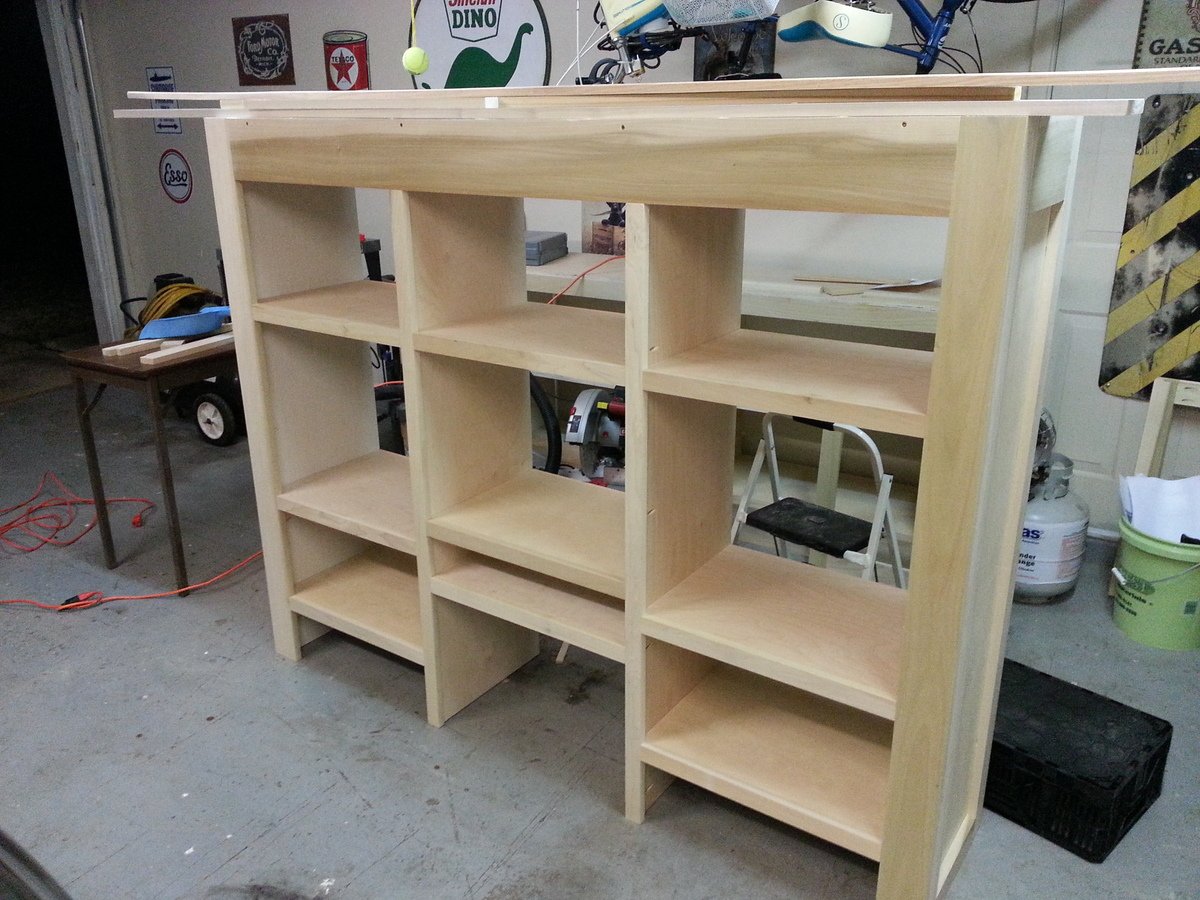
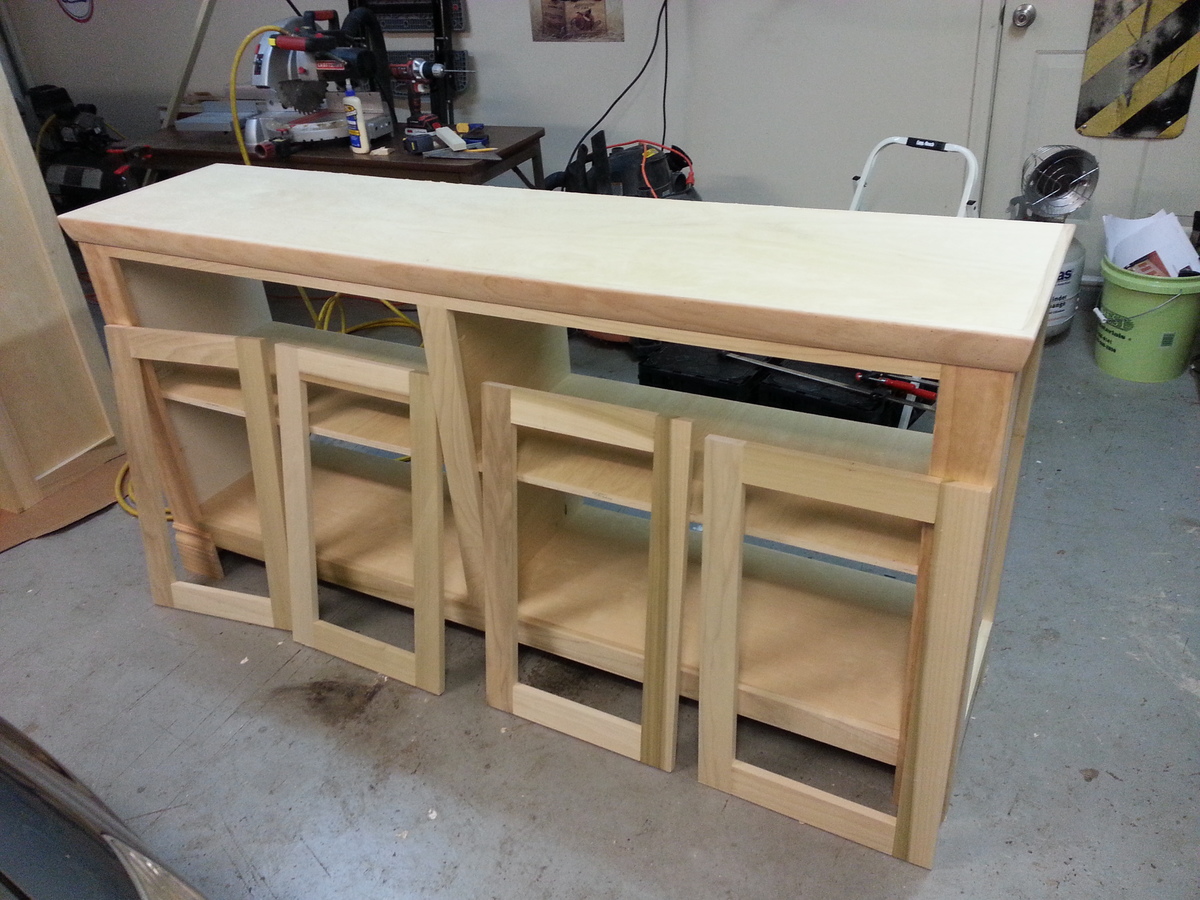
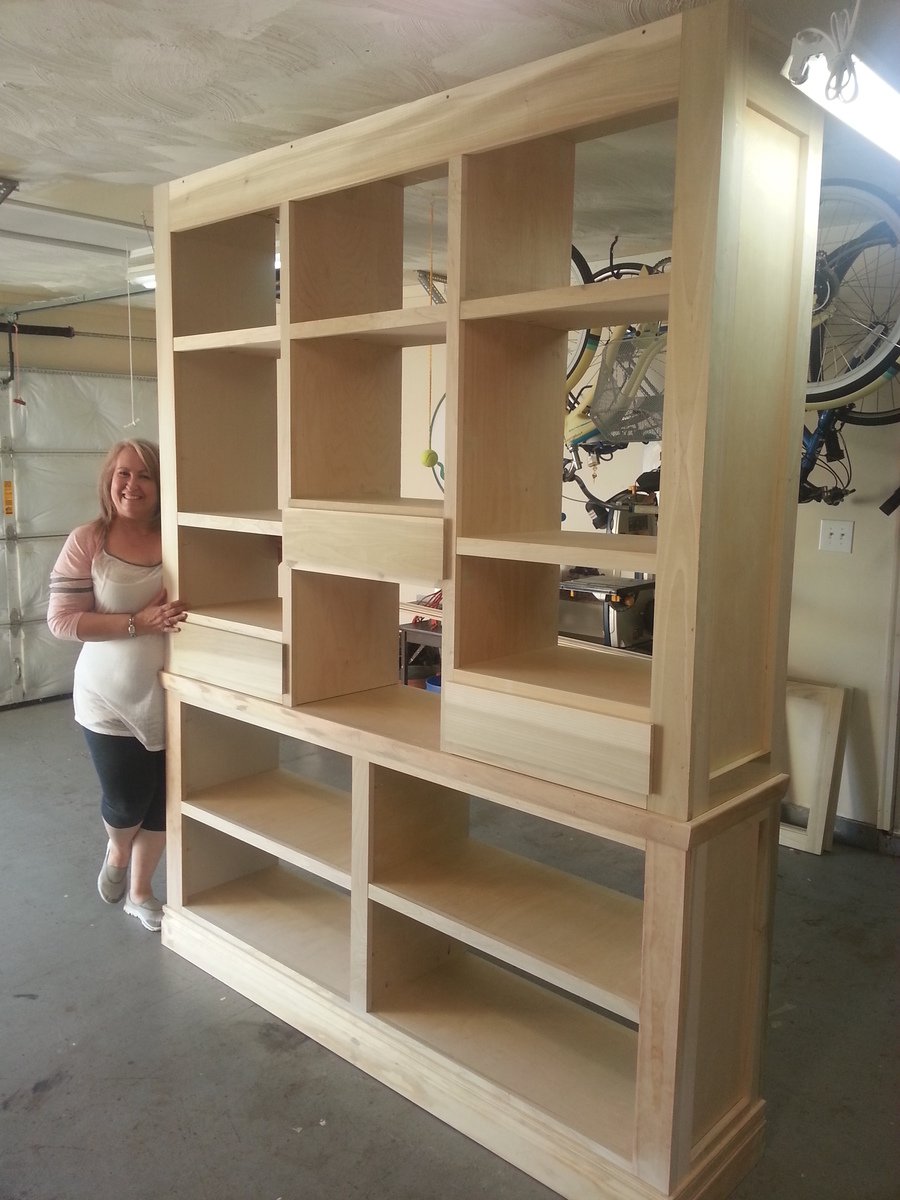
My wife wanted a built in shelving unit for all of her Fiestaware. I couldn't find anything that worked so I looked for large hutches instead. I found a nice design on Ana White and saw some other modifications from other posters - came up with what you see here. Turned out well. I never worked with Blum hinges before so that was a learning experience.
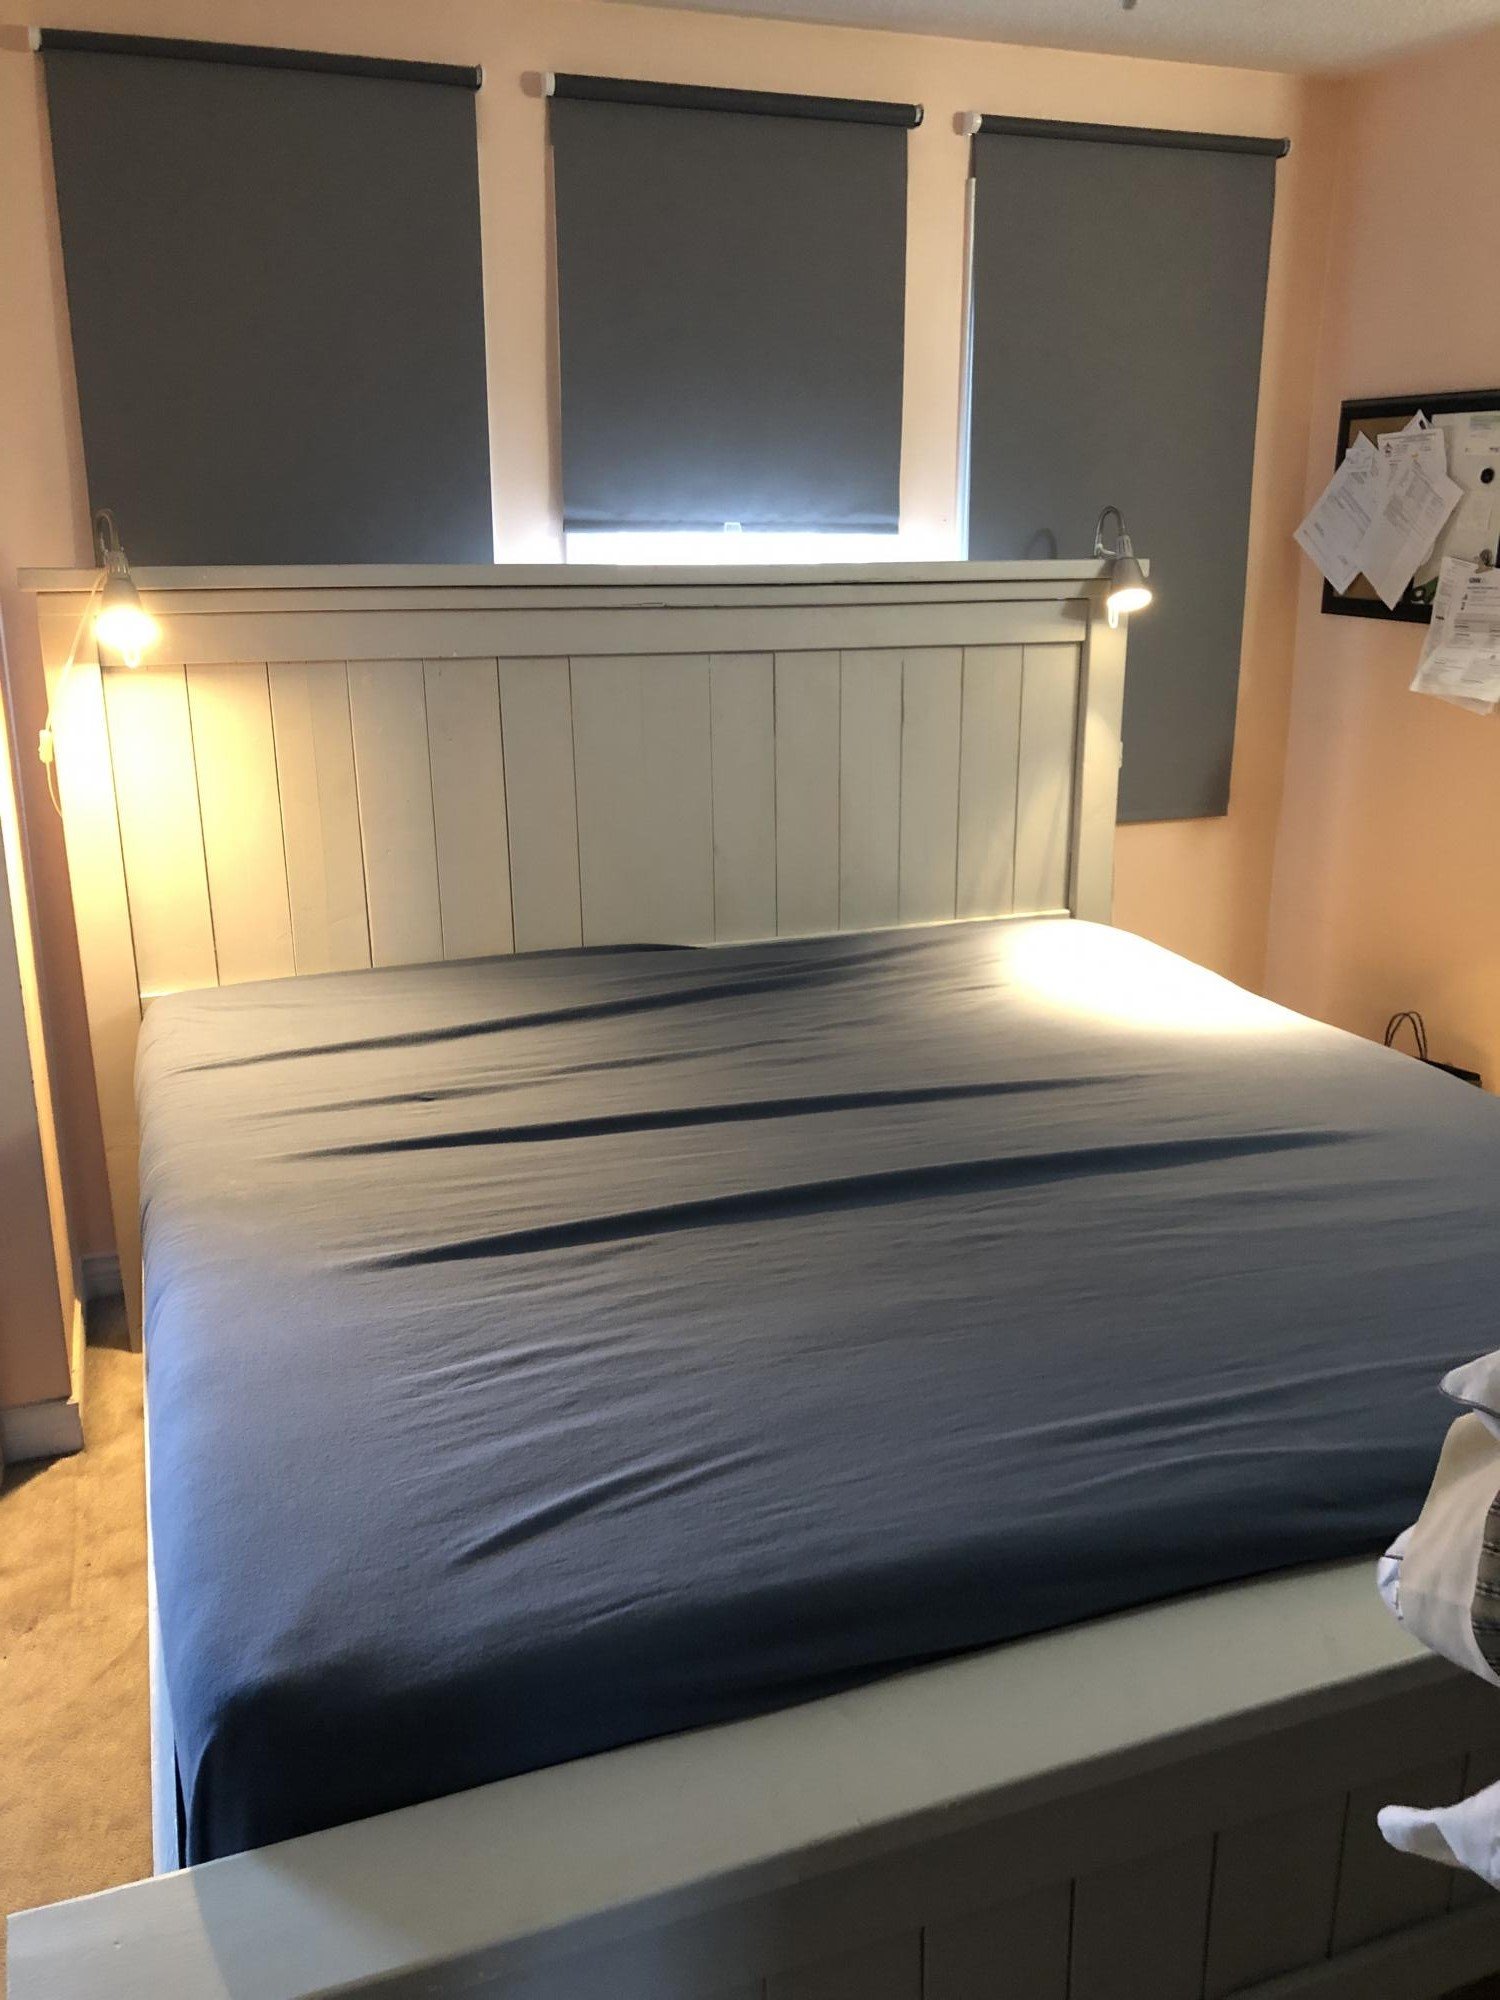
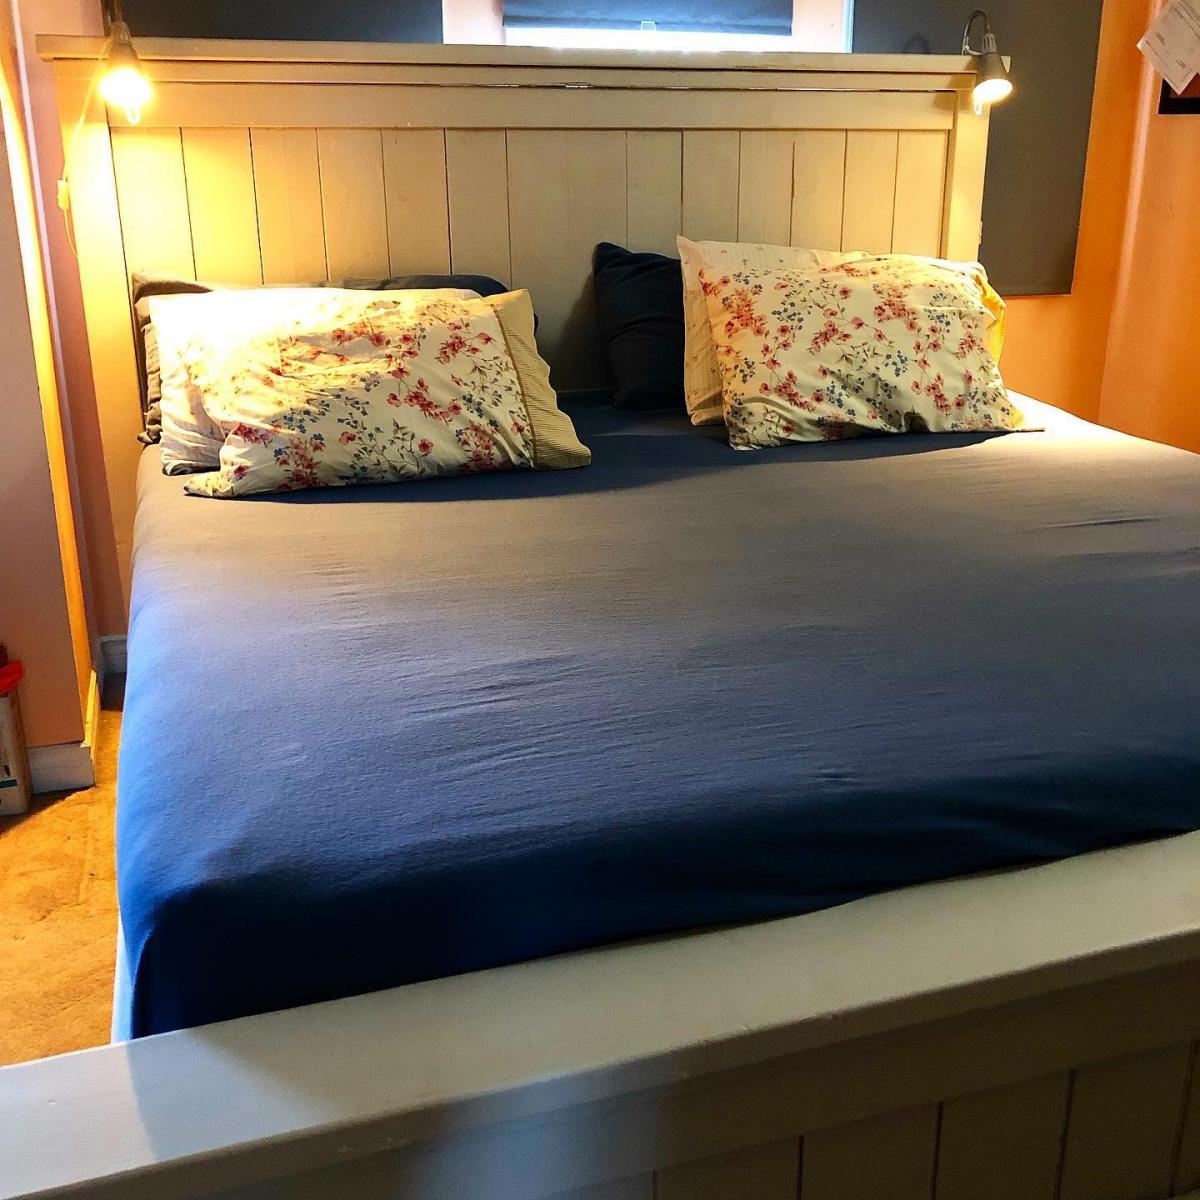
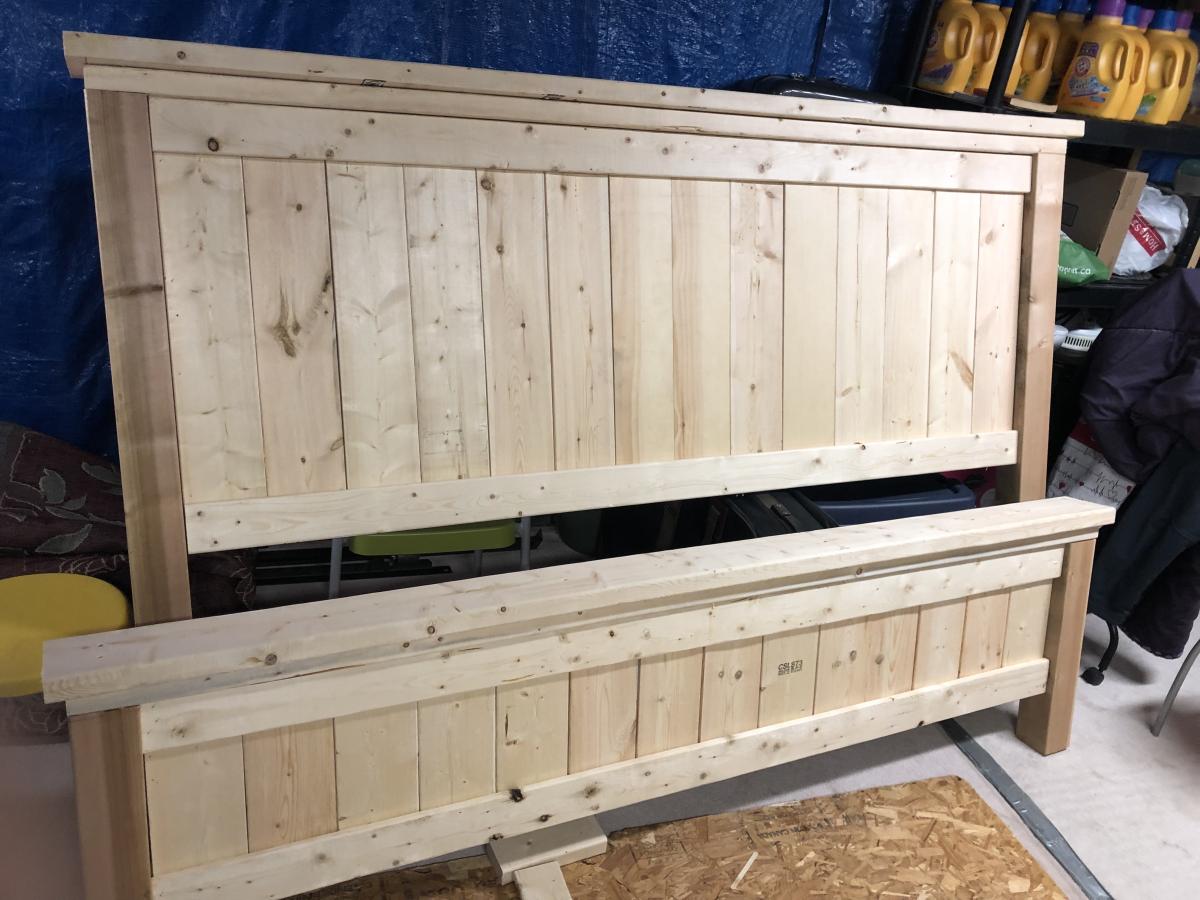
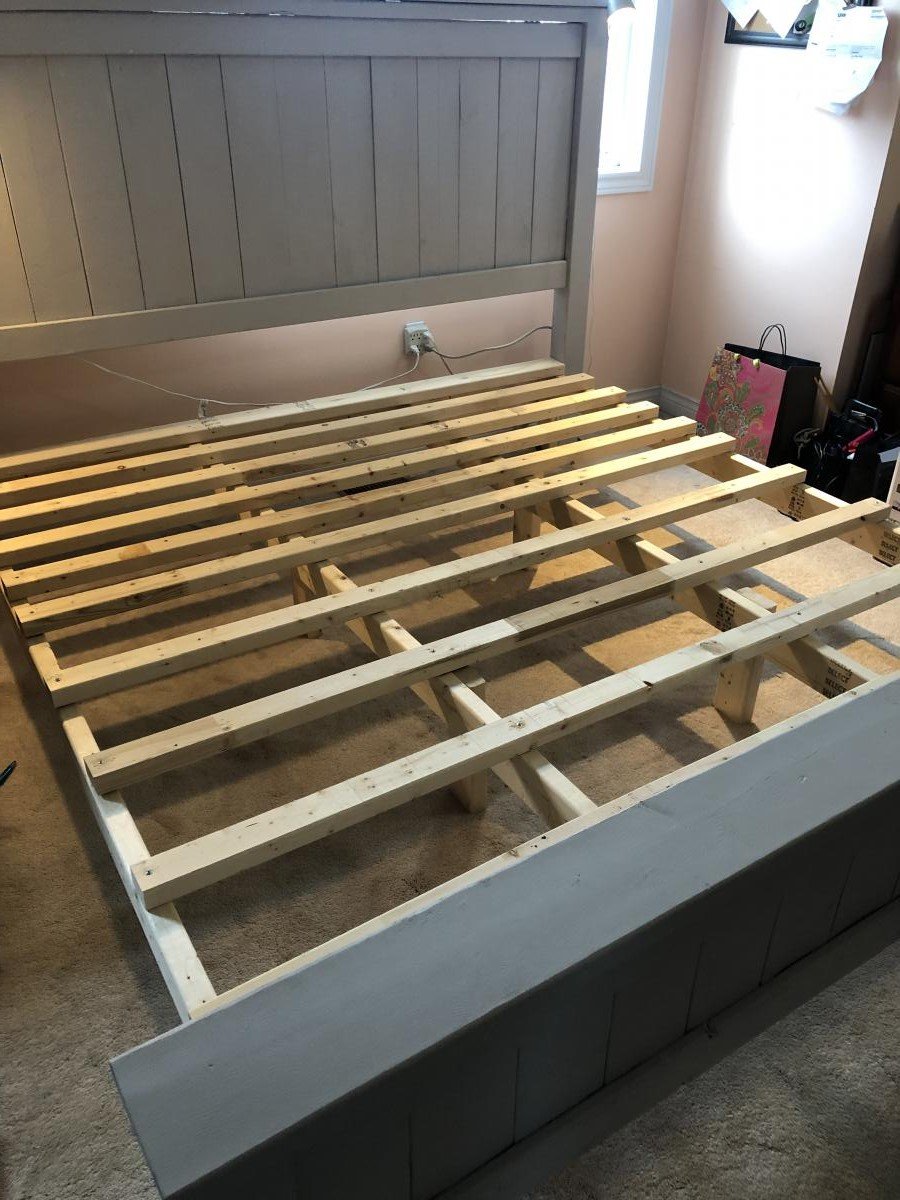
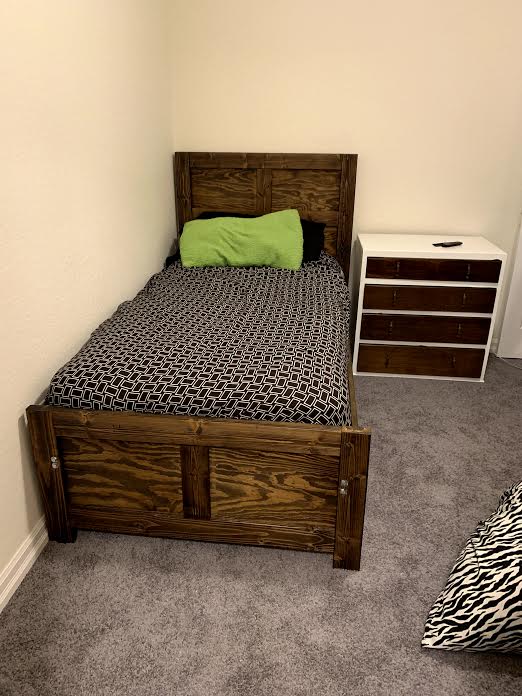
Finally replaced our old queen size bed frame. It took me 2 weekends to finish the project. We bought a Nova Comfort memory foam.

Tue, 11/05/2019 - 10:38
Thank you for entering your bed!
We are so excited to let you know your entry won a random draw $100 gift card. We will email you all the details as well!
Thanks again! Ana
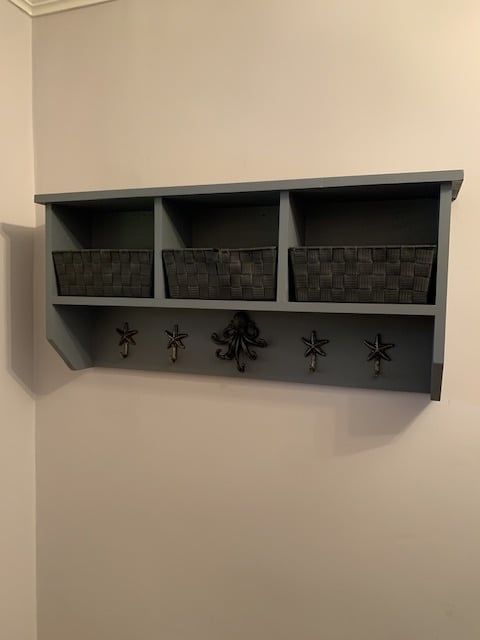
I actually used a partial plan from a previous Ana-white photo and plan. I used some nautical hooks to finish it off.

We added a 2x6 to the top and made the table 5.5 " longer and wider. We had to adjust all of our cuts. Read your instructions on the can of stain because on Shanty2Chic's site they mentioned leaving the stain on for 5 minutes and then wiping. However in doing so, you will end up with a very dark finish.
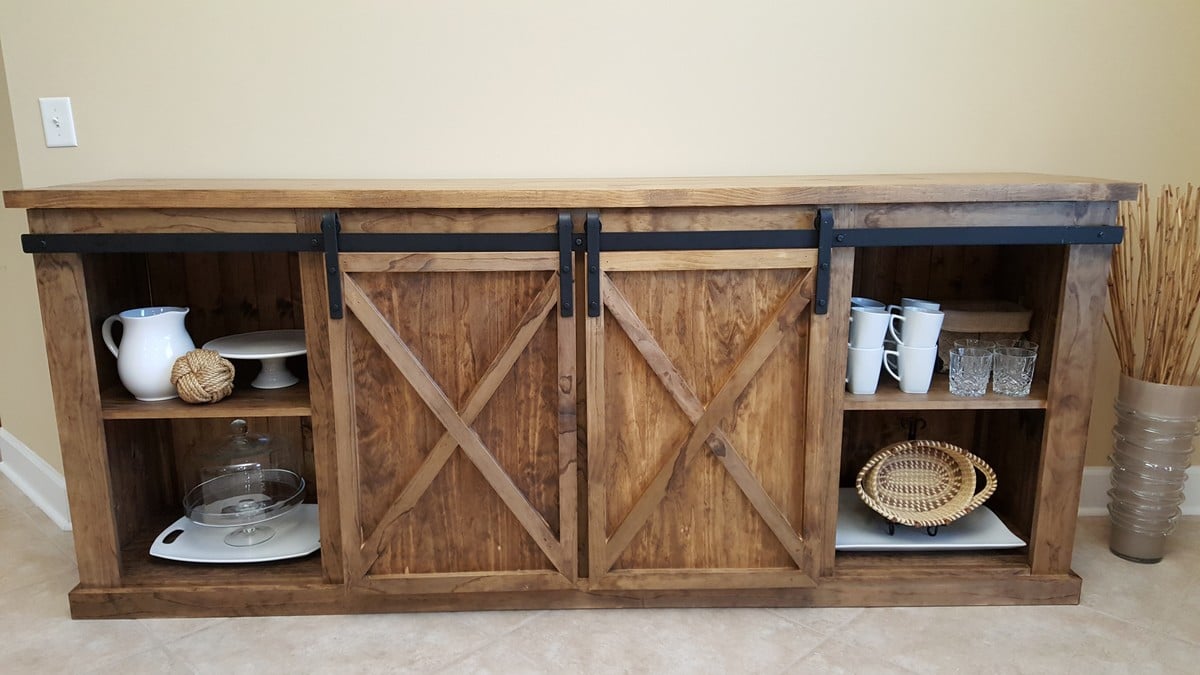
So this project took quite a while for me to finish, but I didn't cut any corners and expanded a bit on the basic plans that were offered. Some notes on changes to the project:
Anyway, enjoy!
Thu, 01/18/2018 - 20:14
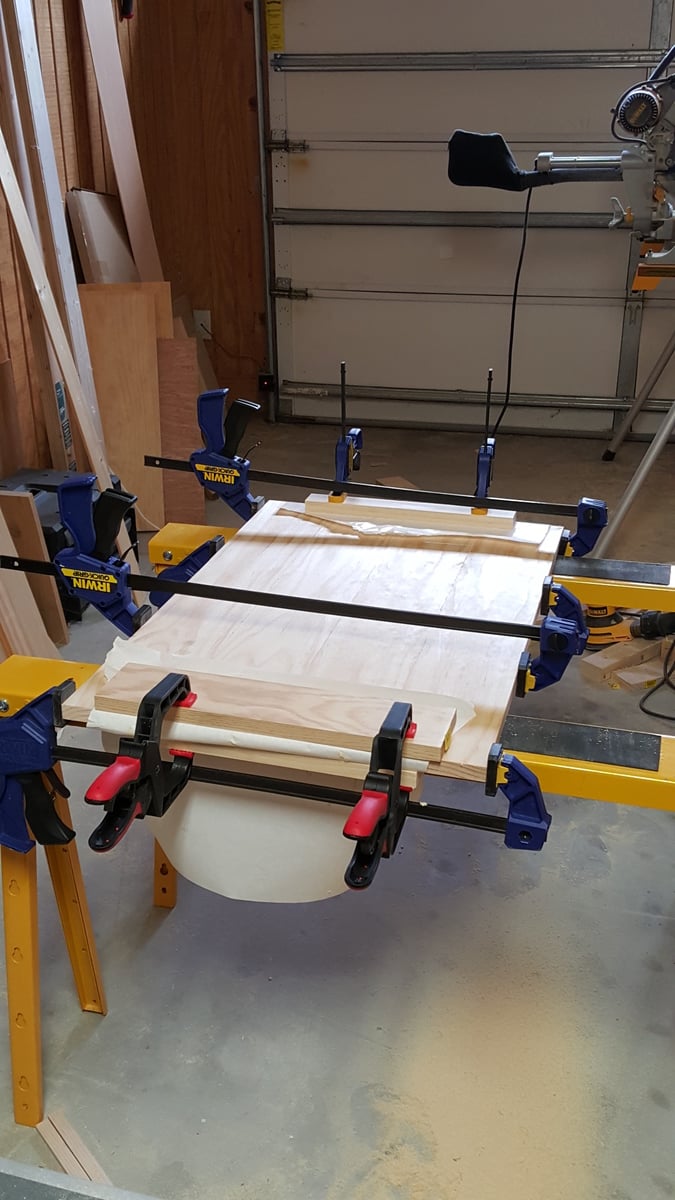
What is the yellow tool you have the tabletop clamped to?
Sun, 01/21/2018 - 11:49
That looks lie an sawhorse from Ace: https://tinyurl.com/y949f35q
I built this for a dear friend’s wedding. The showed me a picture of what they wanted and I modified your plans to make it look the way they wanted. I used treated lumber so it would last on their deck. Finished with Cabot solid oil-based stain. I’m not a fan of solid stain as it was very humid and it took sooo long to dry. Also I love see the wood grain.

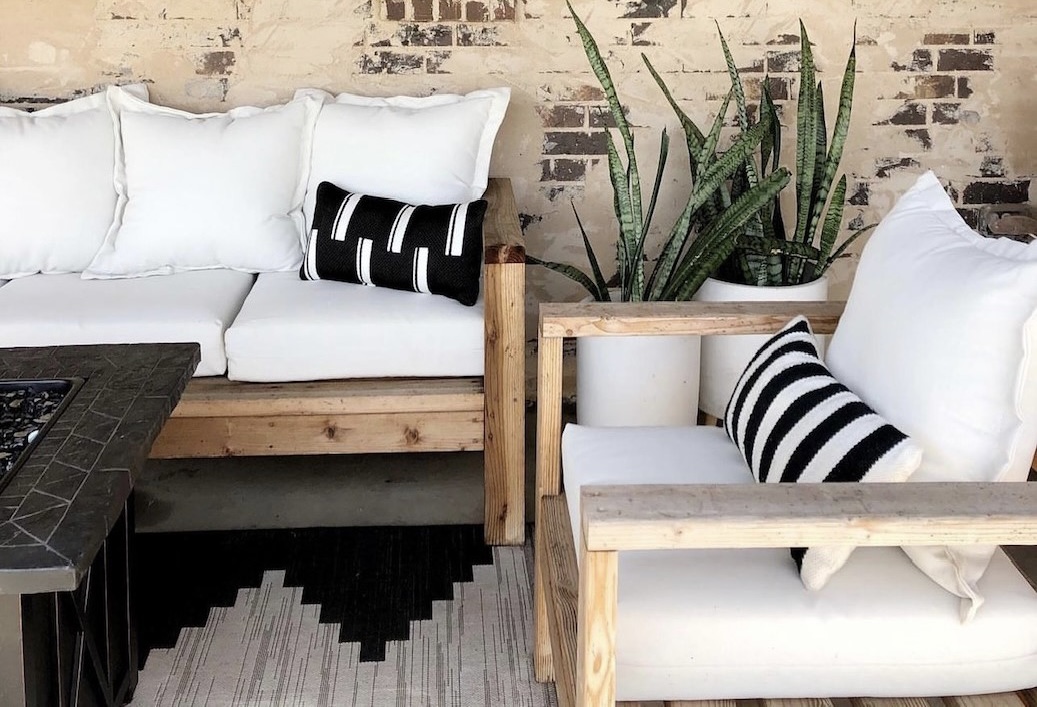
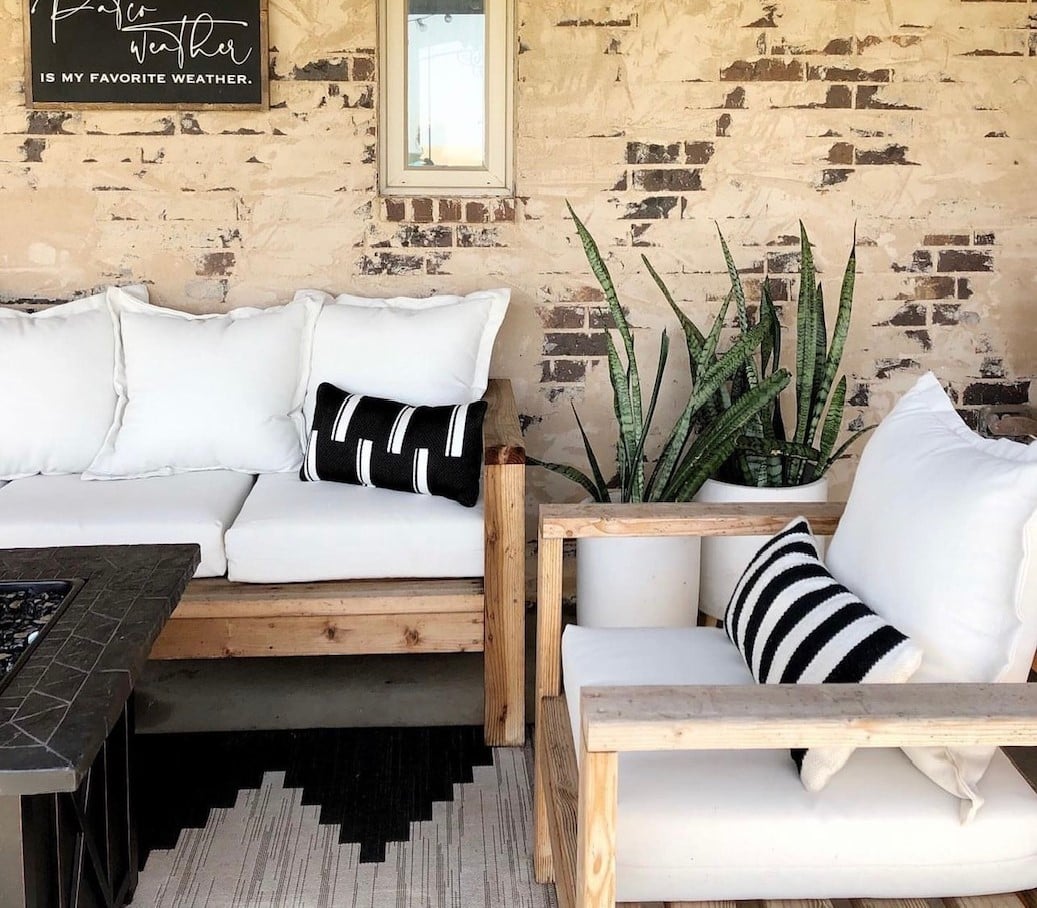
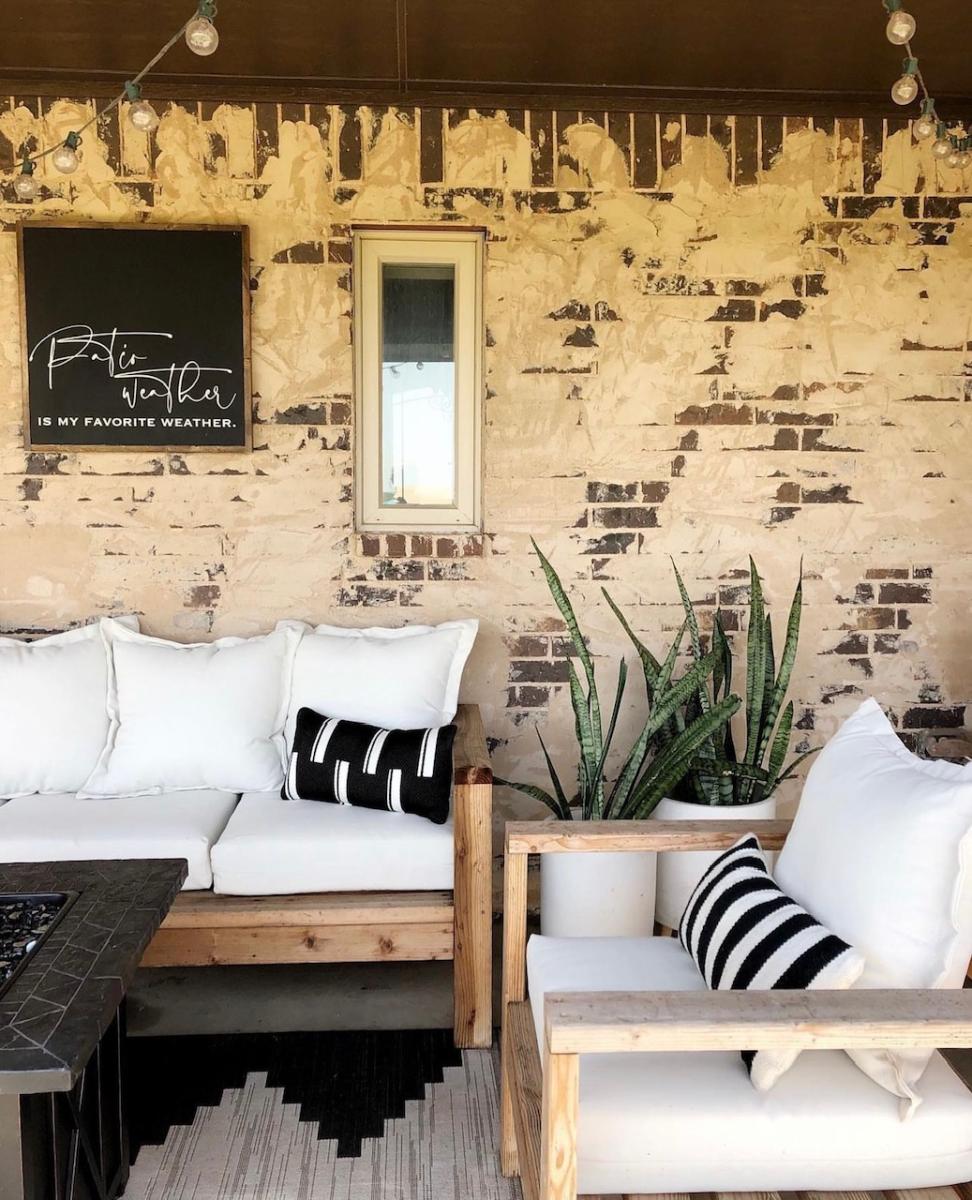
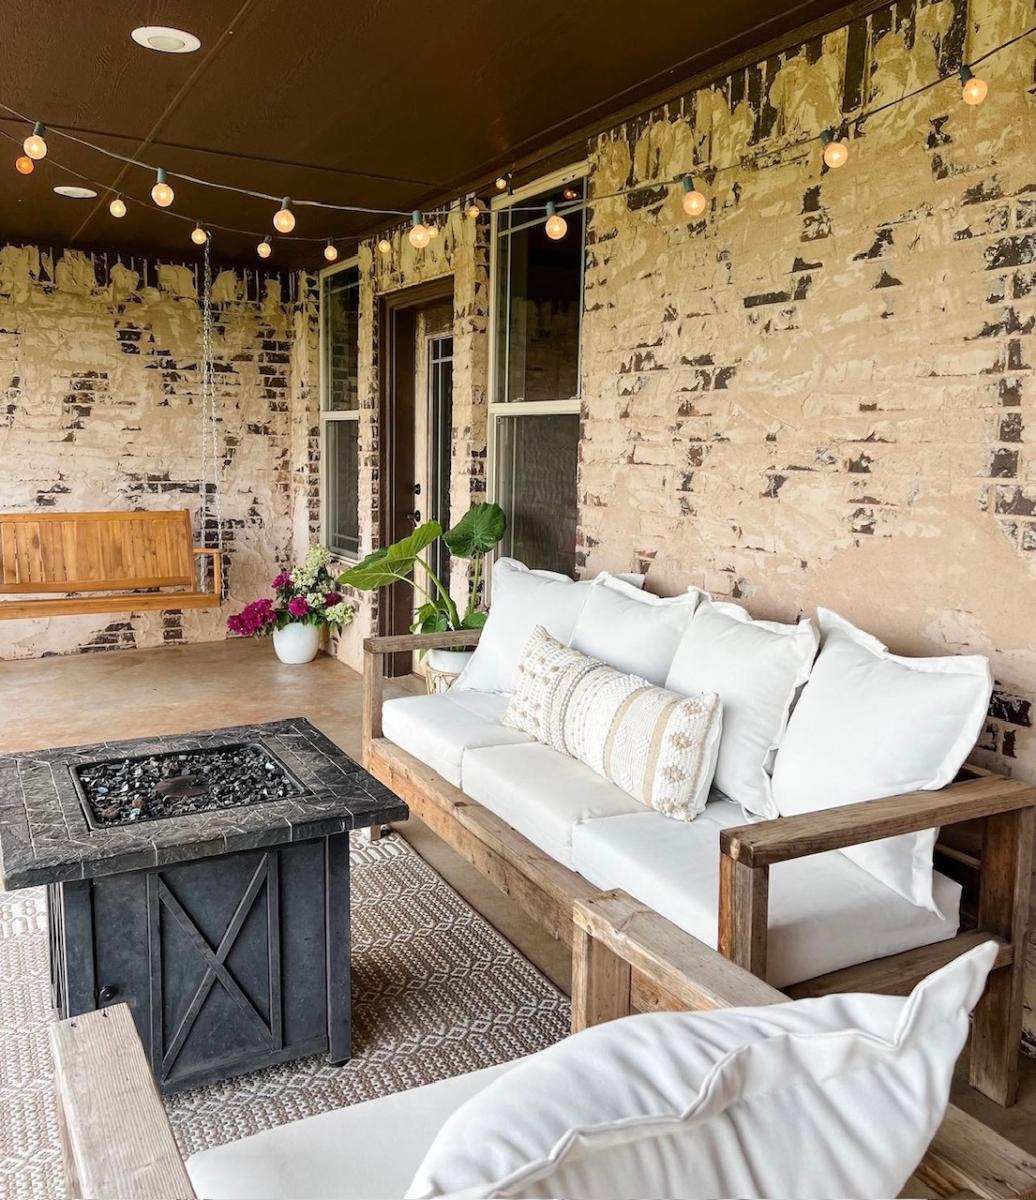
How cute is this new patio sofa I made out of 2x4s??? I used Ana White's plans and tweaked it just a little. I could not be happier with how it turned out and proud that I did it myself.
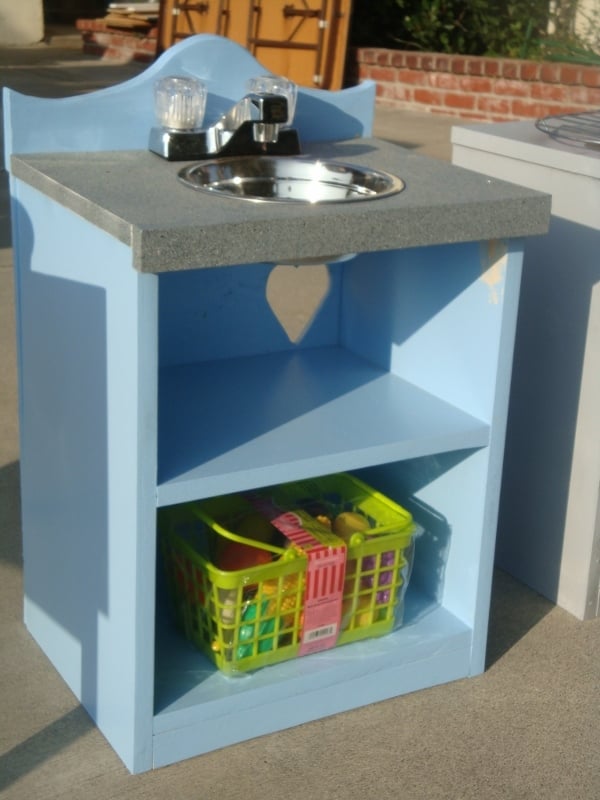
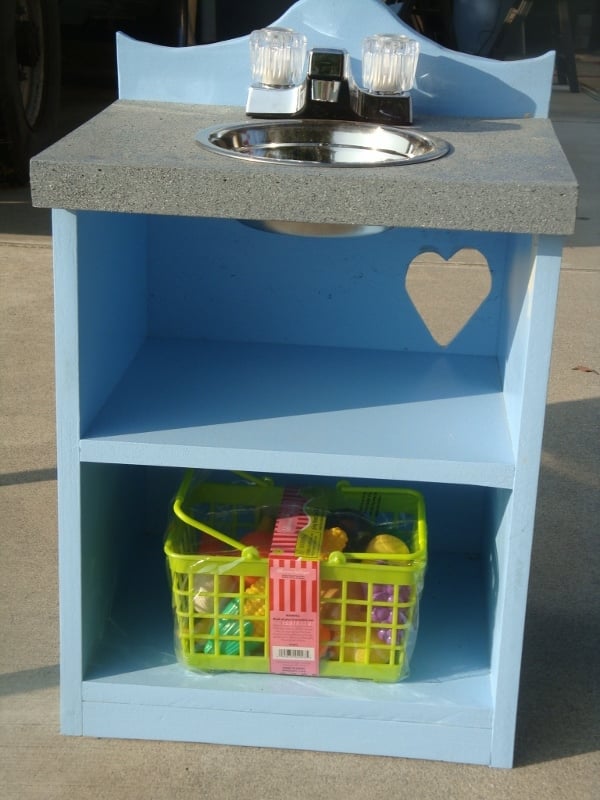
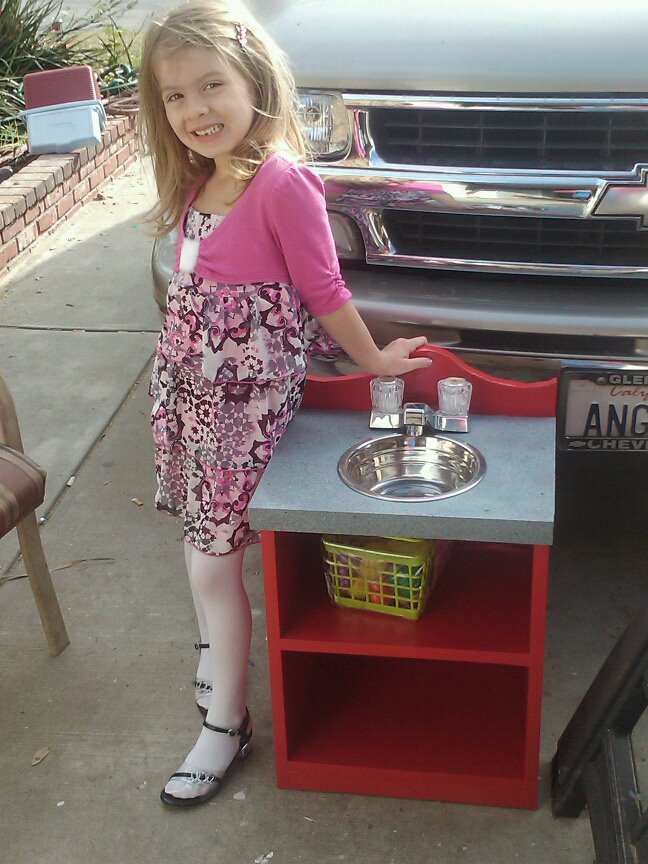
This is the first sink that I made, for one of my nieces of course, and when the other niece saw it, she started campaigning for one of her own. They are extemely easy to build, used my trusty Kreg jig, and on the back, hinged, is a painted, plain top, so when they're tired of using the sink, the top can come off, and instant nightstand! I used the home depot brand sink fixture, 10.00, and a dog dish for the sink. I added a "granite" top, and since this pic, I've sewn the 3 tier curtains. There are 2 different sinks in the below pics.

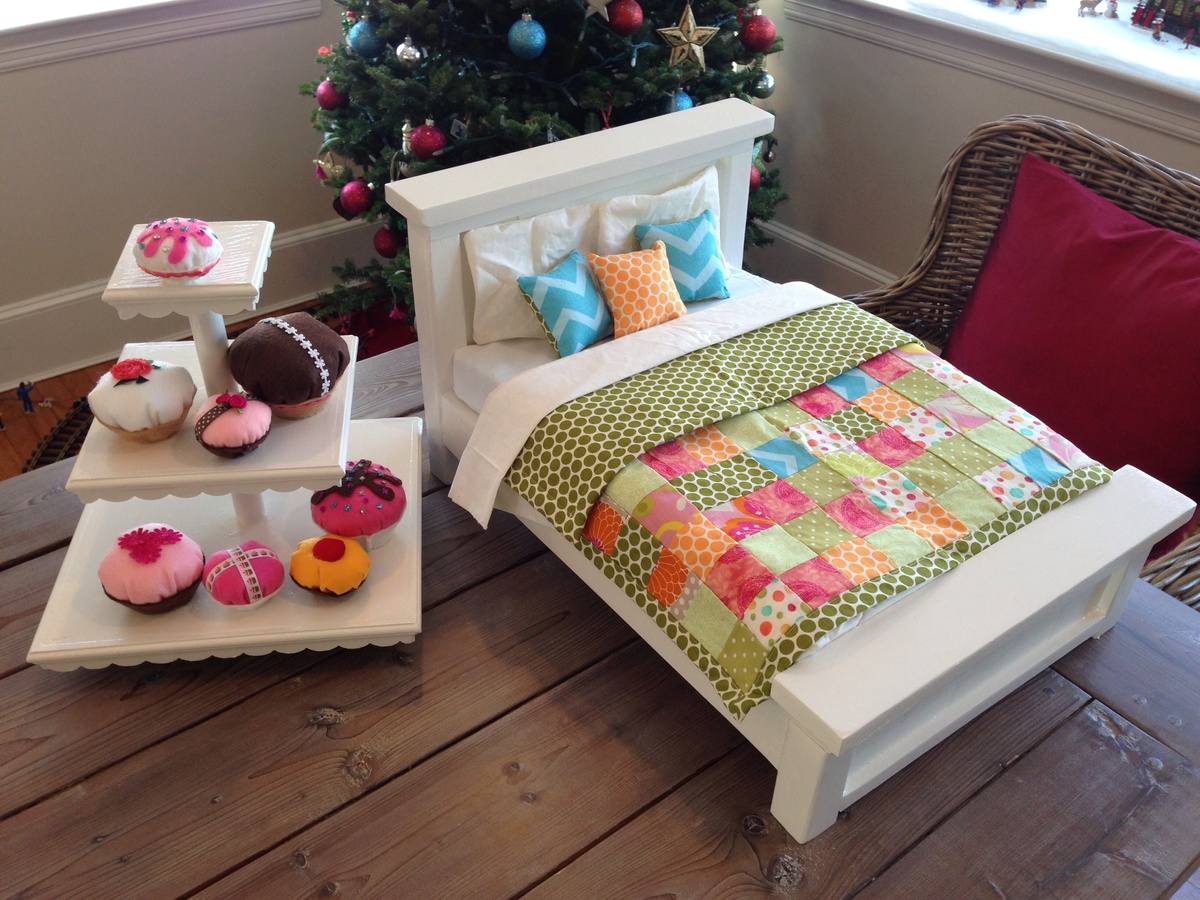
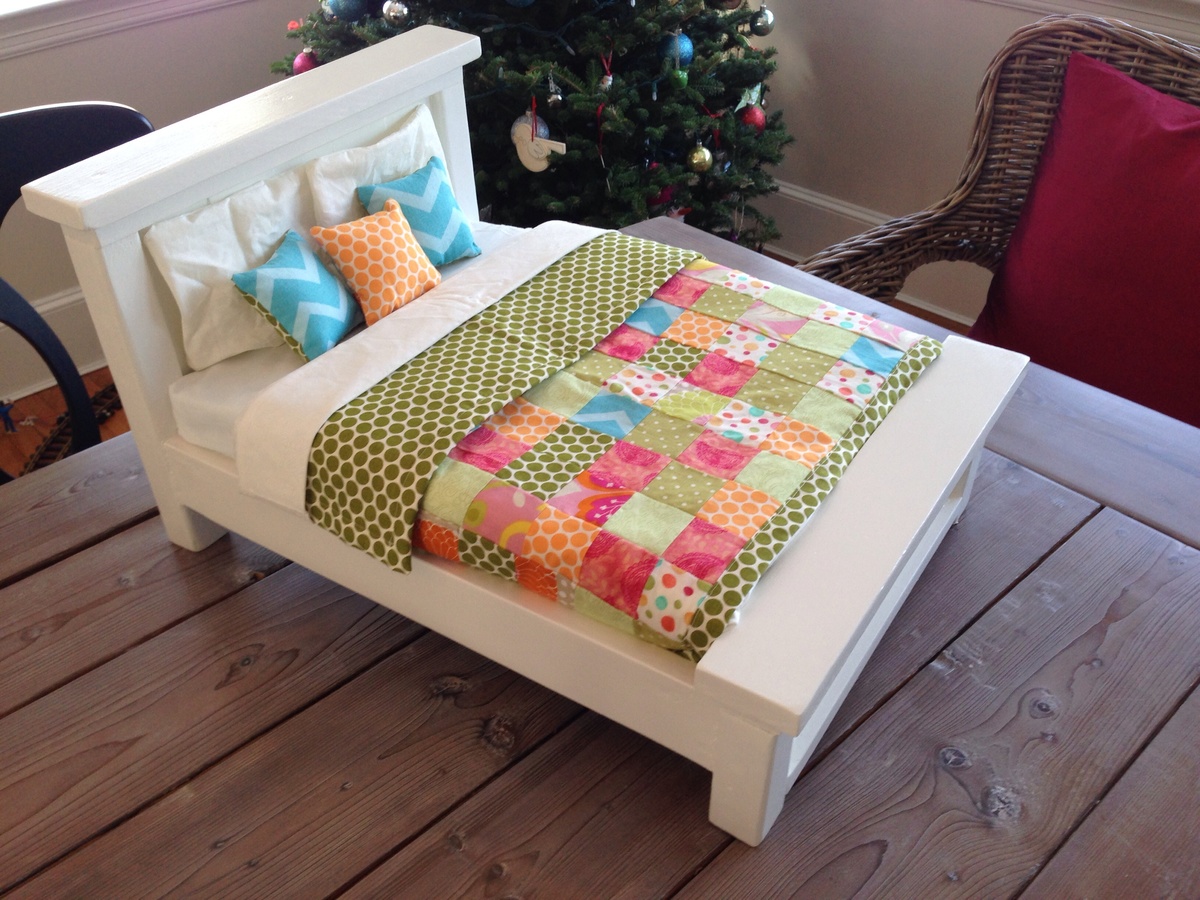
I enjoyed making these projects for my 6 year old for Christmas. Warning: make cuts as you build. Even though I bought standard board sizes, my finished measurements did not all match cut list. Just keep measuring as you assemble and make cuts and small changes as needed. A 1x3 can be anywhere from 2 1/2 to 2 3/4 wide for example. I finished with primer and two coats of Benjamin Moore Advance semigloss Cloud White on both projects. I used 2 inch high density foam for the mattress. The quilt is pieced from 2 1/2 inch squares. The small pillows are 3 inch square finished. The large pillows are 4x7 approximately. The cake stand is cute enough for a child's play room but also large enough to be borrowed for an adult's dessert table.
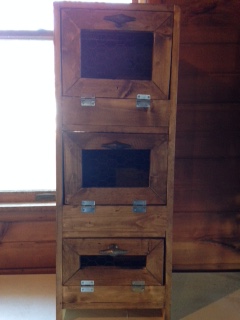
I had a great time with my first project being this vegetable bin. I did have to have some help with the actual construction and I know it's not perfect. It's uneven and has flaws, but I think it gives it a little character.
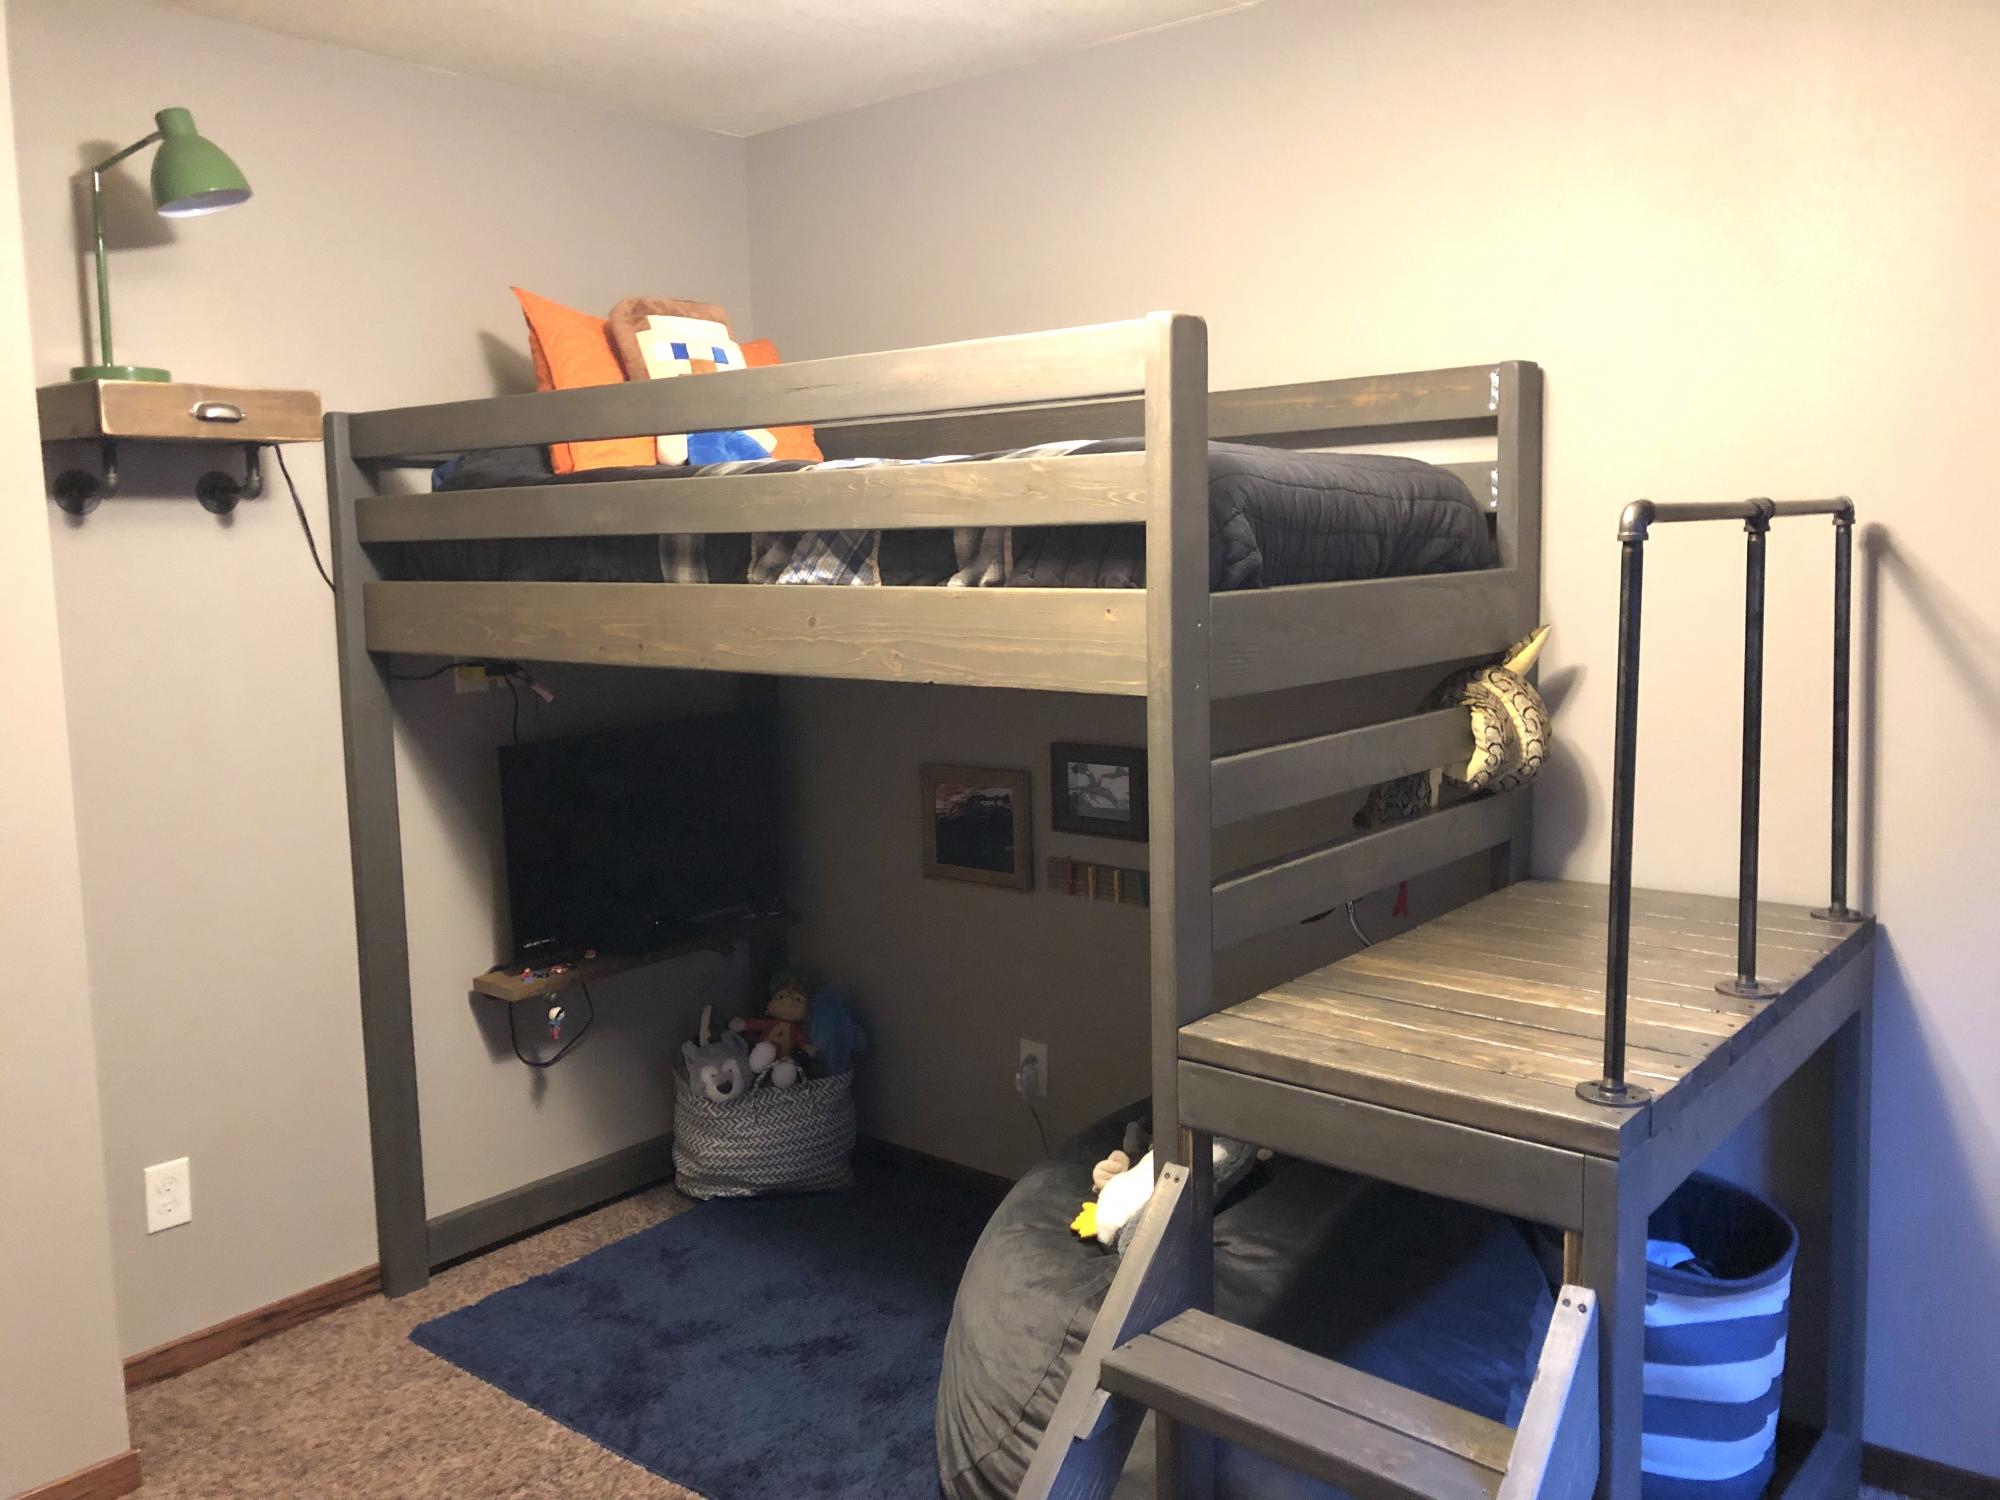
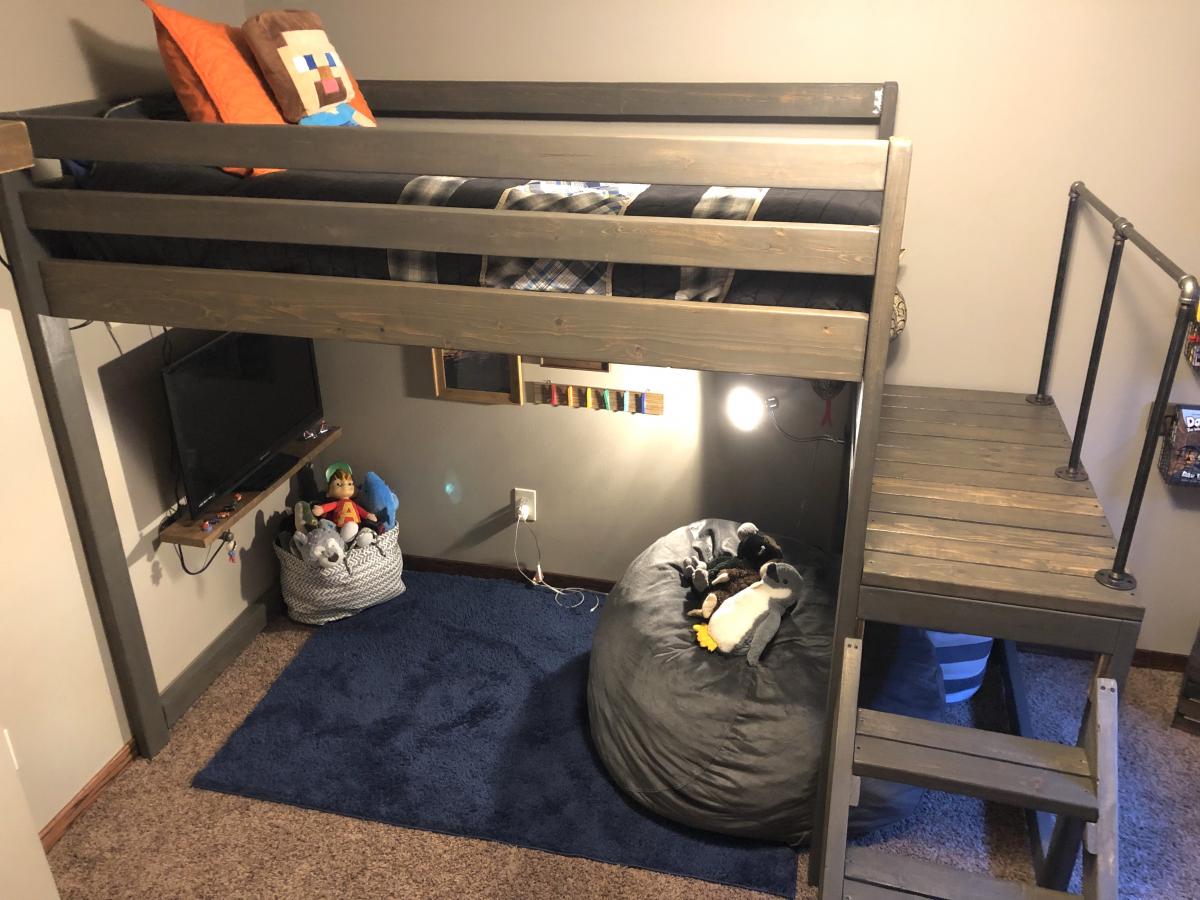
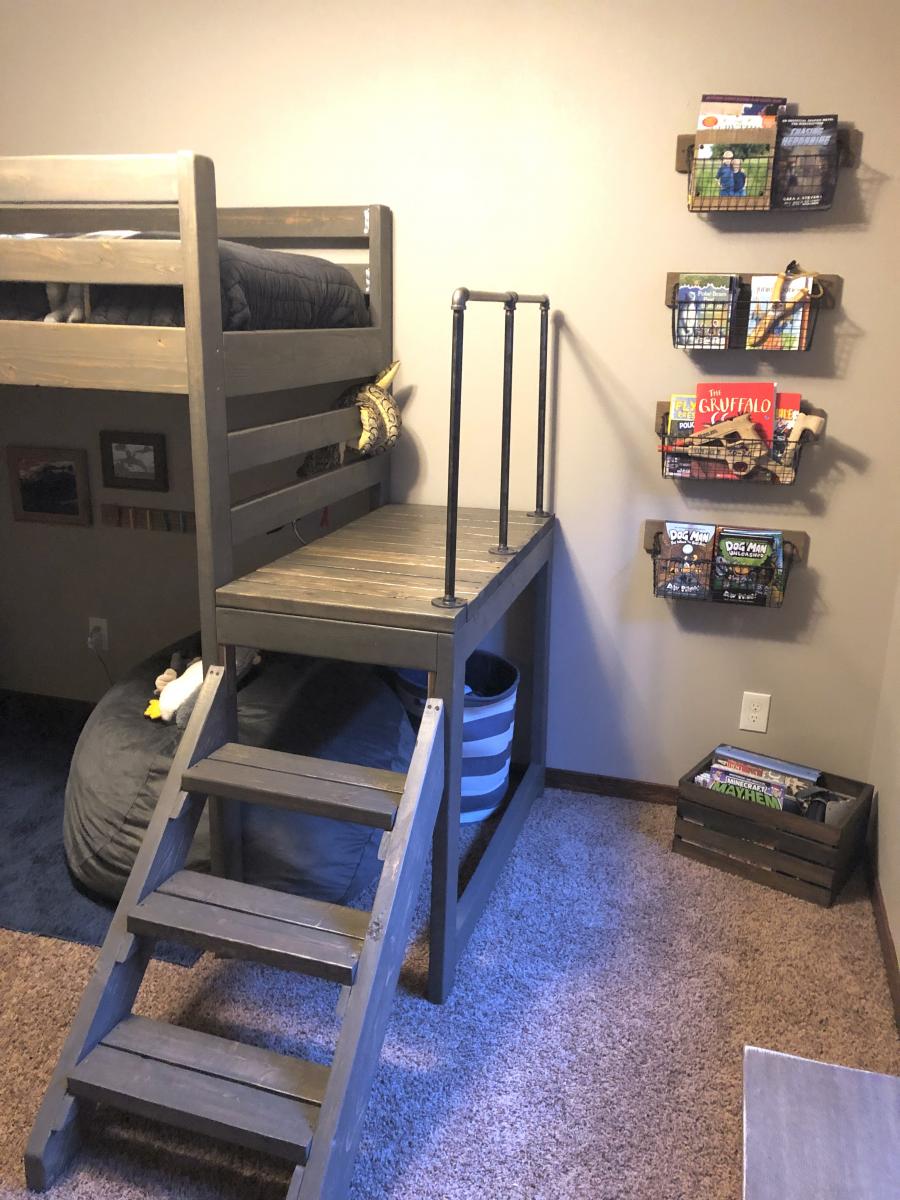
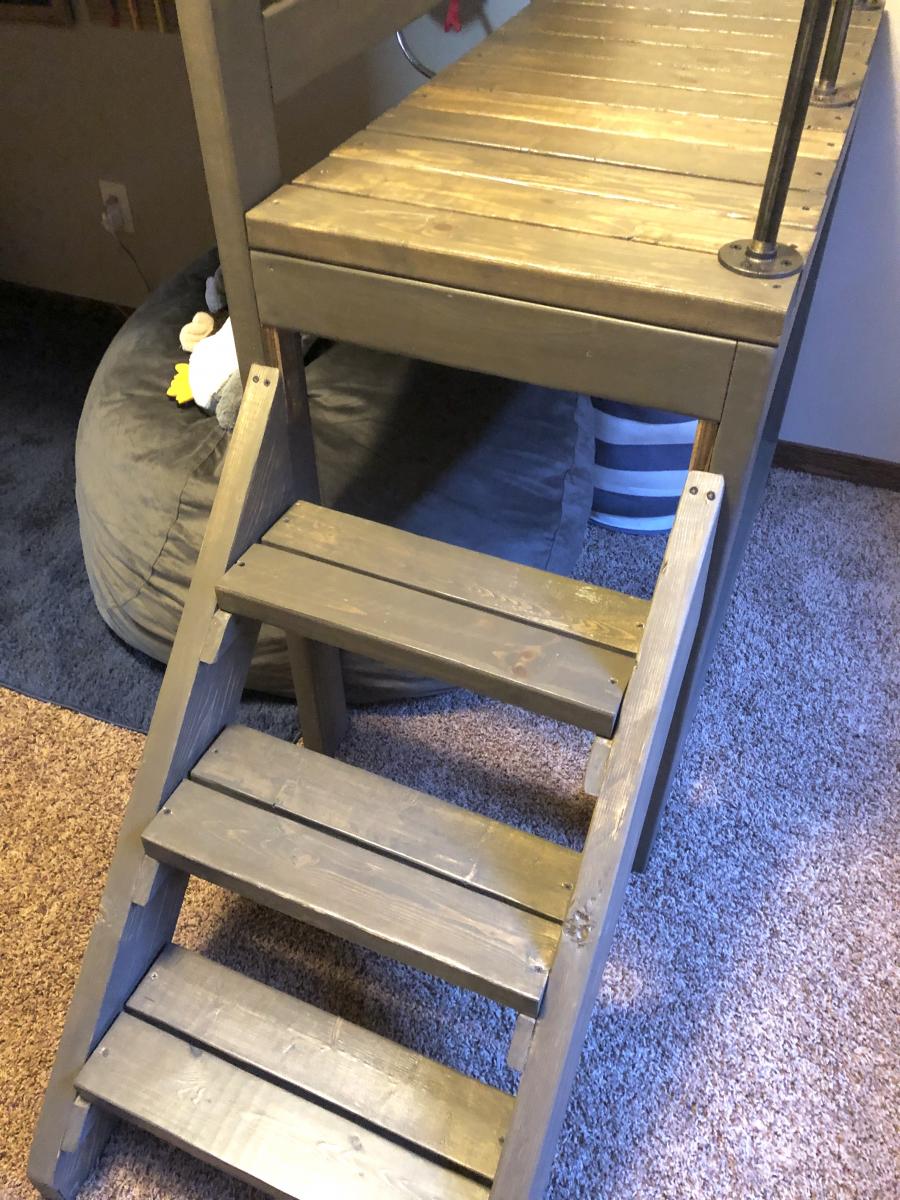
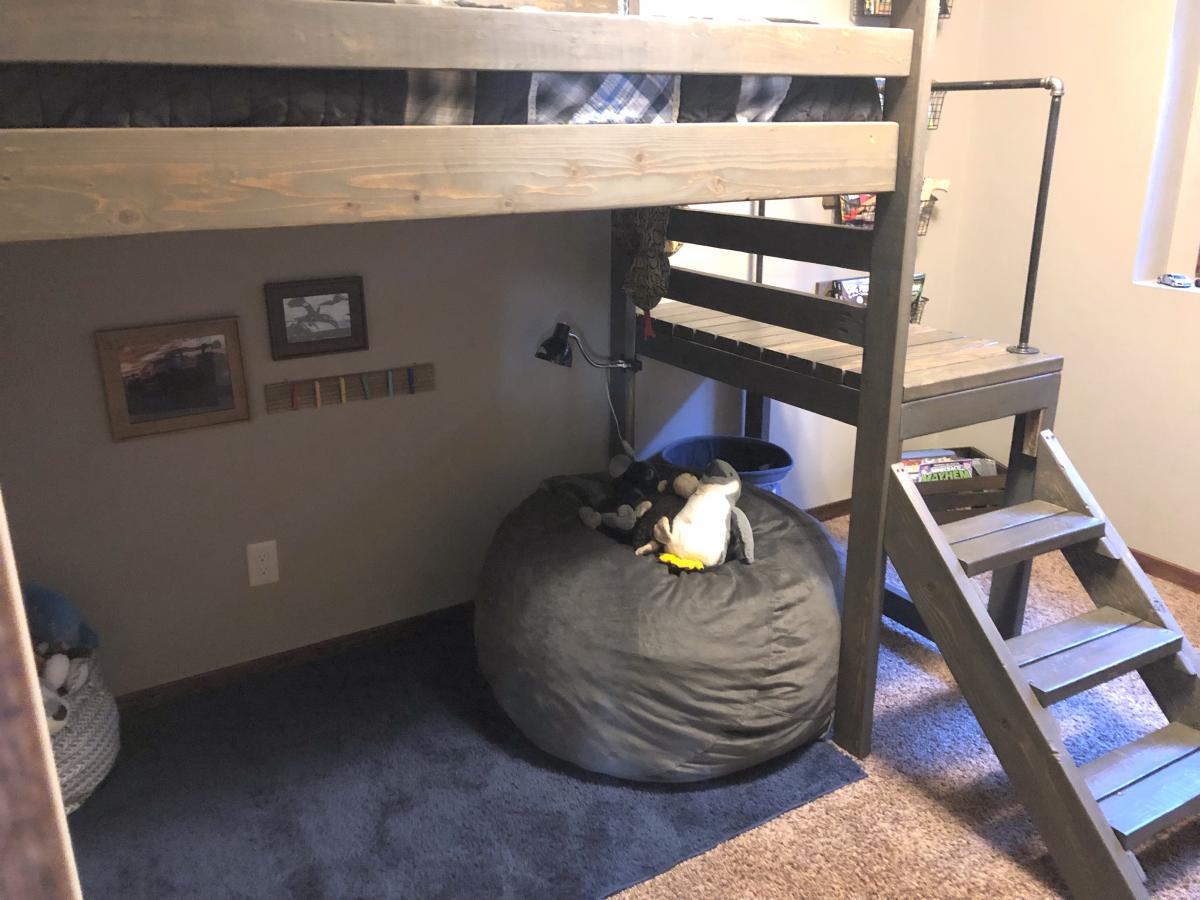
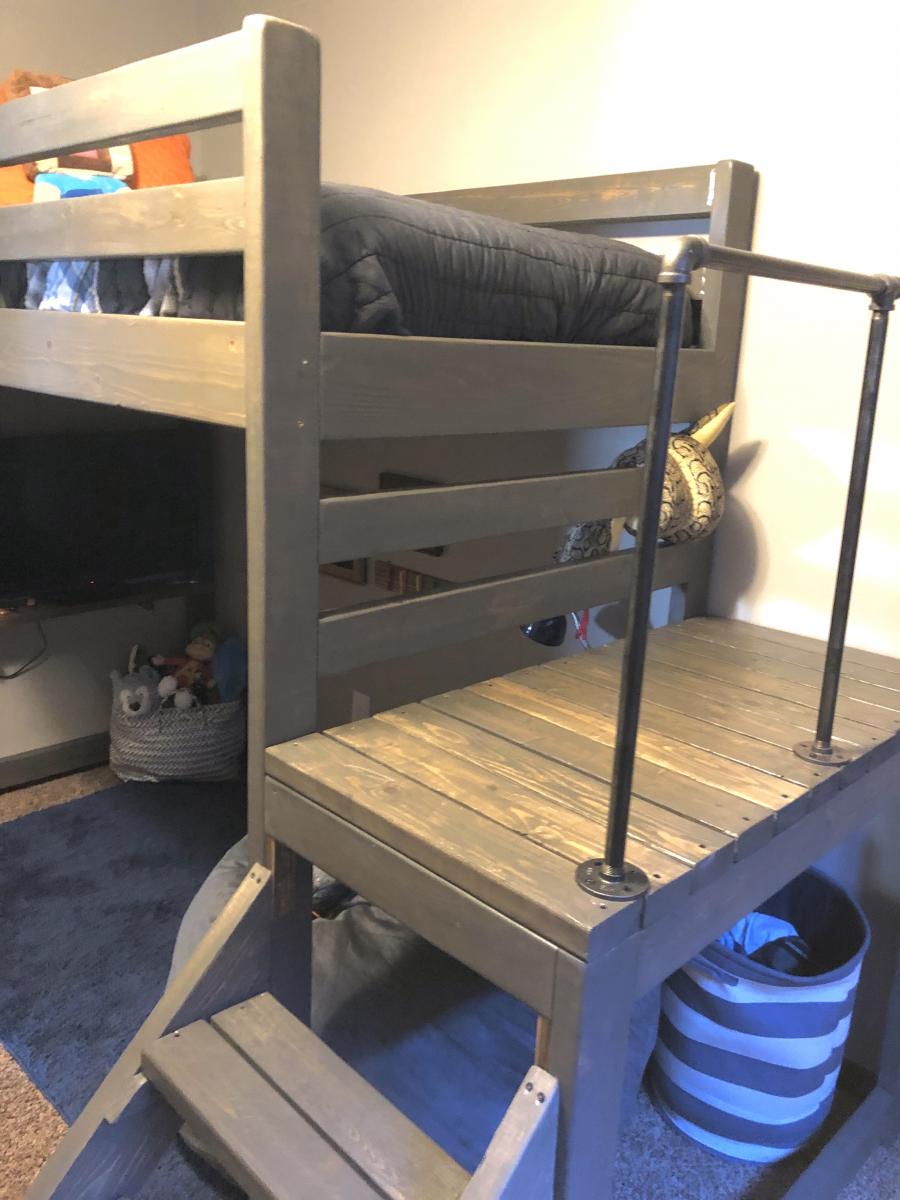
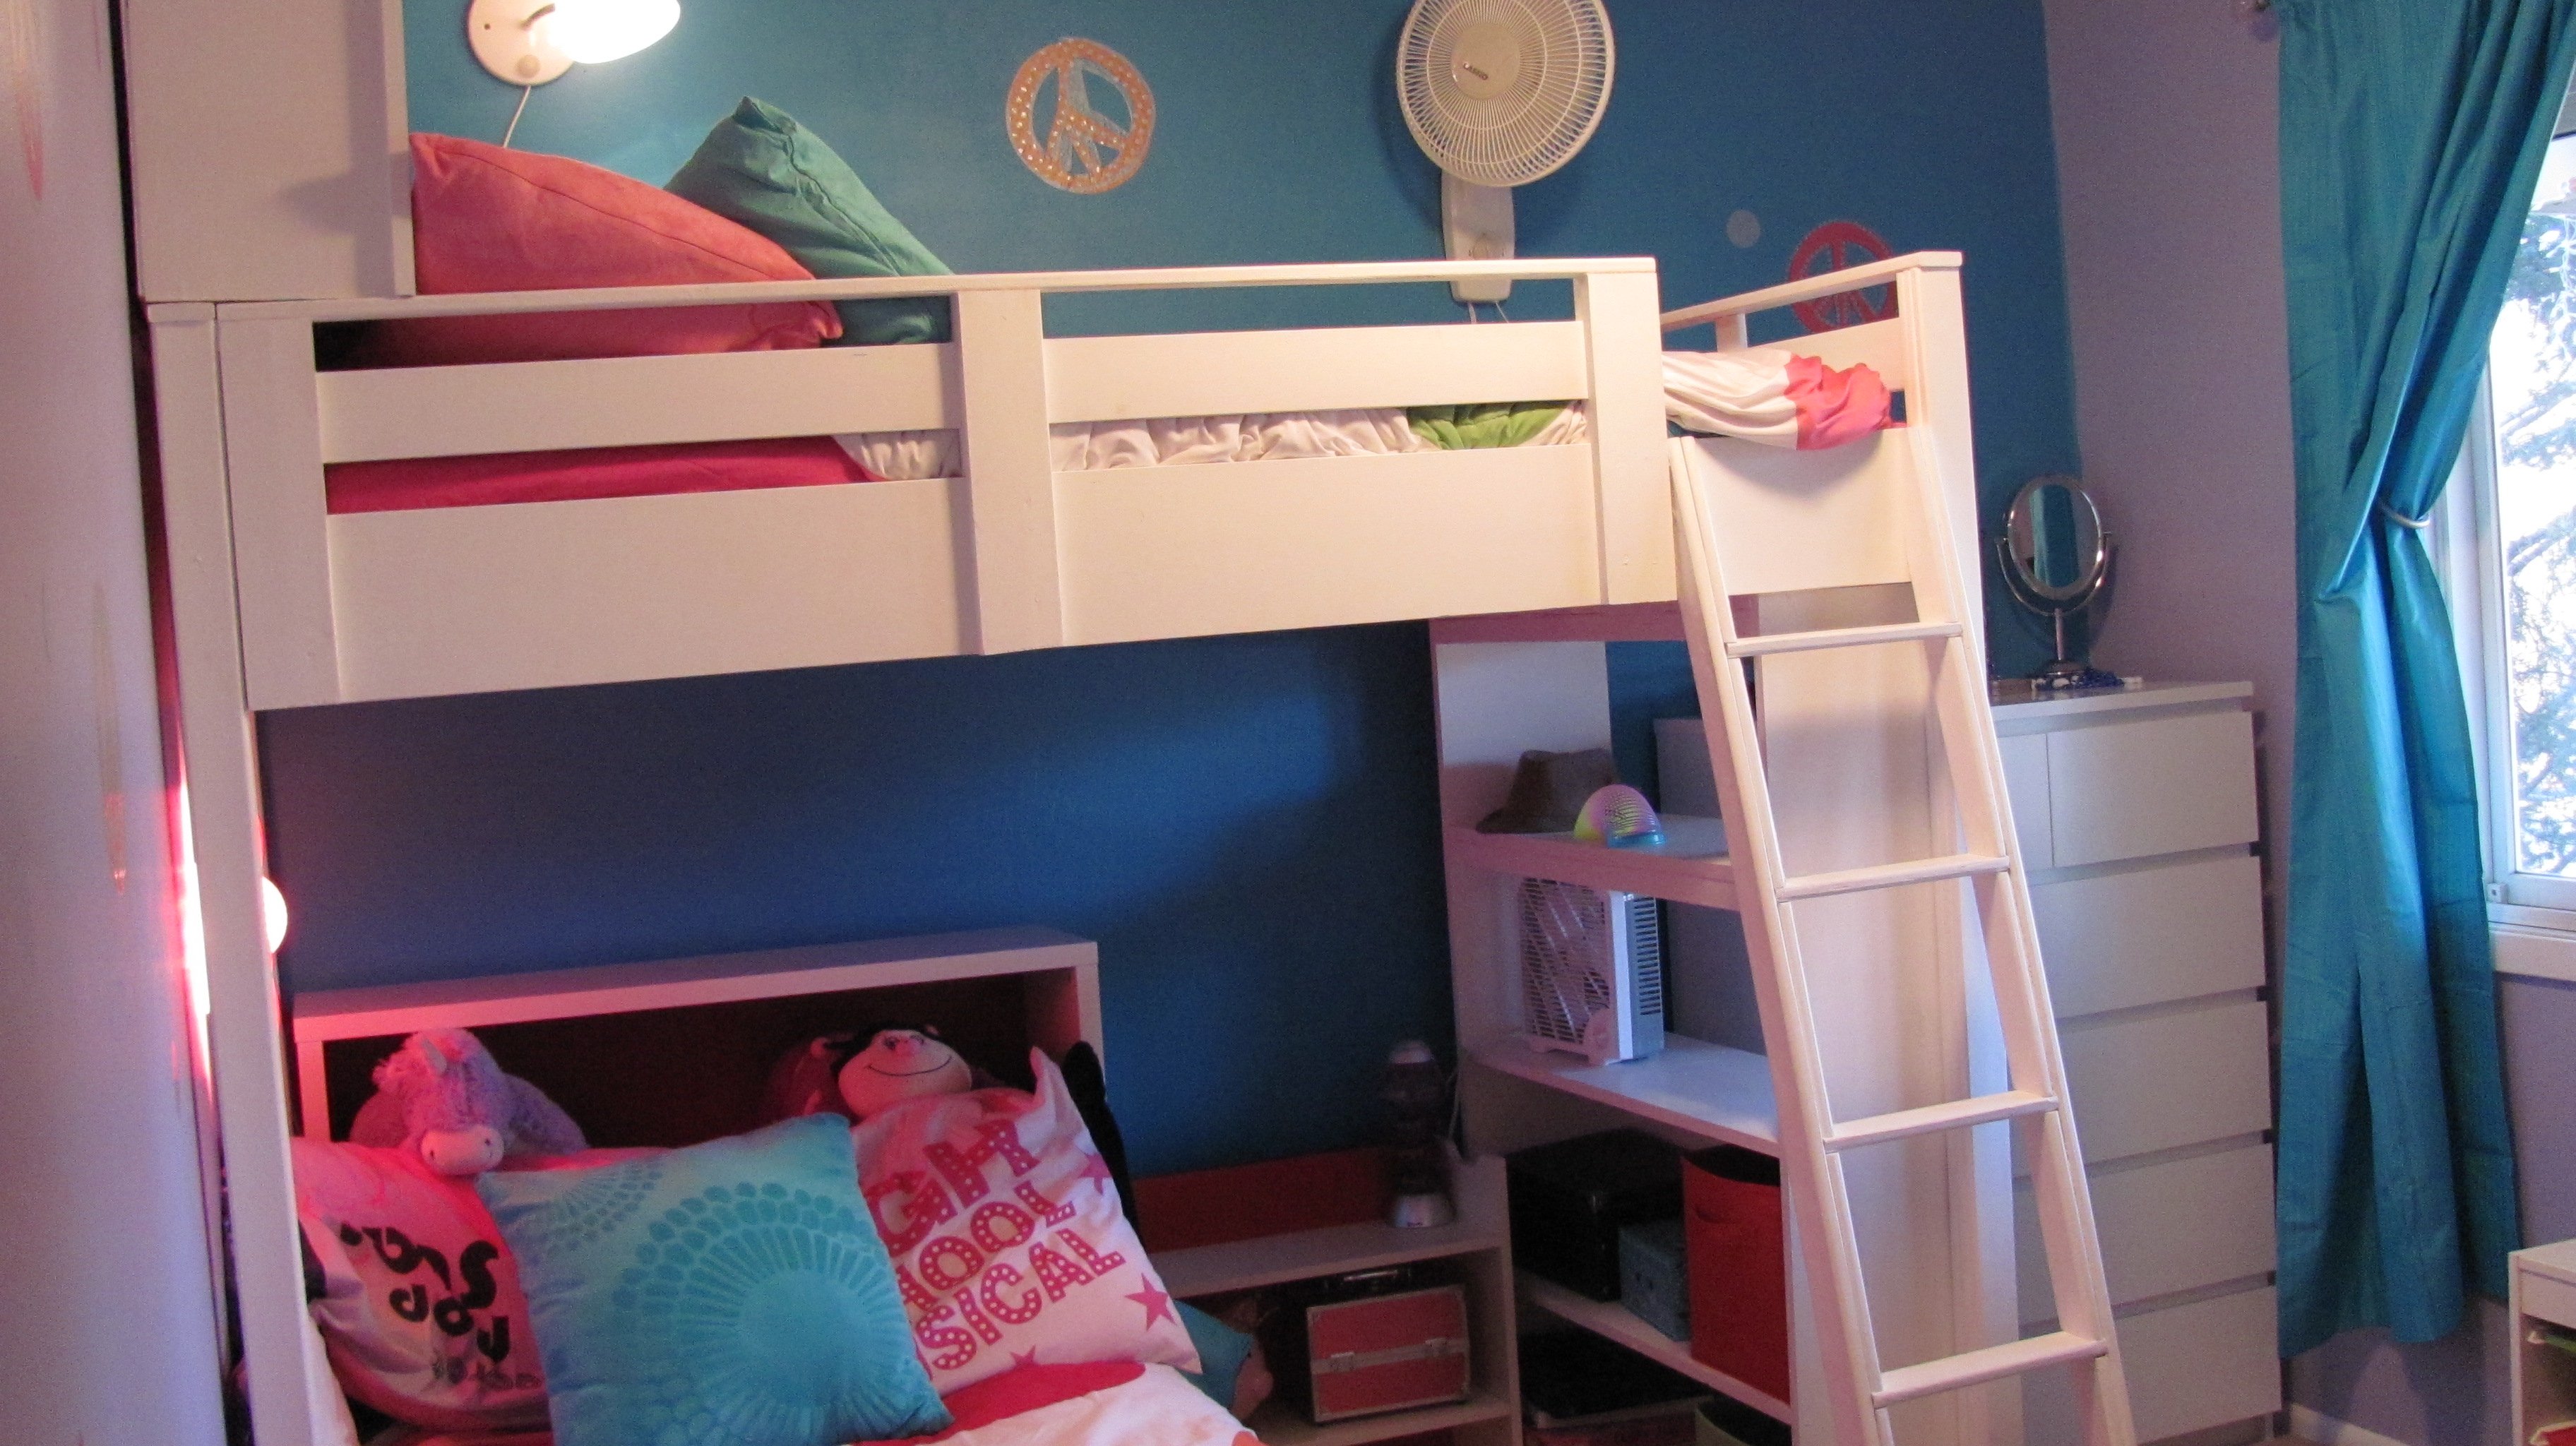
I built this bed for my 8 year old son's room "face lift." His only request was to have a place to hang out, but being his room was so small, that was a struggle! The loft bed allowed us to make a cozy little hangout - the poor guy can't get rid of his siblings now!
I added a few extra inches to the height of the Camp Loft plan, I also added the pipe hand rail for additional safety and give his room a little older boy vibe! It was a very easy build, the staining/sealing took the longest. The stairs make it much easier to change sheets and getting up and down for those of us who aren't 8 year olds :).
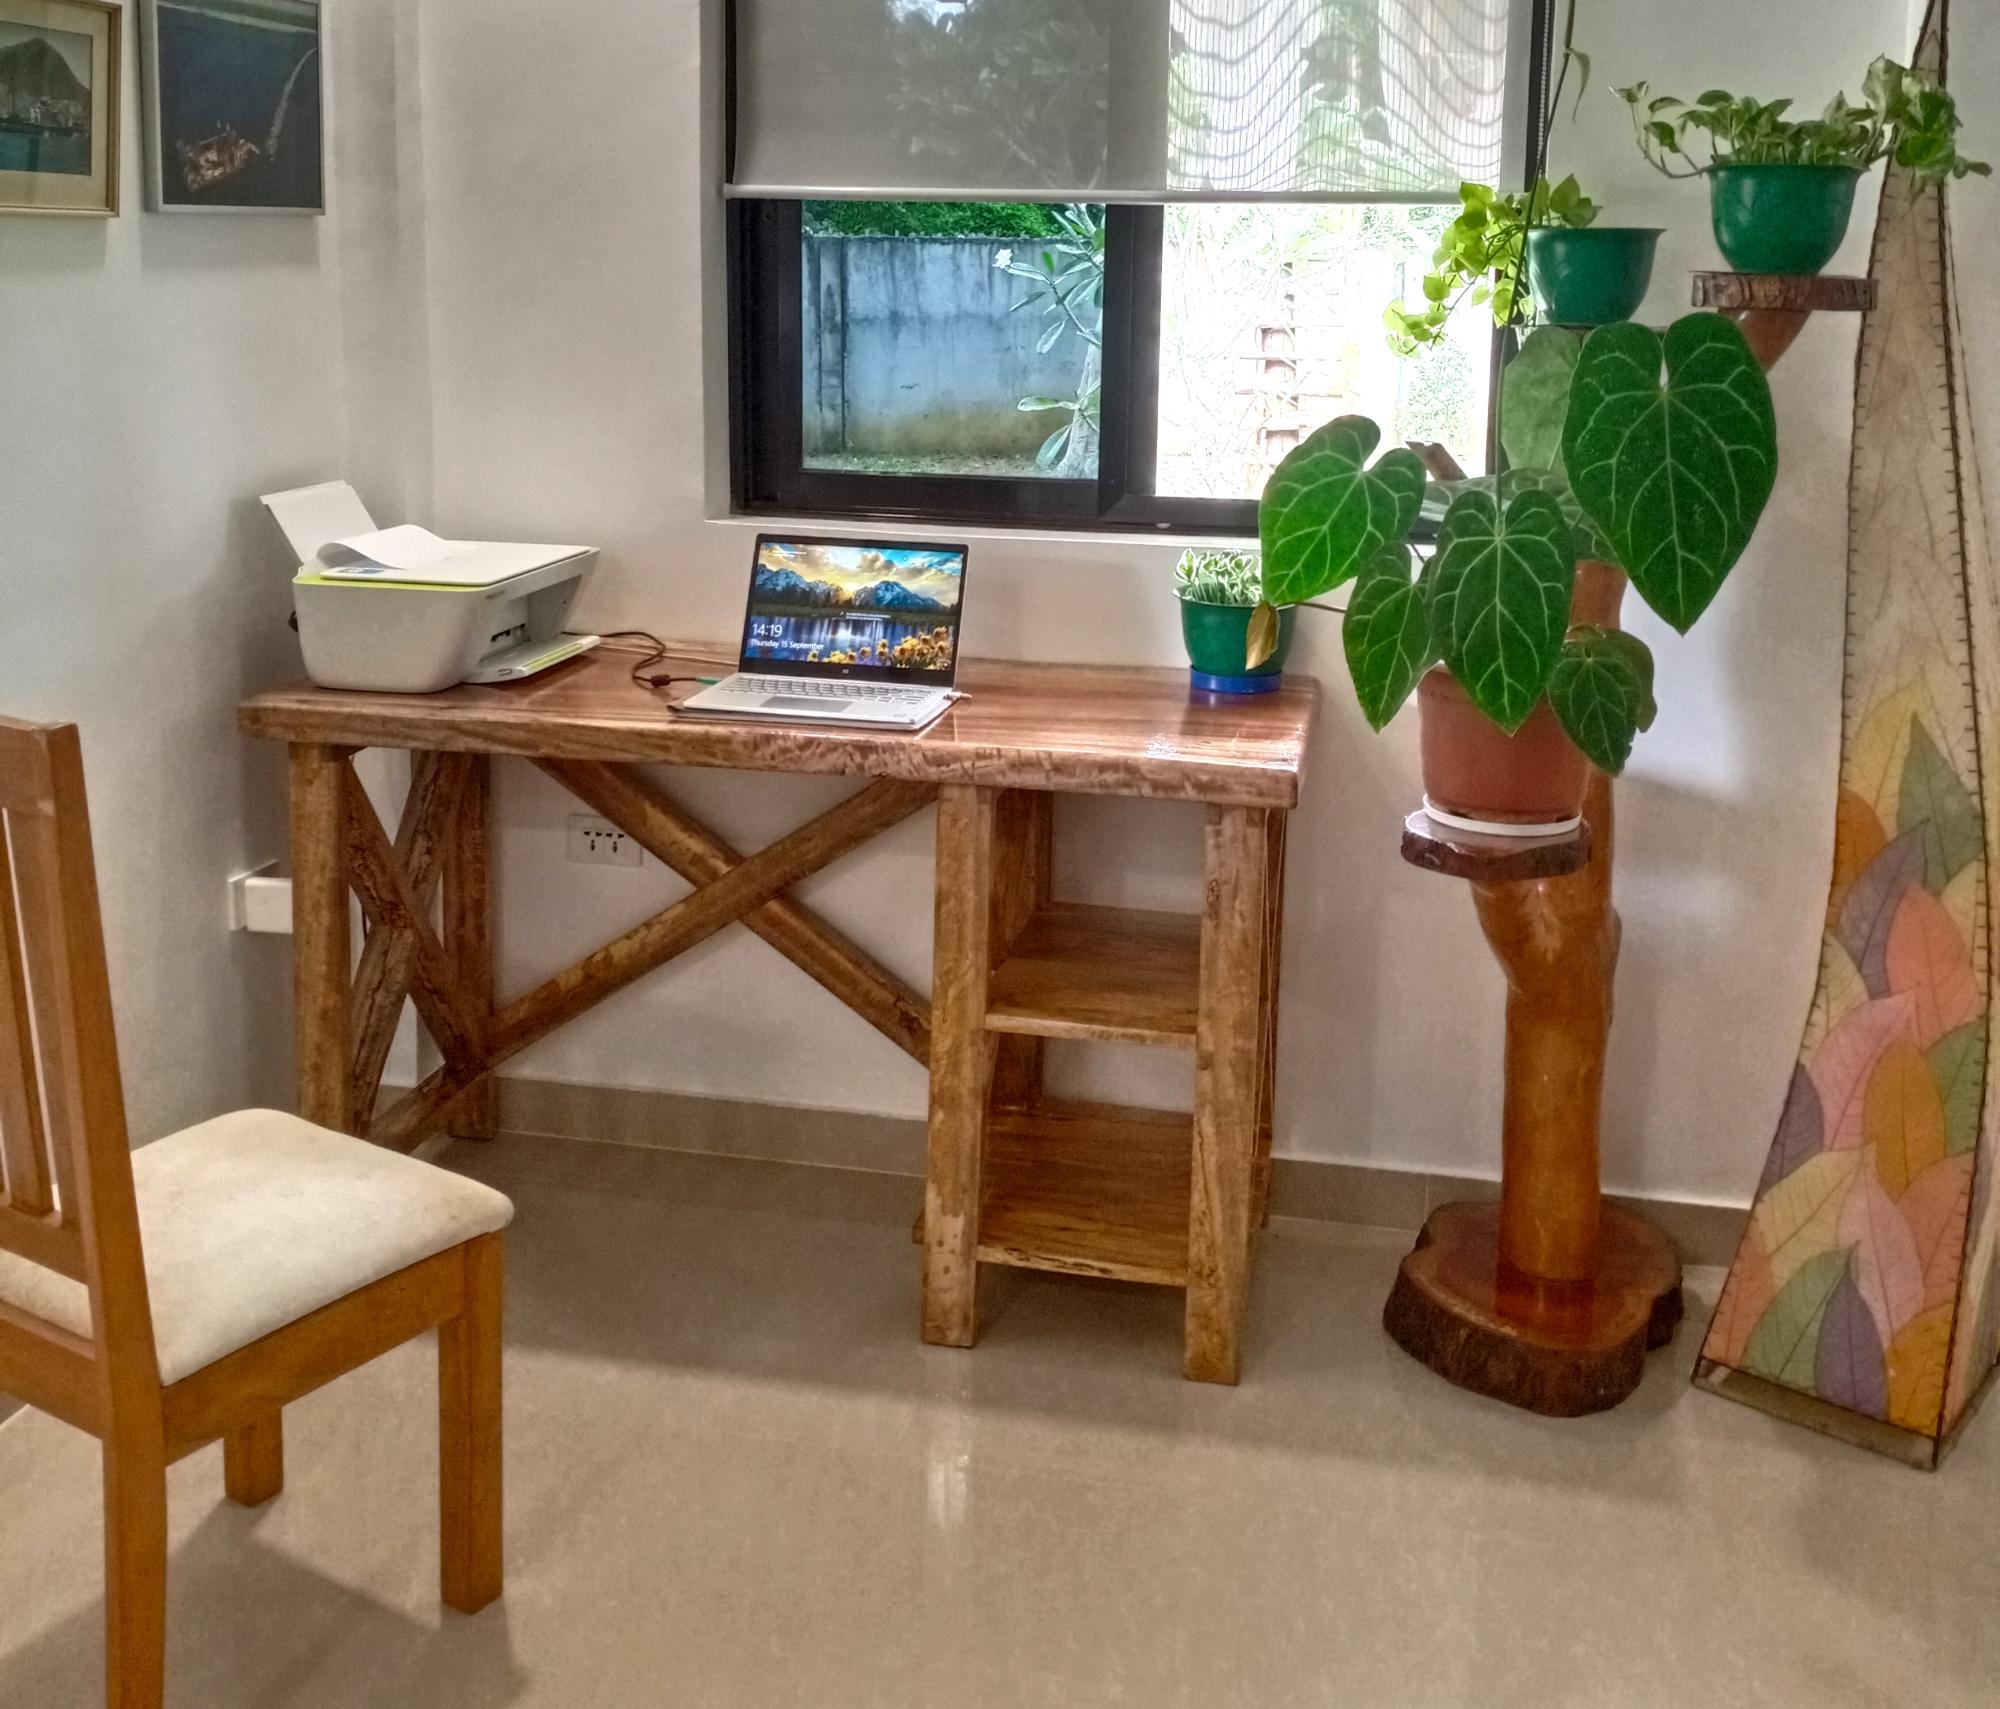
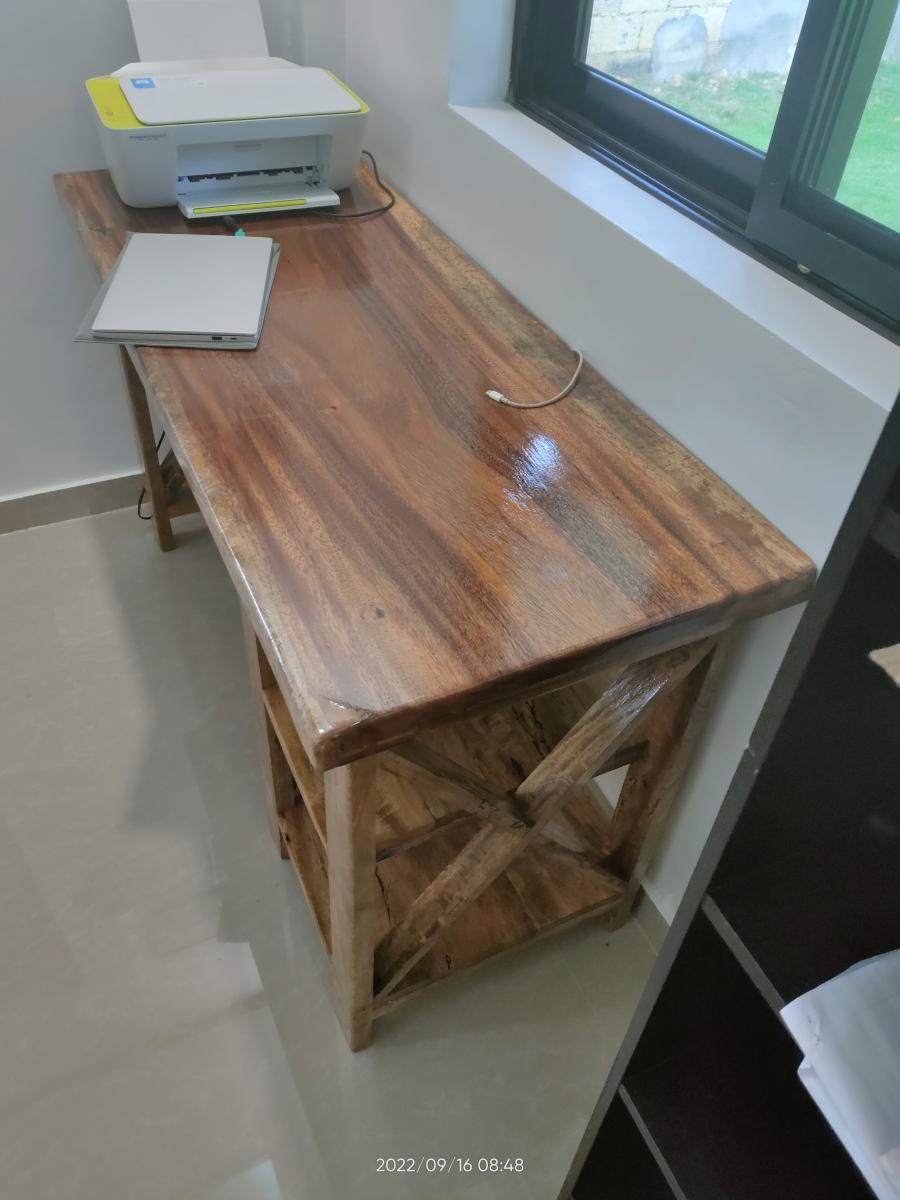
Desk from Mango wood and the top is acacia
@douwe_adema
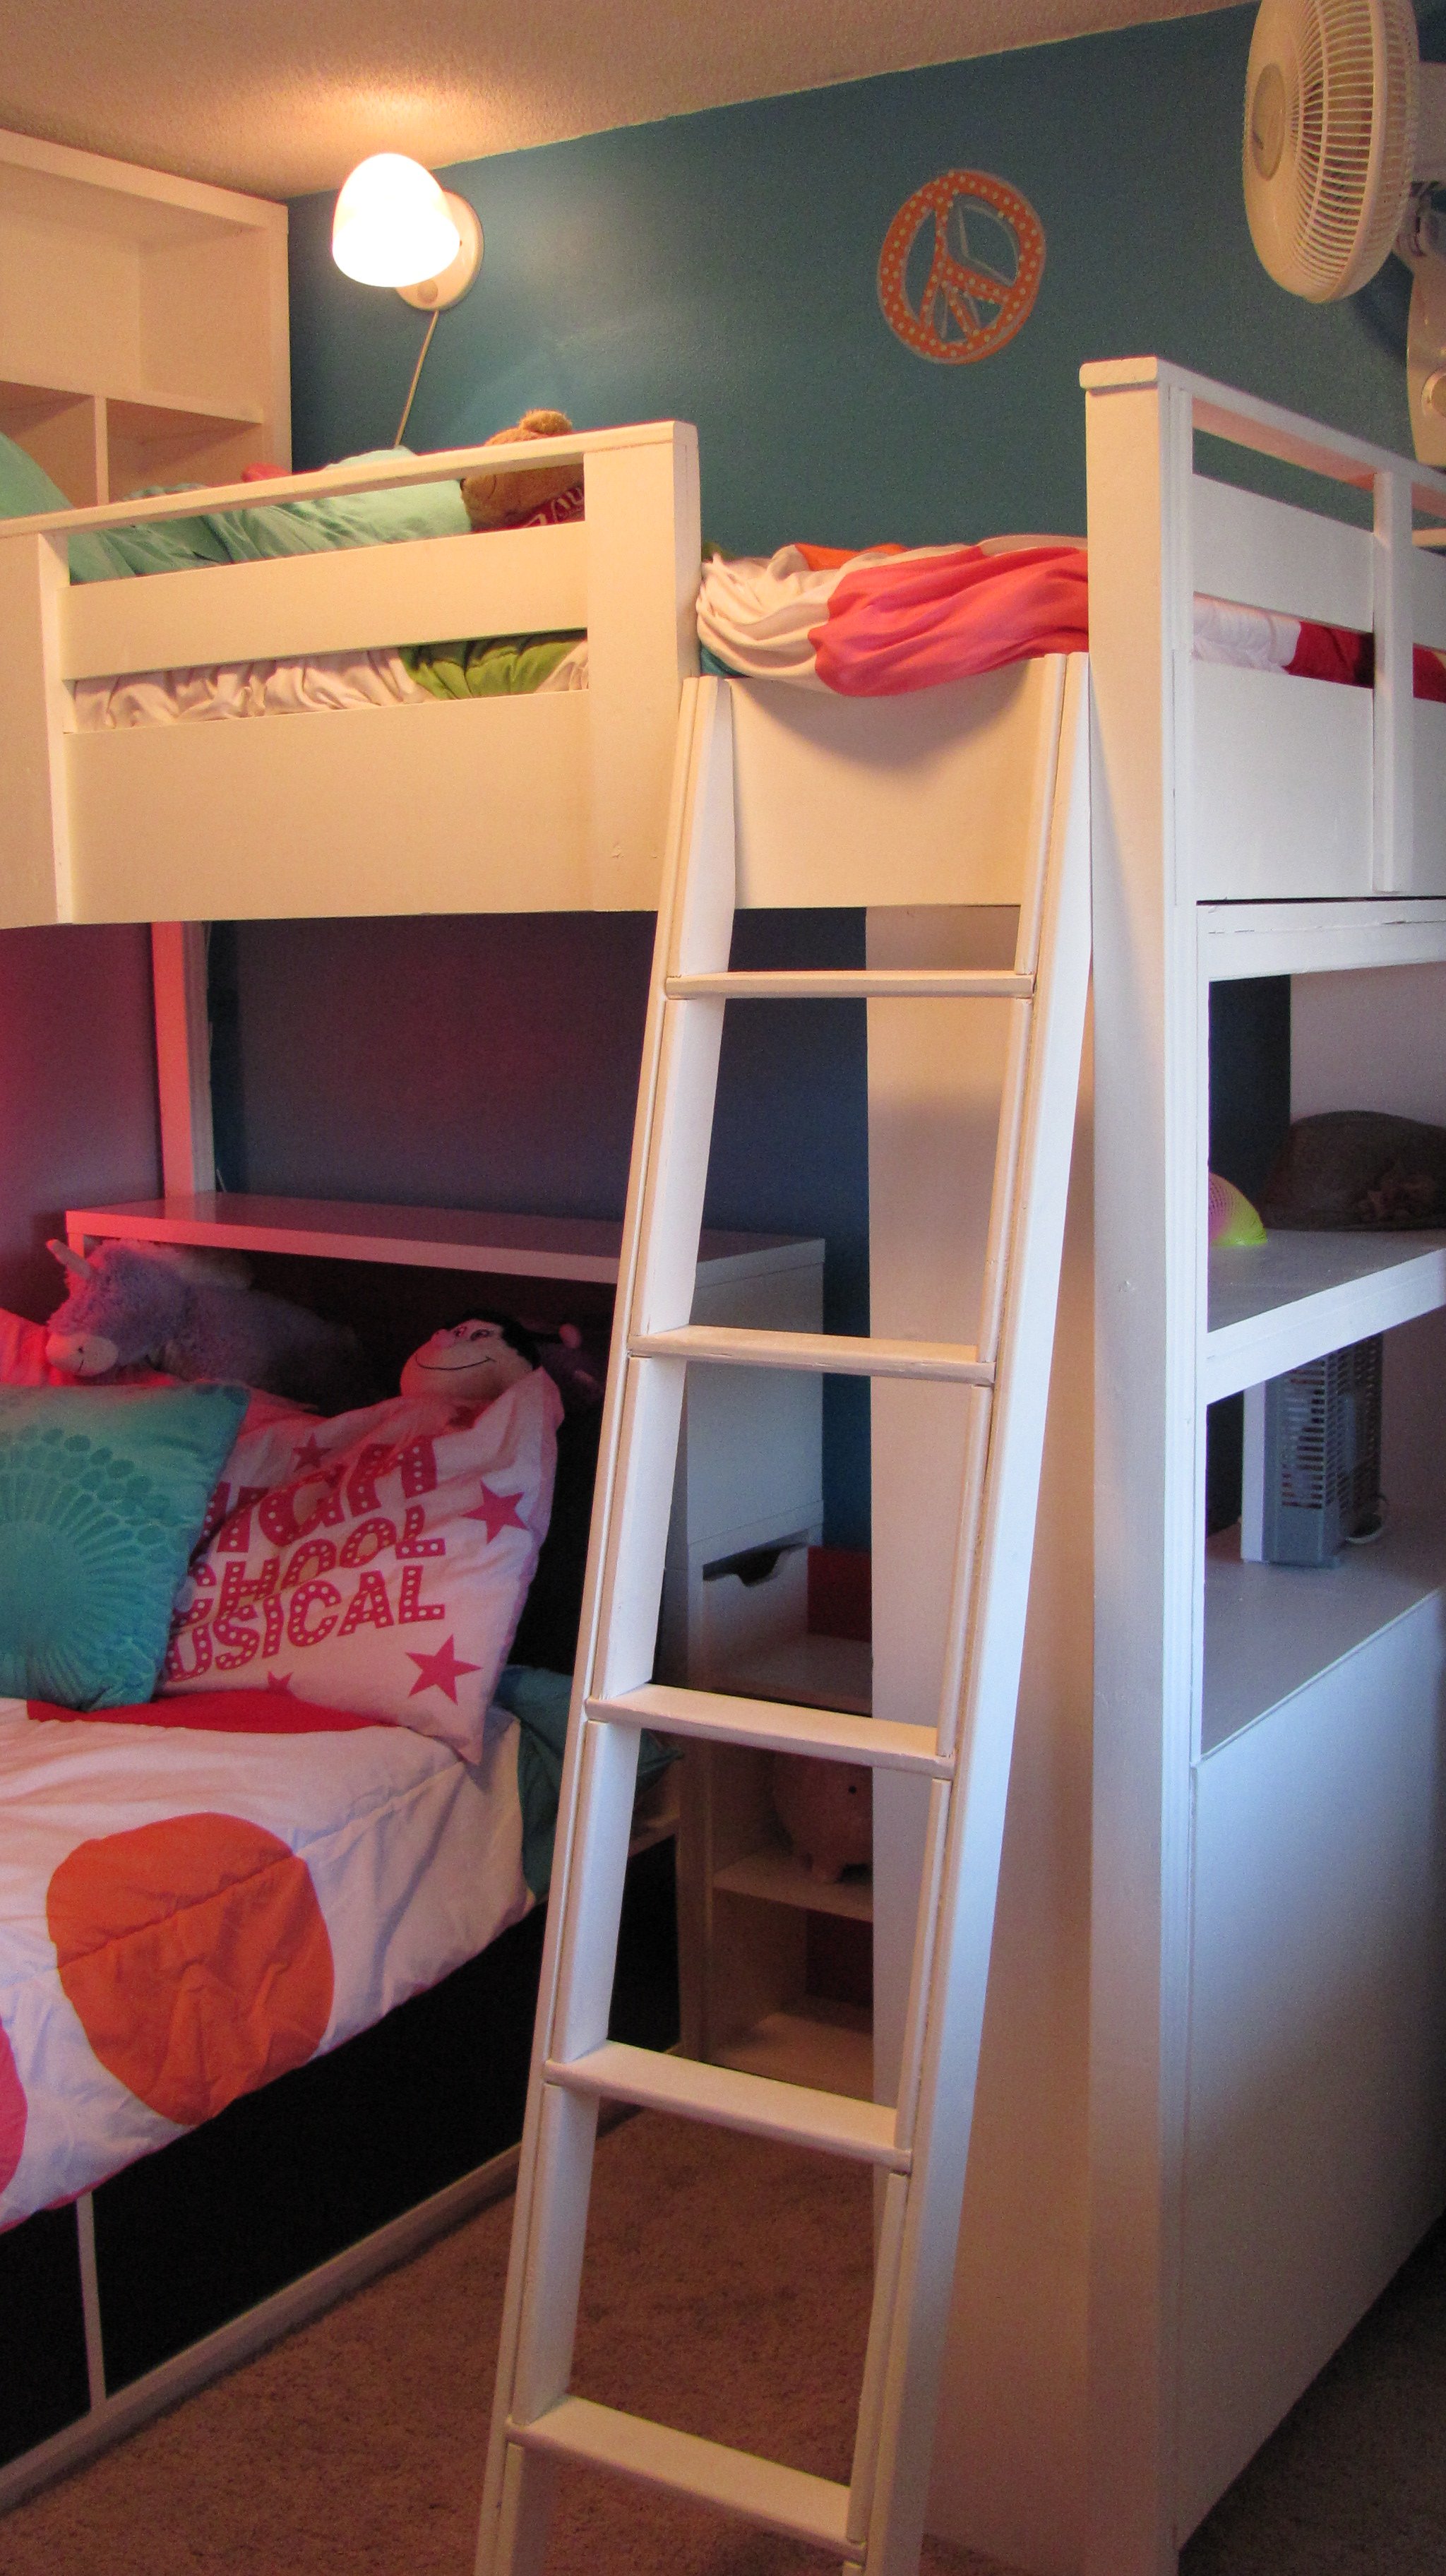
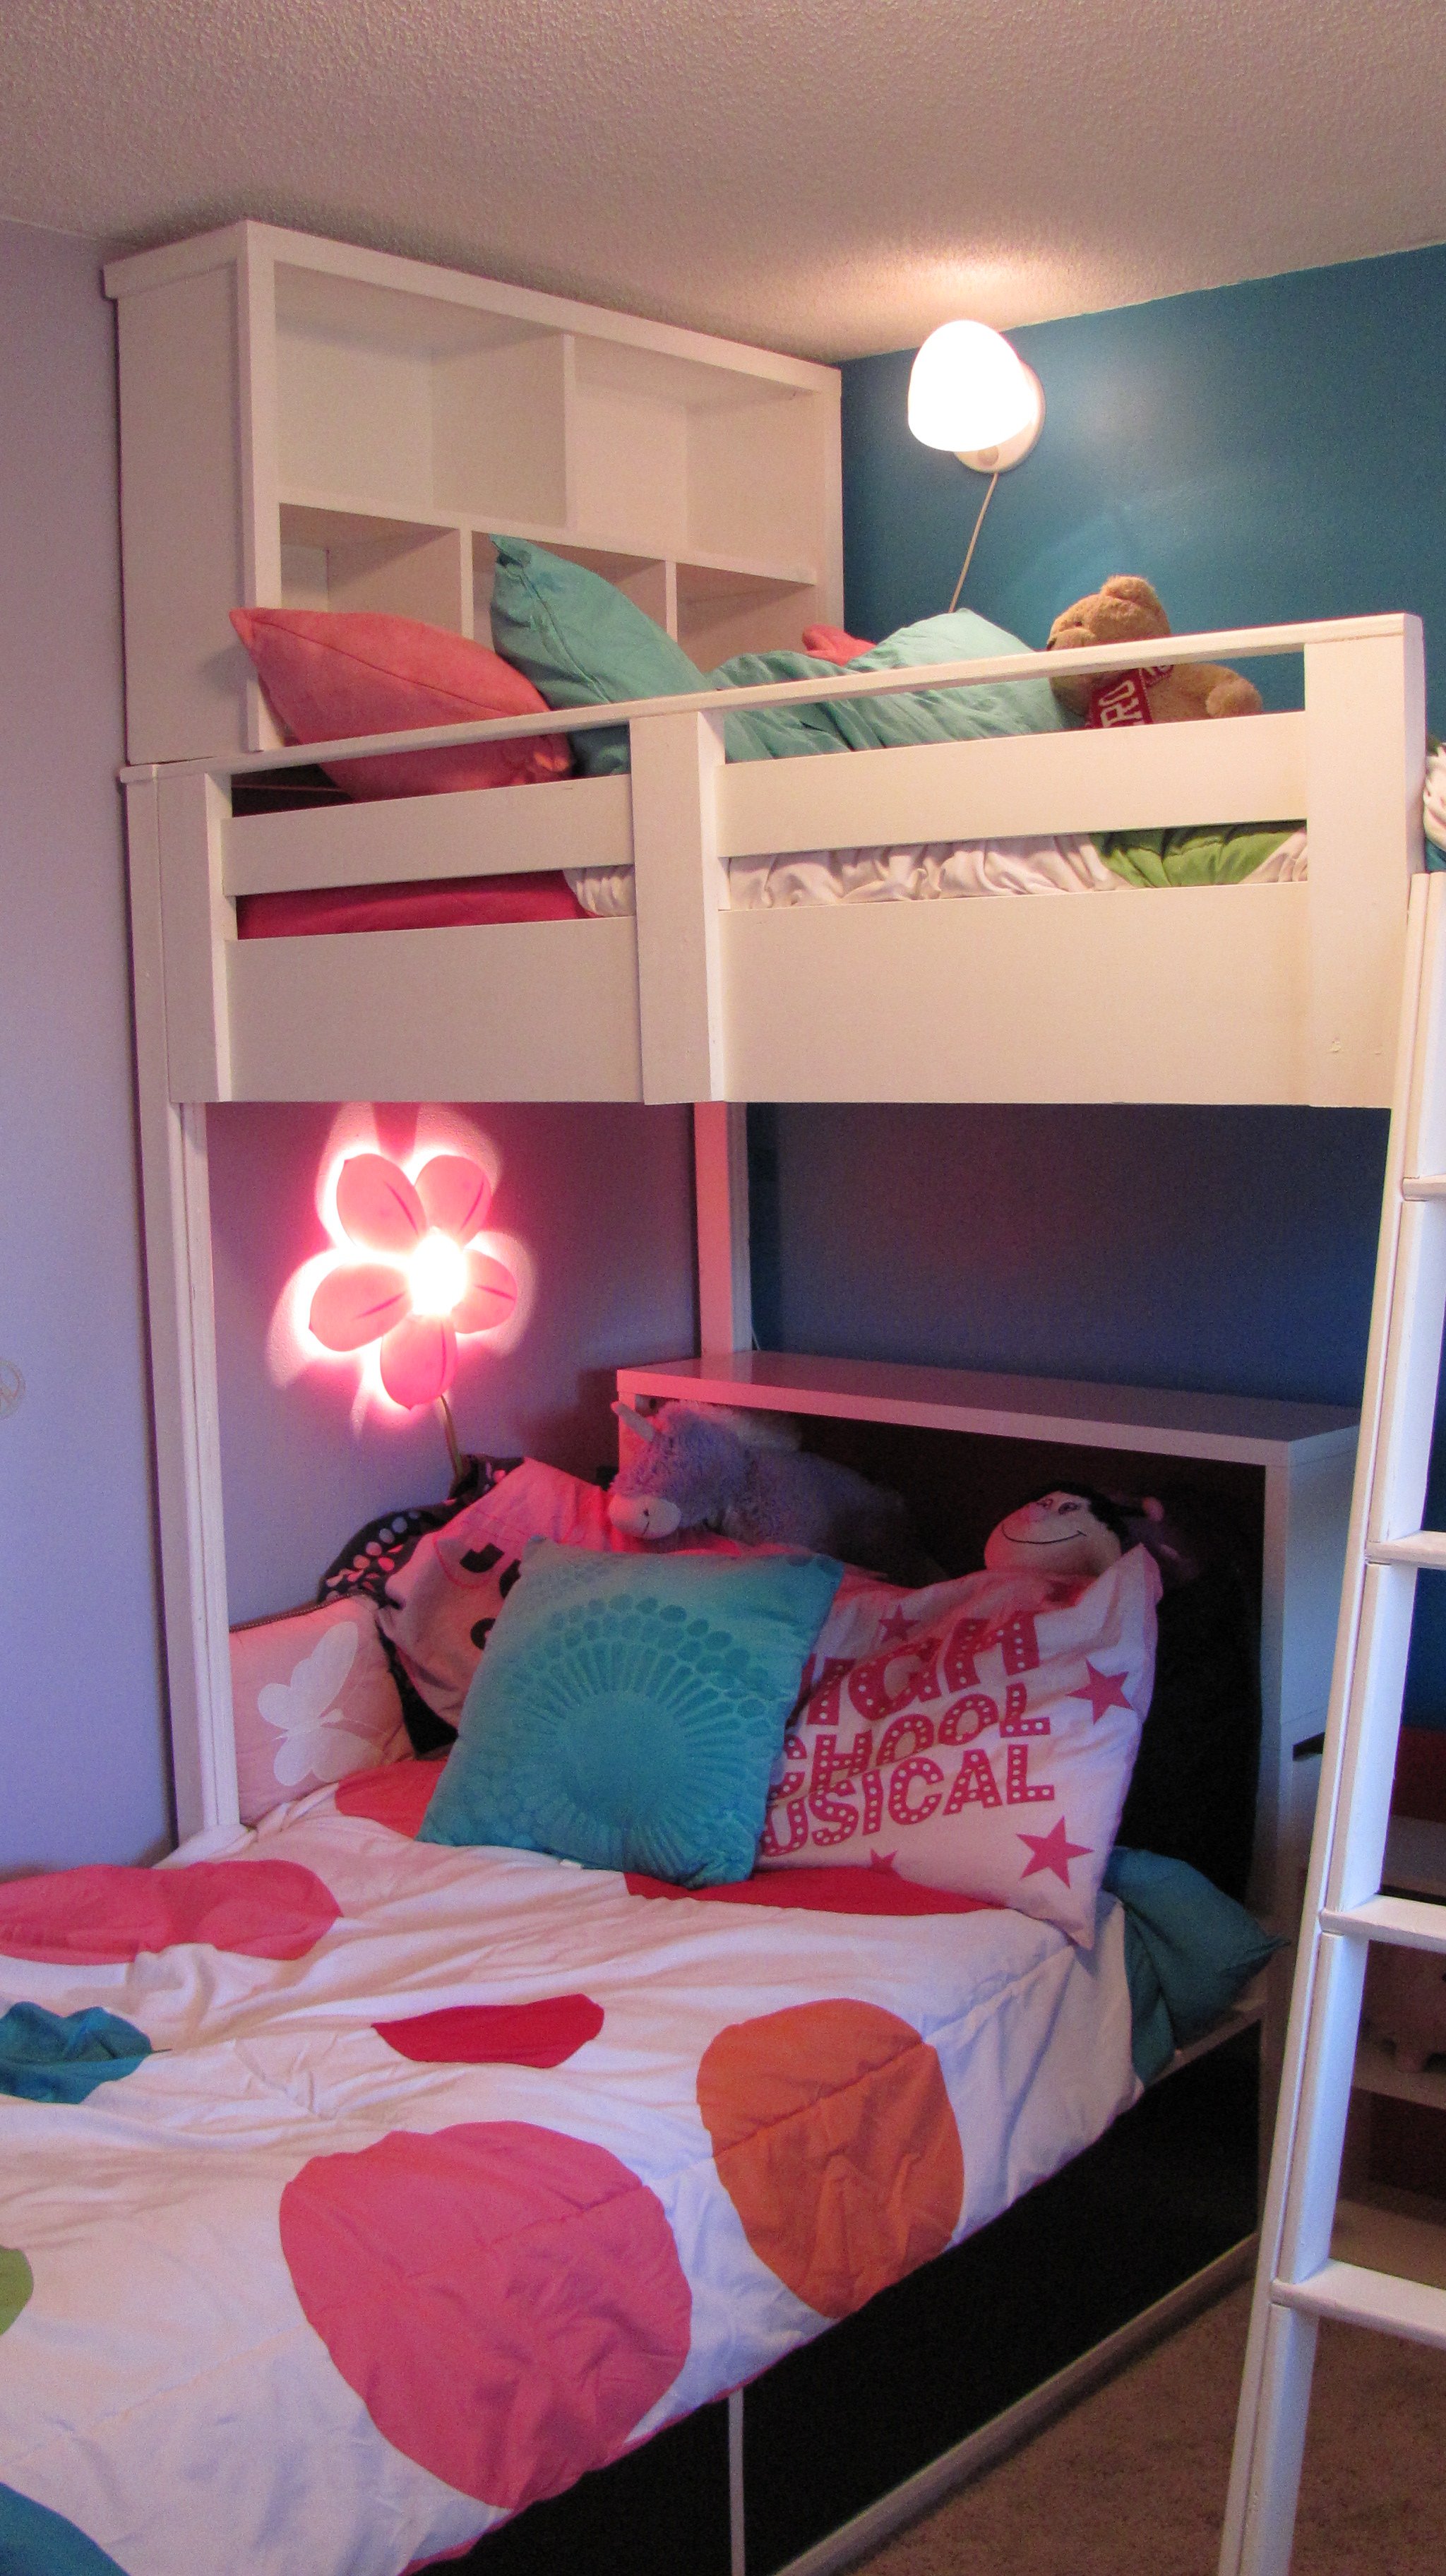
We used the loftbed plans, http://ana-white.com/2010/05/furniture-plans-loft-bed.html and the bookshelf plans, http://ana-white.com/2010/06/plans/what-goes-under-loft-bed-how-about-b…- then designed our own headboard. The girls love their new room and we're going to build another one for the boys! We just put a platform bed from Ikea underneath!

Sun, 12/30/2012 - 06:39
i want to build this project for my daughter, but the link for the bookcase is a dead link. where can i find the bookshelf plans? i plan on making the loft be a full size, so will be adding 15" to my project. thank you!

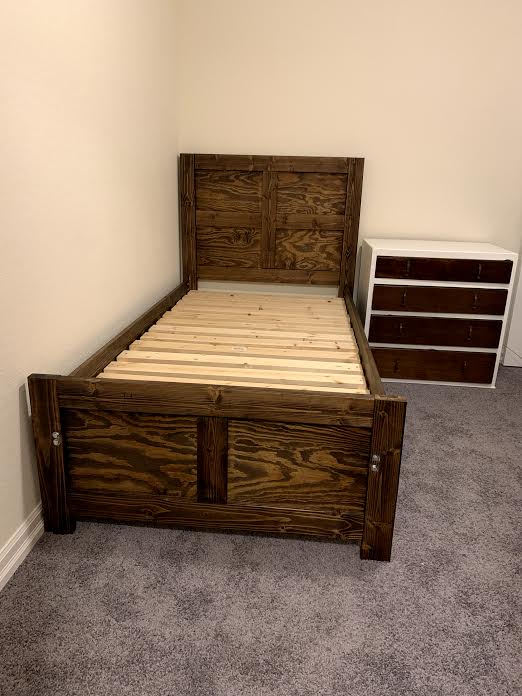
Colin needed a bed for his room to upgrade from his toddler bed. I new immediately I was going to use plans from Anna's site! Building the bed was extremely easy with the new tools that I received for my birthday. This was my first time staining anything so that took the longest time for this project. It is my second thing that I have built from Anna's awesome website!


Fri, 02/21/2014 - 17:19
Thank you! I'm getting ready to post my second project now! I love her site!
Thu, 03/06/2014 - 07:00
Did you use a kreg jig and attach 4x4 legs via pocket holes? I don't see any screws... trying to decide how to best attach everything before taking on this project. Thanks!!
Thu, 03/06/2014 - 07:00
Did you use a kreg jig and attach 4x4 legs via pocket holes? I don't see any screws... trying to decide how to best attach everything before taking on this project. Thanks!!
Thu, 03/06/2014 - 20:16
Yes. I used the kreg jig and created pocket holes that screwed into the 4x4. I used the correct size when drilling the holes but I may have used the next size up in the screw length for extra support. The bed gets plenty of use between my 7 and 5 year old and is one solid piece of furniture.
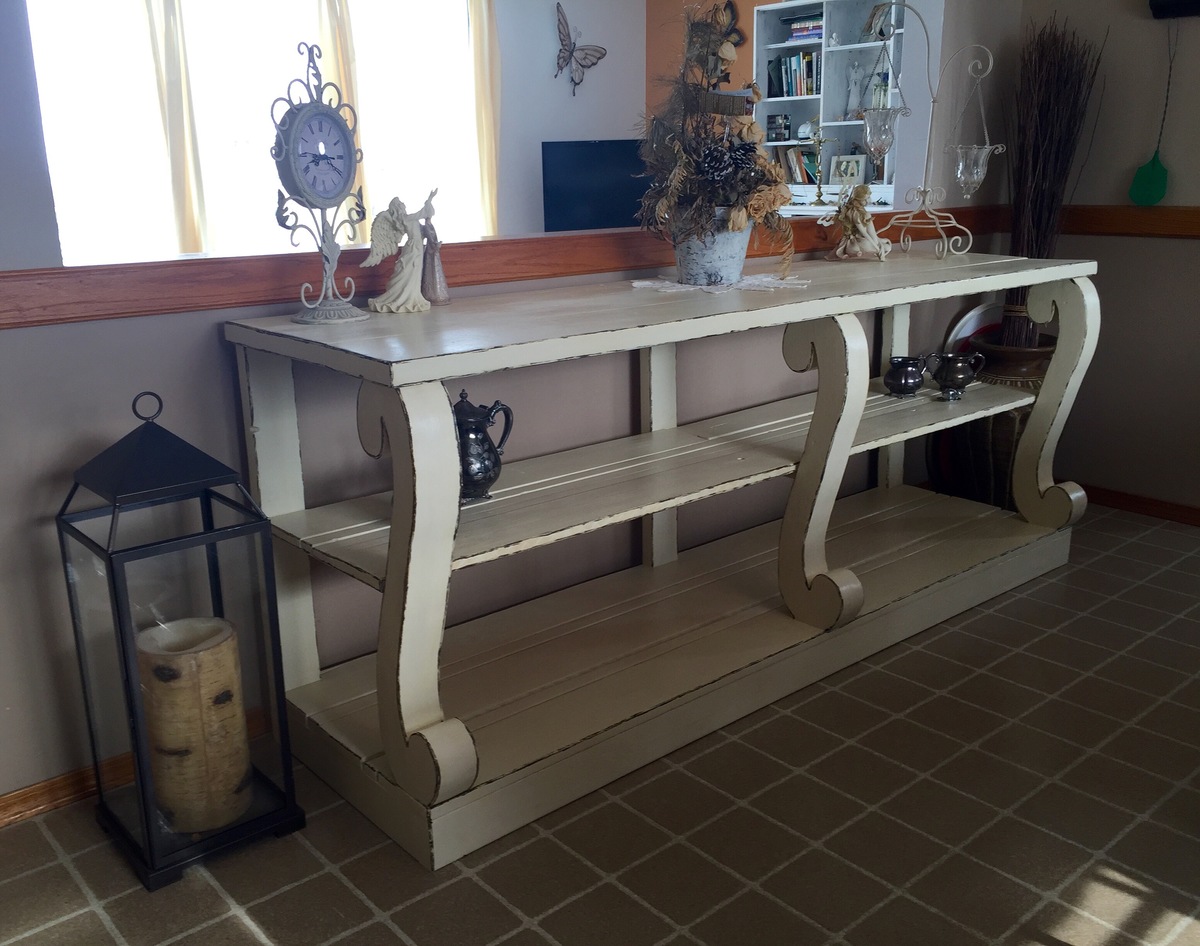
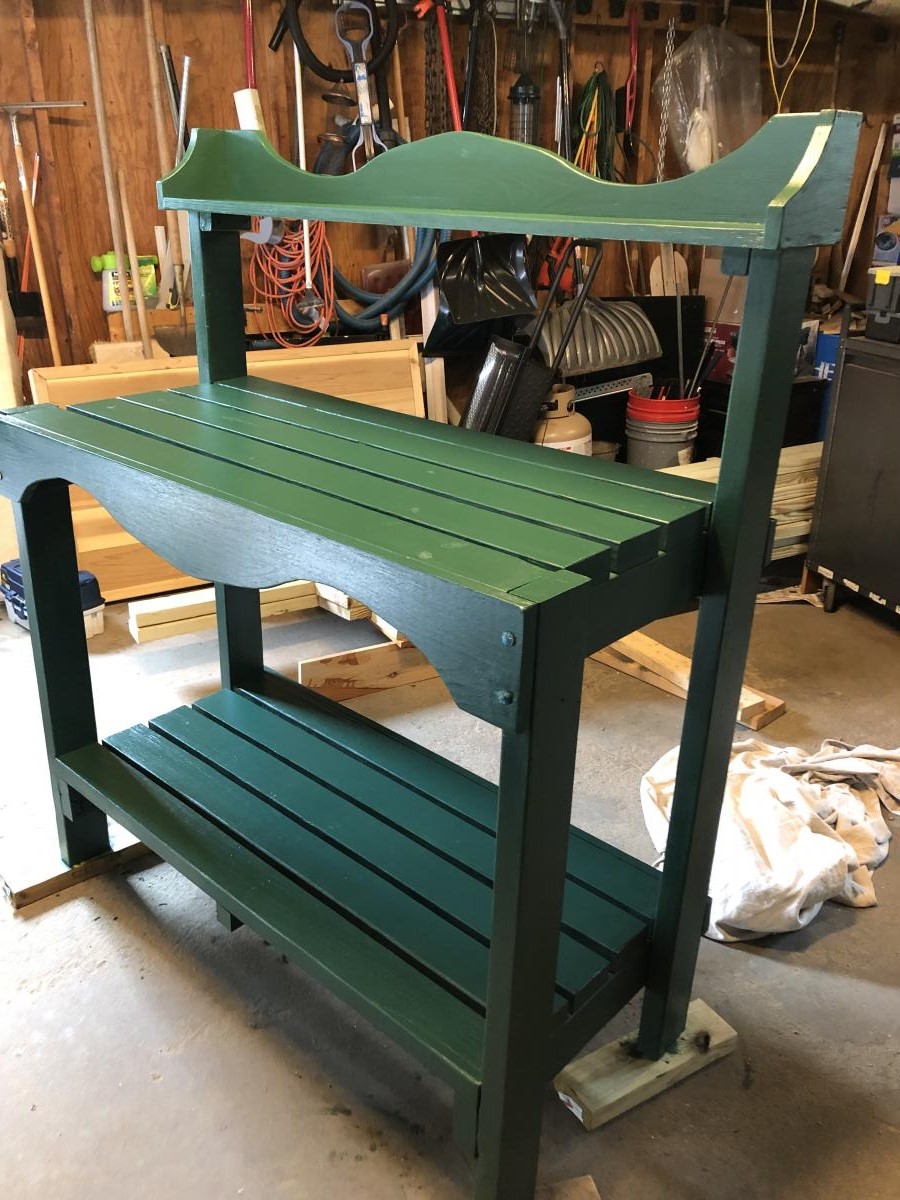
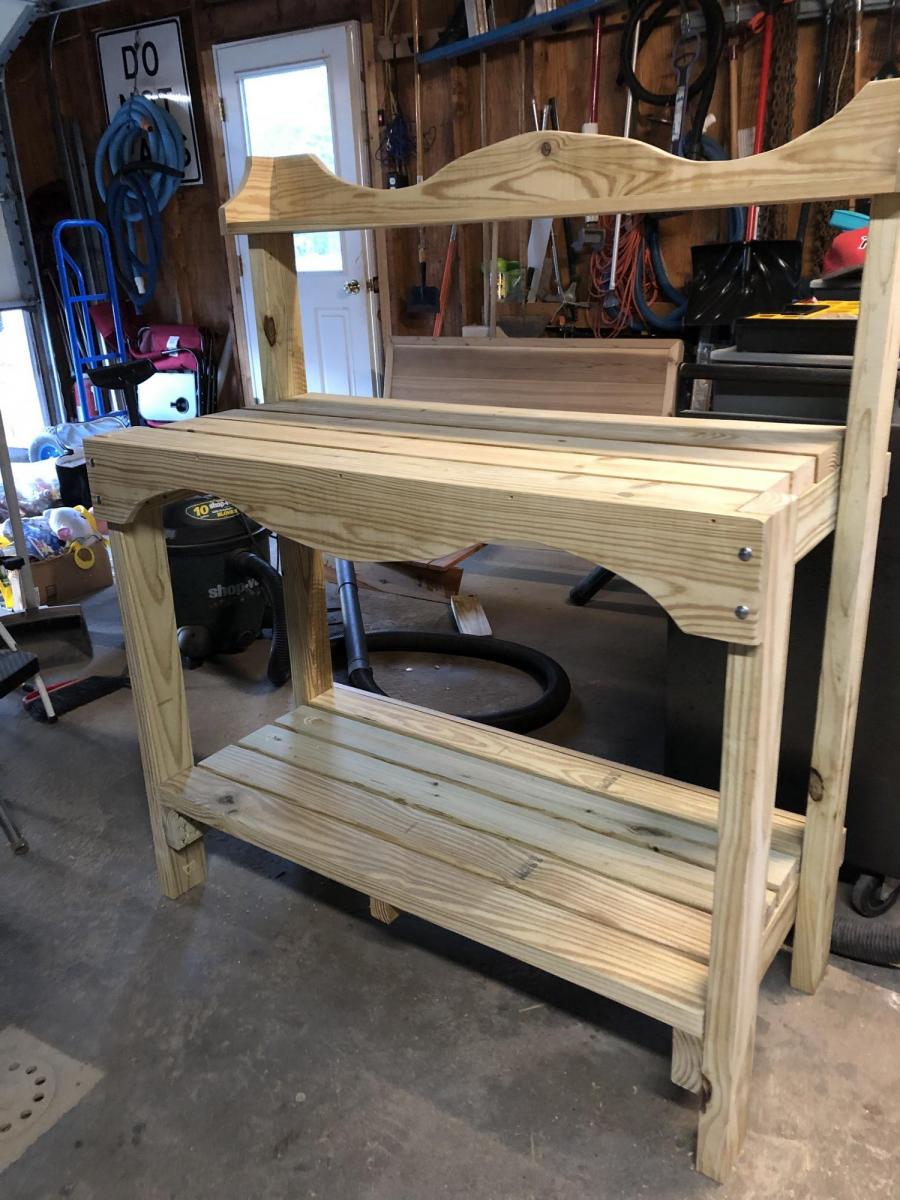
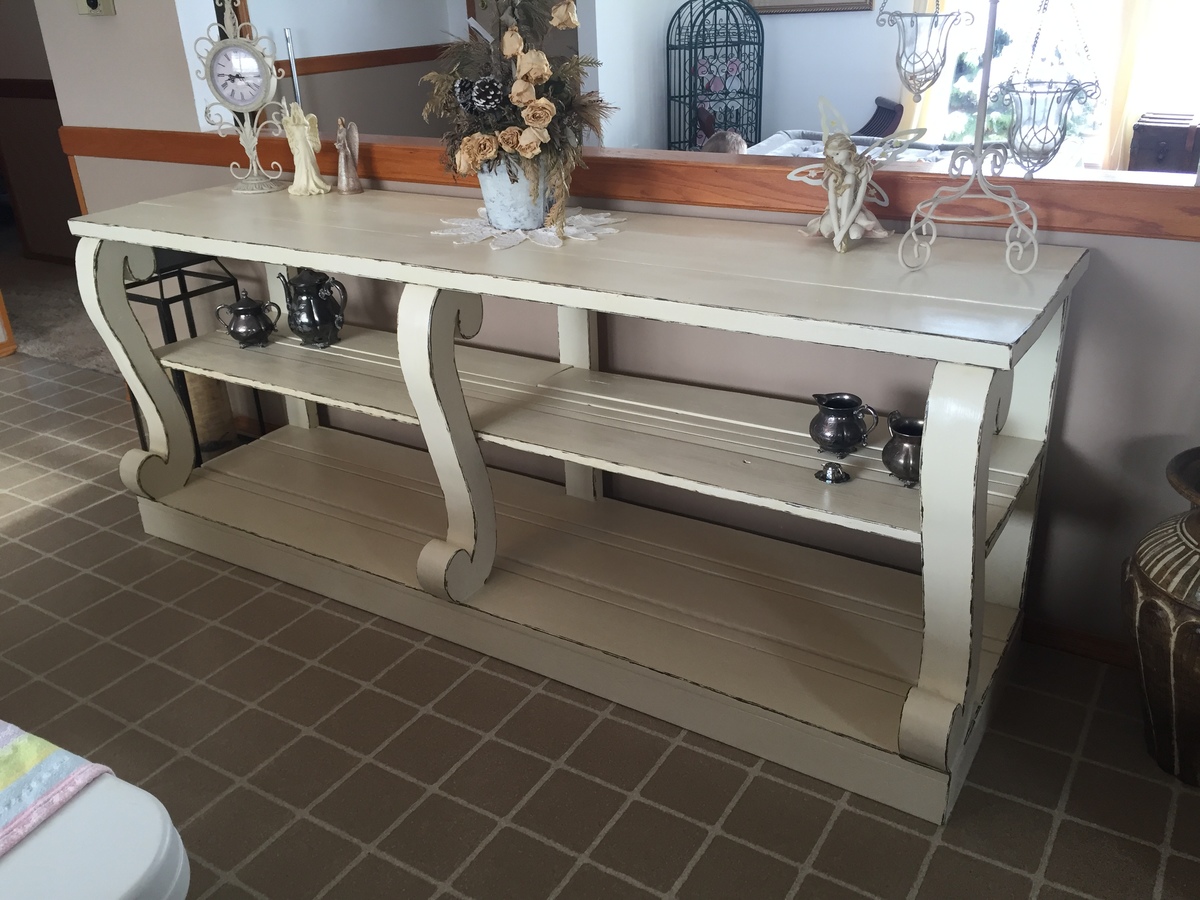
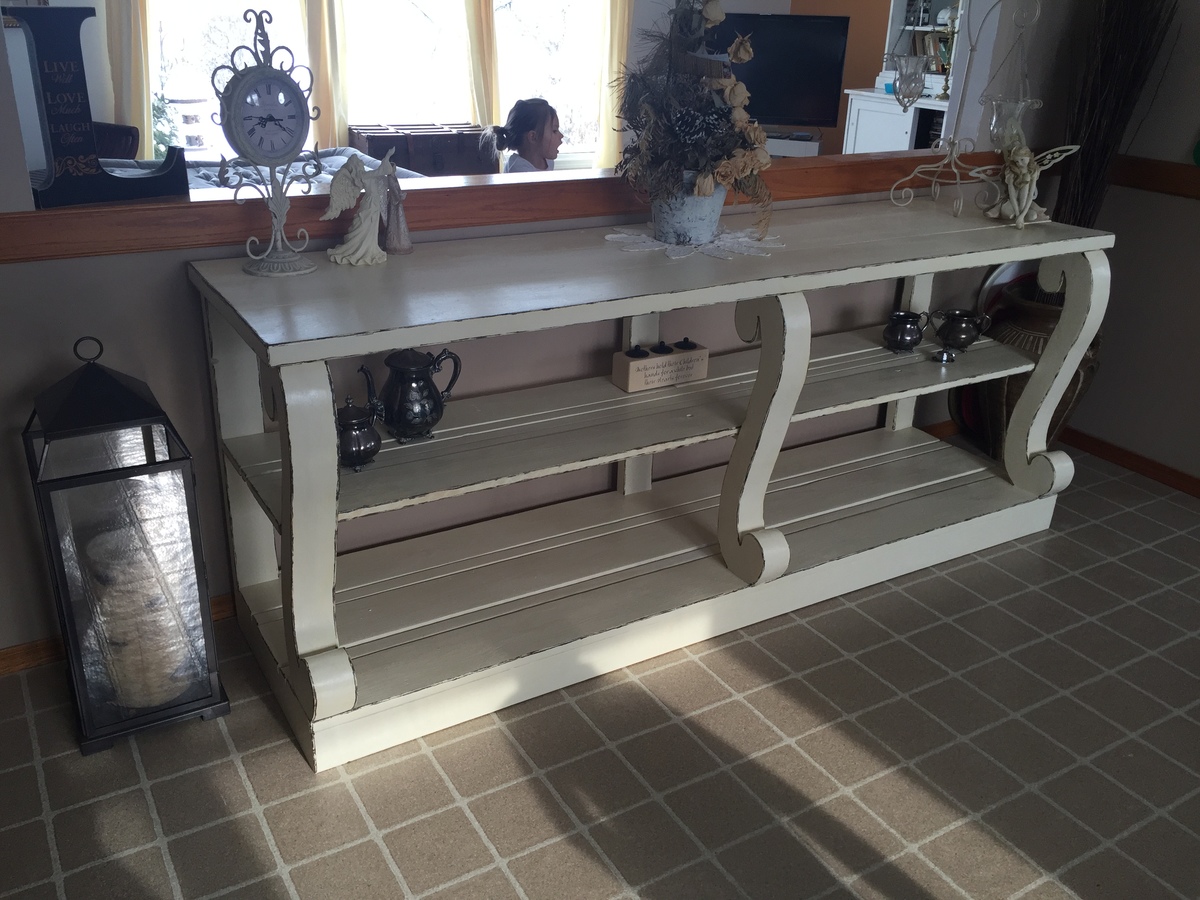
I found these amazing plans from Ana's website here. Couldn't be easier! I modified mine a bit to fit the space and used recycled pine wood for my project! The Scroll legs I used my jig saw to cut them out with the great stencil provided in these plans. I was really happy with the result, as I only had minor sanding to do to make them match up when I glued them together. Since I was painting this piece I used dry wall mud over the seams on the legs to hide the joints (a lot less expensive than wood filler). Since it was all recycled wood I had to do a lot of sanding but it saved me a lot of money! So very happy with this project! Thanks for again for the amazing plans!!!
Randi Wolf
RW Creations

Wed, 03/02/2016 - 17:12
this looks really beautiful! I love the distressed look!
Built for my youngest sister in law.
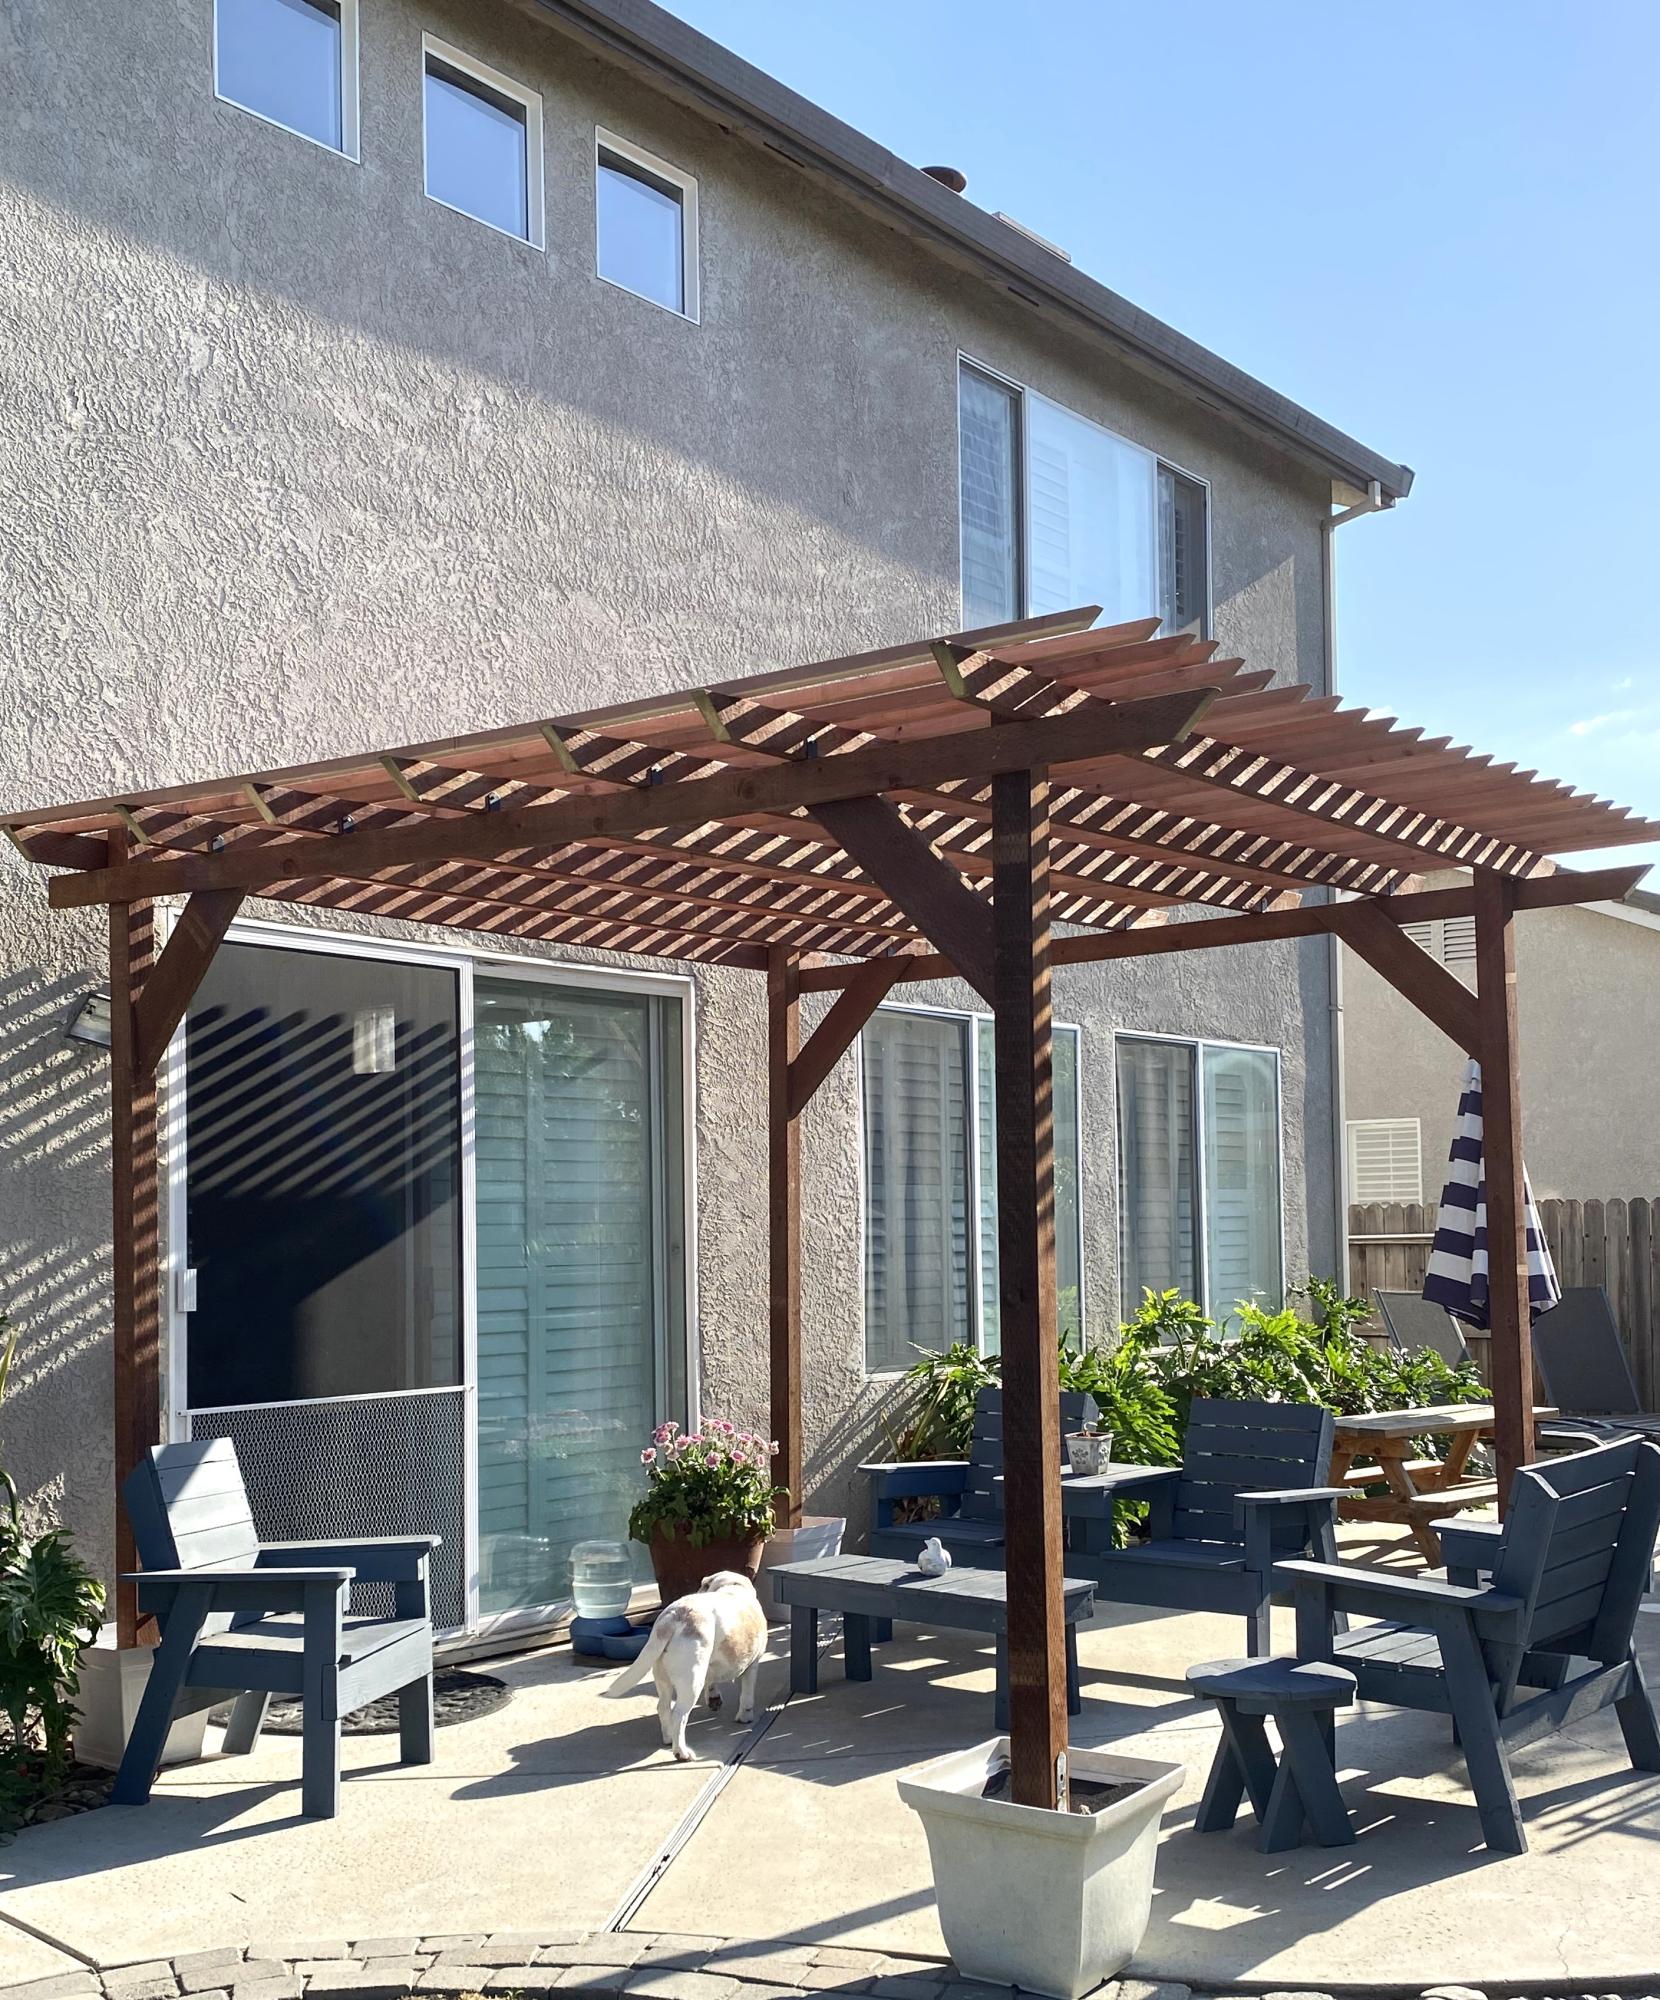
I built this pergola in 3 days and added mason jar solar lights.
Vonda Jones
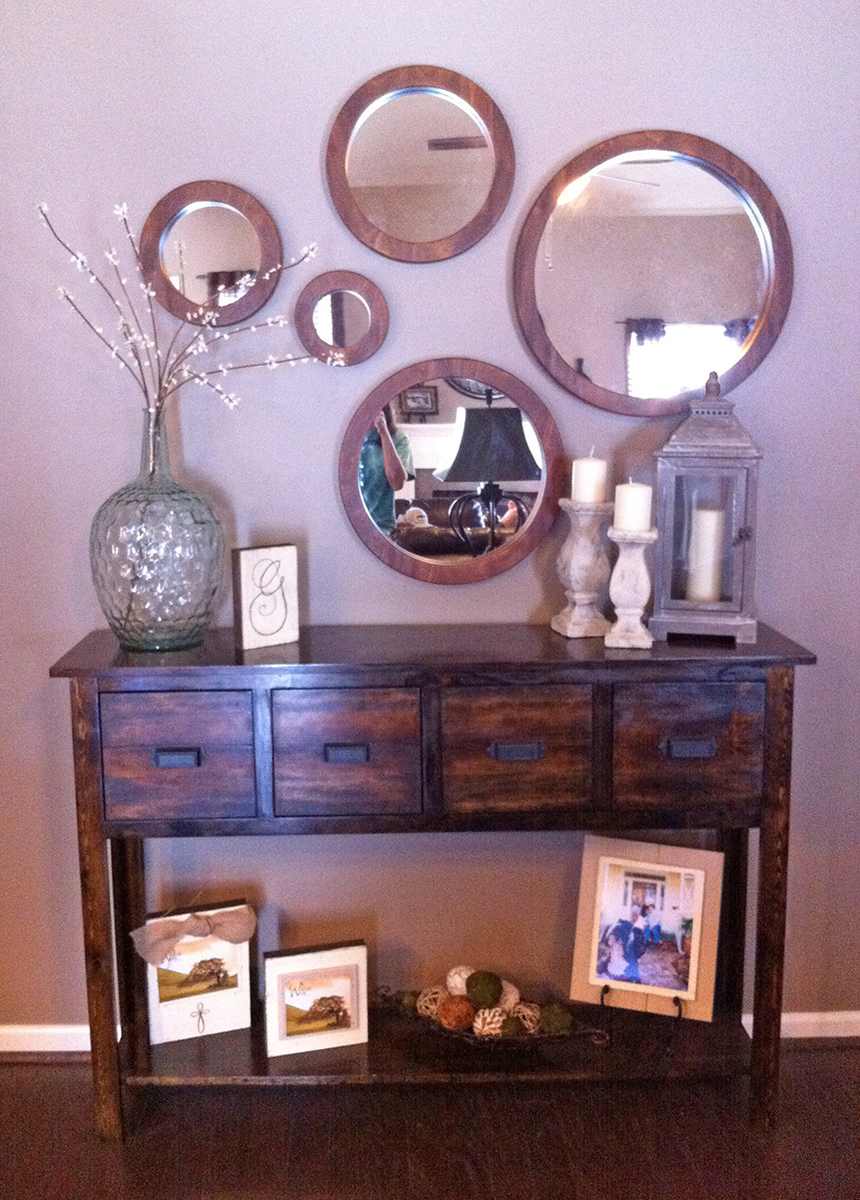
I loved the Balin Console Table plan, so my husband and myself decided to try it as our first project. We adjusted the height to 42" and we added a bottom shelf. I am so happy with the way it turned out. I have received many complements.
The mirrors were made by my father, I have to brag on him since he did such an amazing job! I show him Viva Terra's porthole mirrors collection and he re-created them with Teak wood.
Thu, 02/16/2012 - 11:49
This table is on my to-do list also. You did a fantastic job on it. I can only hope mine will turn out that nice.
Fri, 02/17/2012 - 11:36
magnifique.Il faut vraiment que je m'y met. Bise Isabelle


Comments
Ana White Admin
Tue, 06/13/2023 - 08:51
LOVE THESE!!!
Brilliant, please send more photos to [email protected] if you get a chance. I'd love to see more angles after you get them in place!