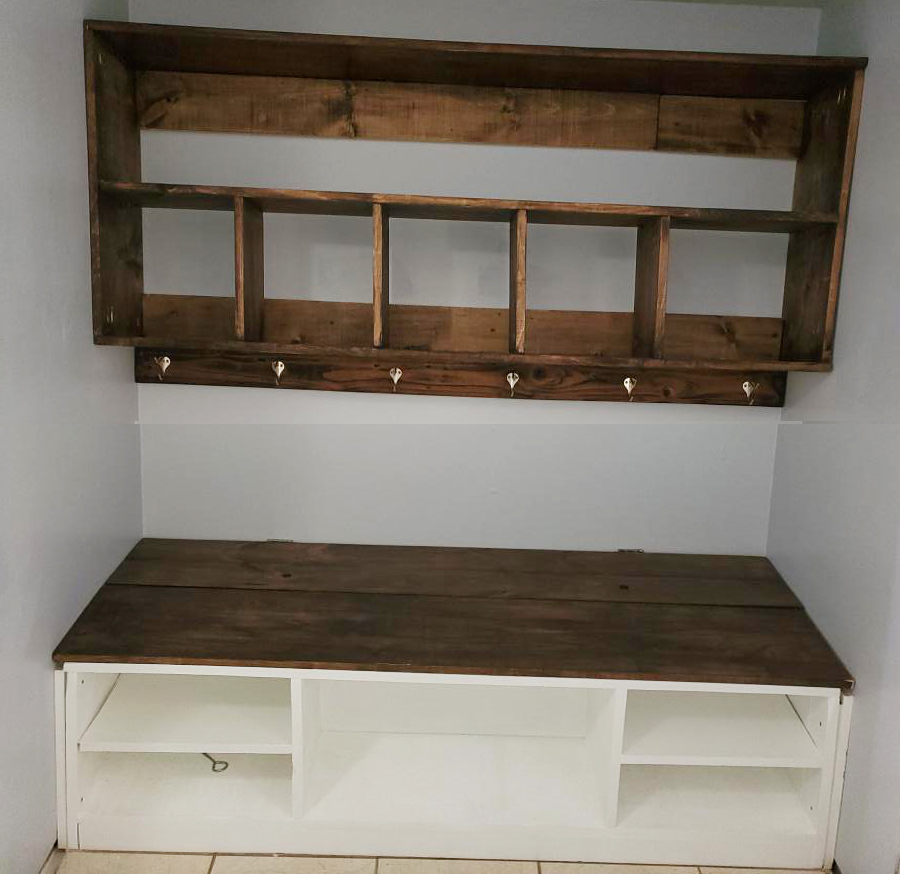
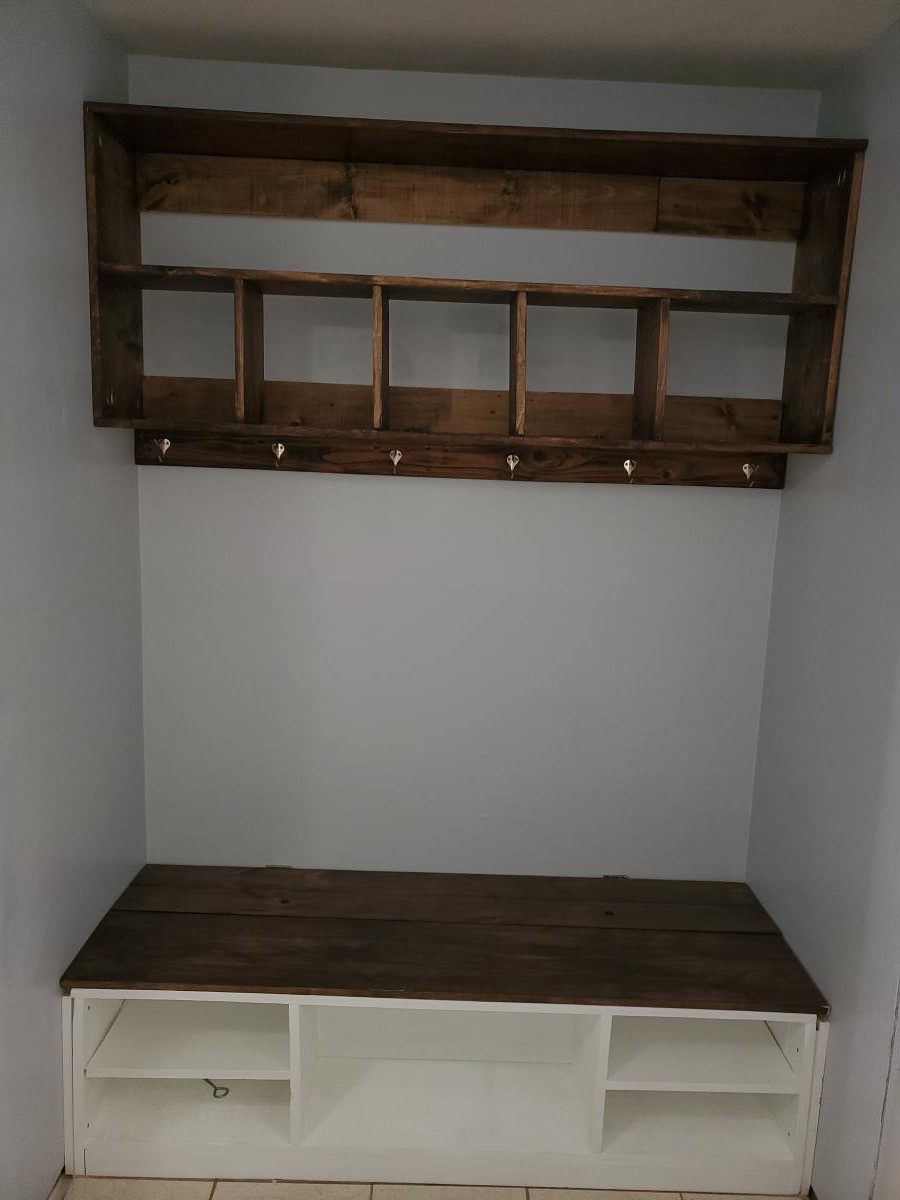
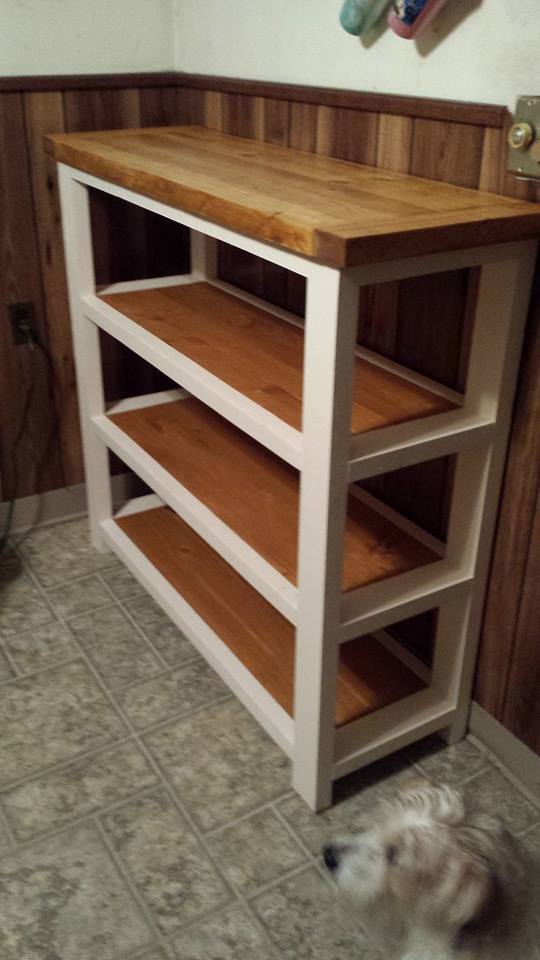
Mudroom bench and storage rack/shelves
Thants for the inspiration We love it.
Built from Plan(s)
Thants for the inspiration We love it.

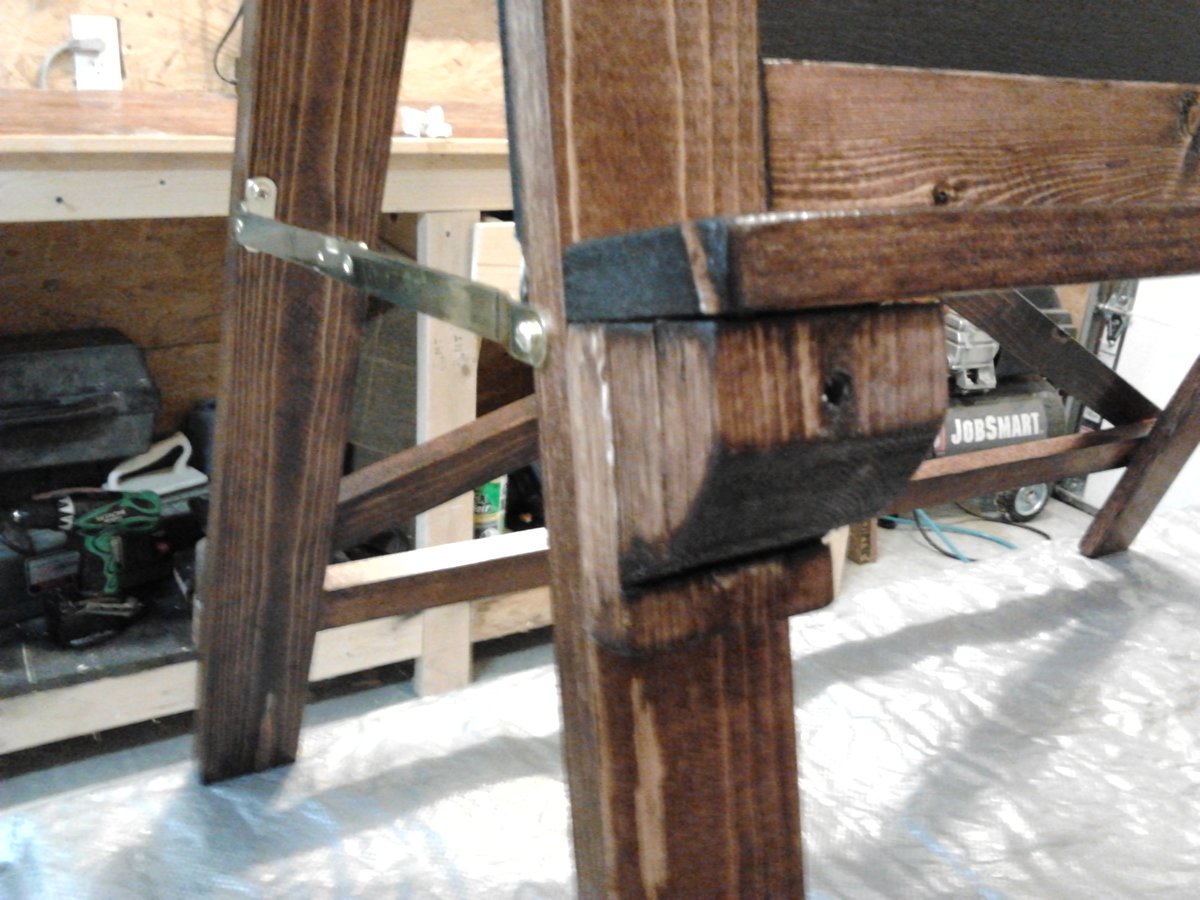
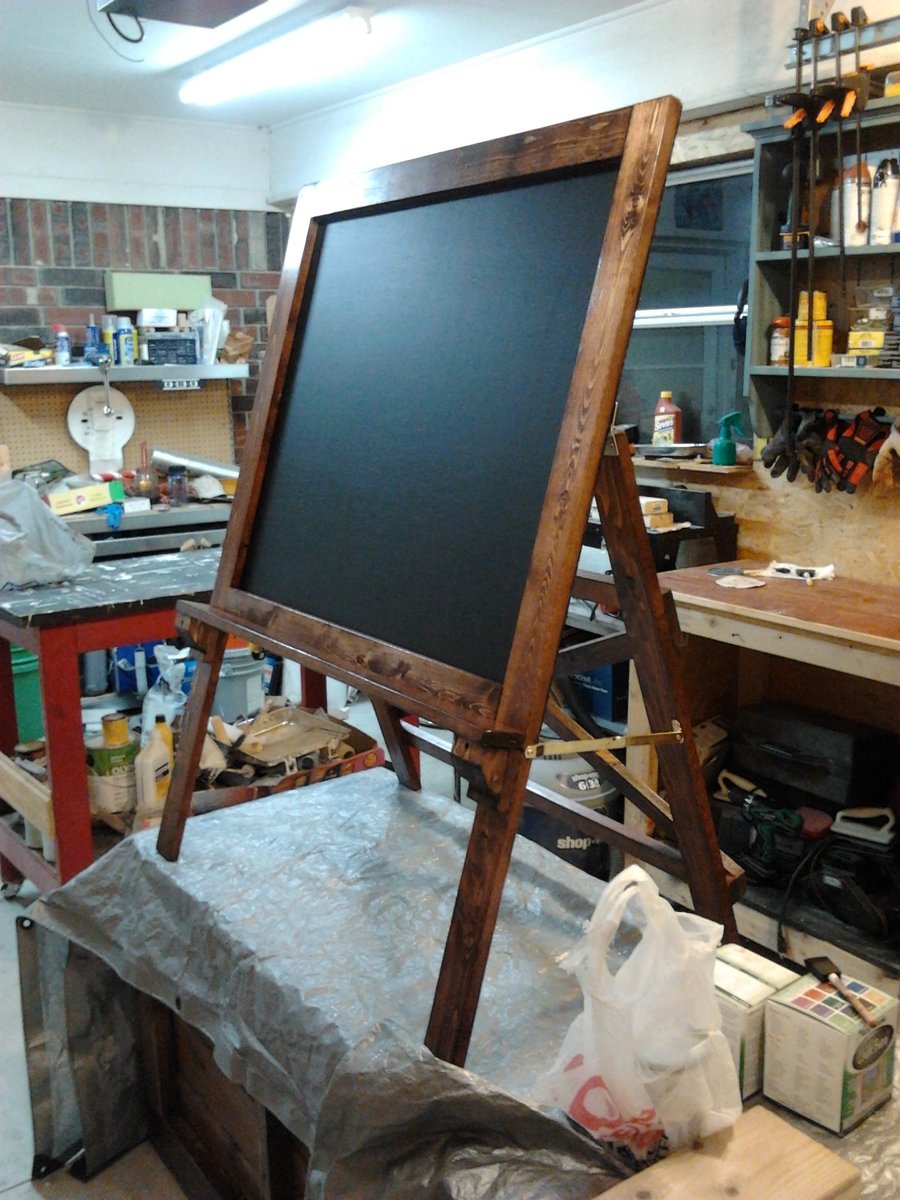
This project was a Christmas gift for the niece and nephew. It turned out better than expected and was easy to do. I followed the plan, just made it shorter and narrow for a 3 and 6 year old to use. Mom and dad liked it a lot. I took off 8 inches from the height and width. Luckily someone else had the chalkboard paint leftover. That helped to keep the cost down. I had left over plywood from another project. I just bought the hinges and 1x2 and 1x3's. That's why the cost is fairly low for this project. Its worth saving those scrape pieces. Thanks Ana.
Just finished this project...took a little longer than I expected...it was a low cost project...I had most of the stock...but probably would cost around $75 to make. Paint and stain were the most expensive items. This was a lot of fun to make...Now to make the matching table...LOL
First project from Ana white plans - barn beam ledges
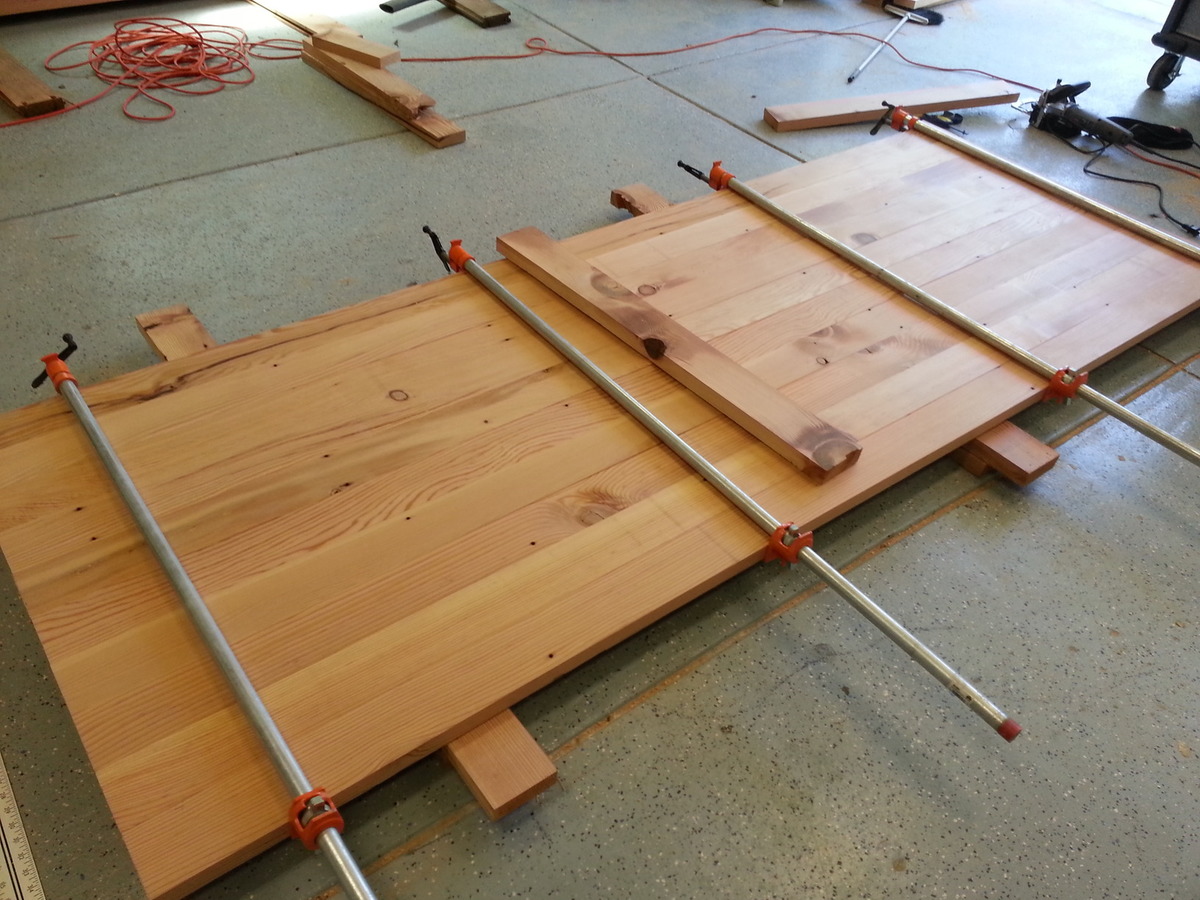
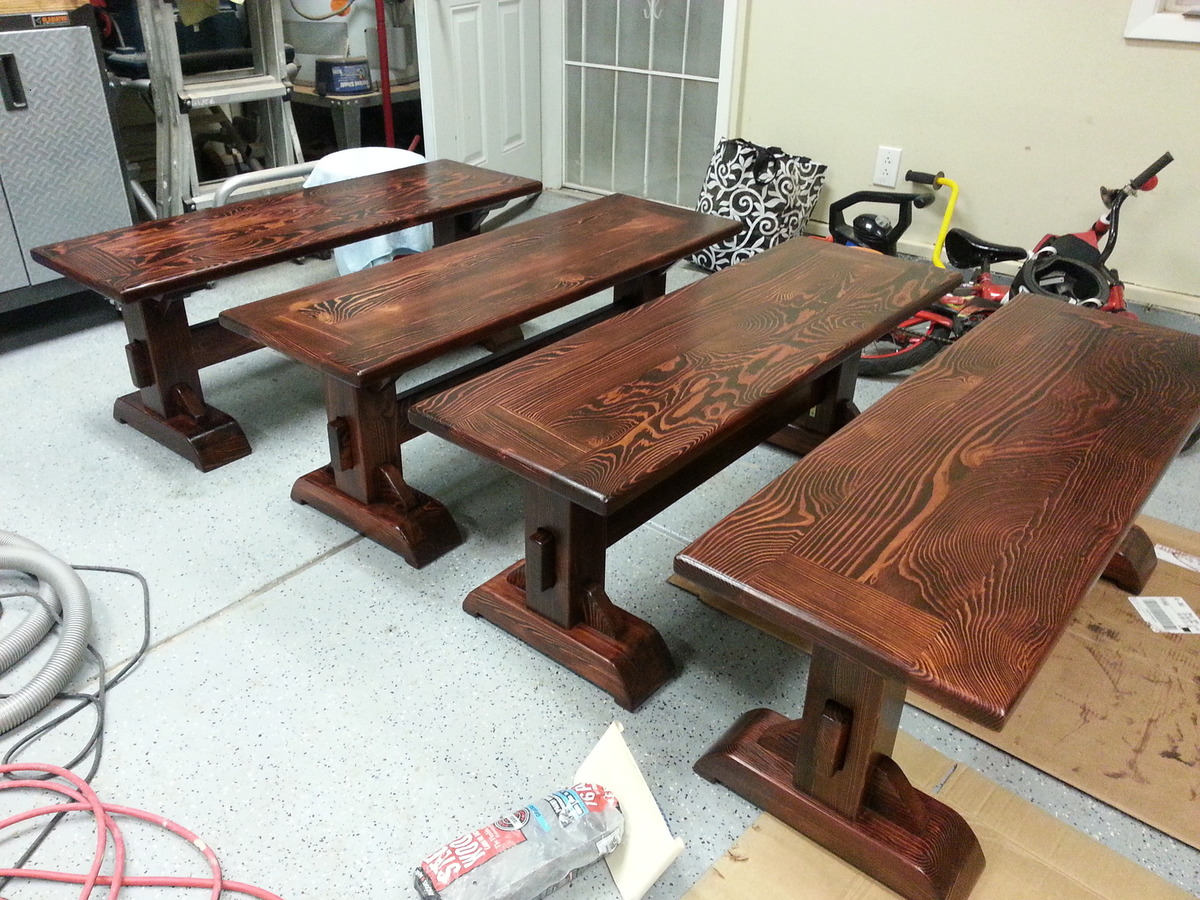
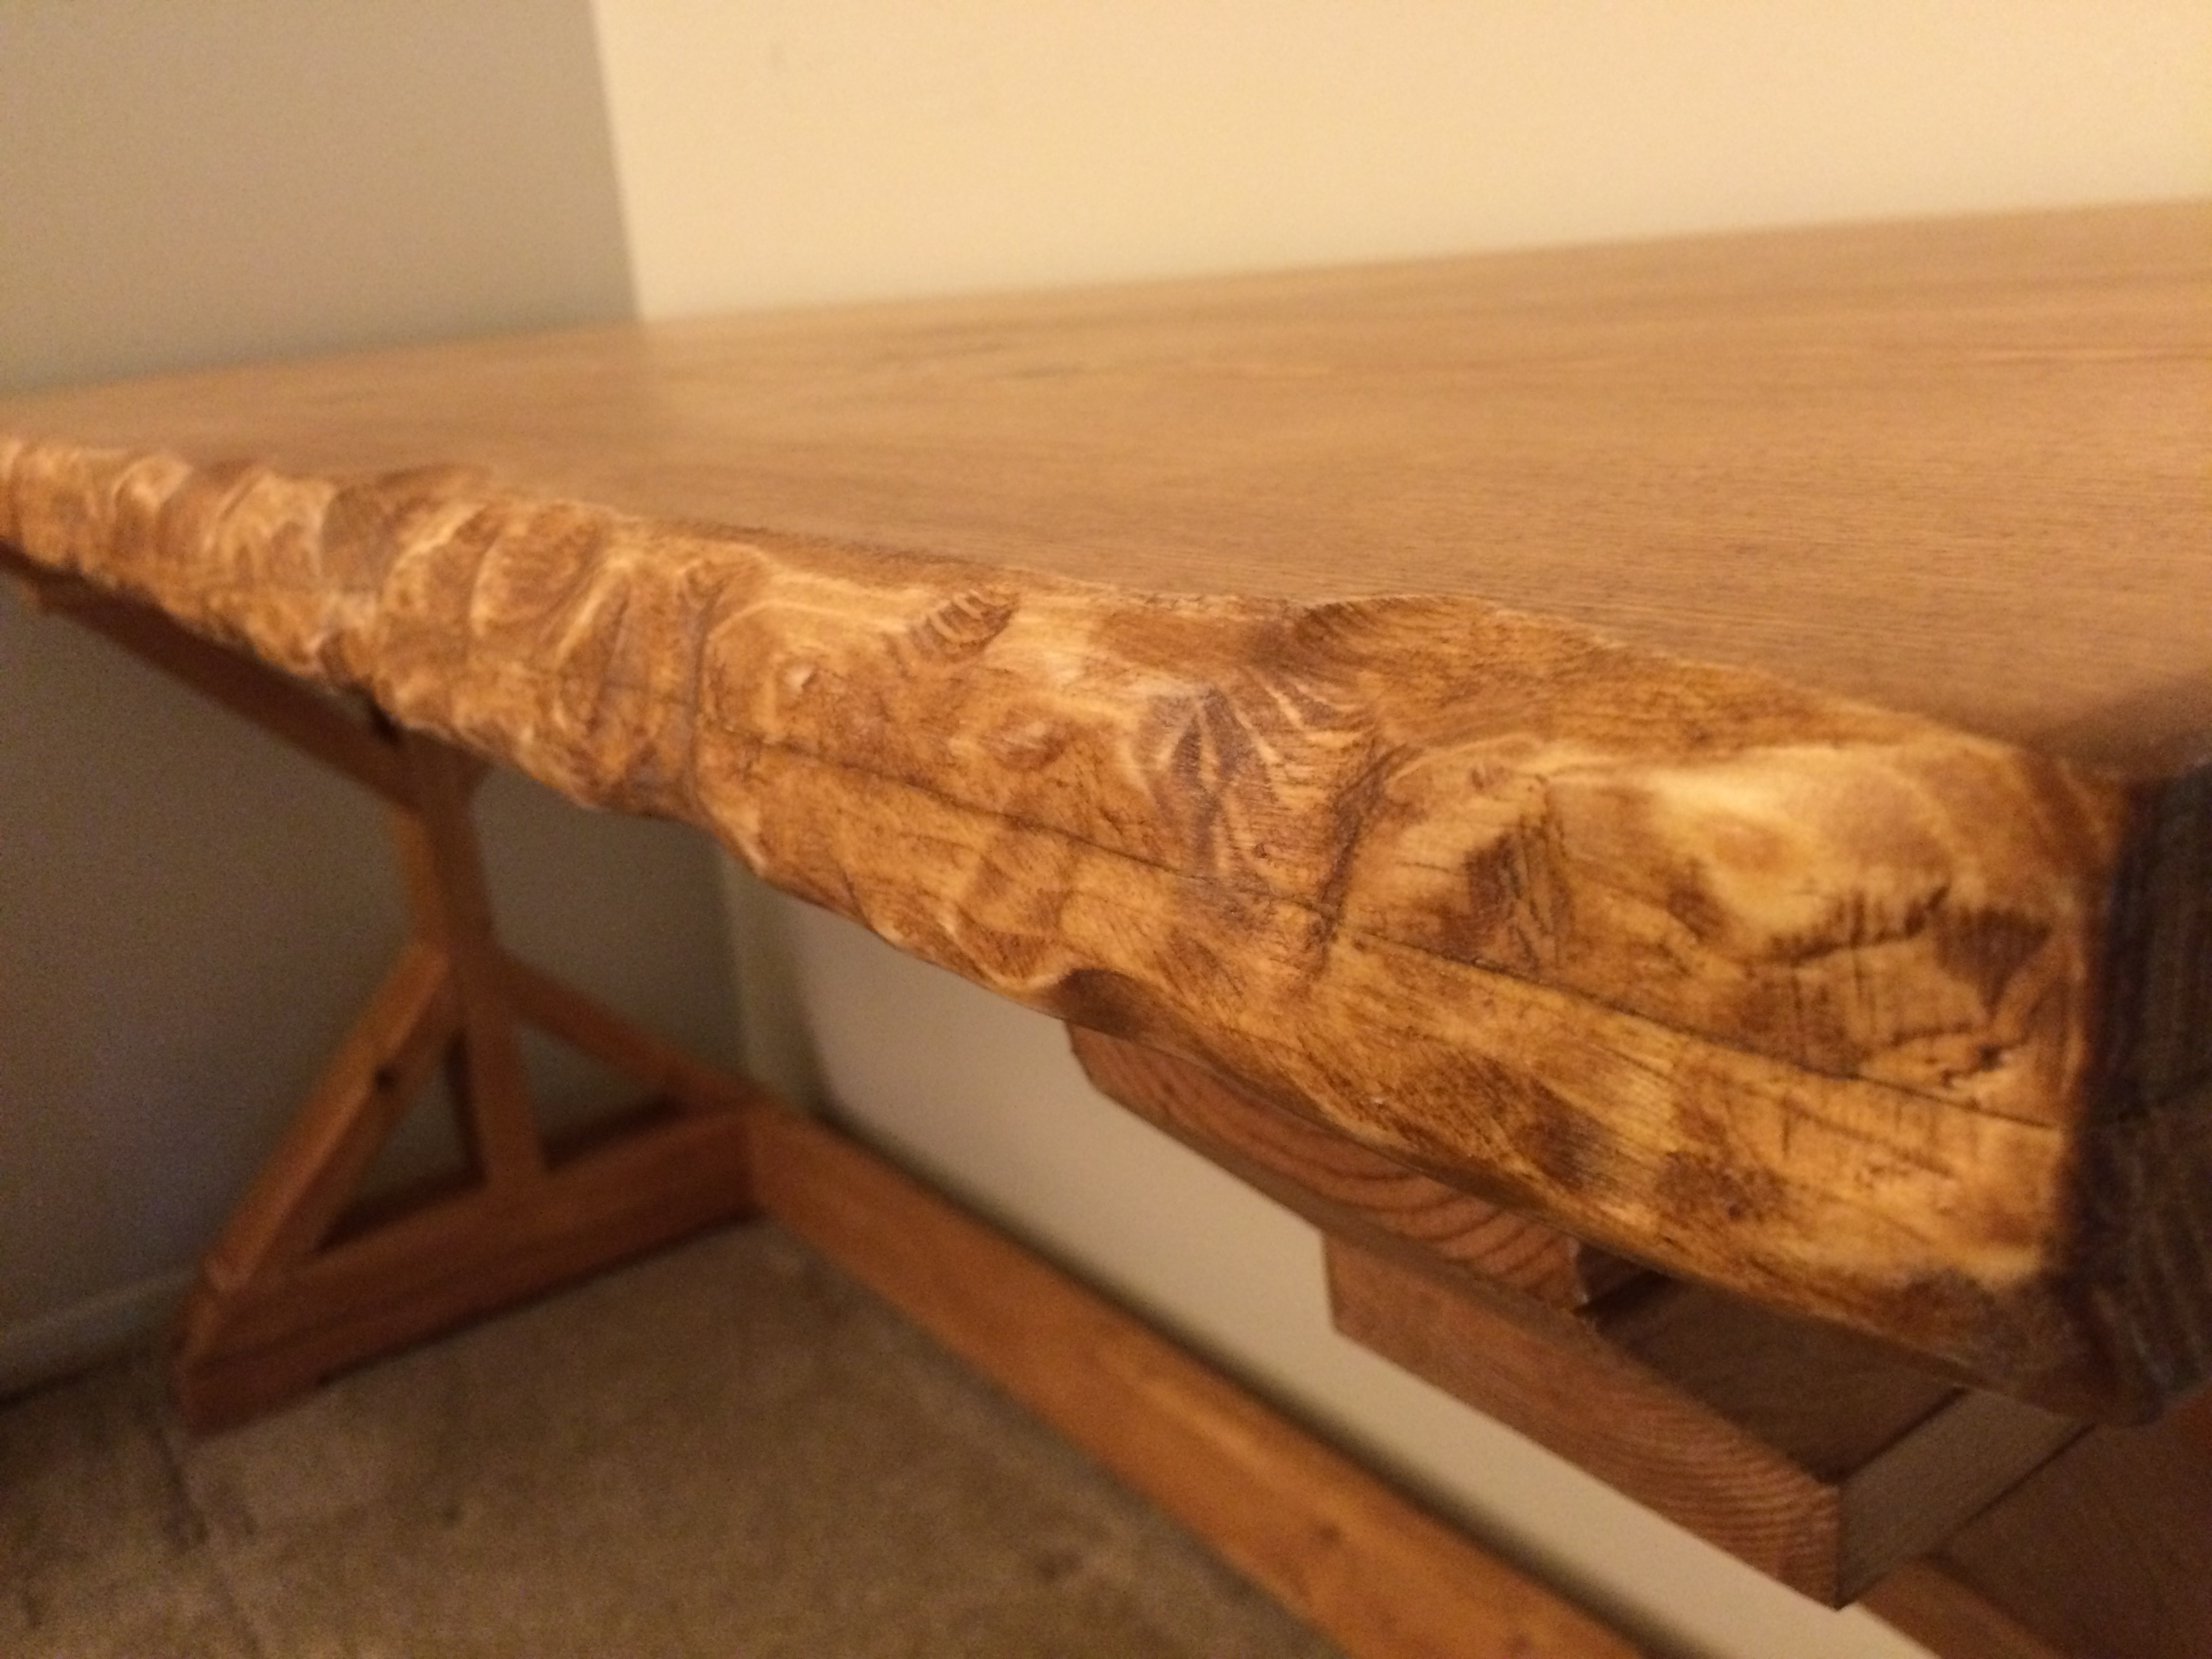
The kitchen remodel left me with 400sqft of old-growth-pine laying around(60year old subfloor). While still pine, this was too good to throw away. So I decided to build a kitchen table and some benches.
Given these were old tounge and groove 2x6 I spent a lot of time with the planer, so hardly a weekend project. Further more I decided to use biscuit joints. The table probably took me like 5-6 weekends and the benches another 4...
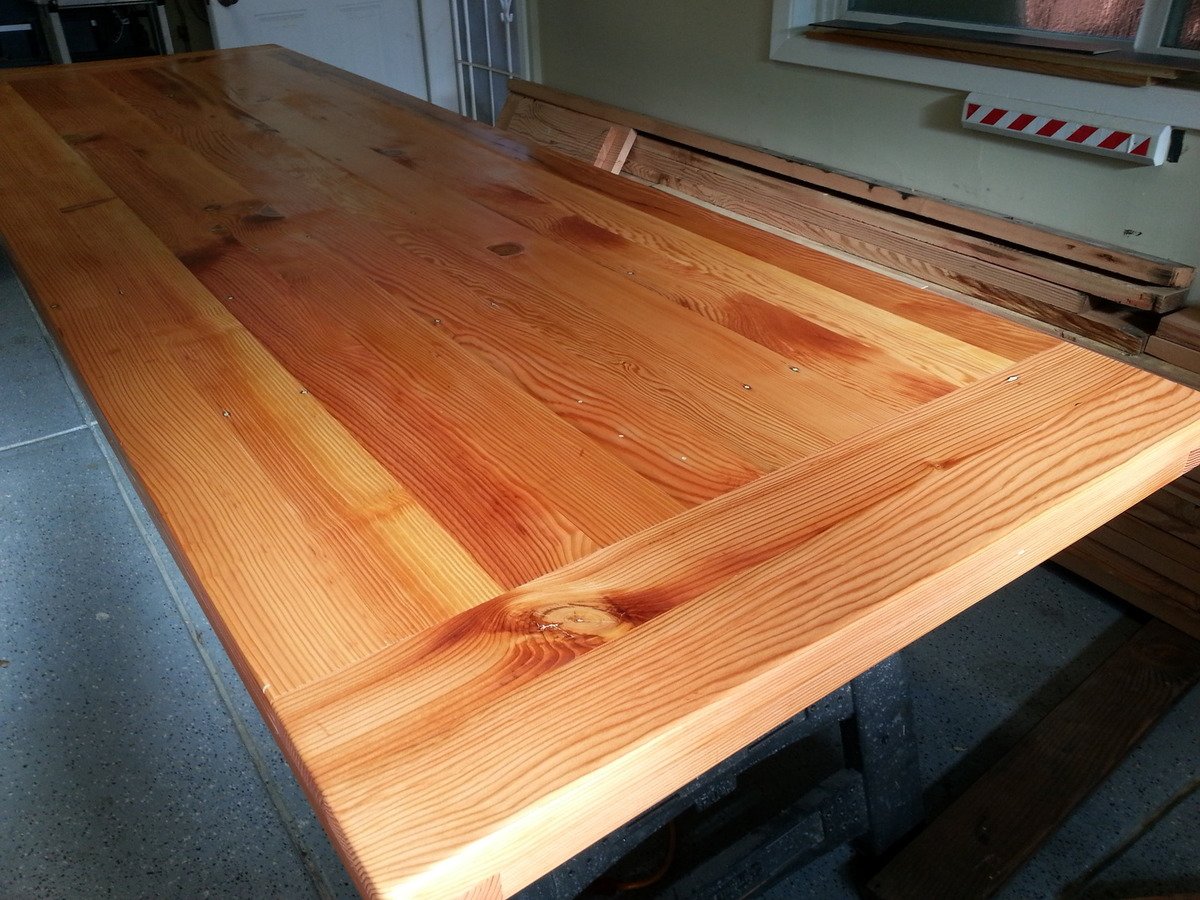
My kids already managed to put some dents in the table, but that just makes it look more rustic.
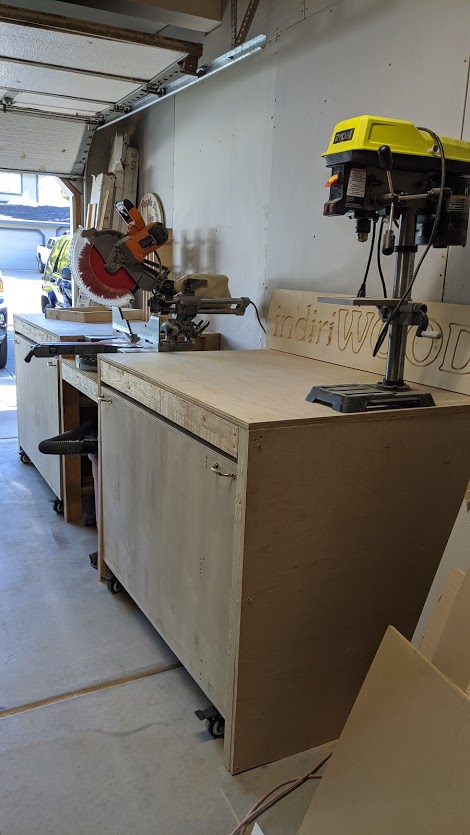
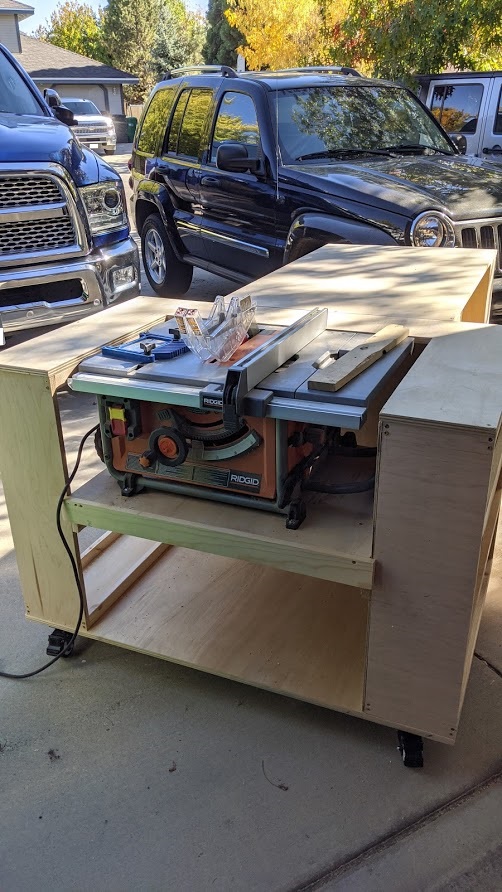
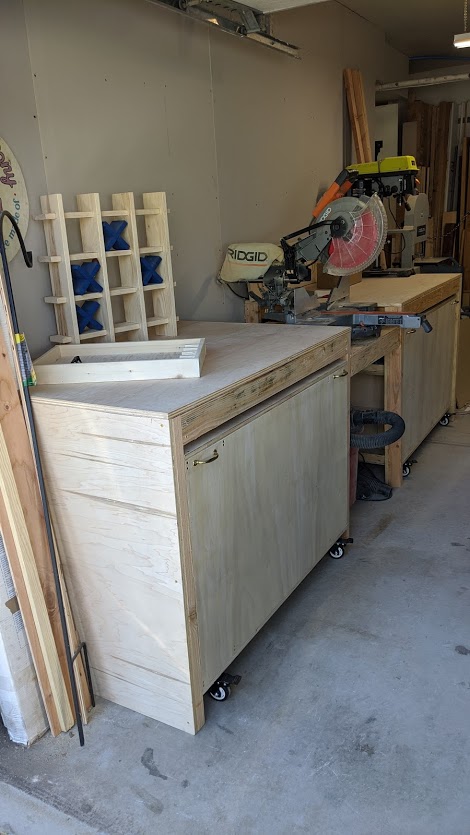
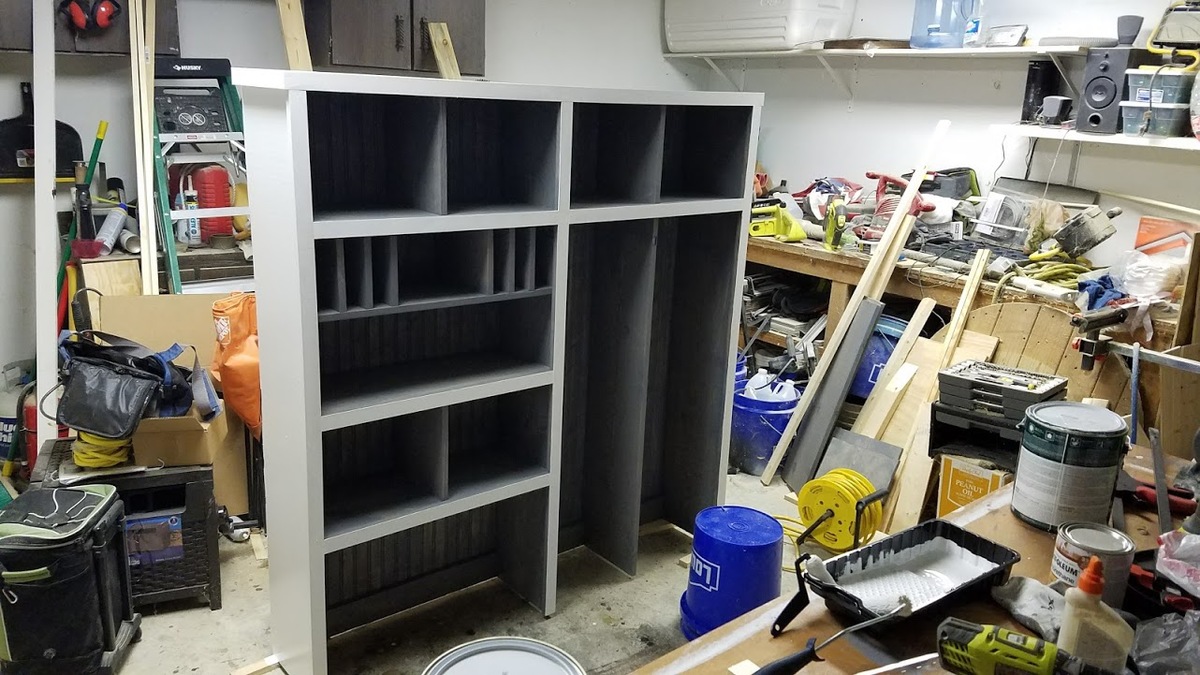
I have a one car garage for my "shop" which means I can be really short on space. This build is perfect for saving space!
I made a few adjustments for the bigger saws (it's deeper and the center part is wider). I also used screws more in places that it called for nails but I wanted to be sure nothing would budge and also I didn't put the shelf backing on the one part where the table saw is in so I have better access to the saw while it's in place. I tried to use leftover wood I had in the garage wherever possible but I still had to buy 2 sheets of 3/4" and 1 sheet of 1/4".
Since I used more screws I may pretty up the front later with trim, I don't know. TBD
My first Ana-White plan project. We are pleased with the plans and result. only made a few minor changes.

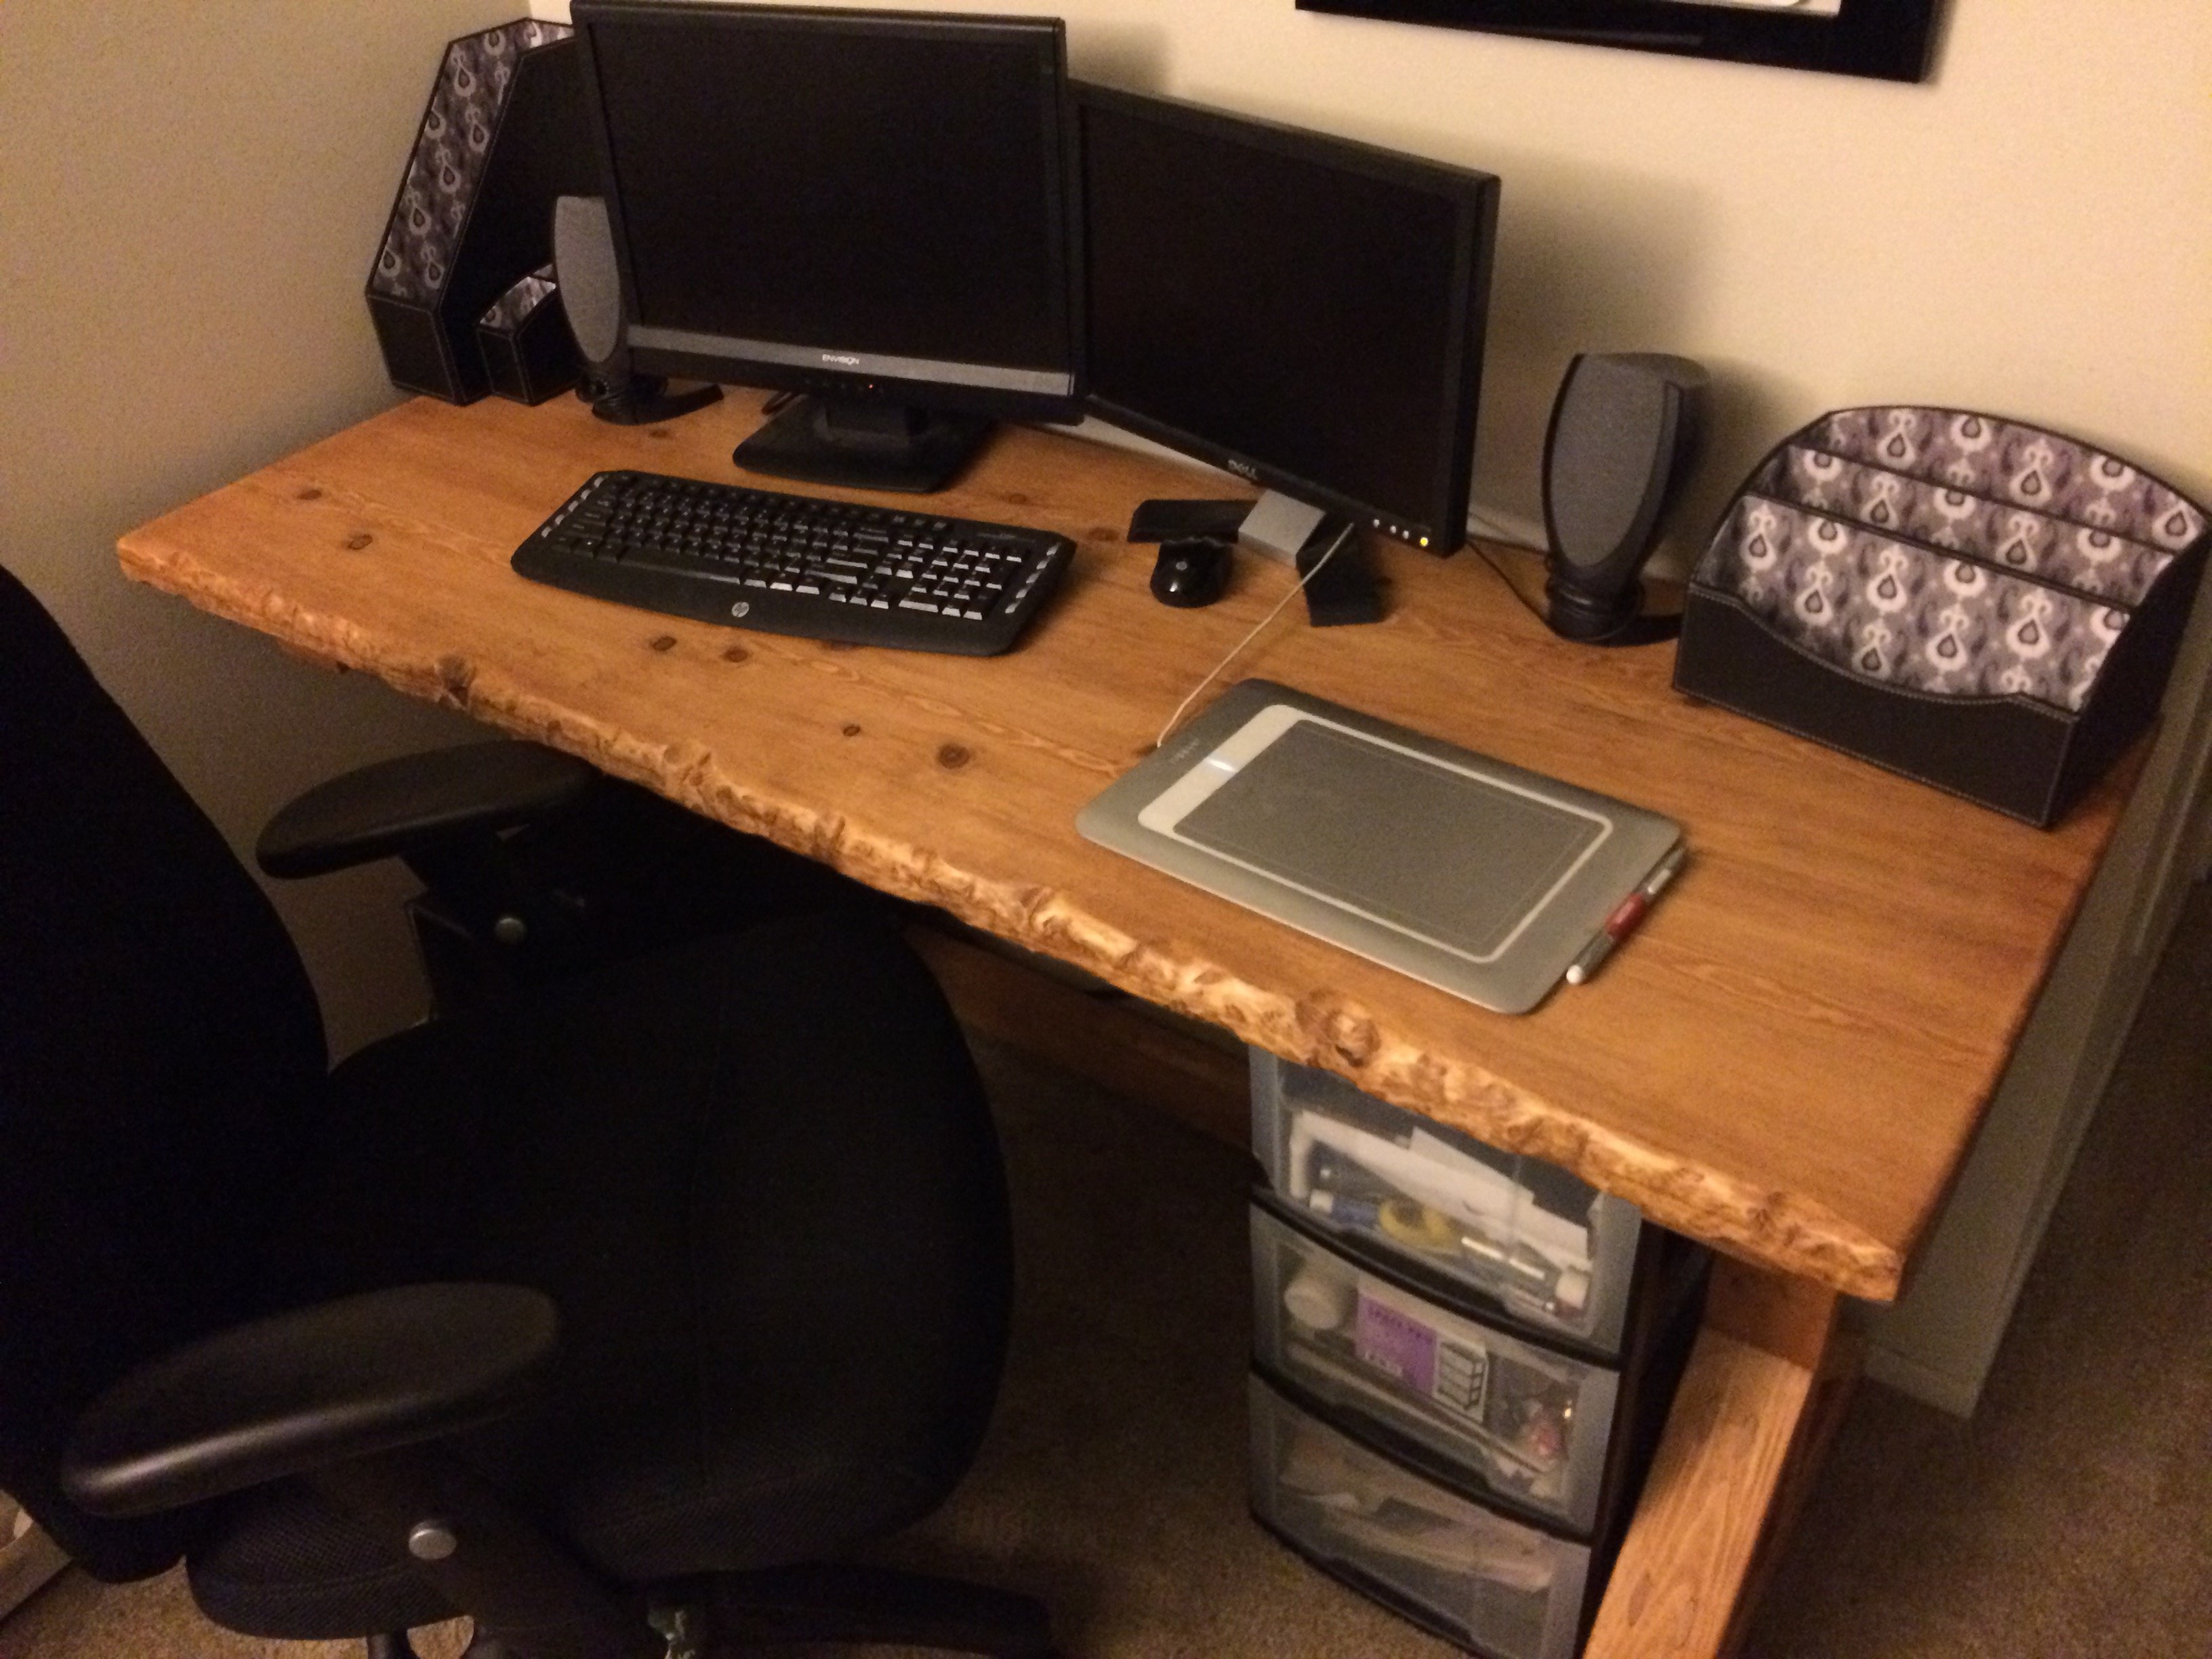
Built using the plan except for removing the back angle supports and creating a top that resembles a live edge look. Most of the build is done with pocket hole screws, glue and nails.

Tue, 10/21/2014 - 18:02
What a great build! That live edge effect on your desktop is super cool! (looks very real) I'd love to know how you achieved that look, it's stunning!
Wed, 10/22/2014 - 06:25
Joanne,
Thank you! Grab a belt sander and go at it. I tried using a grinder and that probably would work too, but mine doesn't work very well. I also found that it burnt the wood. Since the wood is soft, I used a belt sander to cut through the wood. Dug in the edge of the sander to make deep gashes. Its a lot of work but can be acheived with a great results. Use a low number sandpaper to get rid most of the wood off (50 grit was good). I practiced drawing out an idea on a spare block of wood off the same board and tried it out. When the sample went well I got ready for the big board. Once completed the initial slicing and dicing, I changed grit levels, 80, 120. Lastly, with my orbital sander I used 120 again and then finished with 220 to get it all nice and smooth. Hope that helps. Then just stain and poly. I hand sanded between layers of stain and poly with 220. Lots of work sanding. But it turned out smooth and flat.
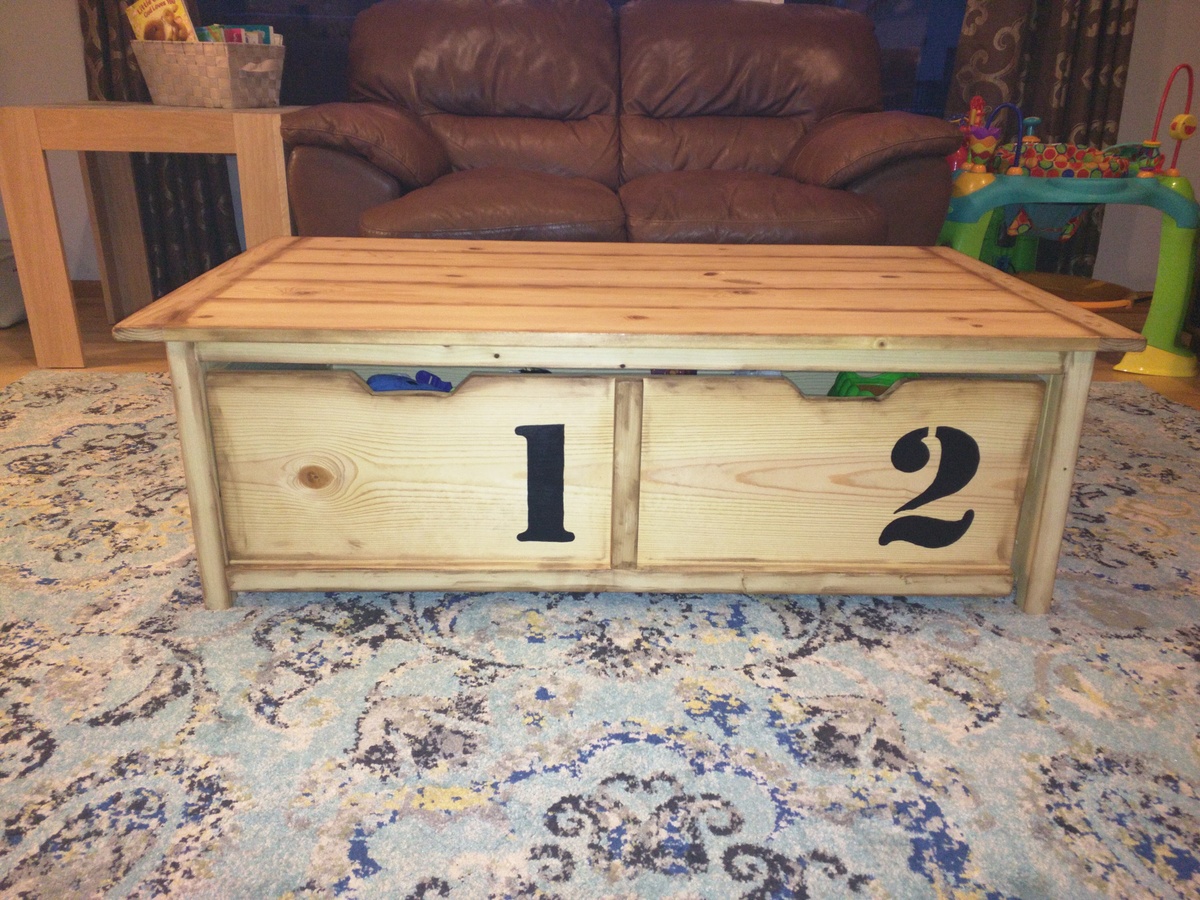
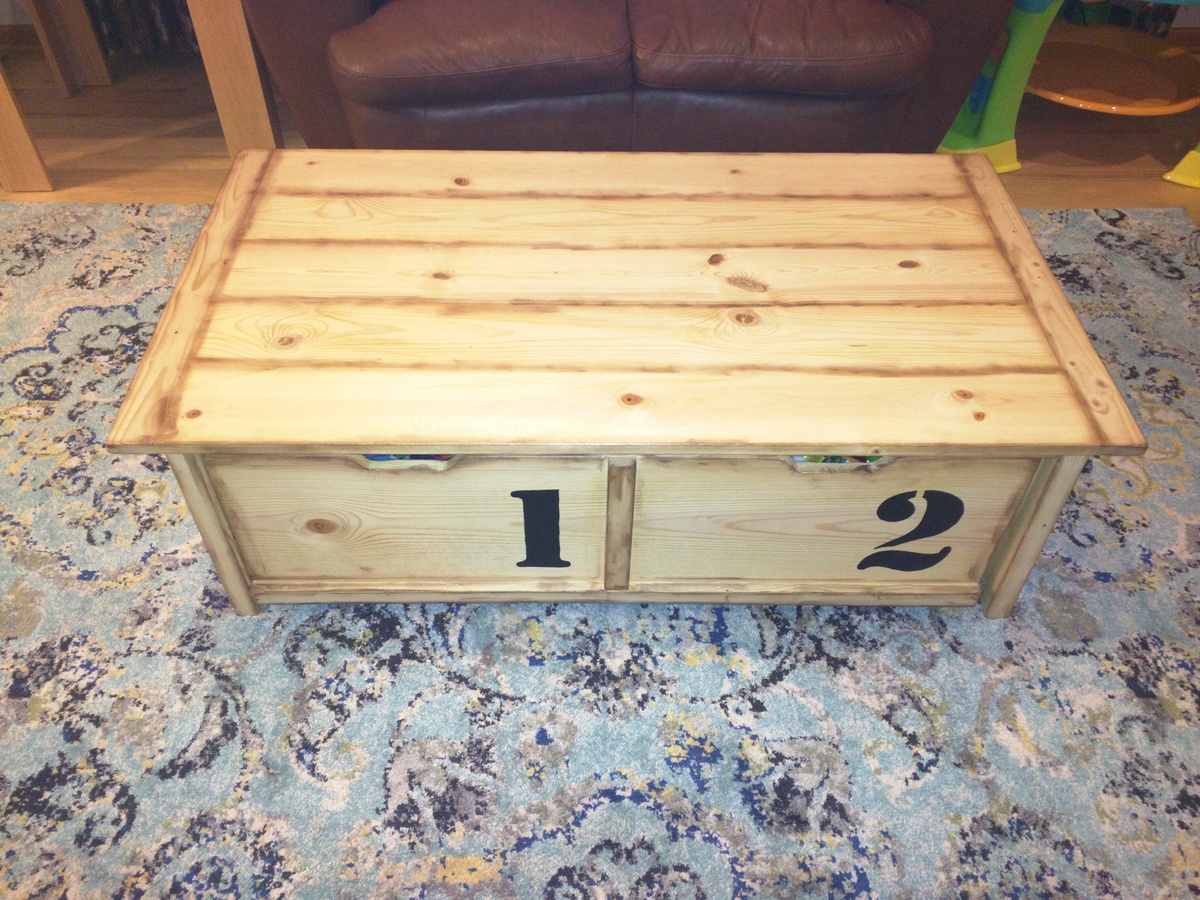
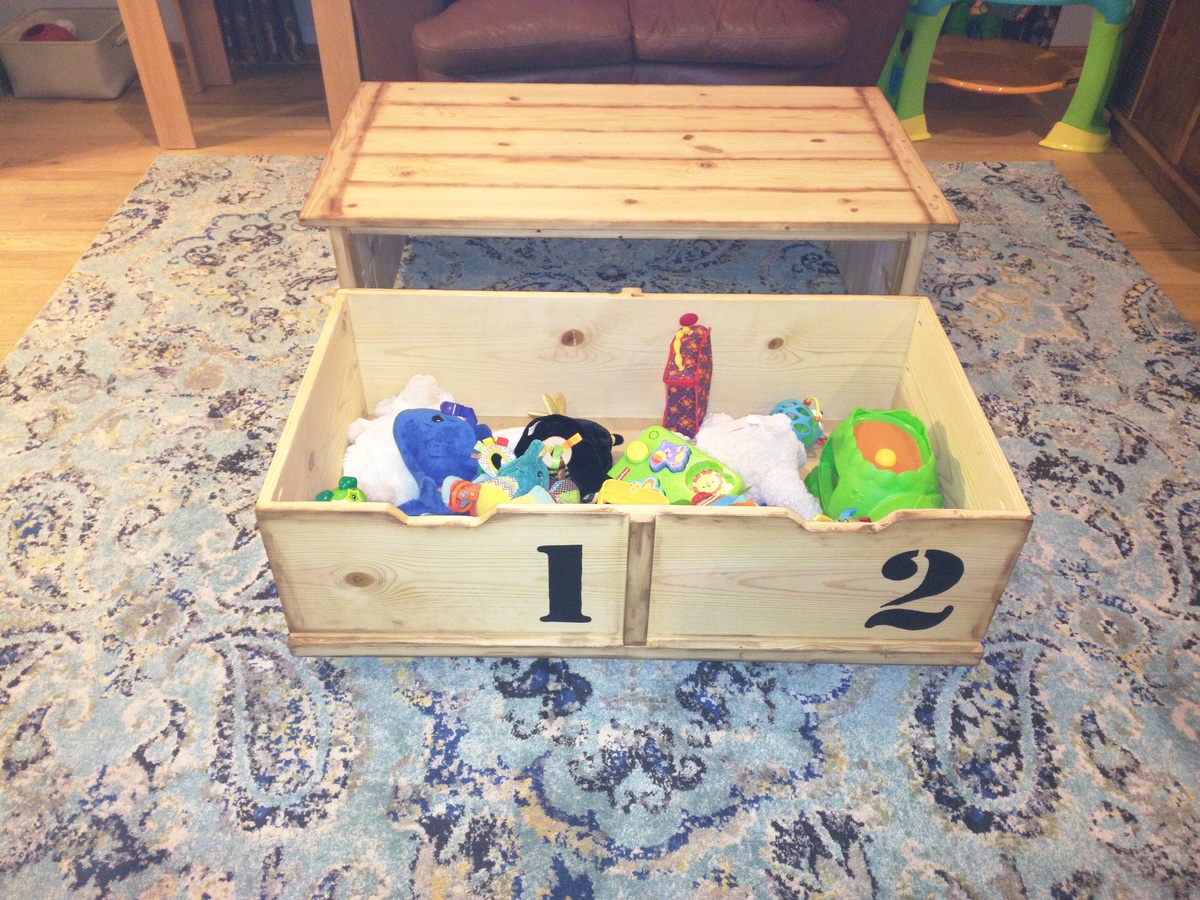
We needed a way to store our 6 month old's toys in our main living area. We were previously keeping them in a pack and play and that wasn't going to cut it. We decided this plan would do the trick. It works even better than we anticipated. Built exactly the same as the plans with the same finish as well.
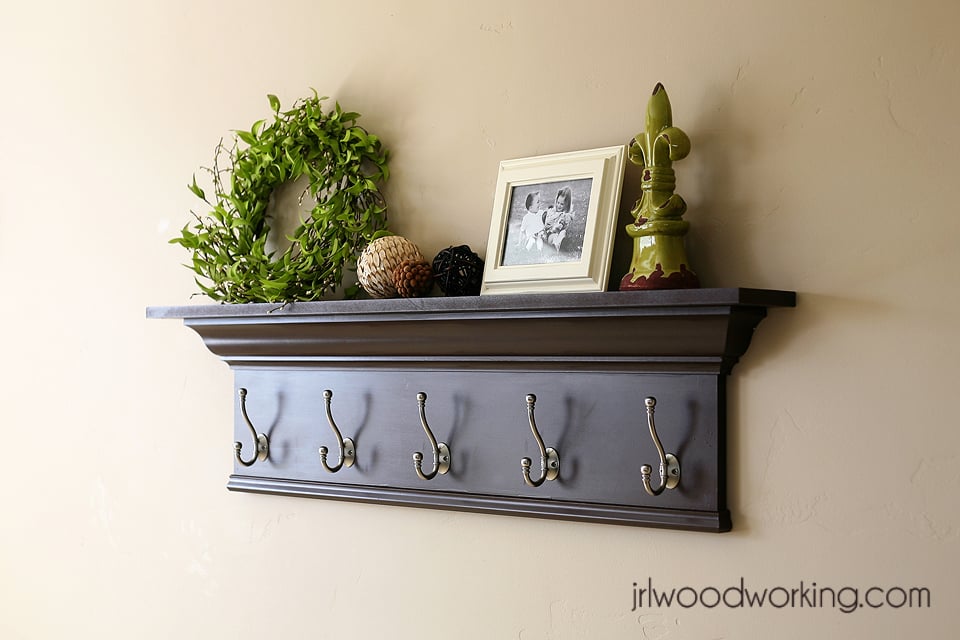
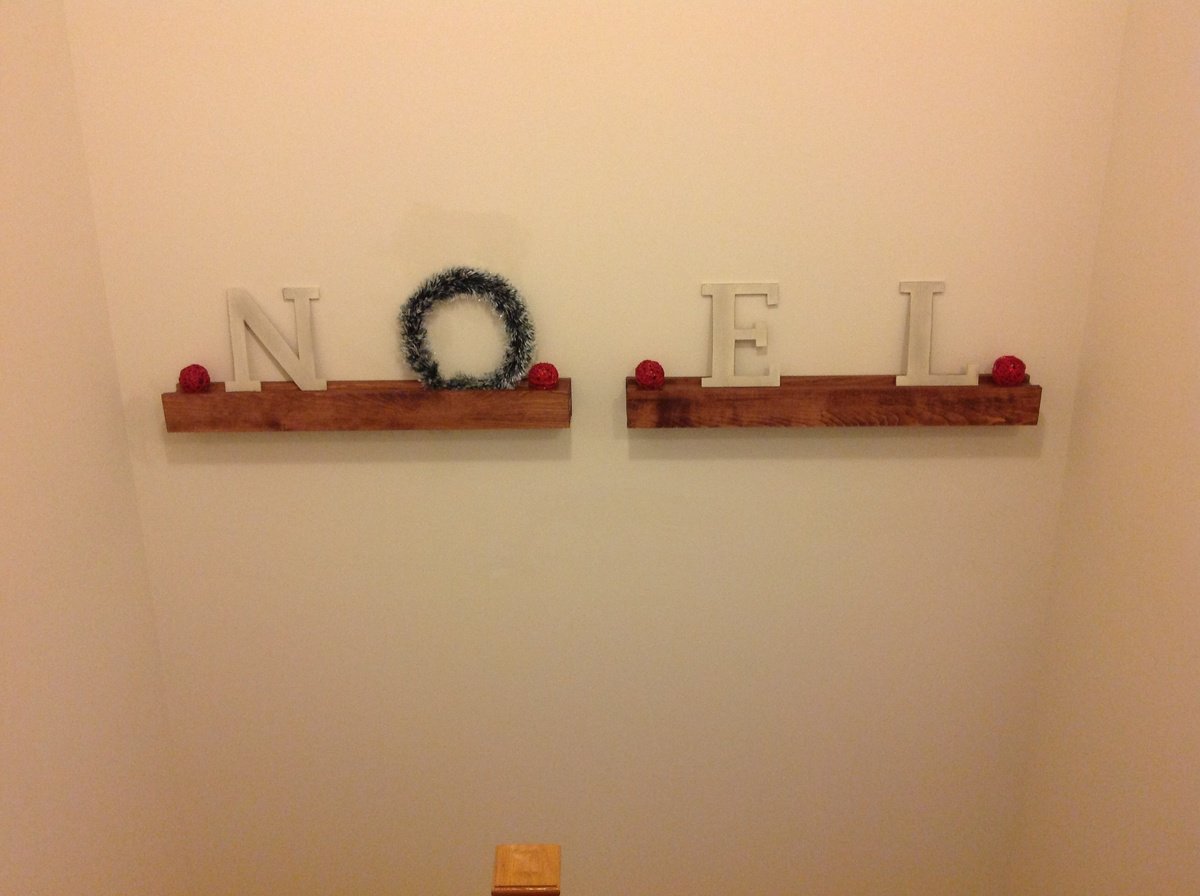
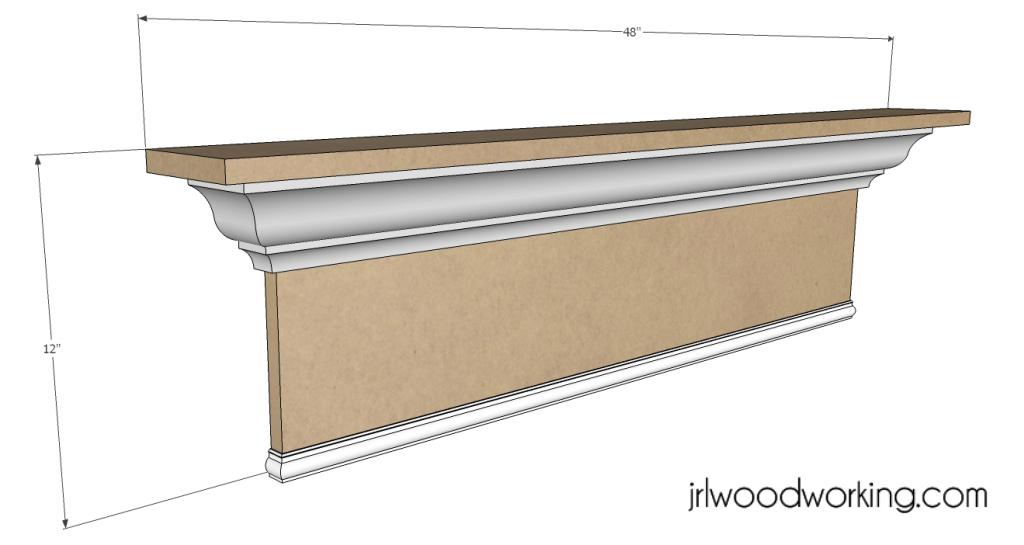
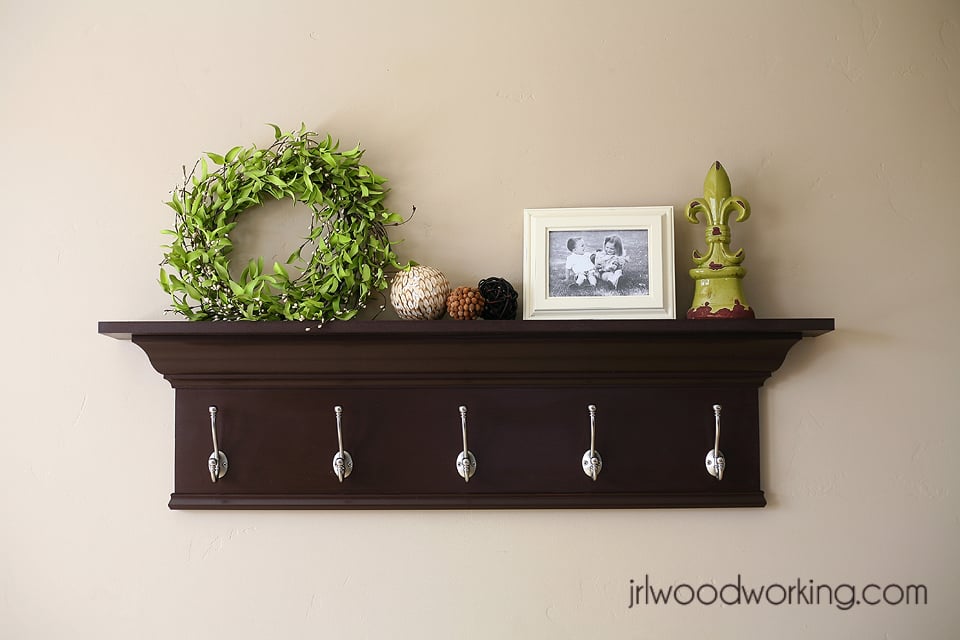
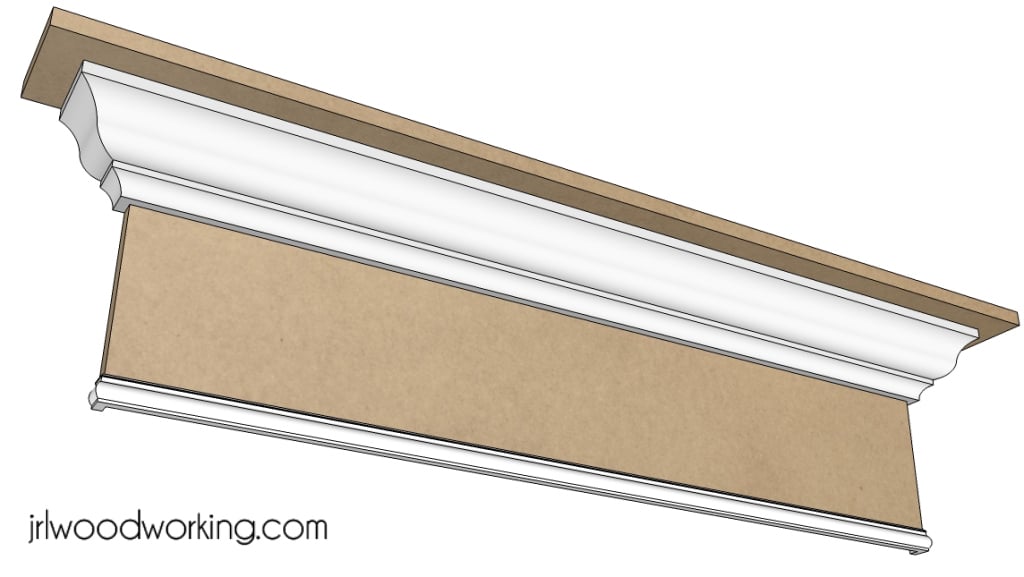
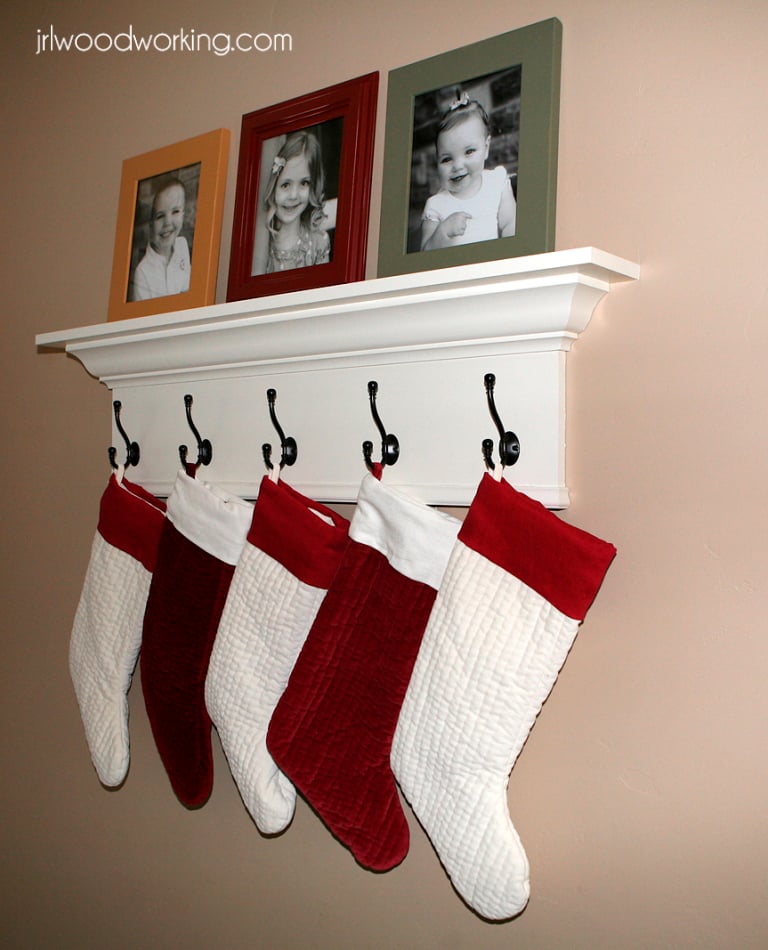
The decorative 4-foot crown and hooks wall shelf makes a beautiful place to display photos and other decorations and also provides a practice application to hang backpacks, coats, hats and even Christmas stockings. It is fairly simply to build with basic tools such as a table saw and a miter saw.
The project costs about $57 to make with about half of the cost in the hooks. The overall dimensions of the project are 48 inches wide by 12 inches tall. It takes about 2-3 hours to build.
Download the plans at my woodworking blog at:
http://www.jrlwoodworking.com/

Fri, 01/04/2013 - 06:50
I love how this looks. All your designs are beautiful!
Fri, 01/04/2013 - 12:30
We actually have this shelf in a bright white color in our foyer to hang coats for visitors. We also put our Christmas stockings on it (one hook for each member of the family).
The wood came from a 60-70 year old barn that was torn down out on a friends property. The wood was fee and materials cost around $175. Took a couple weekends to build.
Fri, 10/24/2014 - 19:56
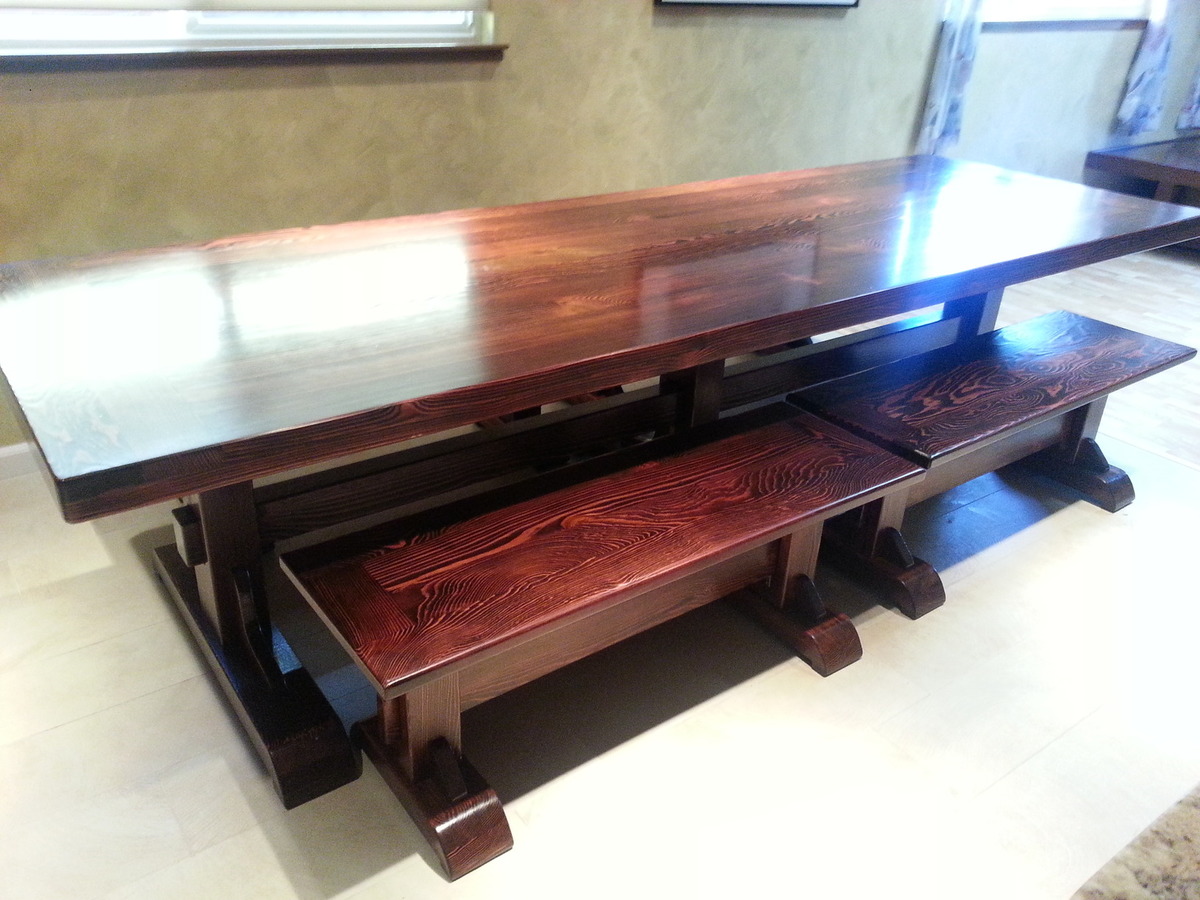
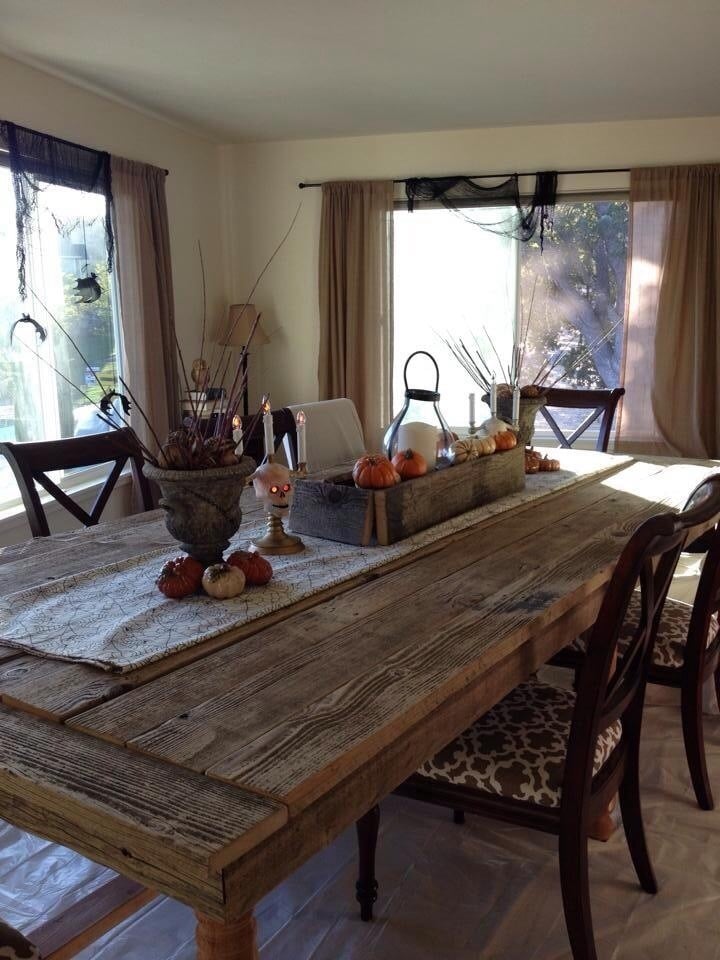
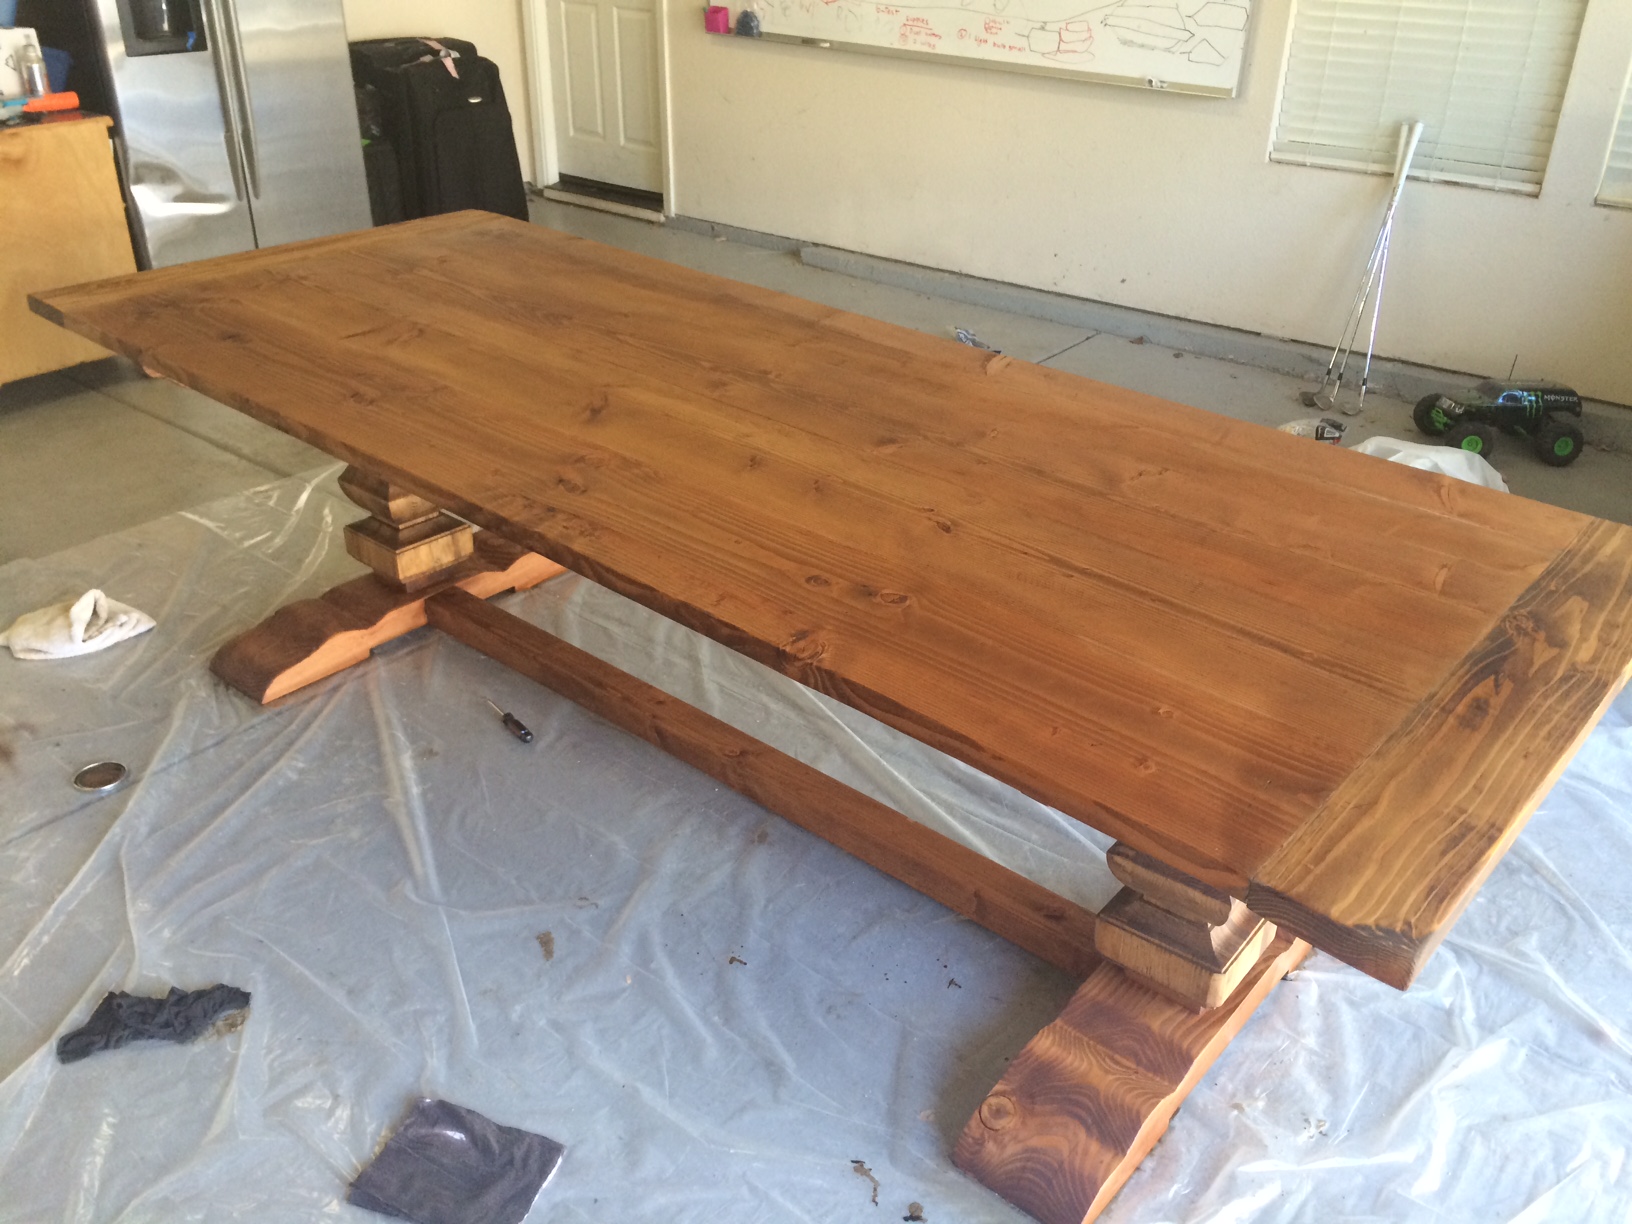
My wife wanted a large table to entertain. She mostly wanted to be able to decorate the center and not have to move it during dinner. The table measures 10' x 4'8" and is 29" high.
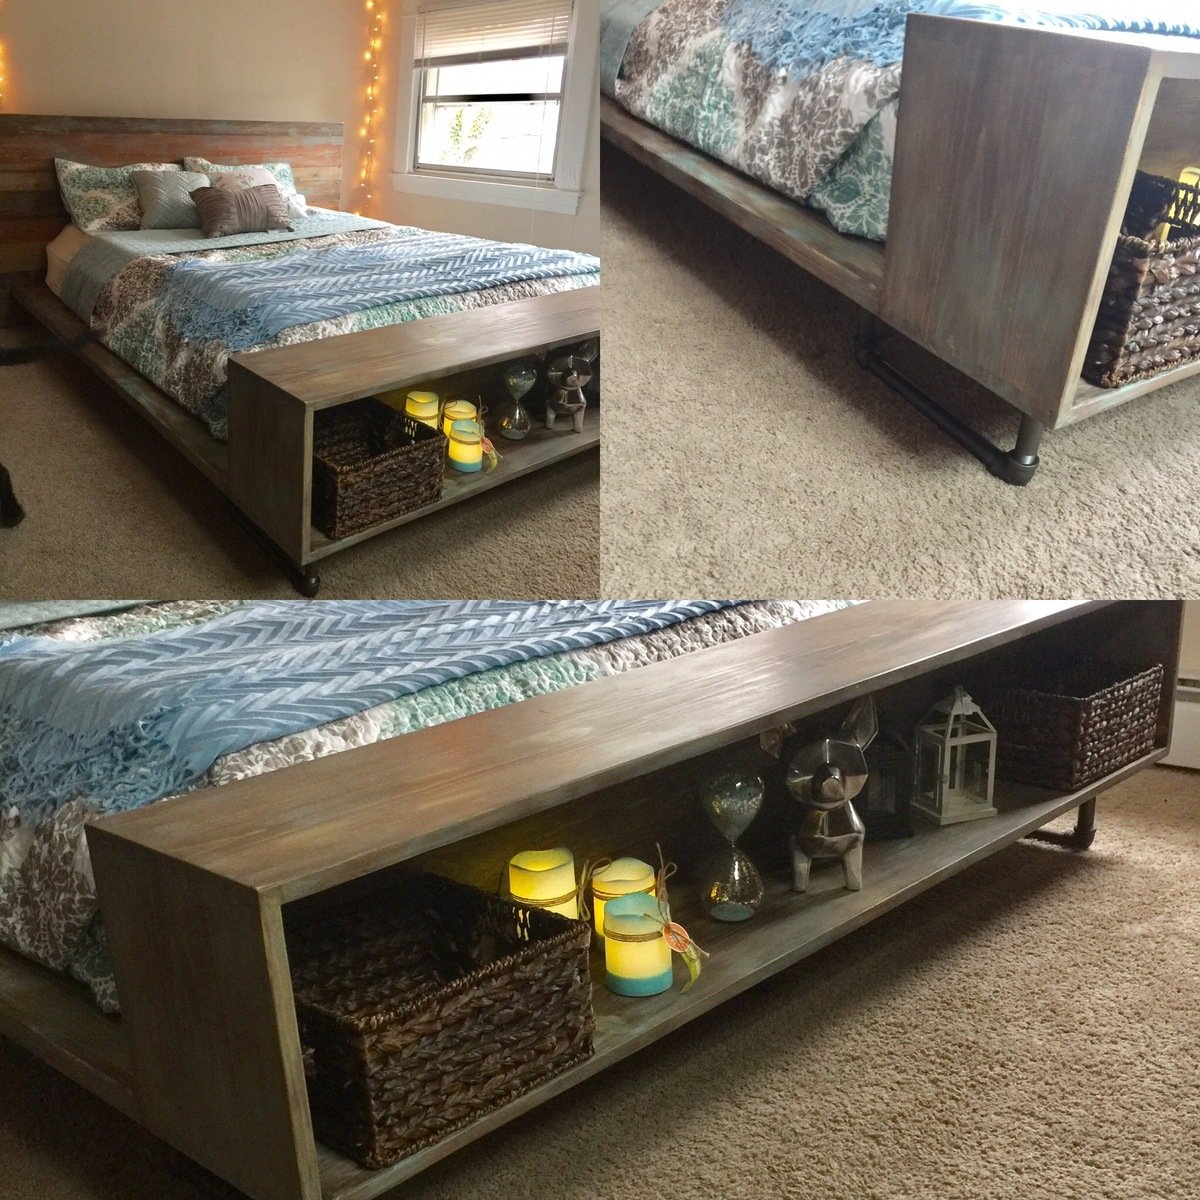
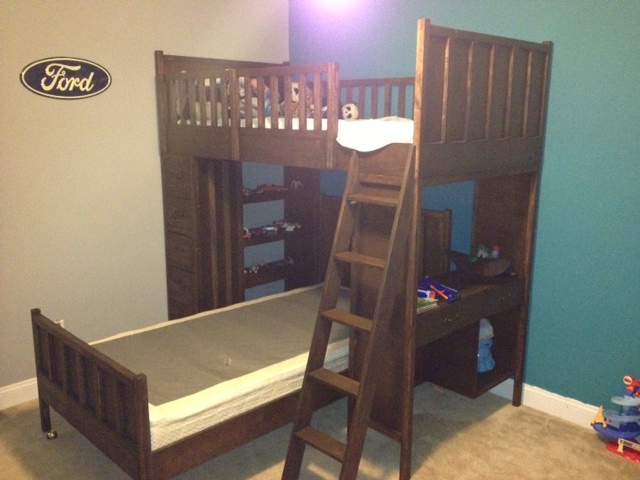
My daughter loved Crate and Barrel Atwood bed so I built her this bed that is very similar.
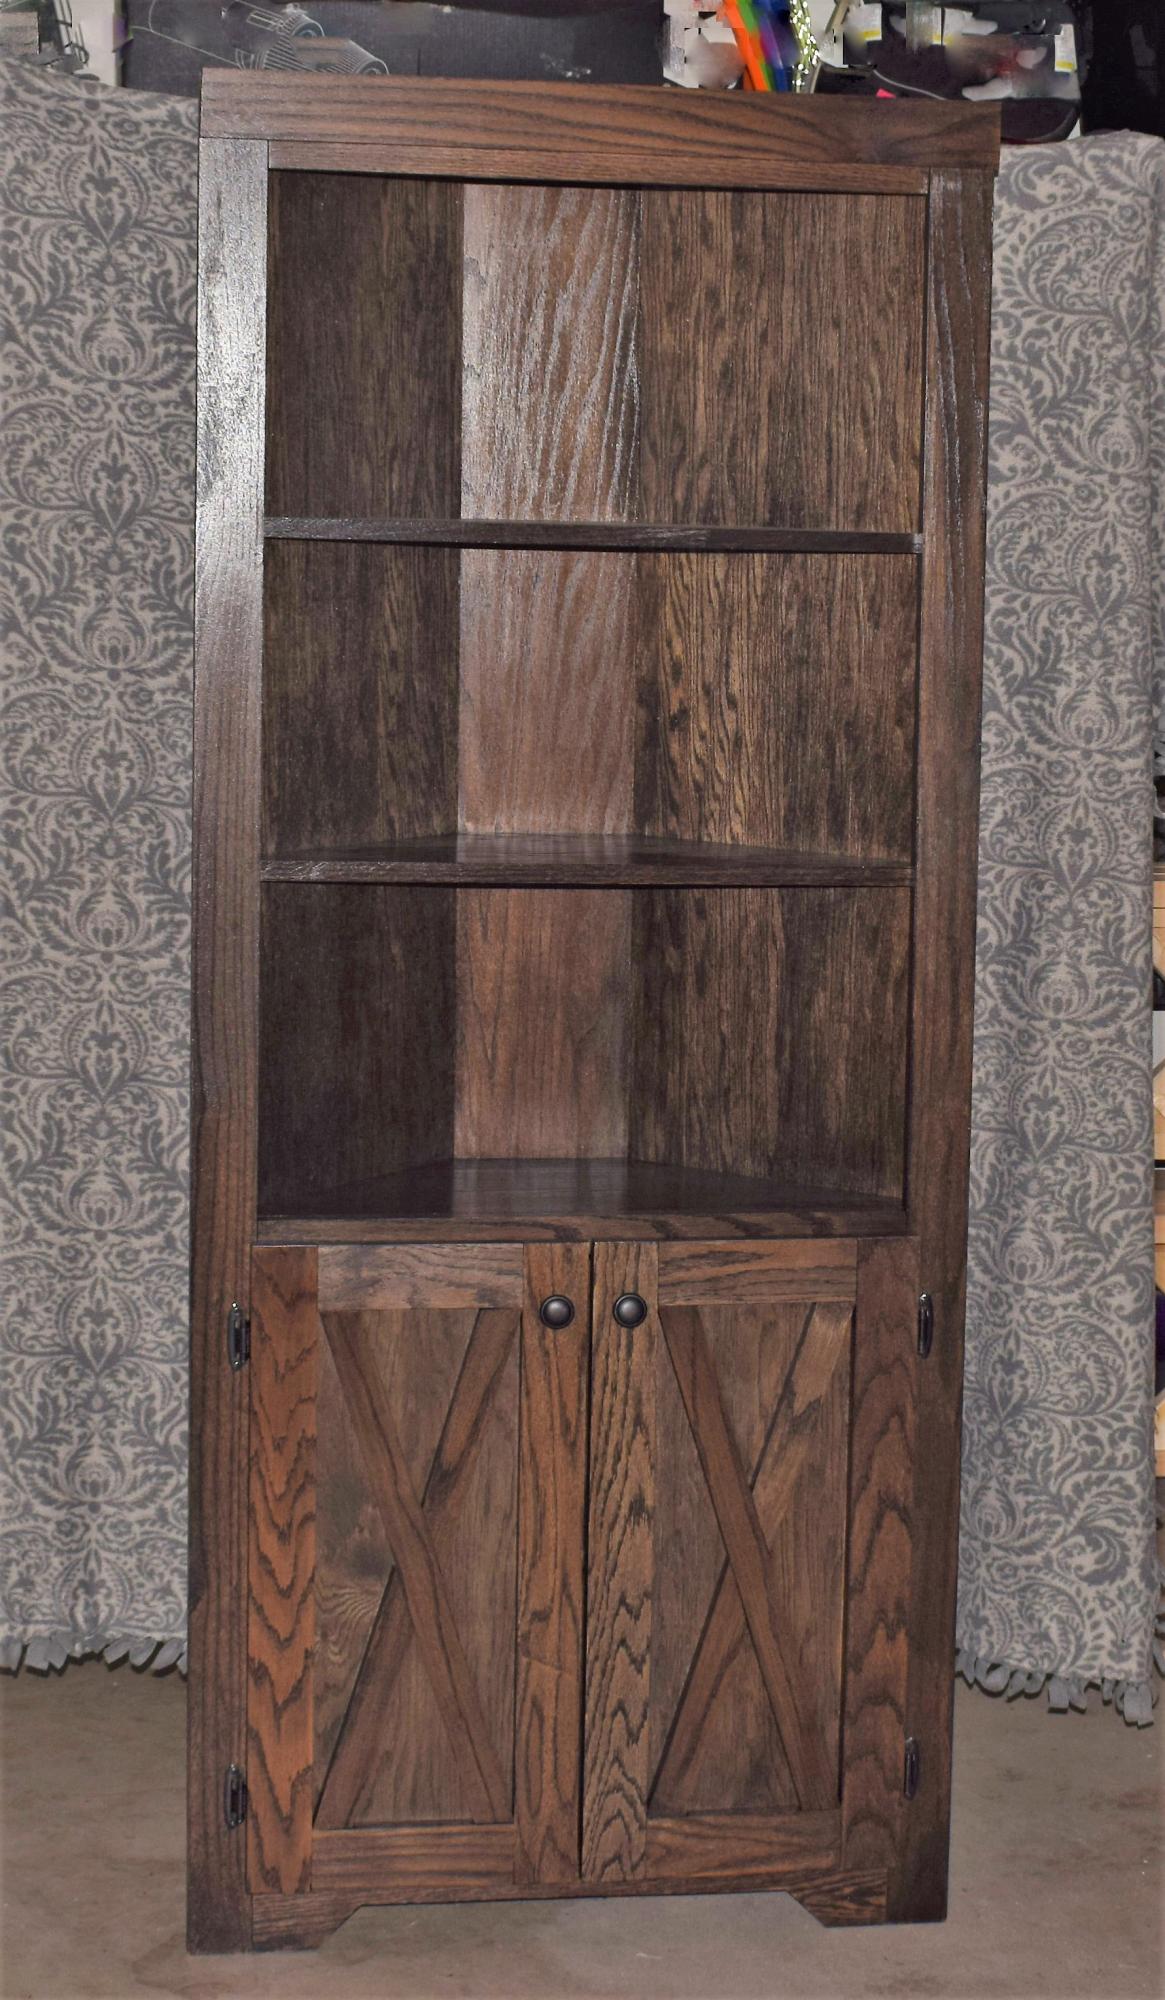
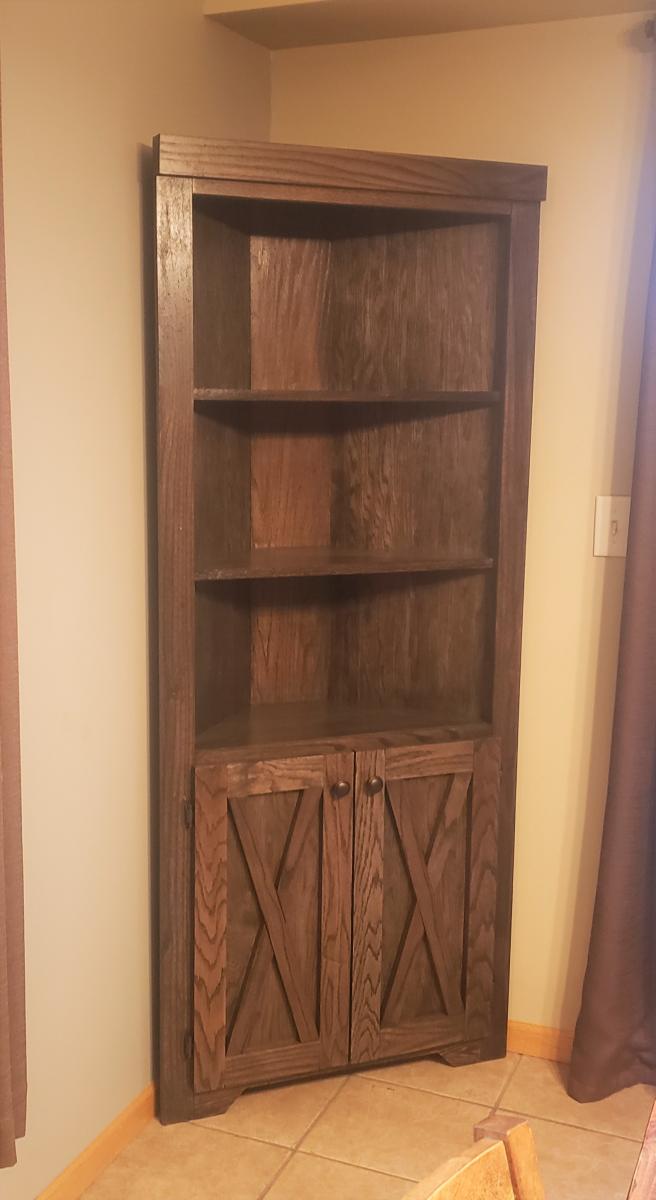
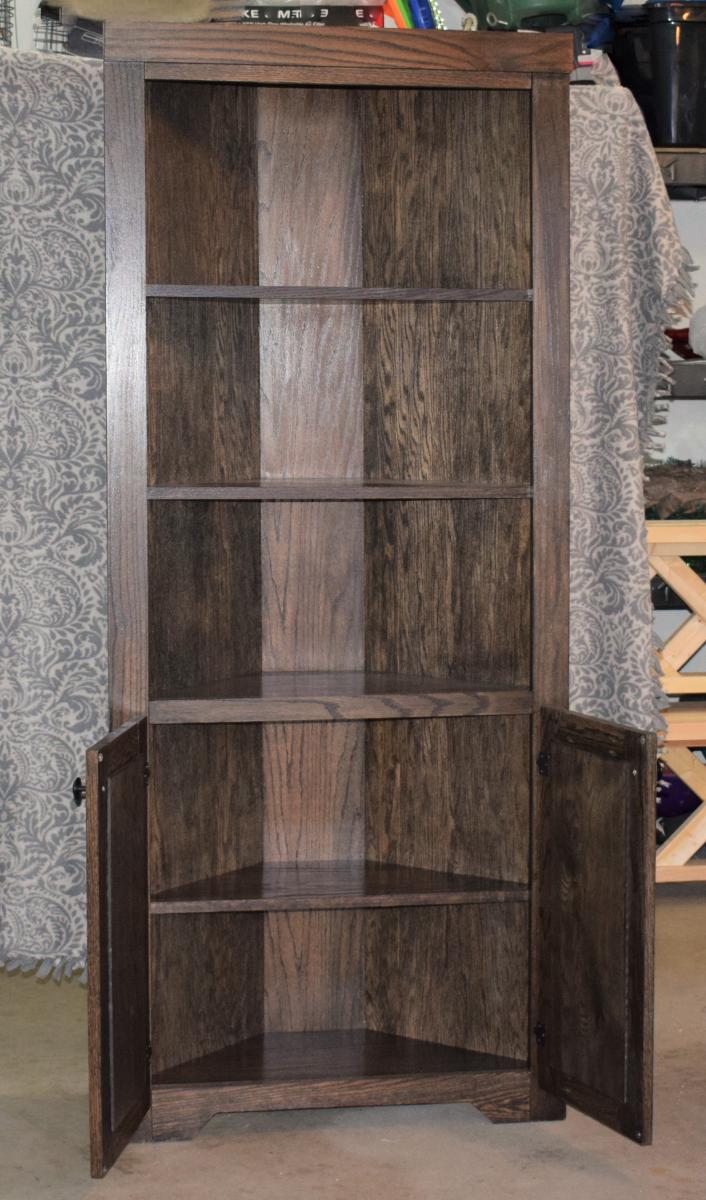
Thanks to Ana for the custom corner cupboard hutch plans! This project turned out great using Red Oak boards and an ebony stain. My customer loved it!!

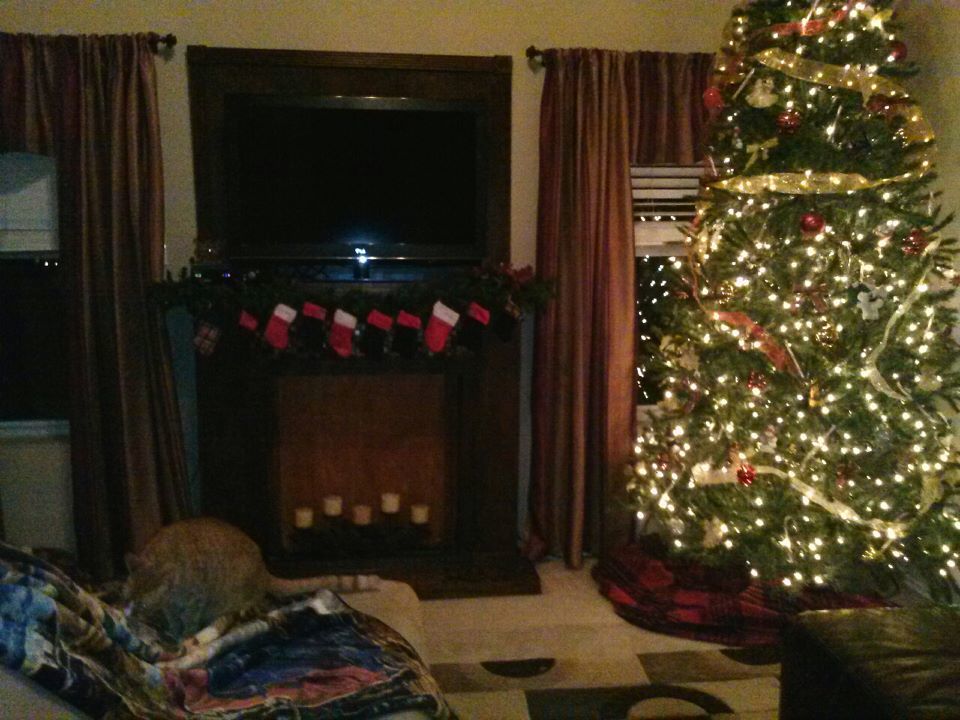
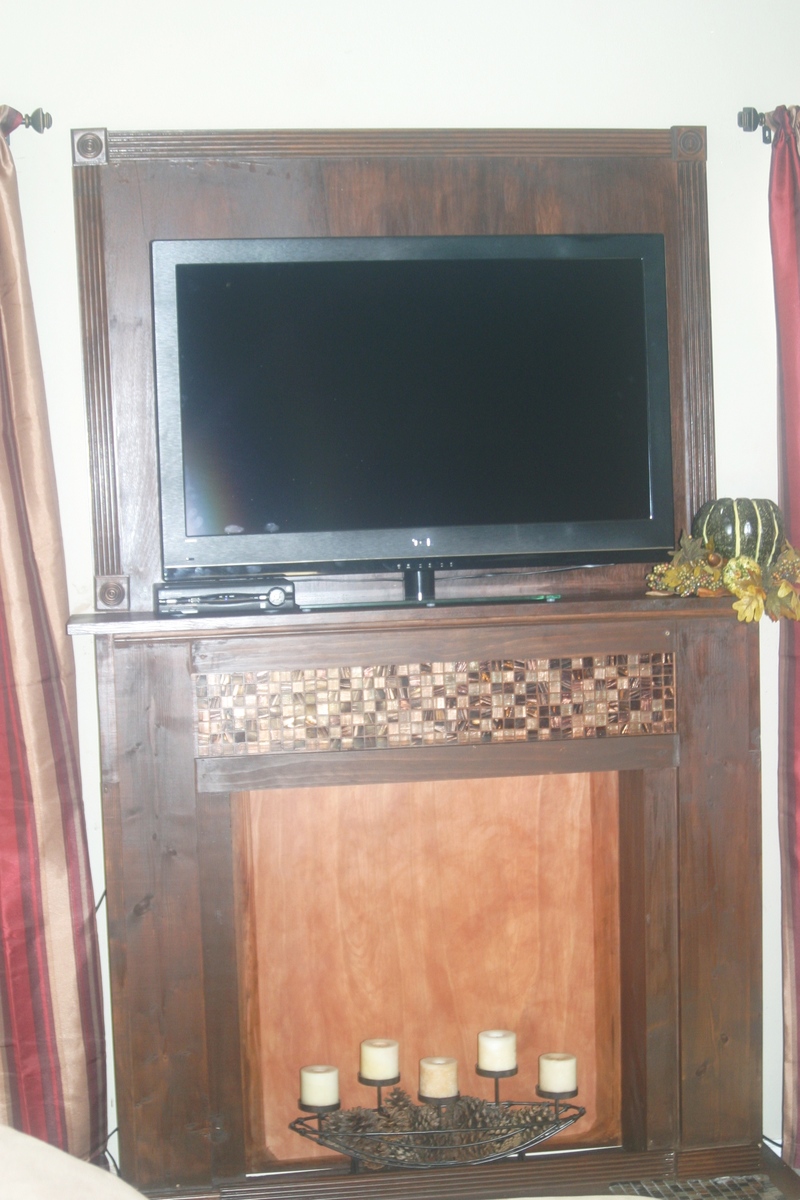
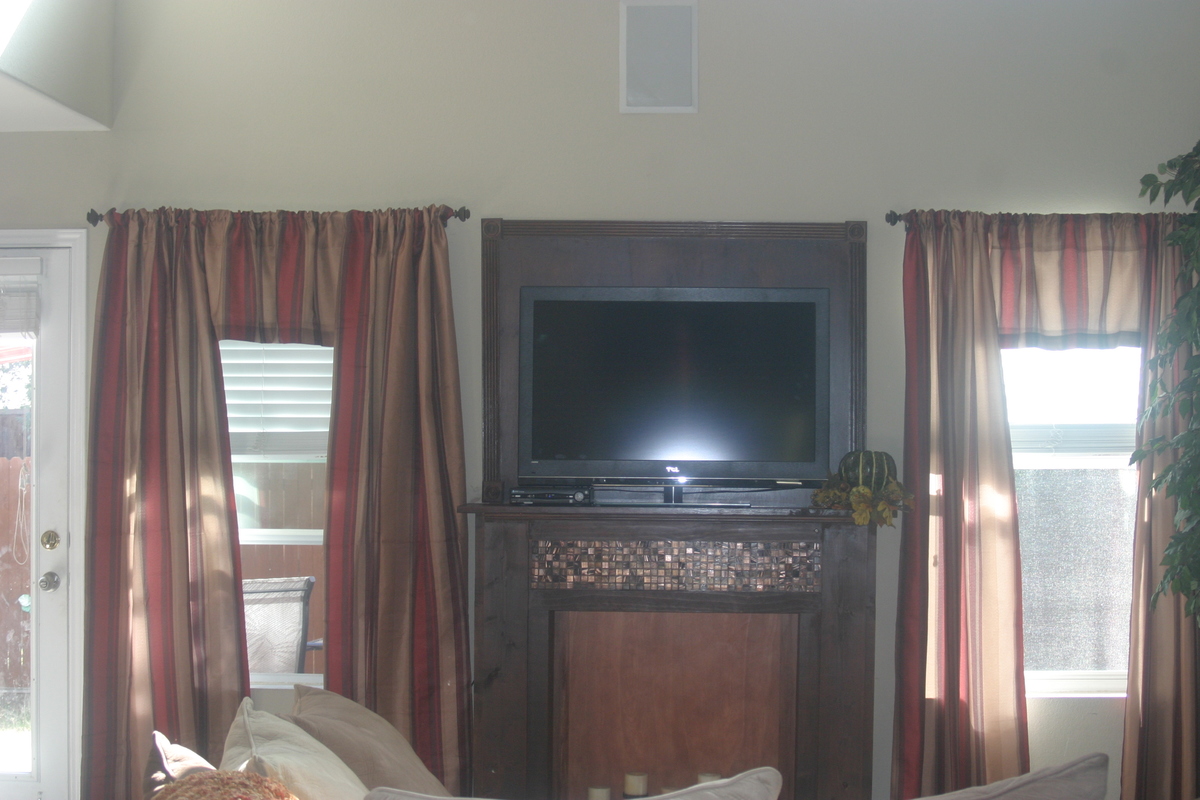
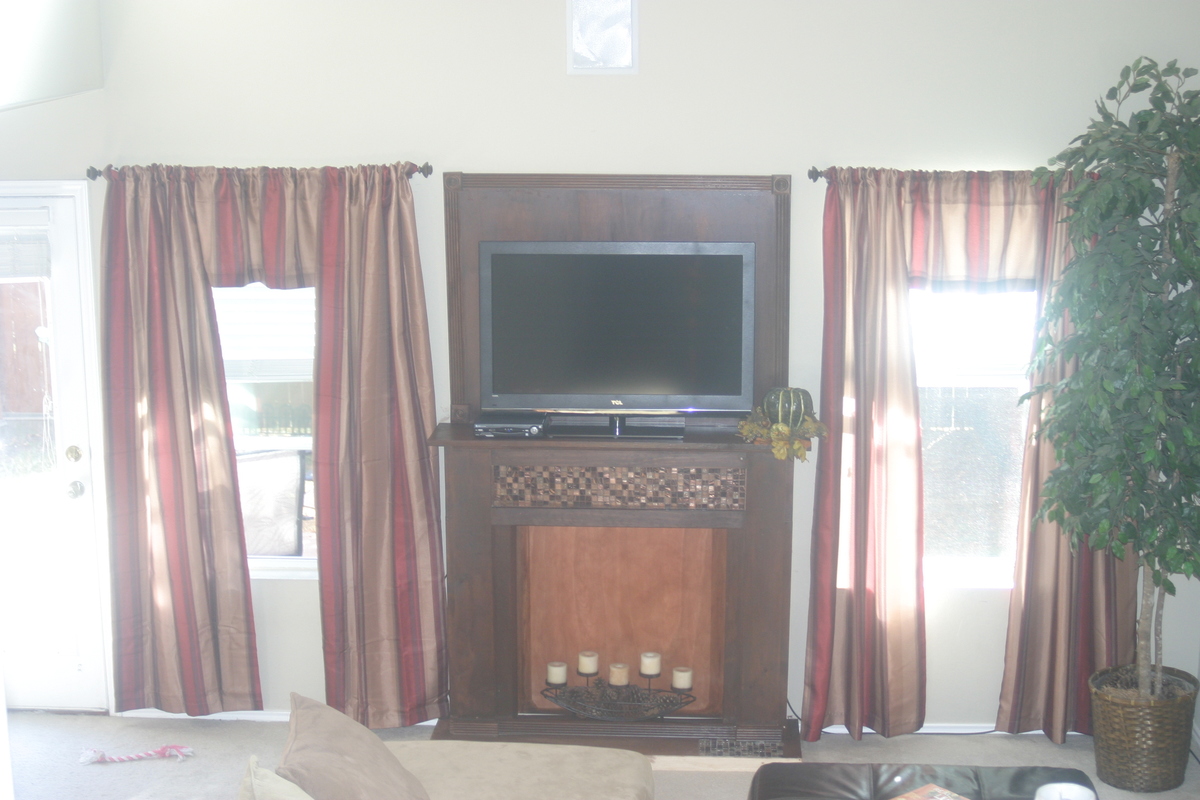
This Christmas I was determined to have a fireplace for the stockings to hang from! I played with the design a little to add depth and height.... and tiled a little.
Loved the results for only my second project from here!! Not perfect, but mine!lol Thanks for sharing Ana!!
~Dina

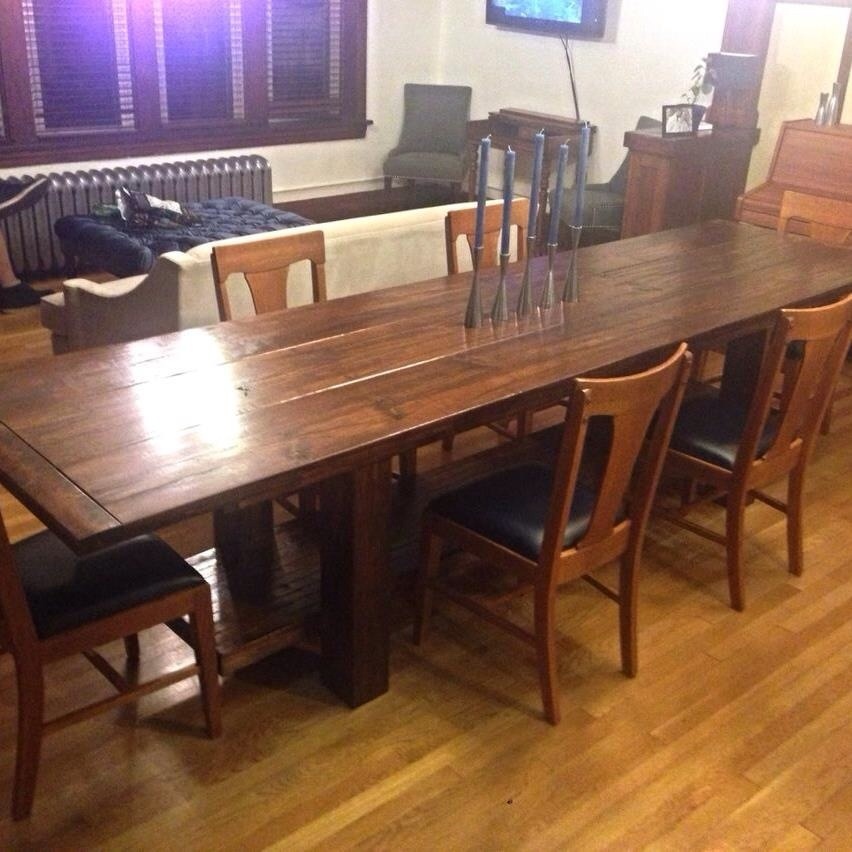
This was built using Ana's plans plus an inspiration photo my daughter took at an antique store in Chicago. Notice the lower shelf stabilizing the bottom of the table. It also had to break down into sections to be moved three hours north to her apartment in Chicago. Used lots of glue, and my trusty Kreg jig. In the background is a tufted ottoman I also built at the same time.
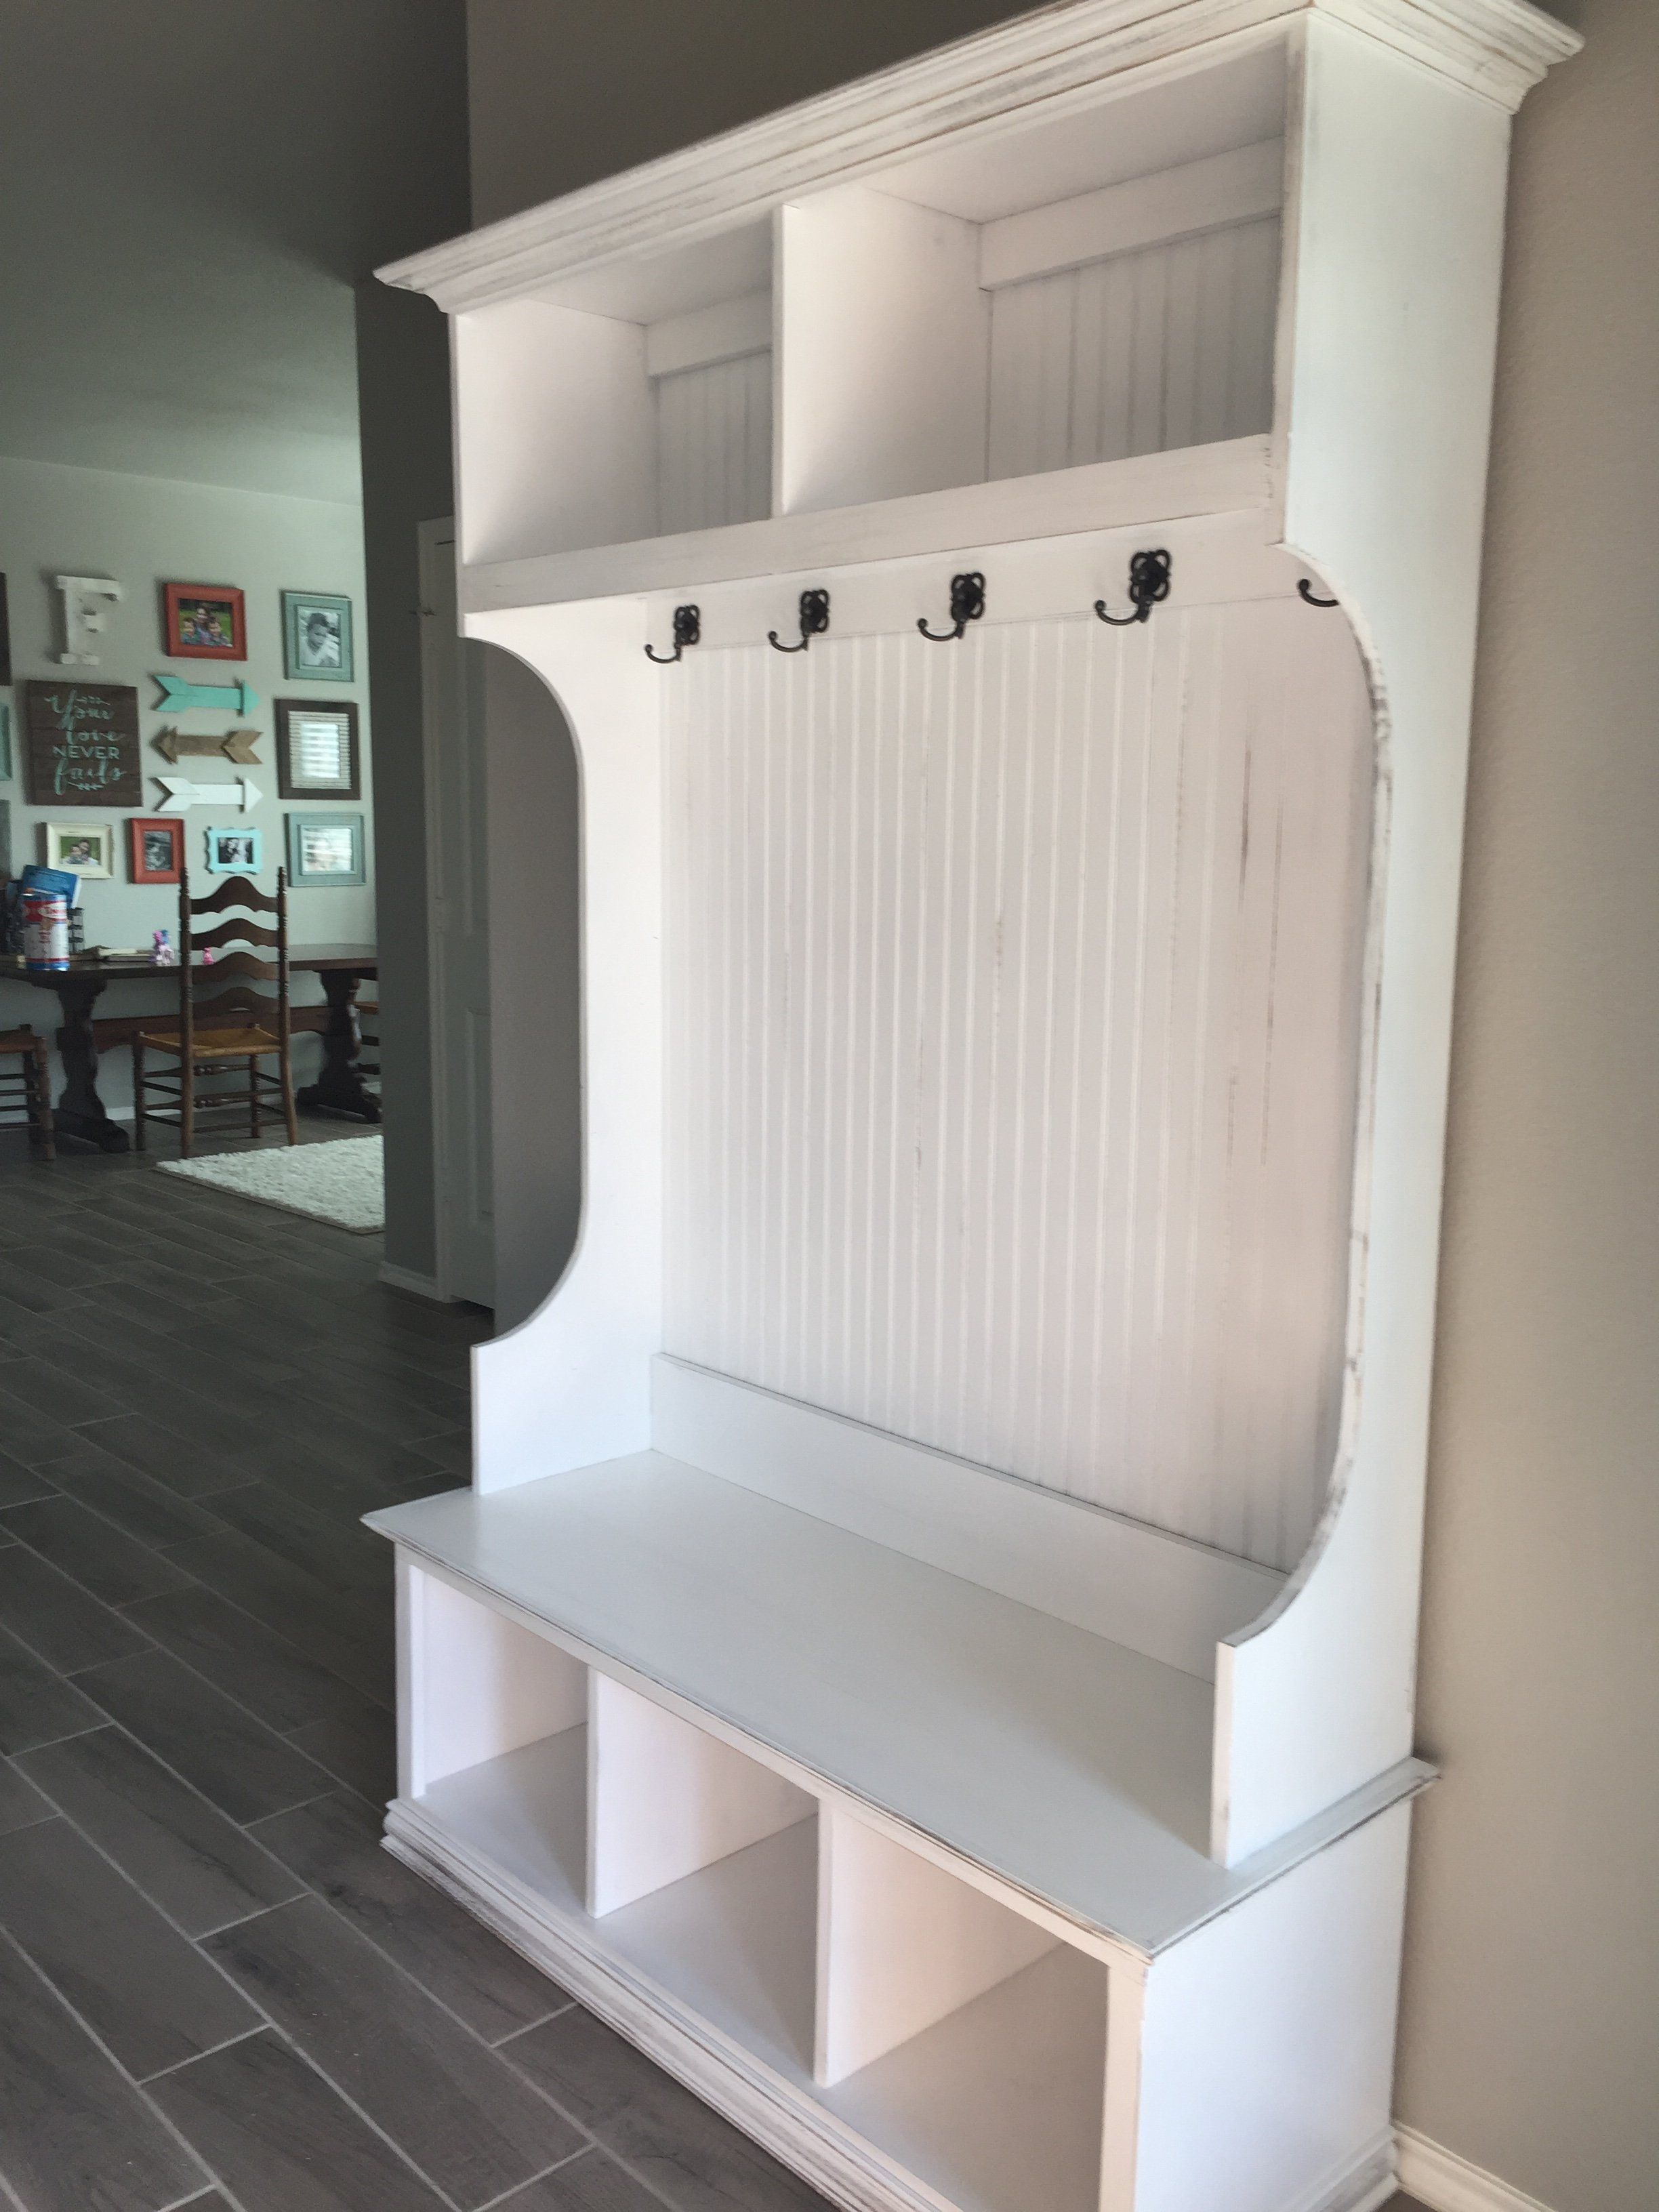
Took the fancy hall tree bottom and added Mimi's hutch to the top. Added a little bead board to the bench and top edges to cover up the plywood, and voila! My wife's Christmas gift.
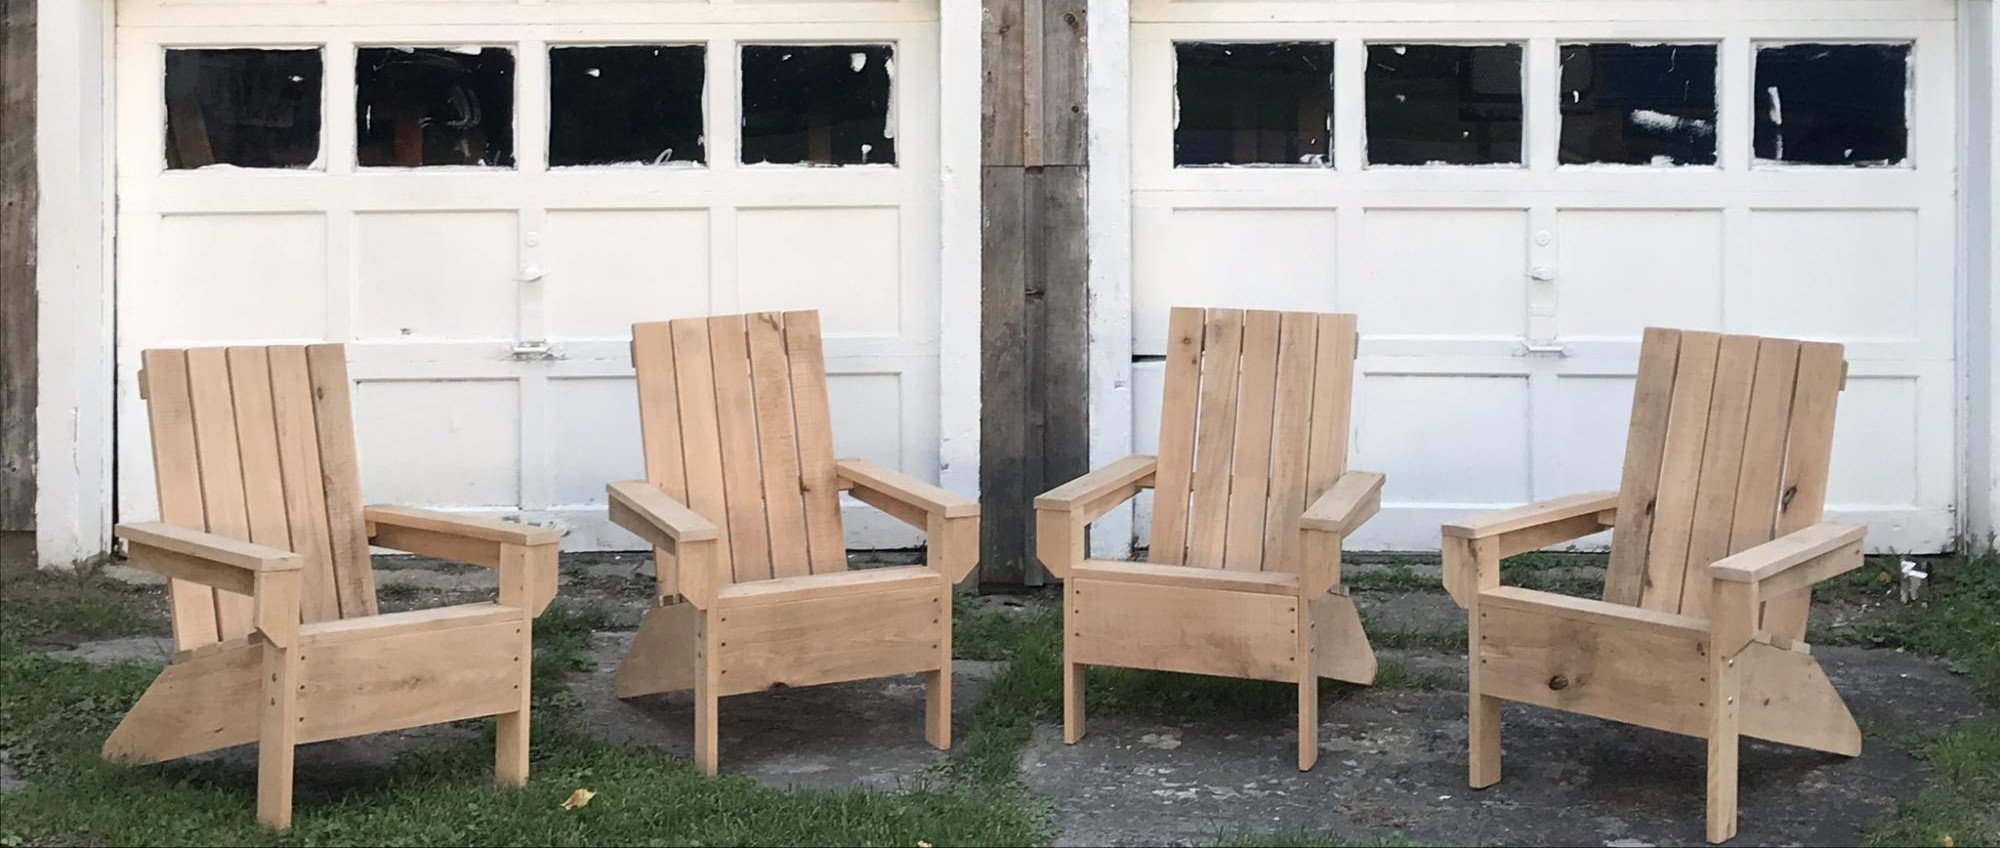
Needed some chairs, quick, for my daughter’s new fire pit. Used your design and the they love them.

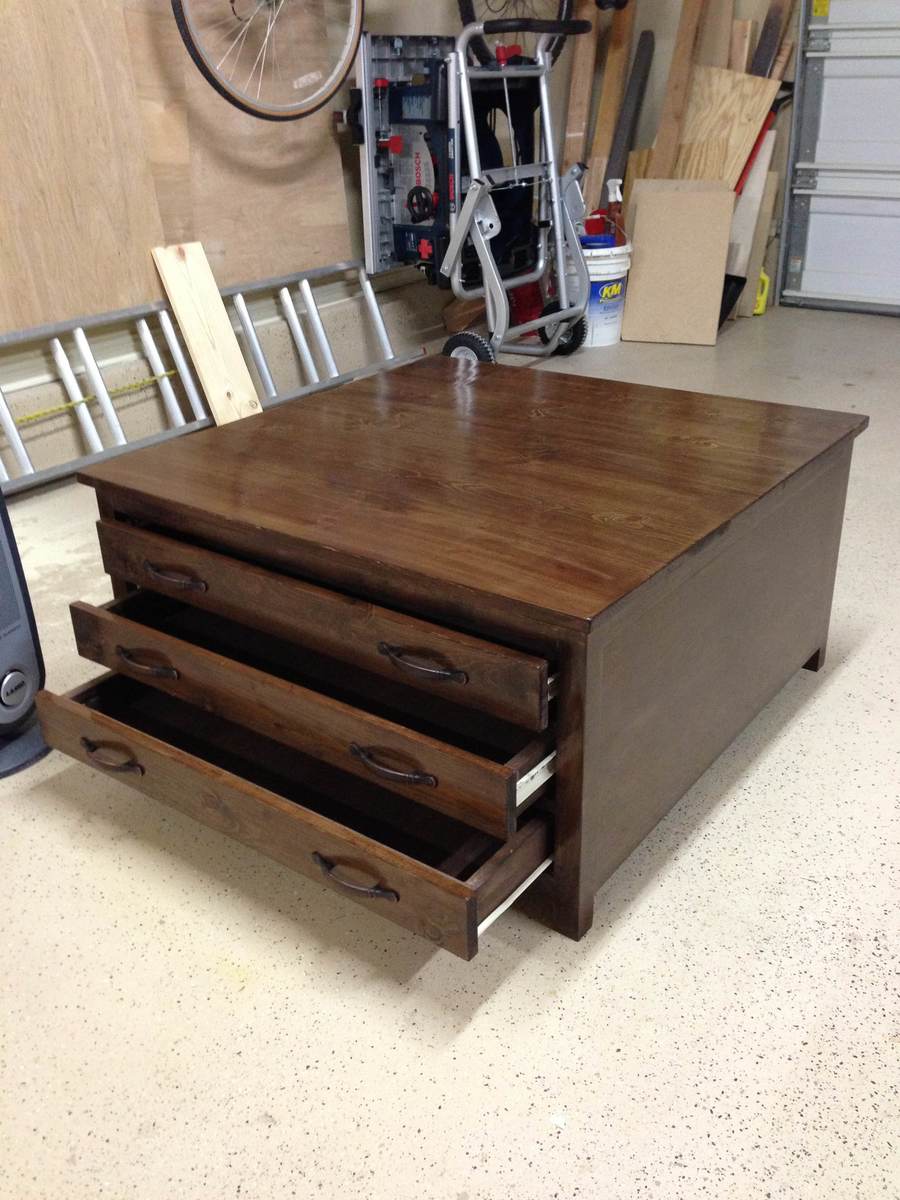
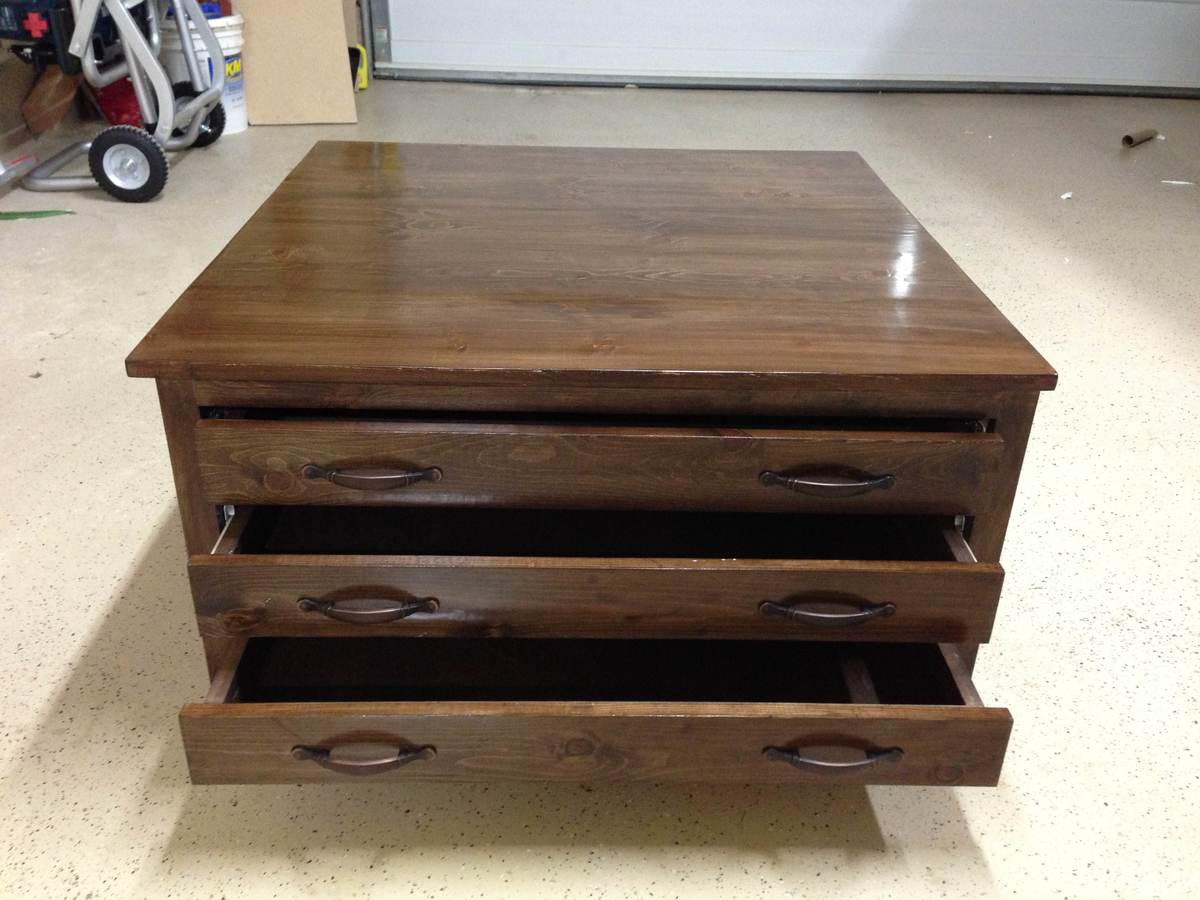
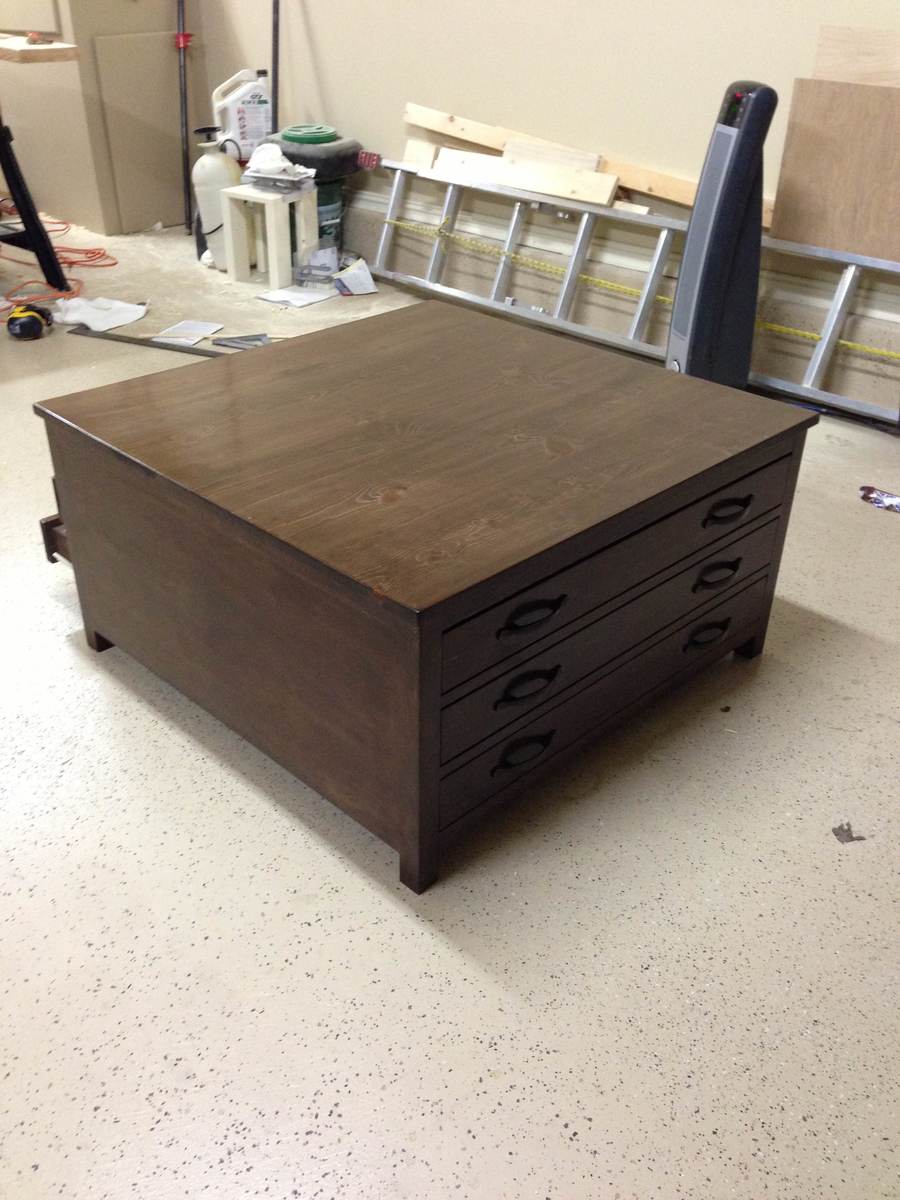
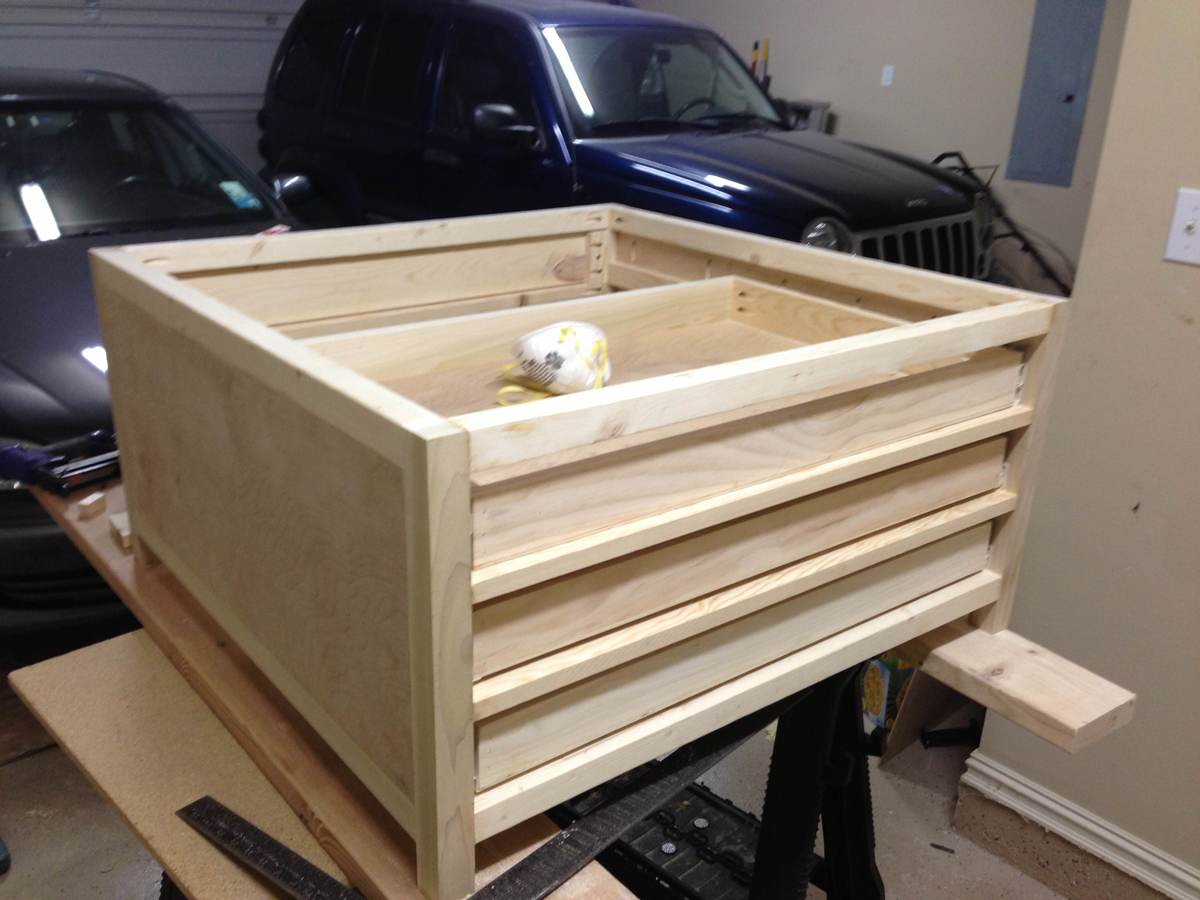
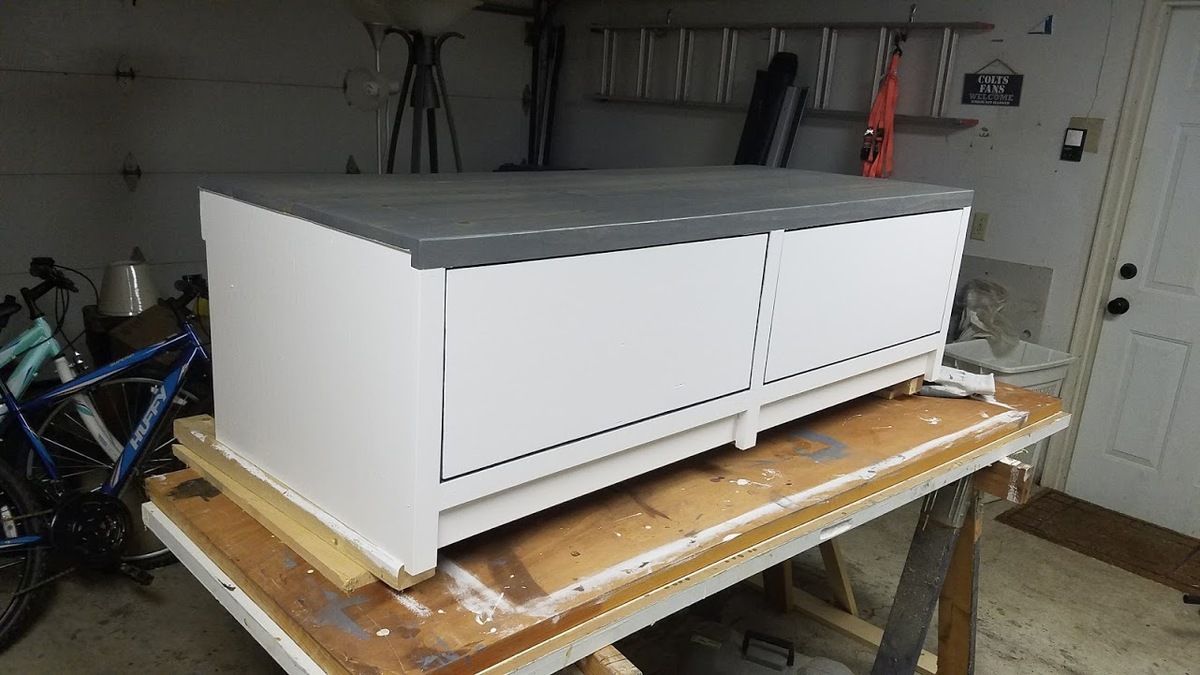
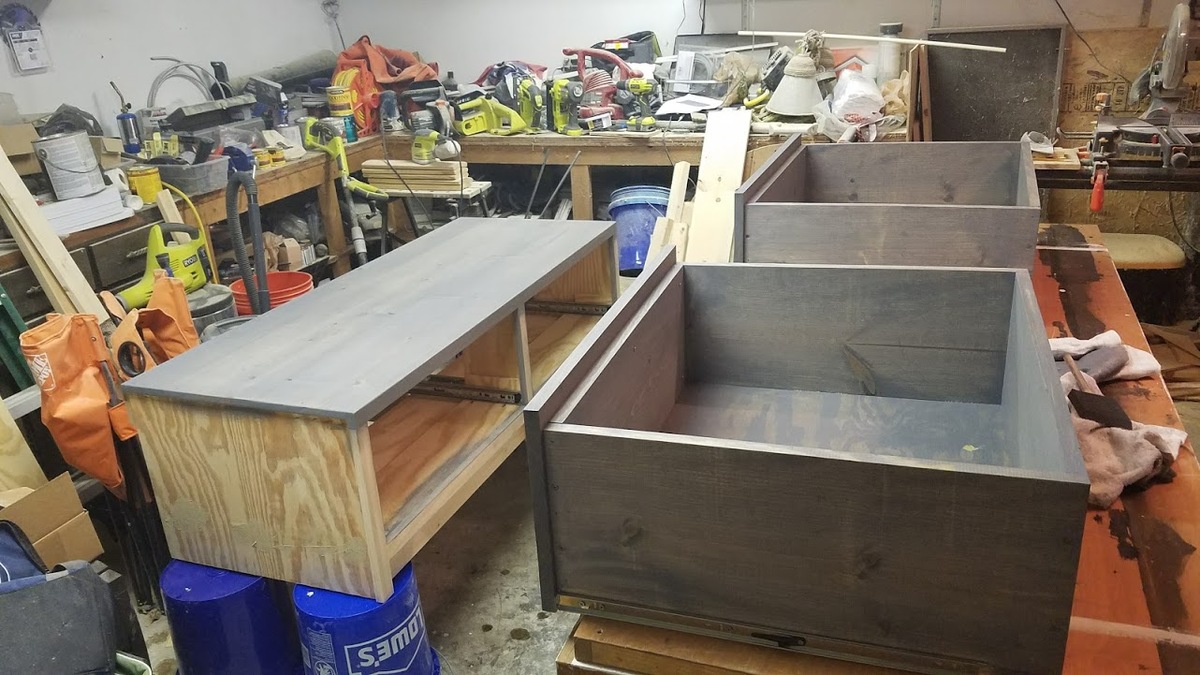
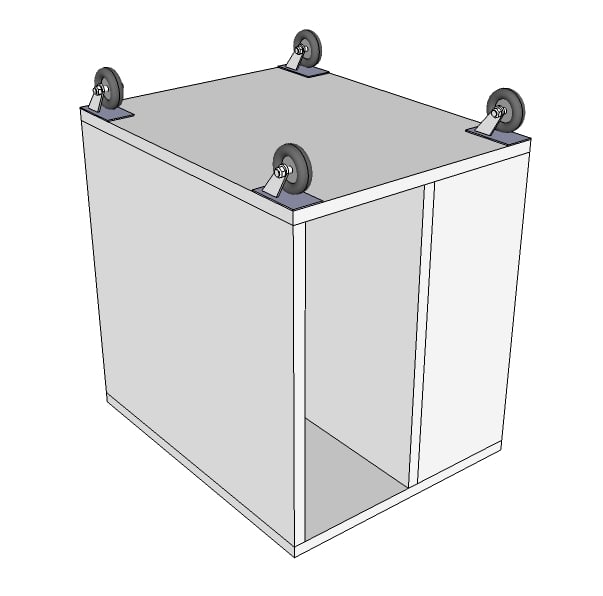
This was a fun little project. Followed the plans roughly. I made a few changes in the fact that I only added 3 drawers instead of six and instead of using the casters I made legs. When using cheap pine from lowes its rather difficult to get a frame that is completely square. This makes it quite the hassle to get the drawers to fit properly. If I had to do it over again I would use better wood and be very careful that the frame is 100% square. But overall a nice project.


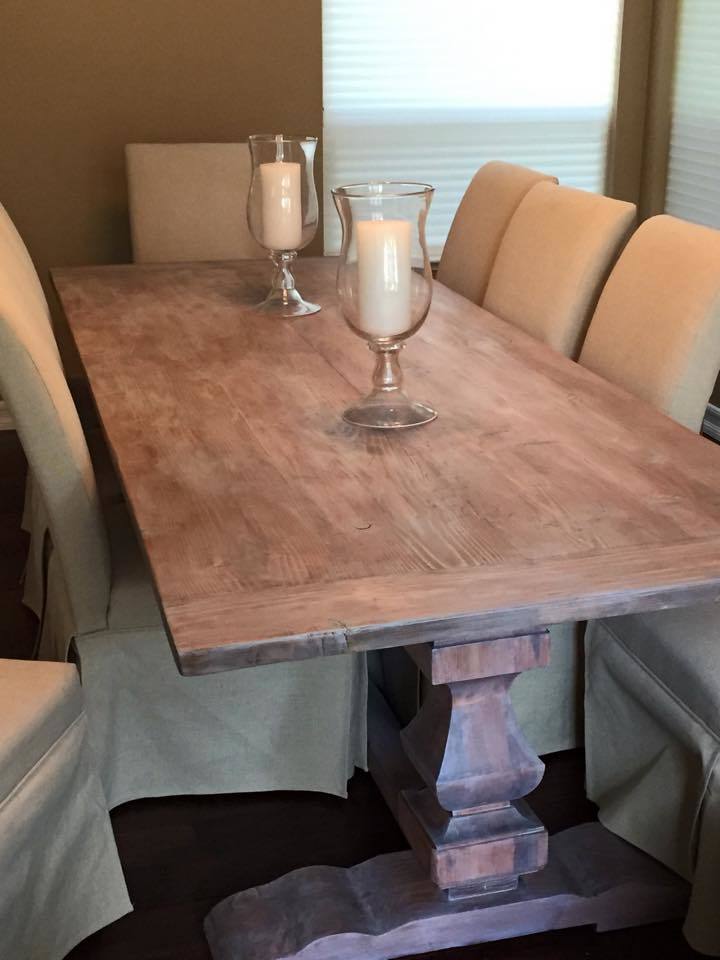
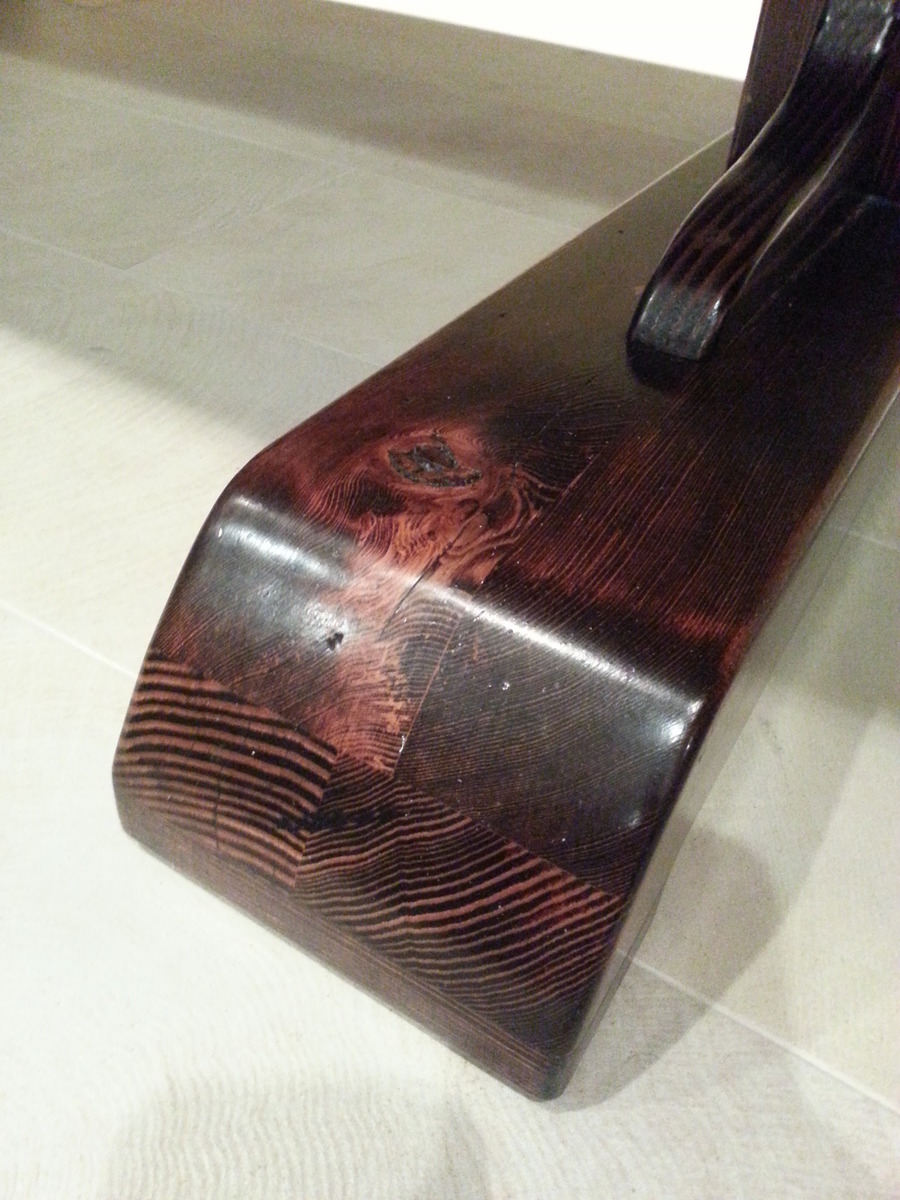
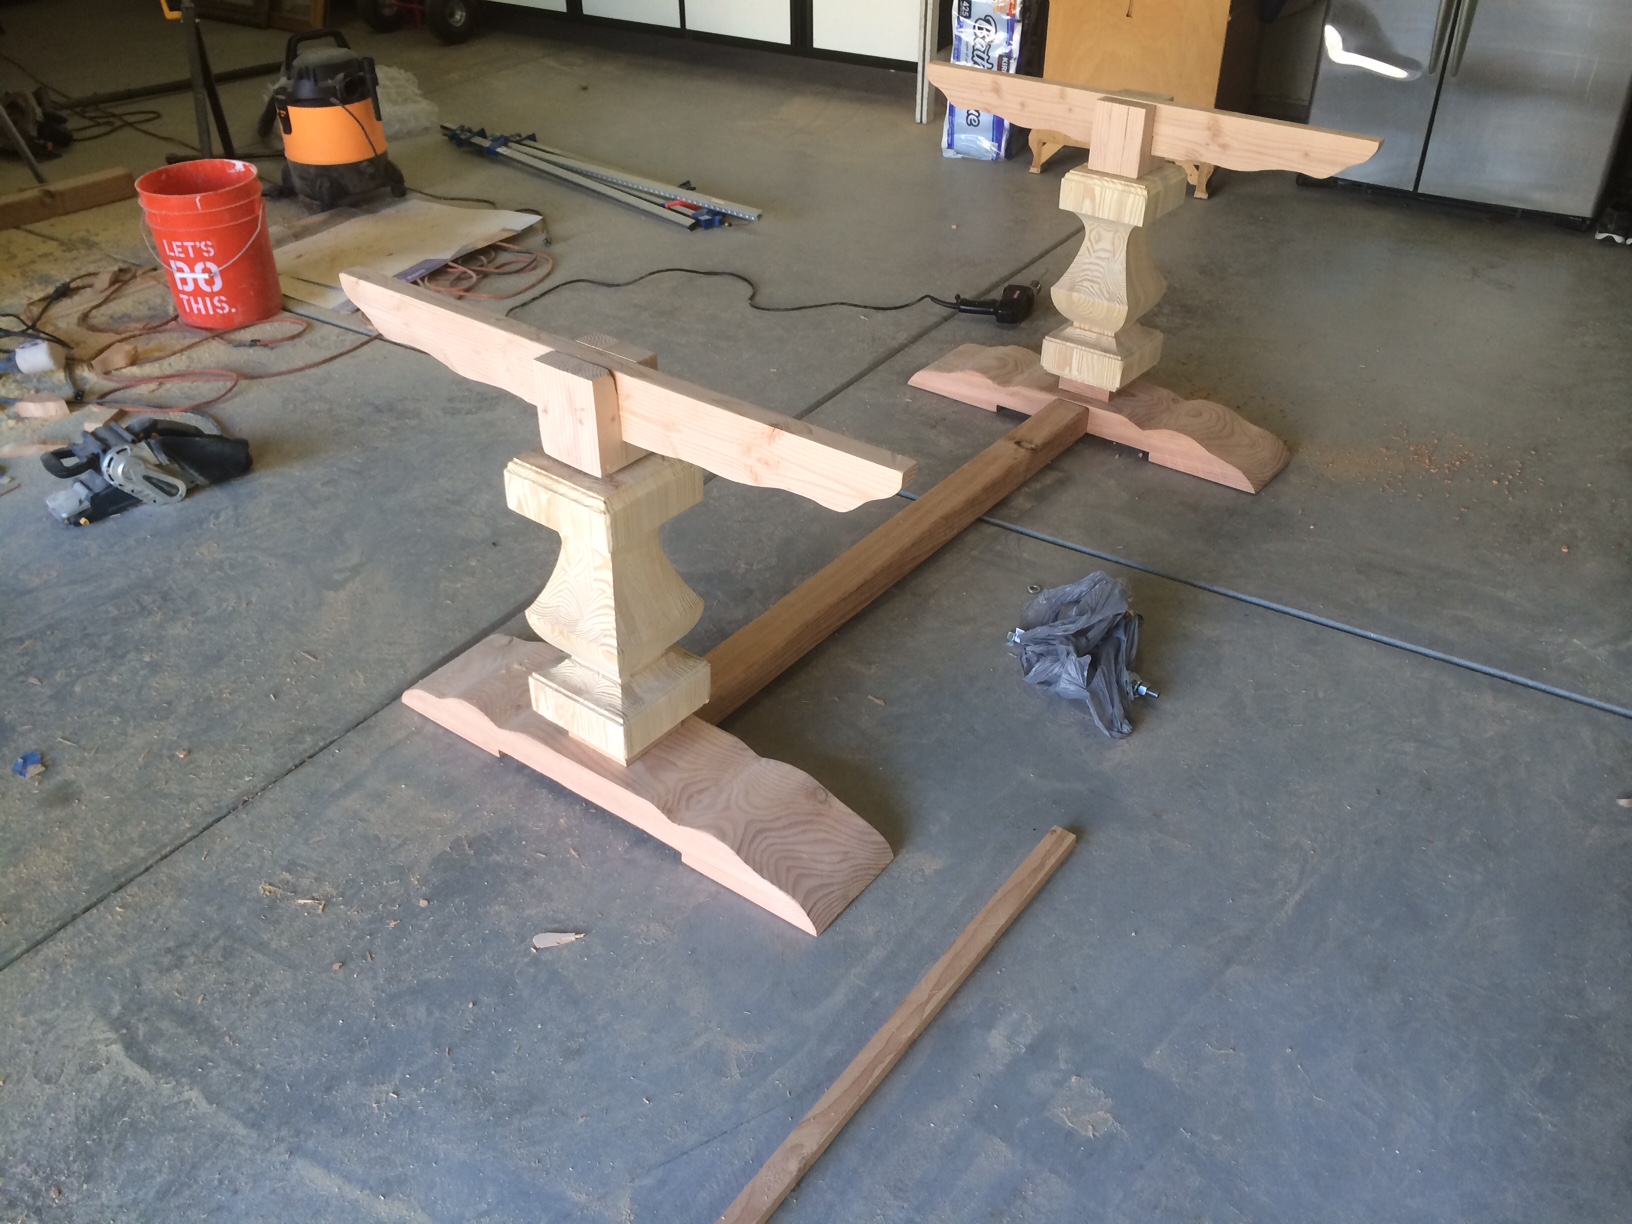
Was inspired to build this table after a visit to R.H. with my wife and realized a table this size and style would cost us about $3000.
So I decided to build myselft. With a little help from Ana's plans and my own modifications, I think I got pretty close to the Restoration Hardware Trestle Table.
I bought the pedestals at Osbornewood.com and asked them not to drill the leg holes and ordered it in pine. That was the most expensive part of the table, about $380 a piece. The rest of it is Douglas Fir.
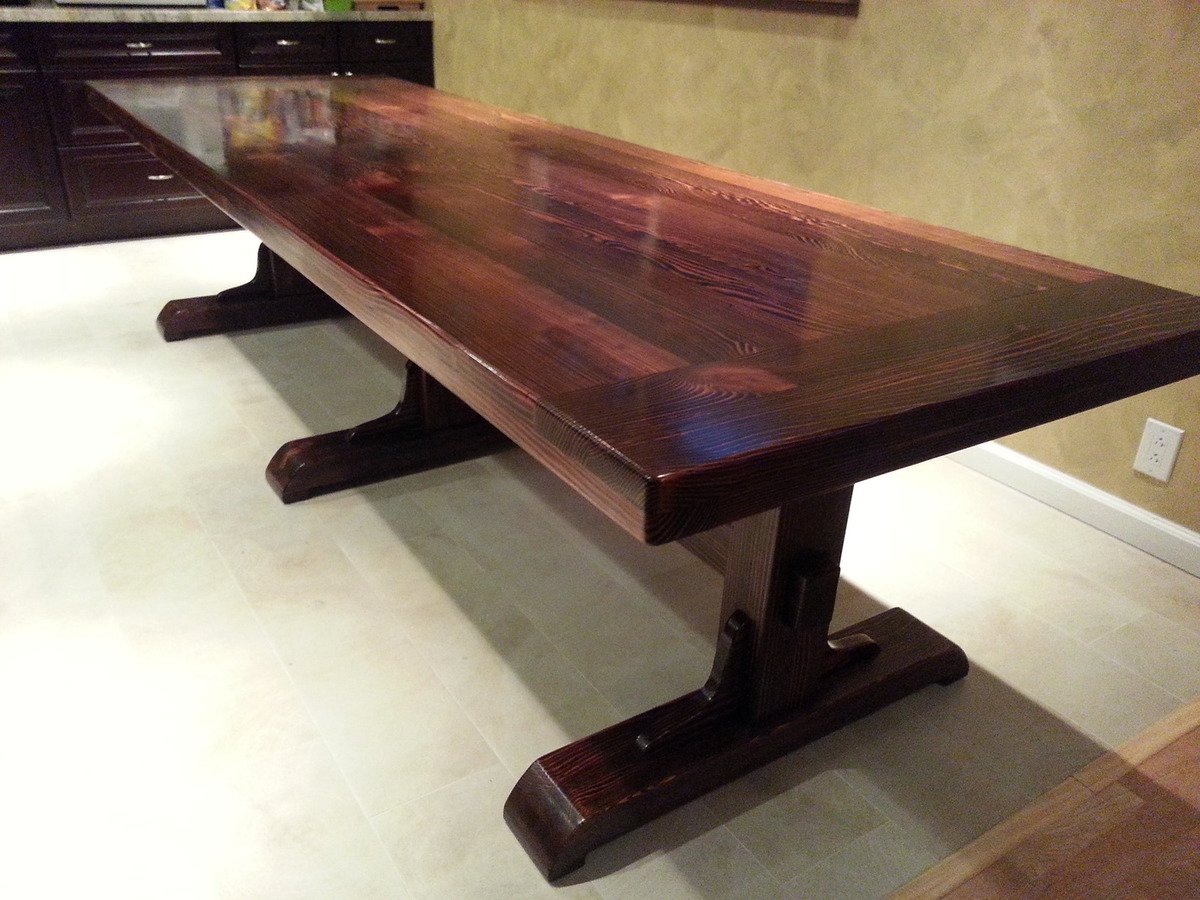
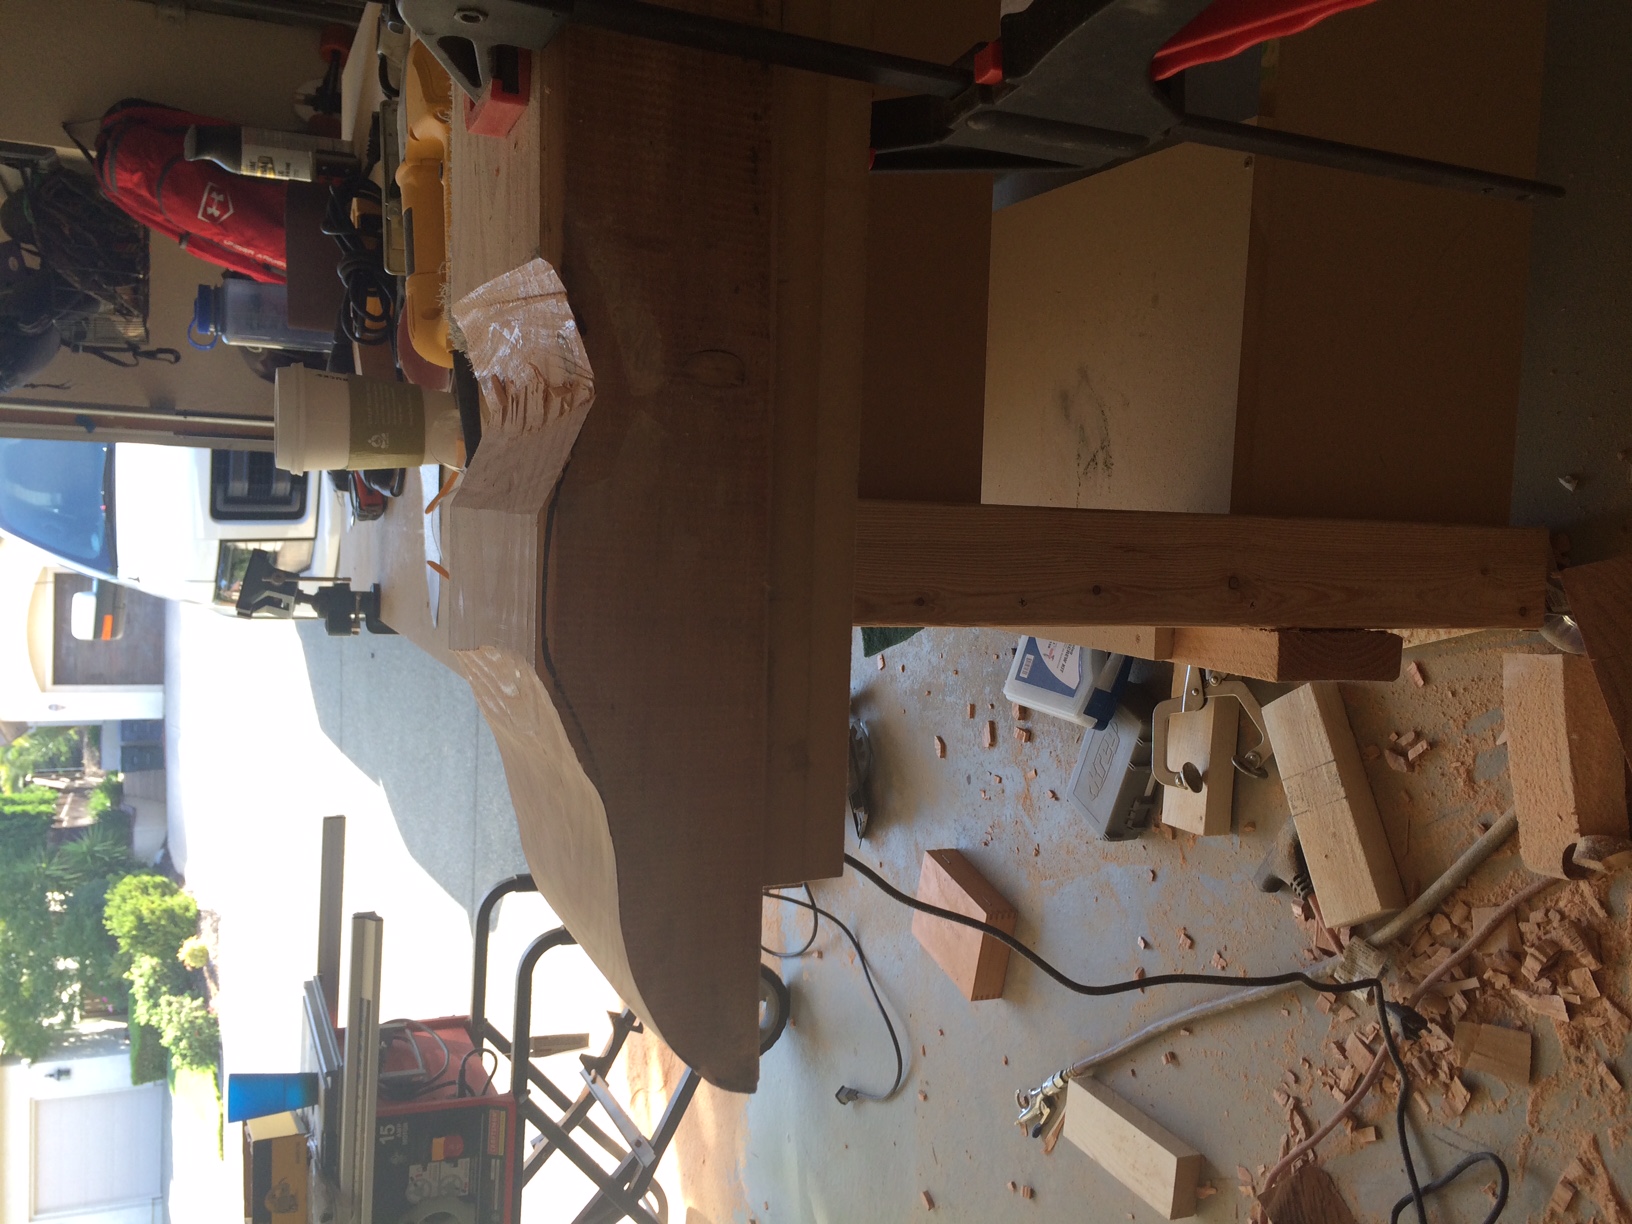
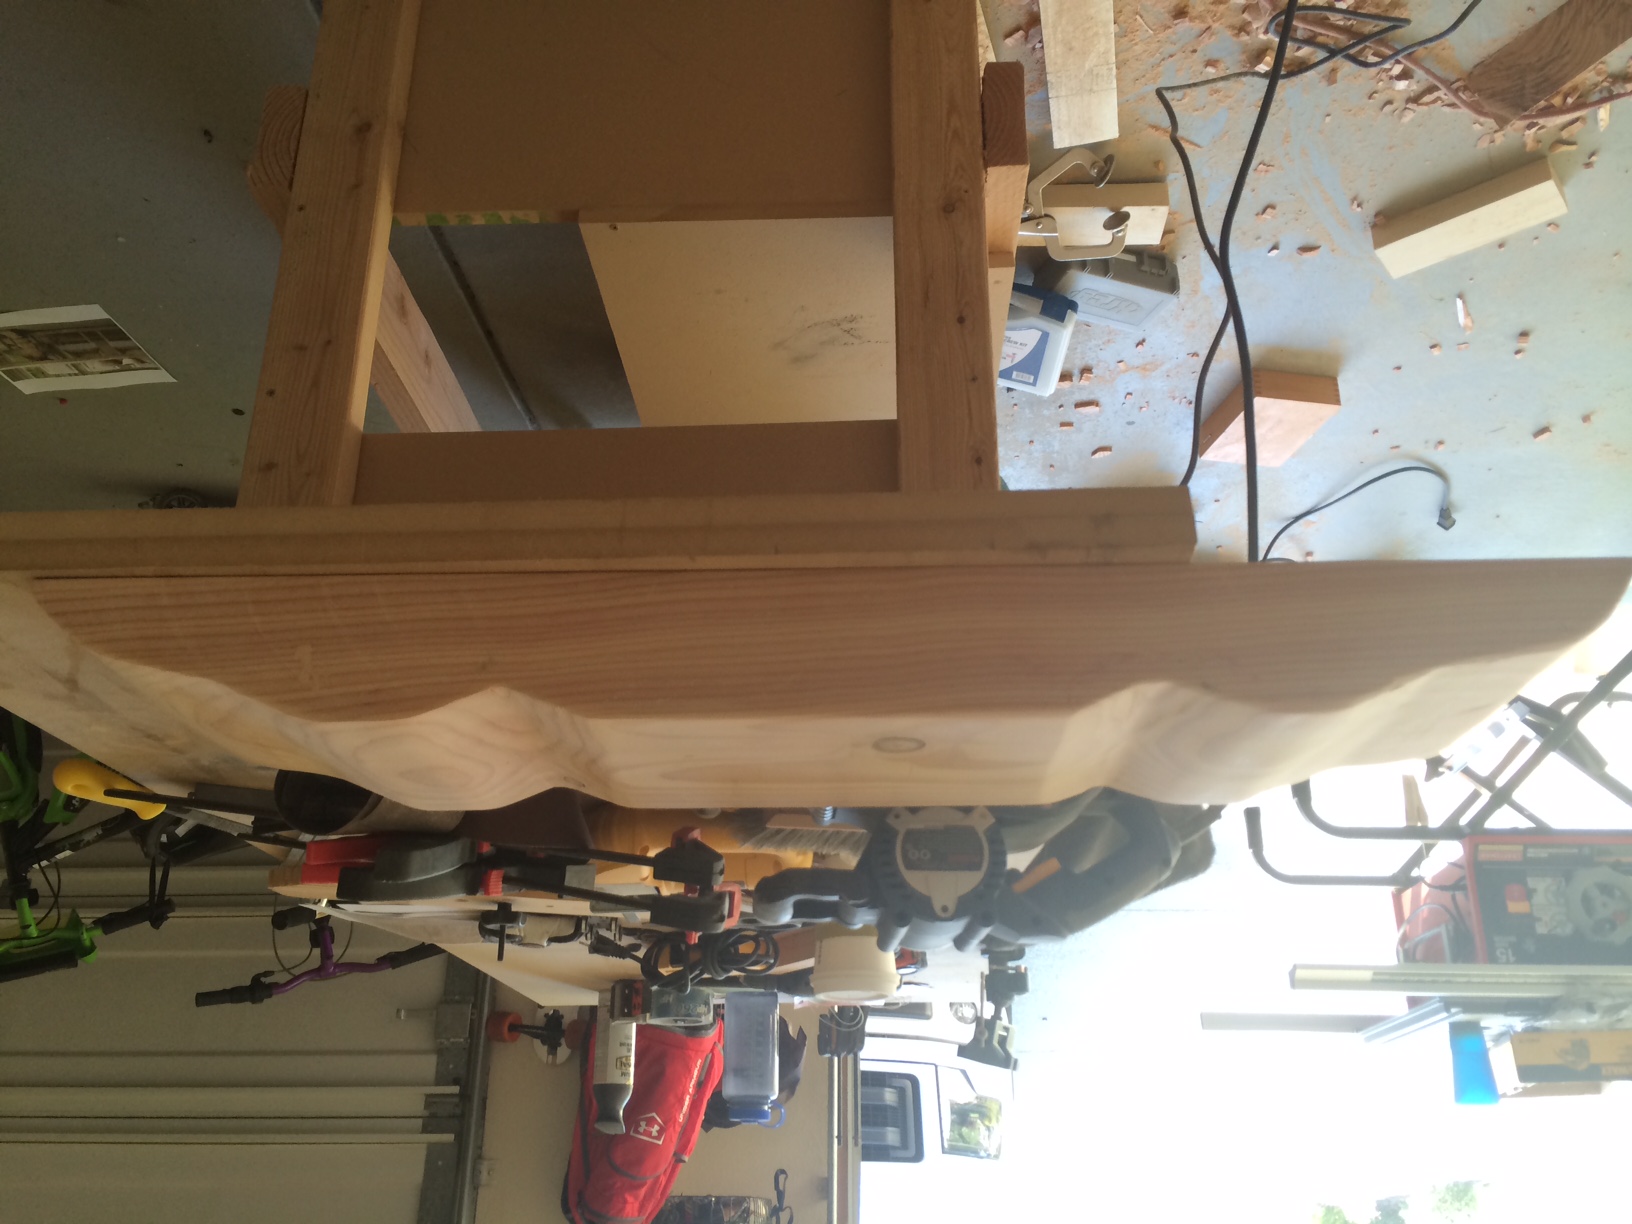
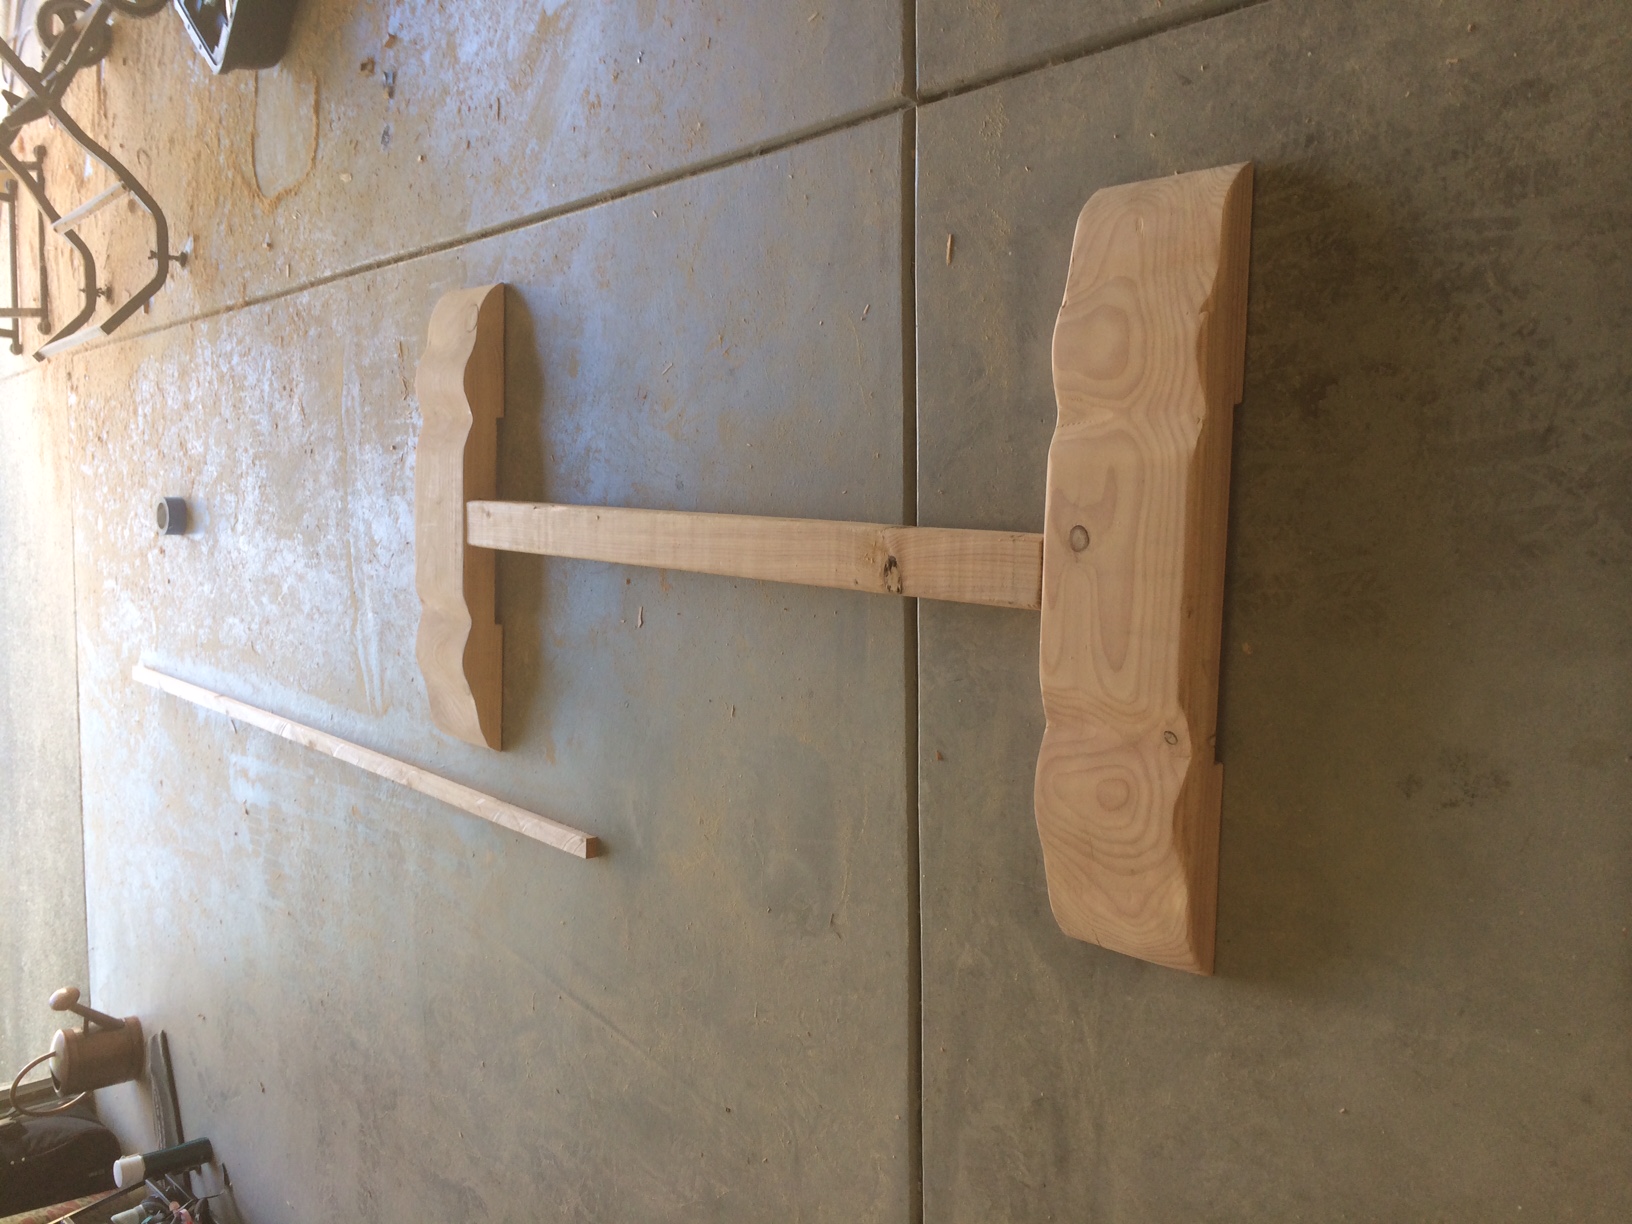
I created a template and shaped the feet myself out of 4X8 beams. I was able to use my jig saw and a Bosch 10" blade. I made the rough cut with it and then sanded the rest of the shape using my belt sander.
The pedestals have a hollow center and were too tall so I cut them down and created plugs and glued them into the pedestal. The bottom plug has a large threaded rod and is glued and bolted to the feet, and the top plug was used to create the horizontal supports for the table top. I too created a template for this and used a jigsaw to cut the shape.
I then used Minwax American English, then weathered oak, (Like in one of Ana's stain posts). I then wanted to give it that weathered/reclaimed wood look so I add a fair amount of the White Pickling stain. I wanted a little less of the red tones and more brown...I may sand and refinish it someday, but it is in the house for now and can't wait for our first dinner party.

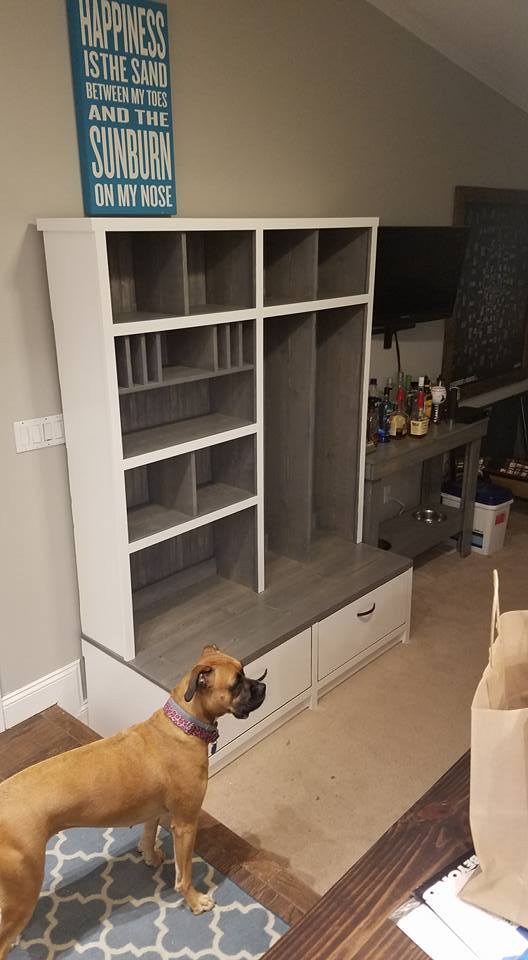
Absolutely loved this build! And it has become so handy to have for all the storage it provides.
I adjusted the original plans.


Comments
Ana White Admin
Sat, 10/10/2020 - 10:45
Lot's of storage!
Great job, thanks for sharing!