Large Bench
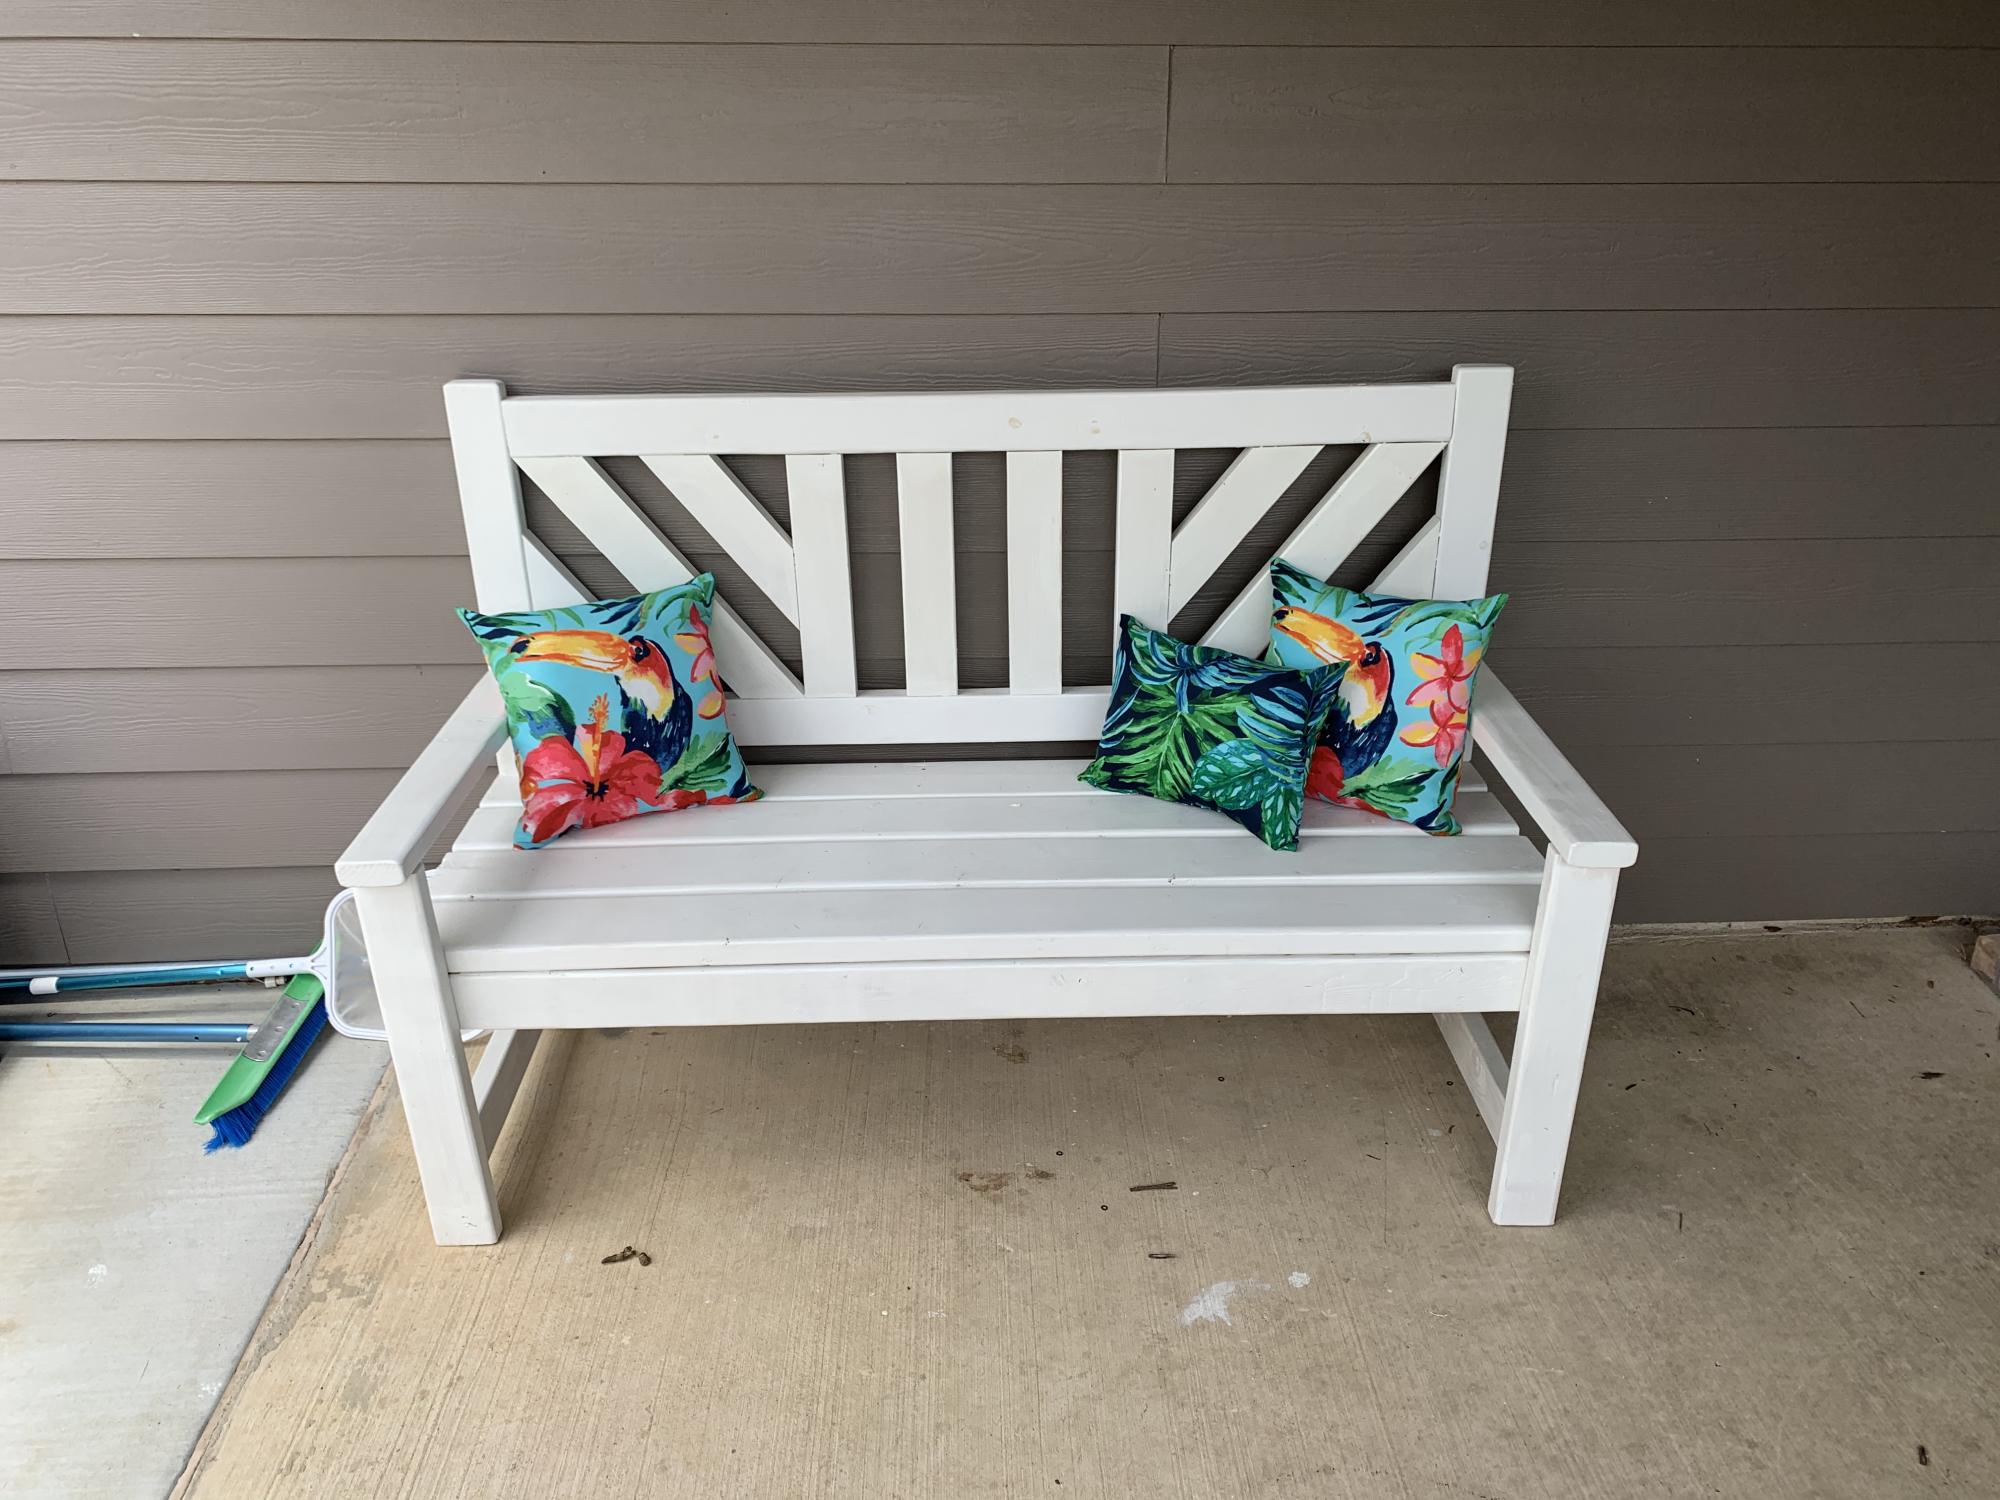
This bench is freaking huge but I love how it turned out. A lot of pocket holes for the back so it took a lot of putty to cover those up but that’s to be expected. Proud of this one.

This bench is freaking huge but I love how it turned out. A lot of pocket holes for the back so it took a lot of putty to cover those up but that’s to be expected. Proud of this one.
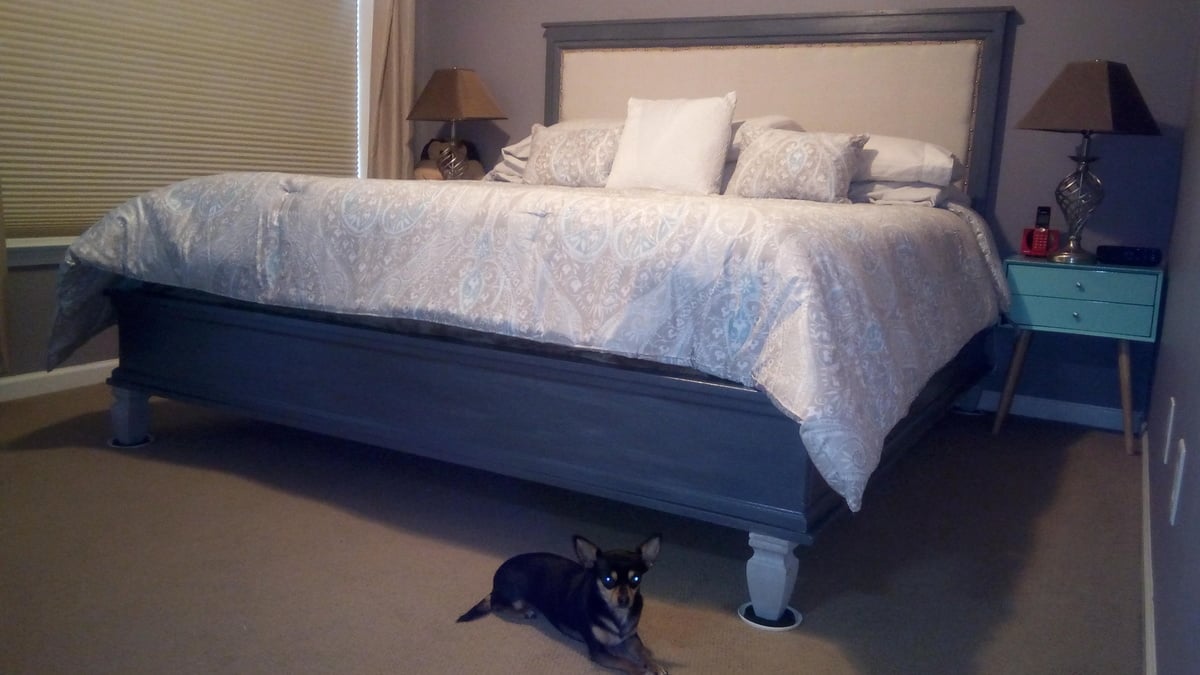
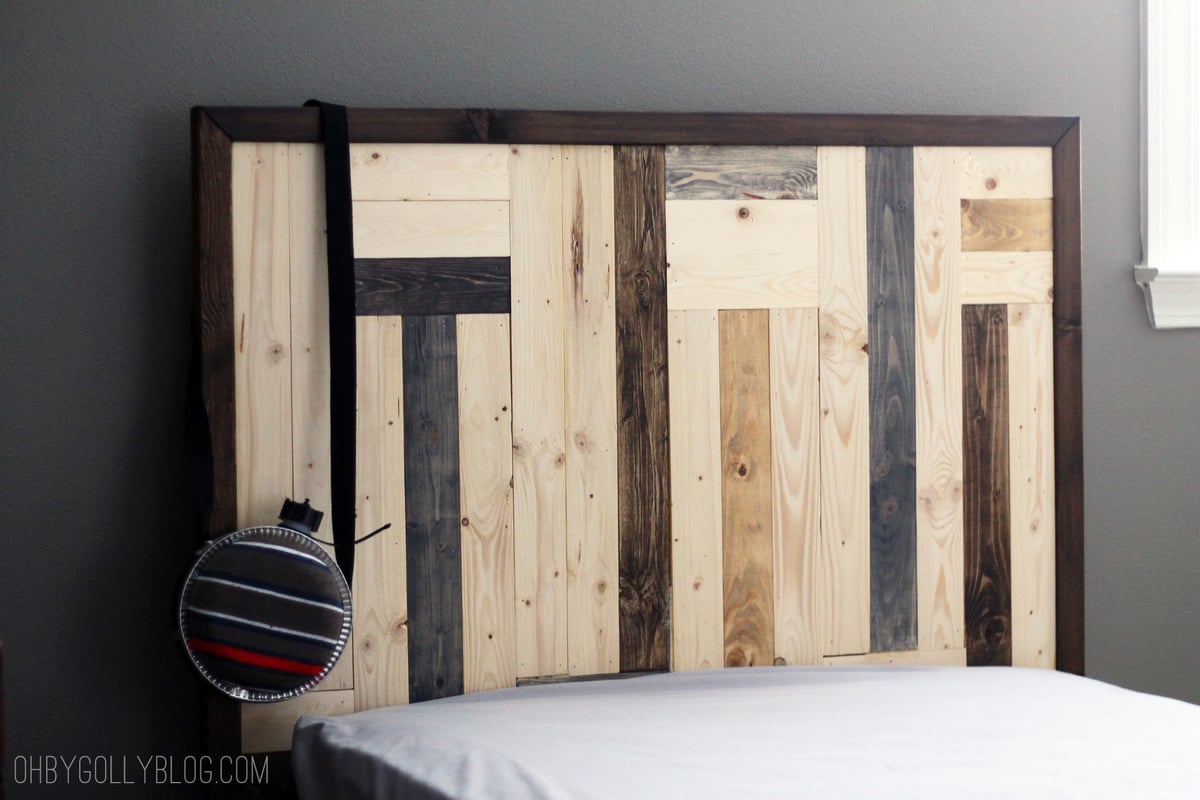
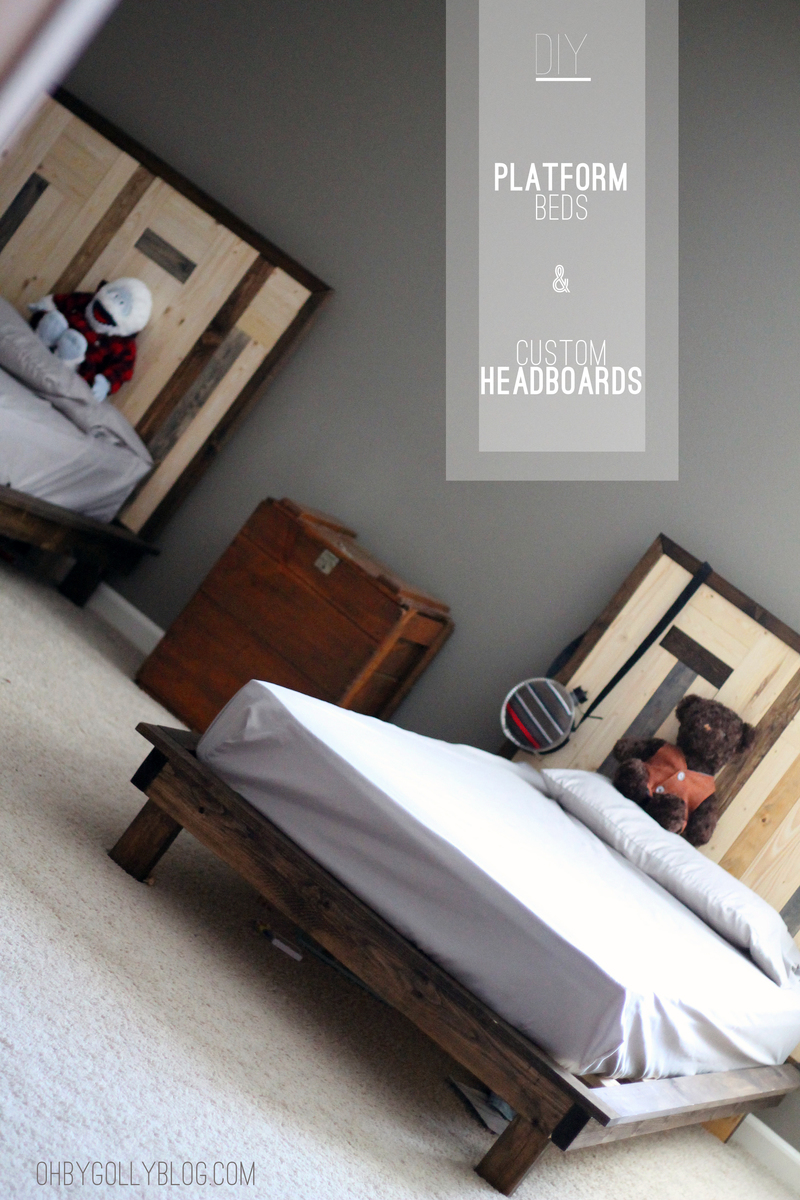
This project was a task! The bed is huge so we brought it into the room in pieces and put it together inside. Pretty happy with the outcome
Thu, 10/11/2018 - 11:16
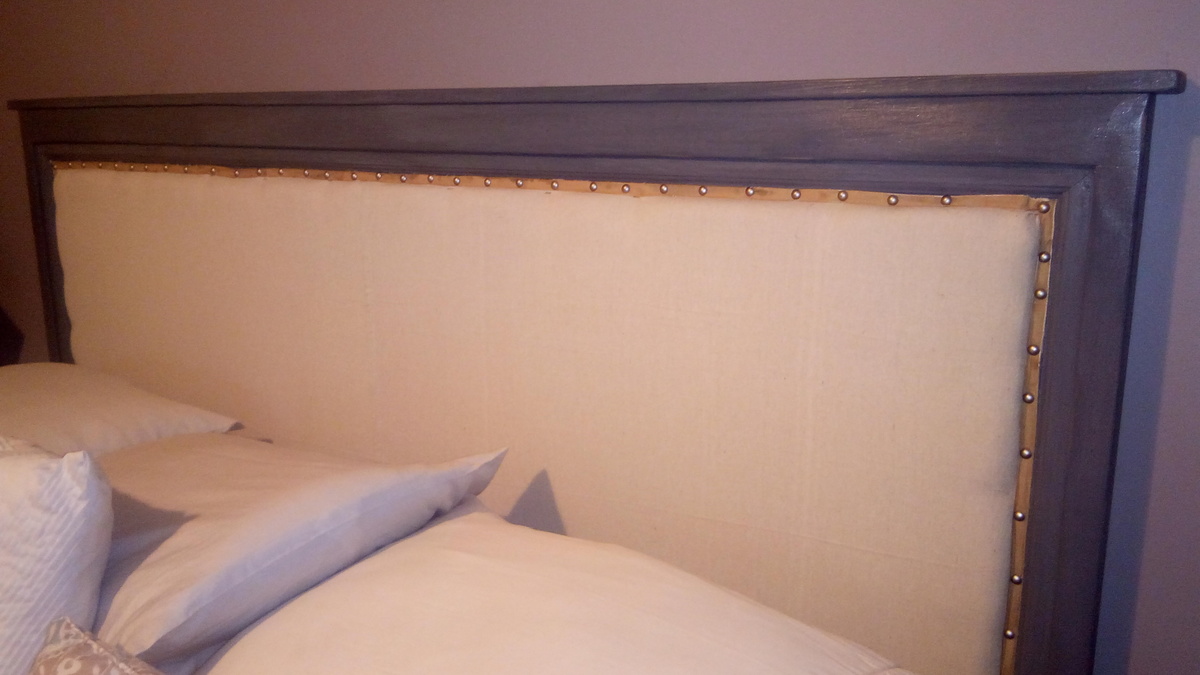
So sorry my response is so overdue, I didn't get a notification. The headboard is actually mounted to the wall with https://www.homedepot.com/p/Hangman-42-in-Heavy-Duty-Mirror-and-Picture…
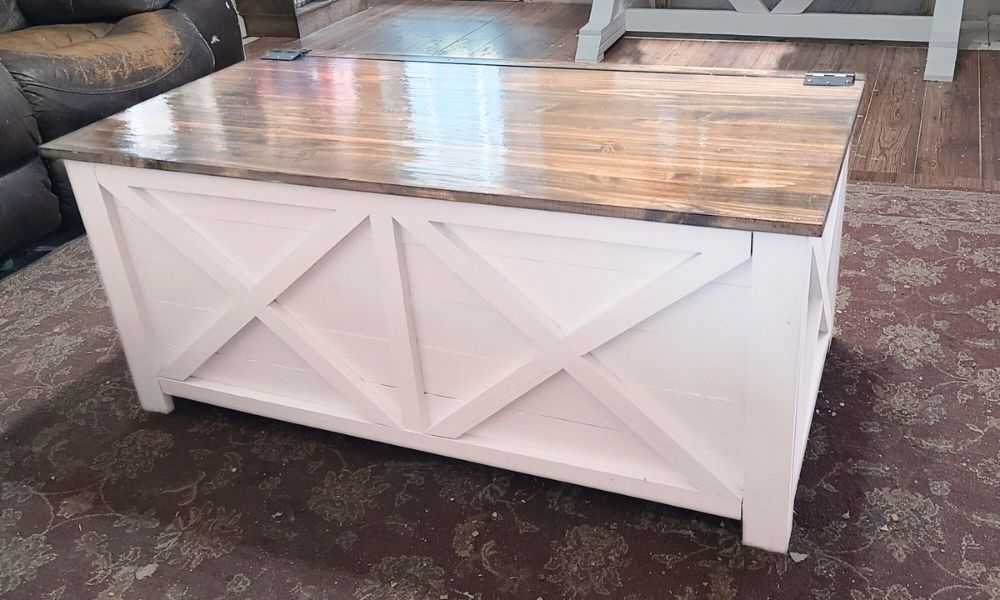
Made a few adjustments to the farmhouse toy box. Made it a little bigger and added Xs out of 1x2s around it to give it a little extra something! I'm using it as a storage coffee table and I couldn't be happier with it! So in love!
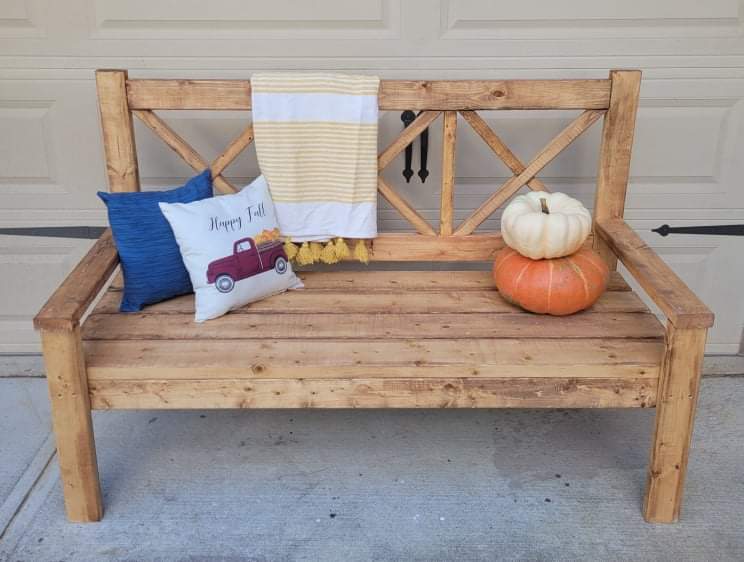
What a fun project, and great bench. We had someone ask us if we could make this for them, and we decided to make 2 while we were at it.....now we just need to find a spot big enough for the second one at our house. Loved this build, and look forward to sipping coffee on it on a cool morming.
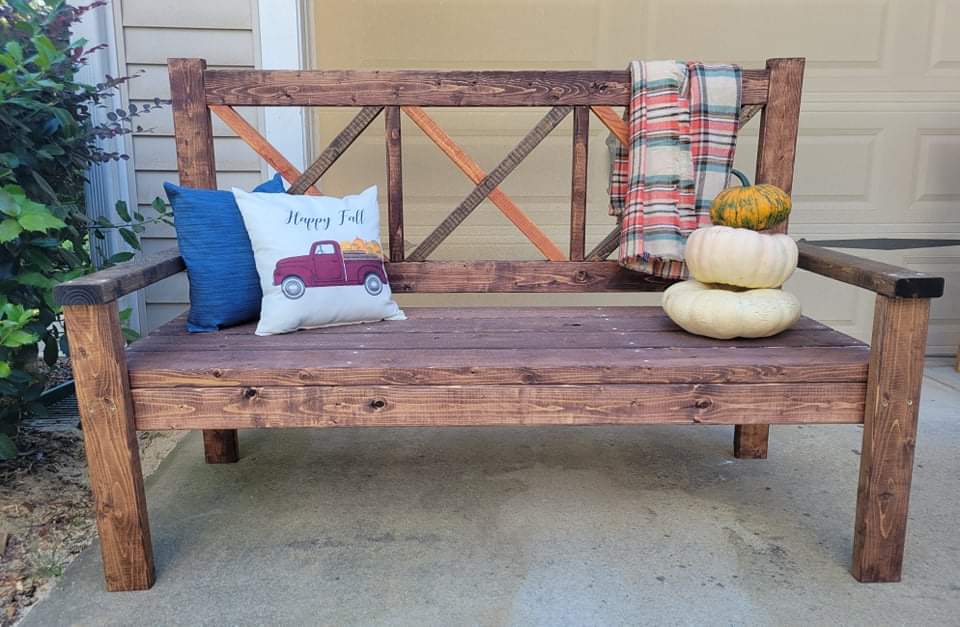
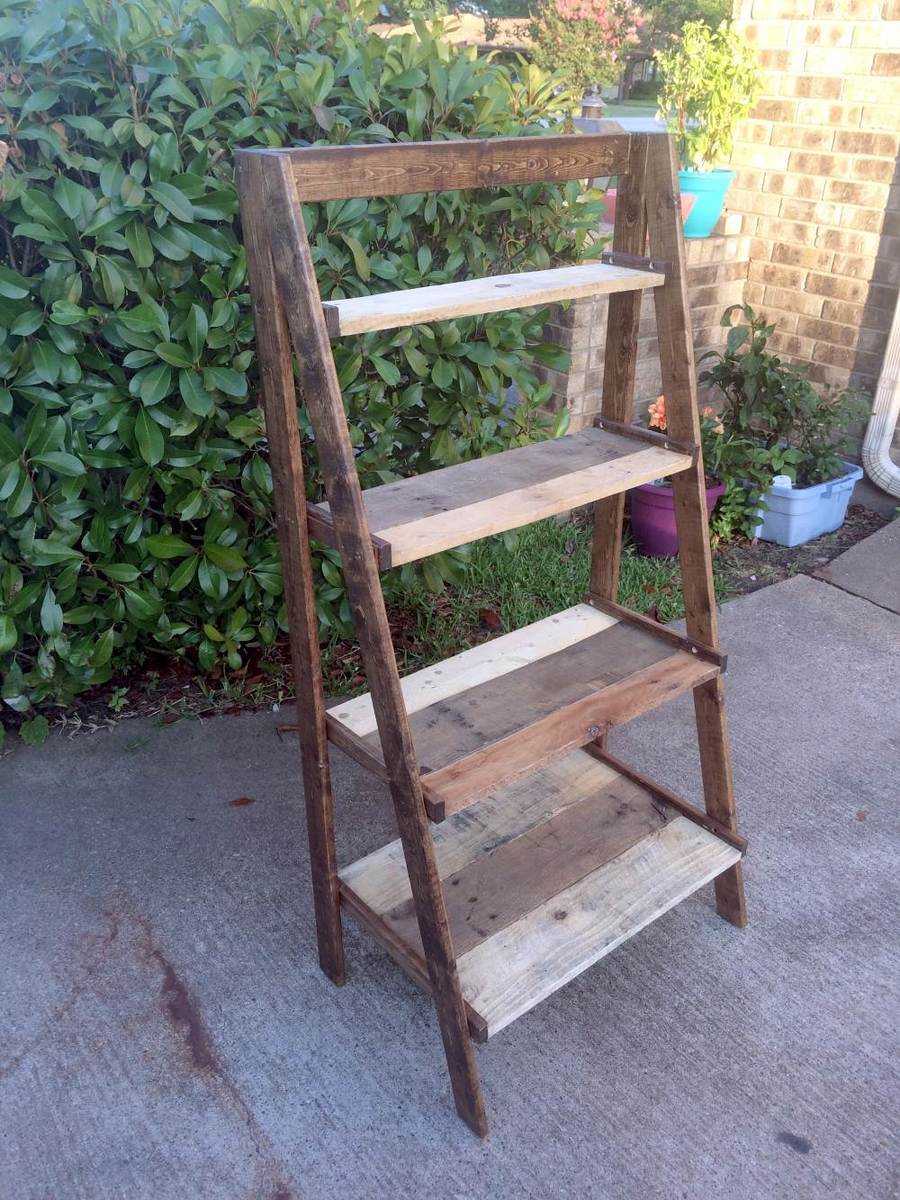
Made this one with shelf edges/trim just on the sides. Somehow my top shelf didn't span the width so had to add a little shim on each side but it all worked out! We had all the pallets and used 1x3s for the frame because some of my pallet wood was heavy hardwood. It was not without frustration because I was working with uneven/warped pallet wood but it hits the rustic look. I am happy with how it turned out.
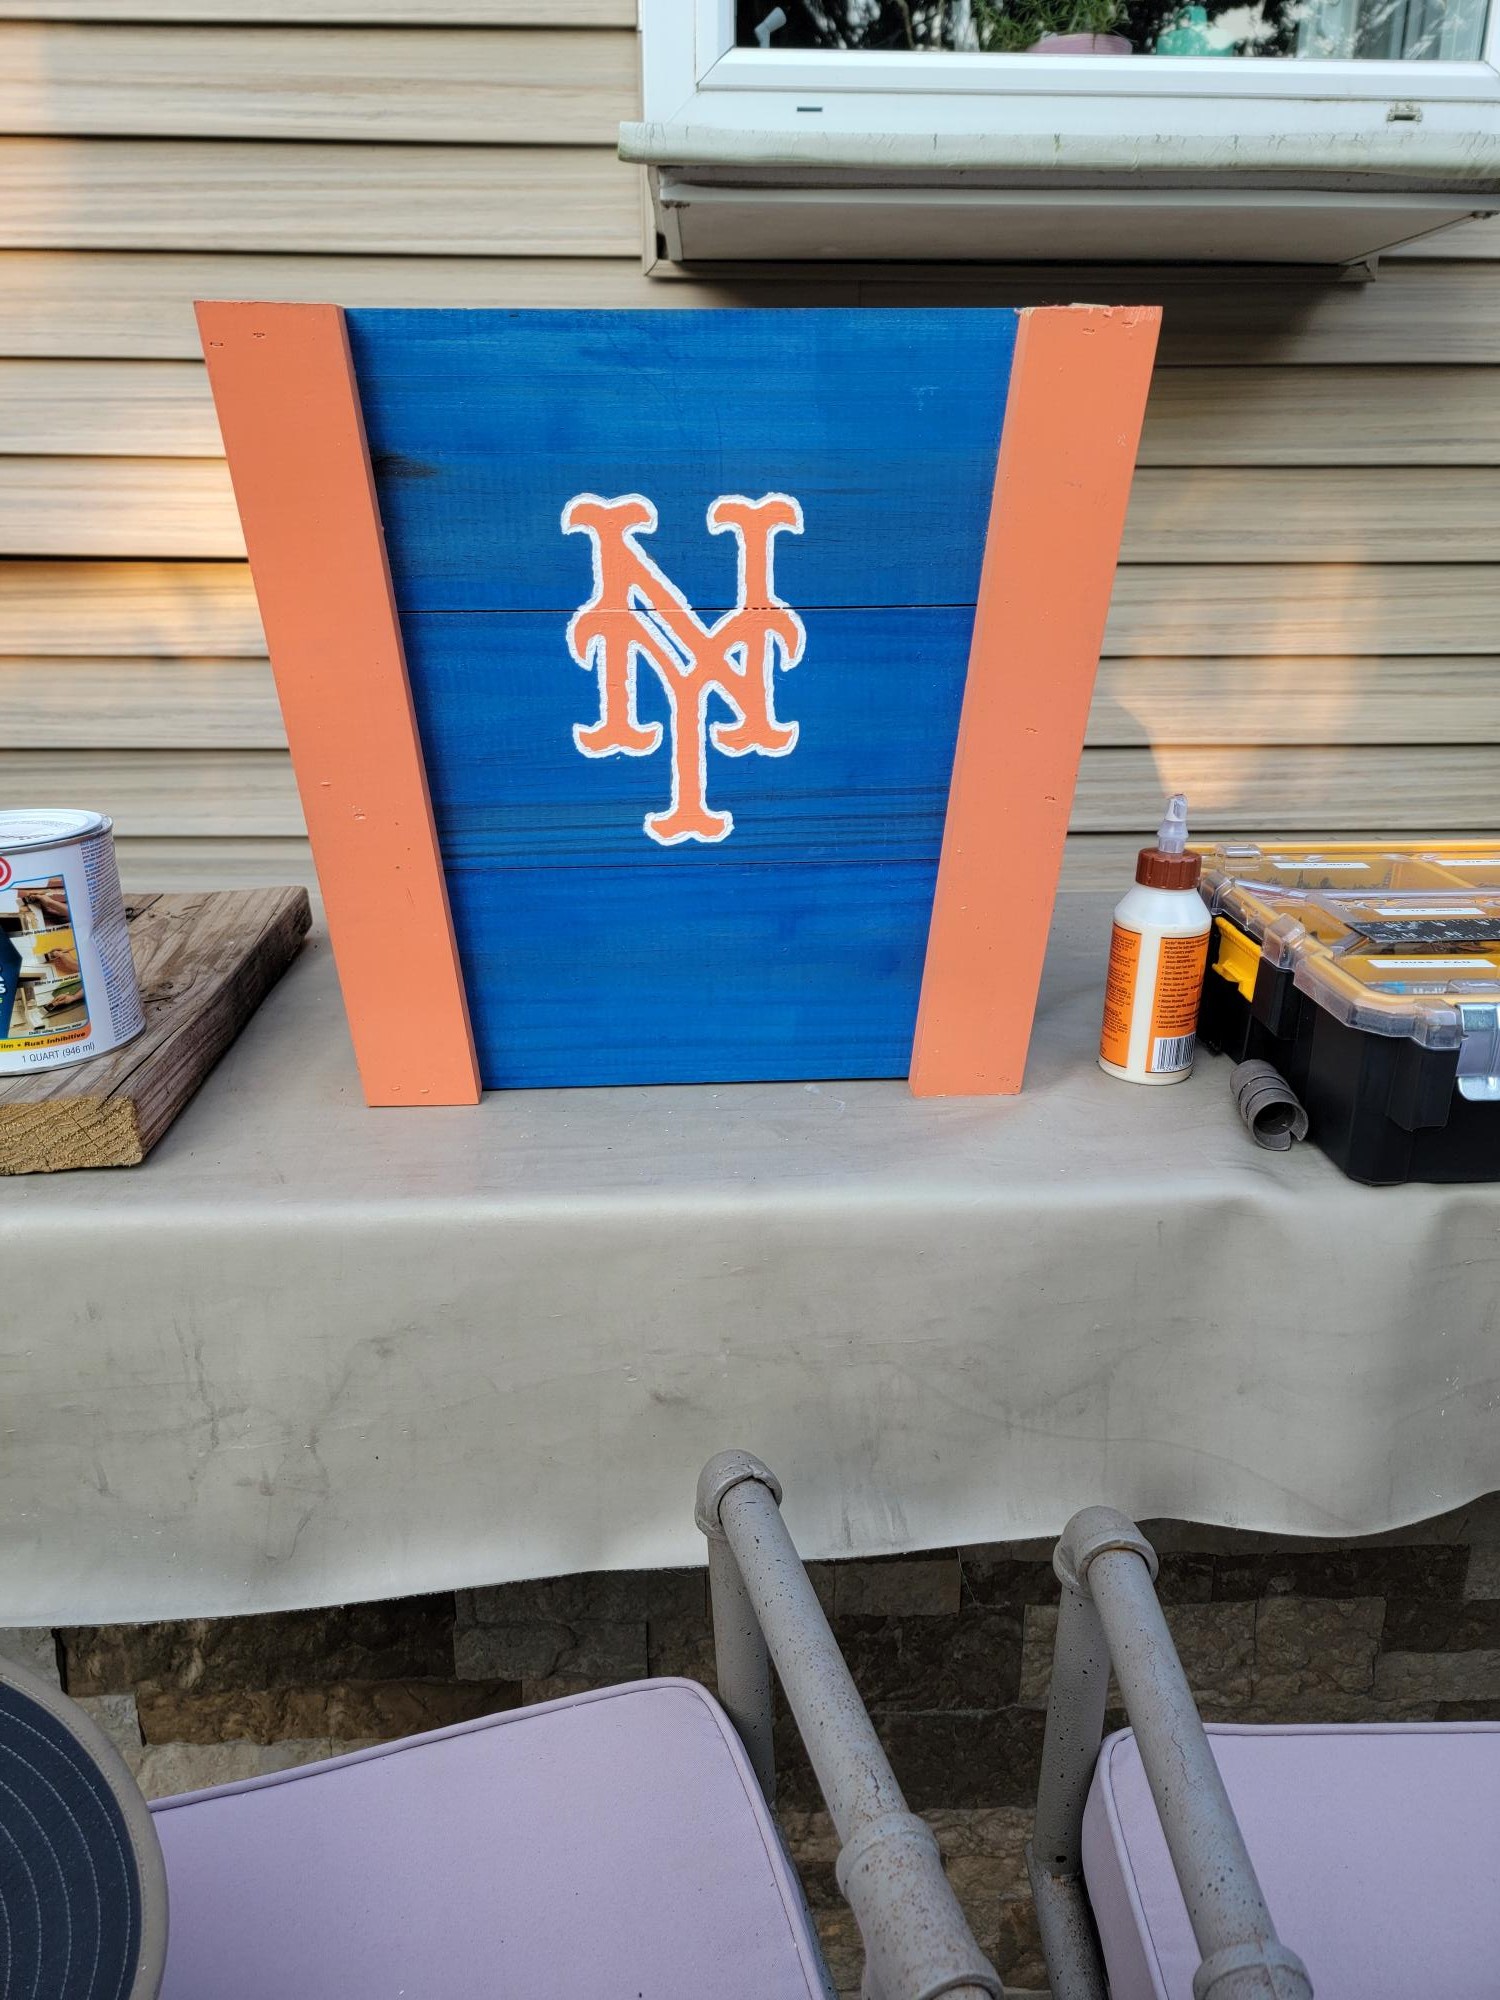
Started with the 3 plank plans from Anna's project, then dremeled the logo.
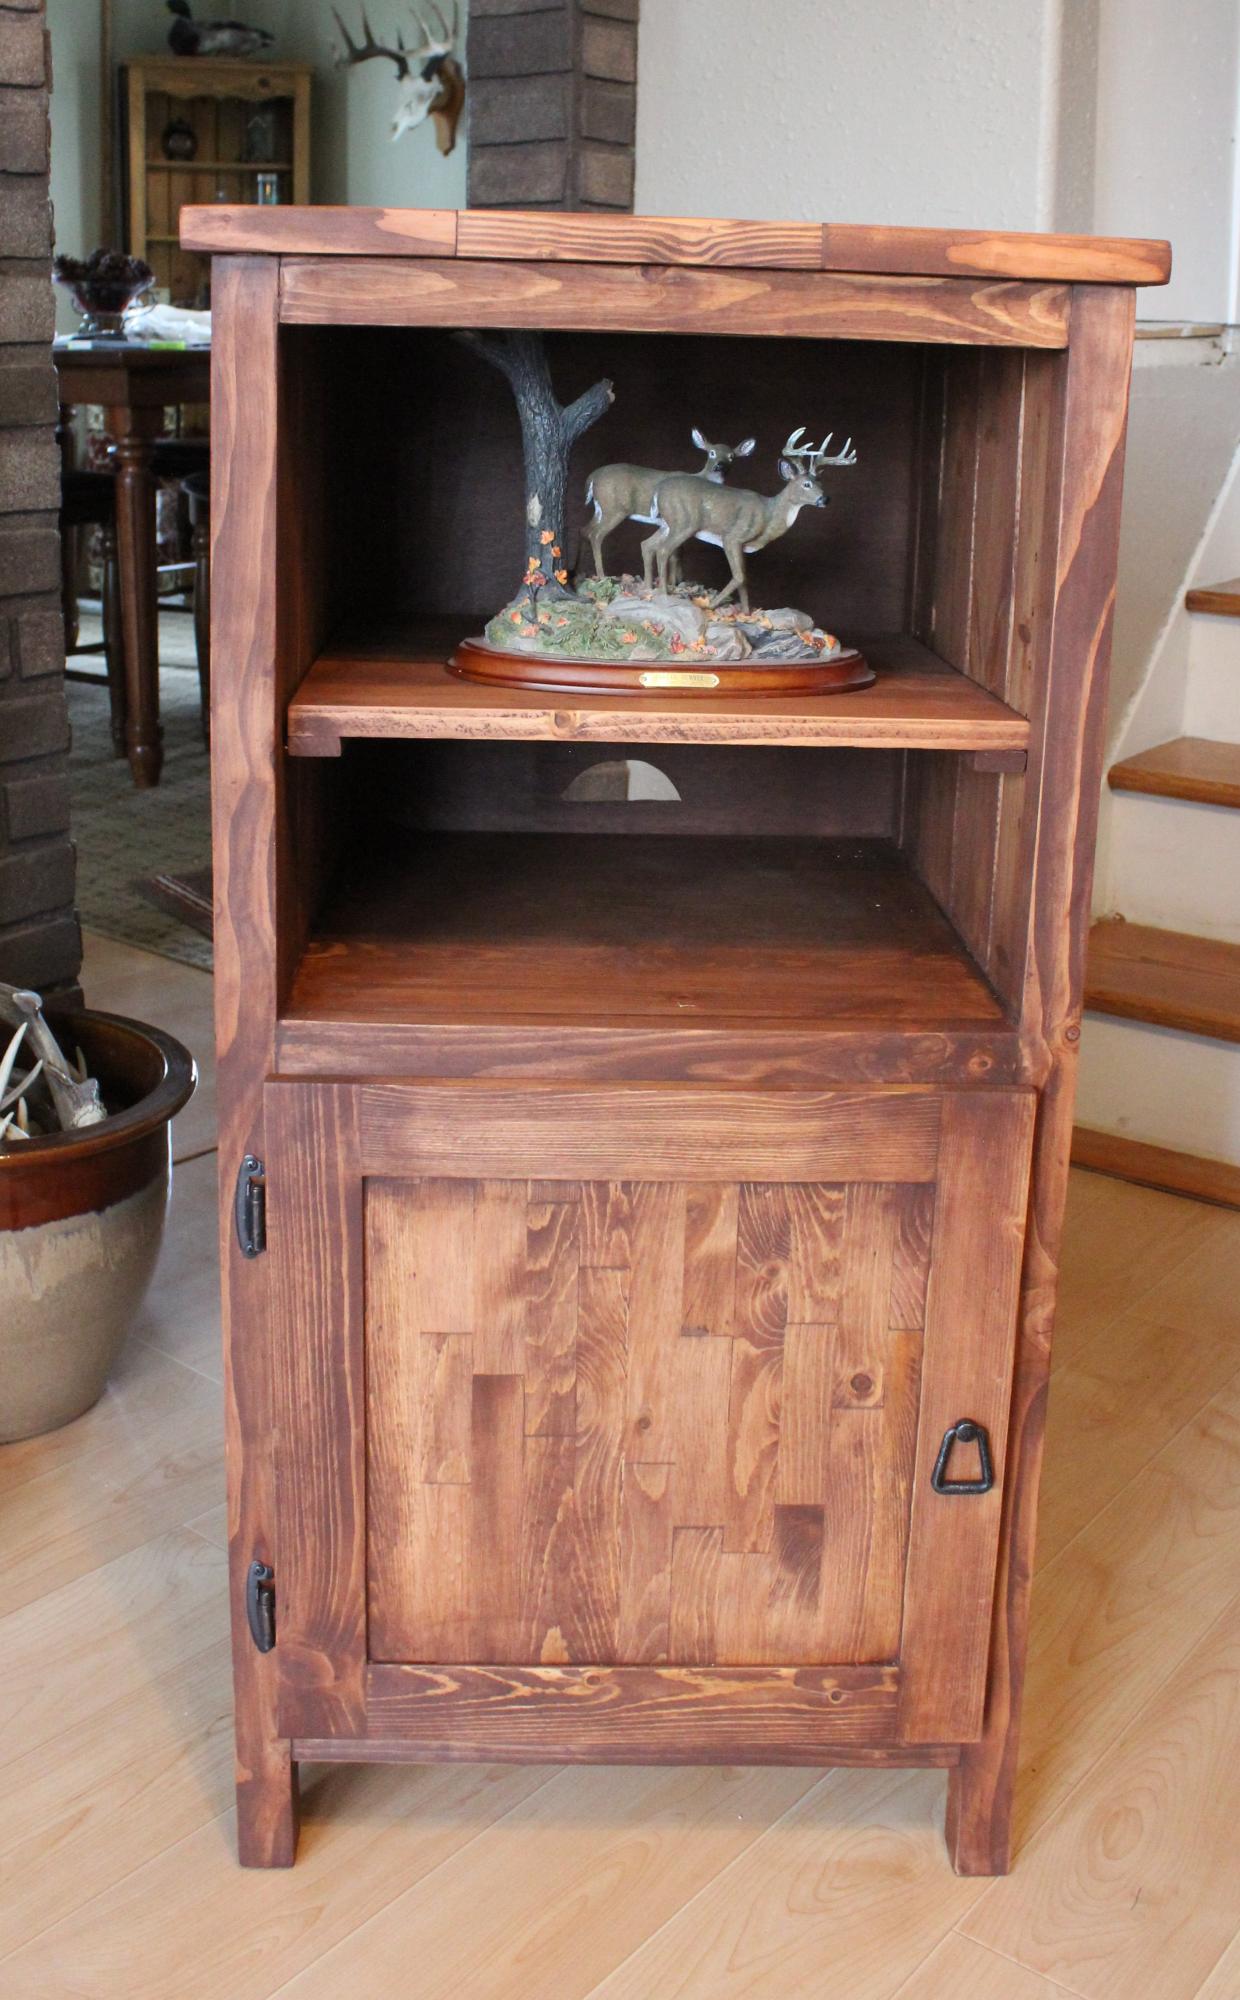
I built this Benchmark Storage or Media Tower as I was looking for some thing to put beside our fire place. I wanted to build some thing that would be about the same height as our fire place so it stands 40 1/4" tall. Also, this month was a the contest to build things from scrap lumber so I took 2 x's that I had laying aorund and cut them down to 1 1/4", then glued together and planed down to make butcher block for the door and top. The sides were actually built from 1 x 6. I also ended up purchasing a Kreg shelving jig so that I could change the shelving. A tool that I highly recommend if you are going to build alot of these projects with shelving. One down and one to go!
Mon, 03/30/2015 - 20:45
Thanks Ana....fun looking at your website and have built many things the last two years from this...and finally signed up w a profile! Thanks again!
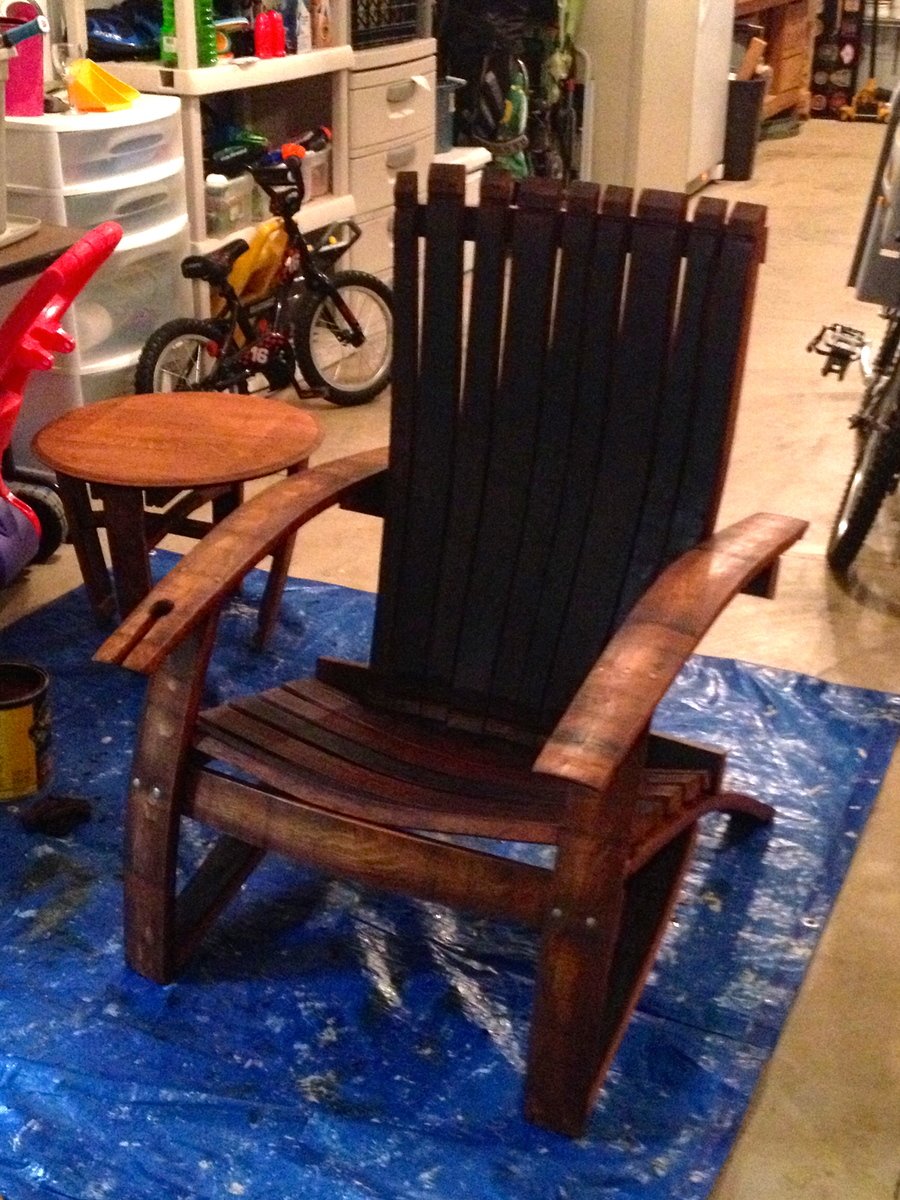
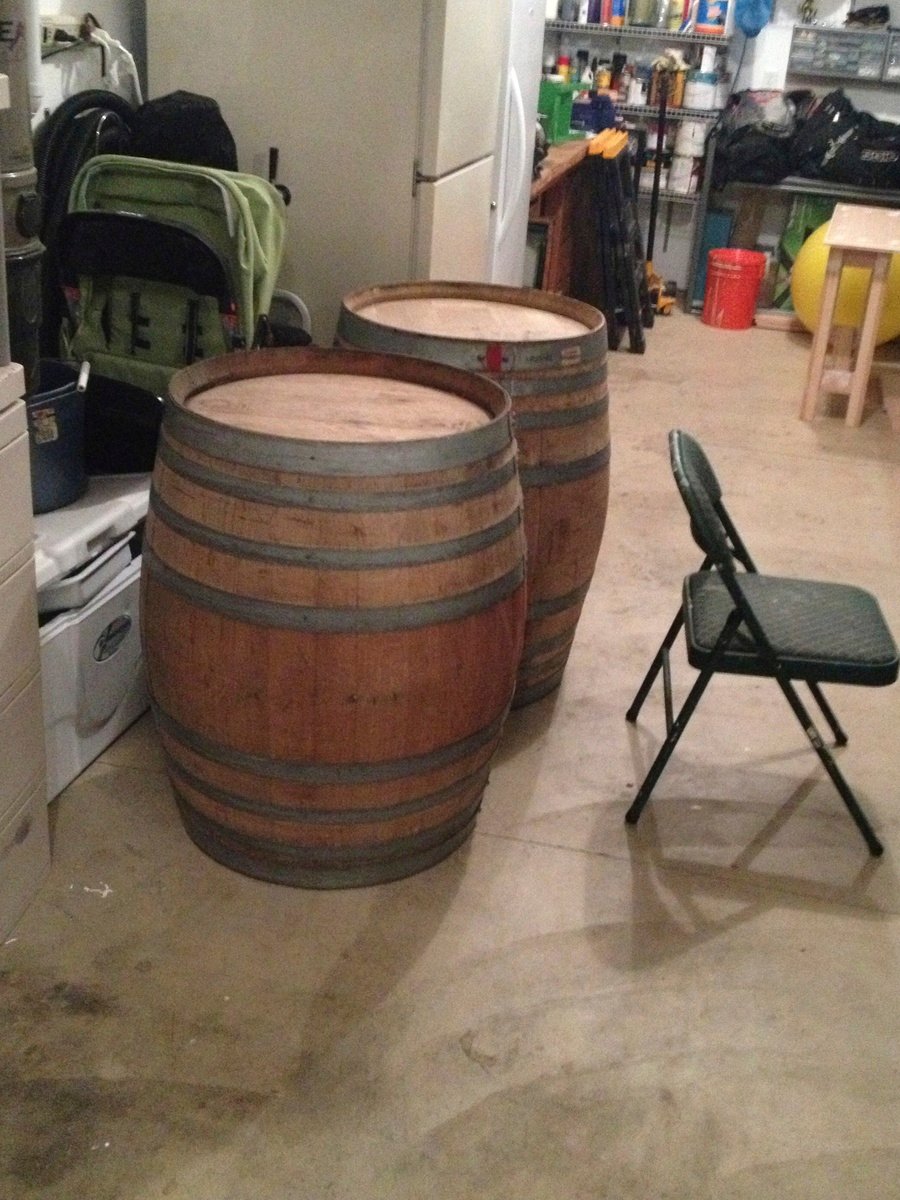
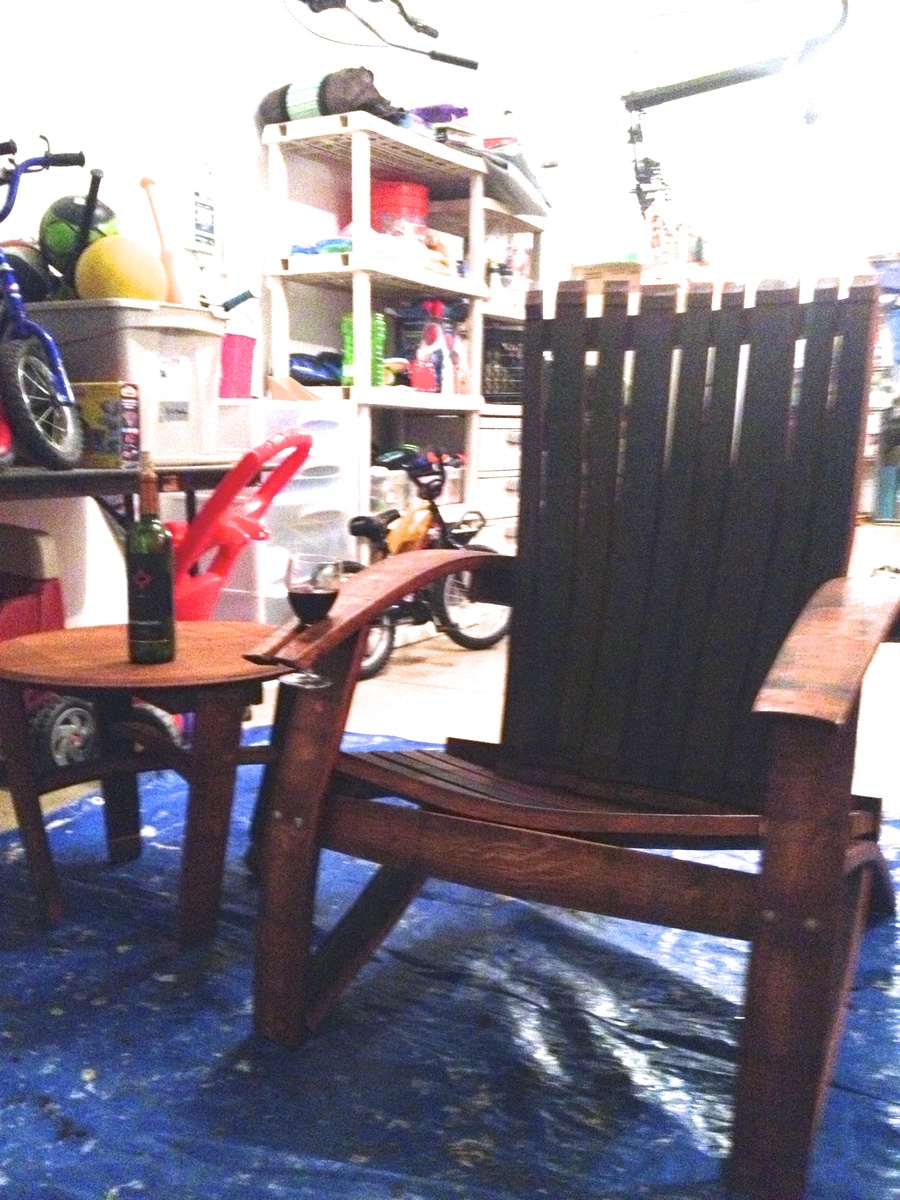
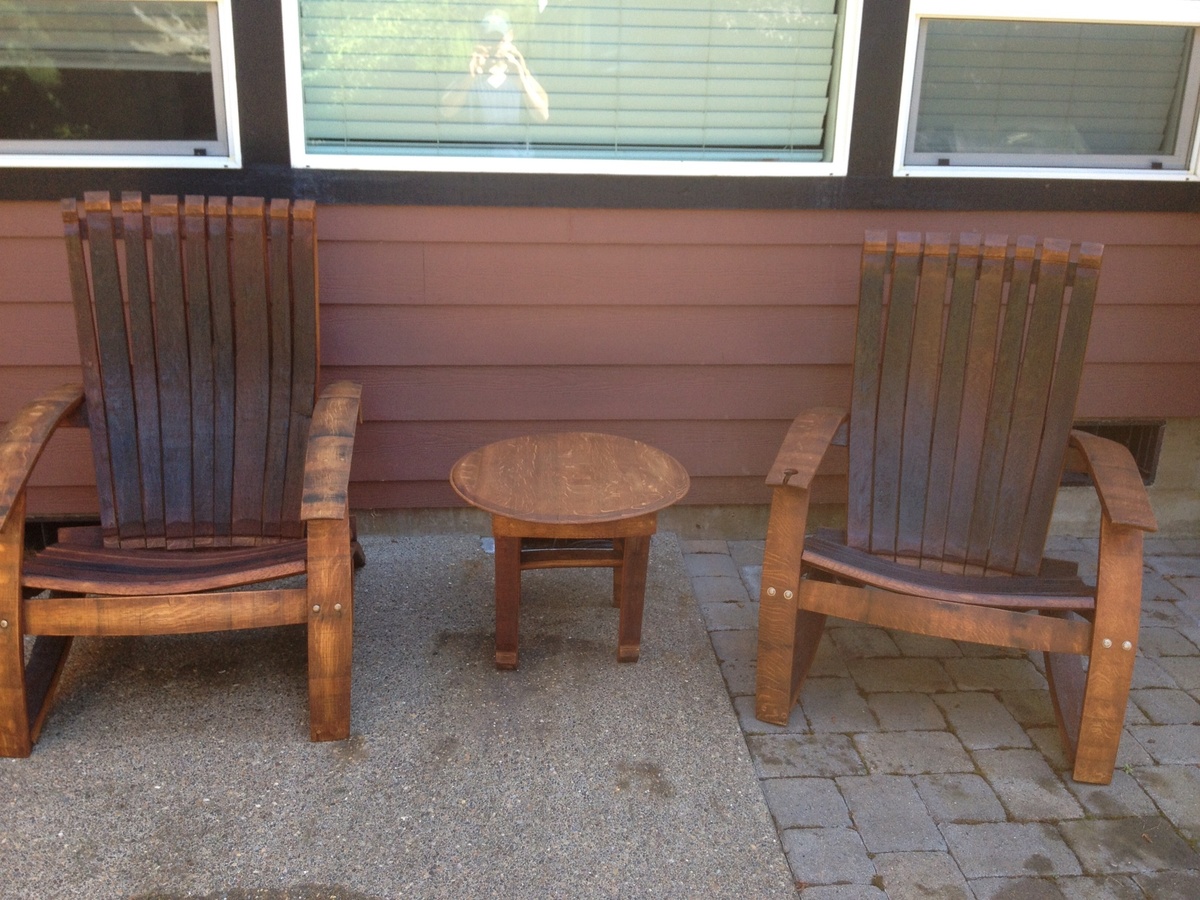
I got some oak barrels from a local vineyard and decided to try making some adirondack chairs. It was harder than I thought it would be, but well worth it!! The stain was a little darker than I thought it be, but it's rubbing off on me!
predrill, predrill, predrill, and learned a valuable lesson in predrilling, as solid wood under strain cracks easy when using 2 1/2" deck screws!
I need to whip out the nice camera and stop using my cell phone for finished products!
Sun, 07/21/2013 - 19:45
I did have some plans, which made it easier. I didn't use them as designed i.e. tracing, and I also altered the plans some to my liking. I got the plans for 15$ from here: http://www.gcwoodworks.com/Wine-Barrel-Adirondack-Chair-Large.htm
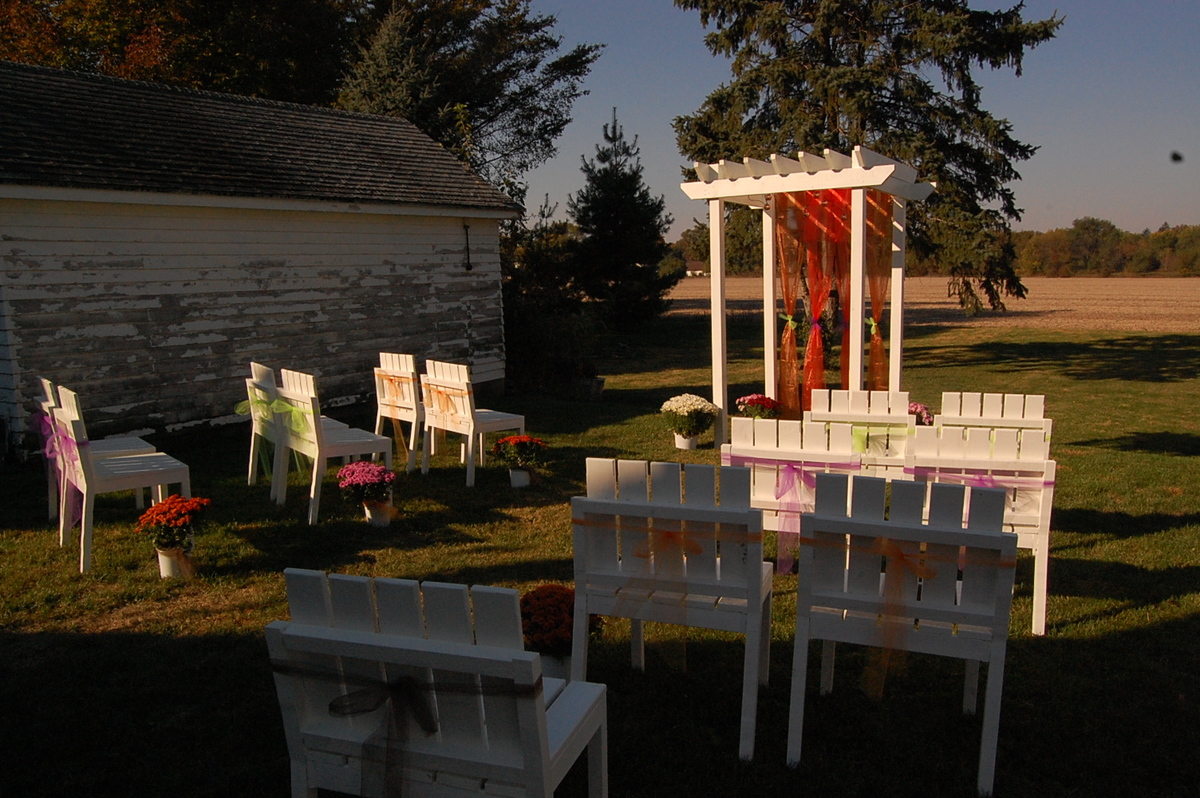
For our wedding we wanted to make seating for our guests. We ended up making 16 chairs total over several weekends. We also made the pergola.
Sun, 07/07/2013 - 16:27
These are so lovely! Congrats on your DIY wedding, the setting is beautiful. Popped over to your blog, your new siding and floors look super too. :)
In reply to Beautiful chairs! by JoanneS
Sun, 07/07/2013 - 18:30
Thank you so much. It has been a labor of love. Being able to have our wedding in our backyard made it so much more special.
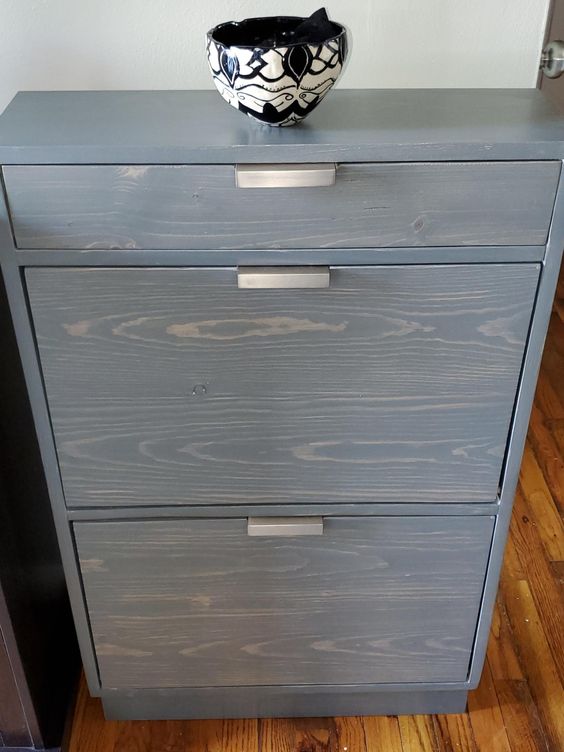
Added drawer and base to Ana's plan
Tue, 12/13/2022 - 12:13
Super cool, love the mods, finish and hardware! Thanks for sharing.
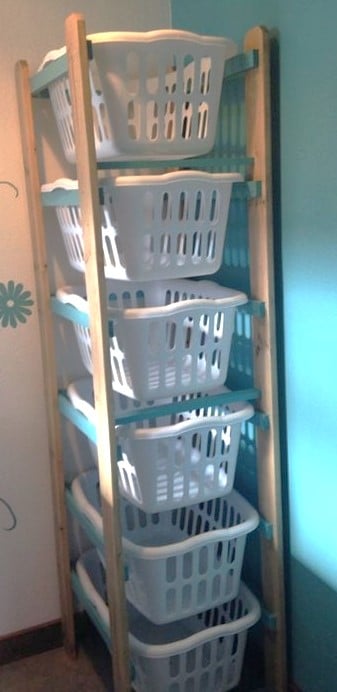
Reader submitted photo
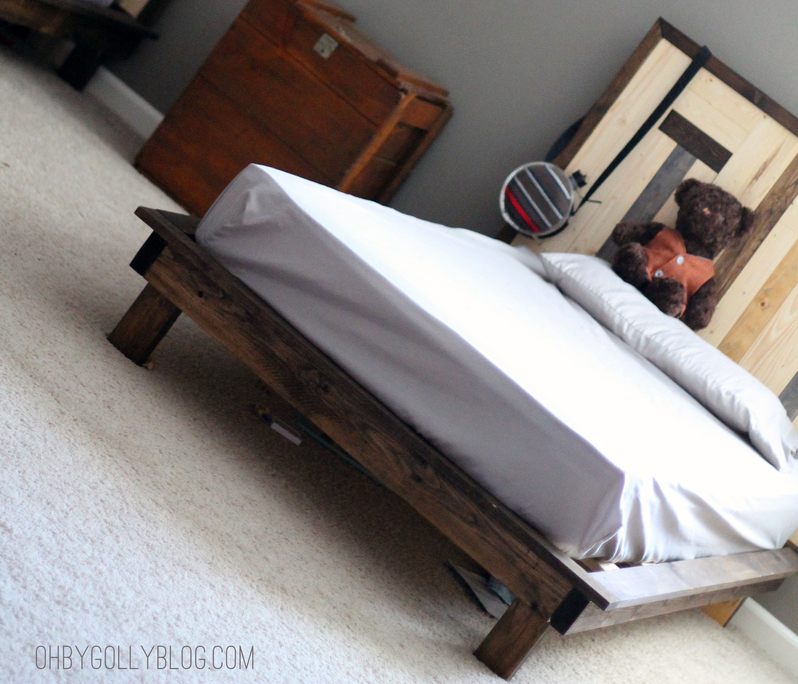
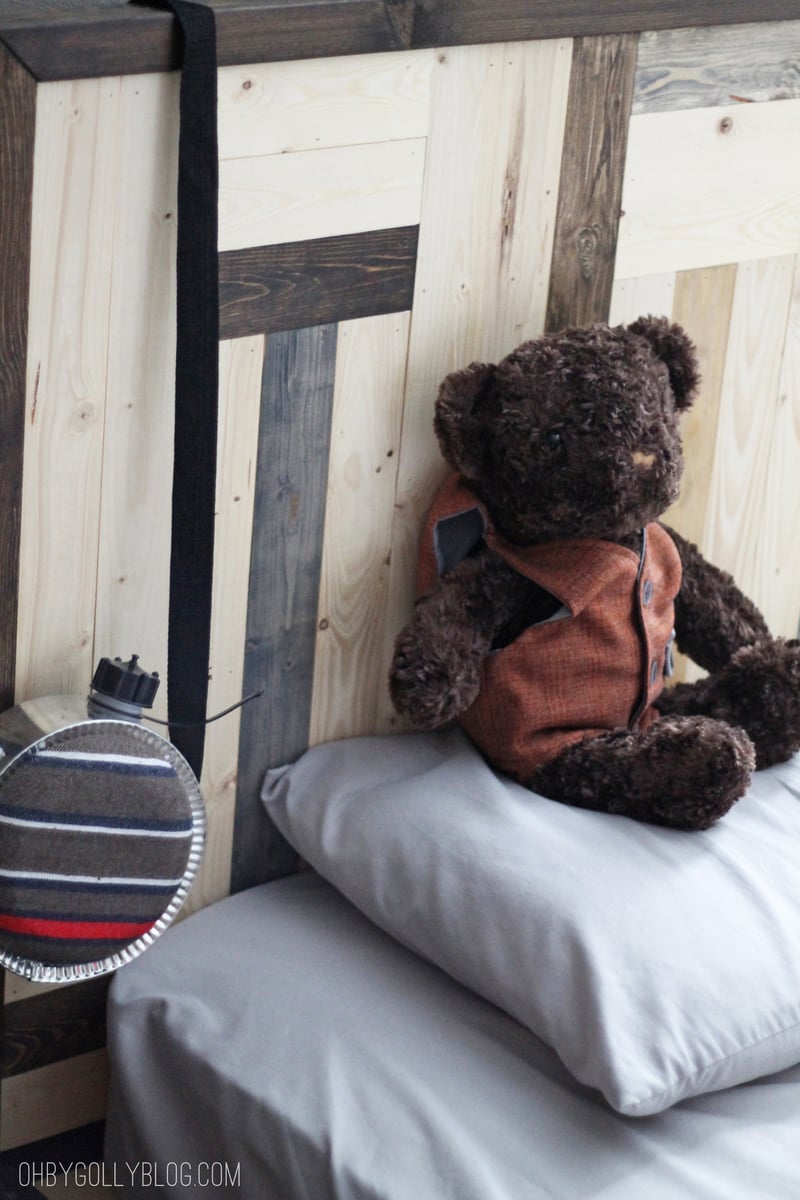
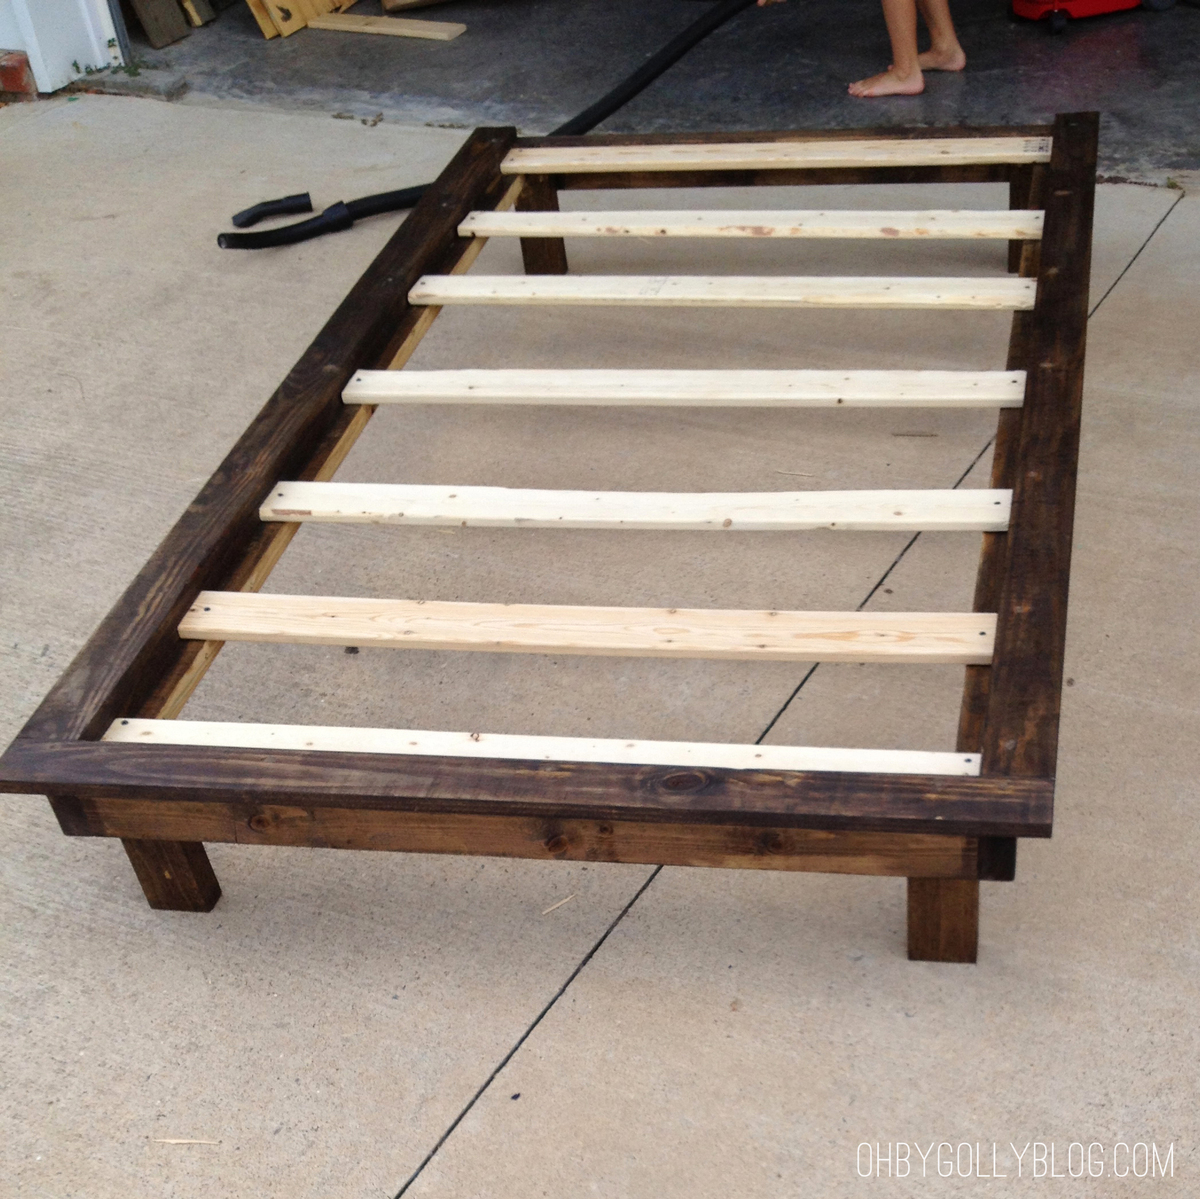
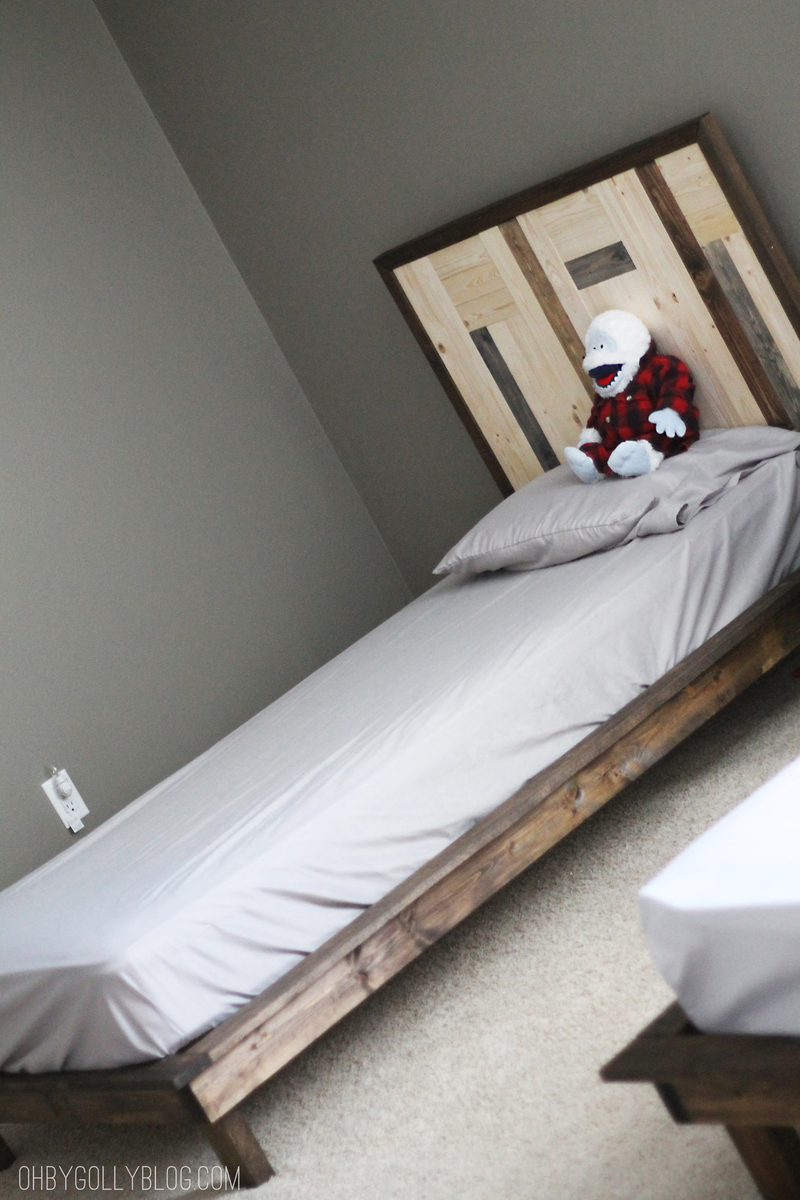
More images and details can be found at http://ohbygollyblog.com/?p=4029 Come visit me!
Tue, 10/08/2013 - 09:58
Very creative! I went to your blog and looked at your own headboard, too. You do good work!
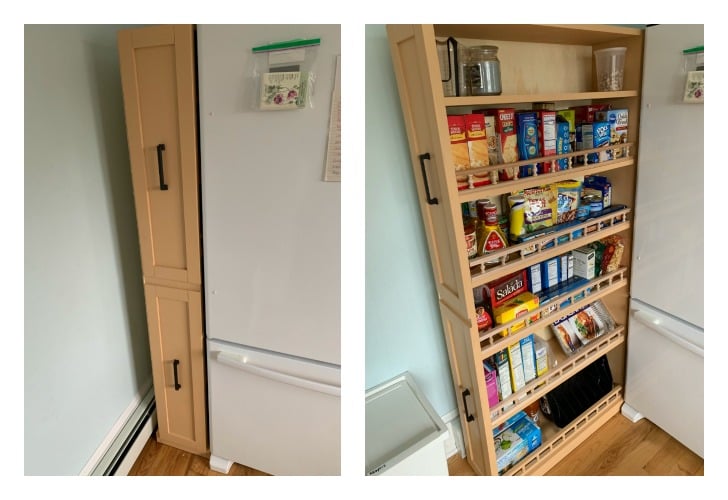
Made my wife happy!
Mon, 05/06/2019 - 10:22
Hi Mike this is a fantastic project! Just fabulous!
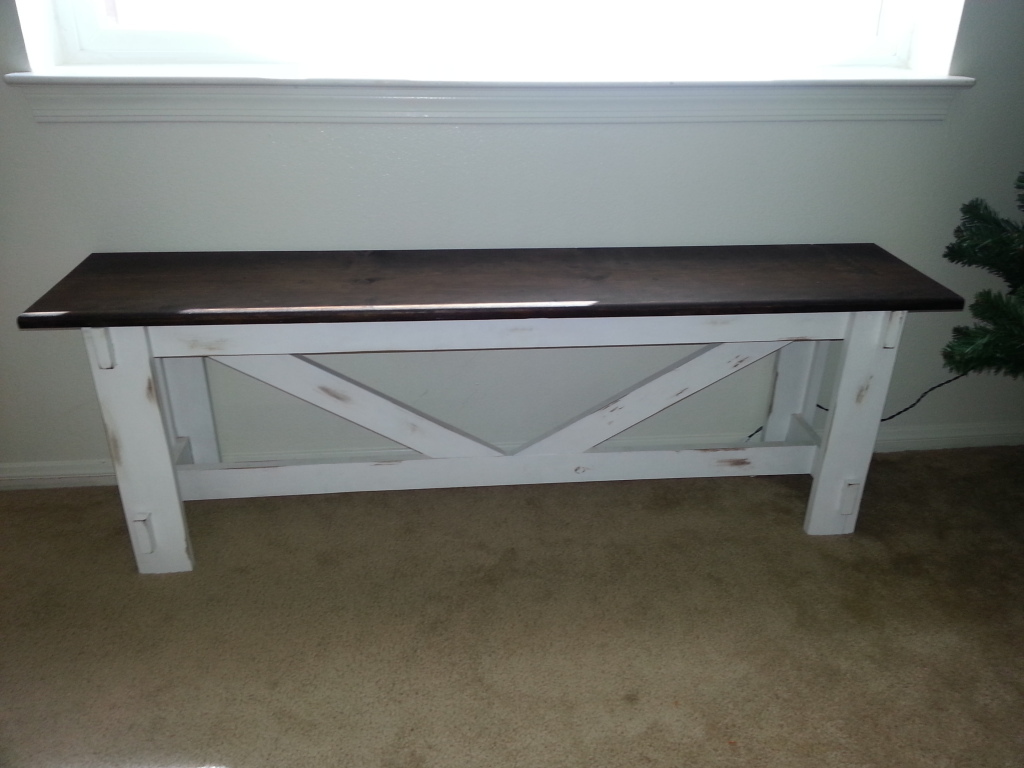
This was my first build with minimal help from my husband. I'm unsure how long it took to build since I worked on it periodically and forget how much I spent on the wood since this took place several months ago. When I started this project, I did not have a pocket hole jig and since then have learned how invaluable that tool is. It's not perfectly square but it's not as noticeable sitting on carpet as it would be on hard flooring.
Probably a harder first-time project to start with but overall I'm happy with the outcome and looking forward to my next project.
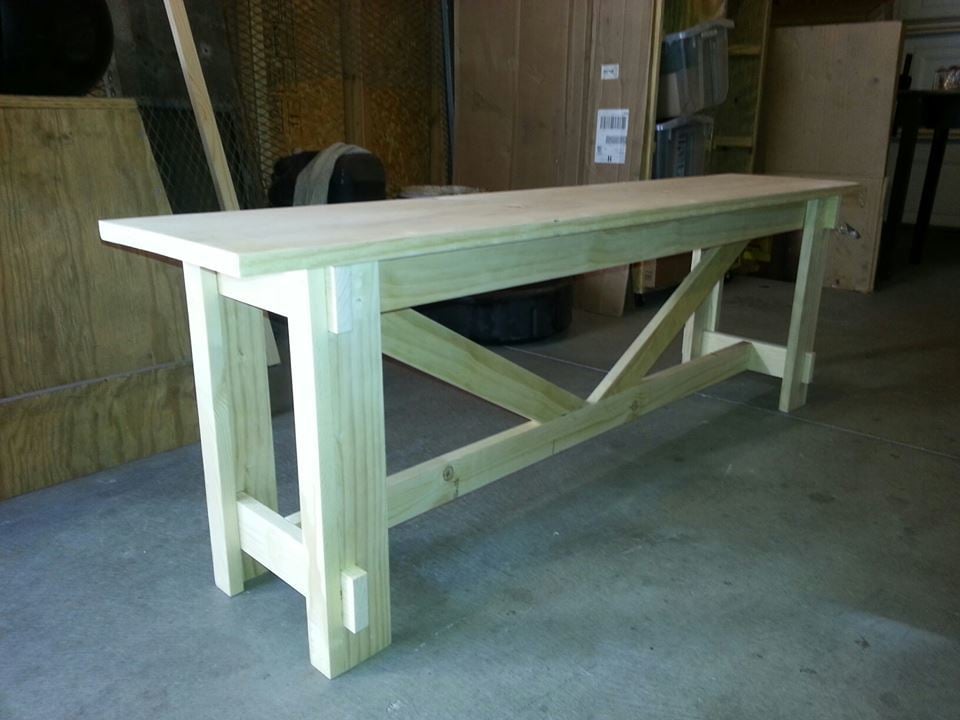
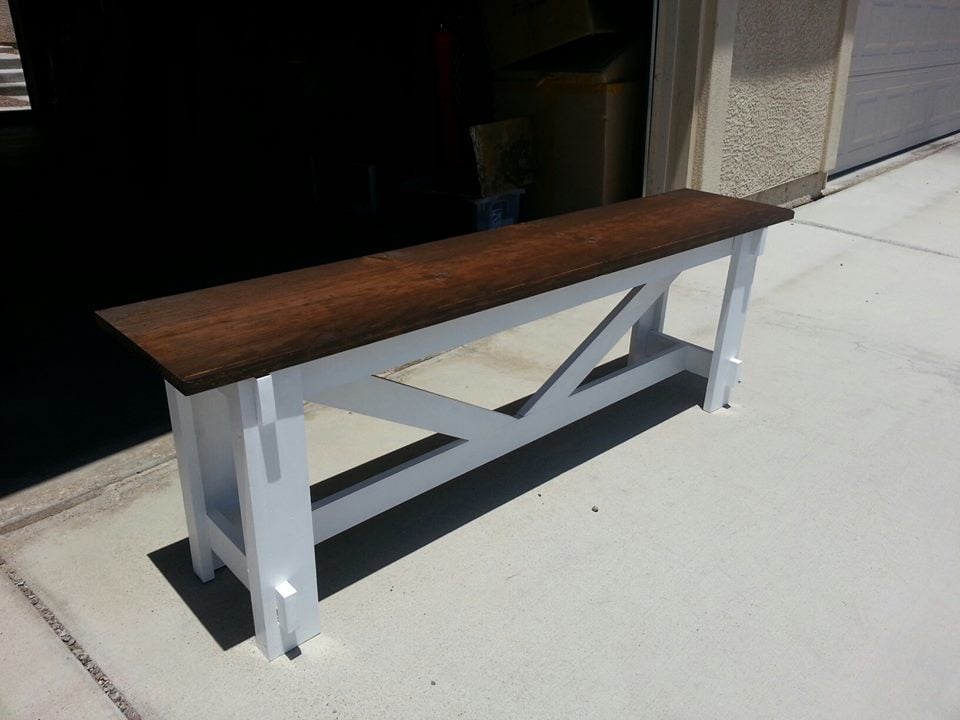
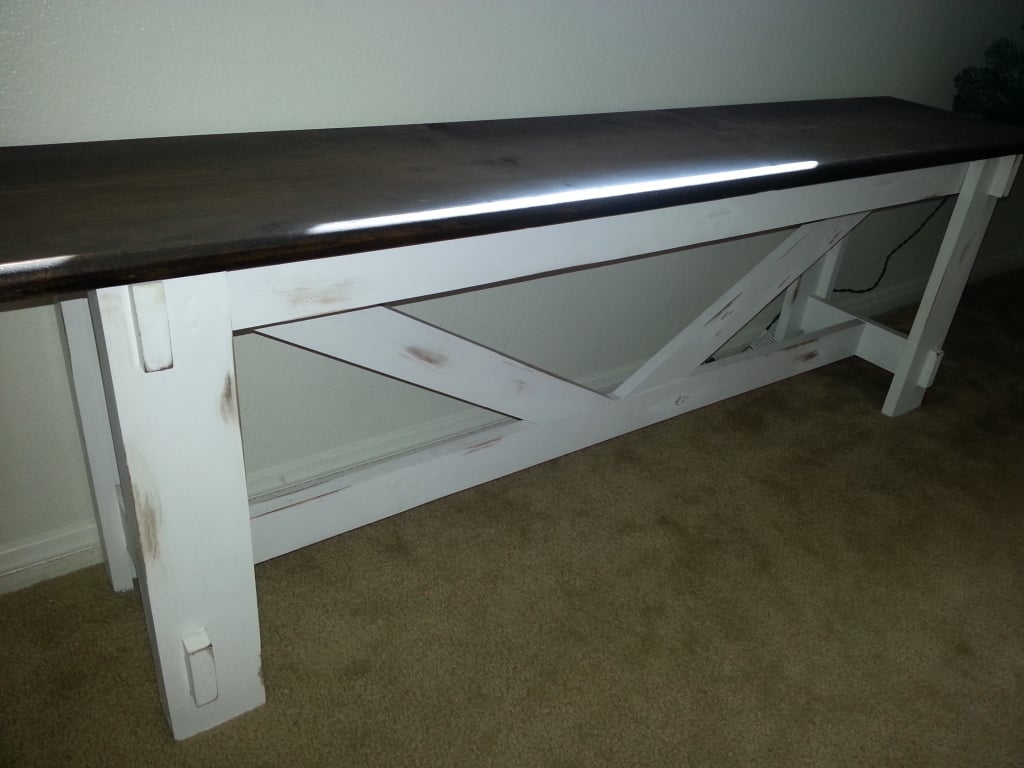
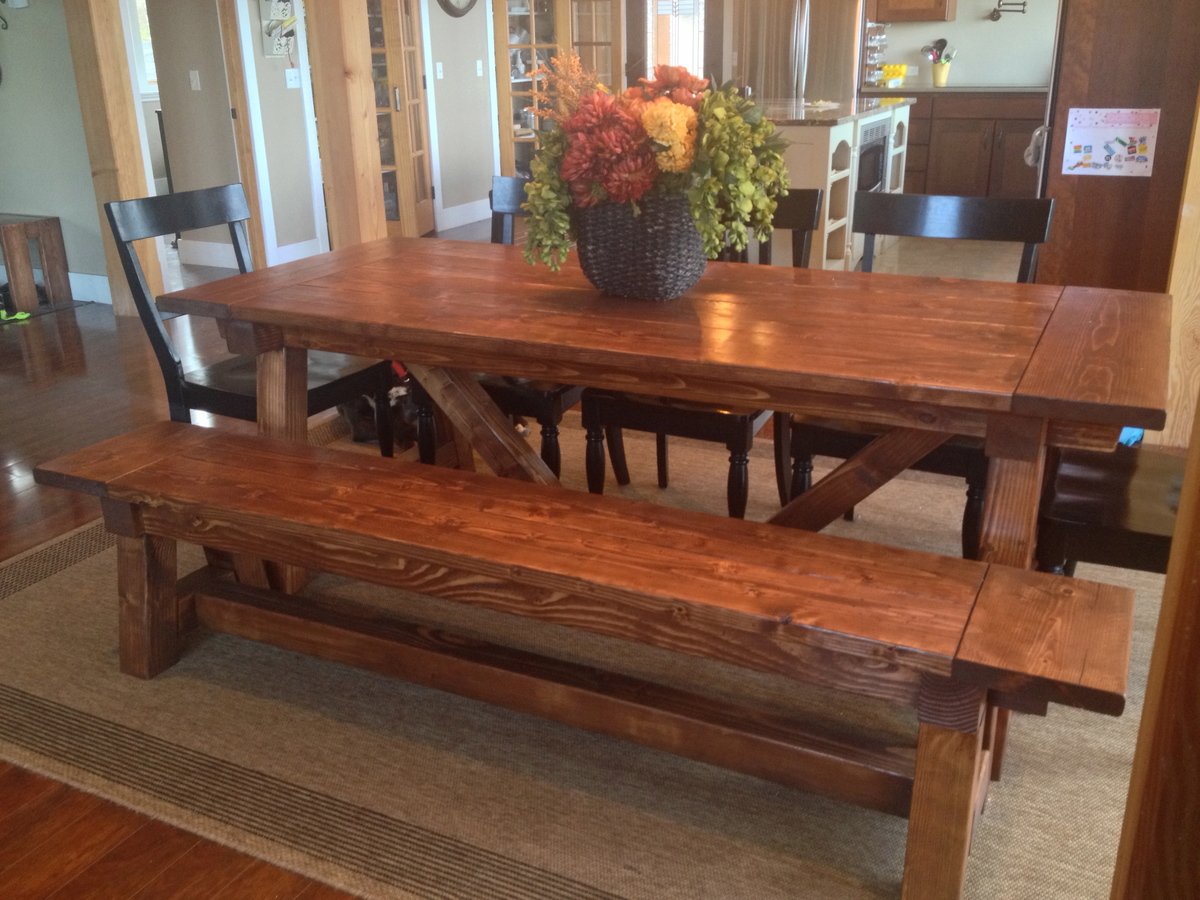
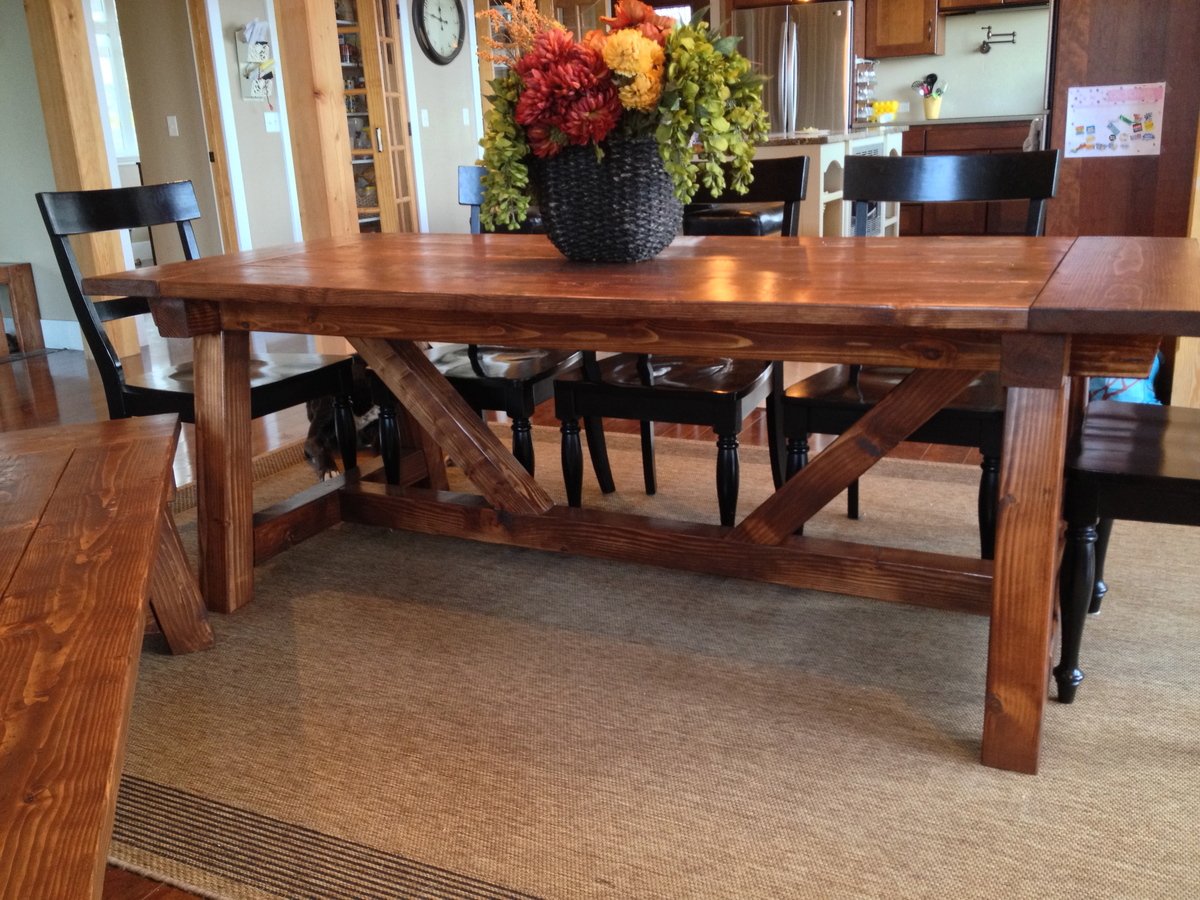
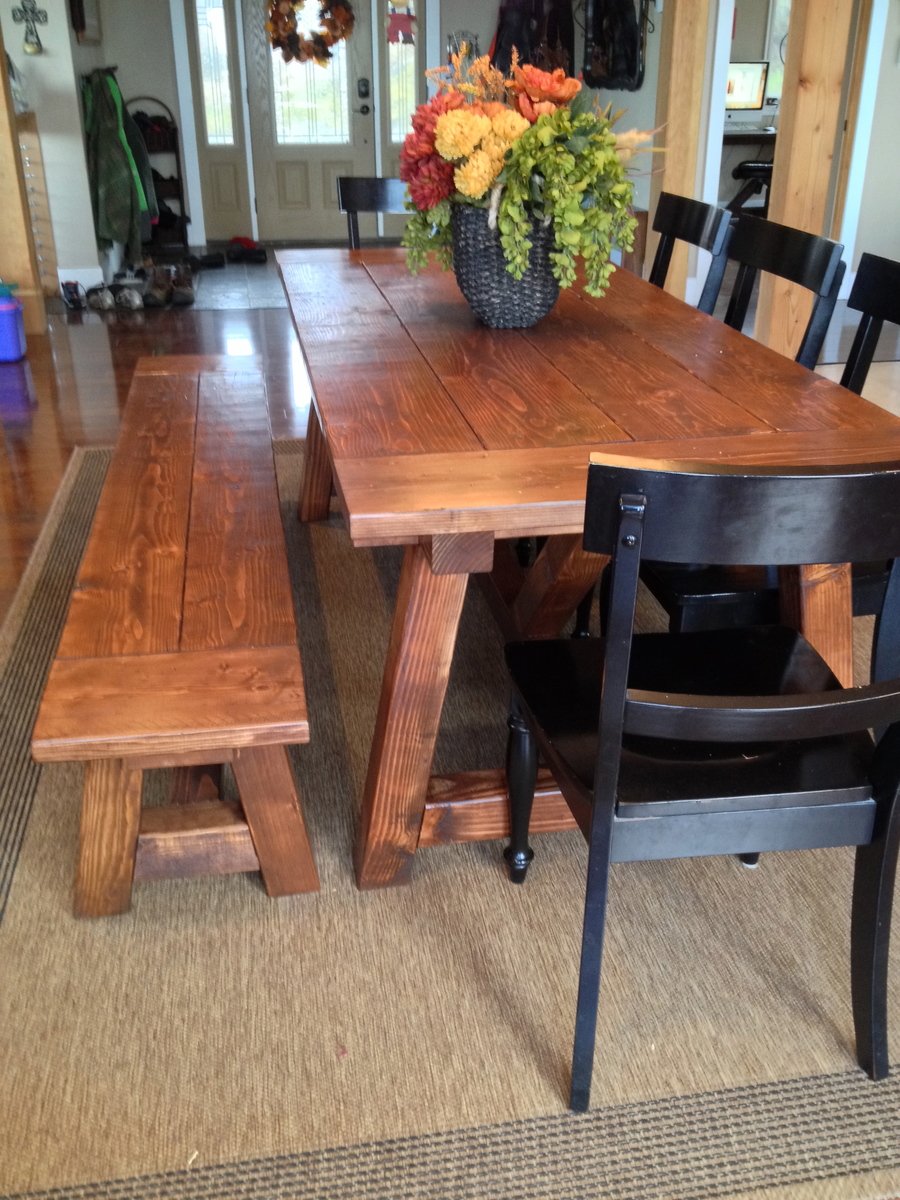
I have been eyeing many tables on Ana's website for some time now. When she posted the plans for this 4x4 Truss Beam Table, I knew that it was the one that I wanted to build.
The hardest part of the project was actually picking out super straight boards for the table top and bench top. The construction of the table was really easy!
I finished it with Rustoleum American Walnut stain and 3 coats of Rustoleum Semi-gloss polyurethane.
My family loves the table! I am super happy with how it turned out!!
Mon, 11/04/2013 - 16:41
I love your table! And the rest of your home that is seen in the background of the pics!
Mon, 11/04/2013 - 17:46
Table looks great, I am braving this project at some point, but have procrastinated trying to find the right look and plan. Yours looks great. What grade pine did you use? Did you use the douglas fir for the 4x4's?
In reply to looks great by bclute
Mon, 11/04/2013 - 18:13
Thank you!
For the 2x8's and 2x10's I used Lowes Top Choice KD Hemlock. For the 4x4's I used Douglas Fir.

Still need to stain but this was my very first project and it turned out well! The directions are very easy to follow and I am very happy with it!
"Here's a pic of the planter I made! I modified it to fit a 36" planter. I LOVE it. Thanks!!"
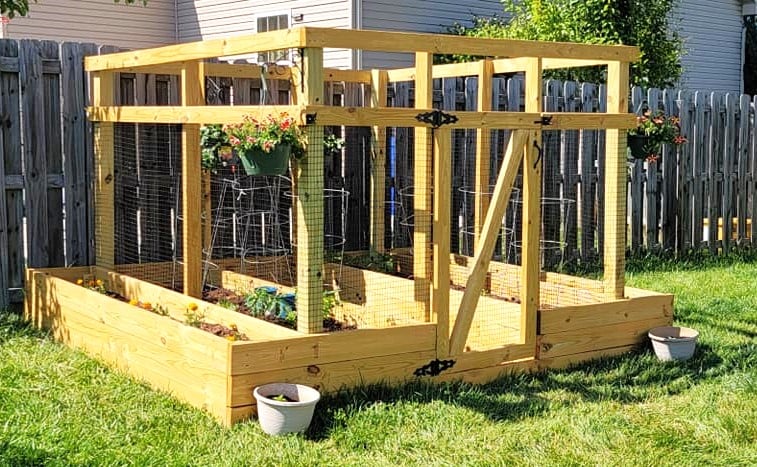
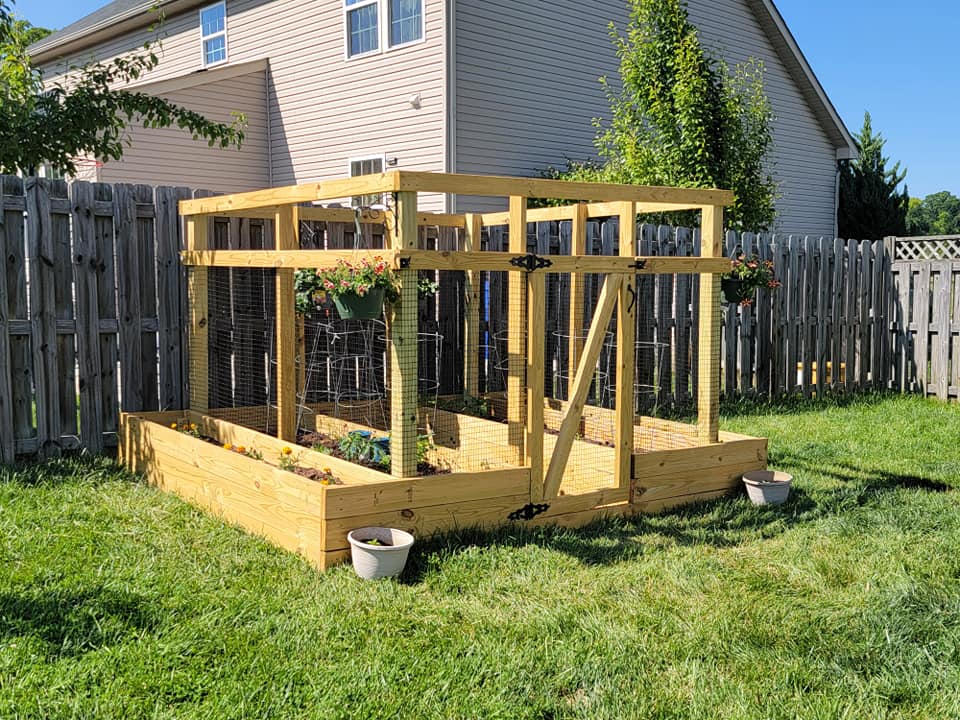
My husband and boys made a beautiful enclosed raised bed using your plans. It was modified to include exterior raised beds for flowers.

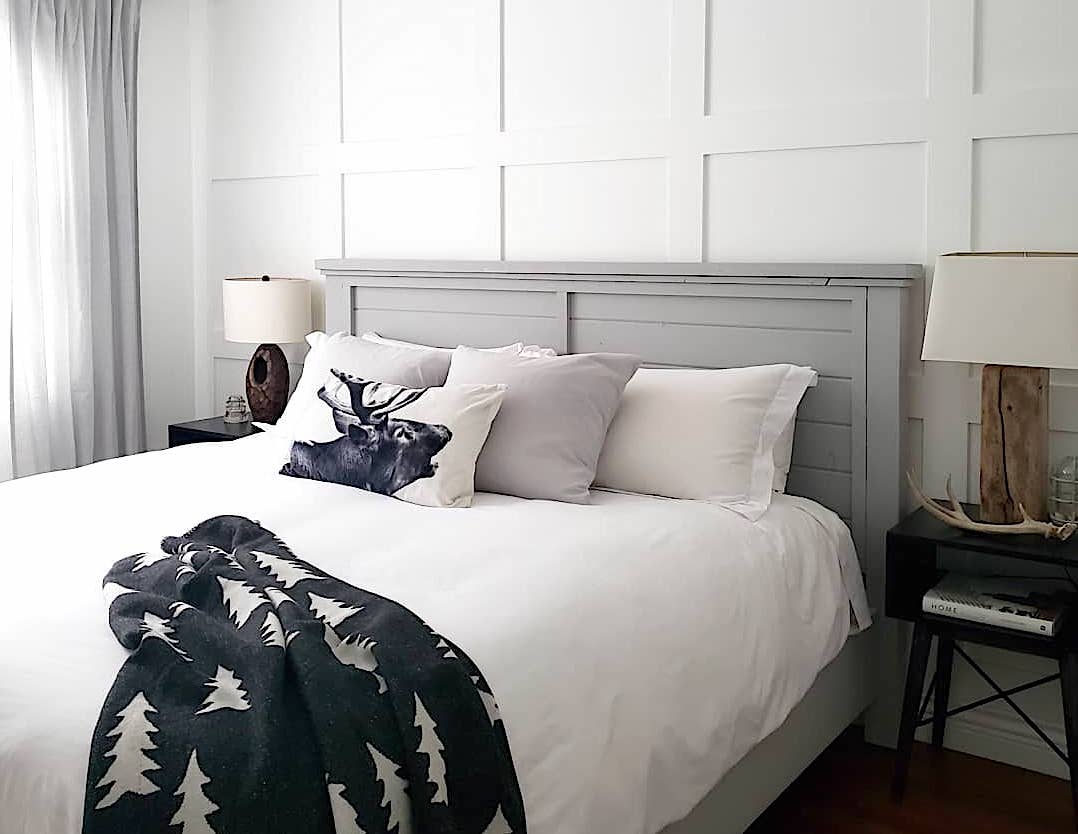
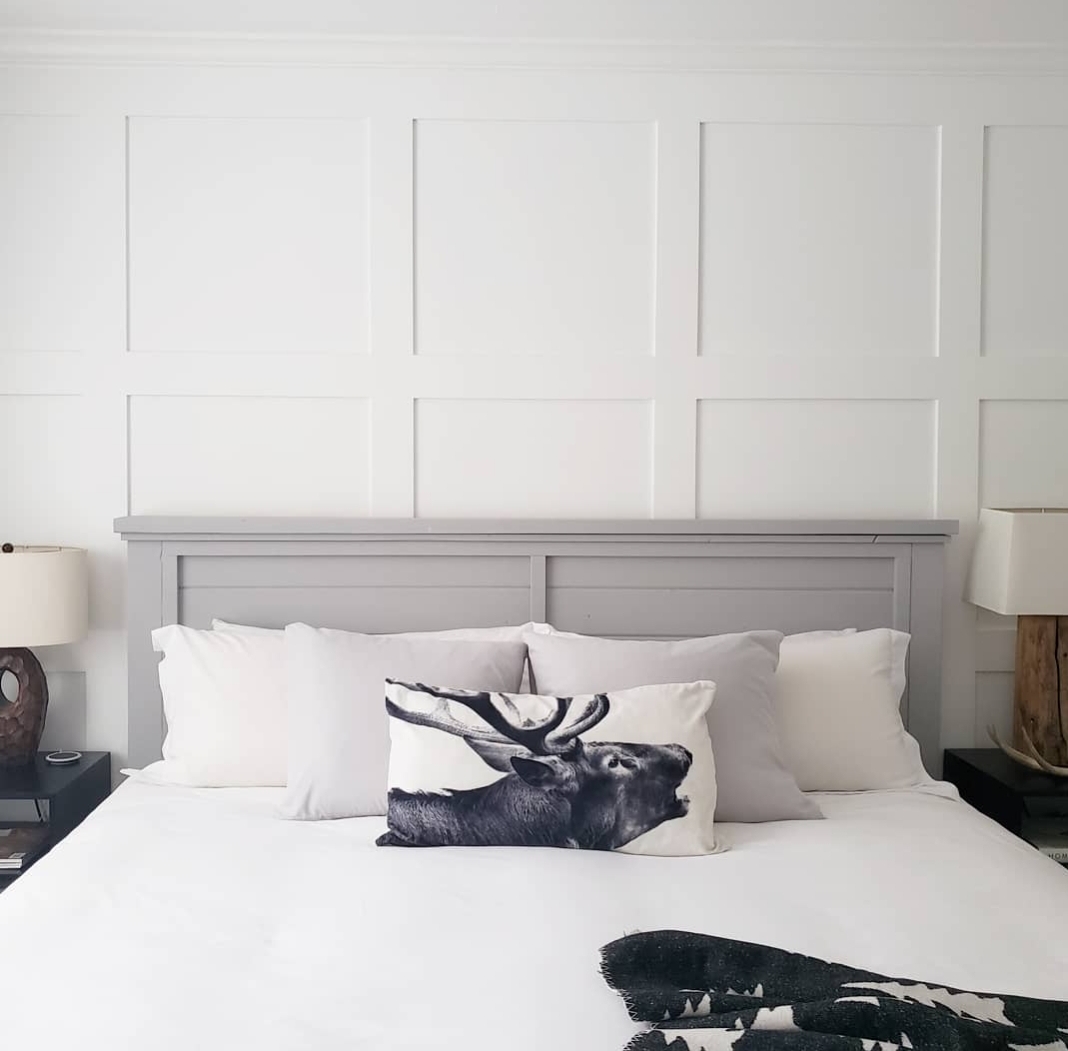
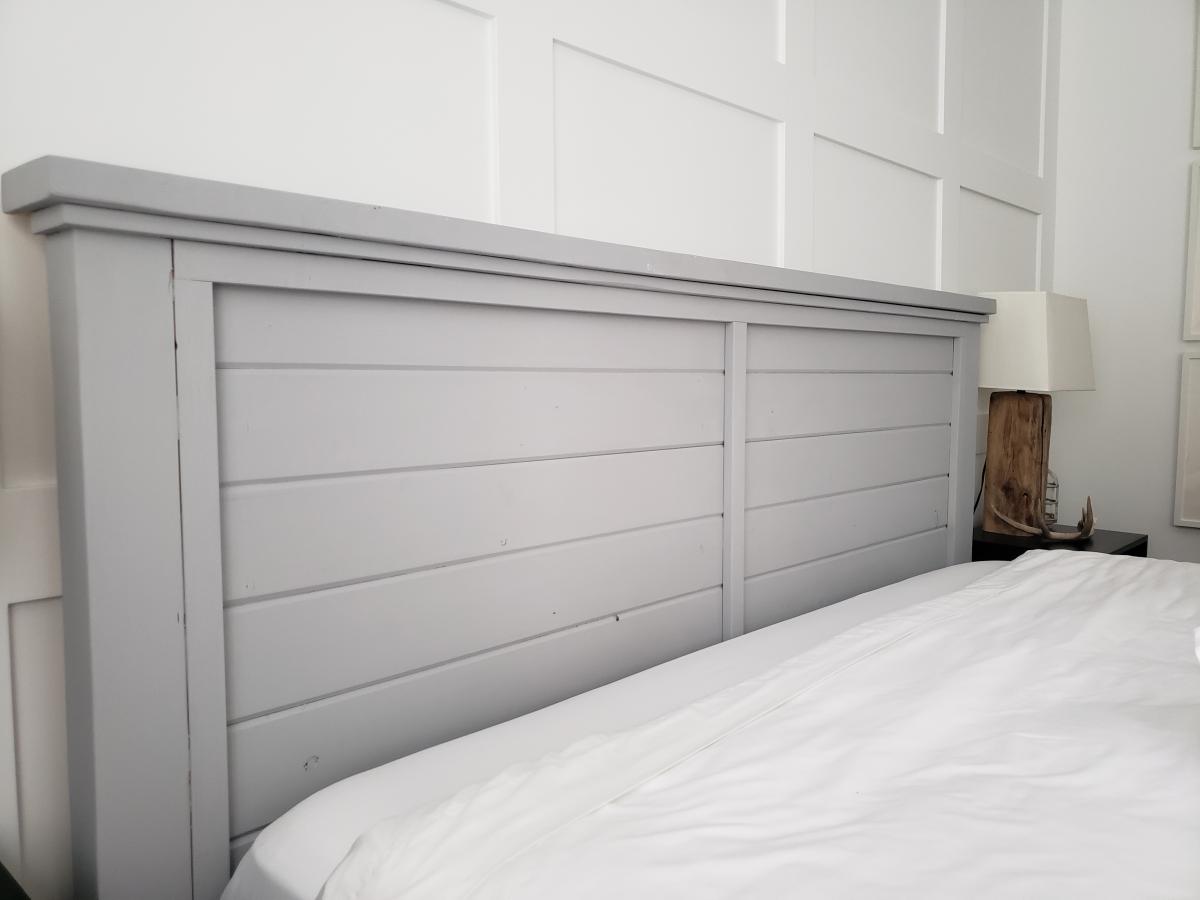
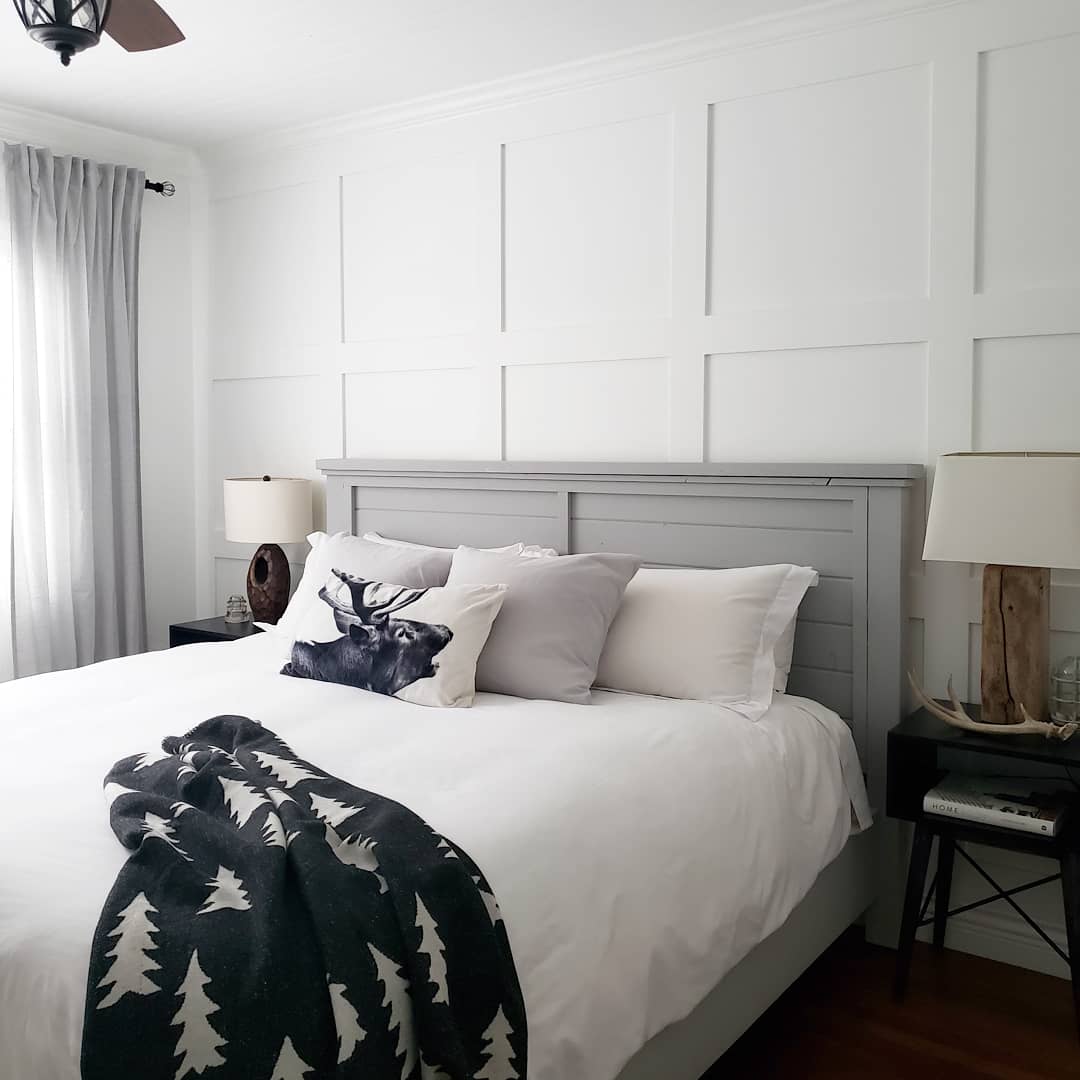
This farmhouse bed is a combination of Ana White's Farmhouse Bed/Modern Farmhouse Bed plans as well as some slight modifications. I modified the bed using materials already on hand and leftover from past jobs. The 4x4 posts are 2 - 2×4s glued and filled together. The headboard was made using 2x2's and tongue and groove boards. The side rails, foot board and matress supports are 2x10's since this was old material from a job site my husband was on. I opted for no footboard to make the bed feel less bulky. The finish was done using chalk paint in a light gray, giving it a more modern look.
Thu, 10/03/2019 - 13:09
This is so beautiful! Thank you so much for sharing photos!
Thank you! My favorite & first is from your mud kitchen! I put in running water!😂 For the GrandLuvs!”
@penny.vanderlugt