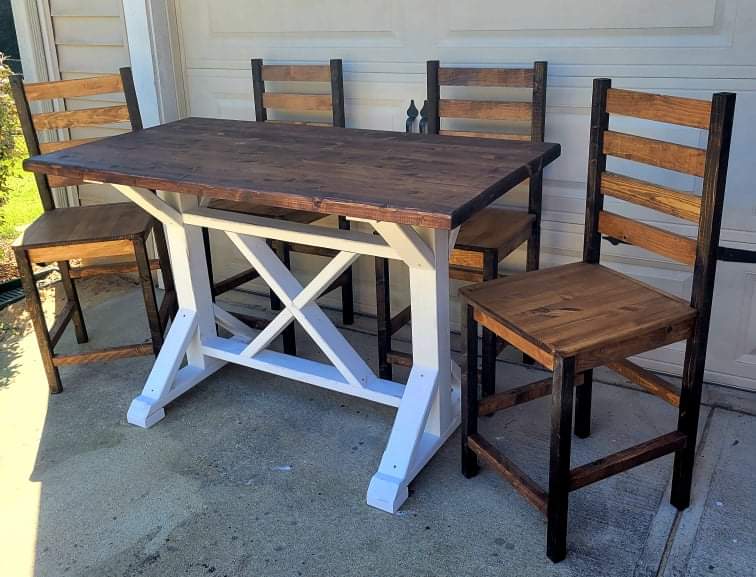
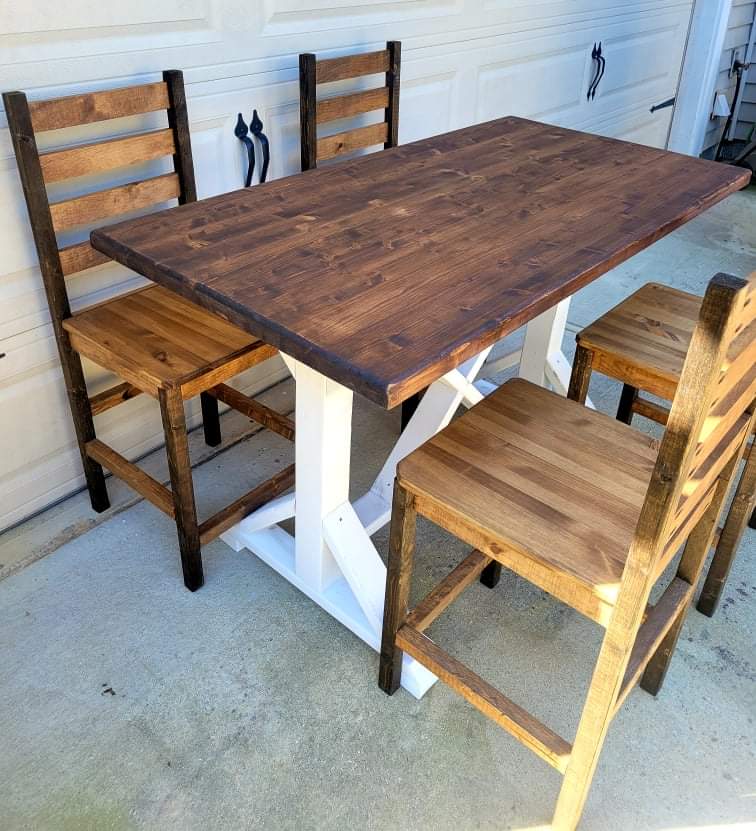
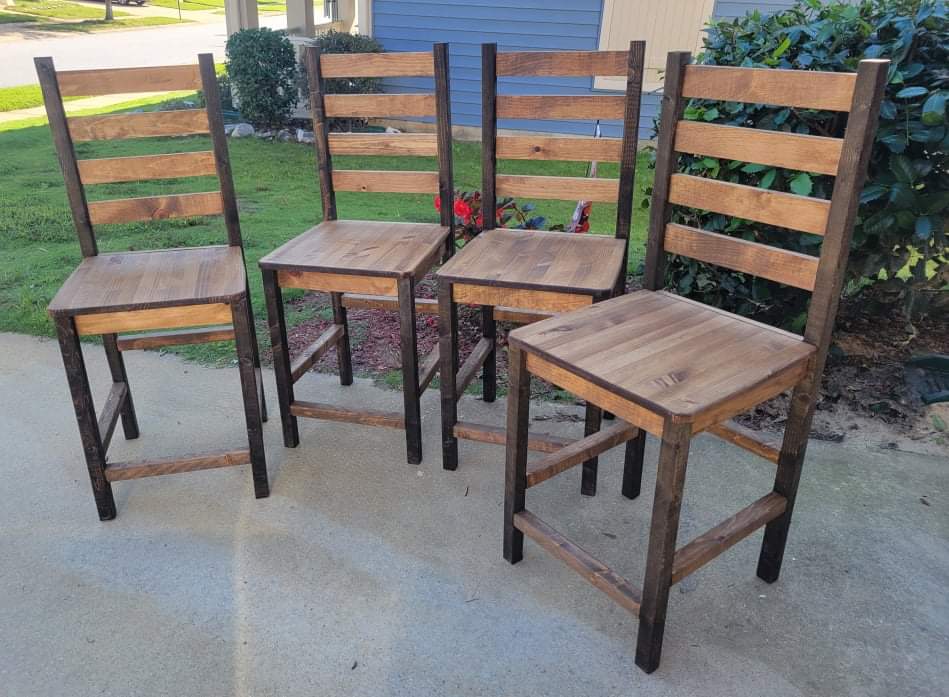
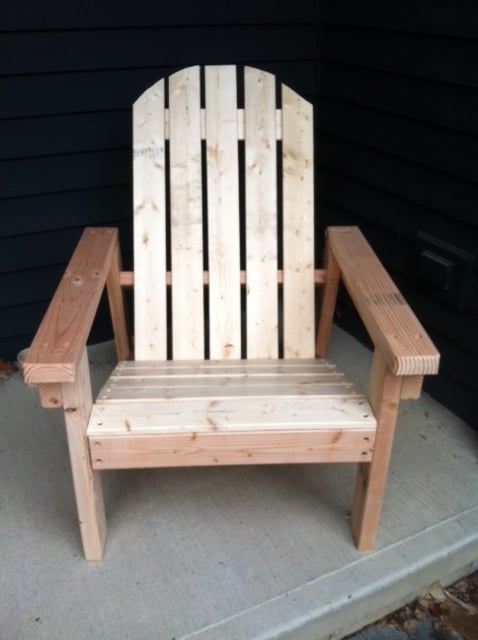
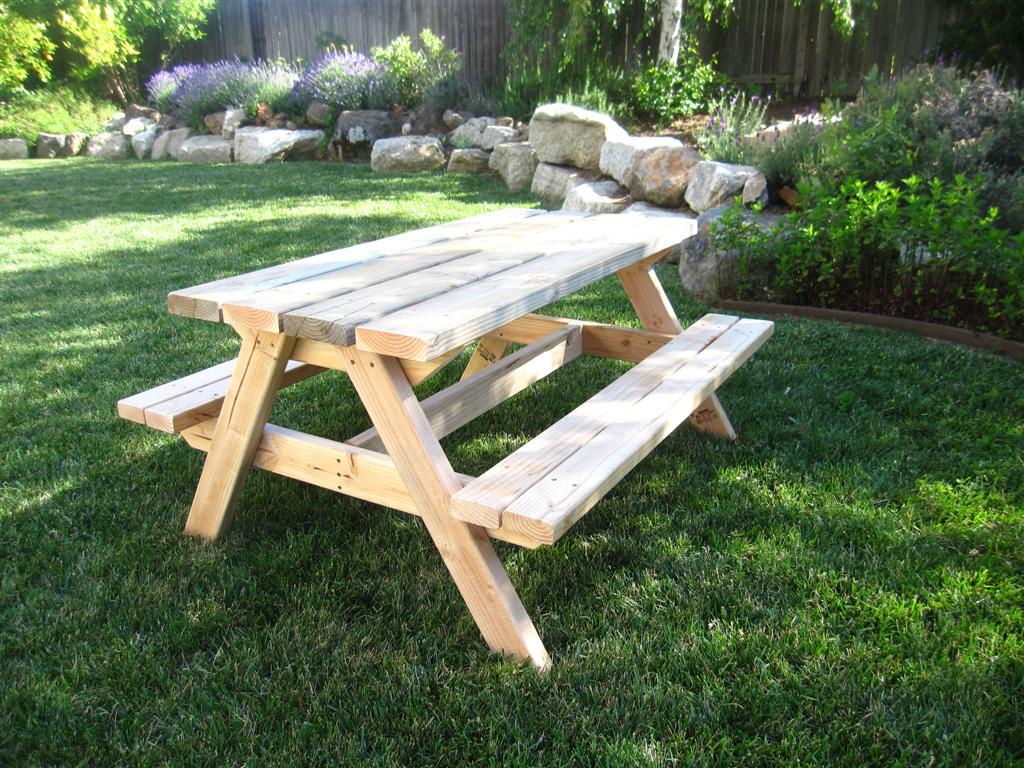
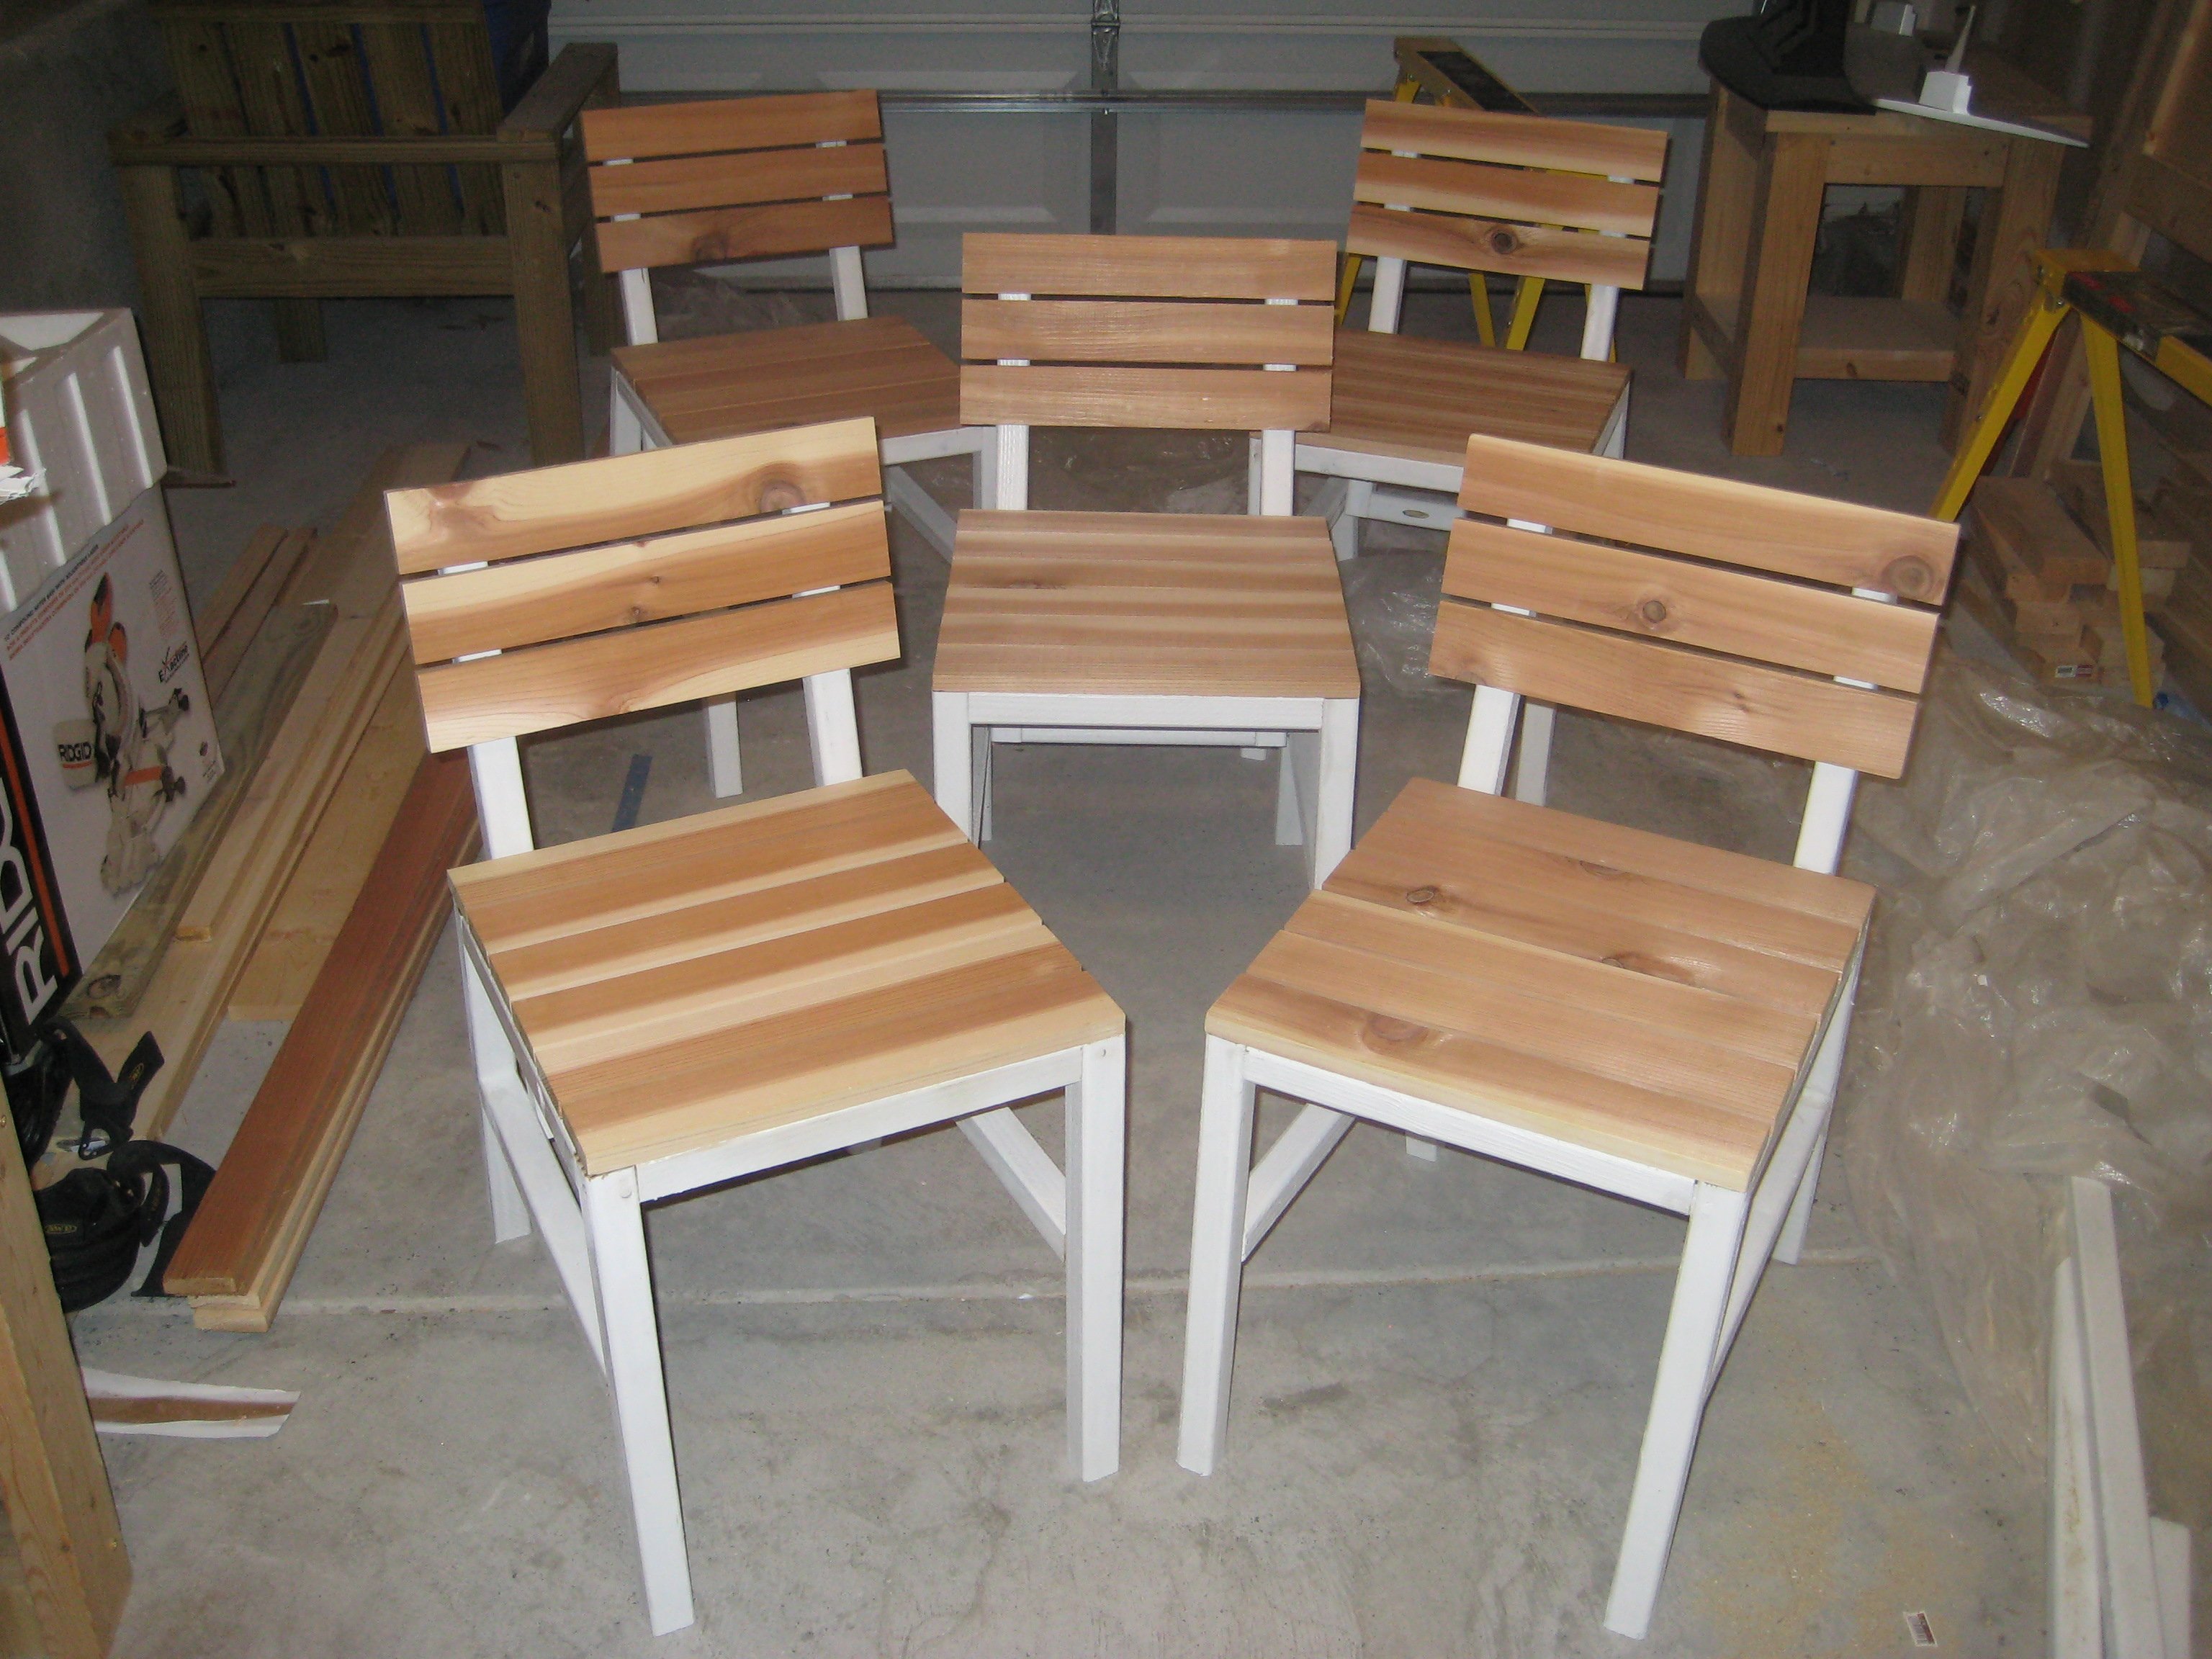
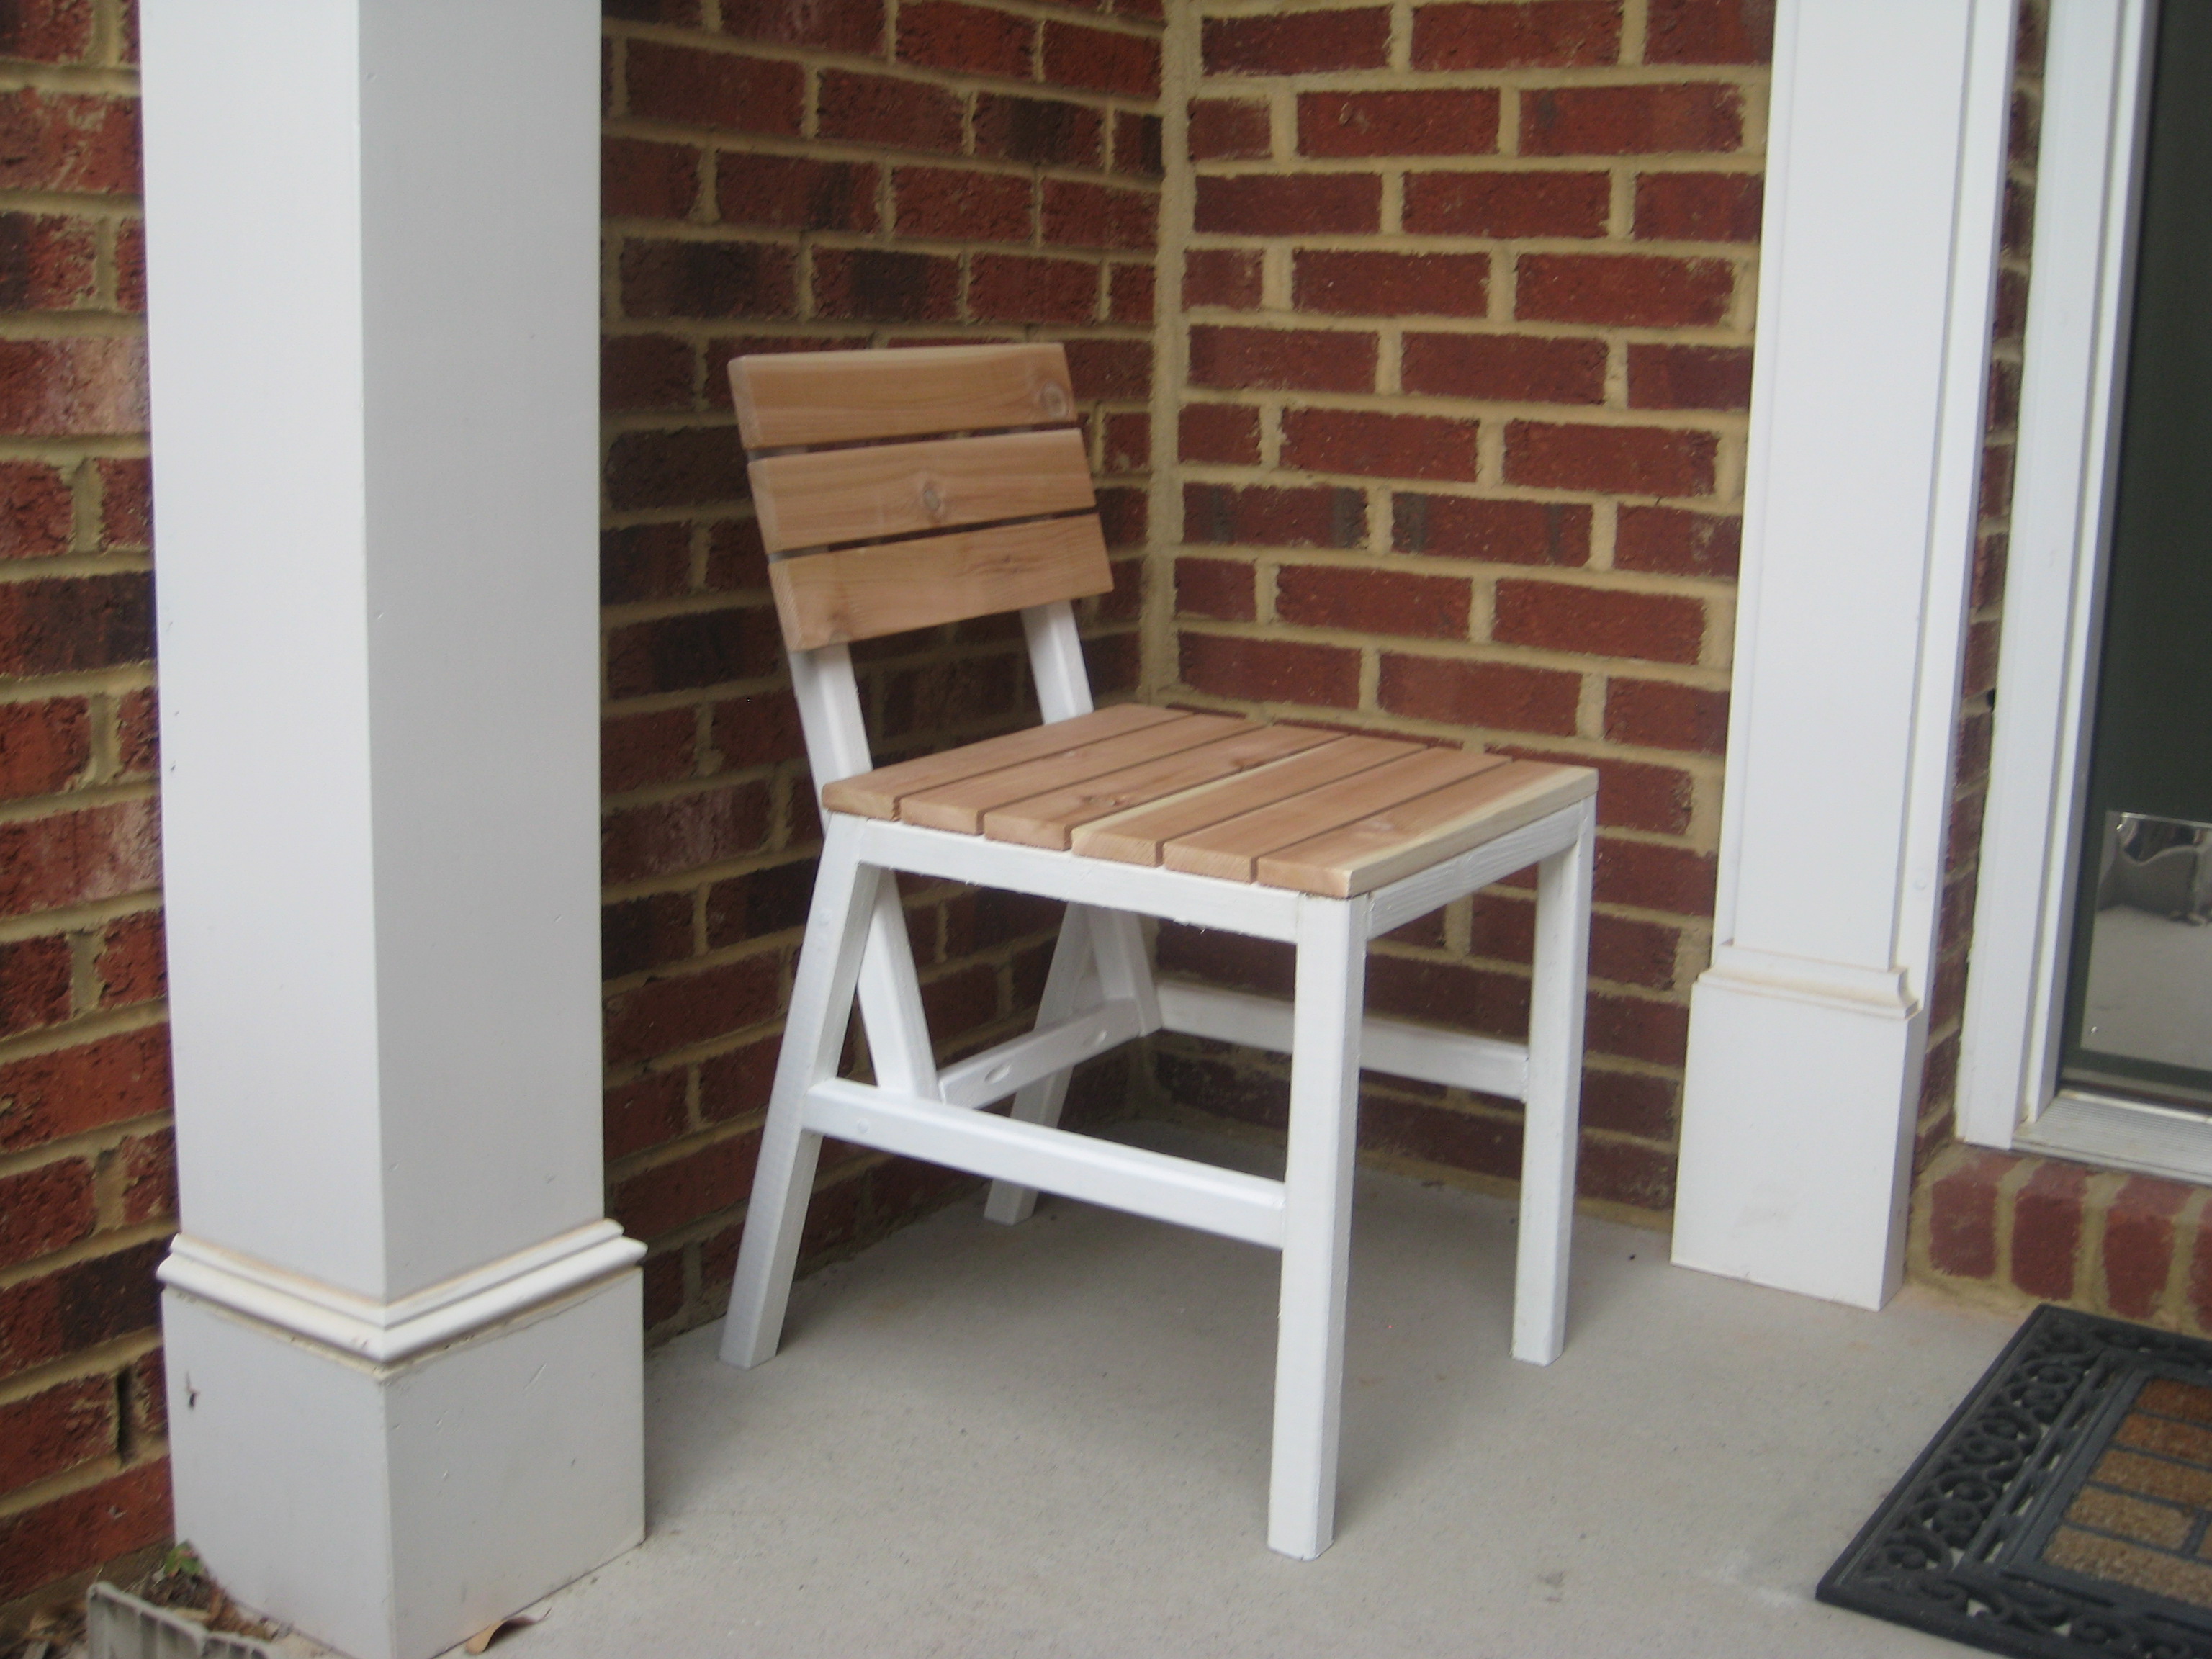
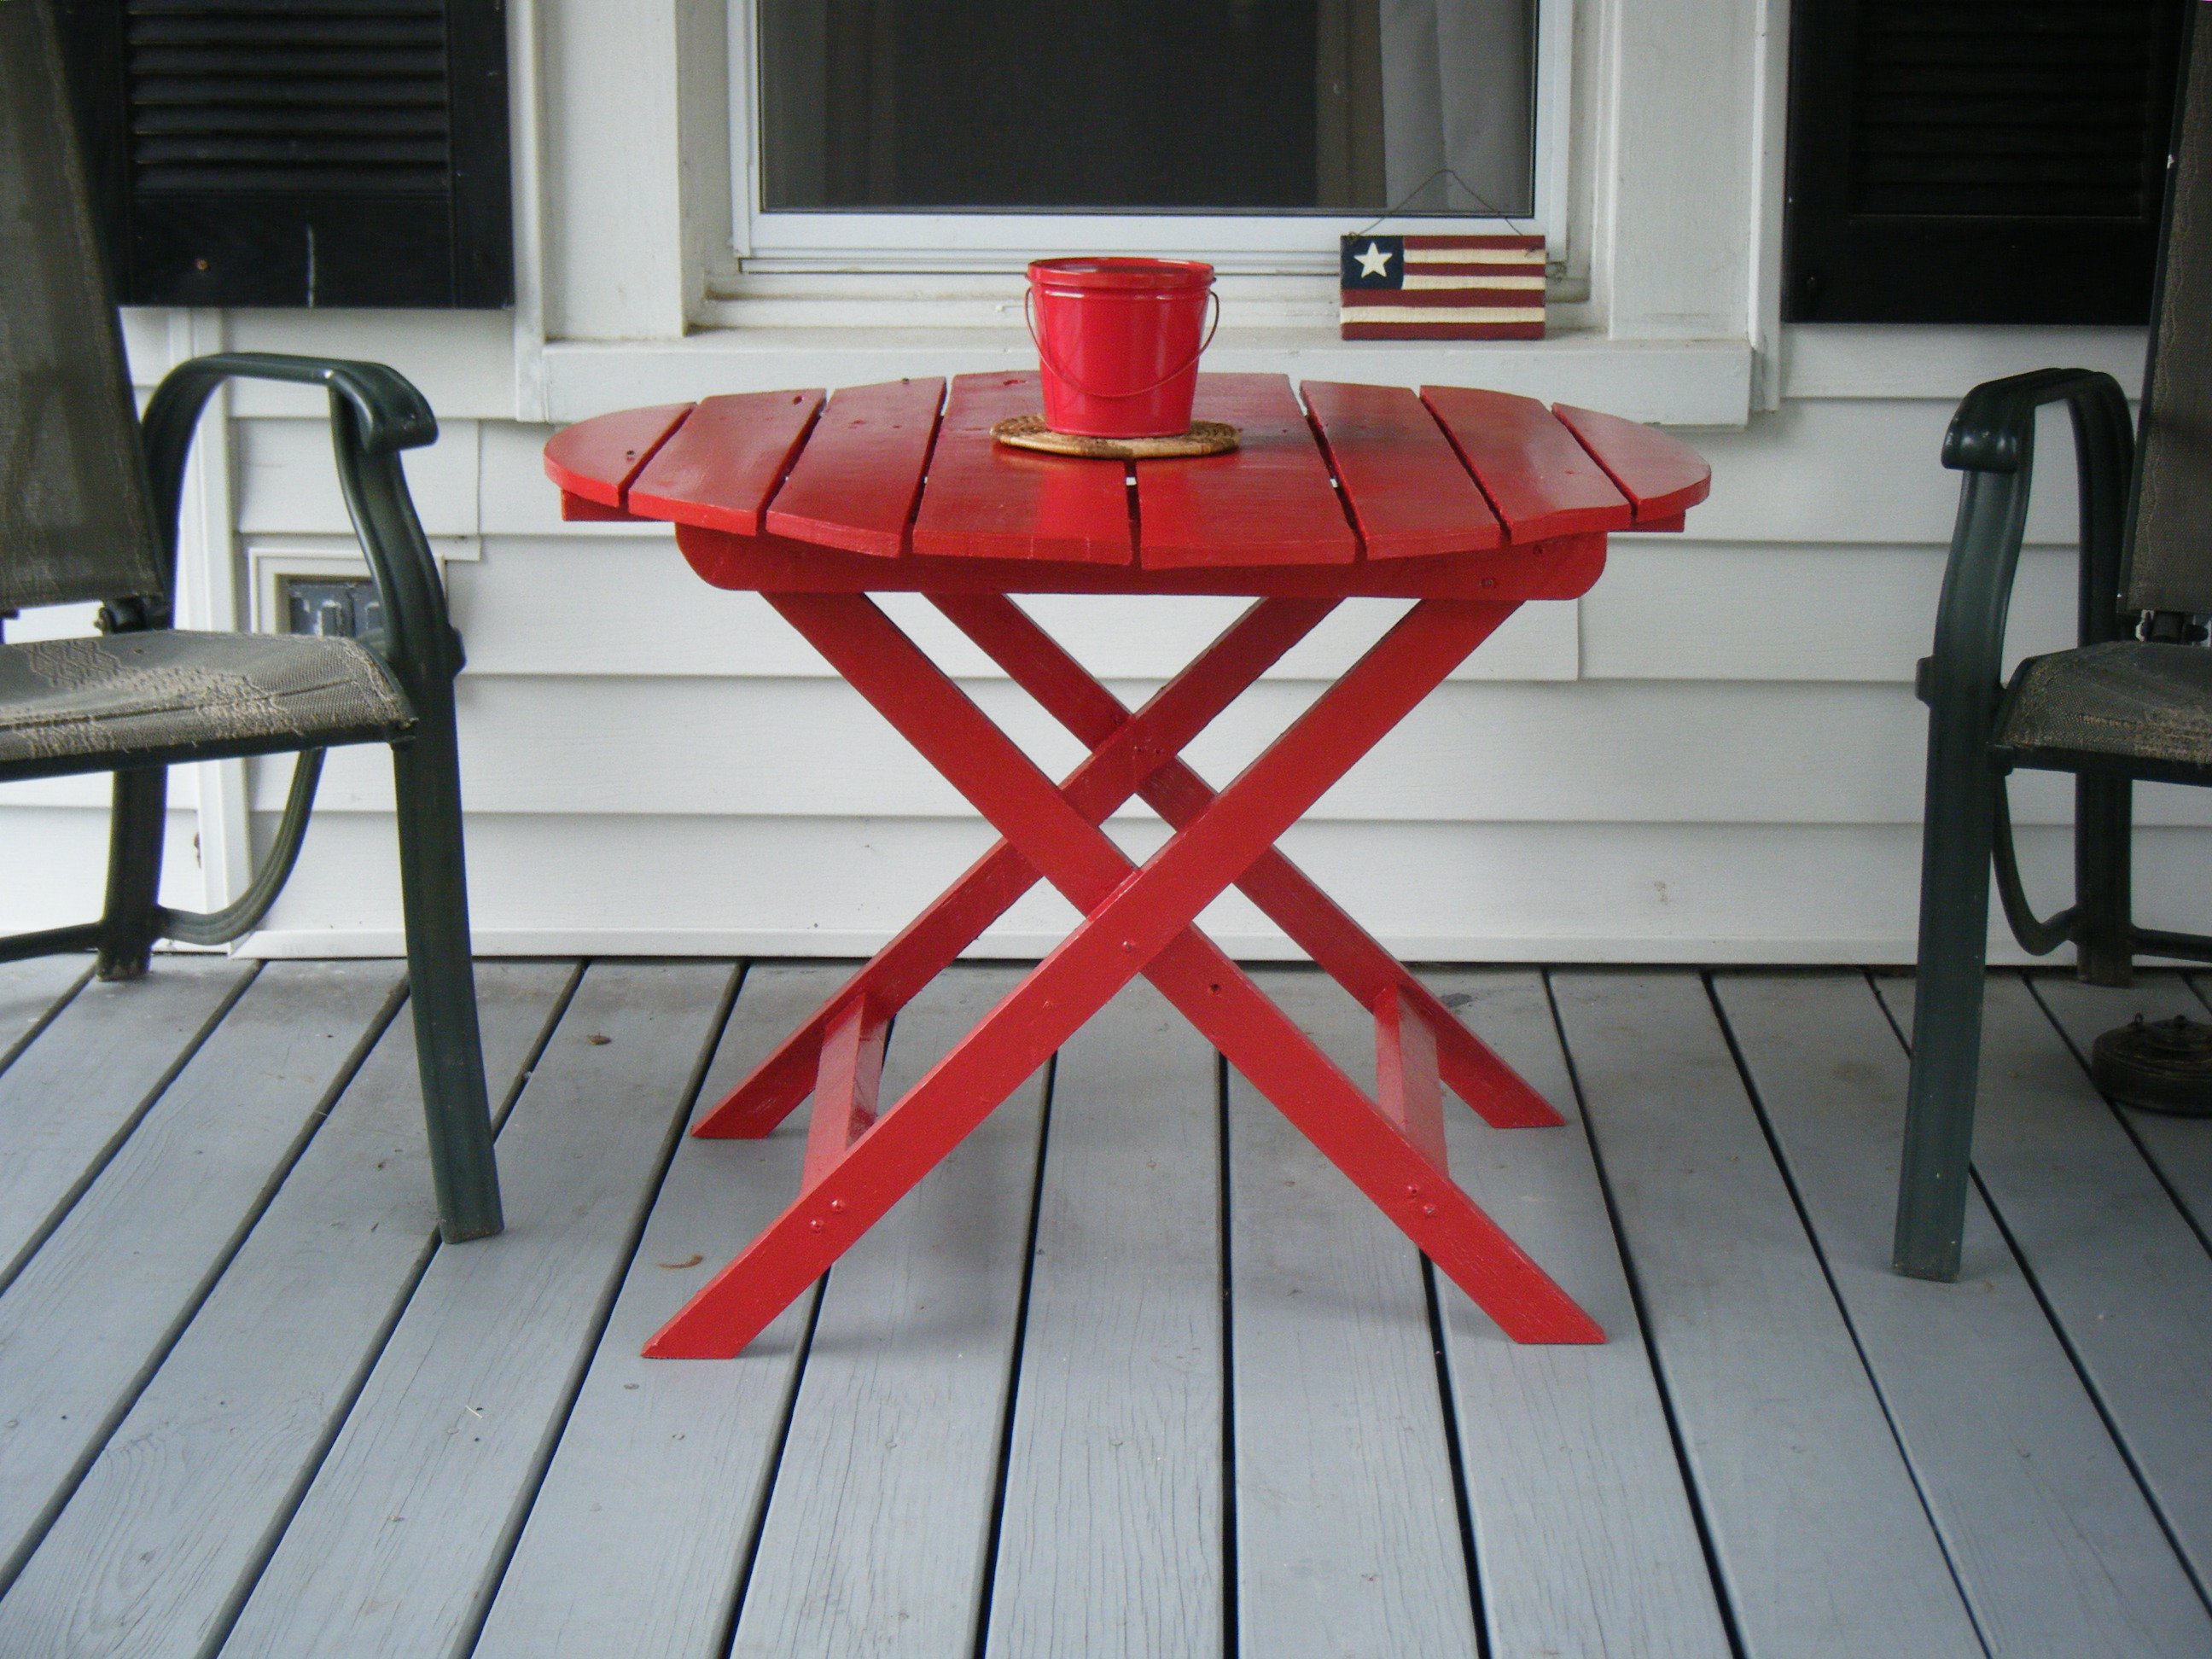
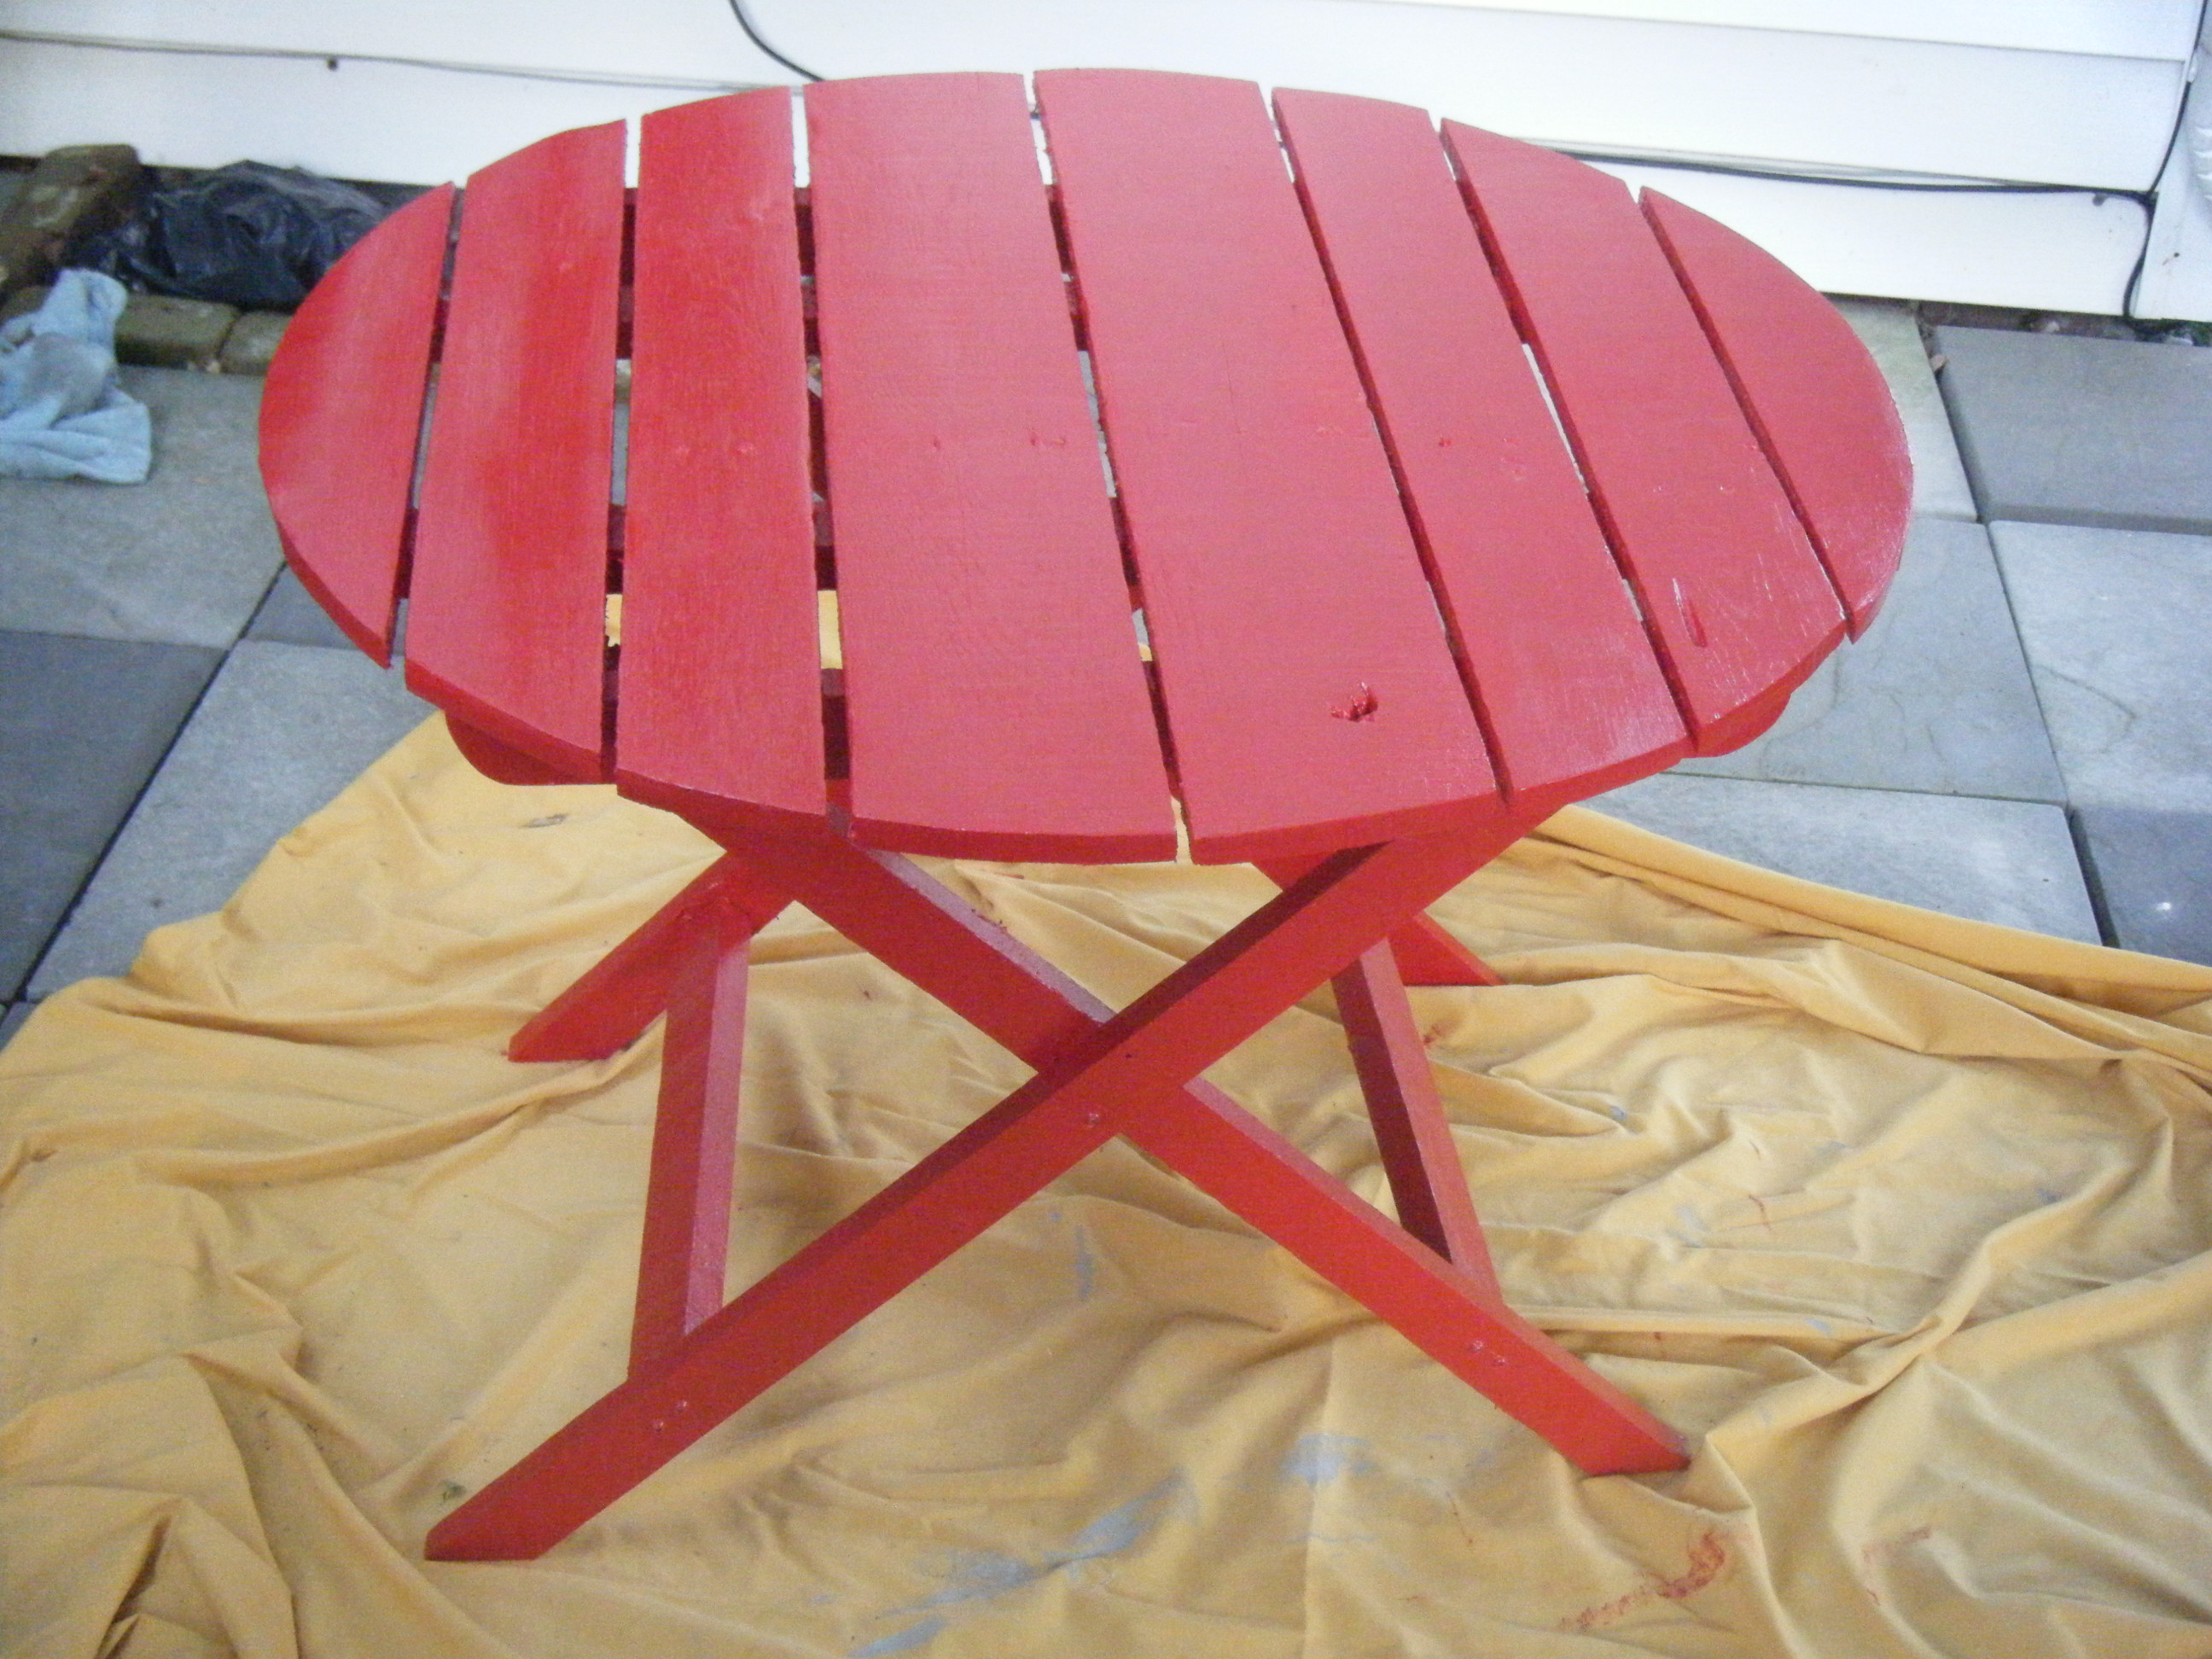
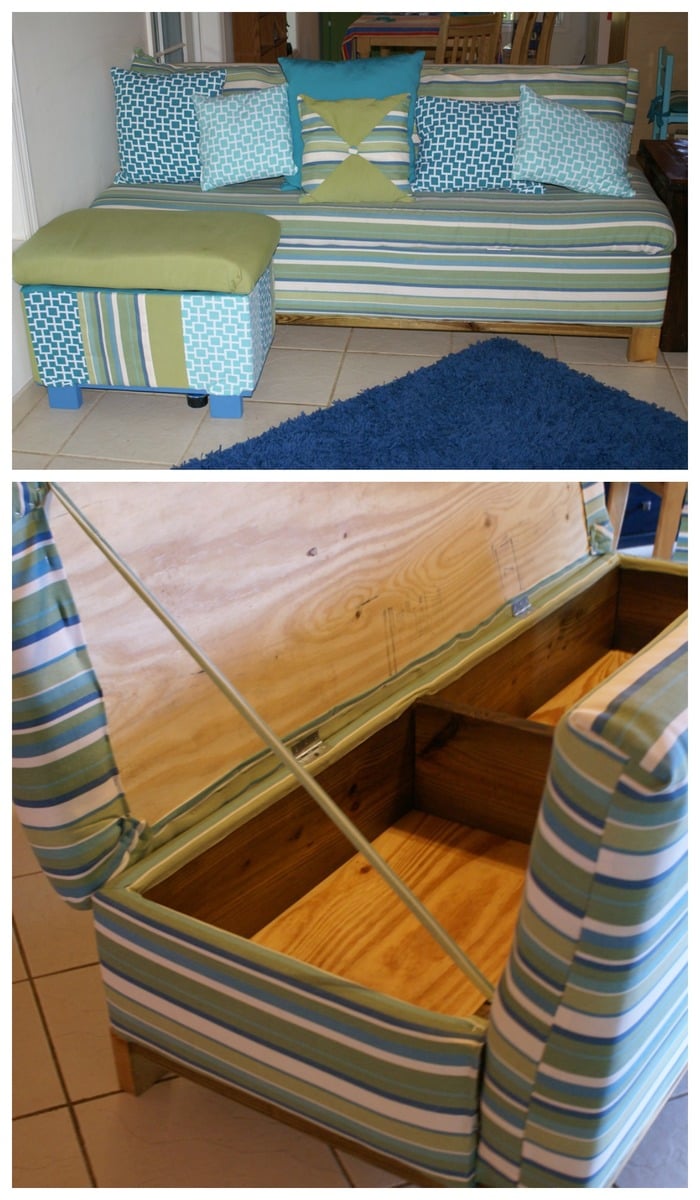
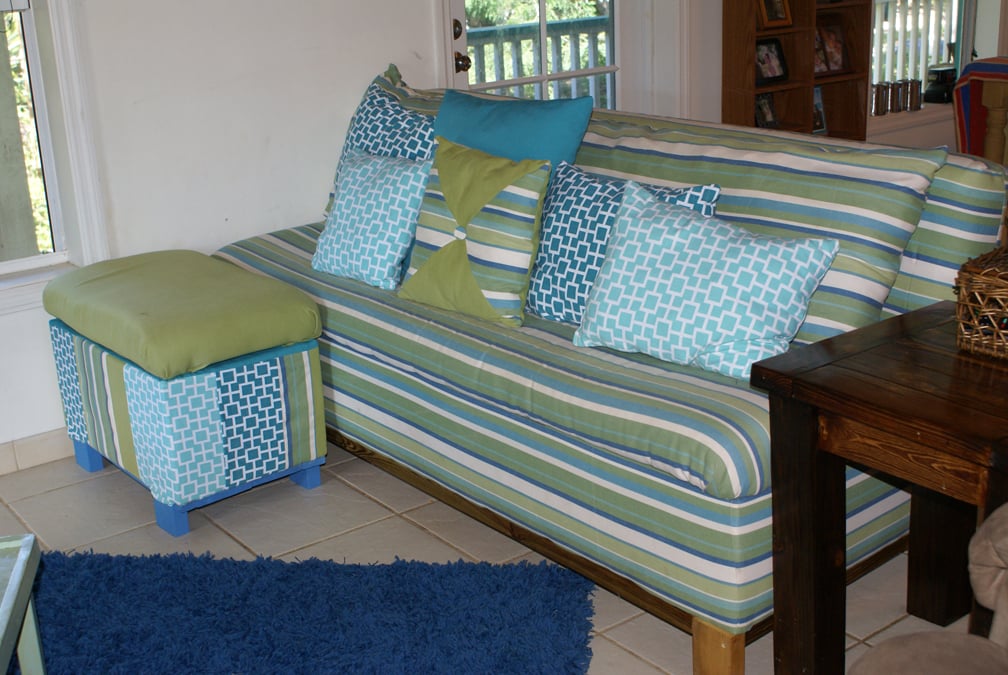
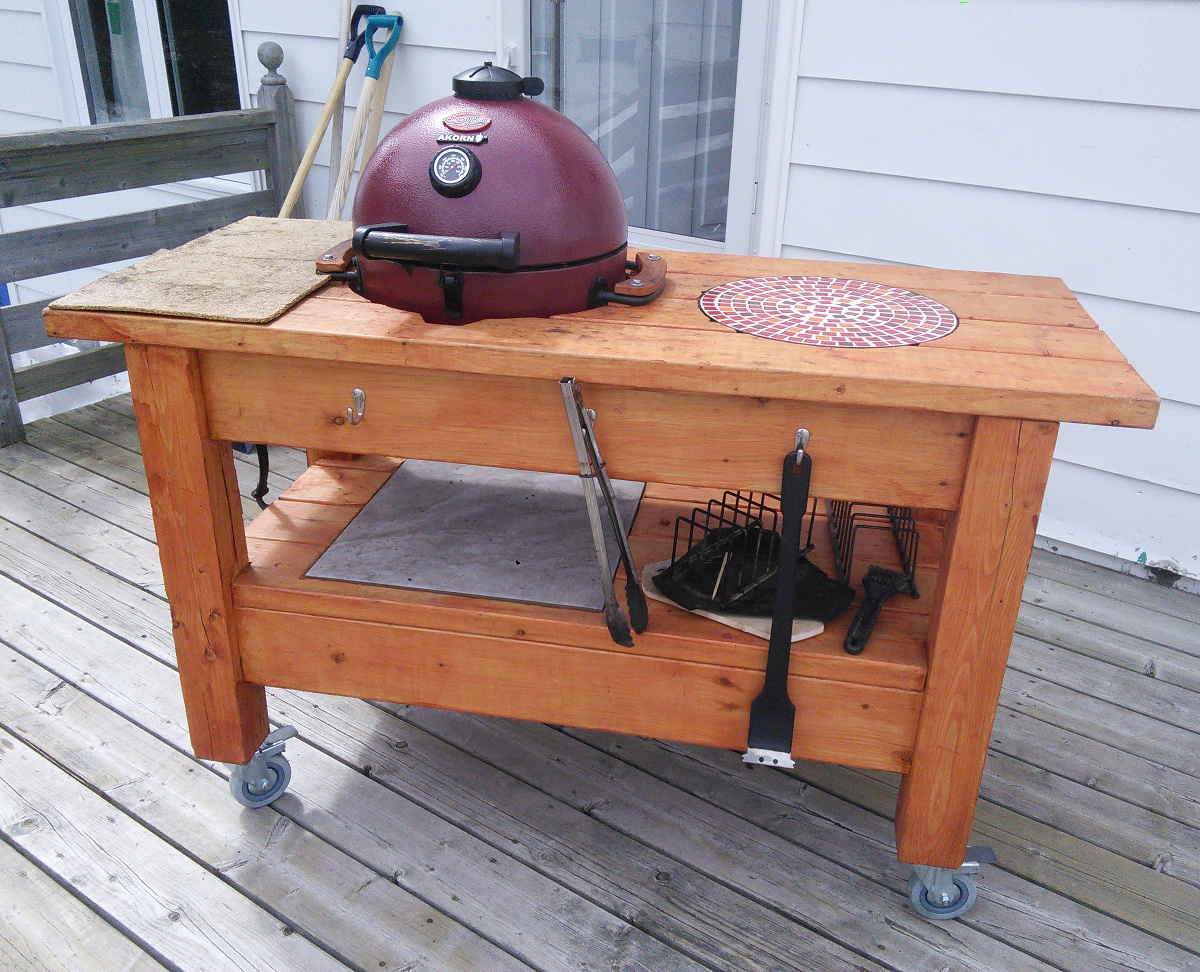
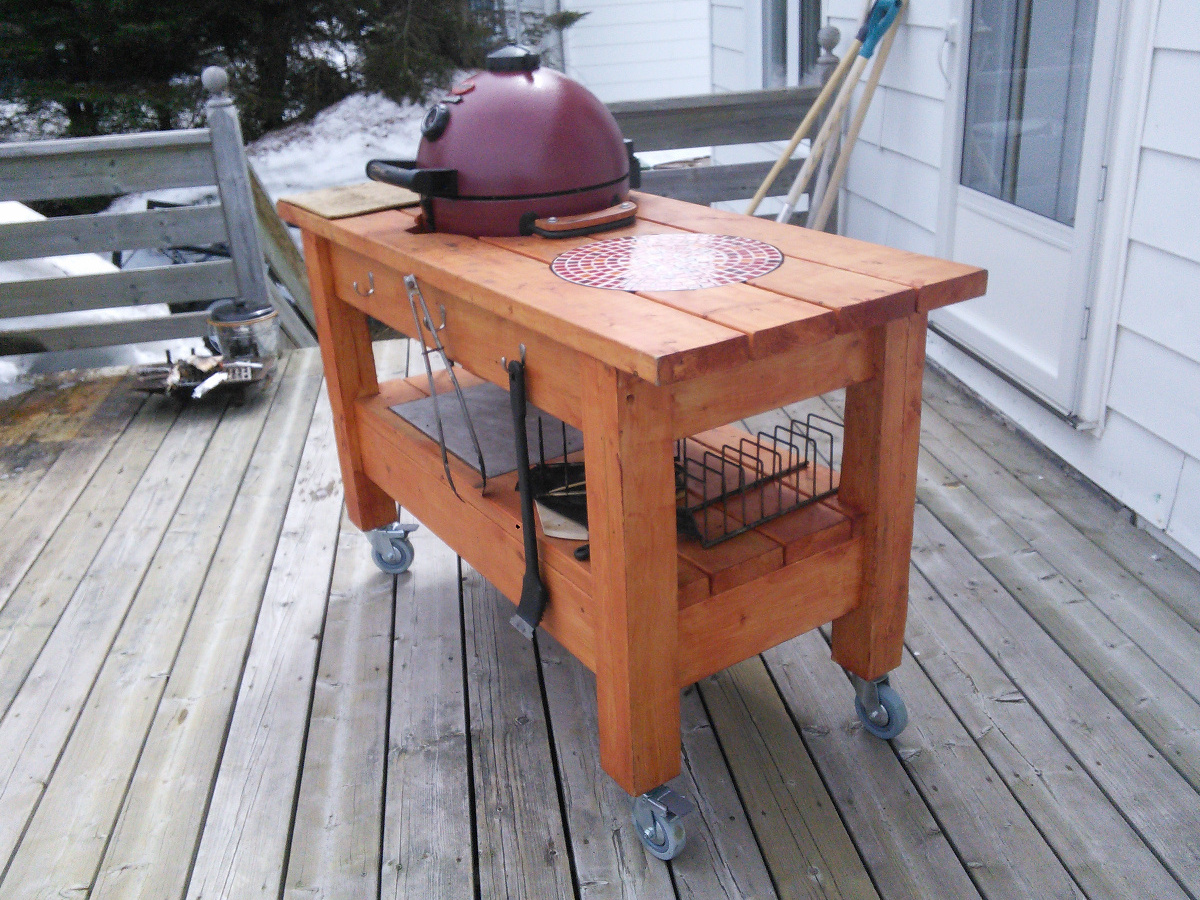
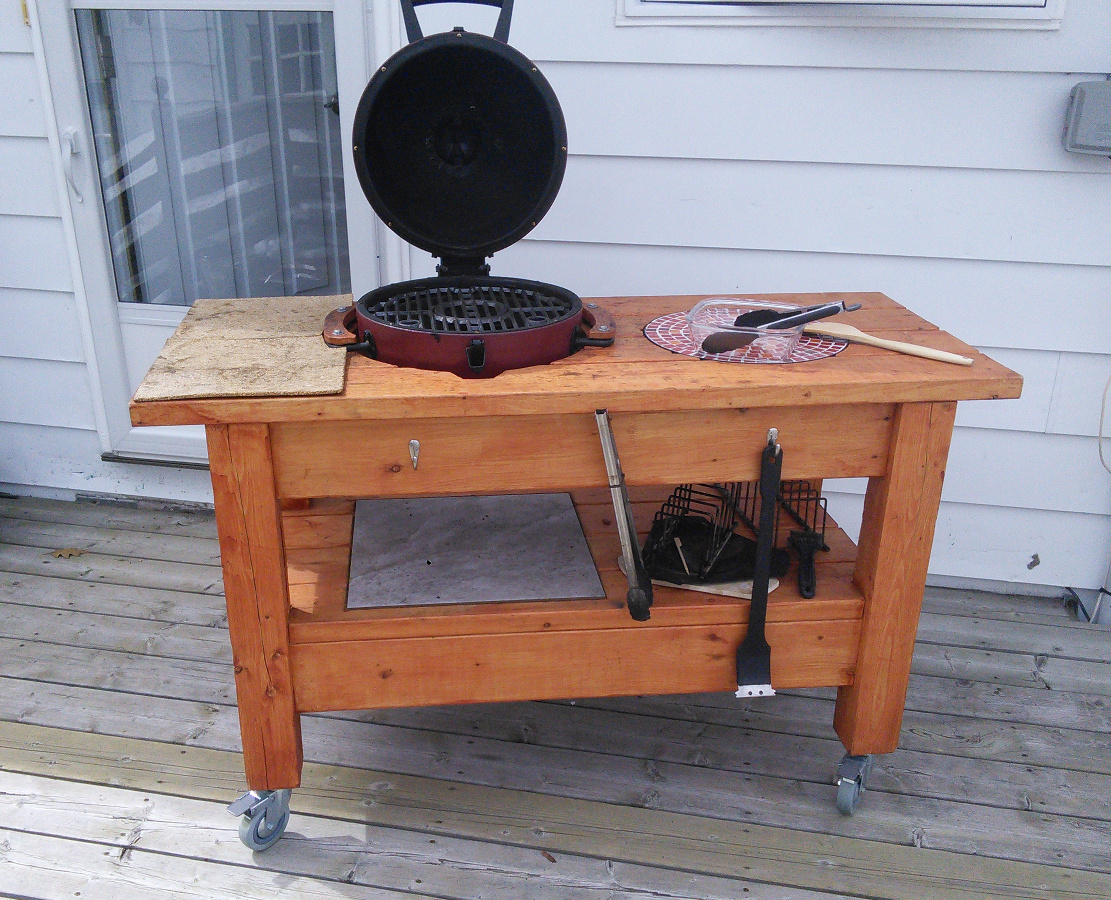
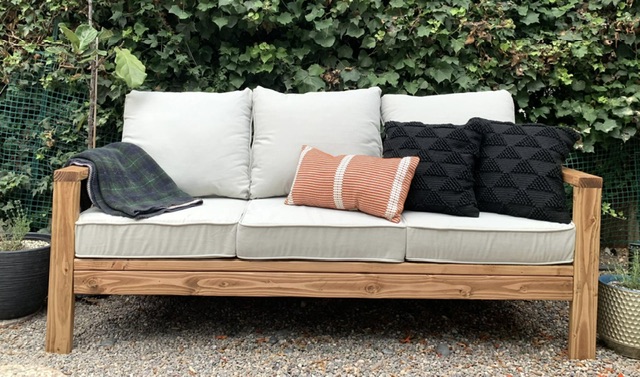
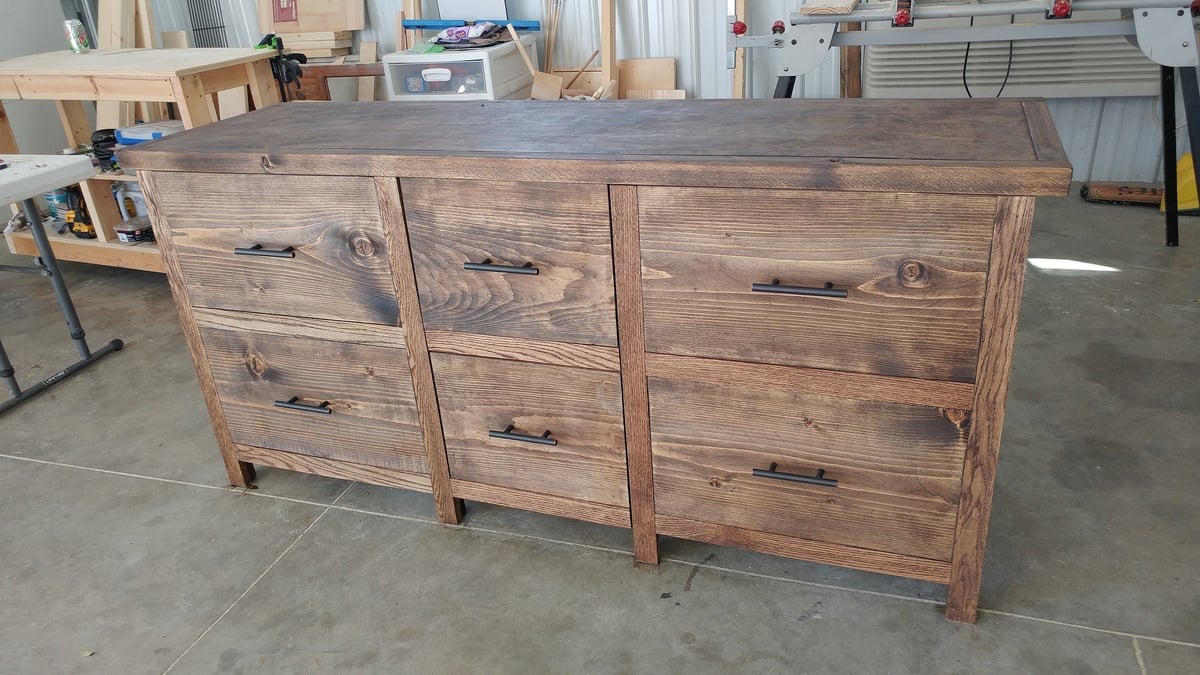
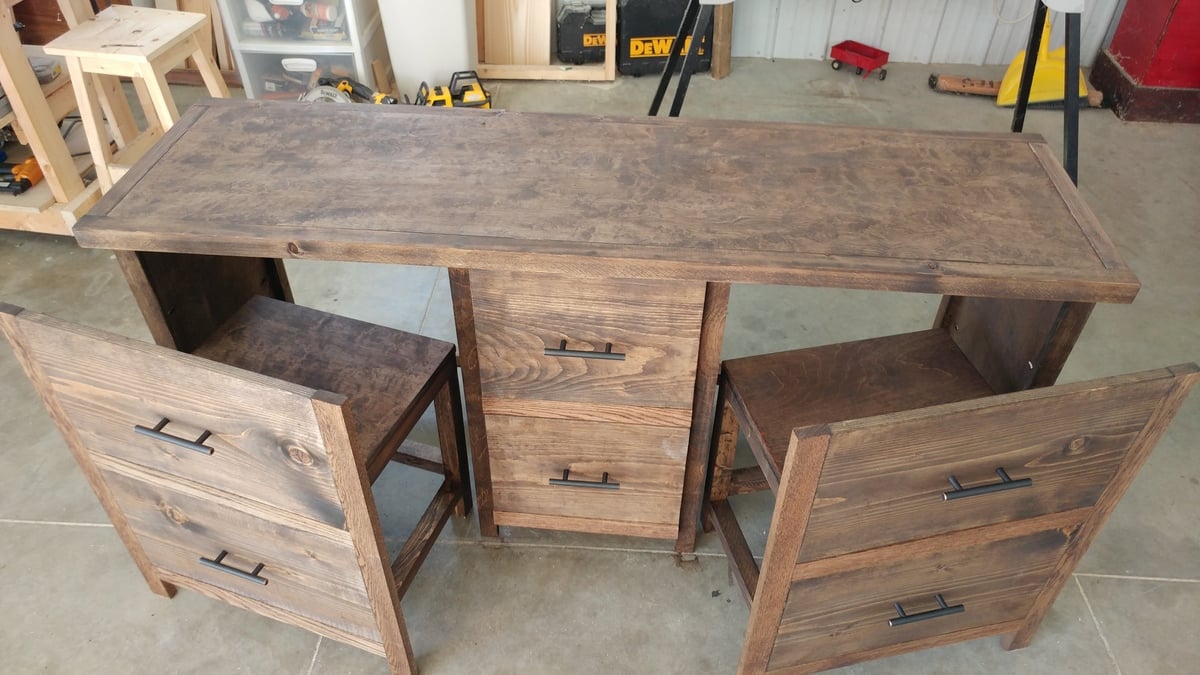
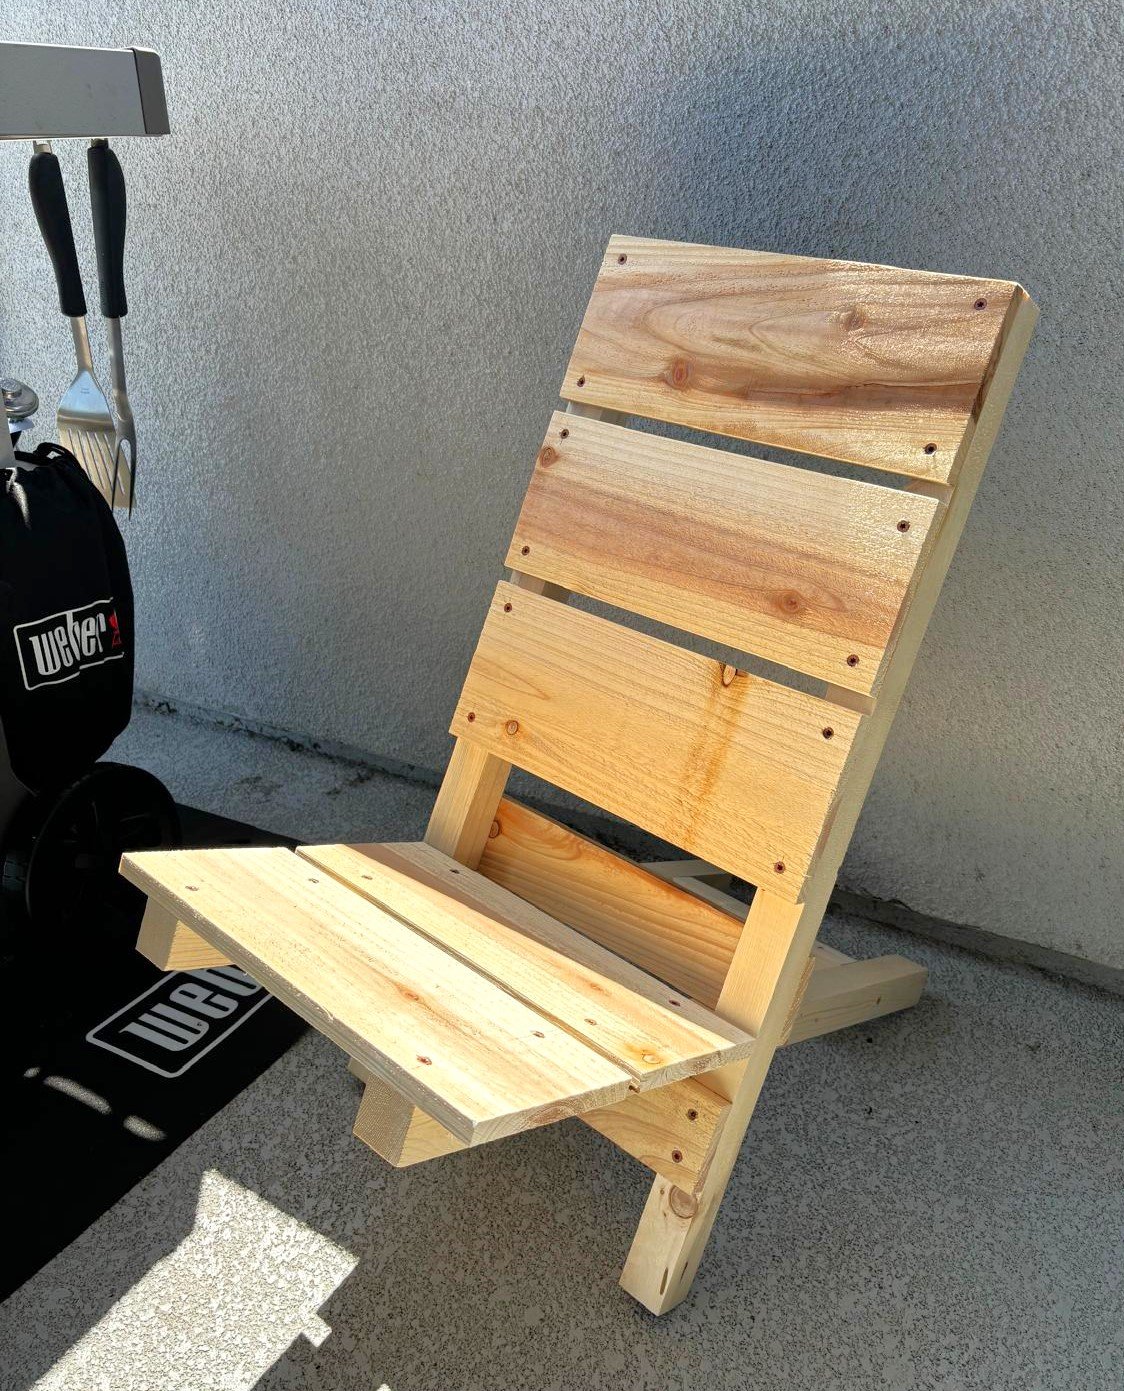
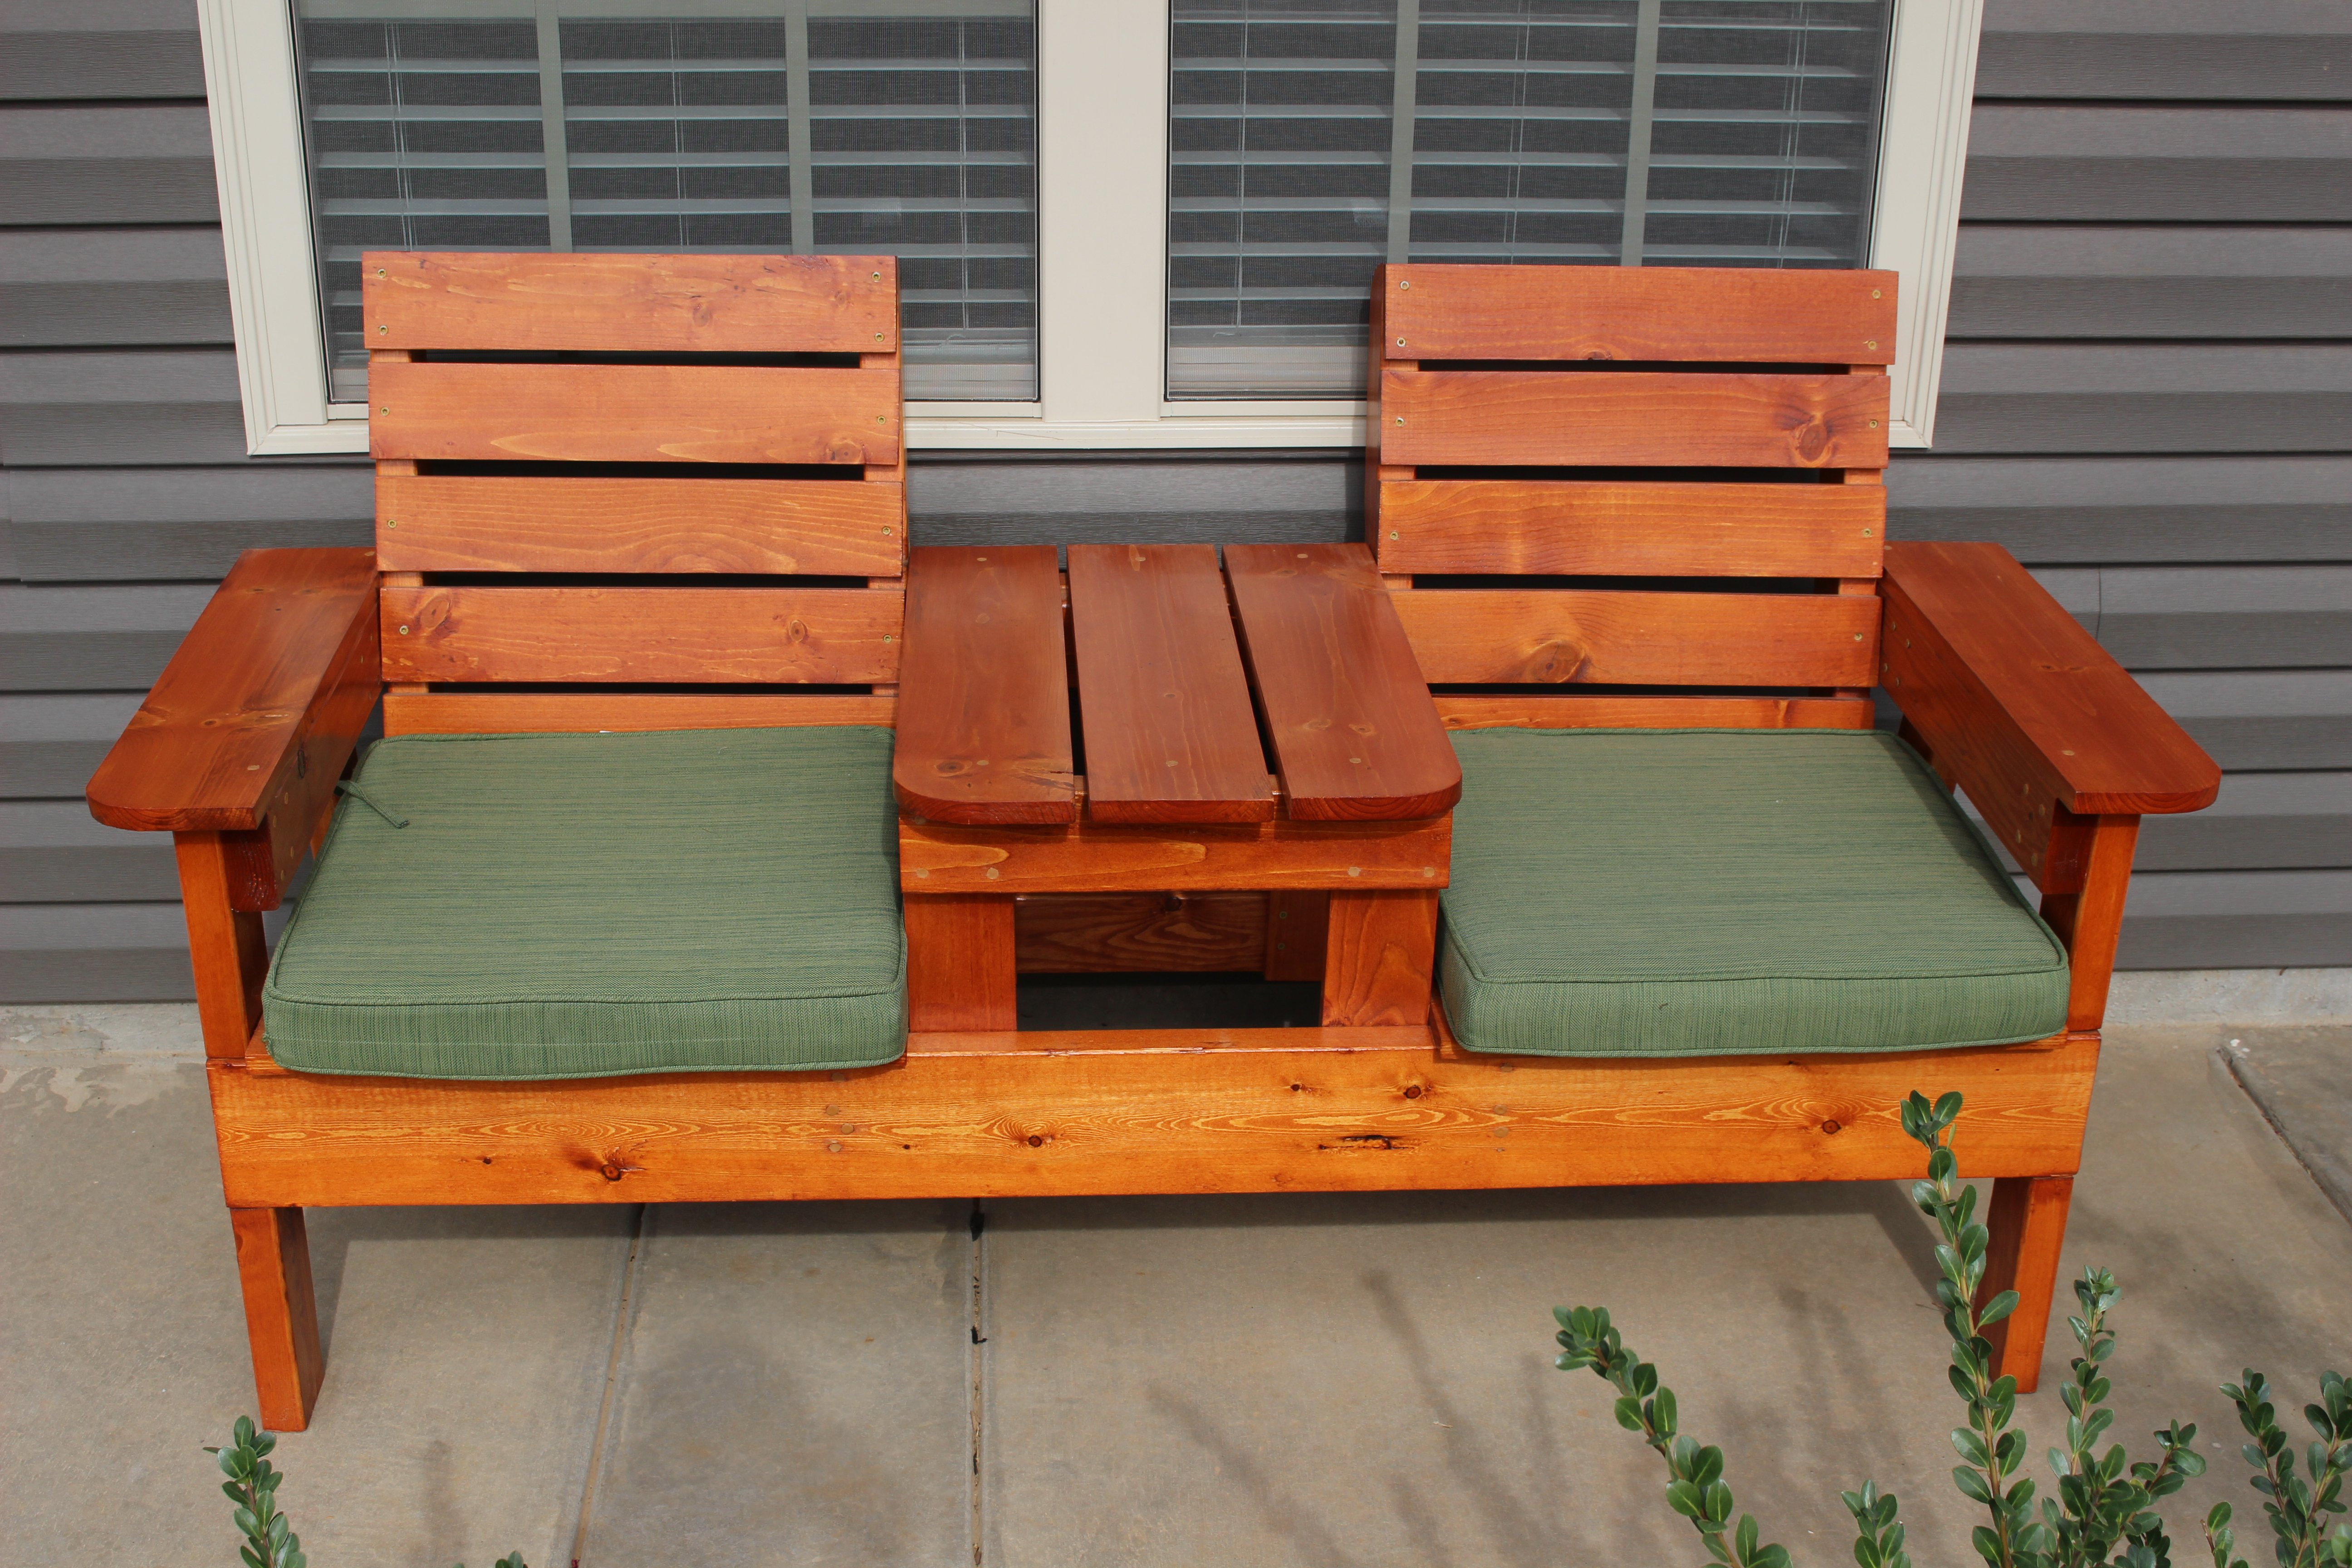
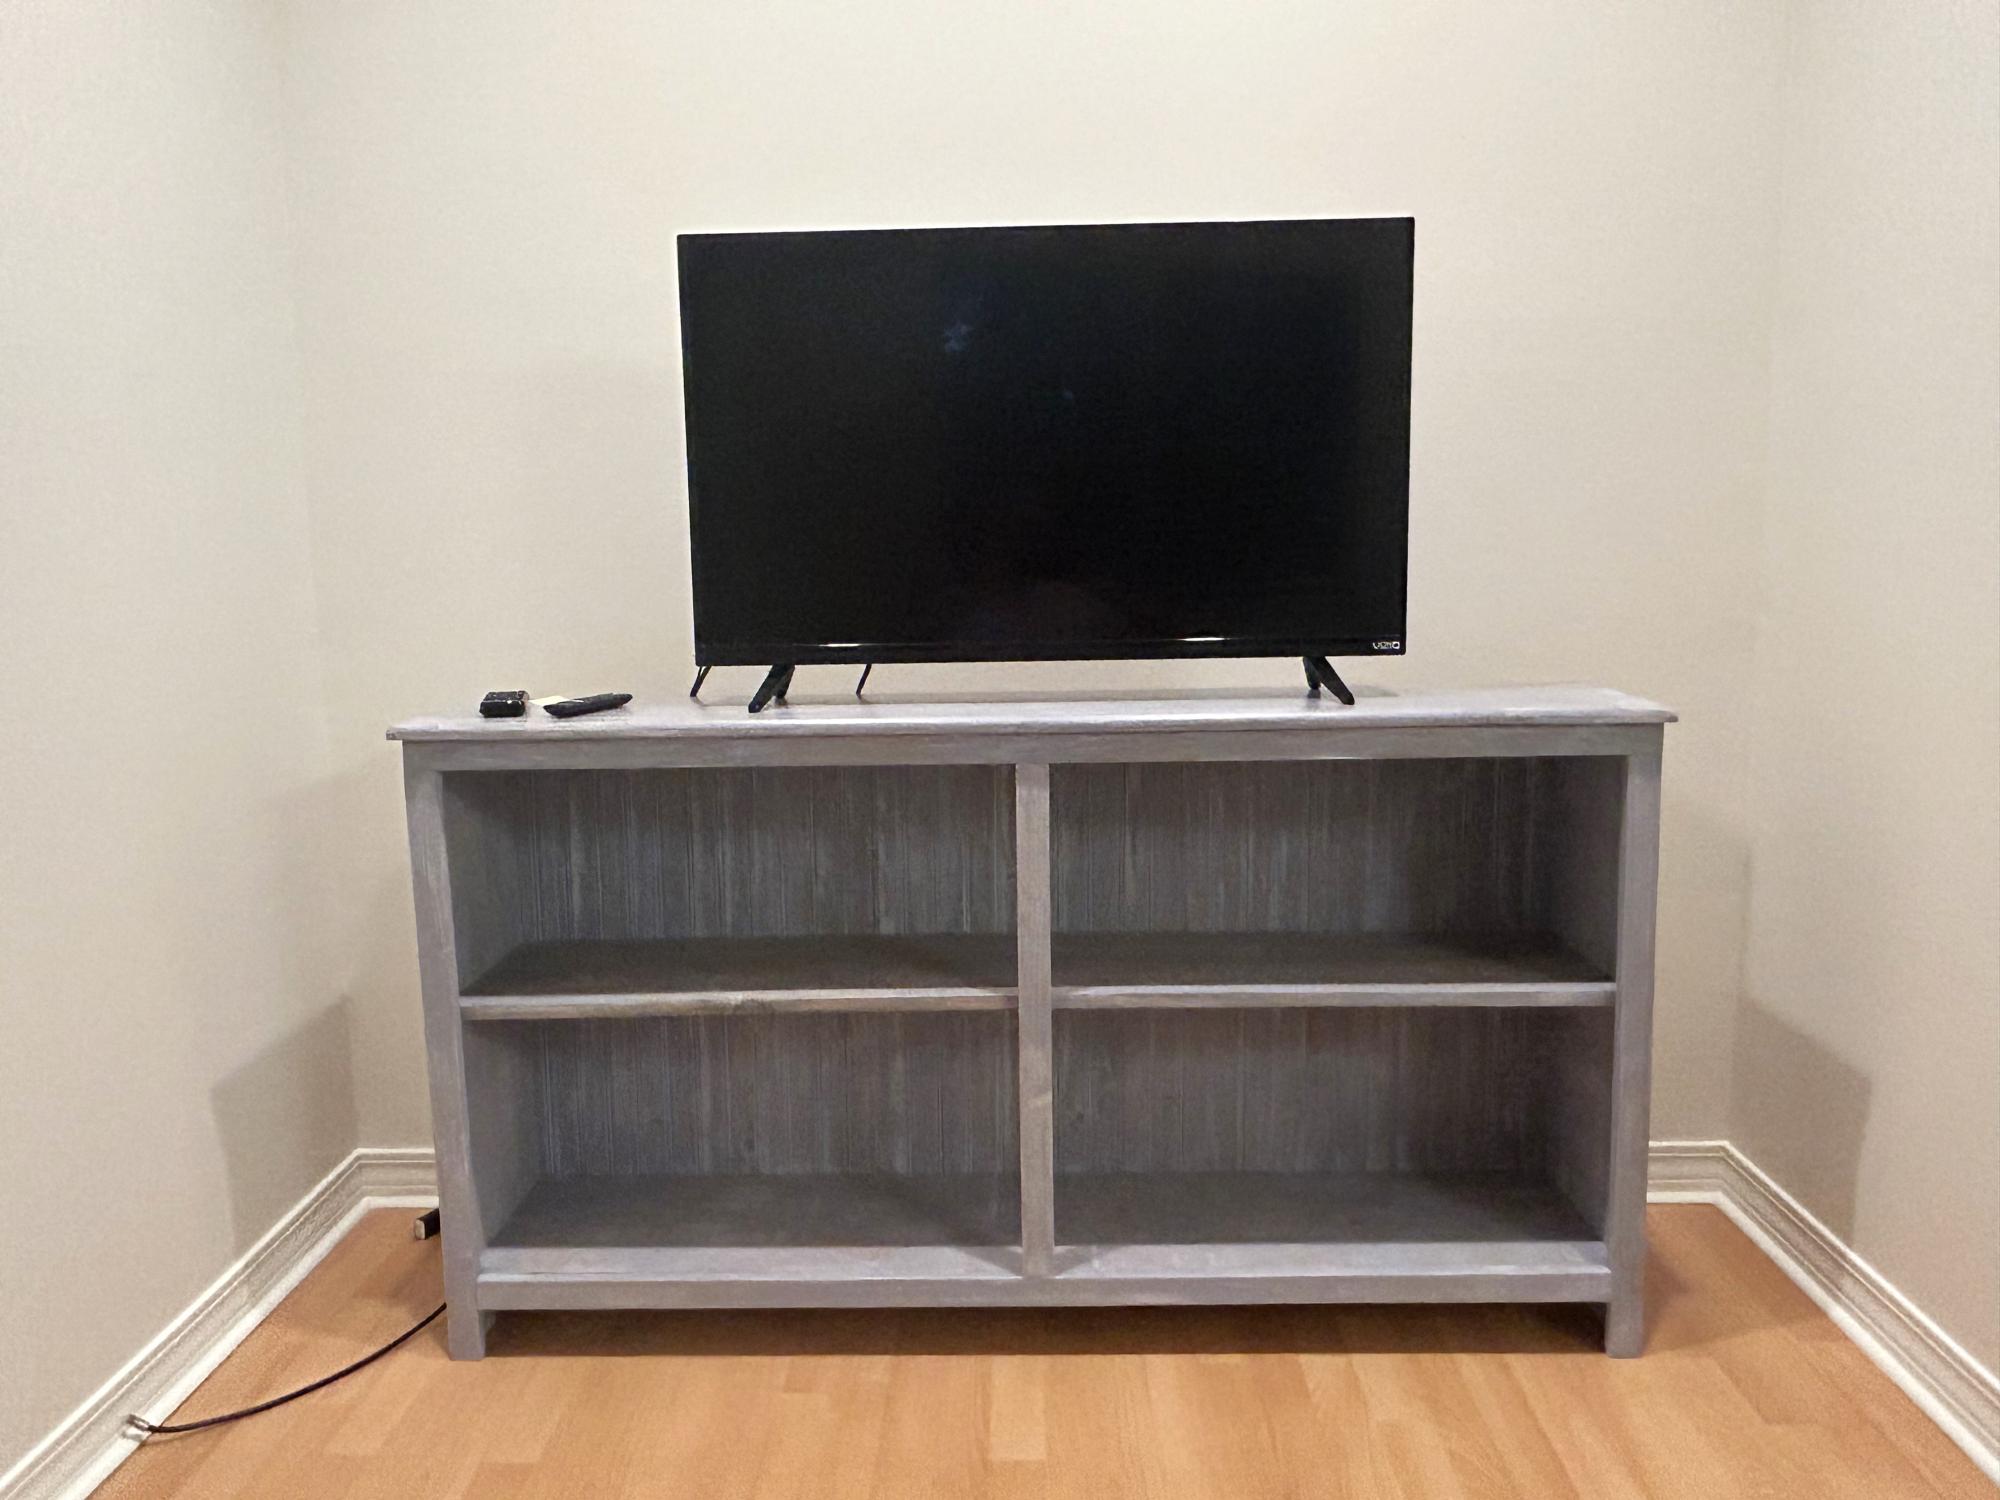
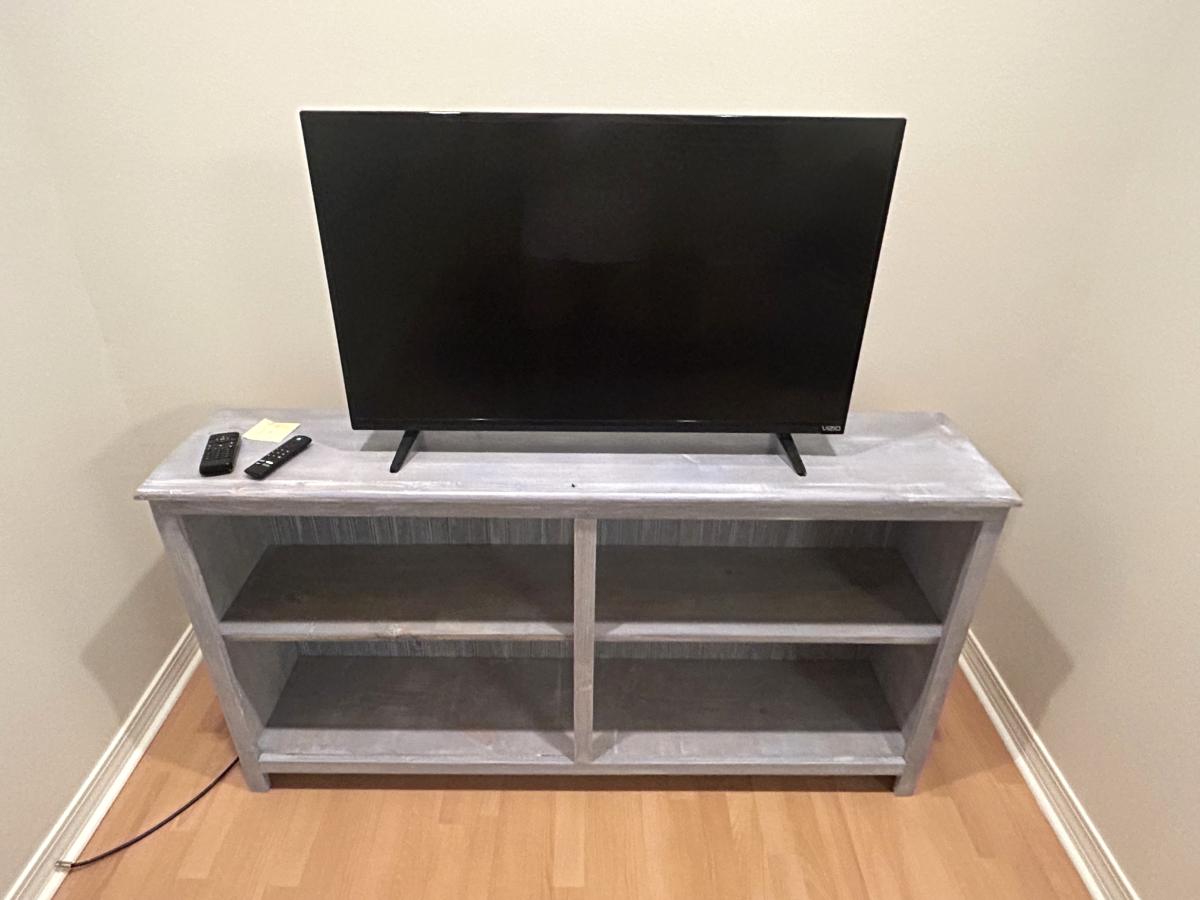
This was a very fun and one of the easiest projects I have made from Ana's plans! This makes me want to see if I can make matching chairs as well!
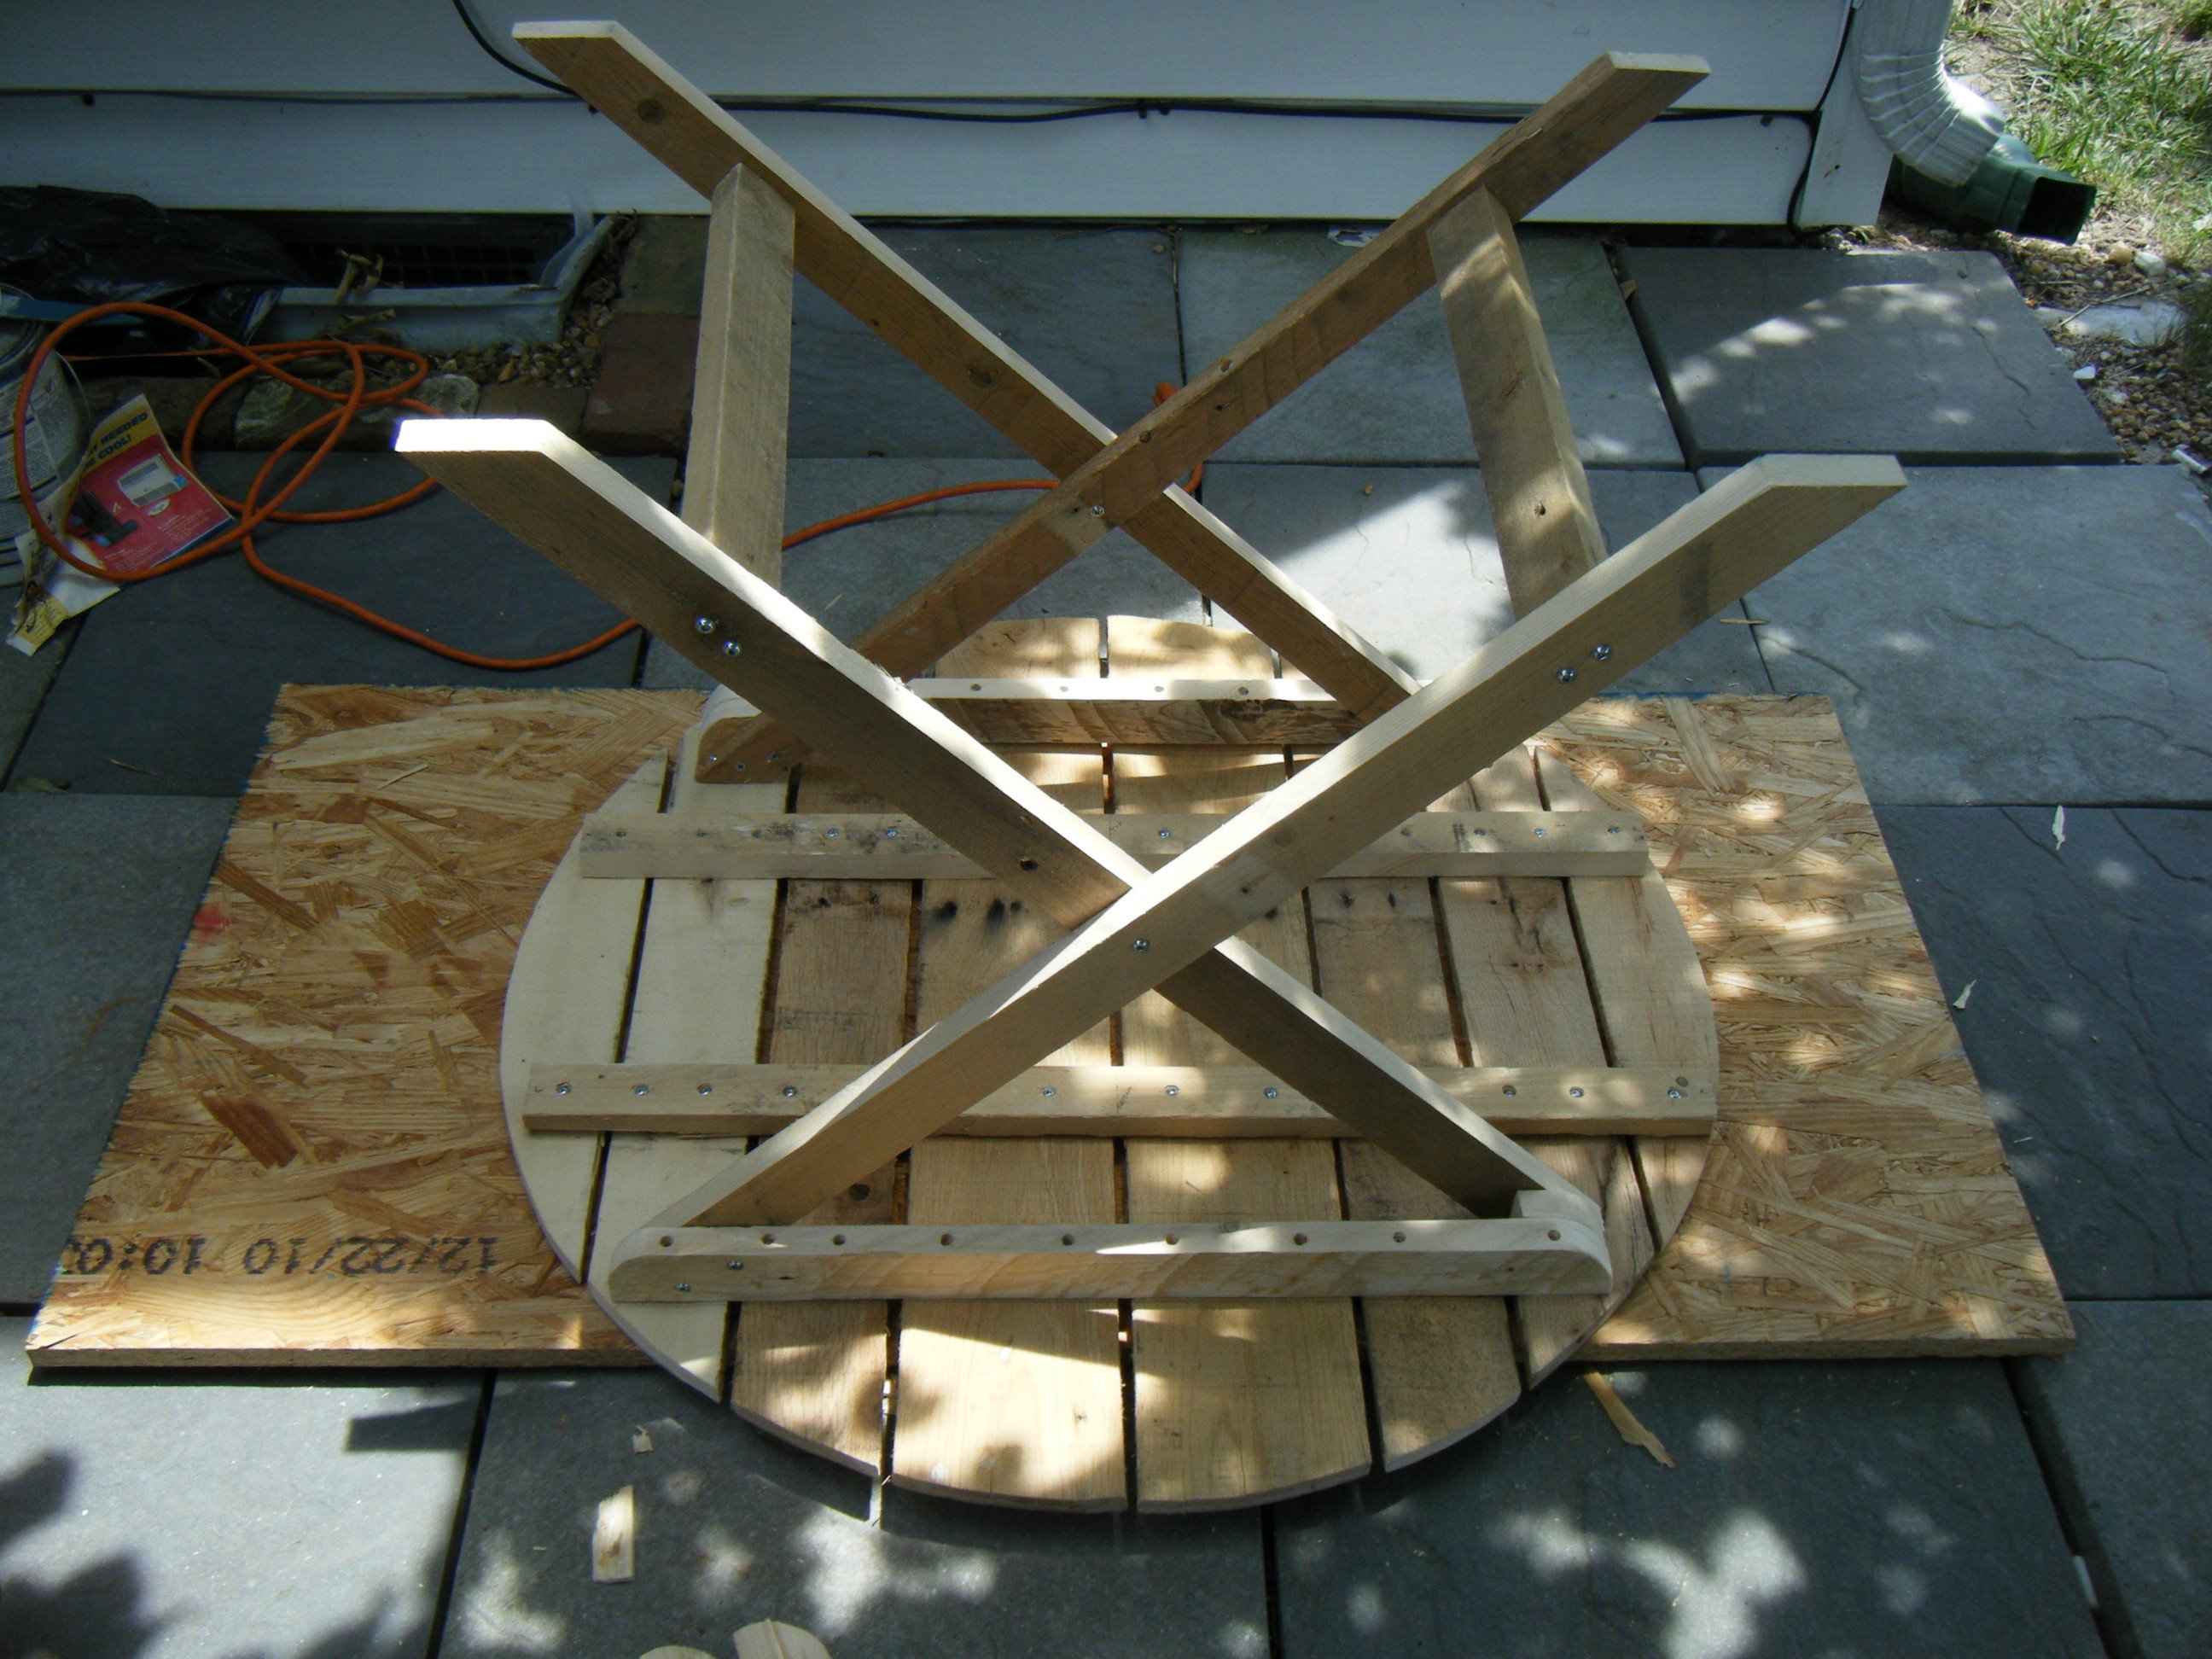
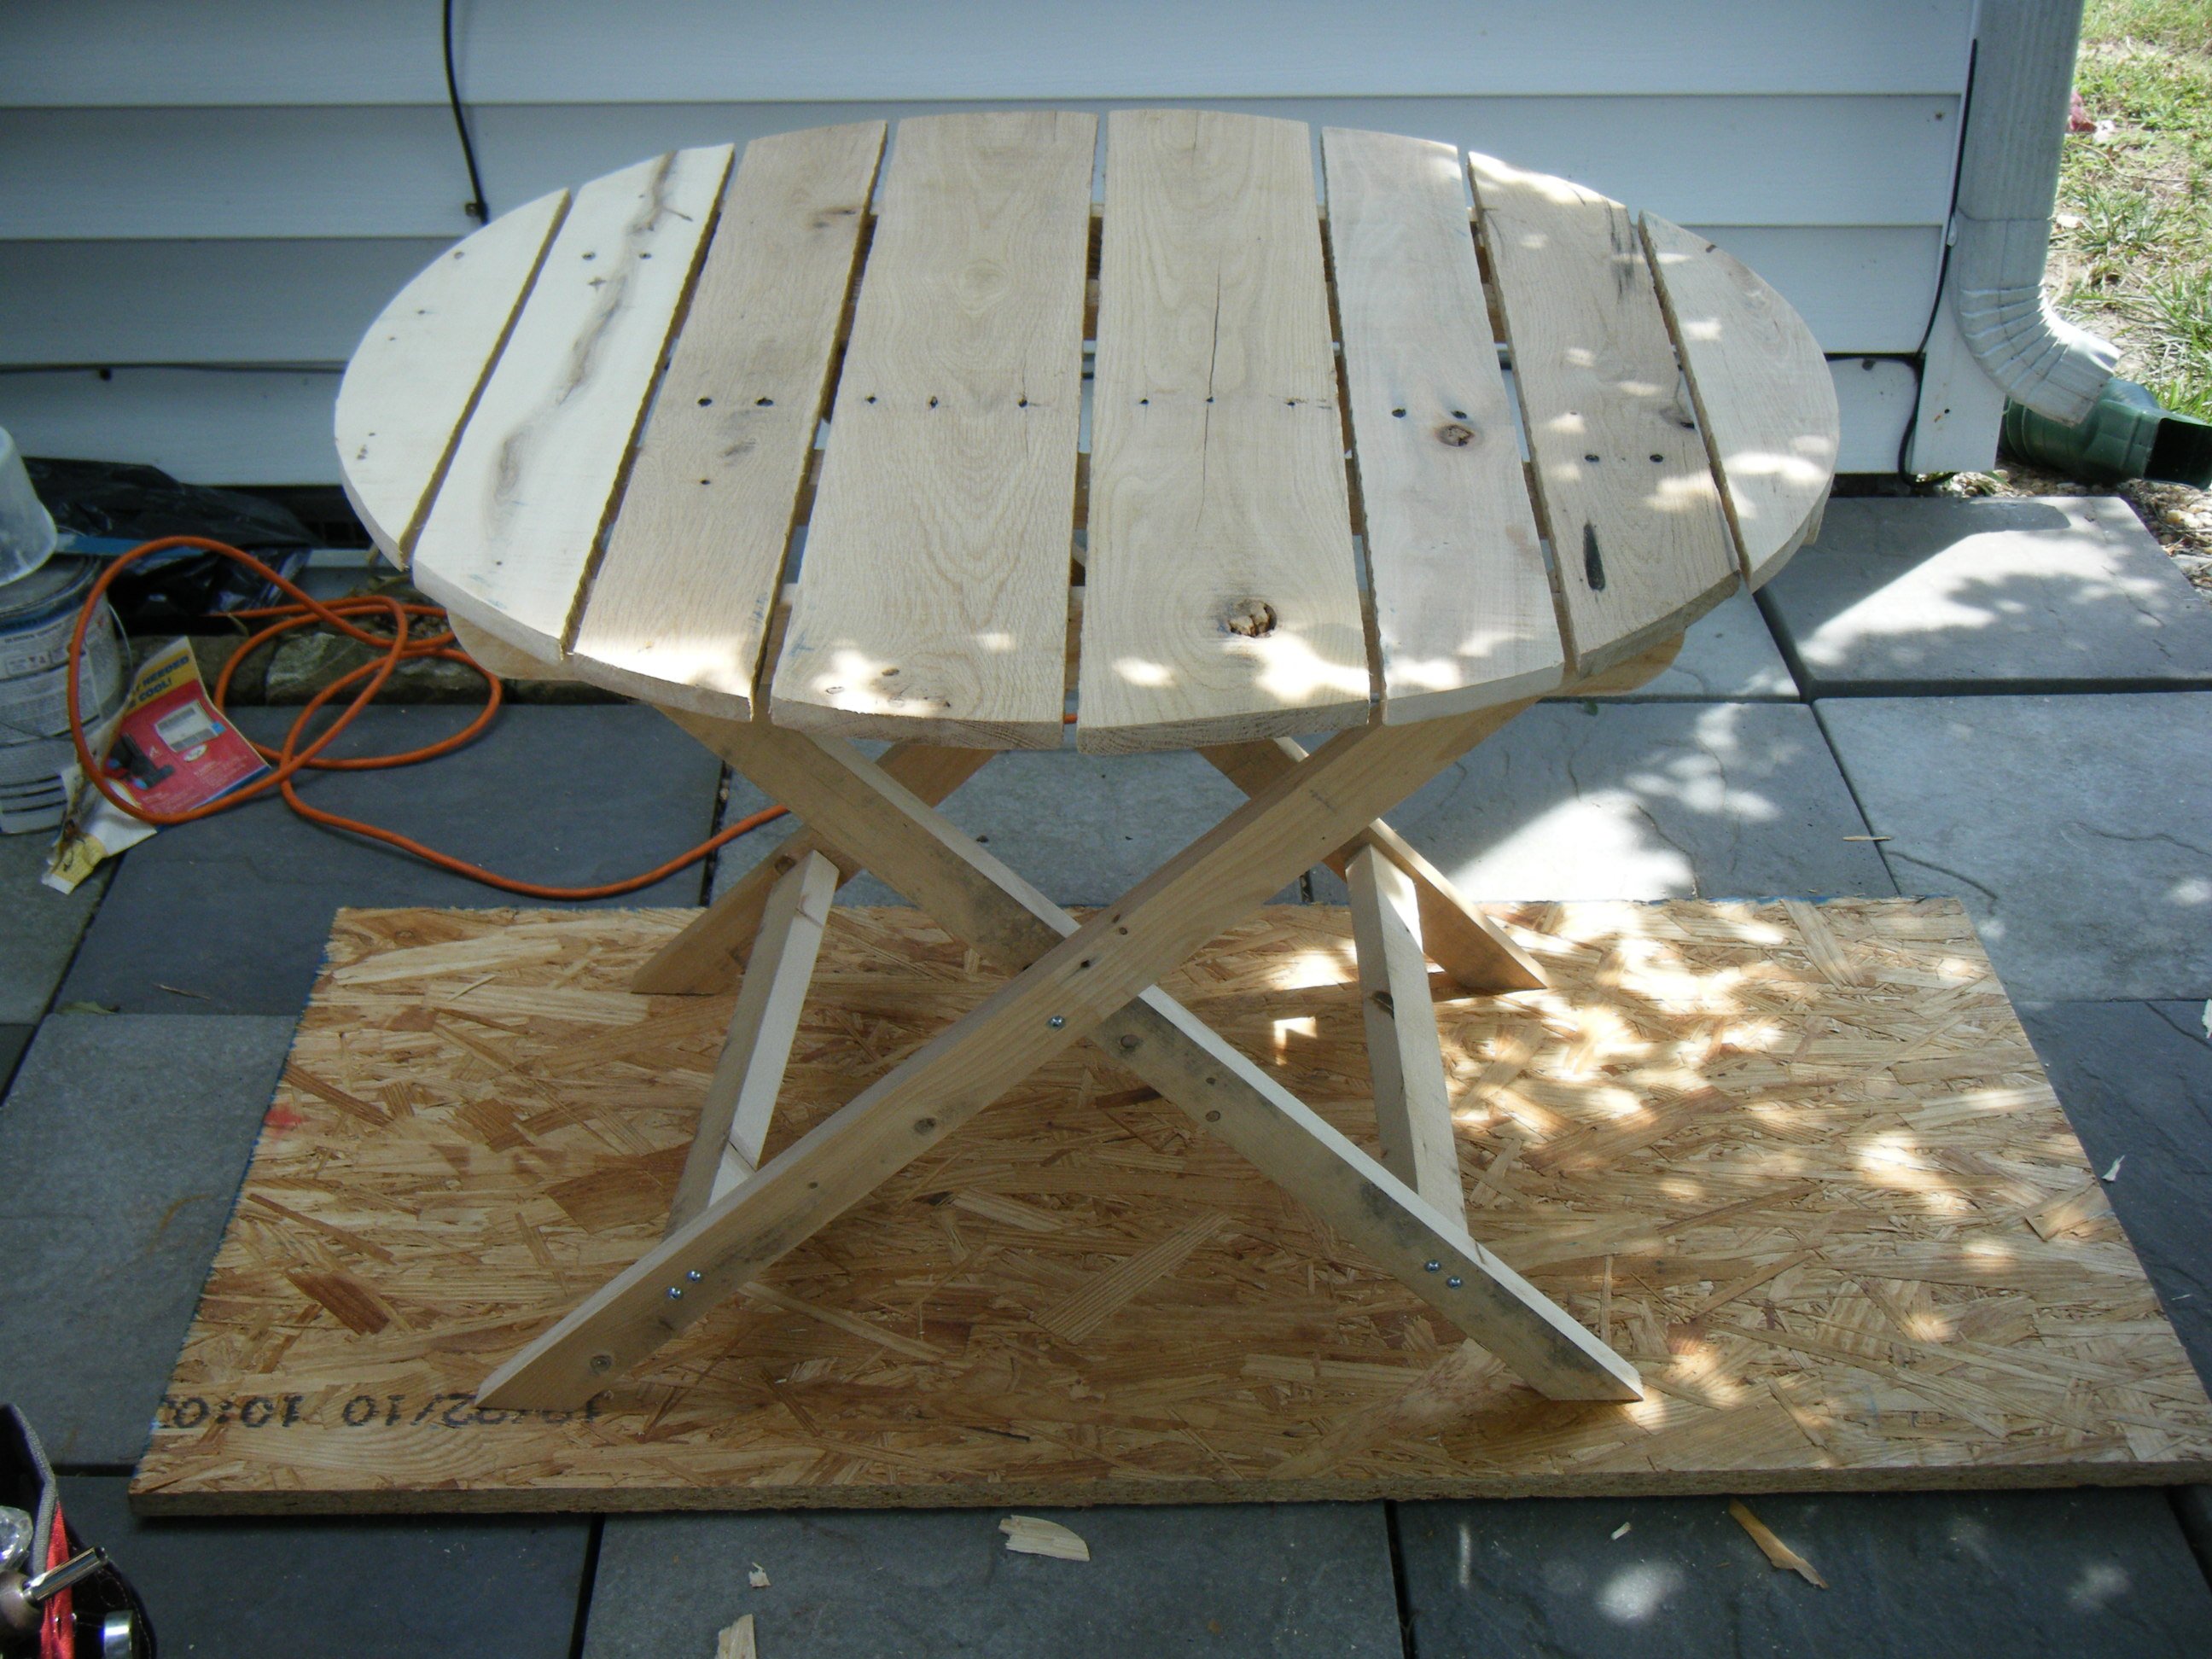
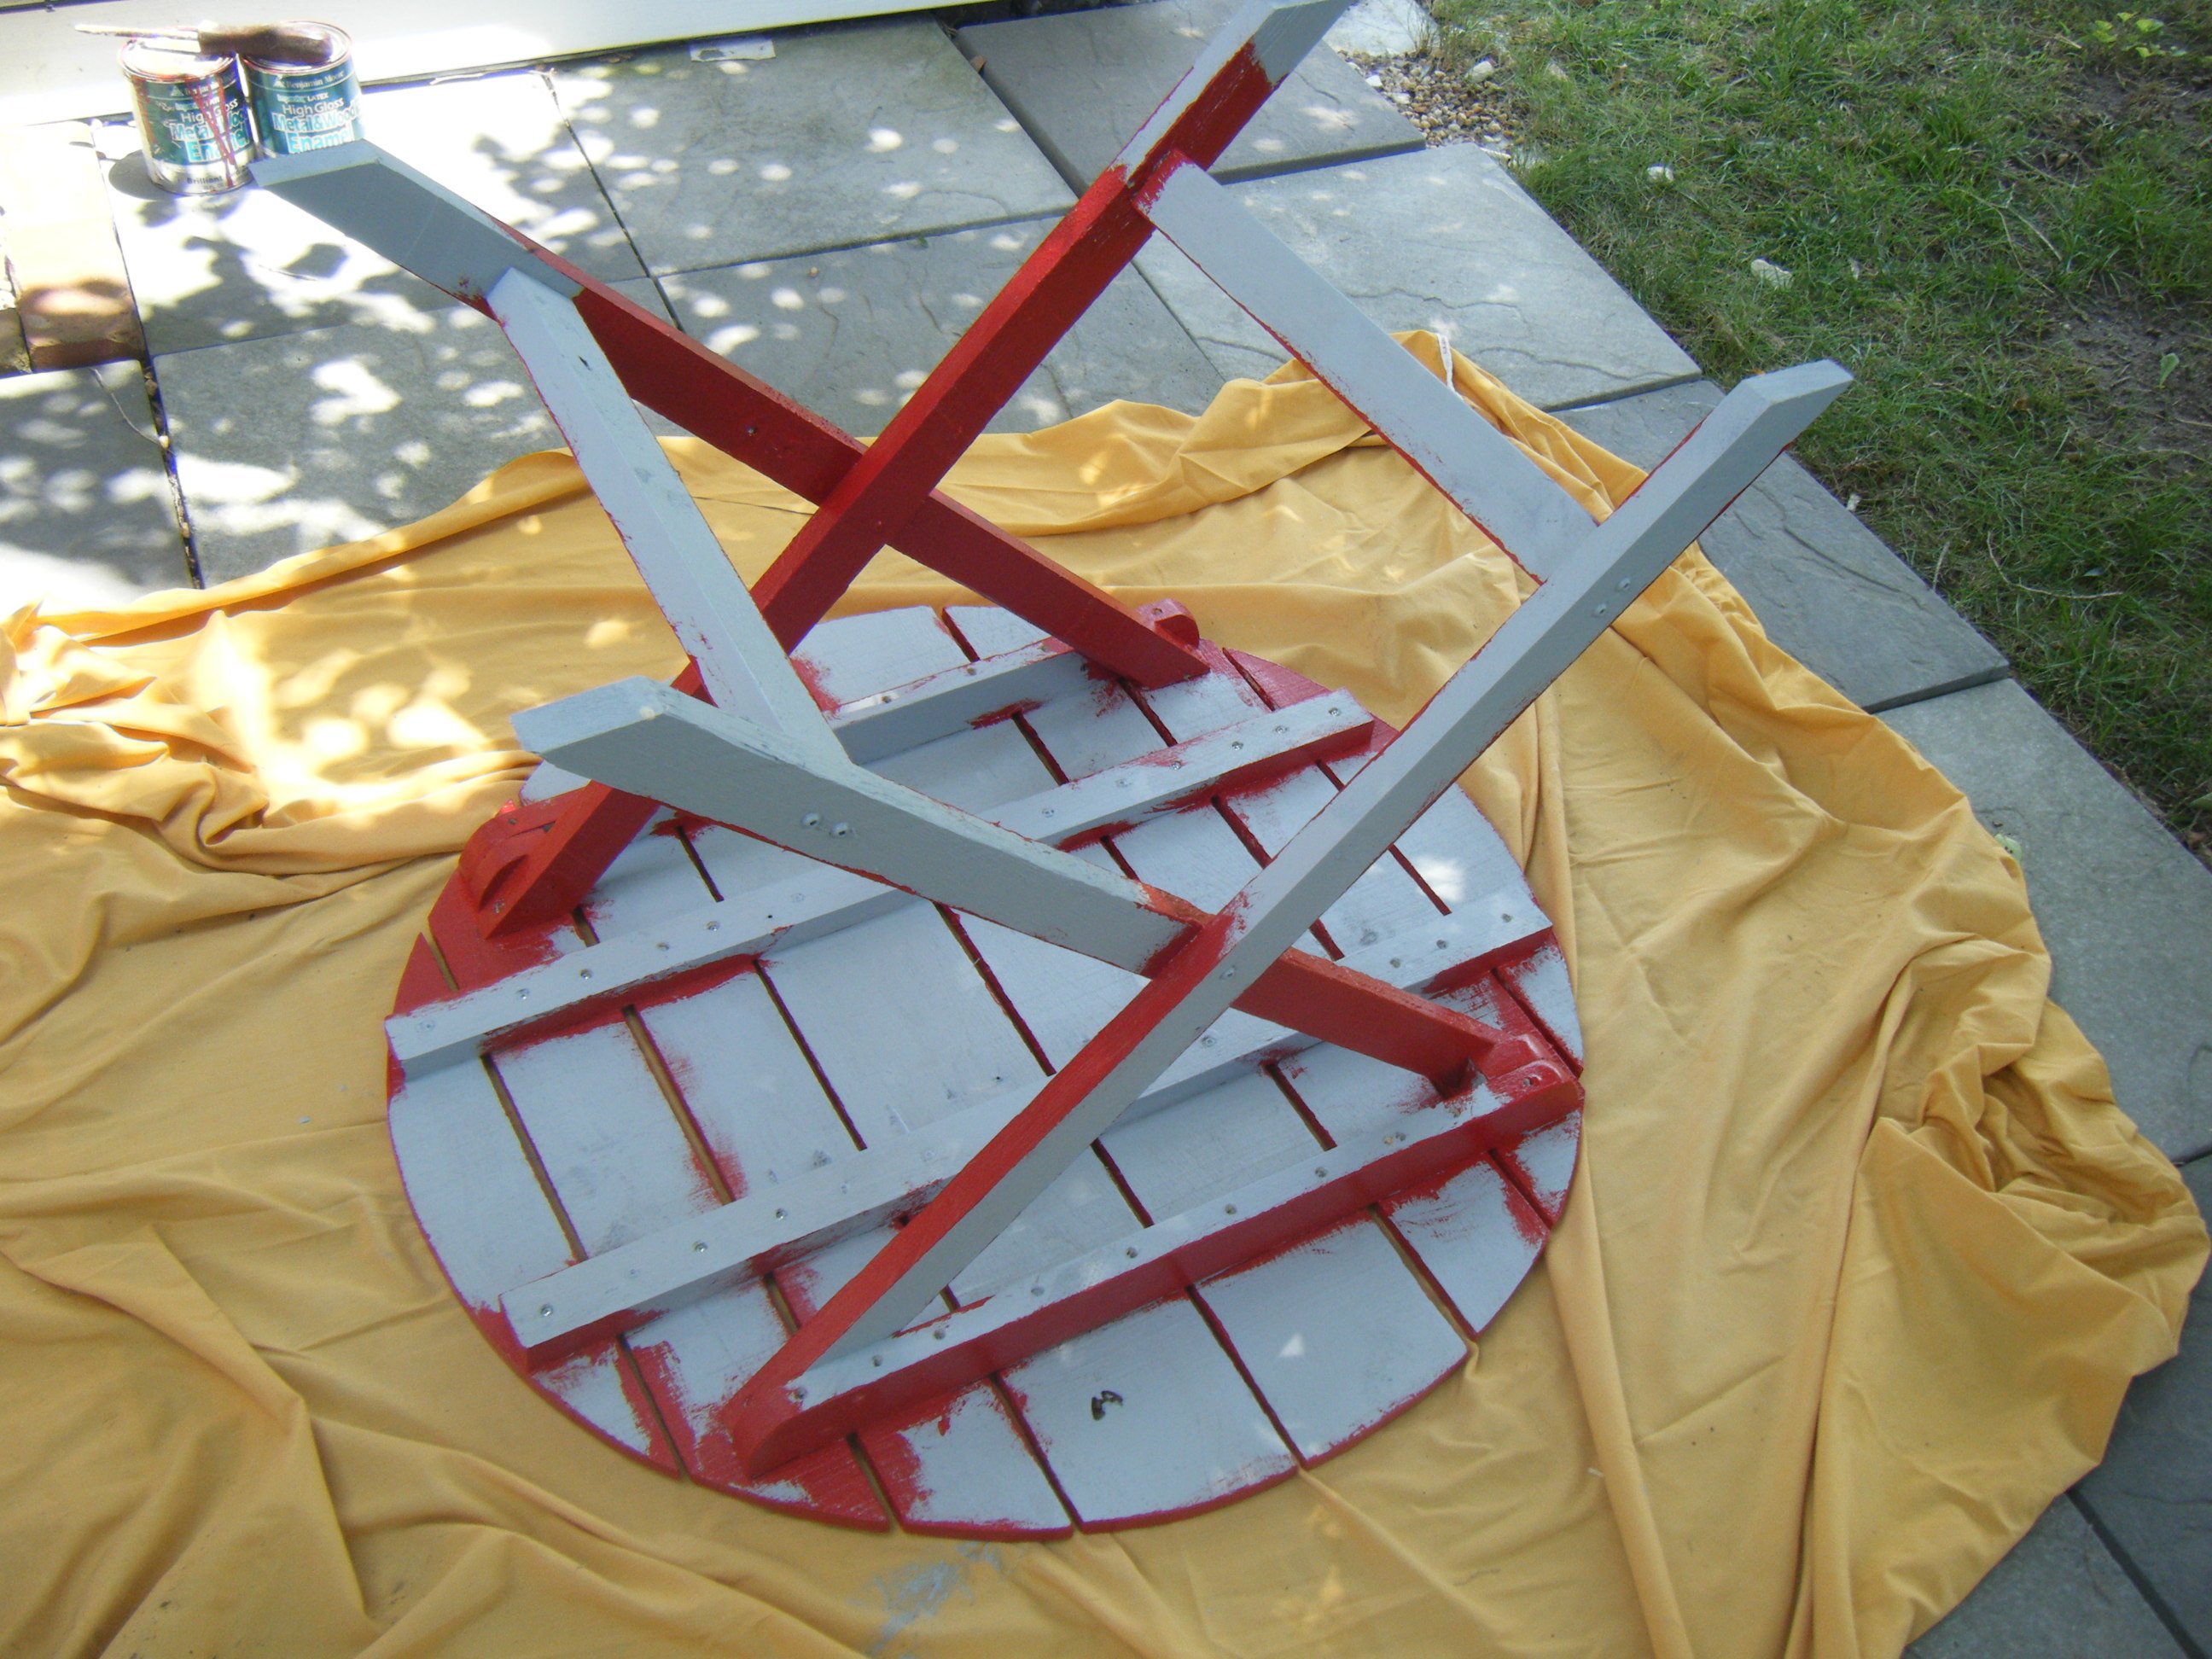
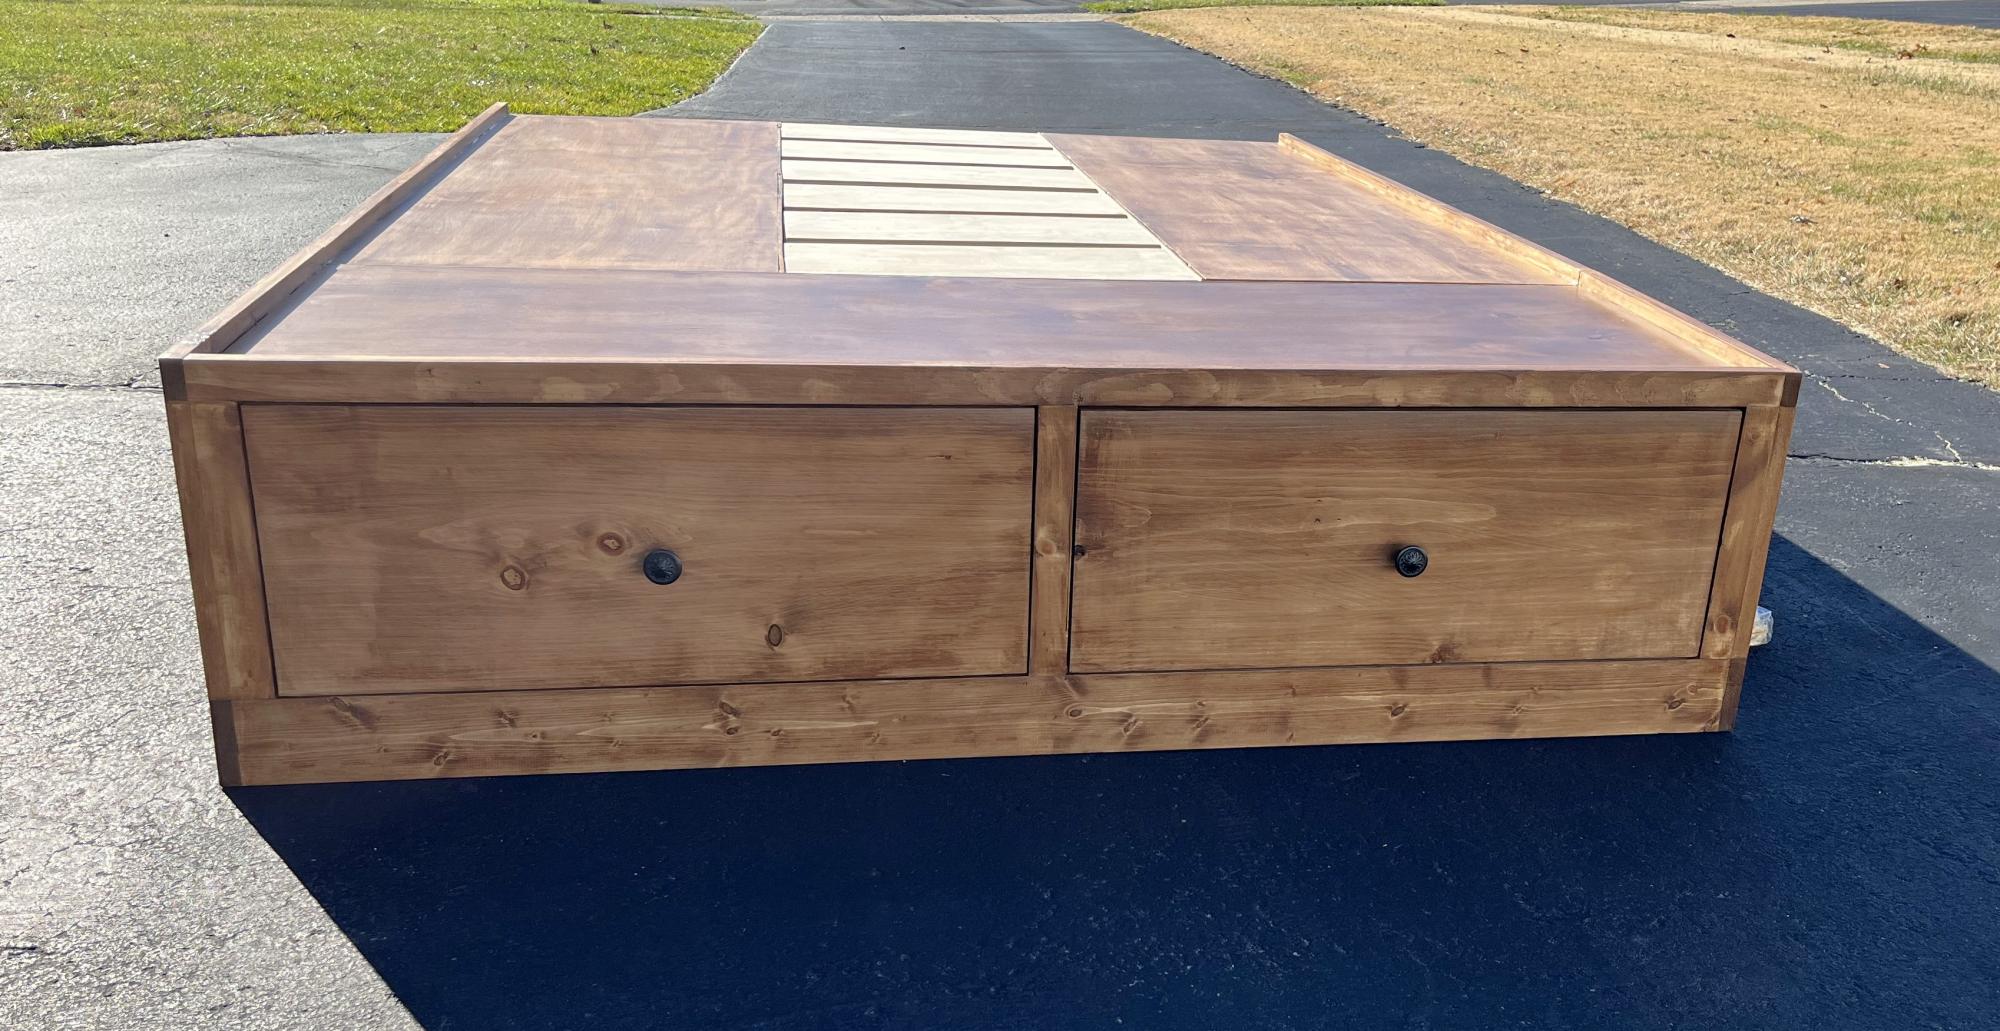
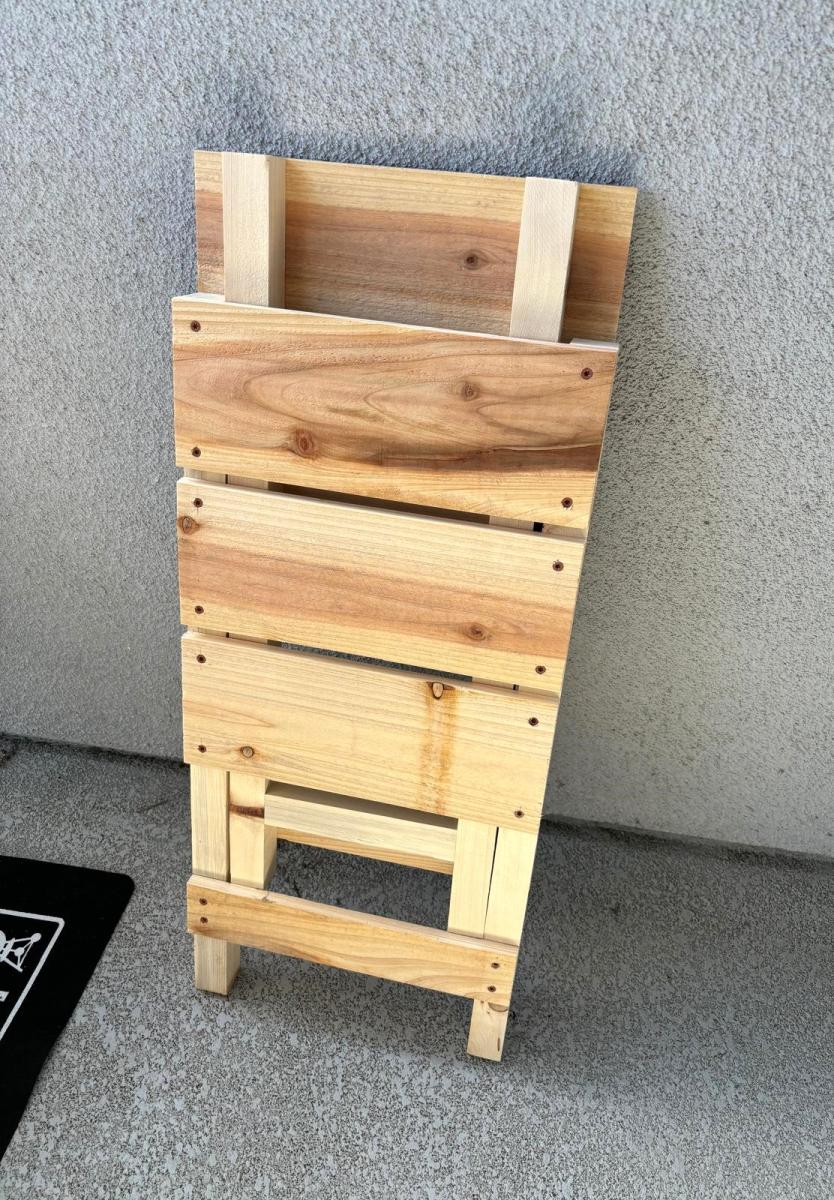
If you have seen my other projects, you know that I try to keep the lumber cost of my projects as close to free as possible. Living on the Eastern Shore of Virginia, pallets are not free, so I did have to pay $2 for each pallet, being VERY choosy about the slats being all the same size and straight. The hardest part of the project was taking the pallets apart! Check the blog link for more details.
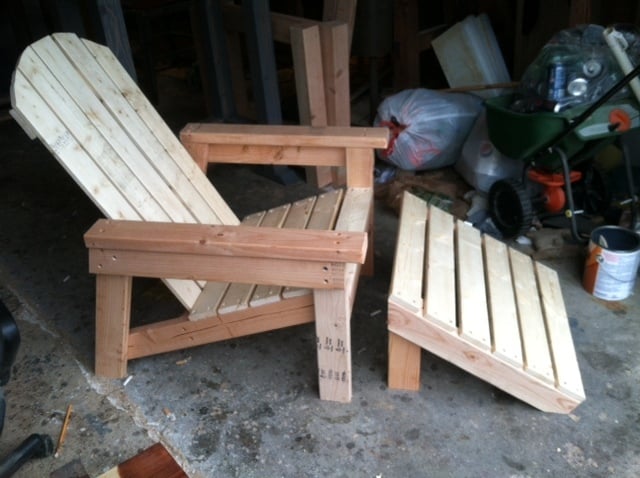
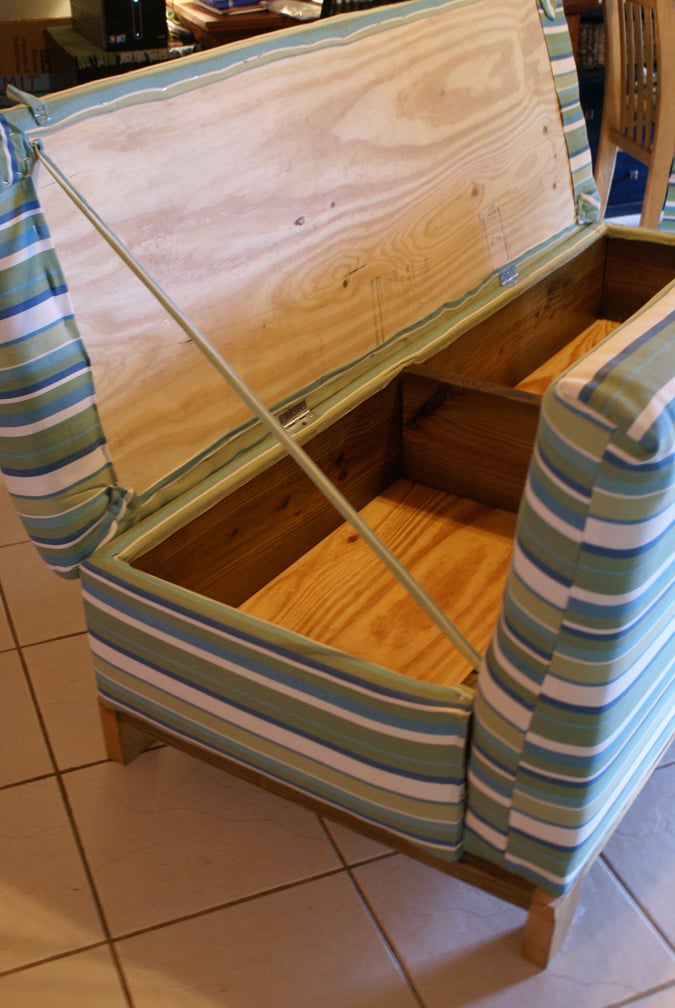
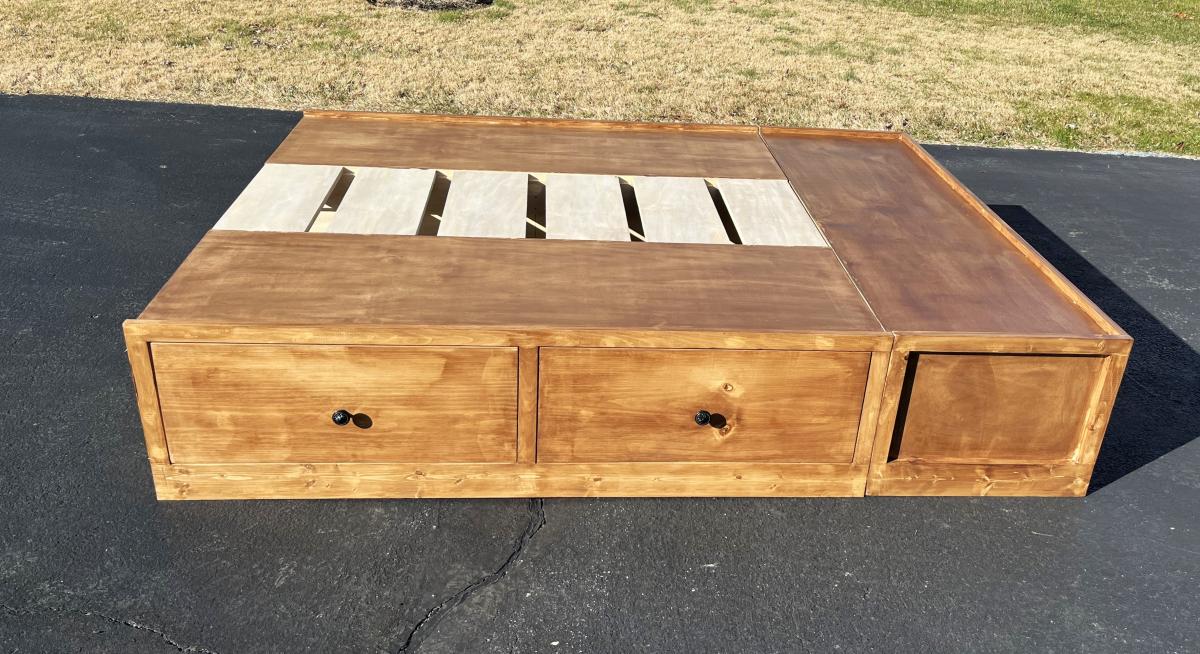
I used 1 1/2 pallets for this project, and the following tools:
Jigsaw (to cut the ends off the pallet)
Pry-bar (to loosen the slats from the center of the pallet)
Miter saw
Drill
Table Saw (ripping the 2x4 sections of the pallet, to make the legs and spacers of the table)
Palm sander


Comments
Mabel Smith
Mon, 03/23/2015 - 03:01
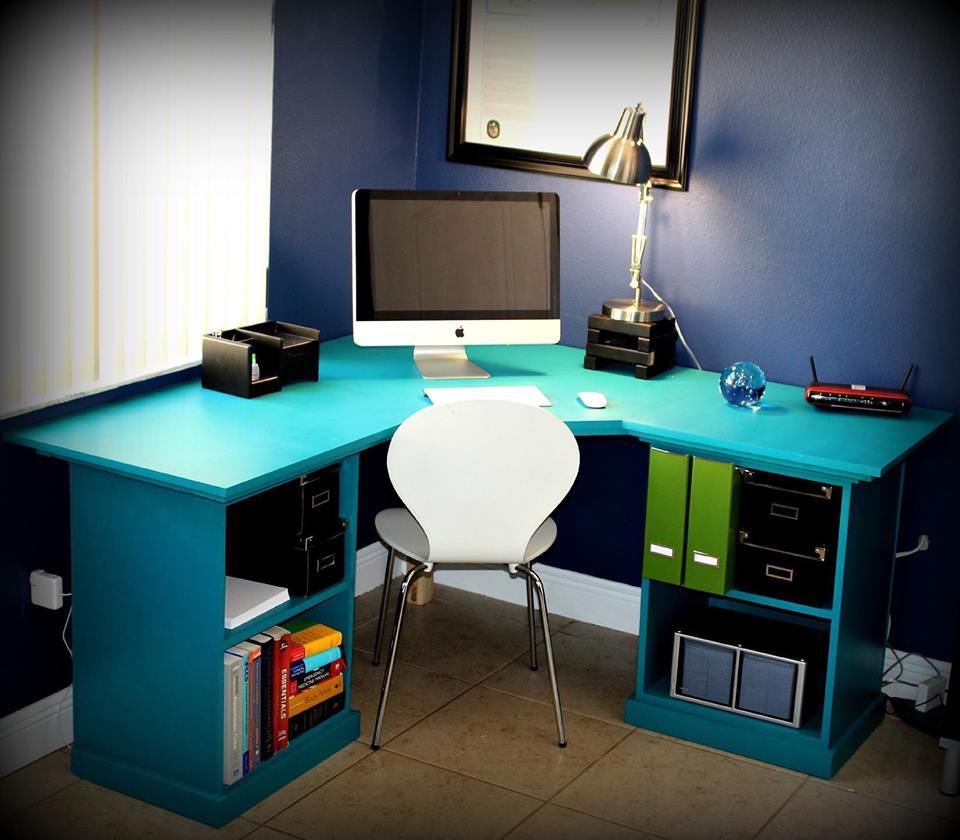
I liked this desk. how much
I liked this desk. how much would it cost for doing this? I am a writer at one of the and btw way work full time infront of my PC, wish to have a separate work room with well interior designed.
https://reviews.clazwork.com
Ana White
Thu, 03/26/2015 - 15:08
This is really cool! Thanks
This is really cool! Thanks for sharing!