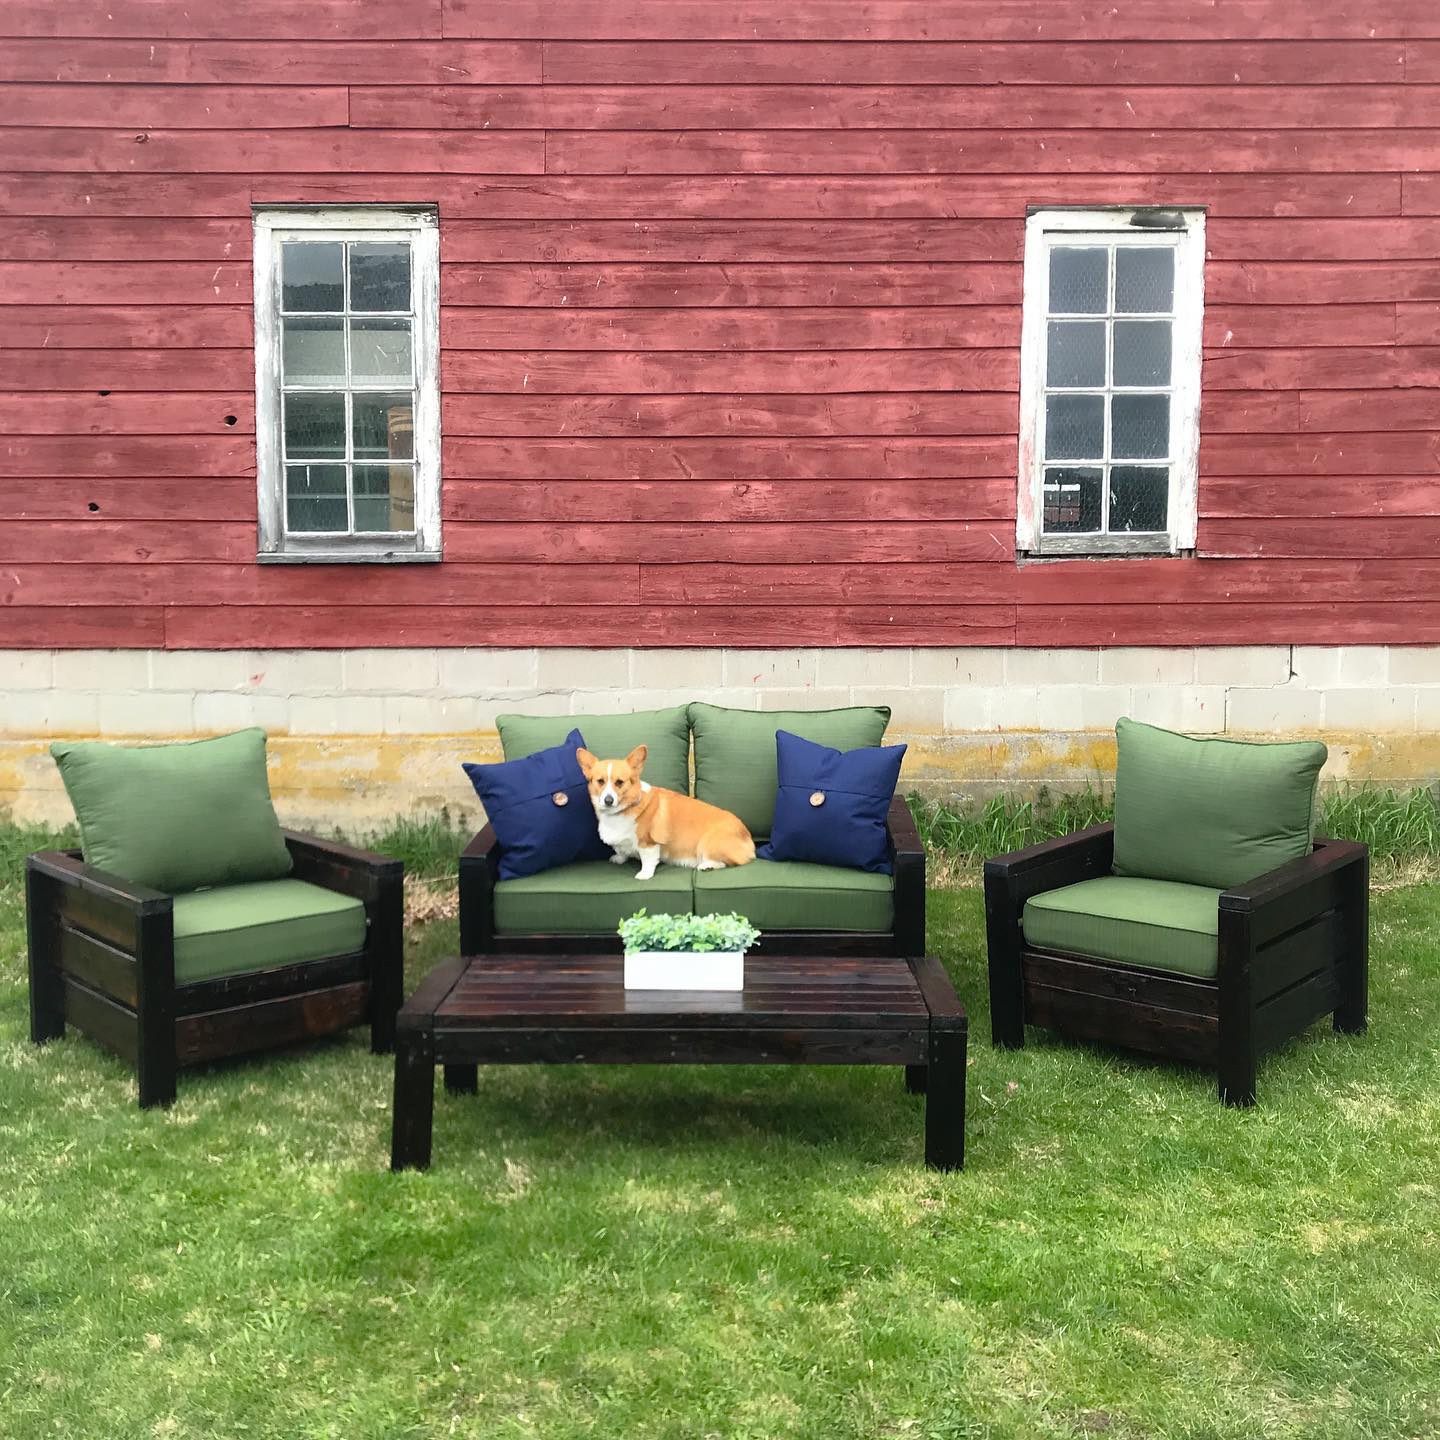
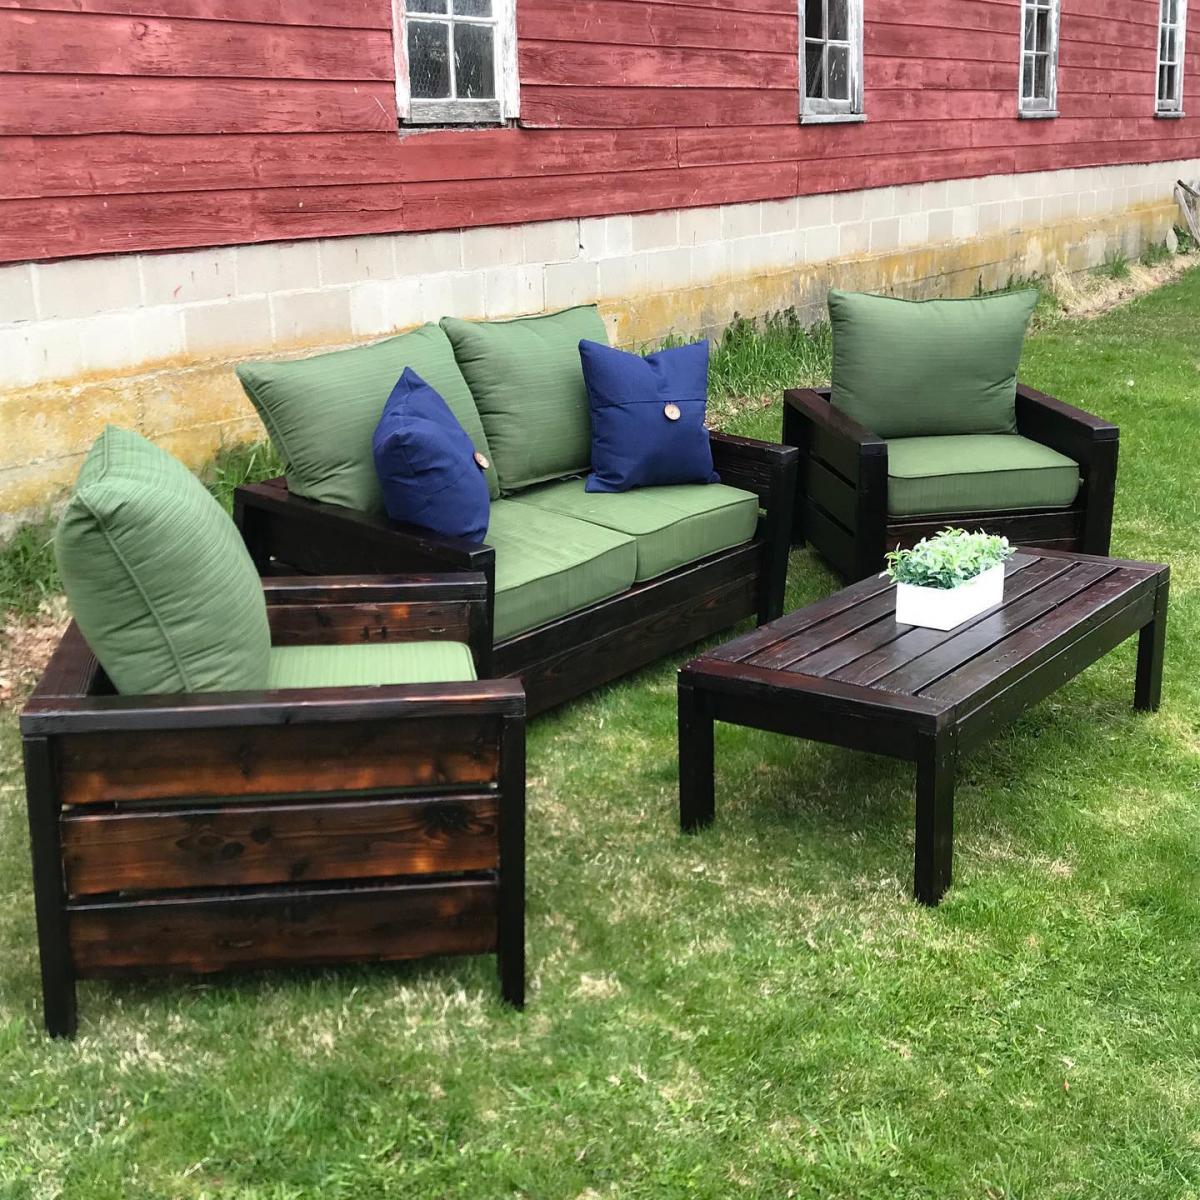
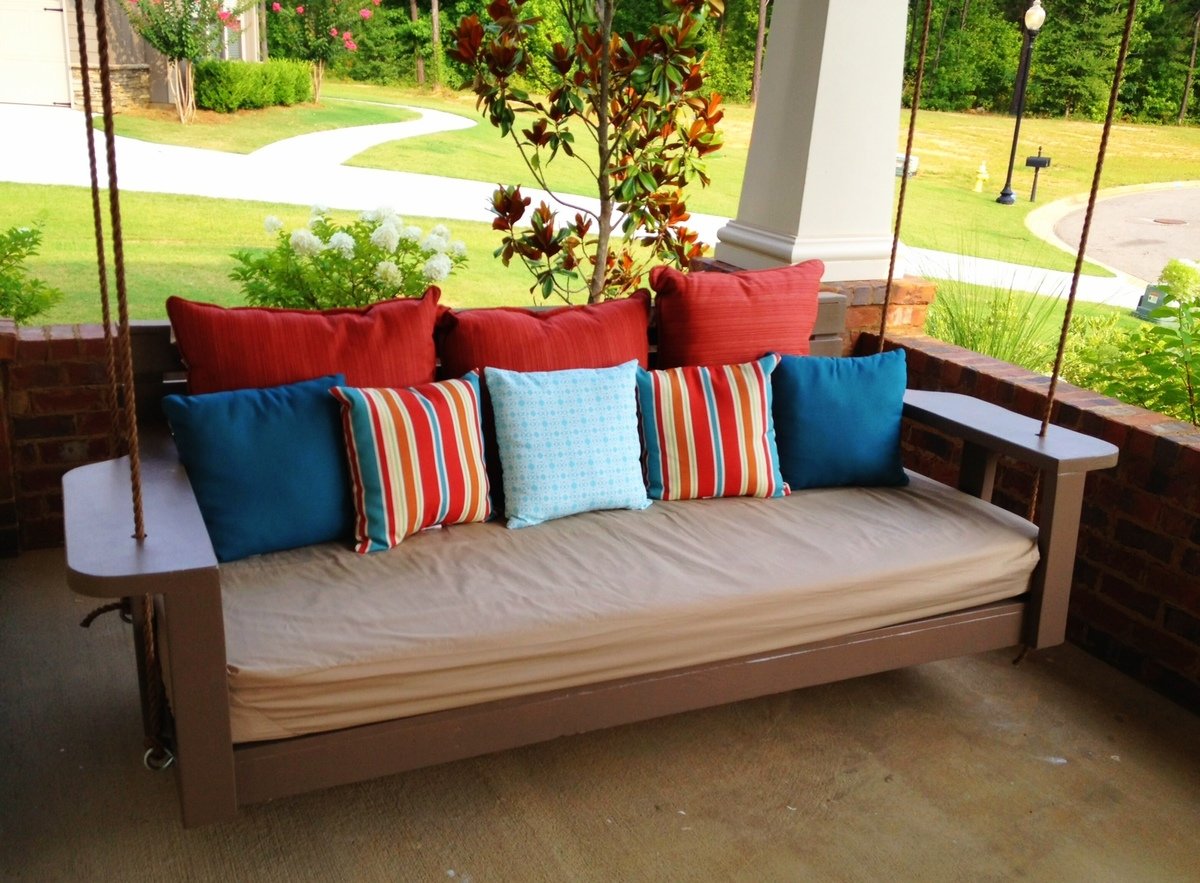
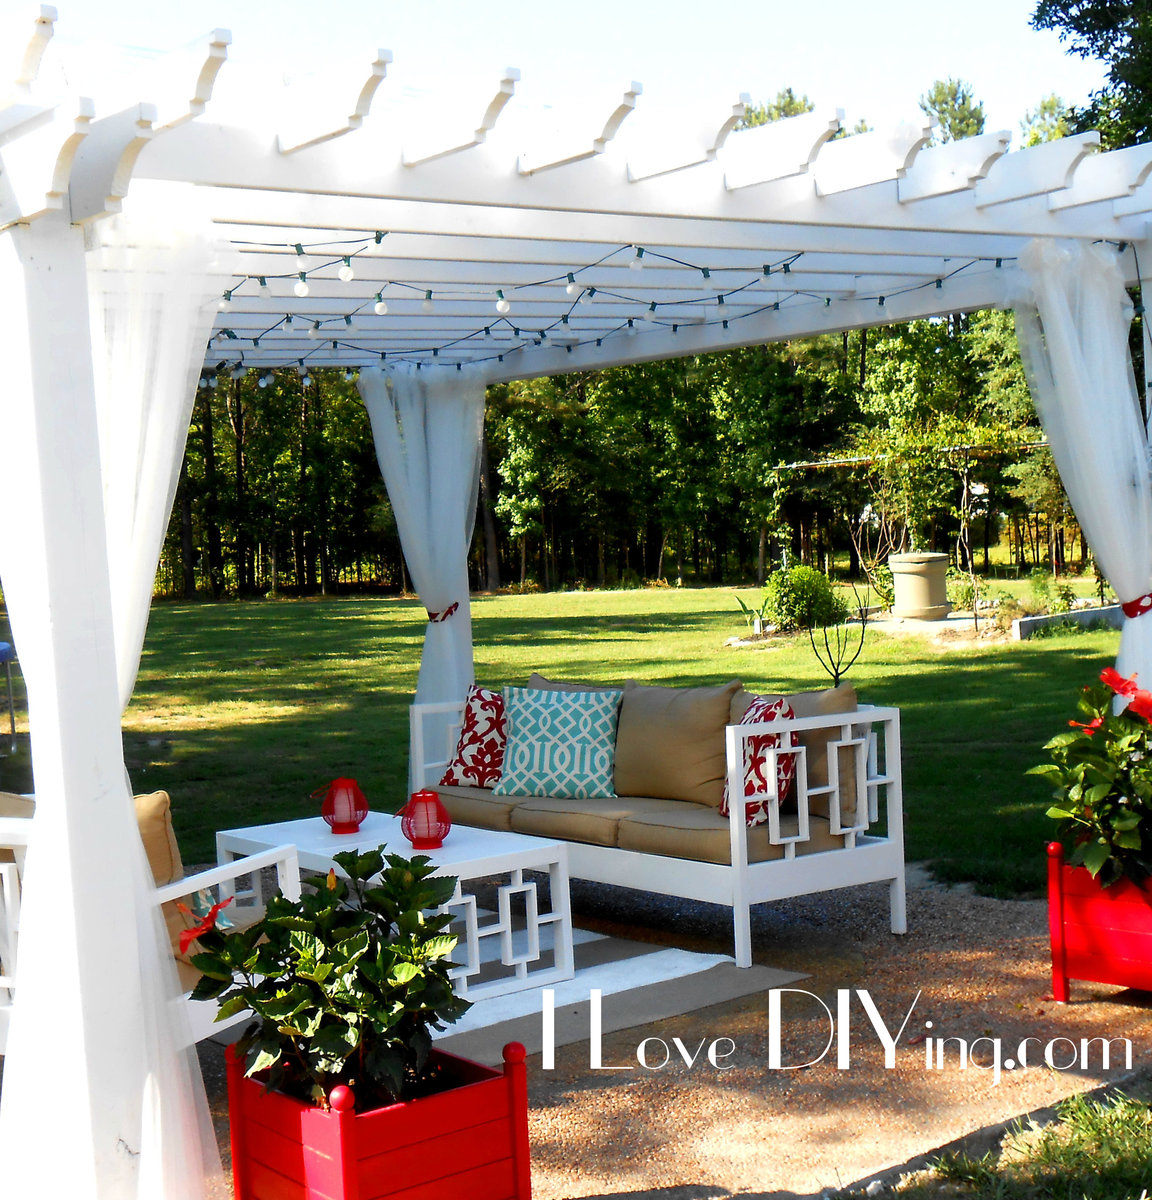
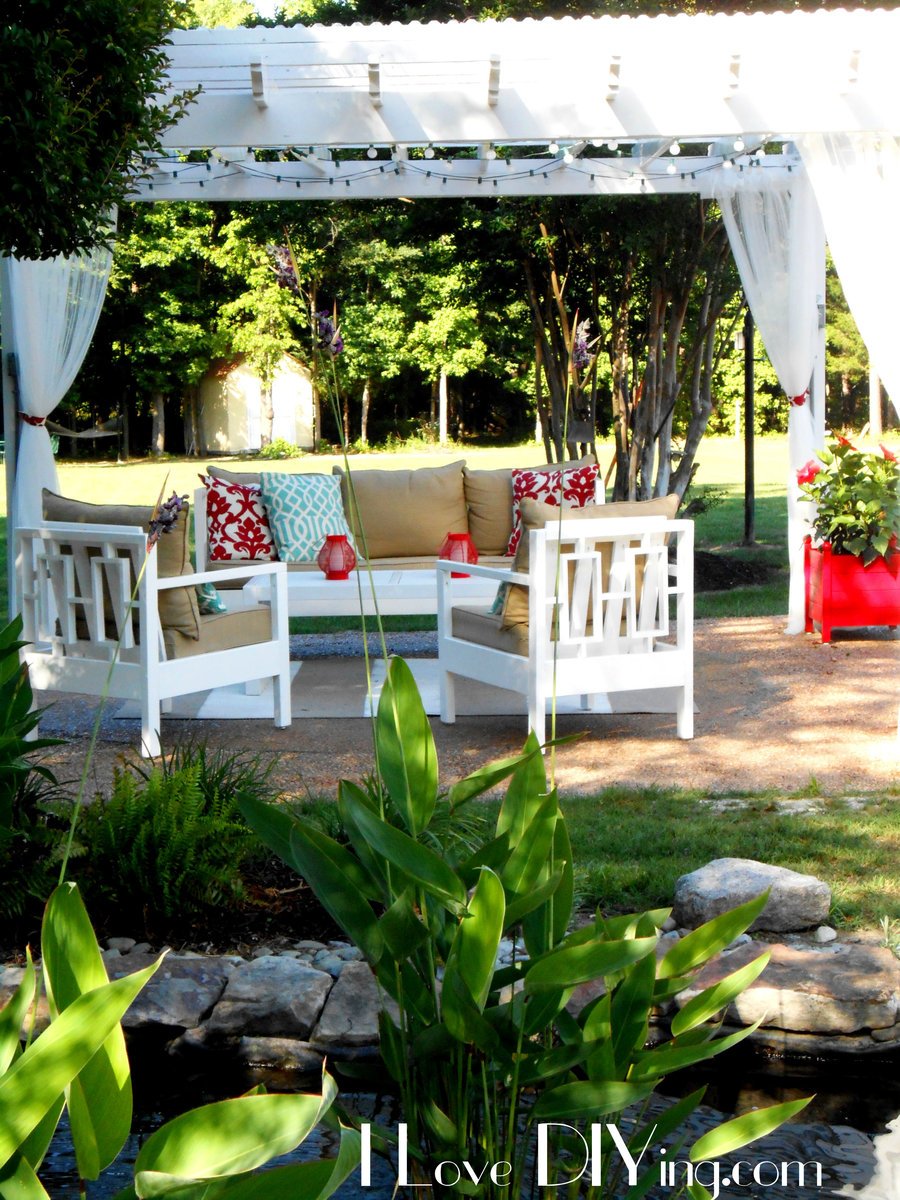
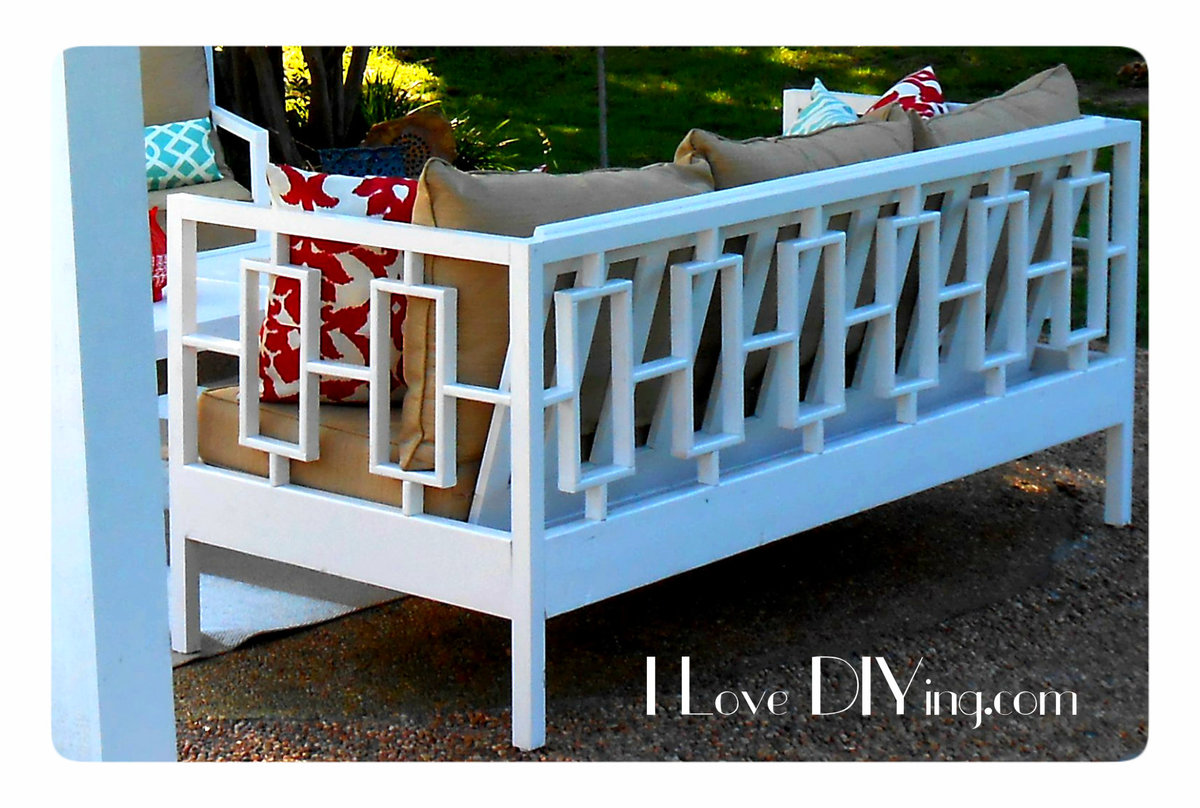
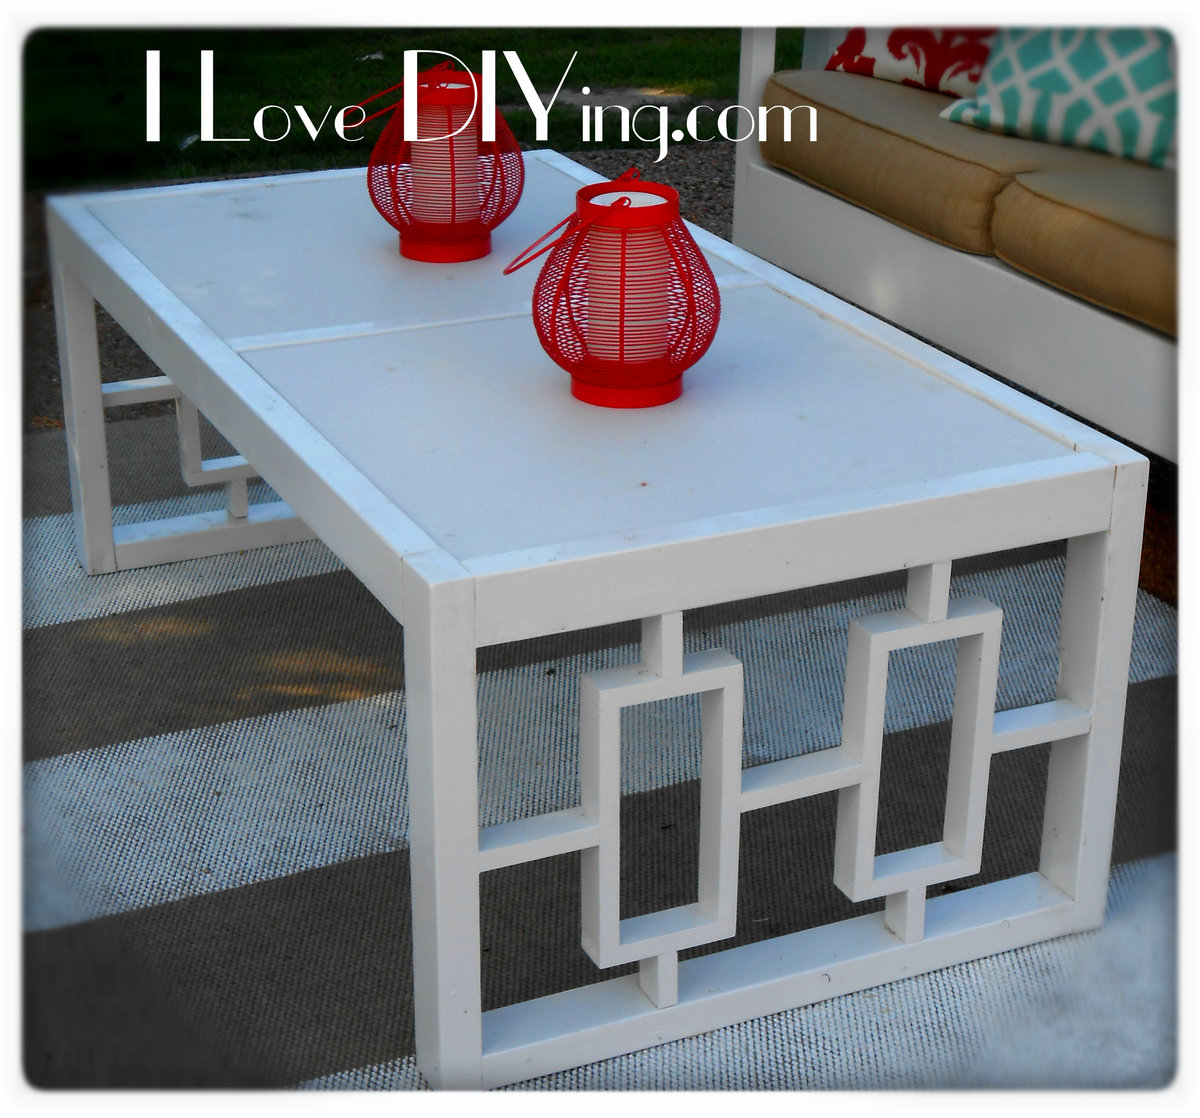
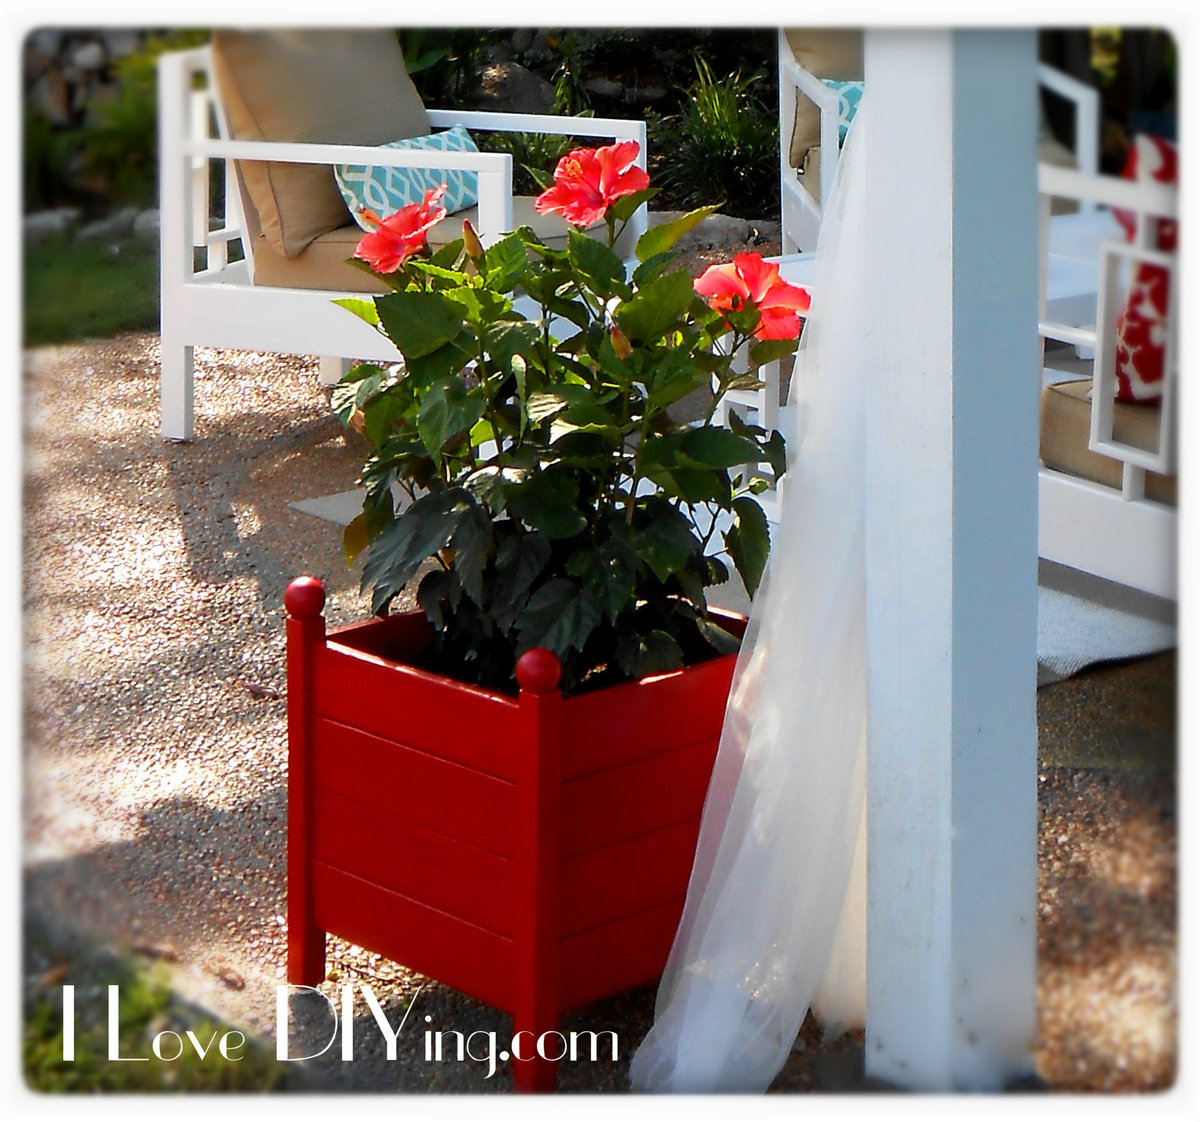
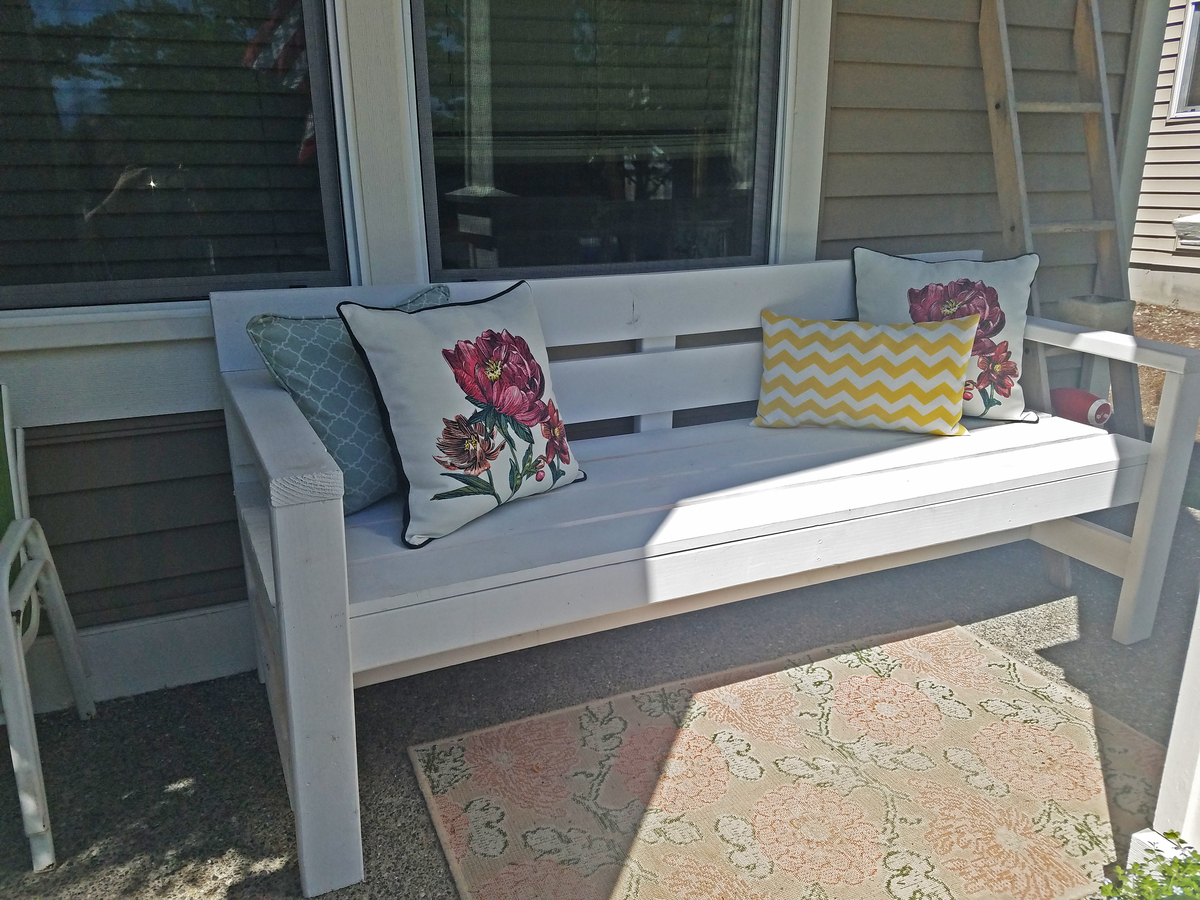
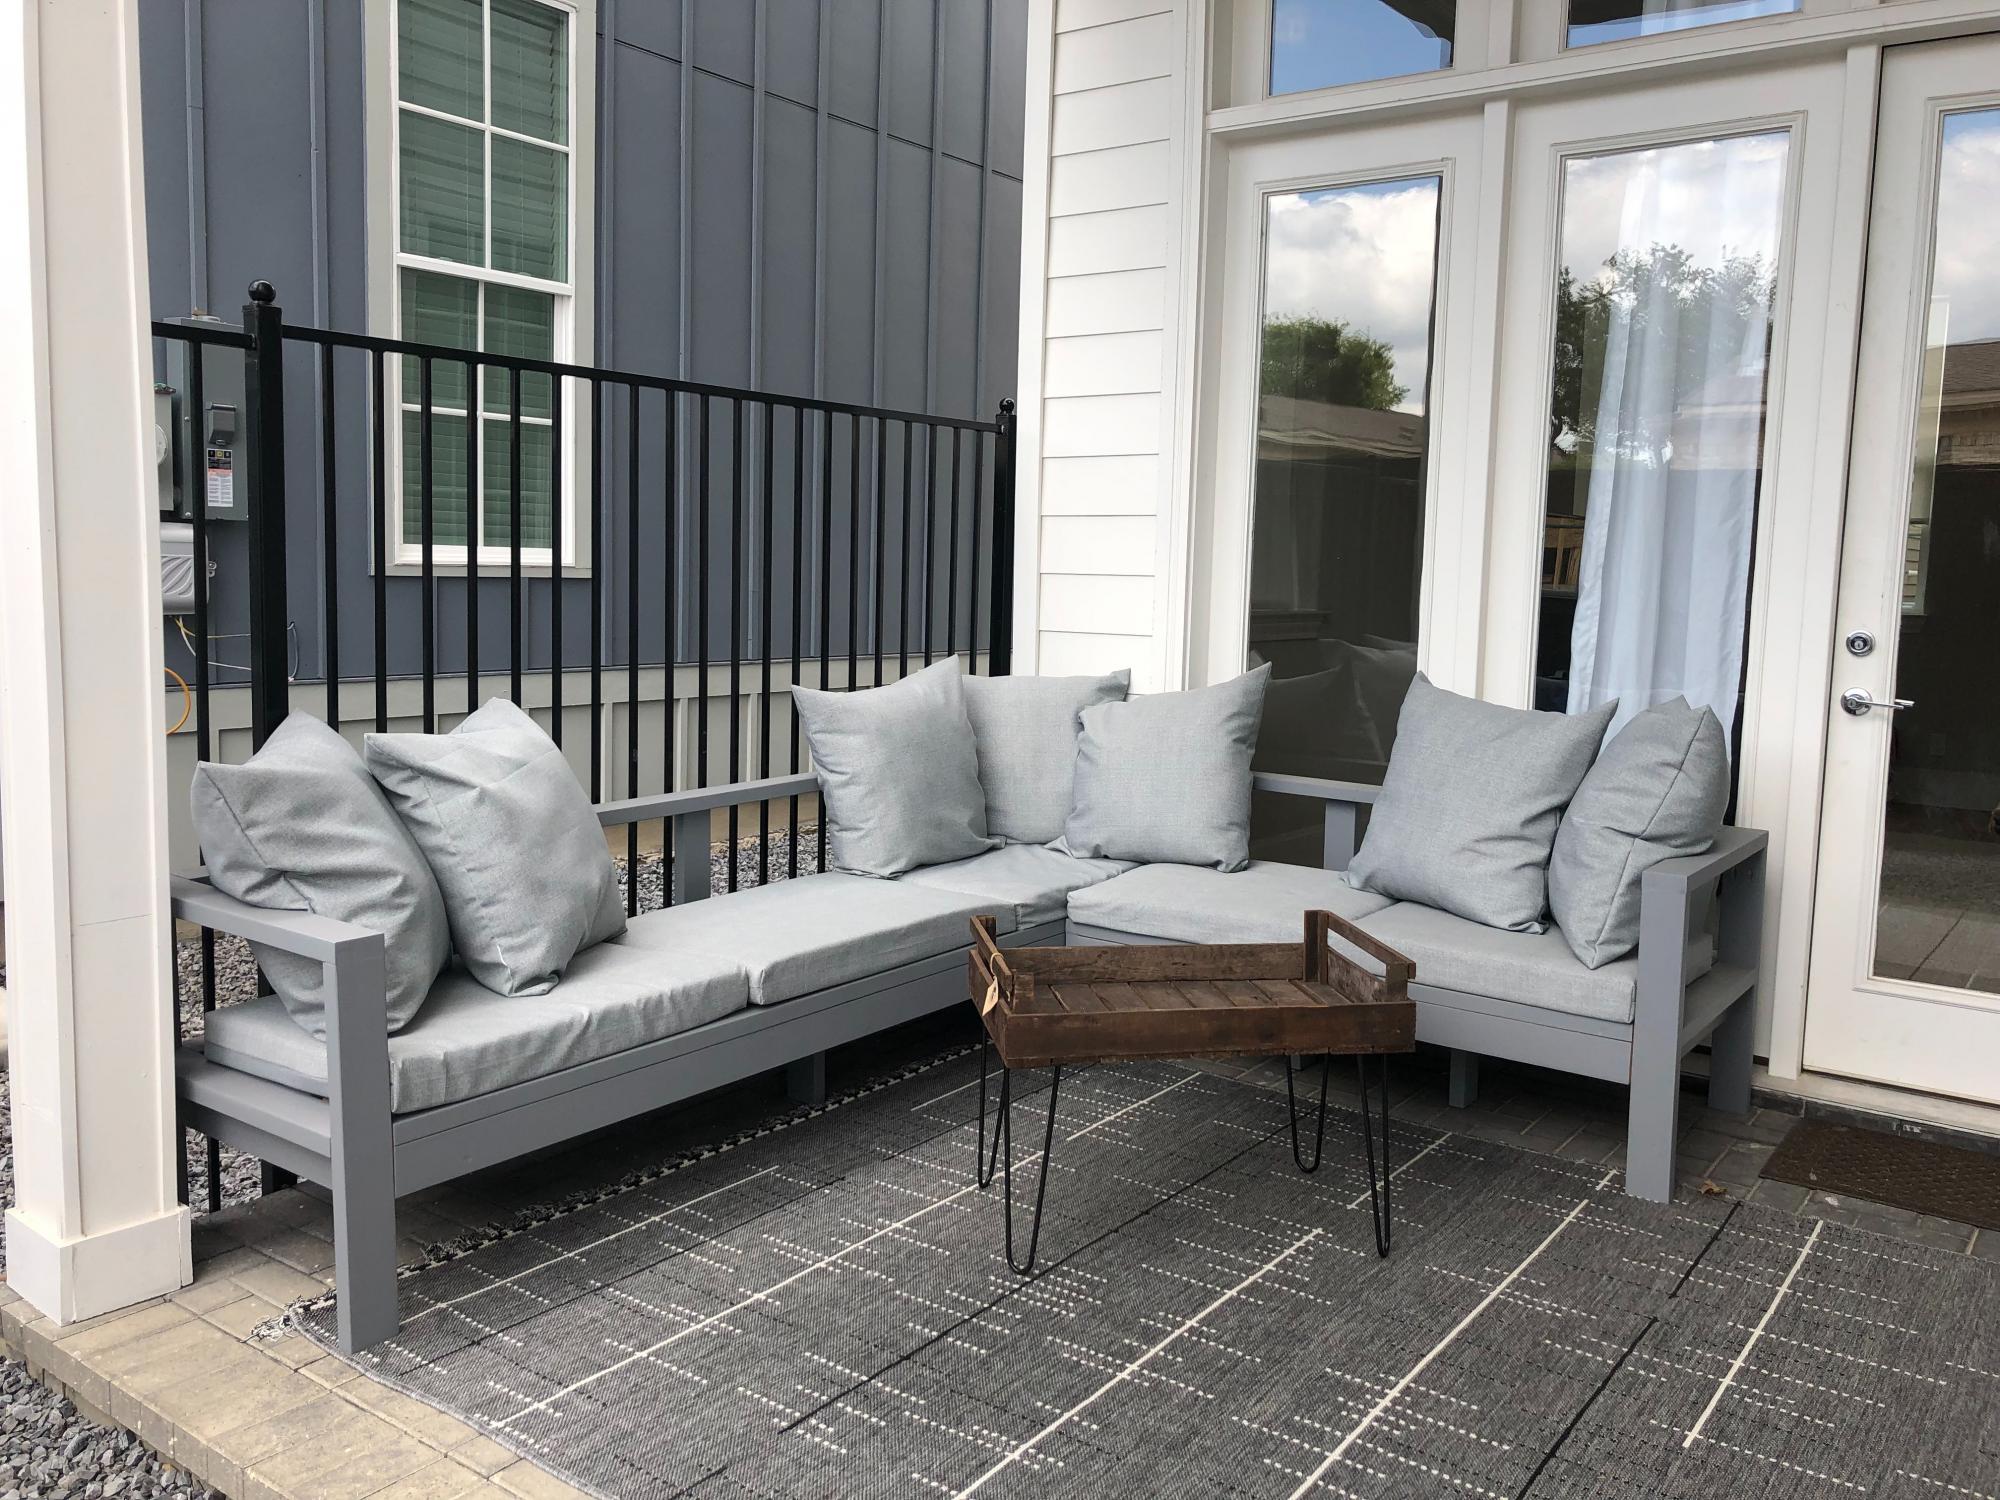
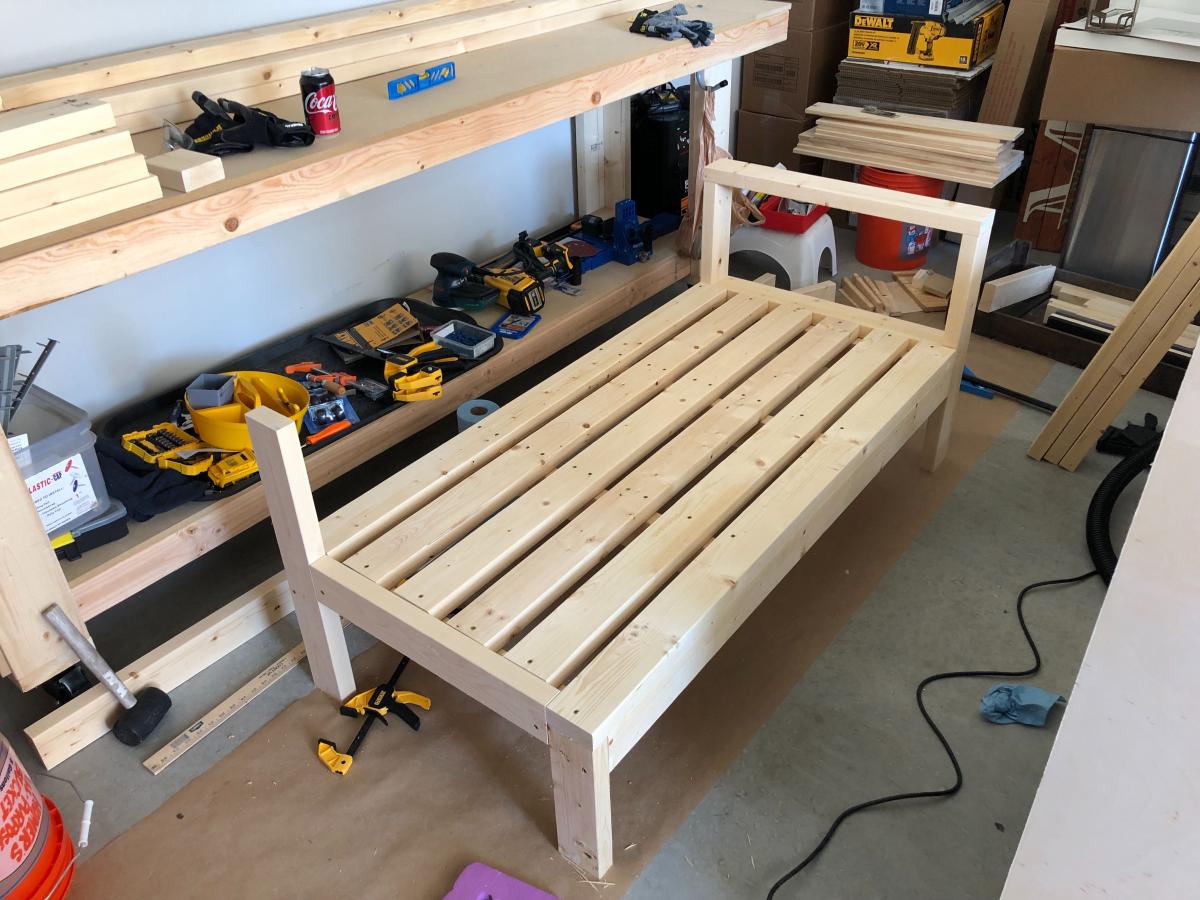
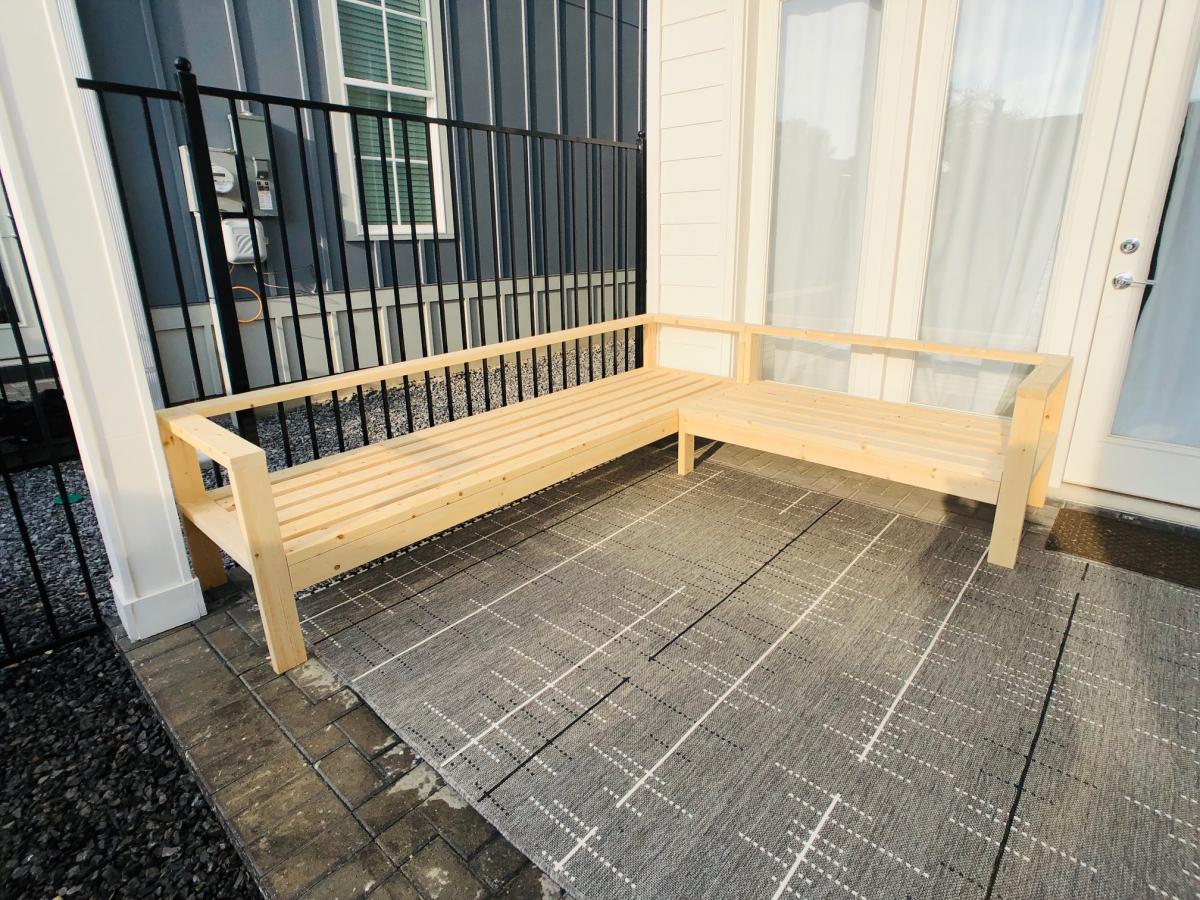
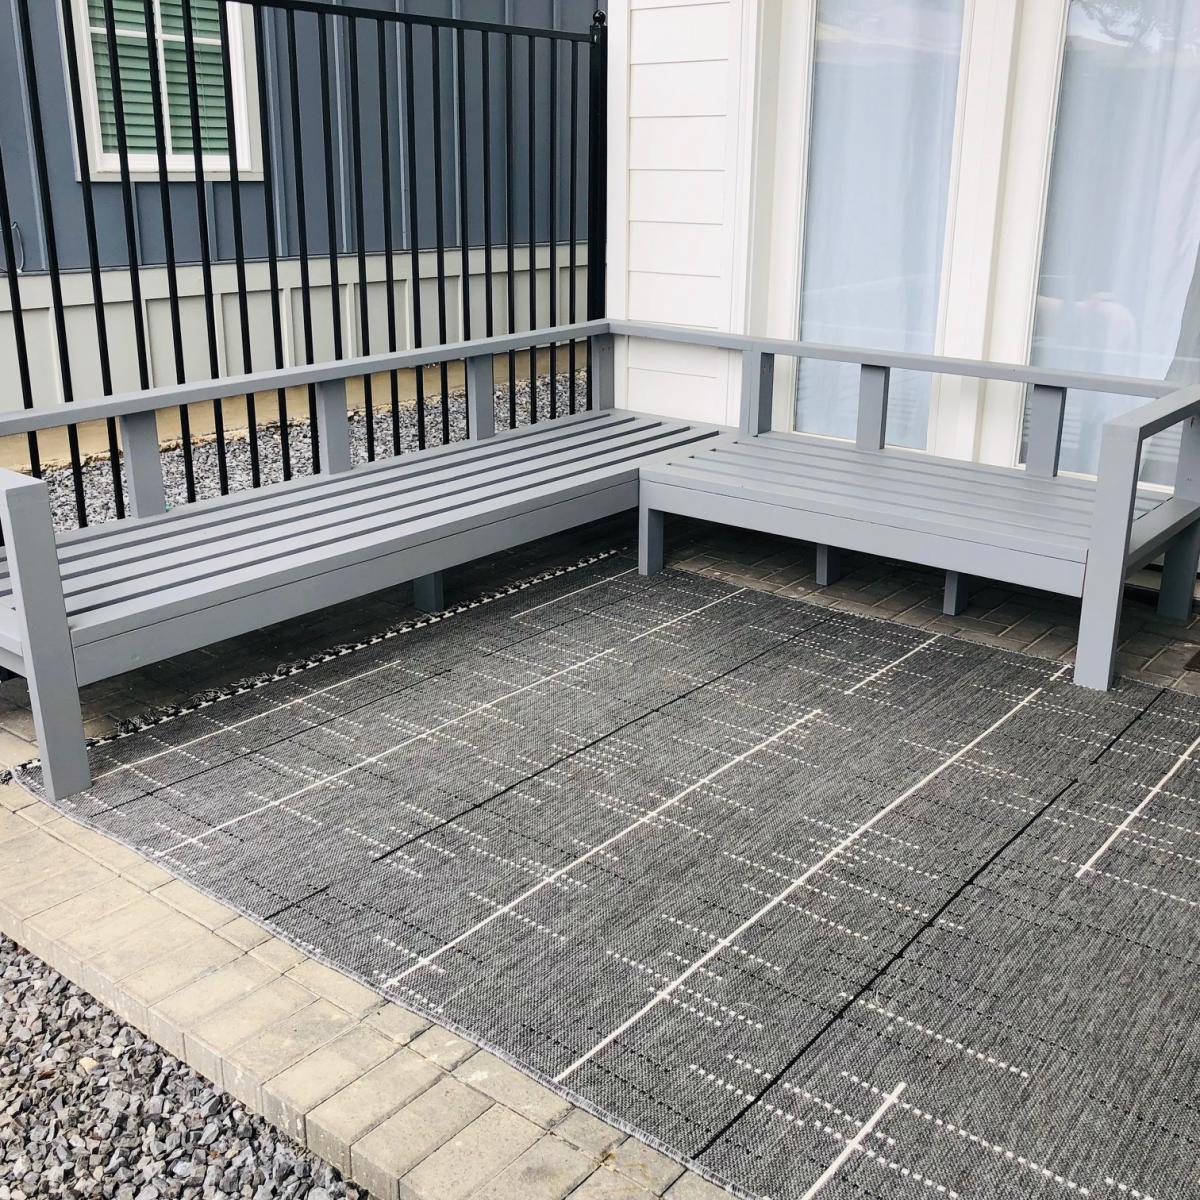
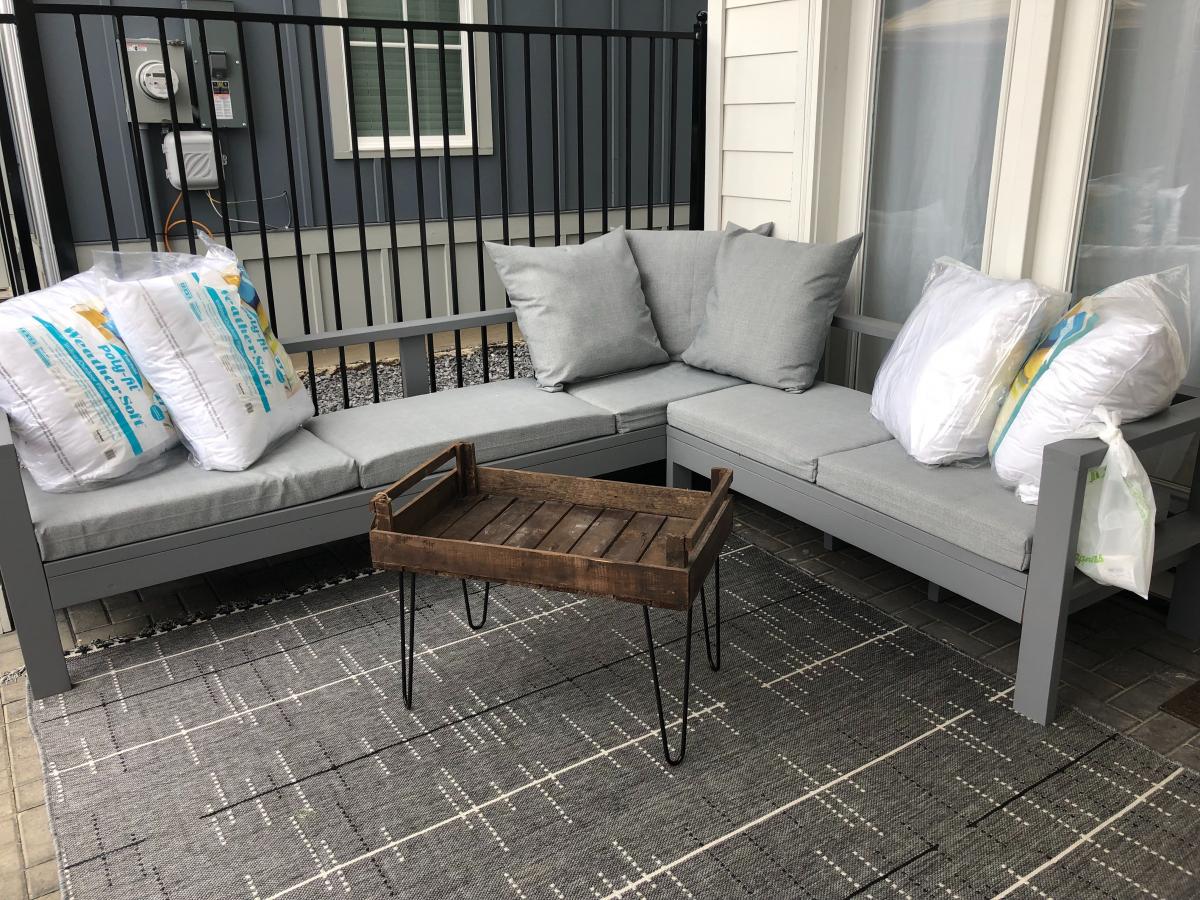
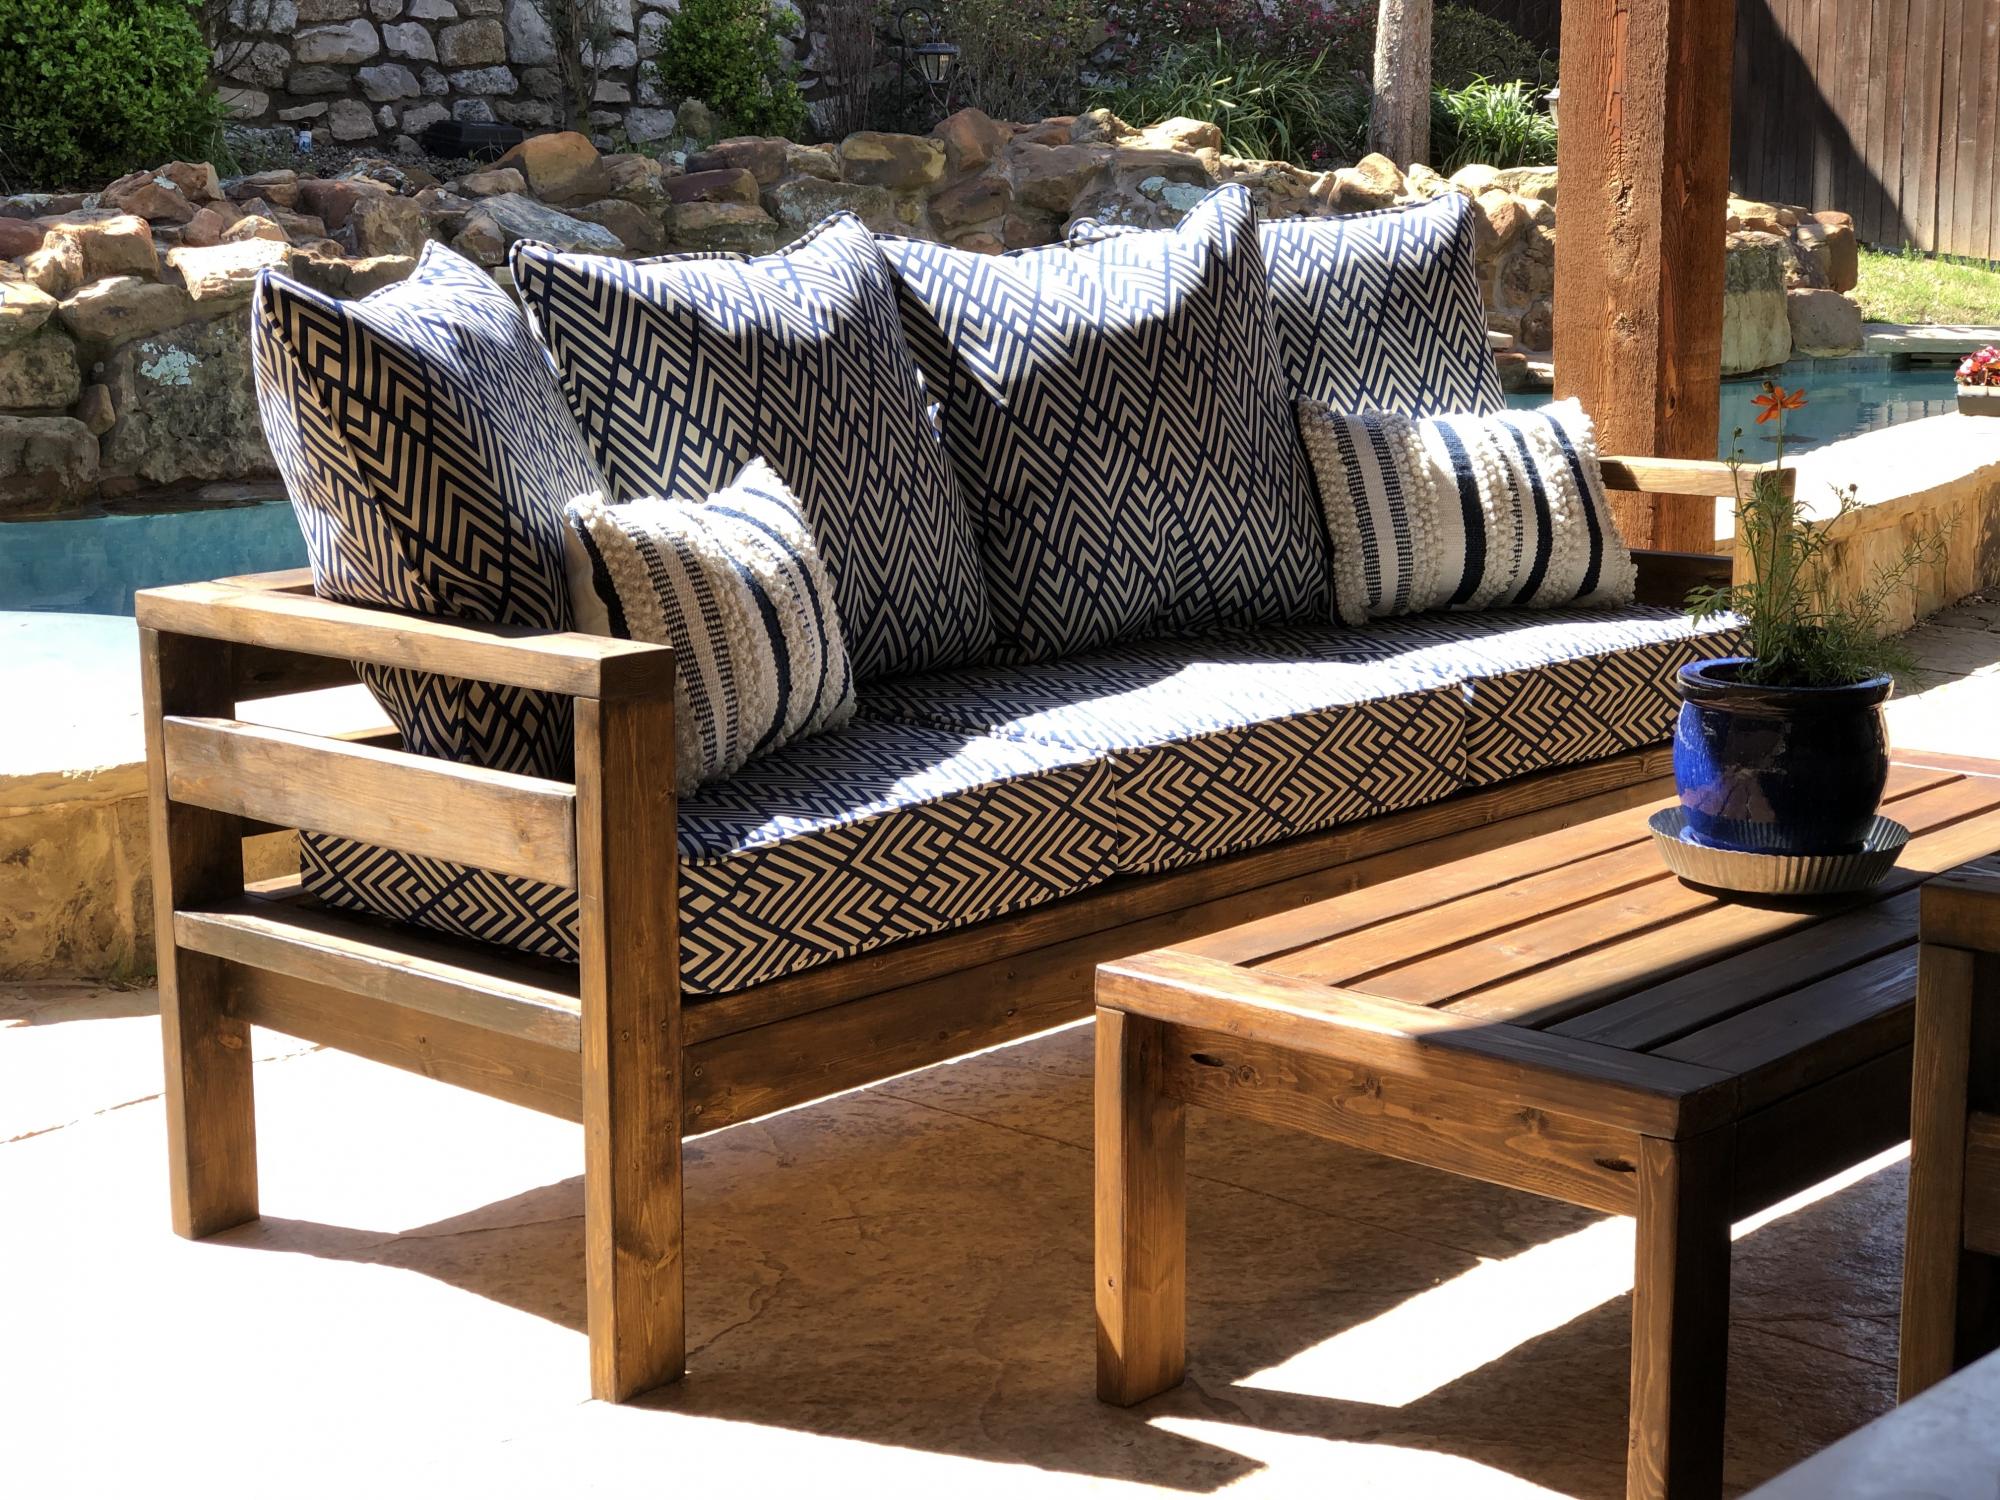
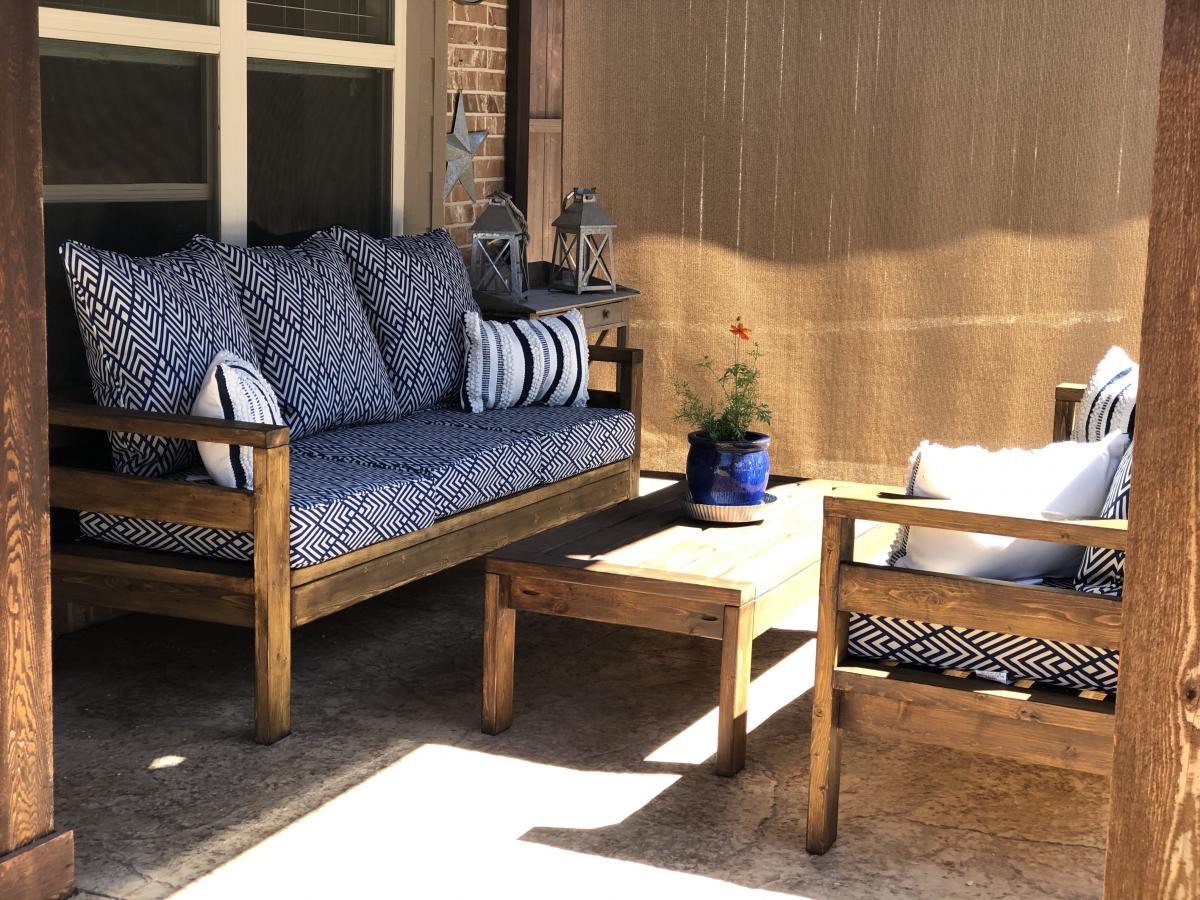
The pergola is finally complete! I'm sure I'll be adding some more things, but for now....I'm happy. I can not take credit for the Pergola, my husband built that, but there are lots of projects inside to tell you about. I built the sofa, coffee table, 2 chairs and 2 planters. It's a great spot for entertaining or just sitting with glass of wine. I really loved the Rectangles Daybed , but I really had no use for a Daybed, so with a few modifications, I came up with the sofa version. To make it more comfortable I used the slanted back idea from the simple outdoor sofa plan.I love how it turned out and it was fairly inexpensive too. Lumber cost was around $50. I used 2x 6′s, 2×2 furring strips, 1×2 furring strips and 1×4 furring strips. You really have to pick through the furring strips, with some patience I was able to find pieces that would work well for my project. Using the more expensive would would make things much easier, because there would be much less sanding and filling involved…but I love a bargain!! When I first built the sofa for this collection, it was for our covered porch. I was not intending to build any matching pieces. When we moved it to the pergola, I decided to build these 2 chairs. I used plan from the simple outdoor chair and modified the back to match the sofa. The lumber for the chairs cost about $25 per chair. I bought some 2X2 quartz tiles from the Habitat ReStore for $3 each! I thought they would work perfectly for the tabletop. I sketched up a quick design to match the other pieces and came up with this. I used 2×3′s and 1×2′s. The lumber cost was about $15. I also used the Square Planters with Finials plan. I love these planters do much and they were so simple! Thanks for all the fantastic plans and inspiration!!


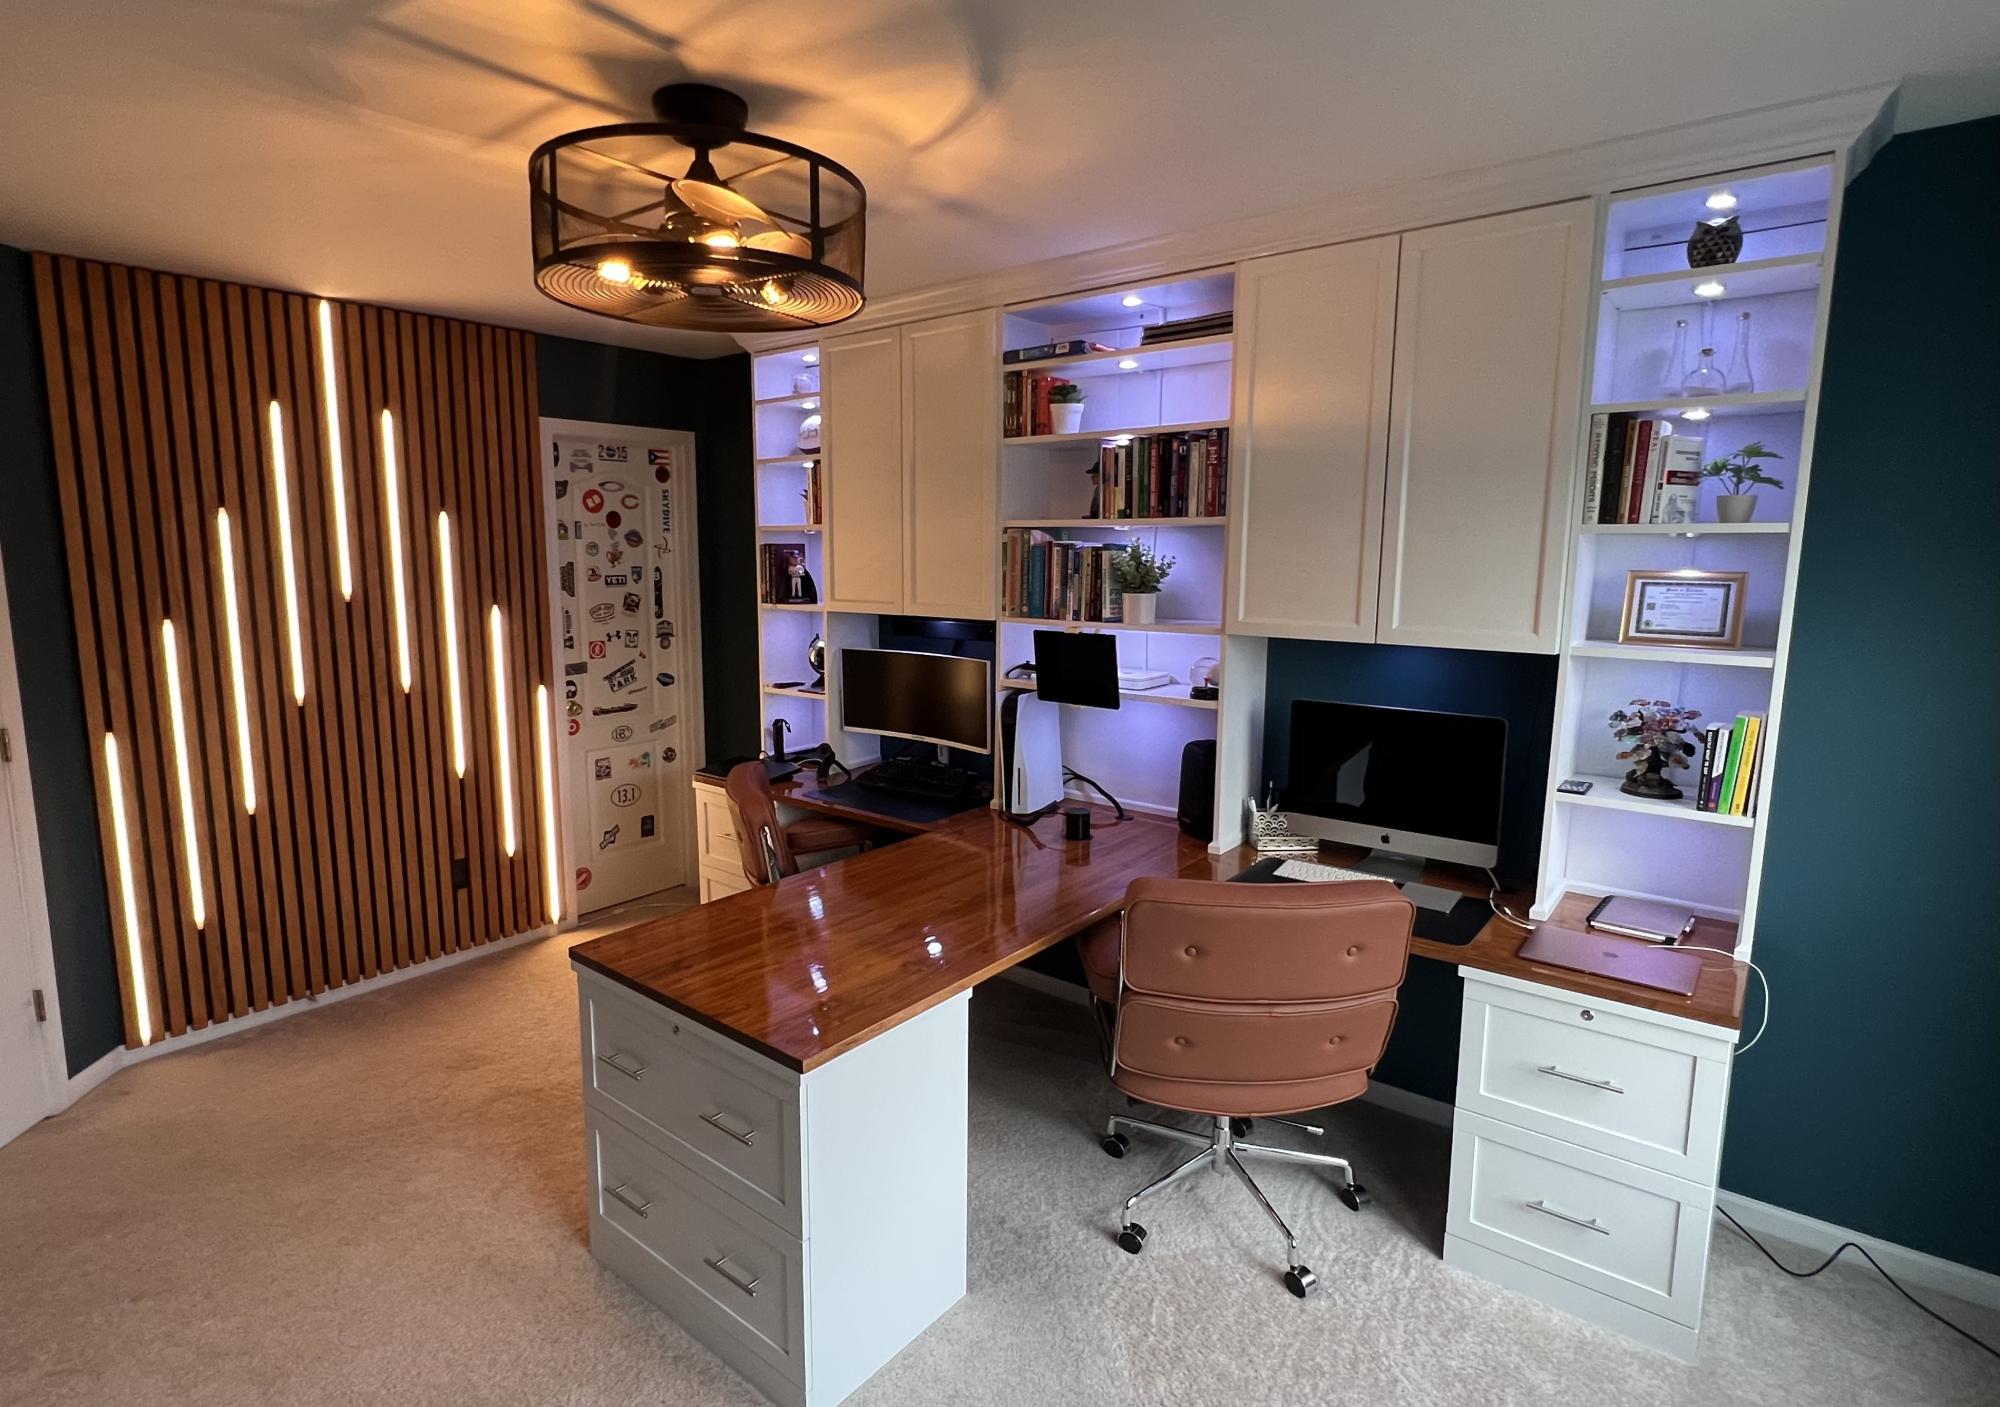
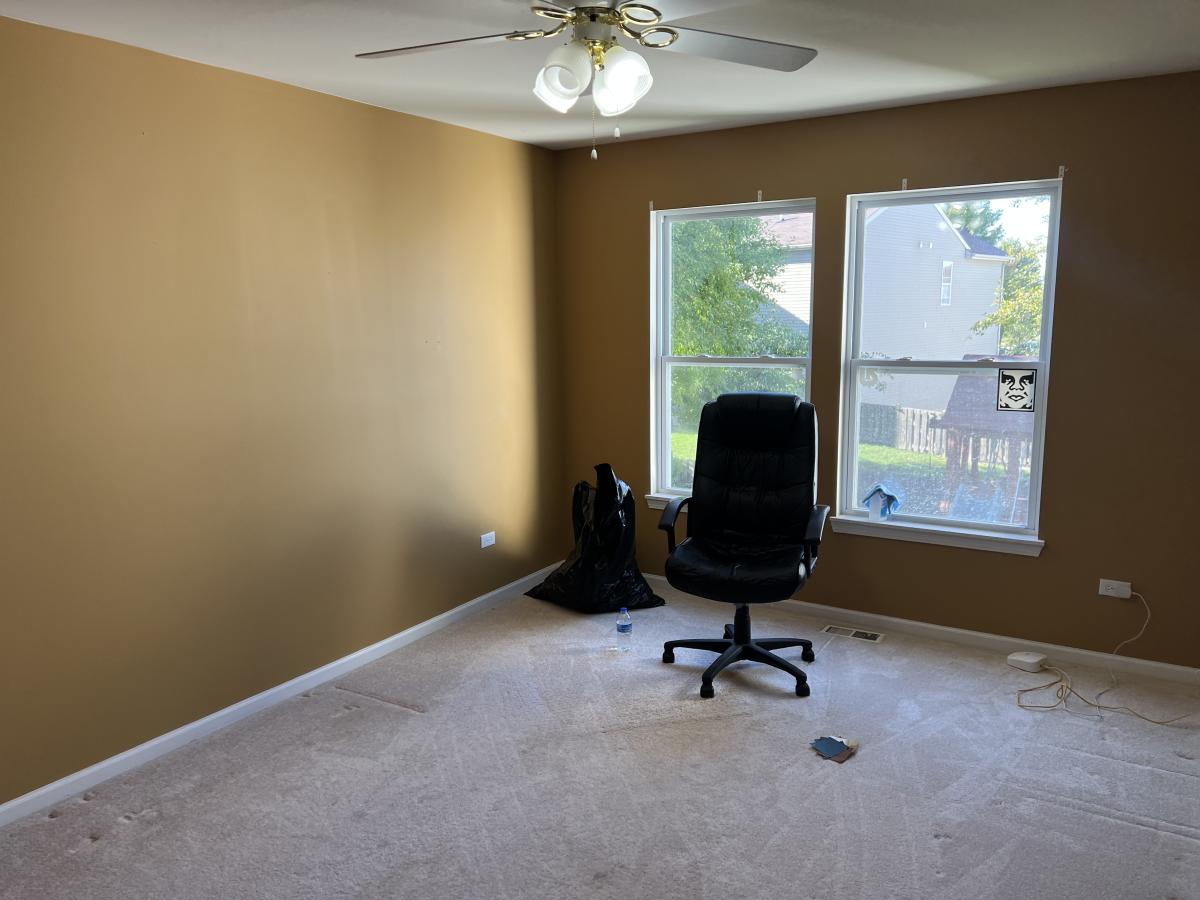
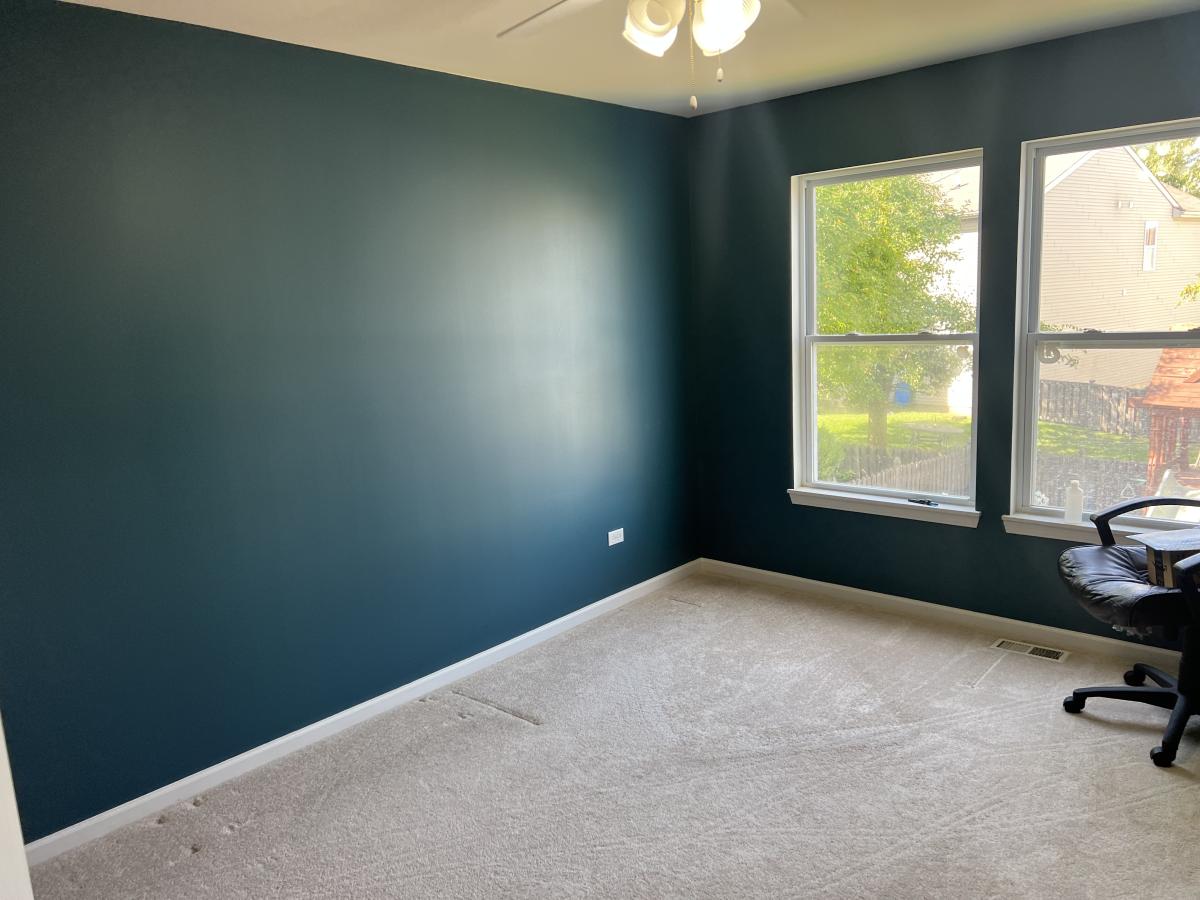
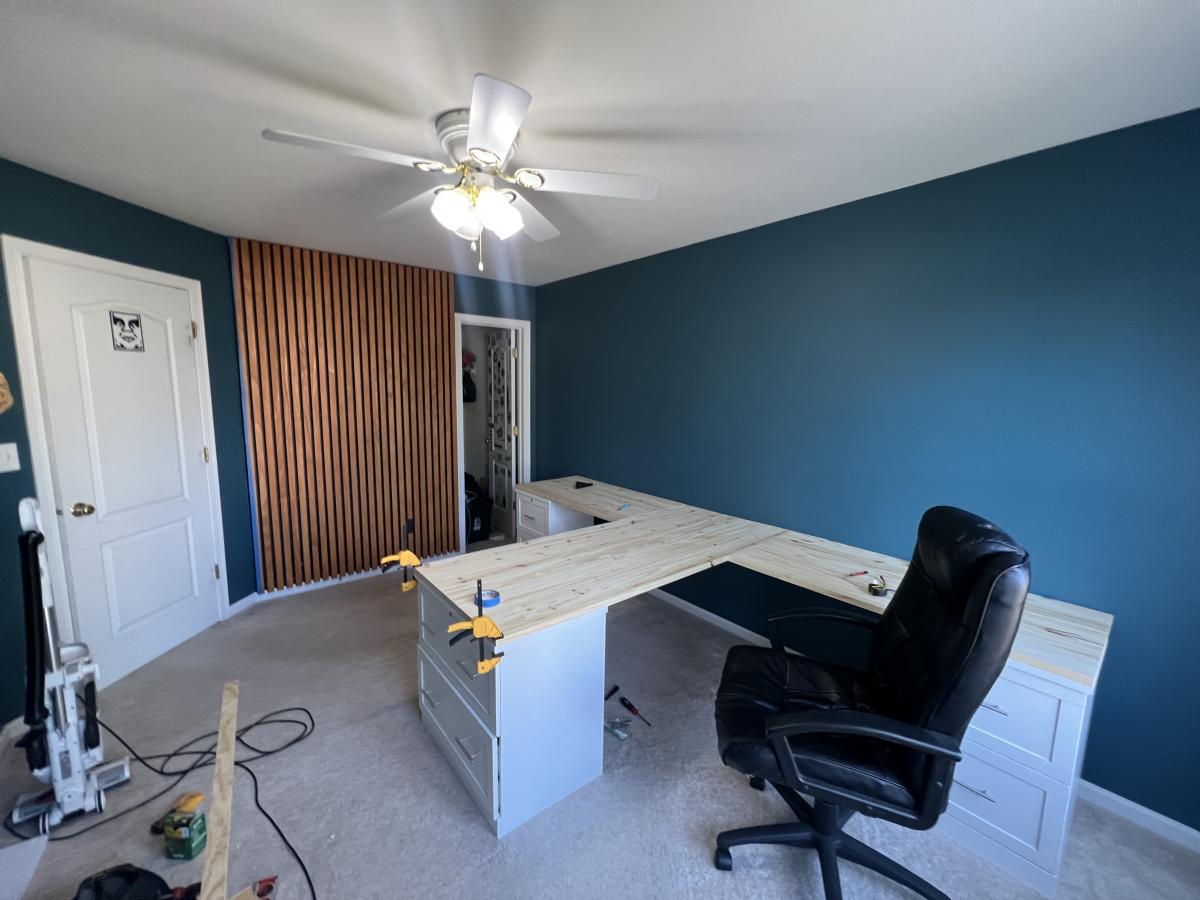
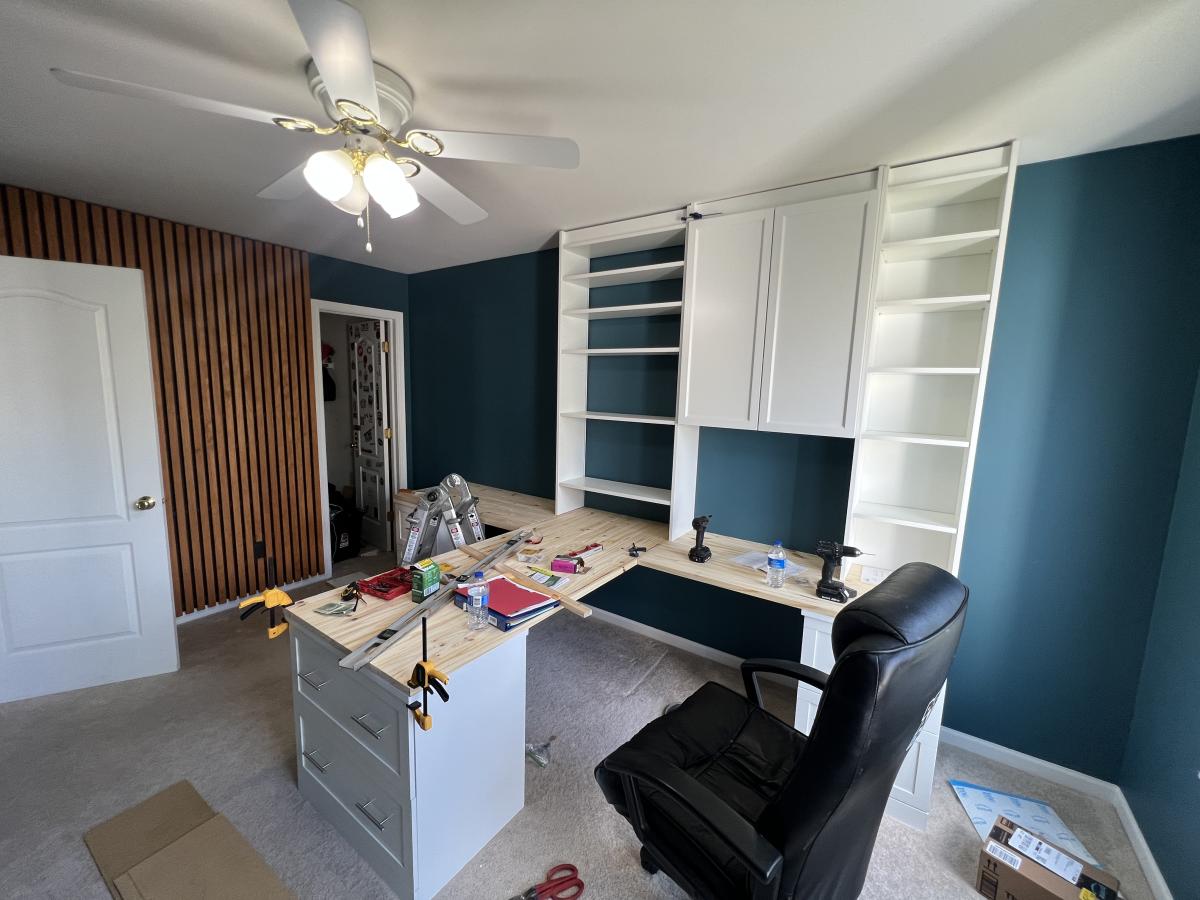
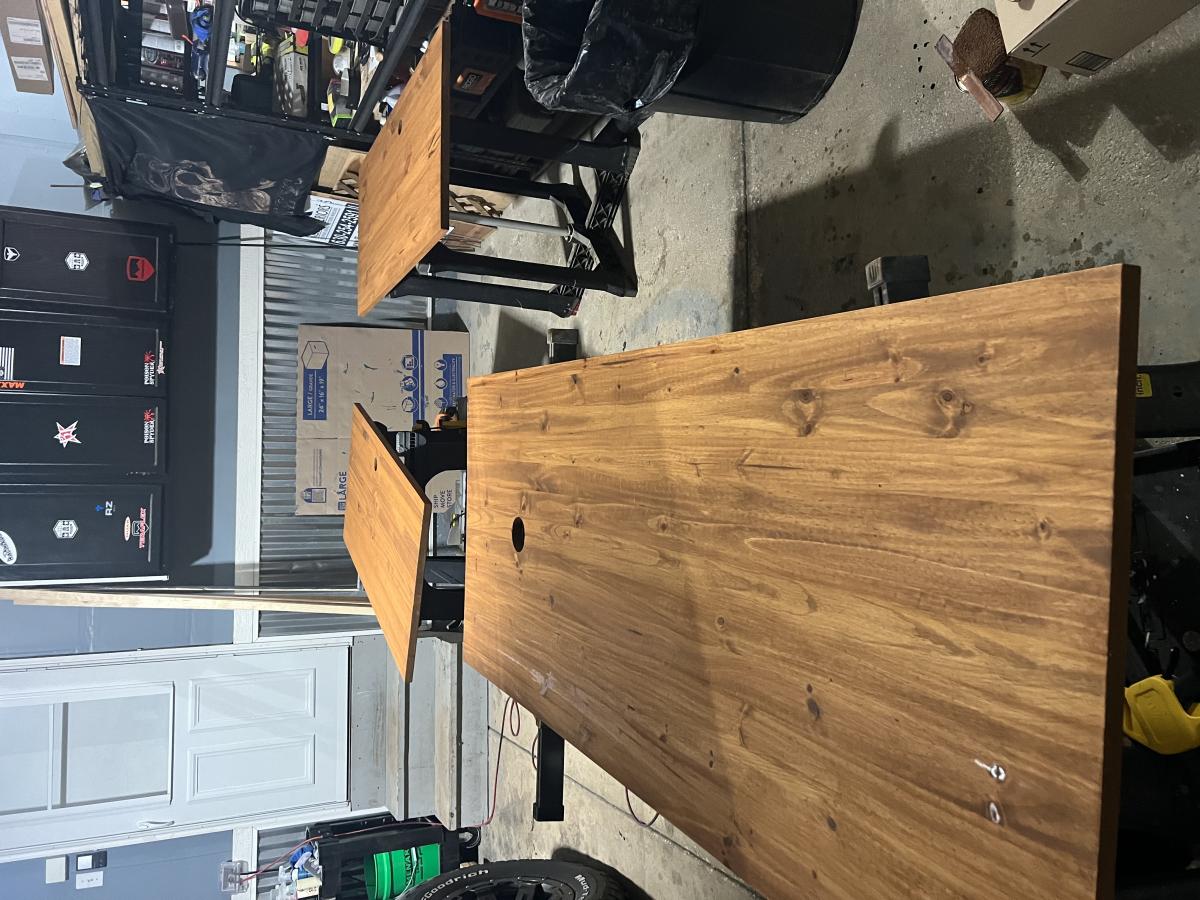
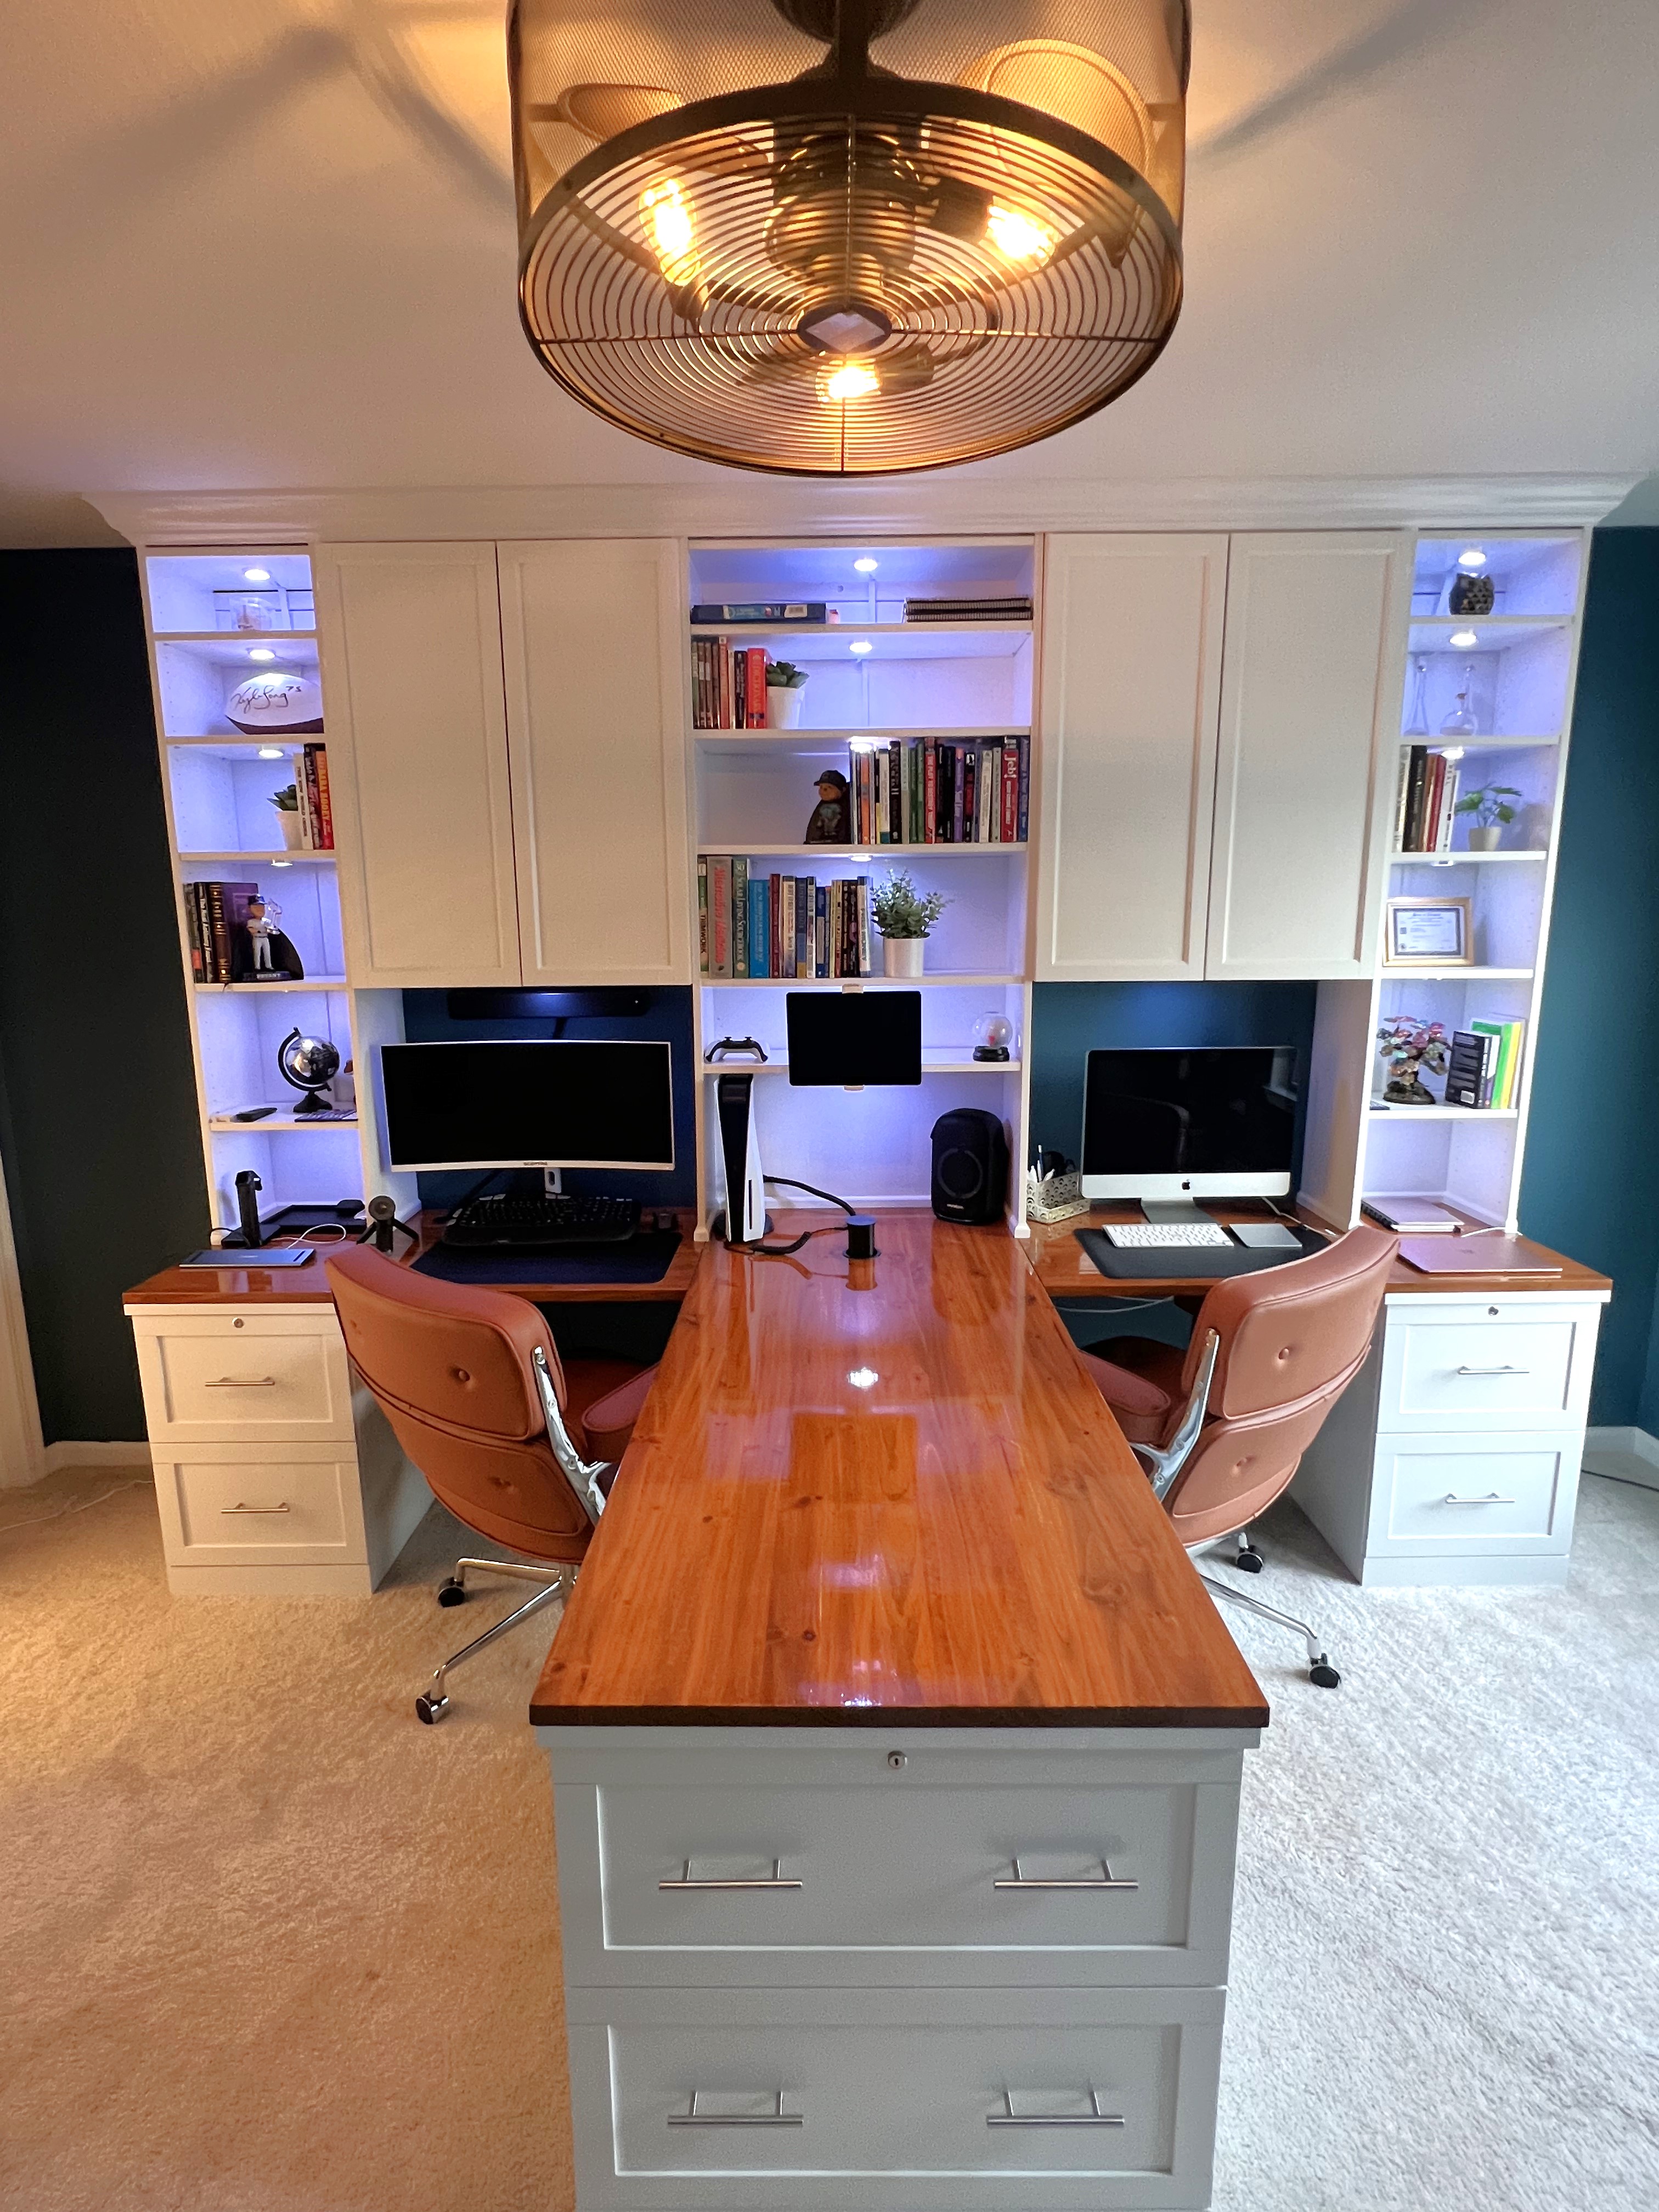 My home office remodel was inspired by a post from Ana White a few years ago. For this project I ended up using IKEA bookshelves and cutting the tops off and flipping them upside down. I used some crown mounding to cover the base of the cabinets on the tops. The desk top bases are file cabinets I found at the office supply store and the desk tops are edge glue pine. Overall I think I only had to make 8 cuts for the entire project. Saving me a ton of time and money. Thank you Ana for all of the wonderful post!