Community Brag Posts

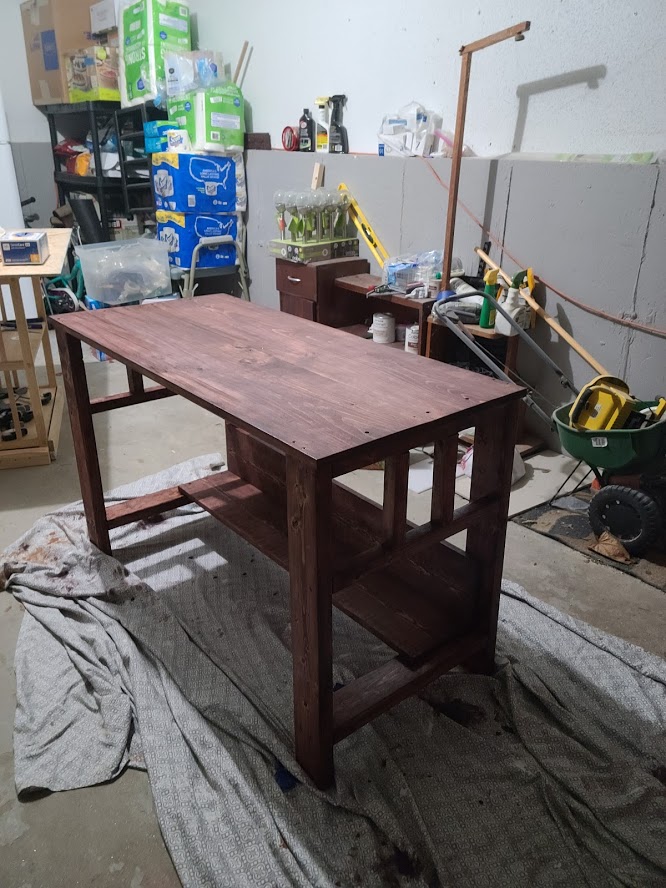
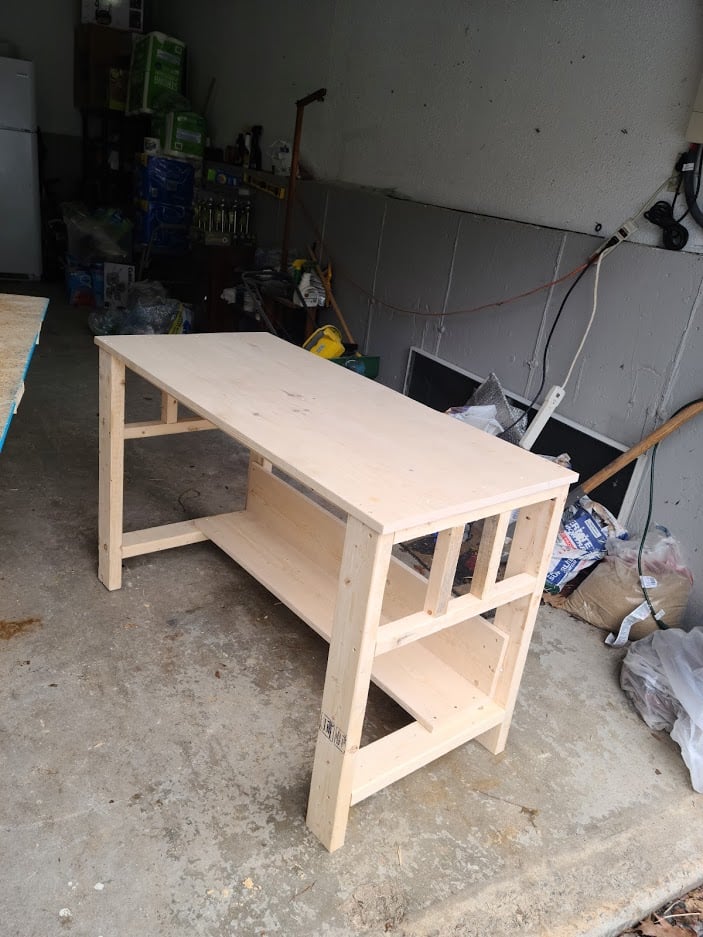
Office desk

This was a great experience. Thank you Ana White for all your hard work and great woodworking plans. This did take me a lot to build considering this was my first project ever but I am very happy and encouraged by this experience. Being a beginner I was not sure about the X support on the side so instead i customized it to my level of experience.

Hope you all enjoy it.

Built from Plan(s)
Estimated Cost
80
Estimated Time Investment
Day Project (6-9 Hours)
Finish Used
One cote stain and poly by verathane
Recommended Skill Level
Beginner

Comments

Antiqued dark walnut

Submitted by Anonymous (not verified) on Sat, 04/15/2017 - 20:42

My first project of this size.  I think it turned out great!  Did a gray weathered stain and drybrushed bright white over the base.  Sanded the top 60, 120, 220, 320, and just for fun I finished it with 1000 grit.  Stained dark walnut, finished with three coats of poly, sanding 320 in between coats.  Love this table!!!!

Built from Plan(s)
Estimated Cost
$89
Estimated Time Investment
Week Long Project (20 Hours or More)
Finish Used
Dark walnut and poly
Recommended Skill Level
Intermediate

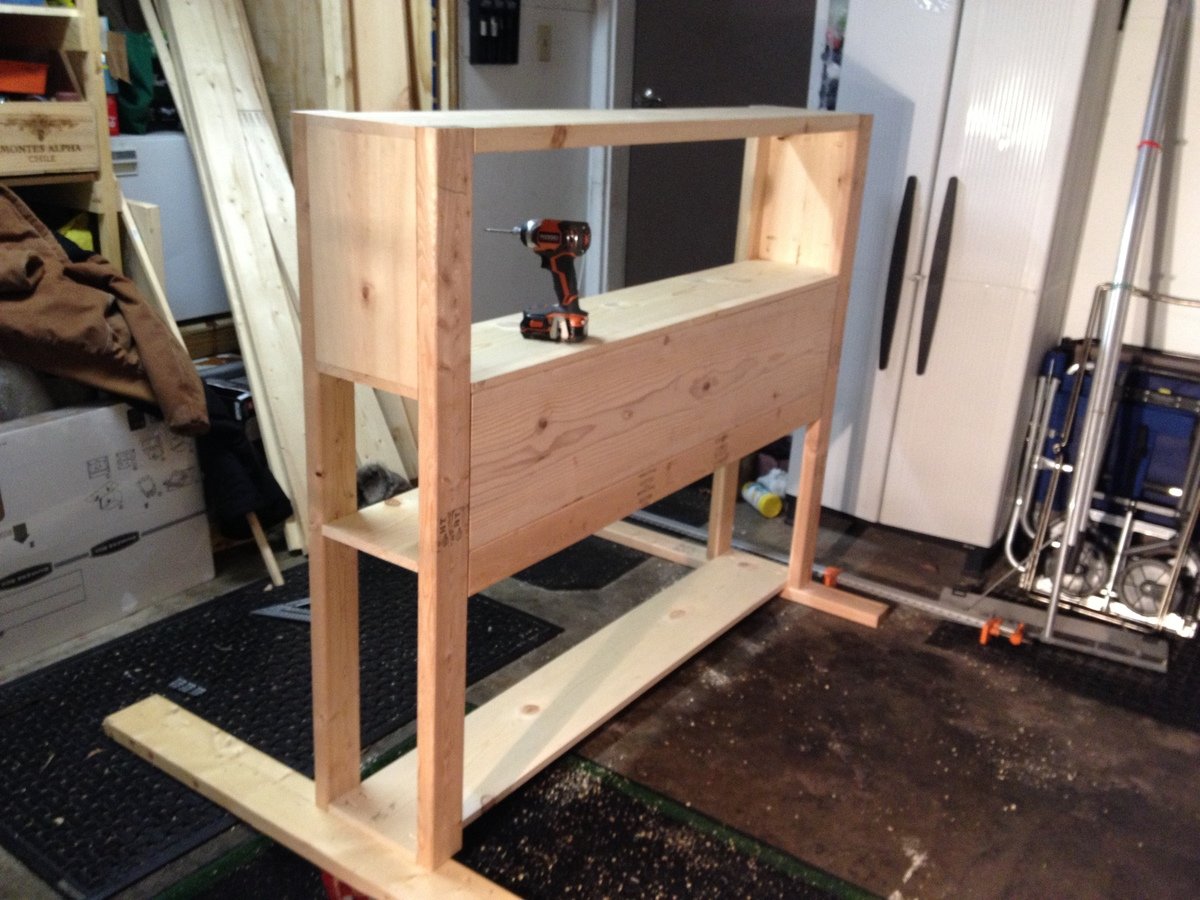
Headboard based on PB Oxford Storage Bed

Although I didn't build this from a plan I wanted to be sure and share it as it is because of my experience building from Ana's plans that I felt comfortable giving this a shot.

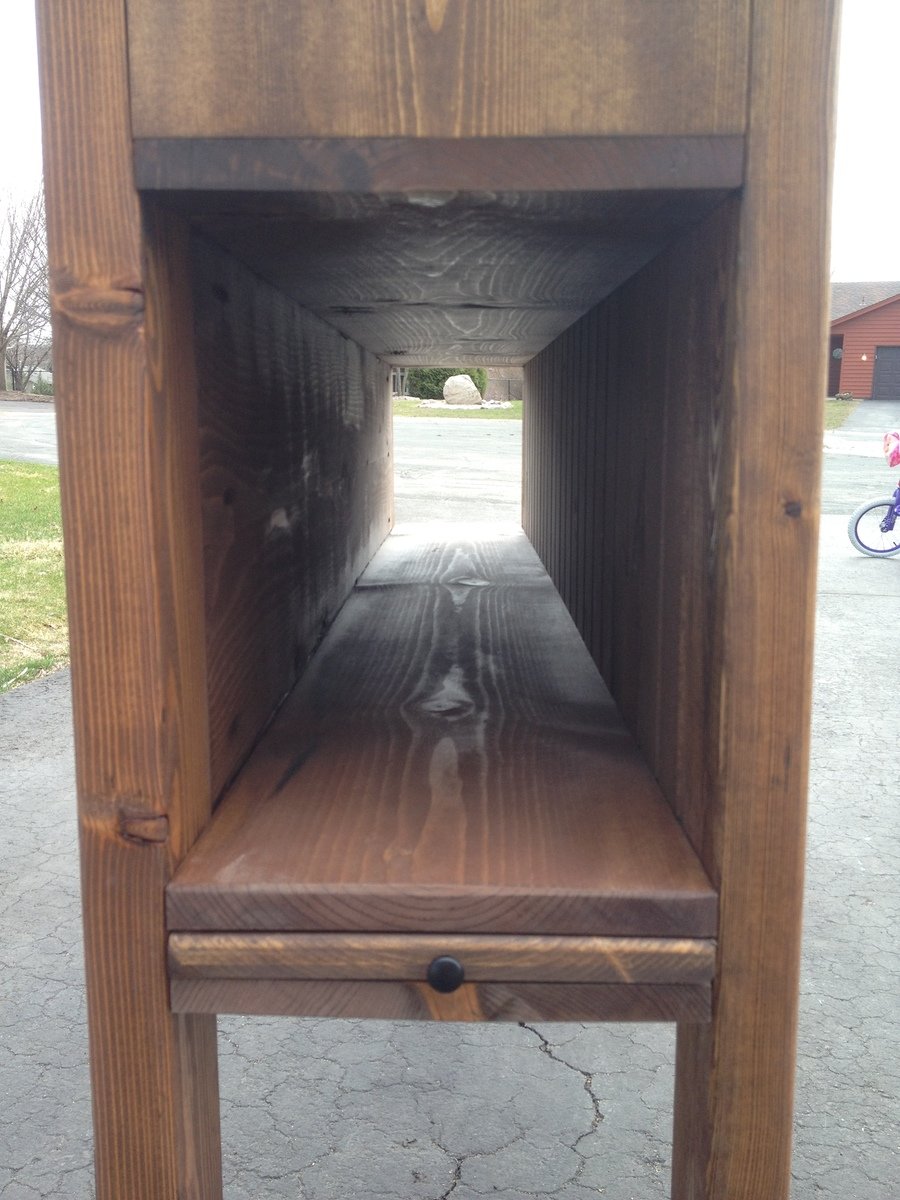
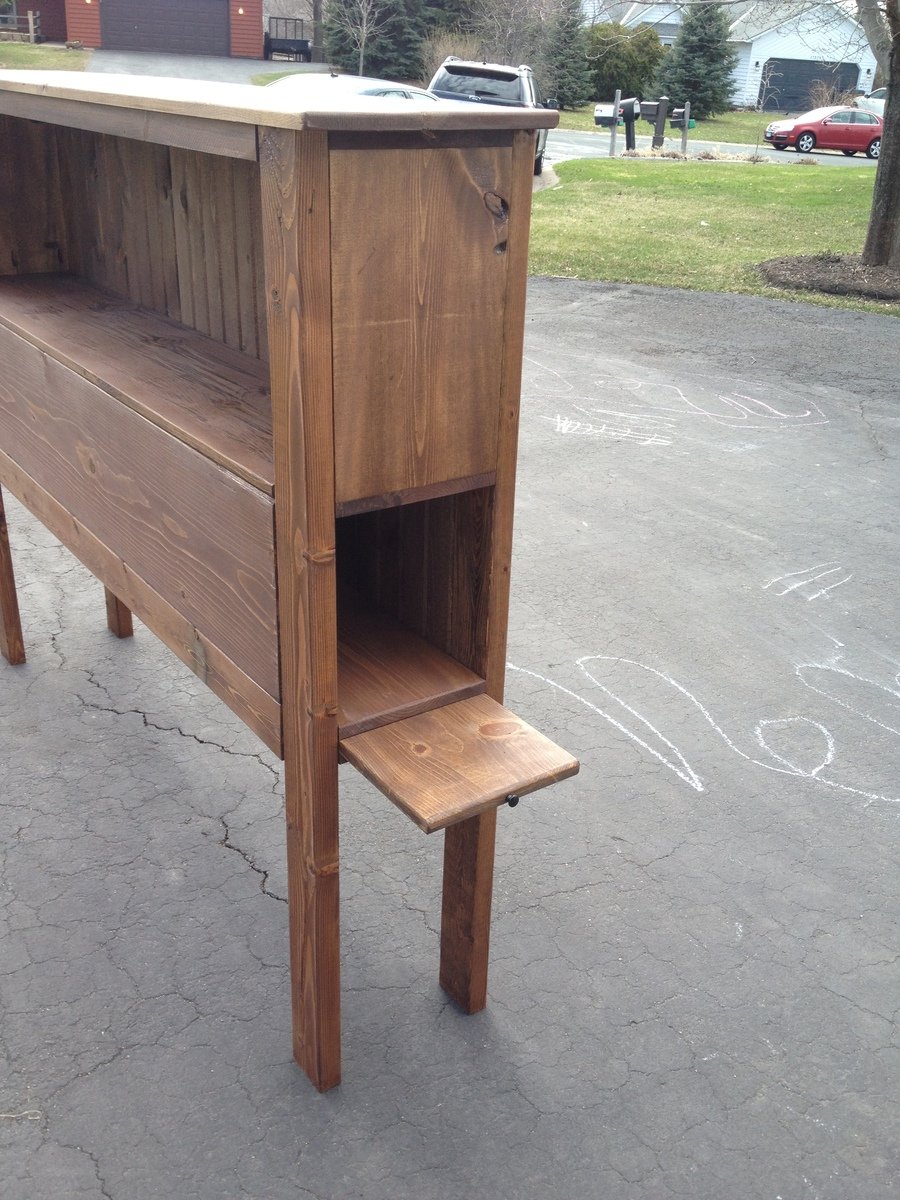
My in-laws were just updated their lake cabin and wanted a storage headboard as space is a premium and it will be the only furniture in the guest rooms. It is unique as it has shelves on either side which can pull out to function as a small night stand, perfect for cell phones, books etc. The back of the piece is tongue and groove knotty pine which for the more rustic look they wanted.

I will probably do things a little different when I build the next headboard but overall I am satisfied with the end result. I chose not to do a lower storage area, mainly to keep the cost down. It could be done very easily but this piece is already very heavy and that there is plenty of storage.

Estimated Time Investment
Weekend Project (10-20 Hours)
Finish Used
Special Walnut stain with semi-gloss Polycrylic. All of the wood was sanded and then I applied wood conditioner. One coat of the stain and three coats of the semi-gloss. I live in Minnesota and build it in my garage so I had to wait until this week when temperatures finally were warm enough to apply the finish.
Recommended Skill Level
Beginner

Comments

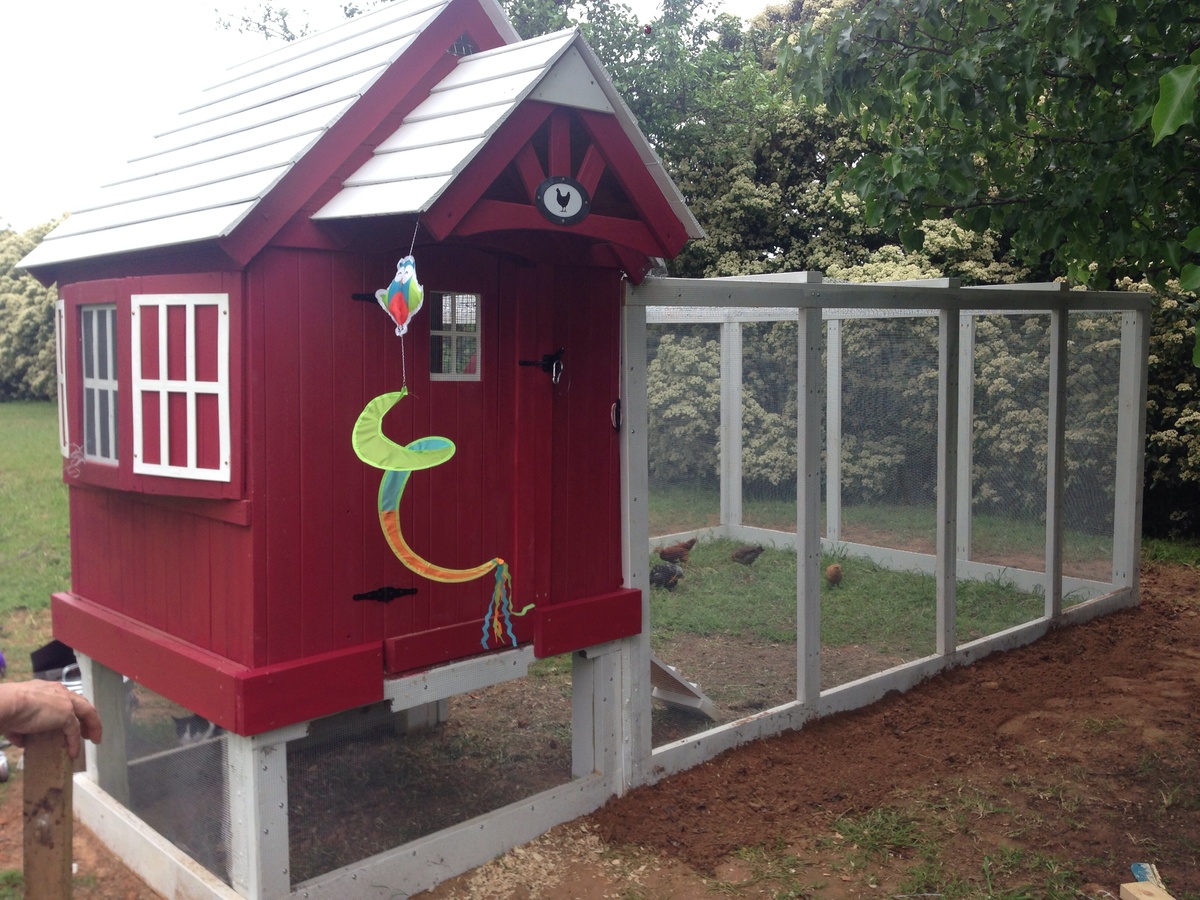
Chicken Run

Submitted by Kdline on Mon, 04/13/2015 - 06:36

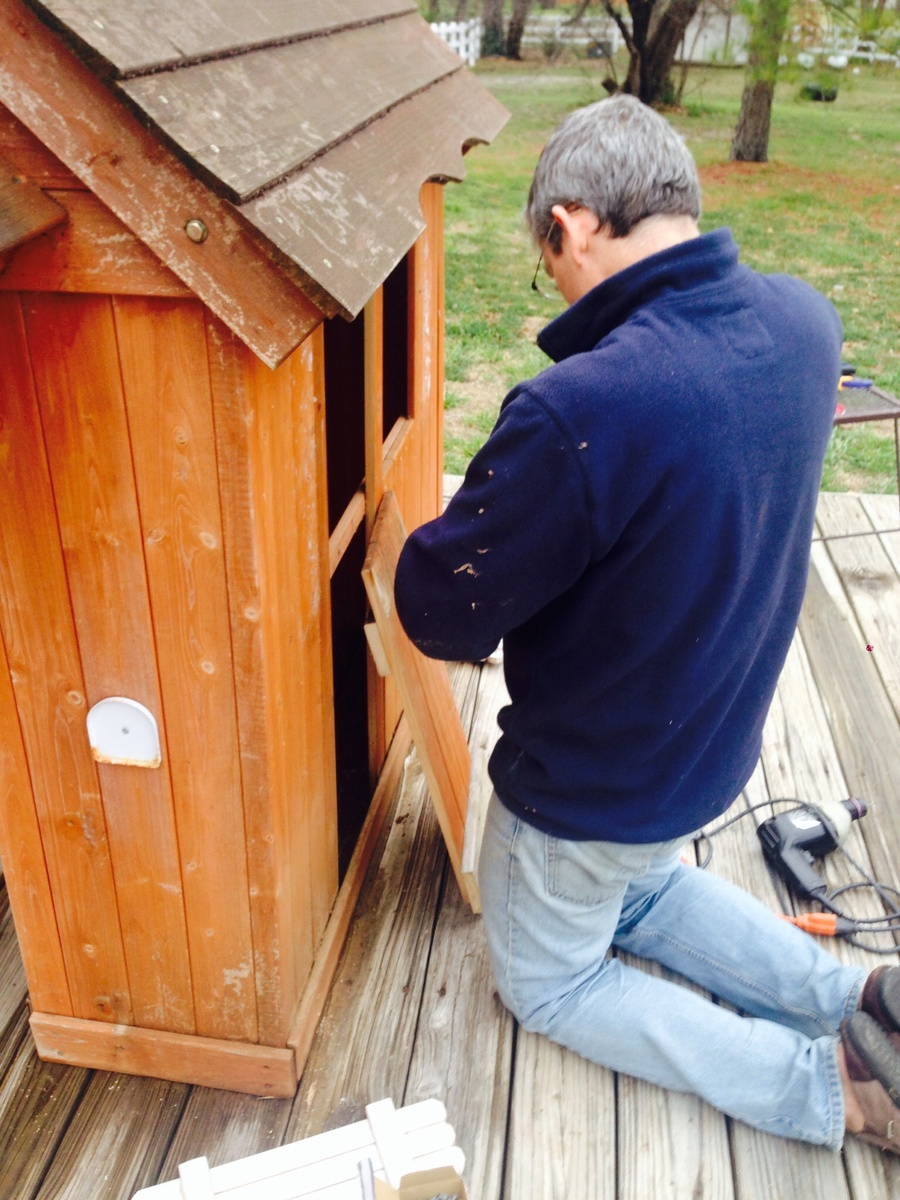
We built this coop from an existing playhouse and used Ana's plans to build the run!  So easy and turned out perfectly!

Built from Plan(s)
Estimated Time Investment
Day Project (6-9 Hours)
Recommended Skill Level
Beginner

Comments

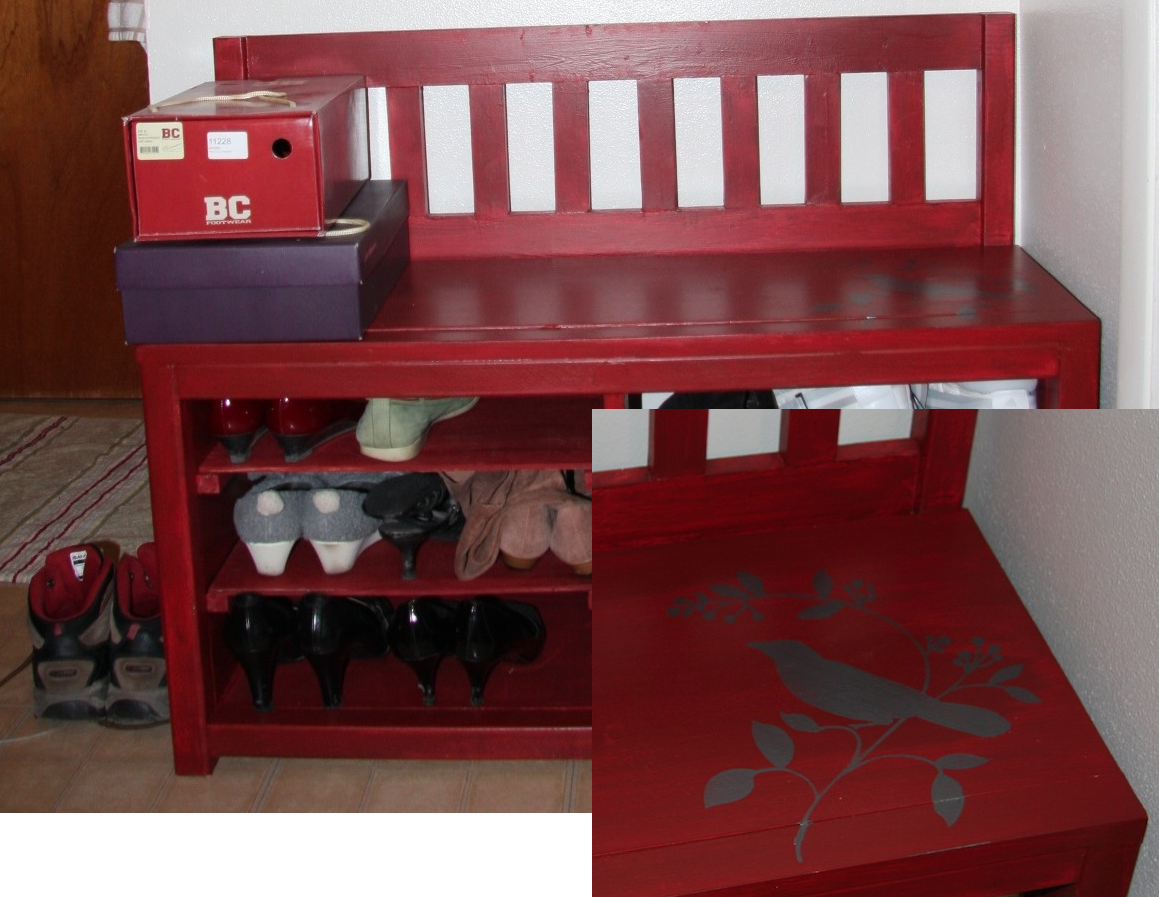
A cottage bench with shoe rack

Only slightly modified cottage bench - I made the storage area bigger and added shelves to put my shoes. Only my second project so it's not perfect (especially the paint job) but I loooove it! Sure, the shoe rack I had was perfectly functional and bigger, but this is waaay prettier.

Found a perfect red oops paint at Lowes and I even added a little birdie stencil. I have a few more pieces I'm working on and hope to finish soon. Thank you Ana for the plans!
Estimated Time Investment
Weekend Project (10-20 Hours)
Finish Used
Primer and two coats of paint, lightly sanded in between. I skipped the top coat because I want the red color to naturally fade with use.
Recommended Skill Level
Starter Project

Outdoor Sectional

I scaled back the length of the sofa by a few inches and I made the sectional only one seat to fit my space on the deck. This was my first woodworking project that I did by myself. I got the cushions for more than 1/2 off at Ikea so the whole project cost about $150 ($80 for the cushions). It took me about a week to complete but the total time was less than 10 hours to build and stain. I'm pretty happy with how it turned out.

Estimated Cost
$150
Estimated Time Investment
Weekend Project (10-20 Hours)
Finish Used
Pittsburgh Paints Stain & Sealant in One for Decks, Fences, & Siding in Walnut. I brushed on the exterior stain just like a paint. I did the top part of the sofa first, then flipped it over and stained the bottom. Read instructions on the label.
Recommended Skill Level
Beginner

Comments

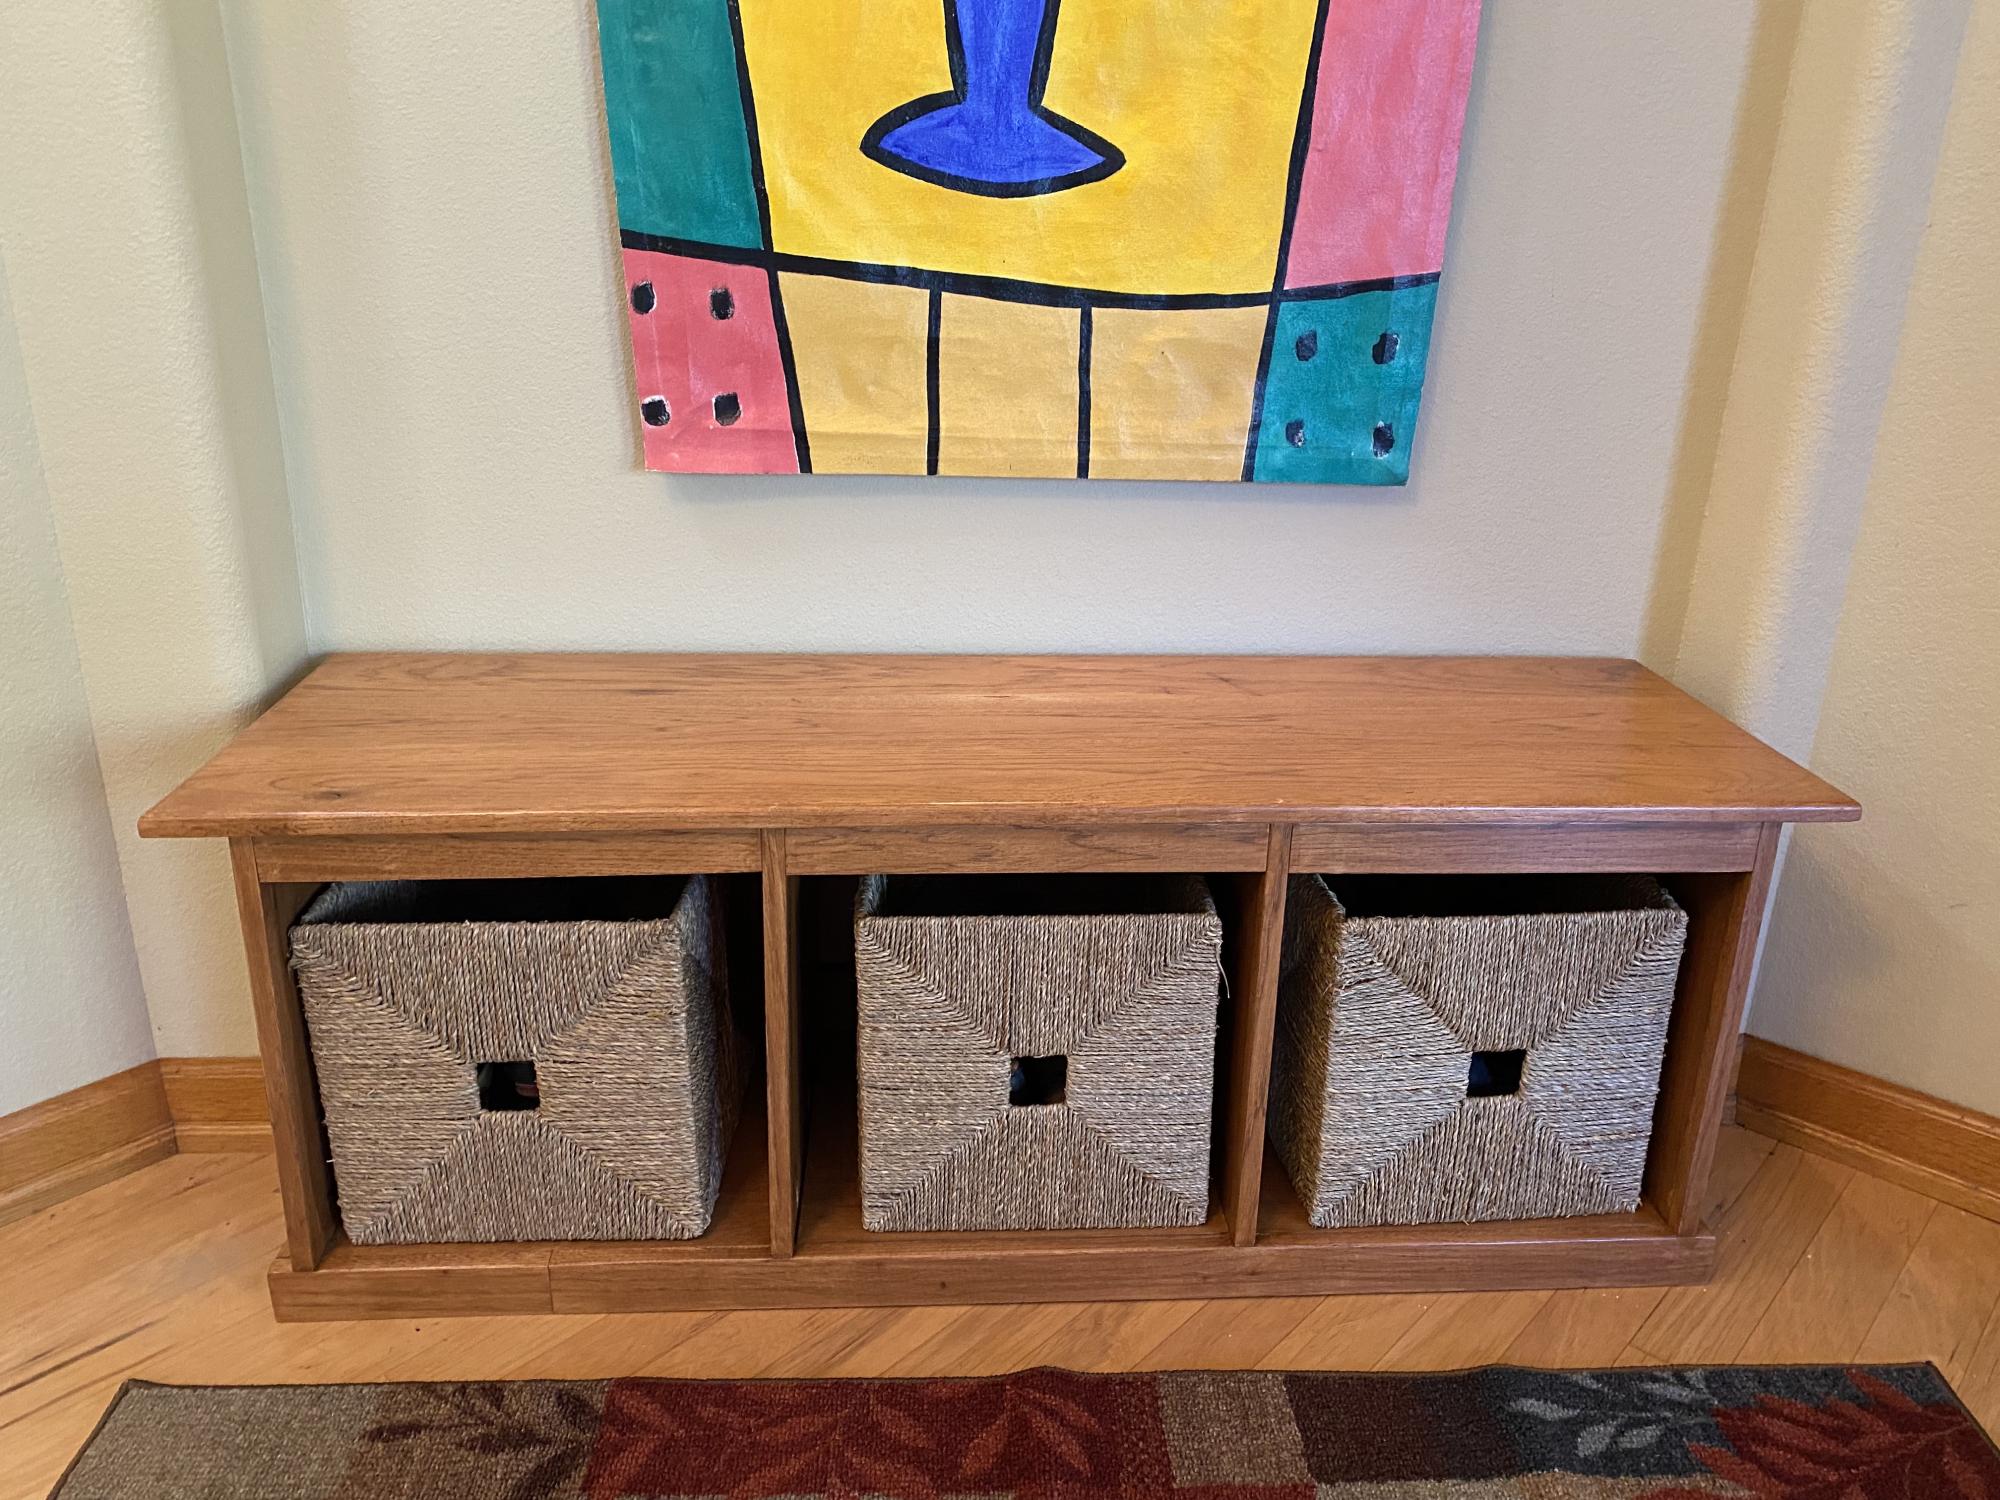
My entry way bench in Hickory

Submitted by Anonymous (not verified) on Tue, 12/28/2021 - 12:19

The bench plans were super helpful!!

Built from Plan(s)

Comments

Not the Full Miter table design

Submitted by Hjmoore420 on Wed, 01/05/2022 - 12:50

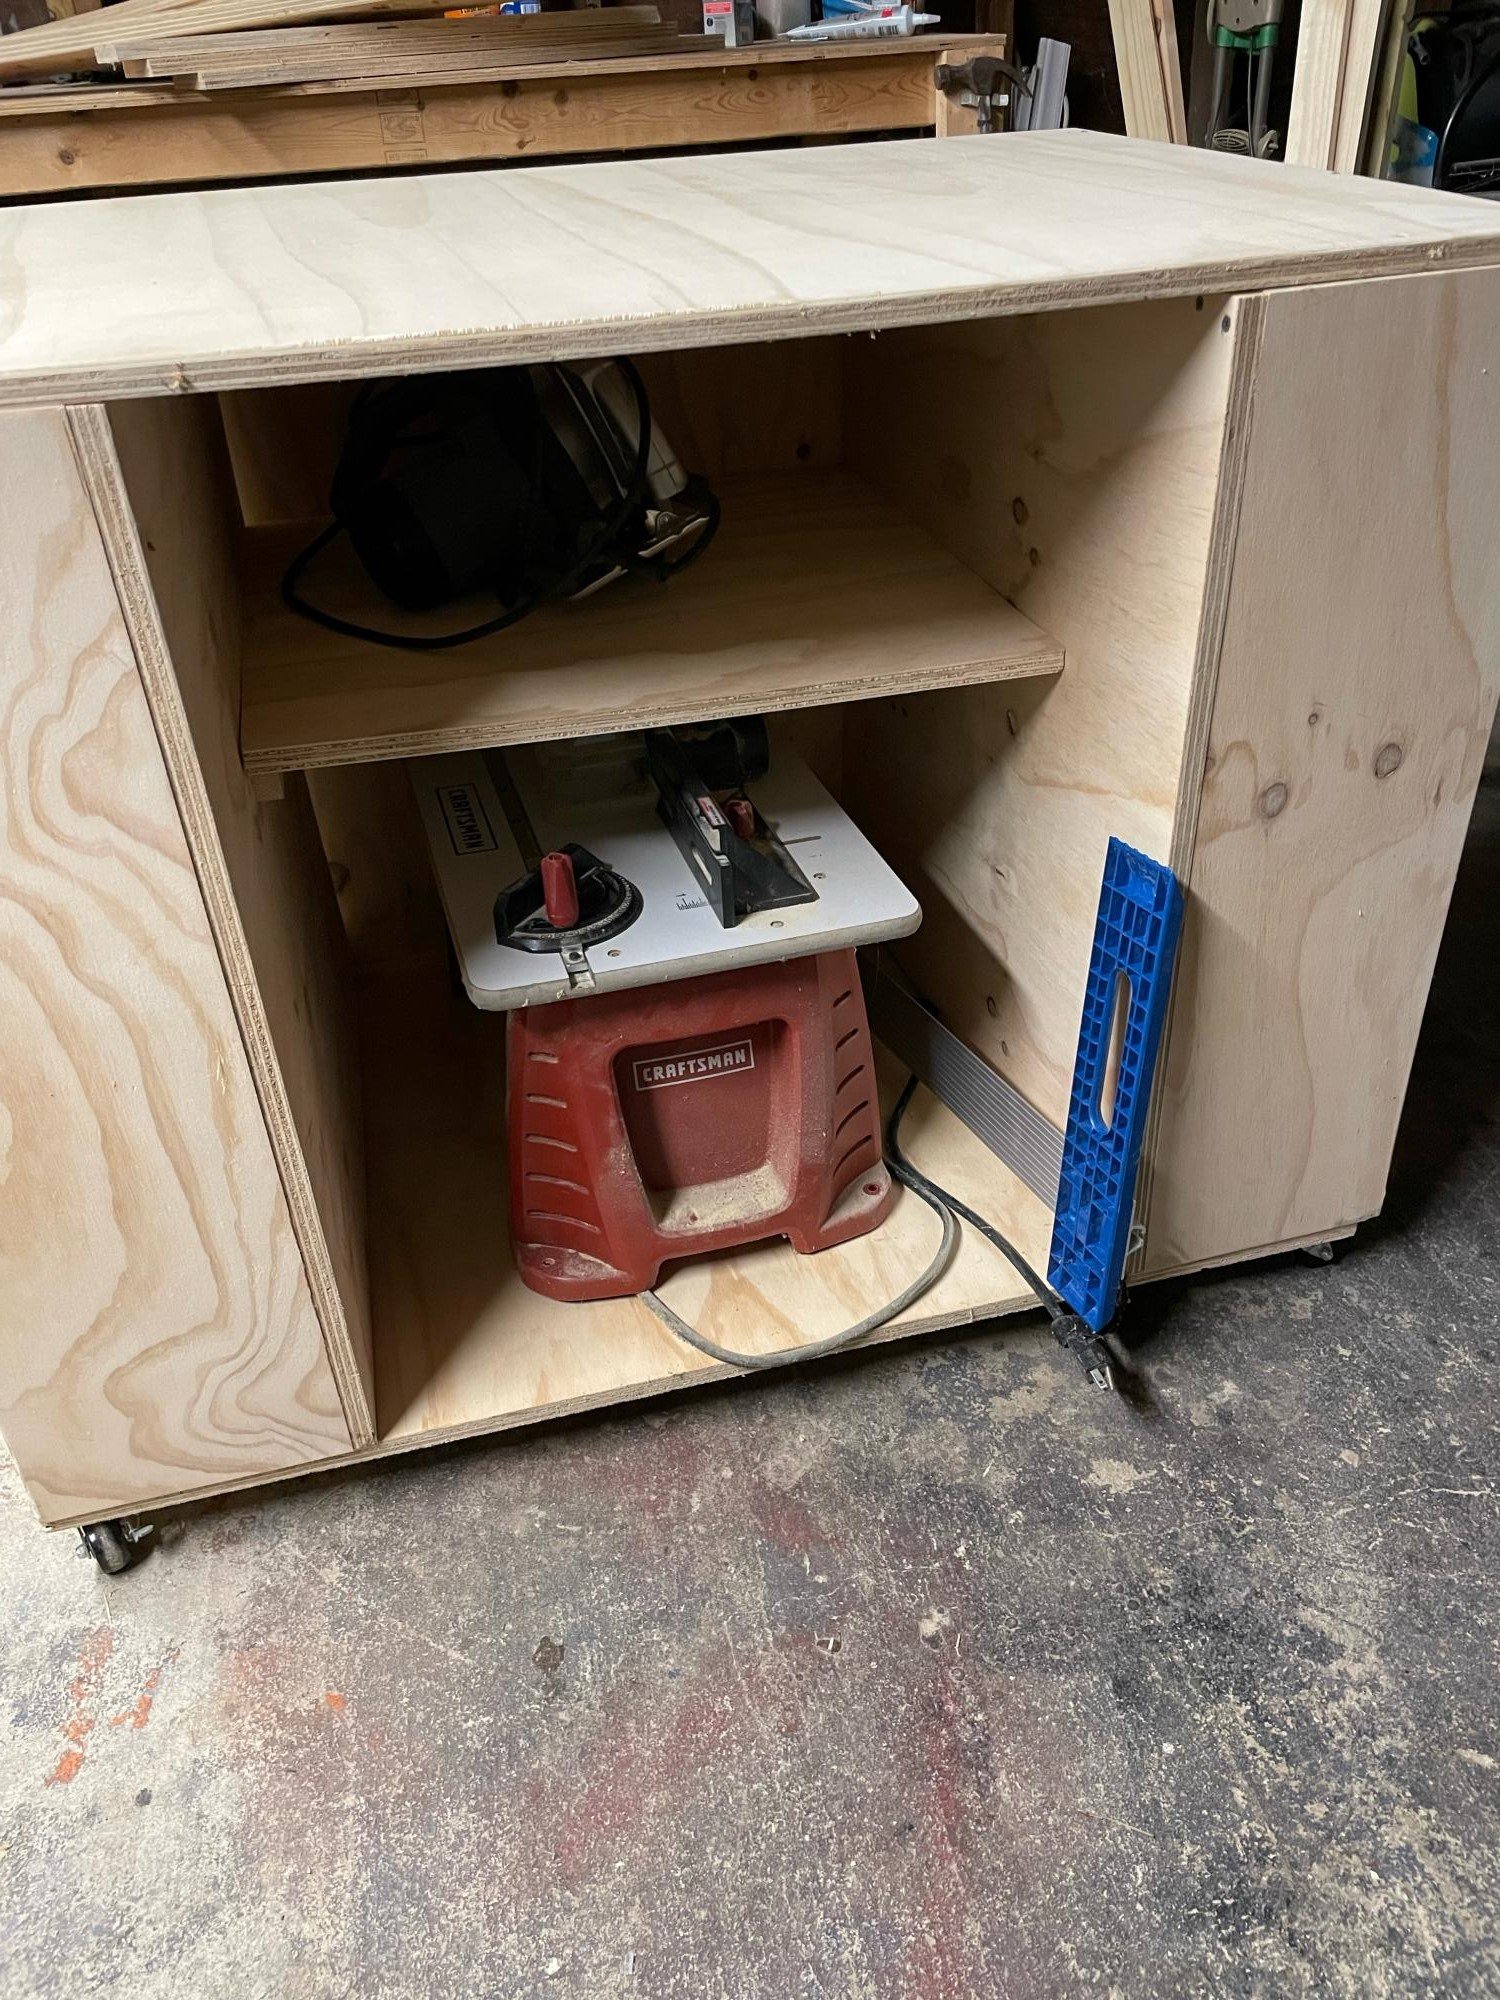
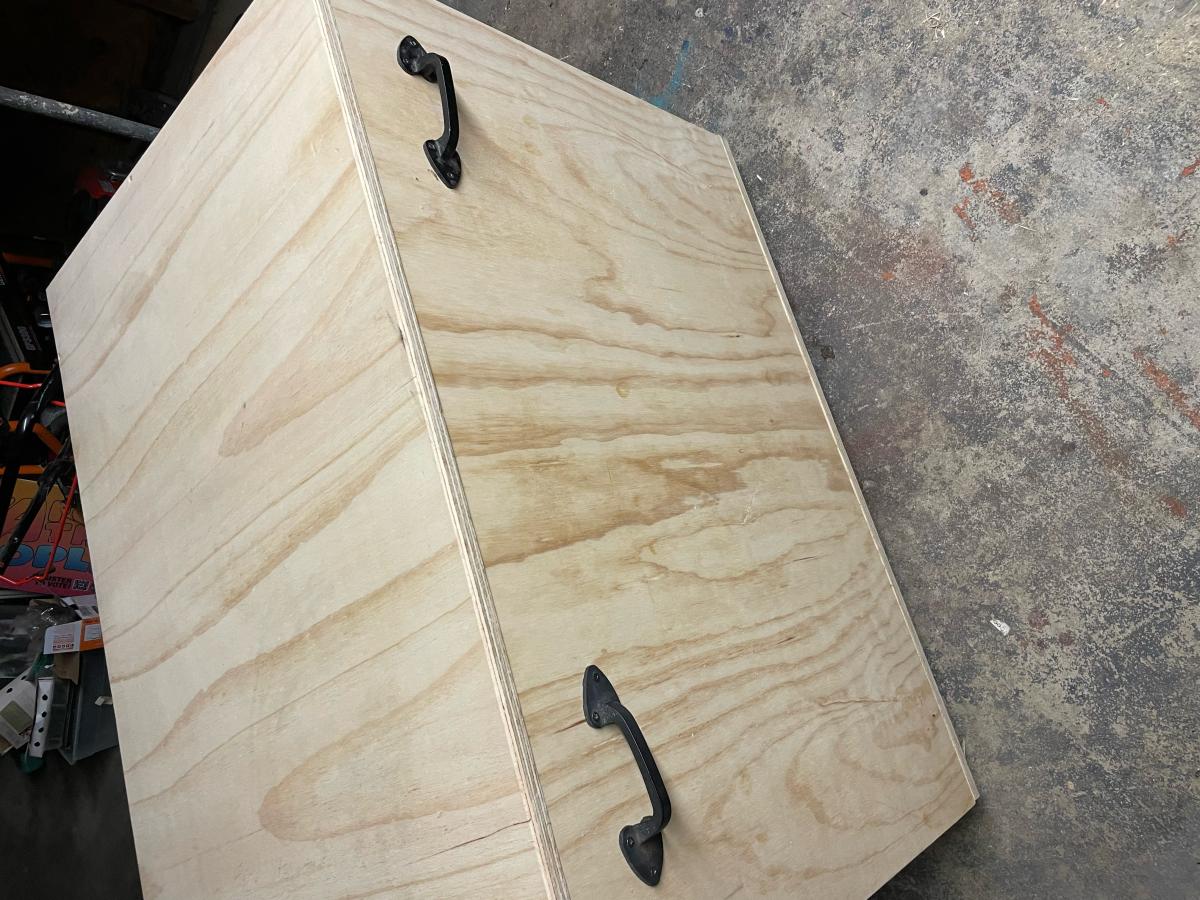
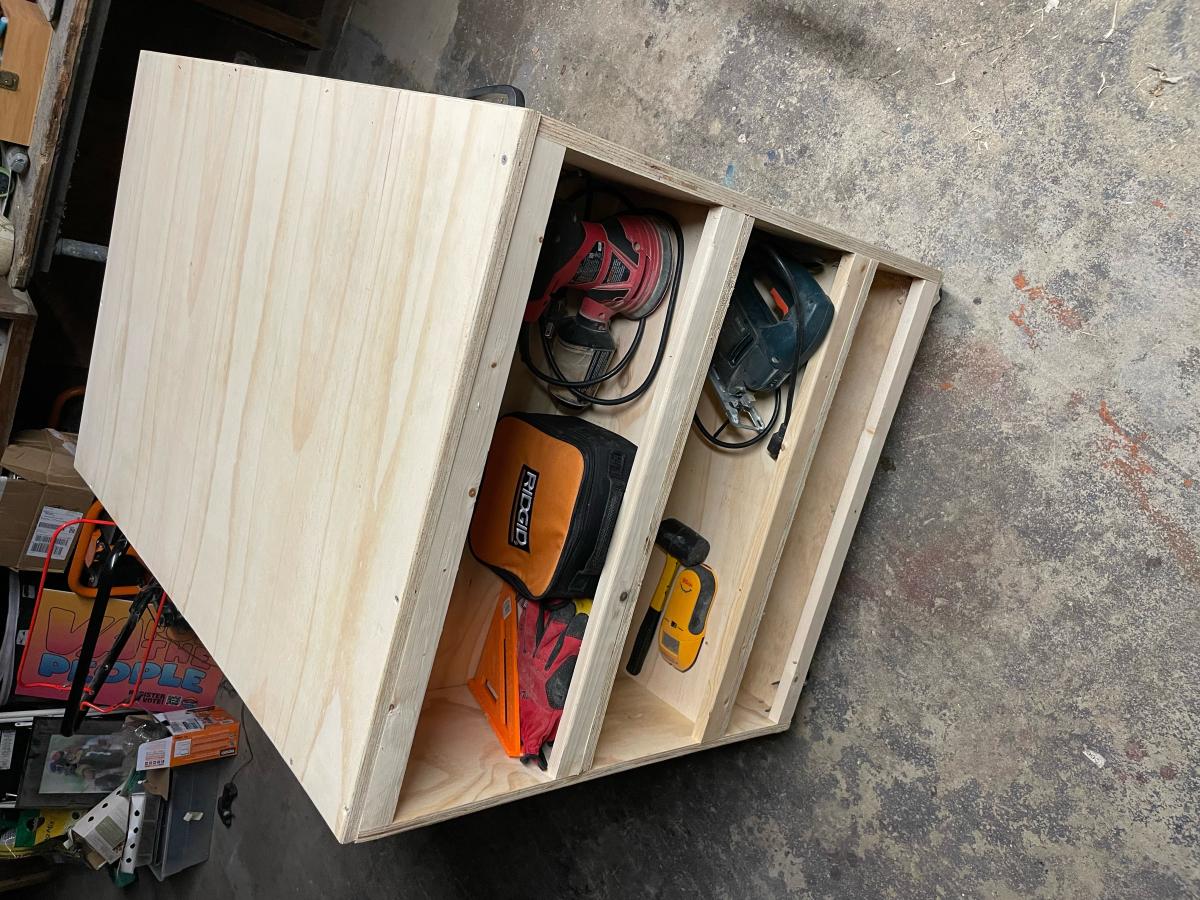
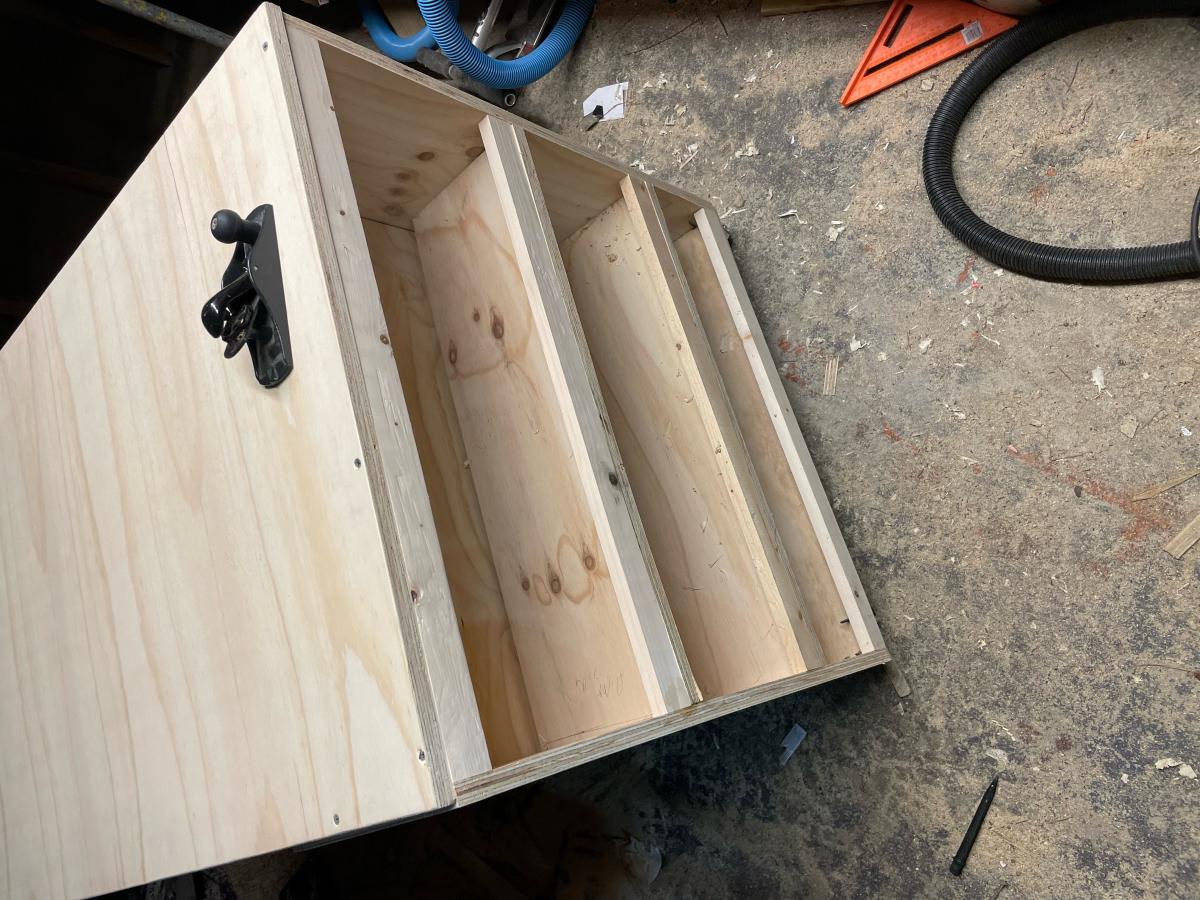
while this is a great design I only needed the extra storage and work space so I just made one of the storage roll away from this plan. I had to alter slightly making them a bit smaller as the space I was making this to occupy had a width of 44 inches but it is an amazing amount of space provided. I will put a clear coat on but sanded, edged and its wokring great. the clearance all around is about .5 inch t fits in beautifully and decluttered my overly cluttered workspace. thanks so much for your Ideas Ana, they are always amazing.

Comments

Work Bench

Submitted by iluv2run on Tue, 01/23/2018 - 08:18

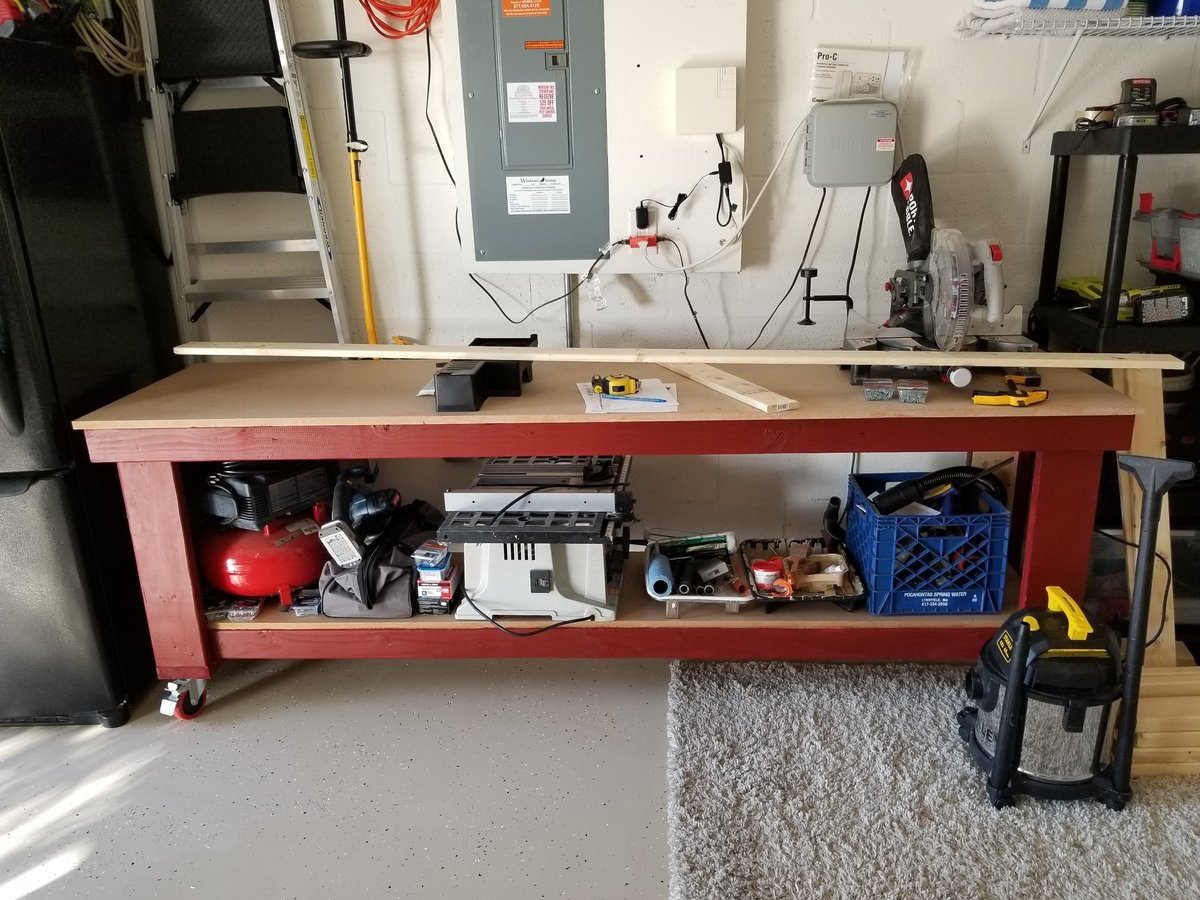
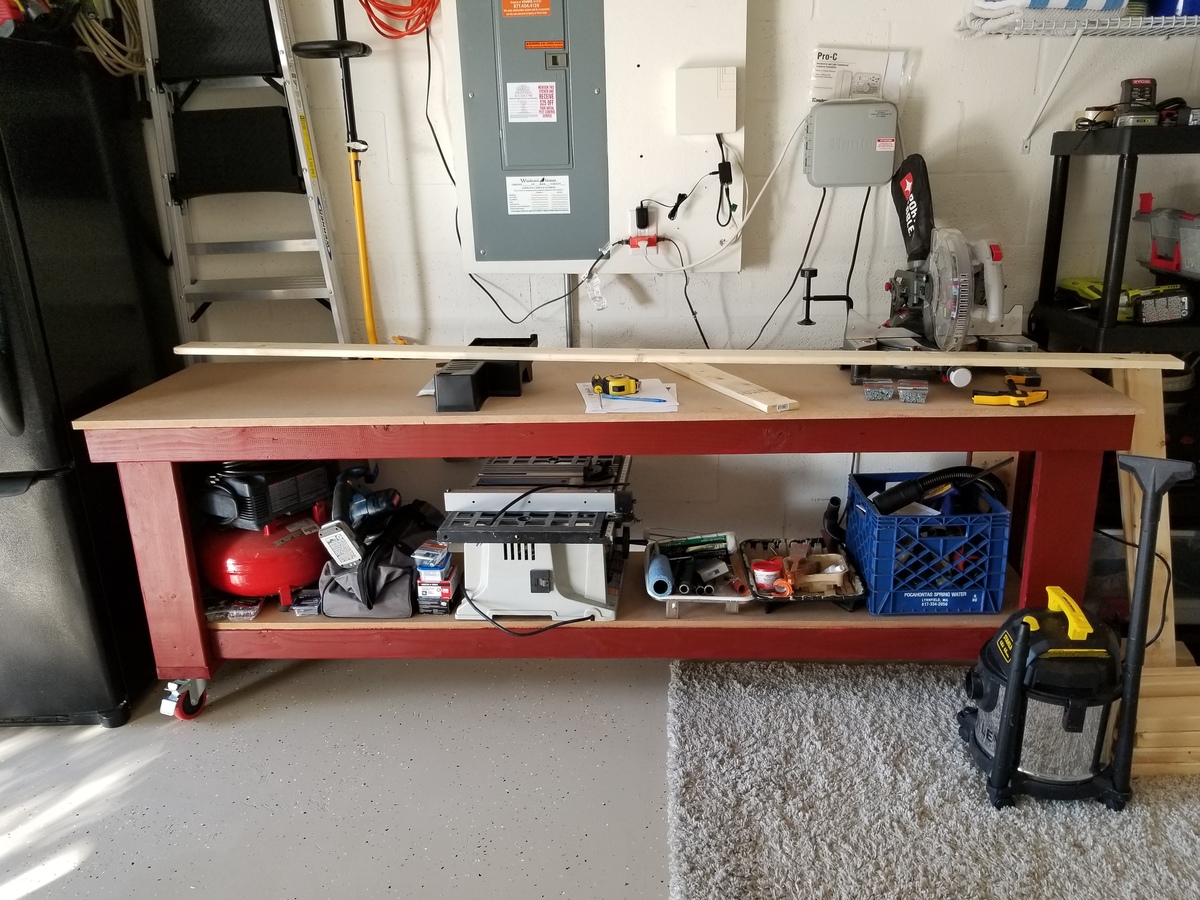
Work bench with casters came out great and already using it on my kitchen console.

Built from Plan(s)
Estimated Cost
$120
Estimated Time Investment
An Hour or Two (0-2 Hours)
Finish Used
Exterior paint
Recommended Skill Level
Beginner

Bedside End Tables

Submitted by Grace734 on Mon, 02/05/2018 - 07:38

These are made from the three drawer plans but modified the size to meet our needs and used planks for shelves instead of drawers. Painted white and black gel stain. 


UPDATE FROM ANA - We have received MANY requests for this plan and have created a plan inspired by this post here.

Shopping List (for ONE bedside table) + Tools

  • 1 - 1x2 @ 6 feet long
  • 5 - 1x4 @ 8 feet long
  • 2 - 2x2 @ 8 feet long
  • 1-1/4" and 2-1/2" pocket hole screws
  • 1-1/4" brad nails
  • wood glue
  • Kreg Jig
  • Compound Miter saw
  • Drill
  • Brad Nailer (18 guage)

Cut List (for ONE bedside table)

  • 4 - 1x2 @ 14" - Side panel trim
  • 8 - 1x4 @ 23-1/4" - Side panels
  • 4 - 2x2 @ 27-1/4" - Legs
  • 6 - 2x2 @ 14" - Shelf support
  • 8 - 1x4 @ 17" - Shelves
  • 5 - 1x4 @ 18" - Top

Cut 1x4s and 1x2s with miter saw. Layout side panel 1x4s as shown above.  Measure and cut 1x2 to length.  Nail the 1x2 to the 1x4s, two nails per overlap with glue.  Make sure your side panels are square.  Build two.

Drill 3/4" pocket holes on inside edge of 1x4 ends as shown above.  Cut 2x2s with compound miter saw. Attach to the 2x2 legs with 1-1/4" pocket hole screws.

Set Kreg Jig to 1-1/2" setting.  Drill 1-1/2" pocket holes on end of each 2x2, one per end.  Attach to 2x2s with wood glue as shown above.

Cut 1x4 shelf boards with compound miter saw.  Nail and glue to the inside of the project as shown above.

Cut 1x4 top boards with compound miter saw.  Nail and glue to top with 1-1/4" nails and wood glue.

If you wish to add a back, measure and cut from 1/4" plywood and attach with 3/4" brad nails.

Estimated Cost
100.00 for both.
Estimated Time Investment
Weekend Project (10-20 Hours)
Finish Used
One coat of eggshell white PPG
Two coats of ebony gel stain
Recommended Skill Level
Beginner

Comments

Outdoor Sofa

Submitted by dionneds on Sun, 04/10/2022 - 07:16

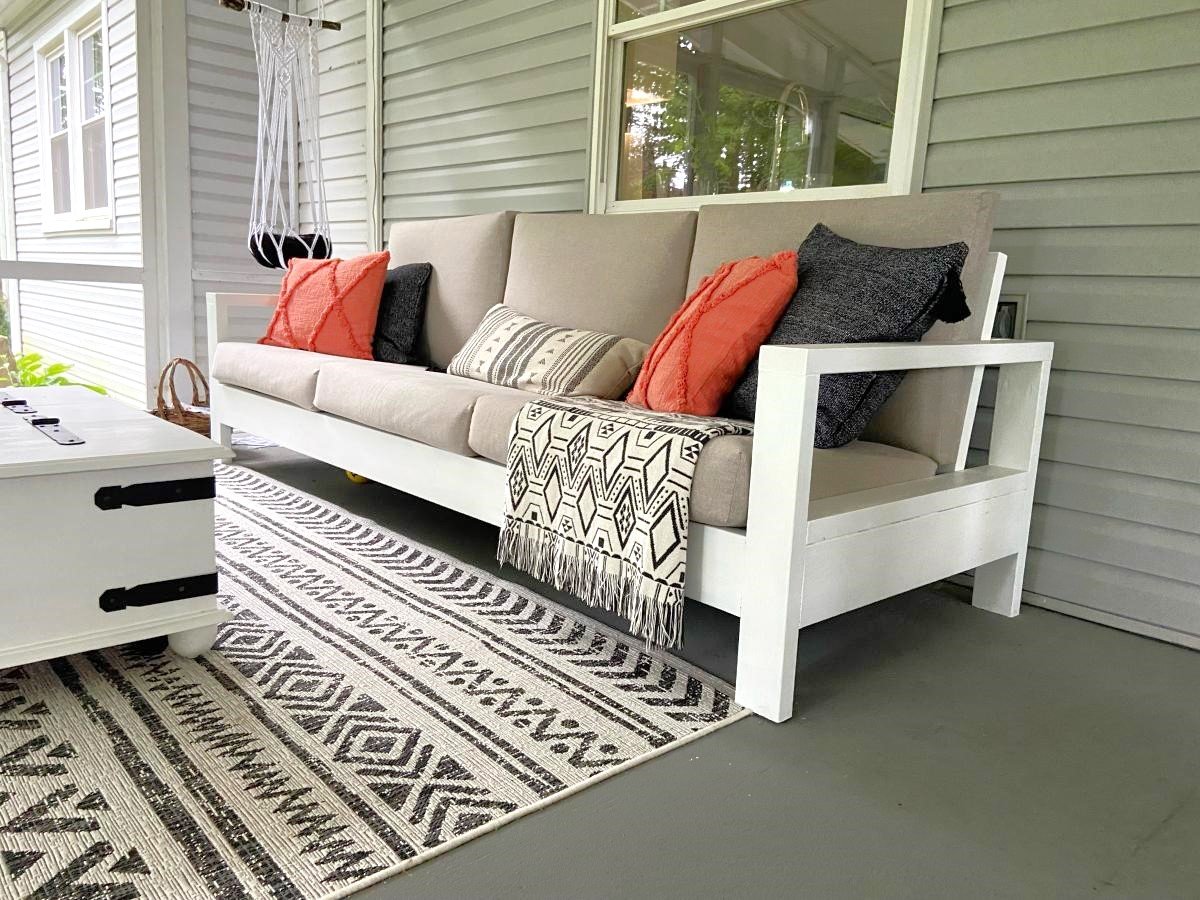
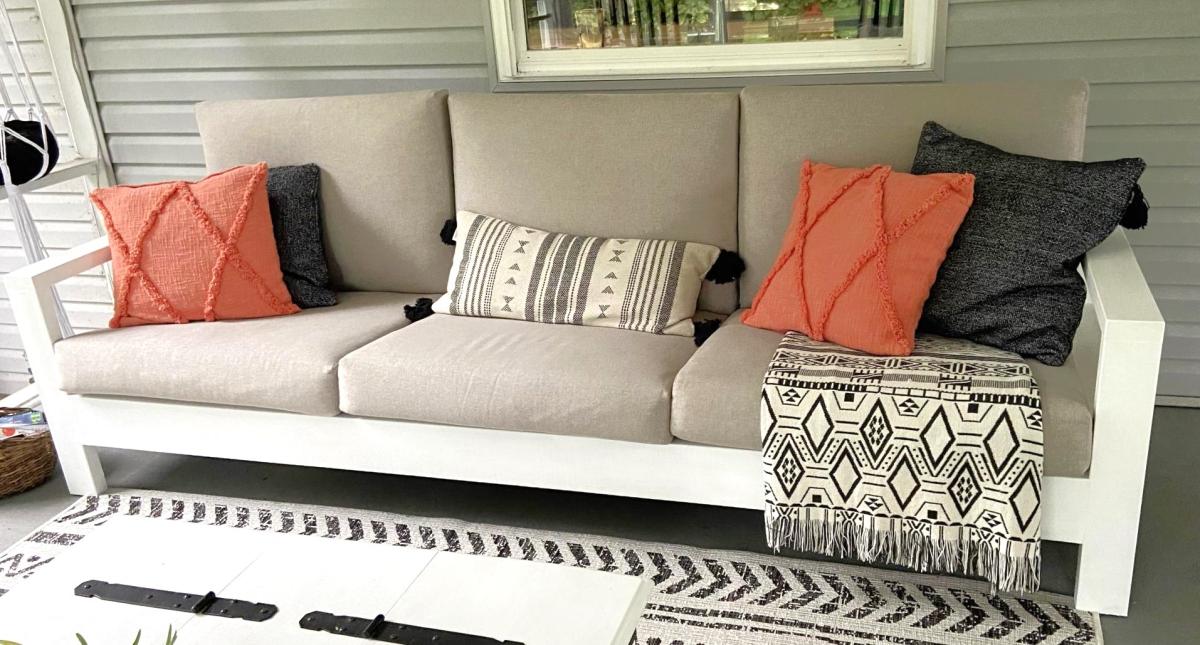
This was our first big project with our Kreg Jig. We adapted the plans to make the sofa 8' long. On Friday night, my husband did all the cuts and I pre-painted everything. With the help of our son, we had the whole sofa built in a few hours on Saturday morning. I puttied the visible holes, did a second coat of paint, and made custom cushions. The plans were very easy to follow. I followed the others' advice about pre-painting and assembling the back on a perfectly level surface. It came out better than I expected and it's super comfortable!

Comments

kdykes08

Mon, 04/11/2022 - 07:44

I want the plans for this one! I like this style a lot better. I really like how the bottom cushions are at a slant. I suck at modifying plans.

Seasonal And Holiday

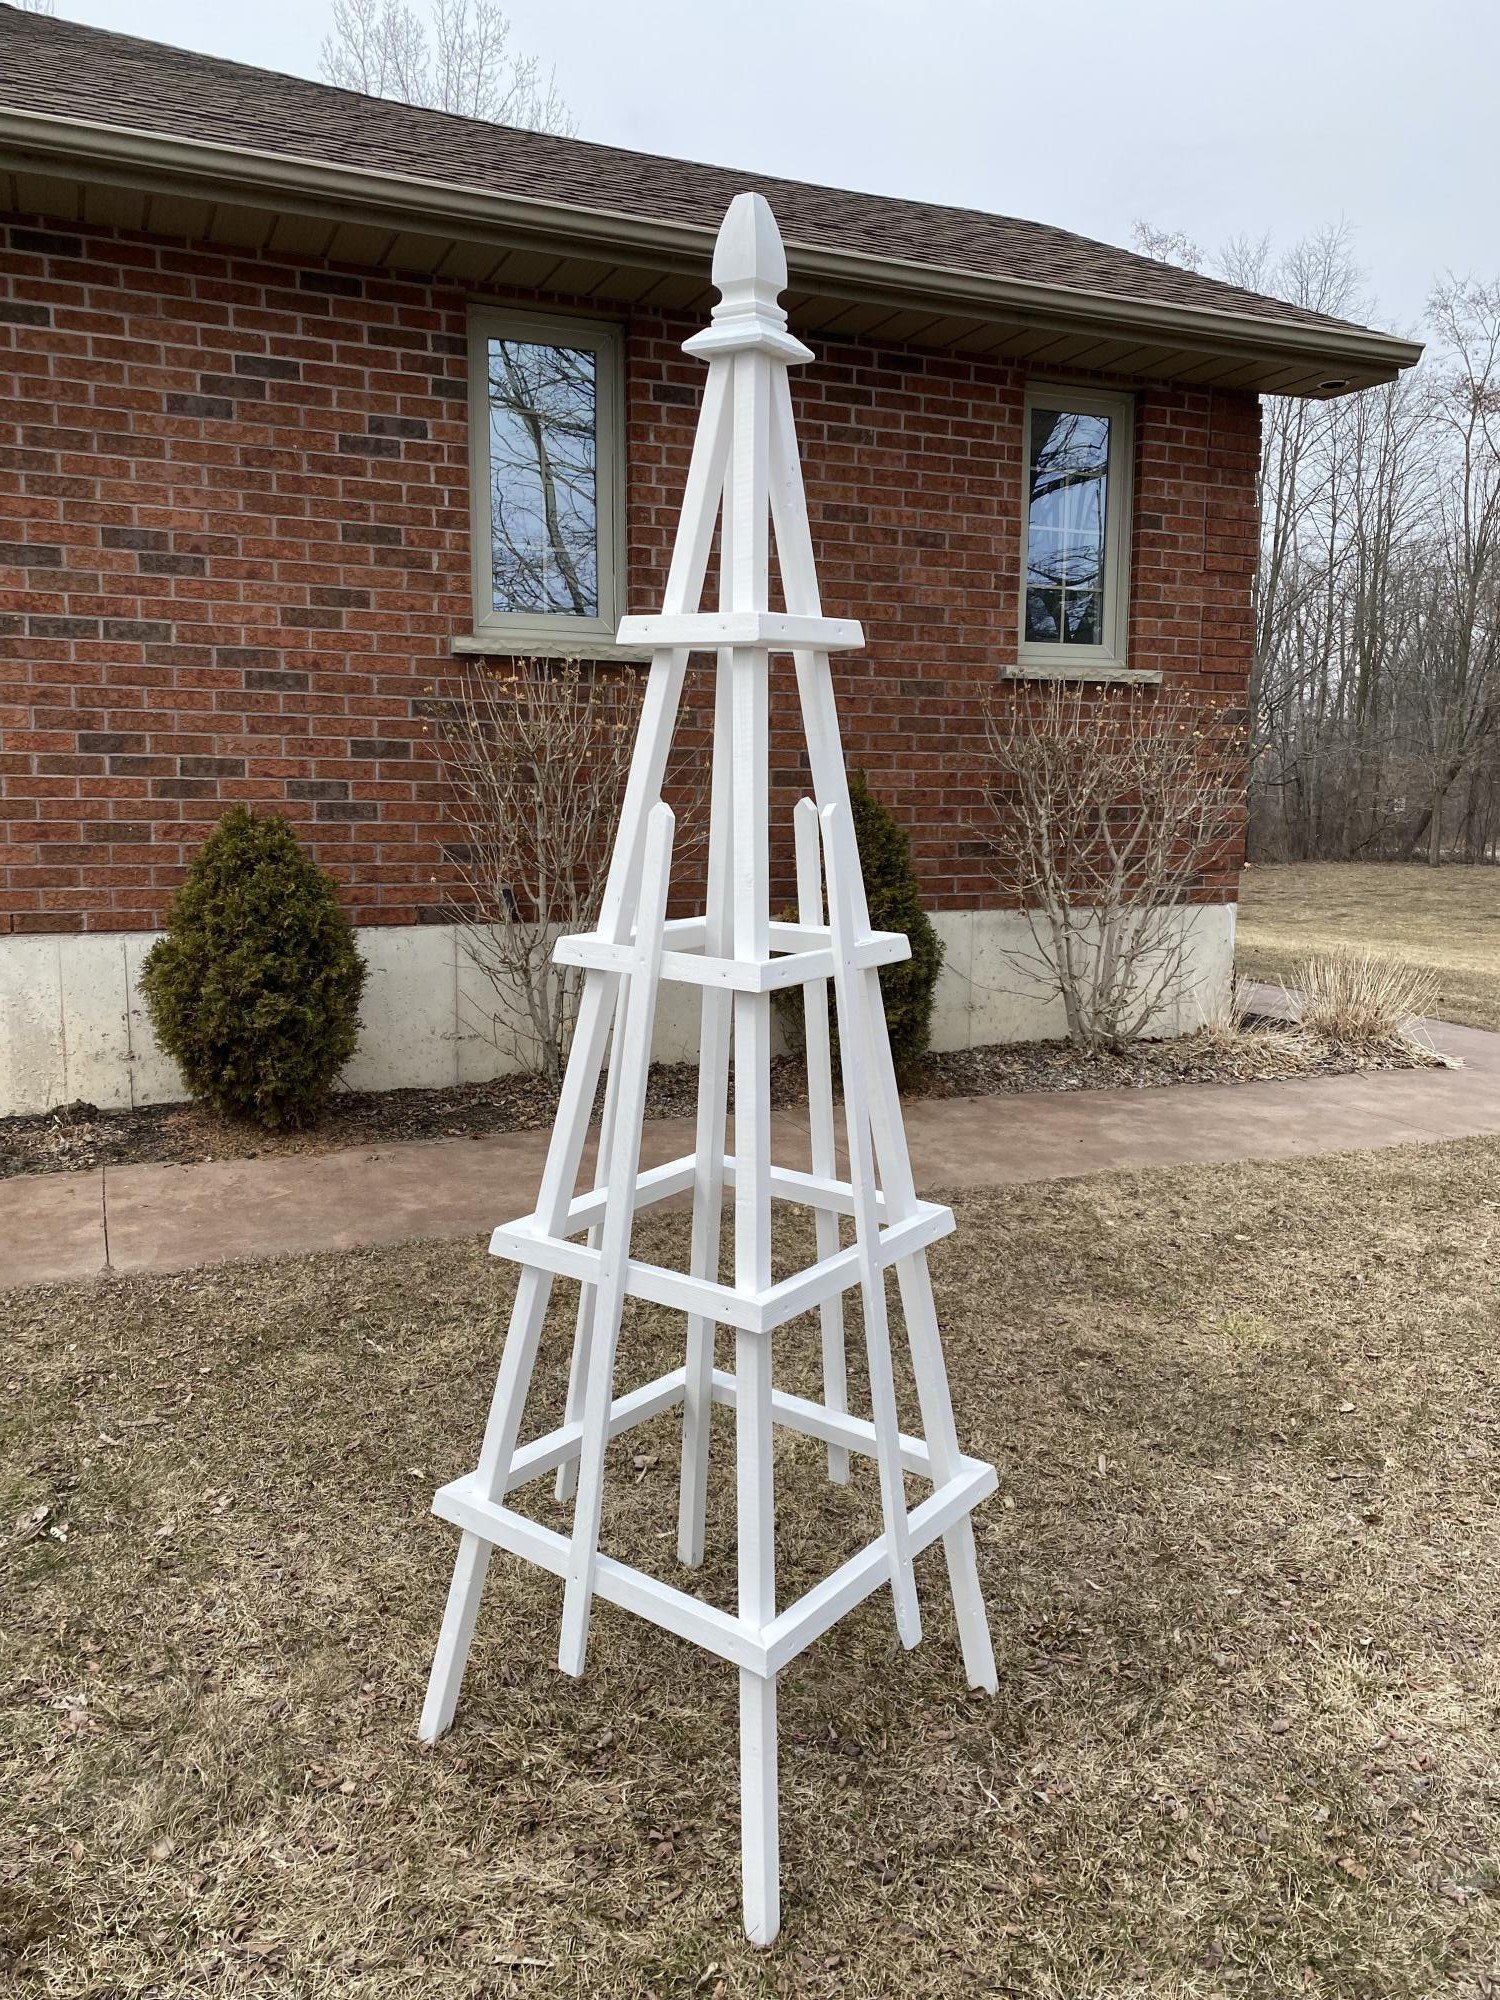
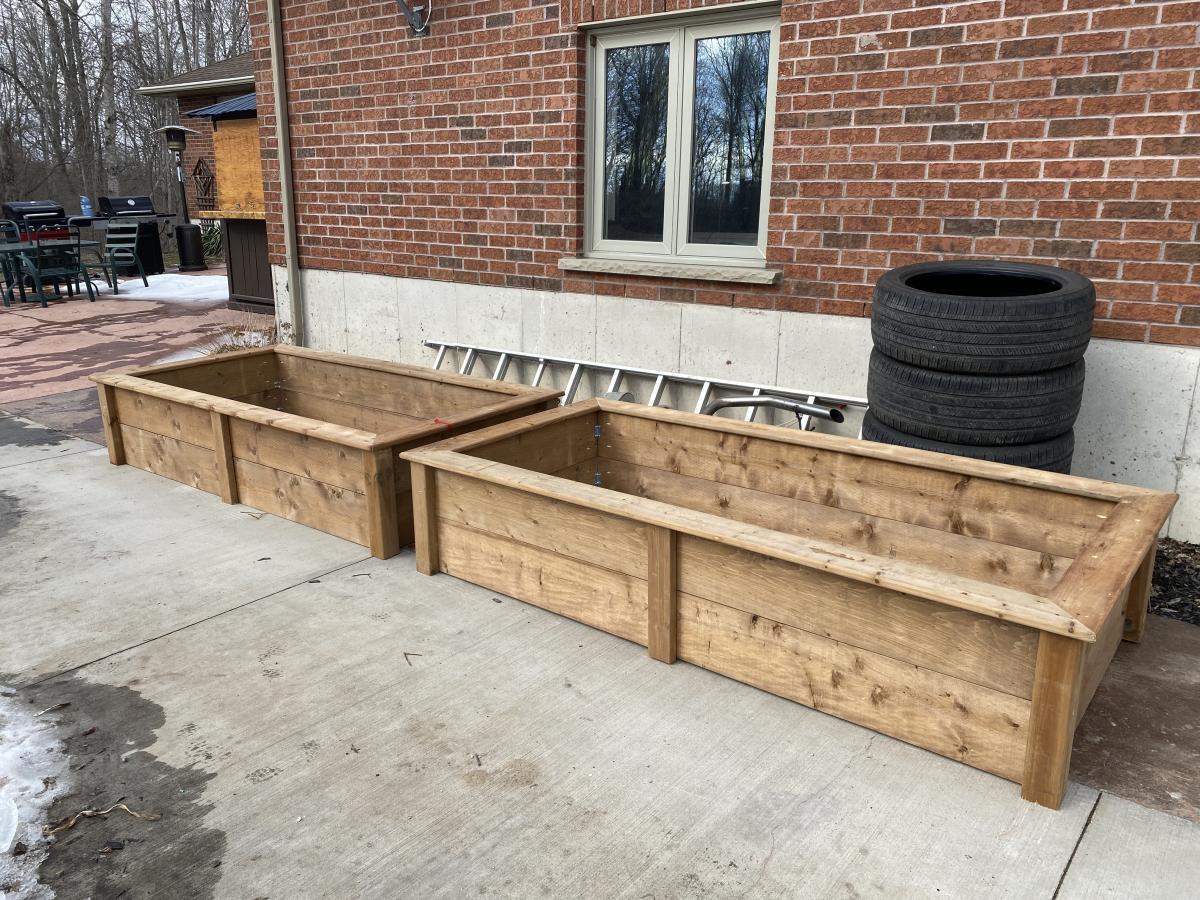
Raised Garden Bed Planters and French Tuteur

Submitted by Anonymous (not verified) on Fri, 04/22/2022 - 08:16

I built some French Tuteur’s for the garden. 

Fresh and ready for my new raised beds. 

Comments

lawn and garden shed

Submitted by brittanyj on Wed, 08/19/2015 - 13:17

Needed a shed to store bikes and mowers, etc, so I'd have more room in the woodshop : )  I made a lot of modifications to the plan to fit my space and make it much larger.  The completed size is 7 foot tall at the peak, 6 feet deep and 5.5 feet wide.  I made it as a 3 sided shed, using the wall as the 4th to save on cost, increase air flow, and make the exterior house wall accessible.  I also made an egress in the back of the shed in order to get behind the shed if needed. 

Instead of roofing shingles, I opted for ribbed metal sheets and one clear sheet in the middle to make a skylight, so there would be light in the shed.  This is my favorite part of the project.  It was a huge pain to attach the roofing from a ladder with very limited access, but it looks great and I love the light coming in.  We have very little rain in CA, so I'll have to wait until winter/rainy season in order to test out its waterproofing. 

Since the shed sits between the house and the neighbors block wall fence, and I wanted to use as much of the space as I could, I decided to design the shed to have the side wall against the house rather than the back wall, as shown in the plan.  This took a large amount of modifications, but with careful planning and measuring, it can be done.  This also meant blocking off access to behind the shed, so I cut an egress in the back wall and added hinges so you can lift the back cut out panel, and rest it on a stop block attached to the fence behind it in order to have access.  That's what woodworking is about- problem solving.  Love it. 

As you can see by the full shed picture, it fits a large amount of stuff- 2 adult bikes, mower, edger, trimmer, chainsaw, hedge trimmer, garden tools, shovels, etc, with plenty of room for more.  I now have a free corner in my garage that I've already filled with a DIY rolling workbench and more pegboard space for tool hanging.  Woodshop increased space= happy Brittany. 

I should also mention that building the frame and adding the pickets was quite a quick and easy job.  The hardest and most time consuming part was the roof (I didn't have metal cutting tools), rolling each very heavy wall to the site (I was alone) and the previous 2 weeks in which I built the paver patio the shed sits on.  Hard work, but worth it.  I love it!
Built from Plan(s)
Estimated Cost
$280
Estimated Time Investment
Week Long Project (20 Hours or More)
Recommended Skill Level
Intermediate

Comments

brittanyj

Mon, 01/25/2021 - 13:15

It has been incredibly useful for storing! One thing about the skylight- Over time the sun has warped it and there is now a hole and crack there. So I wouldn't plan on the clear roofing being a long term solution- I will be replacing it with either thicker clear roofing or 2 layers.
Laundry bins

Submitted by wy2ak on Mon, 05/07/2018 - 19:57

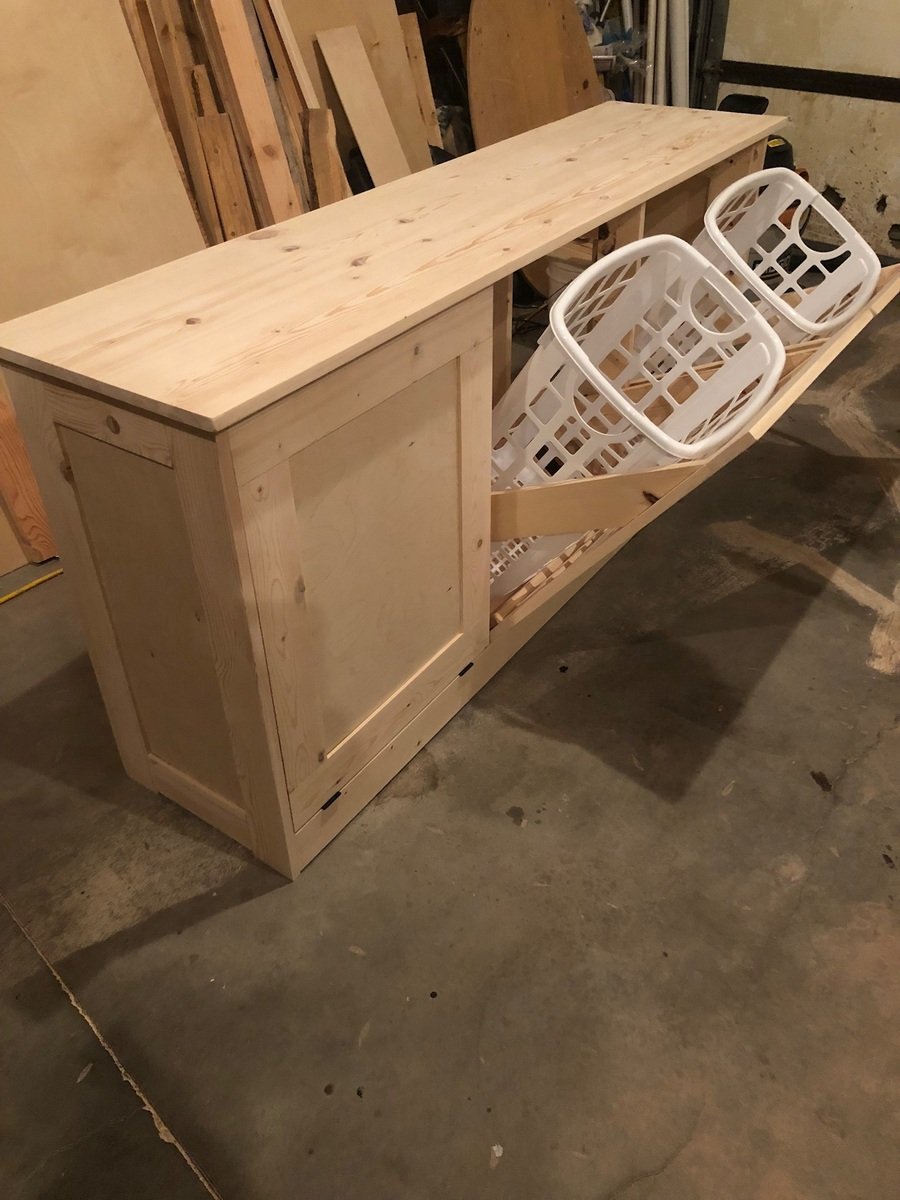
This was a build from a picture and made to fit into a space we have in the laundry room. Used the Kreg jig for much of it. 

Estimated Time Investment
Week Long Project (20 Hours or More)
Finish Used
Will be painted and distressed
Recommended Skill Level
Intermediate

Comments

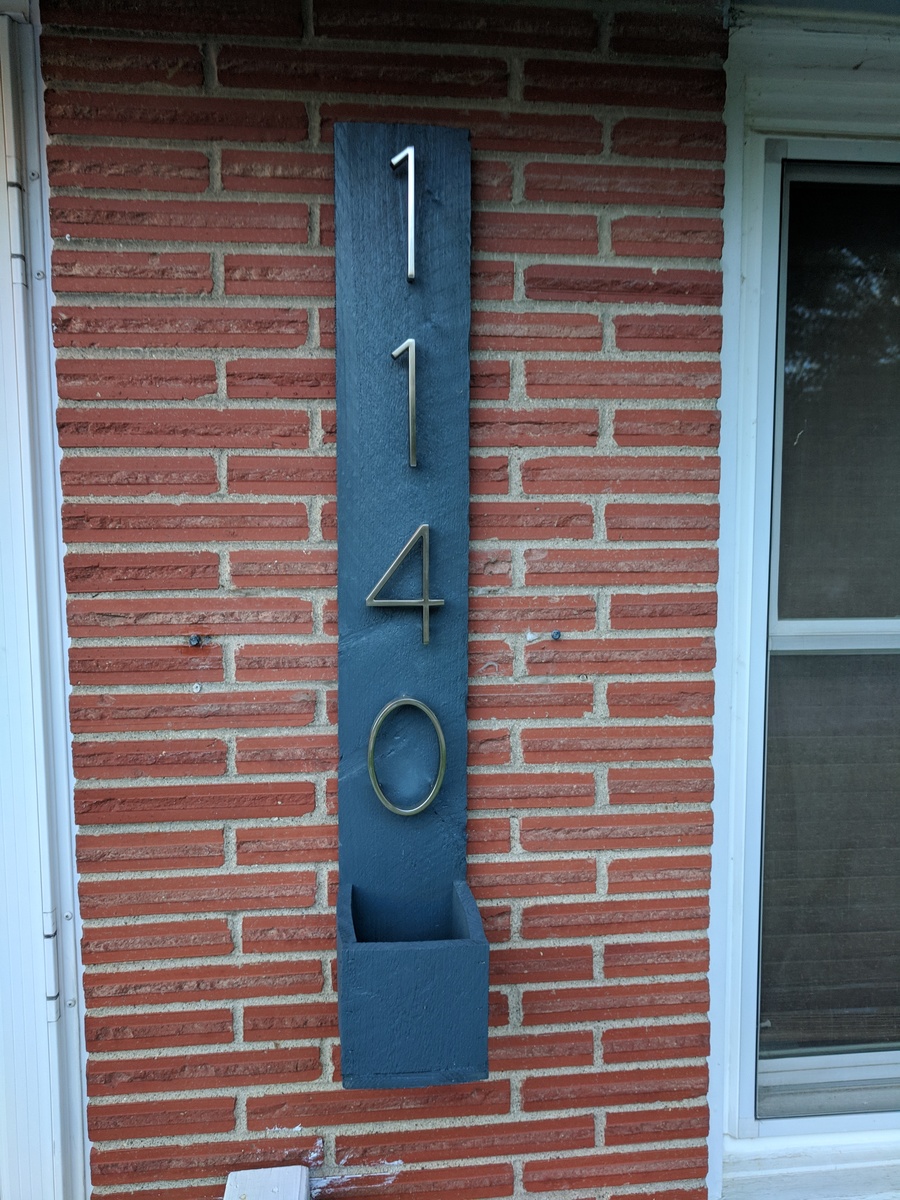
House Number Planter

Submitted by Bradnag on Fri, 06/22/2018 - 09:46

Easy beginner project. I had a spare pressure-treated picket on hand, so I used it instead of cedar. We're repainting our house this summer, so I stained the wood to match our eventual new house color.

Estimated Cost
$25
Estimated Time Investment
An Hour or Two (0-2 Hours)
Finish Used
Minwax Water-based stain
Recommended Skill Level
Starter Project

Dress-up Storage finally!

Submitted by tannisg on Wed, 08/03/2011 - 17:10

I made this for my girls' huge collection of dress-up clothes. I had to modify the plans a little to fit more costumes, and also to try to fit the longer length. I was hoping the longer dresses would hang without filling the bottom quite so much, but to make it tall enough for that the little one wouldn't have been able to reach the hanger bar.

I ended up with 4 foot boards all around - 6 pieces of 1x12 cut to 4 feet long, including the shelf at the top.

The eight year old cut the letters out of scrapbook paper and we glued them on with elmers glue then varnished over it.

All in all it looks great and holds 4 big plastic totes worth of dress-up (11 Halloweens/4 little girls/5 flower girl dresses and miscellaneous other outfits).

Now I'm just hoping they'll learn to use hangers and it will stay neat and tidy!

Construction was very easy and went well - took us longer to shop than it did to build!

Painting on the other hand took a long time, mostly just to wait between coats. I used spray paint and some polyurethane to gloss it up.

Estimated Cost
$50
Finish Used
spray paint, polyurethane
Recommended Skill Level
Beginner

Easy night stand!

Submitted by Medickep on Thu, 10/15/2015 - 08:33

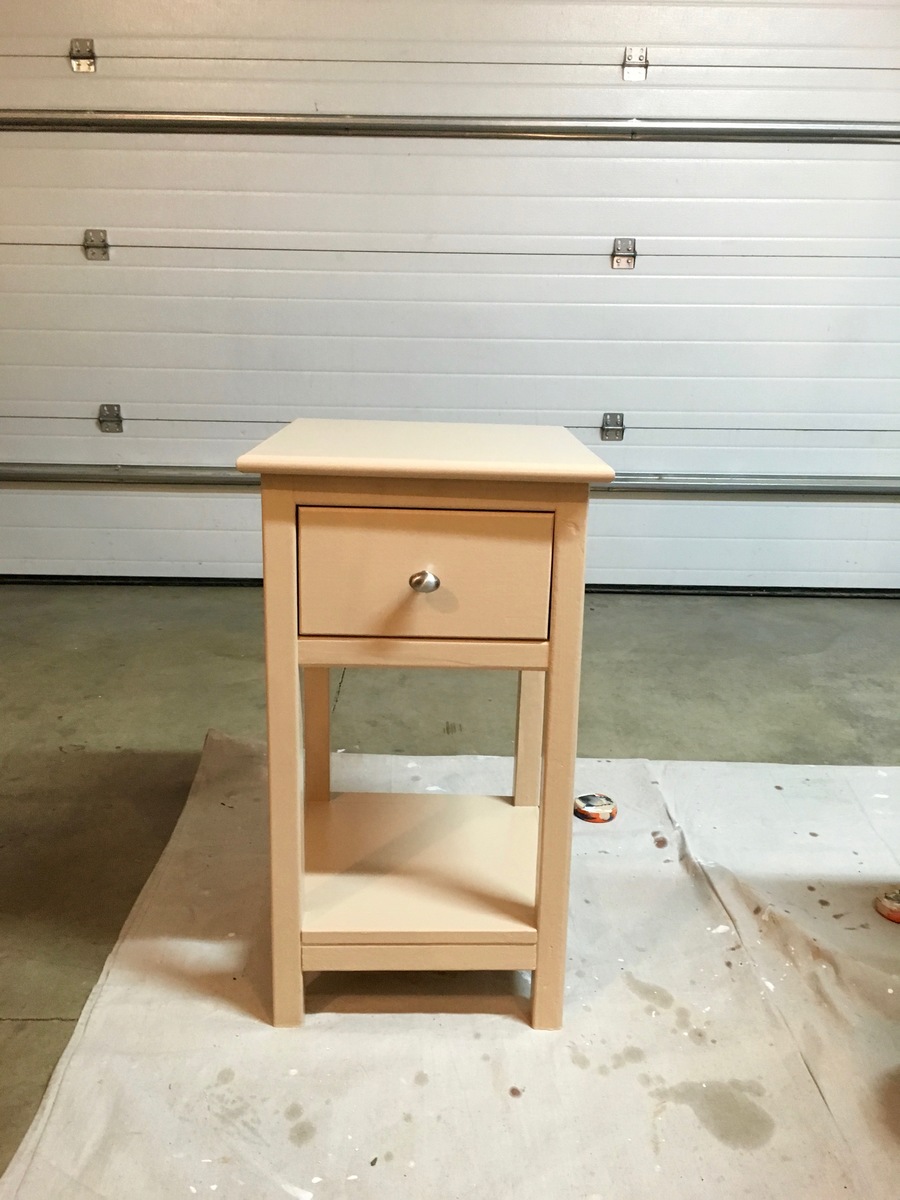
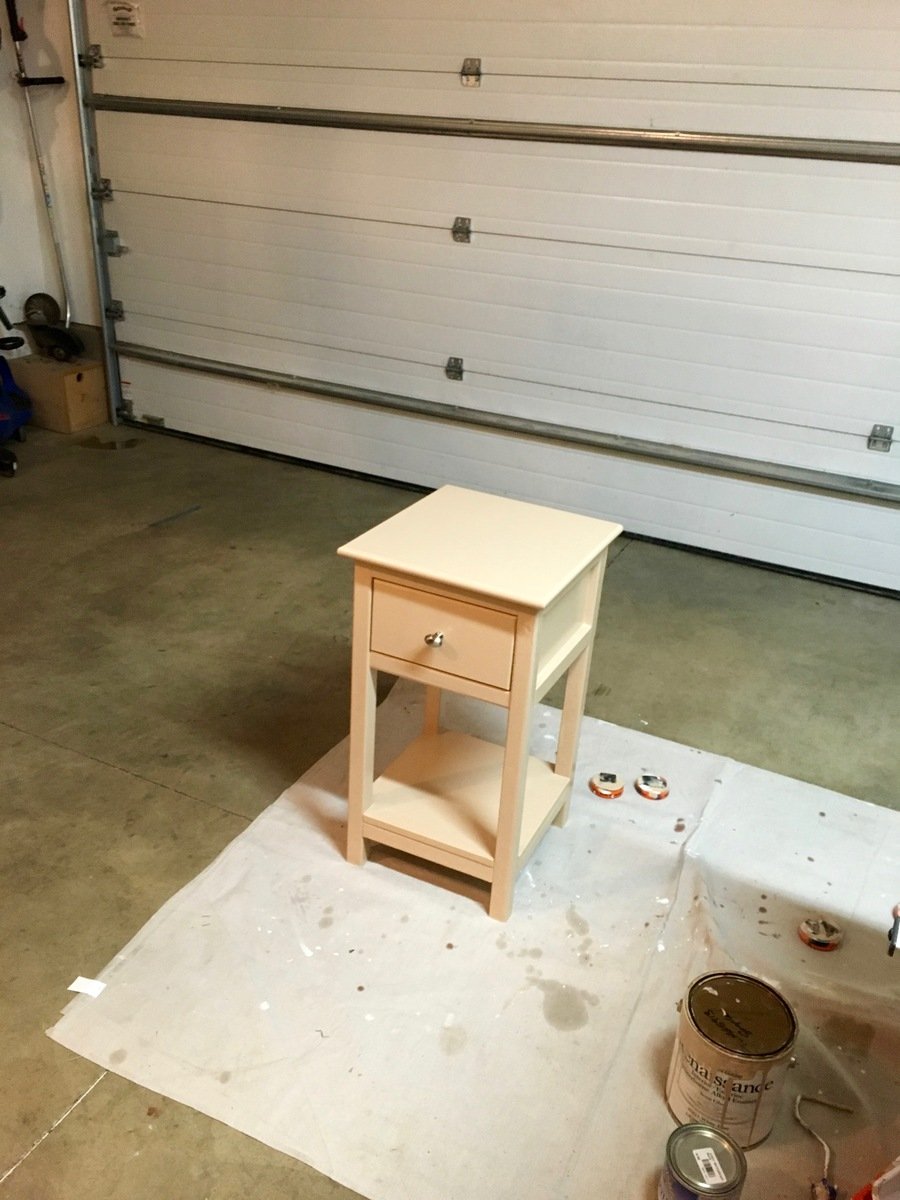
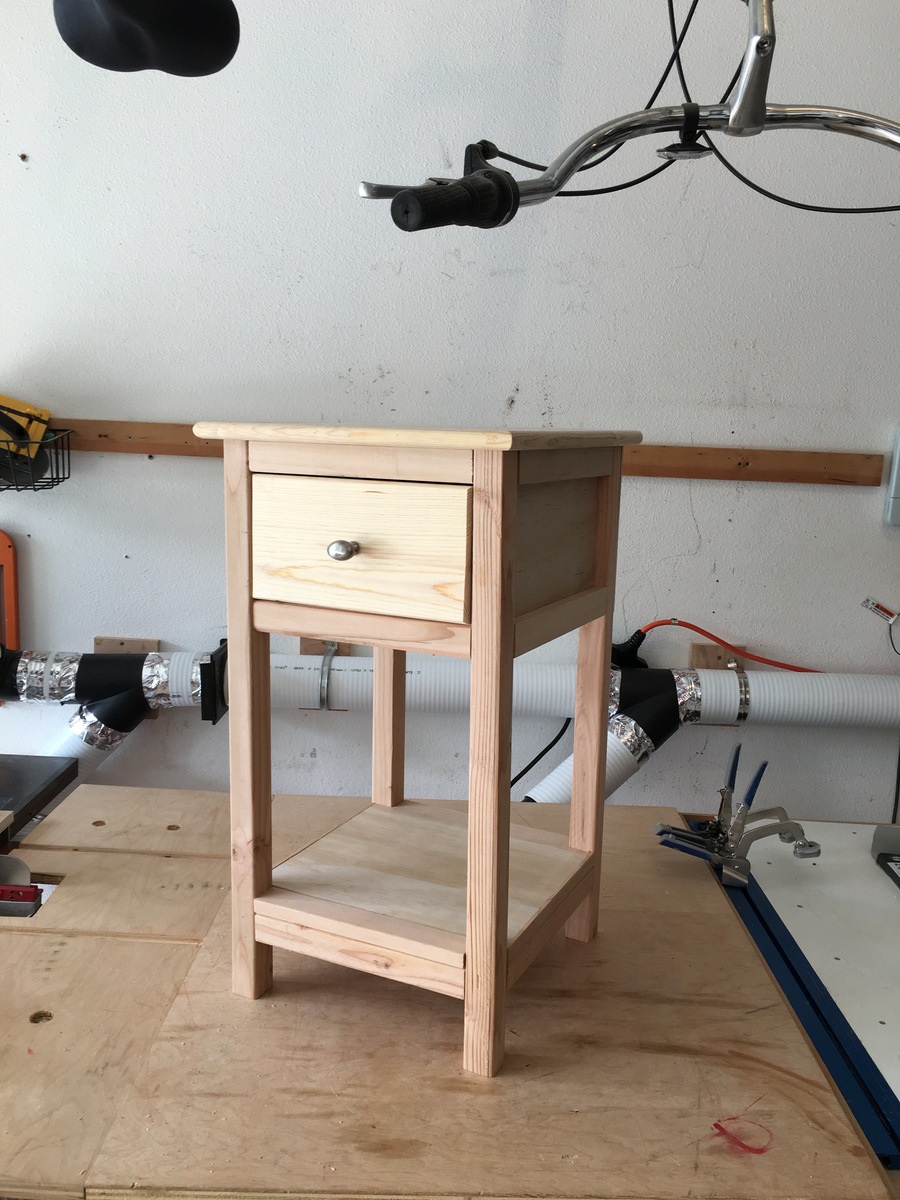
I made this fast and easy table, I was using as a small night stand in a small bunk room at my work for a coworker.  I used scraps that I had and had him choose a paint I had on hand! Covered the top with polyacrylic to add some protection!

Estimated Cost
Free, since I used stuff on hand, otherwise 40-50???
Estimated Time Investment
Afternoon Project (3-6 Hours)
Finish Used
I used two coats of an old based primer and than two coats of paint, which was Renaissance Alkyd paint. 3-5 coats of polyacrylic on the top surface.
Recommended Skill Level
Beginner

Comments

Reclaimed beauty

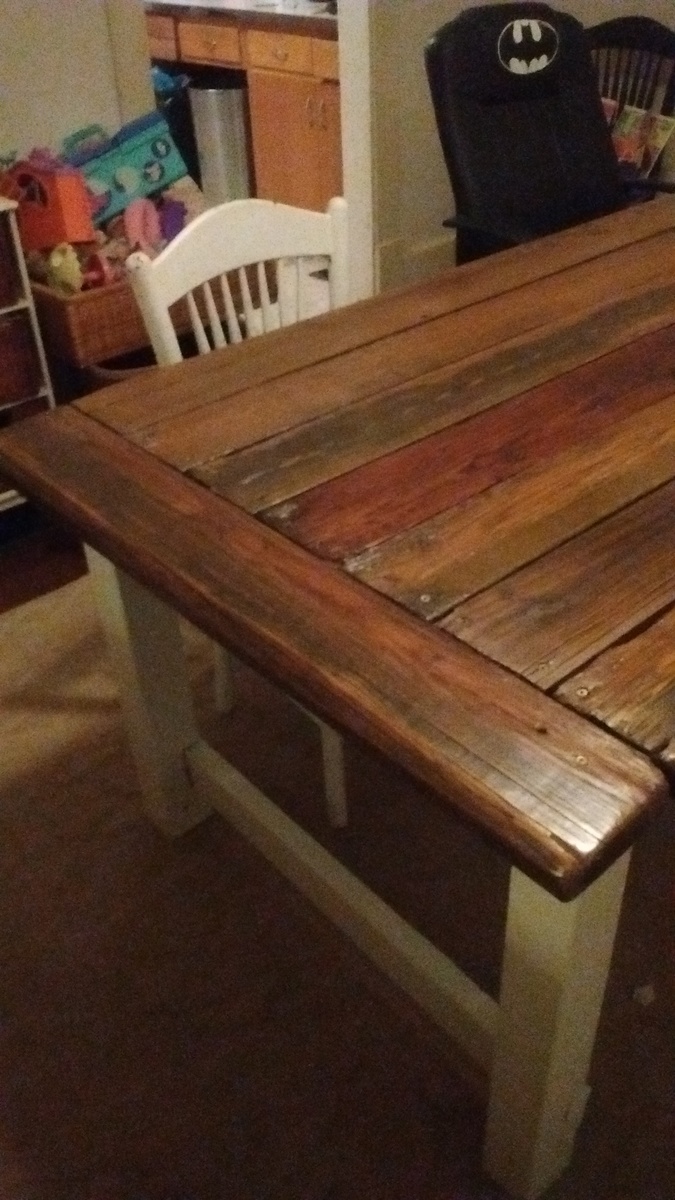
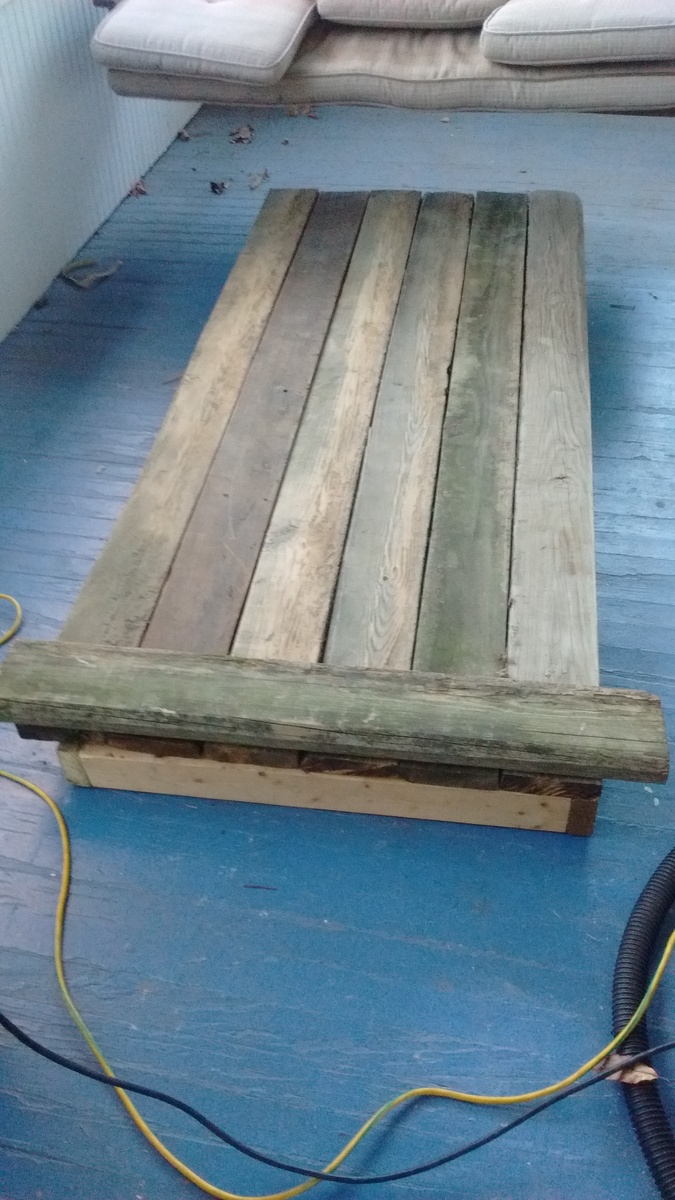
Submitted by mkrgolf on Thu, 10/22/2015 - 20:38

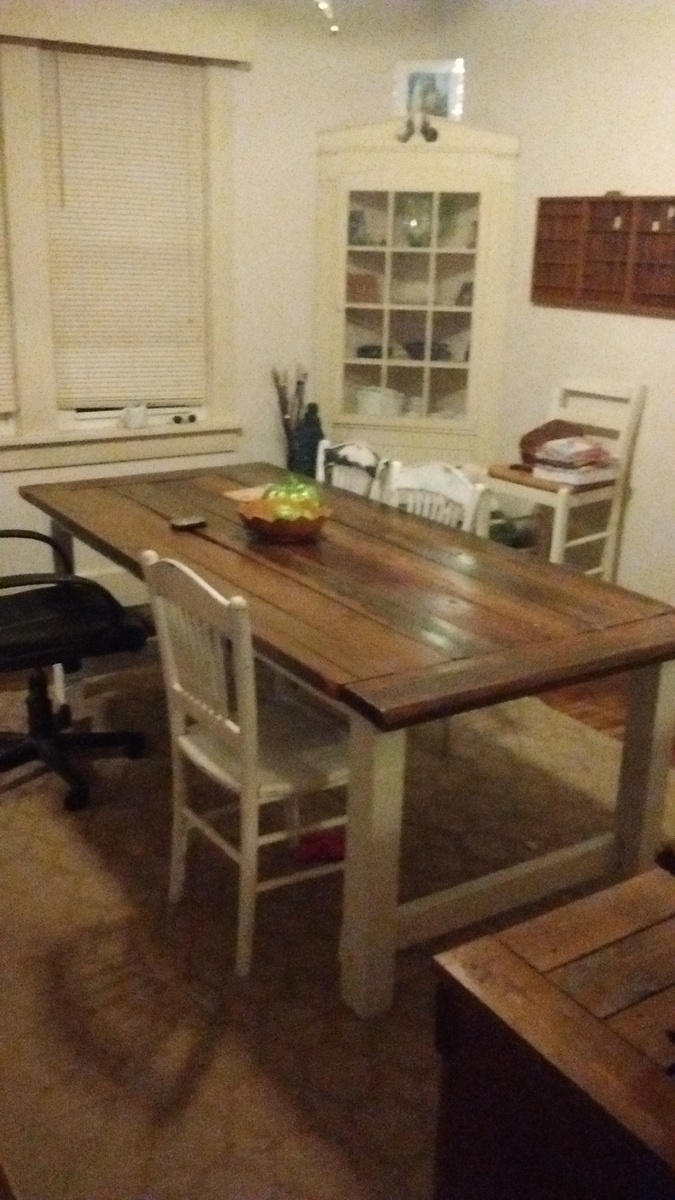
All wood used was reclaimed. Some tabletop pieces were warped, but added character to the table. Took about four 6-hour days with interruptions in between. I bought the stain from the Habitat store for $1.50 and the poly was left at the house we recently moved into. The stain was brushed on then rubbed in with a rag. I originally used about six coats of oil-based poly and when that didn't seem to work, I applied 2 coats of Polycrylic.

Estimated Cost
$20
Estimated Time Investment
Weekend Project (10-20 Hours)
Finish Used
Colonial maple stain with water-based satin poly.
Recommended Skill Level
Beginner

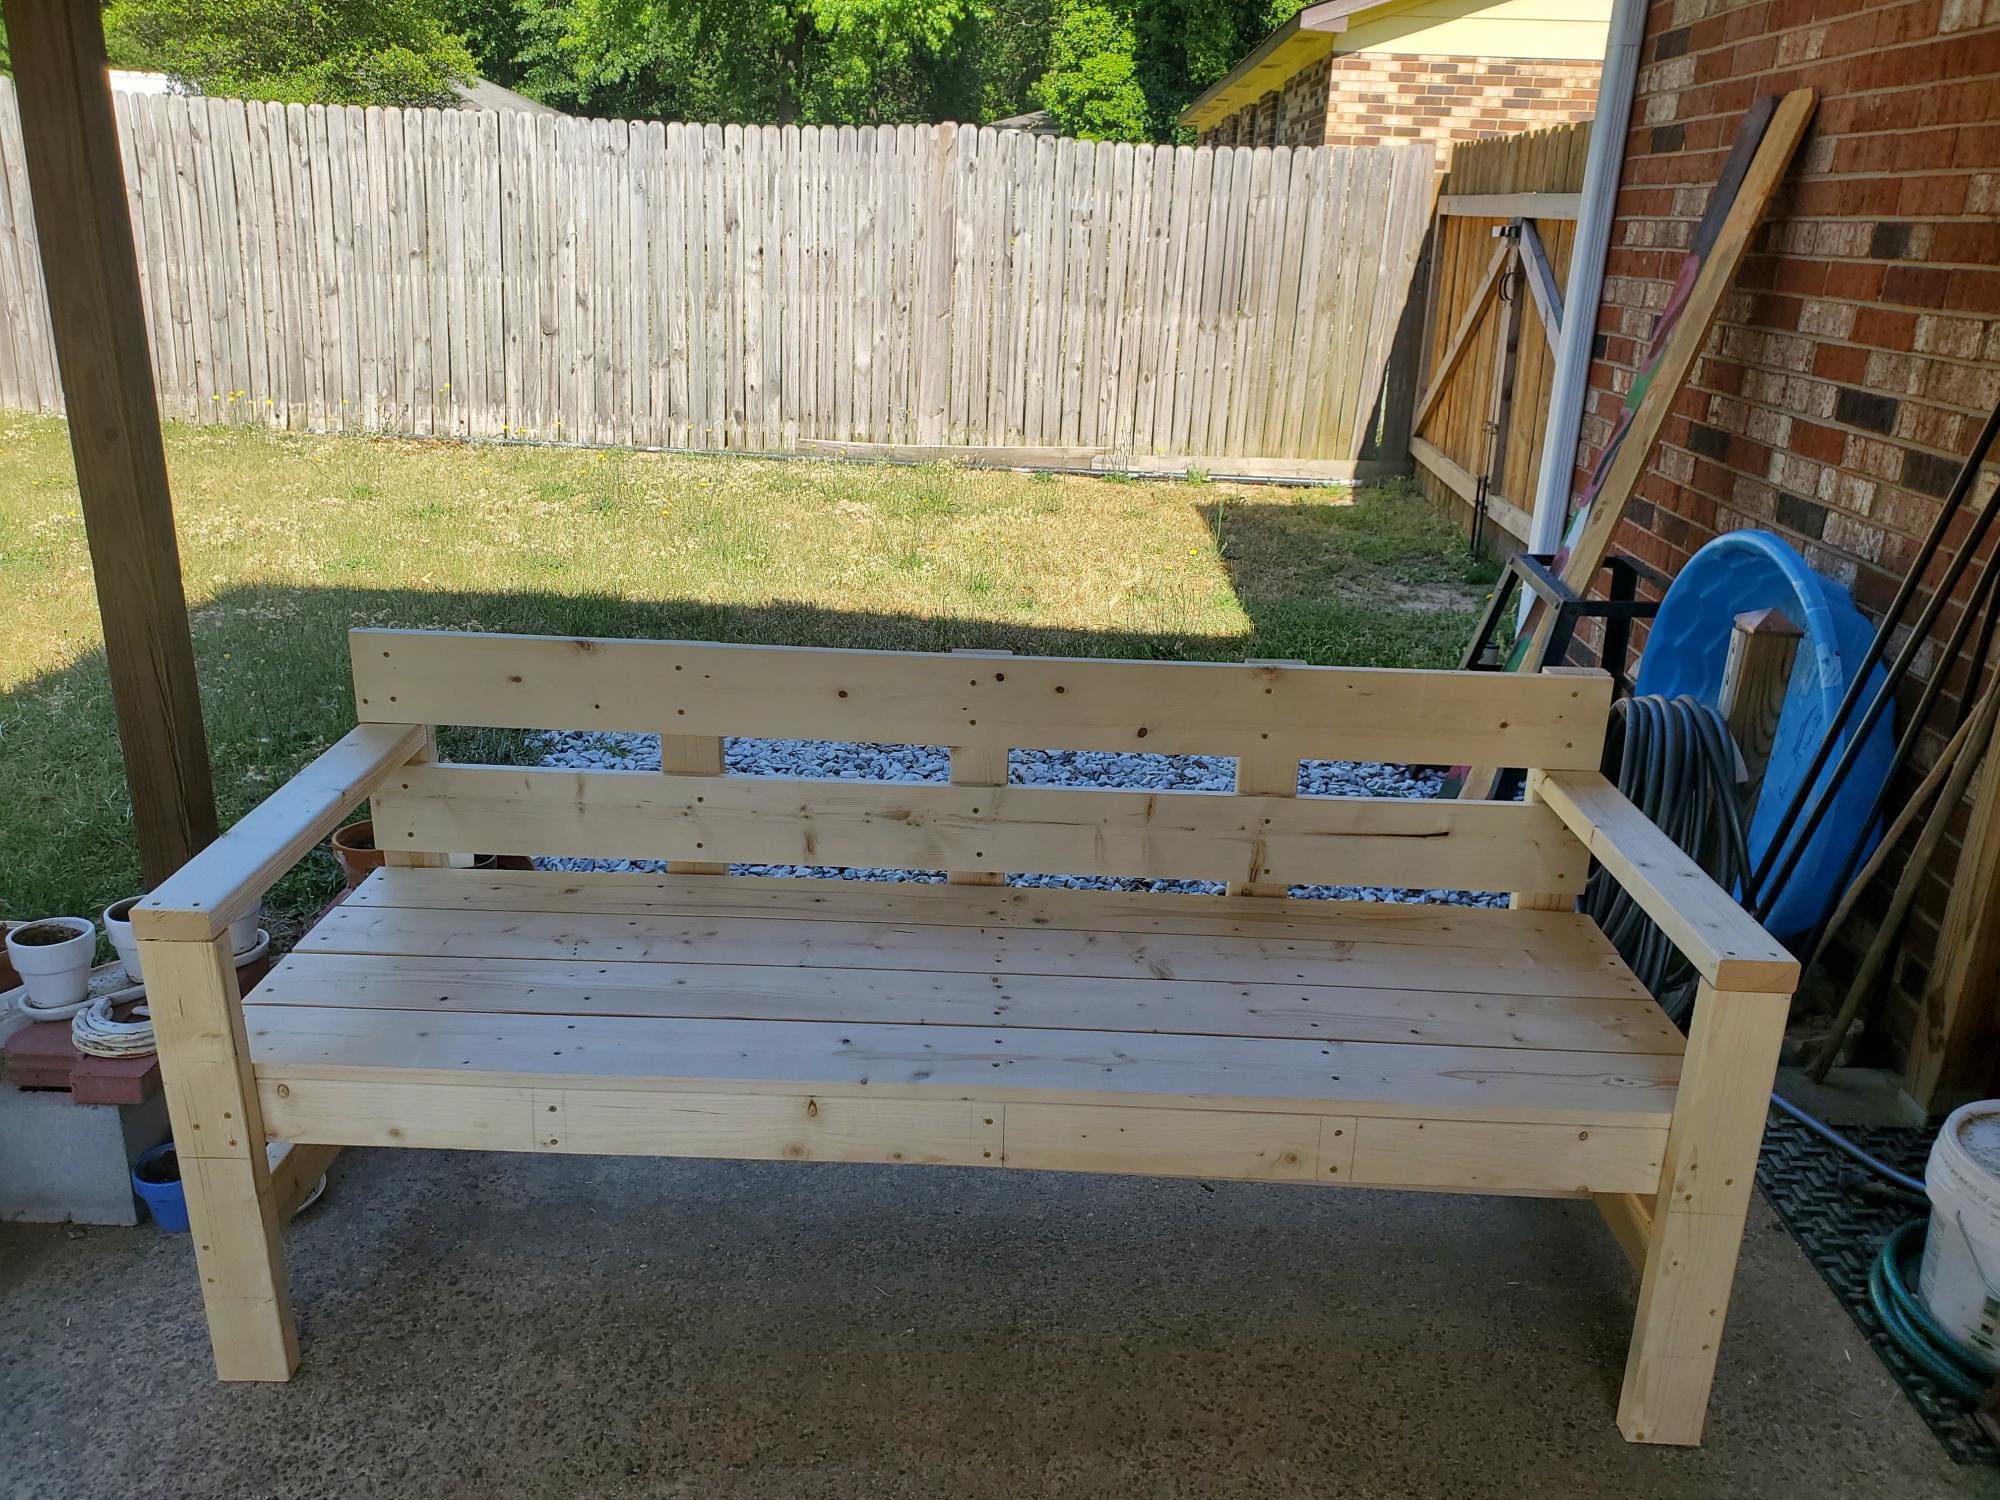
Modern Park Bench Plan

Submitted by Anonymous (not verified) on Sun, 08/14/2022 - 11:53

I love the plans for this bench! Very well thought out plans, easy to cut the wood and easy to put together. Thank you for all the hard work in coming up with all of these great plans!
Reanna Tovar

Built from Plan(s)

Comments

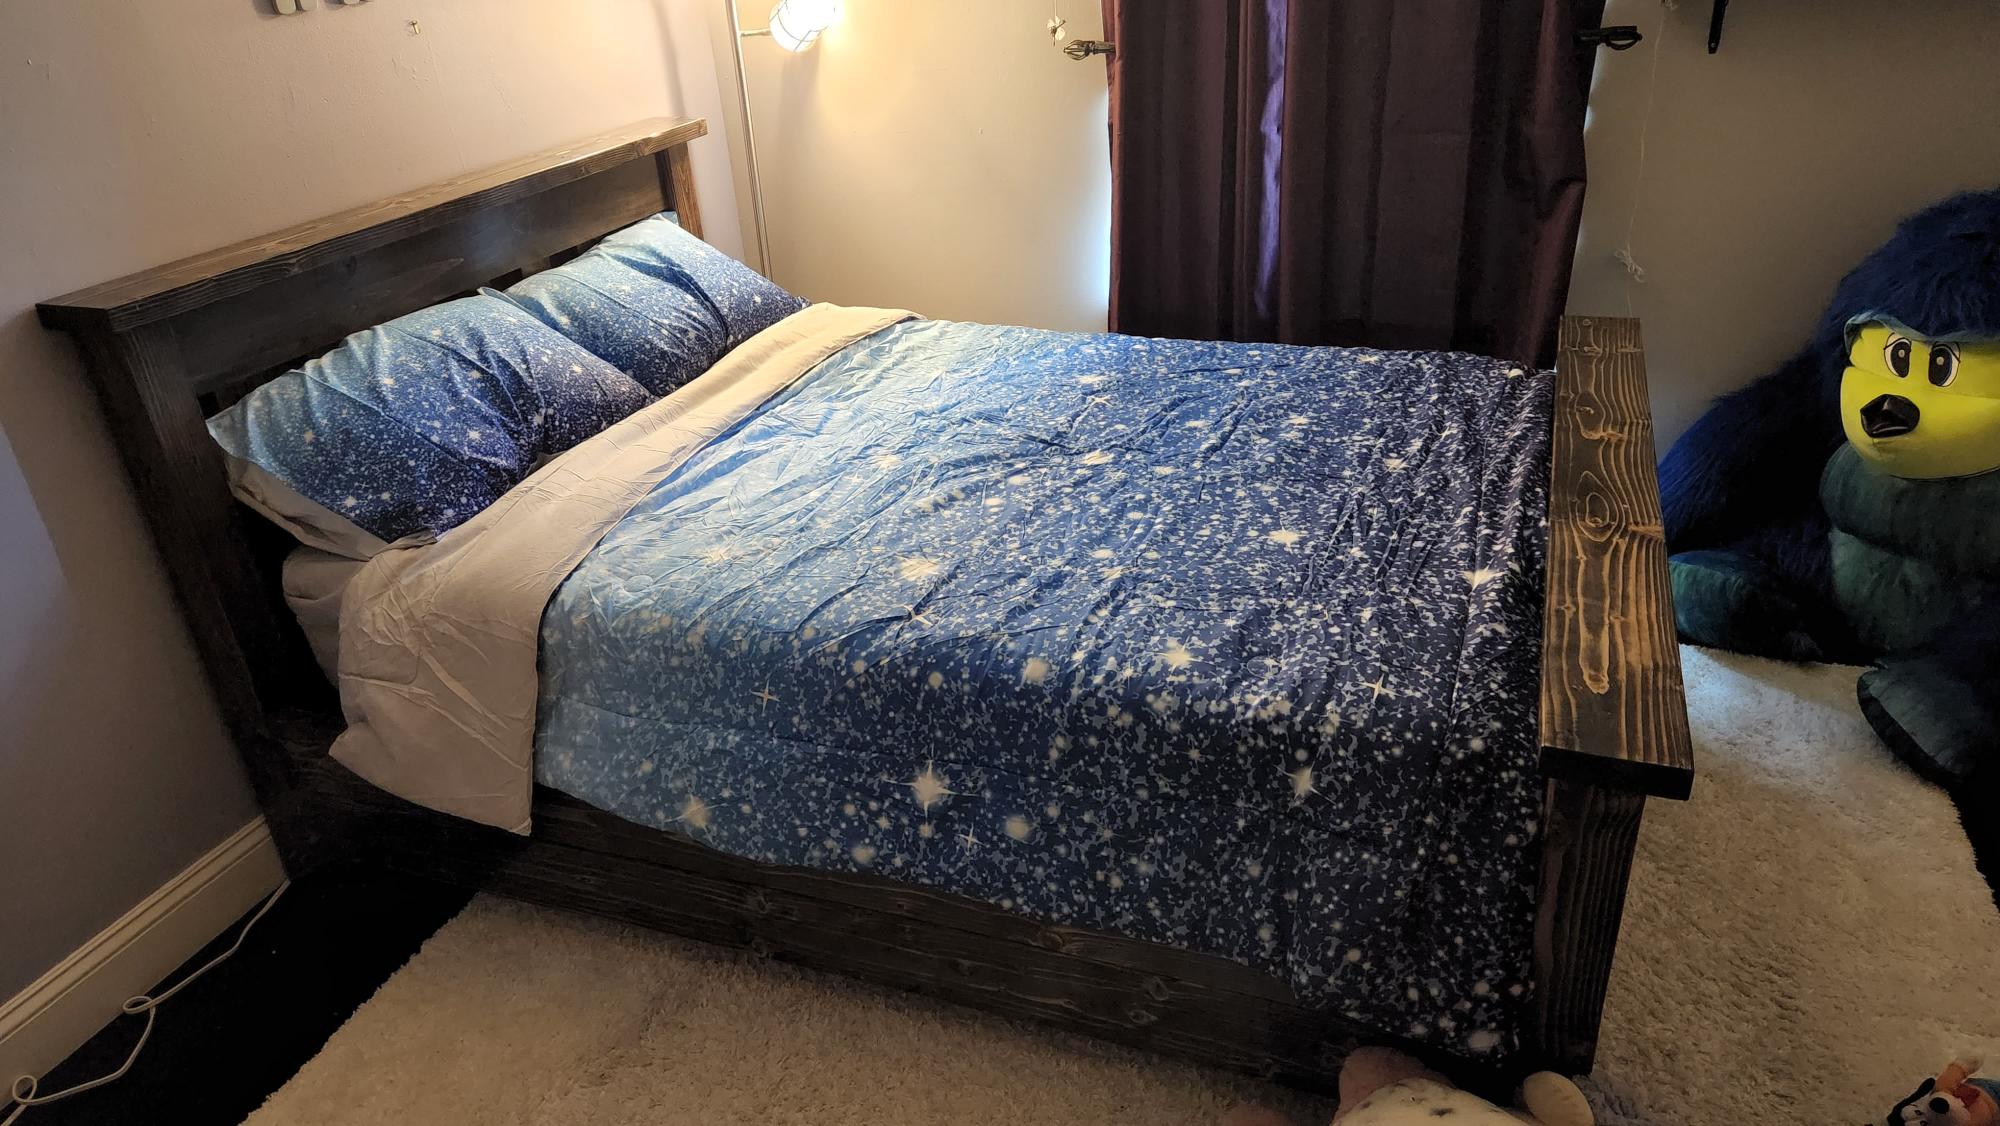
Simple Bed Modified

Submitted by Anonymous (not verified) on Sat, 08/27/2022 - 14:34

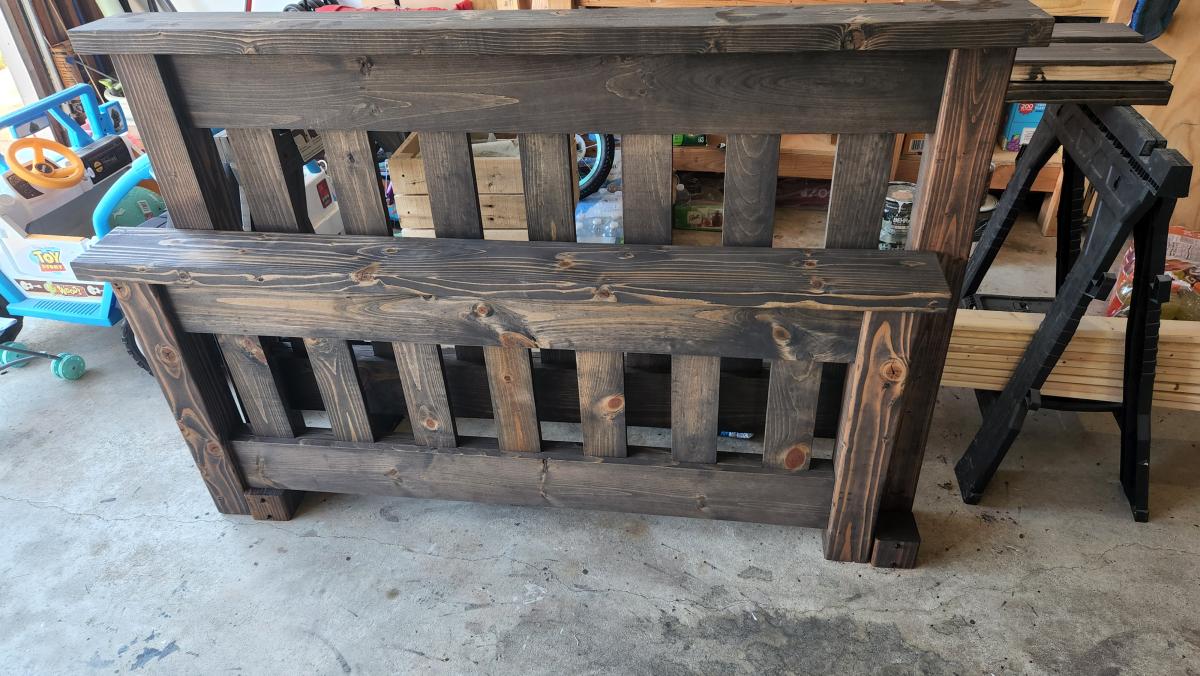
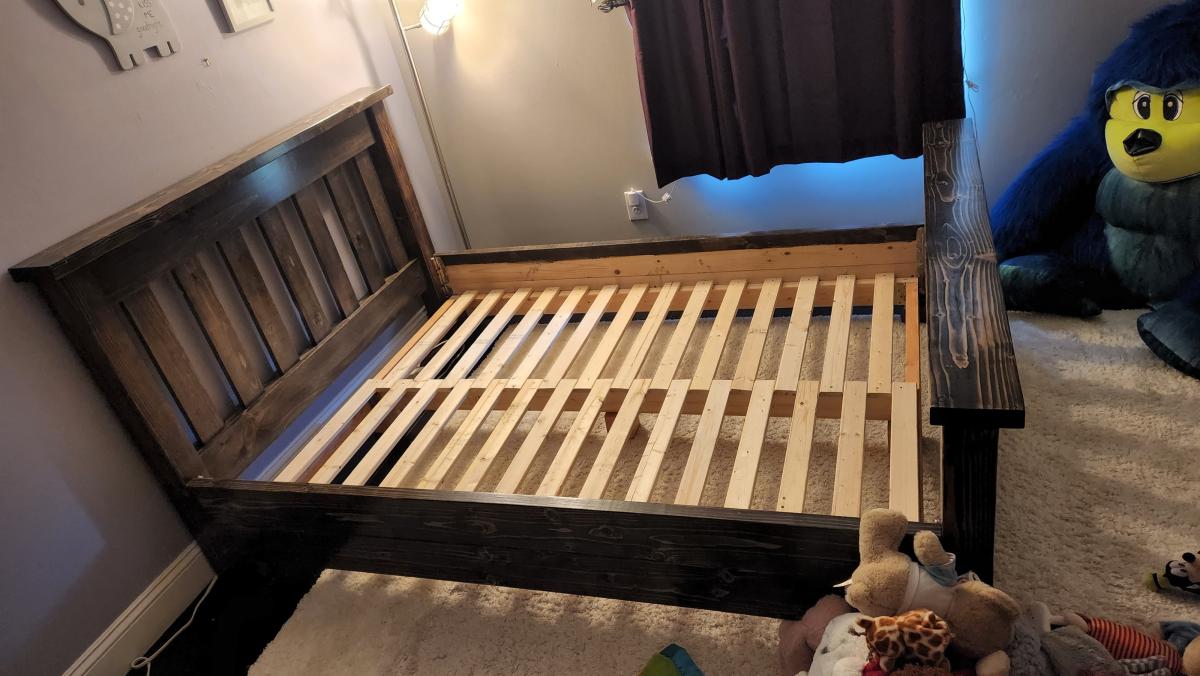
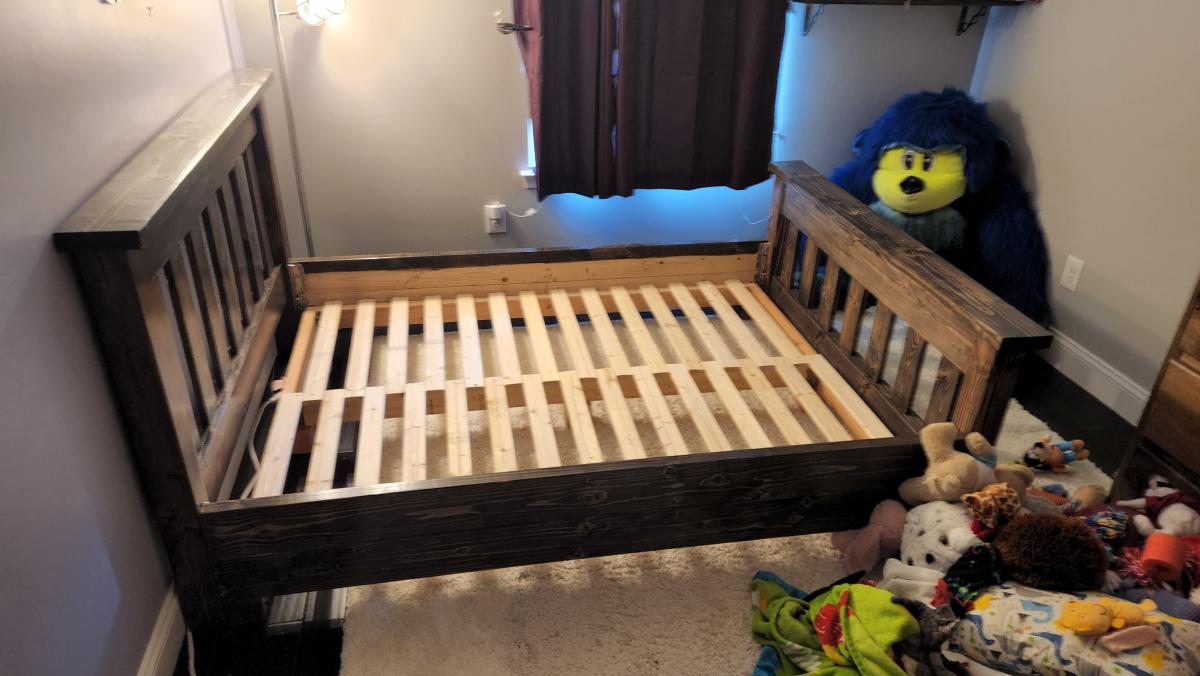
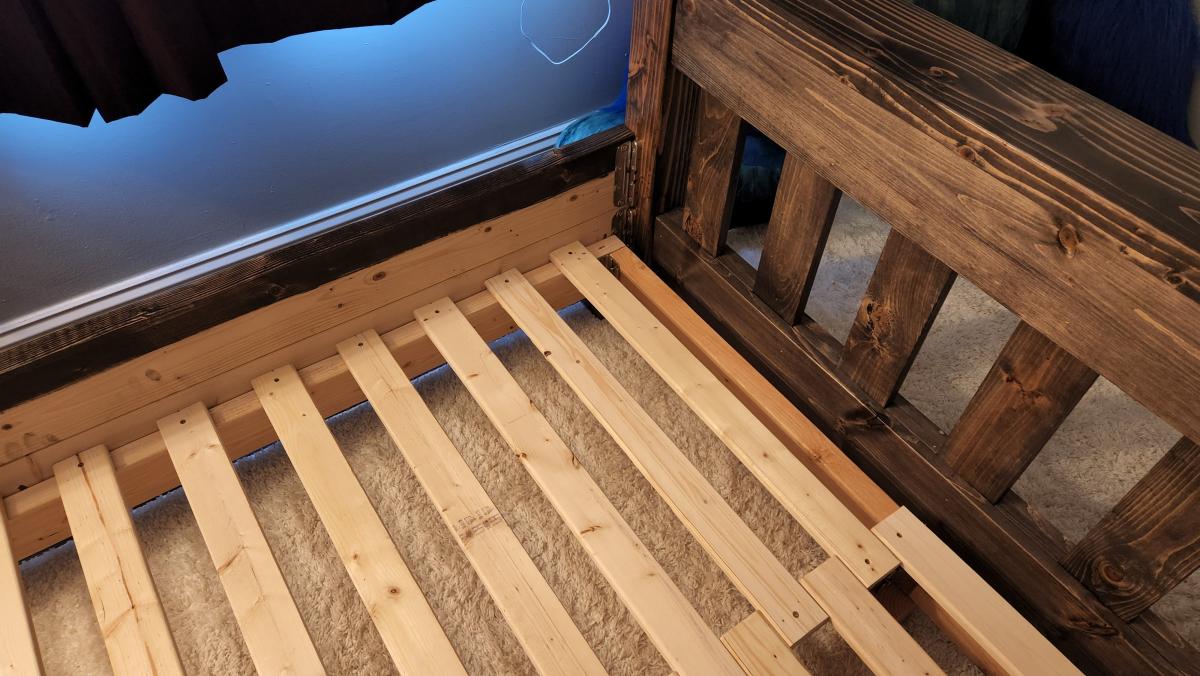
My daughter needed to get out of her Toddler Bed so I built this quickly. Used 2 2x6 for each rail, and cut down the height of the headboard and footboard. Also as always I use Rocklers 5" Surface Mounted Brackets for all beds. I have the rails also sitting on 3 inch blocks to support the extra jumping this bed will endure by a 4 yr old.

Comments