$10 Cedar Tiered Flower Planter
I made this using the $10 Cedar Tiered Flower Planter plans. Painted Red White and Blue with stars.
I made this using the $10 Cedar Tiered Flower Planter plans. Painted Red White and Blue with stars.
It's a little twist on Ana's Coat organizer. Turned out really useful and did not cost me anything since I ussed scrap wood. I wish I would build have built one for coats as well.
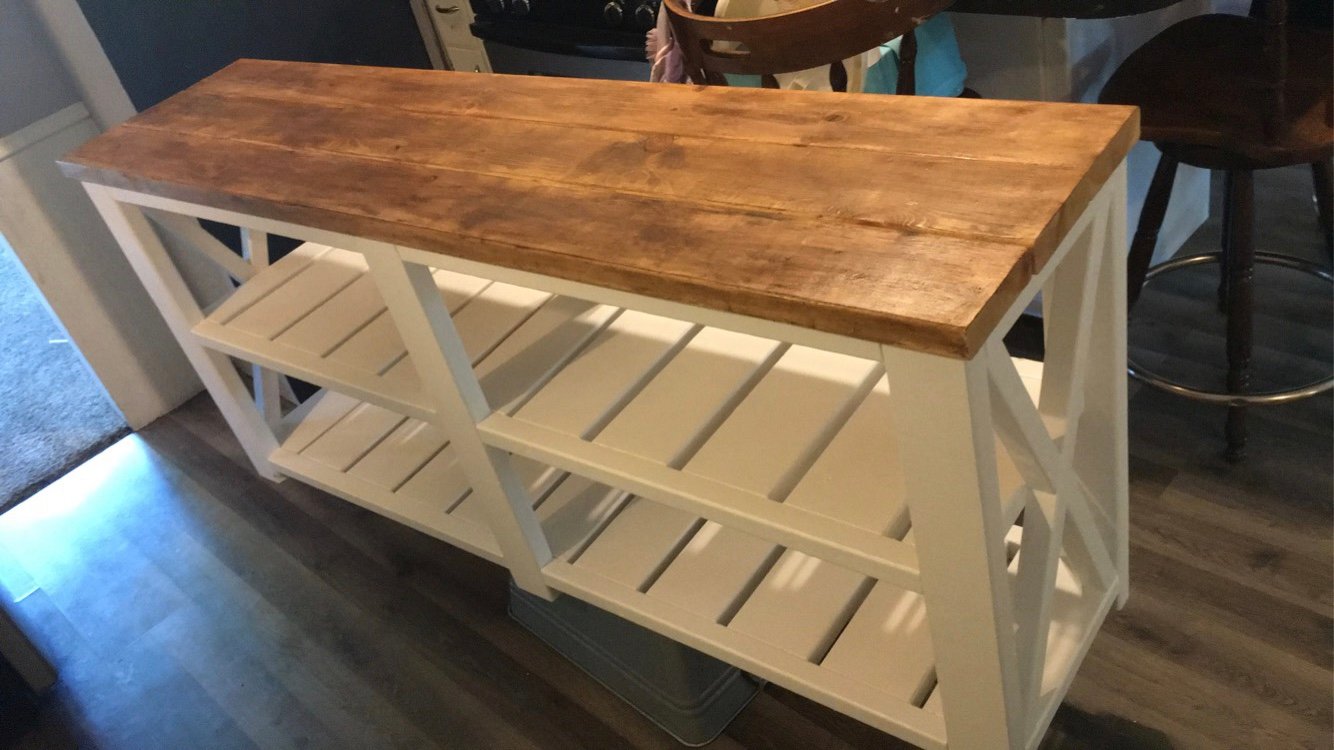
Had fun with this one
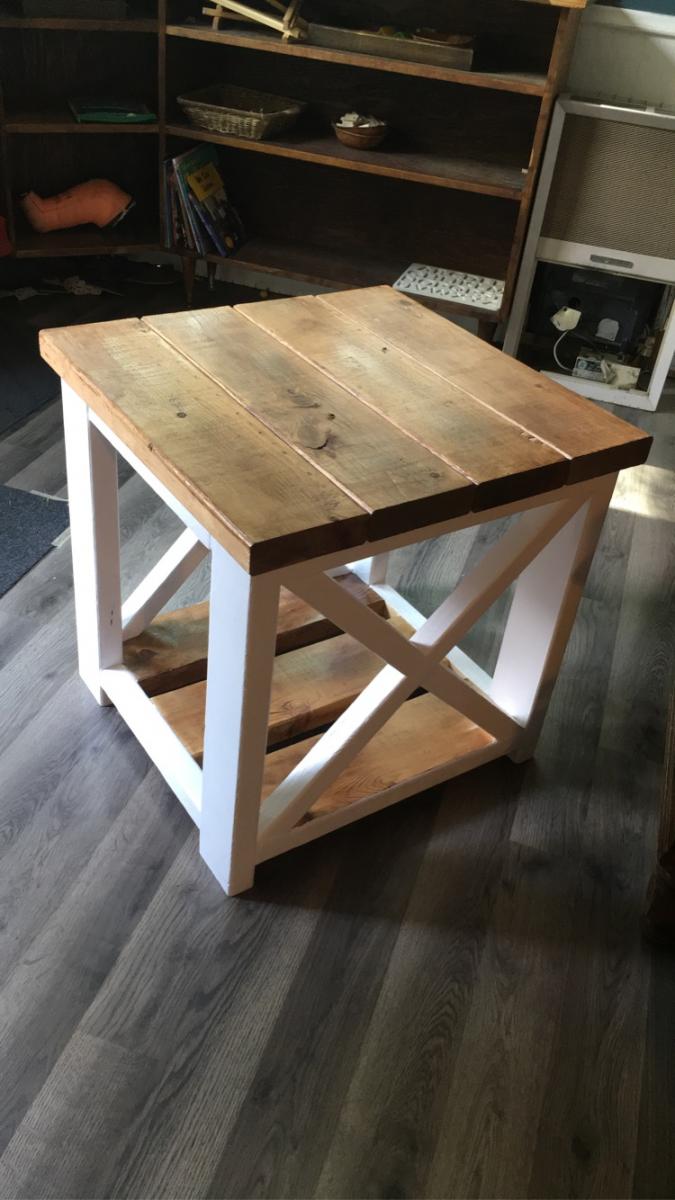
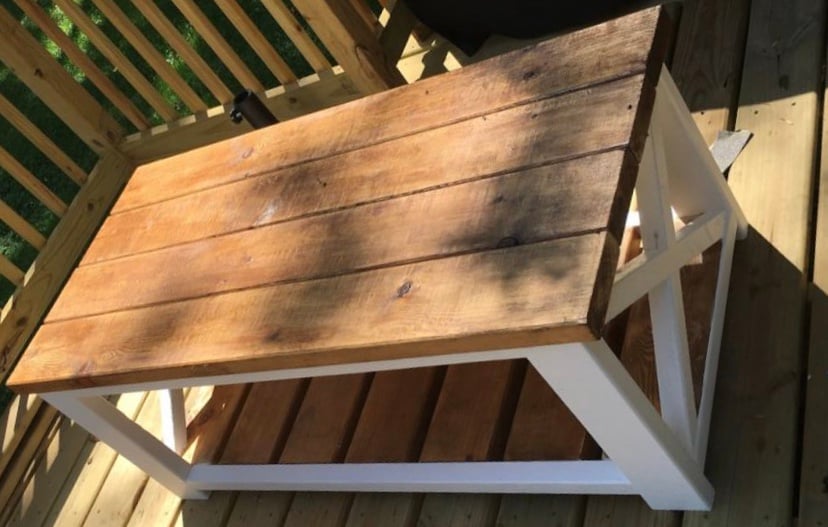
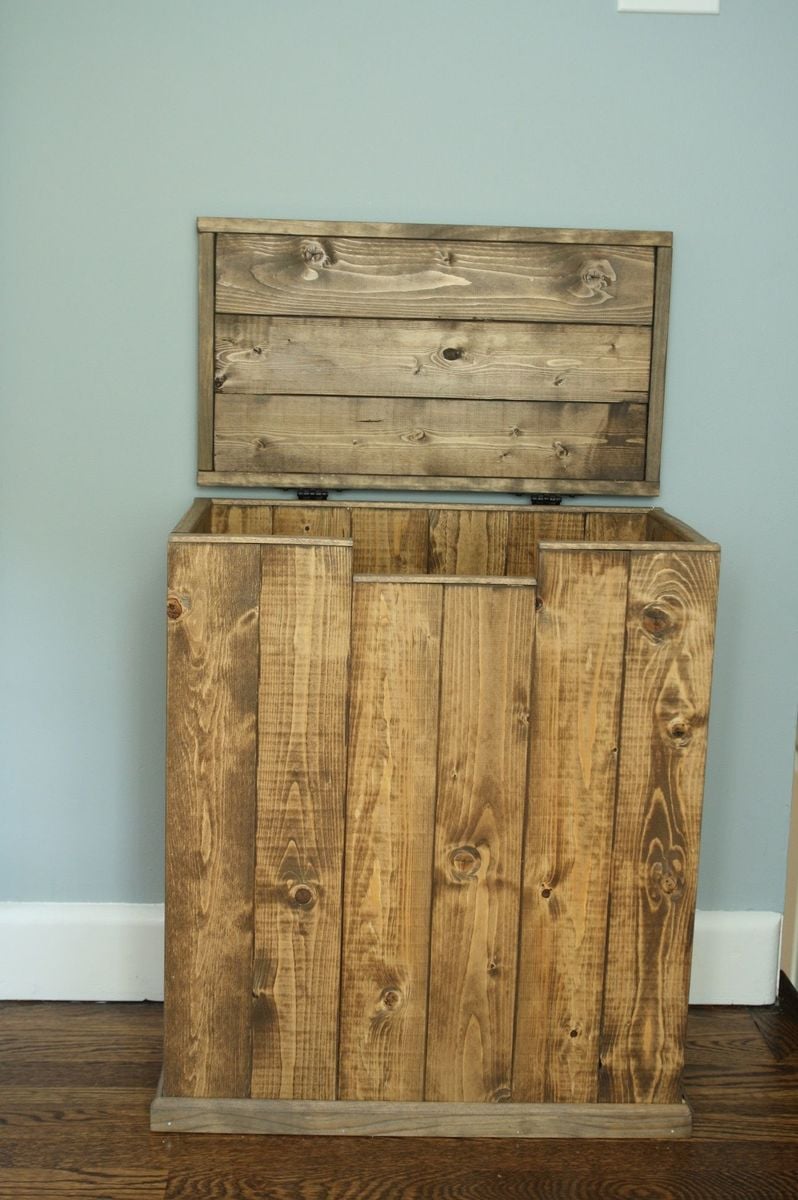
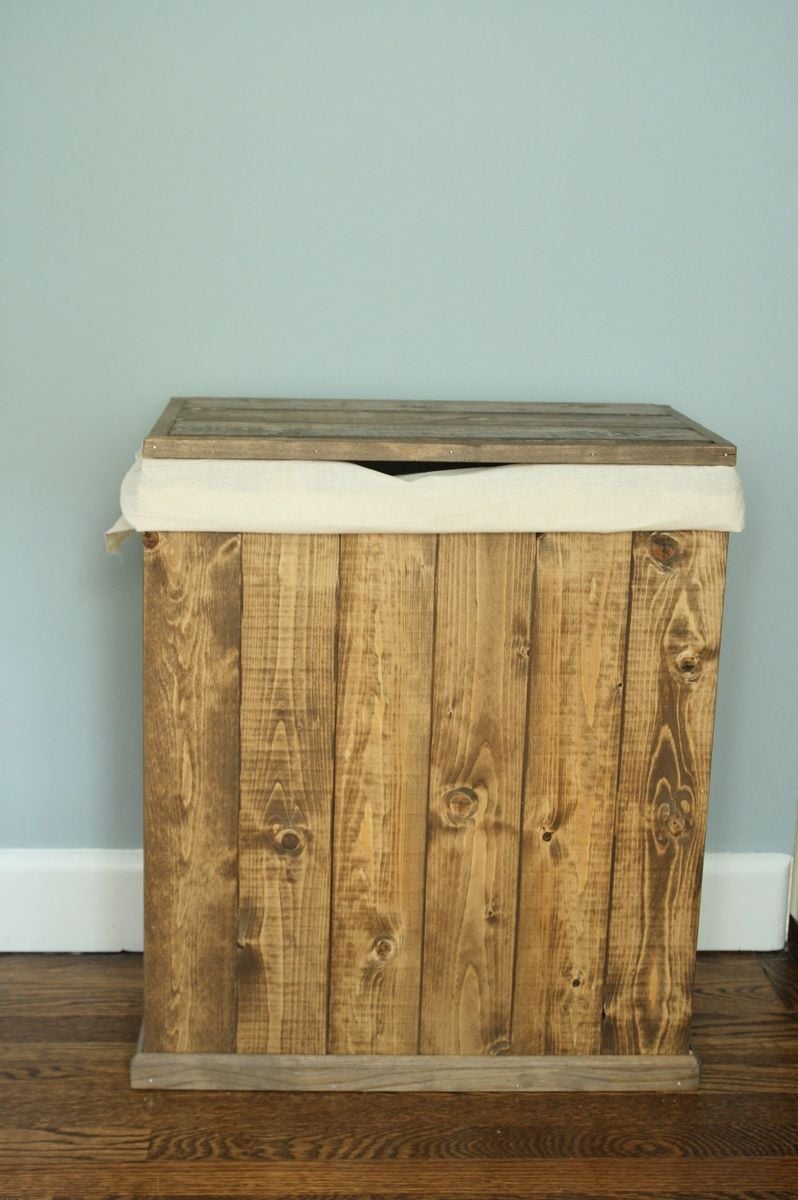
My family is expanding, which means more laundry! (I am 39 weeks pregnant now) So I decided to build a big enough hamper for us (two adults, one toddler who constantly dirties his clothes). For finish, I tried to mix two stains "weathered oak" and "dark walnut" and I think it came out really nice! I must admit I love my new hamper!
Tue, 07/16/2013 - 12:54
I would love to replicate!! It is beautiful :)
Wed, 04/01/2015 - 05:00
I liked this design of hamper you made. After looking at your photo and doing some figuring I started working on my own yesterday. So far I like it, although I think mine maybe taller. Again I really like your idea here.
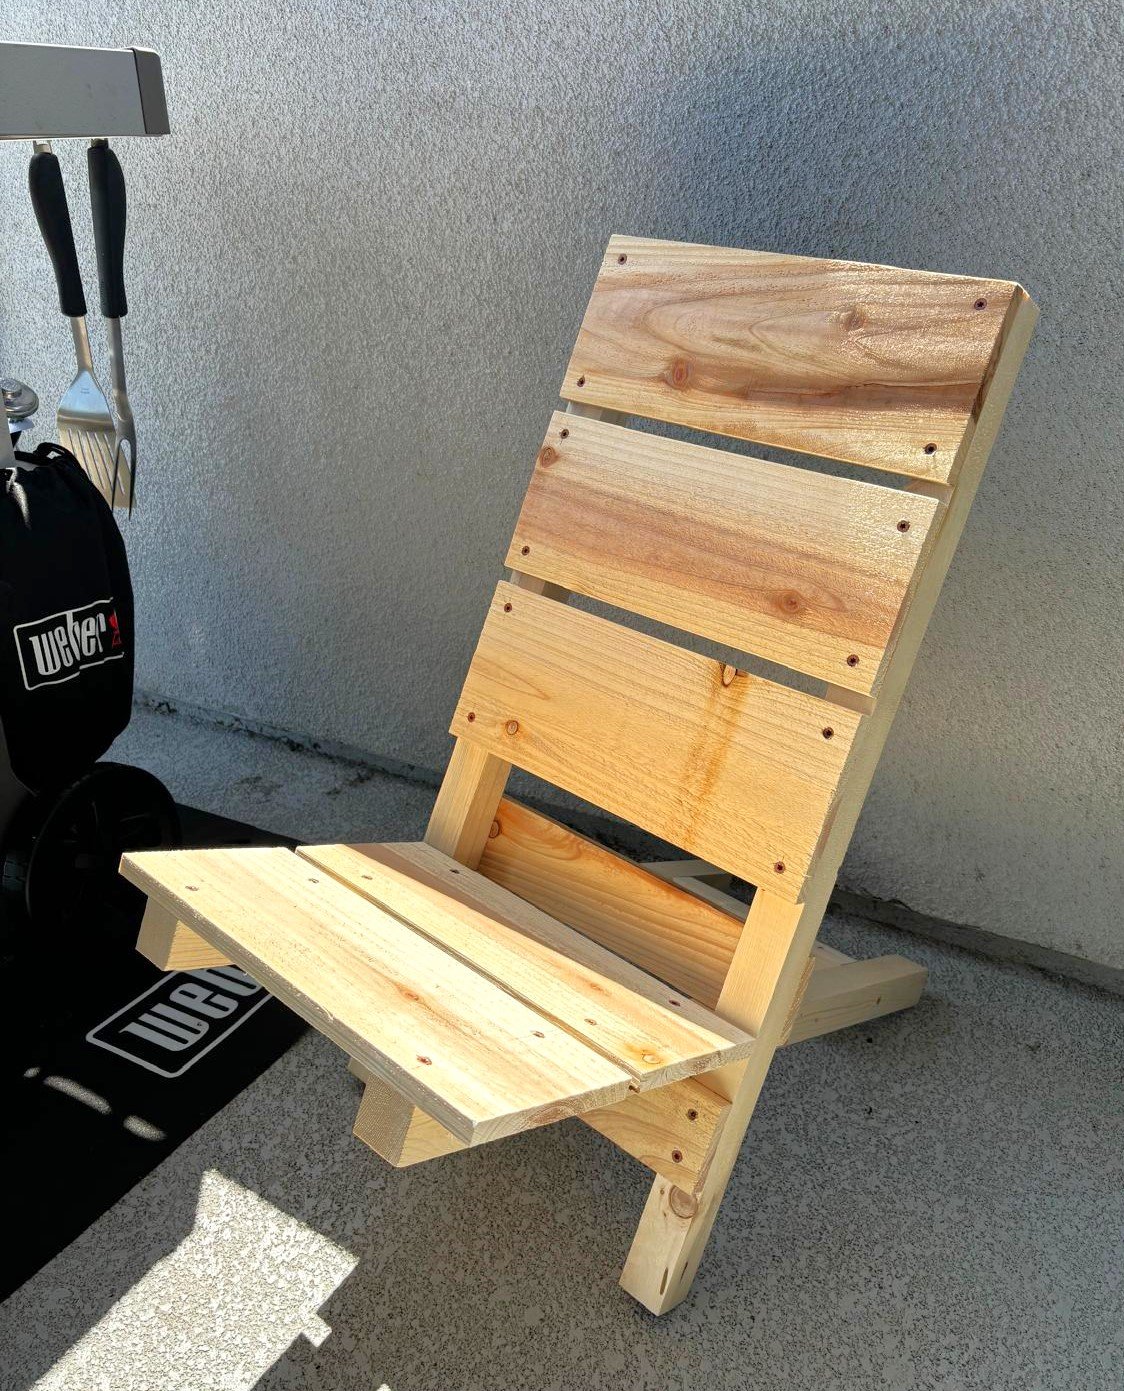
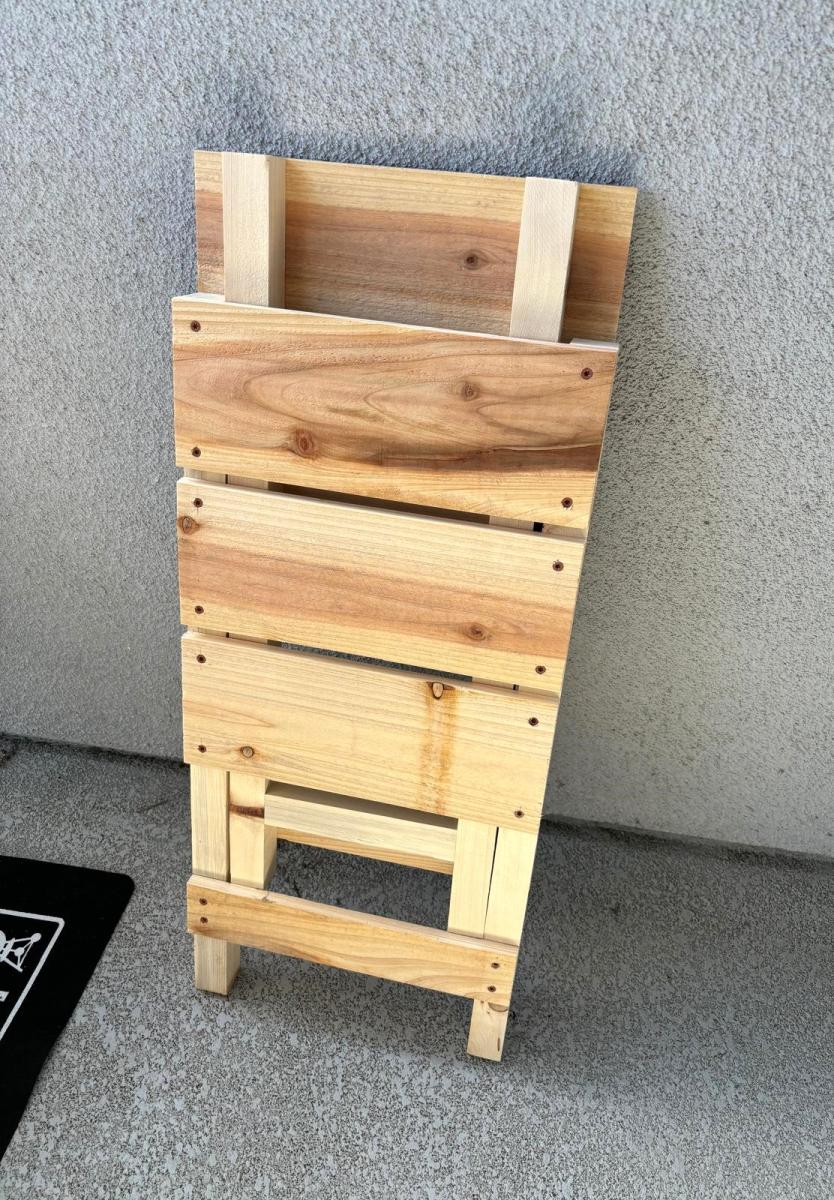
Two Piece Portable Outdoor Wood Chair
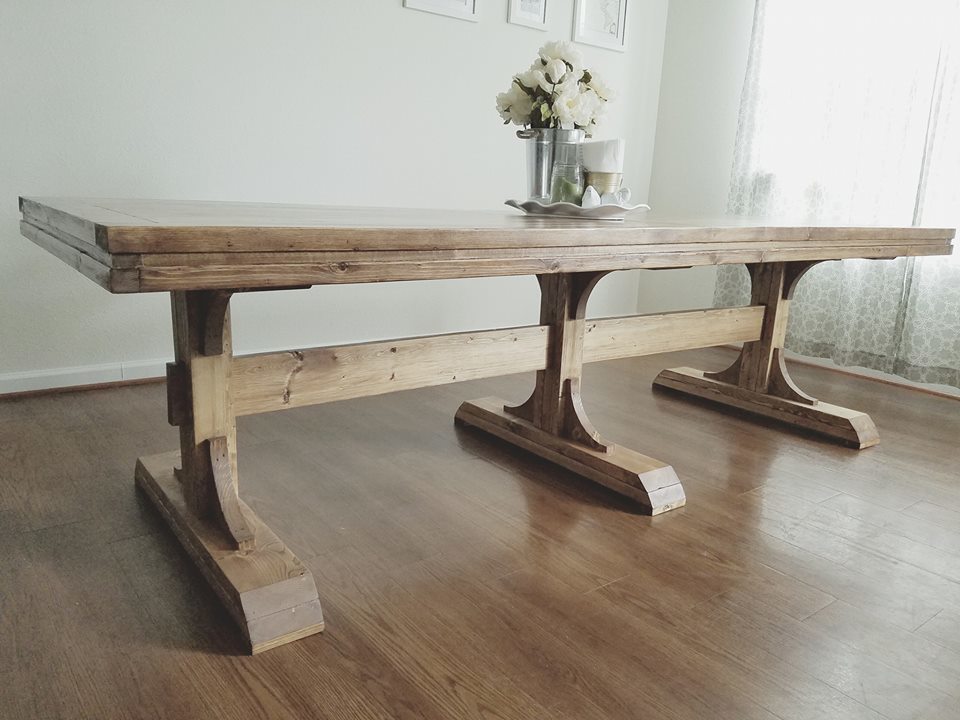
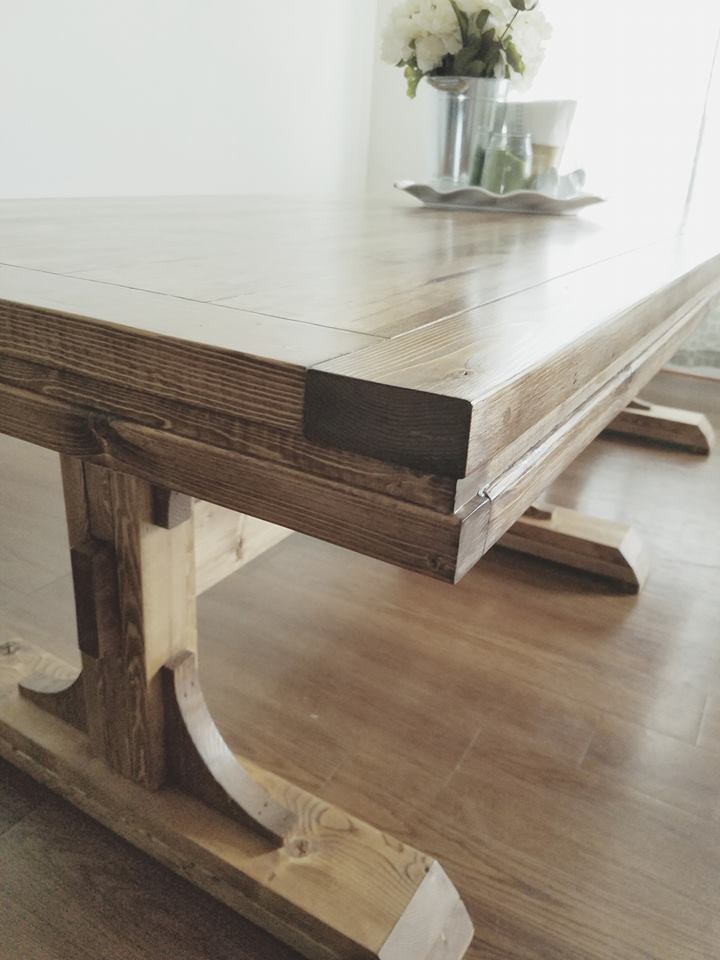
We have been eyeing this table for years now...finally the military has brought us to the east coast where we have room to do some wood work hobbying! This table is sturdy and beautiful. Love that we can break it down into so many pieces for our moves. Thank you Ana White!!
Wed, 05/08/2019 - 14:49
Can you please link the original design plans for this table? I really like it!
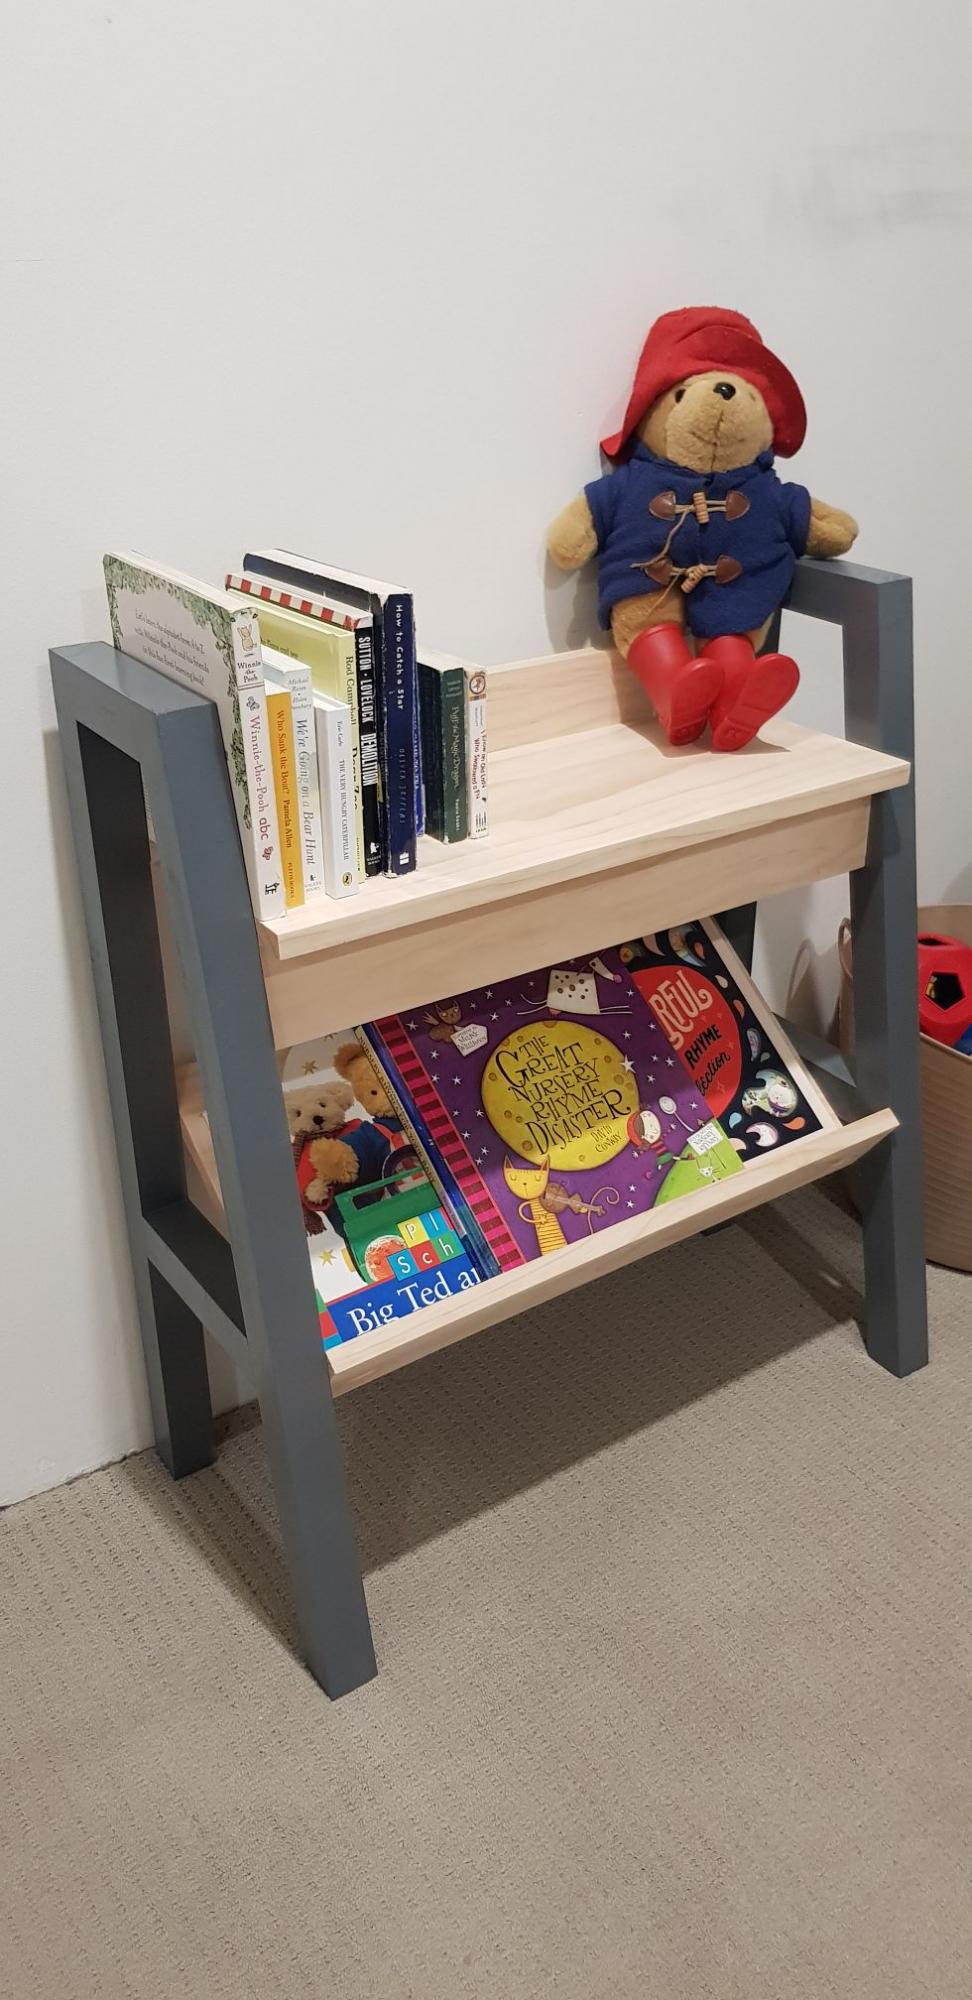
Had to half the length due to room size, but was happy with the results!
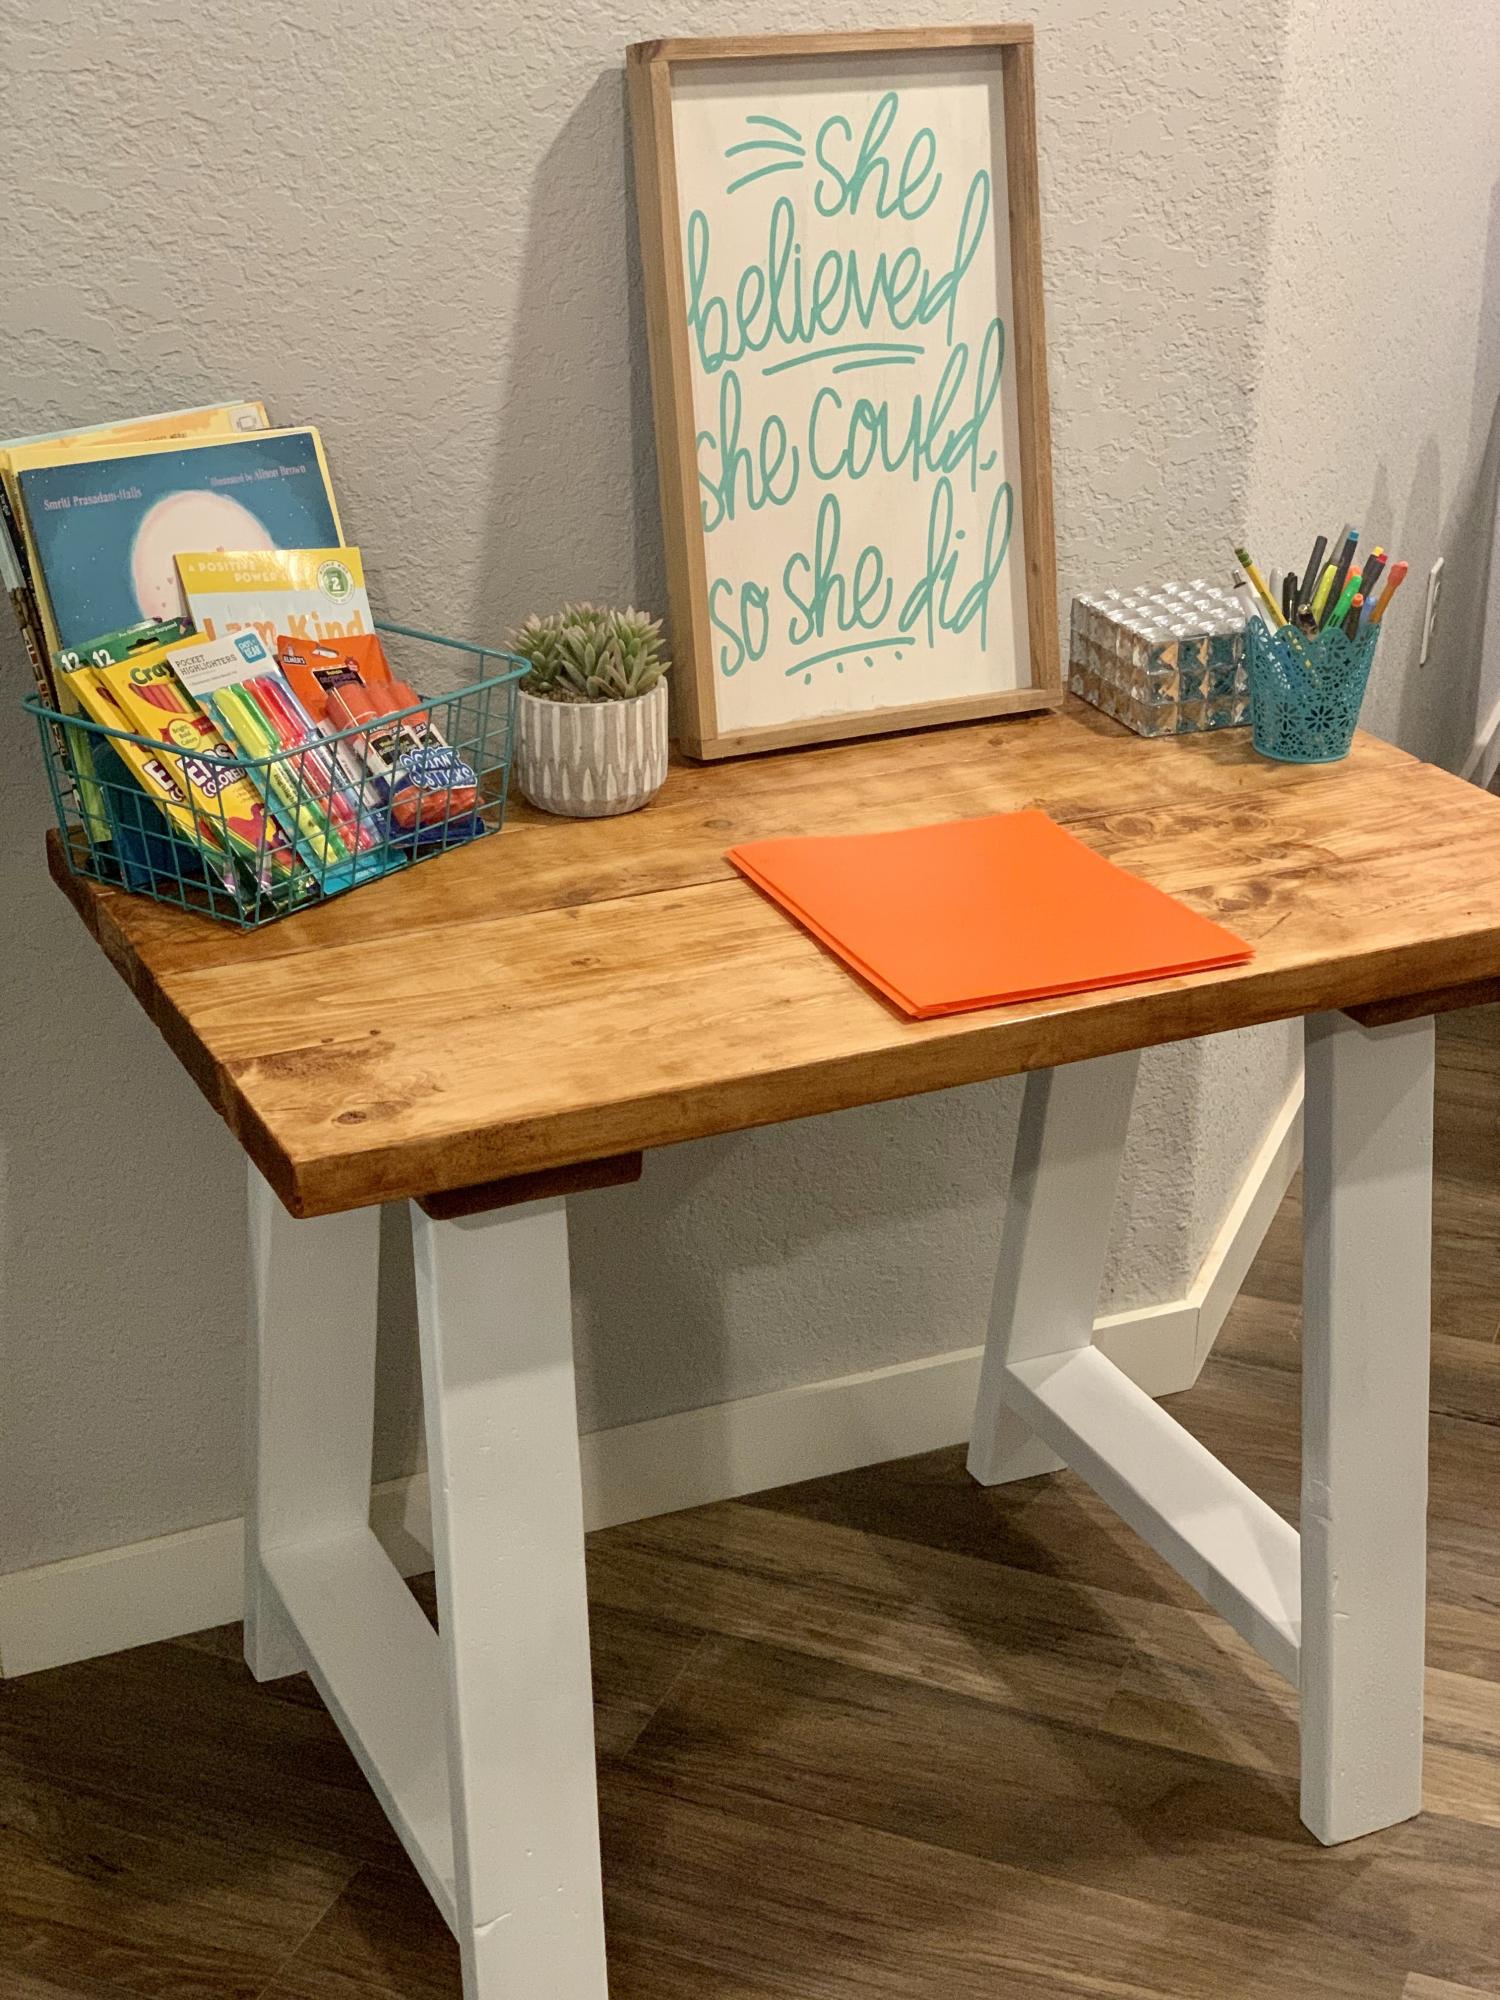
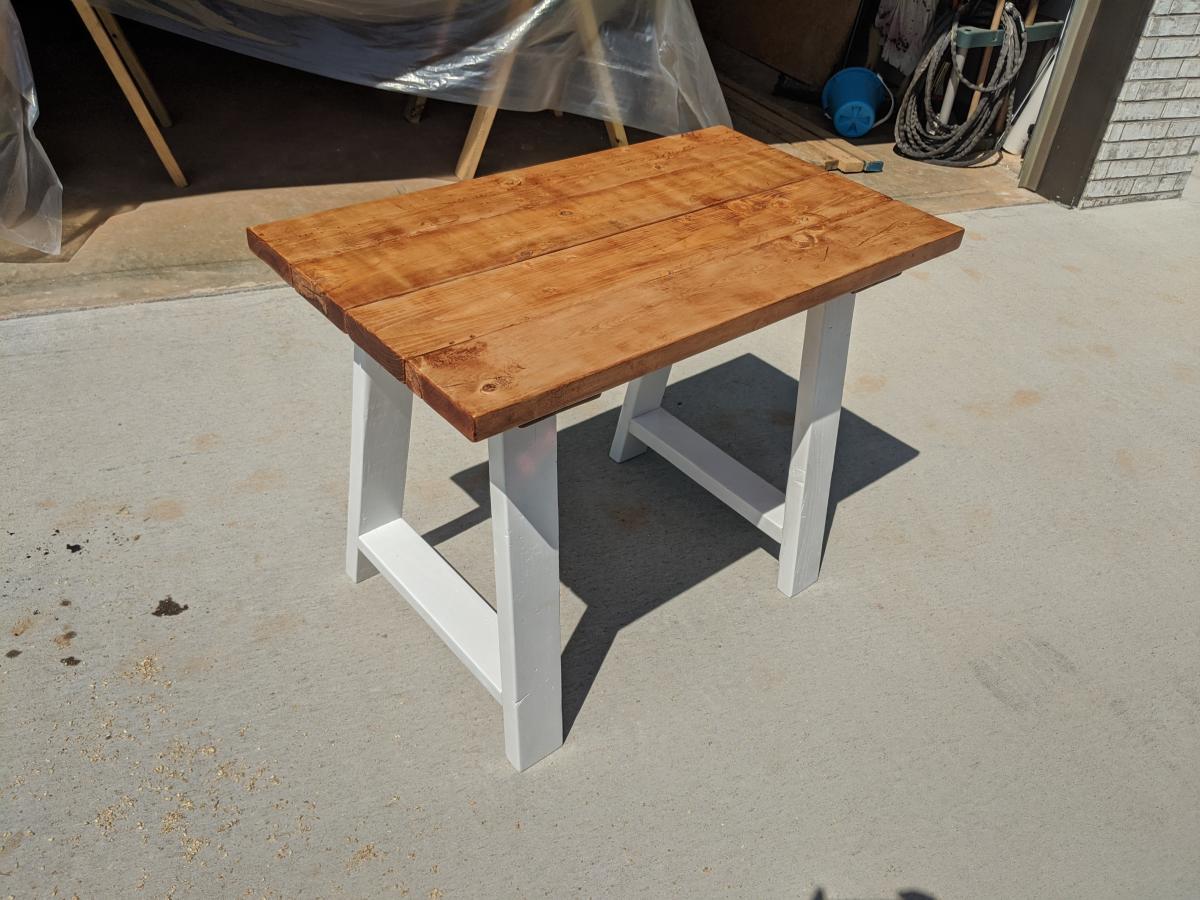
Made this desk for someone who's kid had to do virtual classes due to COVID-19. Quick and easy plans.
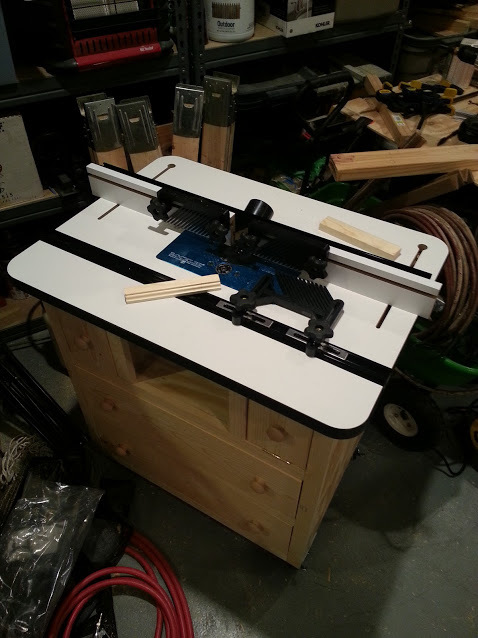
Built Patrick's Router table and added a rockler table, fence, and lift to finish off.
Sat, 11/03/2012 - 19:28
Here's a tip for that 1617 router. Try putting a bandaid over the on/off switch. That thing will get gummed up if left uncovered. It's annoying.
Sun, 03/22/2015 - 05:26
Well, you can read this review http://routertablereviews.com/router-table-lifts-kreg-prs3000-vs-jessem… as well.
Sun, 03/05/2017 - 21:13
My question for Patrick is when he built the top section for 2 small drawers and middle section for the router access..
Did Patrick put on top a 3/4" pc of plywood then the router table top.
Can l attach my router table top to the top pc if 3/4"plywood then my table top is 1 3/4" thick that it would be to thick could you email to let me know please.
Jim
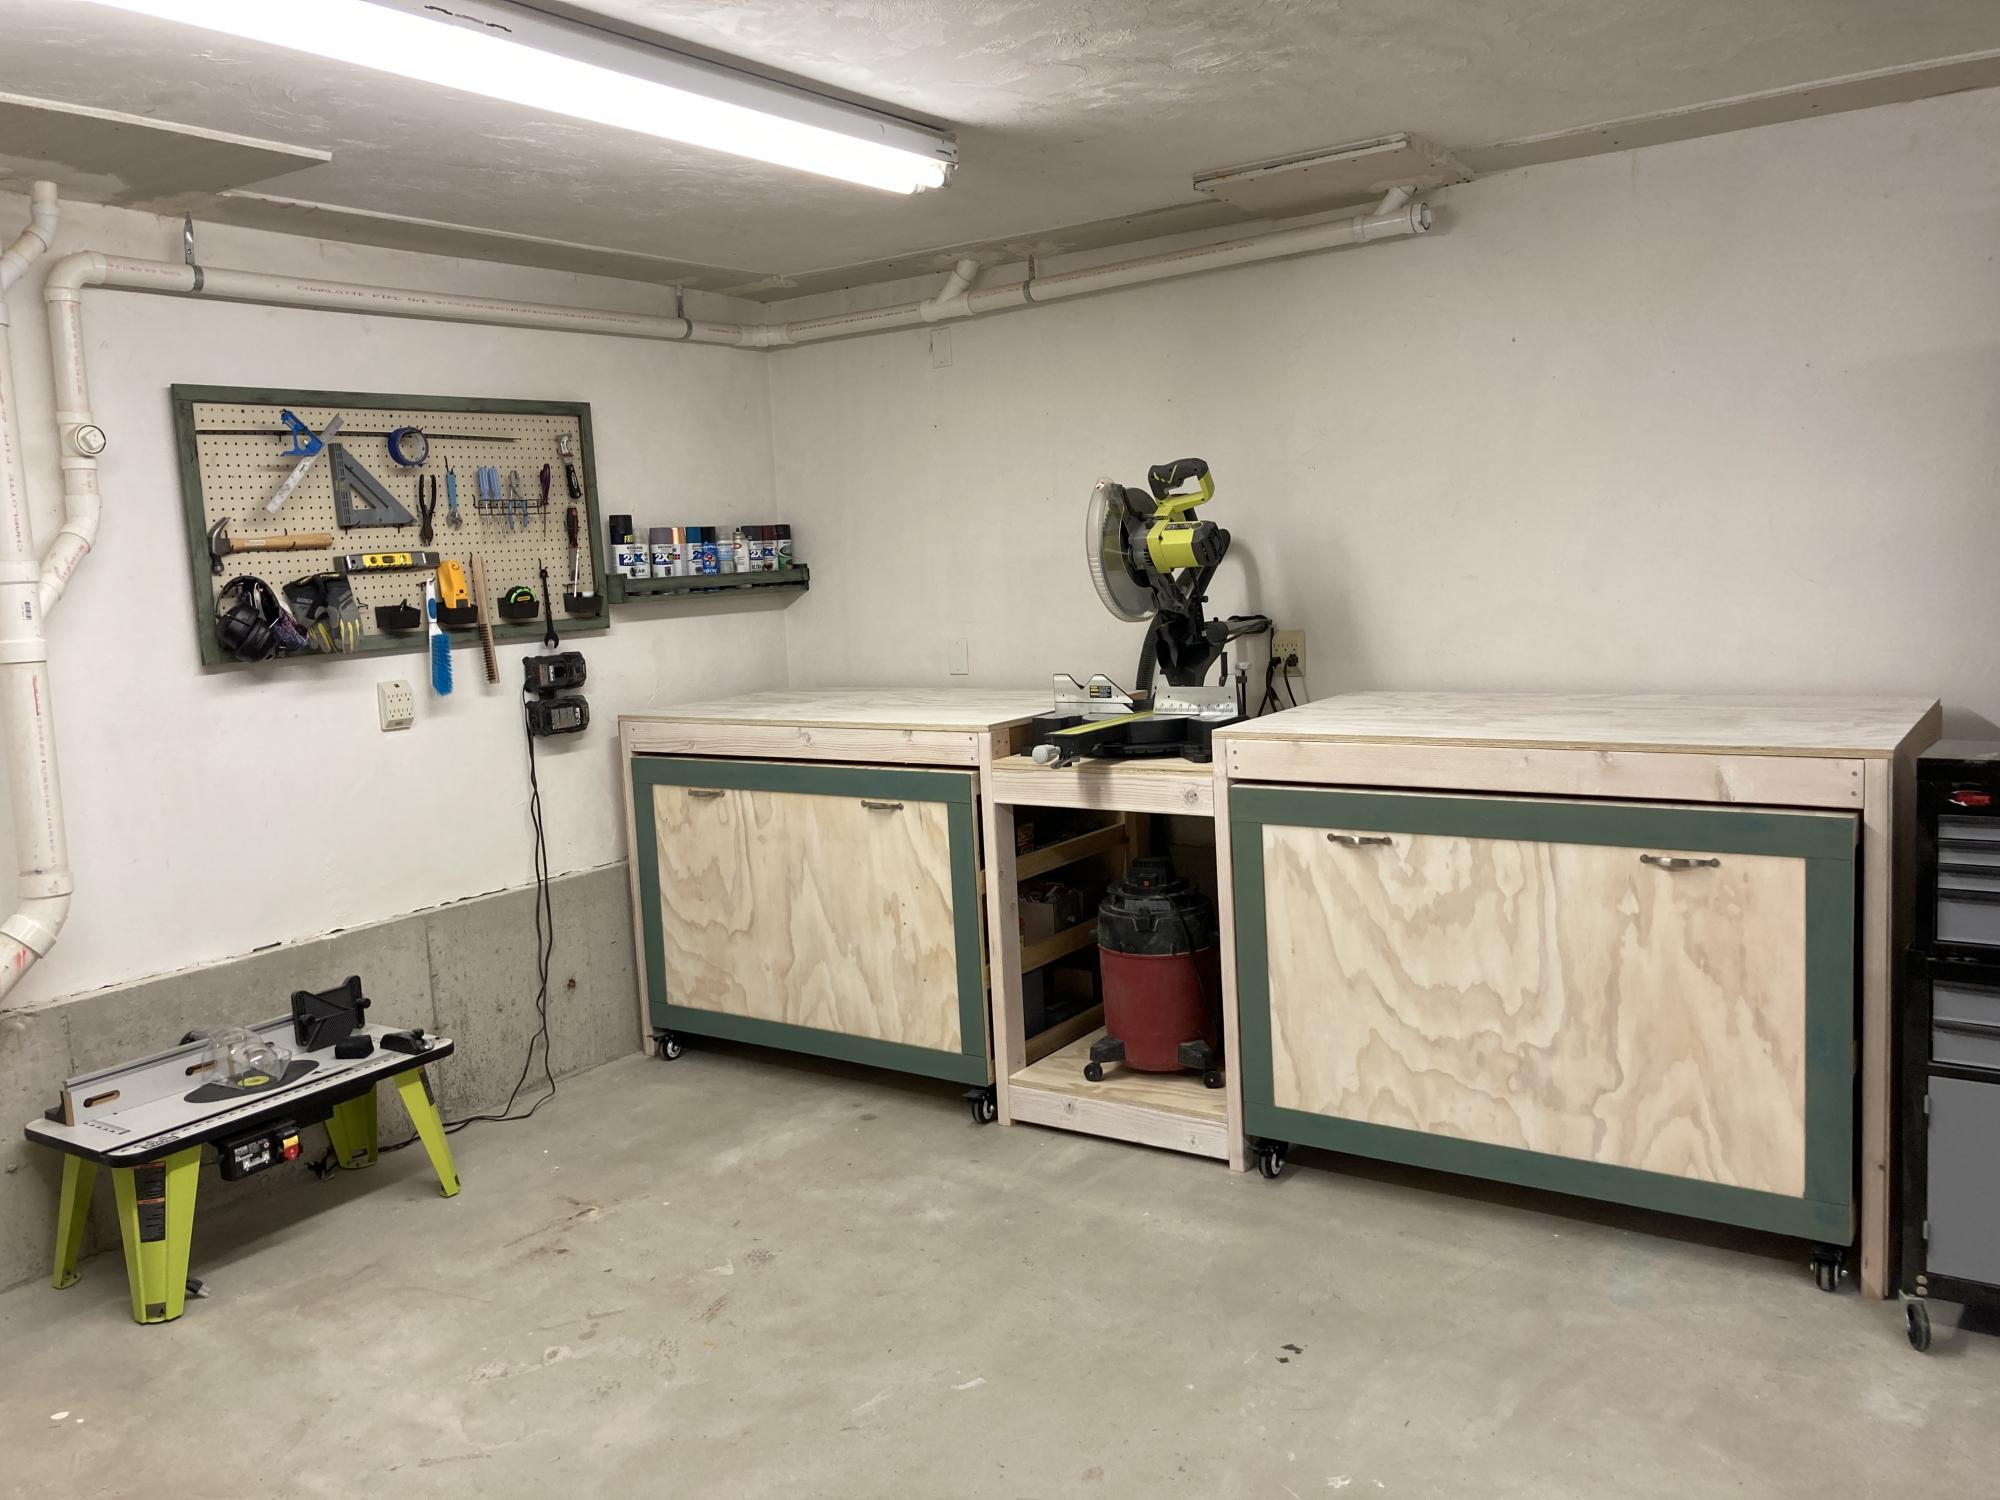
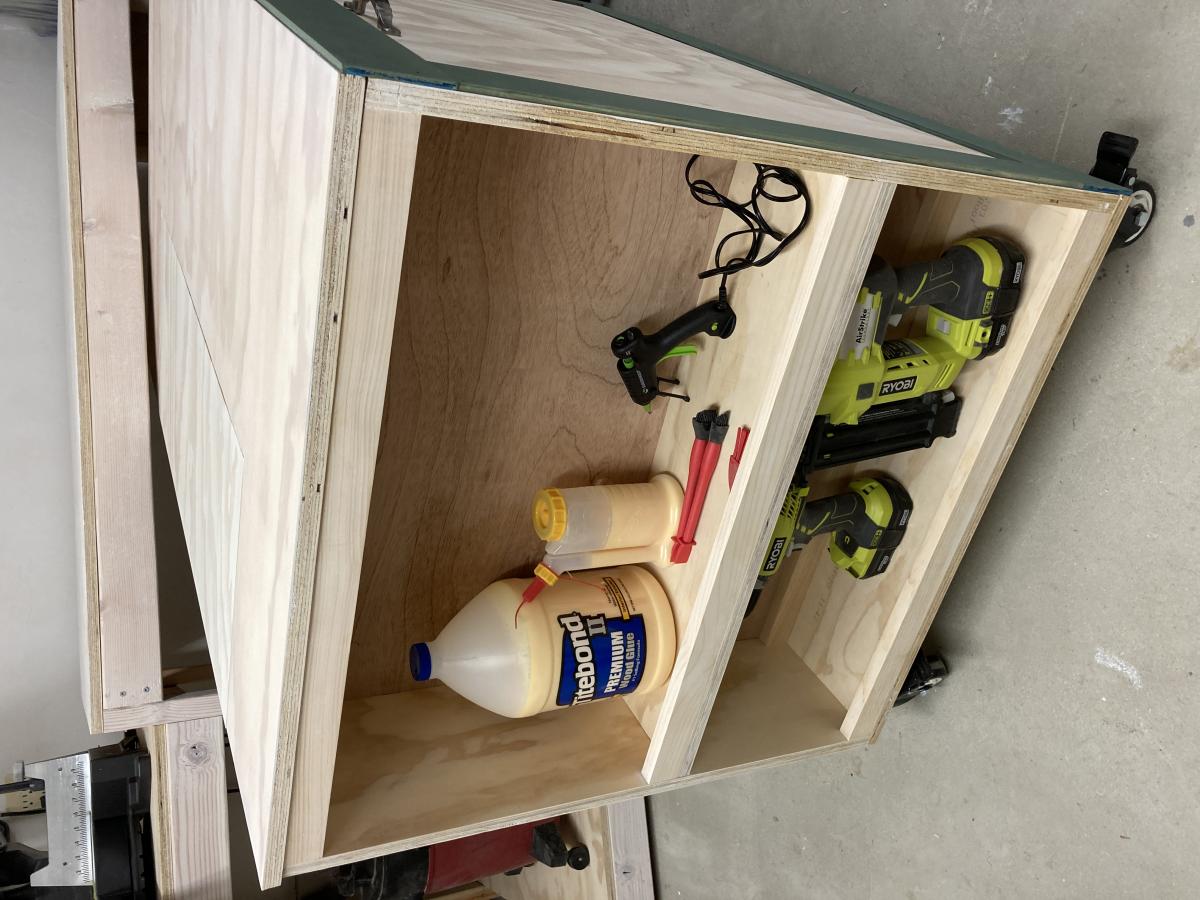
When I first saw Ana's Ultimate Work Bench I was blown away. I *had* to make this. I love how neat the garage looks when everything is put away.
I had to make a few extra cuts in order to allow room for my table saw fence, but other than that the only thing I did differently was to pretty it up using a white gel wood stain that I sealed with finishing paste. I also added trim using the leftover 1/4 inch plywood.
Thank you for being such an inspiration, Ana. I love your plans!
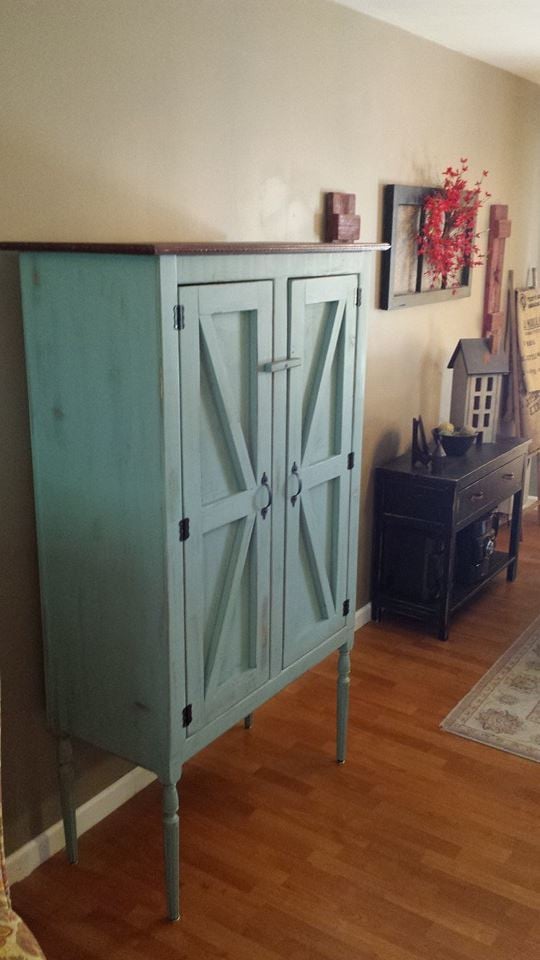
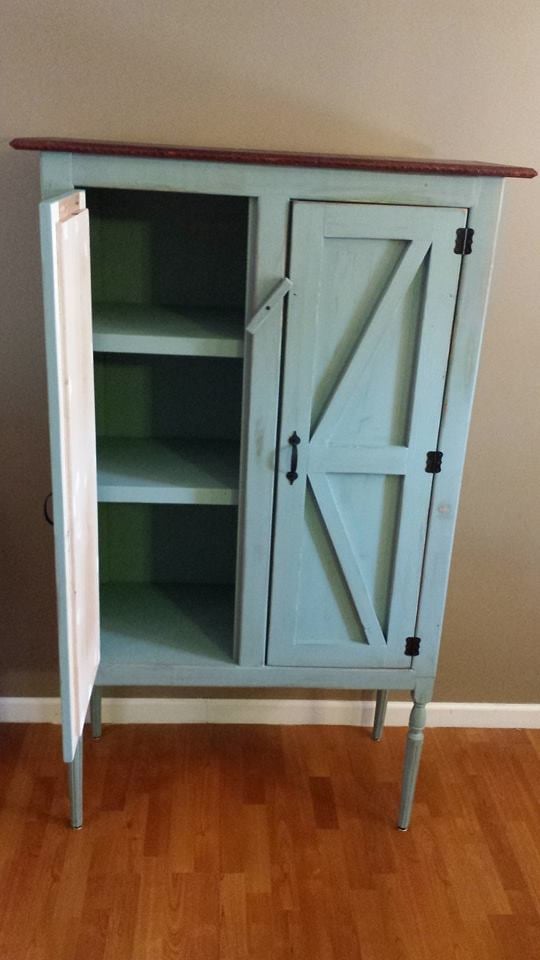
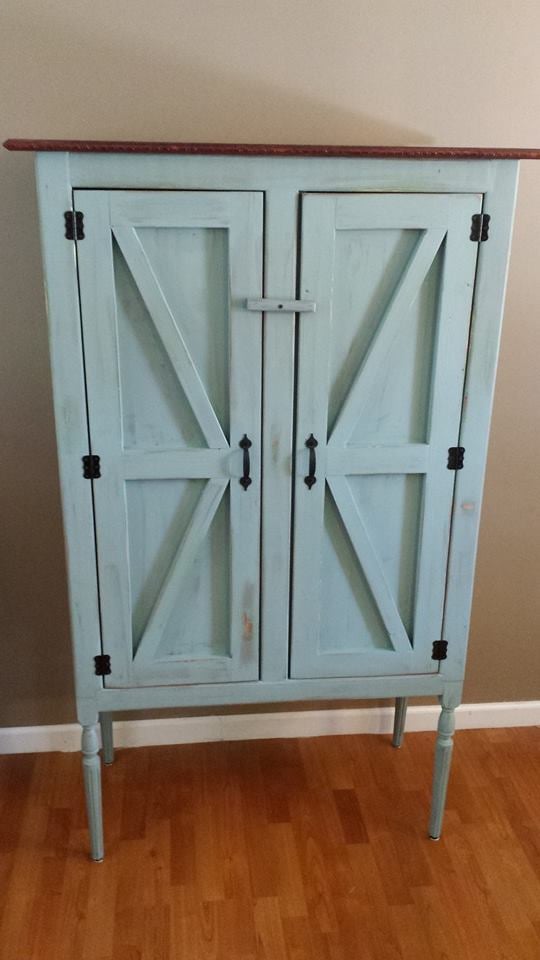
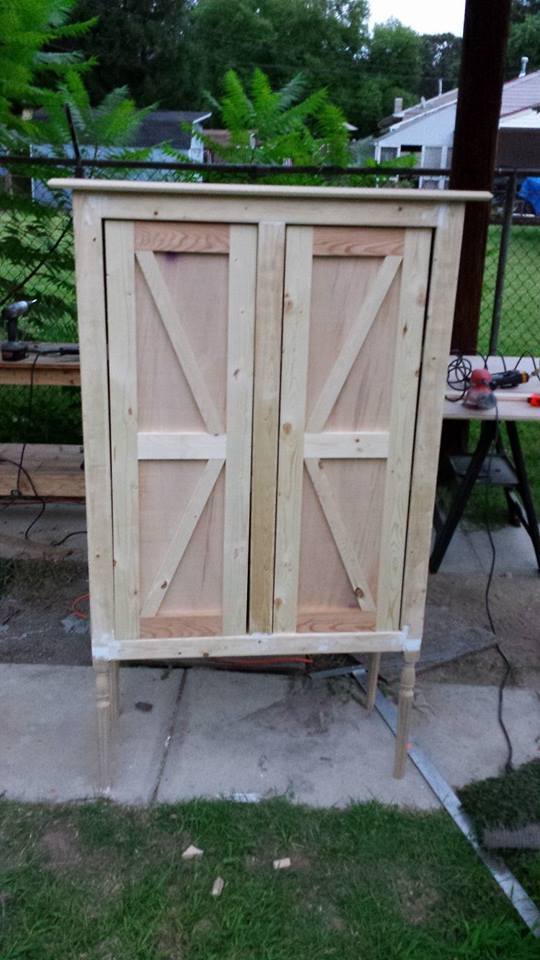
We recently moved from Washington state to Maryland and the house we rented didn't have a pantry. I decided after searching pintrest that this would be the perfect addition to the house and it could add to our kitchen storage. I am completely happy with the finished project.
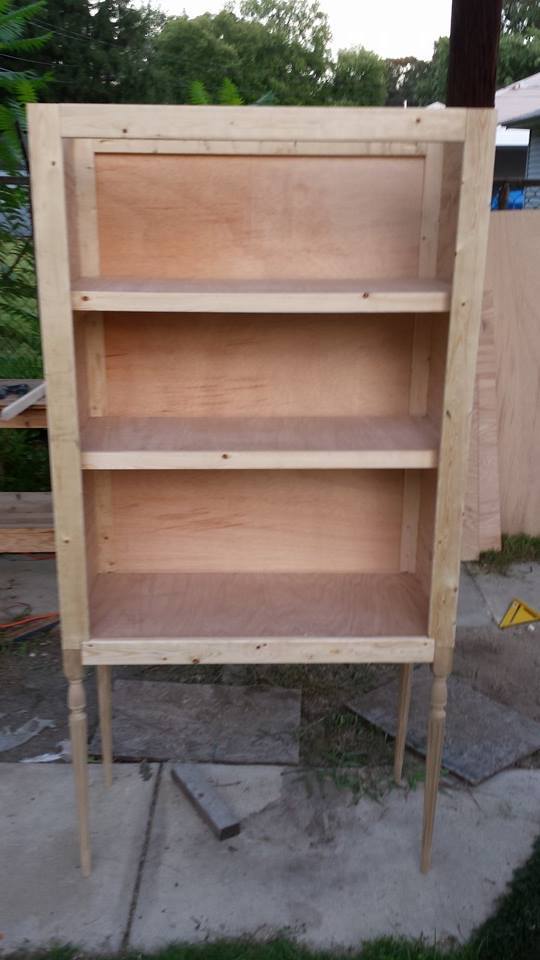
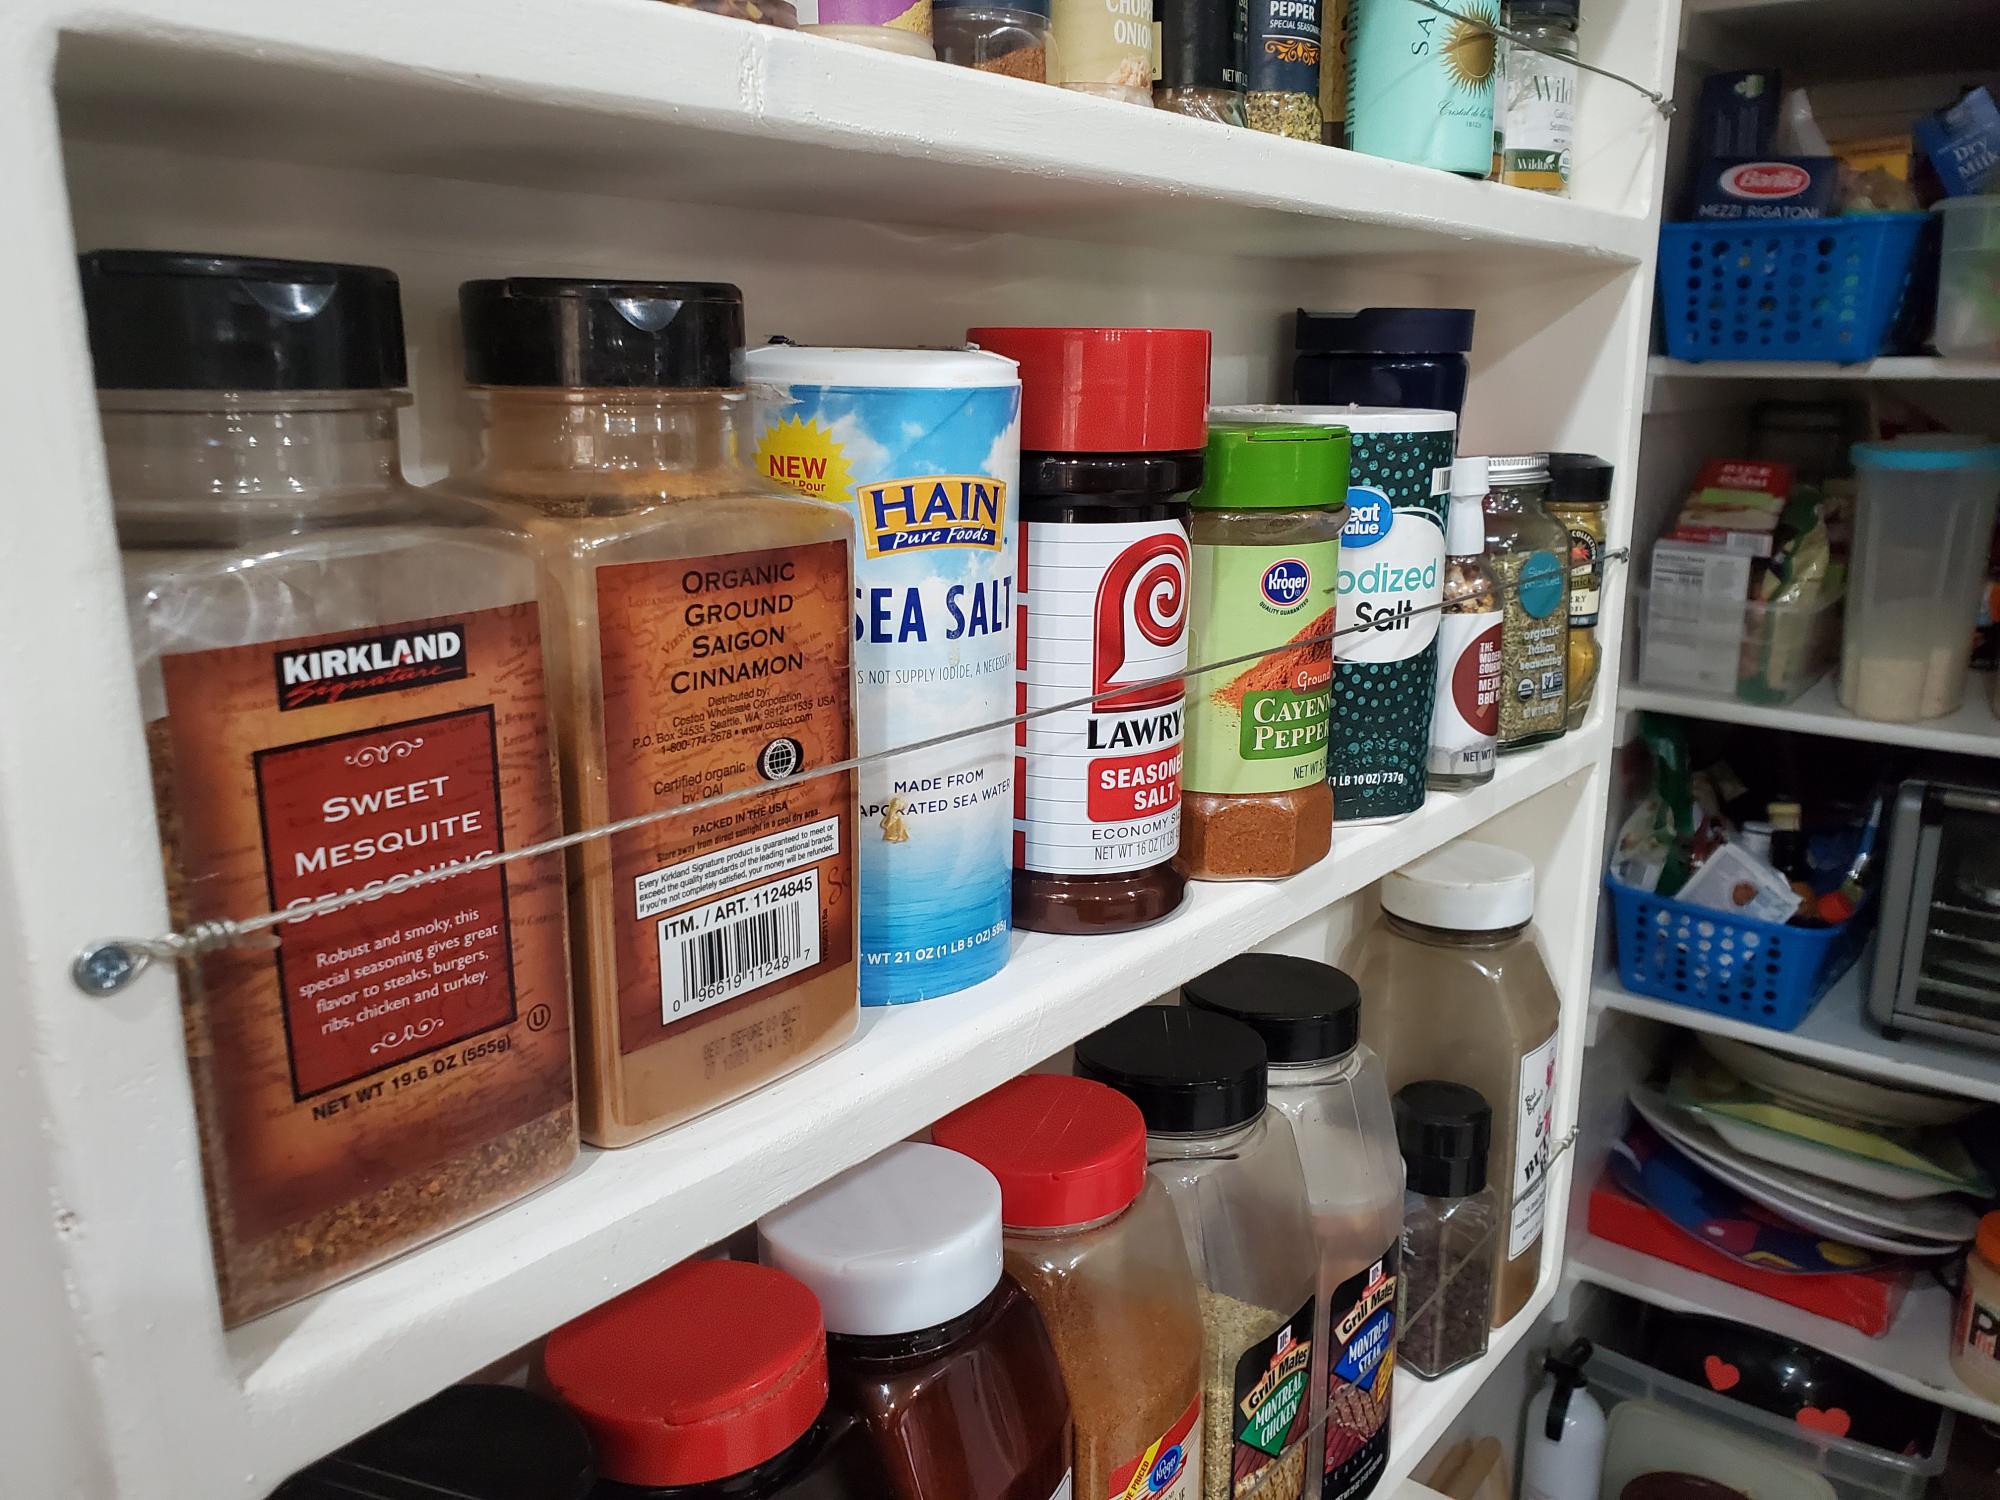
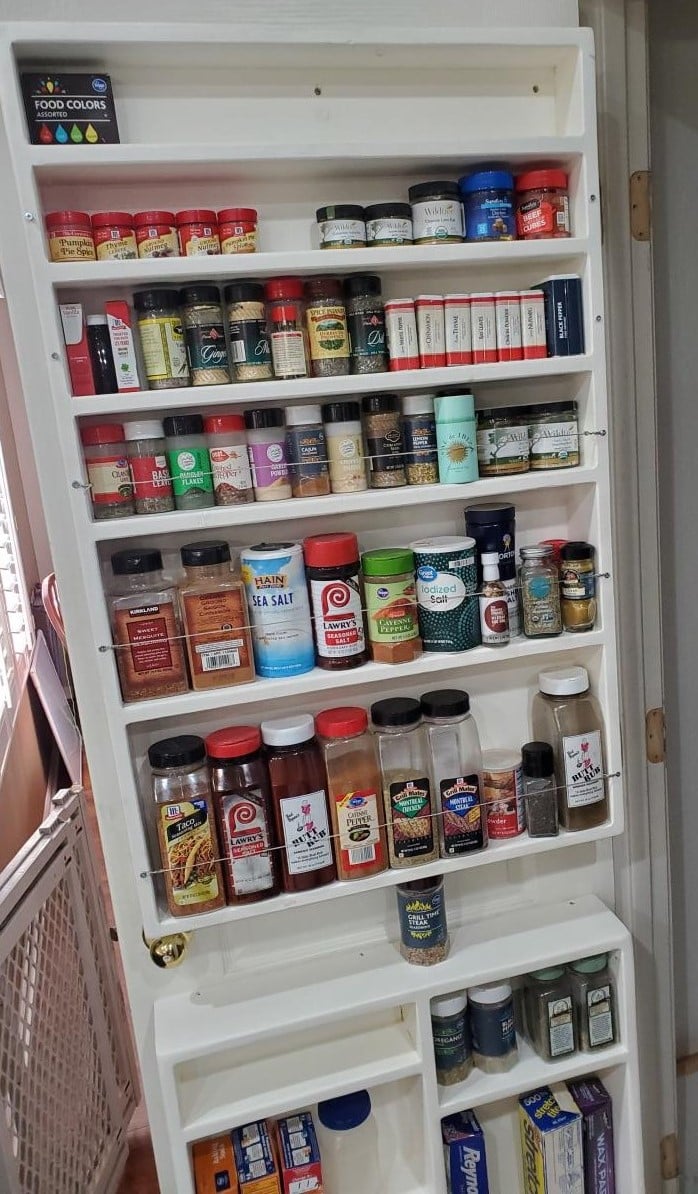
First I had to flip the pantry door from opening into my small pantry to opening out. Doing this allowed me to utilize back of the door for this spice rack. Frees up quite a bit of space in our cabinets, drawers and pantry for other items. Substituted braided picture frame wire for the wood dowels; still keeps all items secure on the shelves but also allows for more flexibility when dealing with canister sizes that are very close to the amount of space in between shelves. Already had the paint from doing some baseboards as well as quarter inch ply. So, final cost was for 1x4's and 1x6's coming out to about $30
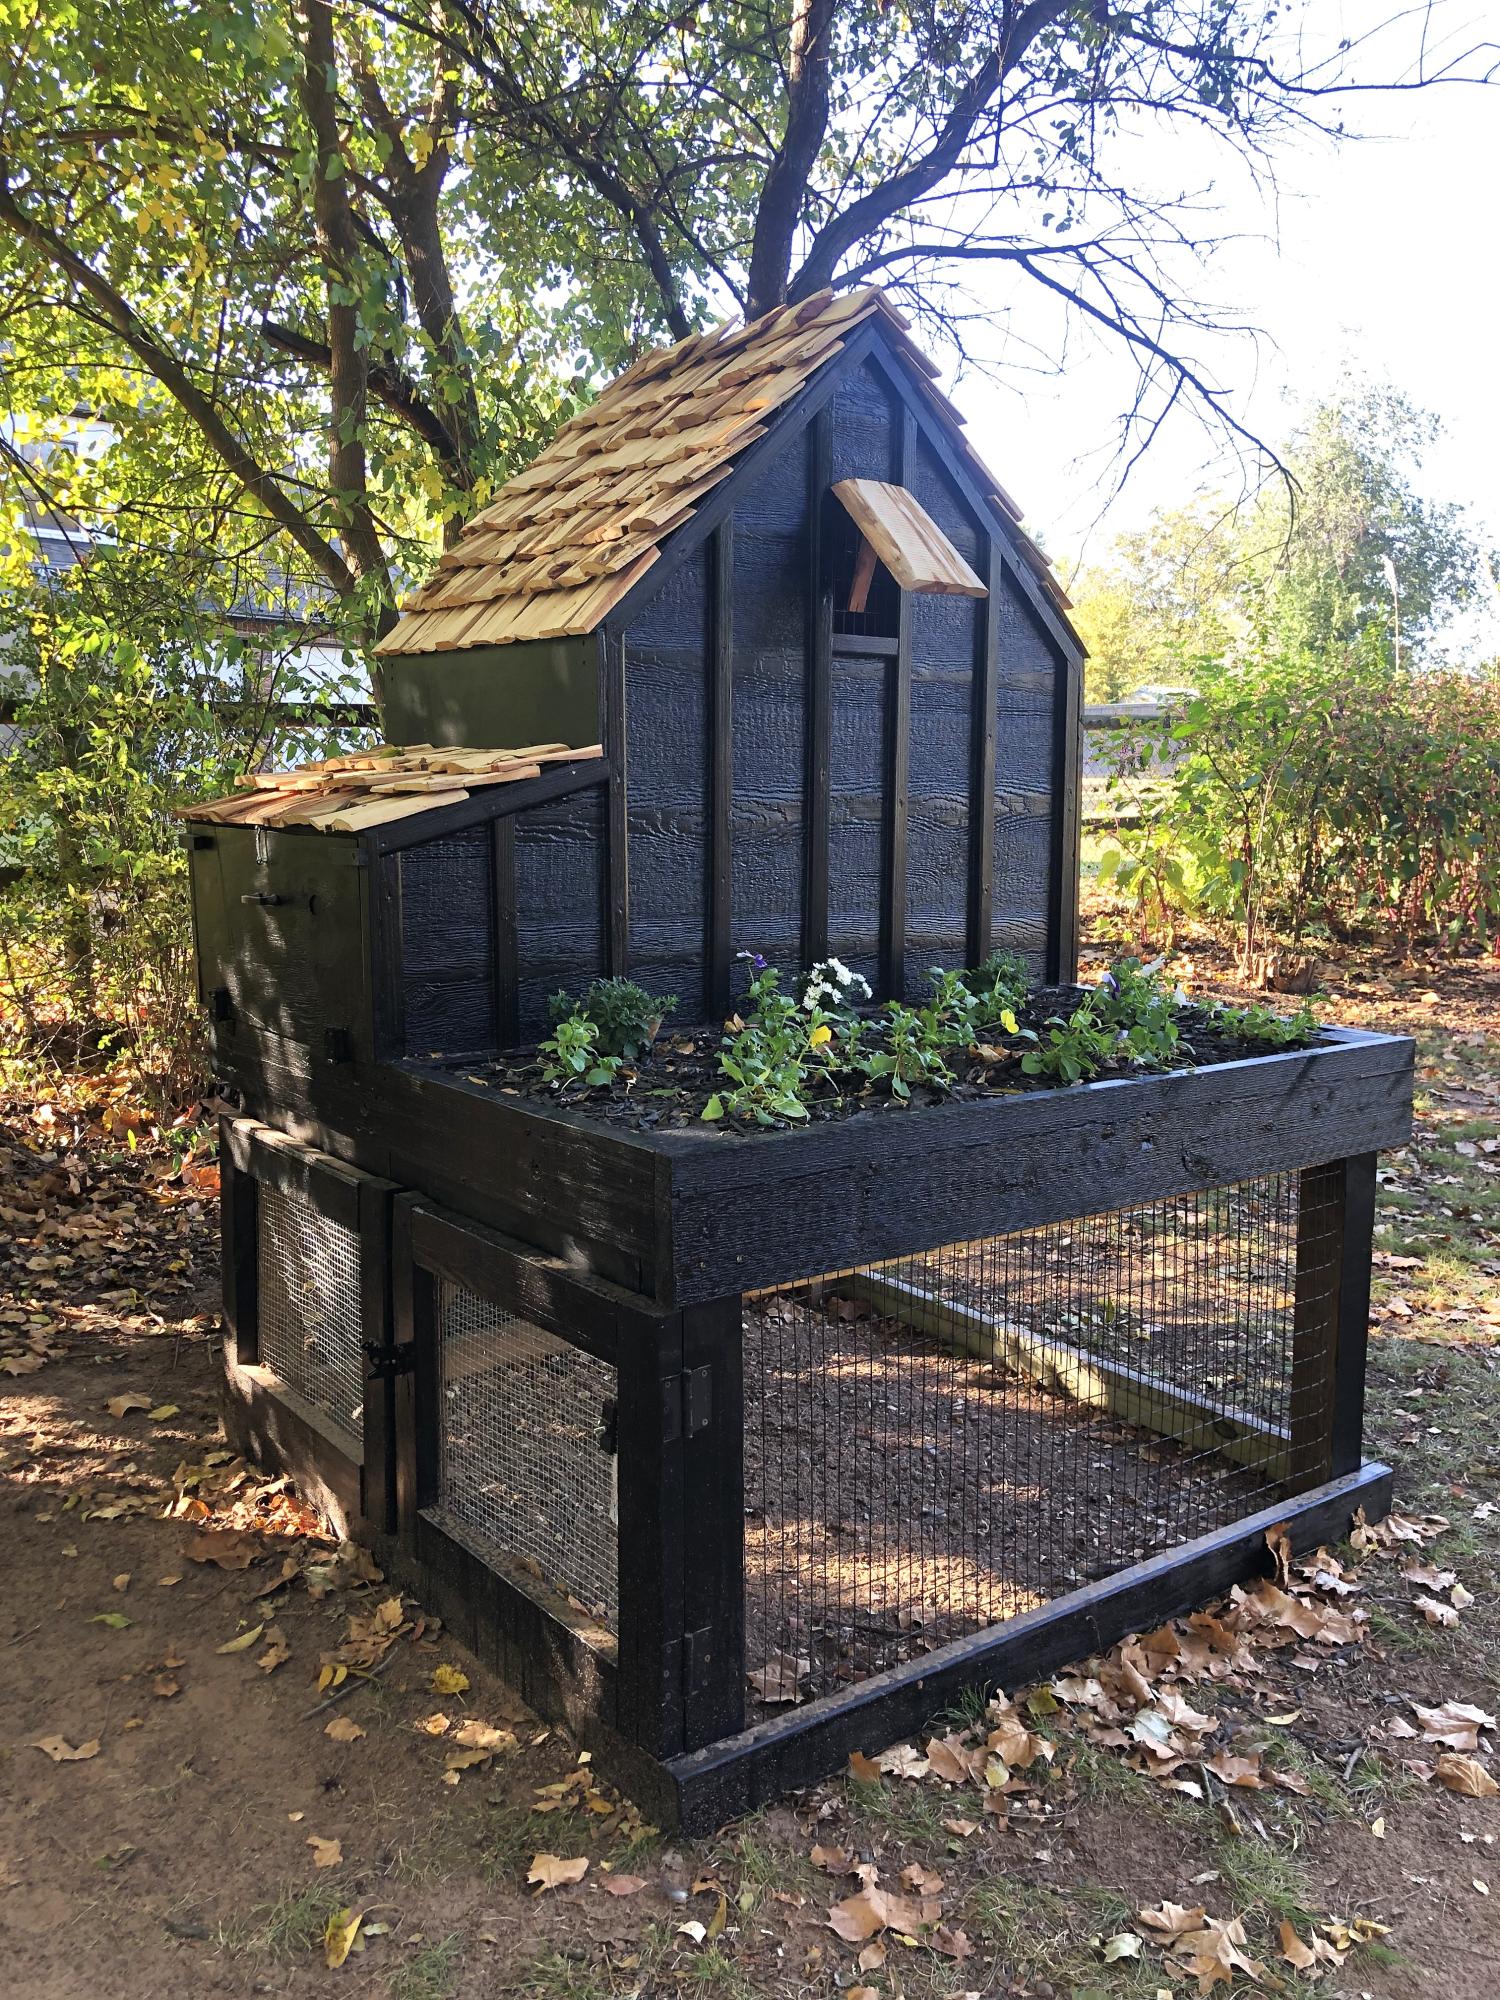
Here’s my take on your lovely Small Chicken Coop with Planter, Clean Out Tray and Nesting Box. I hand split the cedar shakes and love how it turned out - thank you for the plans! - GraceLynn J. by Darci Stout

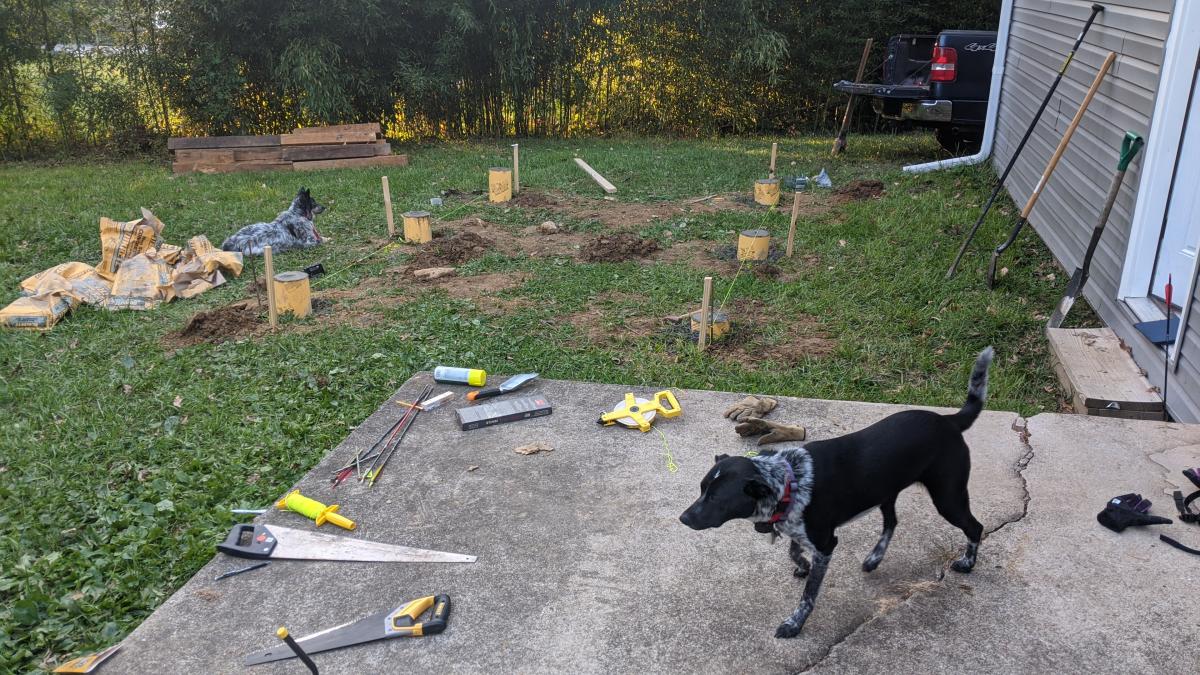
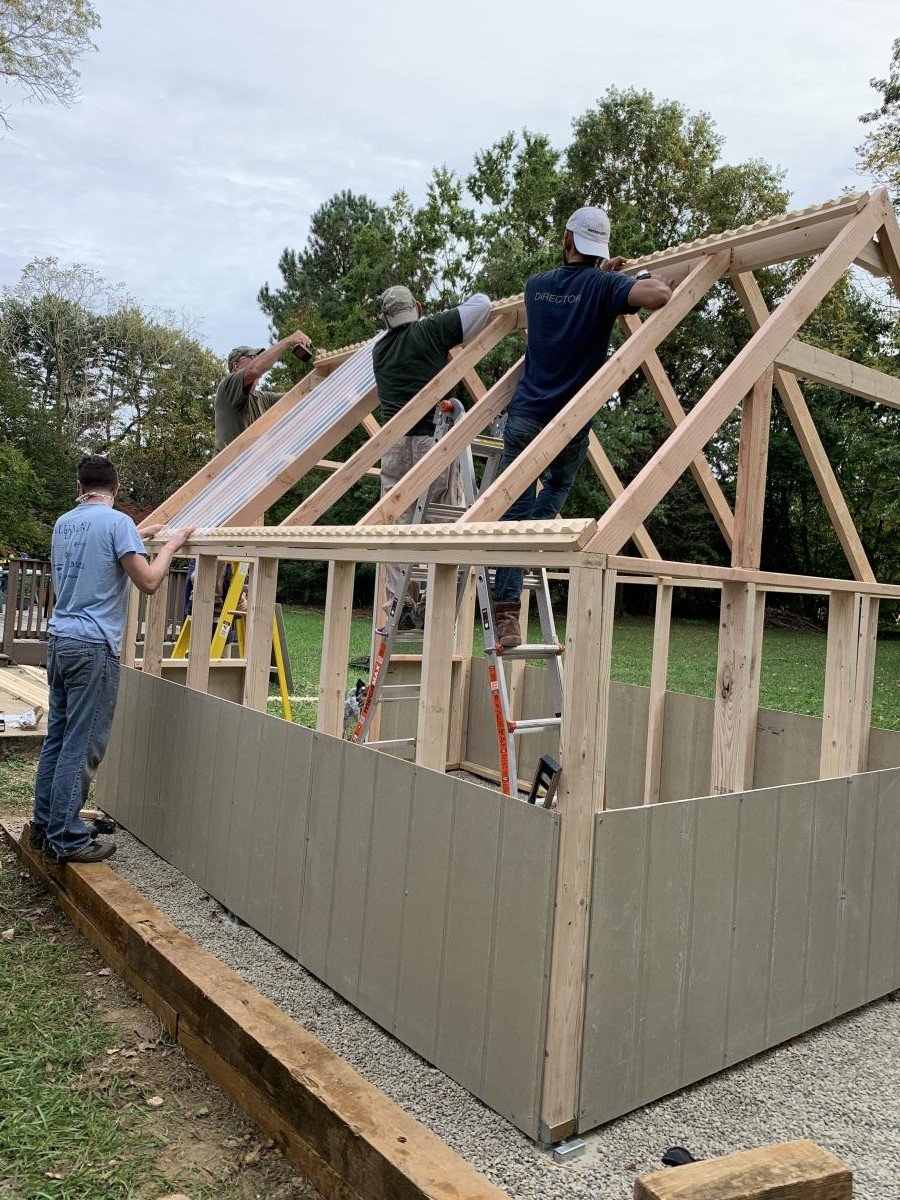
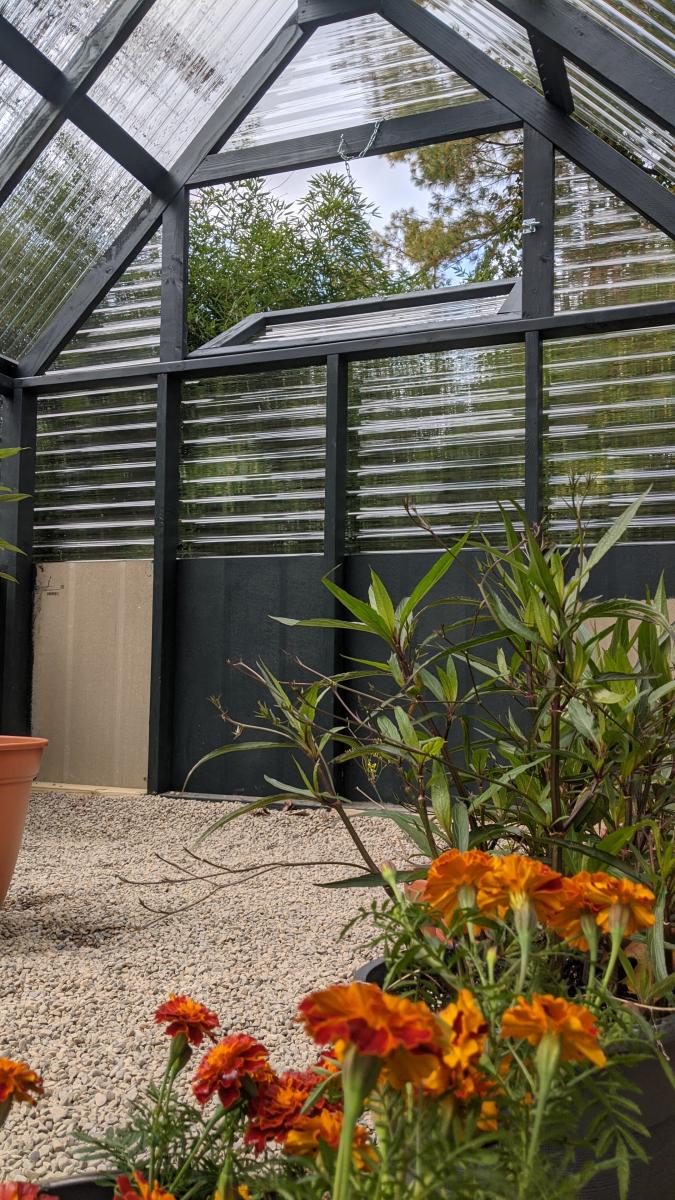
With the help of friends and family, we managed to build this greenhouse rather easily. We had to start with the foundation since the spot we chose was not an even grade. We did this by filling sono tubes with cement and leveling each off so the greenhouse would have a solid place to sit. We then built out a frame around the outside of the cement tubes with some reclaimed 6x6's. After that, we filled the space with 5 tons of river rock and then got to work! After the foundation was ready putting the rest of the house together was a piece of cake. The frame was so easy to put together. We had a few minor kinks to work out here and there, I won't say this house came out 100% perfectly, BUT I am so happy with the end results. We chose to paint it a deep green color as a final touch. So far we just moved a few potted plants from our deck to the greenhouse for the winter. It has been working very well to keep the plants cozy during the colder days we've had. Eventually, I plan to build a potting station, shelving, and most likely a garden bed for winter harvests.


Mon, 11/09/2020 - 09:52
The foundation looks great the greenhouse looks amazing! I'm sure fun was had building it too:) Thanks for sharing.
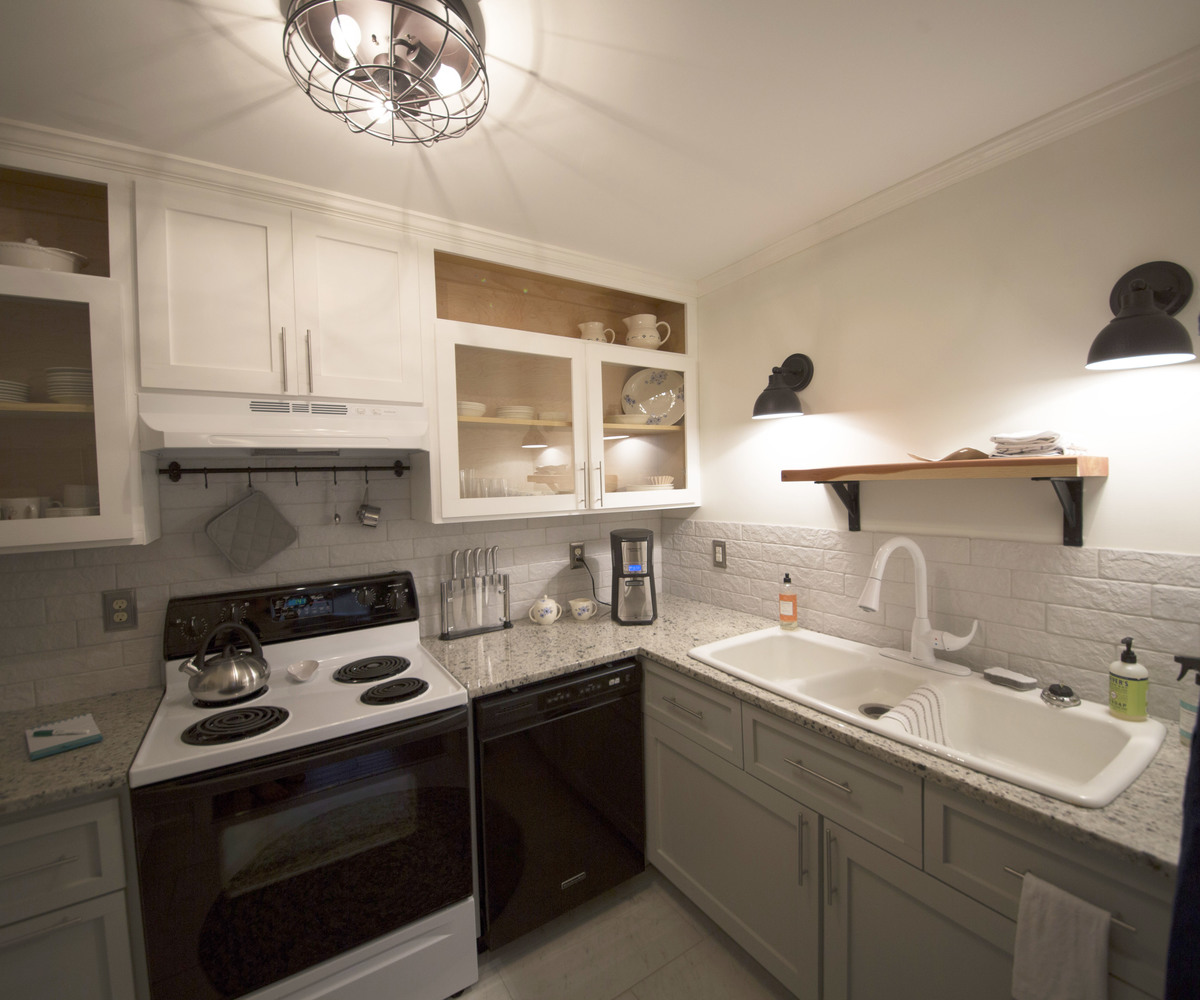
I took an old storage closet and turned it into a kitchen so that we could rent out our downstairs using Ana's basic cabinet plans altering them to fit my space. I really liked that she used 2 x 6's for the base of the cabinets and it worked out perfectly for the toe kick.
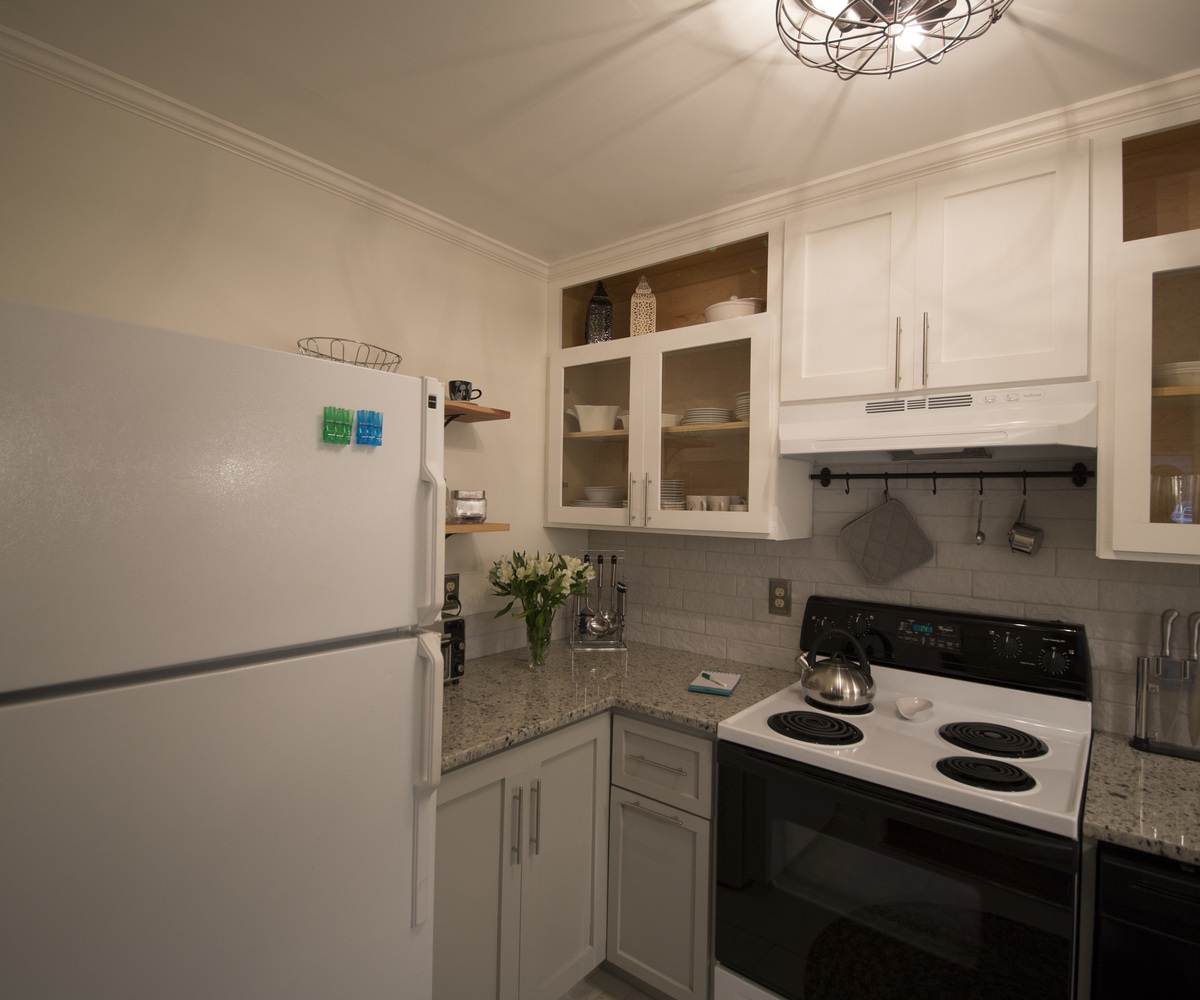
This was my first indoor woodworking project, where it mattered if the corners were 90 degrees and the colour matched and the wood was not warped.
Even when the lumber yard gave me the wrong width of board, did all the cuts and I didn't notice until I was home, laying out my pieces and measuring everything, I will still able to complete it.
I went with the 10" (9 3/4") wide top instead of the 12" (11 3/4") rather than go back to the lumber yard and have it recut. I was anxious to make my project and it was a hassle to drive that distance. it didn't have the 1 1/2" overhang that the larger width would have had but it fit in my tiny space better.
The next time I visited that lumber yard for more wood, I got my money back and I learned a valuable lesson - just because the lumber yard staff are picking up the wood for you, you need to read and check. I didn't go closer to see it because of Covid-19 restrictions but next time I will ask to measure it and check it before I bring it home. I've learned to carry my tape measure with me, just in case!

Simple Christmas Tree made from 3/4 inch and 1/2 inch square dowels, a bit of scrap 2 by 2 and some scrap 2 by 6.
The dowels were drilled and a metal rod inserted through them all. Two nuts at top and bottom tightened once the dowels were arranged in place.
Each dowel was cut 0.5 inches shorter than the previous one so it was 1/4 inch sorted on each end.
Each dowel was placed 45 degrees from the one below it.

My father and I made this awesome poolside towel cabinet using the Benchmark Cabinet plans. A super easy 1 day build and it looks amazing on the patio. Bring on the pool weather!
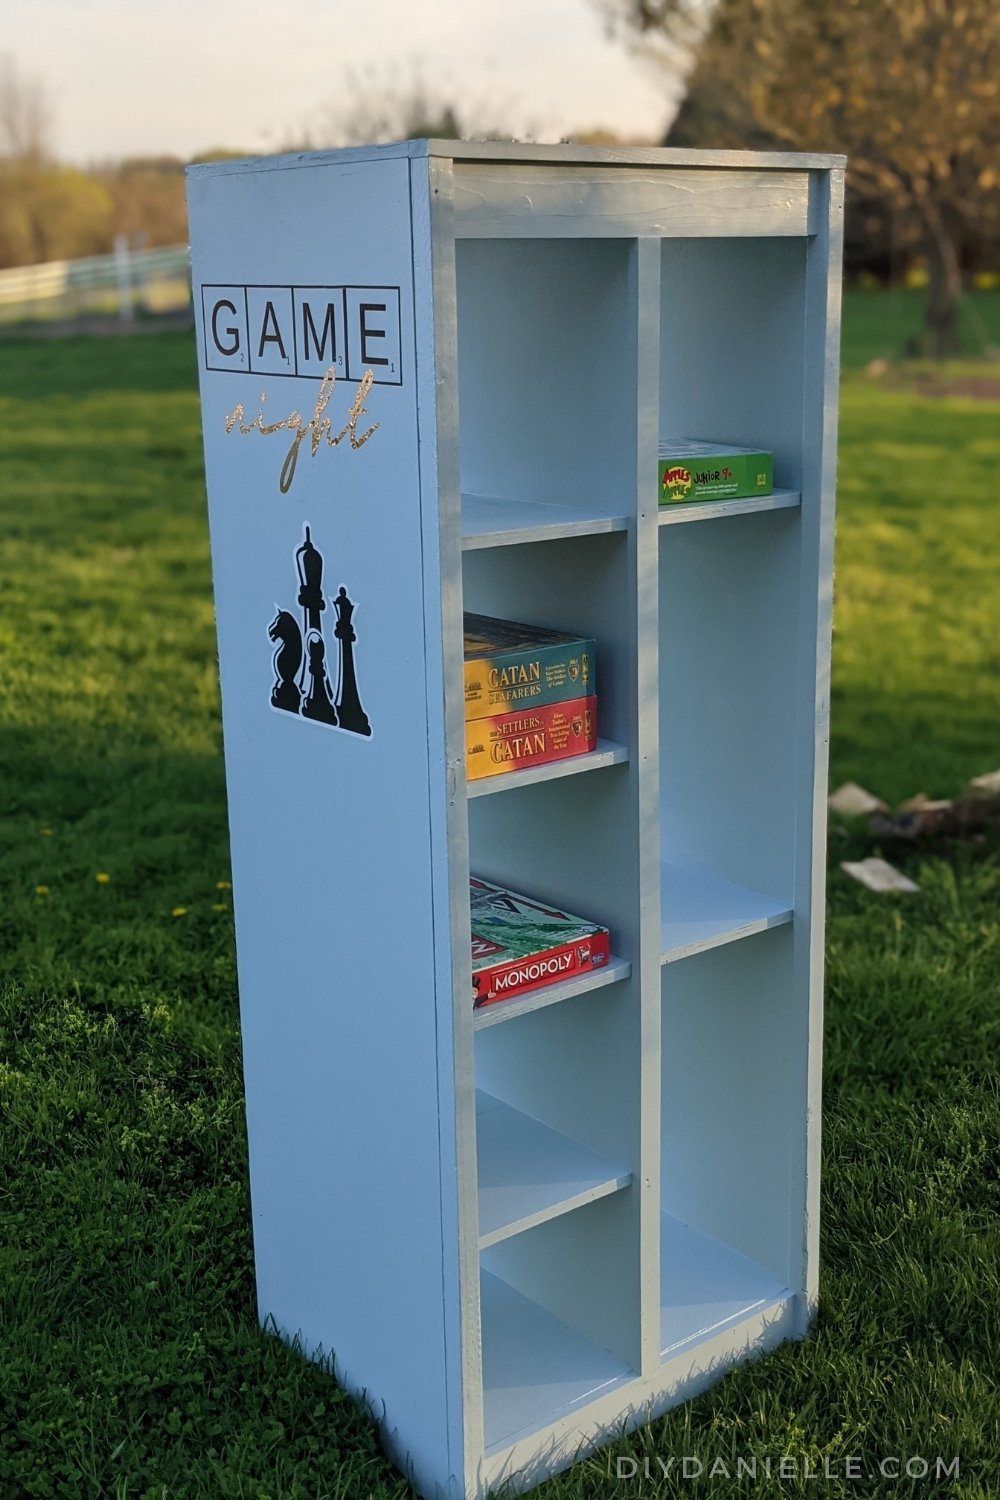
We tweaked the Ana White Barn Door bookcase plan for a bathroom linen closet, made it a hair too wide (it was soooo close), and decided to use this for board games instead. It's PERFECT for storing long games like Monopoly, as well as puzzles, cards, and more. I decorated it with vinyl cut with my Cricut to give it that "game night" feel.
The project ended up being fairly time consuming because painting the shelf took a lot of time... if I did it again, I'd probably use a paint sprayer. I just don't have a great space for spraying furniture builds.
Thu, 10/24/2024 - 21:06
While exploring online casino reviews, I came across an excellent breakdown of review. The play Hippo Casino review provides a thorough look into everything the casino offers, from its game selection and bonuses to the overall user experience. If you're curious about Lucky Hippo Casino, this review is a great place to get all the details you need to decide if it's the right fit for your gaming preferences. For anyone looking to learn more about this casino, it's definitely worth checking out!
Wed, 11/06/2024 - 04:25
Que projeto incrível! A estante ficou perfeita para armazenar jogos de tabuleiro e parece que você conseguiu um visual super divertido com os detalhes em vinil. Entendo totalmente sobre a pintura – um pulverizador de tinta facilita muito o trabalho em projetos grandes.
Por falar em diversão, se você está procurando entretenimento online, recomendo conferir cassinos online com dinheiro real no GambleZoid. Uma ótima forma de aproveitar momentos de lazer com segurança!
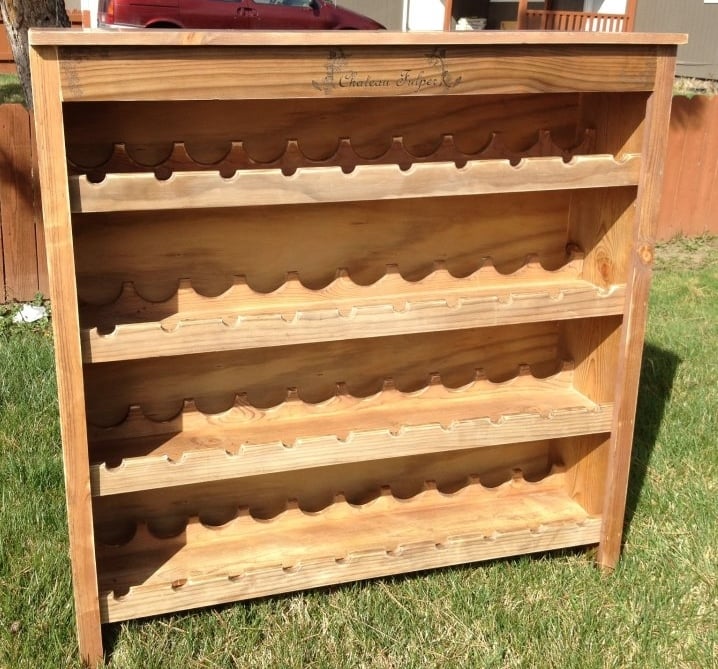
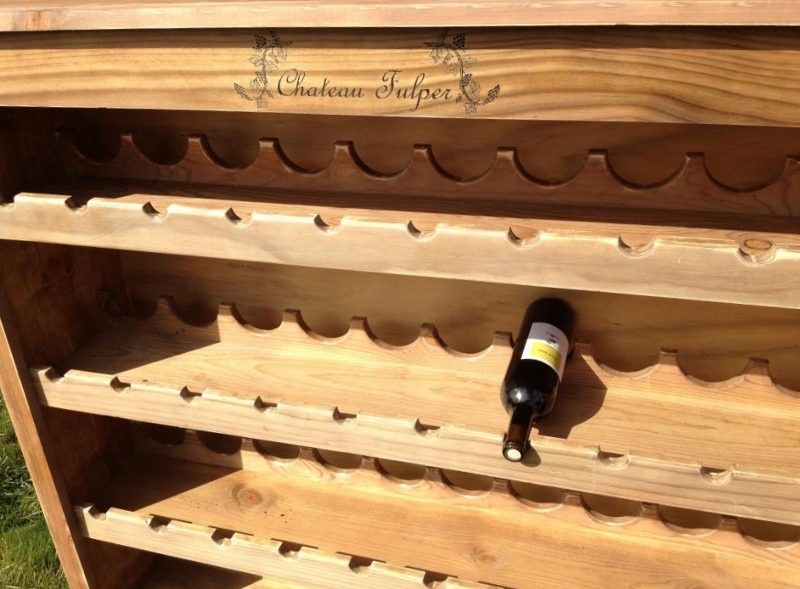
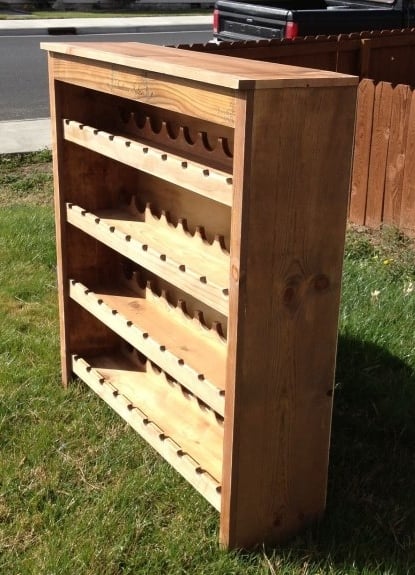
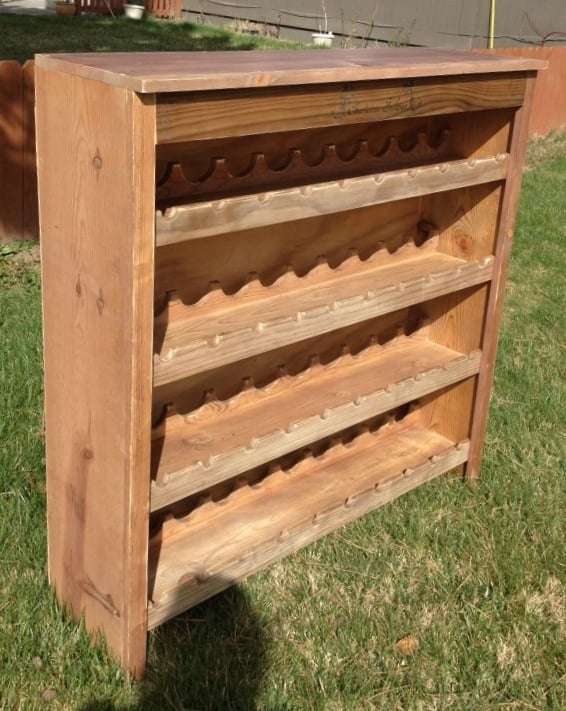
I've built many custom pieces for local folks but this one with all it's half circles really threw me - how was I going to do those, make them precise and not spend 3 days doing it. It's simple really.... I cheated!! LOL I used a 3 1/8" hole saw for the larger ones and a 1" hole saw for the smaller ones. I also took two boards and clamped them together with pipe clamps and then drilled two at once! It gives it a more consistent look and cuts the time literally in half!
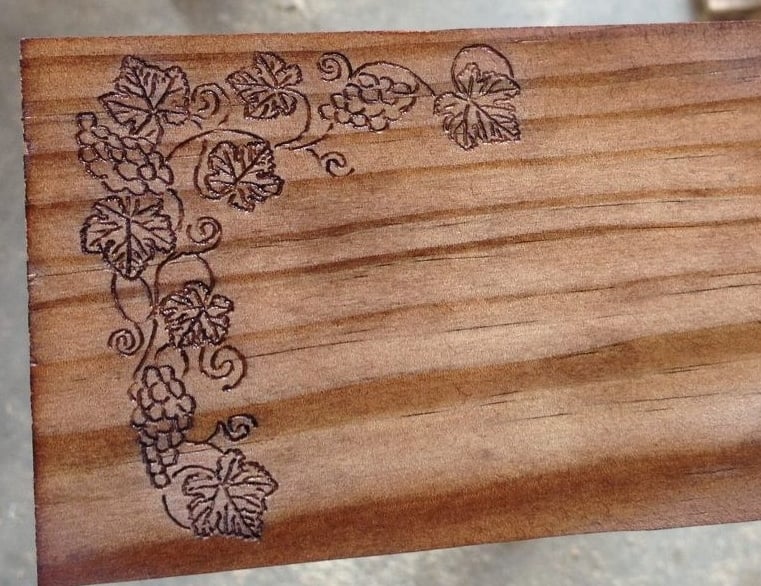
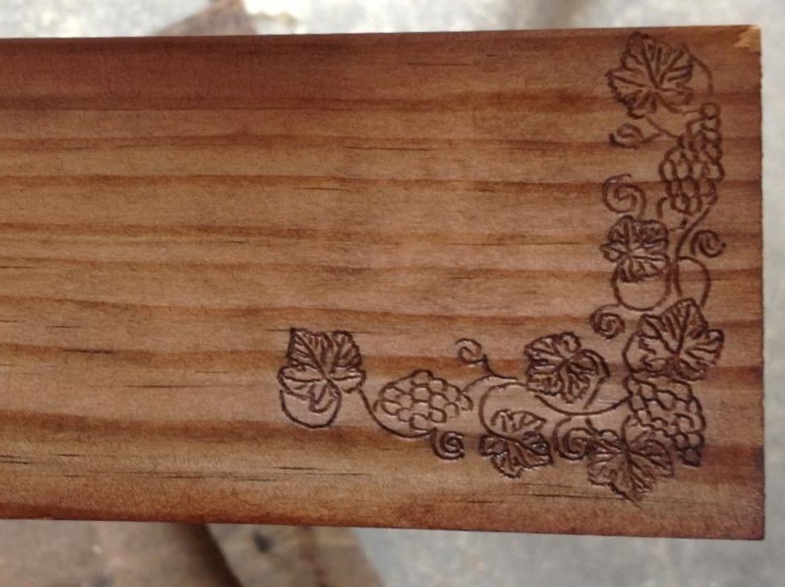
I used a home brew for the stain. Had a friend of mine do the engraving for the front header piece. I think the whole project took between 10 - 15 hours to do because there was a lot of experimenting with the stain and there was also readjusting the sides and top to look how I wanted.
The client loves it and I'll post a pic on my Facebook page of the whole thing loaded up with wine, later today.
