Custom Toy Box
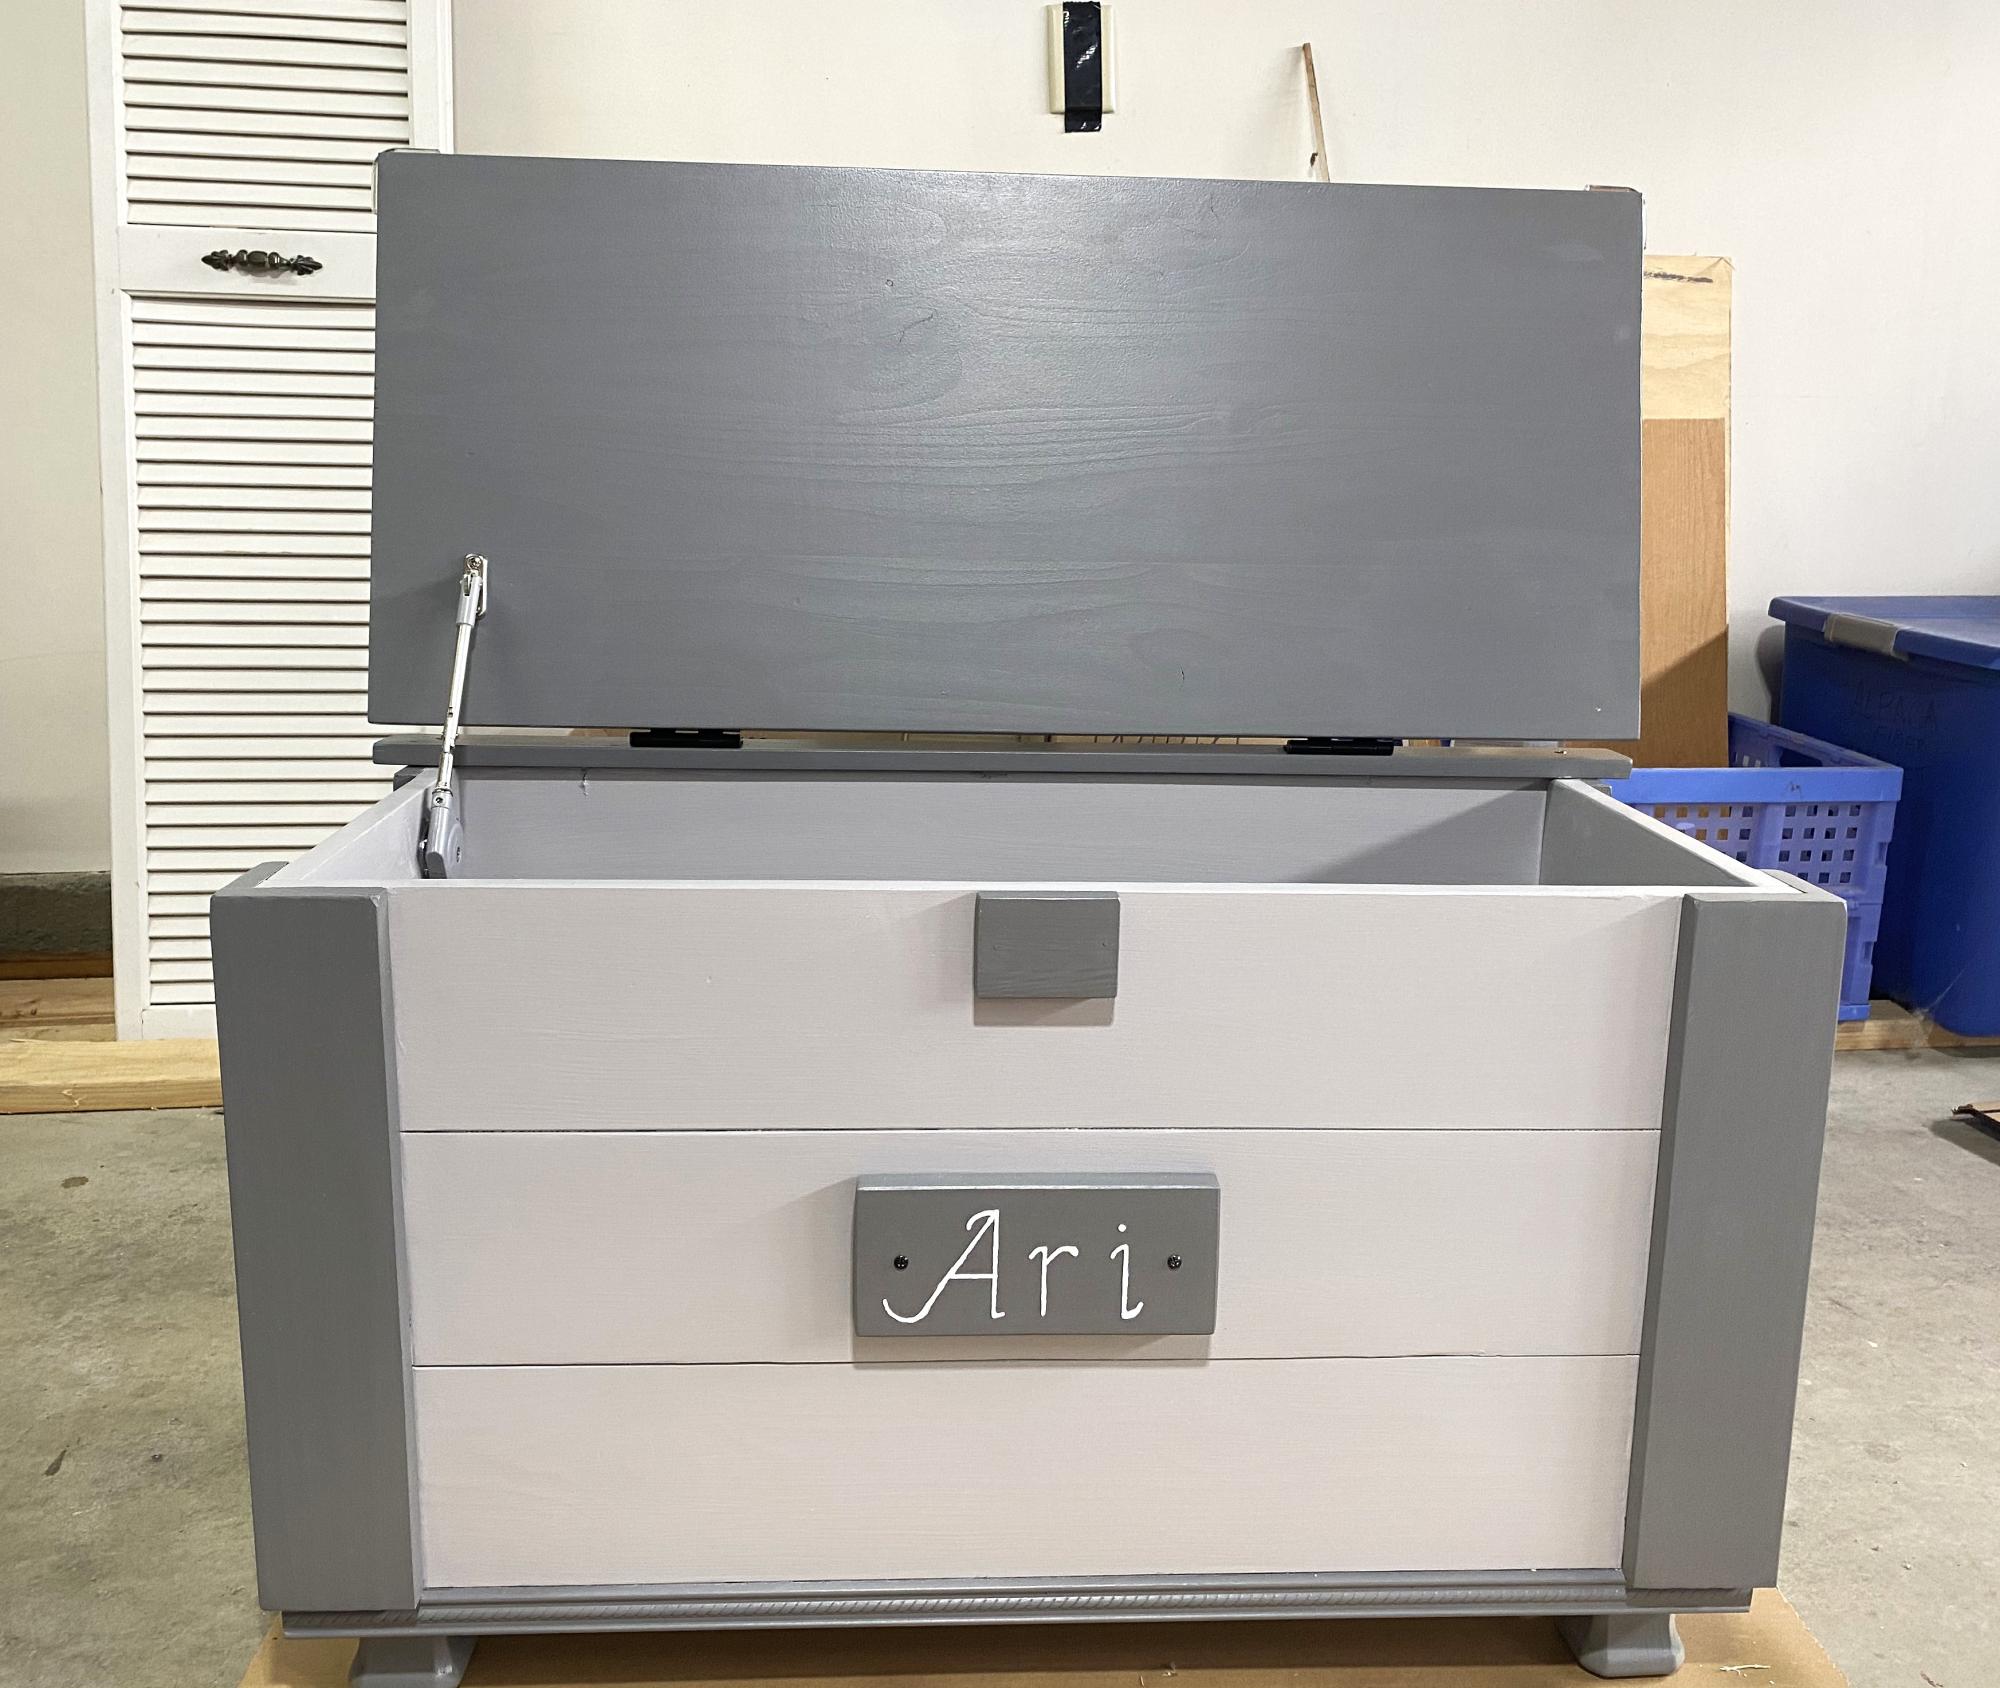
Your plan for this toy box was sooo easy to follow, but I added the feet. My grandson loved it. I have 2 other projects from your plans for him as well.
Charlene
Built from Plan(s)
Your plan for this toy box was sooo easy to follow, but I added the feet. My grandson loved it. I have 2 other projects from your plans for him as well.
Charlene
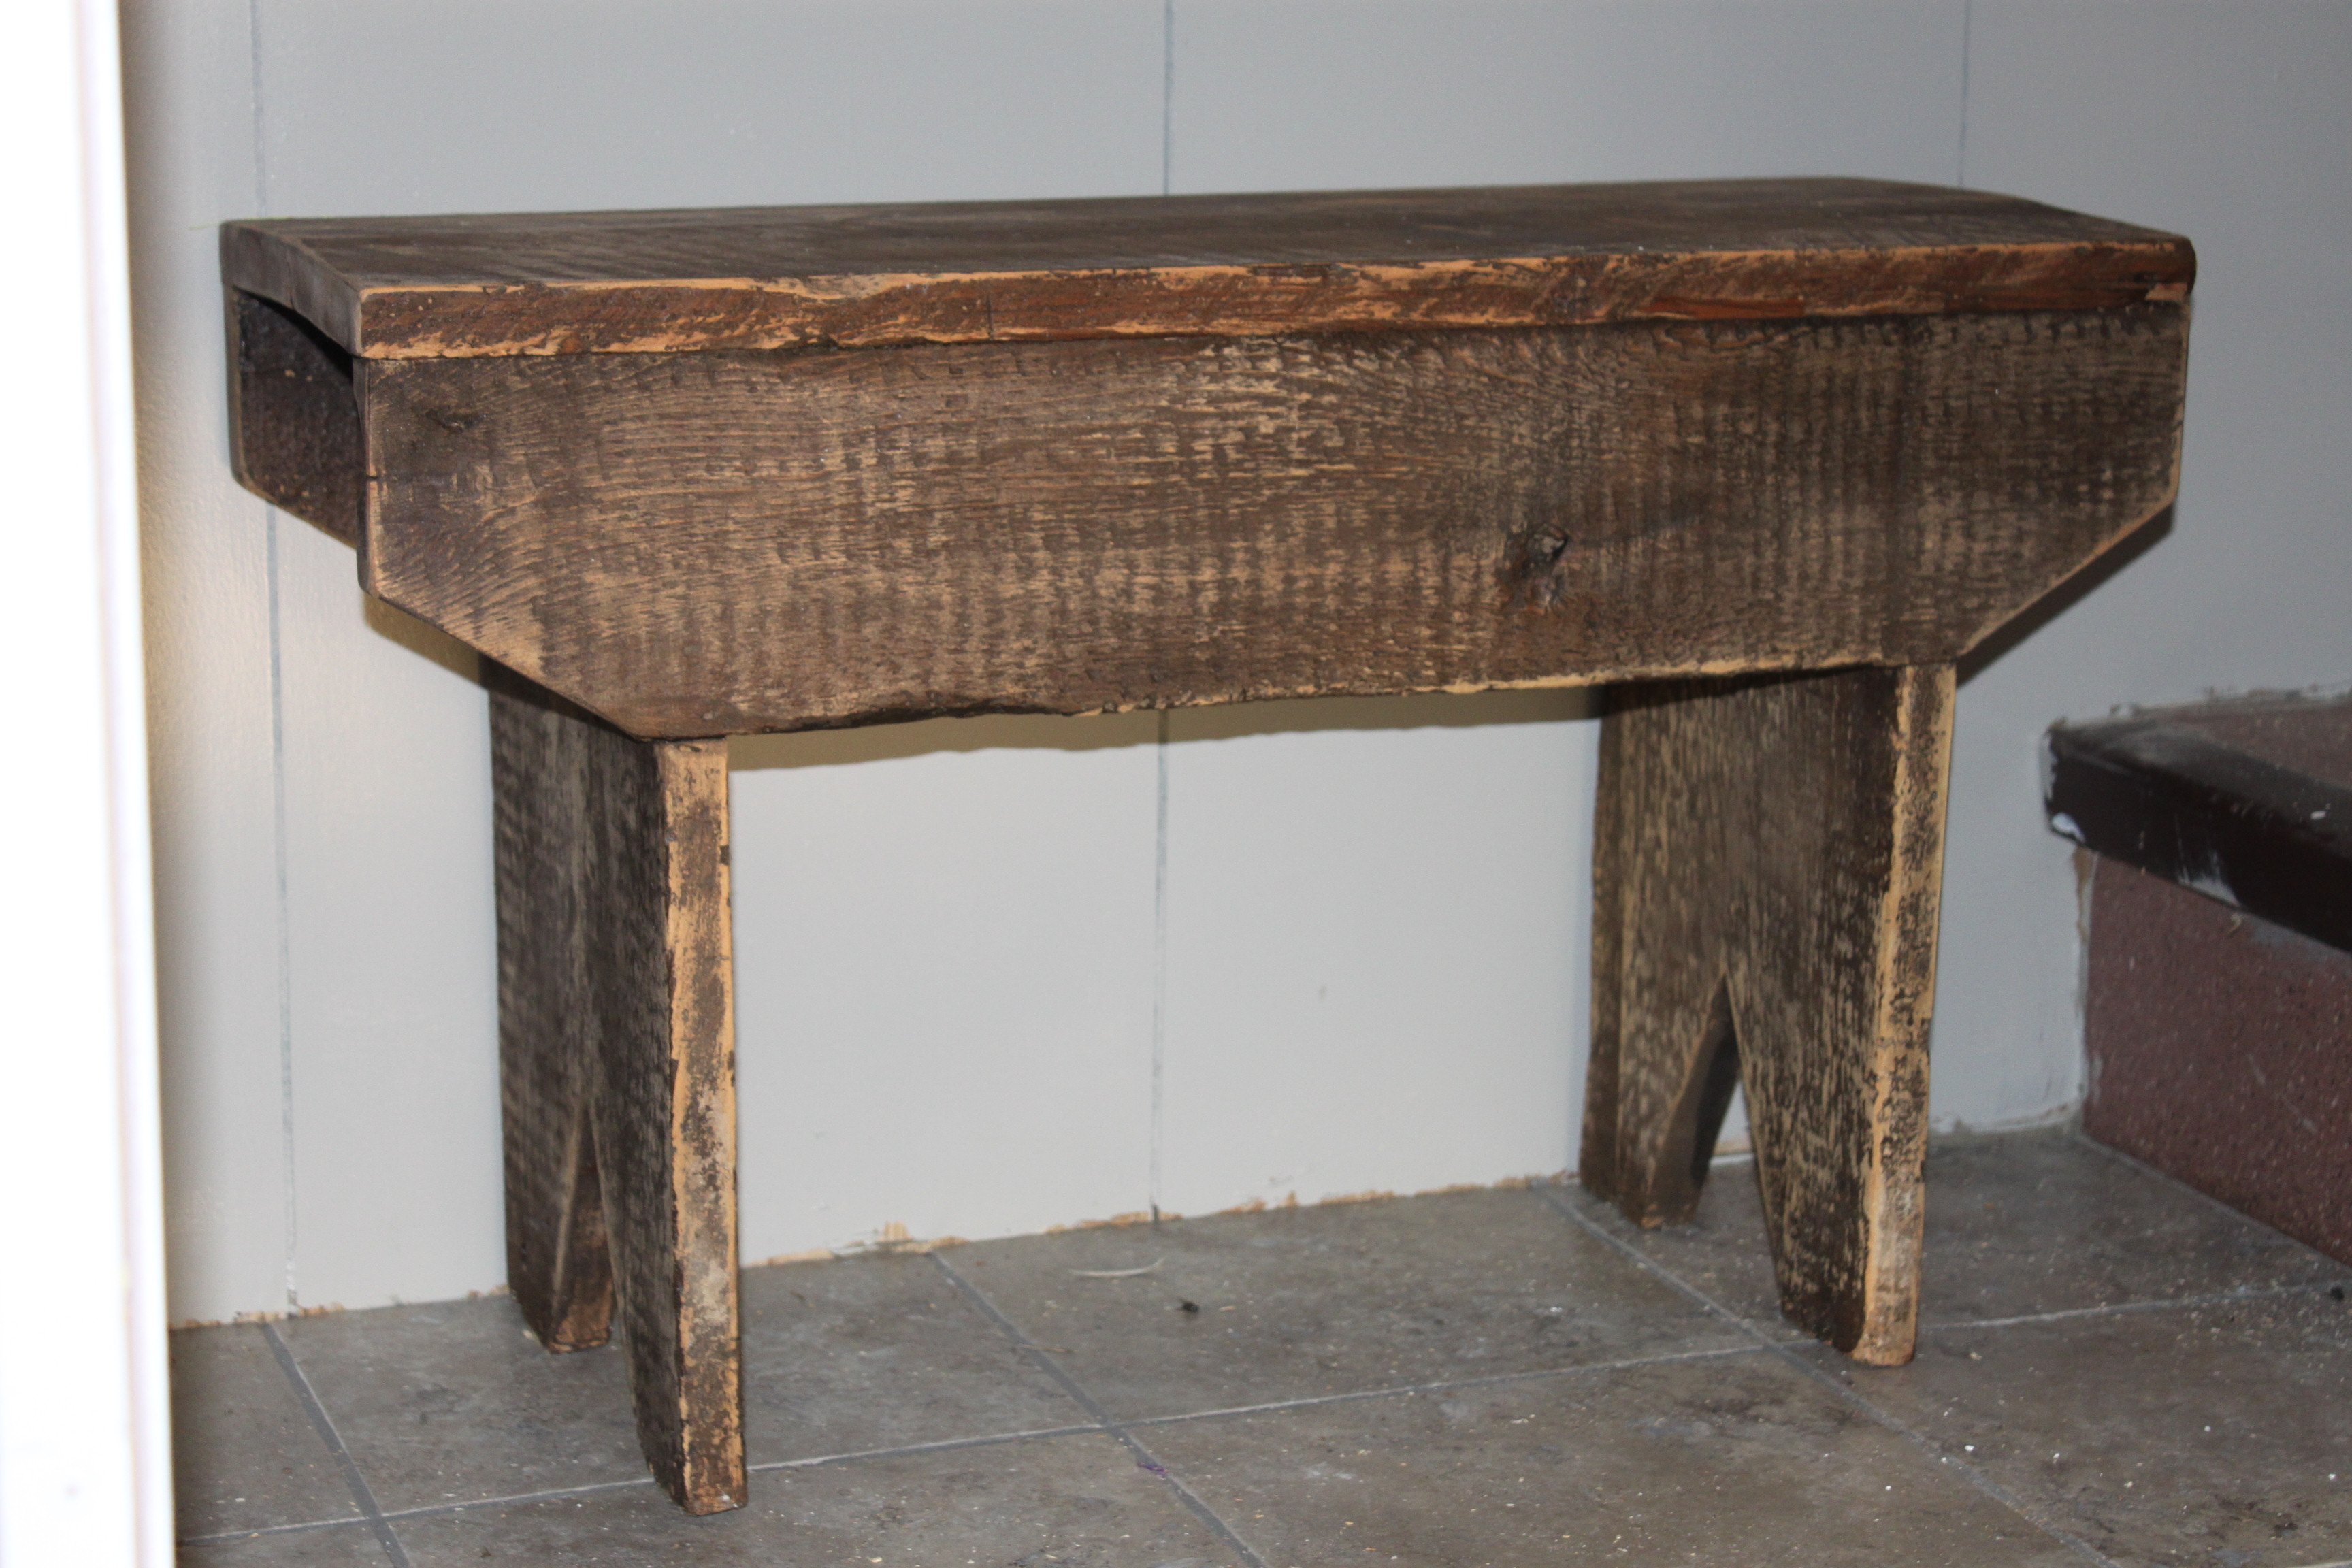
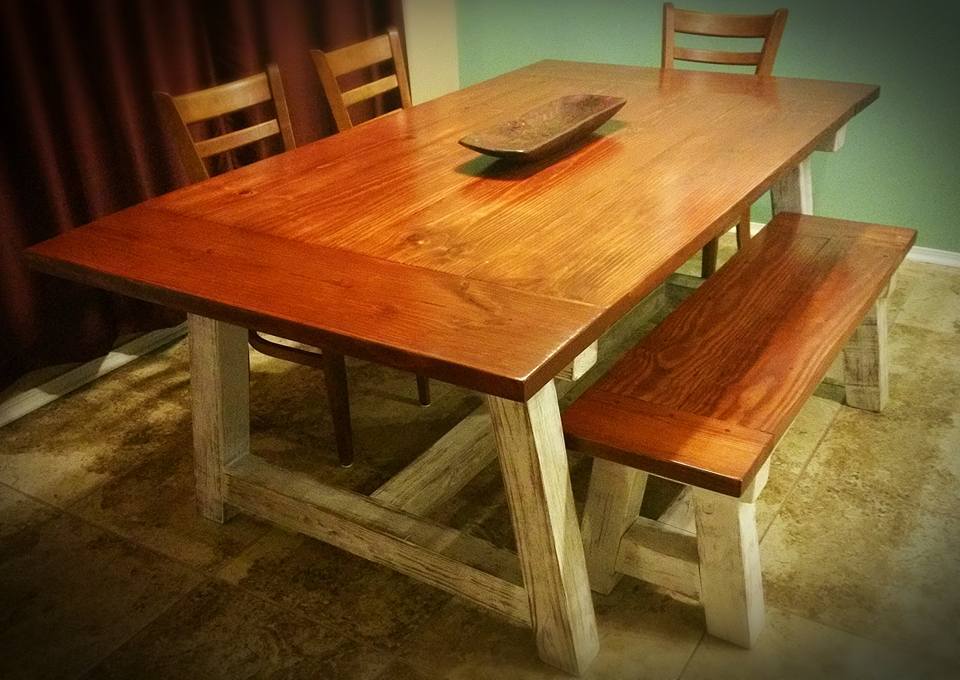
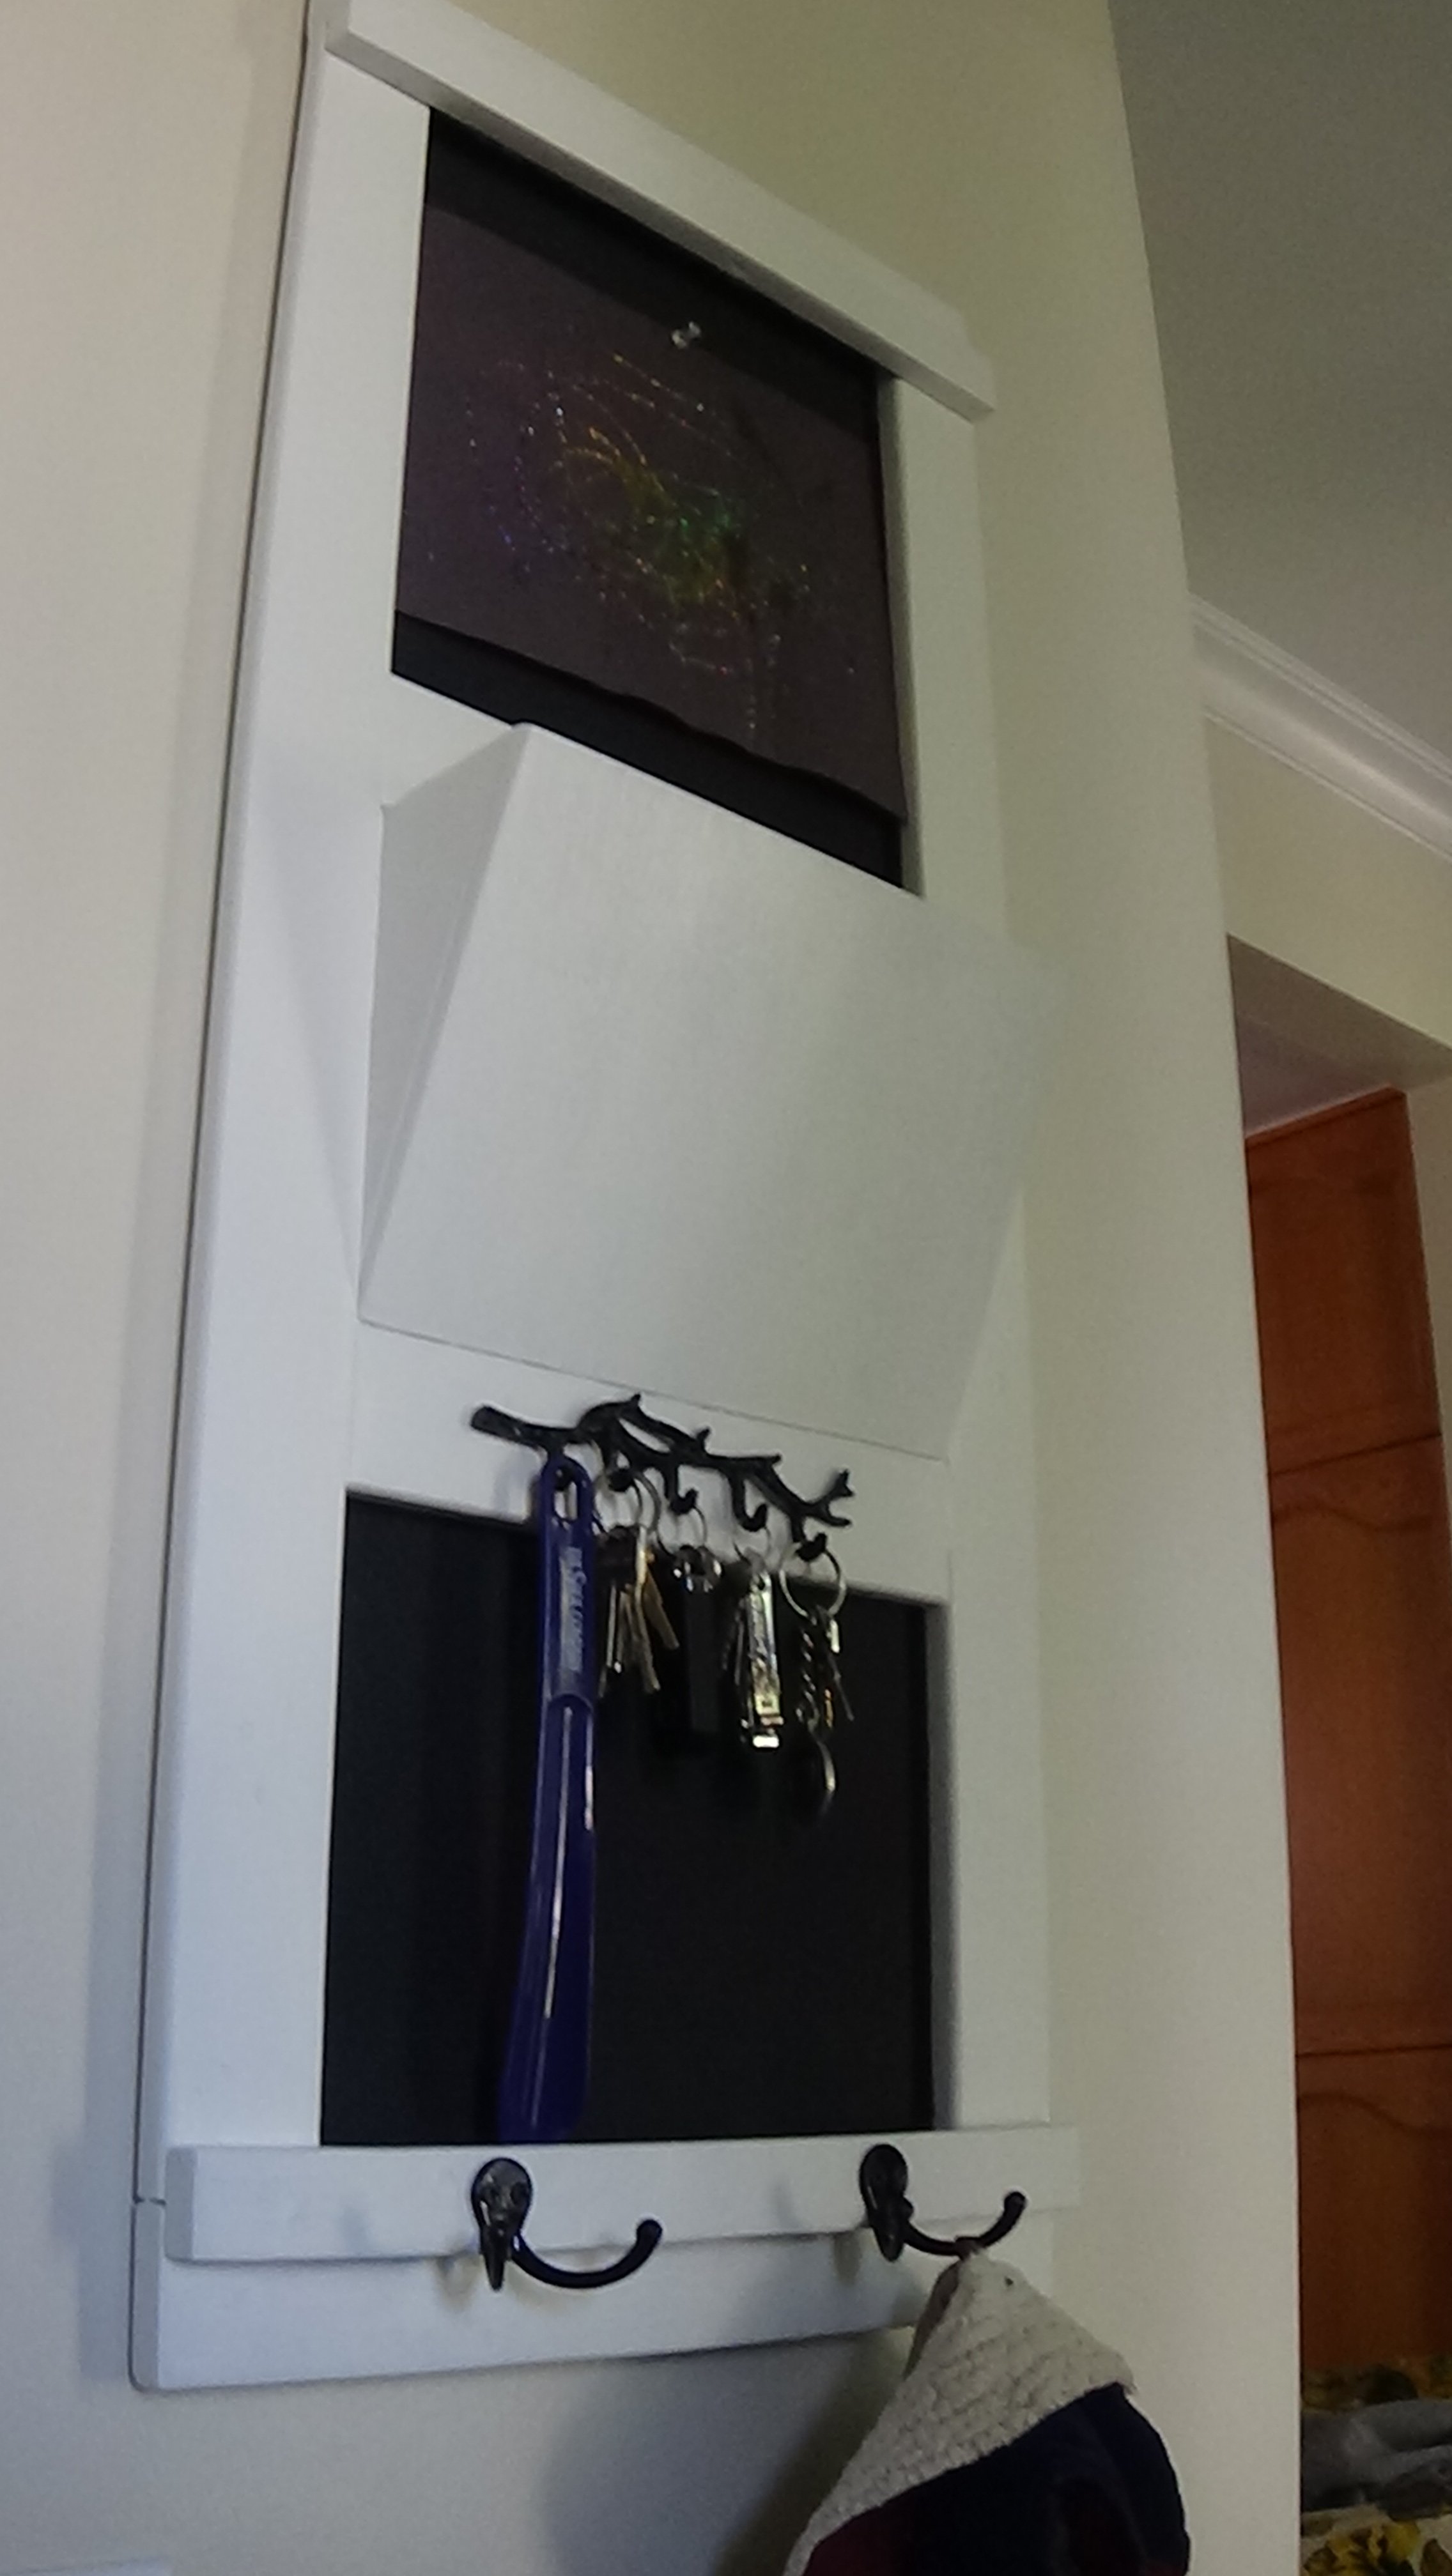
My husband was talking about going to burn some old boards, and when I asked about them - they were from a 100 year old barn! After some coaxing, he brought home a huge pile, and filed up his side of the garage. I've been looking for something to do with them and I found your site! I'm so excited for all the projects to come. This was my first build (after a corner tv console that went horribly wrong, lol). I shortened the bench a bit to fit the small wall in our mudroom. This was a great plan, super easy and super quick.
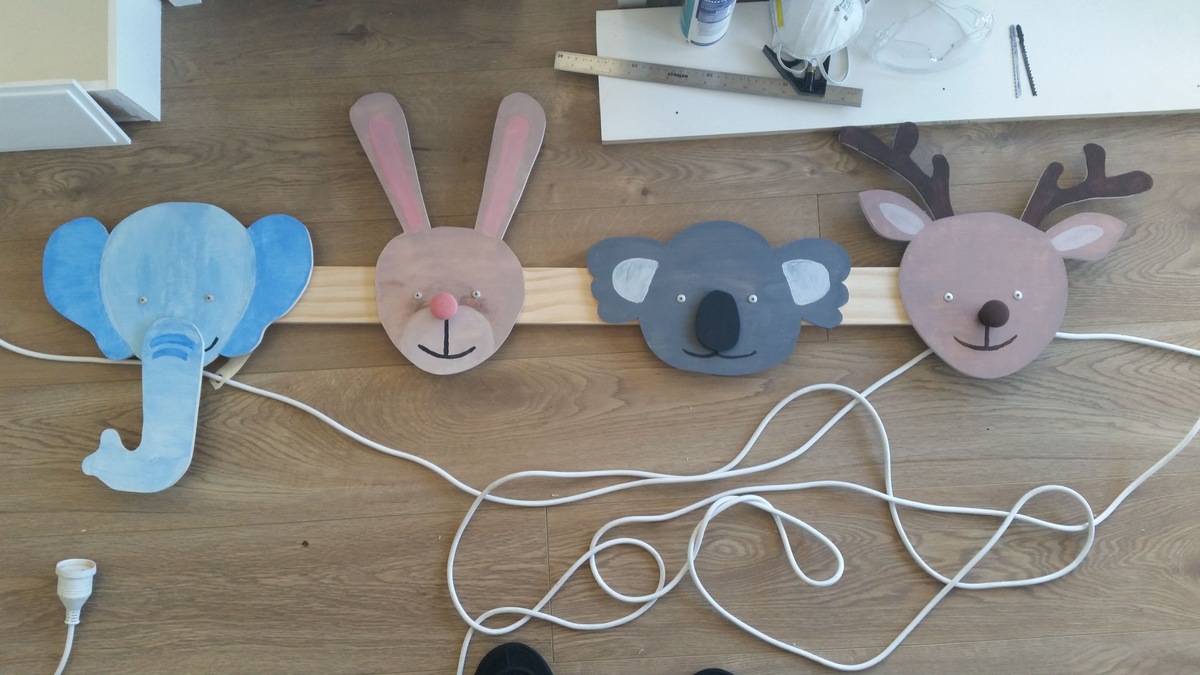
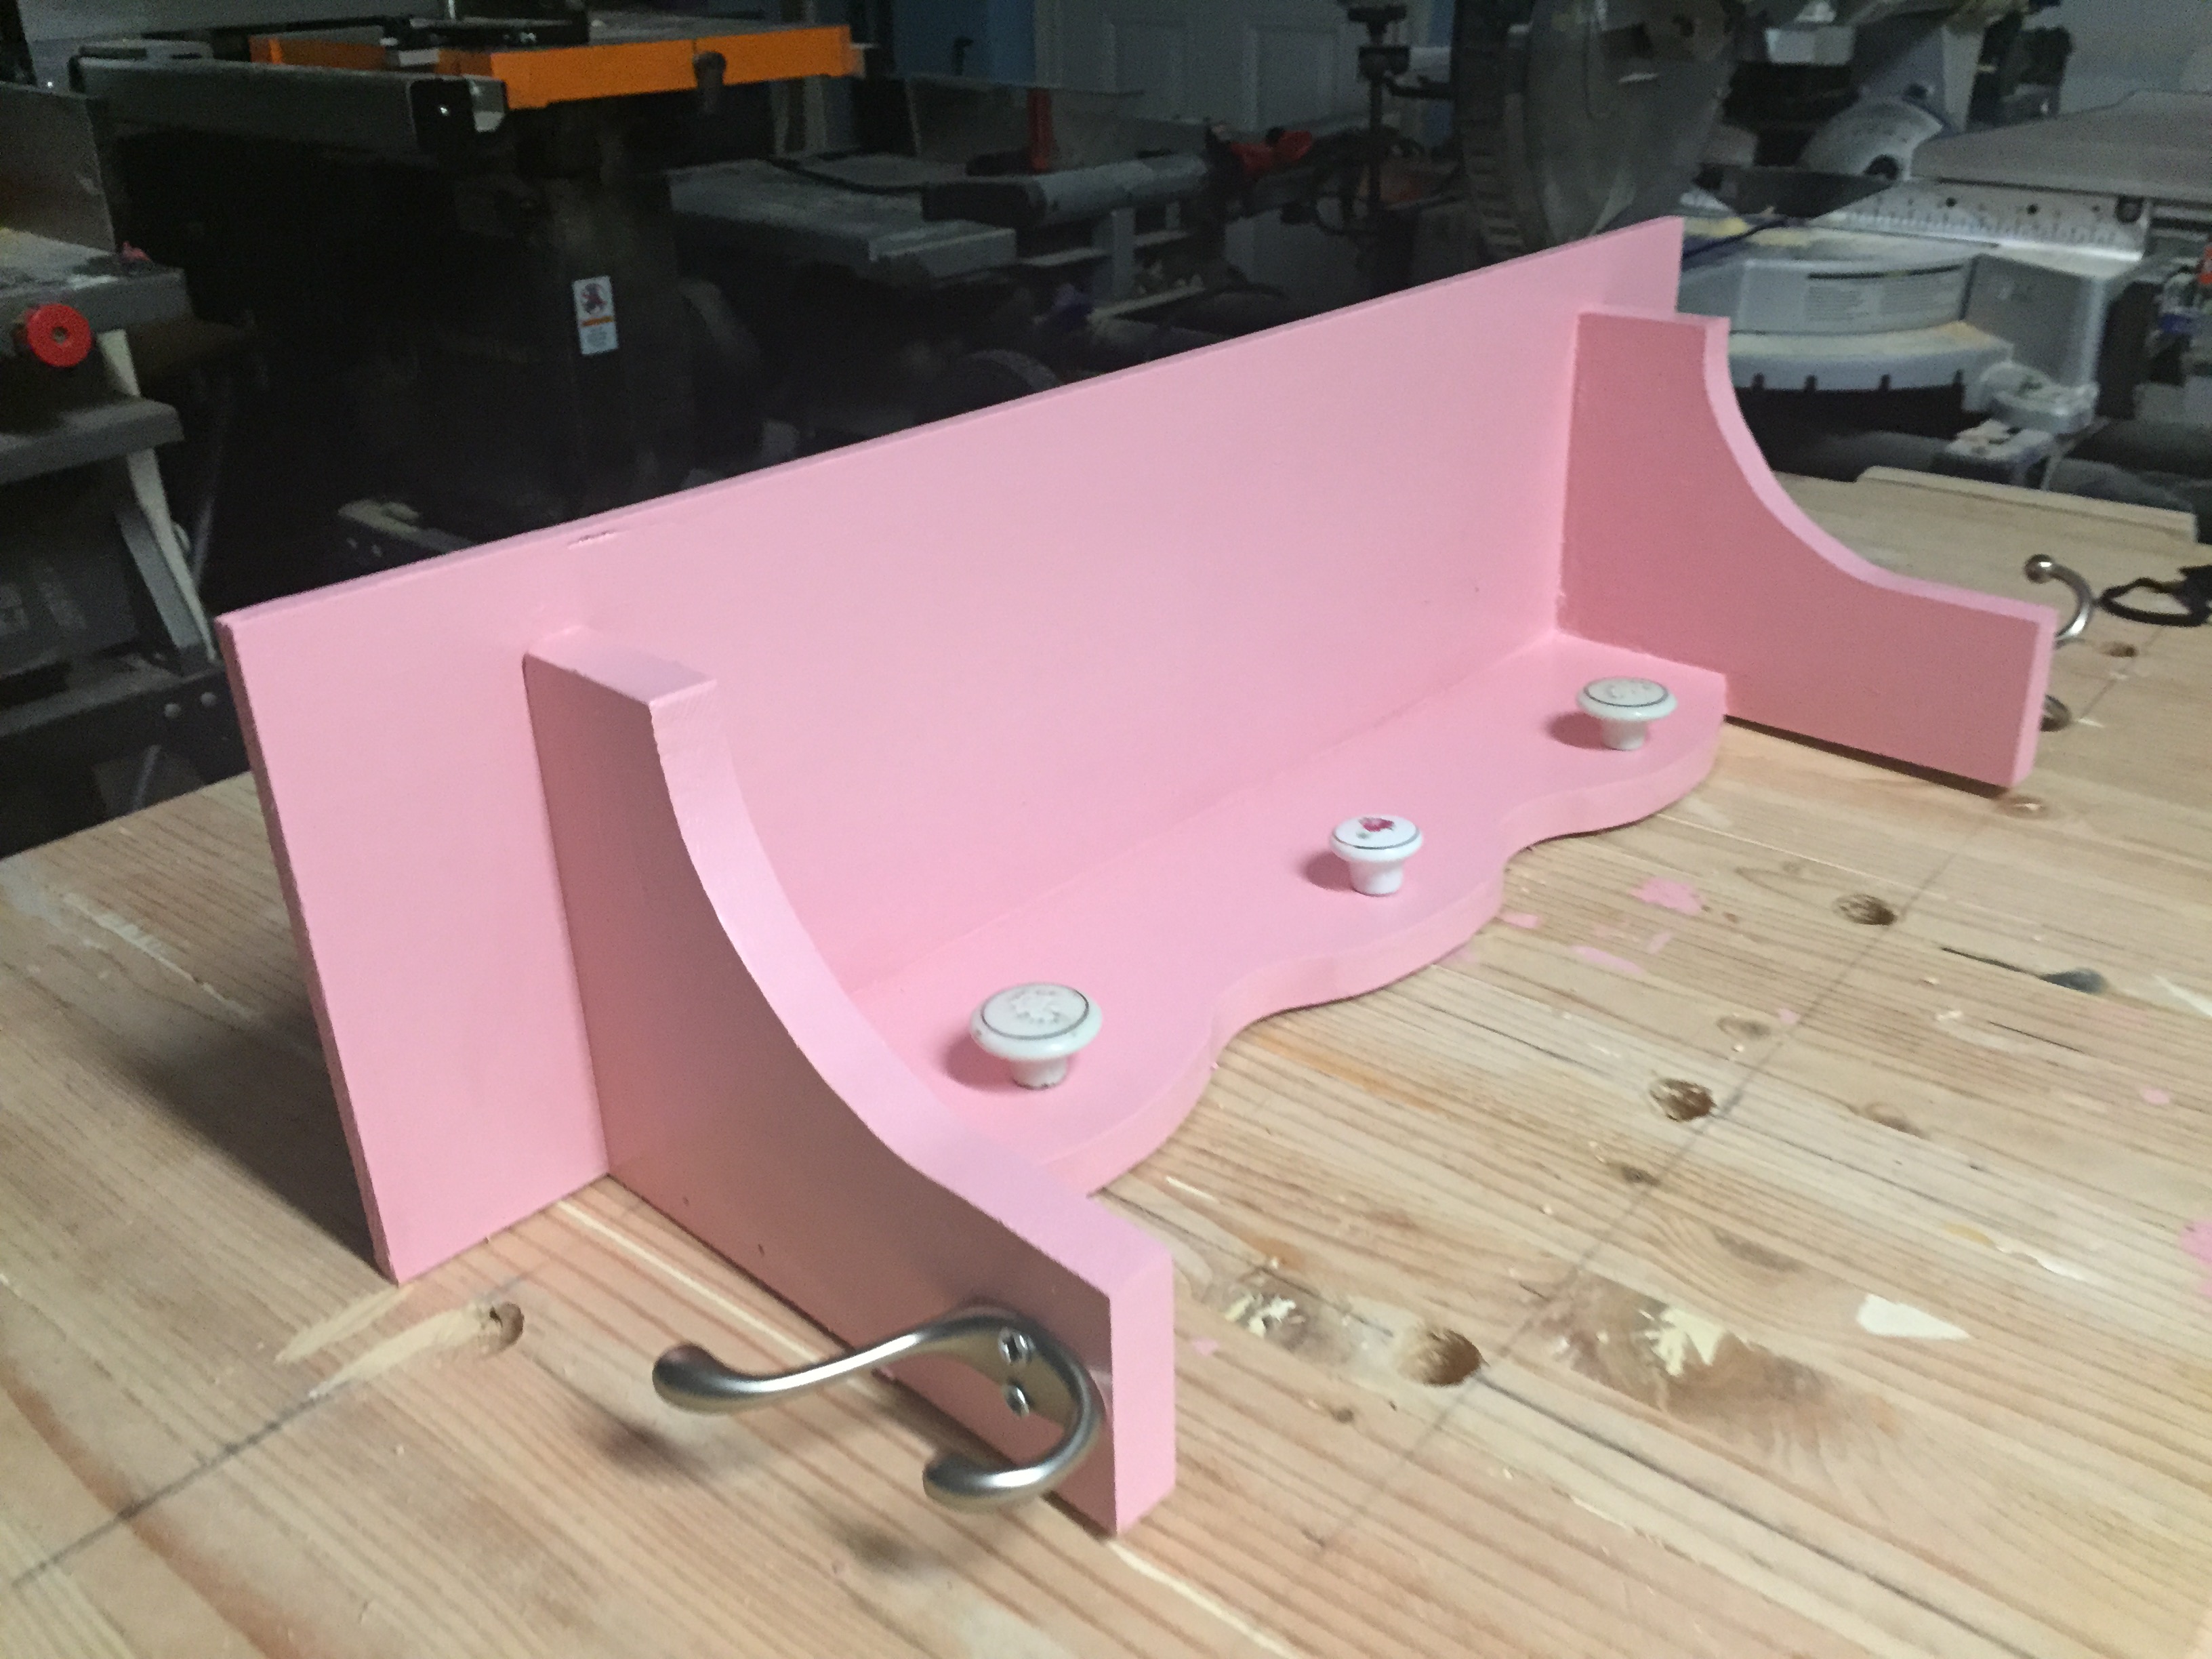
Inspired by the Woodland animal hooks, we made a variety of different animal hooks/knobs in a fun 1 day project.
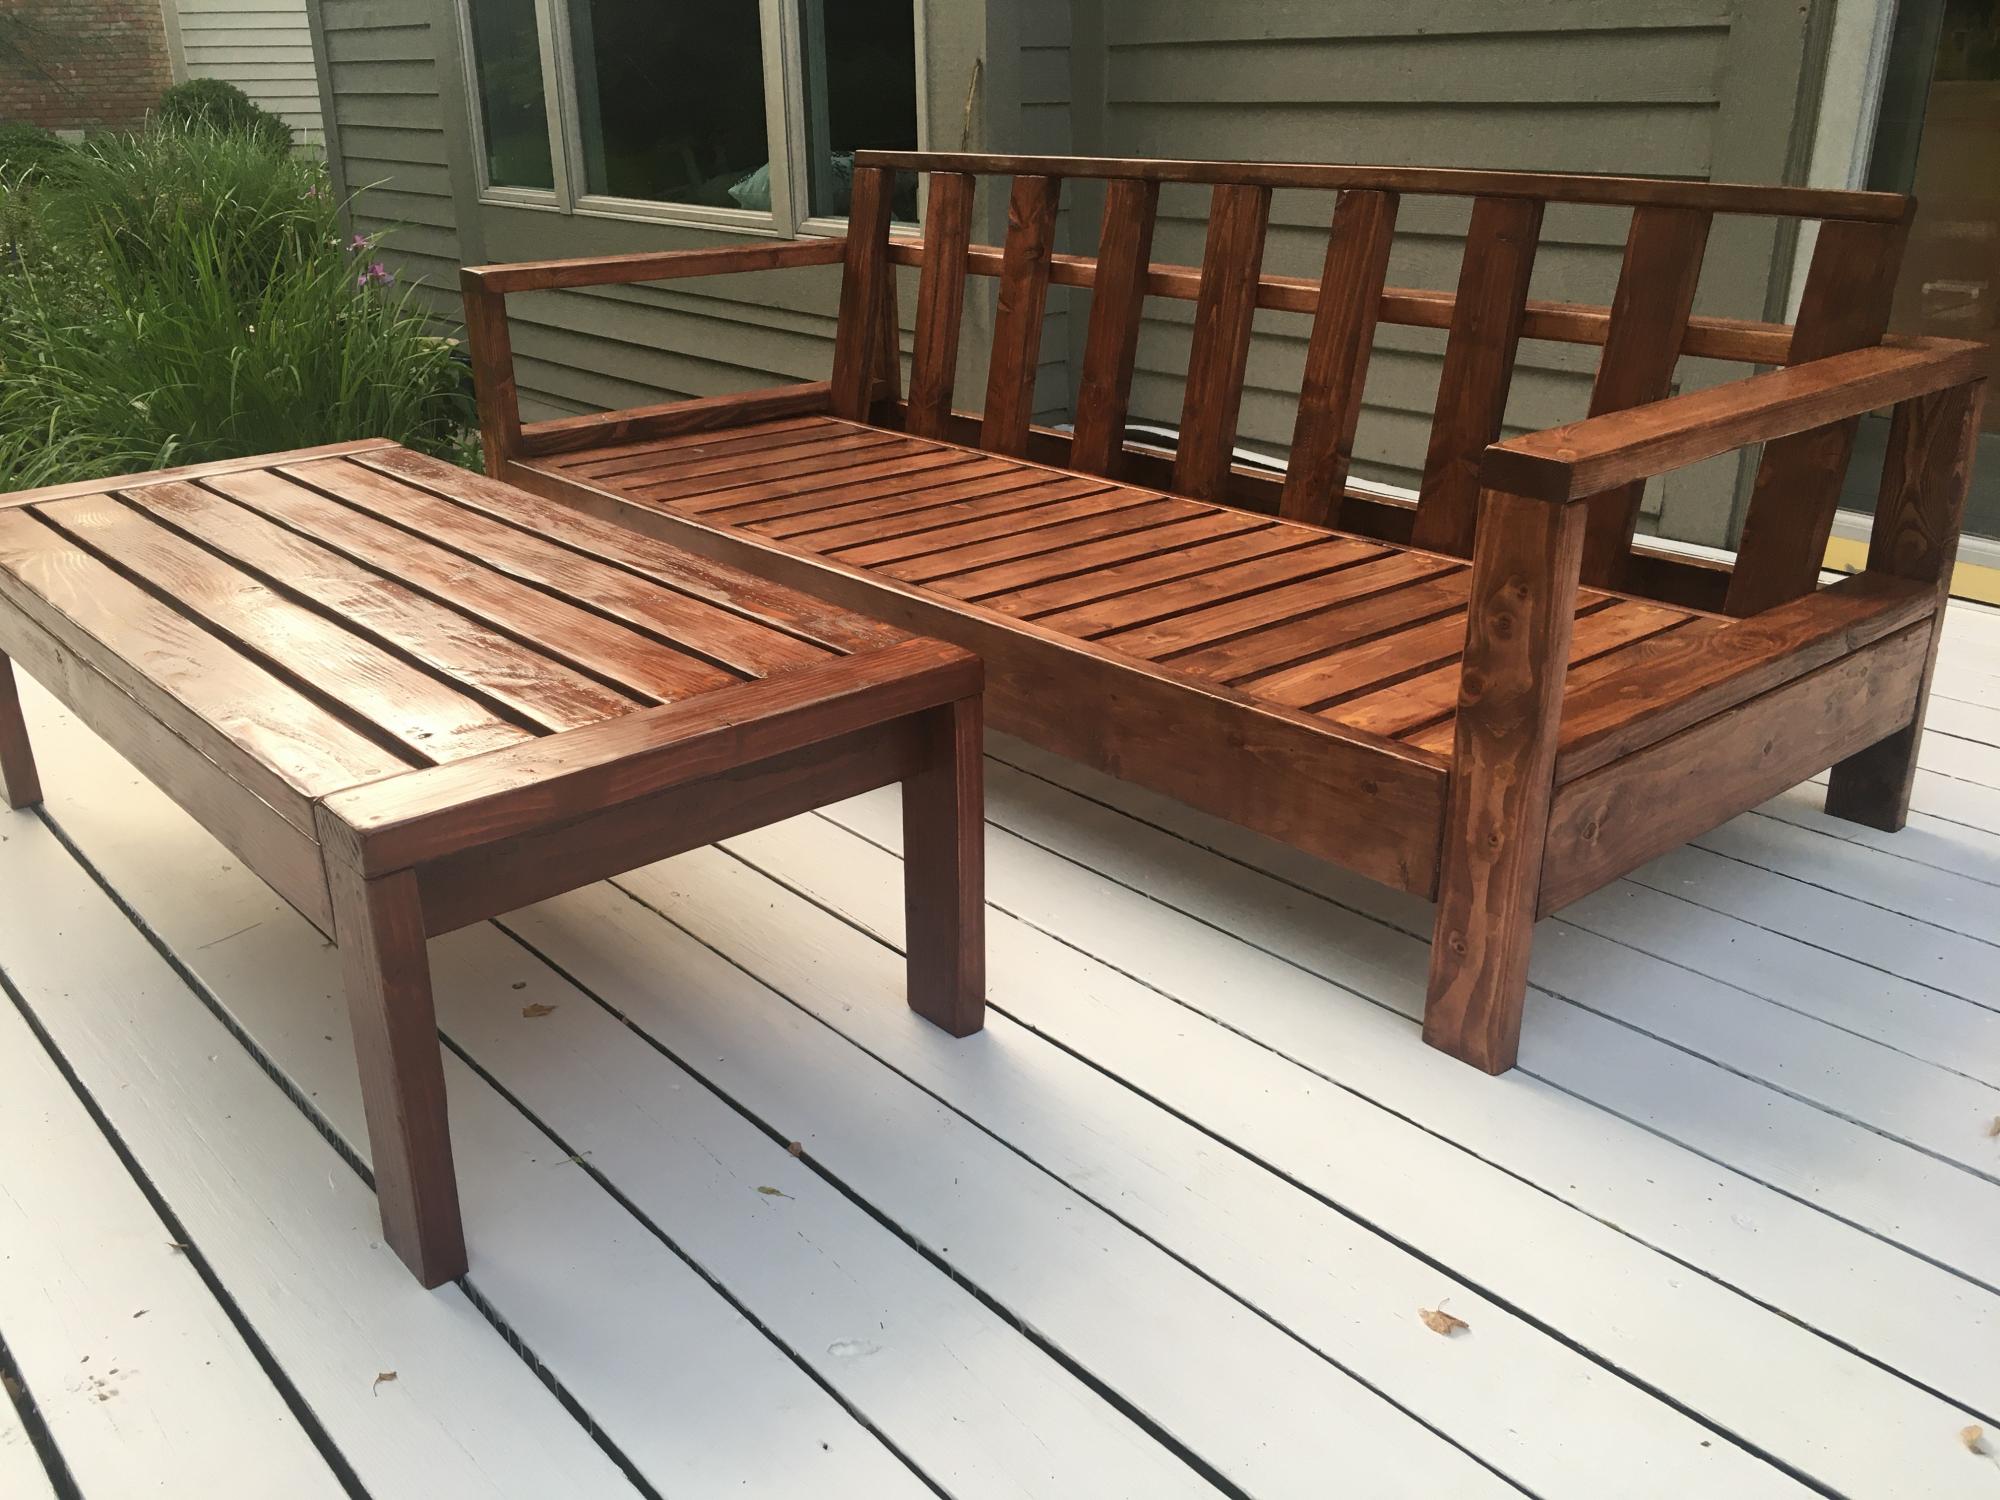
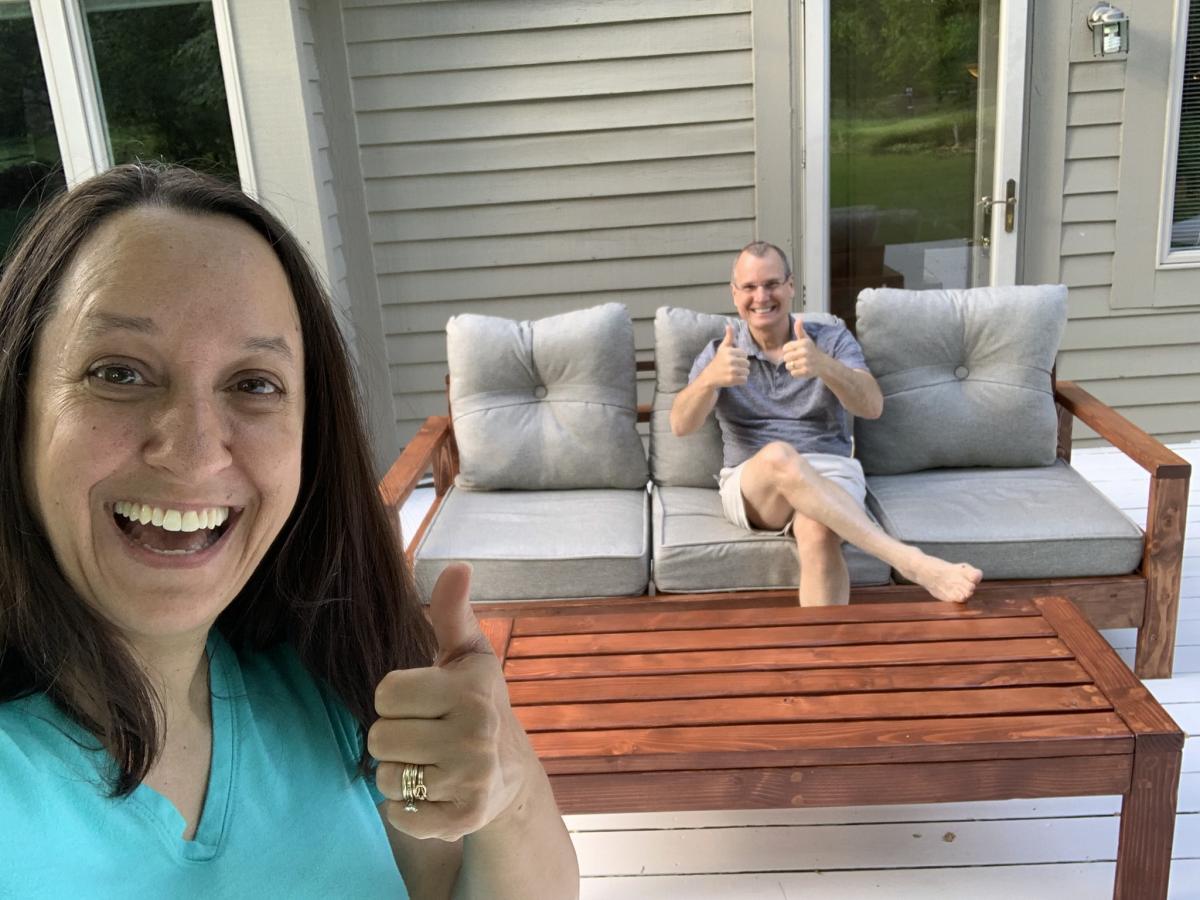
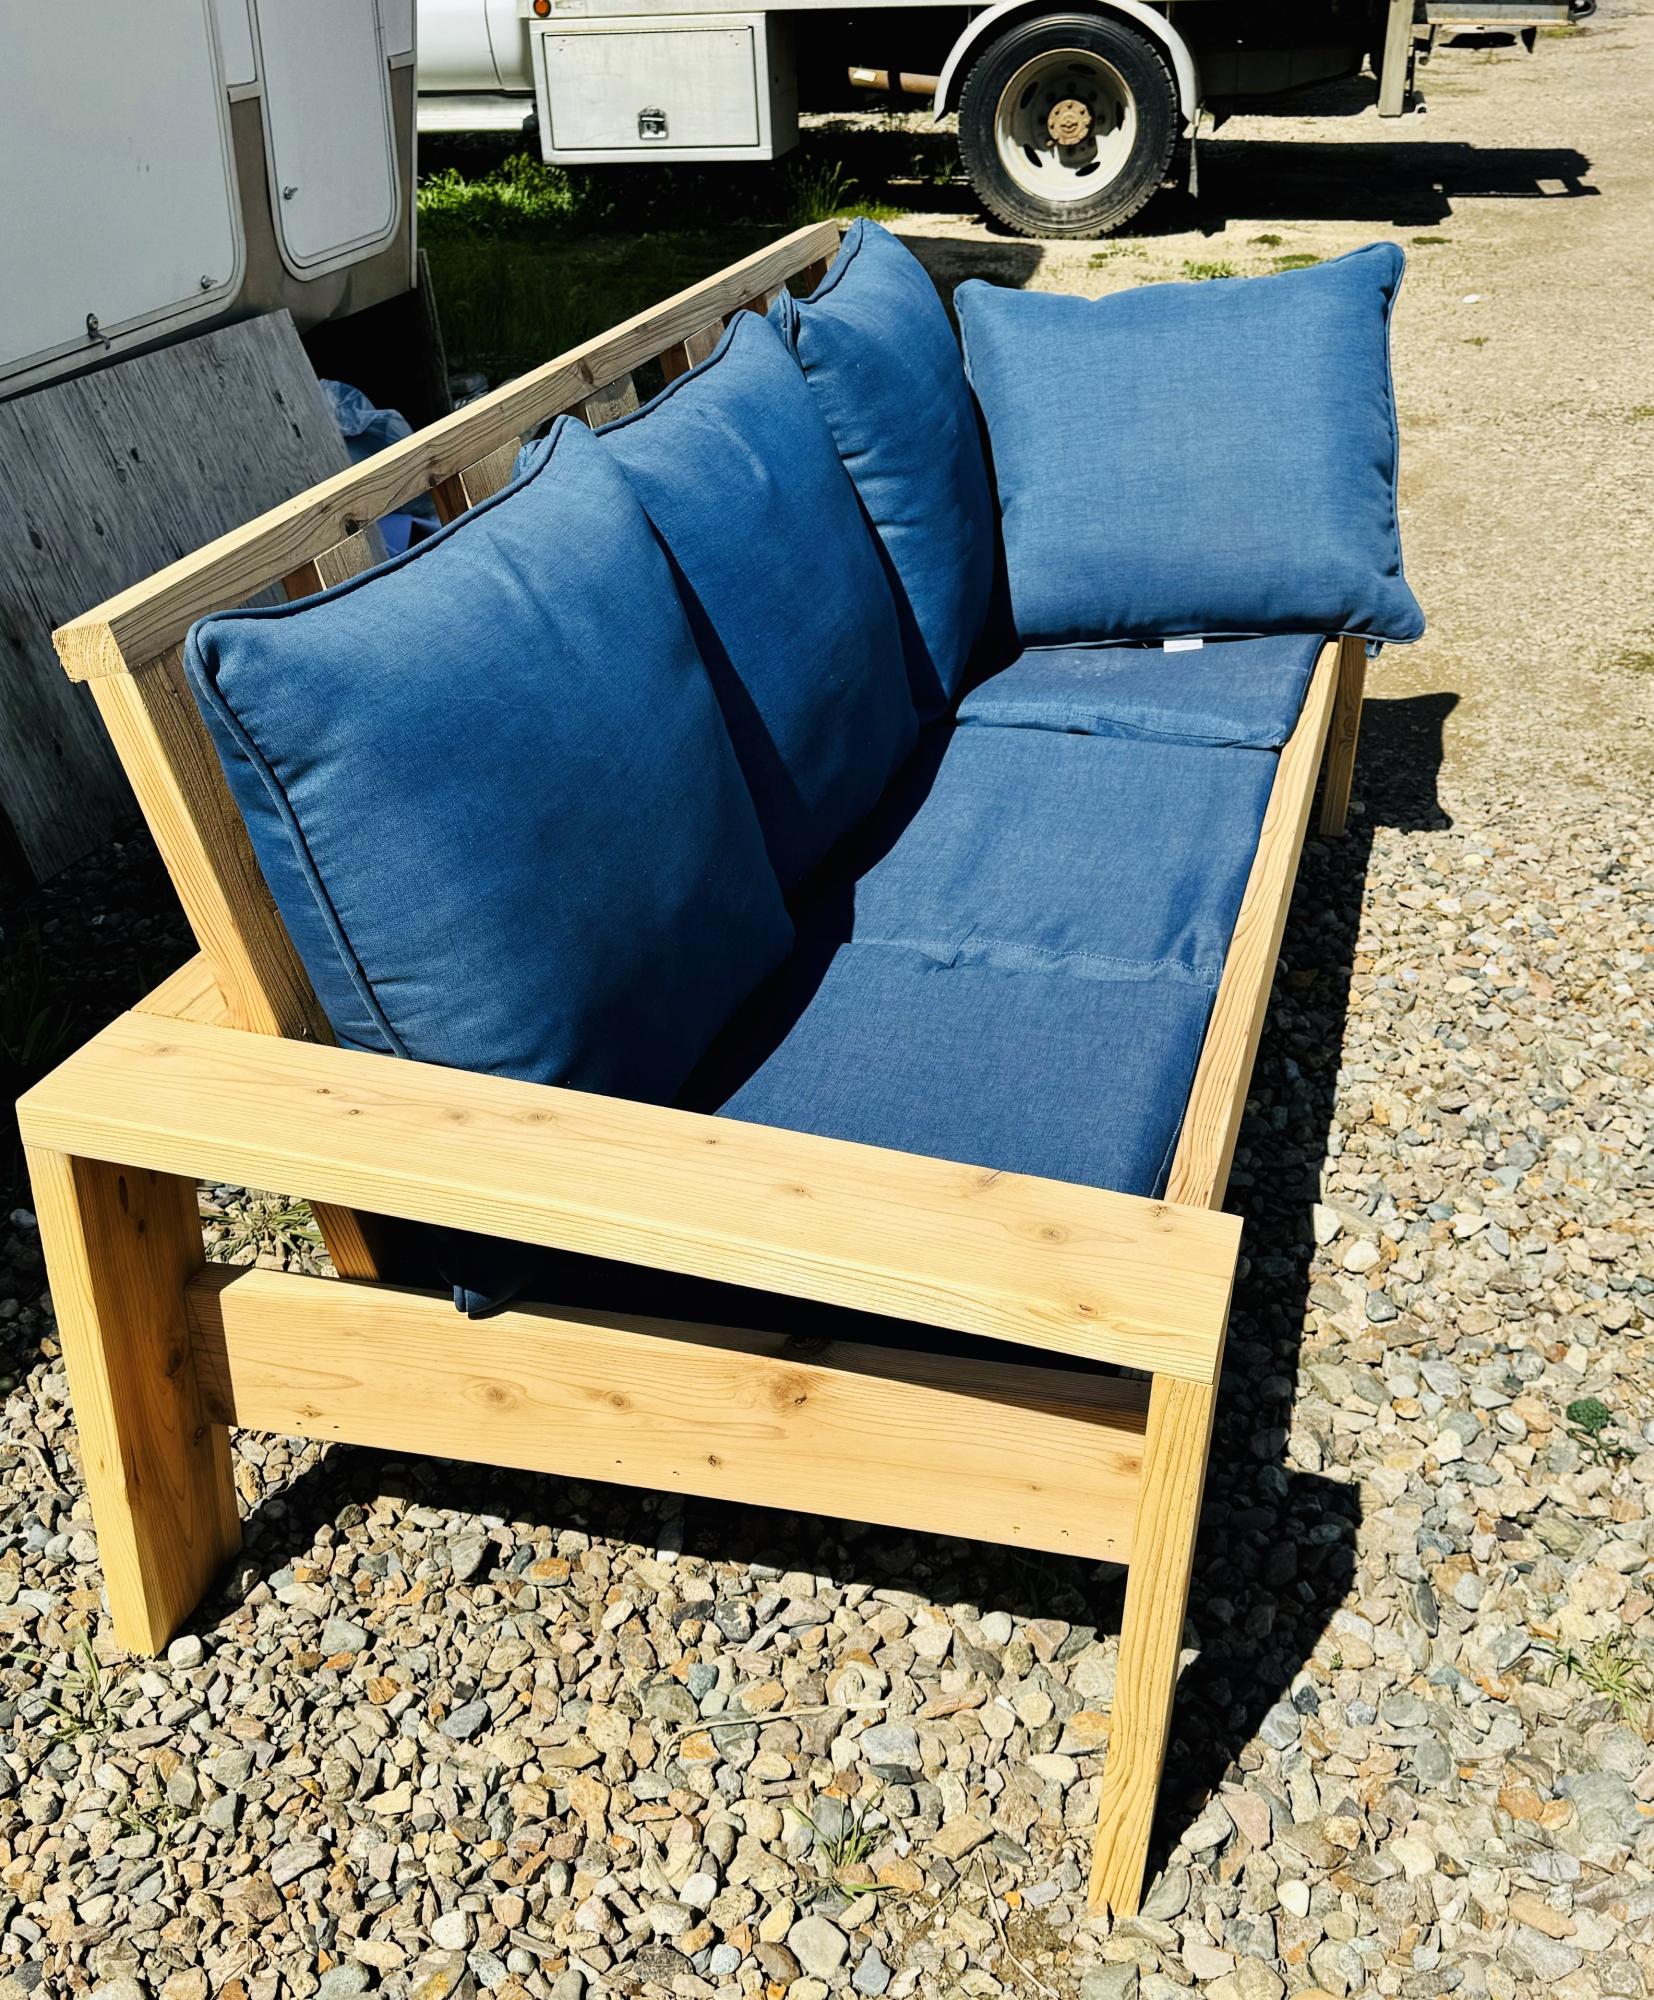
We are building memories and patio furniture! We're total beginners and we built an outdoor sofa and coffee table! My husband and I have never built furniture before and really needed some patio furniture as we prepare to host our son and his sweetheart's wedding reception! We learned that it's a lot of work, but so worth it!
The plans we used are from Ana White's website (Ana, you've made a wanna-be carpenter out of me!) https://www.ana-white.com/woodworking-projects/outdoor-sofa-modern-comf…

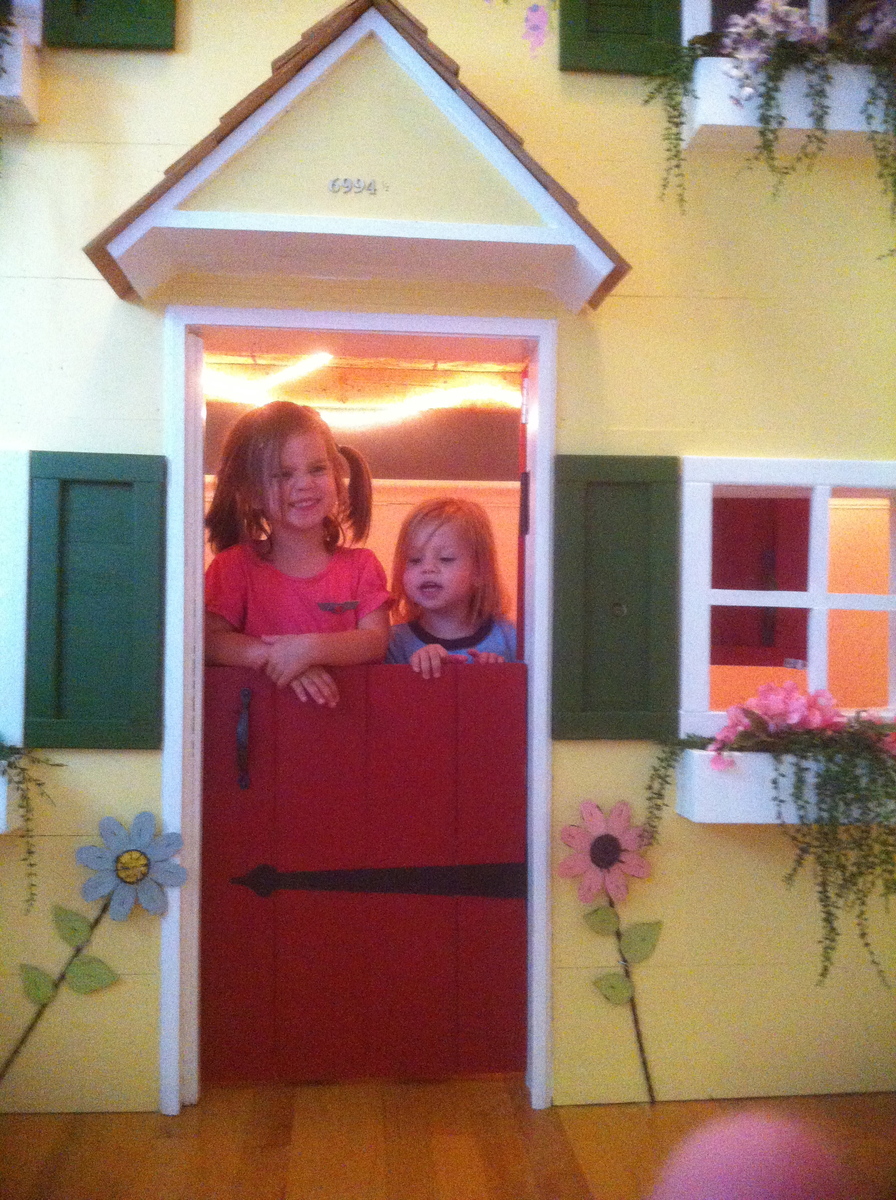
I started with the castle bed idea and it eventually evolved into this. It was very simple construction. I basically built 3 wall panels and screwed them together. I used 1x8 for the wall paneling. Then I attached 2x4 horizontally to the studs on the wall and the wall panels to support the plywood I put down to hold their mattresses. It's been a big hit. I added a doorbell and a mailbox, too.


Sun, 09/16/2012 - 08:37
I've showed my kids every single bed plan and brag on here and yours is the only one they both agree on! So it looks like I'll be busy for a while!
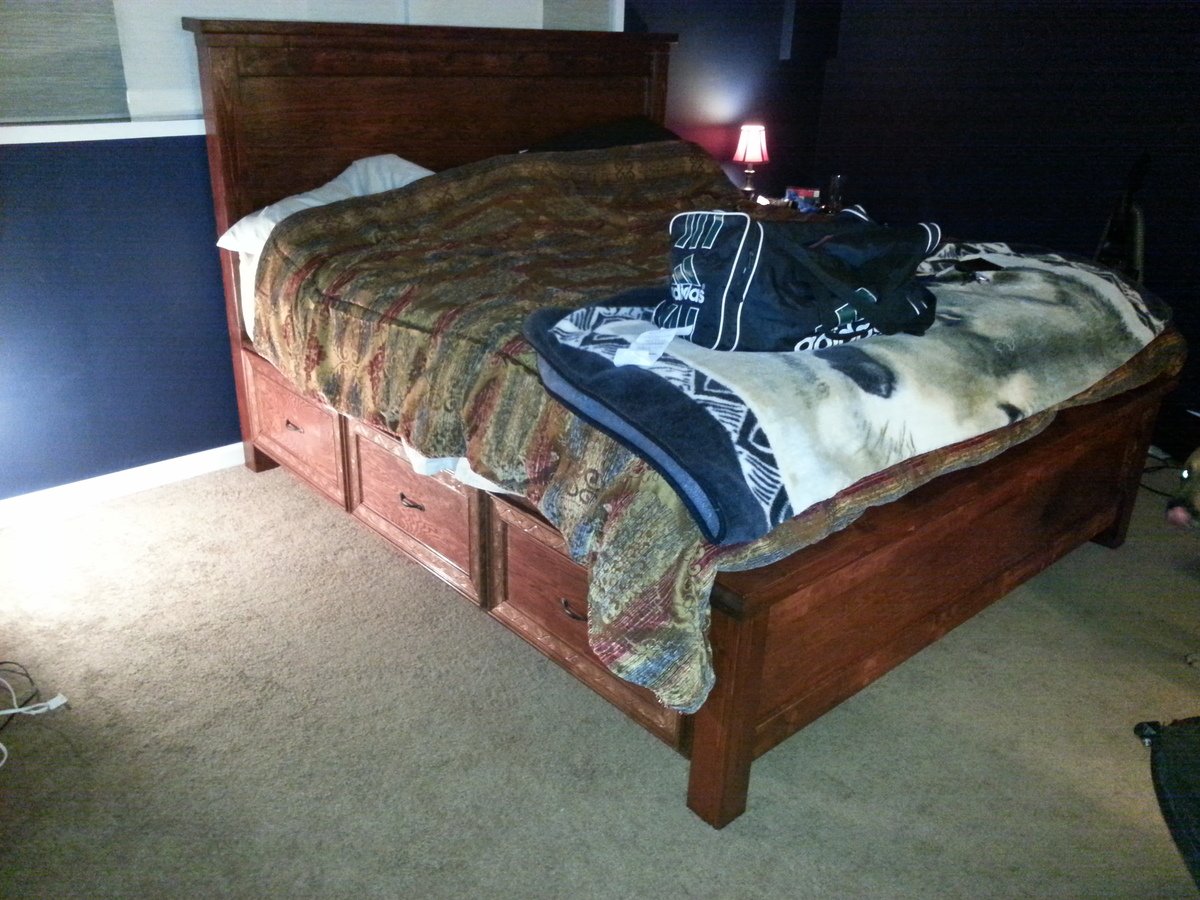
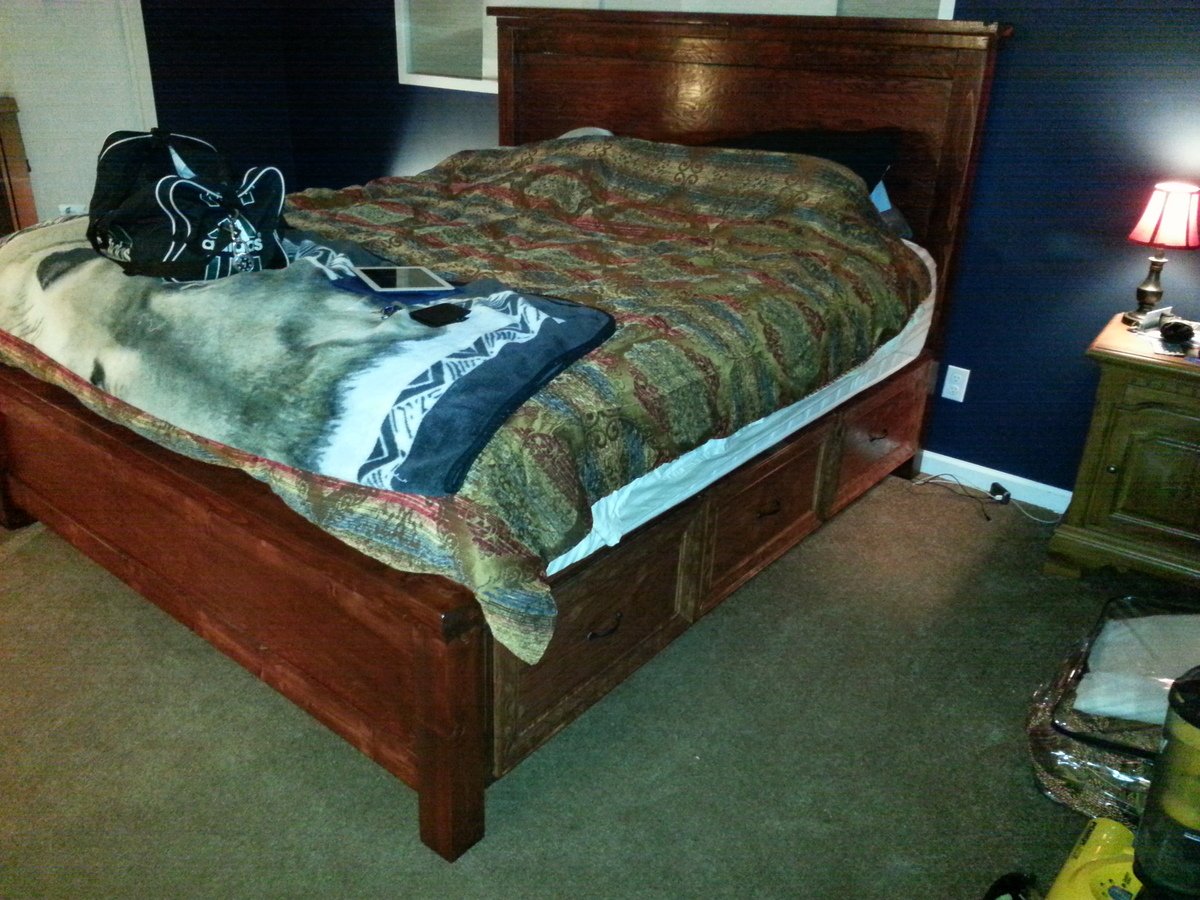
This was the first project that I have ever attempted, and I do believe it came out very nice. The color is red oak, and it has 3 coats of lacquer on it. I adjusted the plan sizes to make it from a queen sized bed into a king size bed. It took a lot of hours to build it due to measuring and cutting and ensuring accurate cuts, fitment, and square. The bed is made out of primarily Oak hardwood, but the 4x4 posts are ceder because Home Depot did not have oak 4x4 posts. The regular lumber (2x4, 1x3, 2x6 ect.) is white wood.
Sun, 12/28/2014 - 22:40
Love the bed. I am glad that you were able to make it work. Is there anything that you would change? Do you have enough support in the middle? Storage? I am trying to make the conversion from queen plan to king plan. Any thoughts would be great. Thank you.
Mon, 01/19/2015 - 23:58
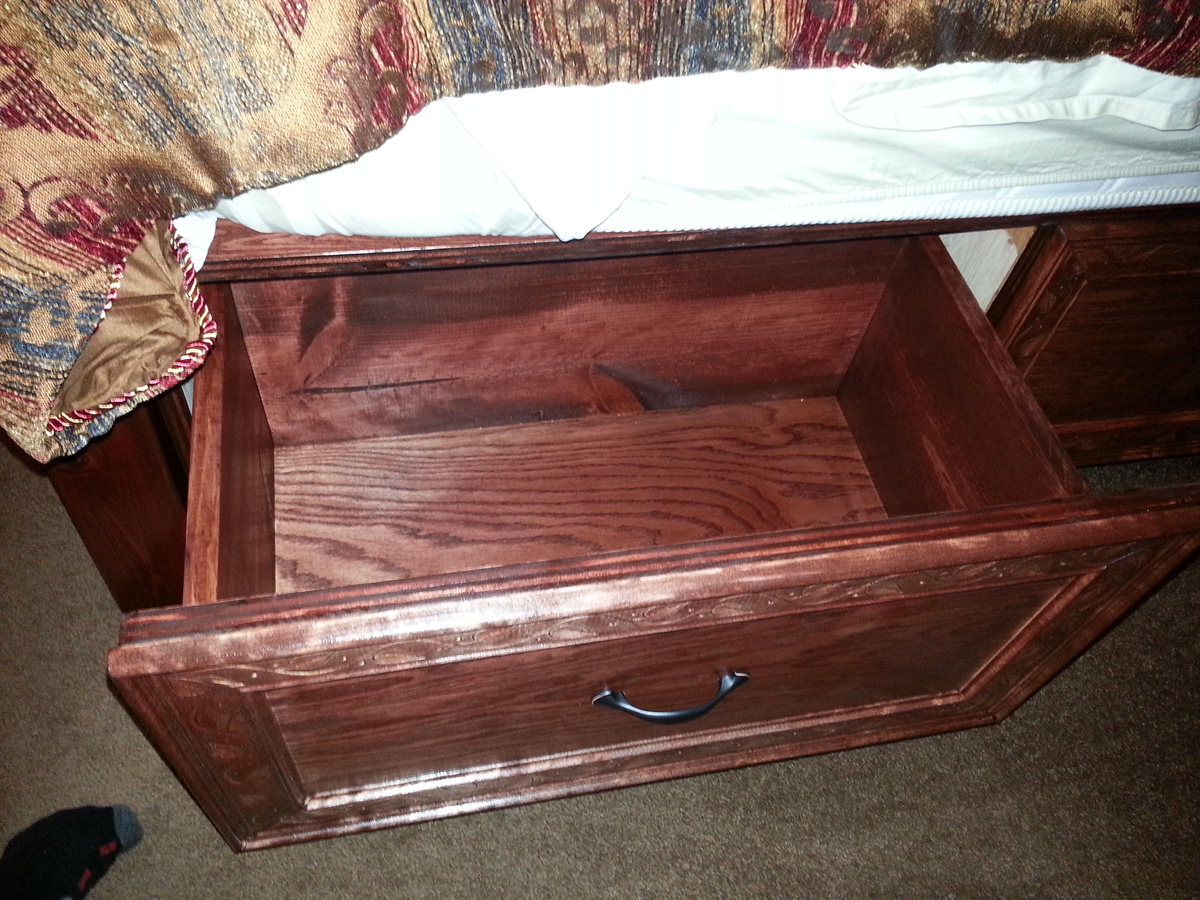
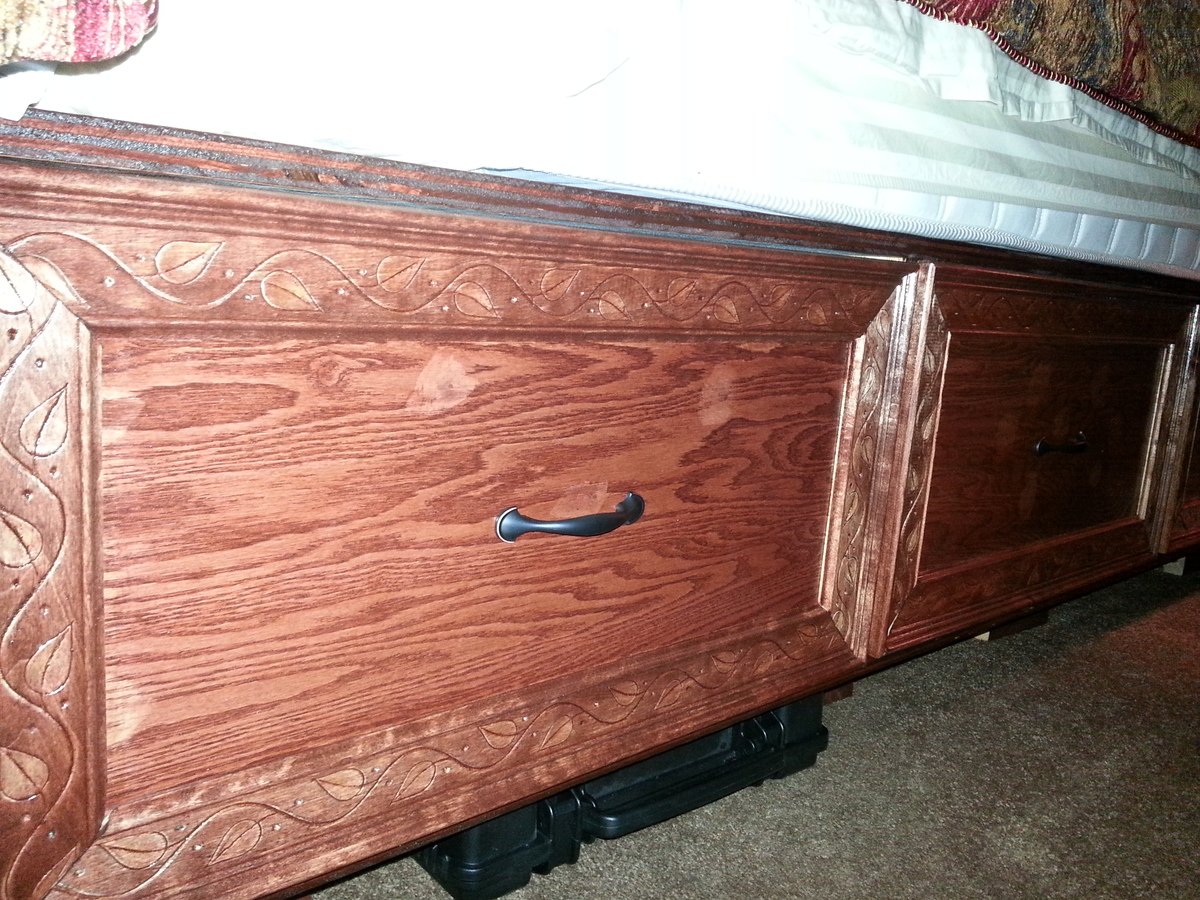
Thanks our for the comment, i would not change my ha of anything inn. the. Not thing I think I think i change and still might in the future is to make the drawers come out a littler further so the faces do not try to sit completely flush and come out about an 1/8 of an inch so the trim I have on it would sit a little more flush and not try to push against the bed.
As for support the is more than enough support in the middle. There is enough cross braces where there is only about 1/2" between them. Also for additional support I used 2 4x4 scap piece in the middle-ish of bottoms of each side on the bottoms. I set them about directly center of the sides of th center drawer. Also for the brackets I used thick house framing brackets with 1/2 bolts because I have been moving a lot over the years so it comes apart easier. If you would be more interested in that I can send additions all pictures.
Hope this helps you, the bed is extremely sturdy and we absolutely love it more than any bed we could have purchased from a store.
Sat, 12/31/2016 - 07:56
Hi Great Job. I saw your previous comment. "Also for the brackets I used thick house framing brackets with 1/2 bolts because I have been moving a lot over the years so it comes apart easier. If you would be more interested in that I can send additions all pictures" Where did you put the house framing brackets and 1/2 bolts? We are in the process of building two twin beds with storage and the easy take down part is something I am mentally trying to wrap my head around. If you have pictures of this as well that would be super helpful. Thanks so much!
Thu, 06/18/2020 - 19:25
Do you have measurements for how you altered to a king size
Tue, 02/22/2022 - 08:13
This looks great! I am making the king size version and am also wondering if you have a modified list of measurements?

This organizer is perfect for an entry way! Hooks are at the hight of my toddler so he might learn one day to keep his coat of the floor. Few things are different from Ana's . I do not own a tool to make pocket holes so I had to improvise a bit and I used an old yoga mat instead of pin board. Thank you for this one!

Lovely easy to follow plans even if i had to change all measurements into metric and wood just slightly different size. Really happy how it turned out
Two projects that I recently built for my wife and my daughter. My wife wanted a tea bar and a beach vibe, my daughter wanted an outdoor couch so it is made out of cedar. They both loved them.
Todd Springer

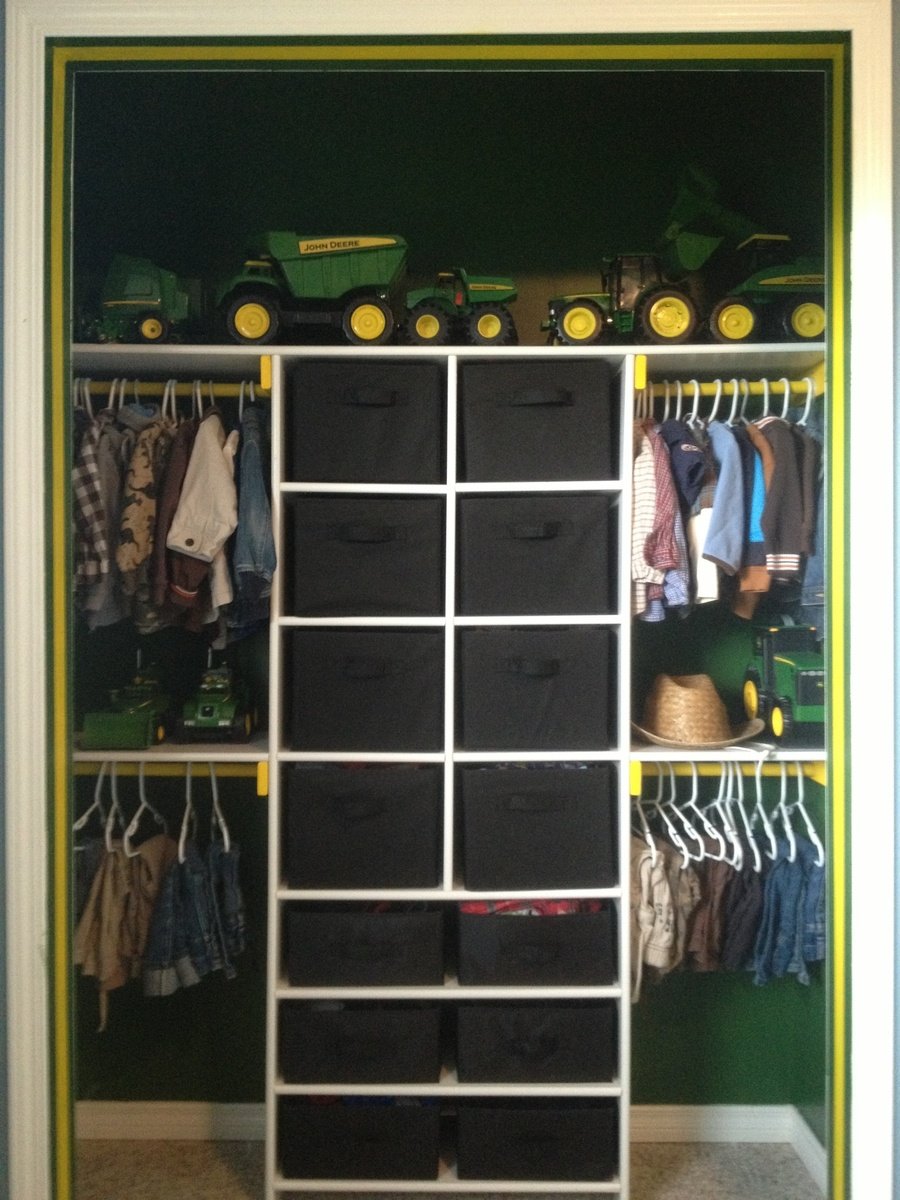
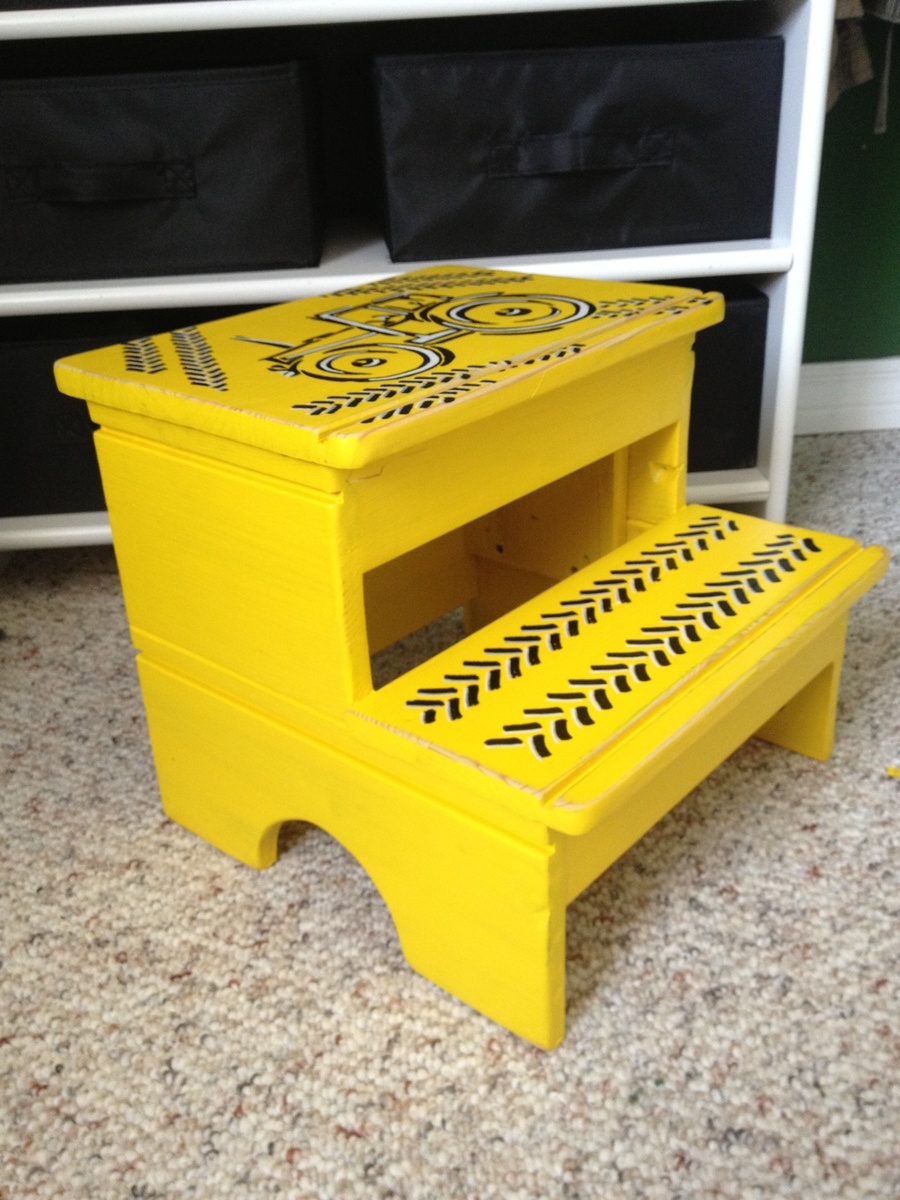
My one year old needed a step to reach a little higher in his and his brother's "Just My Size" John Deere themed closet so my boys and I set to work. We used Ana's "Easy Vintage Step stool" plan for inspiration but modified it to make use of the scrap wood from an old dresser. My three year old took every screw out of the old dresser all by himself and they both helped assemble the stool. They love it that much more having had a hand in the build. Thanks Ana for inspiring me to take on a hobby my boys and I can enjoy together!
Perfect for for my living room

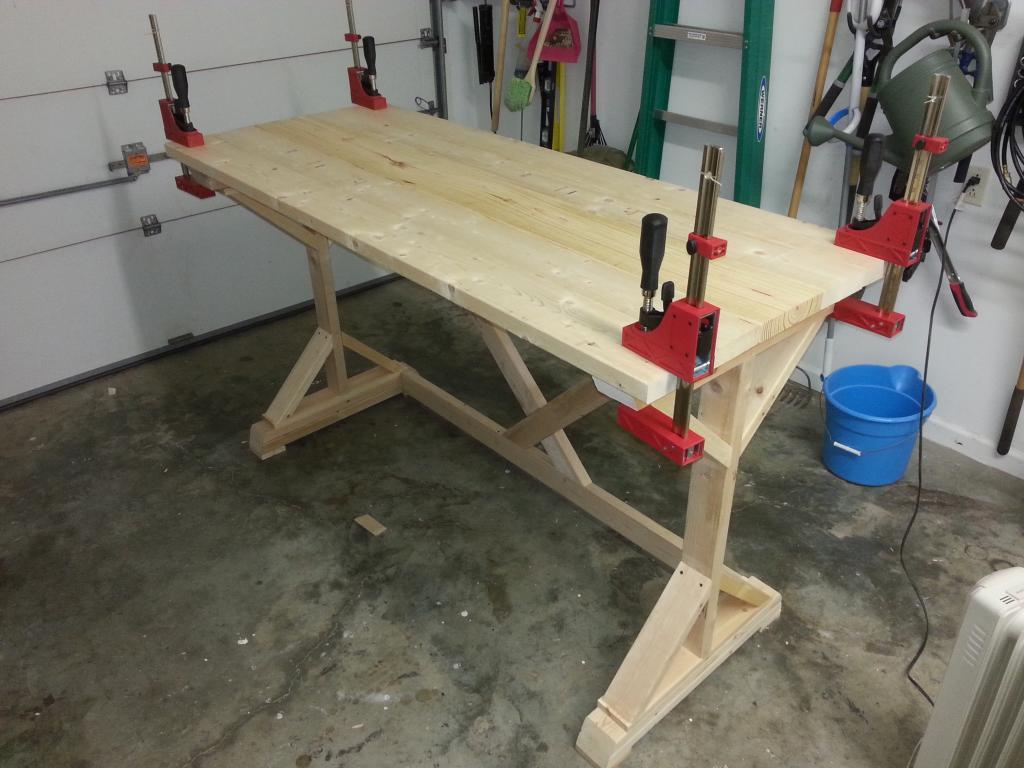
Farmhouse Table with pocket holes.
Duffsdesignsnc
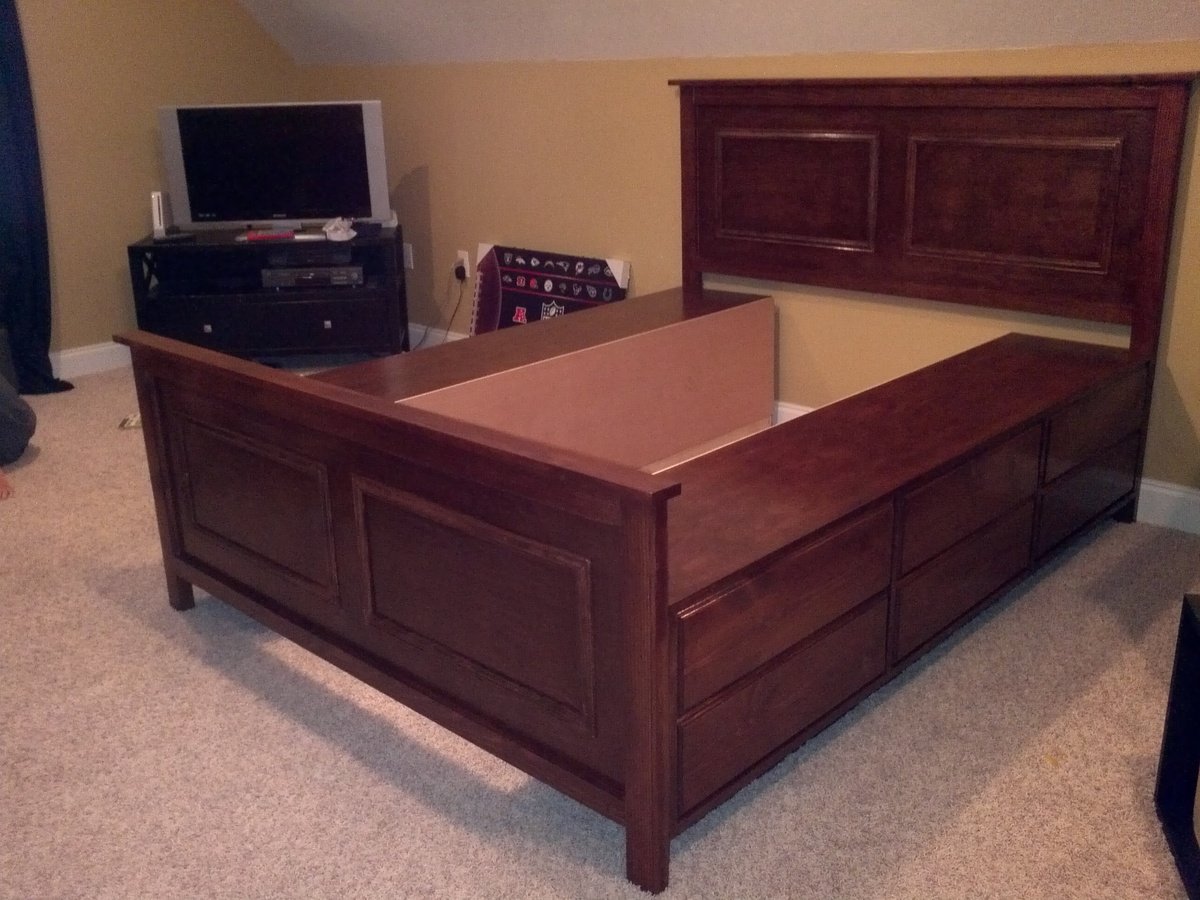
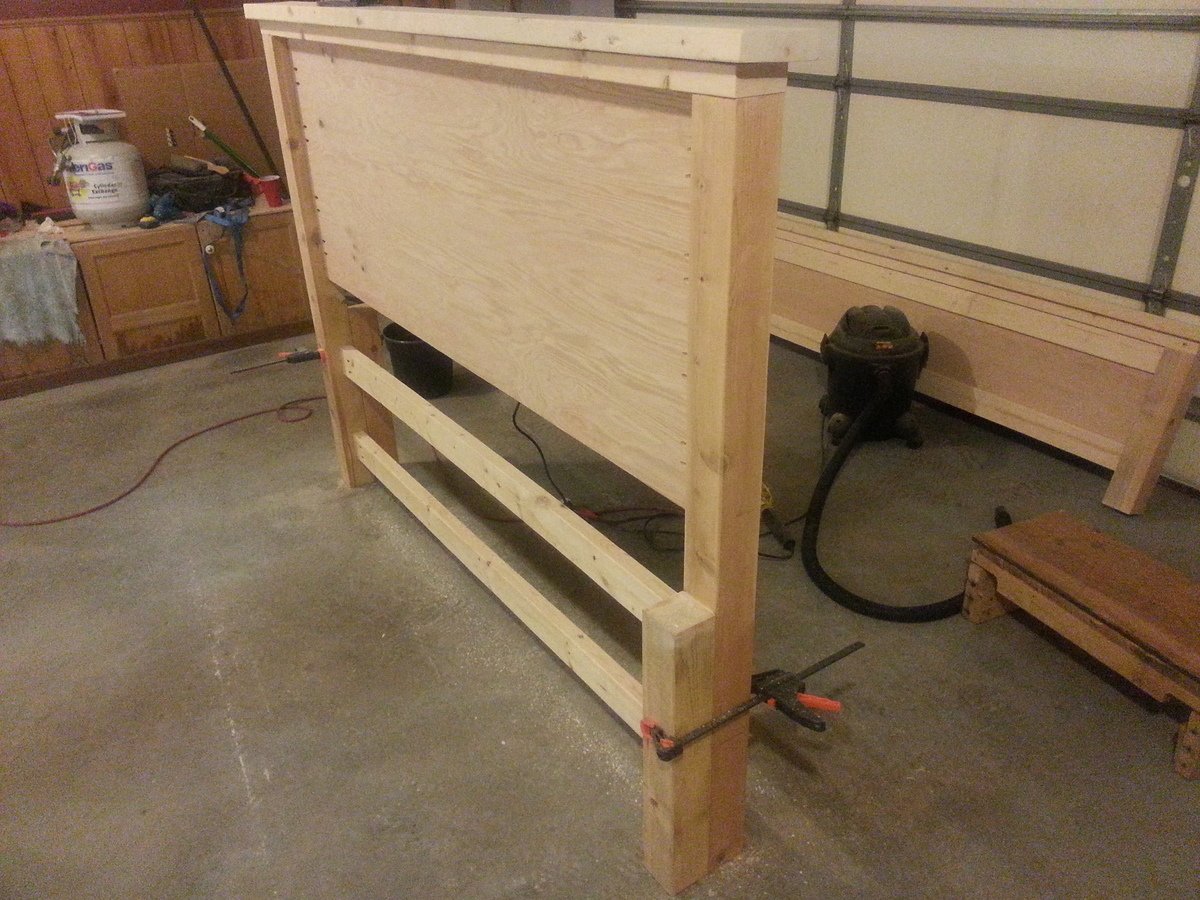
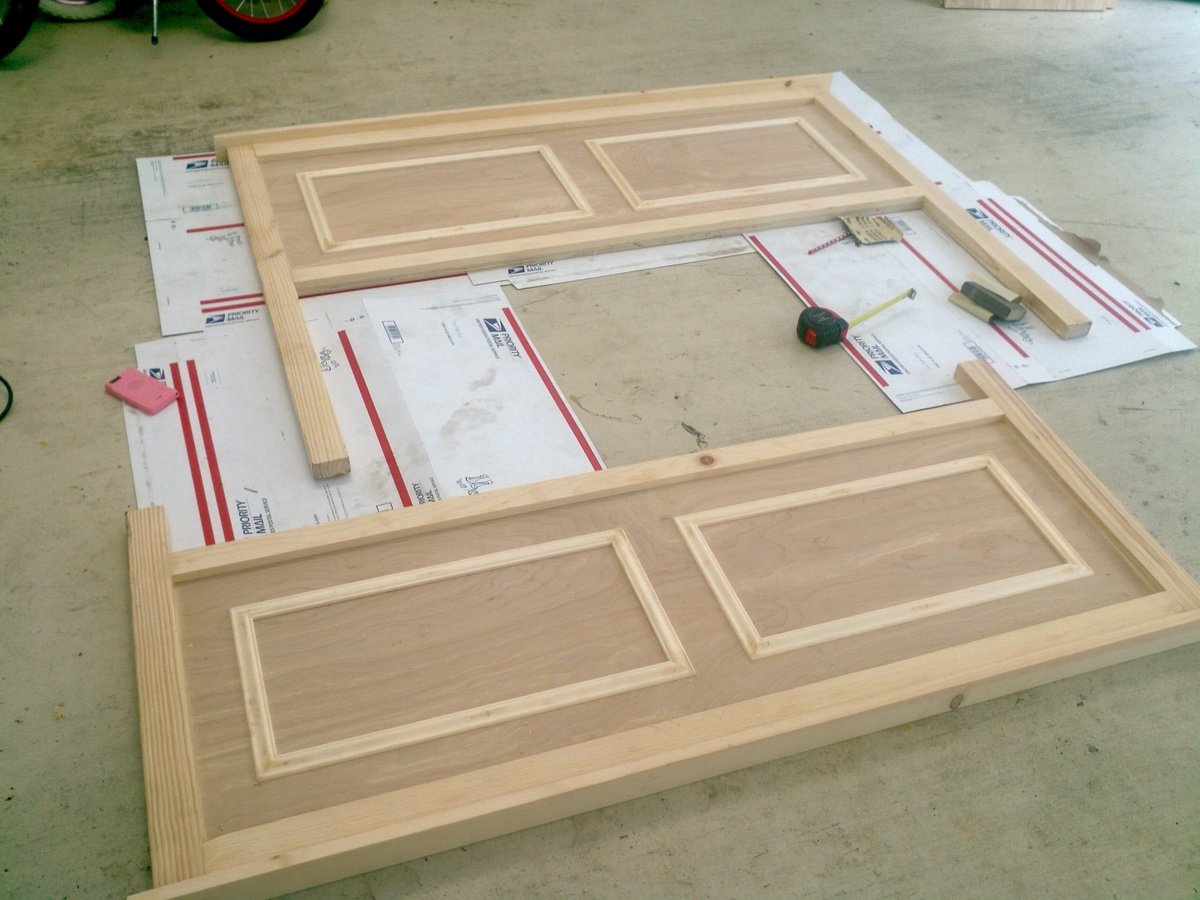
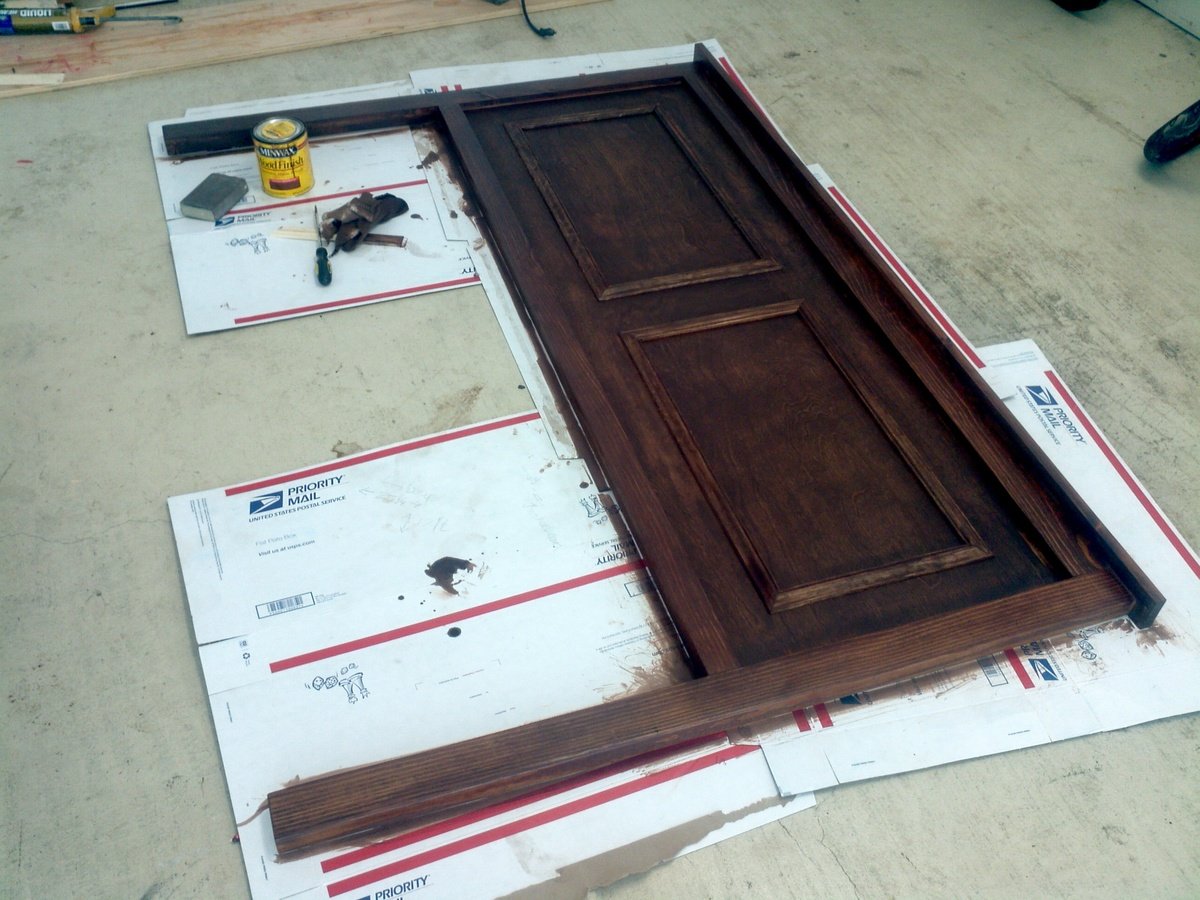
This was a BIG project for me. I learned a lot along the way. I modified the plans from the fillman storage bed (twin size to queen size). For the most part the main changes I made were in the Headboard and footboard. I added the width to make them queen size. The bases for the drawers I kept the same size for the most part. I have all of my dimensions and notes written down and will come back and add those.
I shortened the height of both the headboard and footboard by a couple of inches which enabled me to get them both built using 1 sheet of wood. I used a combination of birch hardwood and pine.
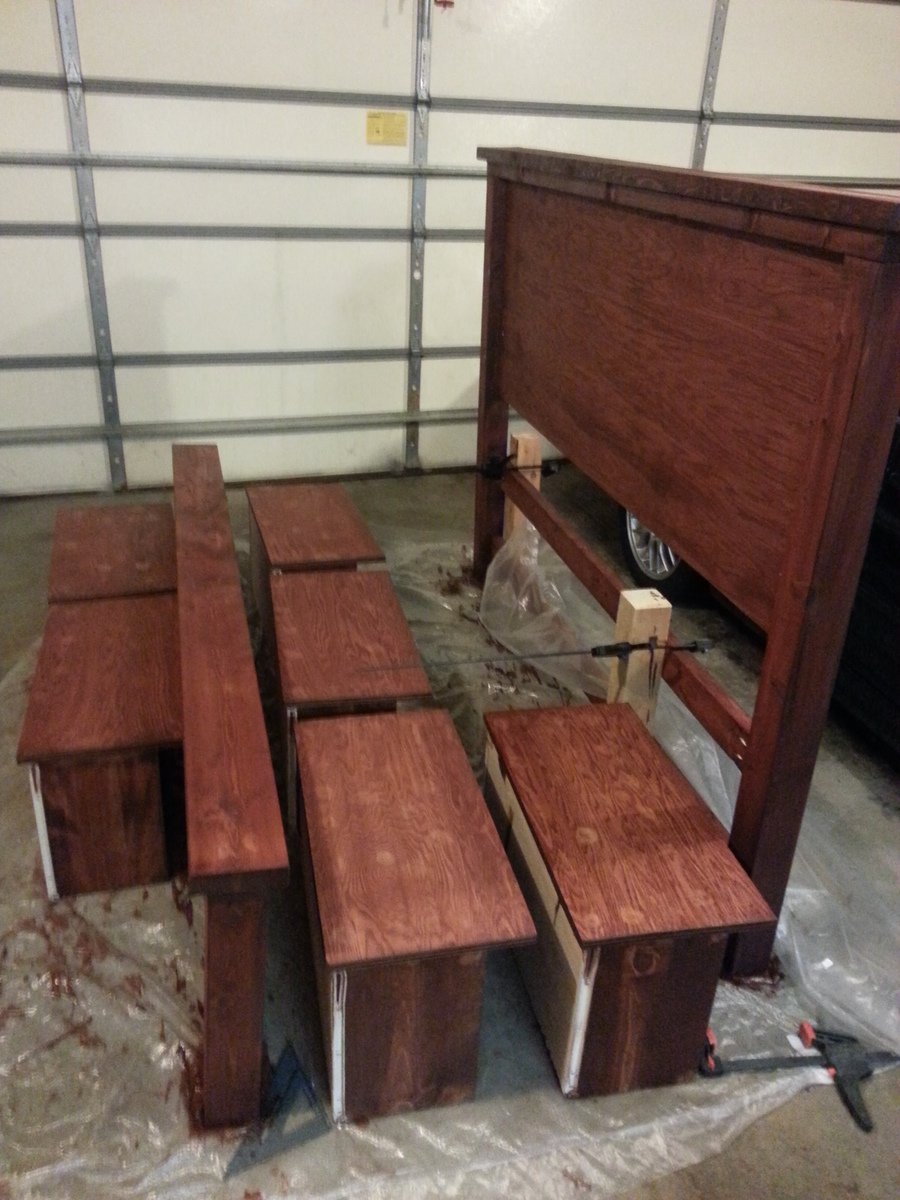
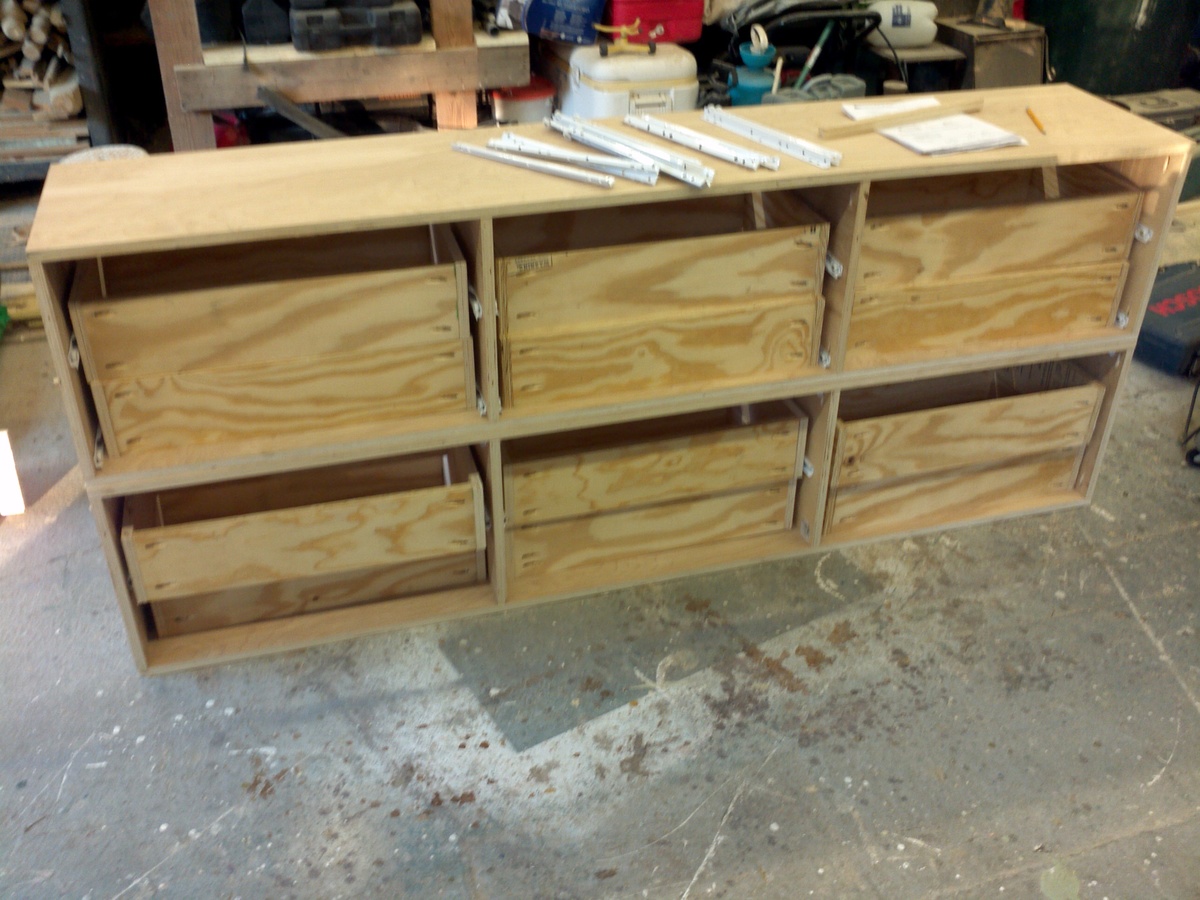
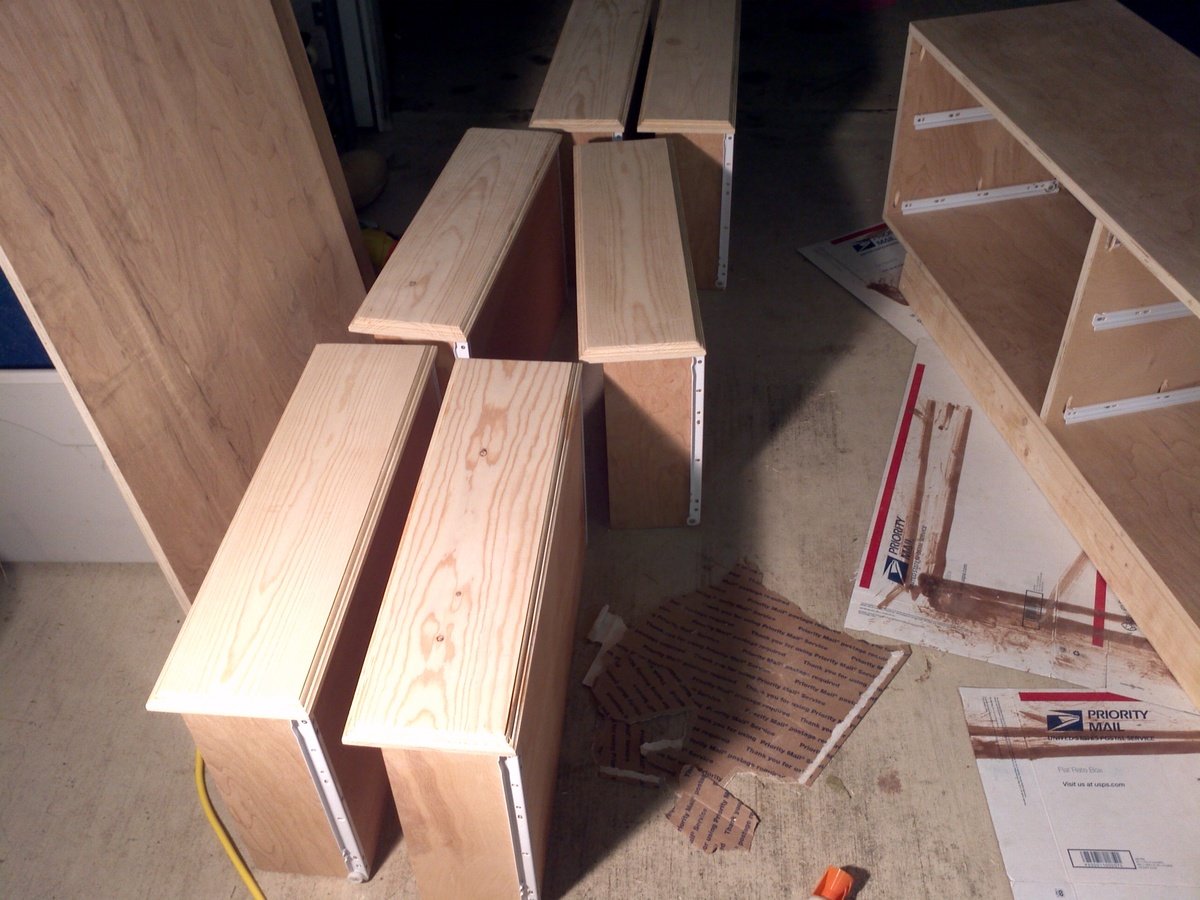
This was my first time building anything with drawers... 12 drawers was a bit daunting too! But with much sweat and love I worked thru this. This was built for my son and he loves it! I did add knobs to the drawers and need to update a picture!
Overall I spent about $200 on my wood. $100 on the drawer slides. and I got 25 wood knobs that I stained to match online for about $1 each.
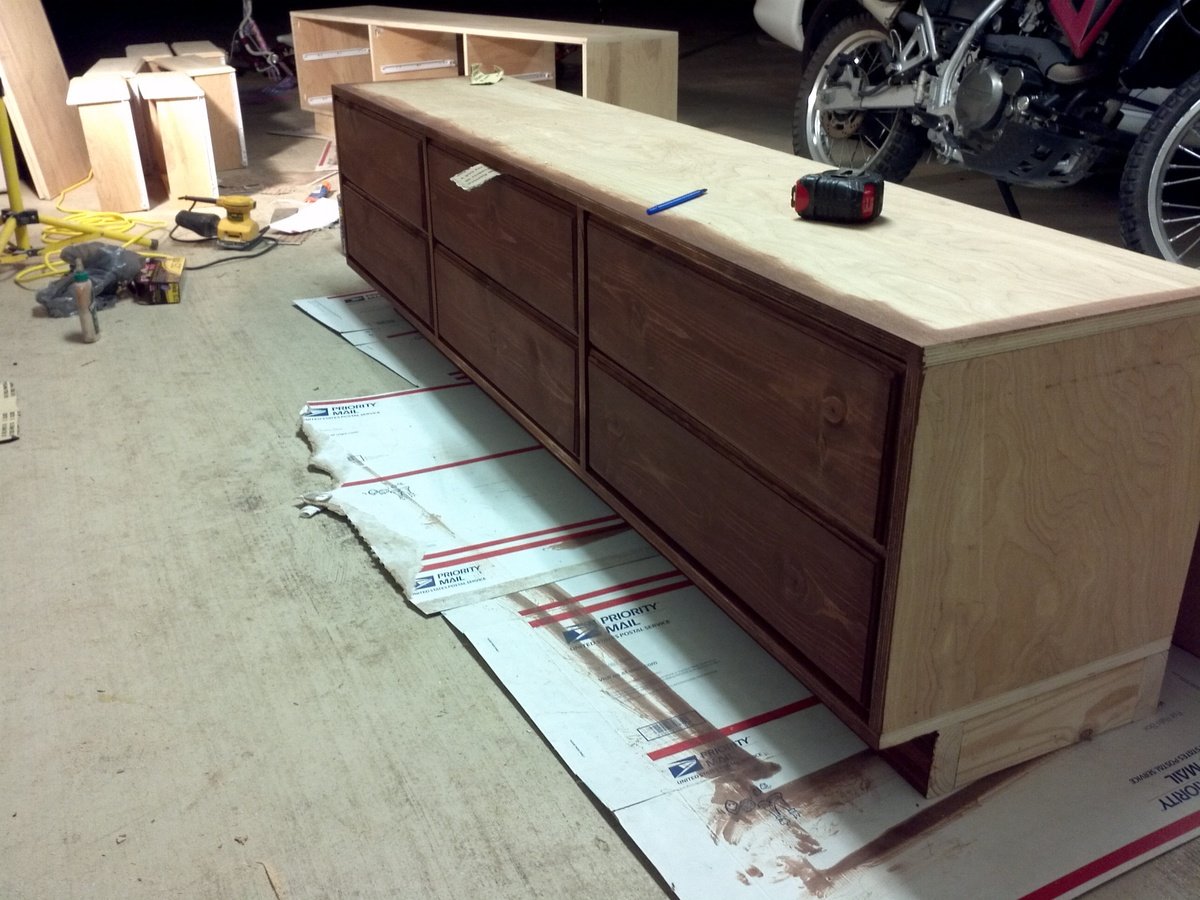
My son loved the bed. I did not permenately attach all the bed supports instead did the top middle and end pieces. the others just lay in place and can be removed easily and large totes can be stored beneath.
My son was moved into the bonus room and as you can see the ceilings are low. This bed eliminated the need for a dresser and as a bonus no toys can get under it!
I have more pix on my blog.
I spent about 10 days from start to finish. a few of those days I worked a lot, in between I had to tend to 3 kids and life and rest my sore arms LOL

Wed, 09/05/2012 - 23:21
wow. that is beautiful. You did a really good job. Were the drawers tricky?
Sun, 02/10/2013 - 10:32
I am also wondering if you have gotten a chance to put up your dimentions for the queen bed. I would love to make one of these.
Fri, 03/01/2013 - 08:14
I would like the plan for the Fillman storage bed
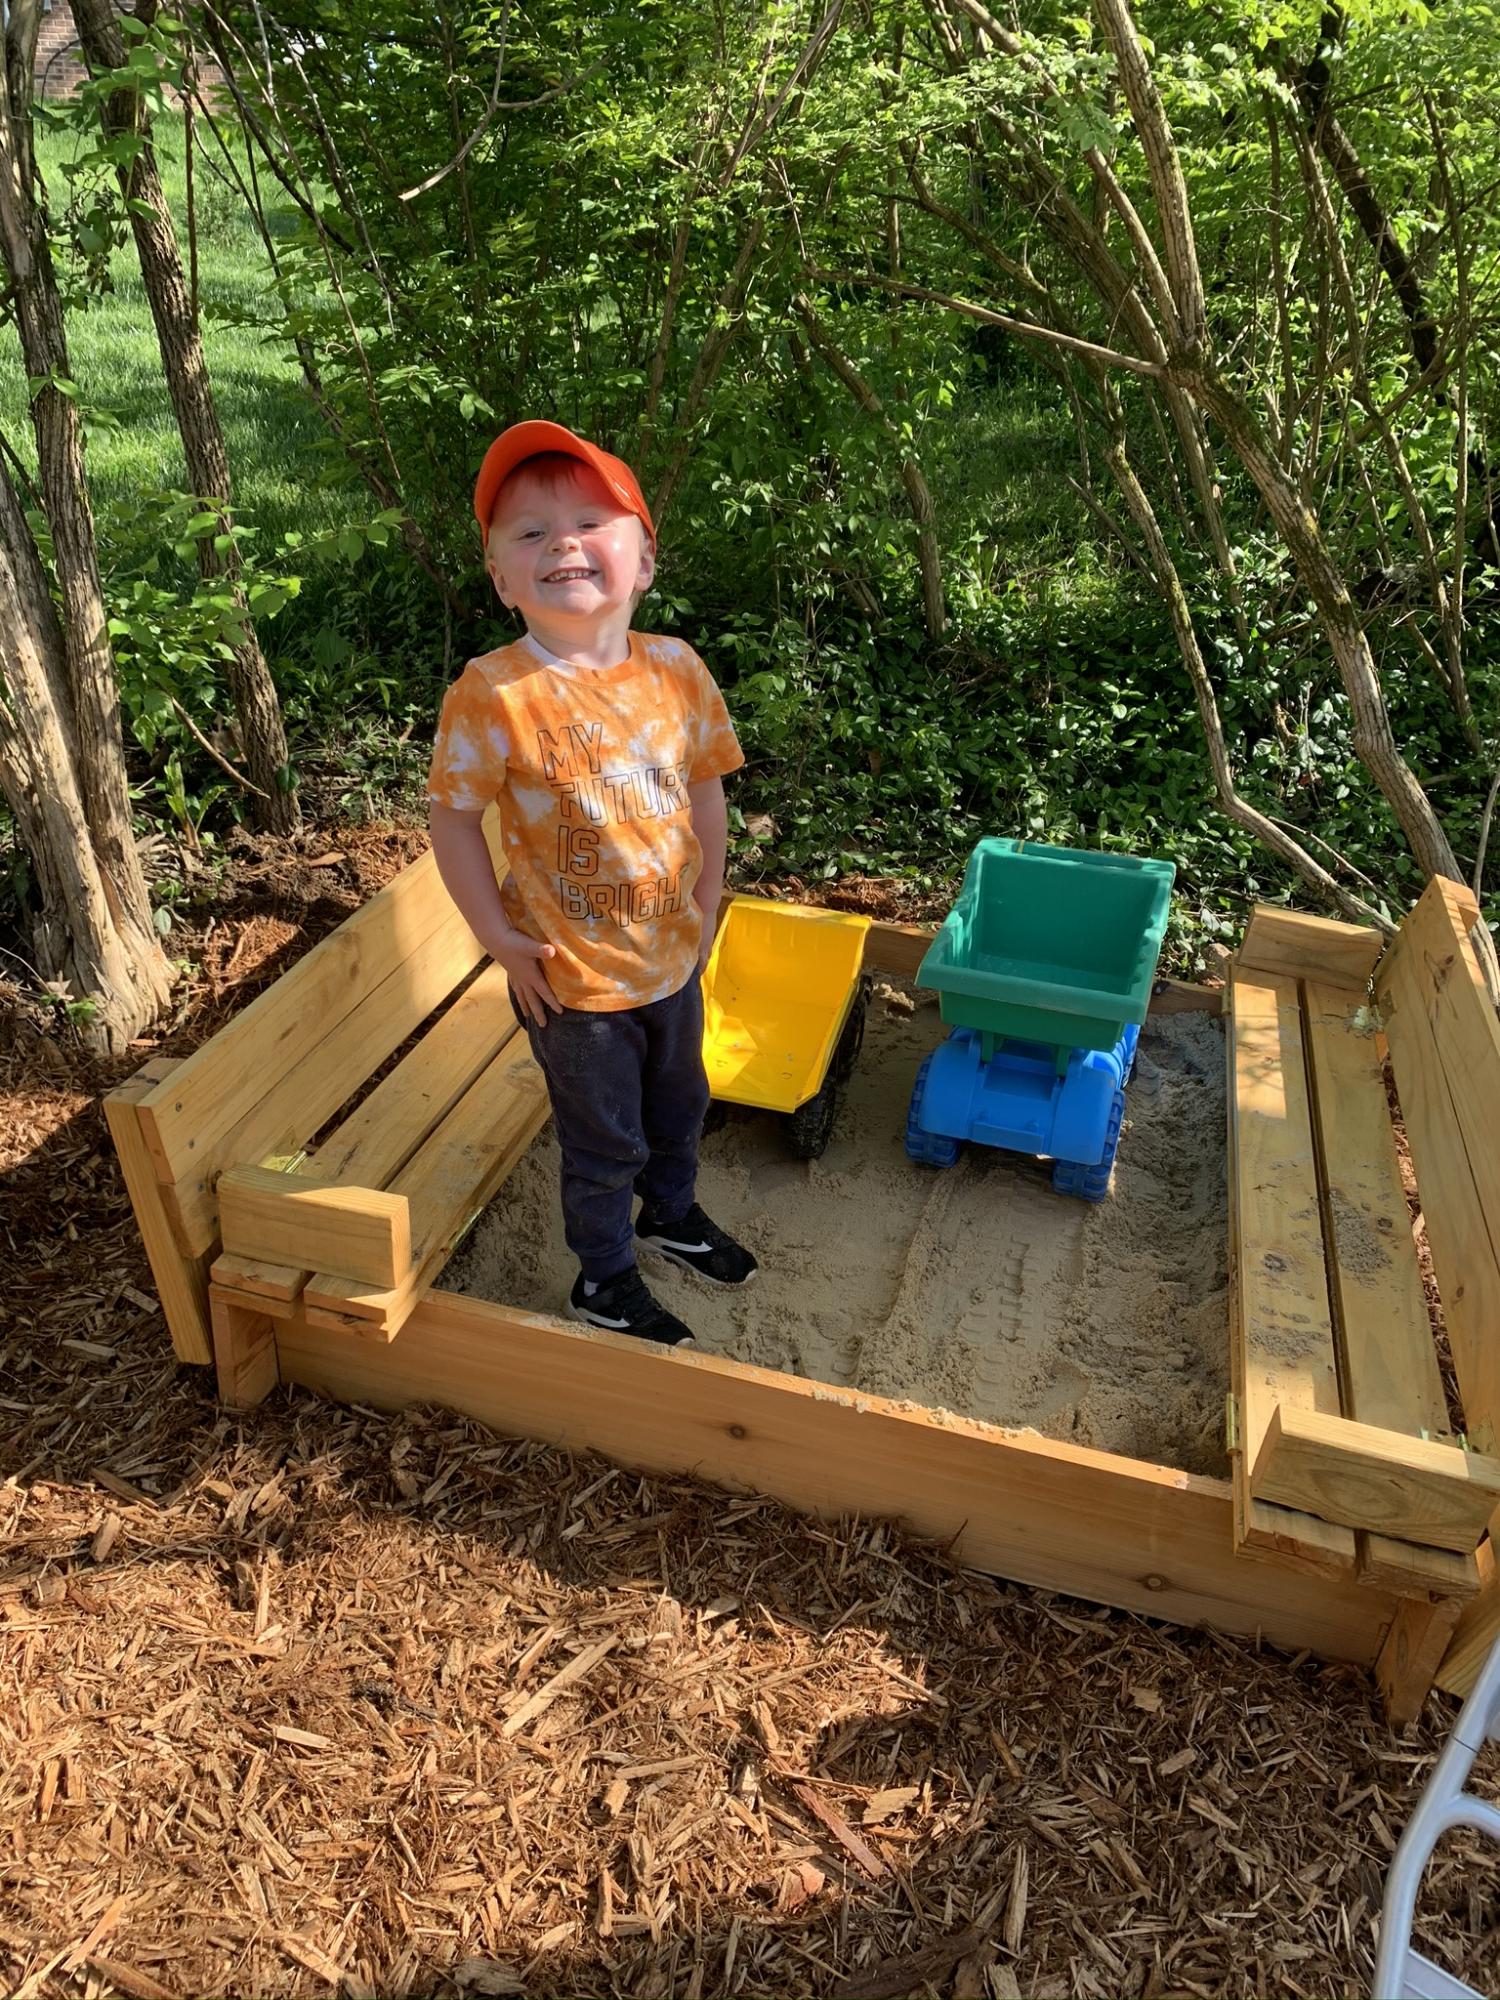
Awesome sandbox !!
I’ve made a couple of these . One thing to save you money that I switched to on my second one is making the frame from 2x material vs 1x. Looks better too and is more sturdy .

Finally have a lawn chair that won't blow away in the MatSu Valley wind.
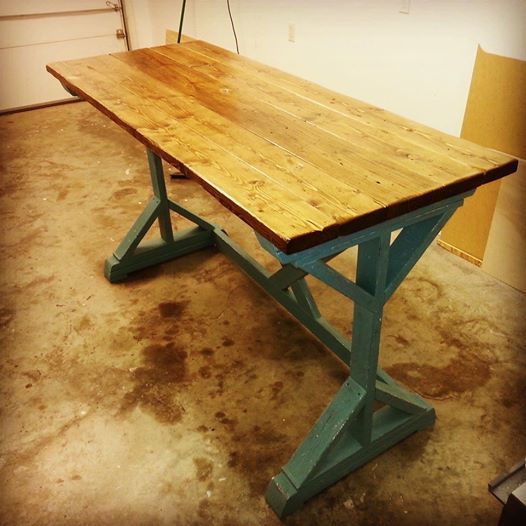
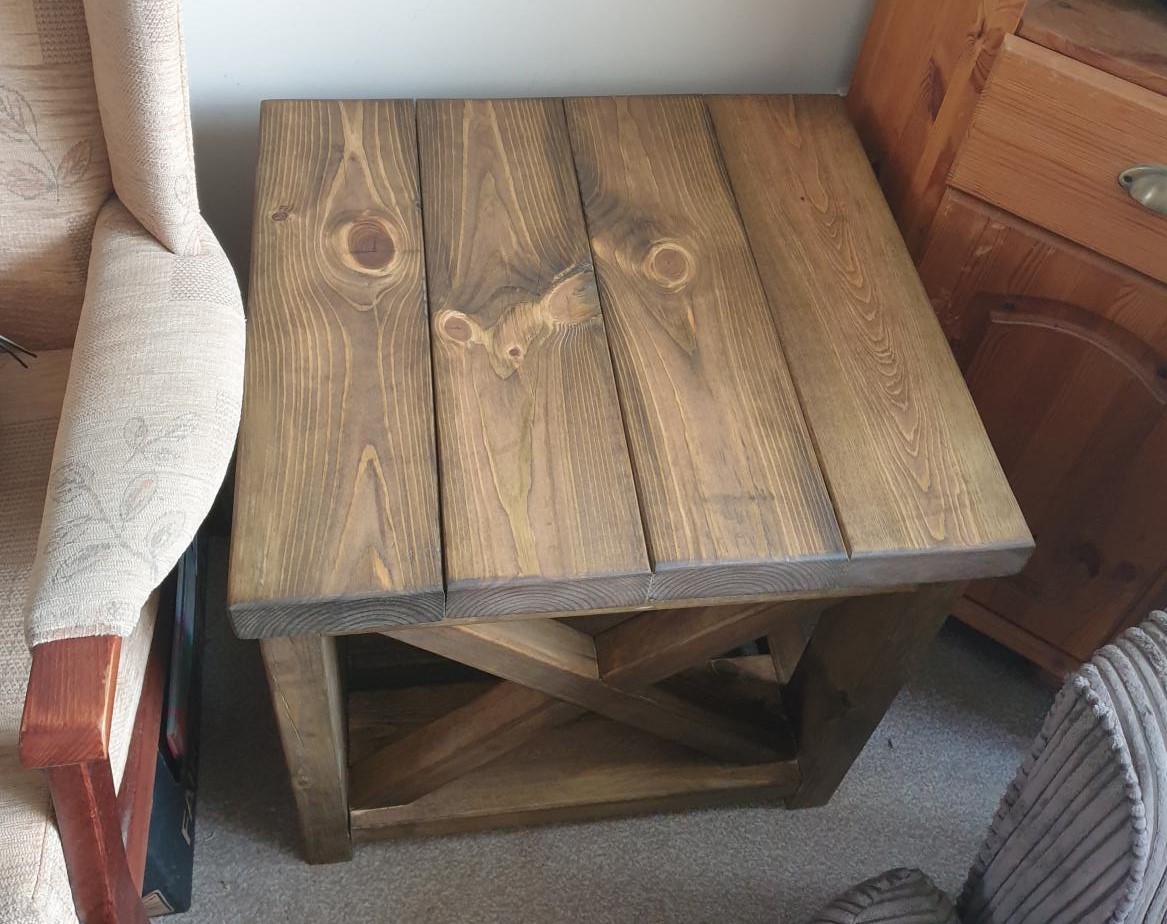
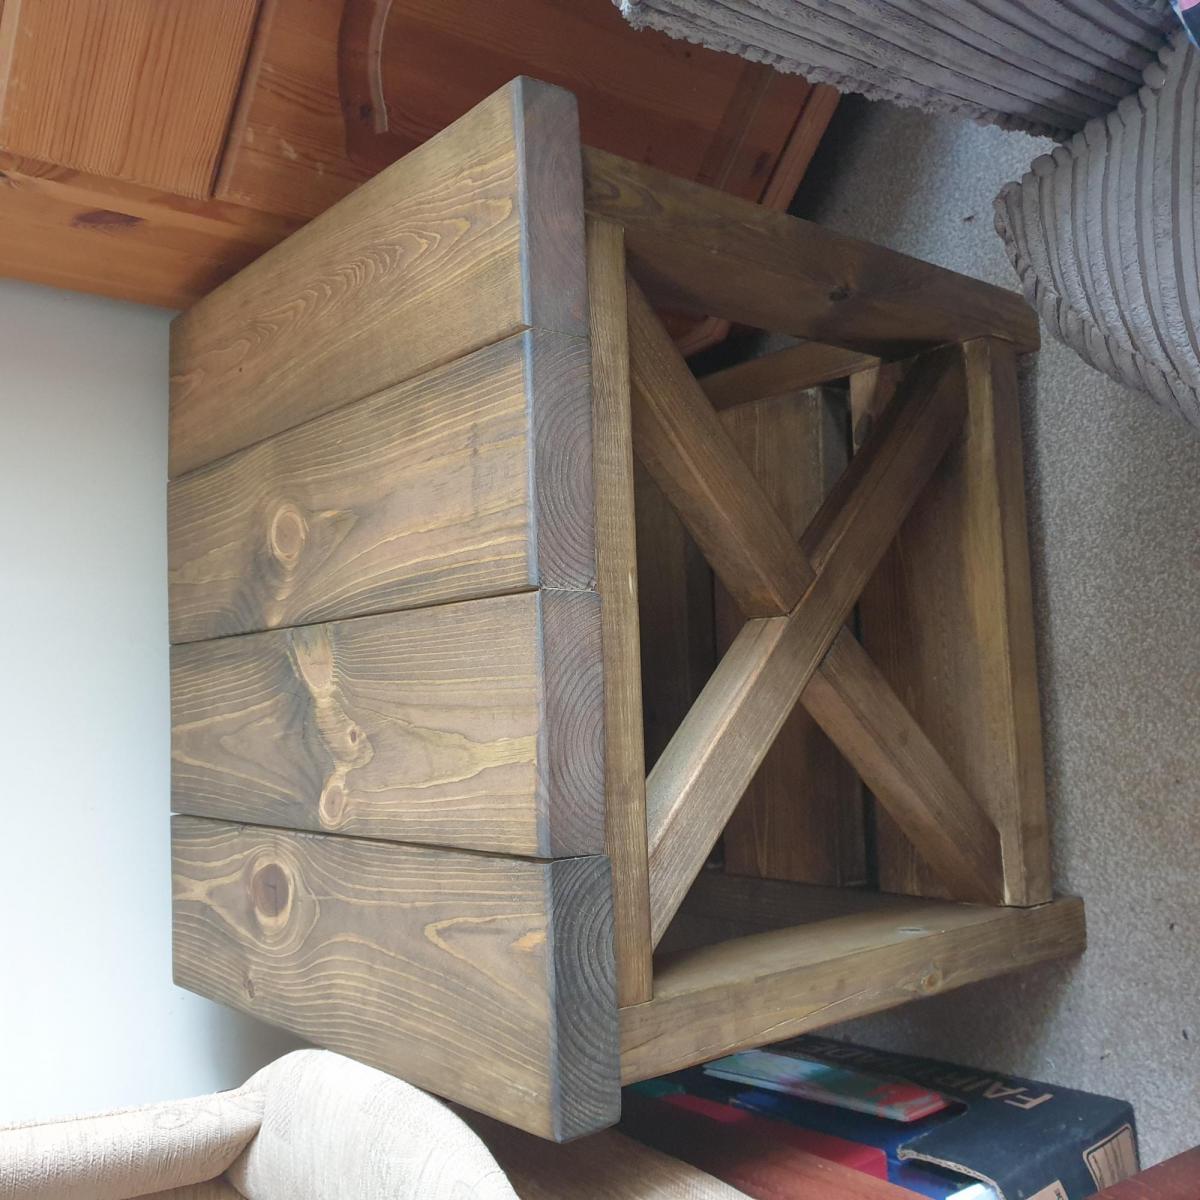
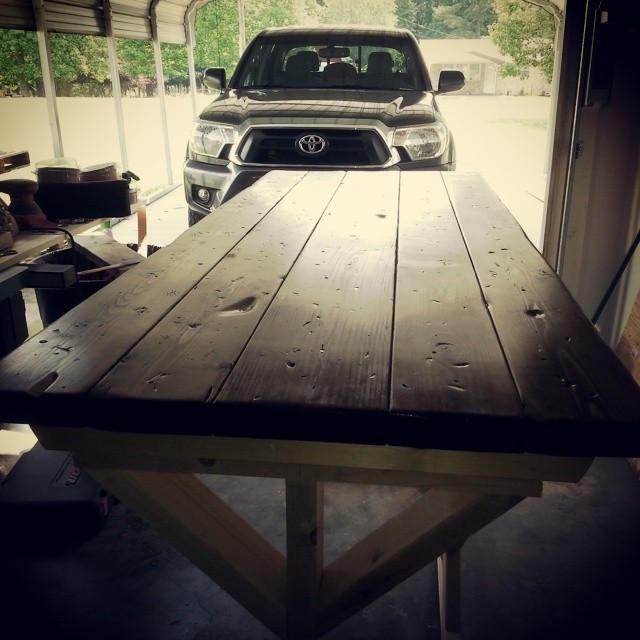
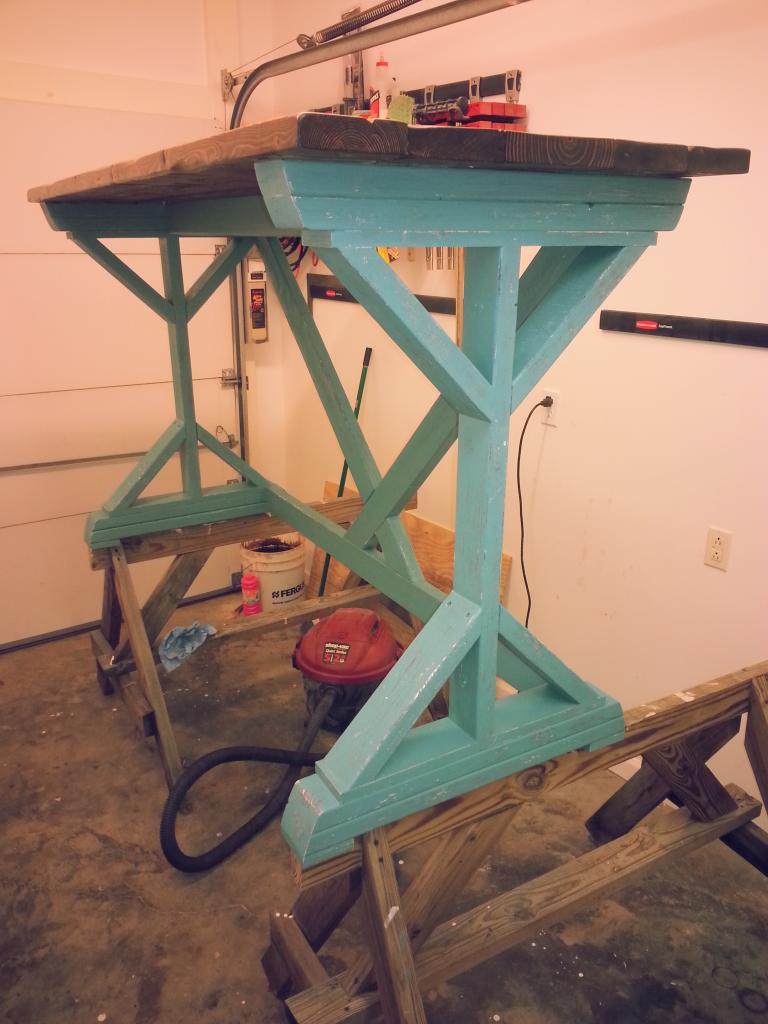
I built this bar for my mom to use i her dining room. I altered the plans for the X Style Desk to build this at bar height. This was my first time distressing anything and was pleased with the outcome. i used one coat of Minwax Dark Walnut stain and two coats of Minwax clear satin finish. White shellac Based primer, brown egg shell paint and Green egg shell paint for the base and sanded for the distressed look. I used dimensional pine lumber from the home center to build this with.
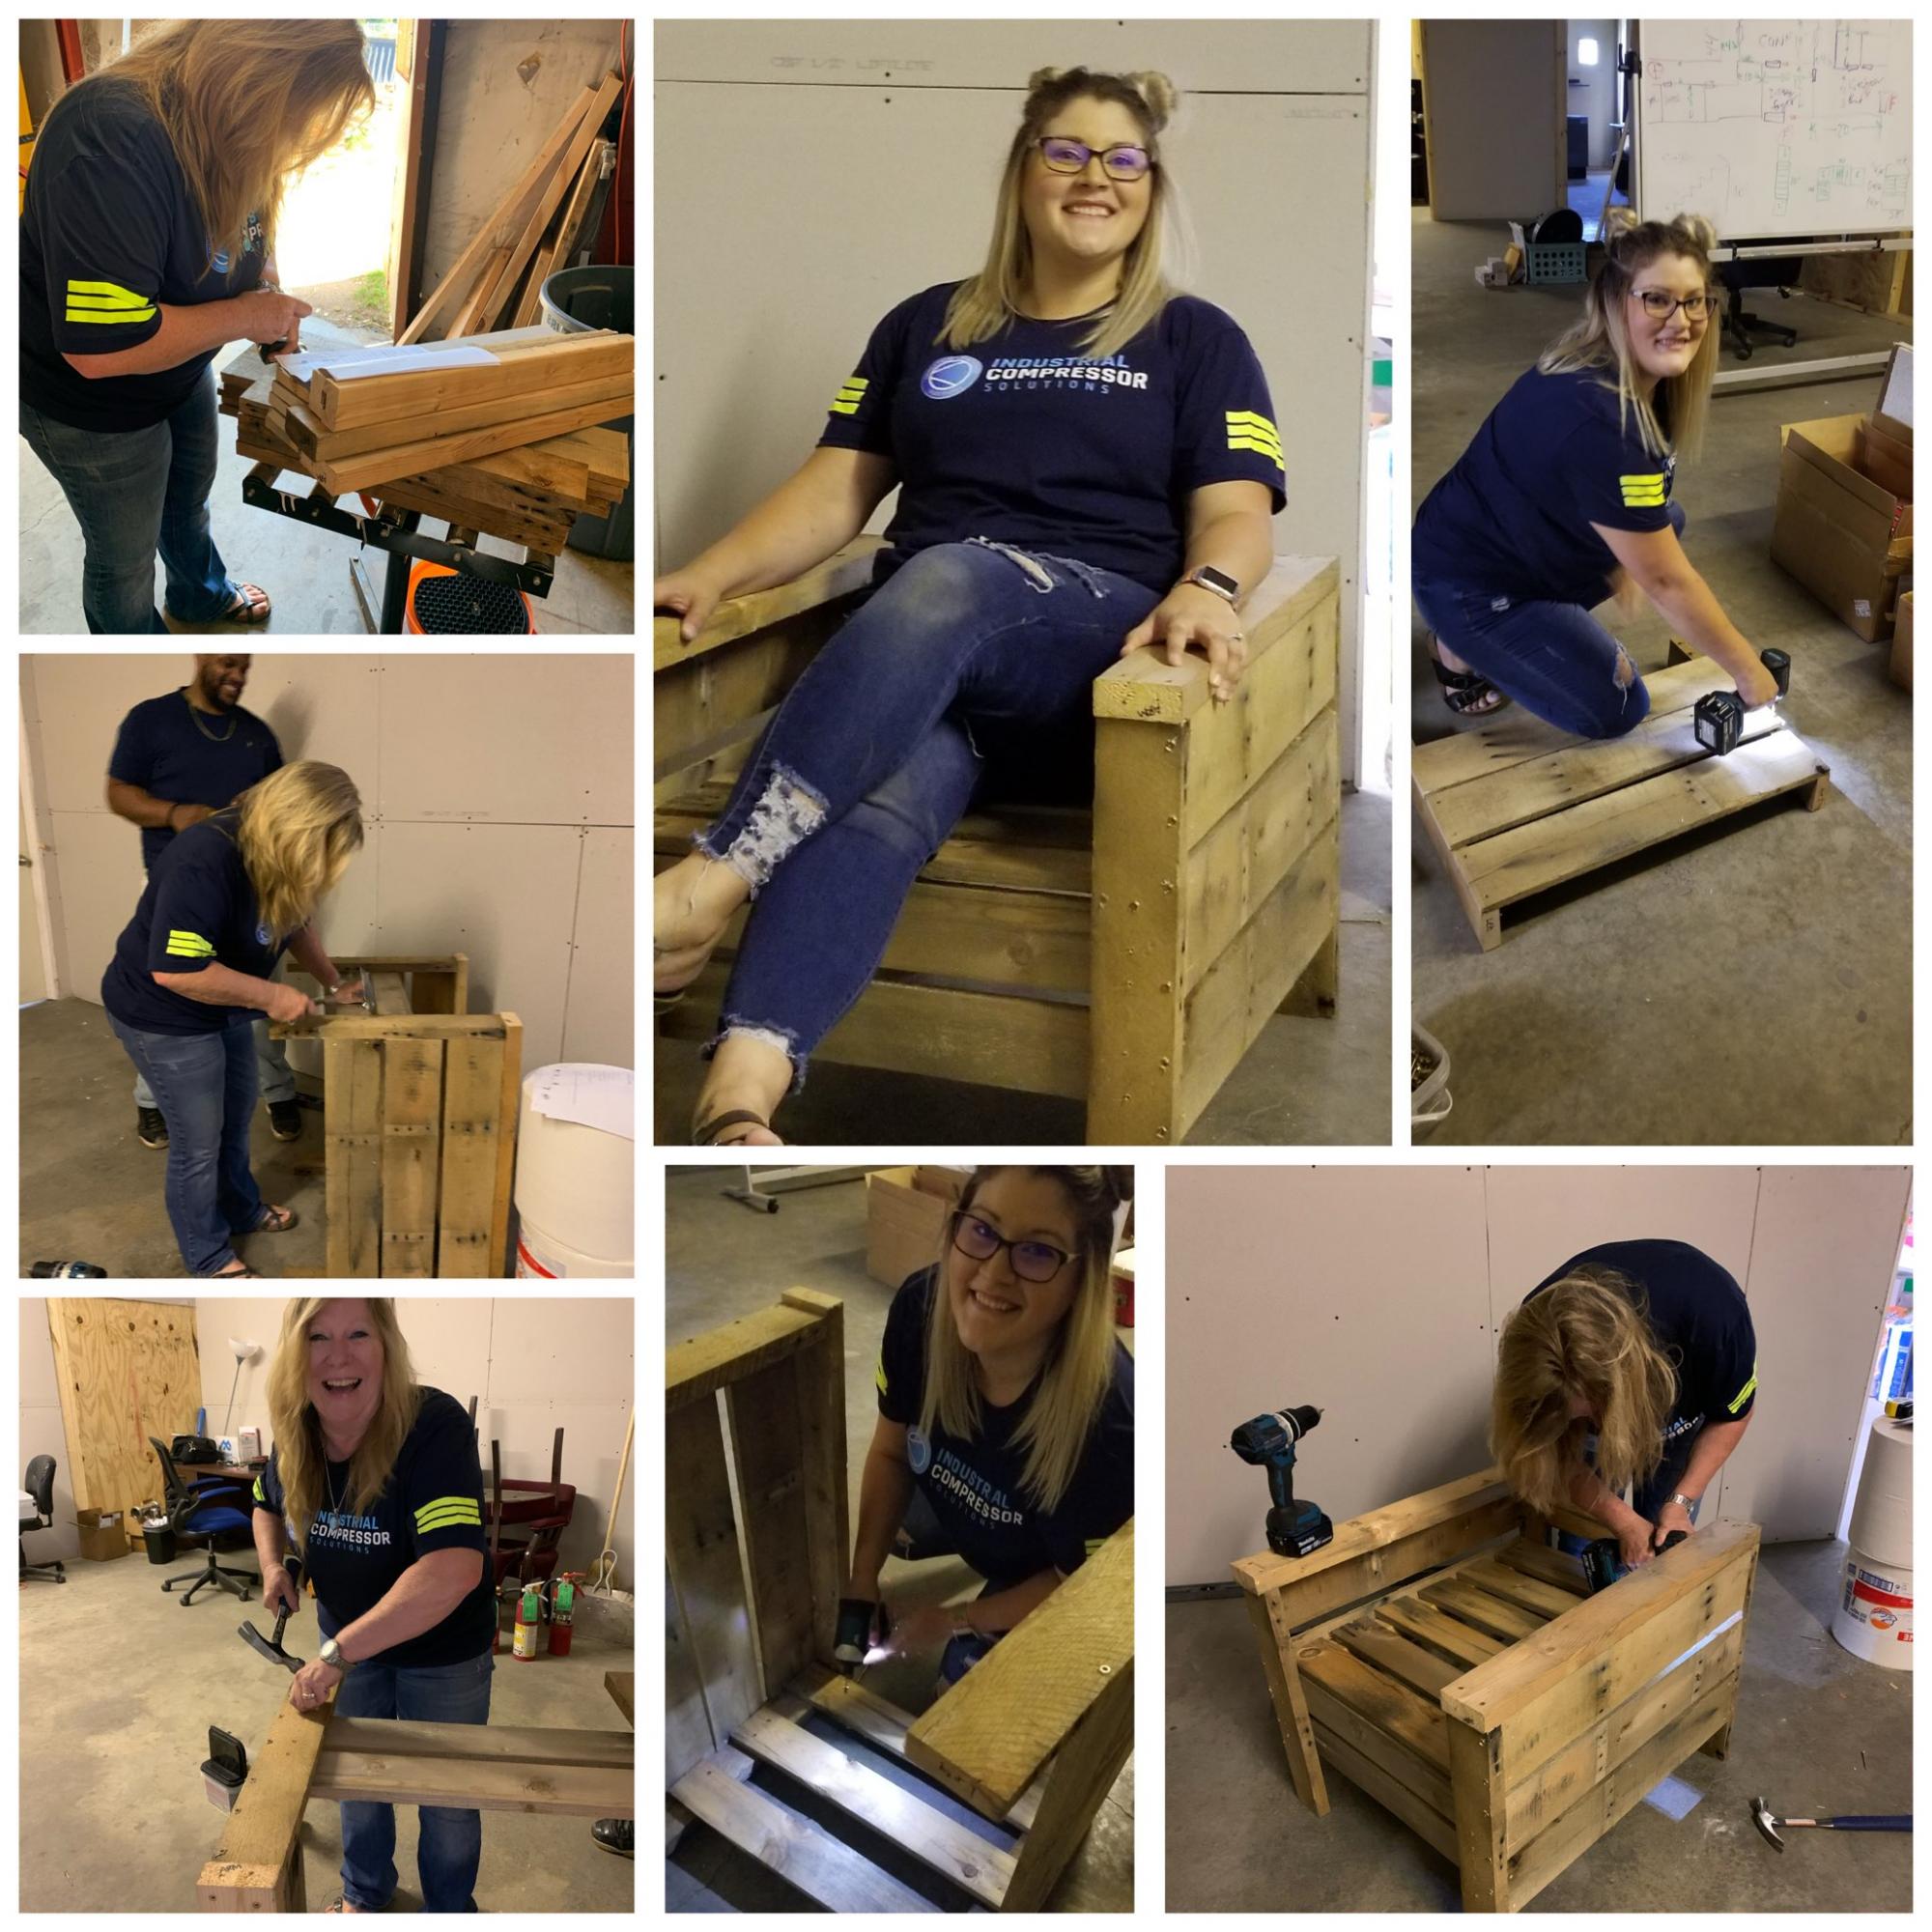
It's a Friyay! and we have a bunch of used pallets at work the boss is wanting to get rid of. Well he is on vacay so ....
We (me and my office manager) had to alter the directions a bit but the end result is great. This was our first project and tools were very limited. Even so its a win win and we will be making more. Thank you Ana!