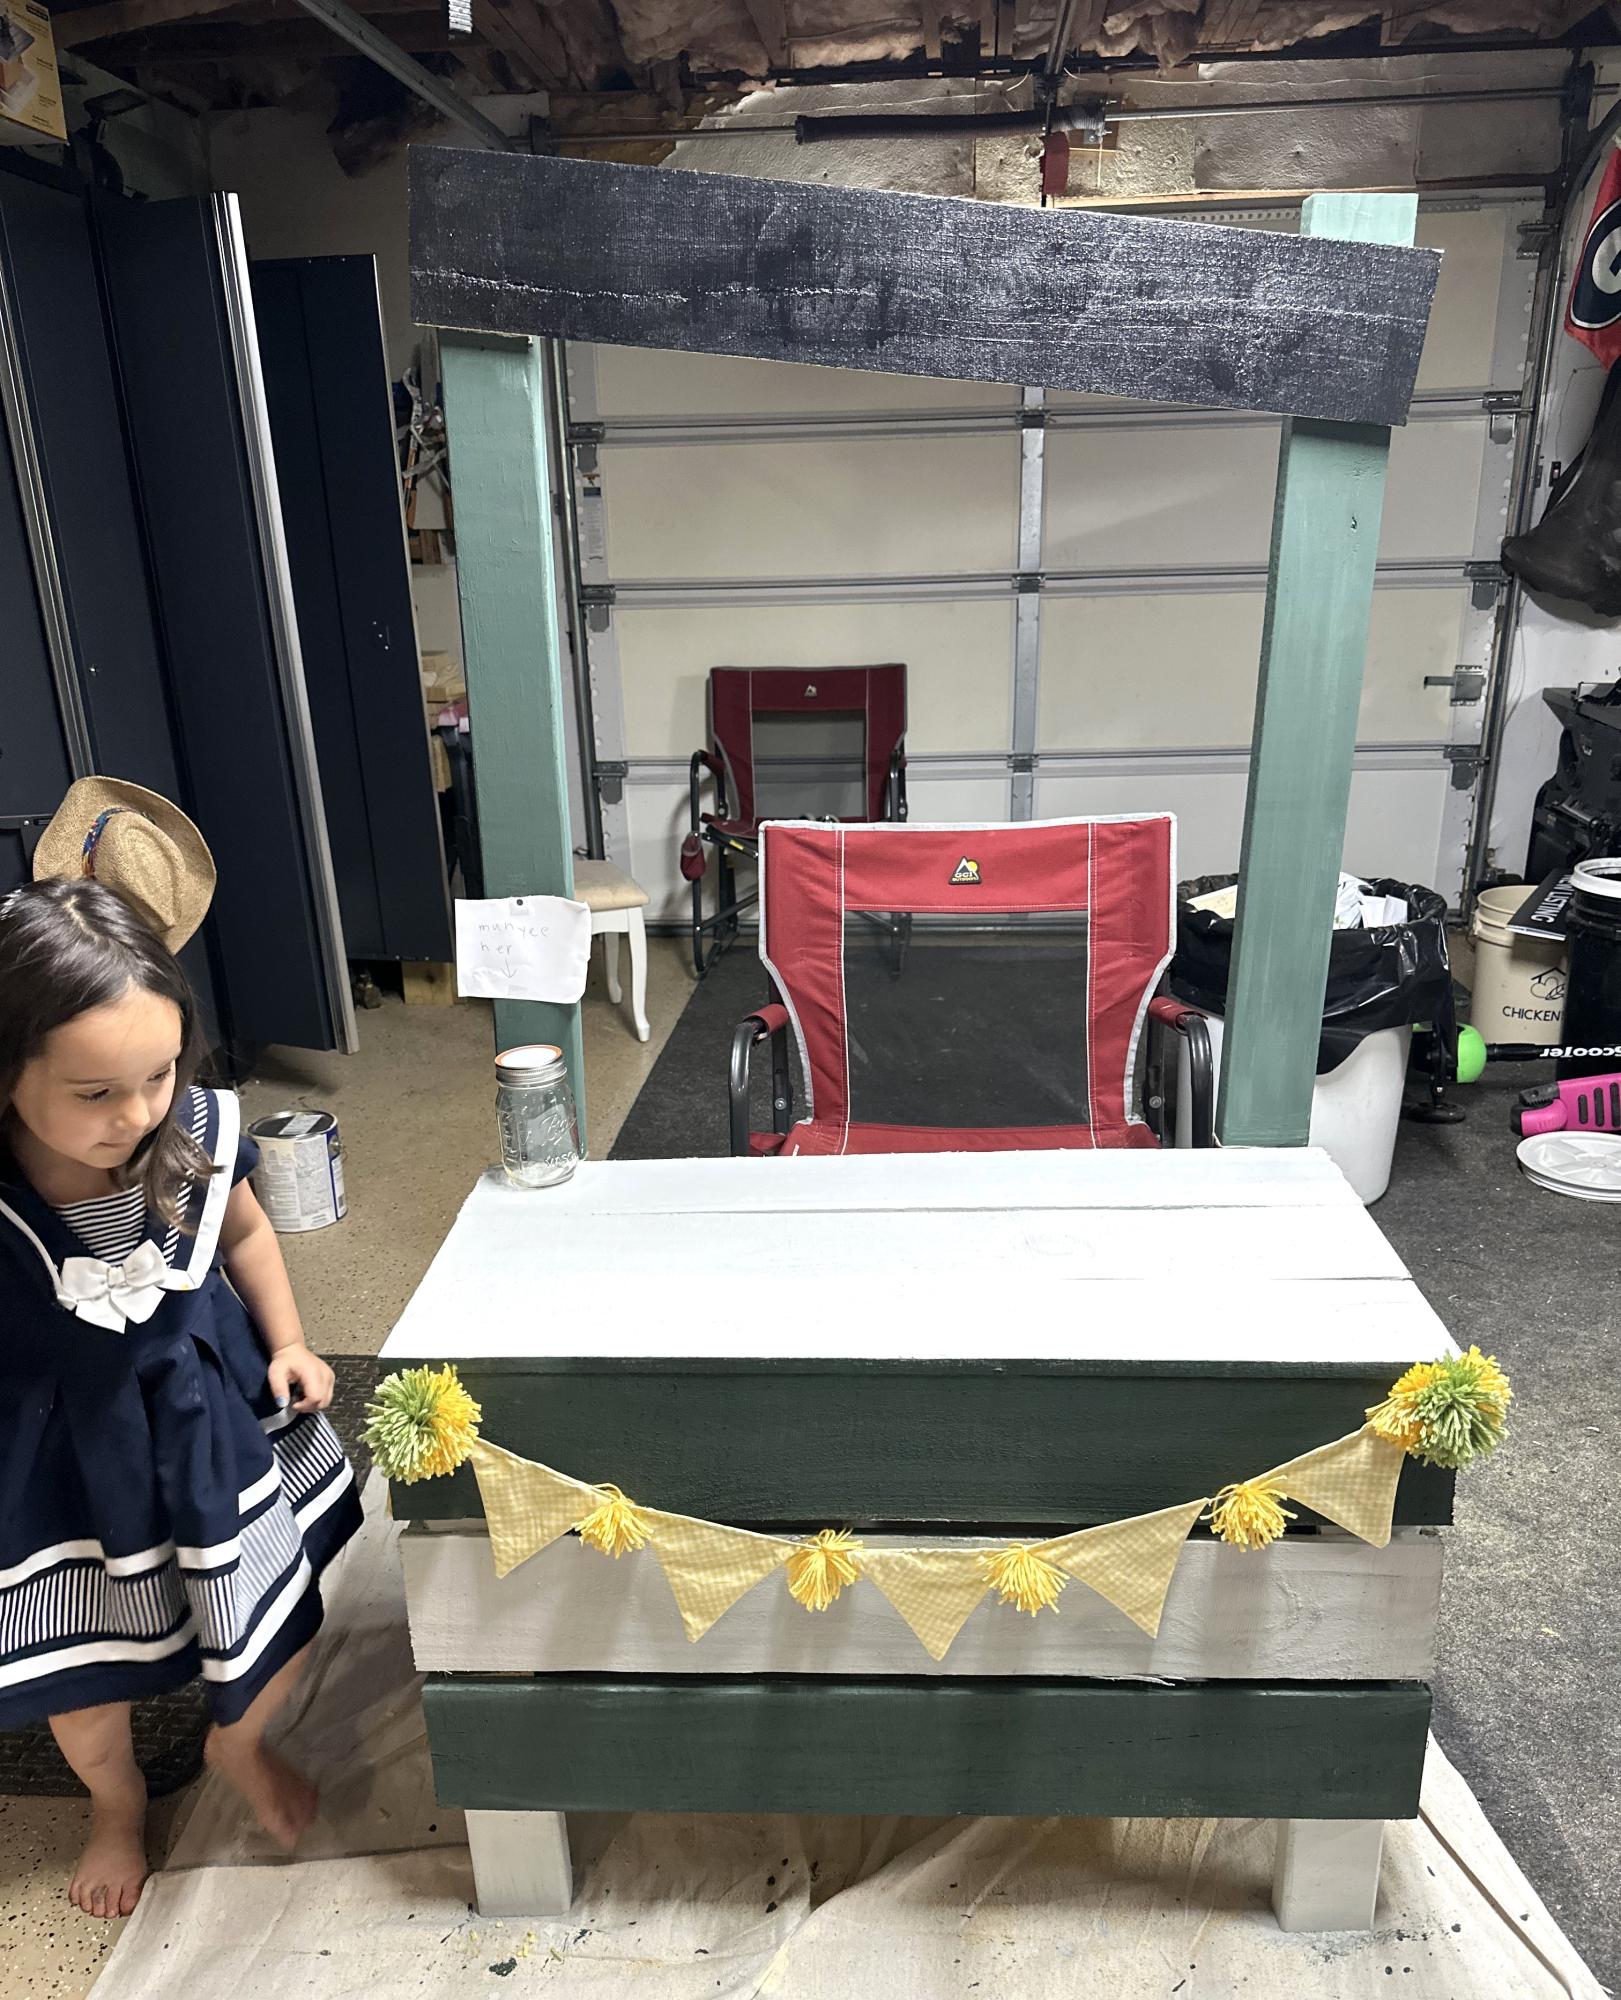
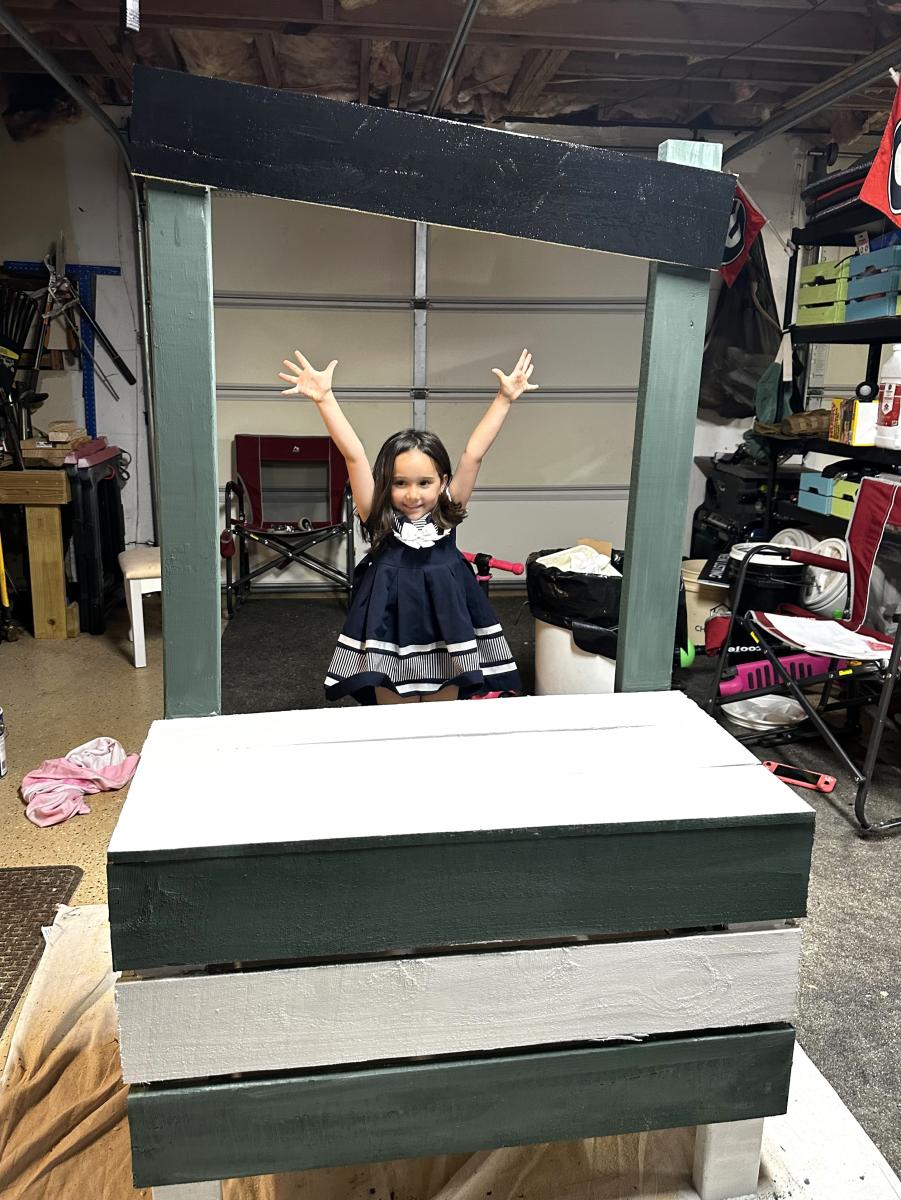
Simple Toybox with Lid
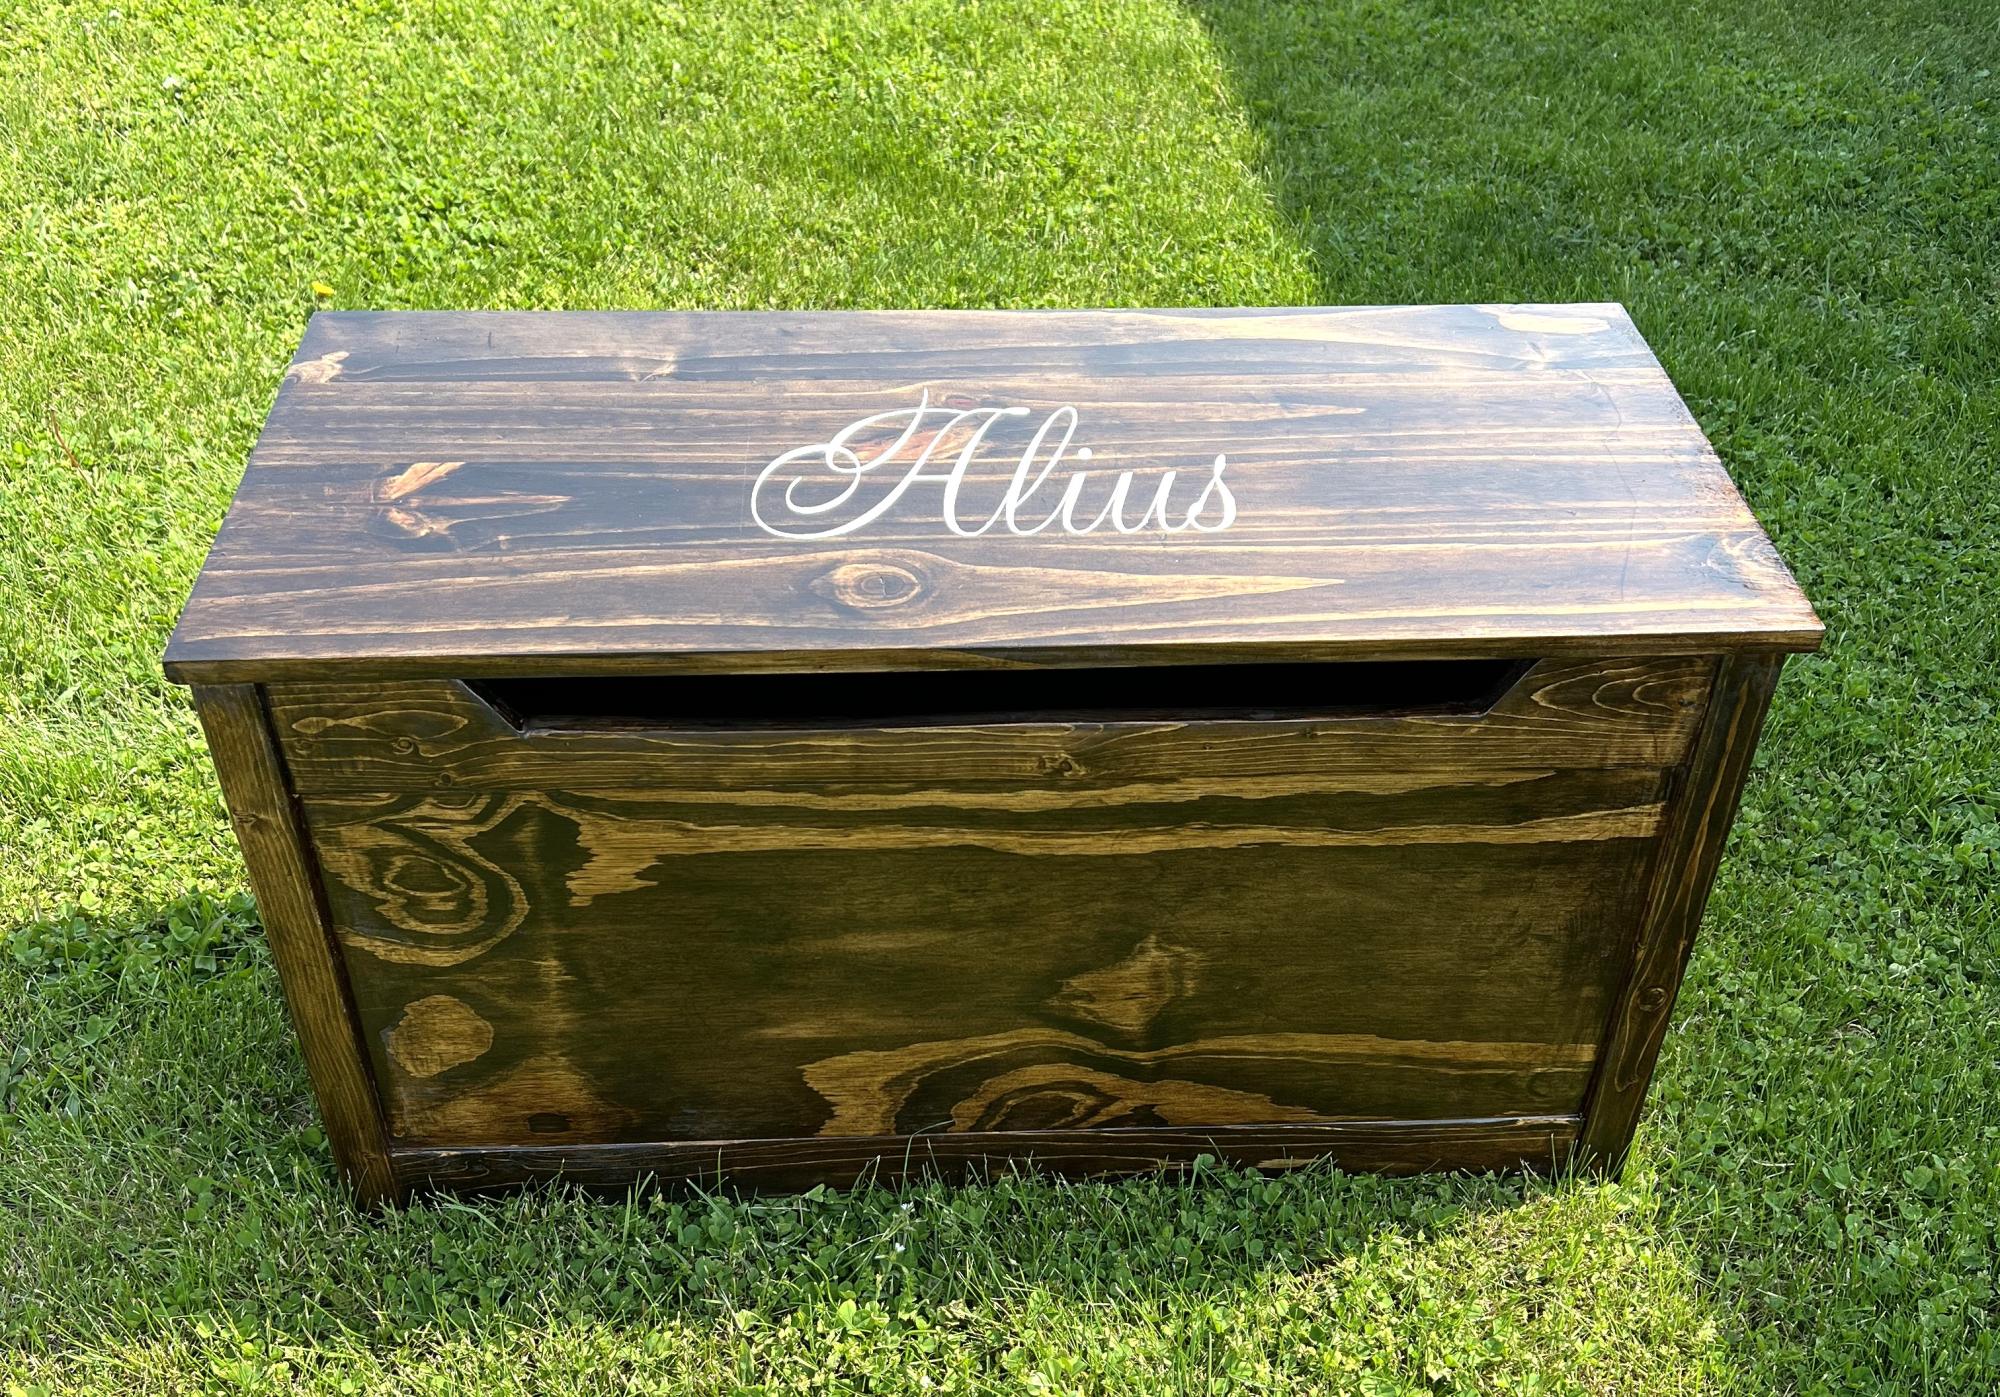
I made 2 of these toy boxes Yor my friend that have twins. They love them and want me to make 2 more for 2 other children.
Kim Myers
Built from Plan(s)
I made 2 of these toy boxes Yor my friend that have twins. They love them and want me to make 2 more for 2 other children.
Kim Myers
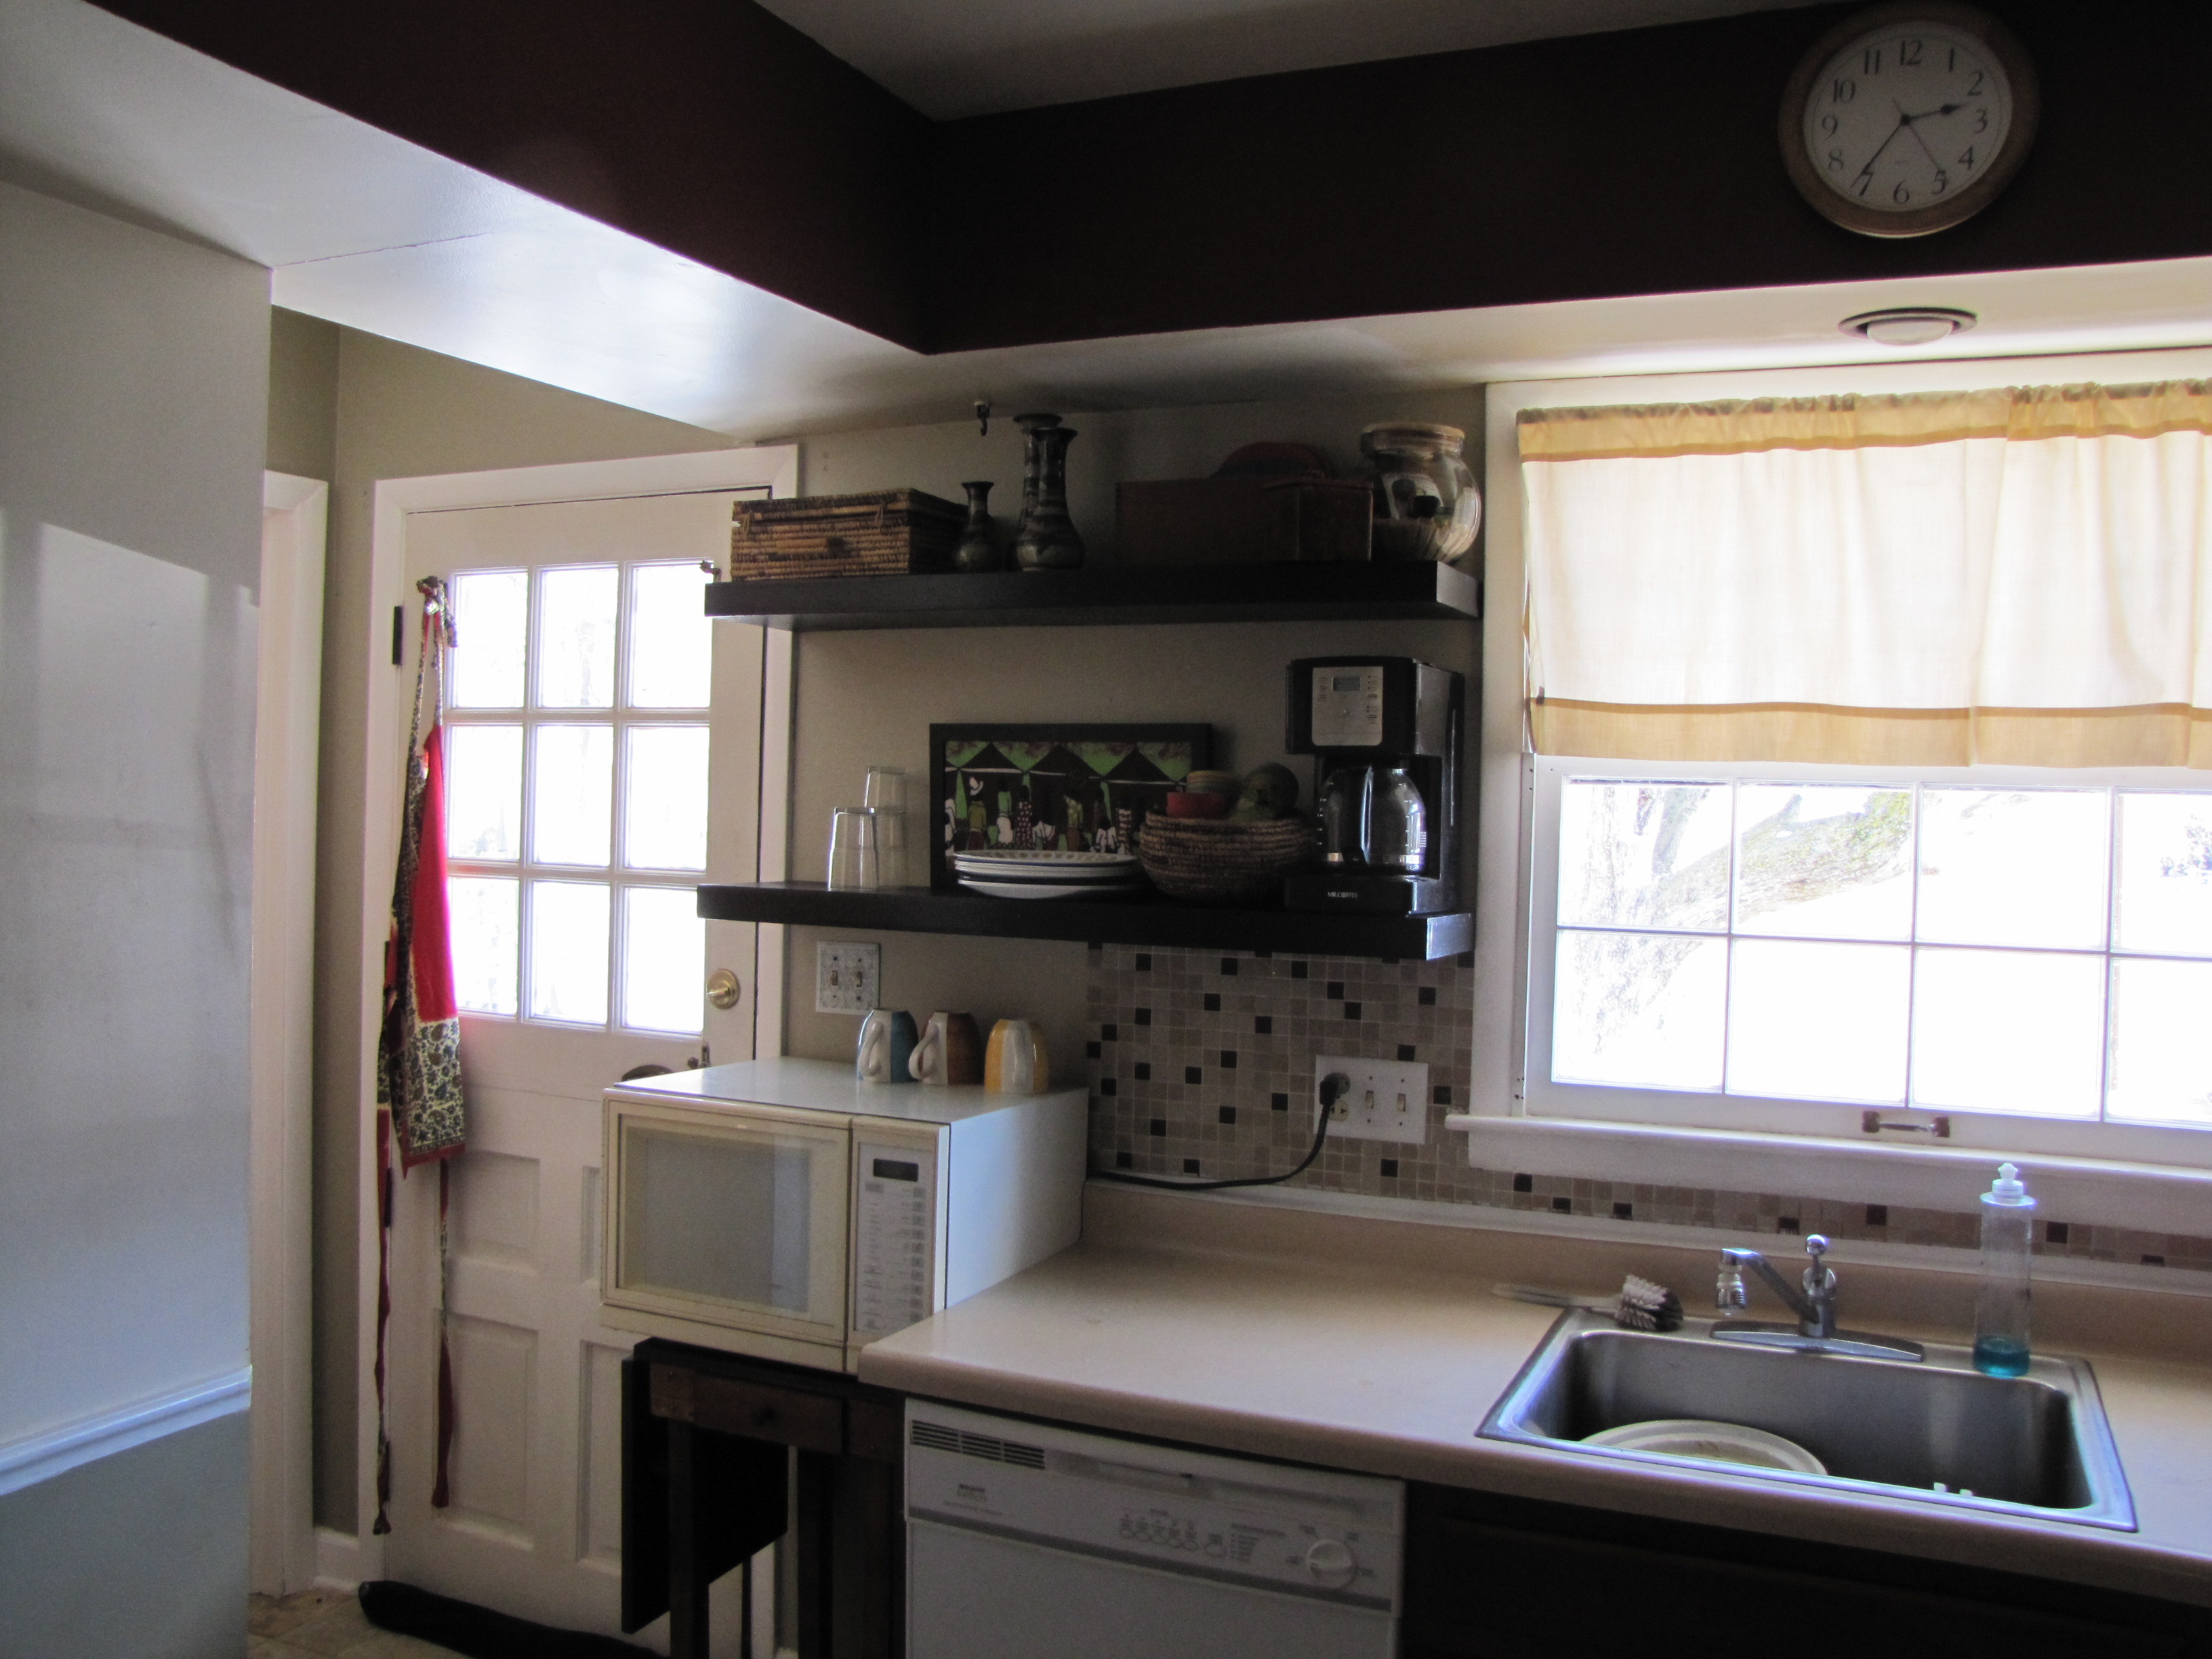
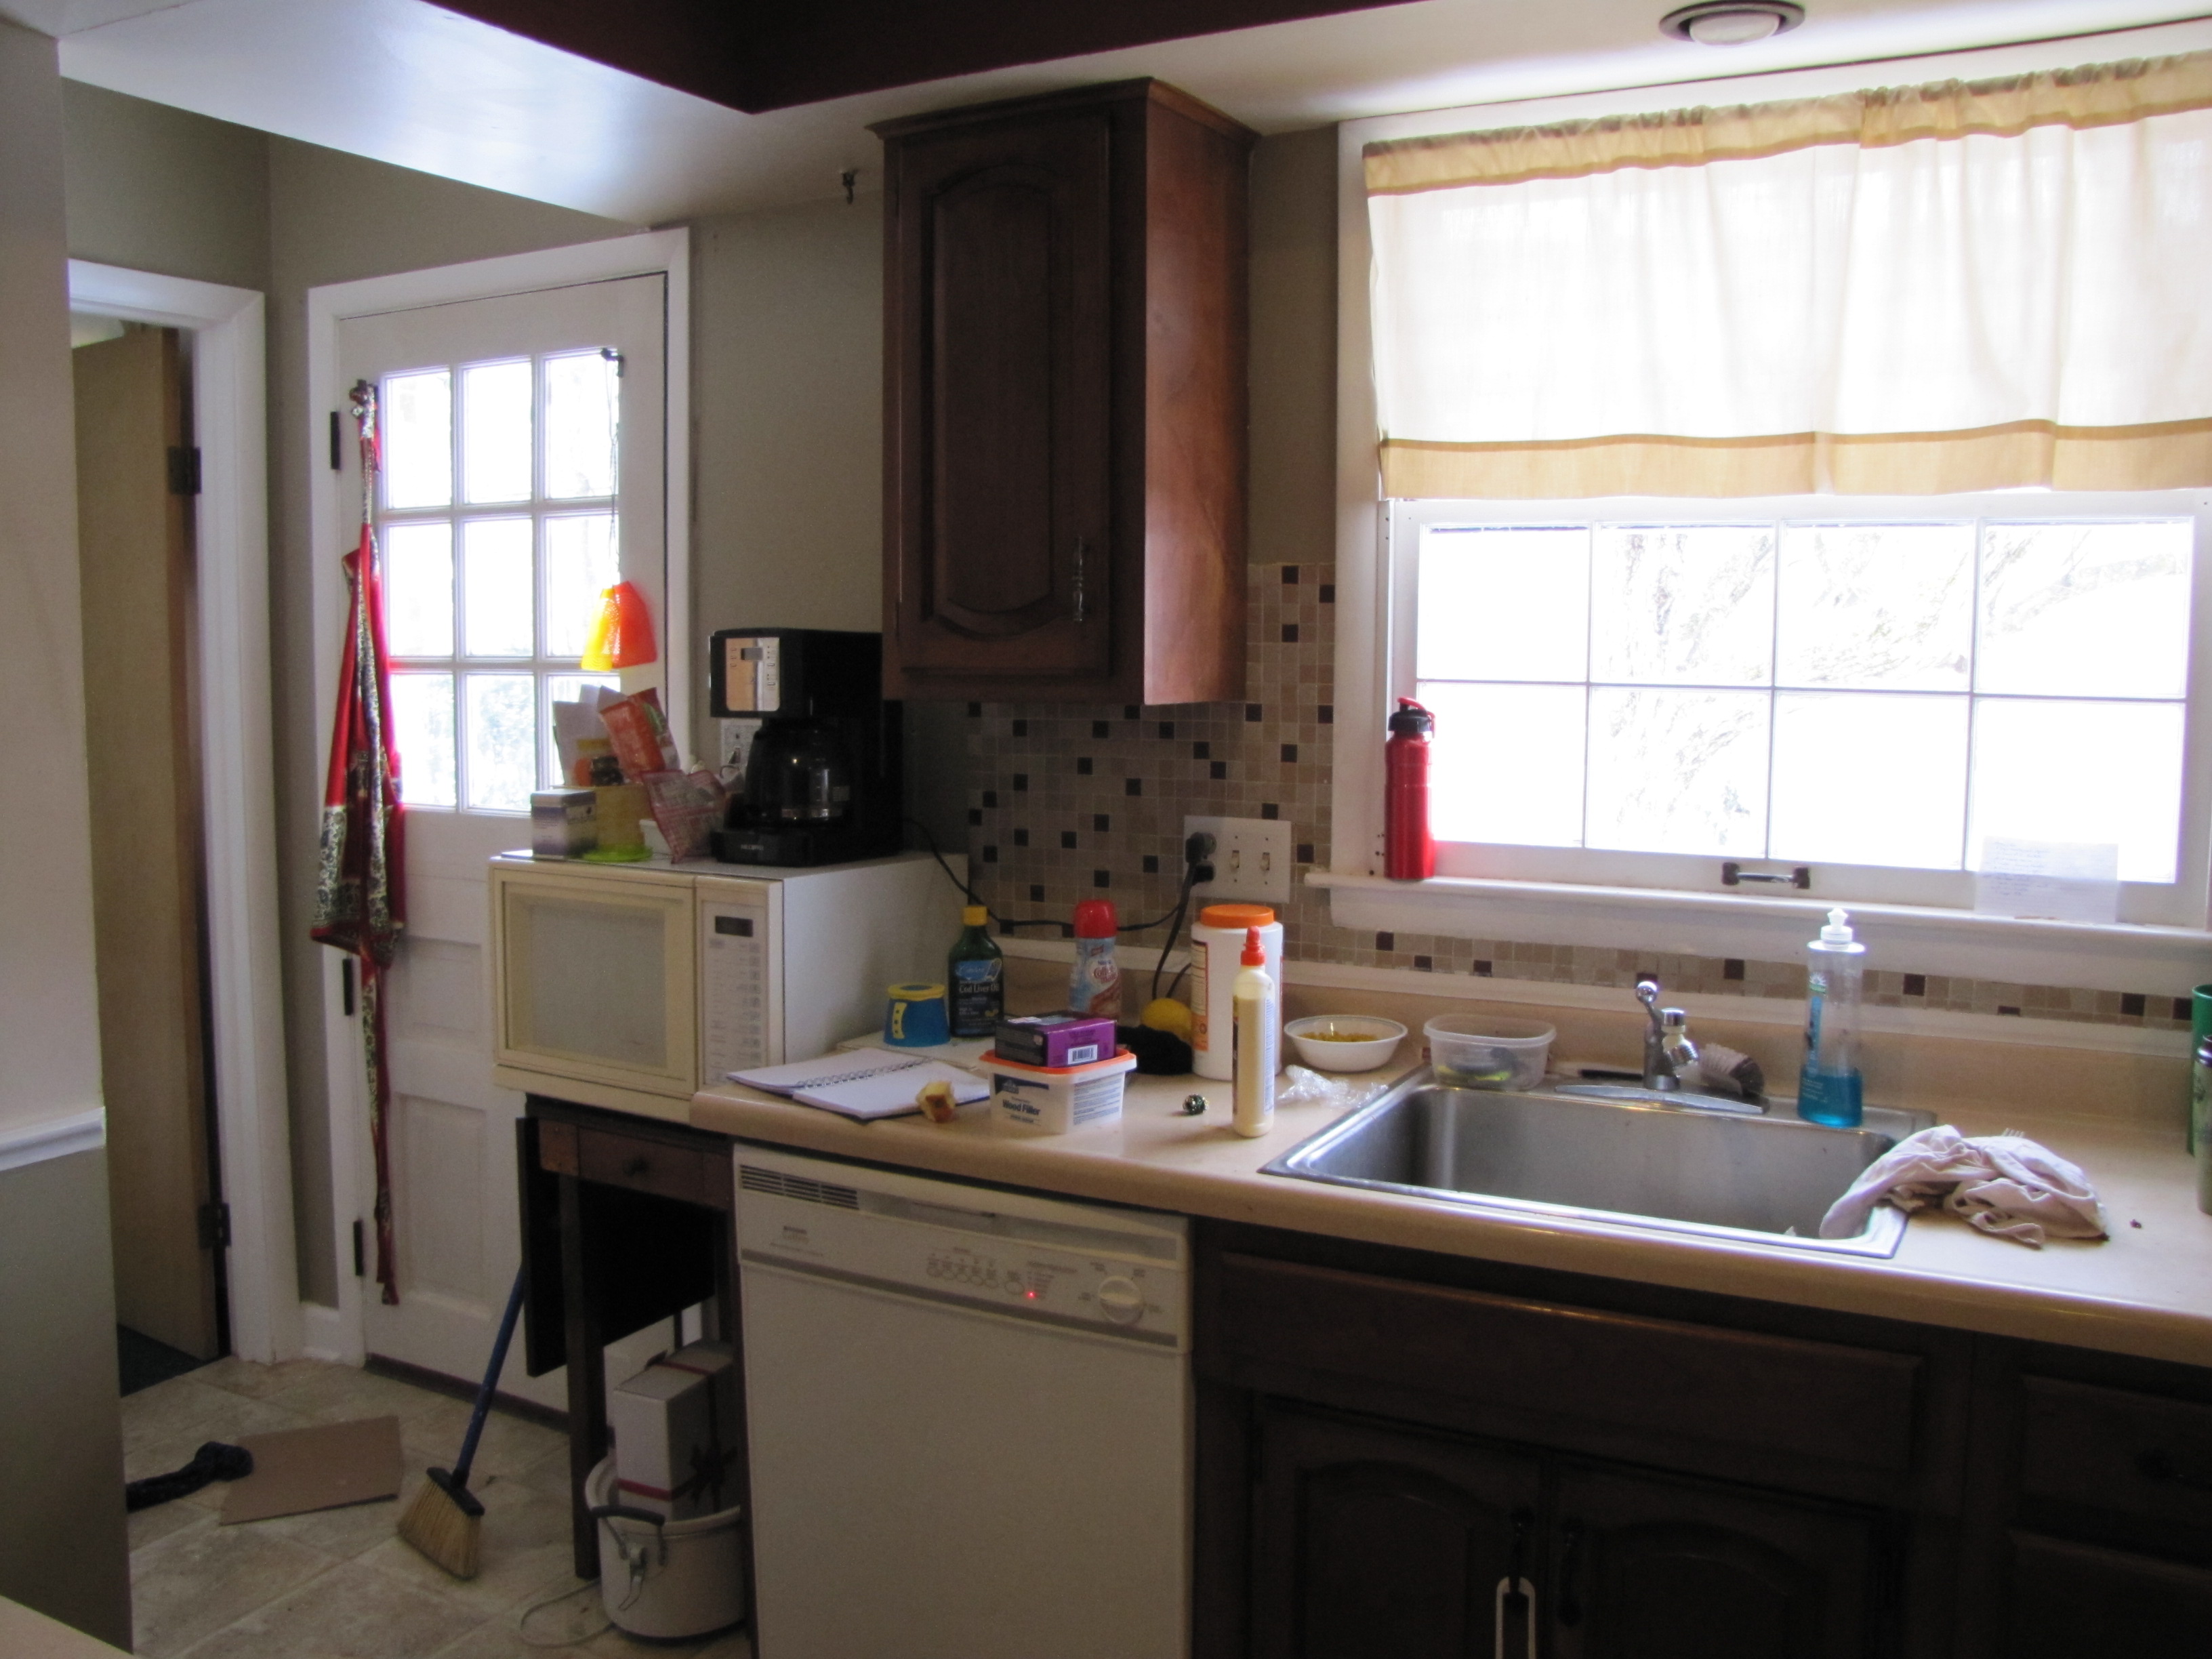
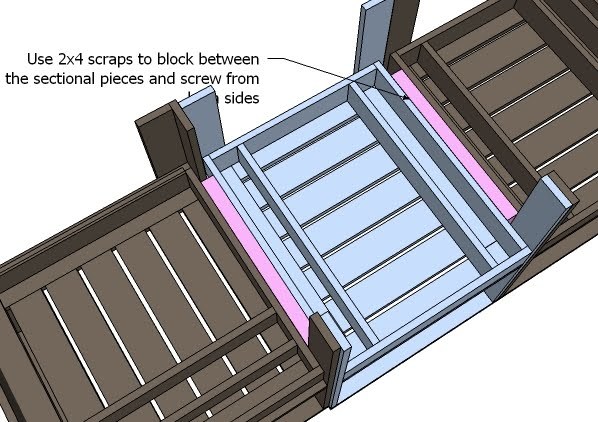
First project we have done. We love how well the shelves turned out. We modified the original plans to 9 inches deep. We had one hang up with the original plans b/c the two inch screw at the end of the frame go in perpendicular to the wall and we didn't have a way screw the frame into the wall and hit a stud. We added a hidden bracket on the end directly to the outside piece. It was a fun project and opens up our small kitchen tremendously.

Tue, 02/14/2012 - 18:19
Those came out really nice. Does it give you more storage, then the cabinet?
Wed, 02/15/2012 - 15:50
yes and no. We have more space but not everything we had in the cabinet (water bottles etc) worked with open shelves and we had to move elsewhere. We are thinking about adding another shelf in the middle that goes from the door to the coffee maker. But I'm not sure if it will look to cluttered. Eventually I would like to make a tilt out trash can cabinet with a cubbie for the microwave on top.
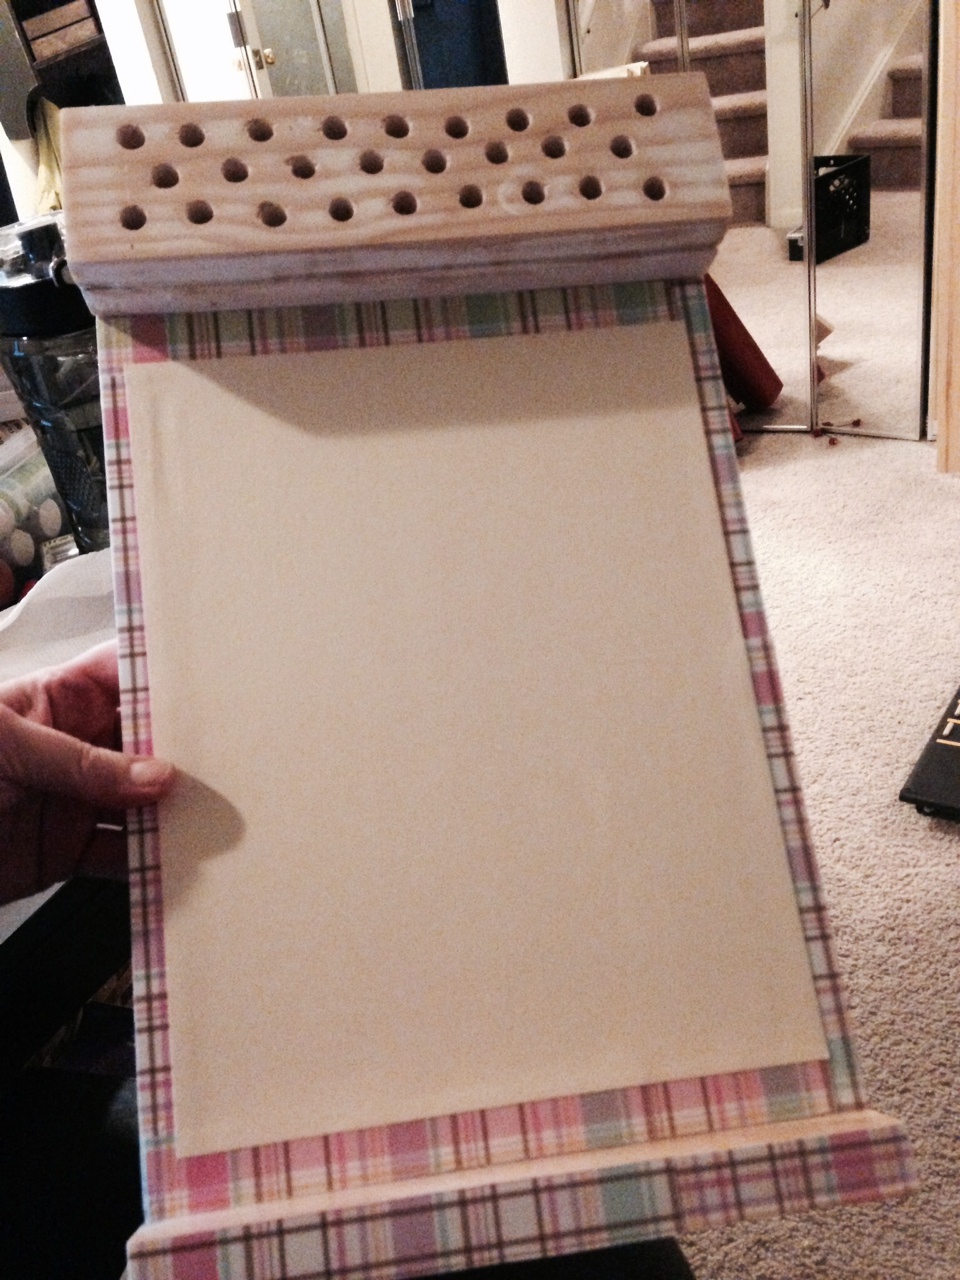
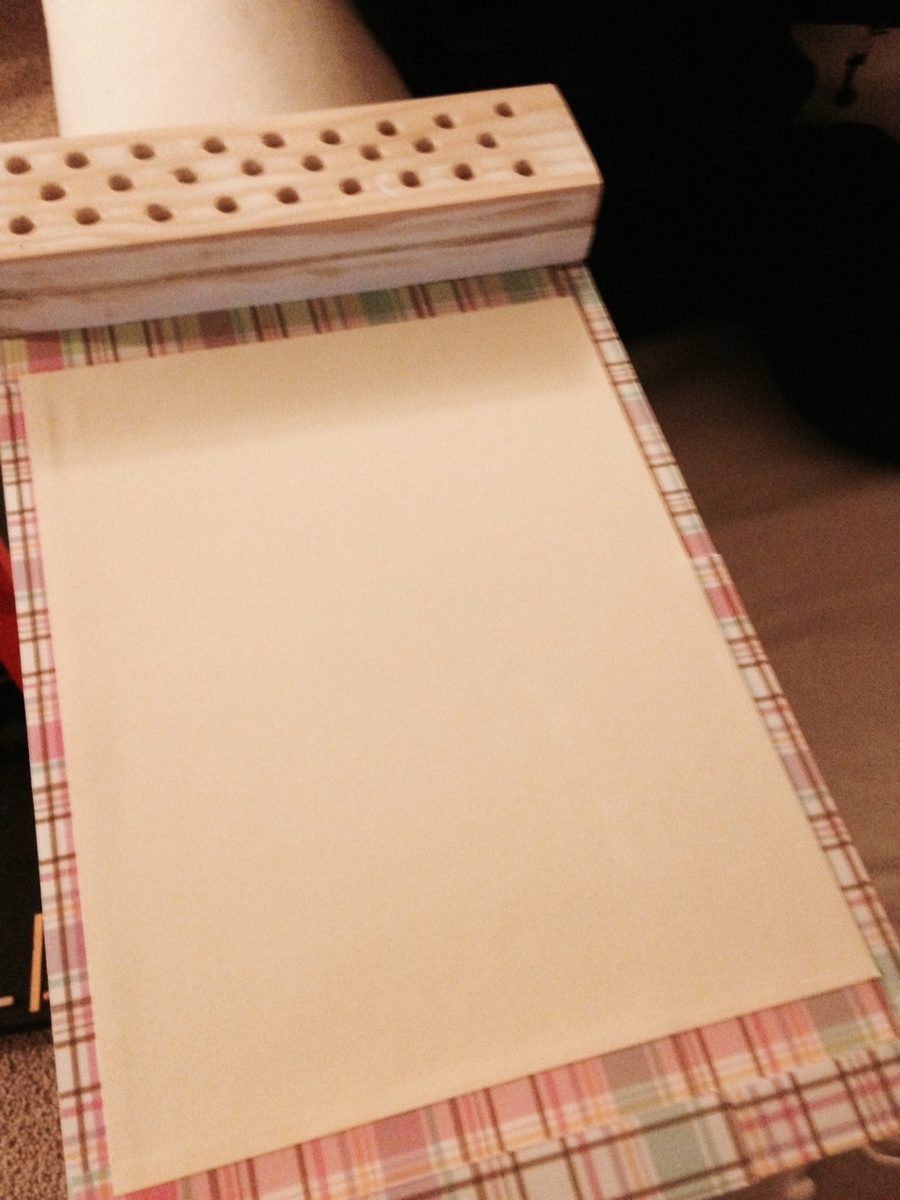
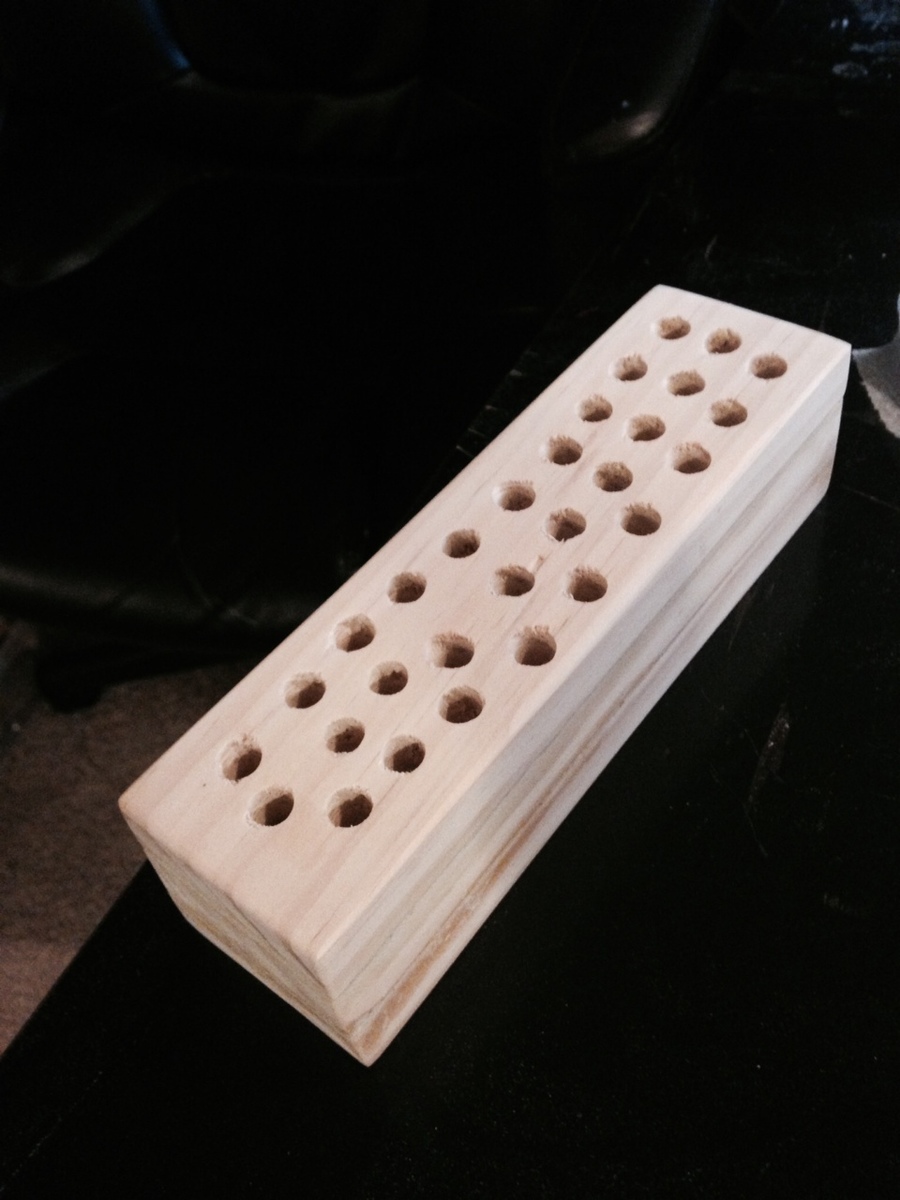
I wasn't planning on doing another project so close to Christmas but I saw this and couldn't resist. After the holidays, I will be making one for myself, because it is really comfortable to hold!
I did both versions, one with just the crayon holder and one with the lap pad. For the lap desk, I used 1/4" birch (purebond) plywood, just because its lighter.
Thank you ladies so much for all the fun projects! I have to catch up on my brag posts, I've been so busy building (and trying to finish my dissertation!)
Happy Holidays!
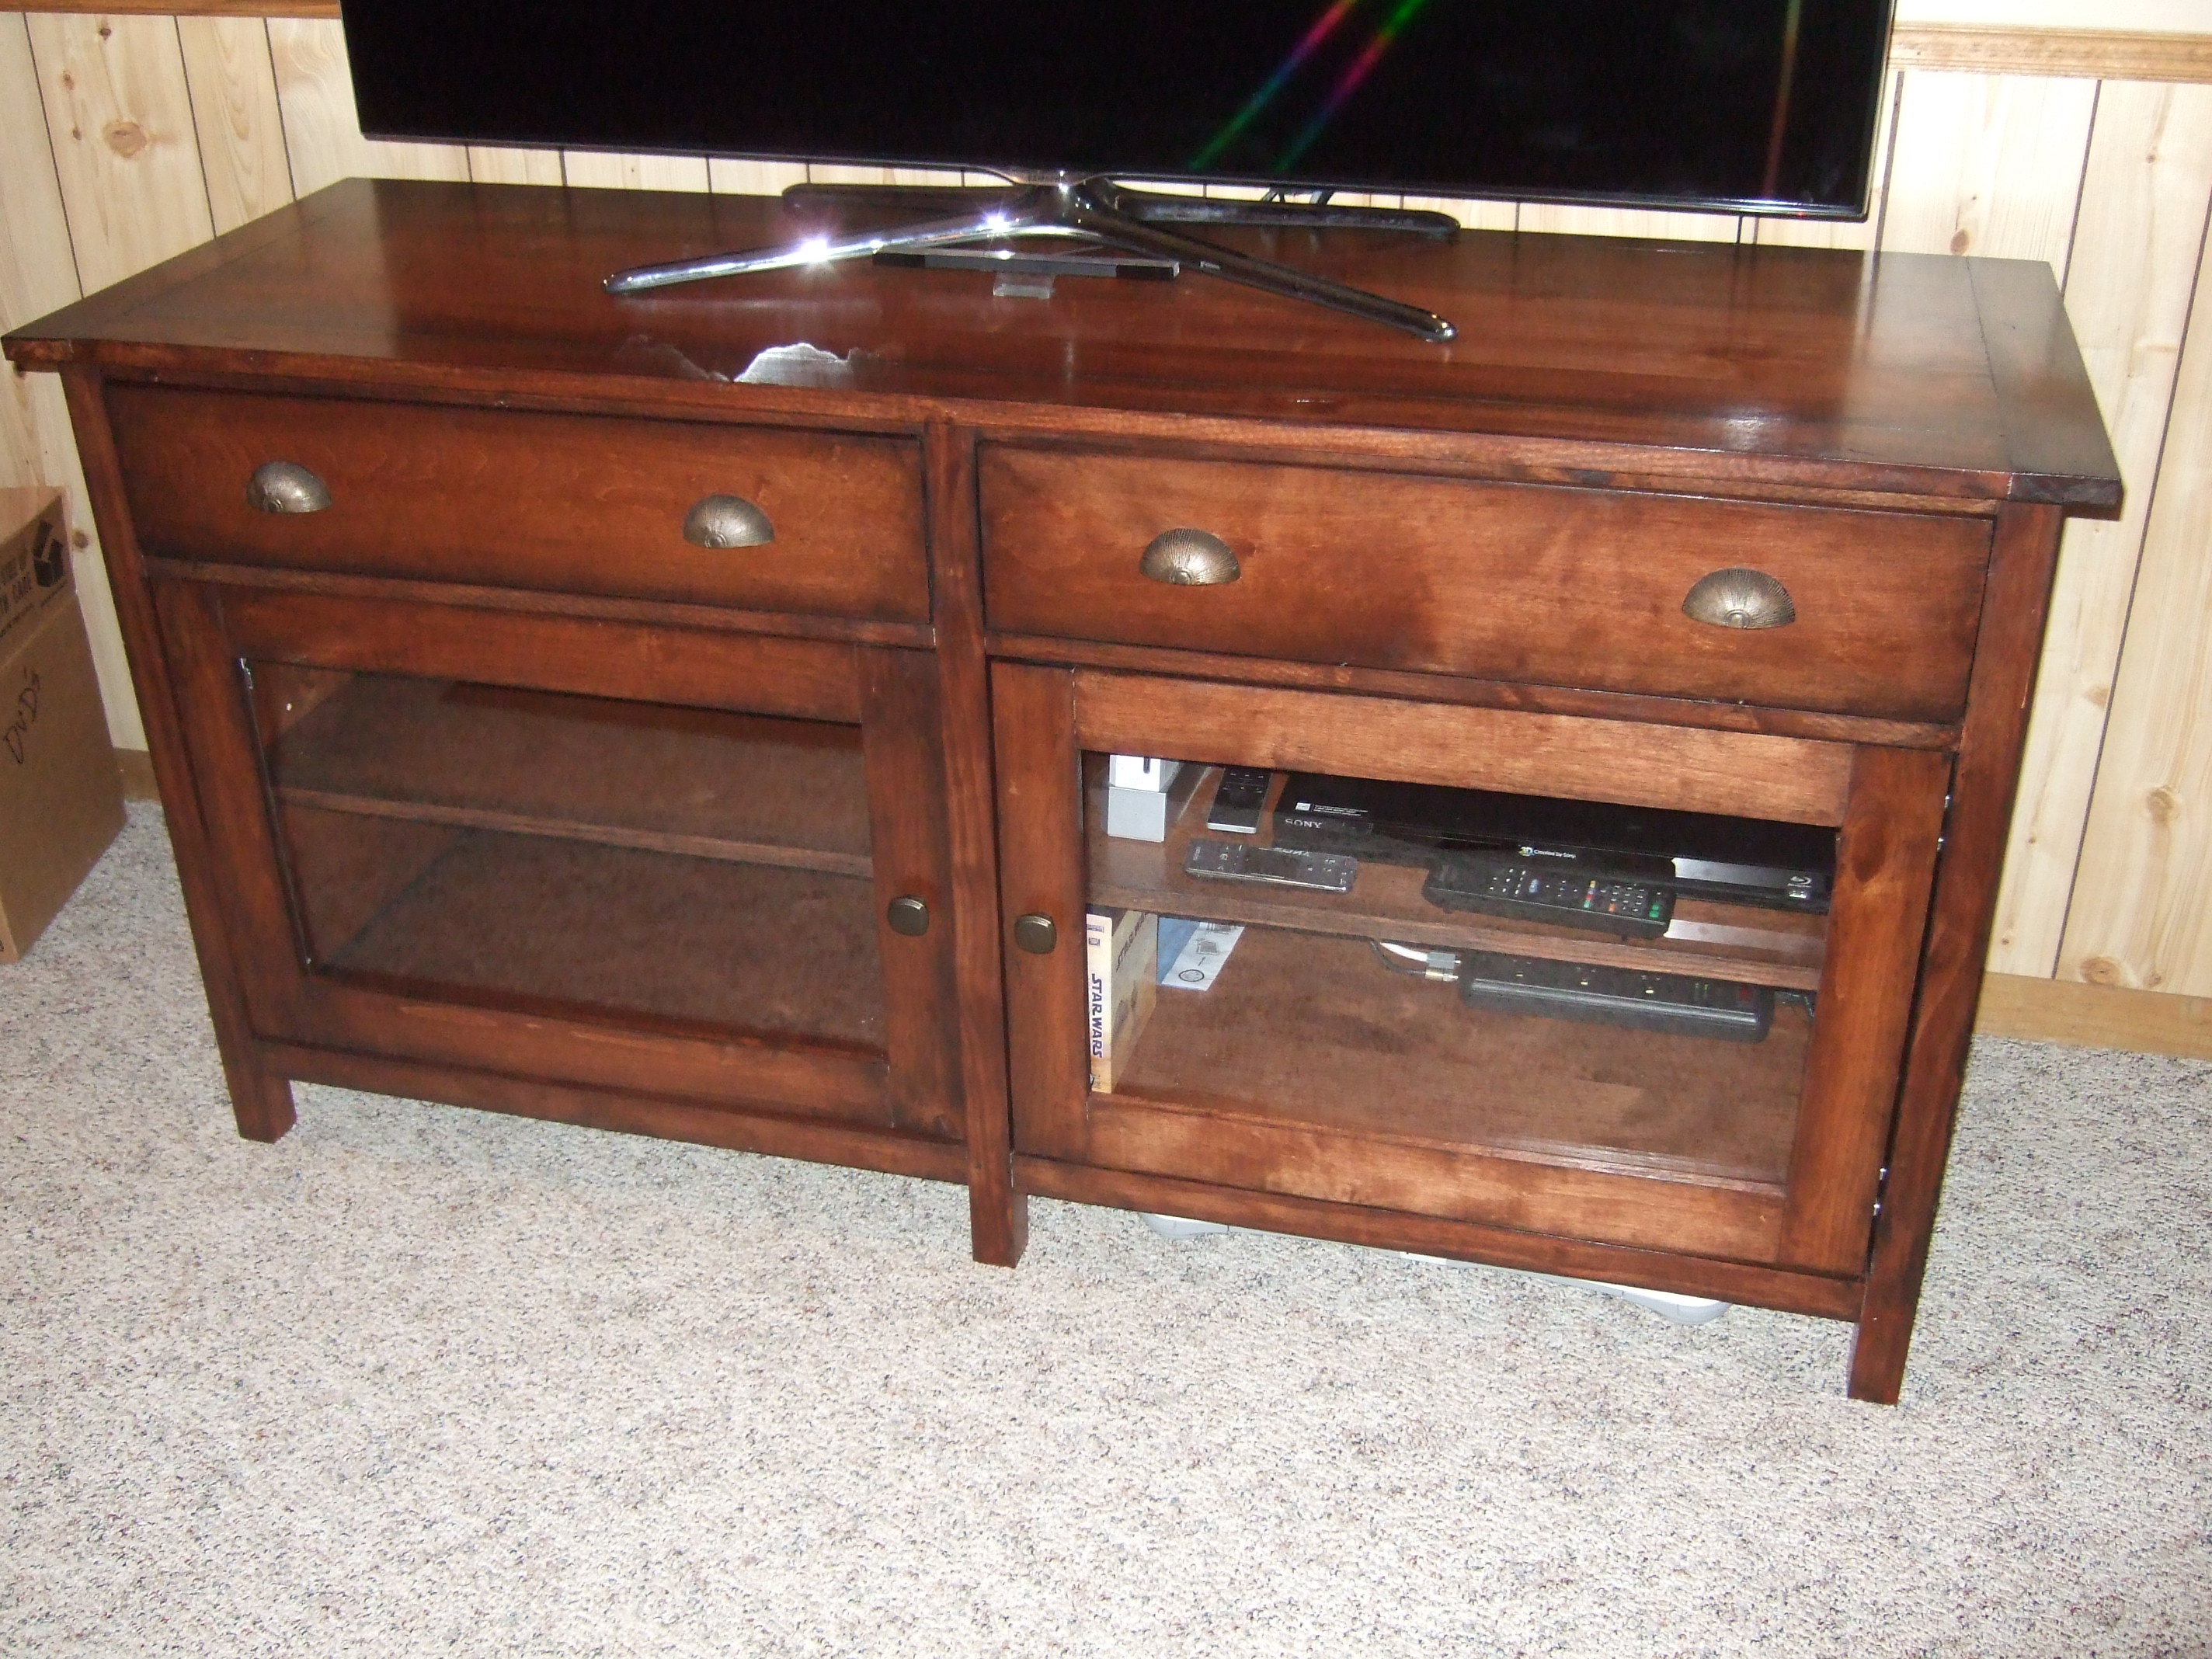
This was a great project to do. I have a family member that paid that full price for the real Pottery Barn piece. I then made this one and showed it to them. Ha!
I used Alder ply but because of the expense I only bought 1 sheet which will run $90-$105 from Menards or Home Depot. Other lumber yards ran up to $140. I got all the pieces out of 1 sheet except for the 2 adjustable shelves which I used birch ply. And you can't even tell. I was going to make my own jig but just bought the Kreg pocket mini jig. Invaluable! and about $20. I found the overall cost from the plans to be under reality. Acrylic, hardware, and hinges will run you $70-$80 easy. But I guess if you use cheap pine or something than maybe you can be close to the estimate.
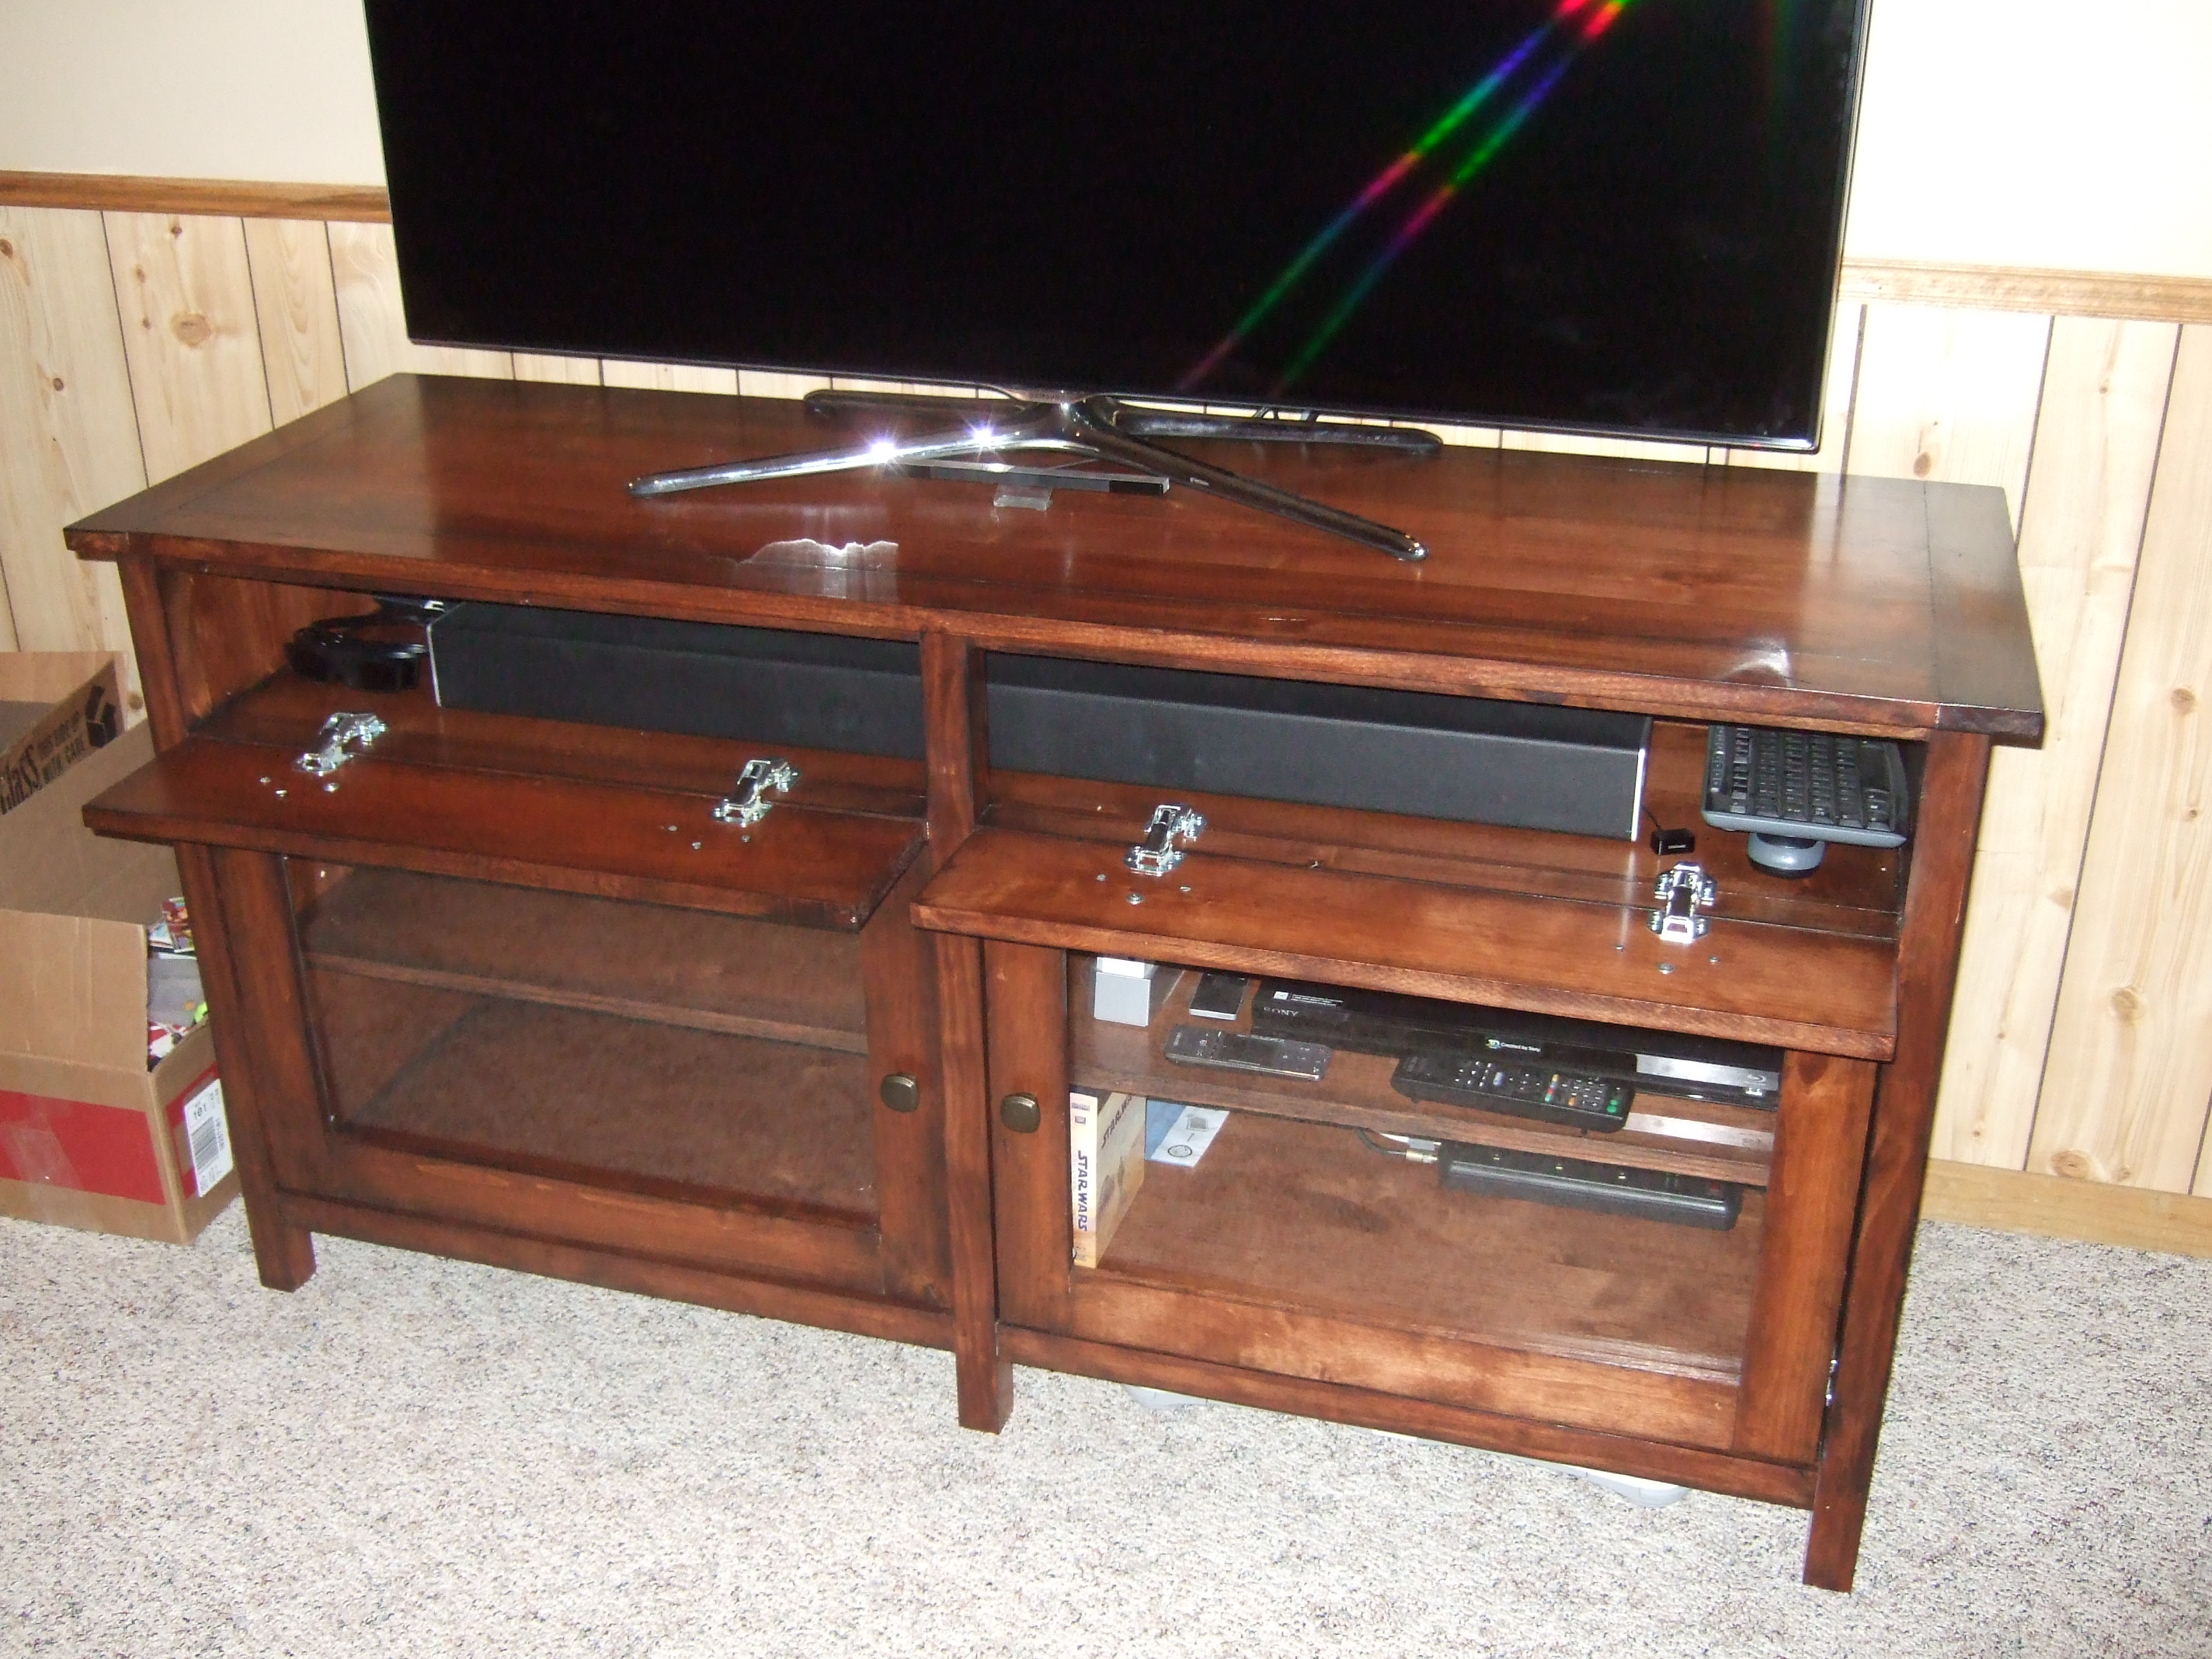
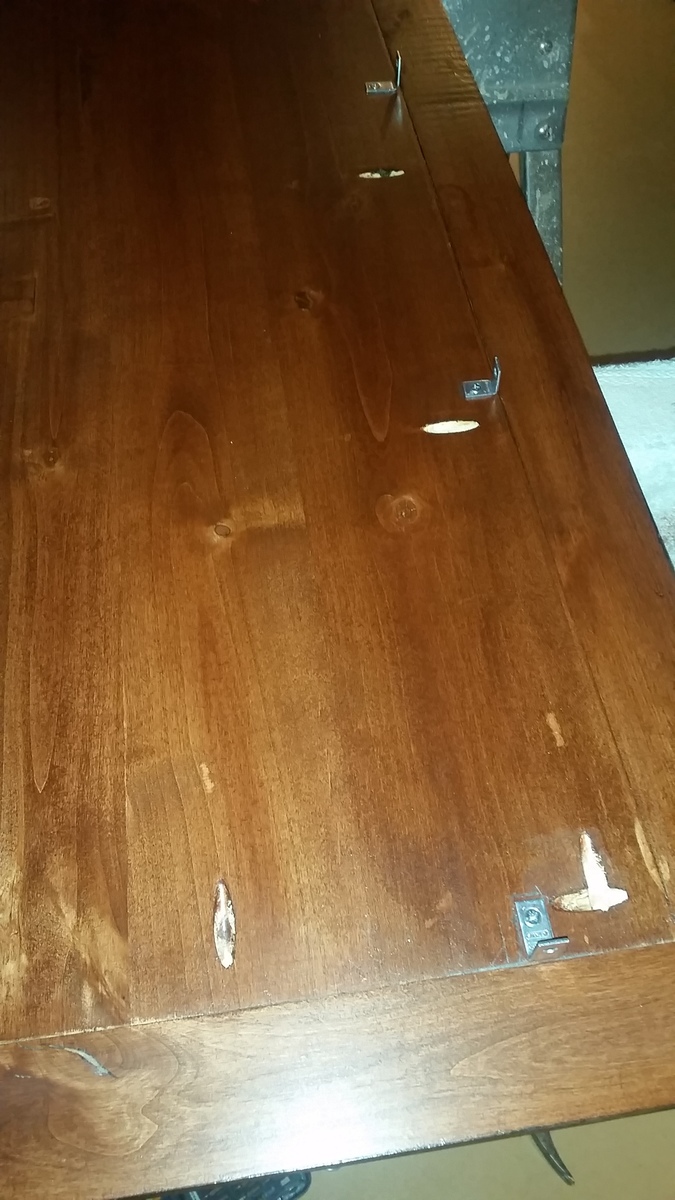
As queried by others, I too found the plans to specify how to attach the top. I used tiny "L" brackets around the underside perimeter and attached them with my screw gun to the frame (pic attached). For the doors, I didn't like the idea of just screwing the acrylic glass to the inside of the door so I routed the inside and attached some plastic tabs I found in the screen door section of HD to hold them in place. (pic attached). You could also use small mirror clips installed upside down.
I wrestled with the color choice for a long time but finally found the Minwax Gel Stain Mahogany (which is different than regular stain mahogany) to be the right color. After staining and a coat of sealer, I glazed, let dry, then sealed some more. Finished it off with some supa-fine steel wool and paste wax.
I love this piece now because I only glued certain pieces so that I can take it apart and put it back together as I am moving soon. (out of country). The European hinges were a bit of a pain to mess with since they have some movement to them and only lateral adjustments, no vertical. But it came out great. (I think)
Thanks so much for these plans!![]()

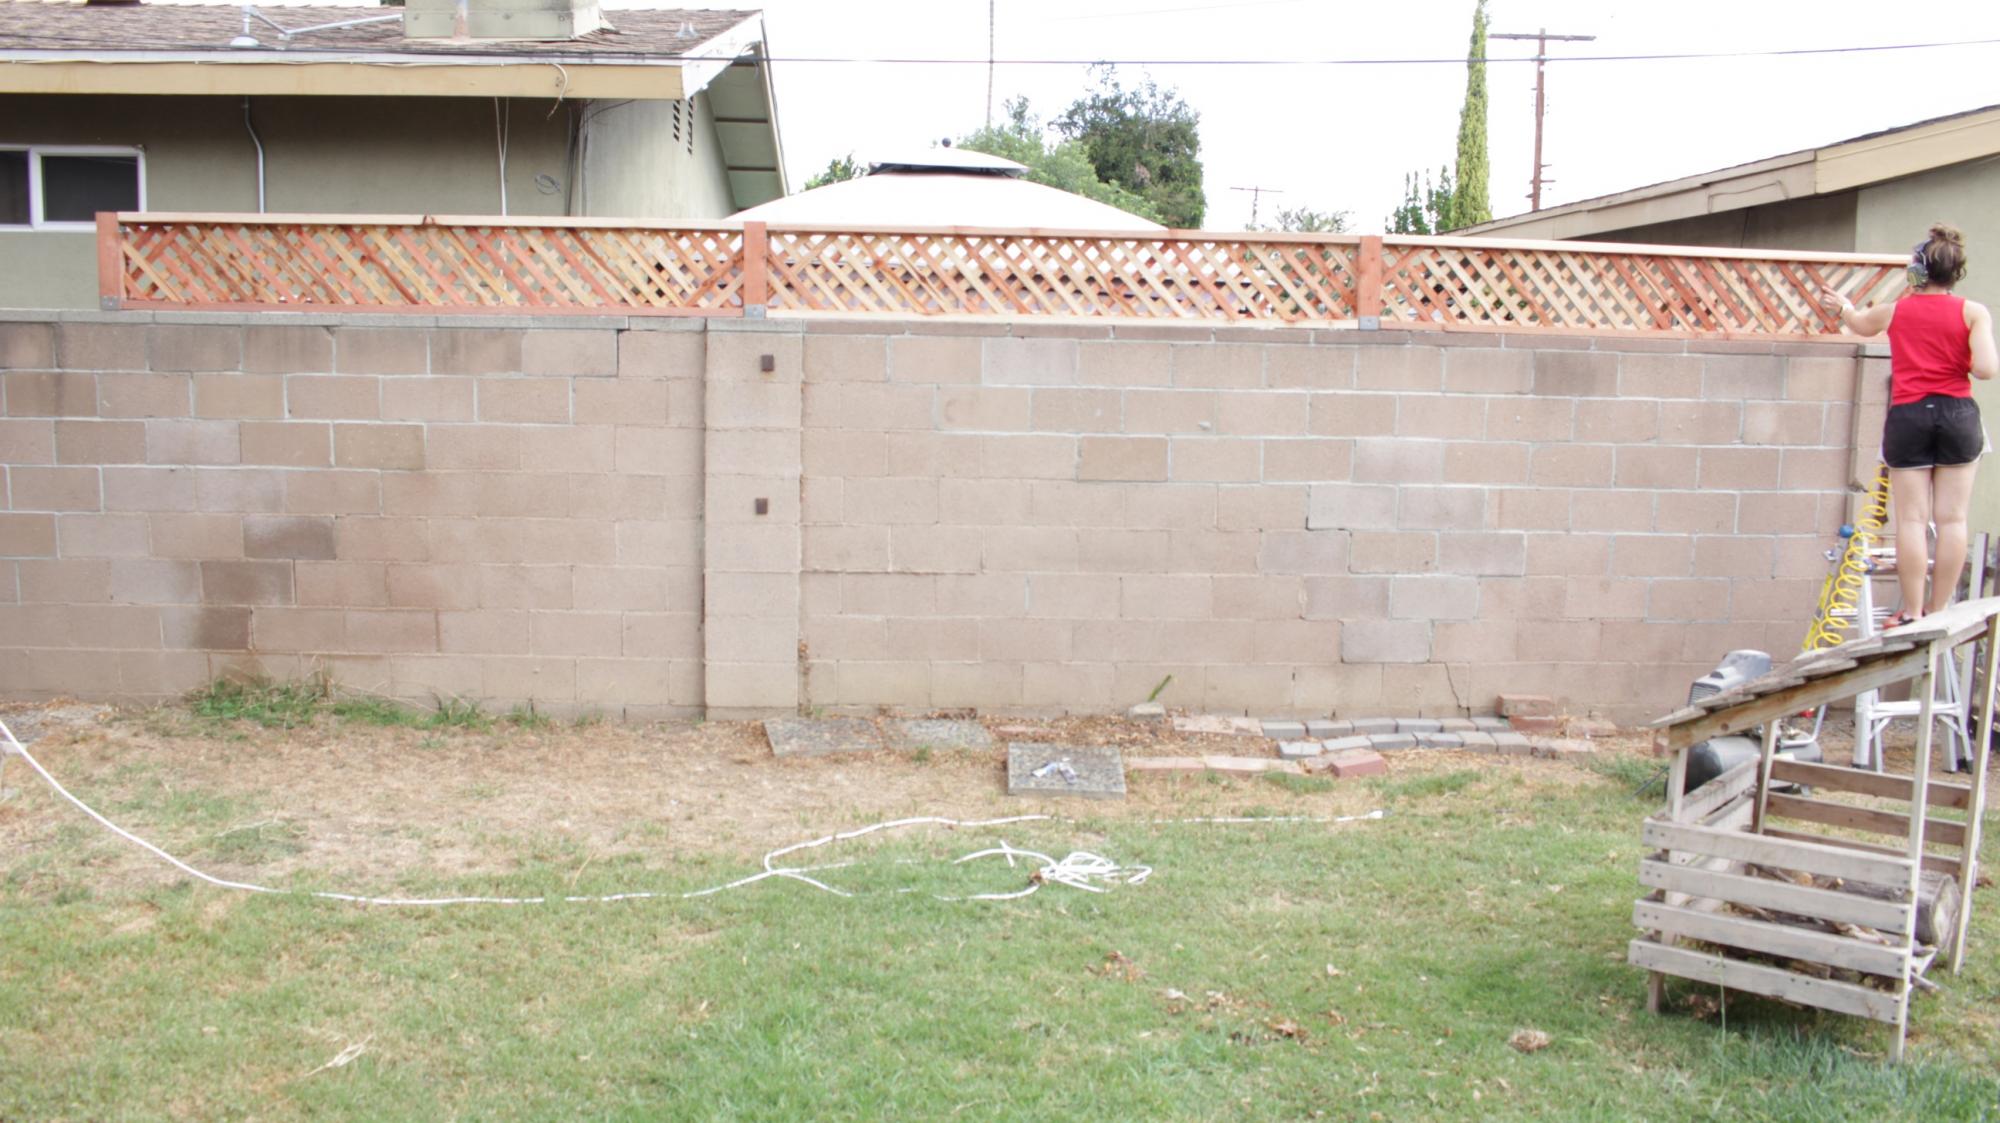
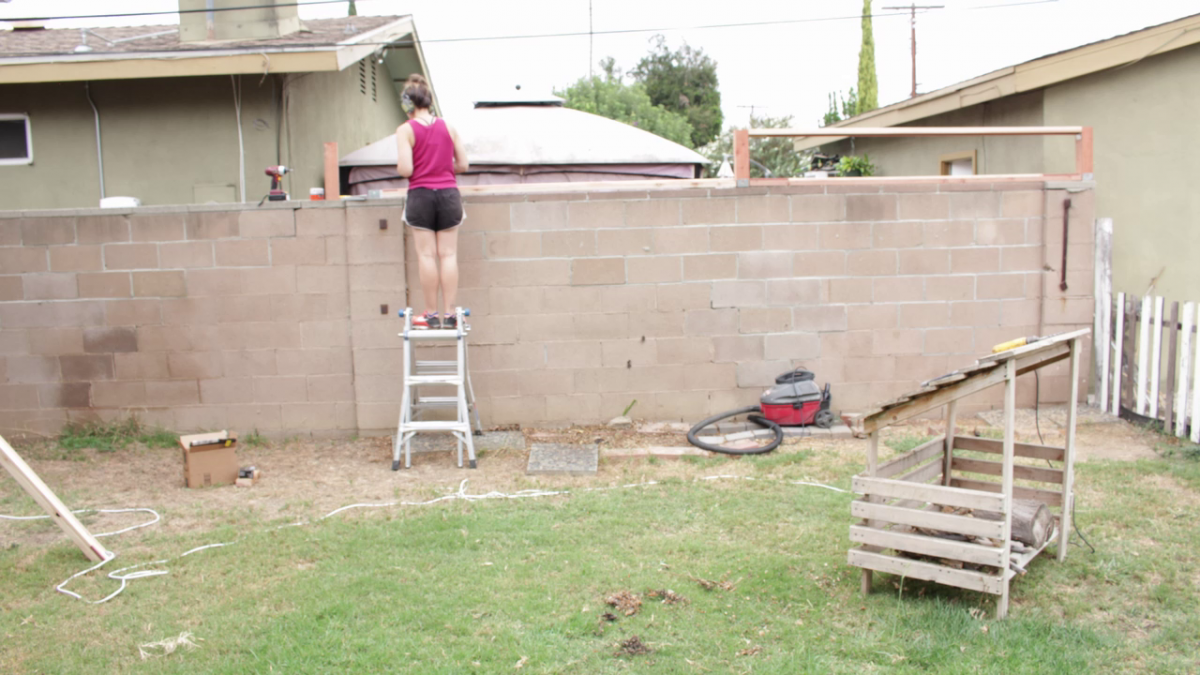
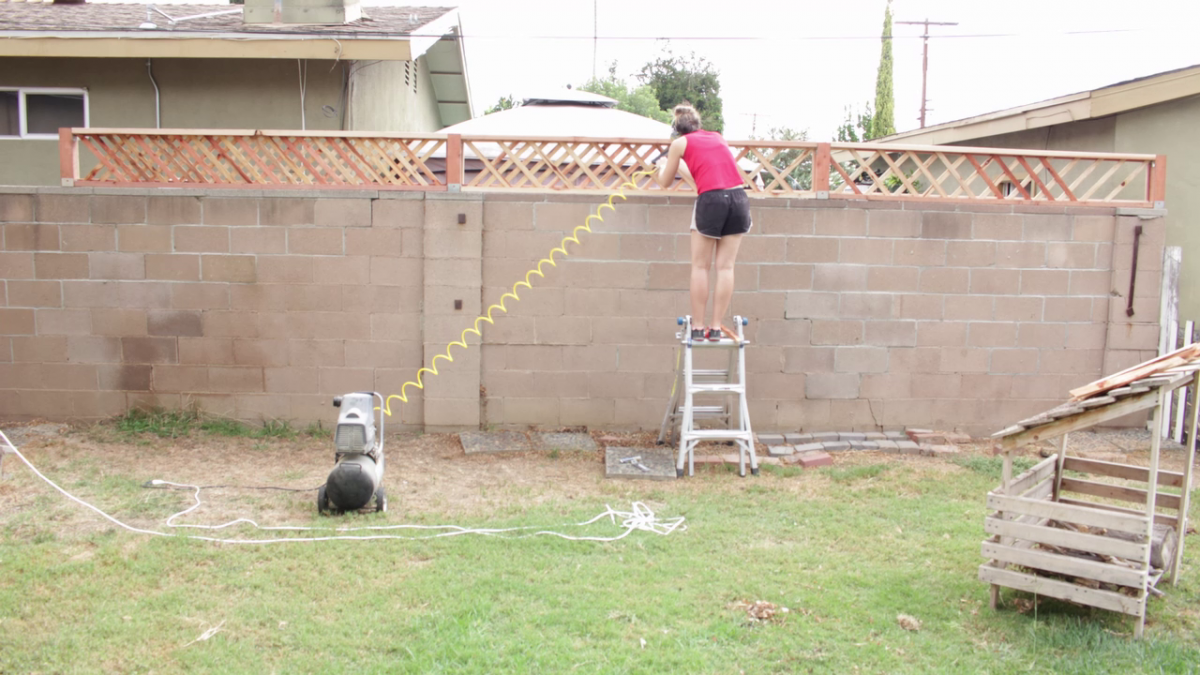
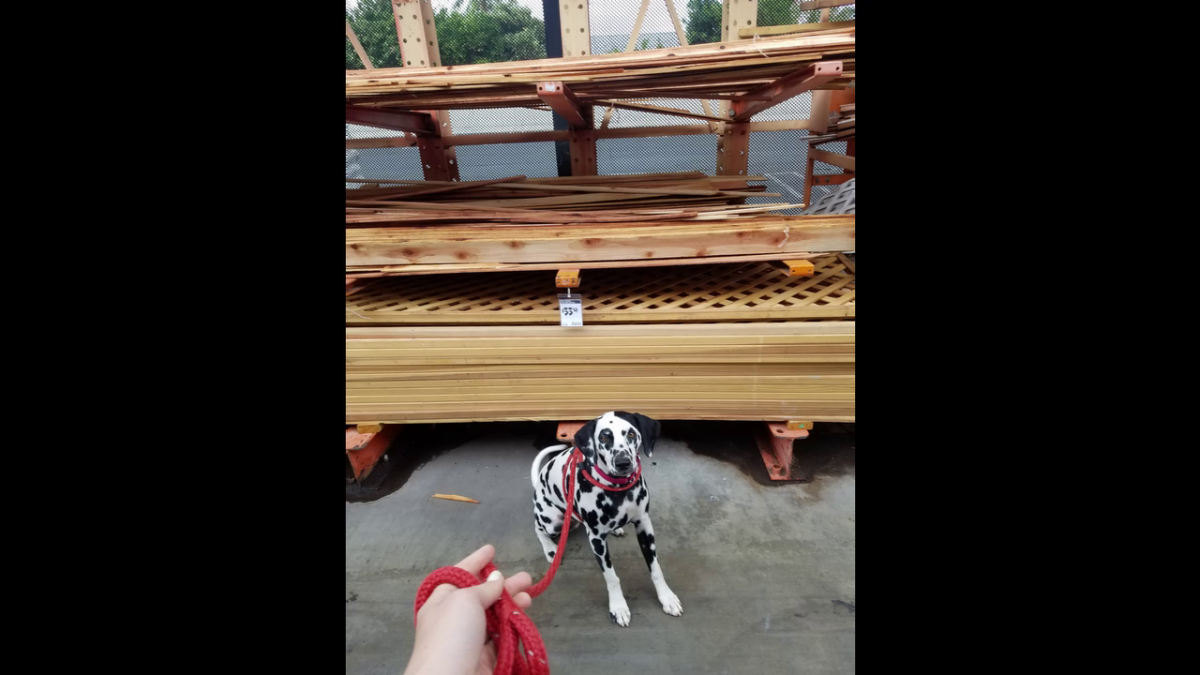
Lattice Fence Build Video
I built a lattice fence above a masonry wall dividing us from our neighbors after they cut down a bush that had formerly blocked the view. I time lapsed the whole thing, and thought you might find it of interest (or humor)
It took me 3 days instead of the 1 that I expected- am I the only one who greatly overestimates their speed at home projects? : )
Anyways, really happy with how it turned out. That’s the thing I love about woodworking. It always looks janky to begin and doesn’t show much promise, and then suddenly, it’s a work of art. Tis a thing of beauty.
There are a good amount of tips and tricks in the video of how to overcome difficulties in the build.
Two hours and done!
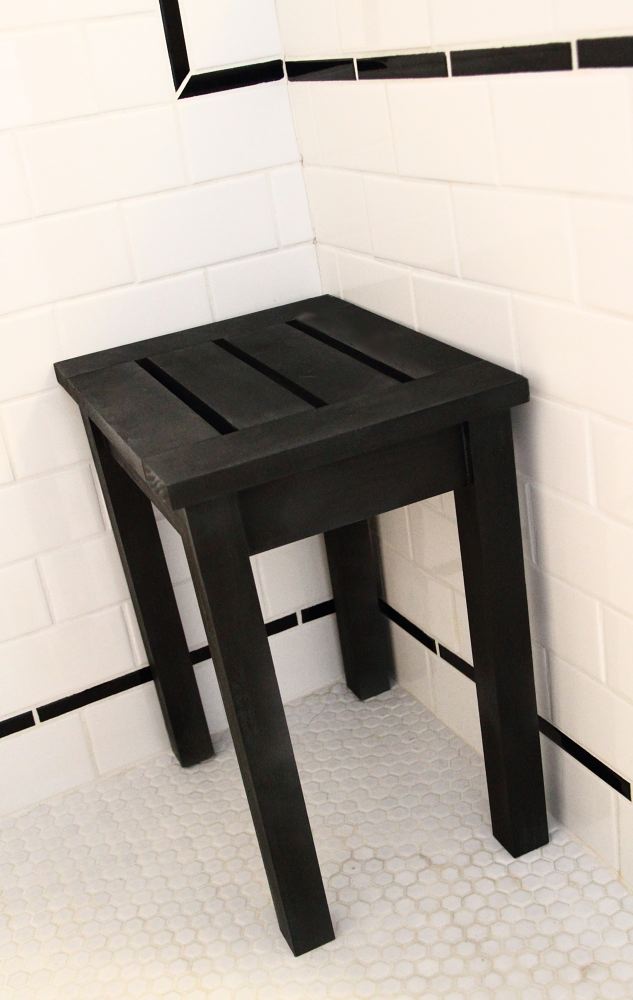
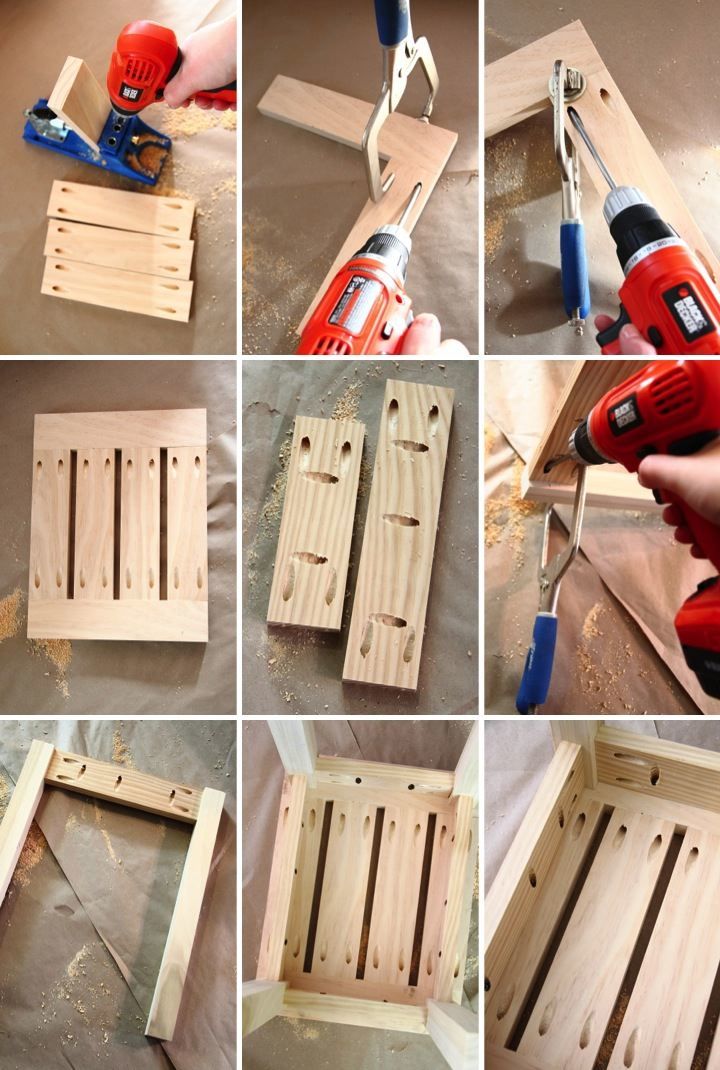
I love my 3' x 5' shower and with all that space I thought that having a little spot to sit down would be really nice. After looking around online and at some stores I couldn't find anything that I liked that was also reasonably priced so in the end I decided to make my own.
For details about how I built it check out my blog: http://www.homeandawaywithlisa.com/blog/2012/2/18/simple-diy-shower-sto…

Mon, 02/20/2012 - 07:03
Did you do any waterproofing? This would probably work well in cedar, too.
Wed, 02/22/2012 - 17:17
Cedar would definitely be a great option. For the finish I used Rustoleum outdoor spray paint which is supposed to stand up to the elements. I figured that would help it stand up to the water in the shower.

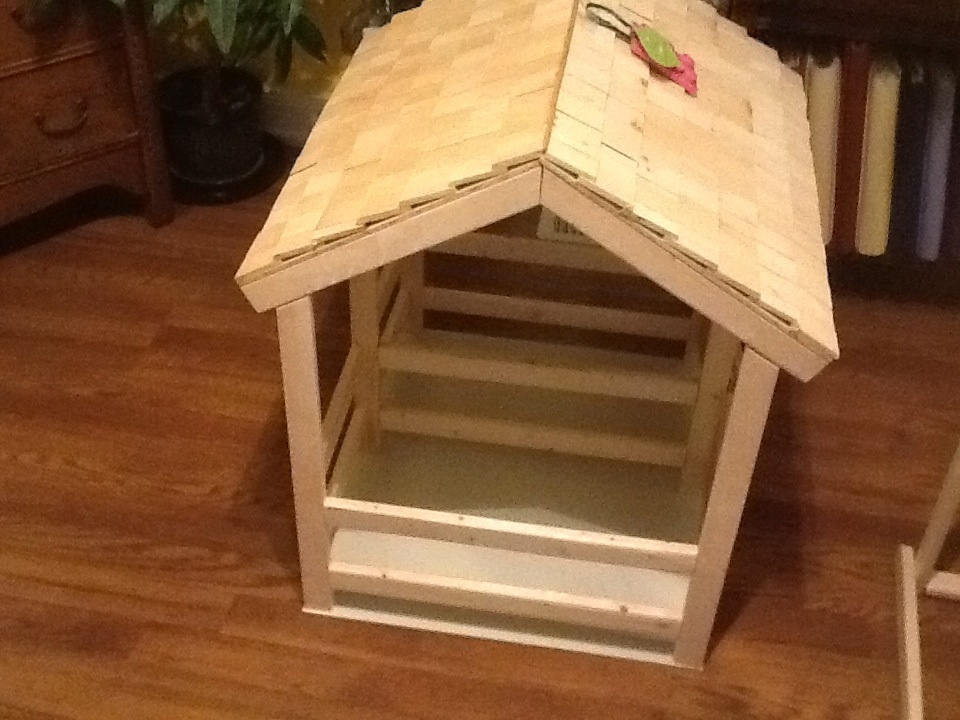
This was an upgrade from the Ana's project on the stable. I made the shingles from cut thin strips of wood nailed to a 1/4" roof with a pin nailer.

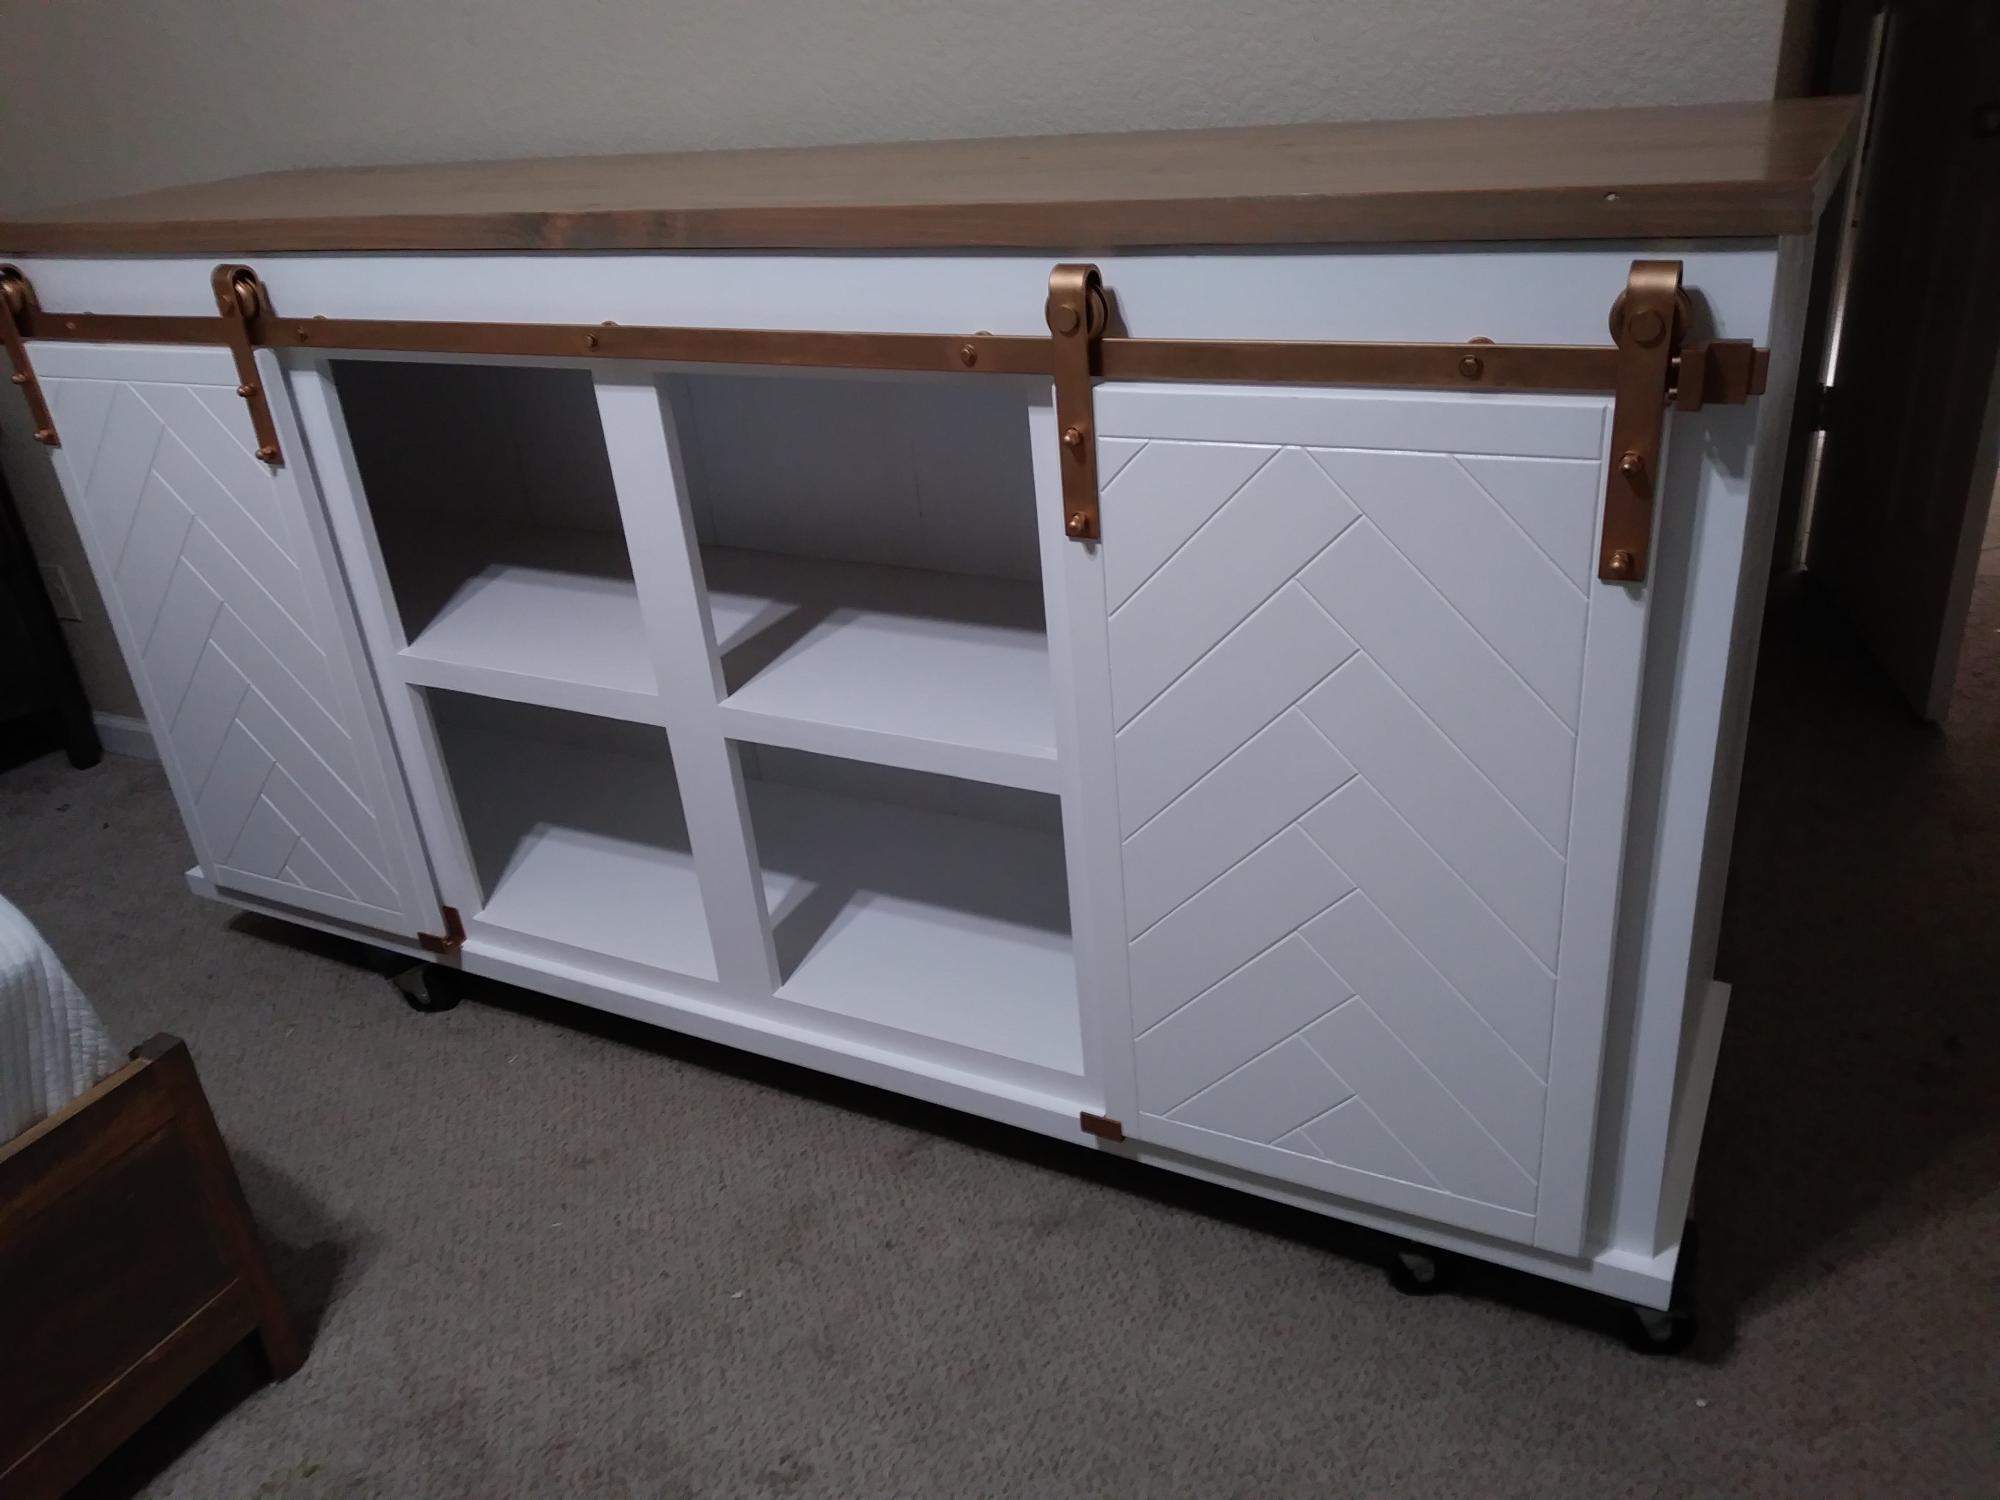
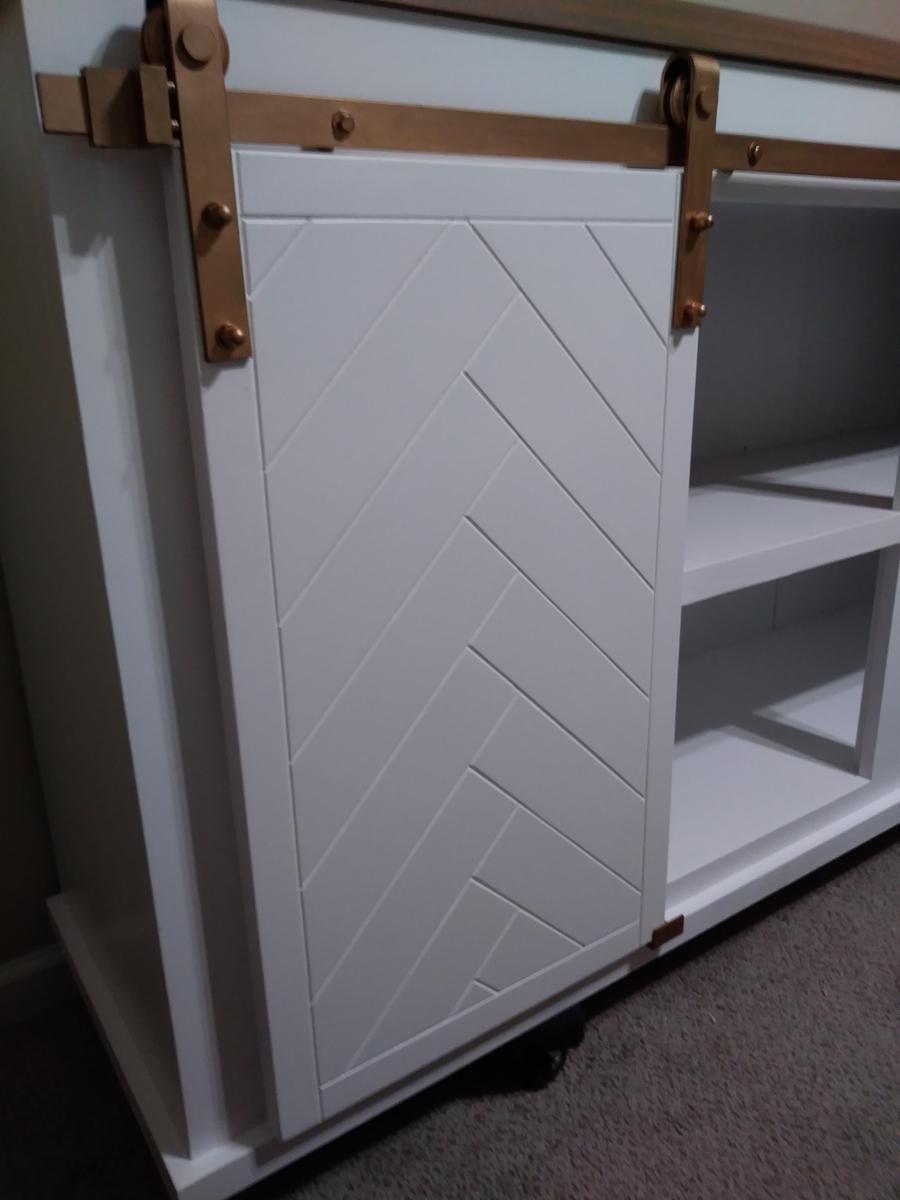
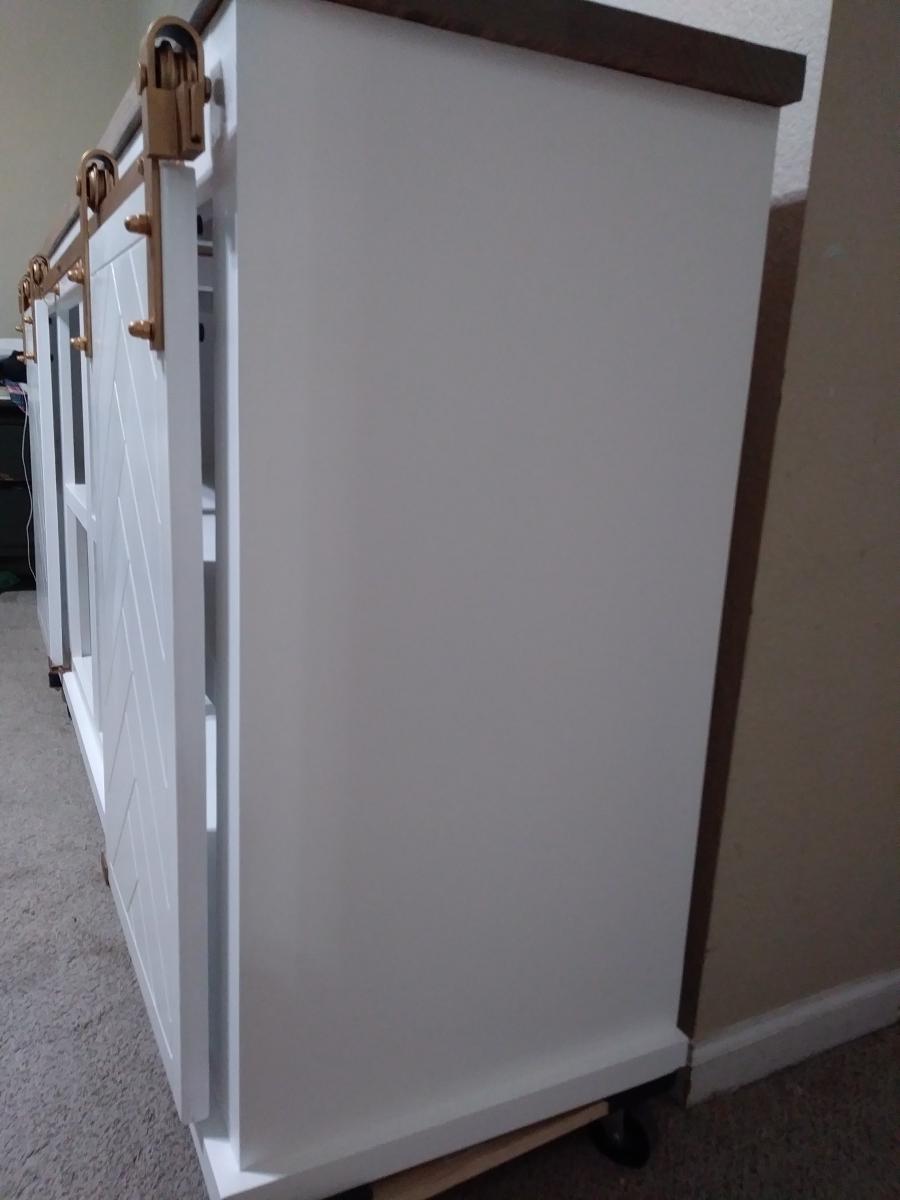
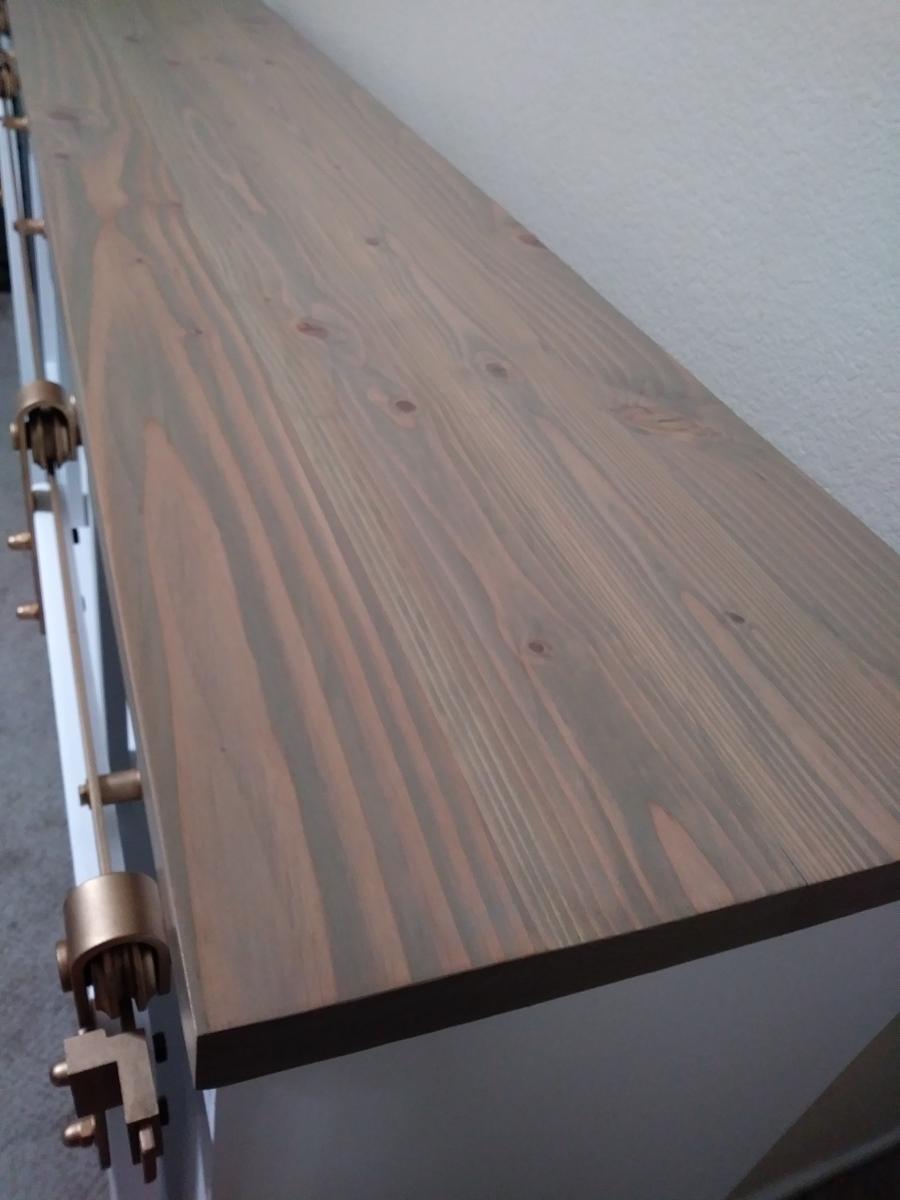
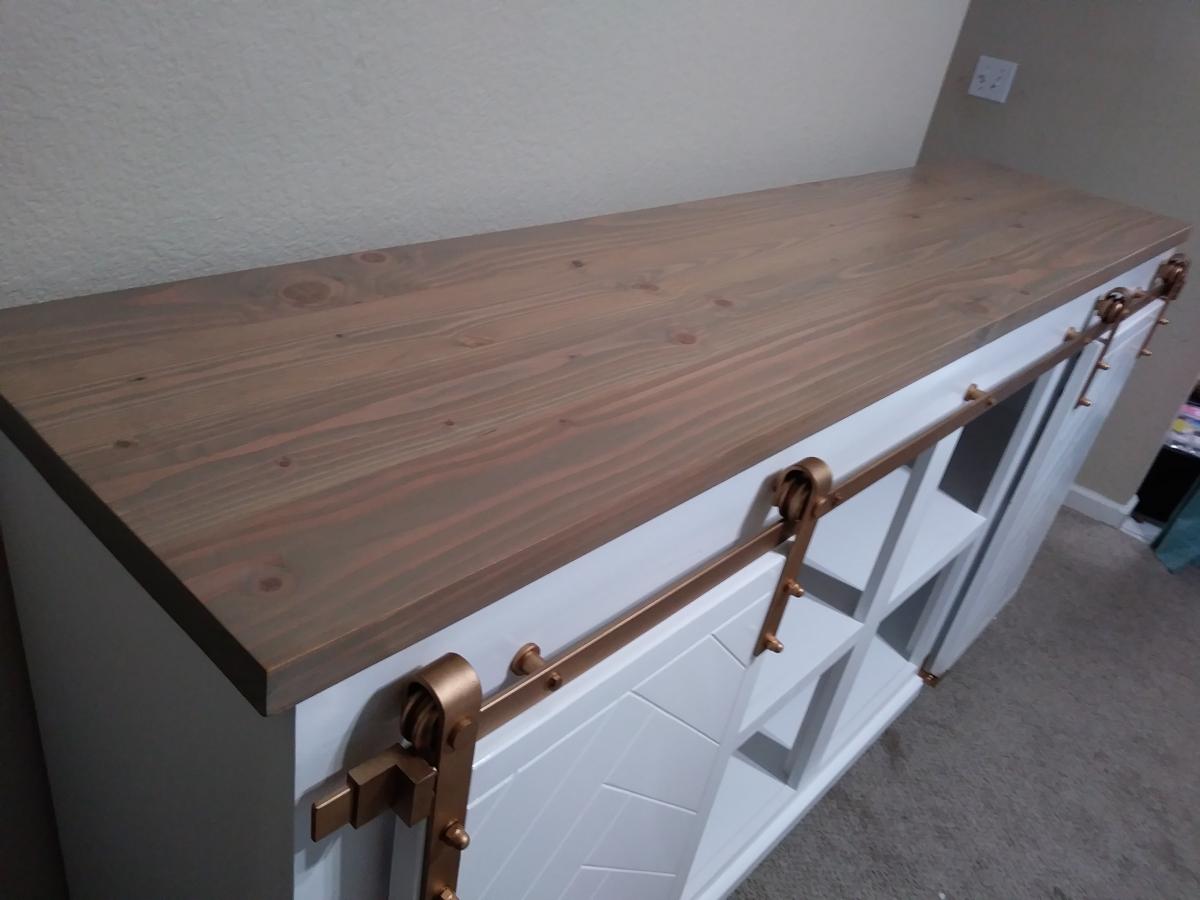
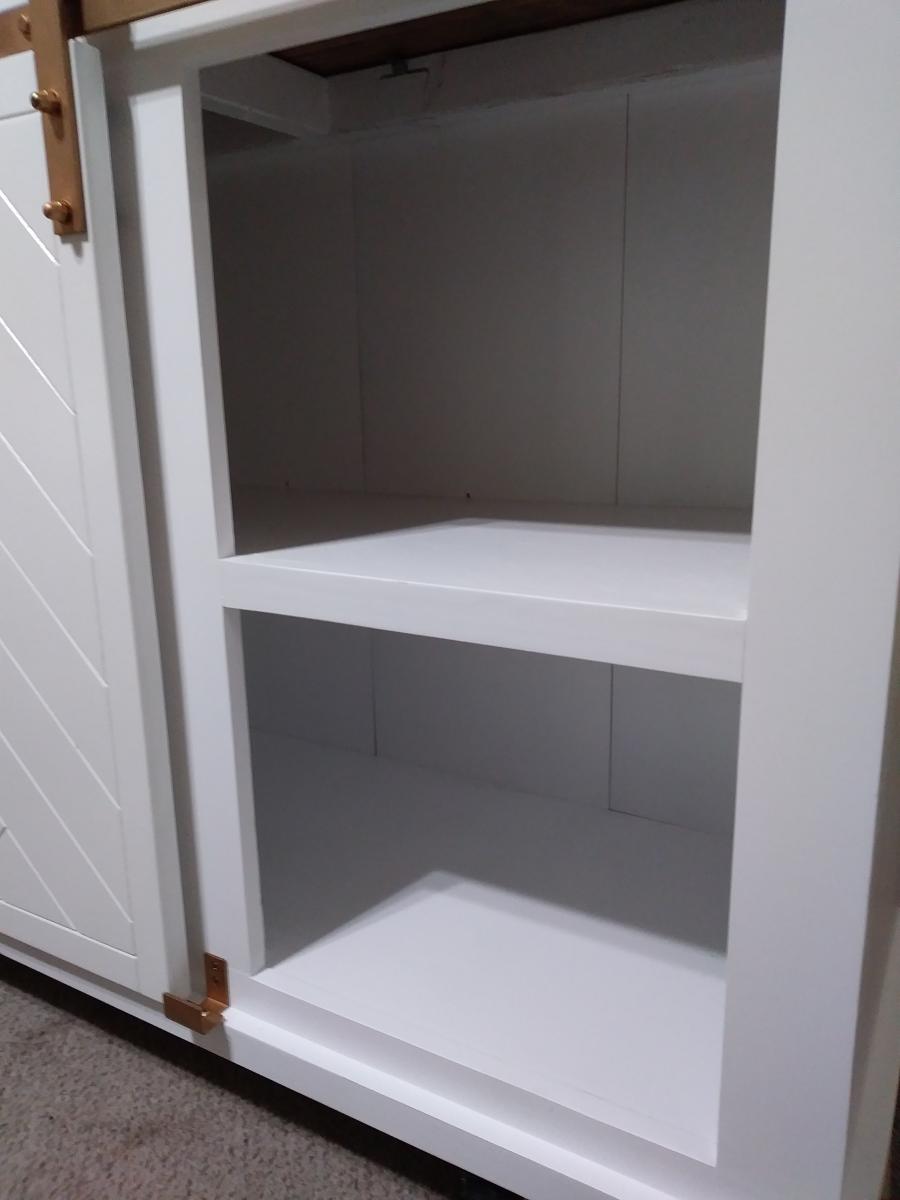
This console was made with herringbone doors and gold hardware. Everyone who sees it wants me to make them one :)

I’m no carpenter but this went well. I did it all with pressure treated because it is in the open. They filled in the area where there used be a hot tub. Surprisingly comfortable, too. Thanks Ana

**The second pic is of the grill I built for our wedding. It was done in about 4 hours with NO plans, and a whole lot of on-the-spot thinking. All while precooking 120 lbs pork butt, 200 ribs, baked beans & whatever else that oven pushed through that day. I look forward to one day having the time to draw out the plans, and throw them up here :D **
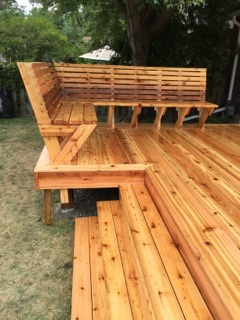
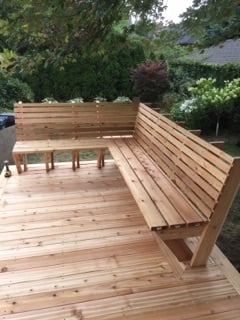
Hey! It's been a while since I've posted anything with so much going on, but I thought I'd share a photo of a project I finished a while back. These were actually built as a gift for my in-laws to thank them for organizing our wedding. They were thrilled, and decided to incorporate the benches into the reception. As of late, I've been remodeling one living unit, one office, and one new studio & on top of that, getting married. I'm sure you can see how uploading something as simple as a photo is a chore in itself. Nonetheless, here is the finished project.
I changed a few things from the original plans; The biggest being the holes that convert from picnic table to bench. I realize not everyone is the same height, body shape, etc, so I took this into account. I actually have an additional hole on each side. One to pivot the table, one to lock it in as a bench, one to lock it in as a table, and one extra bench hole for those who prefer more of a decline/incline position. It all turned out great & works perfect for either bench or table. Very sturdy, and nothing but compliments. As a matter of fact, people asking over and over again where I bought it & for how much :D The reason I put 10-20 hours is due to the paint. I used three coats because, even though I used plenty of primer, pine just loves to soak it up. I also wanted to make sure every bit of it would be covered as much as possible for the weather conditions outside. It turned out having a rubbery coating feel to it, much like those of galvanized benches dipped in paint. Overall, very pleased with the outcome.
Cheers for the plans!


Wed, 02/22/2012 - 18:48
Congratulations on your marriage!
I love the red paint on the picnic table/benches. The grills remind me of growing up in Miami and having roast pig that was cooked in those huge steel barrels.
Wed, 02/22/2012 - 18:48
Congratulations on your marriage!
I love the red paint on the picnic table/benches. The grills remind me of growing up in Miami and having roast pig that was cooked in those huge steel barrels.

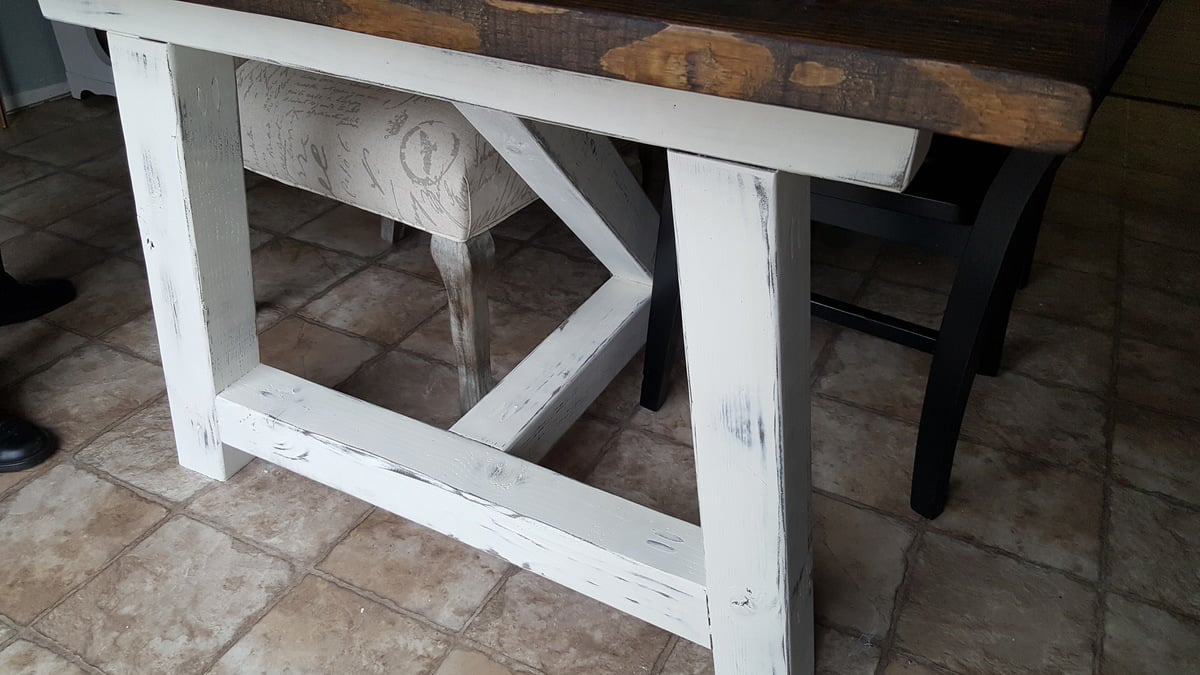
My husband and father adjusted the dimensions slightly on the farmhouse table and finished it out with mitered edges. The end result is beautiful and fits our big family well. We can seat 12 around our 8ft by 4ft table.


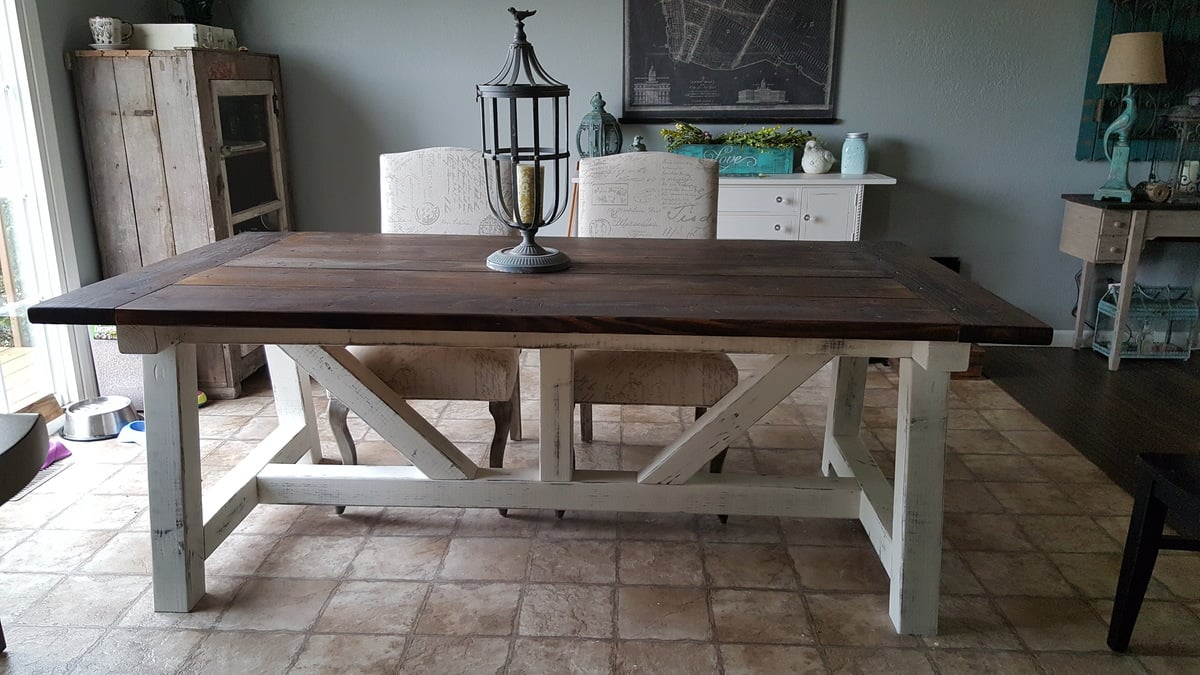
Easy project, had it done in about 8 hrs, staining and paid ting took another 4 hrs. Not bad at all.
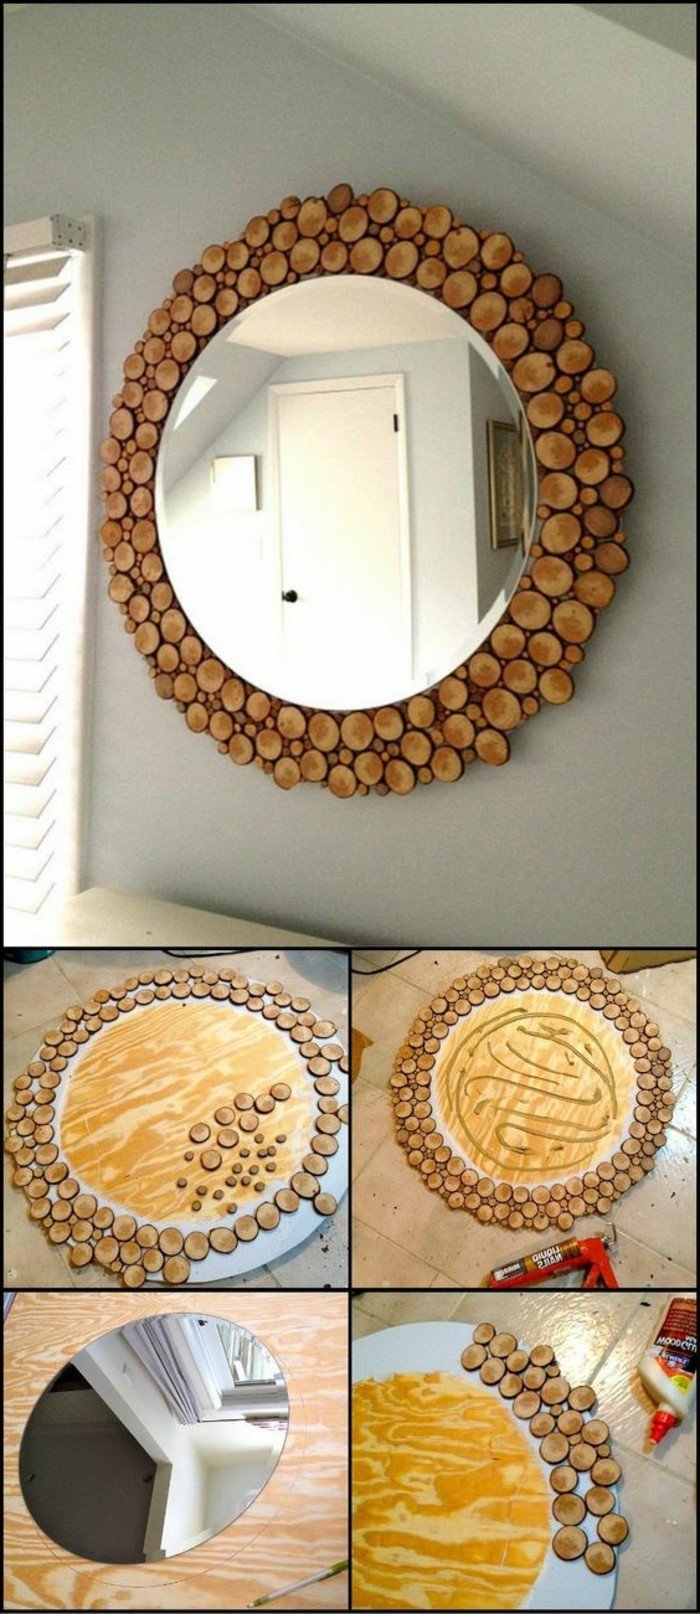
Für den Bau dieses Spiegels benötigen Sie eine Unterlage aus MDF. Eine dünne MDF-Platte zum Beispiel wäre Optimal.

Before you be be be be be be be be be be be be be be be be be be be be be be be be be be be be be be be be be be be be be be be be be be Damit Sie wissen, wohin Sie den Rahmen aus Holzscheiben kleben sollen.

Nachdem die Holzscheiben verklebt sind, kleben Sie den Spiegel fest in die Mitte des Spiegels. The whole can same method also with a eckigen mirror and wood scheiben made. Schickt uns euer Exemplar und wir veröffentlichen die Bilder hier auf dieser Seite. Falls Sie auch so einen Spiegel haben möchten, aber keine Zeit, um sich ein Angebot zu machen. Wir produzieren Ihnen den Spiegel dann.

Lieben Gruß und viel Spaß bei der Ausübung des Projektes. Wir sind auf eure Bilder gespannt!
Was very easy to put together even with pocket screws.
Retired firefighter Joe
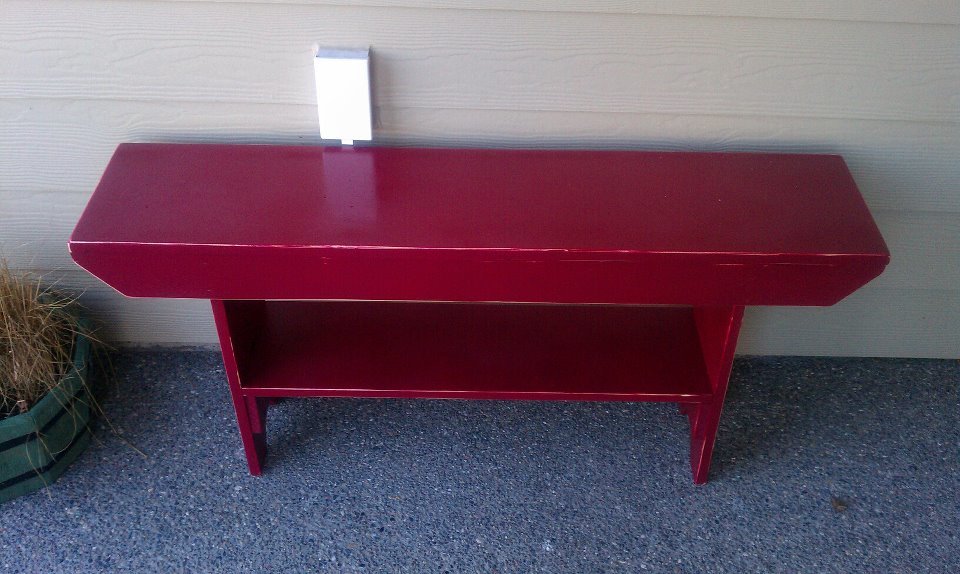
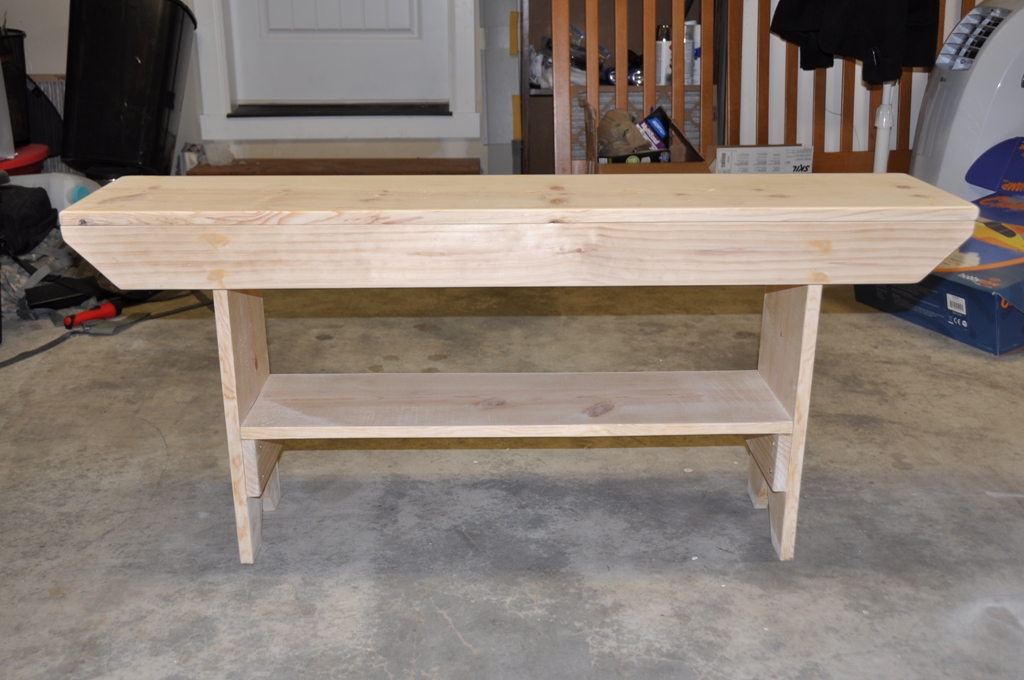
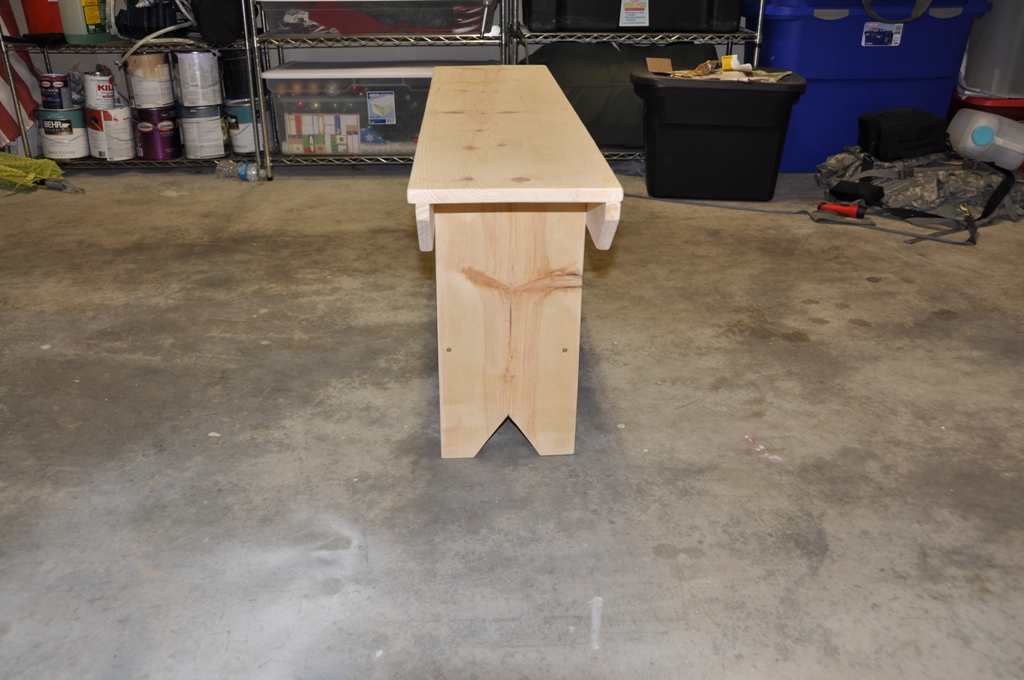
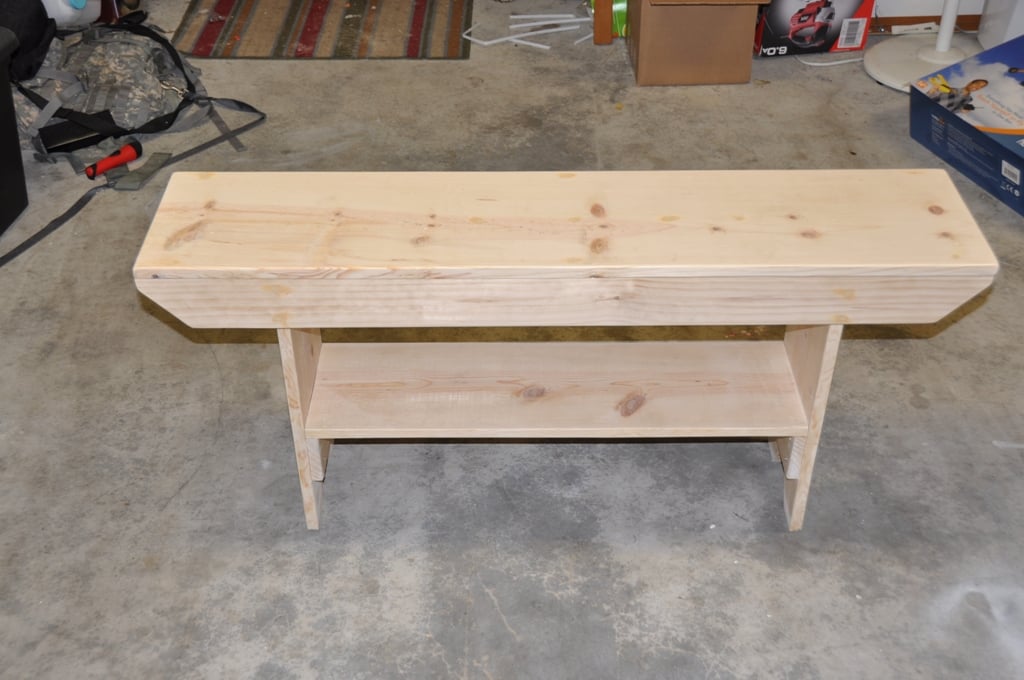
The wife and I kept going to these primitive shops and seeing these benches selling for $65-$85. I saw these and knew I could build it for way less. This is my rendition of the 5 board bench, only difference is I took the top support beam and make it into a shoe shelf.

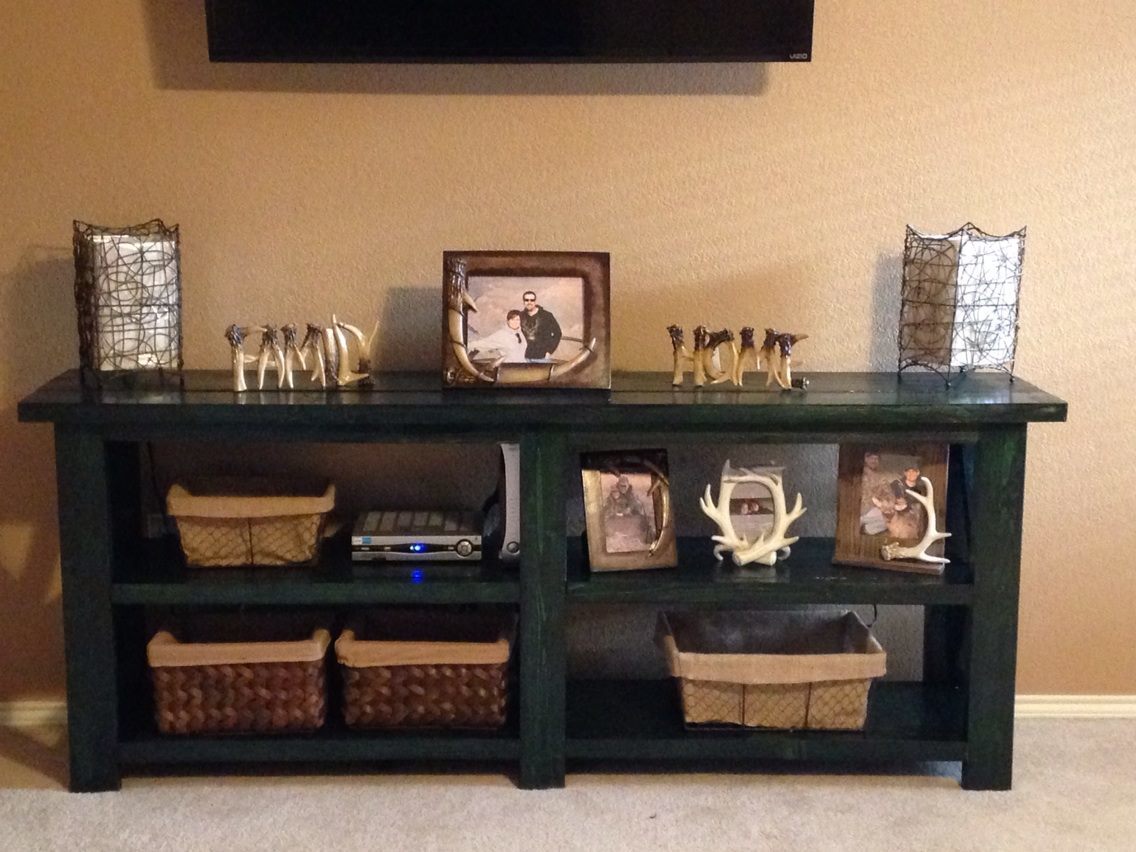
My husband and I spent Christmas day building this piece and I spent the next day staining. This was our first build together and I am in love with it. The piece looks great under the TV in our bedroom. Just the perfect accent piece I needed to finish off our recently redecorated bedroom. Next we will be tackling furniture for our spare bedroom that currently only has a bed and a mirror....

customer wanted a set of adirondack chairs for their husband. Who is a big Detroit Tiger fan. Followed the plans as is except for the back. It is supported by 2 1x3 running up the lines of the D. It is very sturdy. Once comment about dimensions, our lumber is not exact. 1x8 is 3/4x7.25 for instance. I had to compensate for that.. Thanks for the plans
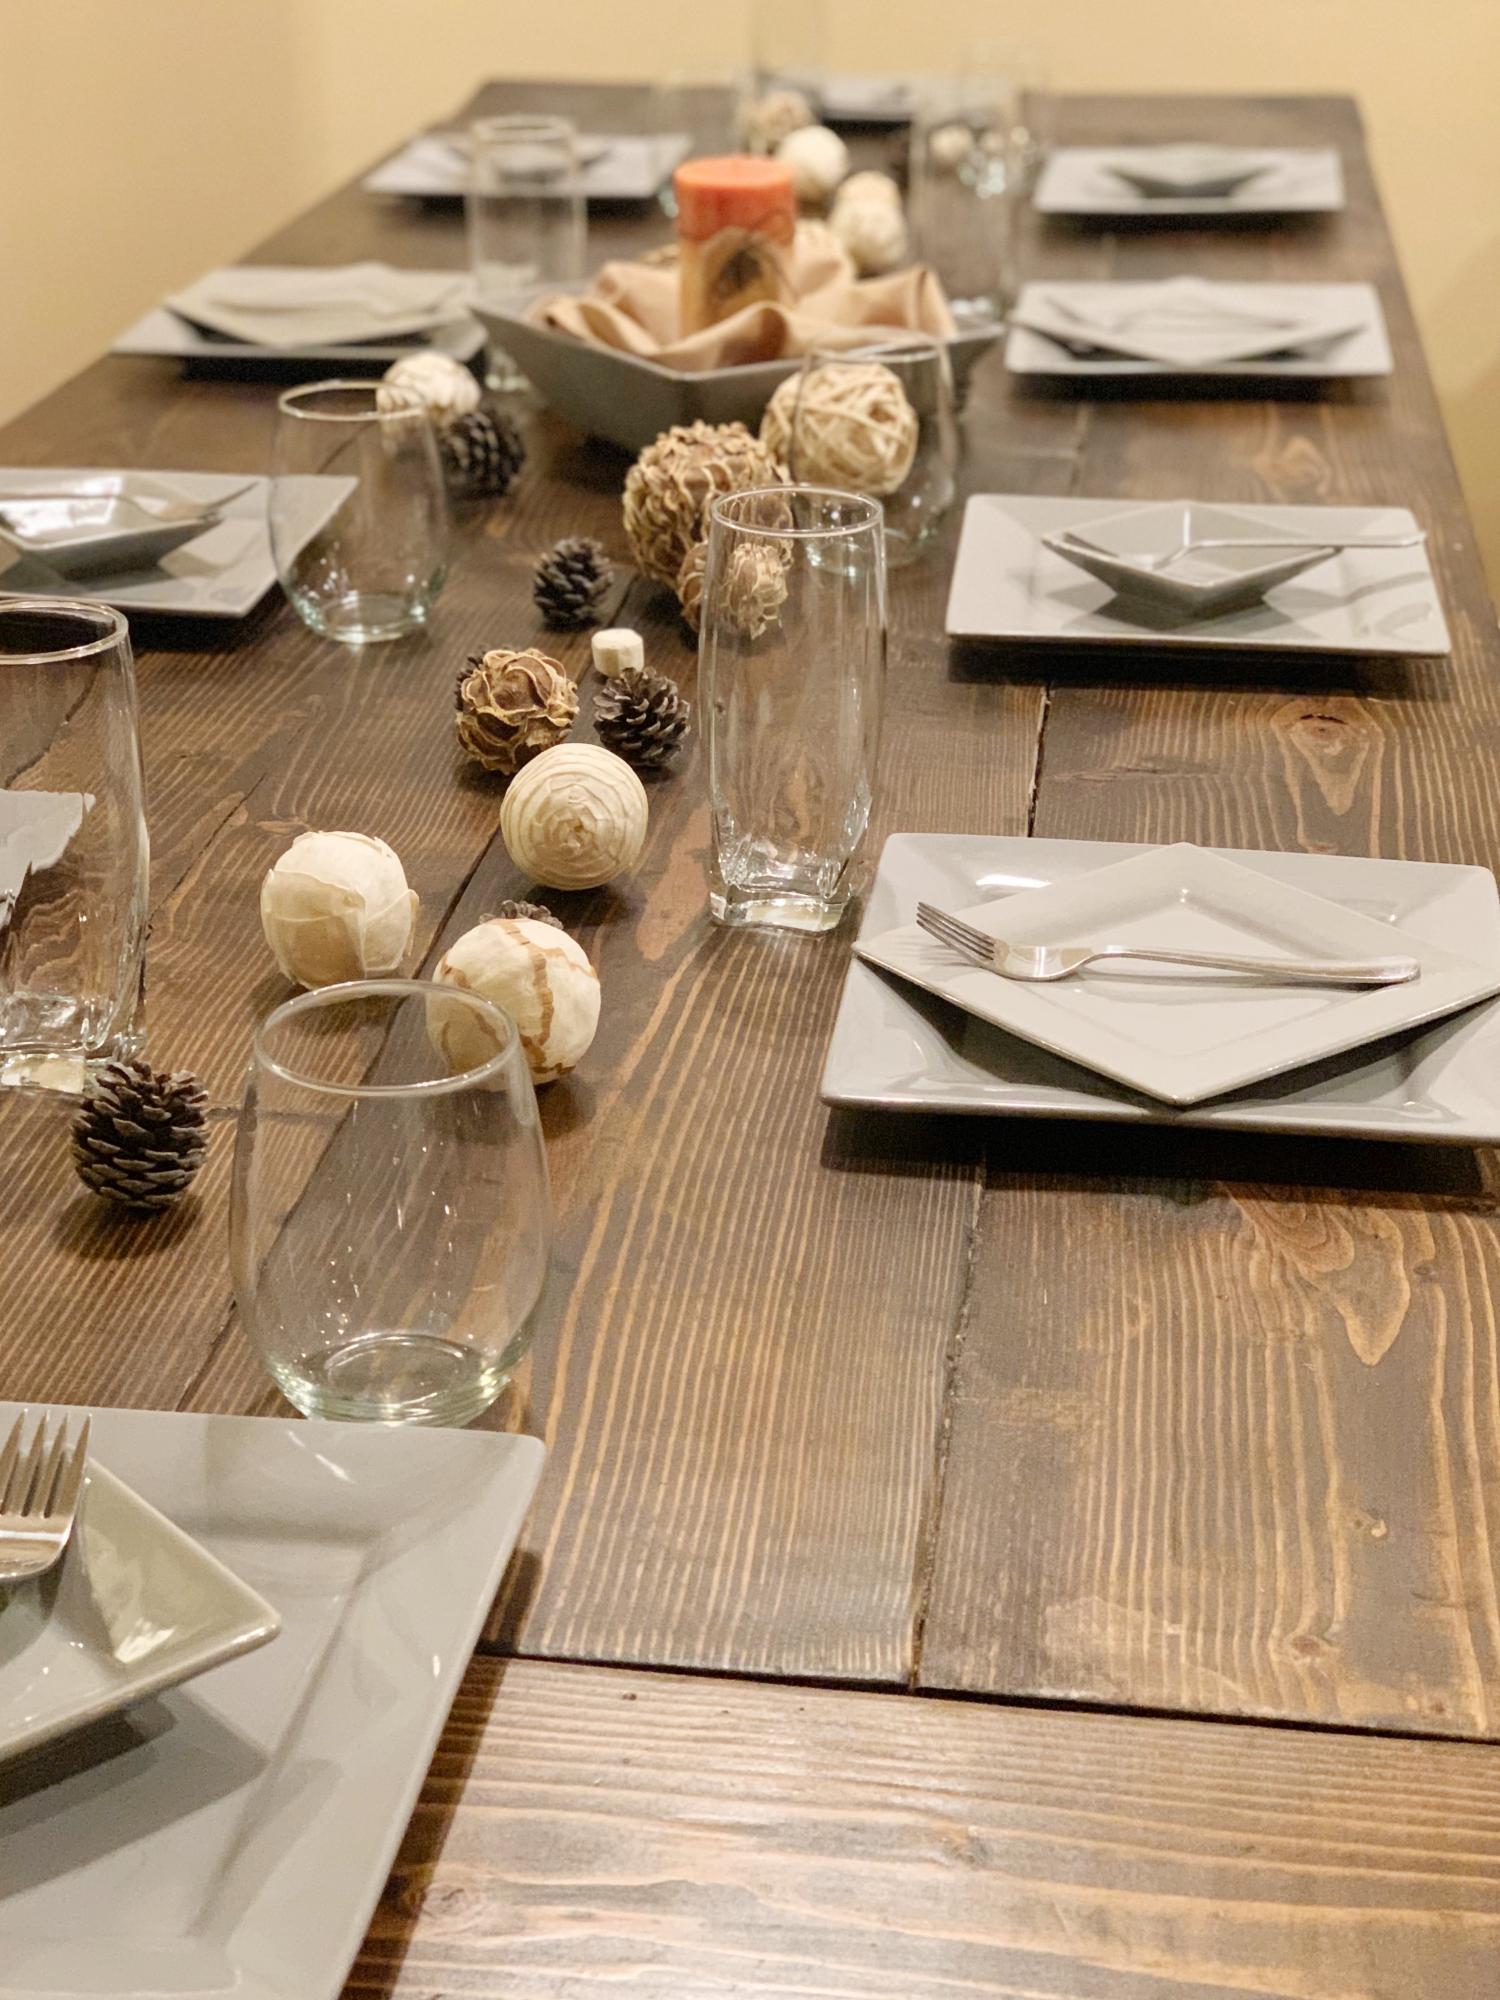
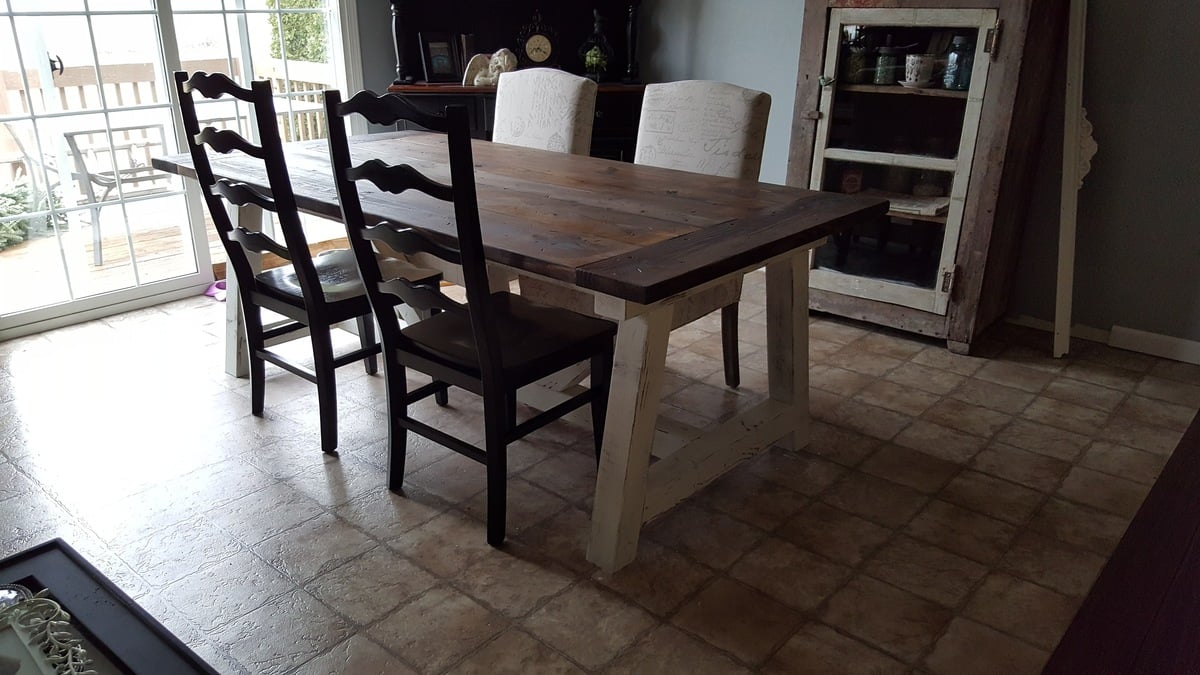
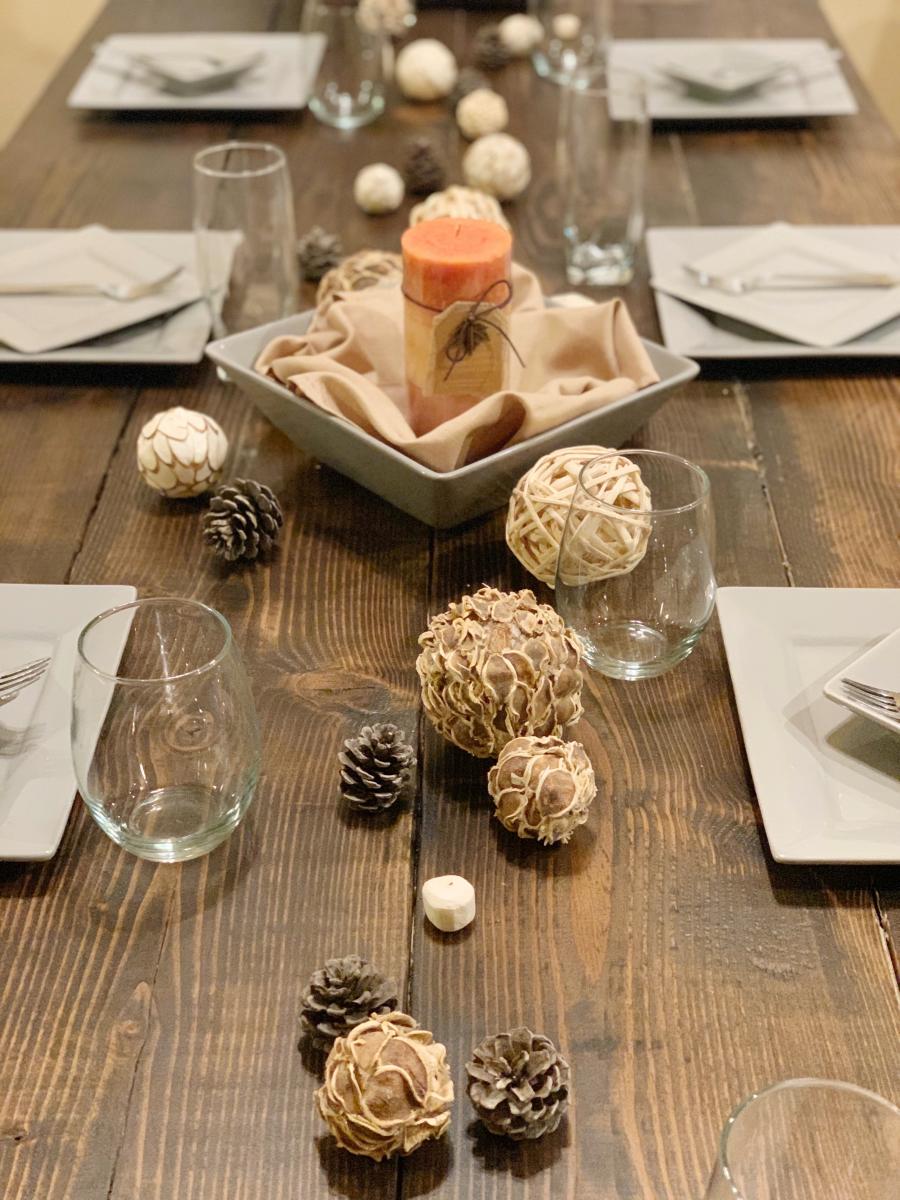
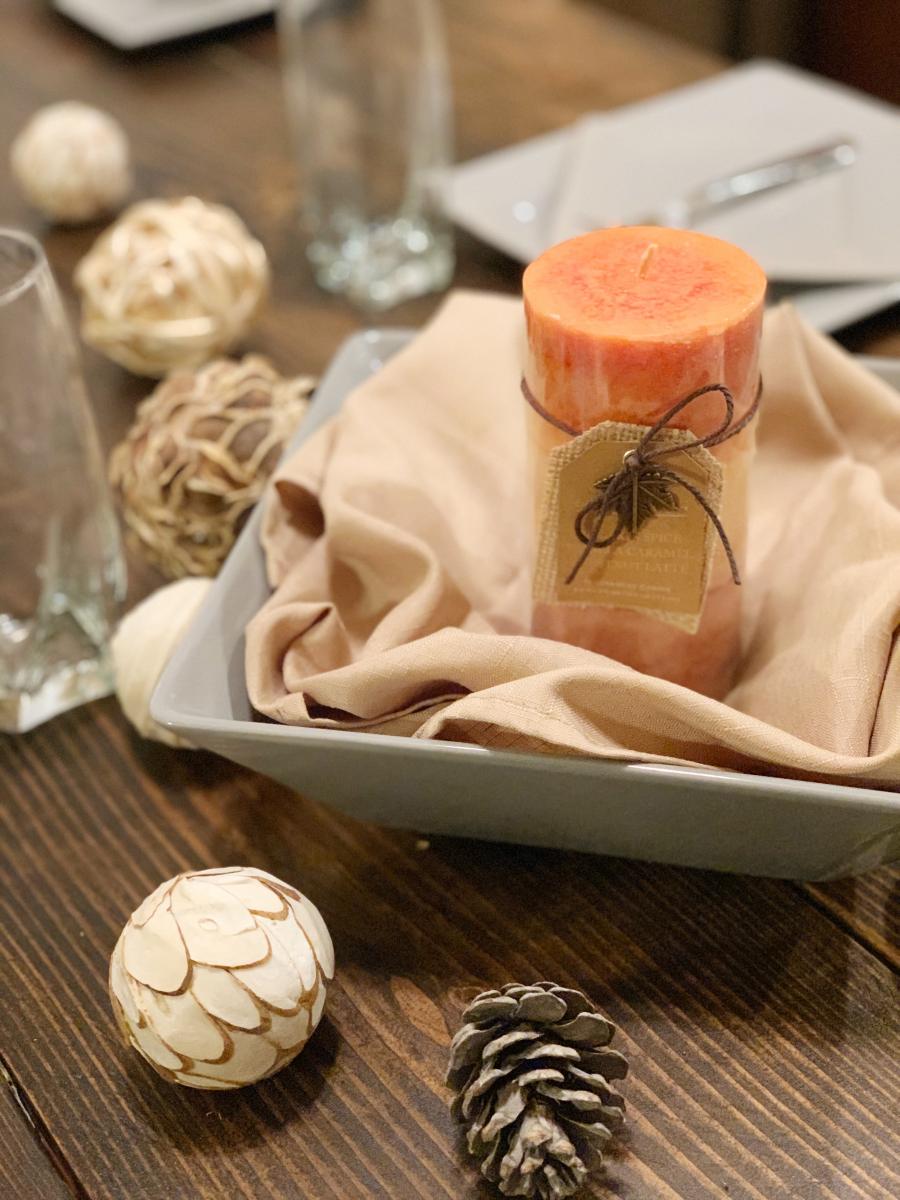
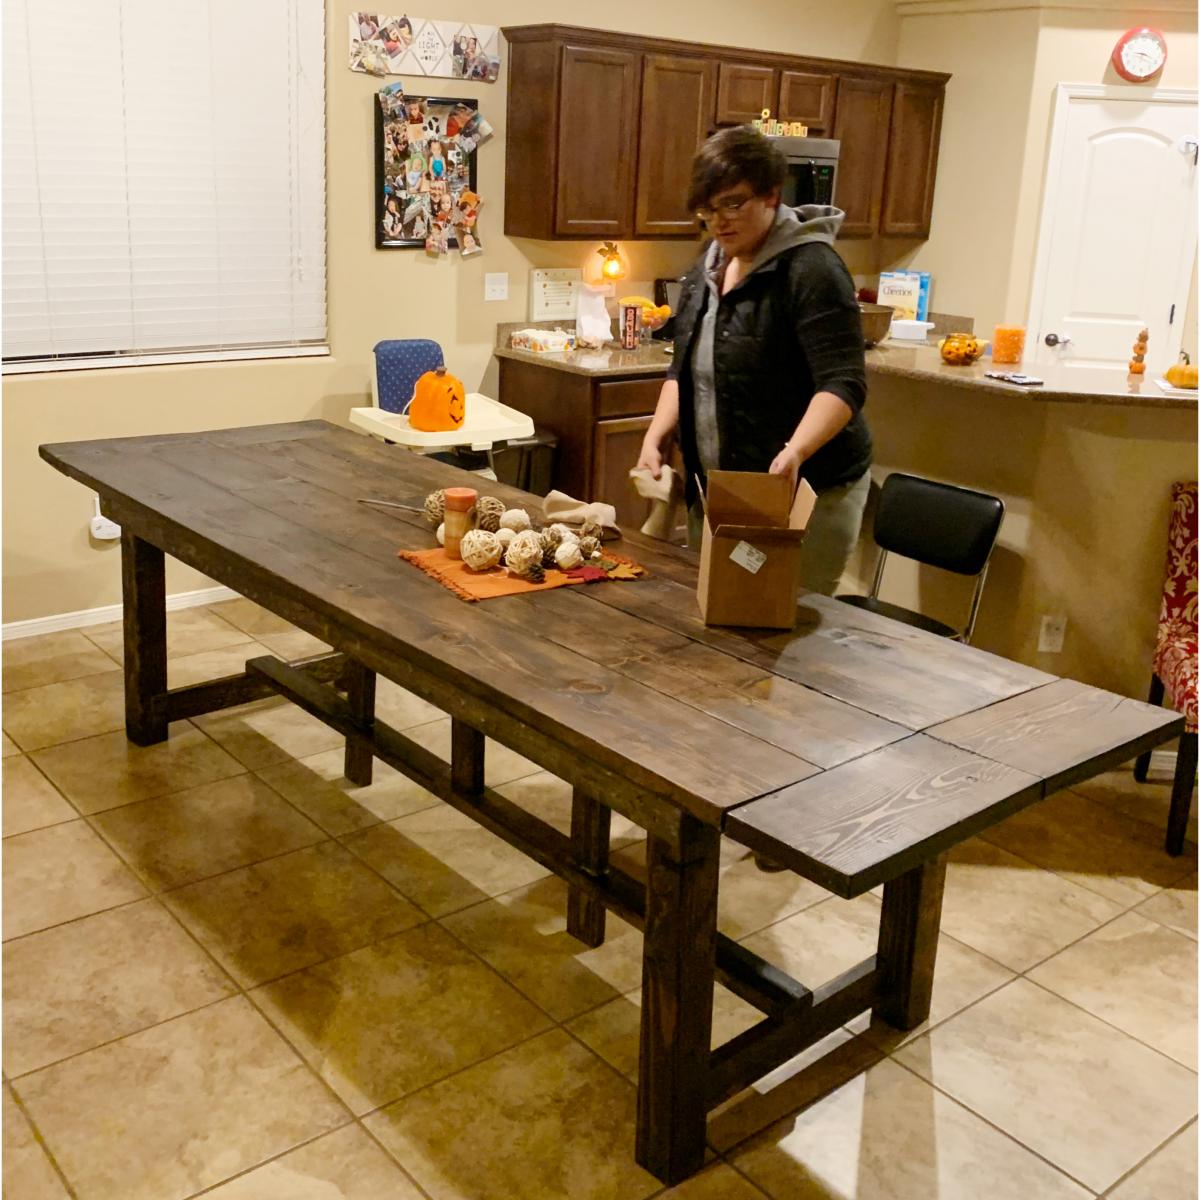
This my first-ever custom, DIY farmhouse dining table that I built for my amazing in-laws! They just moved into a beautiful new home with a large, open dining area, and they've been looking for a large table that our growing family can gather around. This table seats up to 12 people at one time, and it 2.5' tall, 3.4' wide, and 10' long (with the extensions out.)
I've repurposed many tables and/or wood projects before, but this is my first table made completely from scratch. It took me approximately 2 weeks to fully complete, and cost less than $300, (including "investment tools" such as large wood clamps, electric sander, etc.)
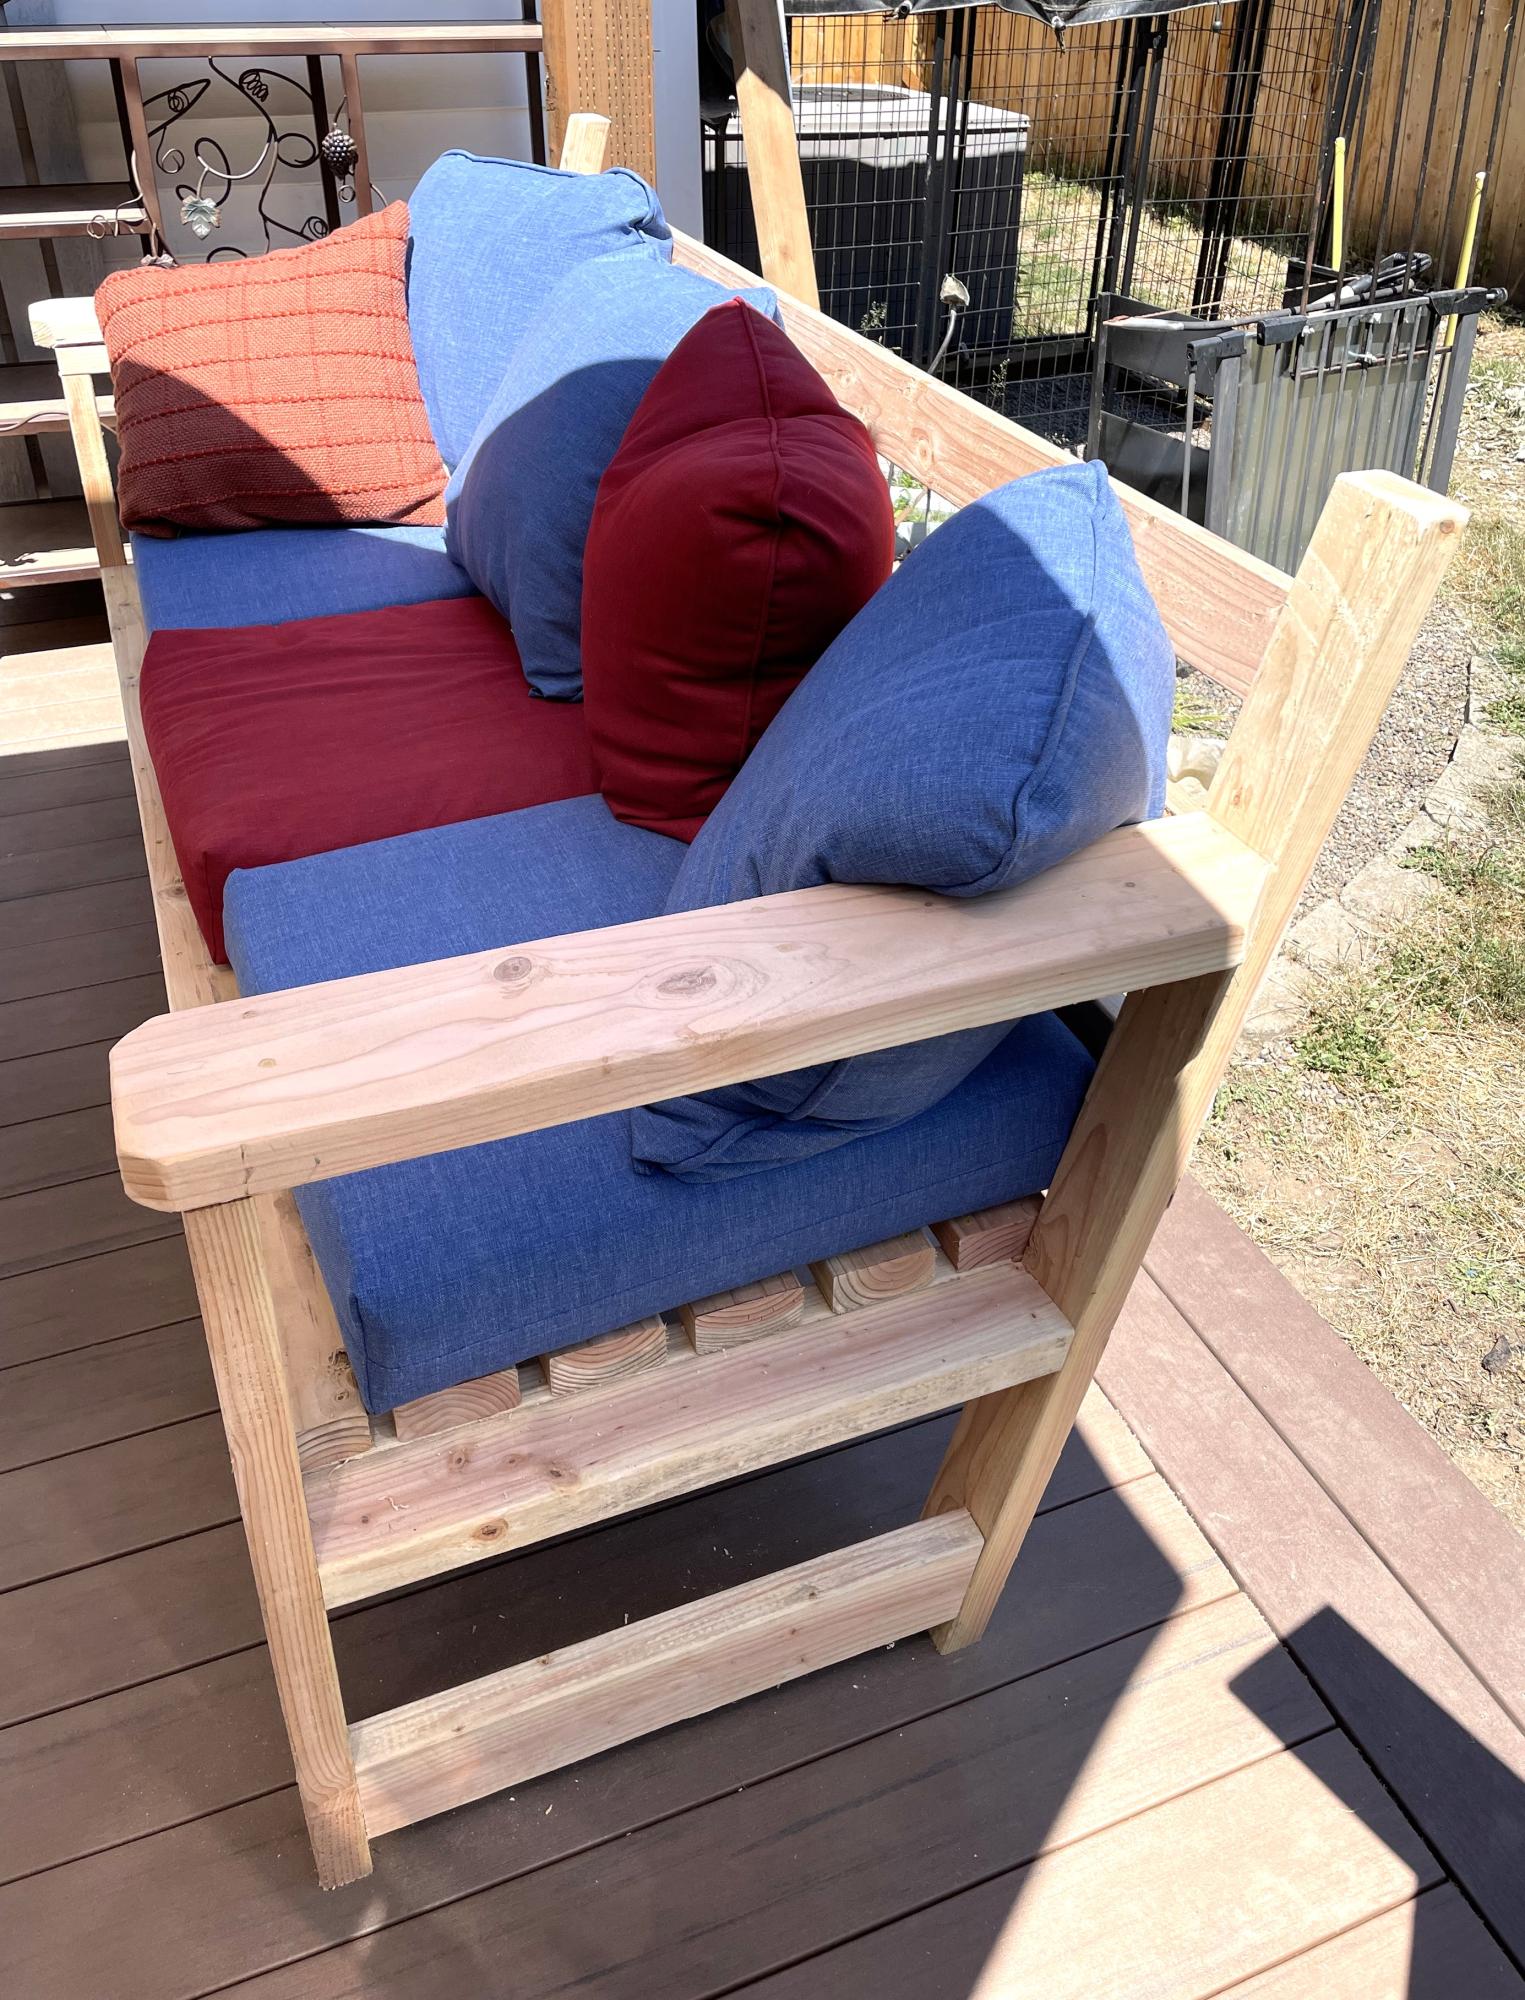
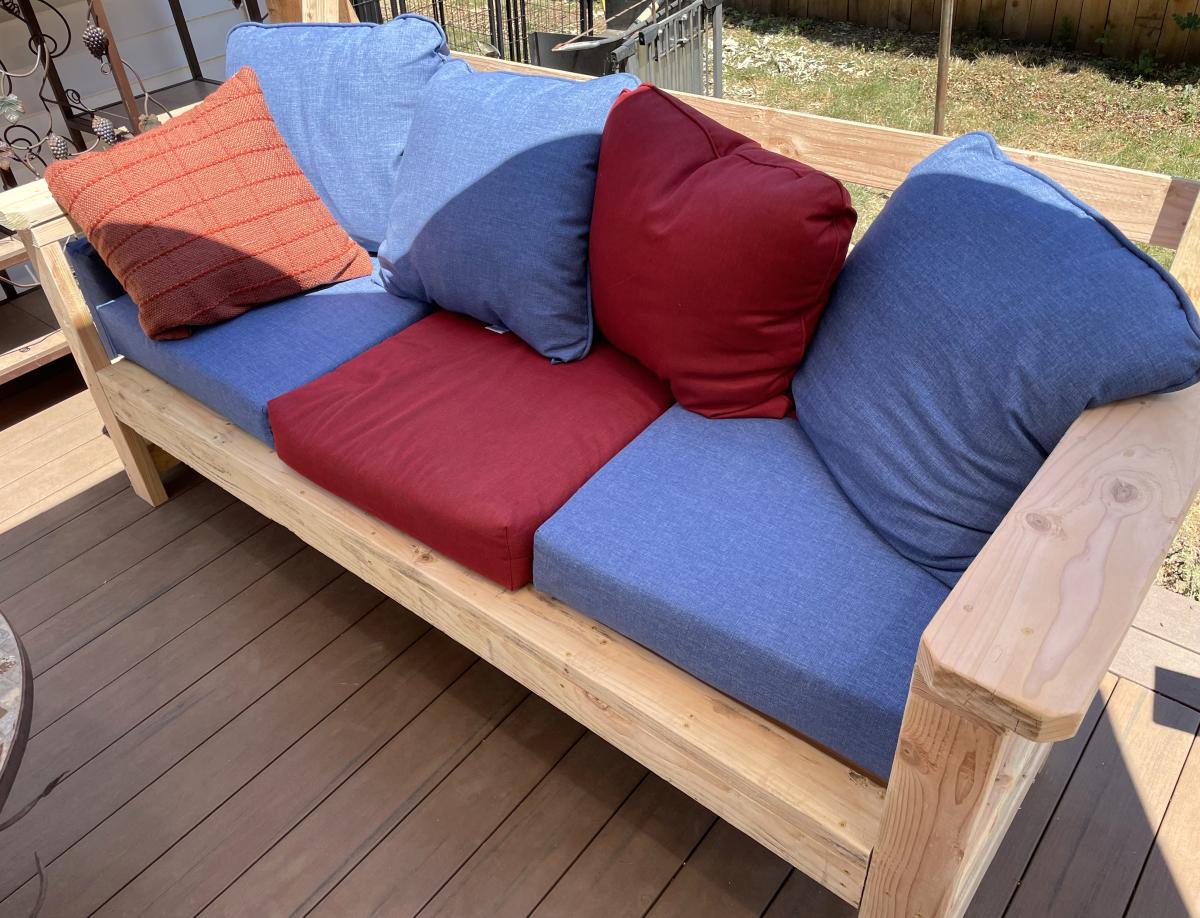
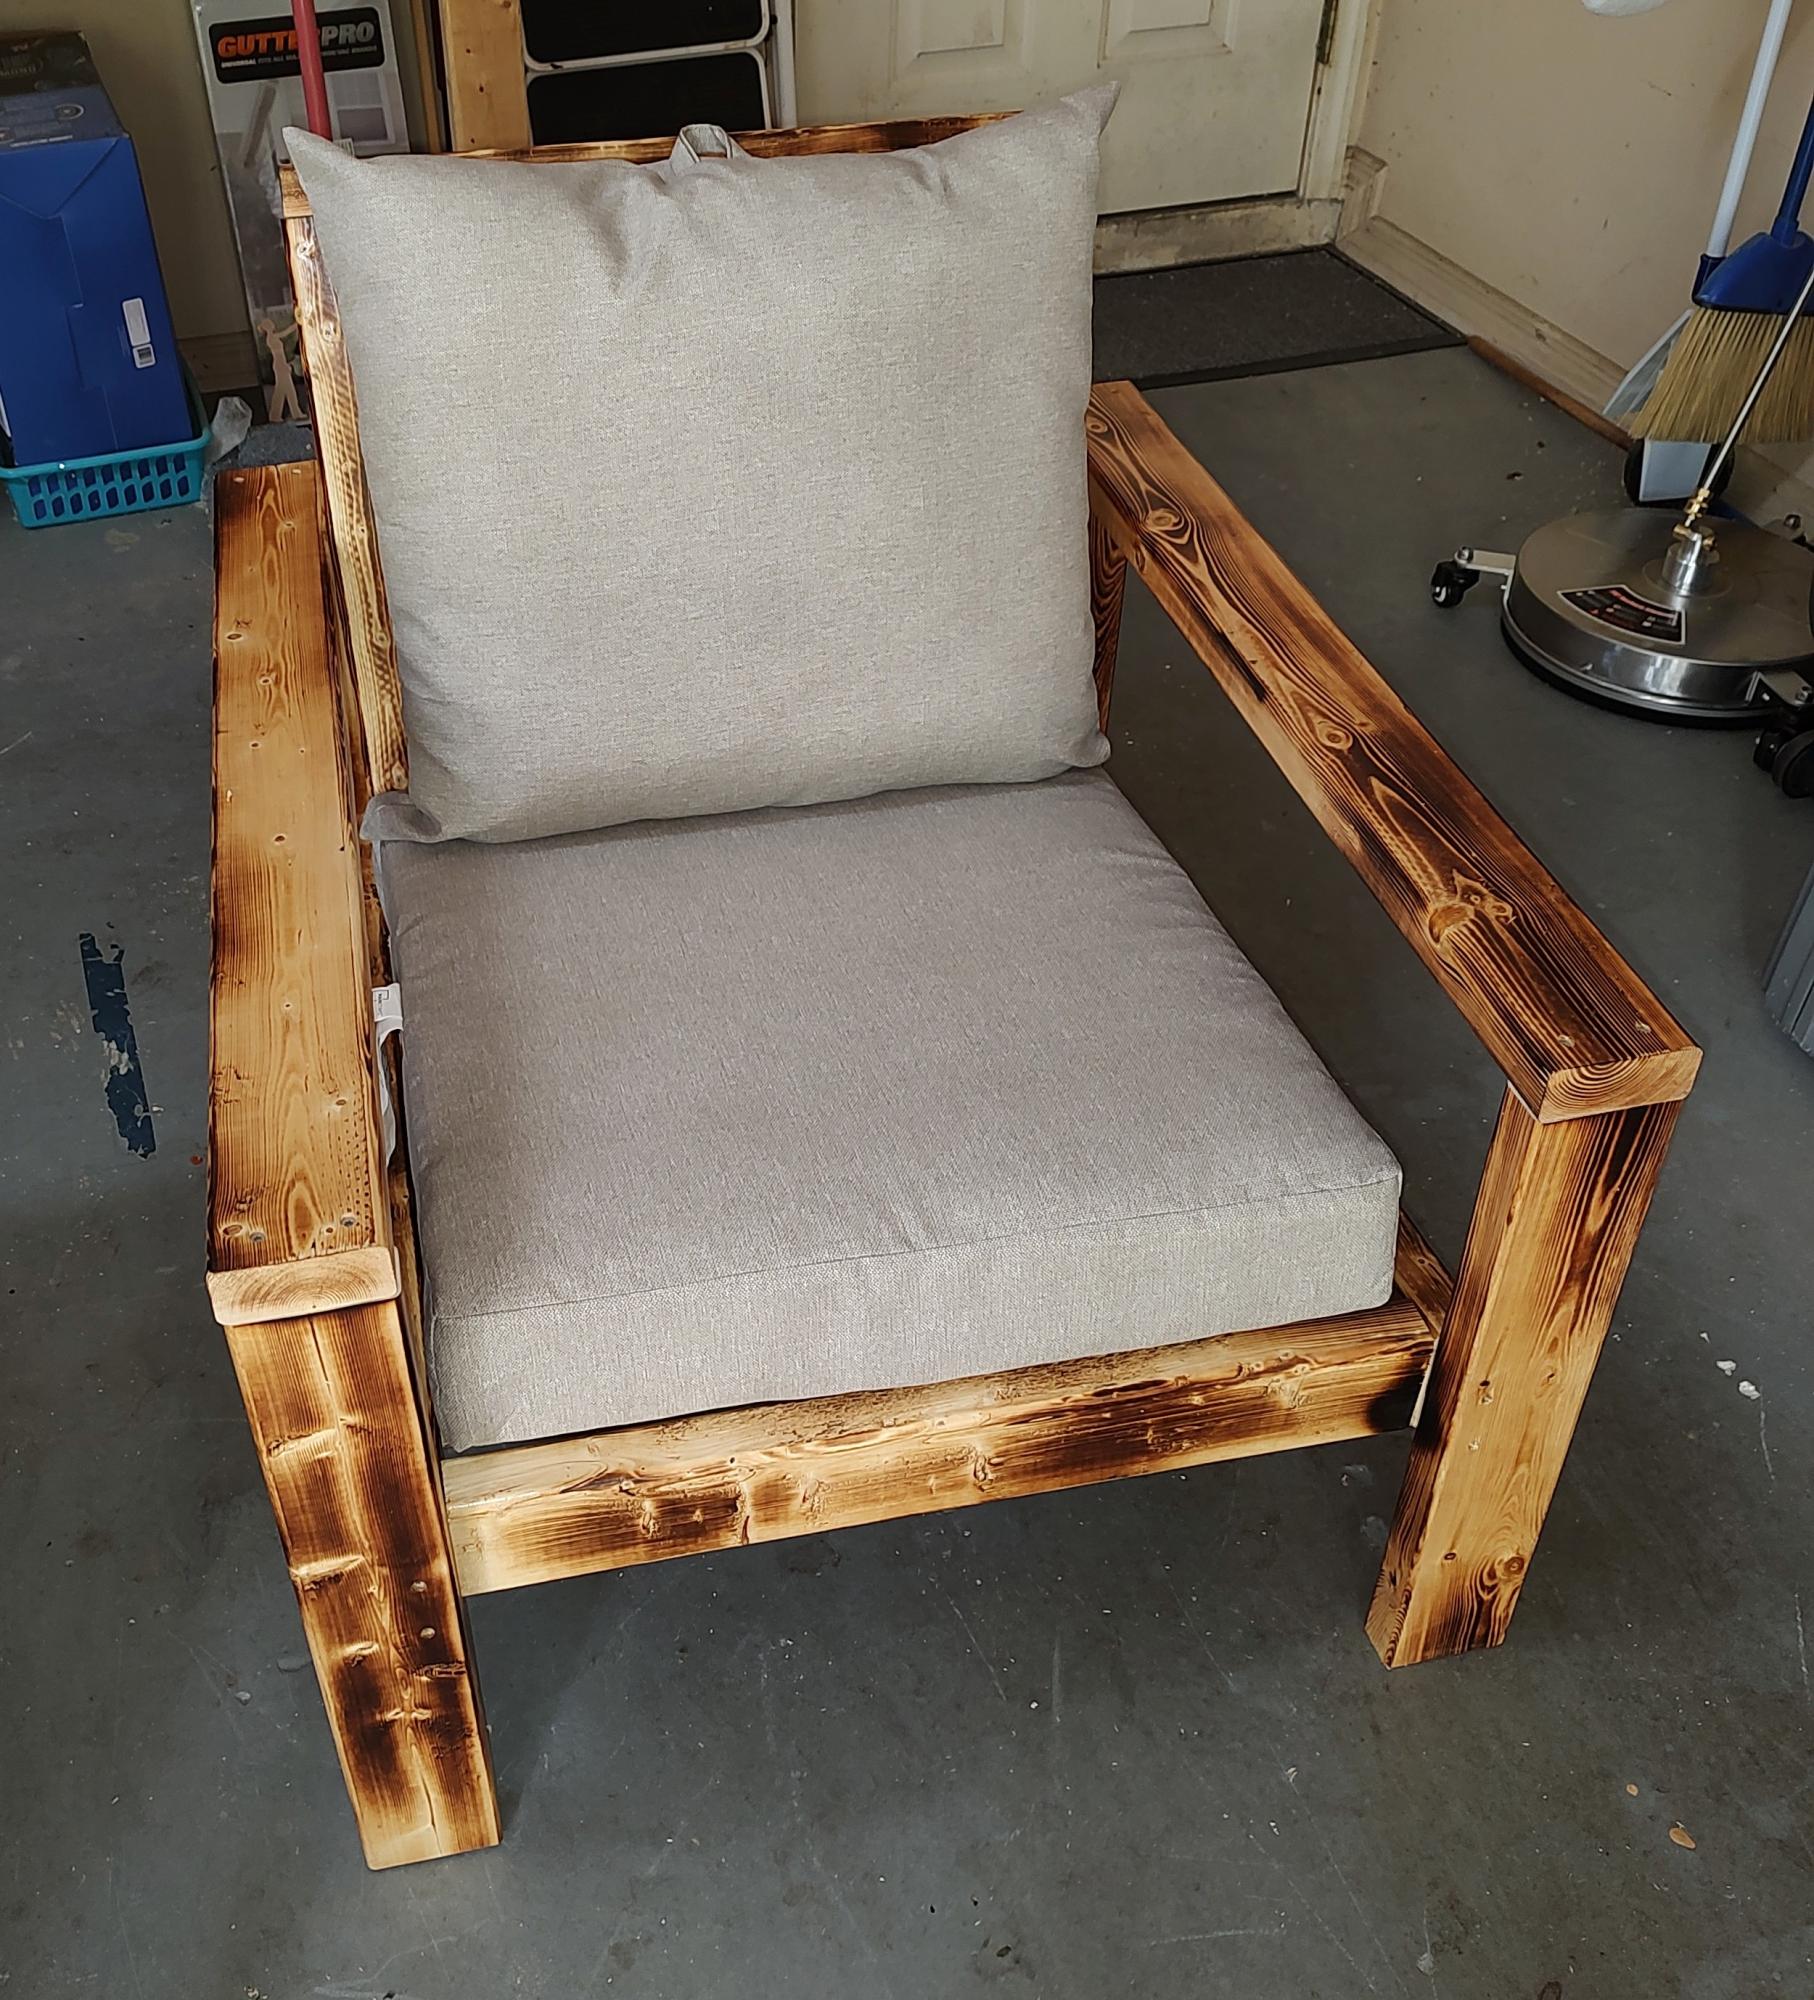
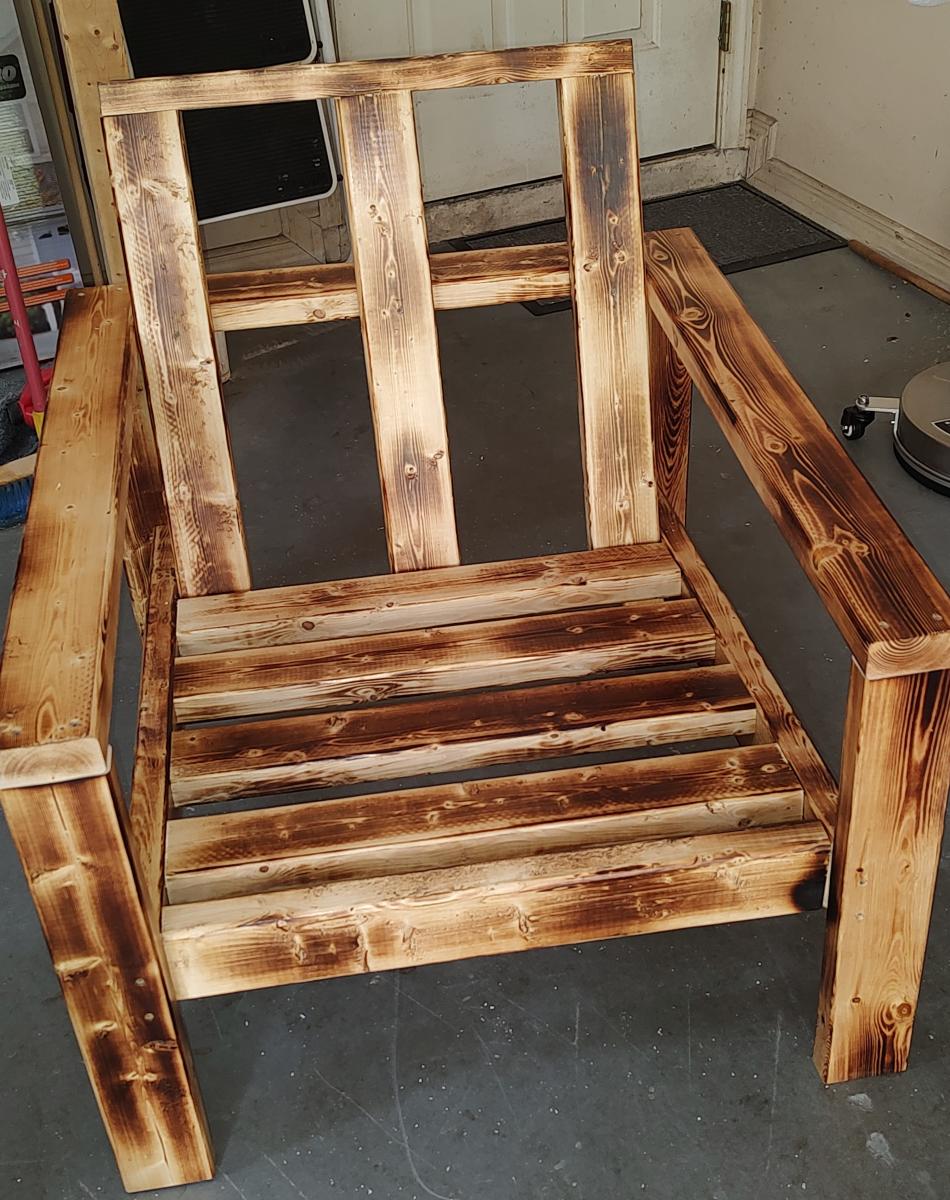
Used you basic 2x4 bench / couch plan but added a sloped backrest and more 2x4s across for more support.
Jerry