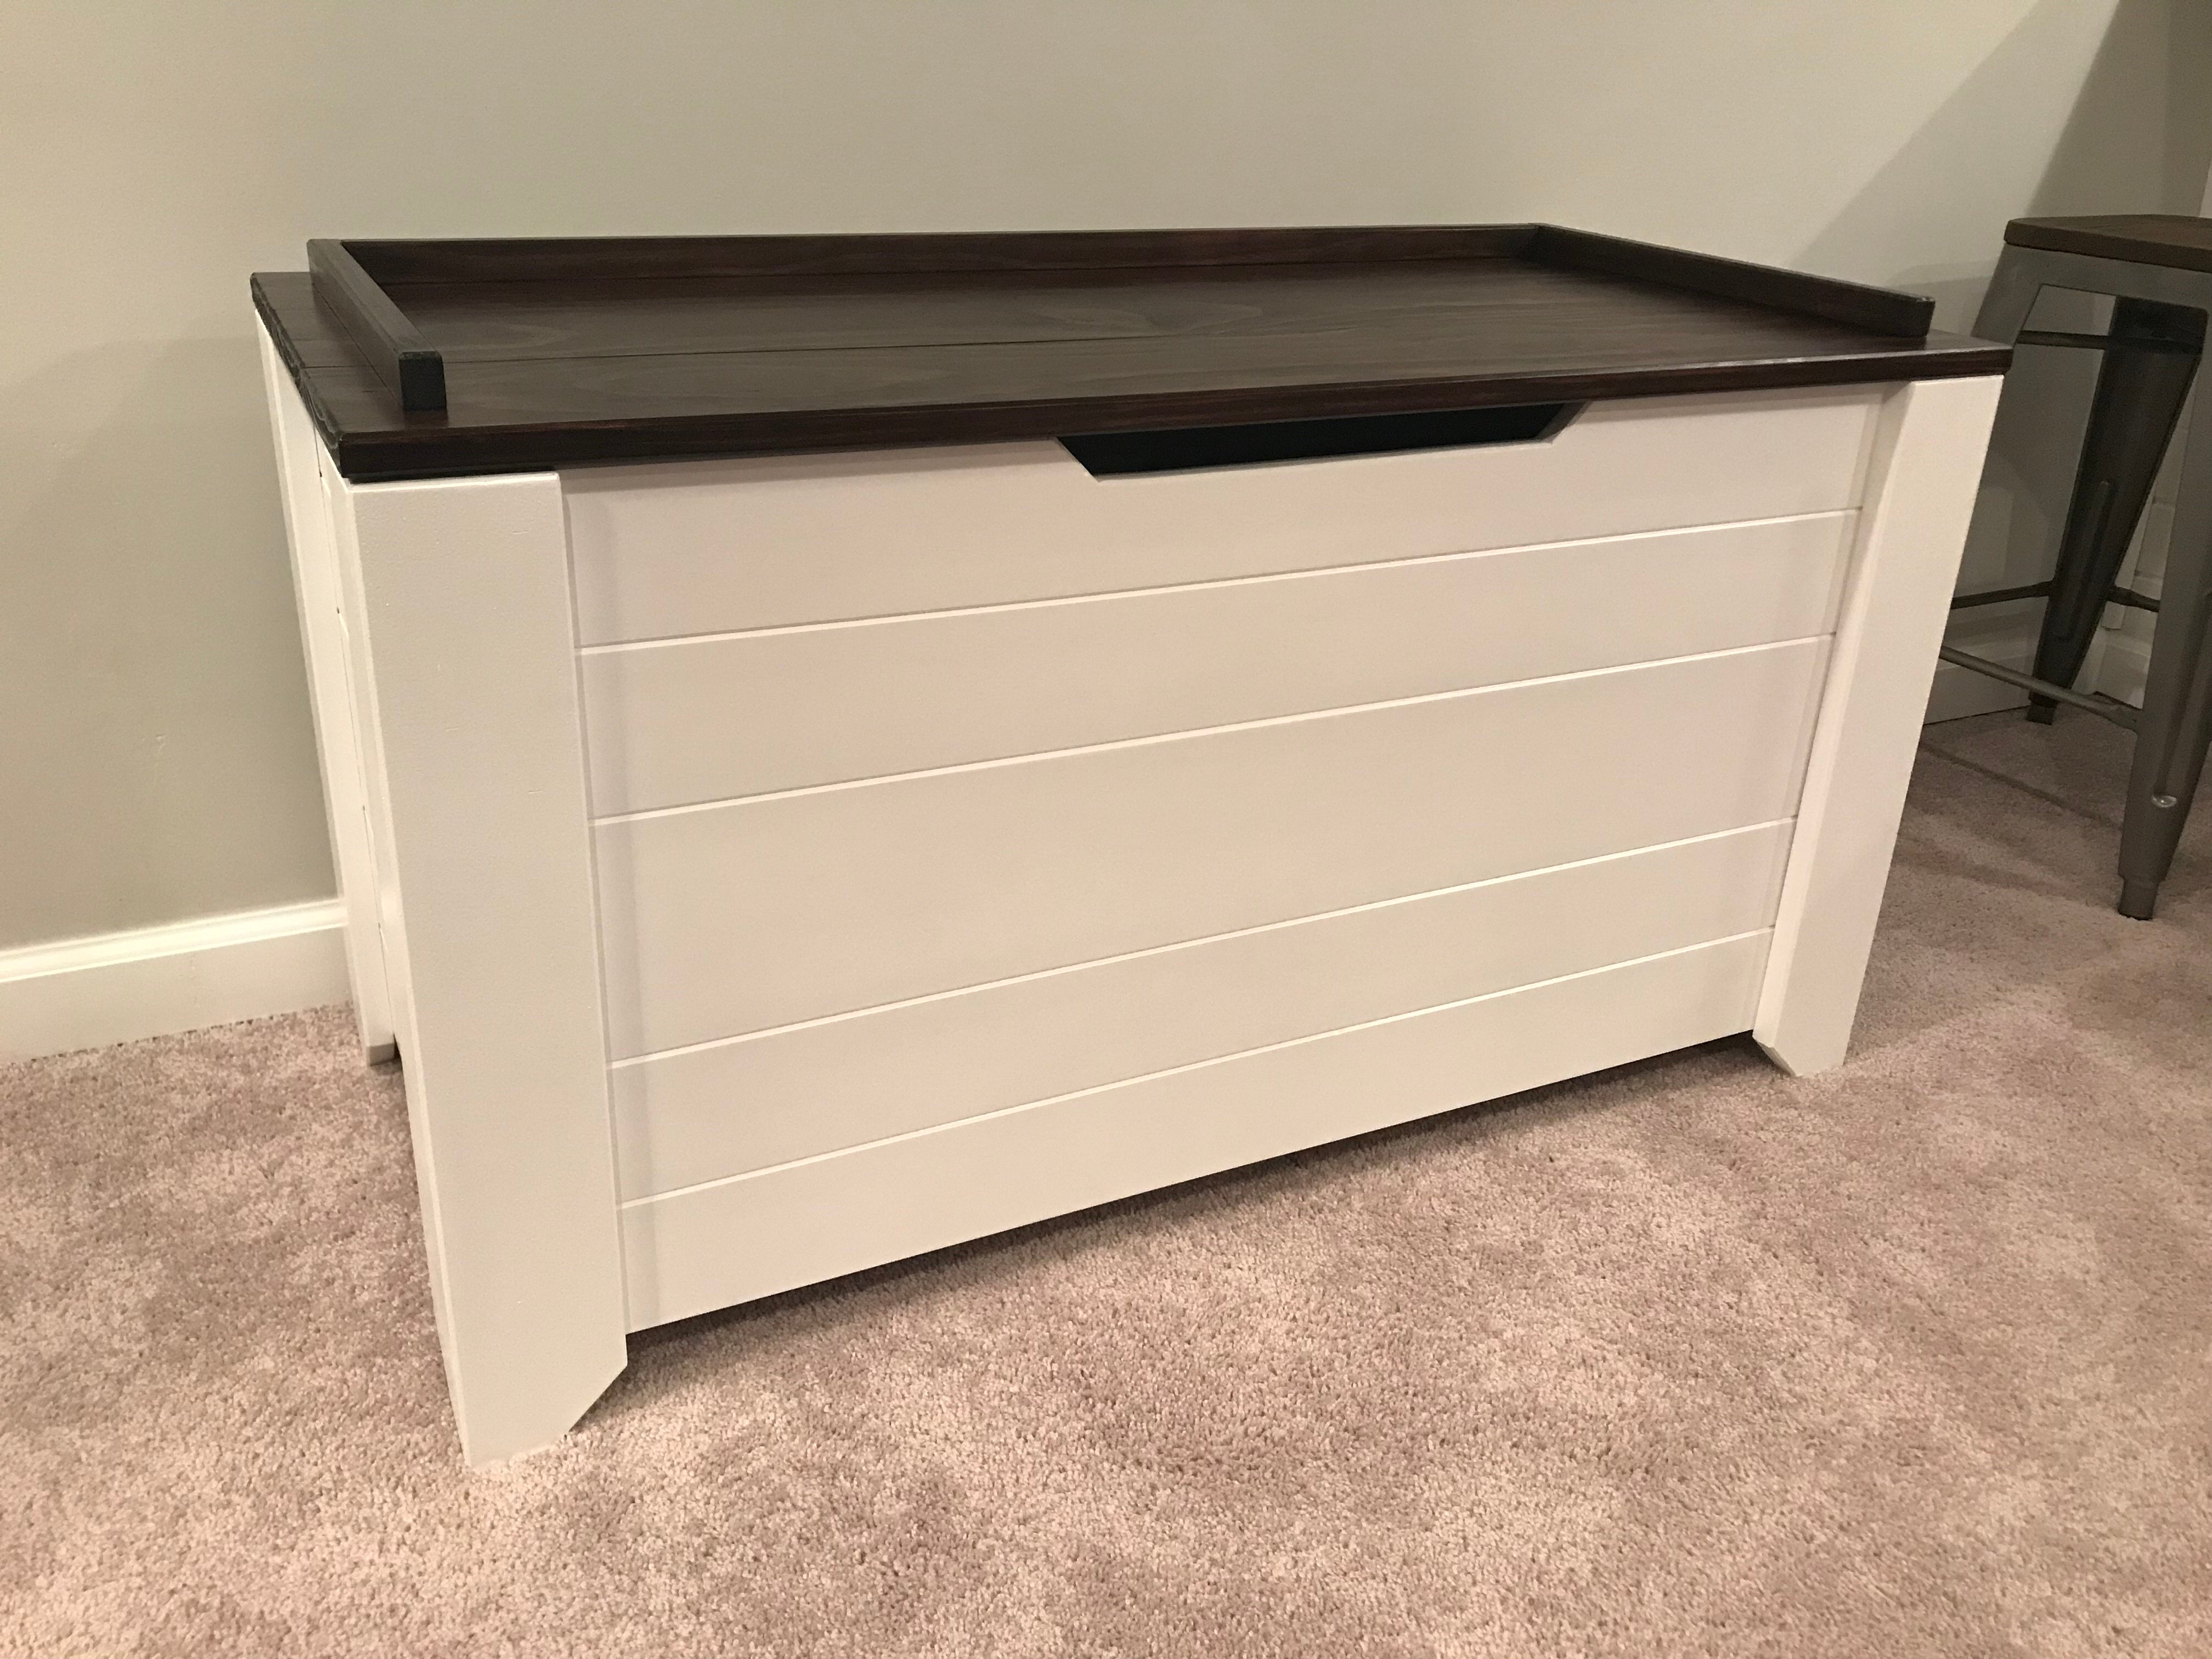
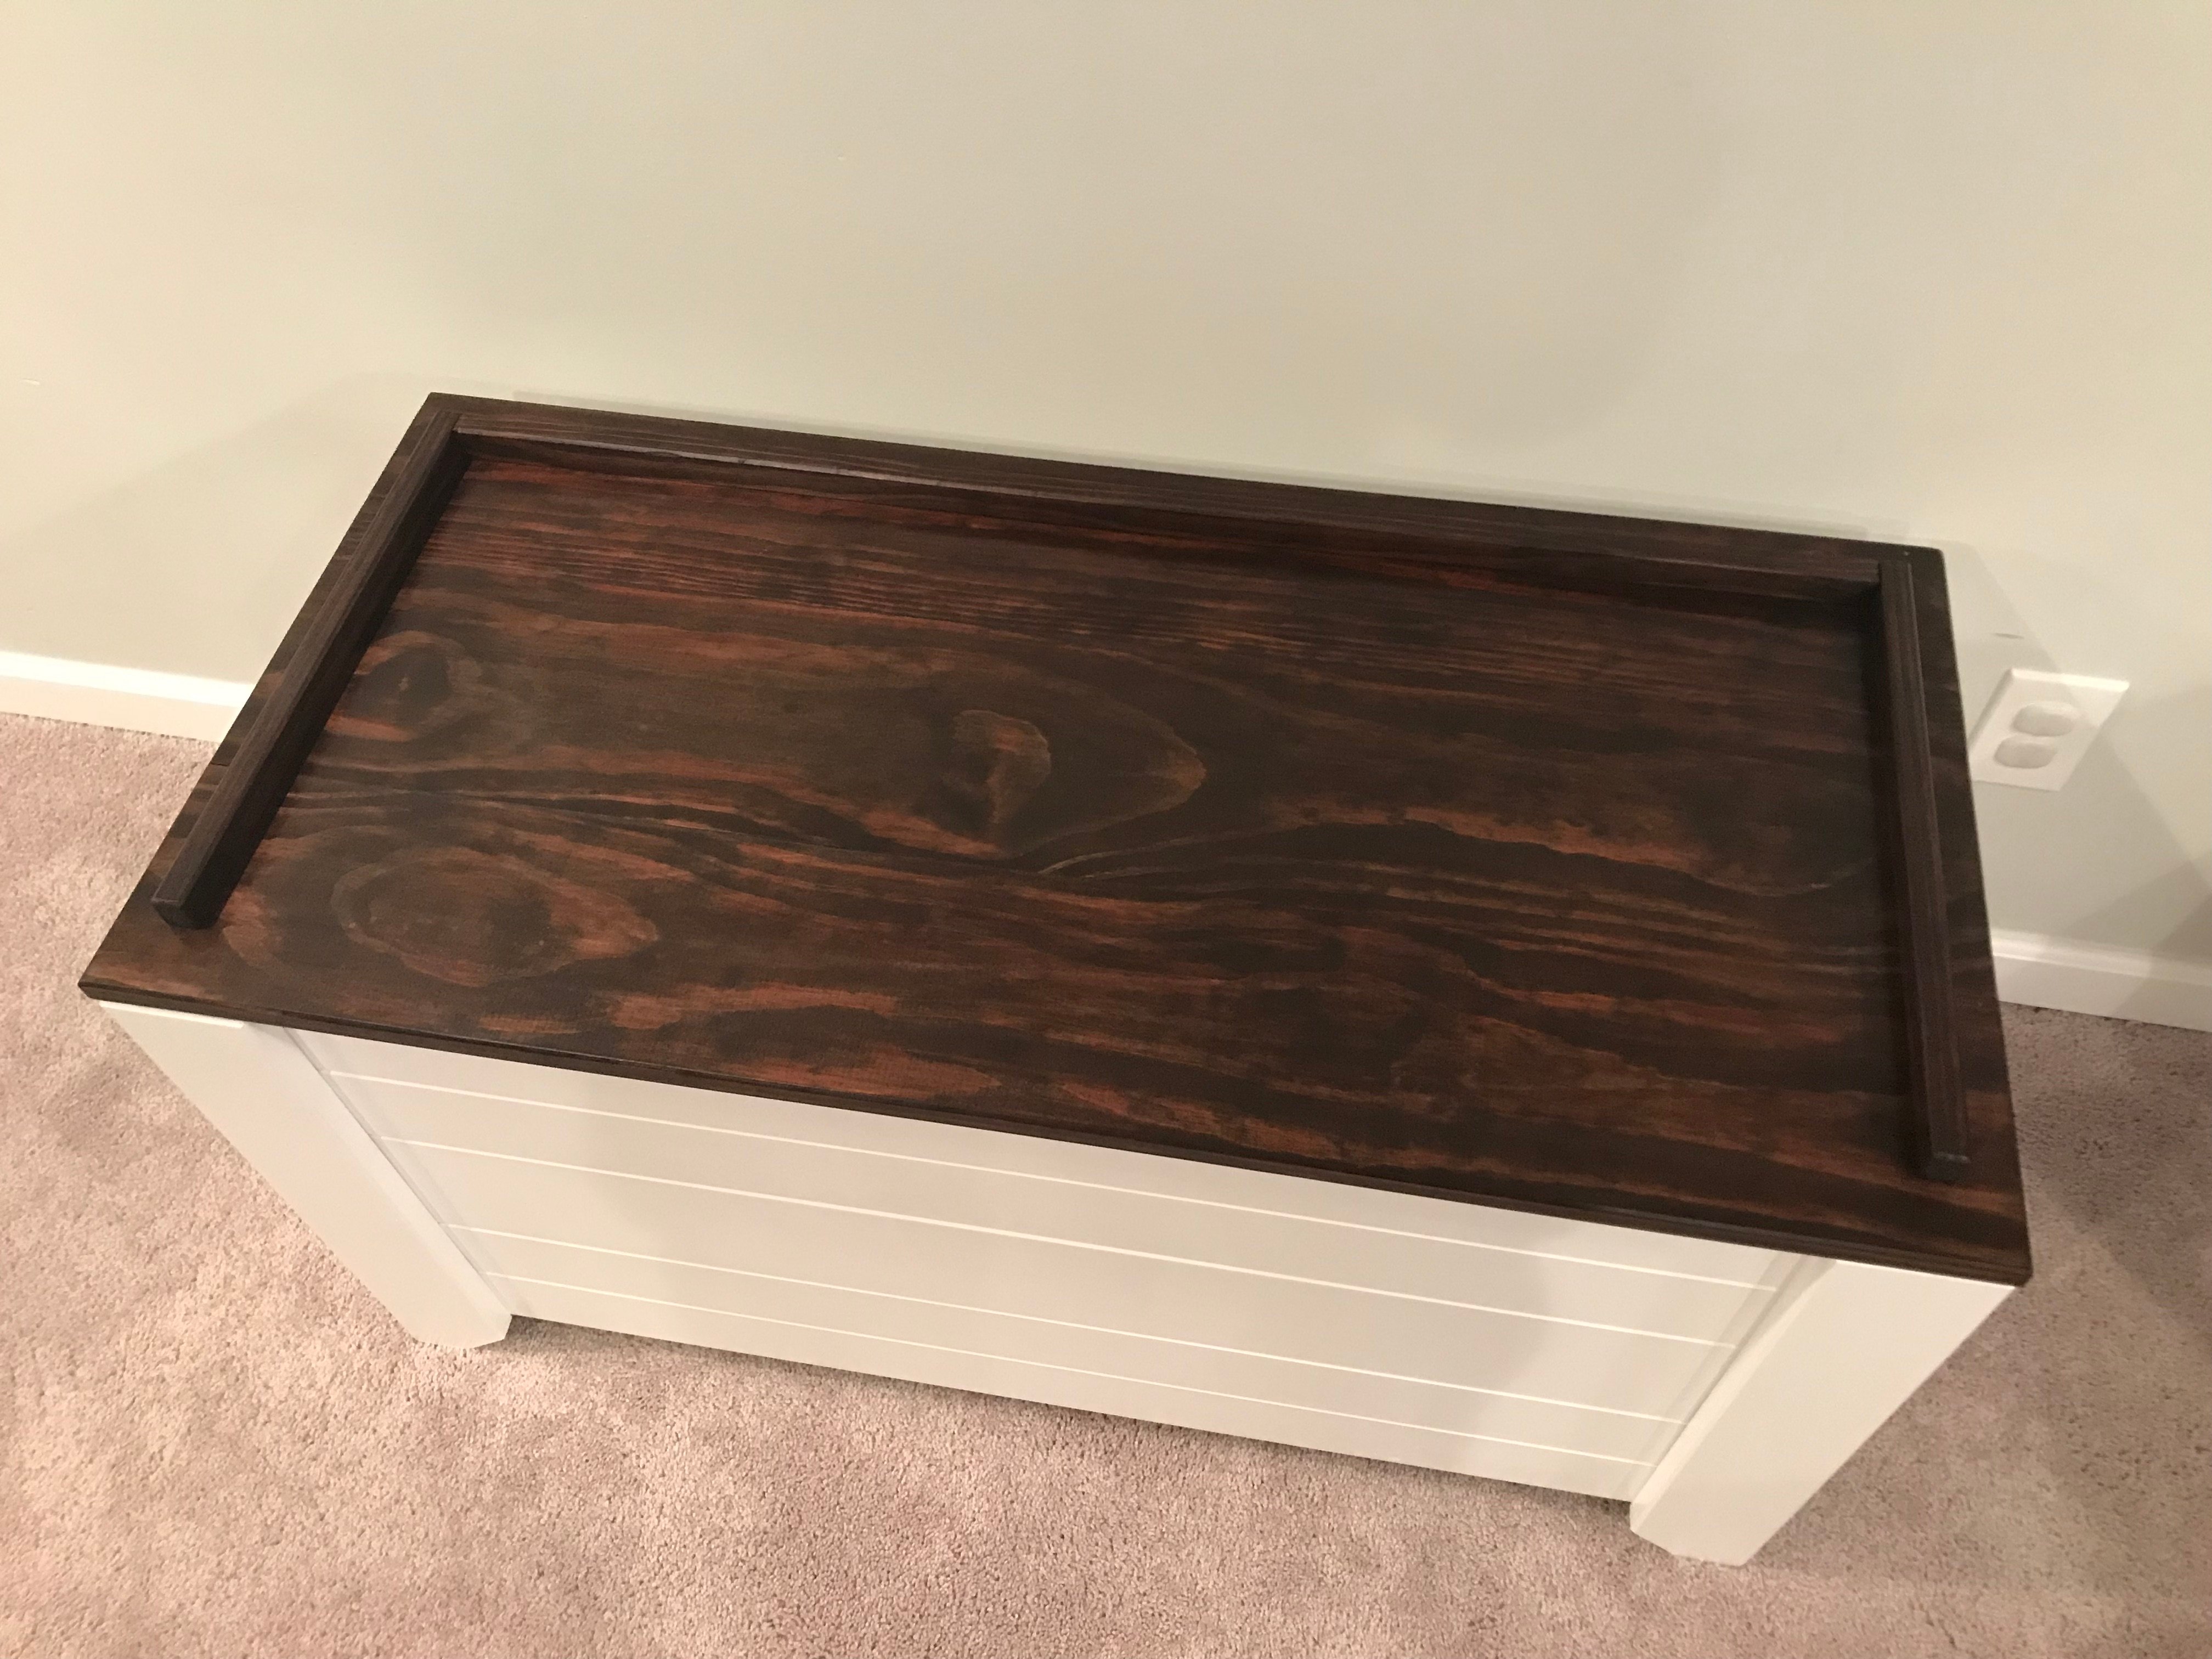
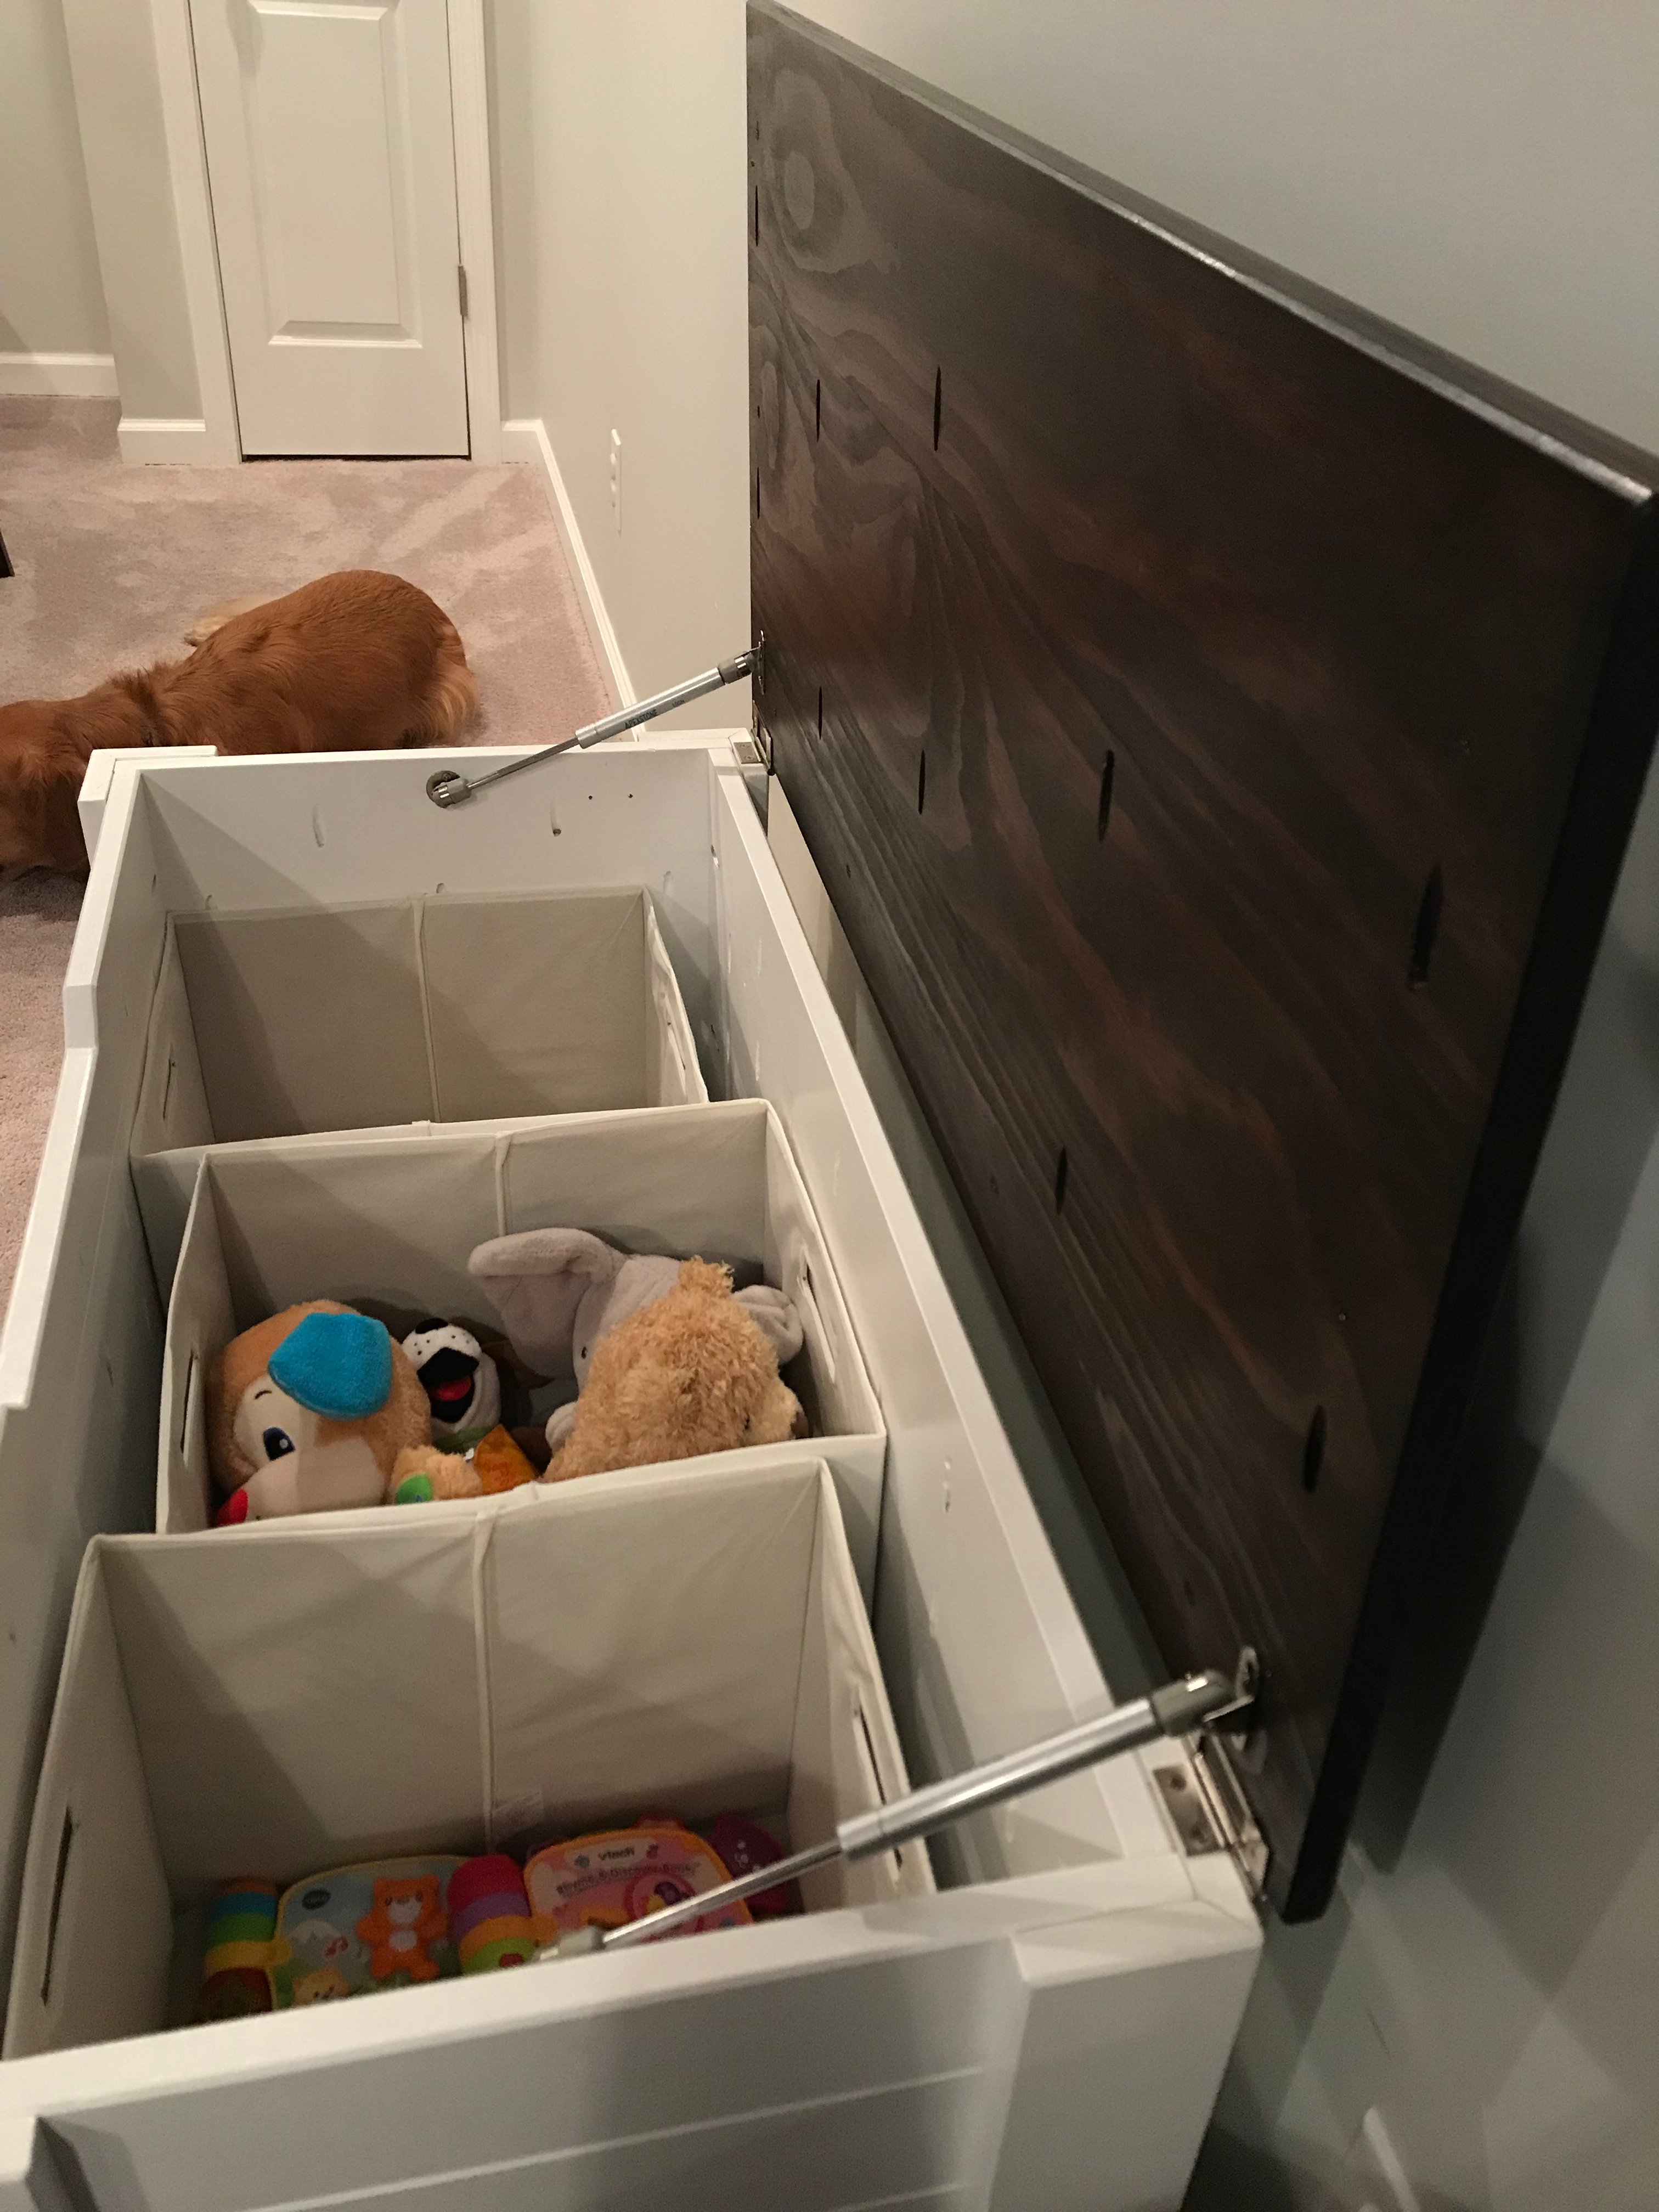
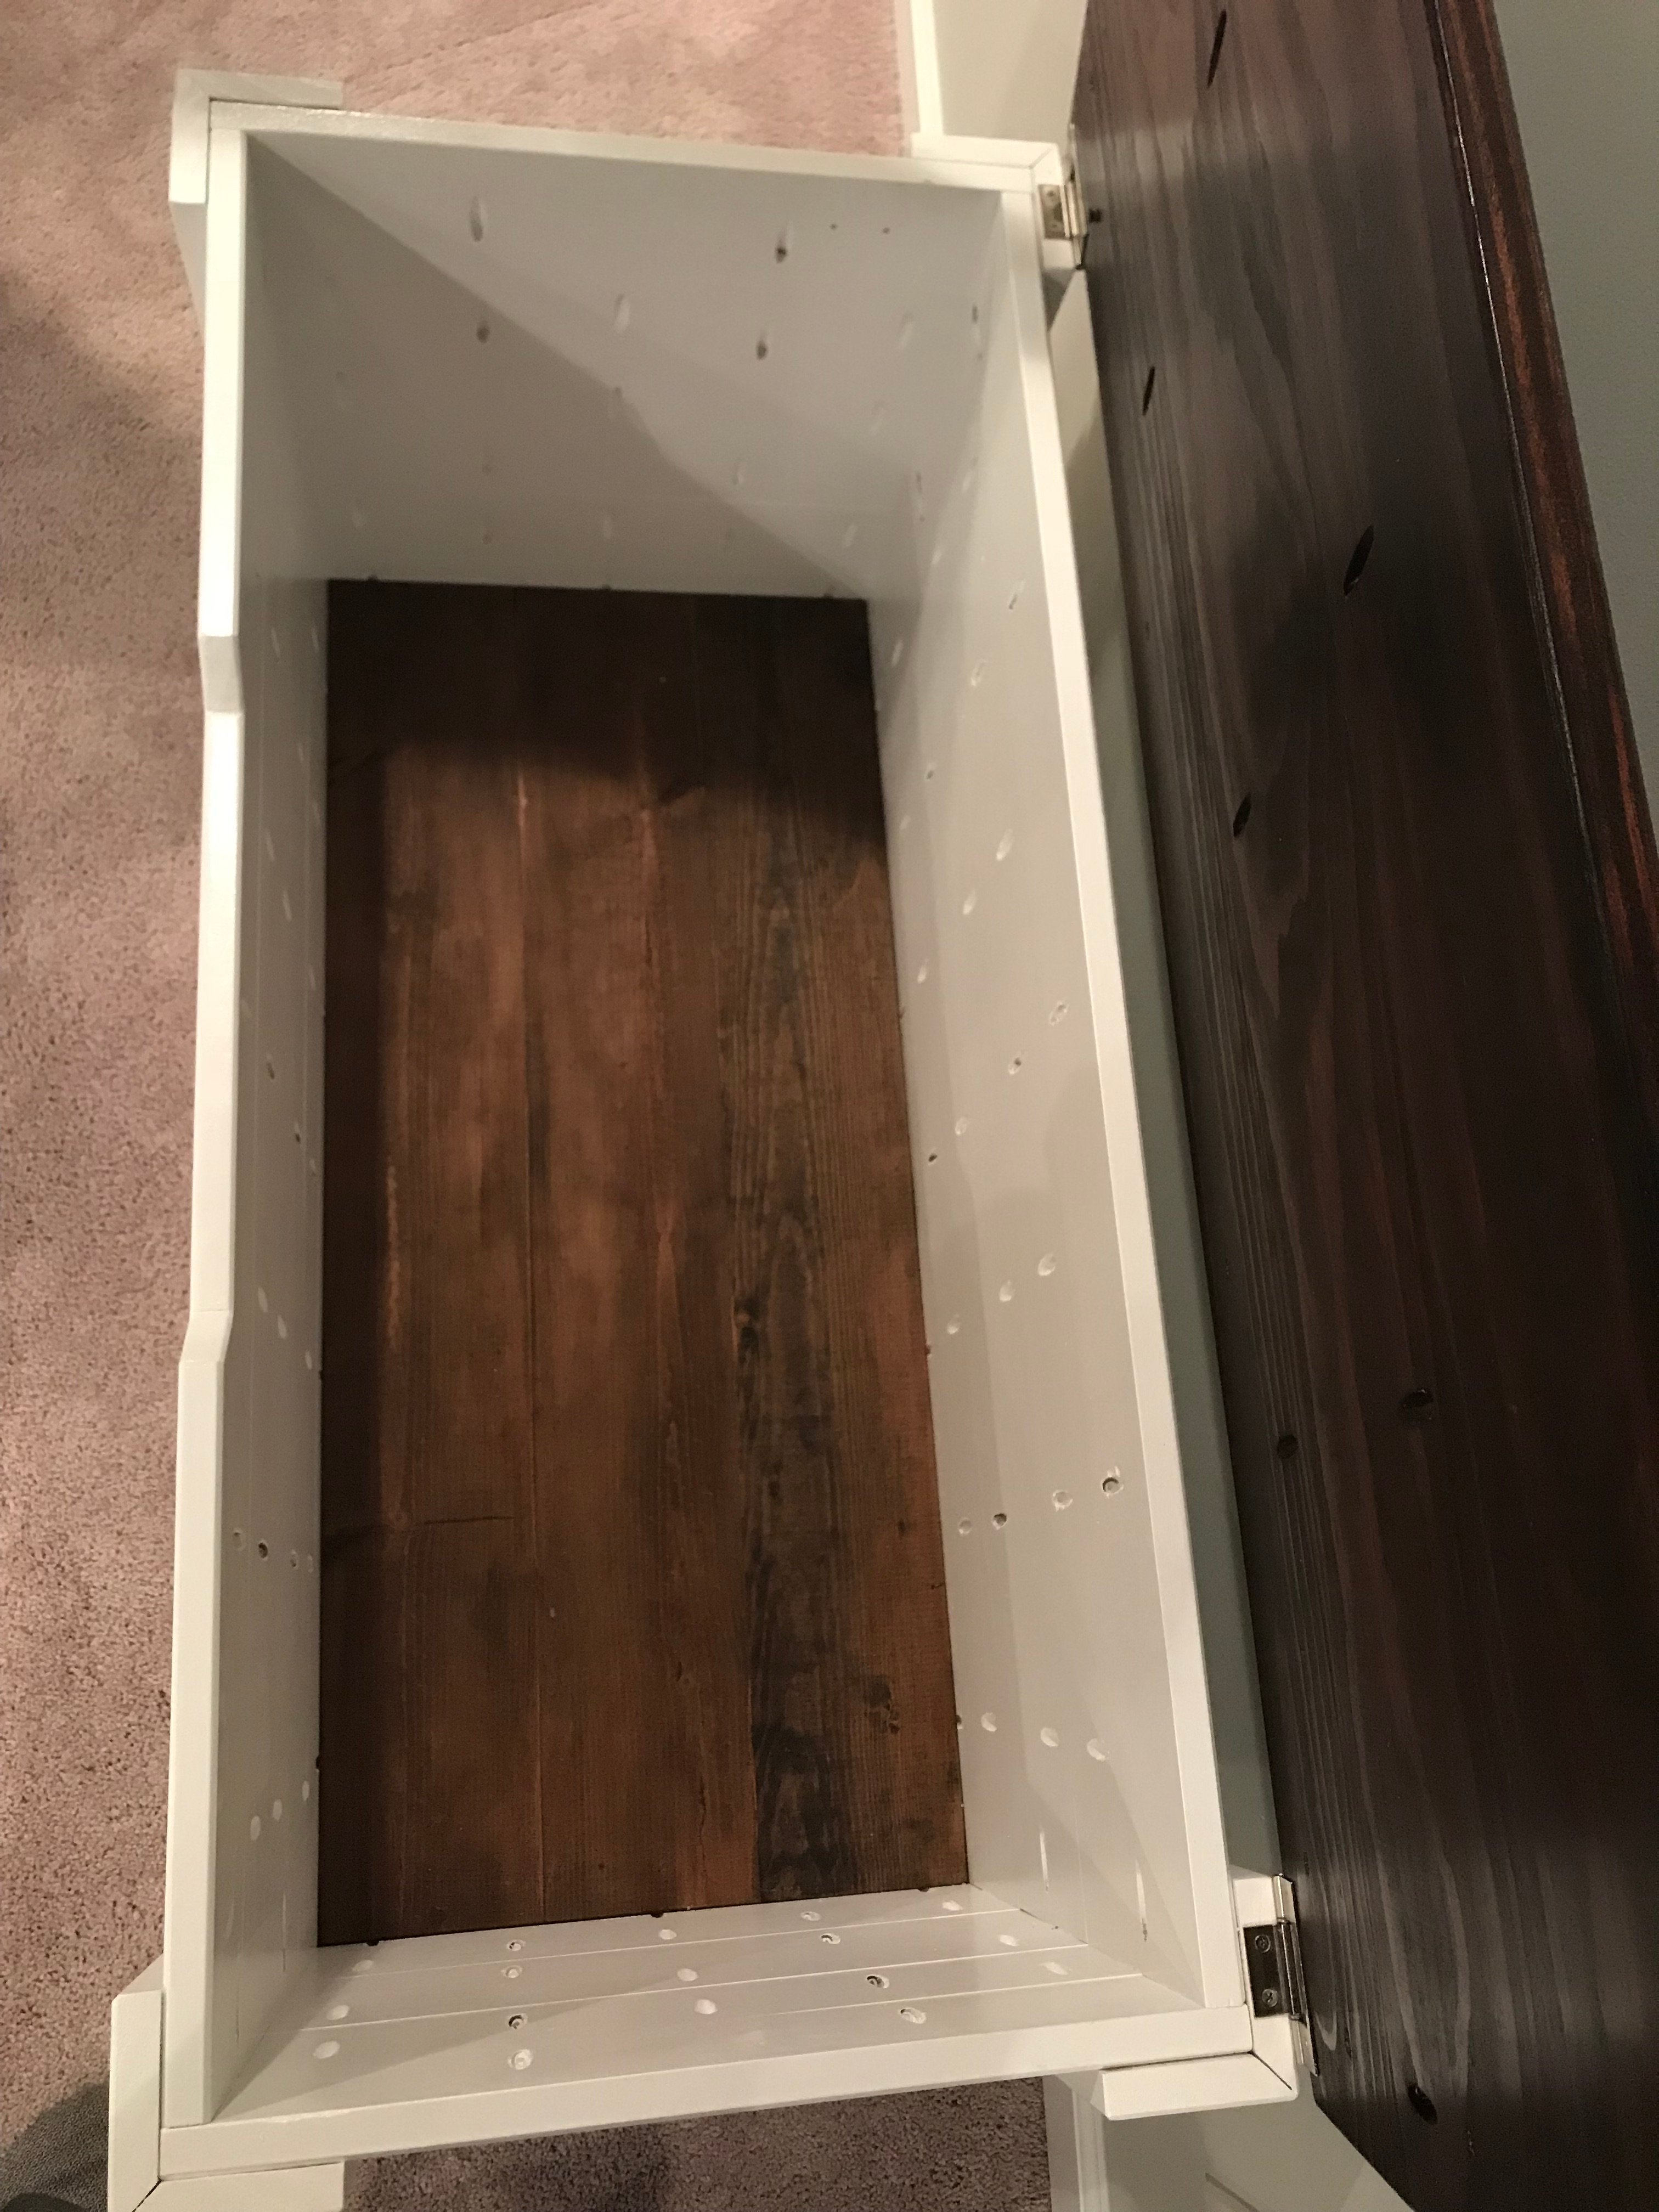
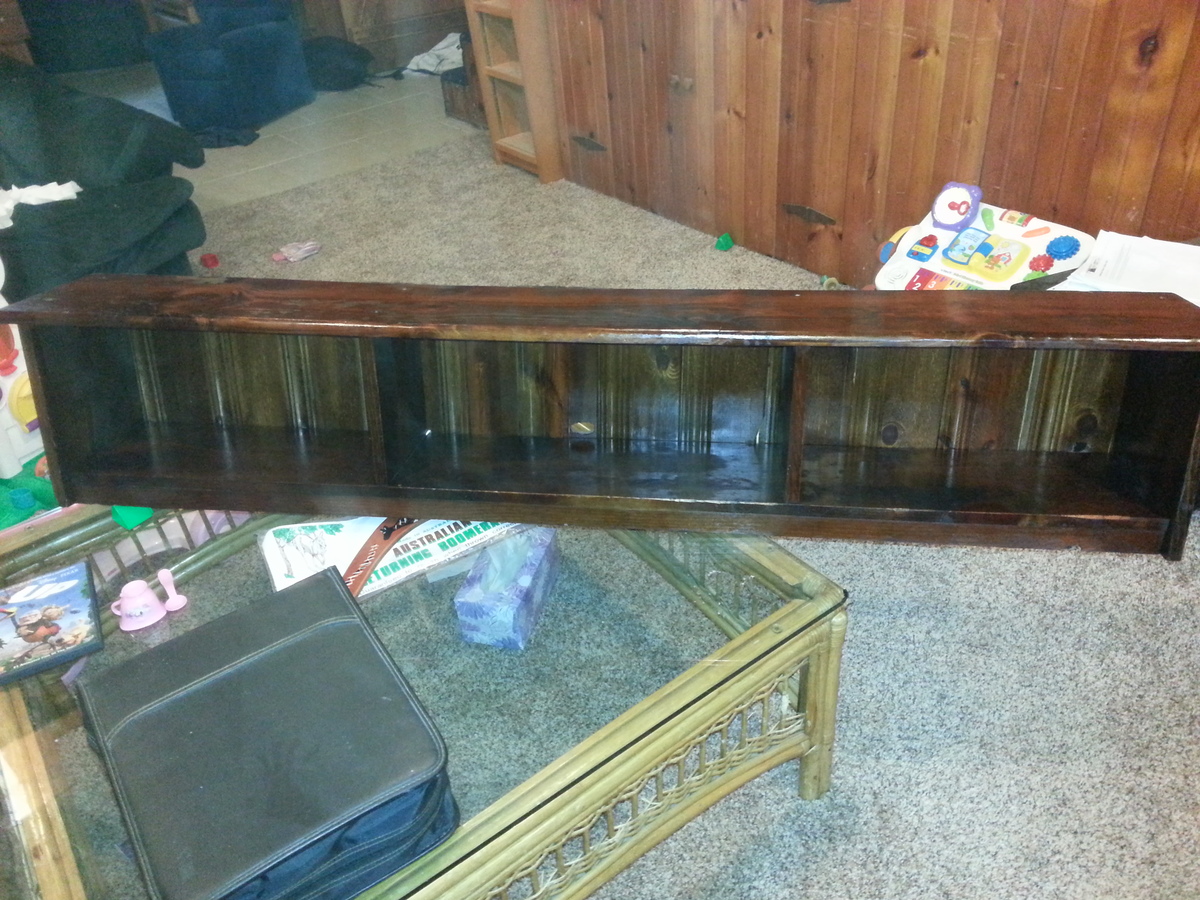
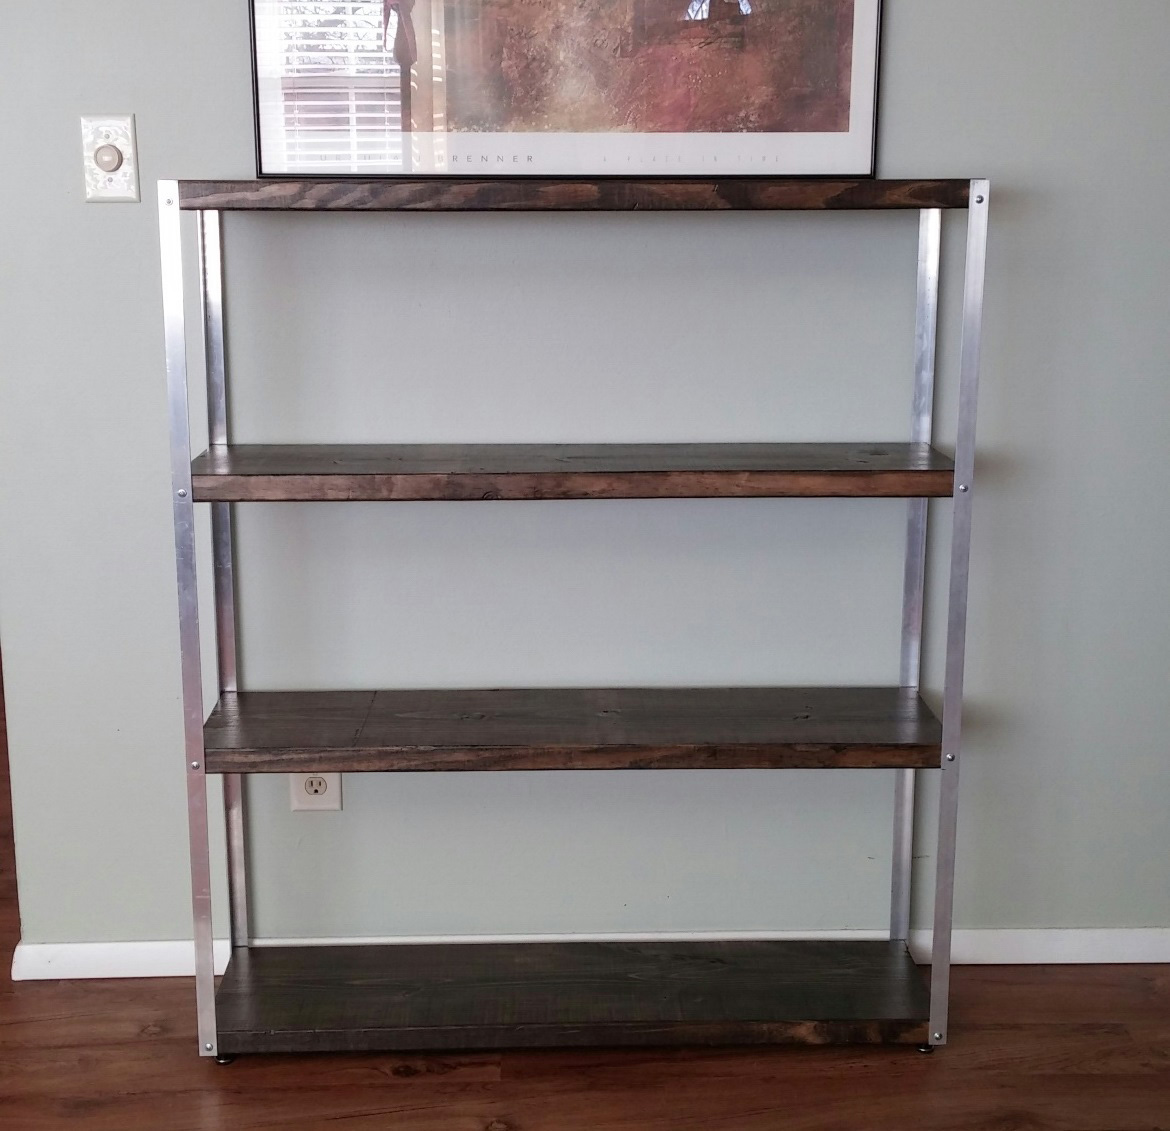
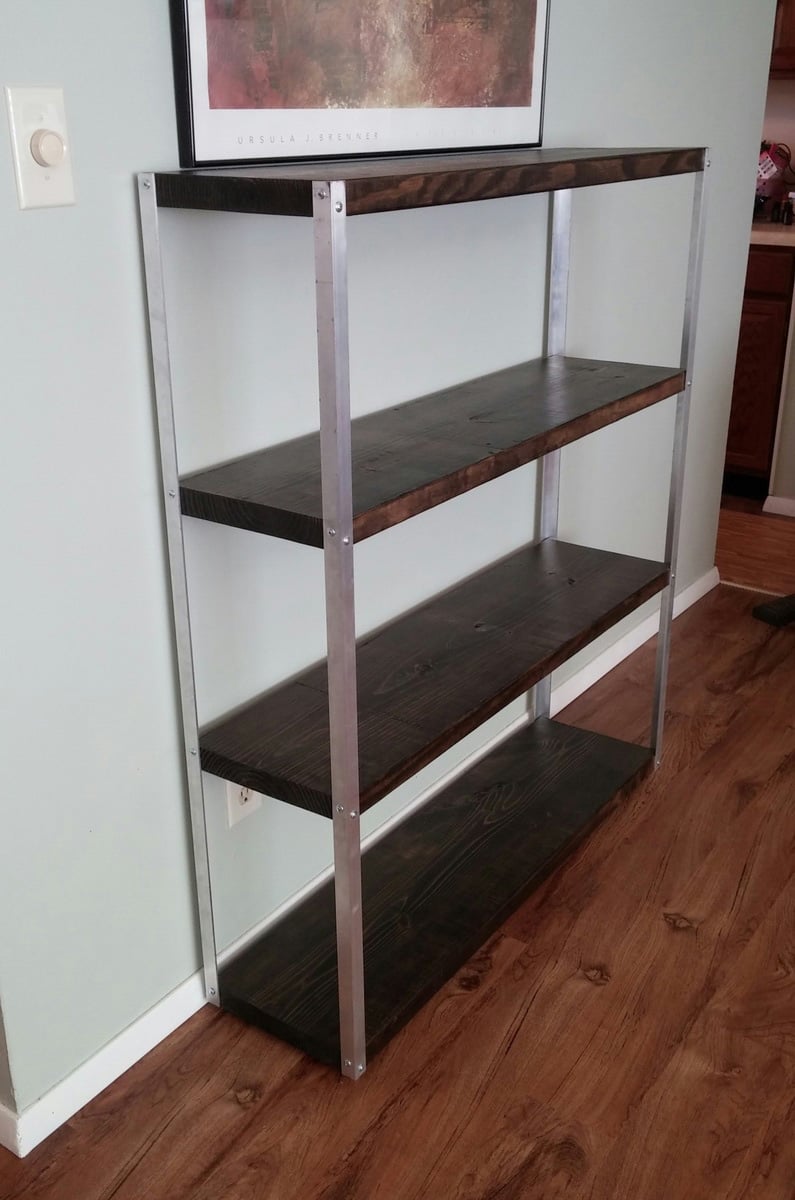
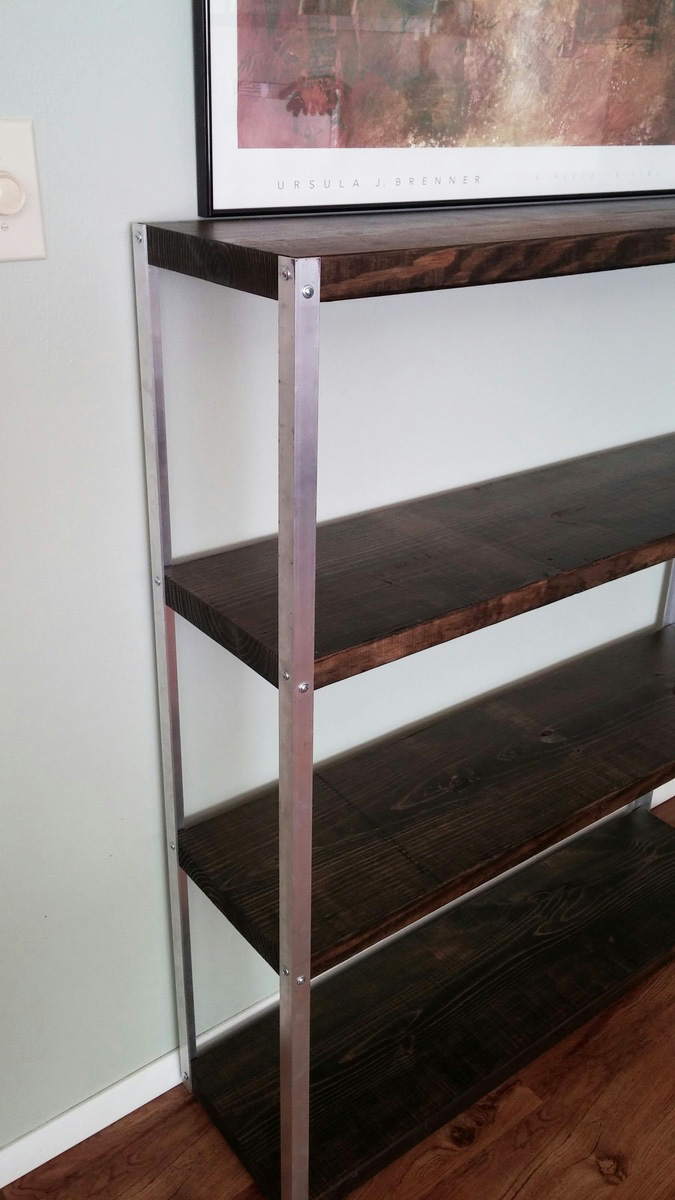
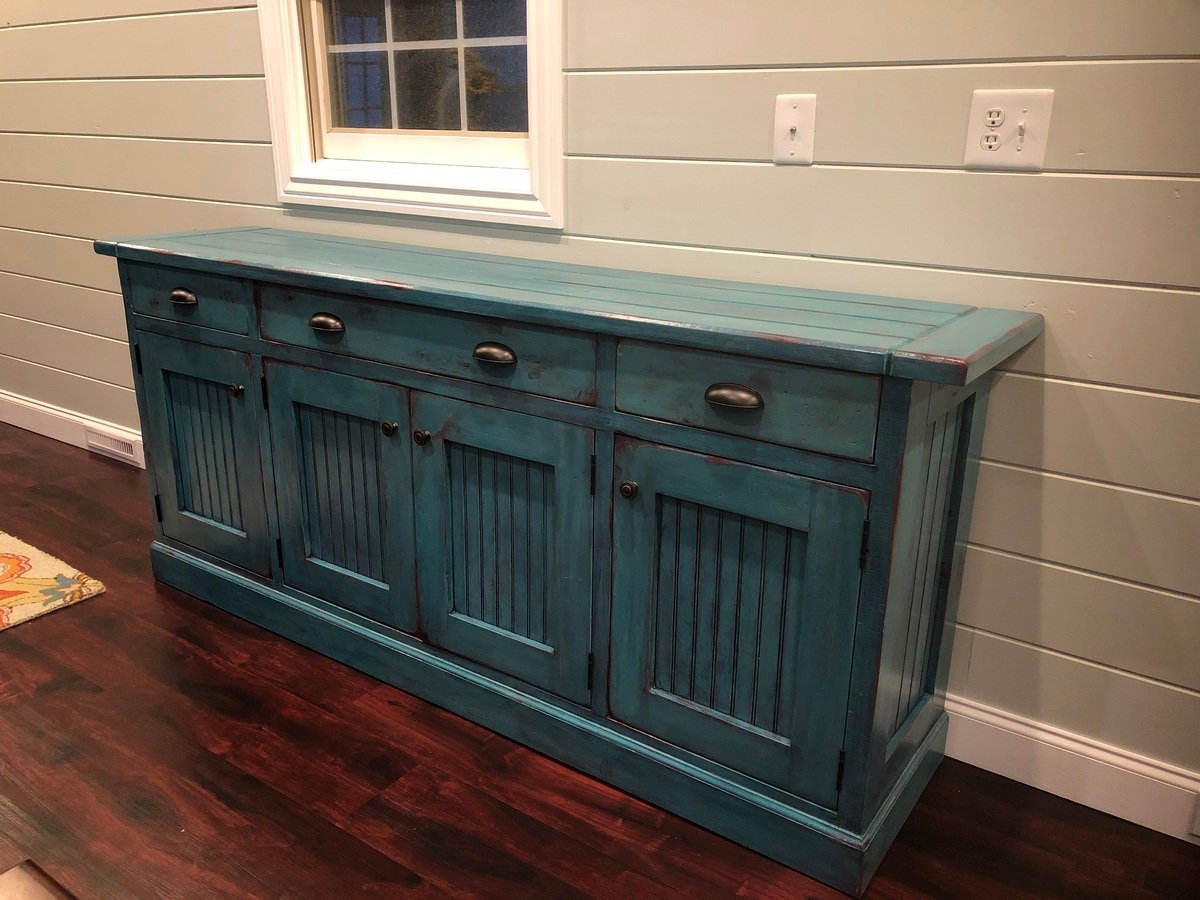
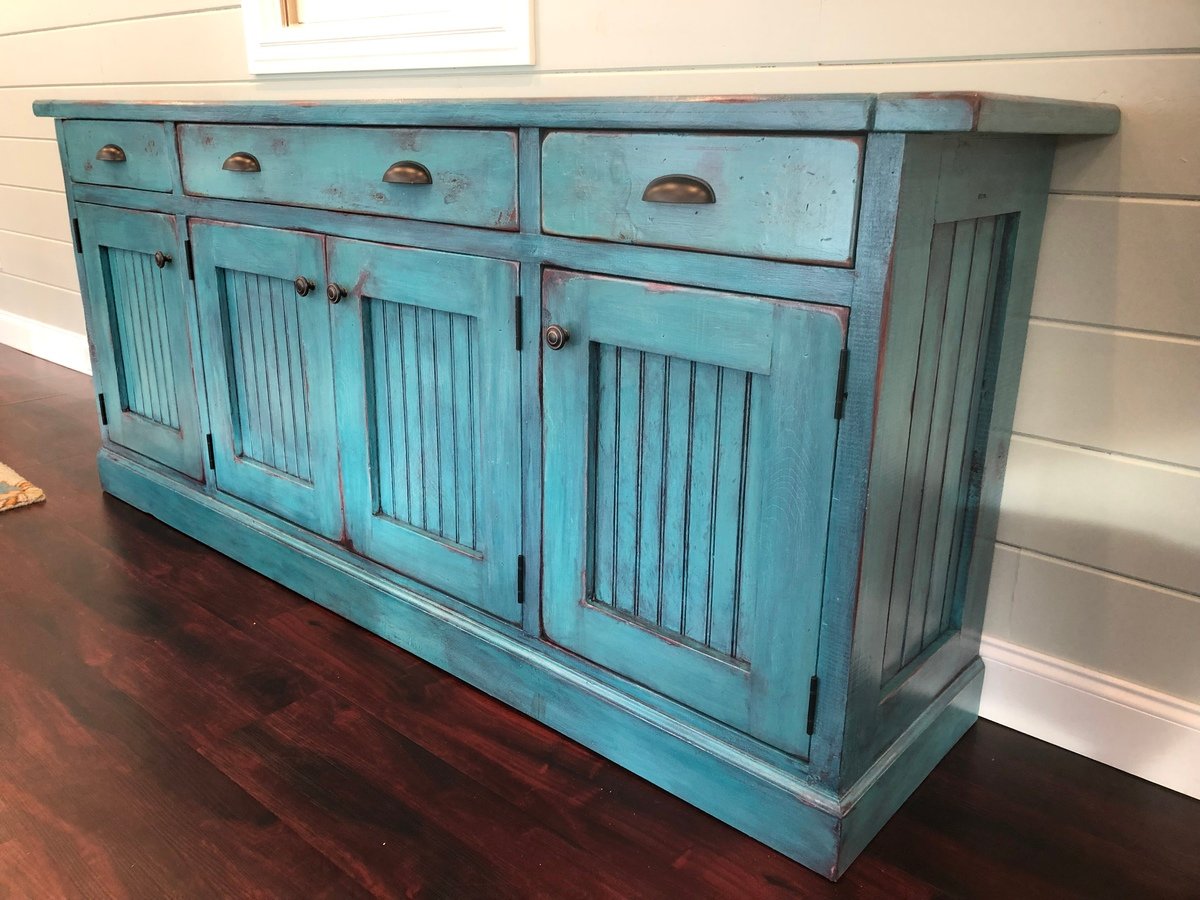
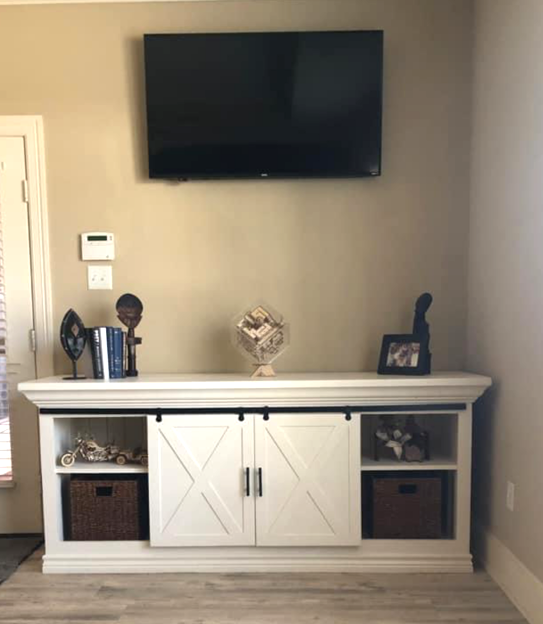
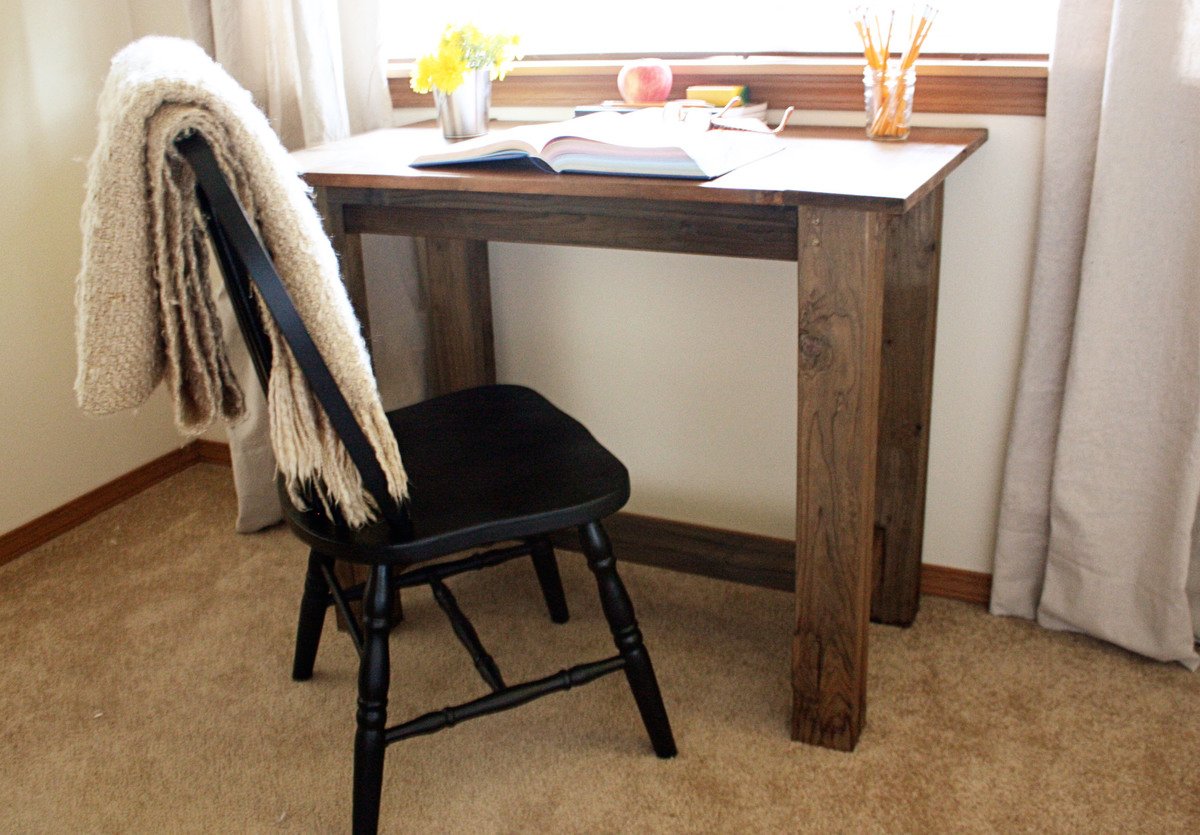
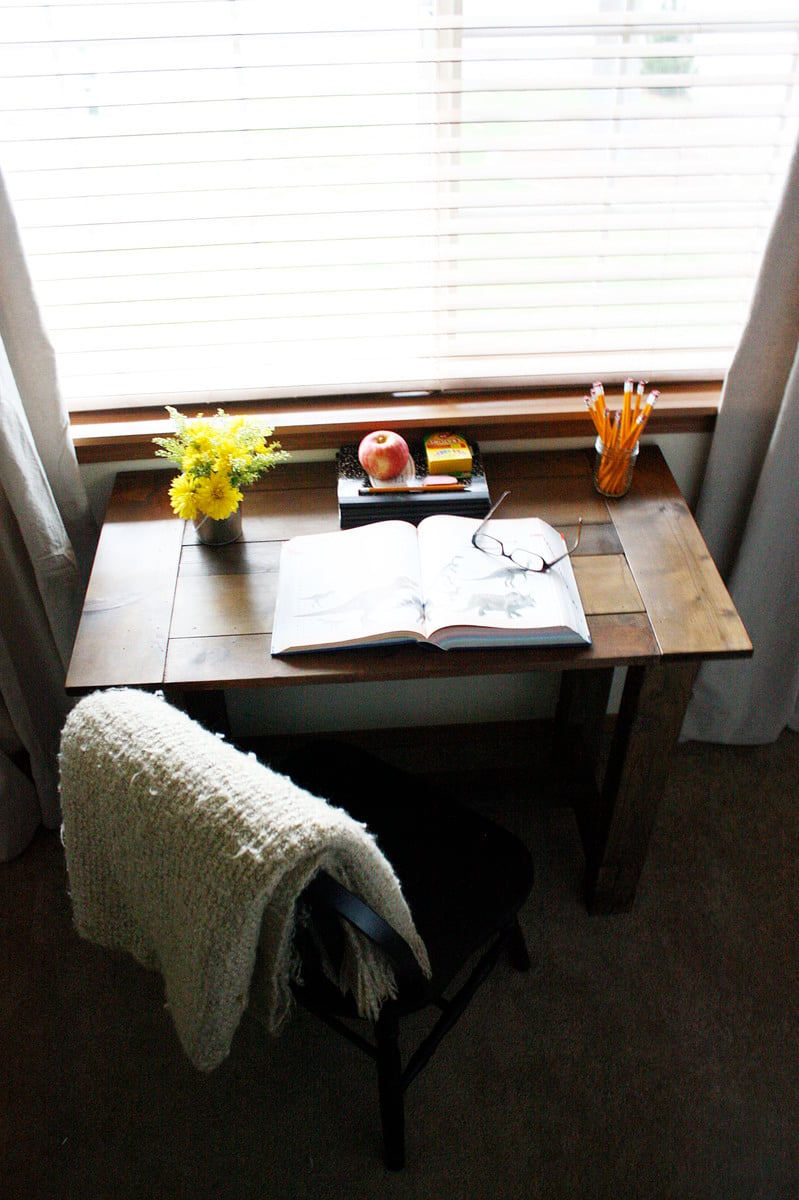
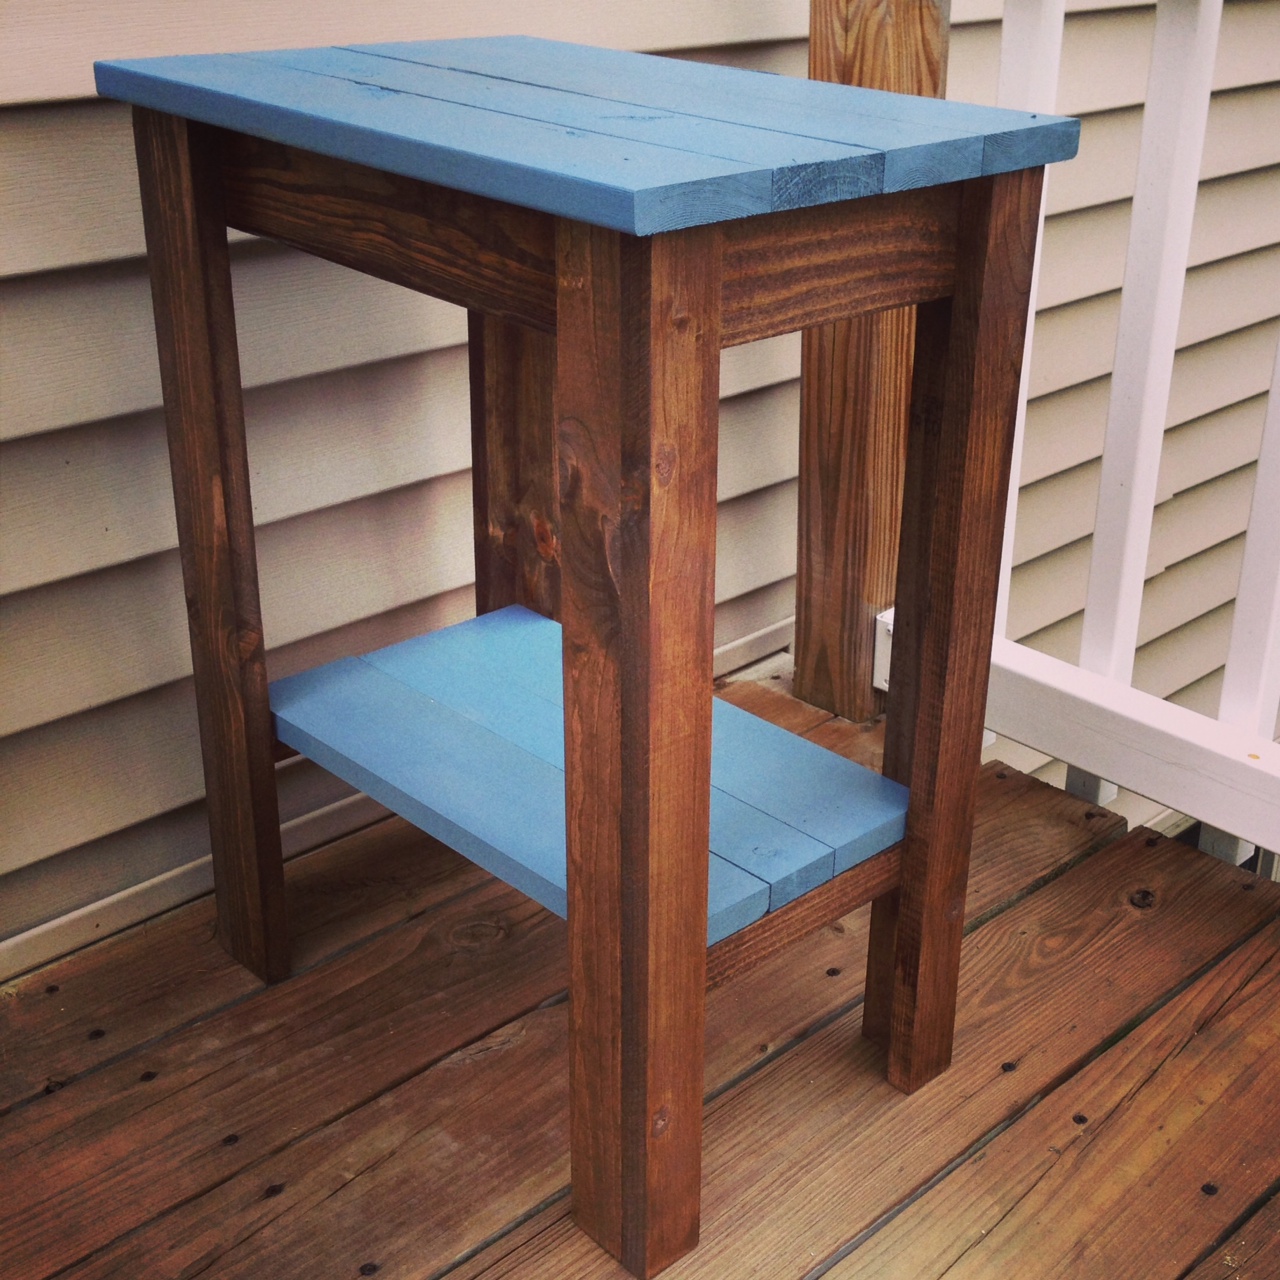
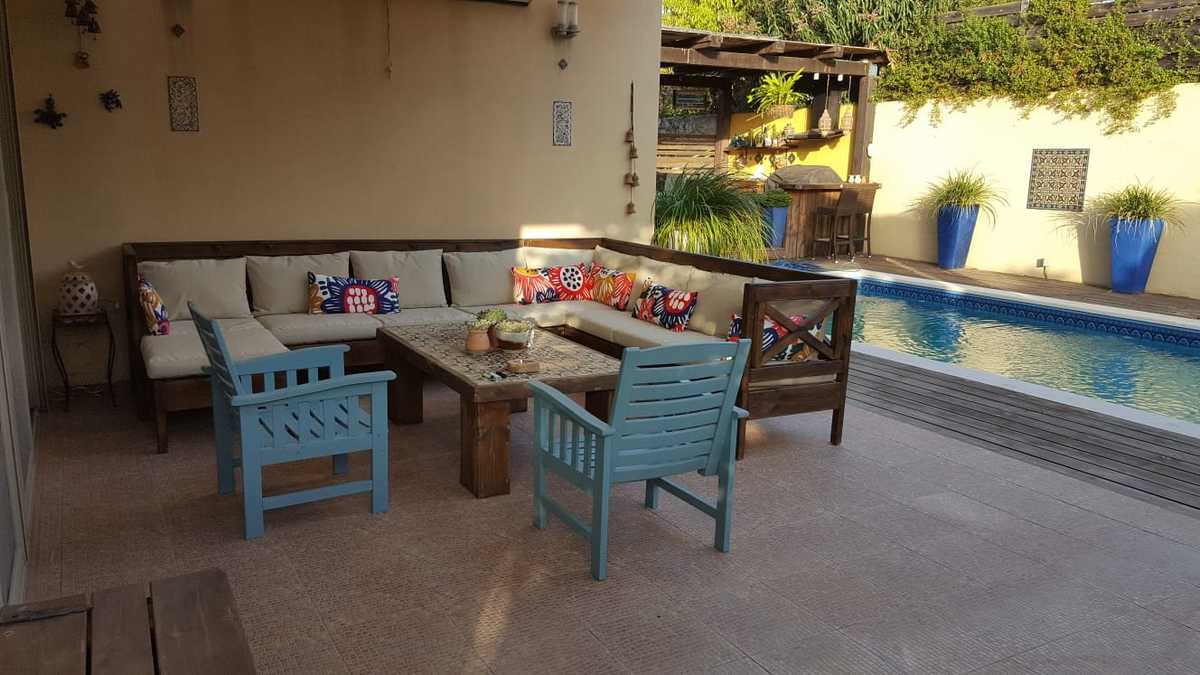
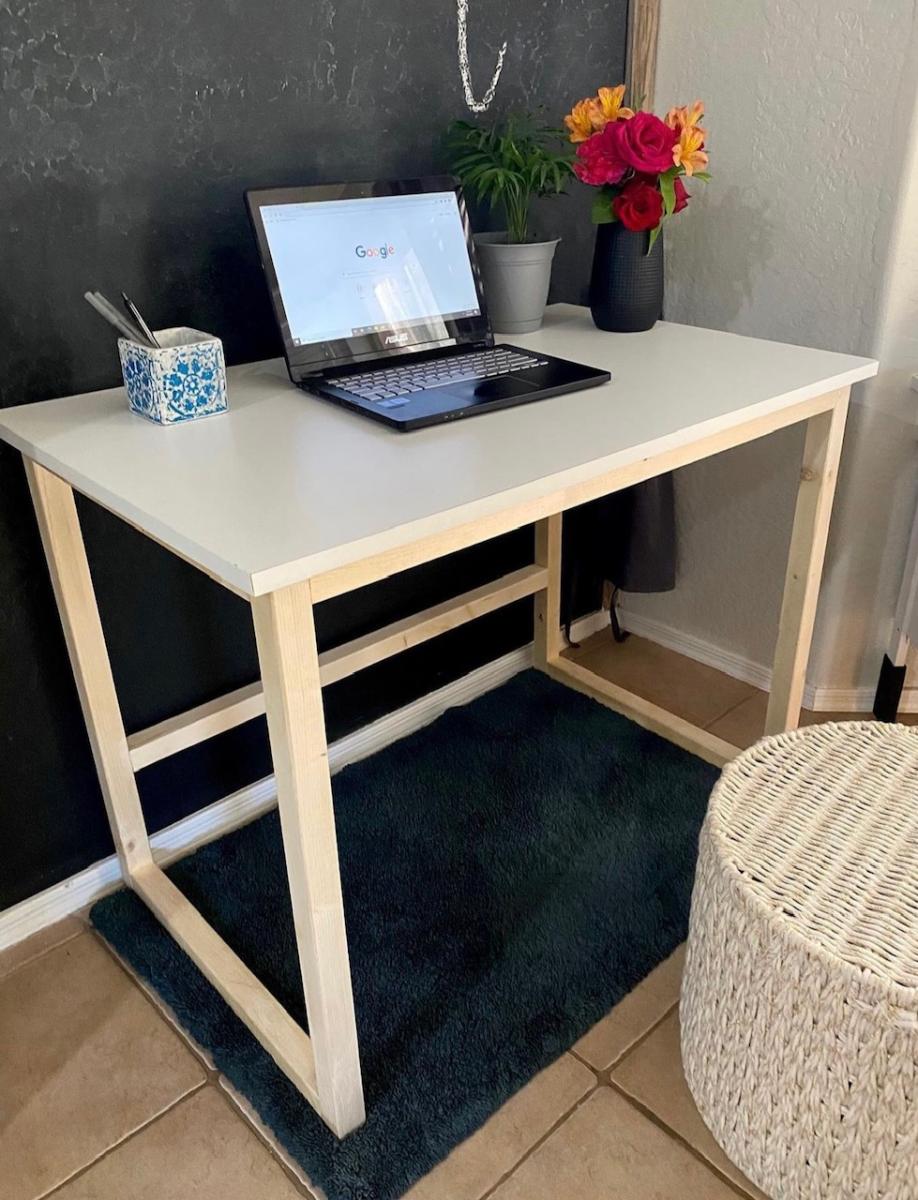
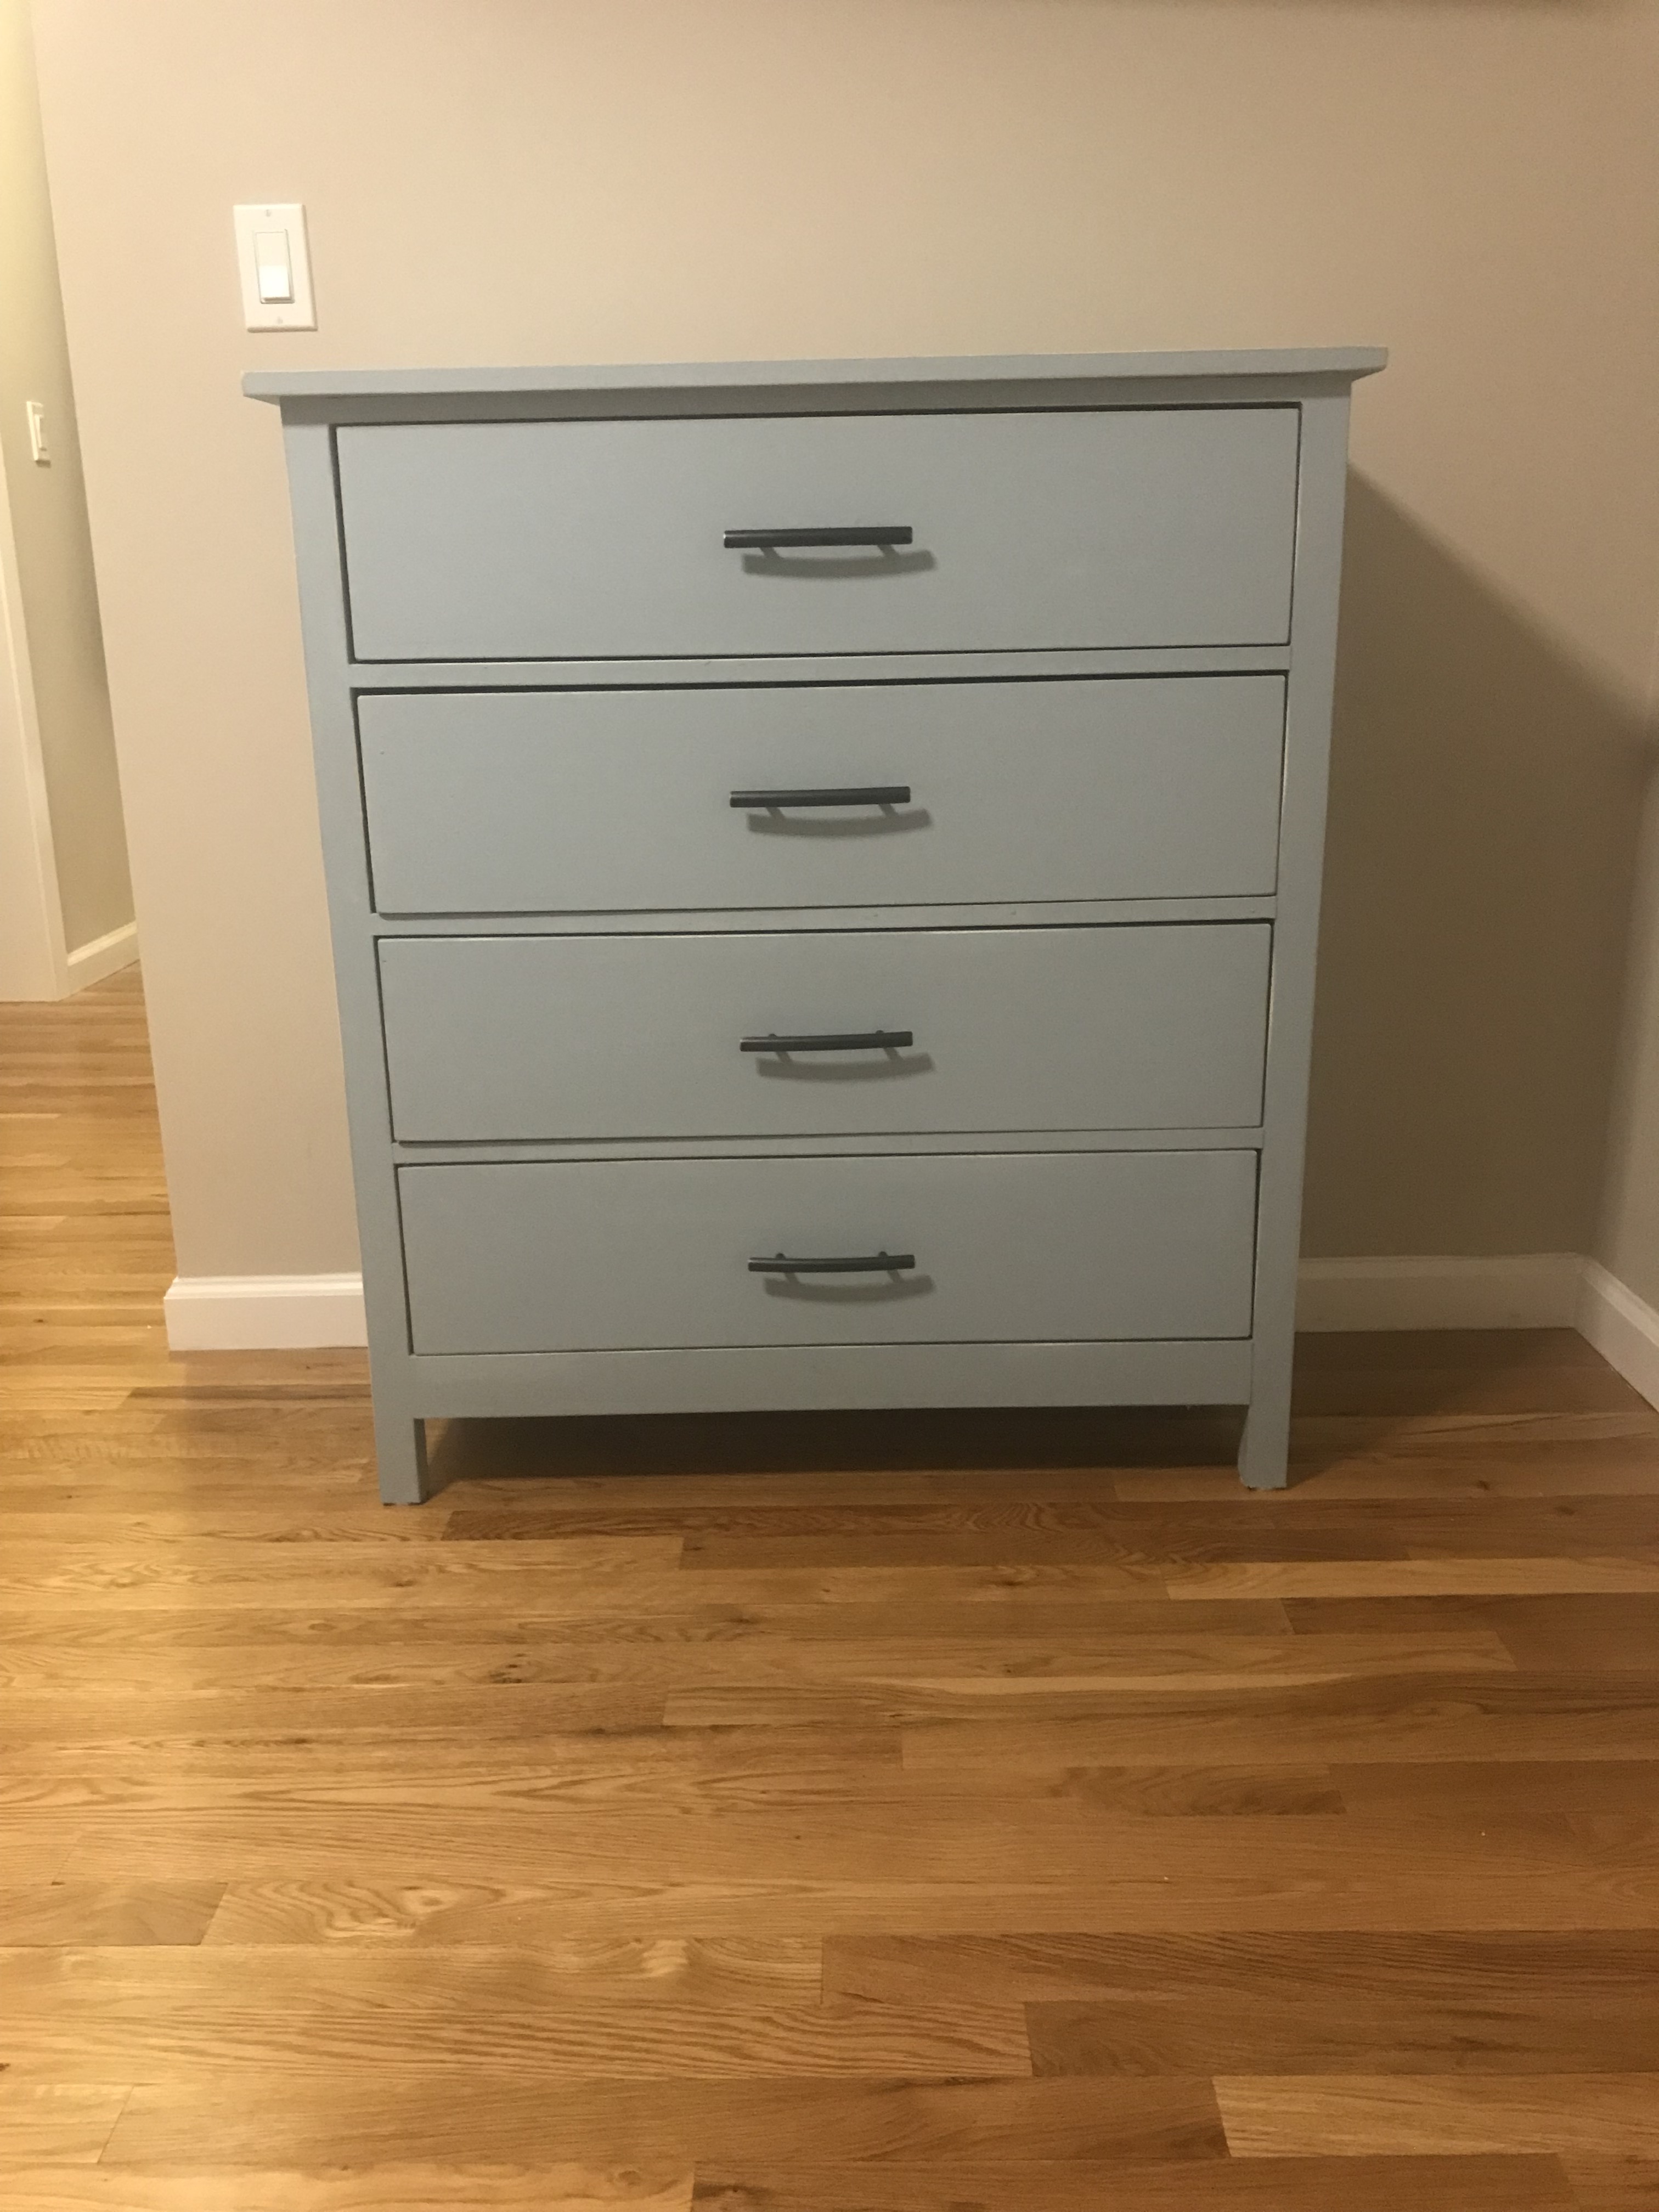
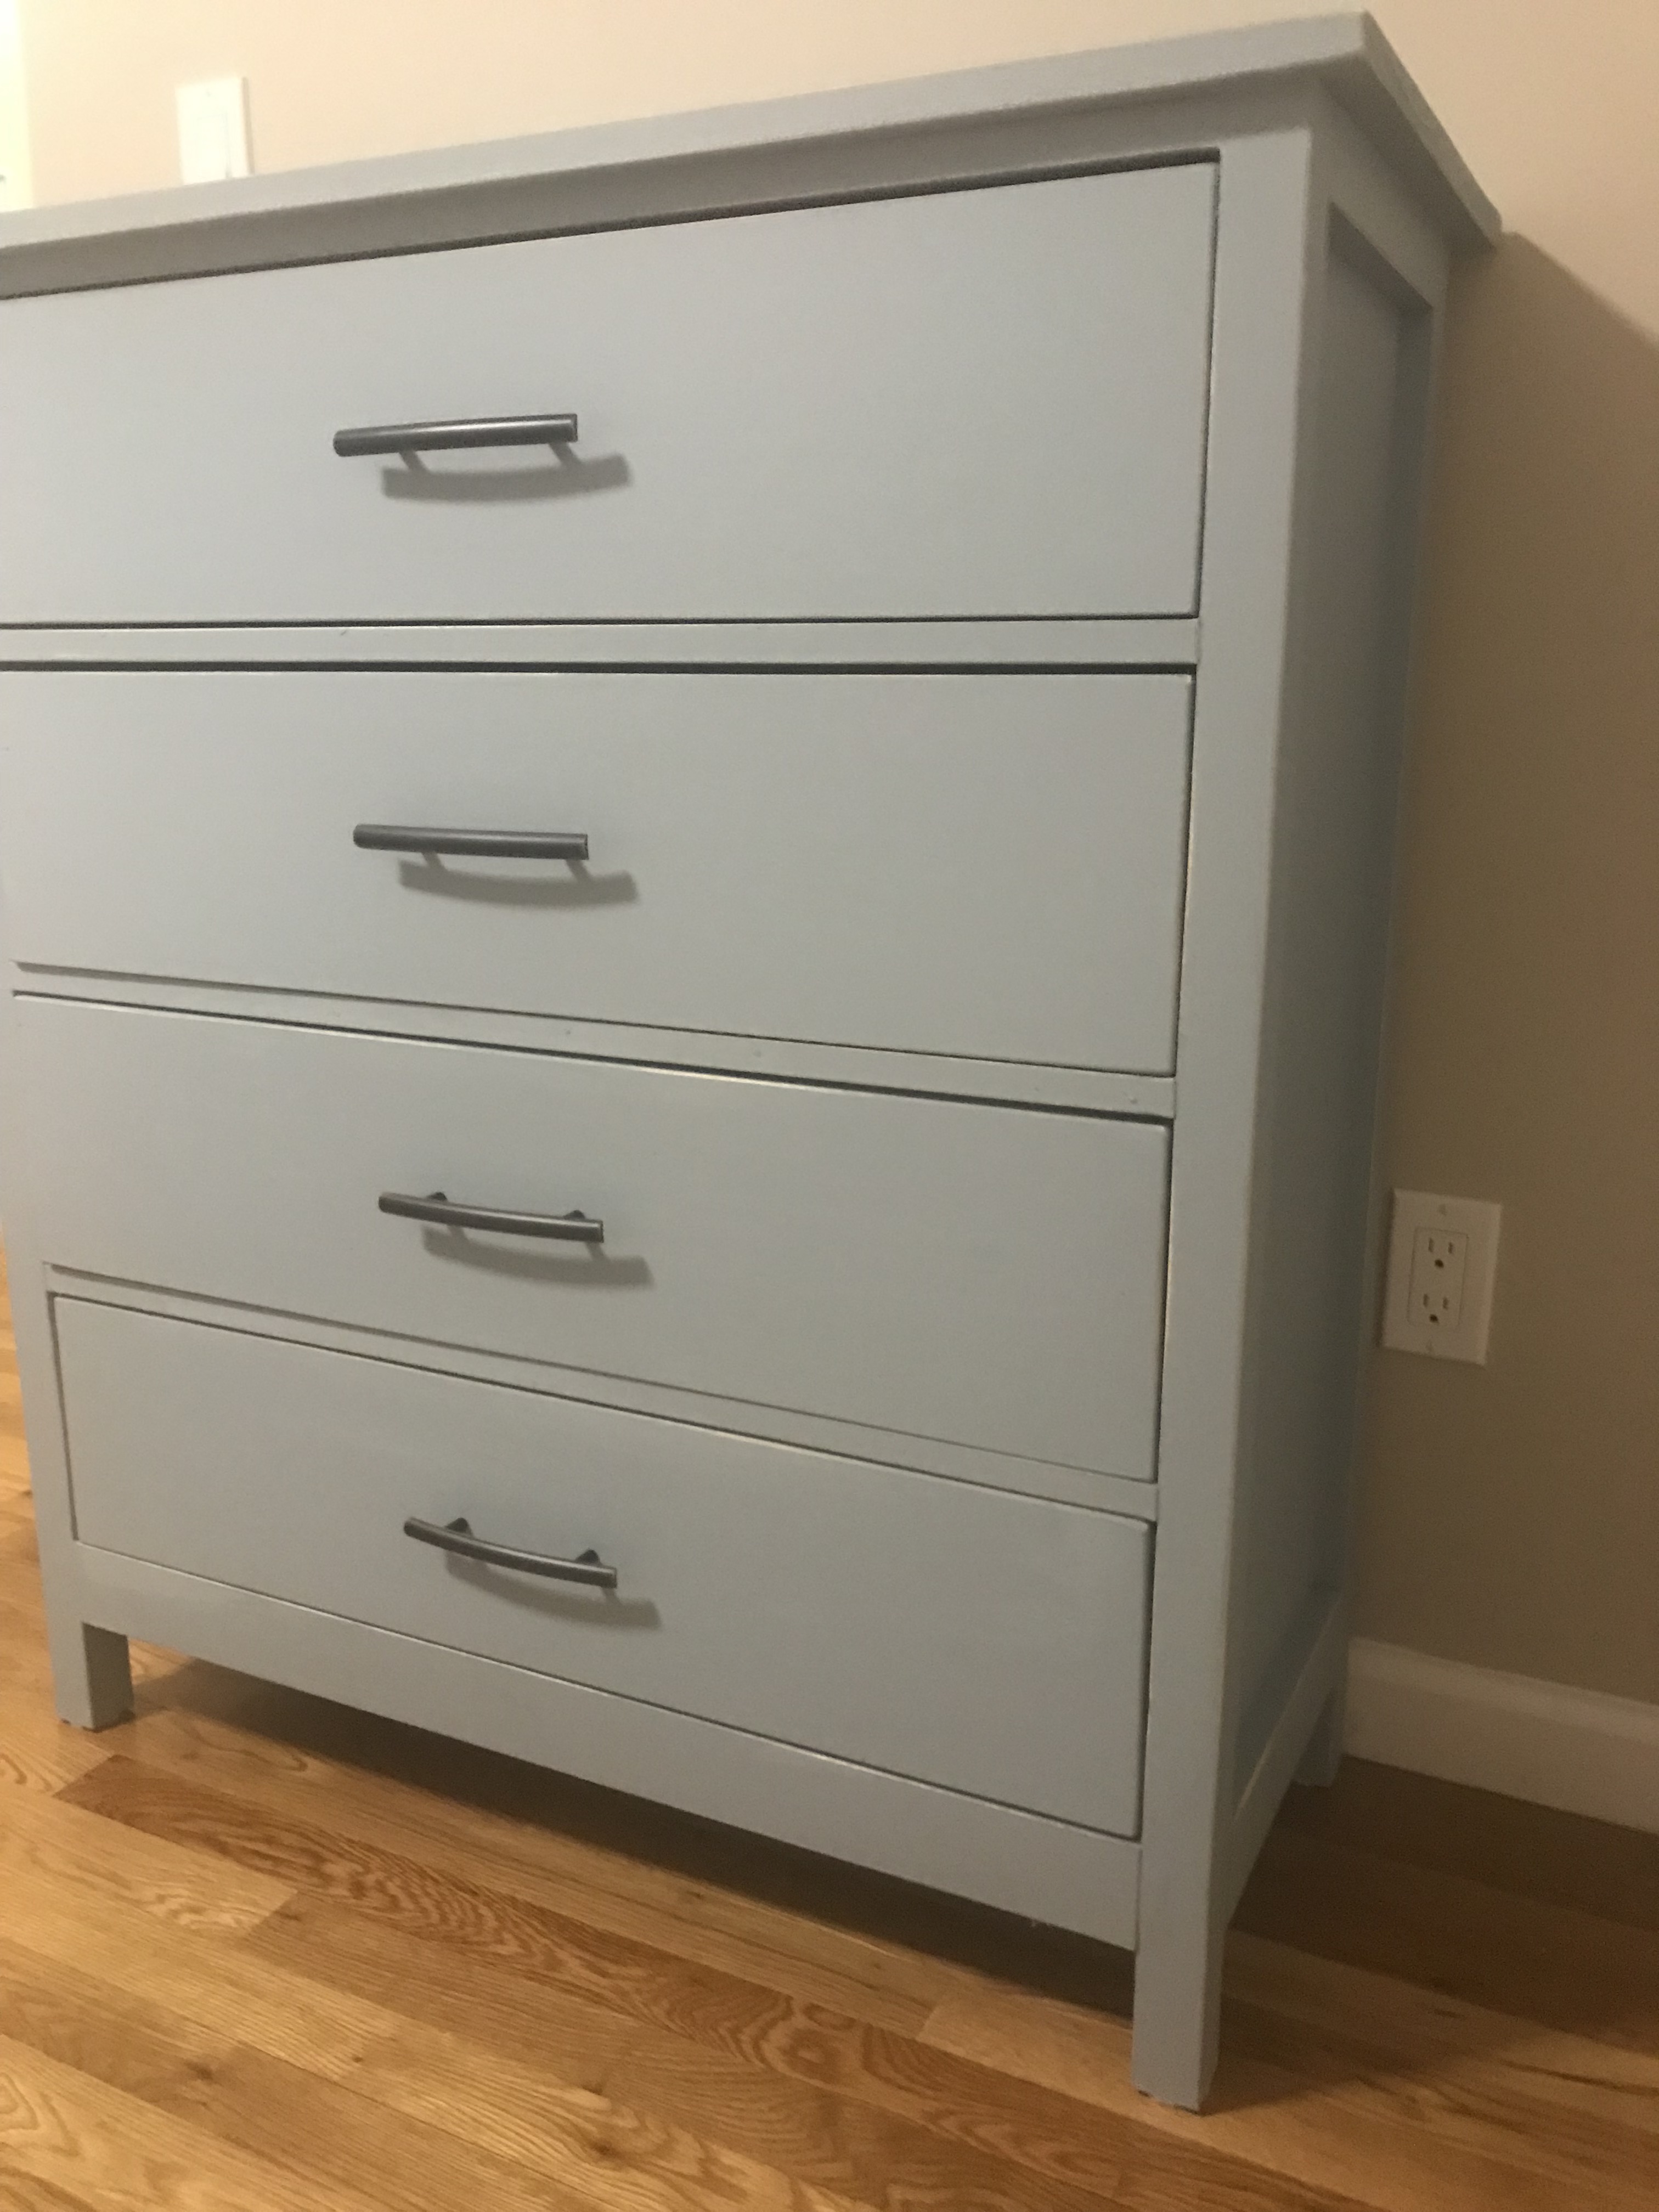
Pottery Barn Inspired Console Table
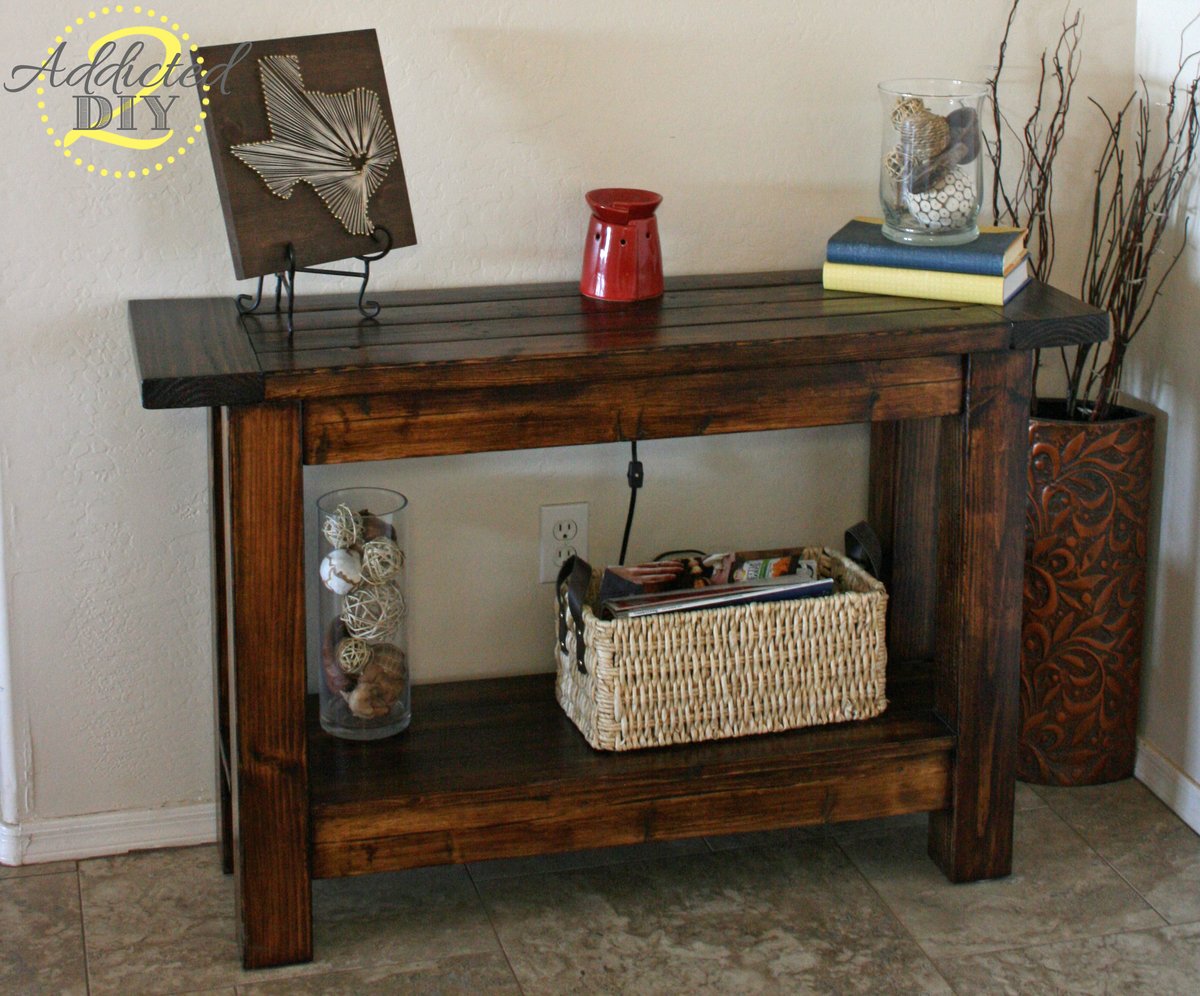
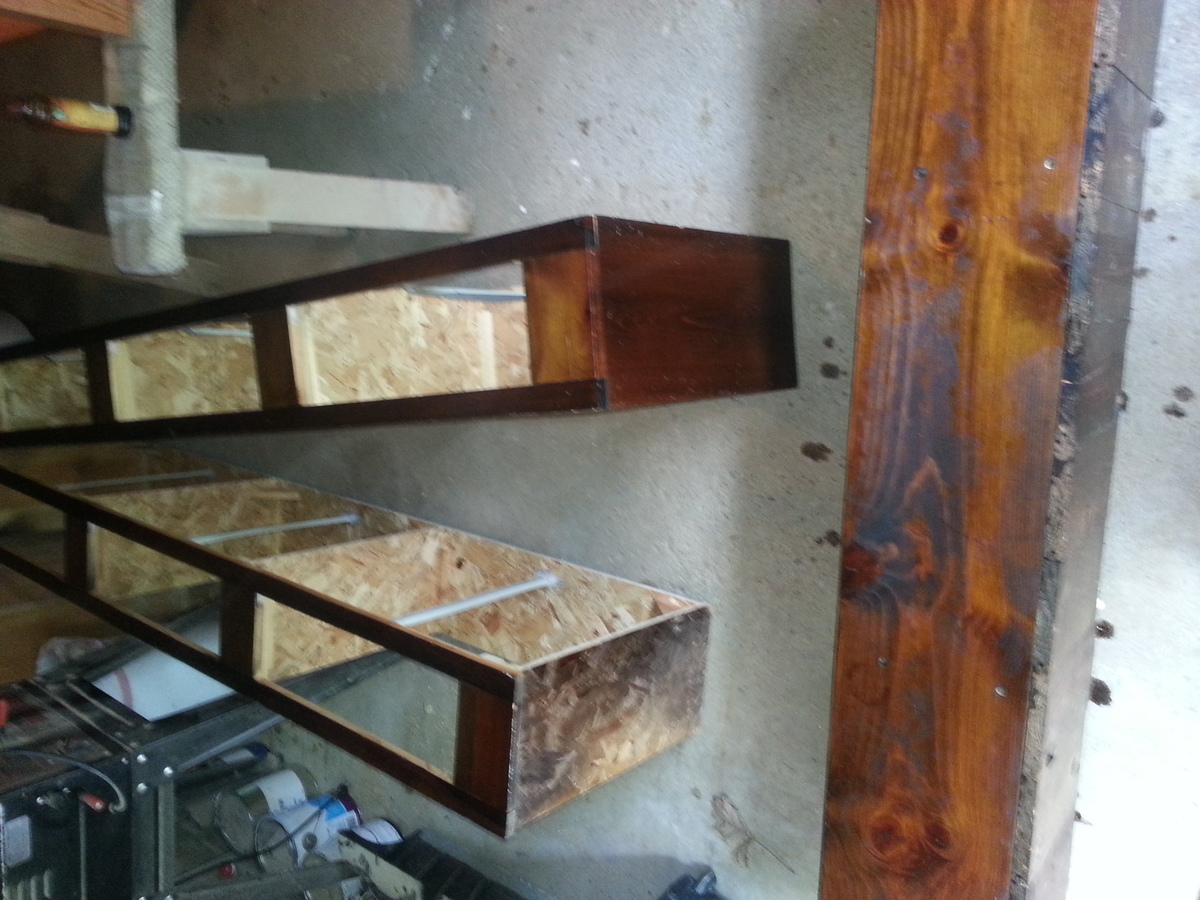
Our very first build! I love how it turned out and I am so excited to have a great piece of furniture for a fraction of the price!
Built from Plan(s)
Estimated Cost
$70
Estimated Time Investment
Weekend Project (10-20 Hours)
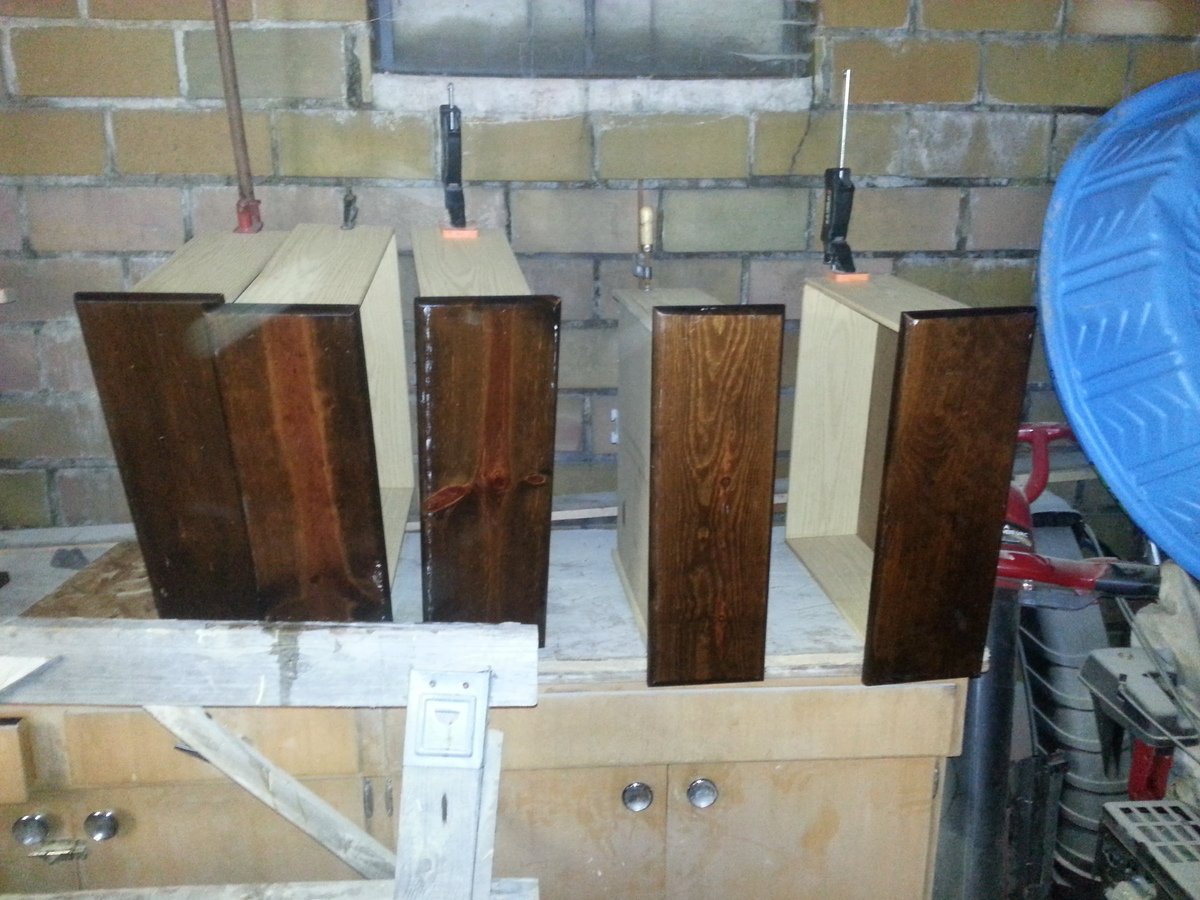
Finish Used
Minwax Polyshades and Minwax Polycrylic
Recommended Skill Level
Beginner


Comments
Pam the Goatherd
Wed, 10/16/2013 - 19:14
Lovely!
Lovely!