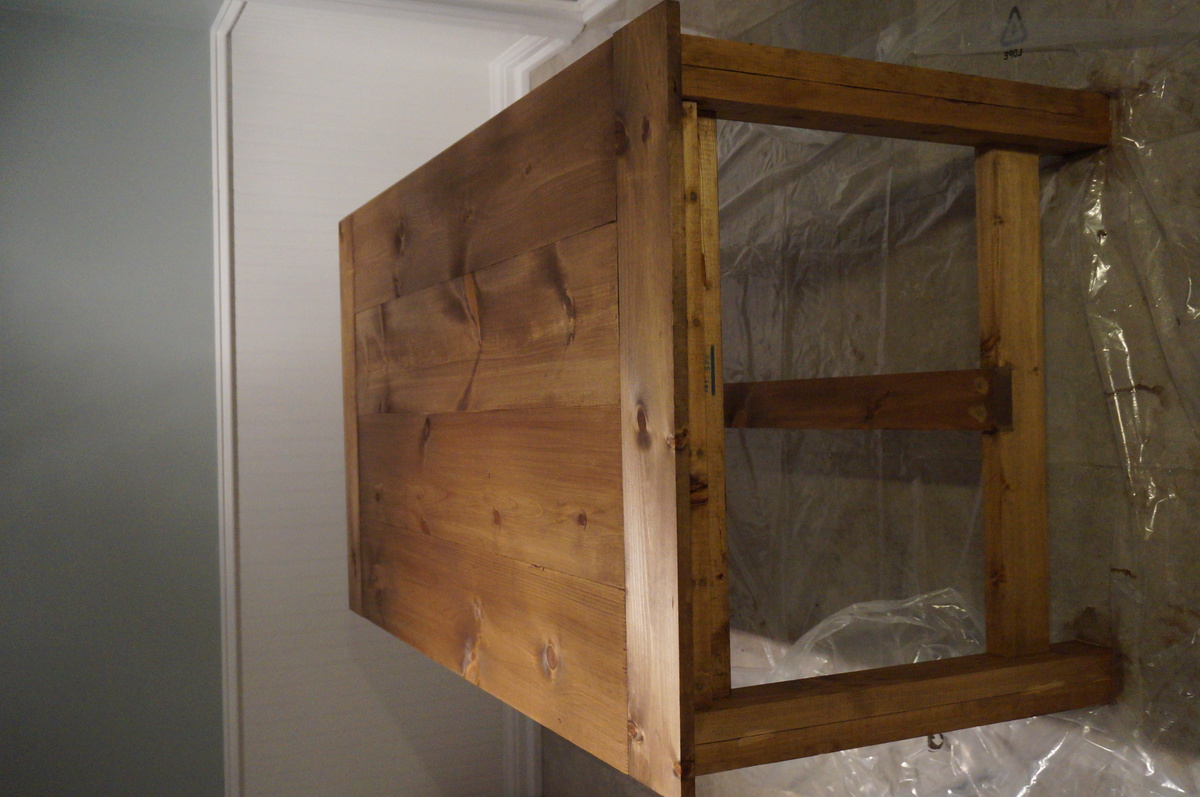
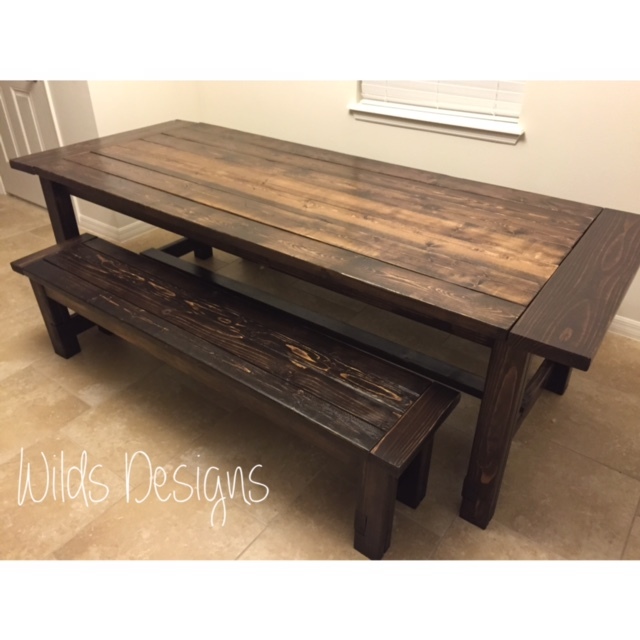
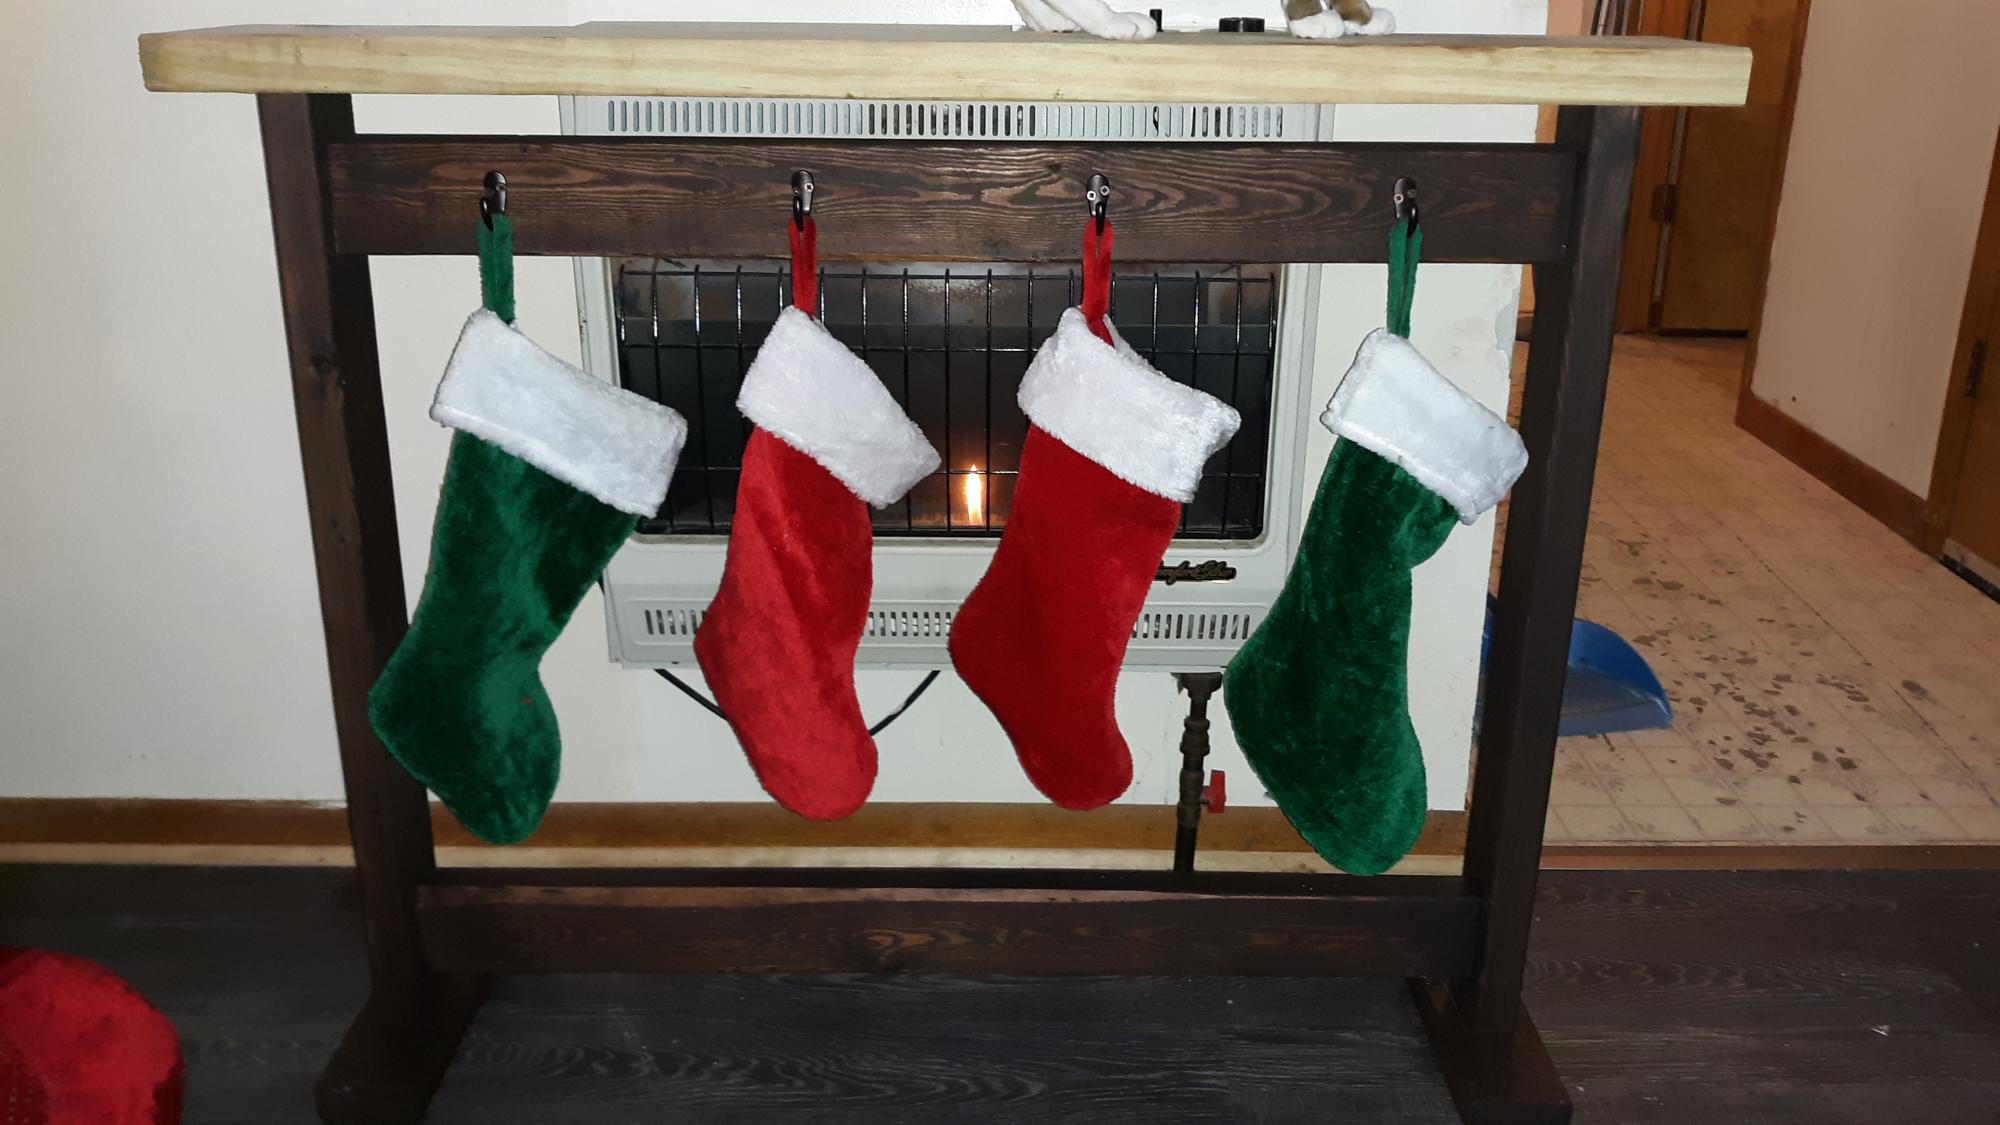
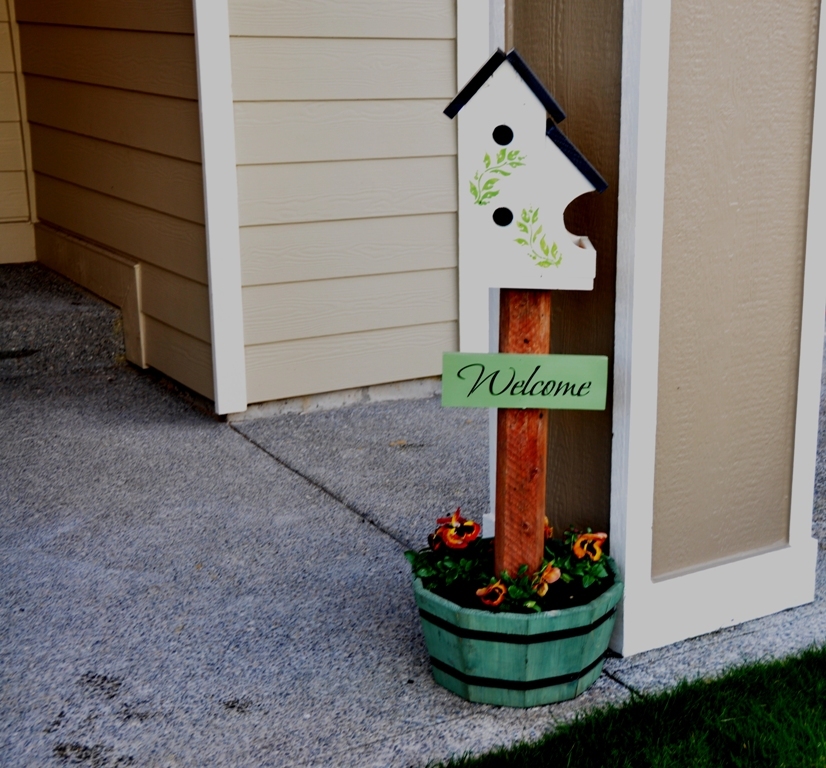
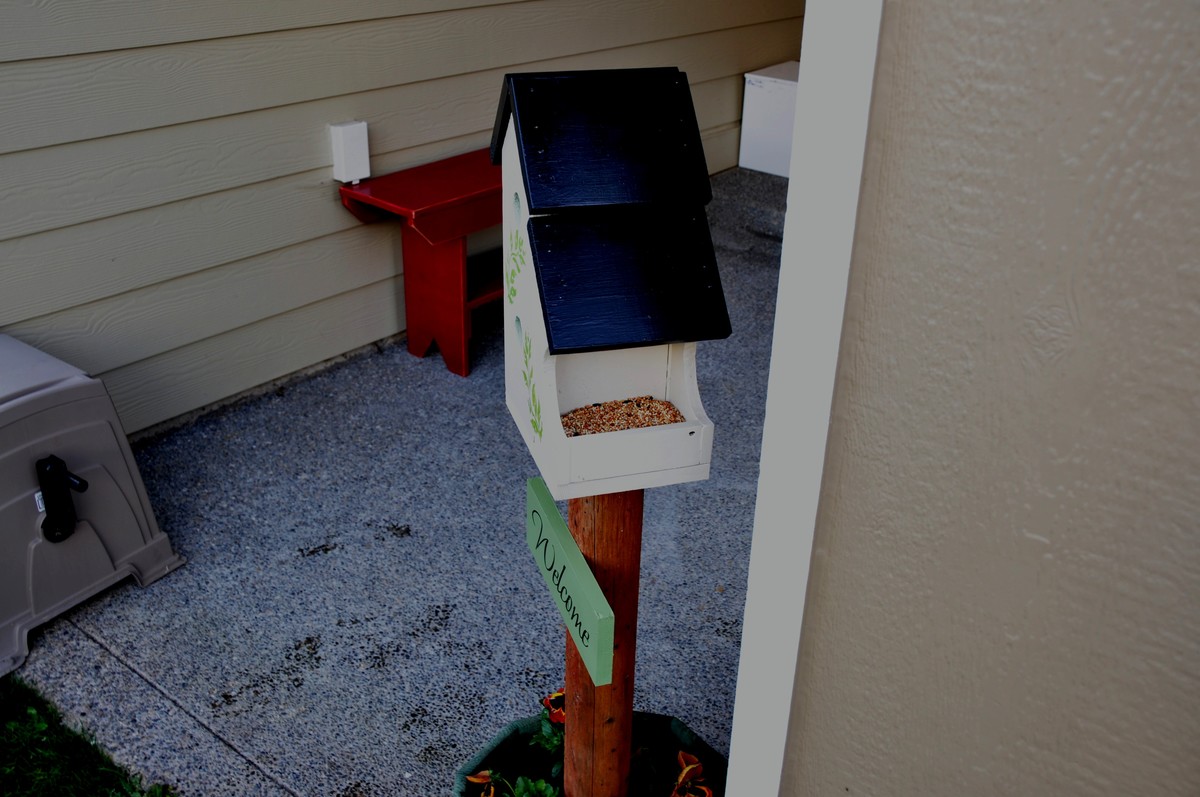
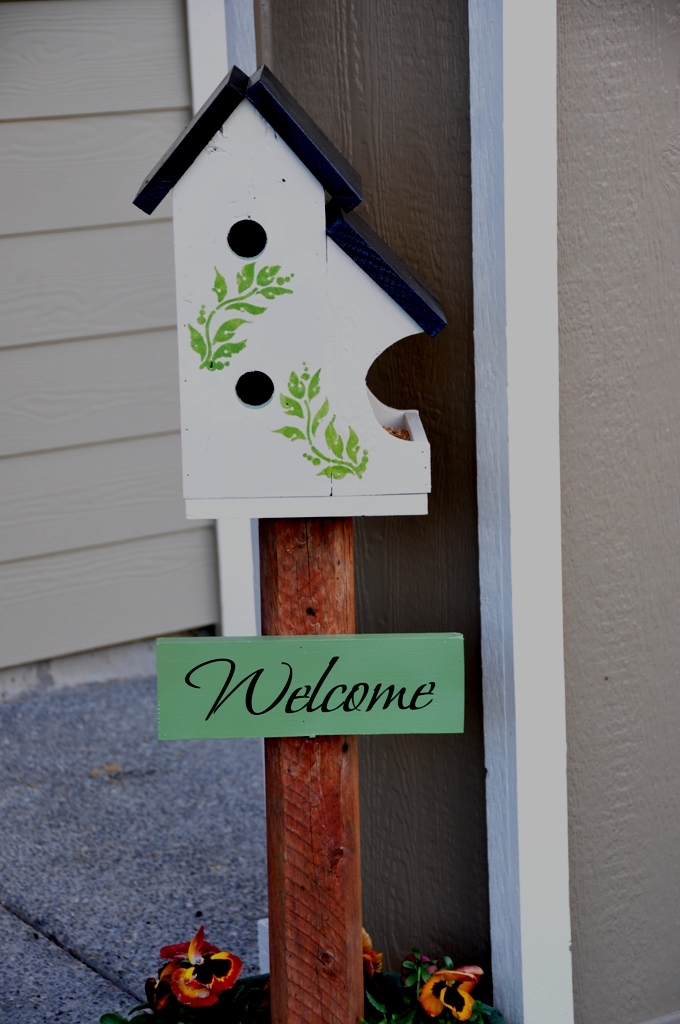
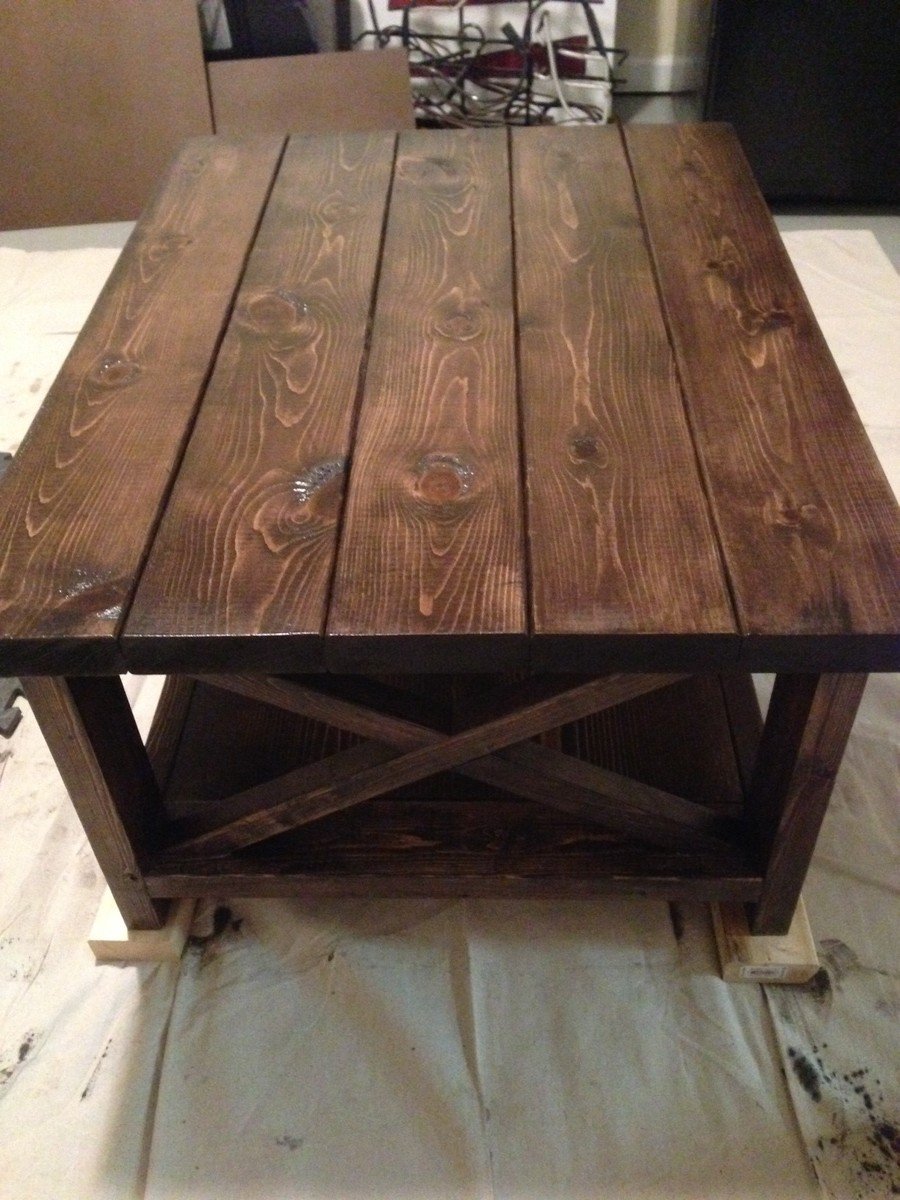
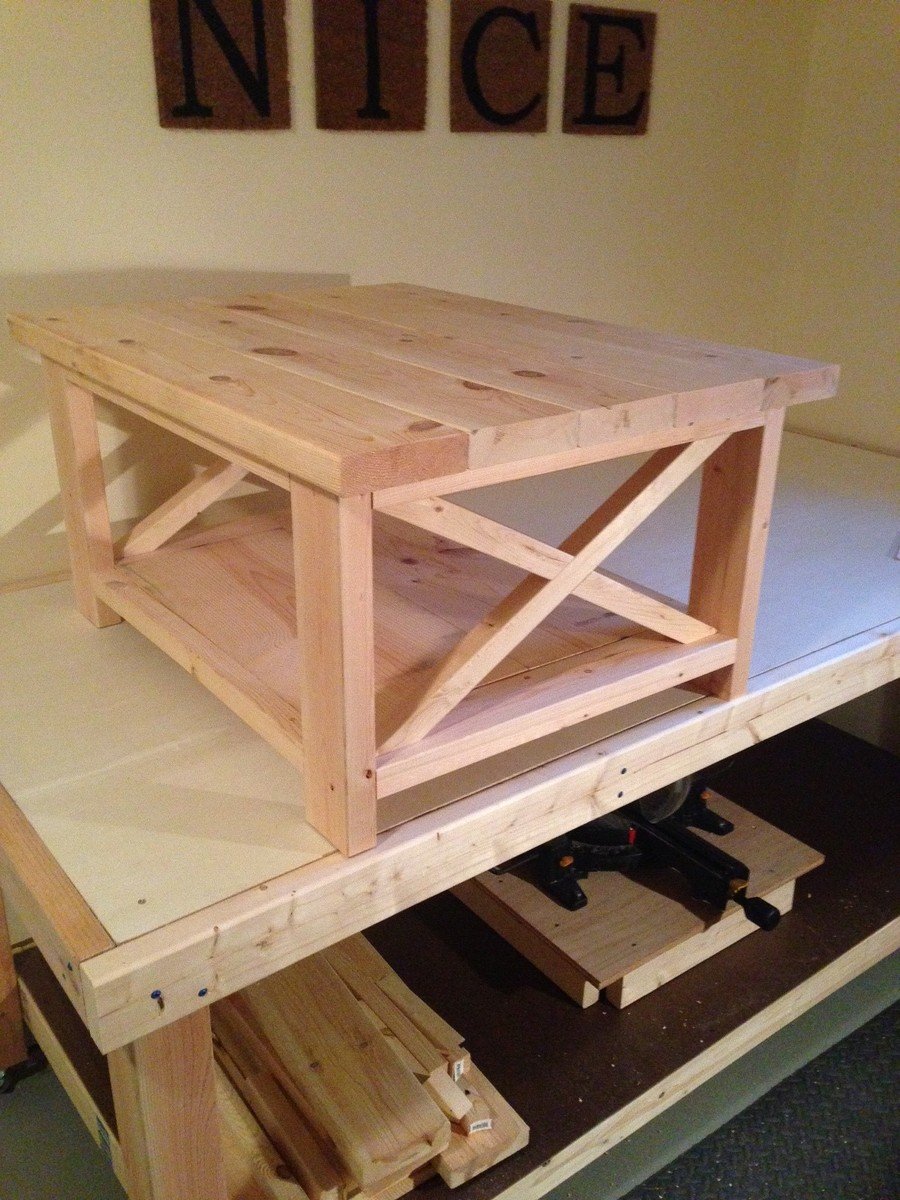
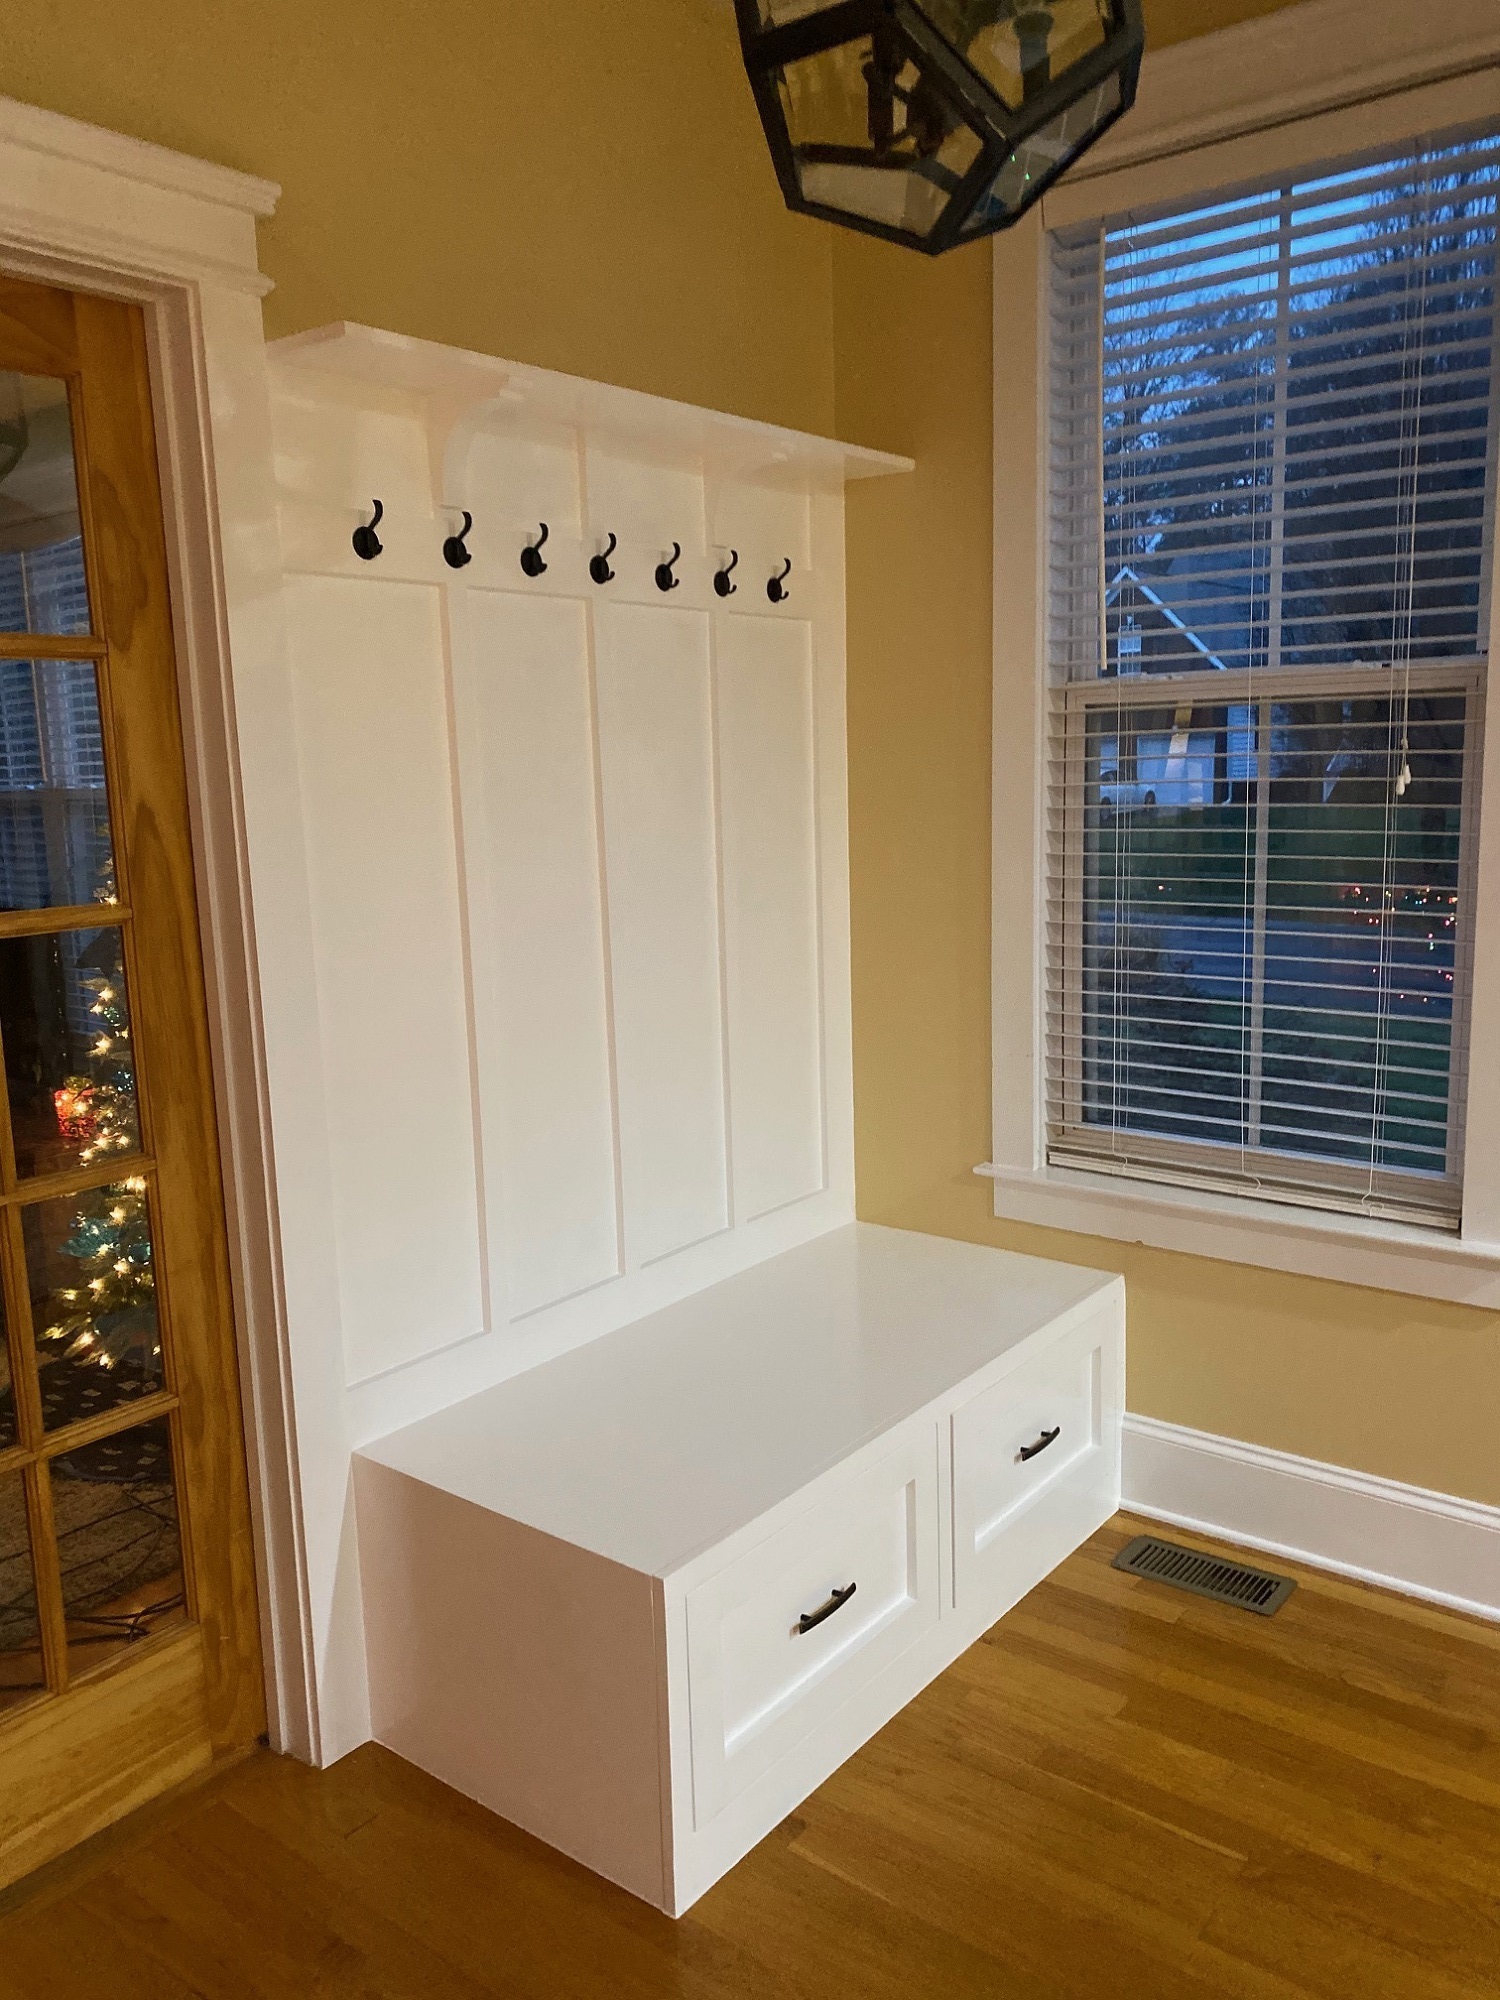
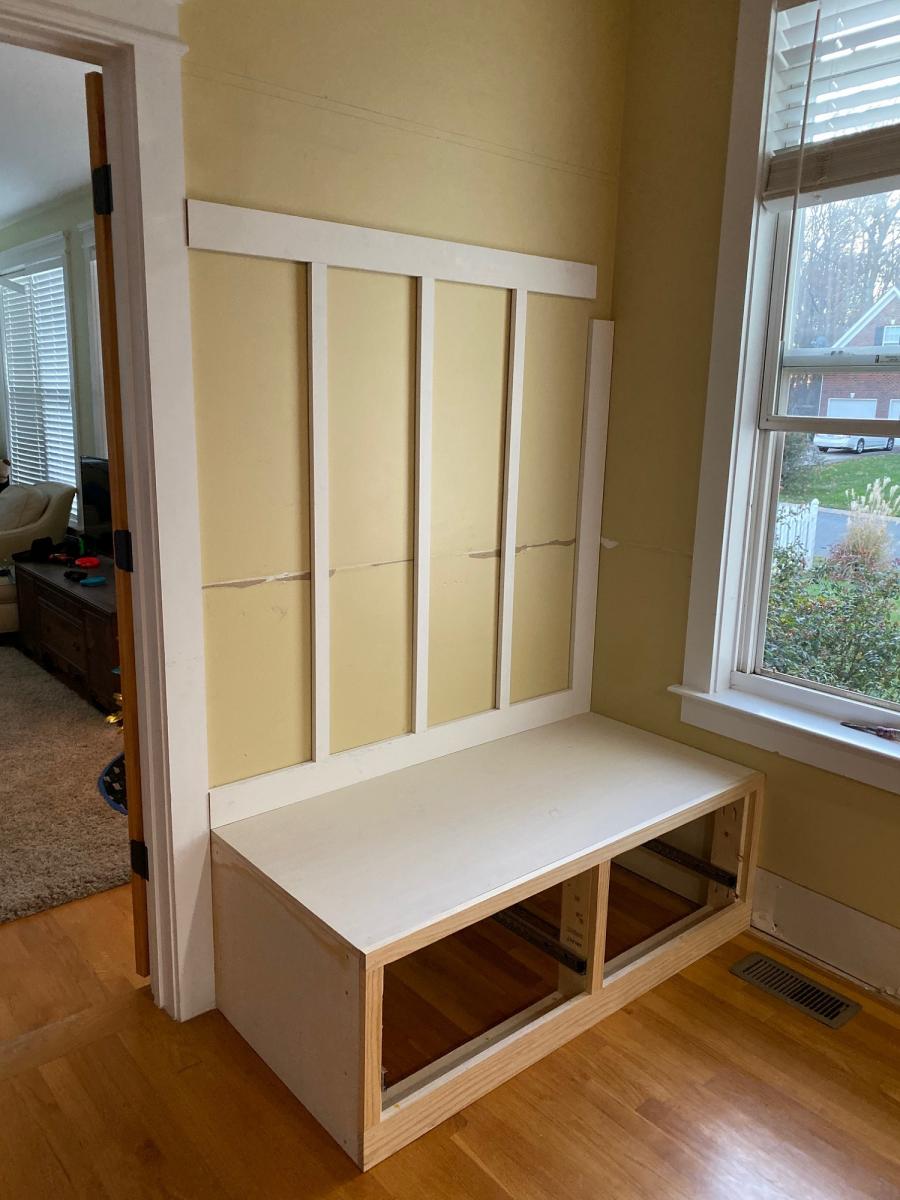
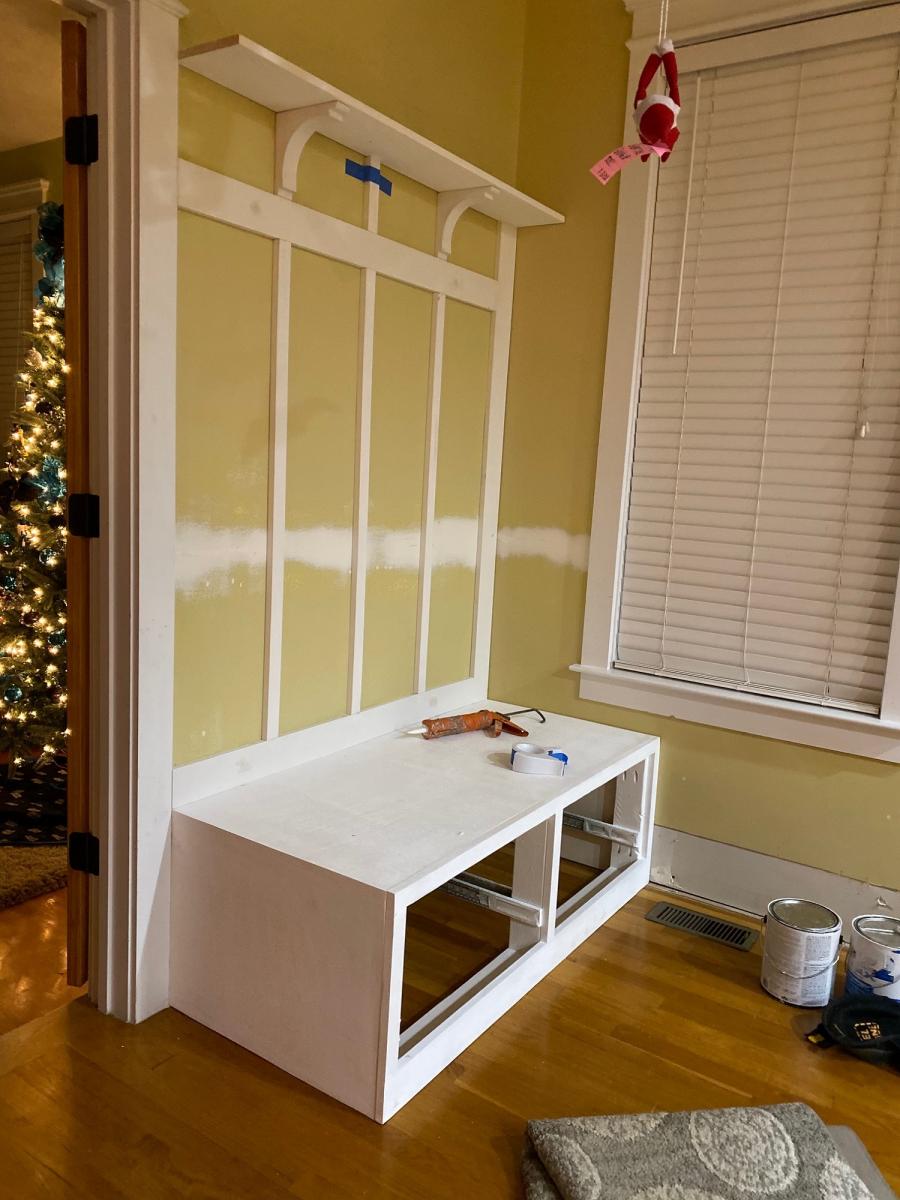
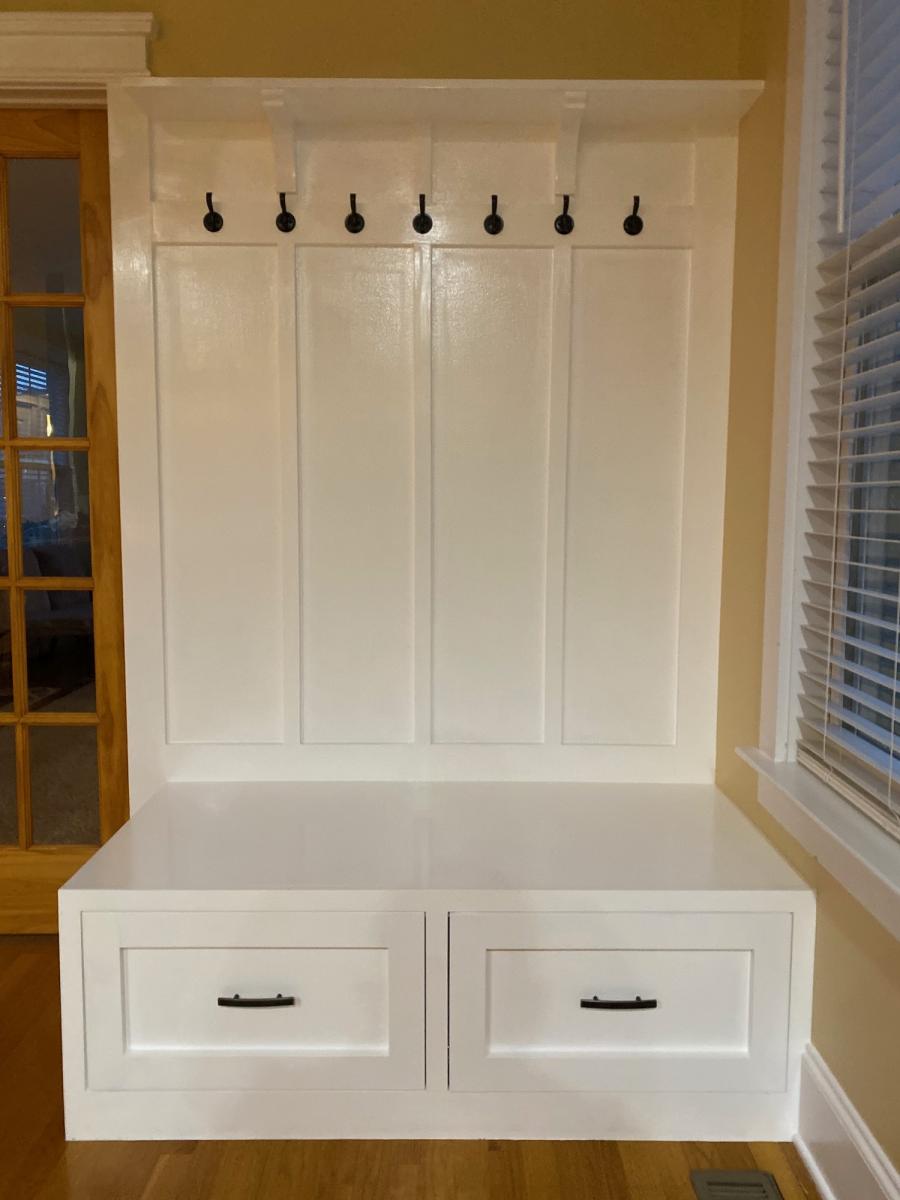
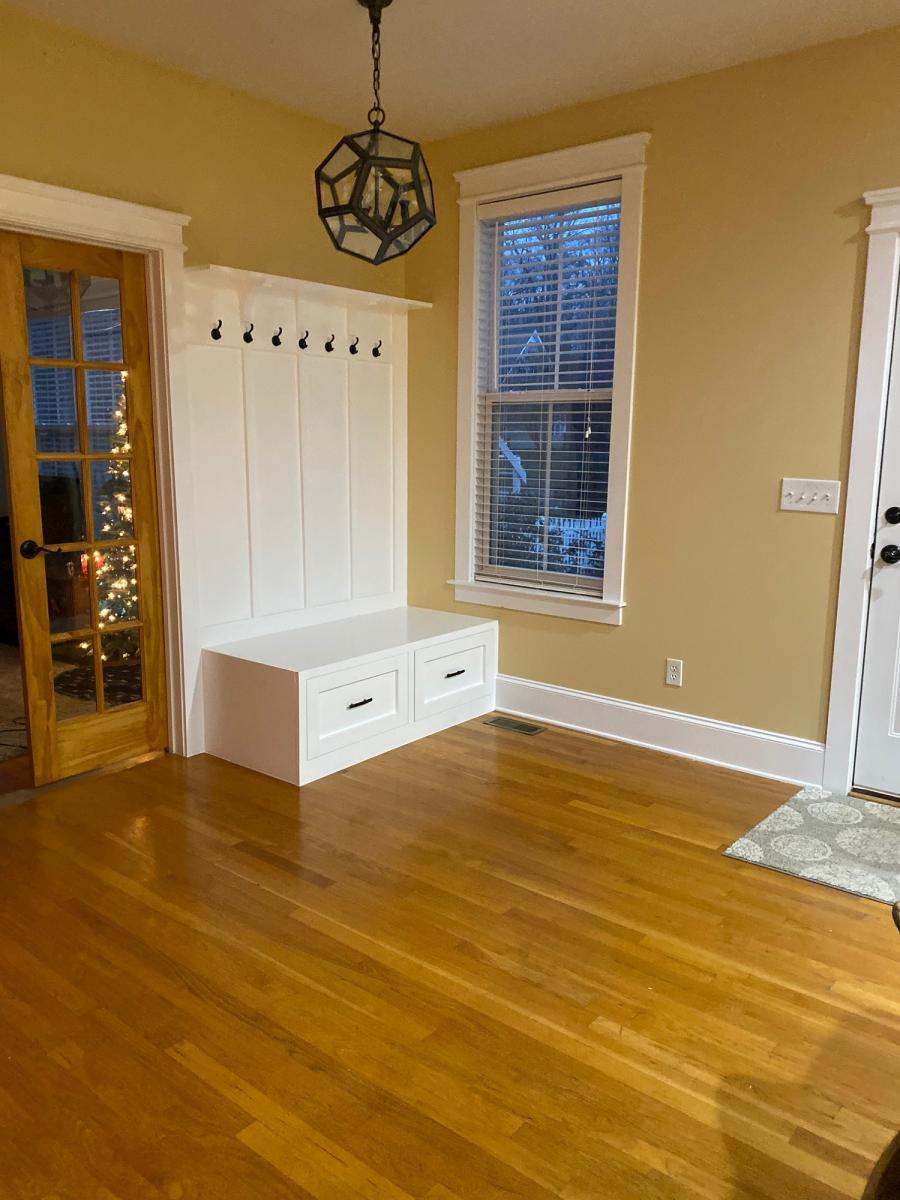
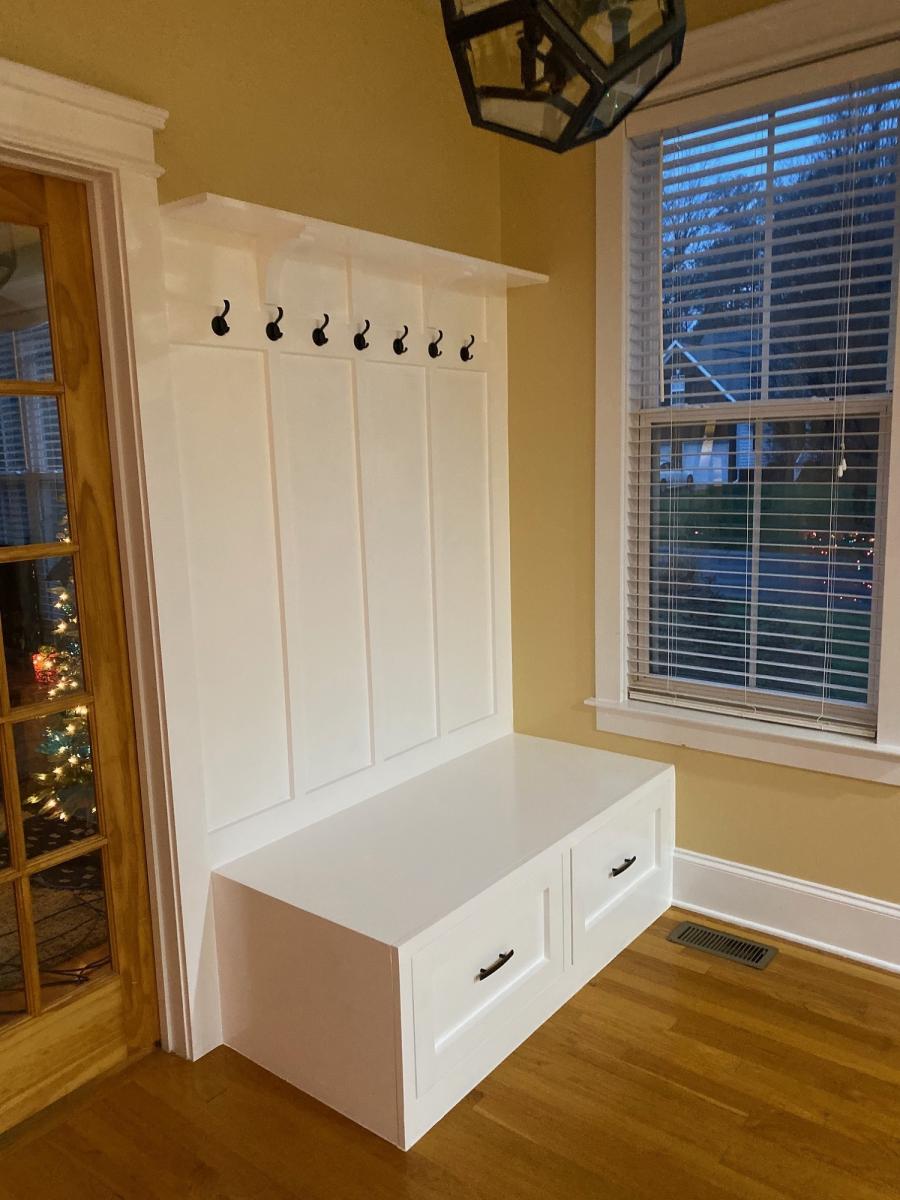
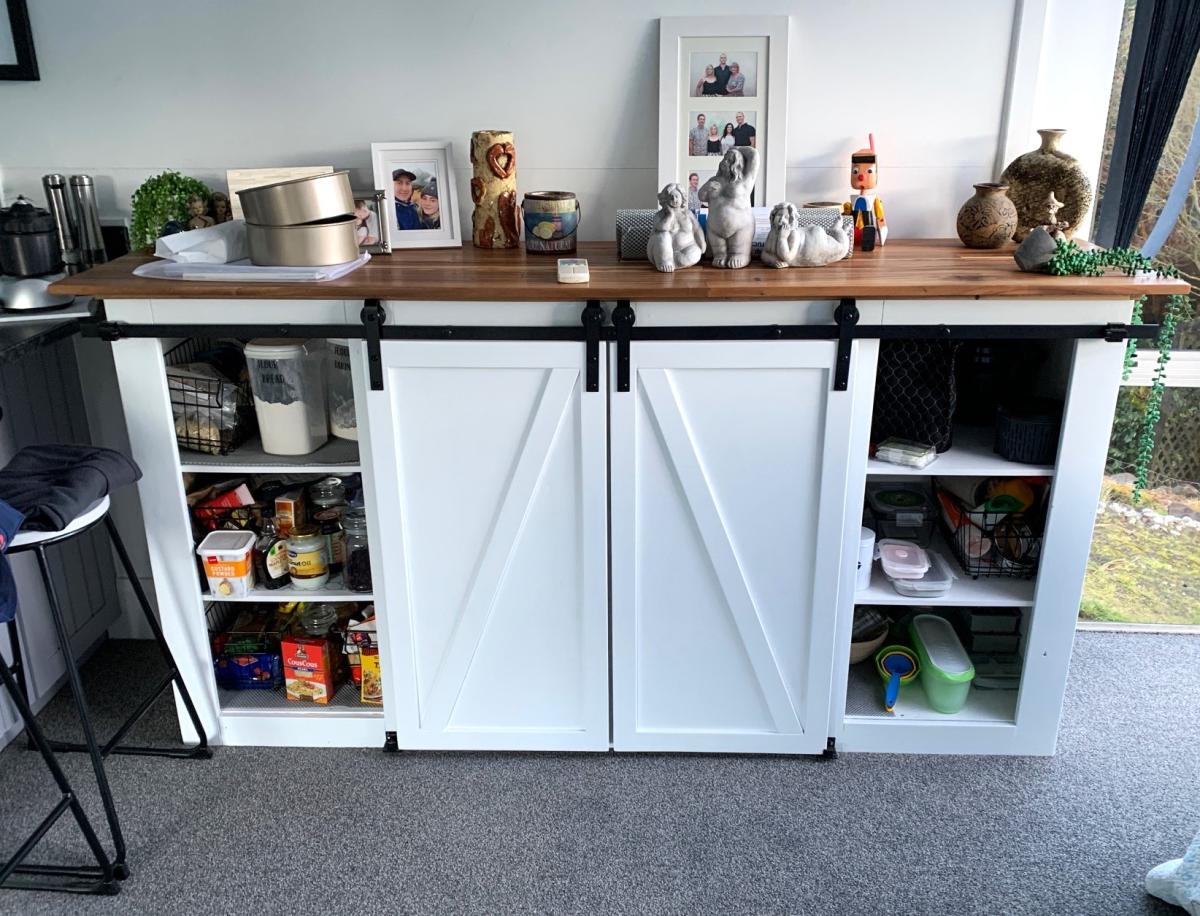
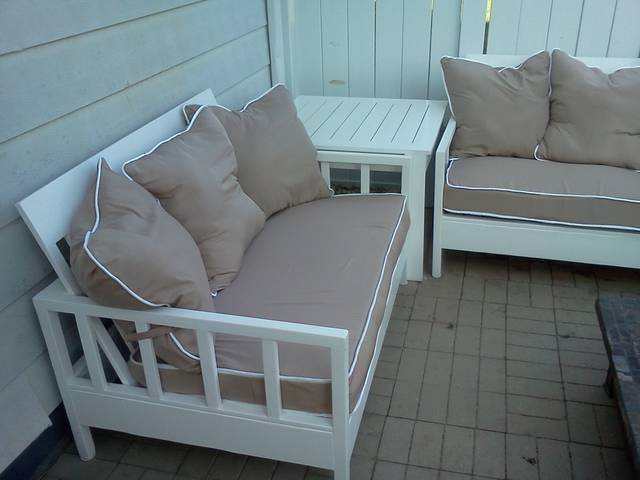
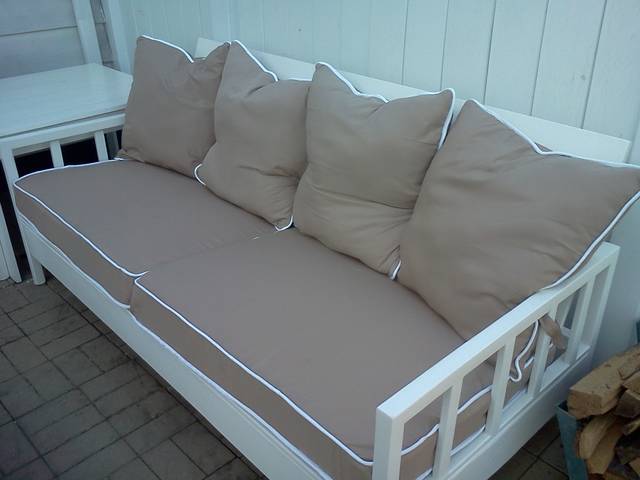
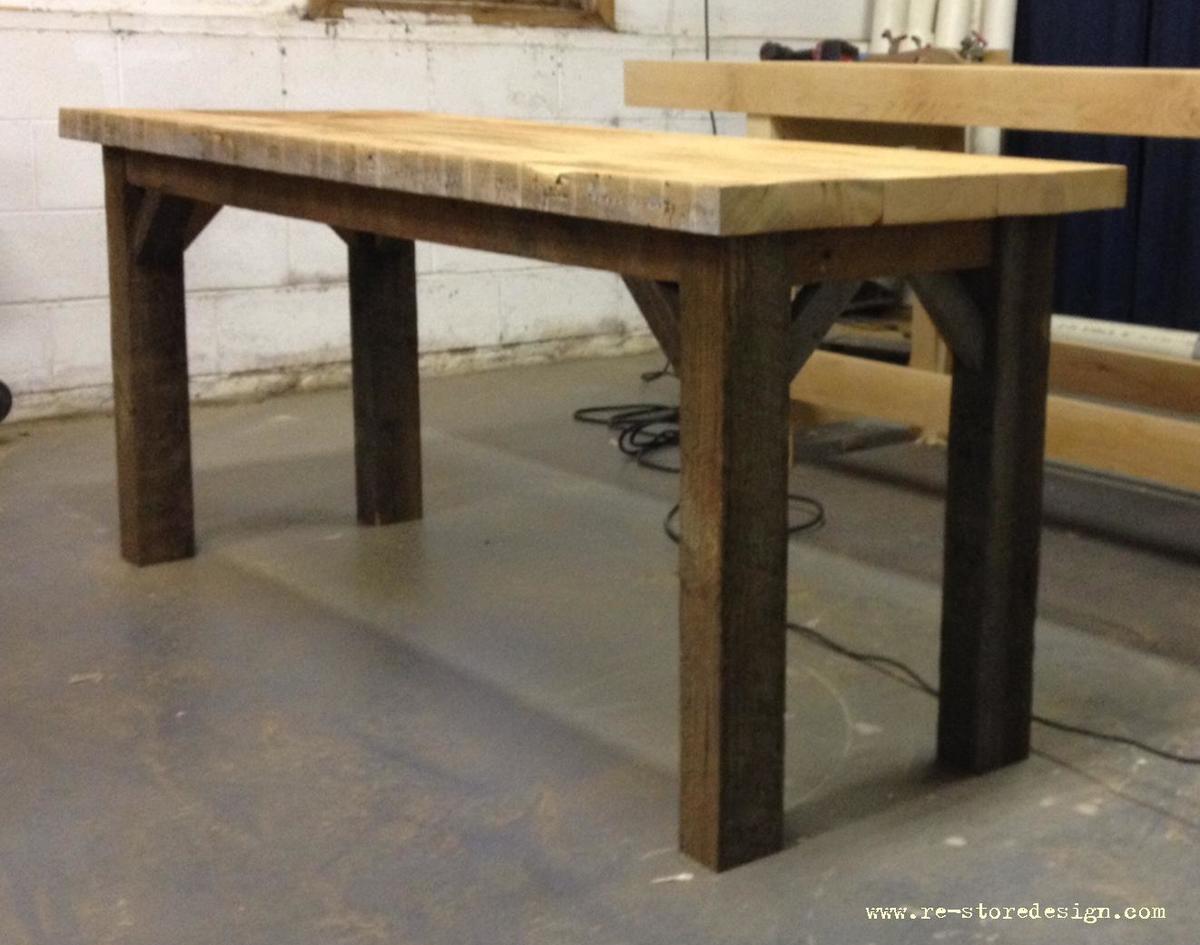
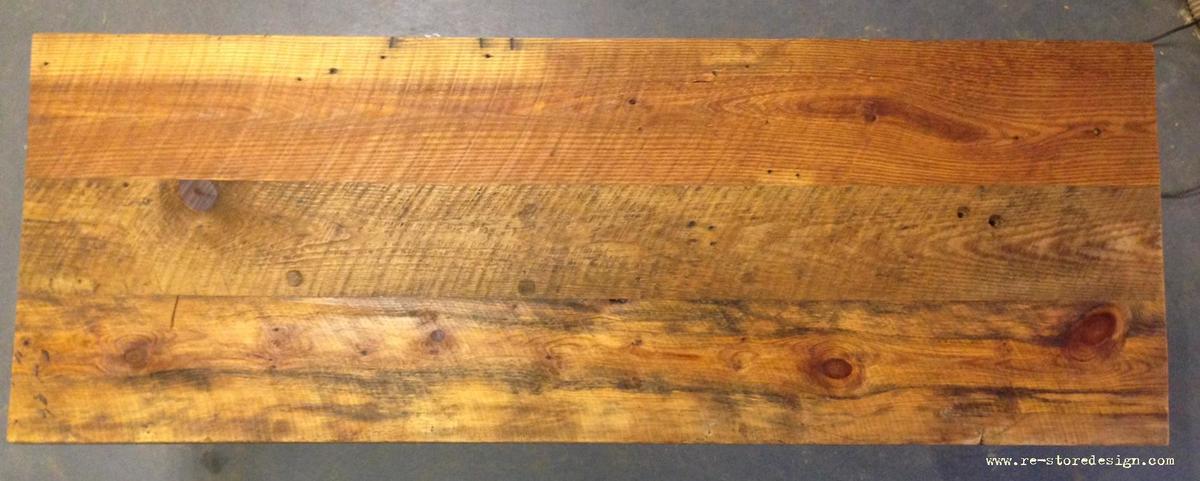
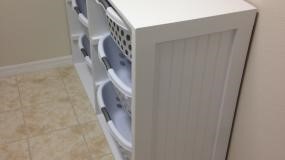
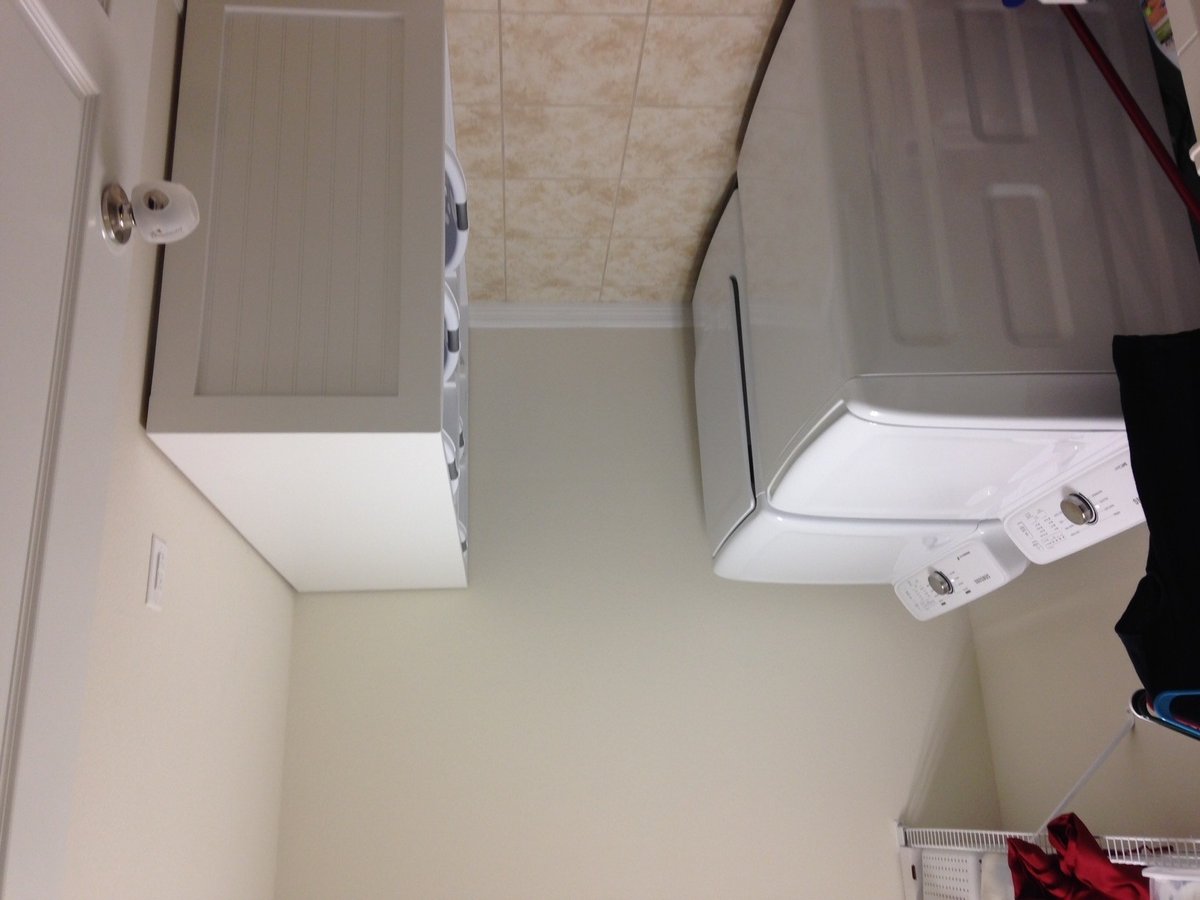
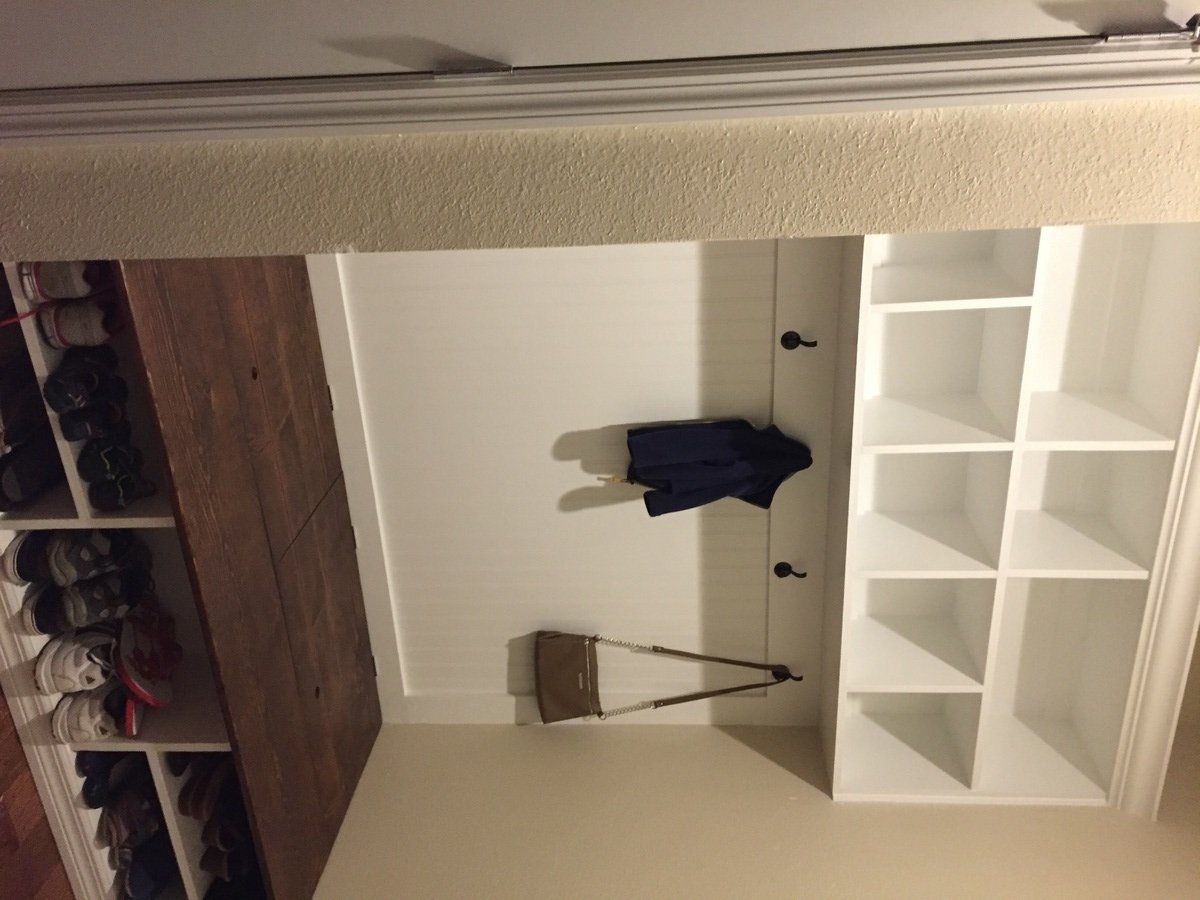
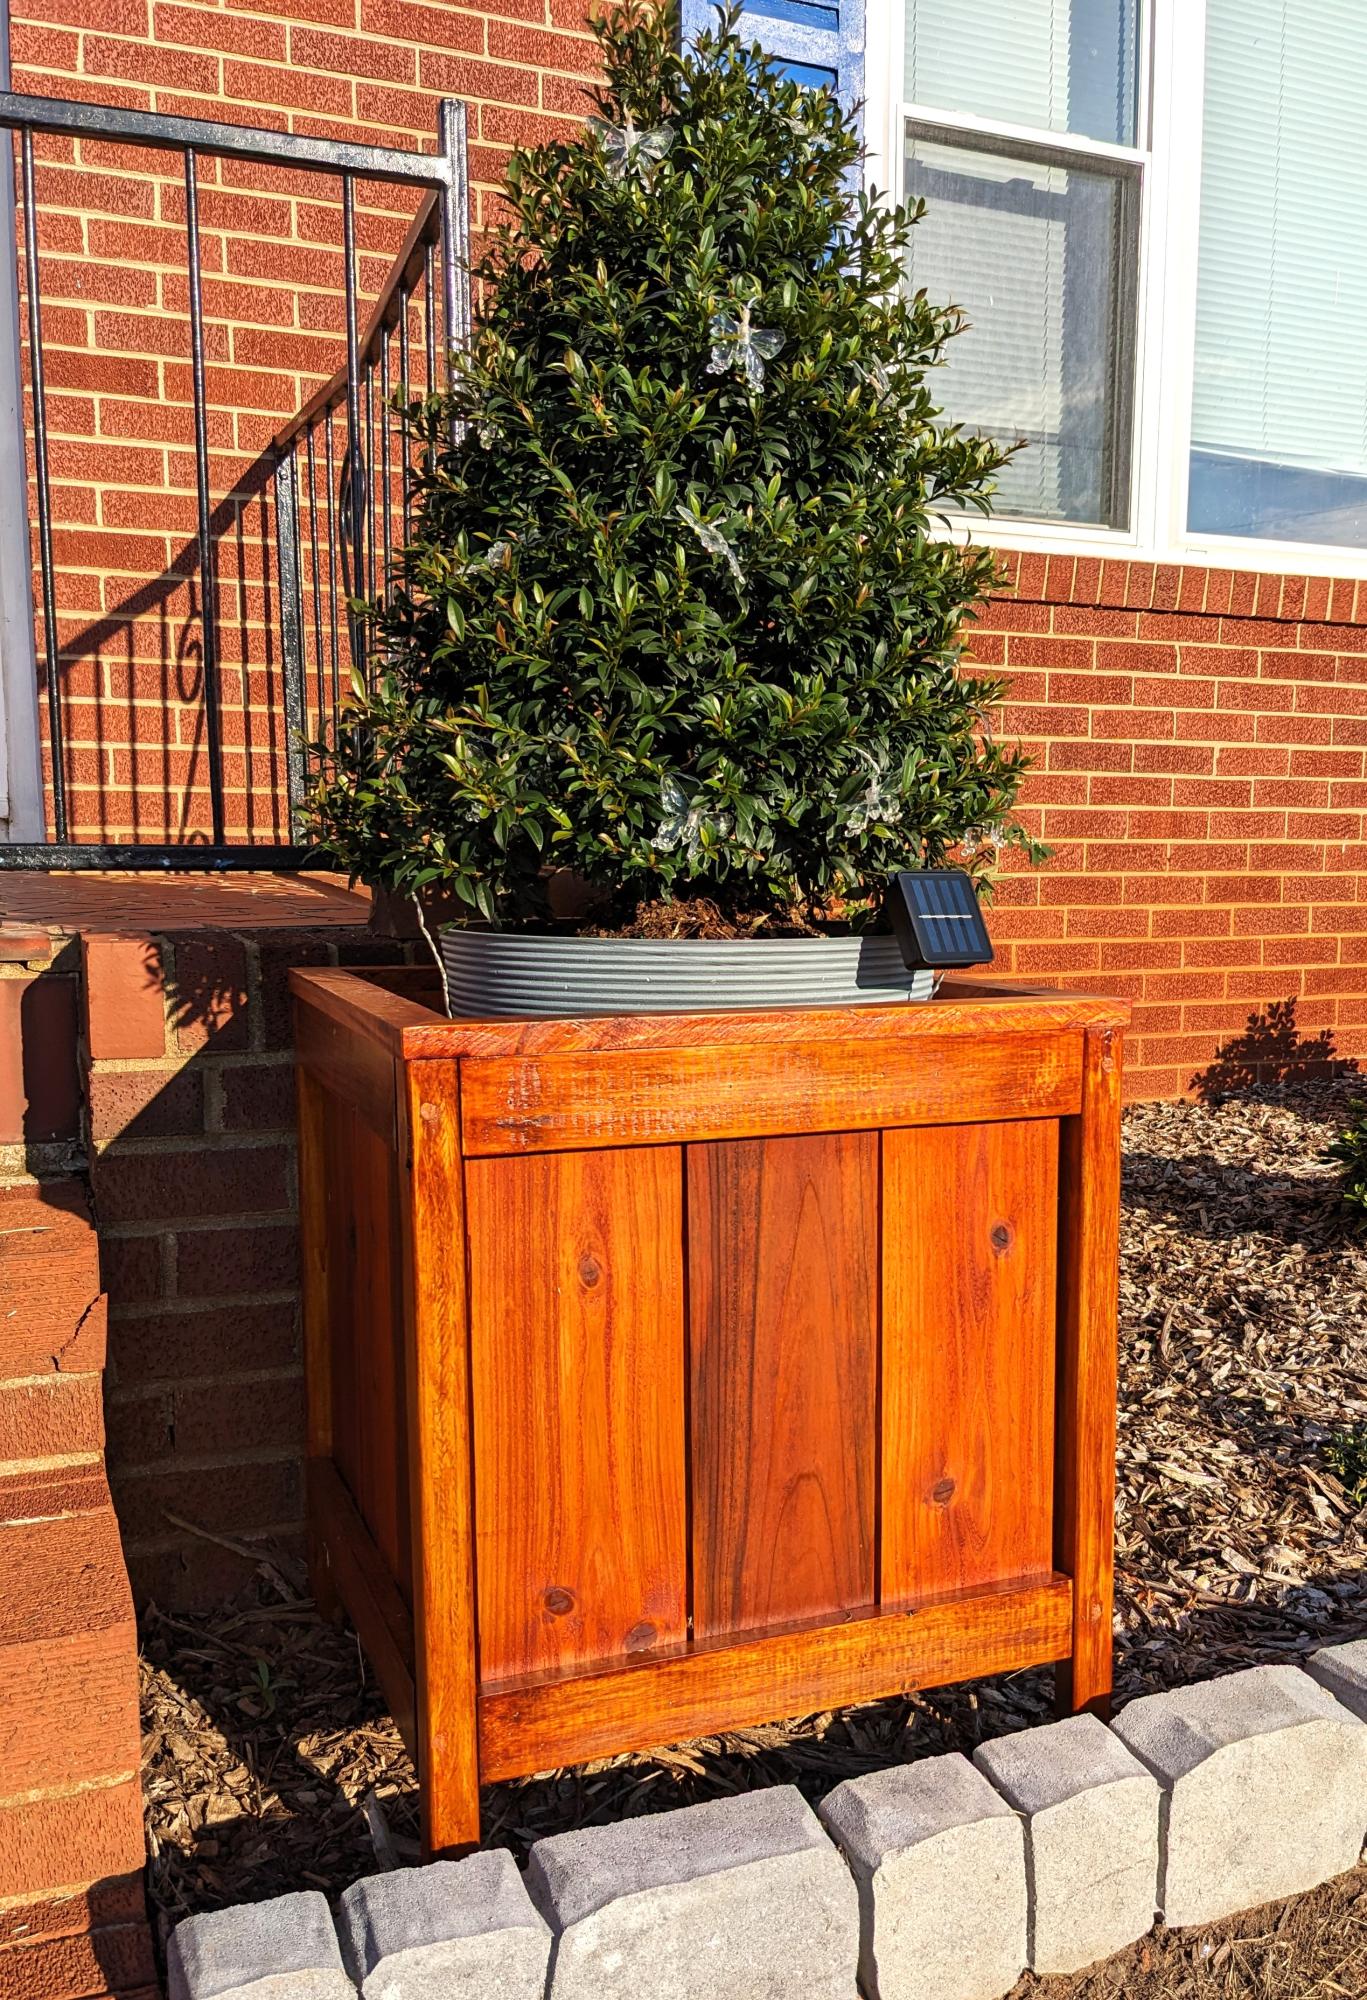
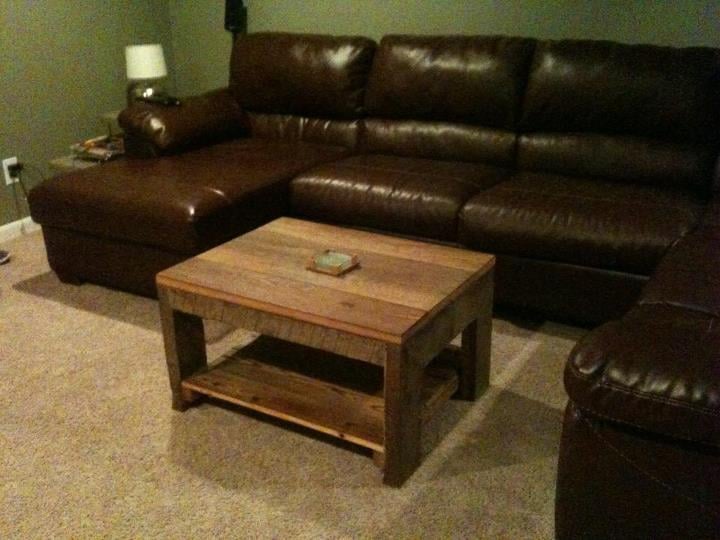
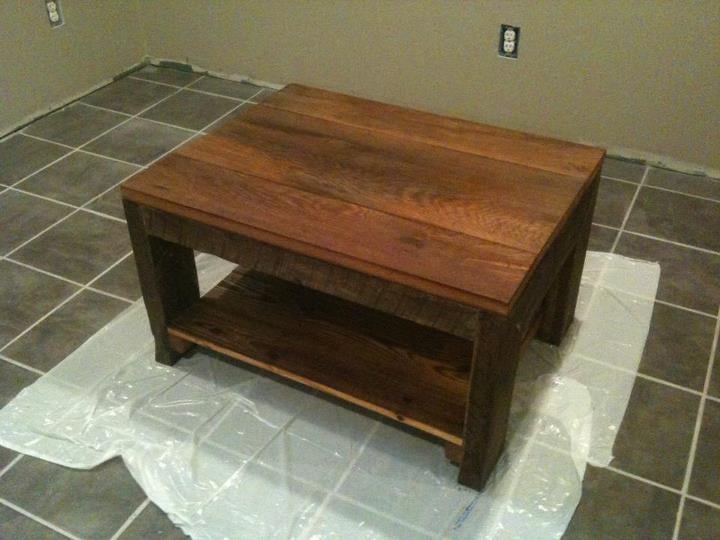
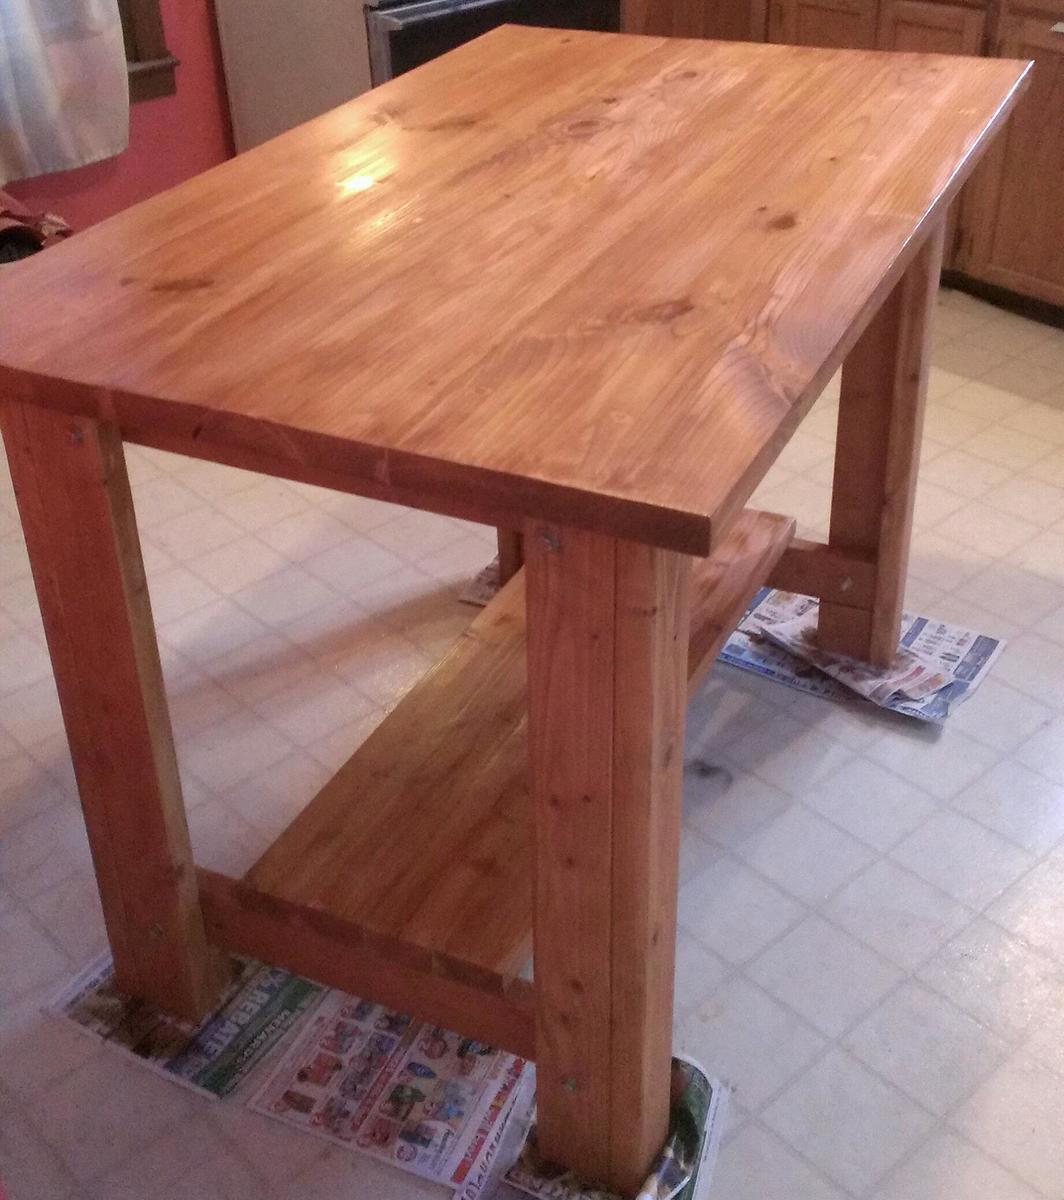
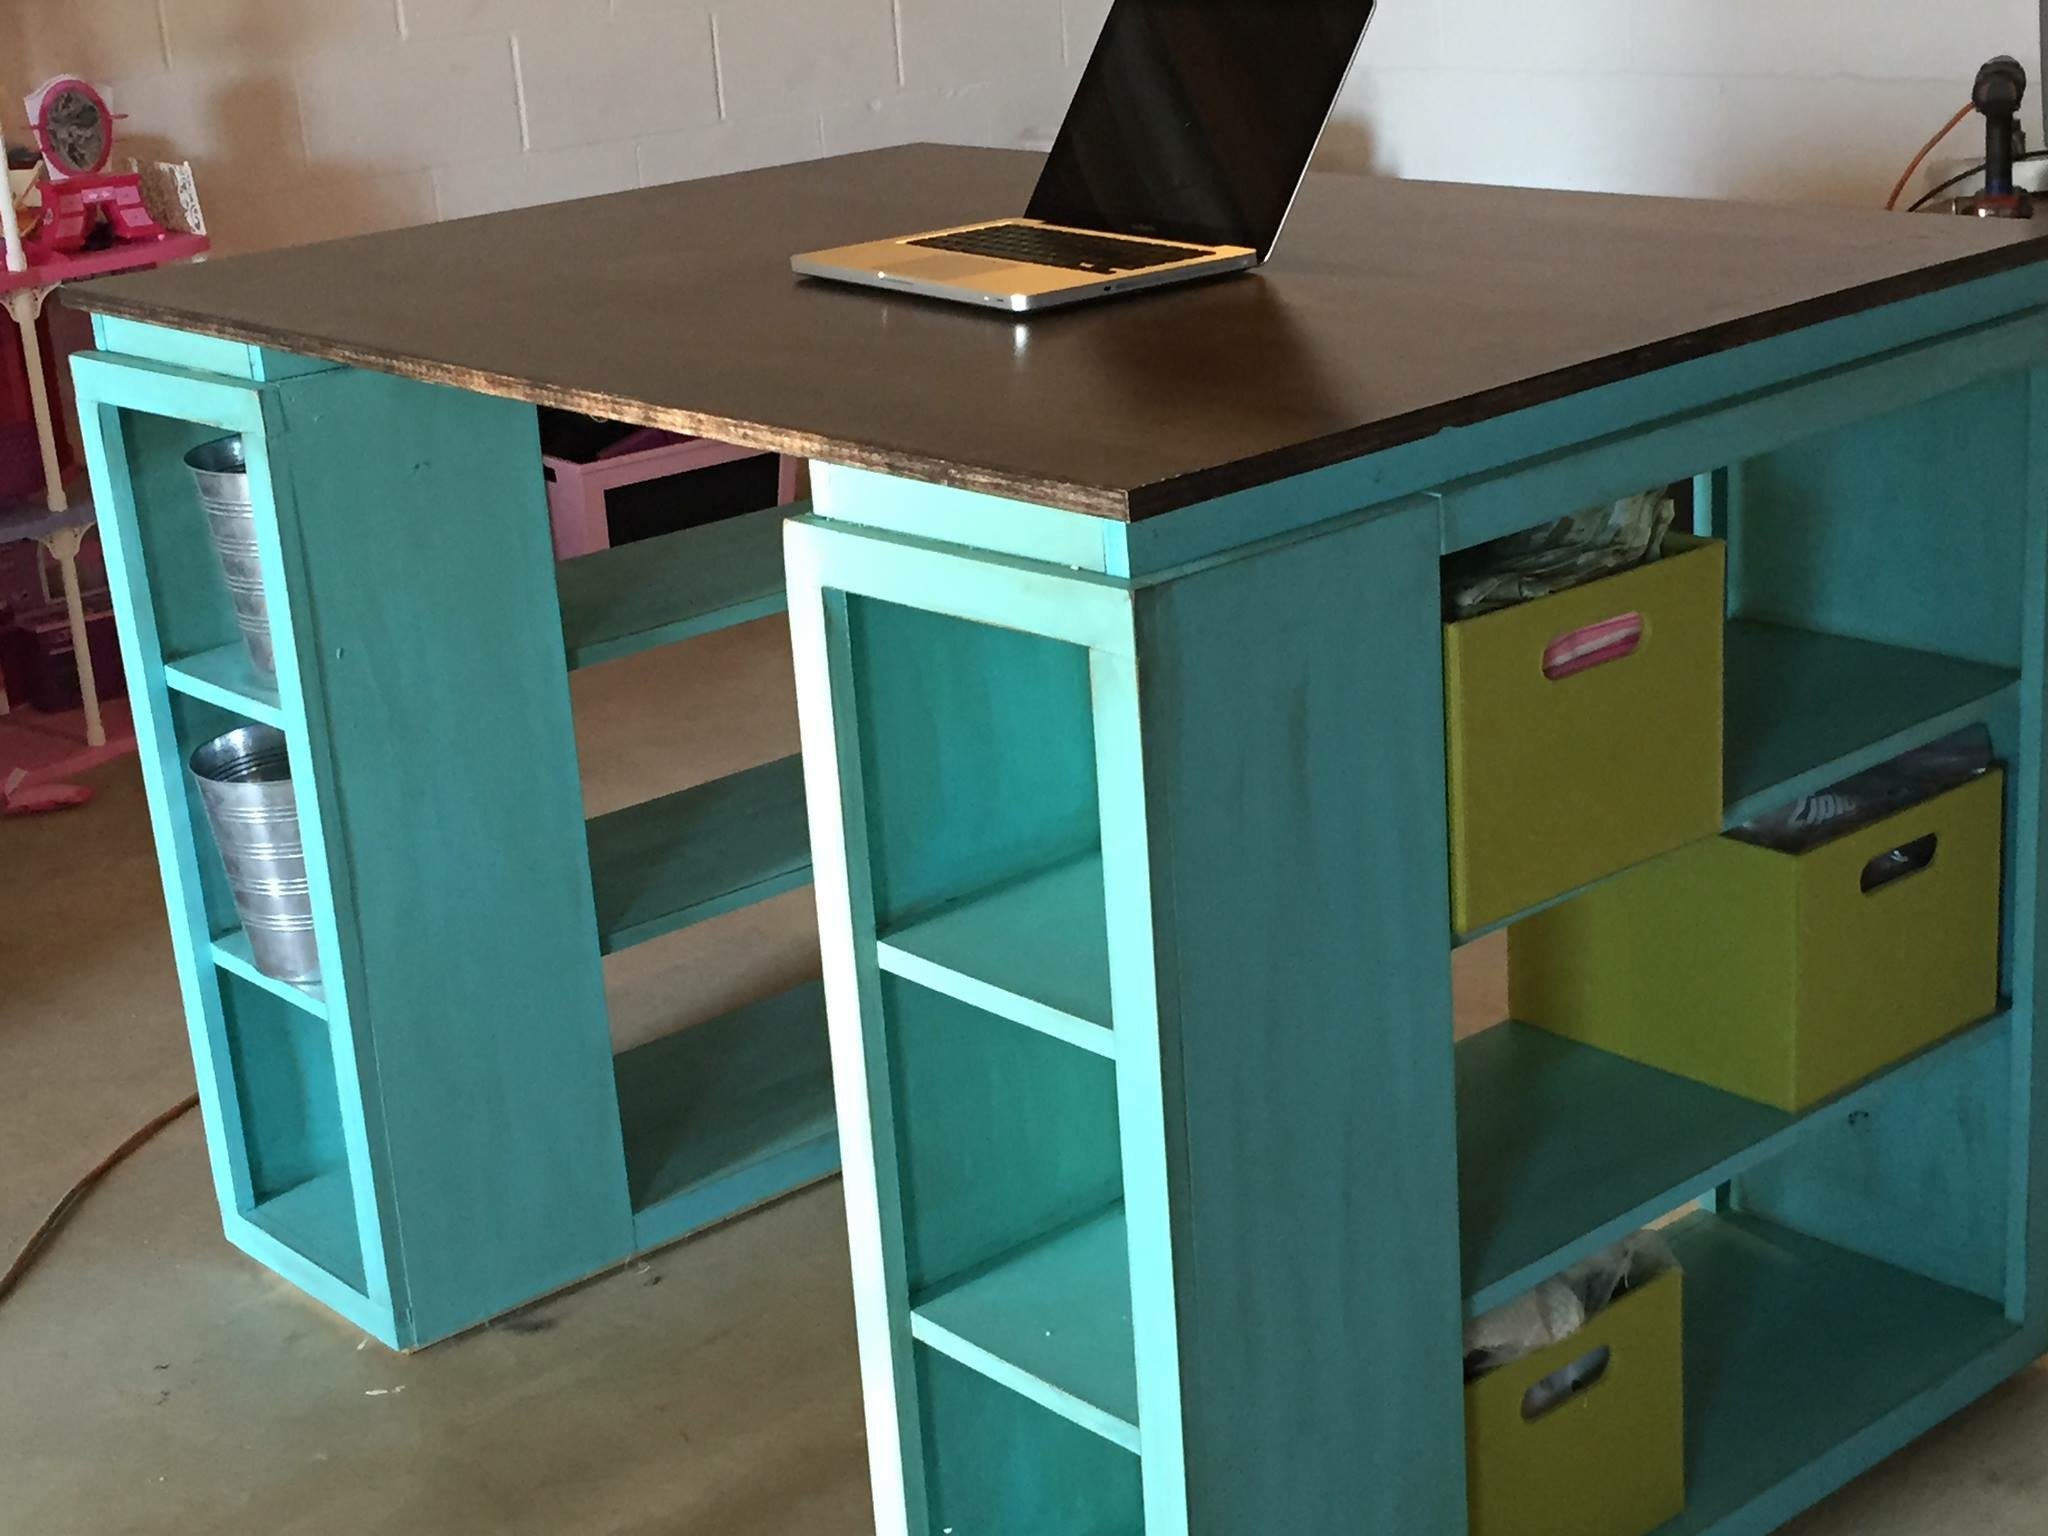
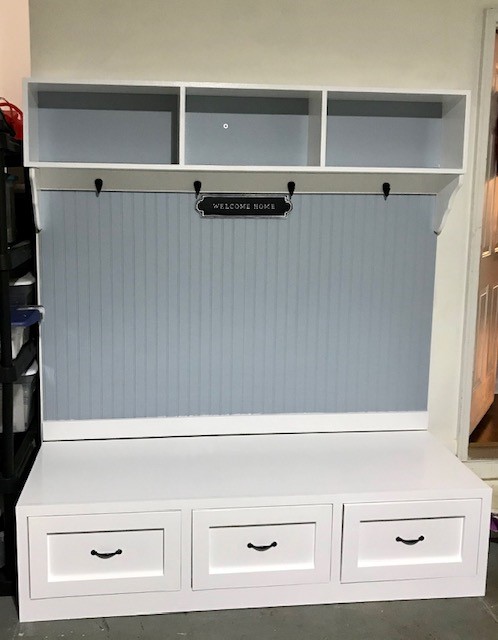
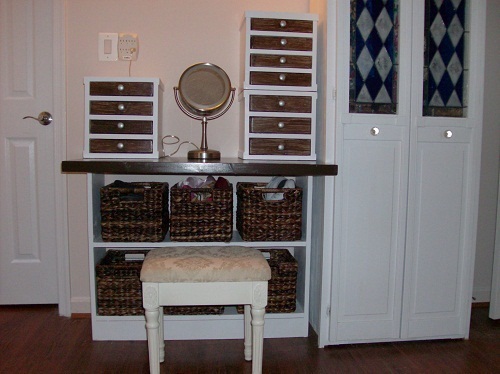
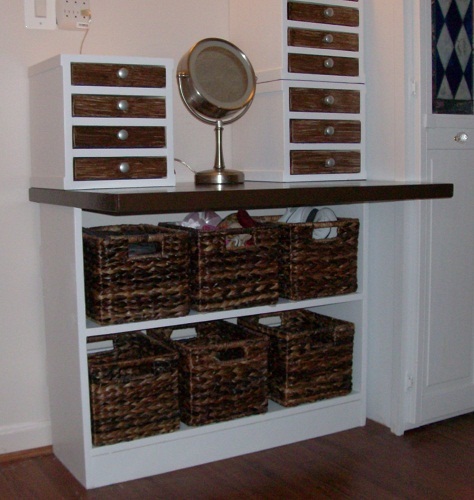
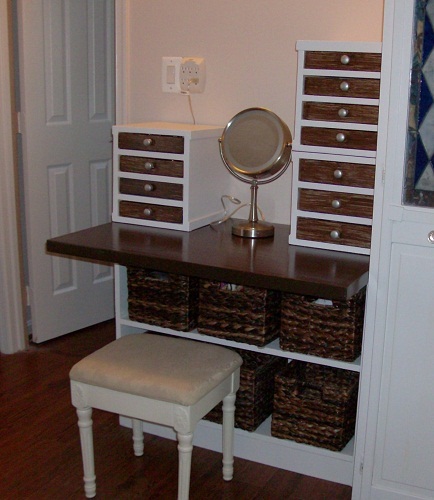
Modern Farmhouse Side Table
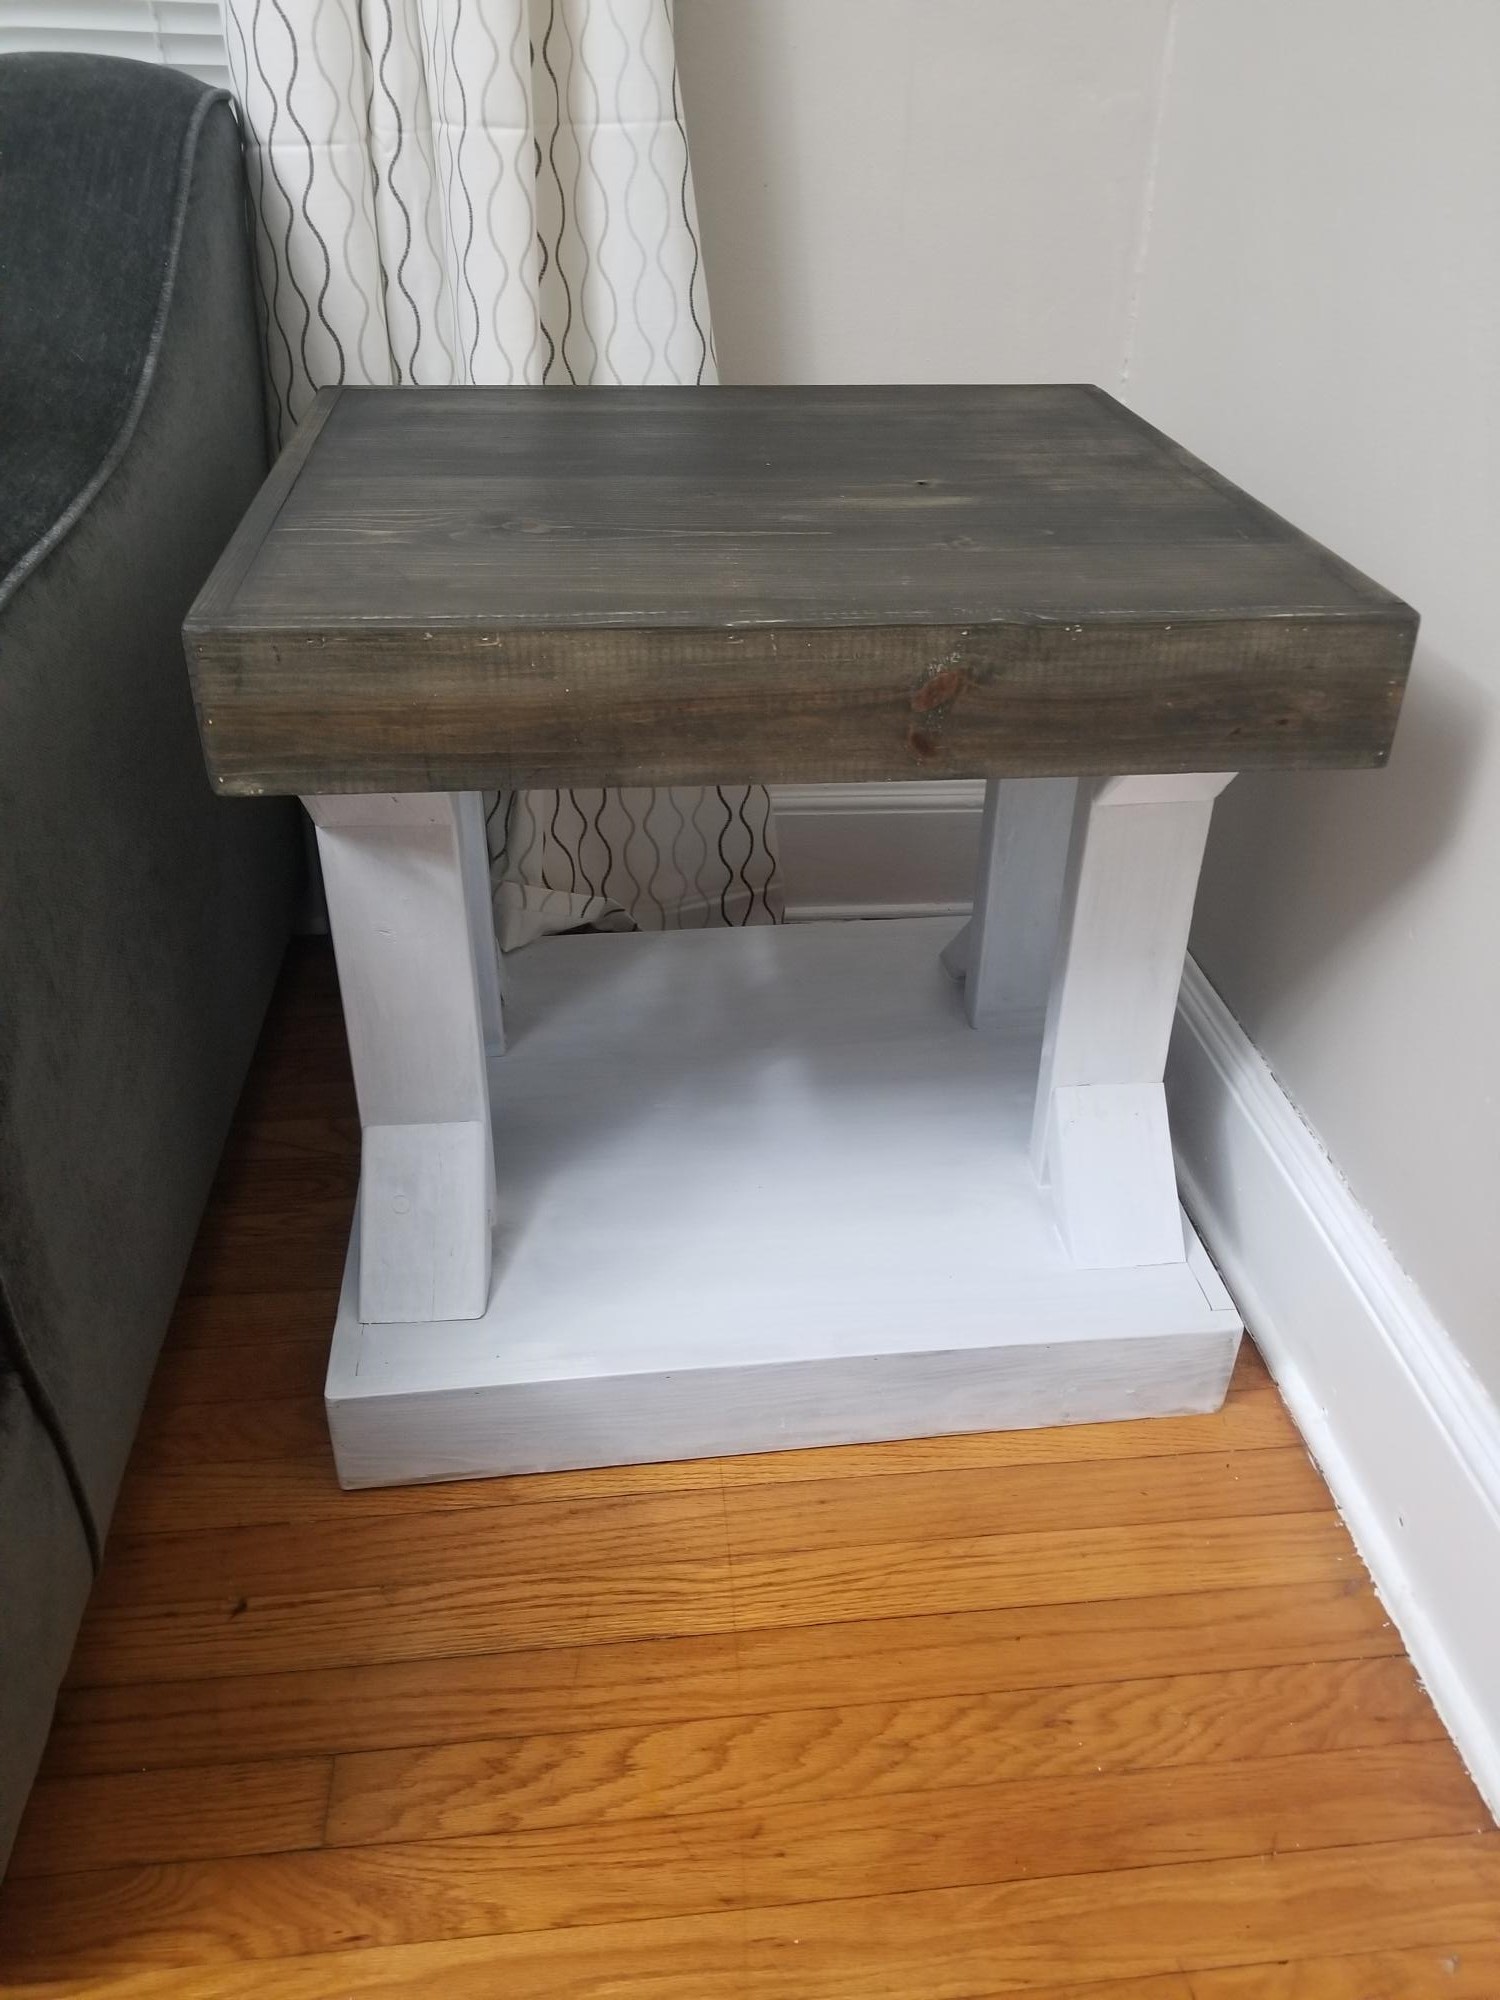
I always love warching woodworking but felt so inspired to do it myself when i watched your videos. I decided to make the modern farmhouse table but using stain and paint I already had. While I followed all the instructions, my 1×10 ended up being a 1x12 (incorrectly labeled) and threw the design off a little bit. I had to modify the plan to accommodate the larger size but I love the end result just as much! Thank you so much for sharing your videos and plans.
Built from Plan(s)
Estimated Cost
$40
Estimated Time Investment
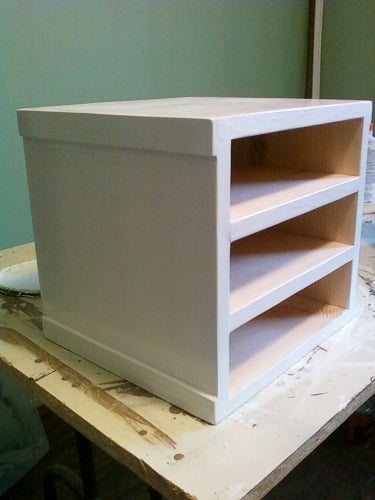
Day Project (6-9 Hours)
Finish Used
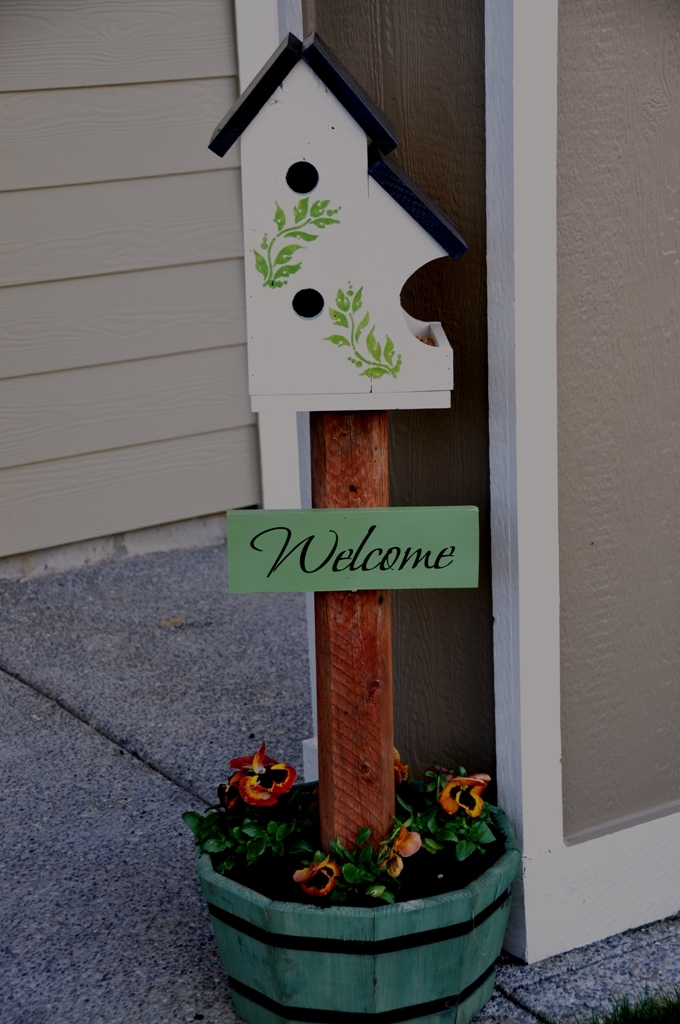
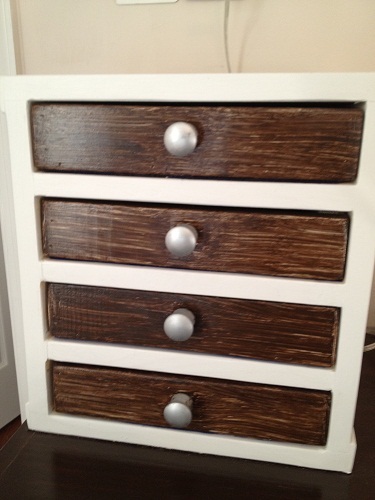
Varathane stain in ebony and diluted white Behr paint
Recommended Skill Level
Beginner