Community Brag Posts

Sideboard & Hutch

My wife loved the sideboard, only did not like the drawers. I just changed the dimensions to accommodate without them. A couple of weeks later she decided she wanted a hutch for the top with glass doors so the items in the center could be visible. This is what I came up with. She stained with Espresso stain and Basil milk paint. Thanks Ana & Hillary for great ideas.


Built from Plan(s)
Estimated Time Investment
Week Long Project (20 Hours or More)
Finish Used
General Finishes Espresso stain and finished with General Finishes Basil milk paint.
Recommended Skill Level
Beginner
Comments
Wed, 07/16/2014 - 02:50
Beautiful!
What were the dimensions that you used to replace the drawers? I prefer it this way. You did a remarkable job. I love the finish, rustic and modern at the same time!!

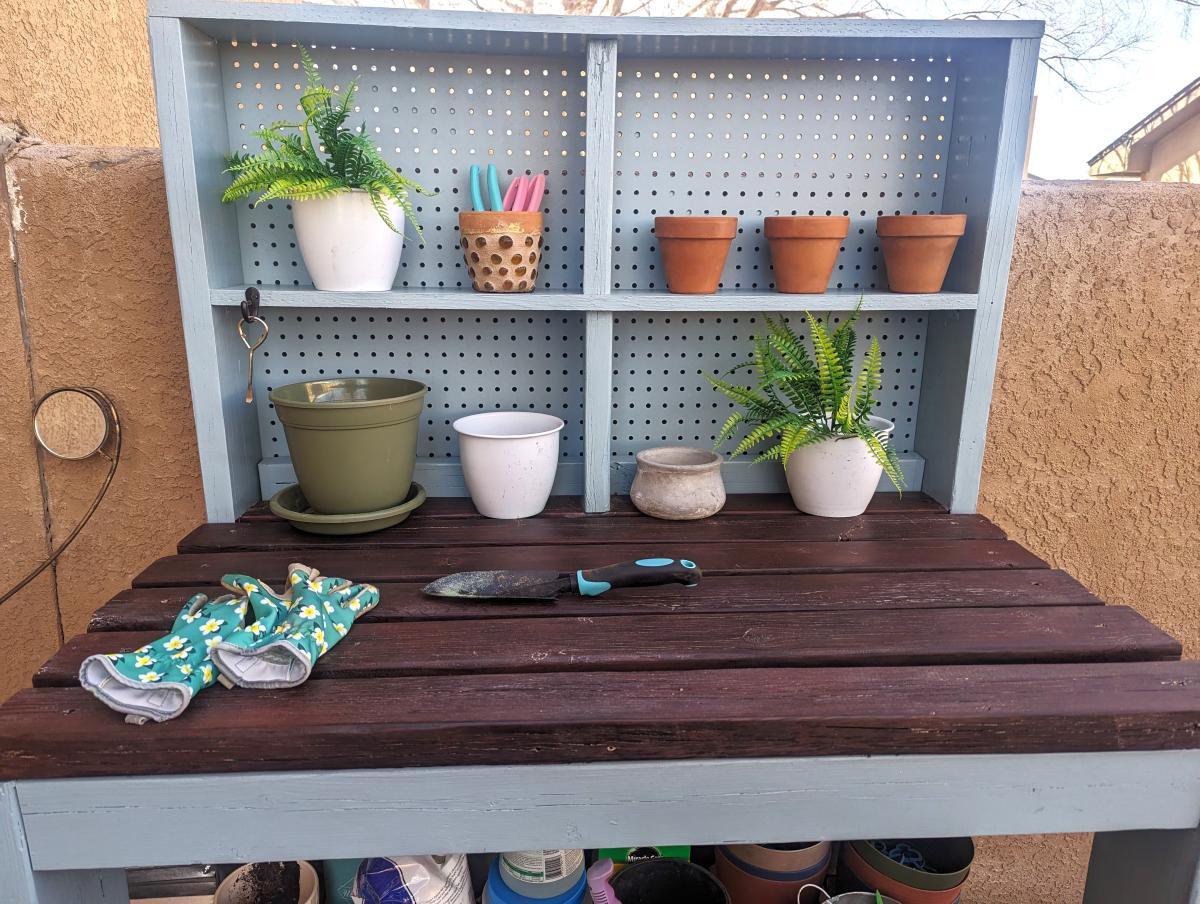
Potting Bench - First Woodworking Project!
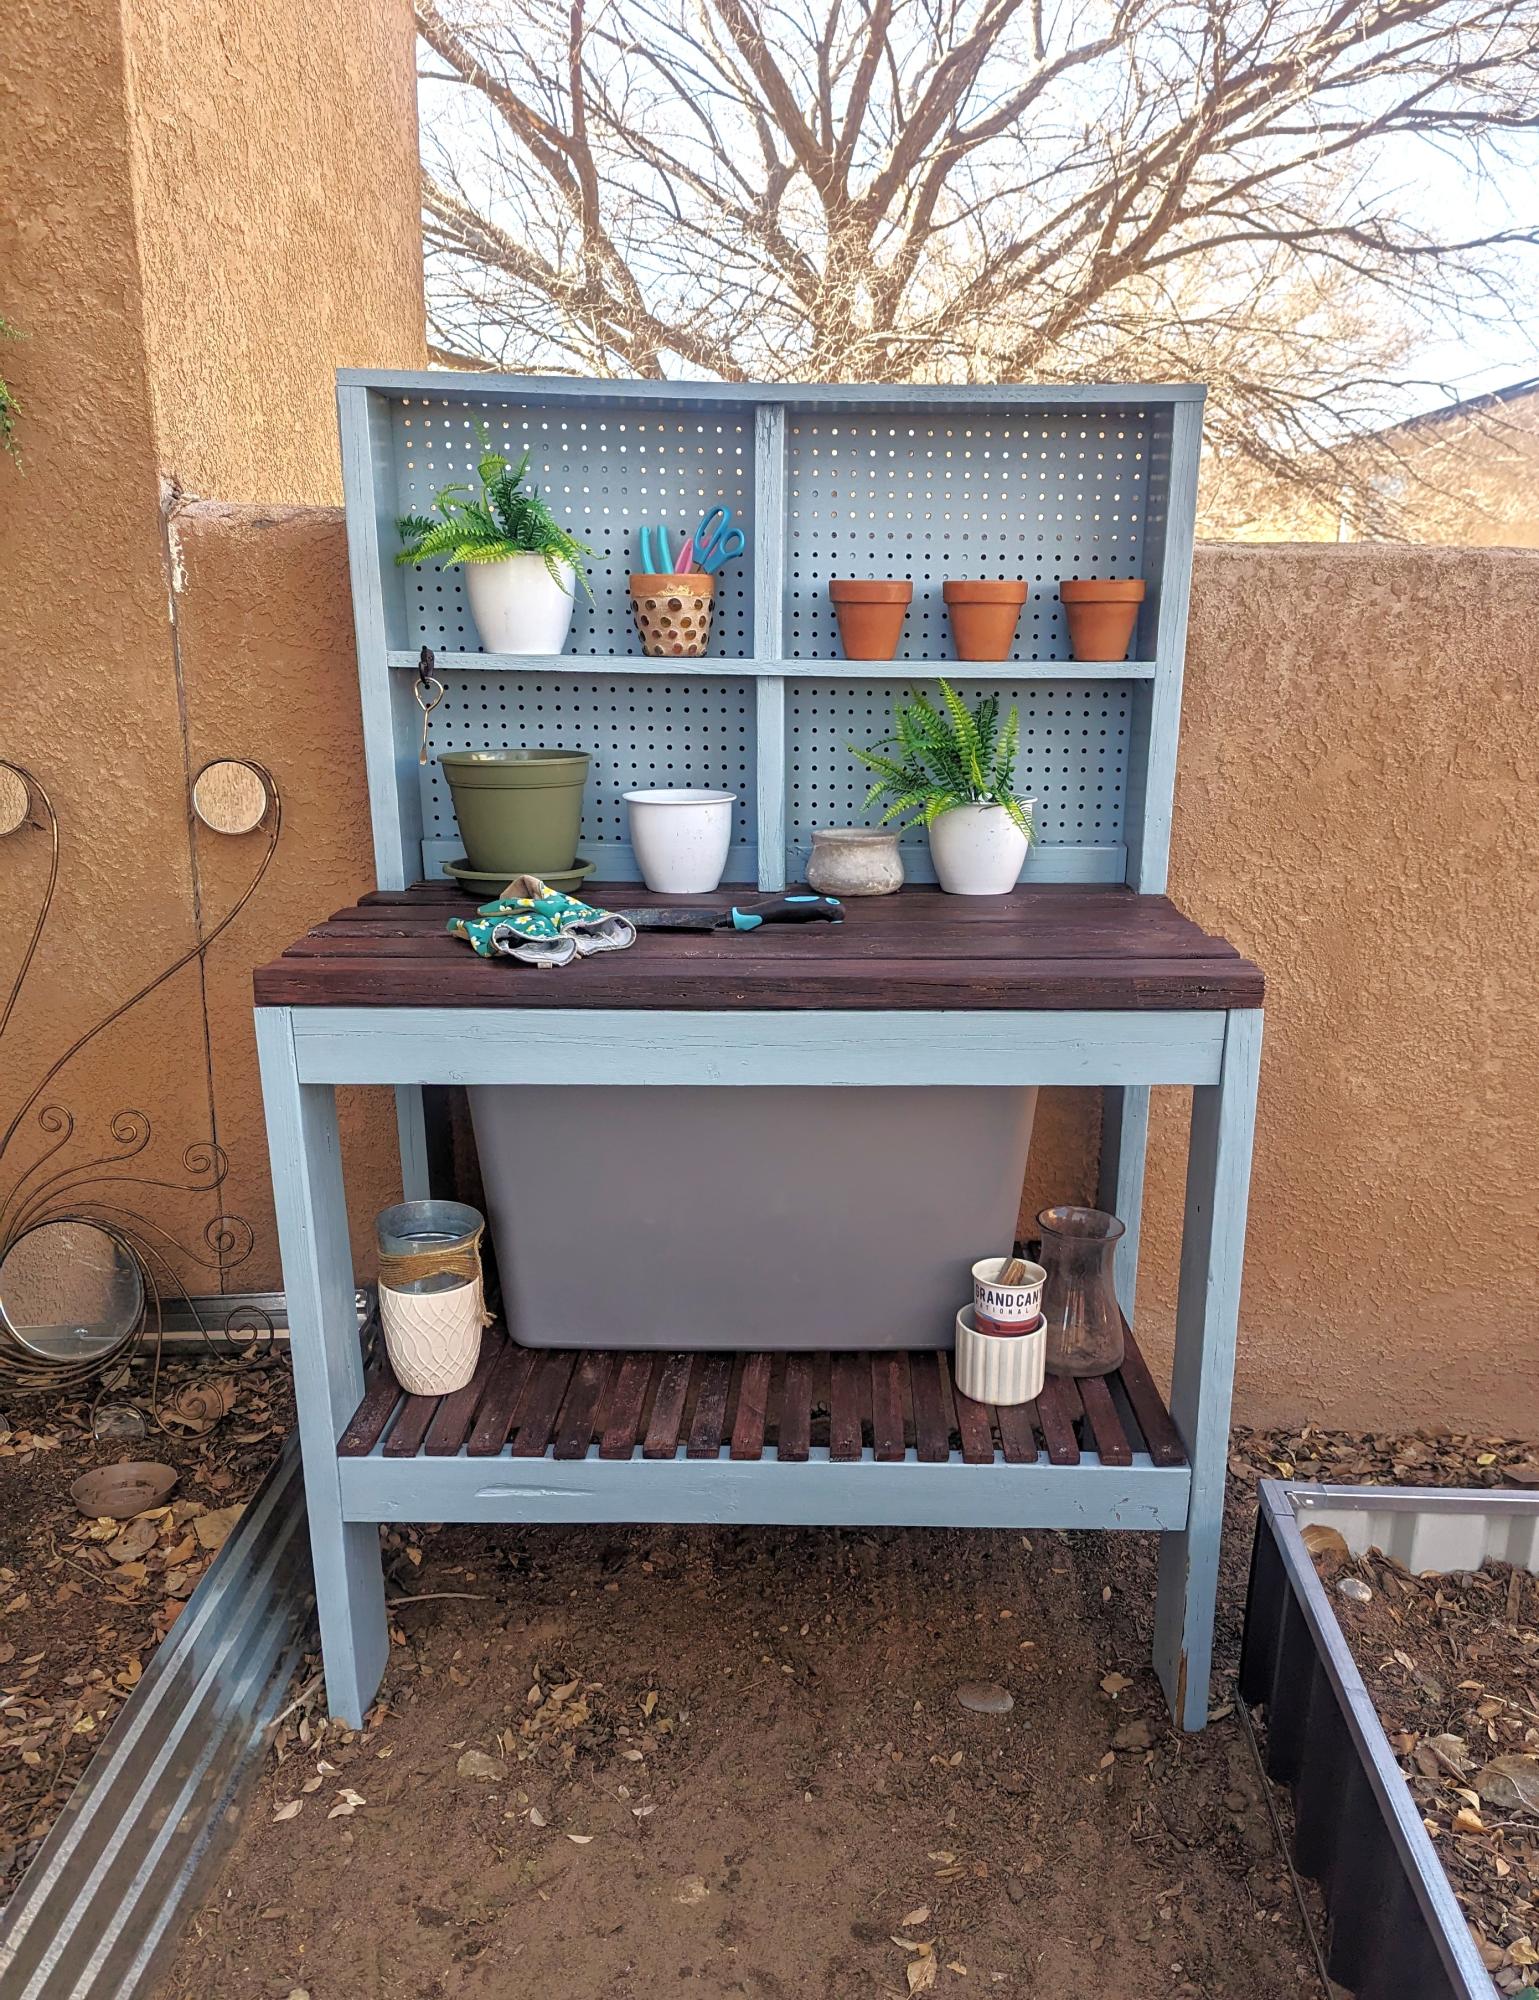
This is the first thing I have ever built and I love it!
Built from Plan(s)
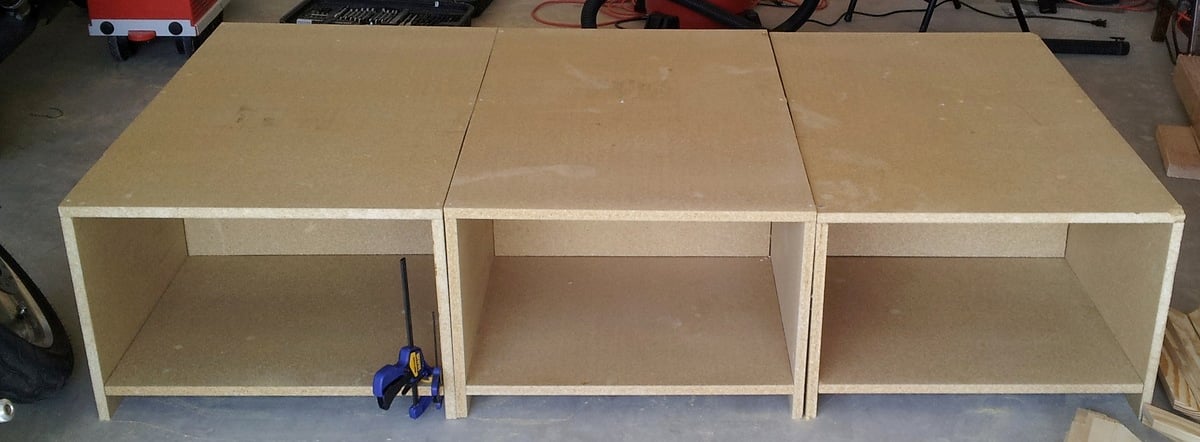
Storage Bed/Bench
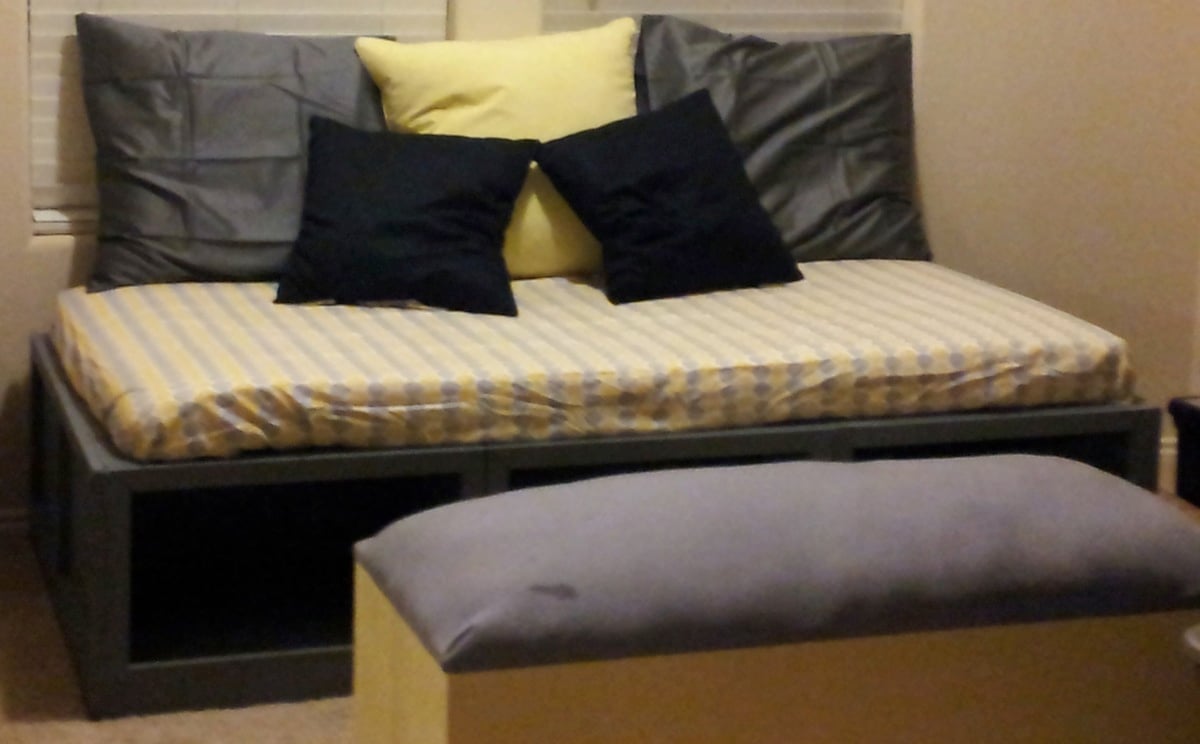
I made this for the sitting area in our master bedroom. I liked it because my wife and I can use it as a bench to sit and read on and also as a bed if we have the whole family over for the holidays and my guest bed and the kids' beds are taken. Overall this was around $100 and it took me two whole days to finish. I worked pretty much all day both days. I would say in total about 16 hours. Measuring and cutting was the largest part of the time. I made the mistake of cutting the trim before I made the boxes and was left with about an extra quarter inch in between most of the trim pieces. I filled this in with sandable paintable caulk and it did the trick. If you have any other questions please let me know. Thanks!

Built from Plan(s)
Estimated Cost
~$100
Estimated Time Investment
Weekend Project (10-20 Hours)
Finish Used
Intergallactic Grey Behr Premium Ultra paint and primer in 1.
Recommended Skill Level
Beginner
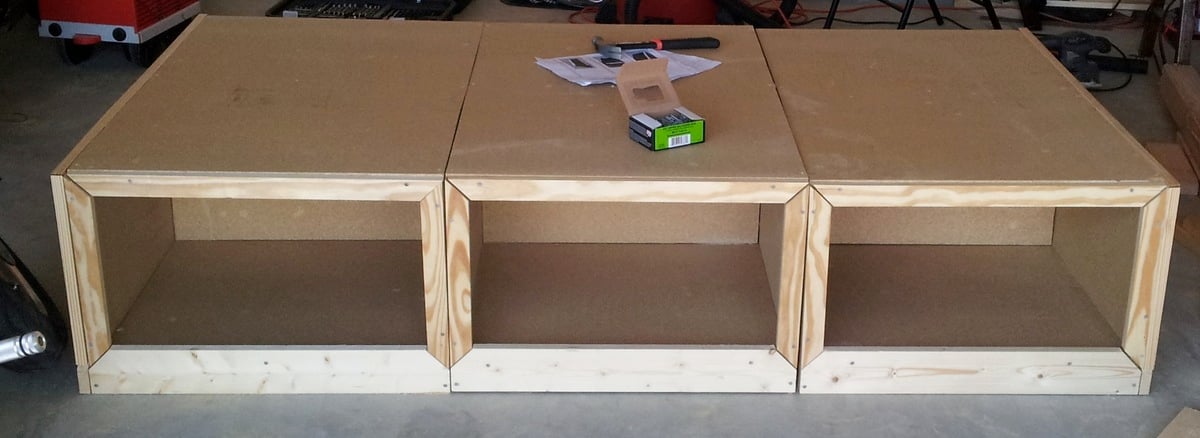
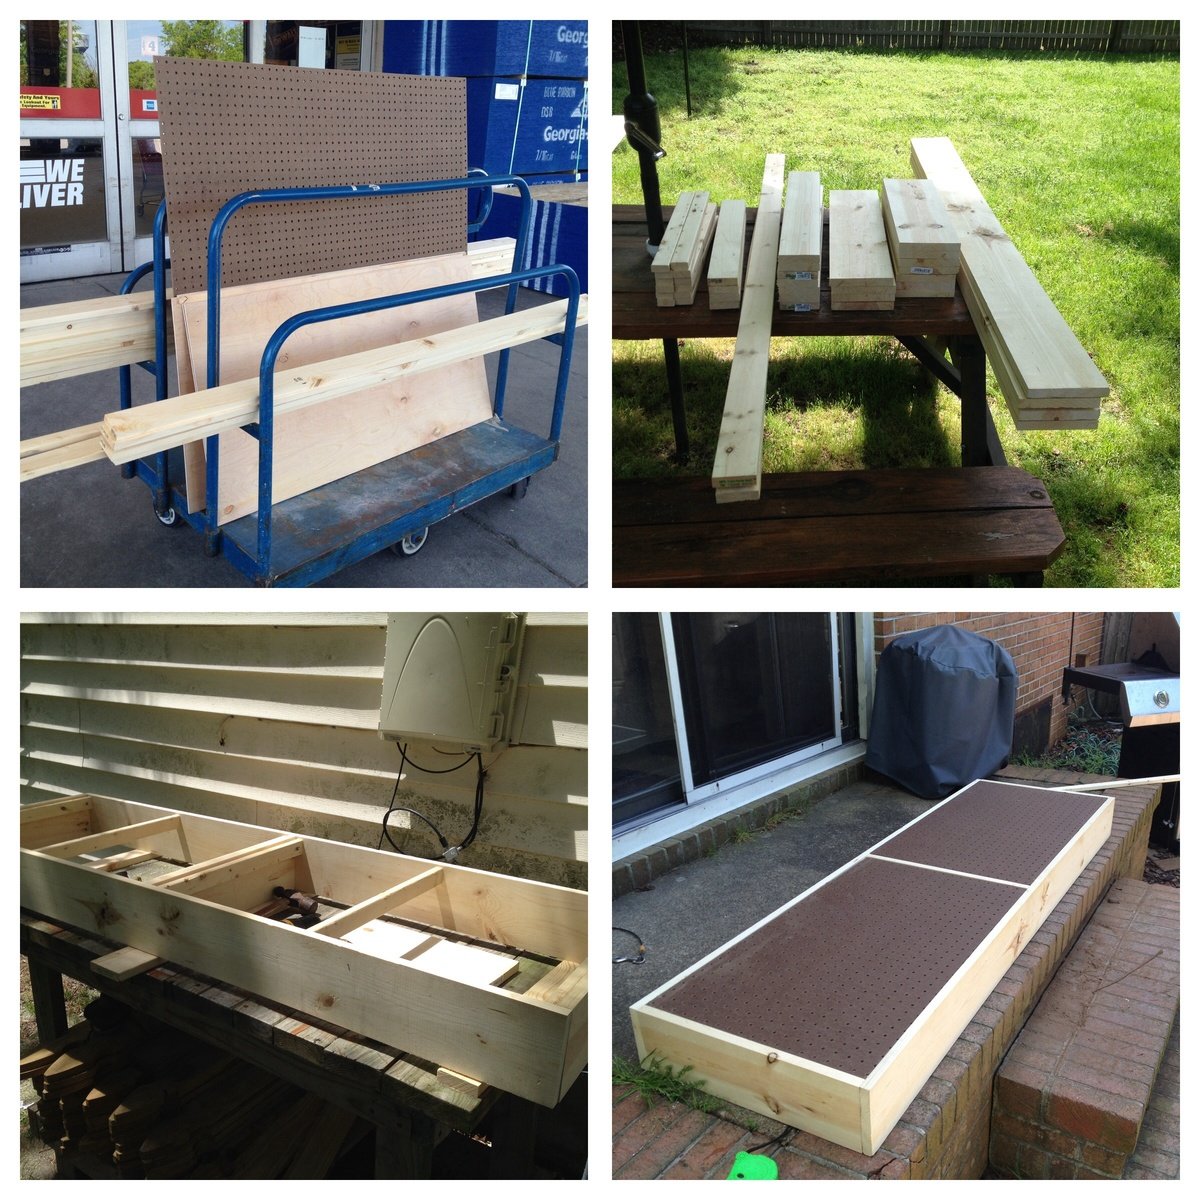
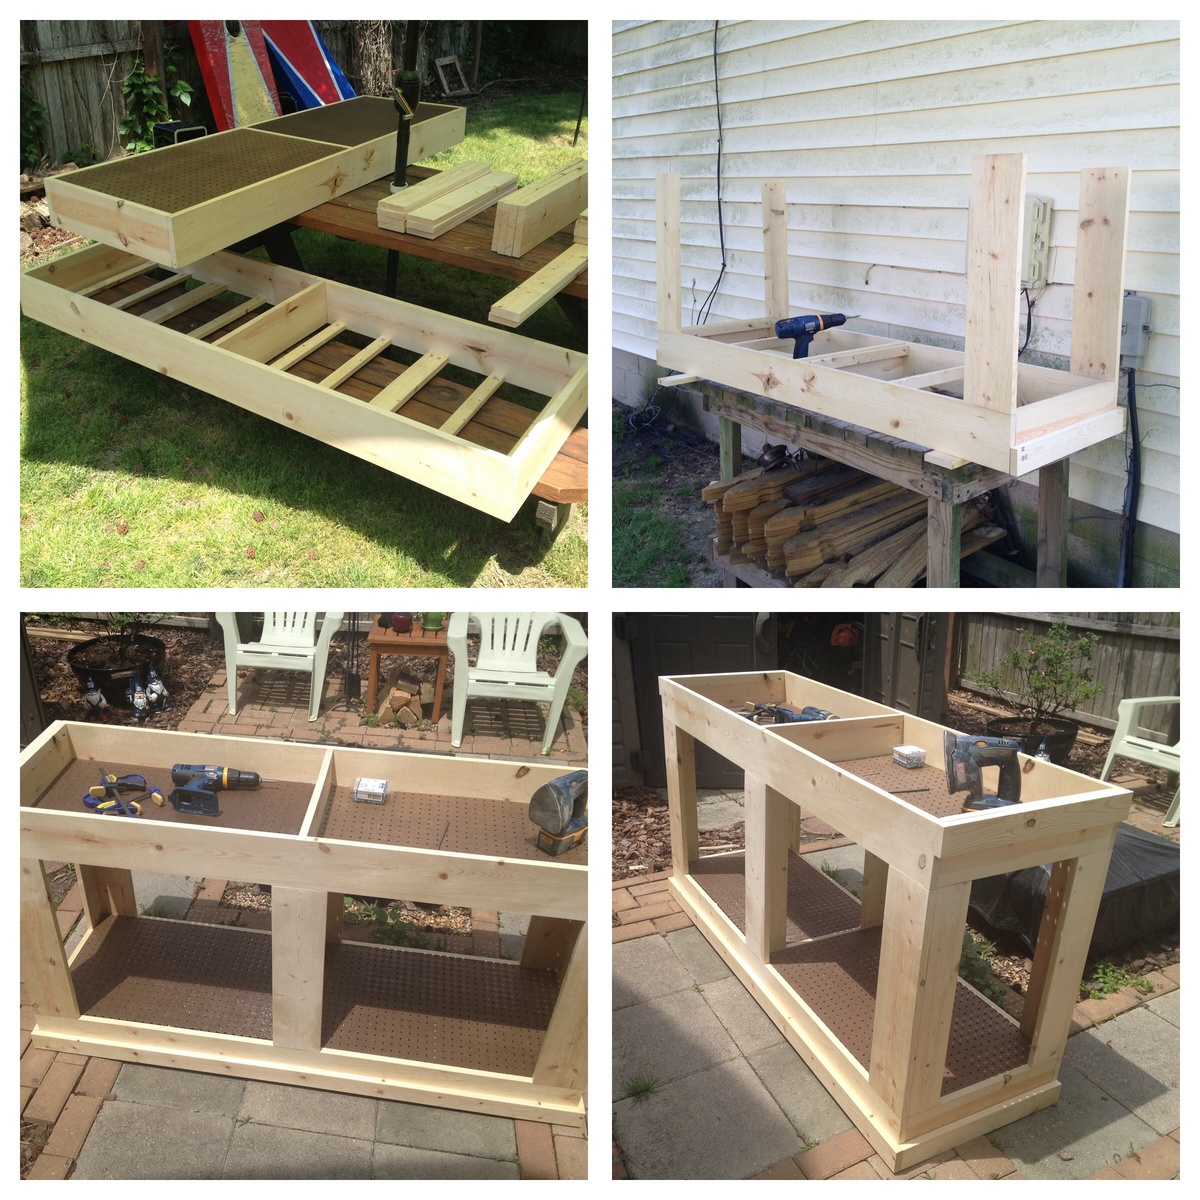
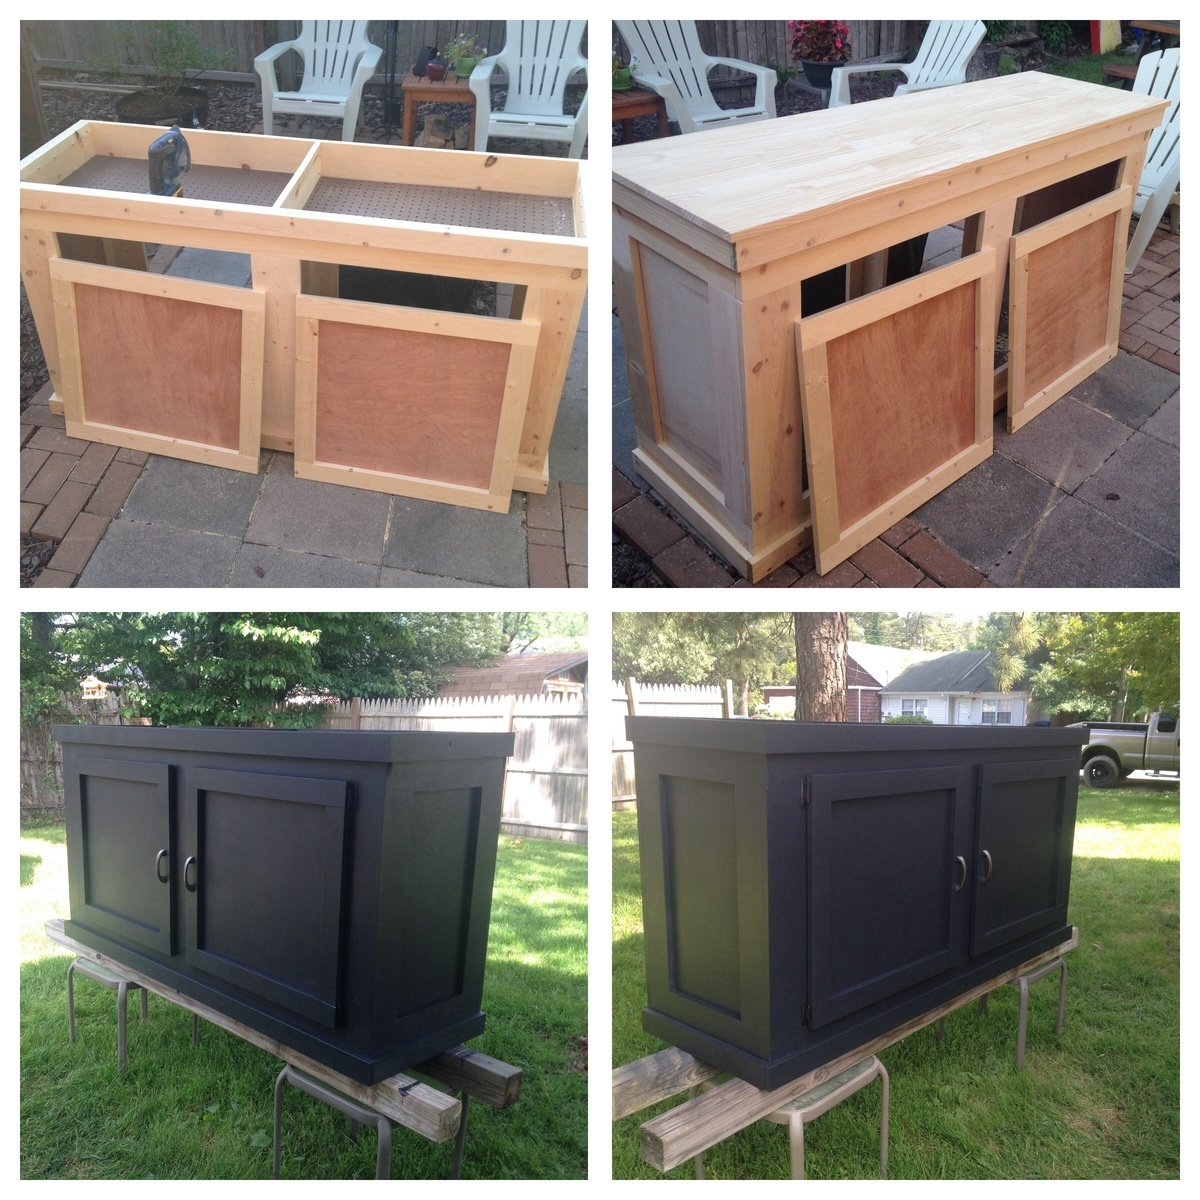
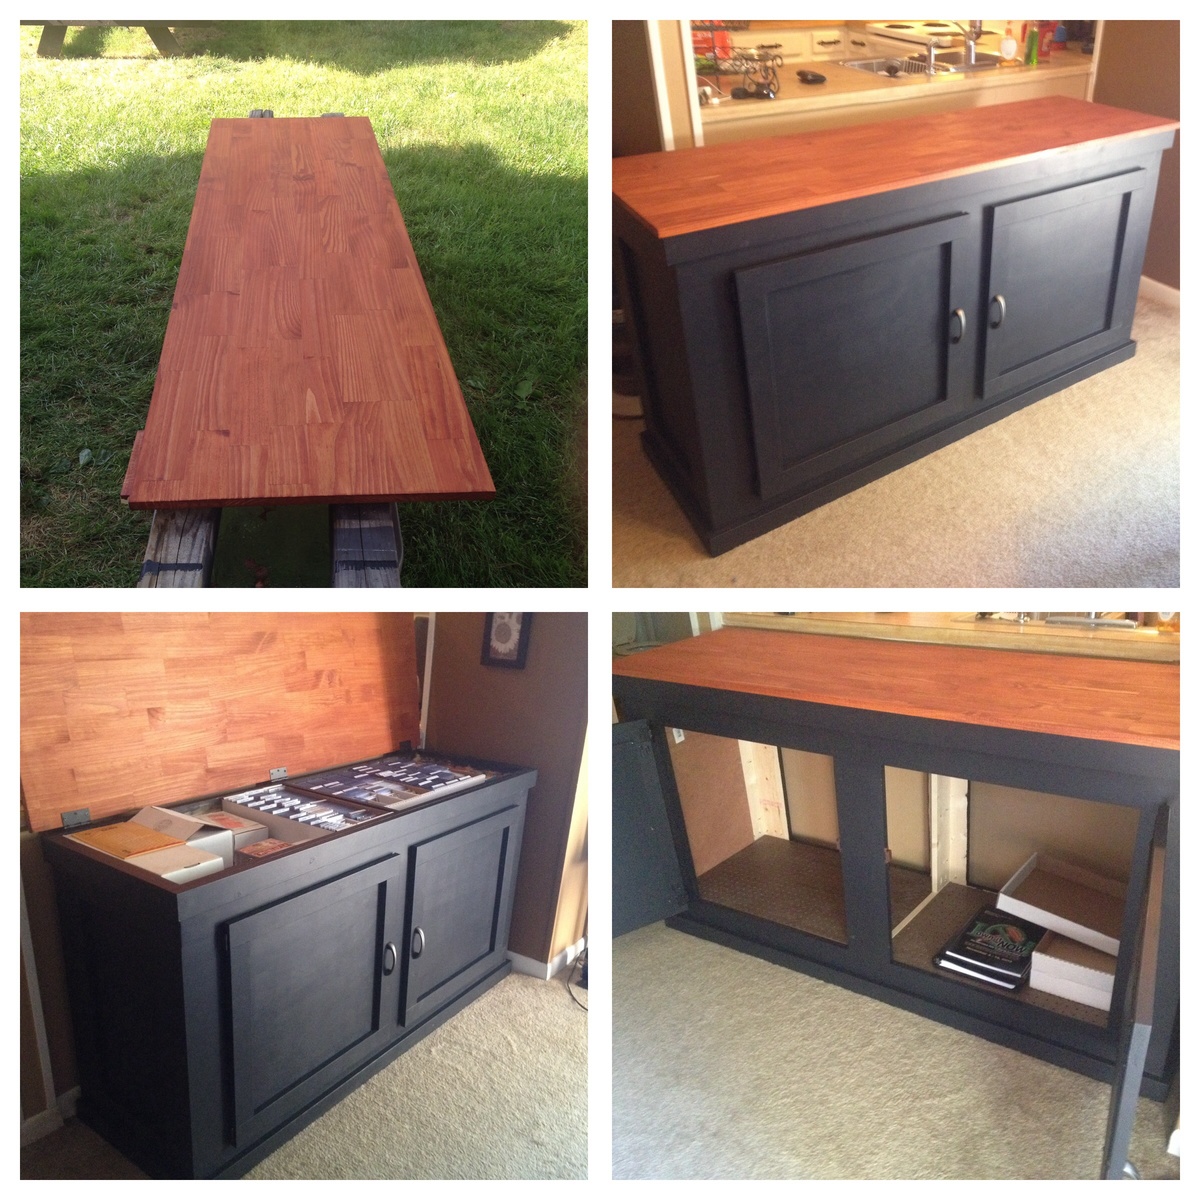
Sports Cards Sorting & Storage Cabinet
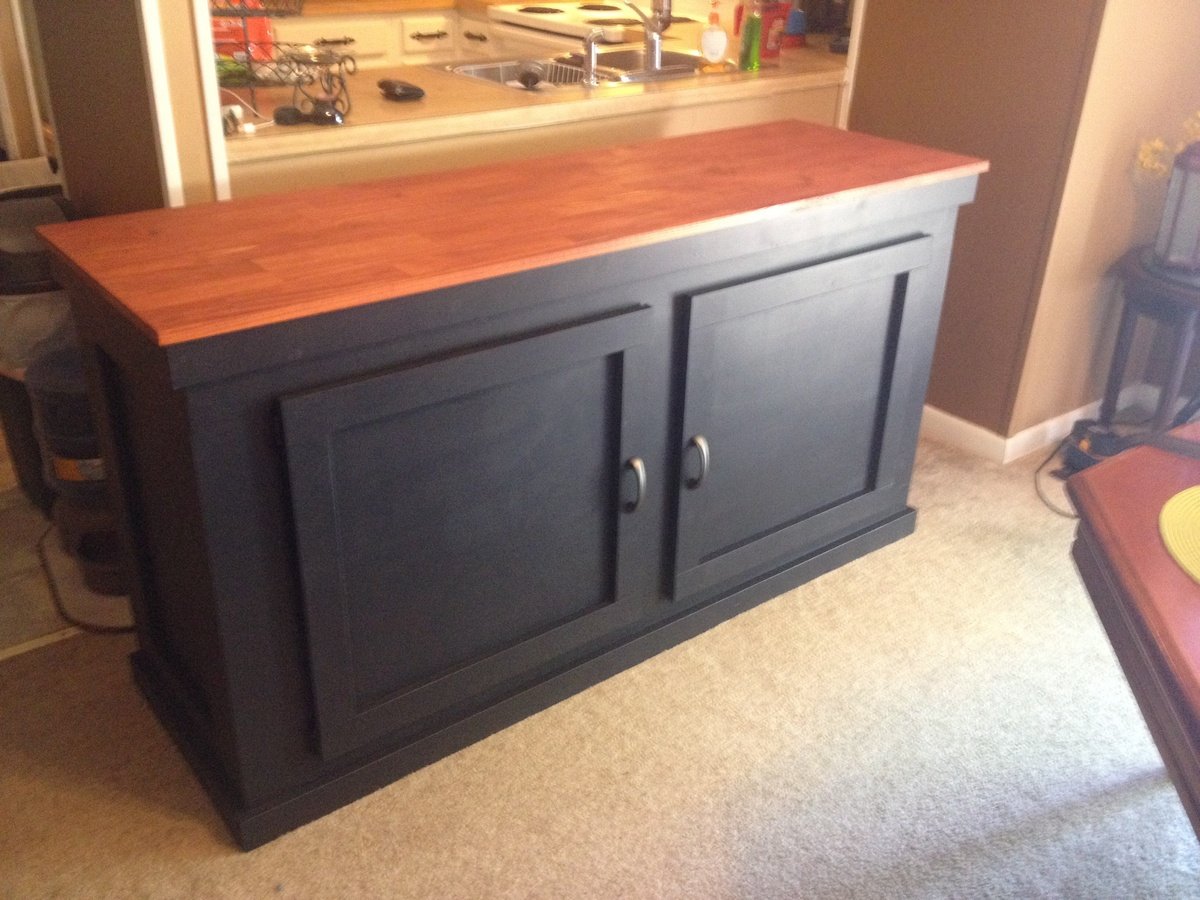
So... I am a pretty dedicated baseball card collector as well as a new found hobbiest in wood building. It's been an ongoing issue in my household with my baseball cards and boxes cluttering up our dining room. I decided to resolve the issue while still being able to keep my cards in the same room with even easier access without being an eye sore! This just might have saved my marriage! I searched for months for plans for some sort of baseball card cabinet but they just did not exist. The closest I could find for what I was looking for was a storage bench plan here on Ana White. I liked the idea of a top opening for hidden storage. It was too small for what I needed. I then came across plans on another site for an aquarium stand cabinet. I figured the combination of these two projects was what I was looking for. After a week of planing and drafting and 3 weeks of construction/finishing in the little spare time I have, I created what you see. People in the card collecting forums I'm a member of are begging for plans or for me to build them one! Problem is, this is the first thing I have built following my own design and plans. I could pass these on but no one in their right mind would be able to follow my scratches on paper but myself! I'm extremely proud of the outcome but am looking for a way to come up with plans I can share! Hope you all like, and if I can come up with a way to make follow able plans I will share! This was all assembled using the kreg jig system, wood filler to hide the knots and lines where the wood joined and lots of sanding!
Estimated Cost
$300
Estimated Time Investment
Week Long Project (20 Hours or More)
Finish Used
Valspar Black satin interior high def paint, wood conditioner & gunstock color stain
Recommended Skill Level
Intermediate
Comments
Mon, 05/26/2014 - 22:12
Designing plans
If anyone knows of helpful software to design plans in let me know!

Tue, 05/27/2014 - 08:38
How did you do the top?
Nicely done! How did you make the top? Is that a project board? It's very smooth.
I believe Ana uses "Sketchup" which is a google program to do her designs.
Mon, 10/12/2015 - 17:19
Measurements
Would you be willing to share some basic dimensions such overall size width, depth, and height and door measurements to get an idea?
Farmhouse Bedside Table
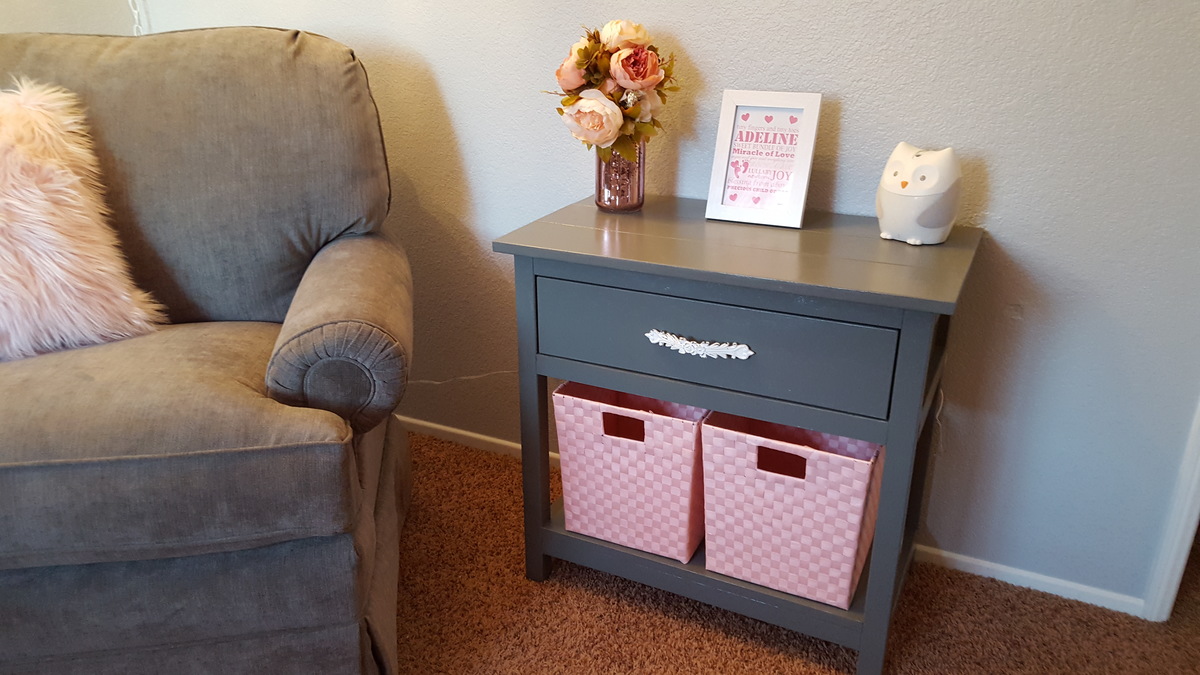
Farmhouse Bedside Table for nursing room.
Built from Plan(s)
Estimated Cost
$30
Estimated Time Investment
Weekend Project (10-20 Hours)
Finish Used
Paint
Recommended Skill Level
Beginner
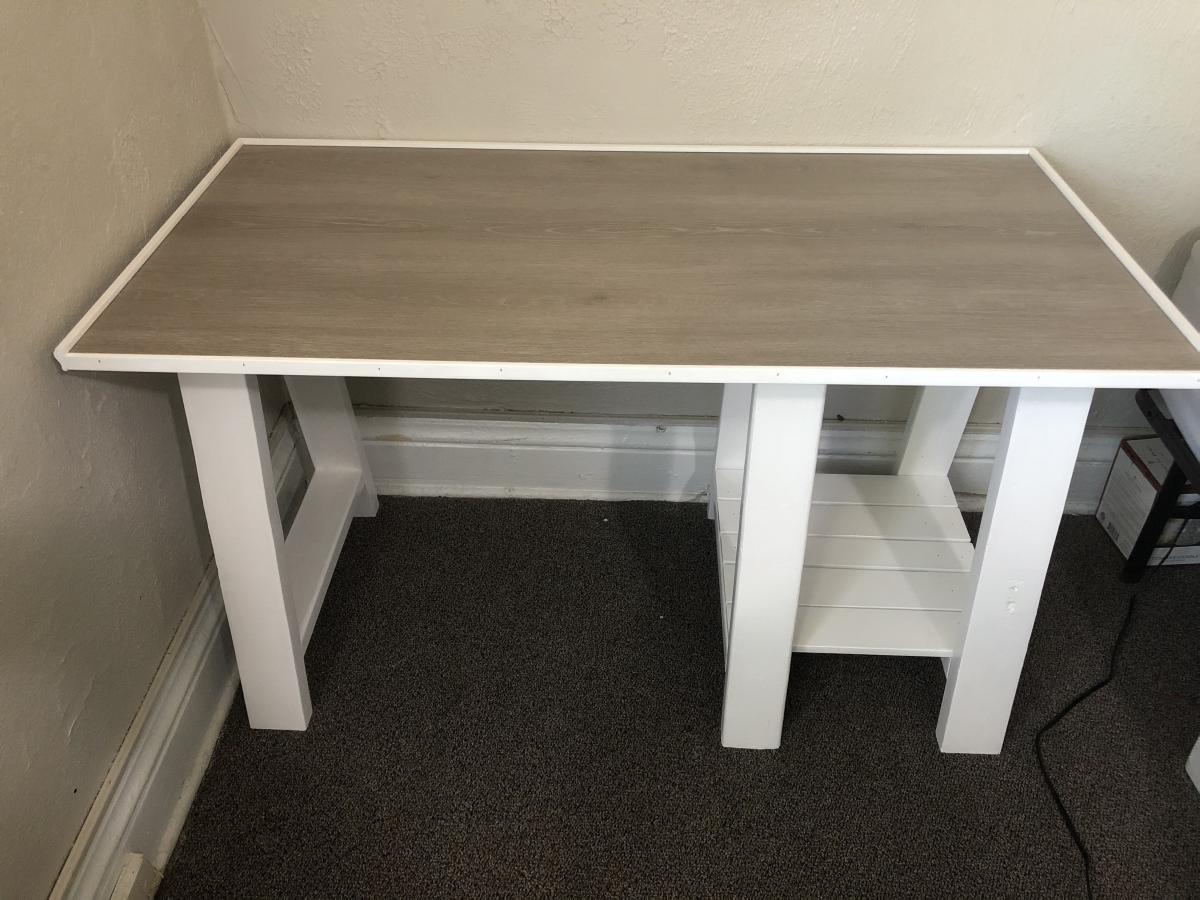
Simple Small Trestle Desk
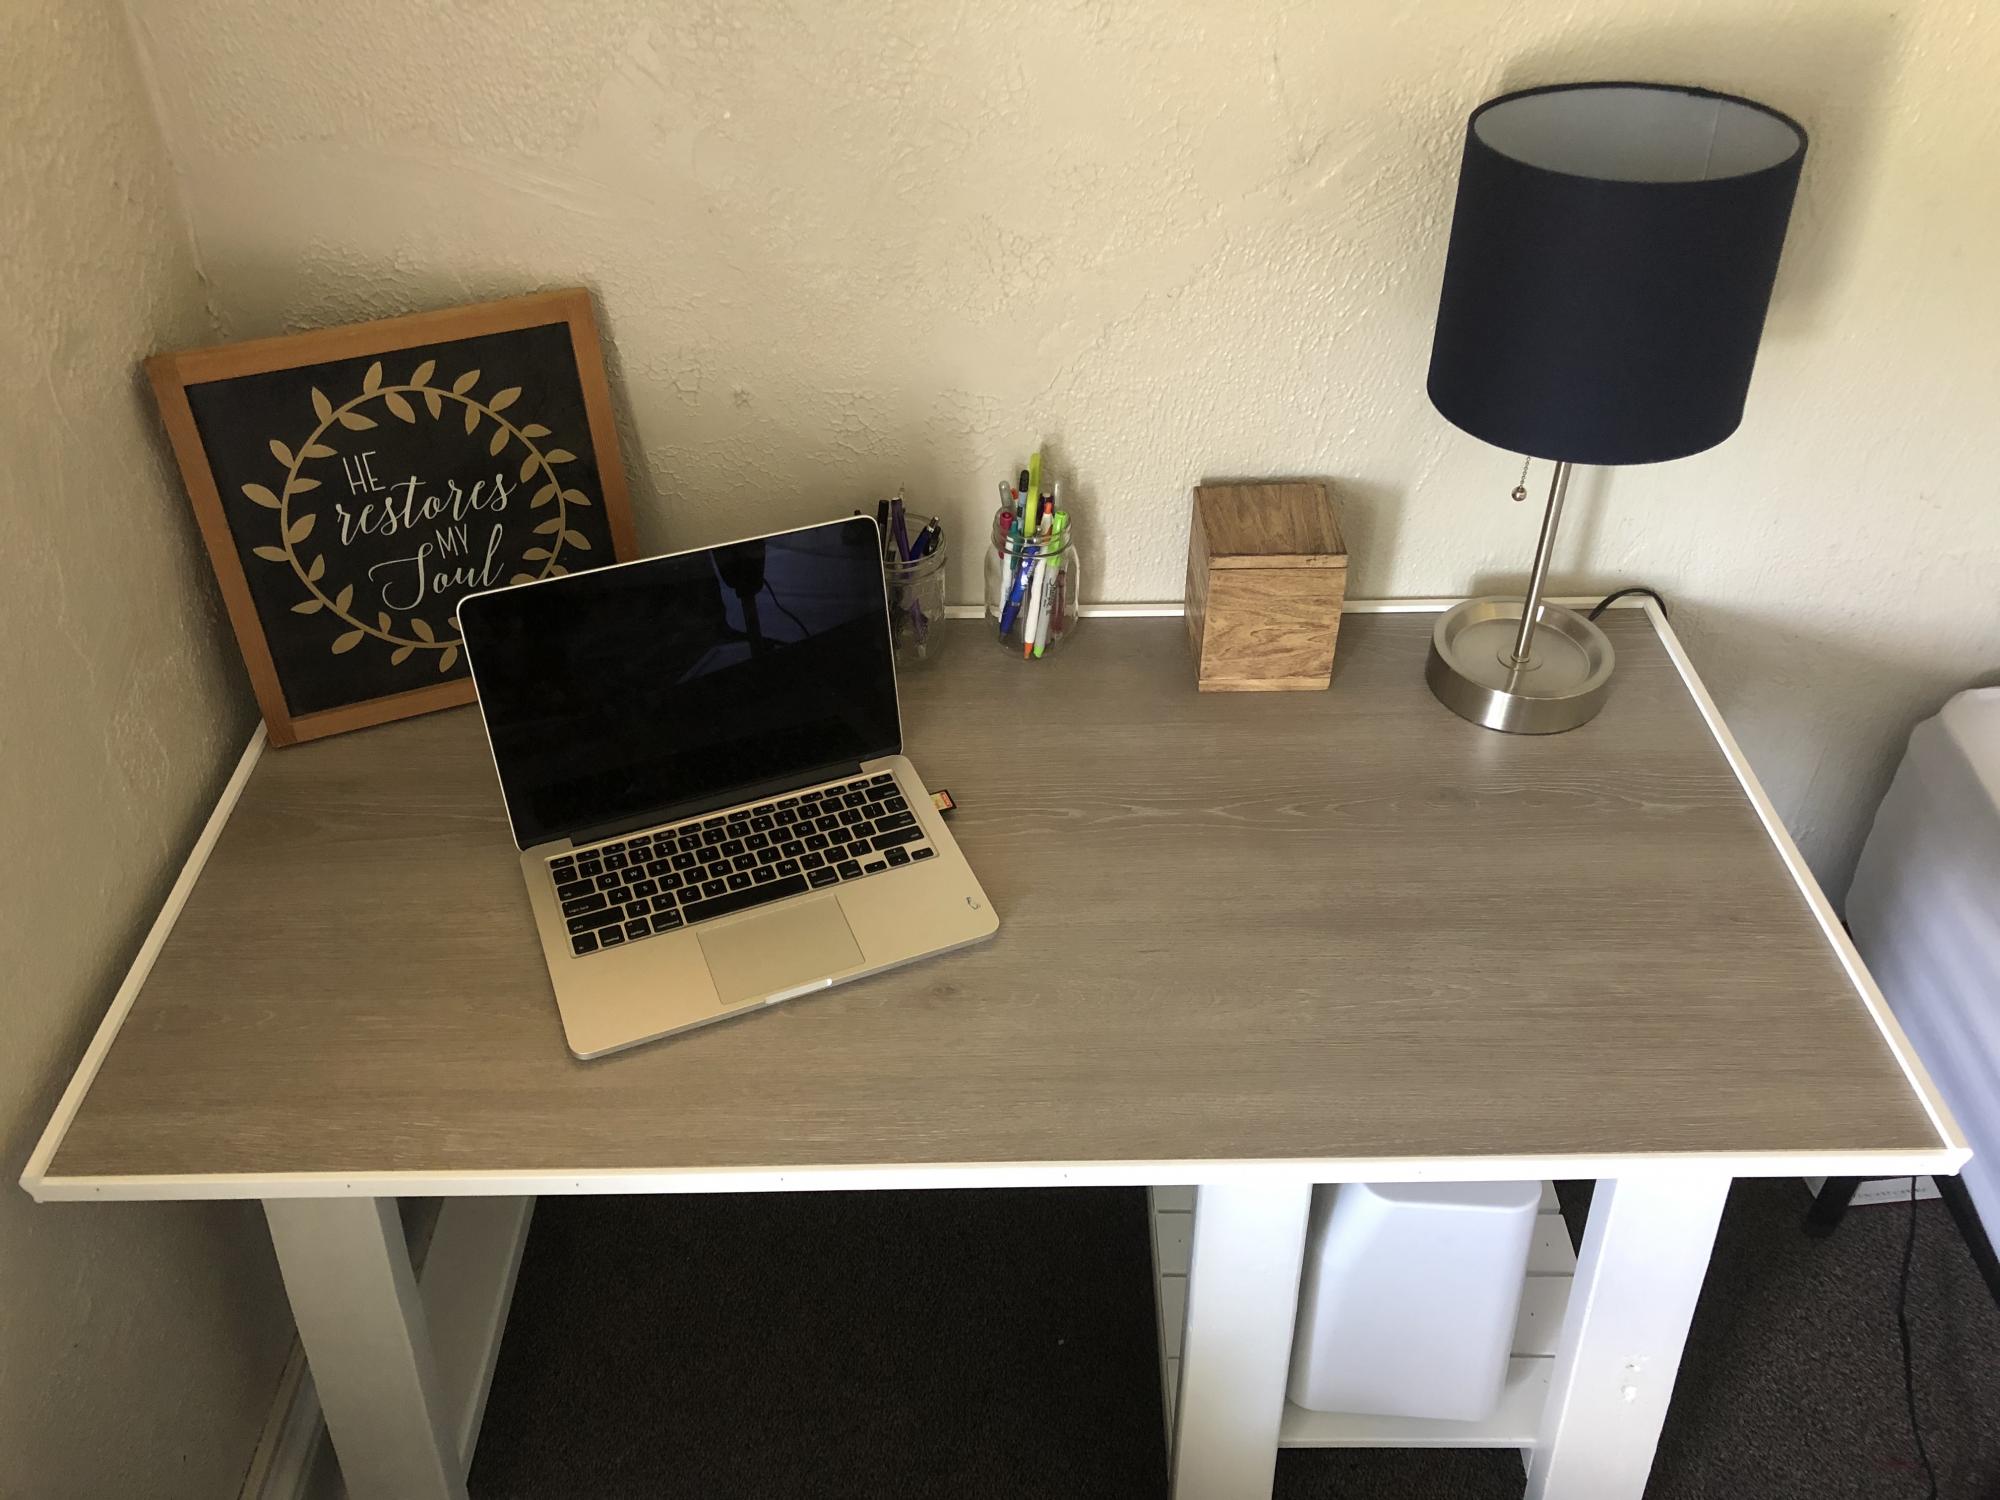
My daughter and I made this for her new apartment. Used MDF with painted trim for the top and added a third leg so she could have a shelf. We used pallet wood for the shelf.
Built from Plan(s)
Estimated Time Investment
Weekend Project (10-20 Hours)
Finish Used
latex paint and water based poly
Recommended Skill Level
Beginner
Wood Waterfall Open Console

Such a fun project and turned out so good. Really changed our entry space. I opted to use 1x4s instead of 1x3s on the face frames to give it a little bit of a thicker appearance. Stained with October Brown from Valspar and one coat of warm satin polyurethane.
Cody Field

Built from Plan(s)
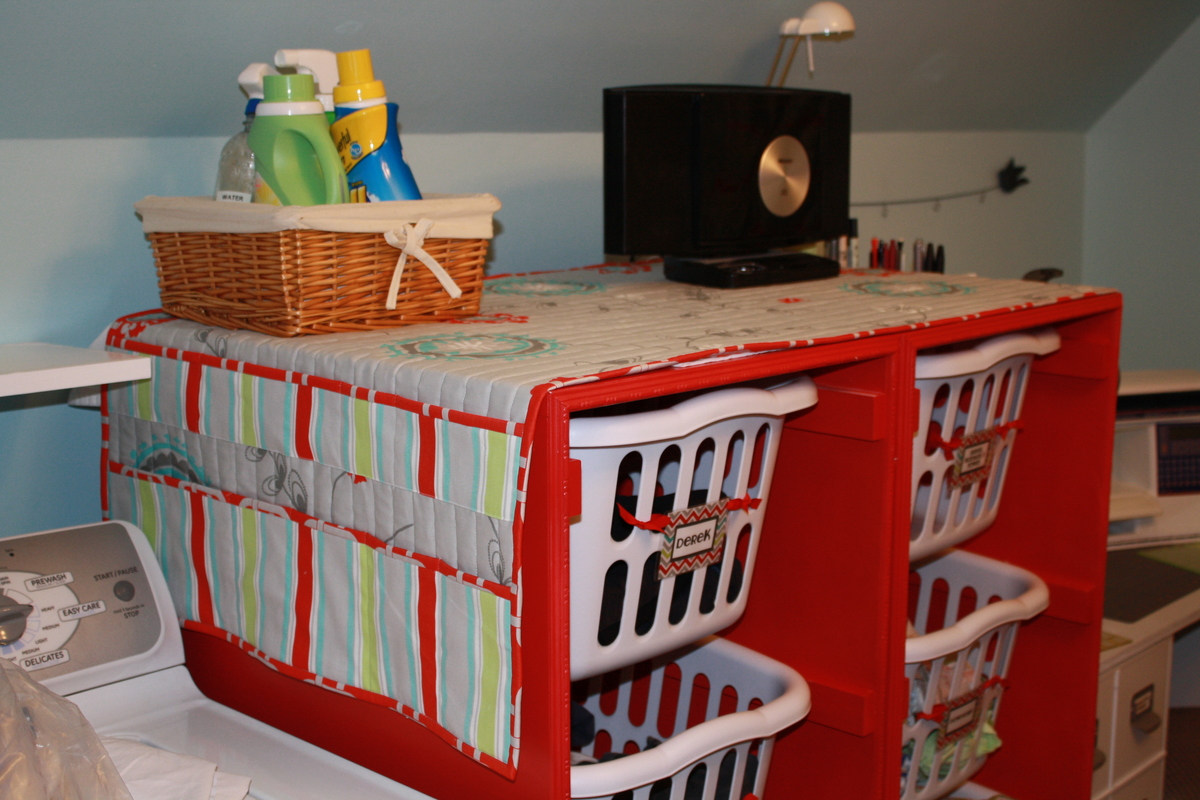
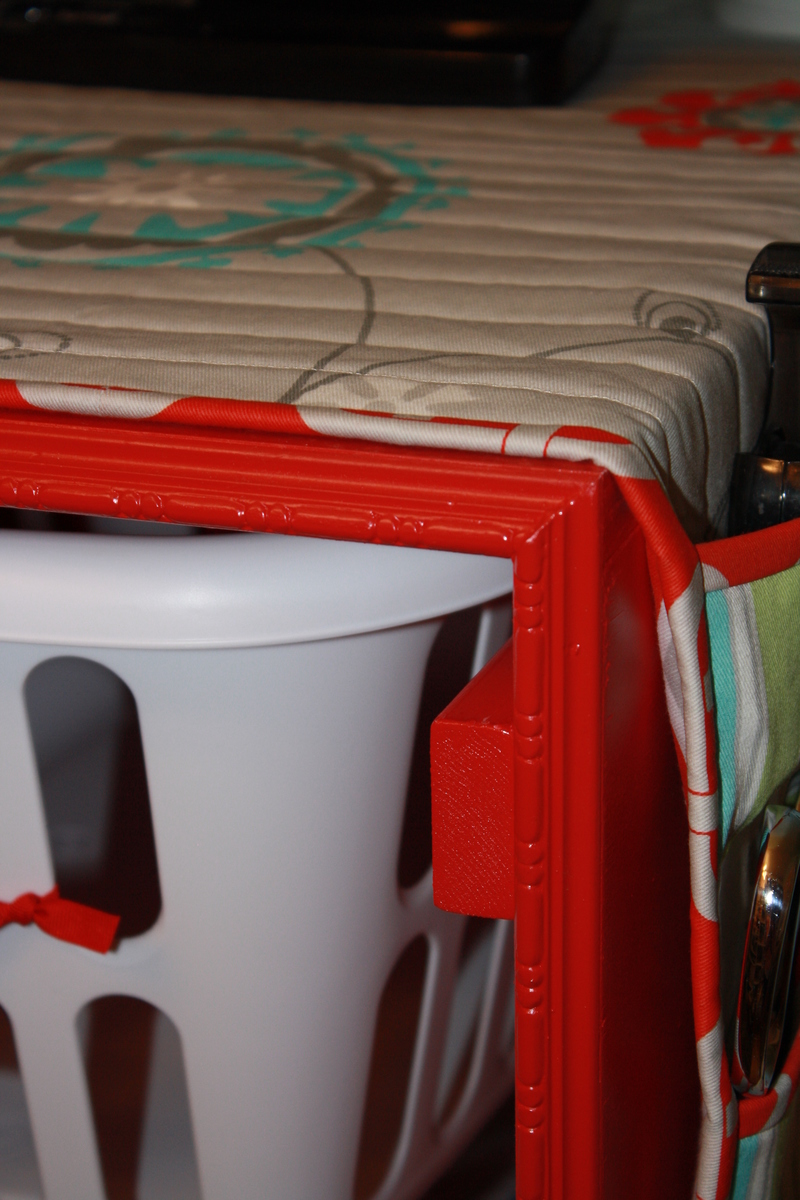
Laundry Basket Dressers 4 tall
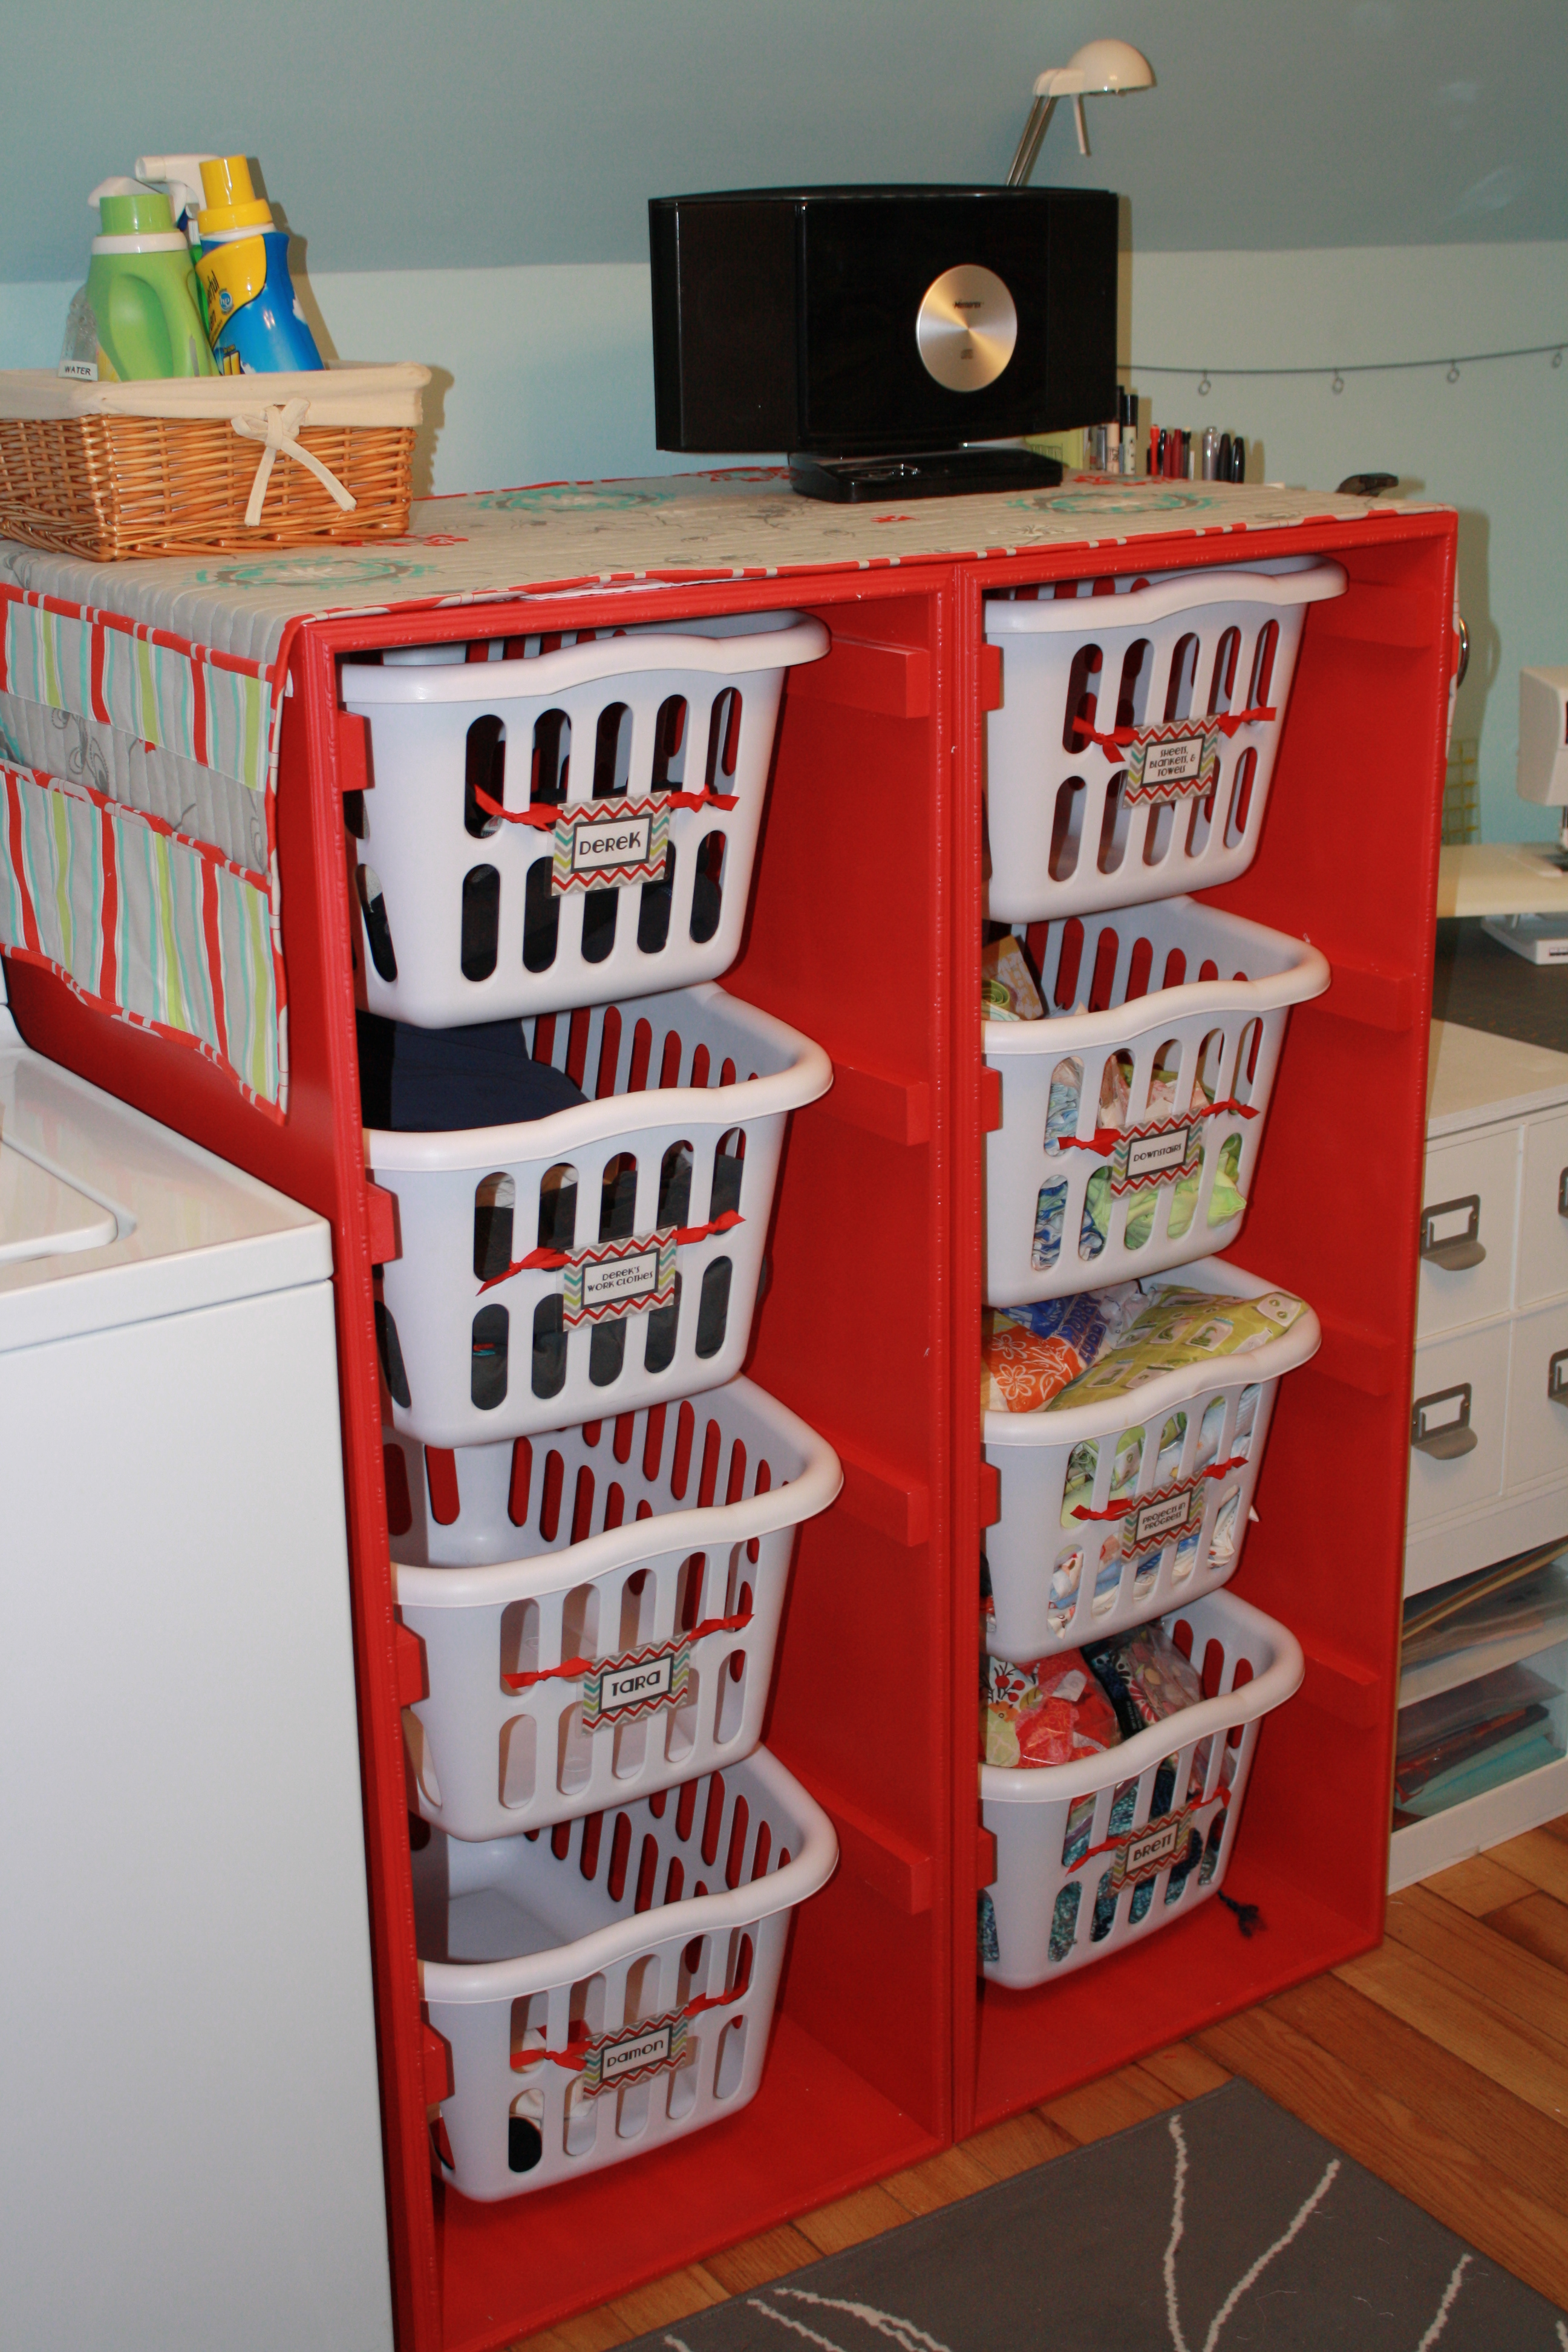
I made these based off the Brook laundry basket dresser plans. I did notice that the bottom rung placement measurement is about an inch off if you want your baskets spaced evenly, so I moved it an inch higher, which made them all very close.
The only other thing I changed about the plans was to add some decorative trim molding to the front edges where the raw plywood edge would have been. Plywood these days isn't of the best quality, so that rougher edge would have bothered me.
I primed by hand (it took six hours!!) and then decided to use spray paint for the top coat. It was a good decision-- the finish was much smoother than a brush, and it took less time to spray around the rungs than it did to brush them. It was also about half the price for the paint.
If I were to make these again, I would paint the insides before assembling the dressers. The painting part was by far the most difficult of the project. Painting while they aren't in a box formation would have been so much easier, and I could have touched any little spots up after assembly if needed.
More details can be found on my blog post: http://www.stitchfancy.com/2012/08/04/laundry-basket-dressers/
Built from Plan(s)
Estimated Cost
$100 for two dressers
Estimated Time Investment
Afternoon Project (3-6 Hours)
Finish Used
Primed with latex Valspar primer, top coat Red Satin finish spray paint by Valspar
Recommended Skill Level
Beginner
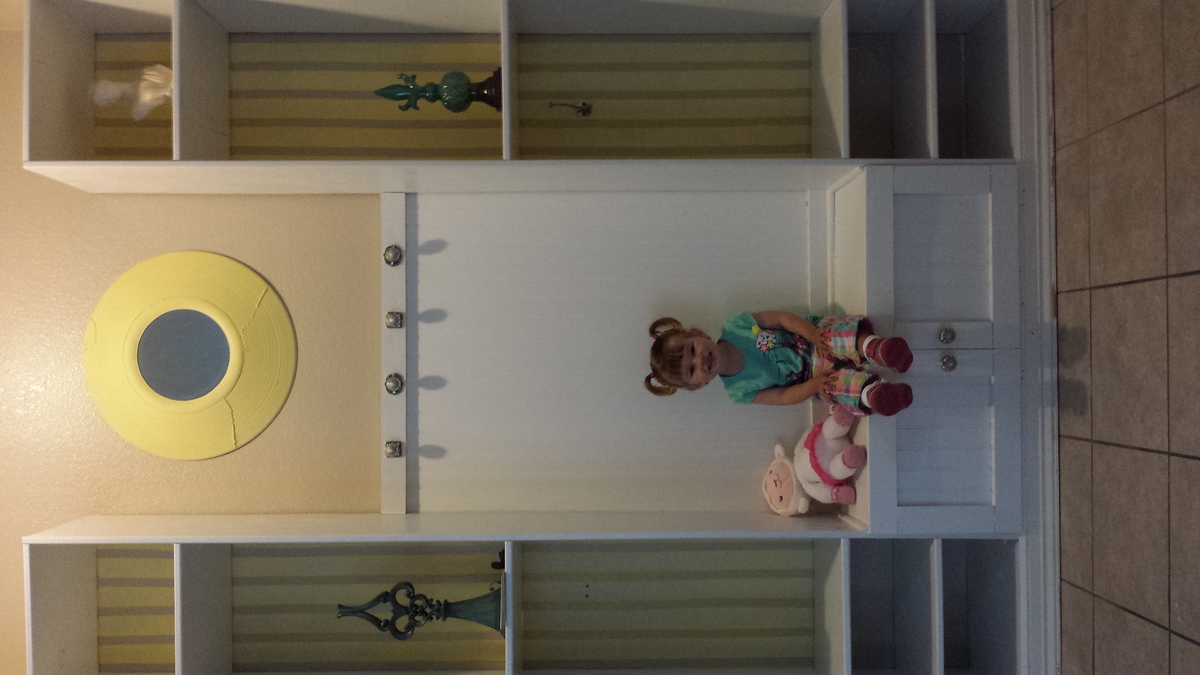
Cute mud room

We had some unused space behind our front door and not enough room in the entryway closet. So we found a mud room plan and... voilà. We now have a place for backpacks, jackets, and shoes. We still need to put in the "T" into the bottom cubby for a shoe tree. We made sure to add 1/4 round trim to snug it seemlessly against the wall and 1/2 round for the face.
Estimated Cost
$100 plus knobs (Hobby Lobby 6 @ $5) and 2 hooks.
Estimated Time Investment
Weekend Project (10-20 Hours)
Finish Used
Snow fall paint and primer all in one from Home Depot
Recommended Skill Level
Beginner
Comments
Wed, 05/28/2014 - 20:42
We didn't back with
We didn't back with wainscoting; however, we taped it out with frogs tape and painted vertical stripes instead. The kids race to sit down and put on their shoes. Love it :)
Pony Wall Workbench
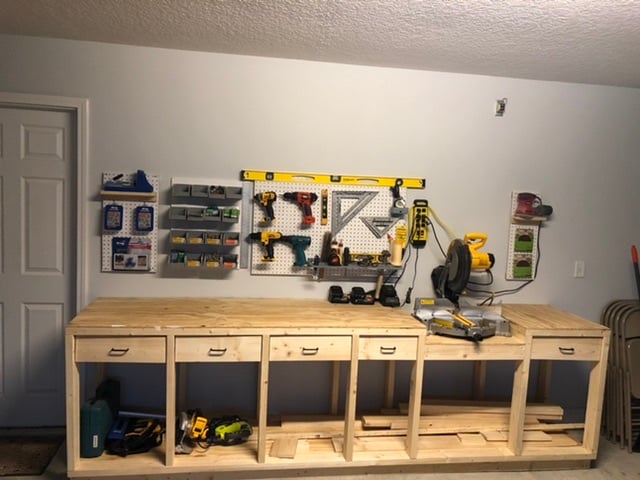
Had to size the project done to fit my garage wall.
Left the sides open to use as storage for wood.
Overall Everything worked out, love it!
Built from Plan(s)
Estimated Cost
150.00
Estimated Time Investment
Weekend Project (10-20 Hours)
Recommended Skill Level
Intermediate
Comments
Kitchen Cabinet and Floating Shelves
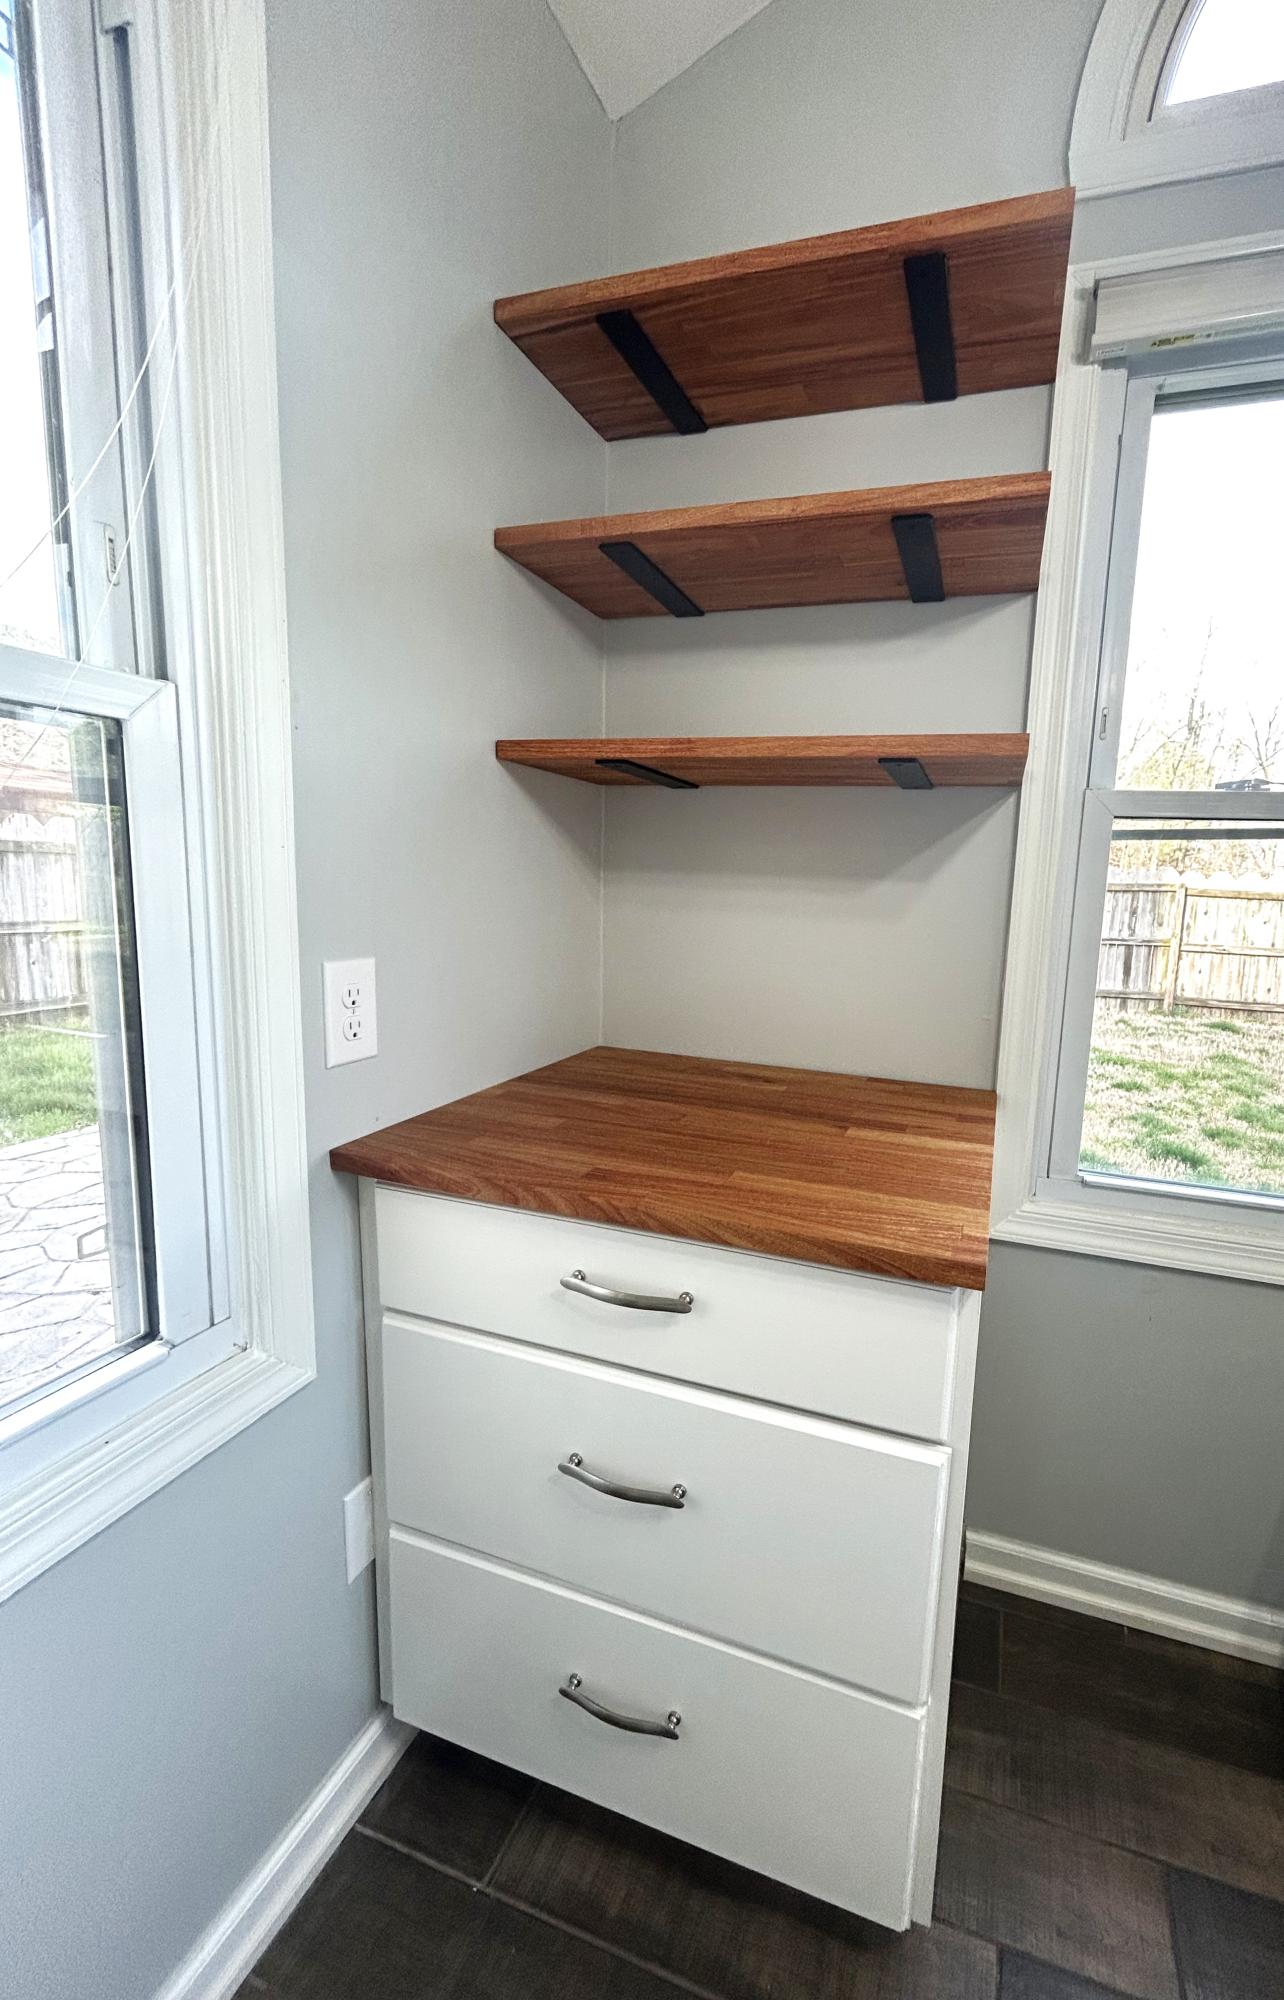
Kitchen cabinets and shelves in our breakfast nook. Our new kitchen does not have enough storage, so I’m creating my own! A matching set is in the works on the other side of the window.
Beth Ivy
Built from Plan(s)
Micro garden

Small shelf for herbs or small flowers. About 12" wide and 7" high. The shelf itself is about 3,5" deep.
The small pots are from the local supermarket, and cost under 1 $ each.
Wood is from old pallets, and mahgoany stain.


Estimated Cost
<5$
Estimated Time Investment
An Hour or Two (0-2 Hours)
Finish Used
Mahogany stain
Recommended Skill Level
Starter Project
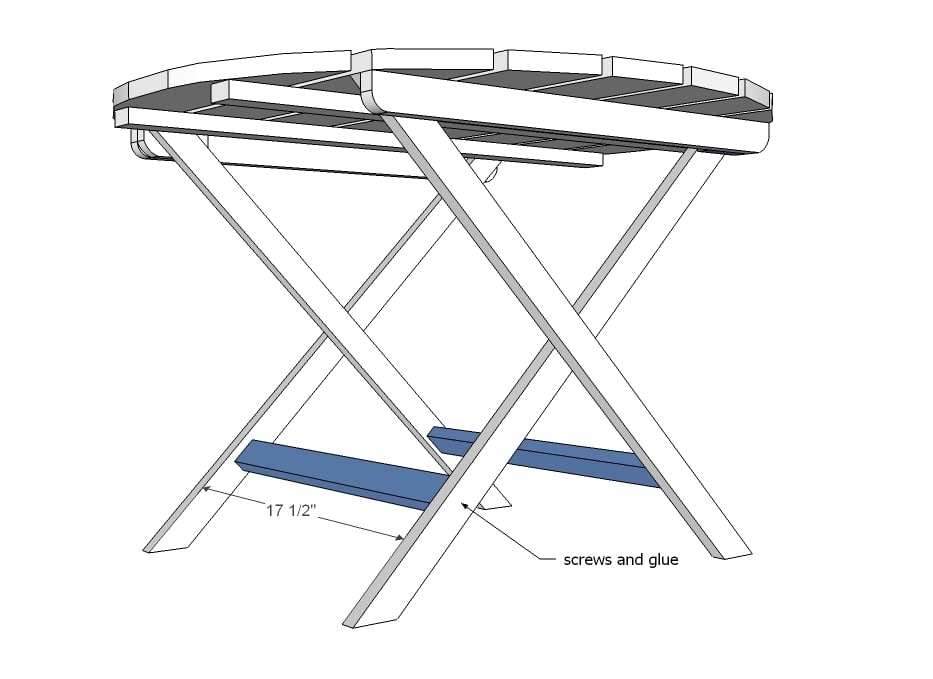
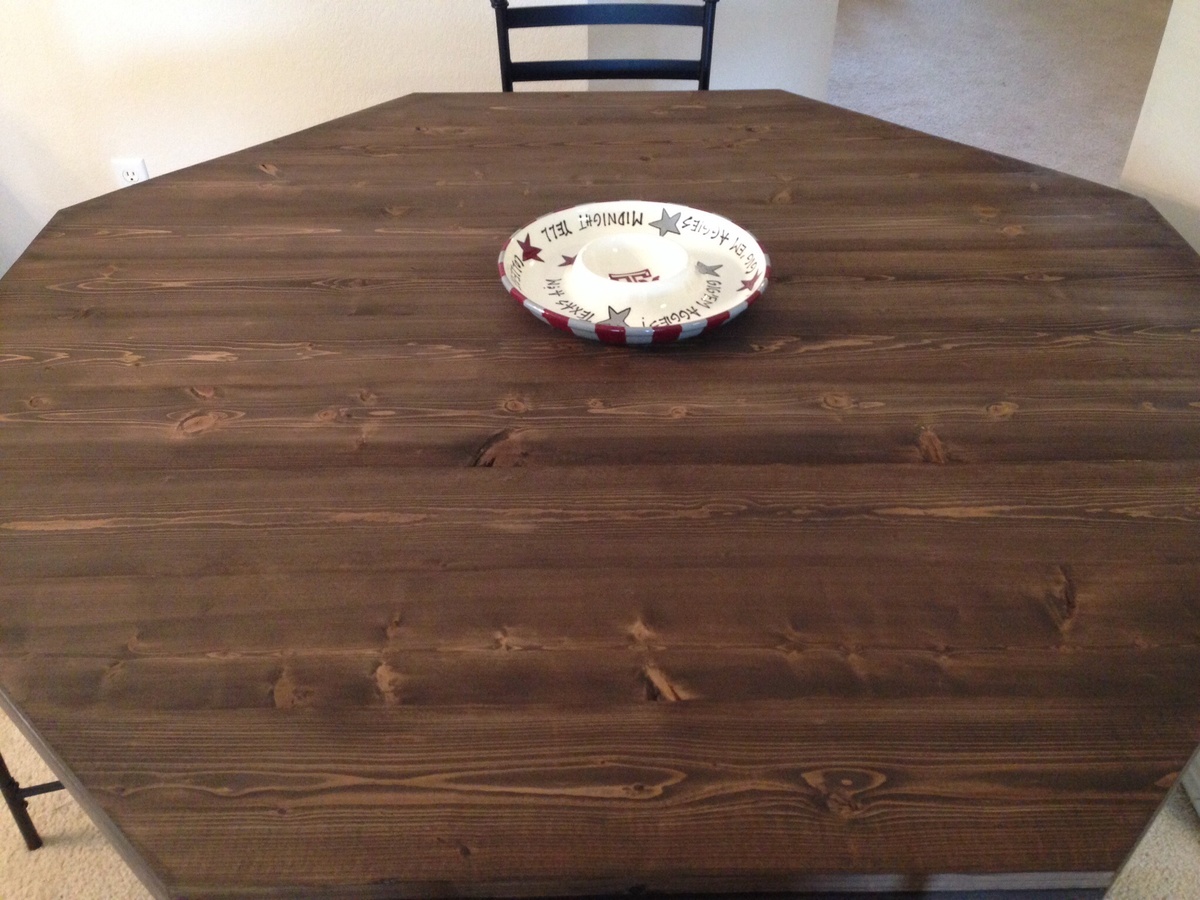
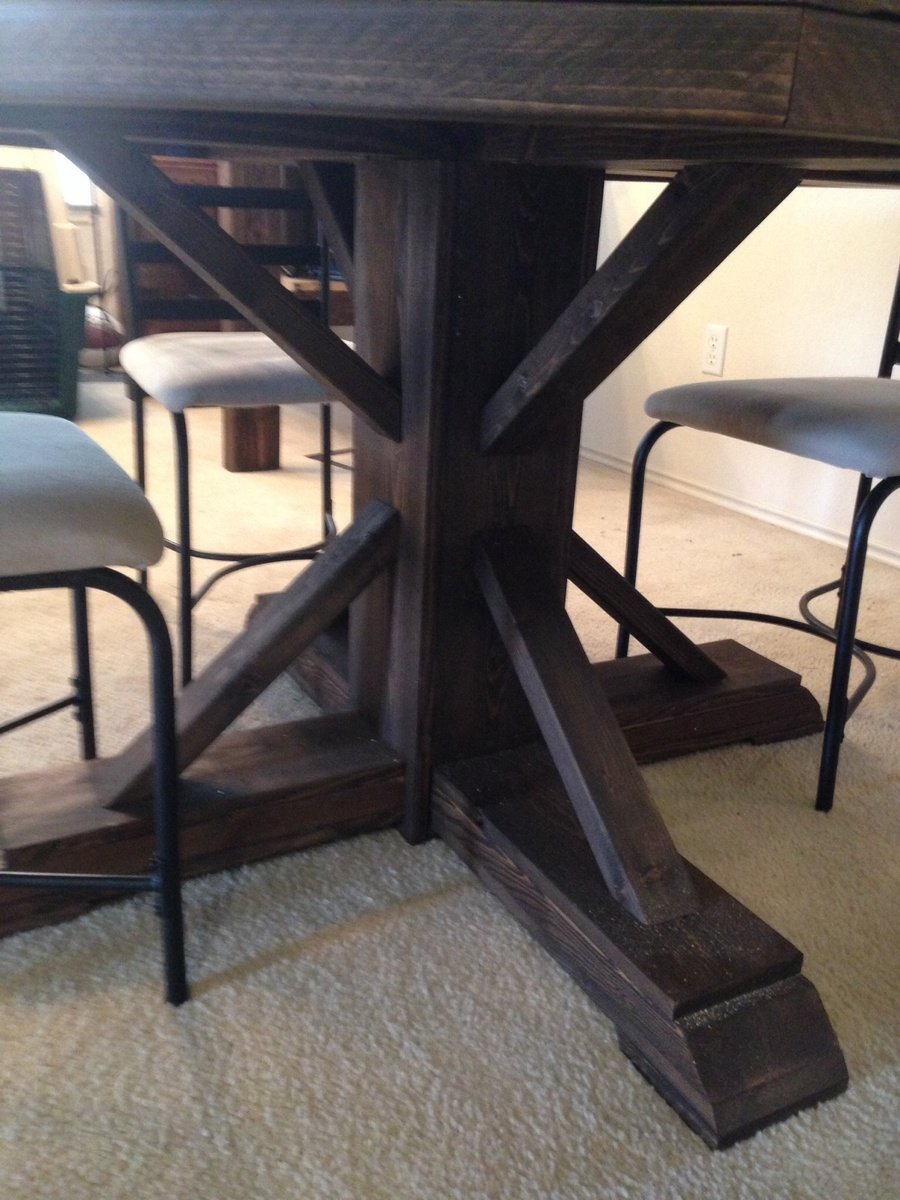
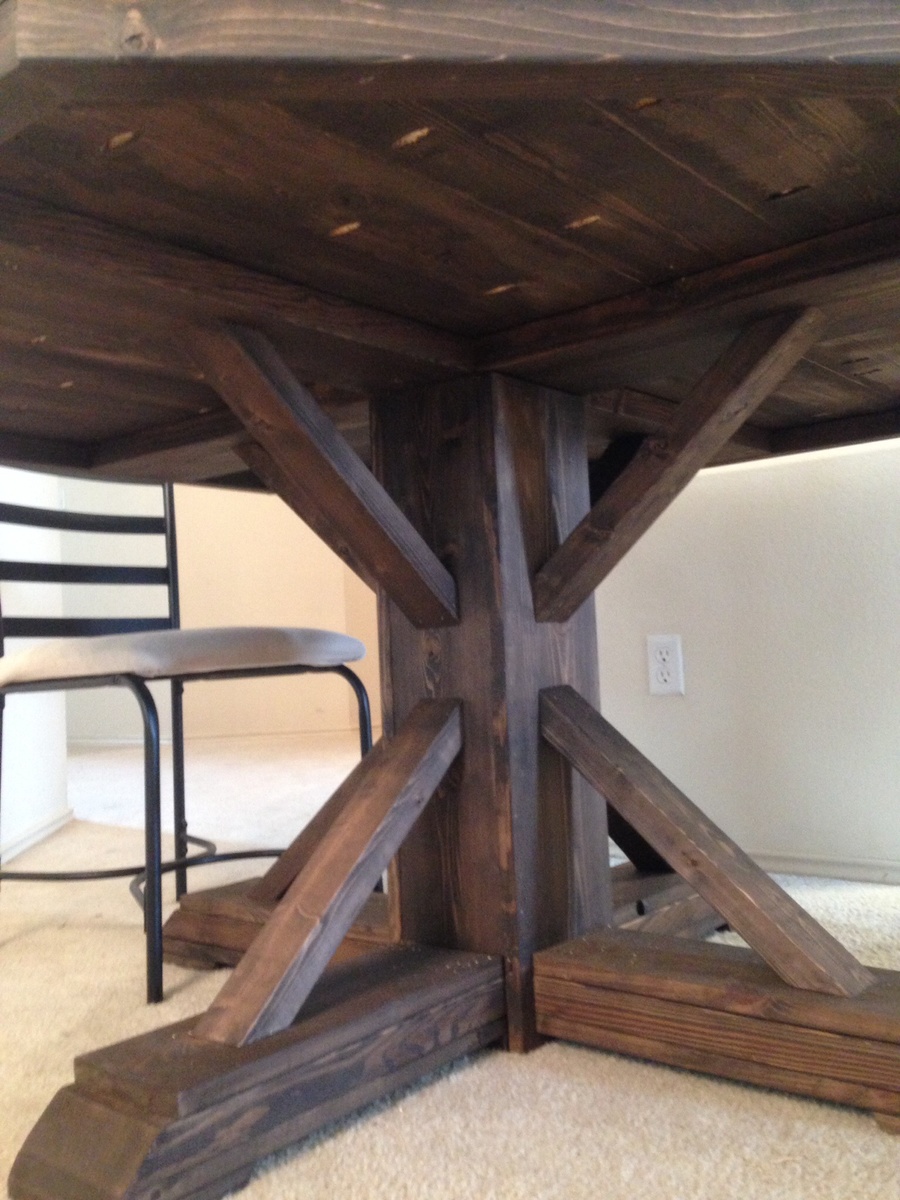
Octagon Table
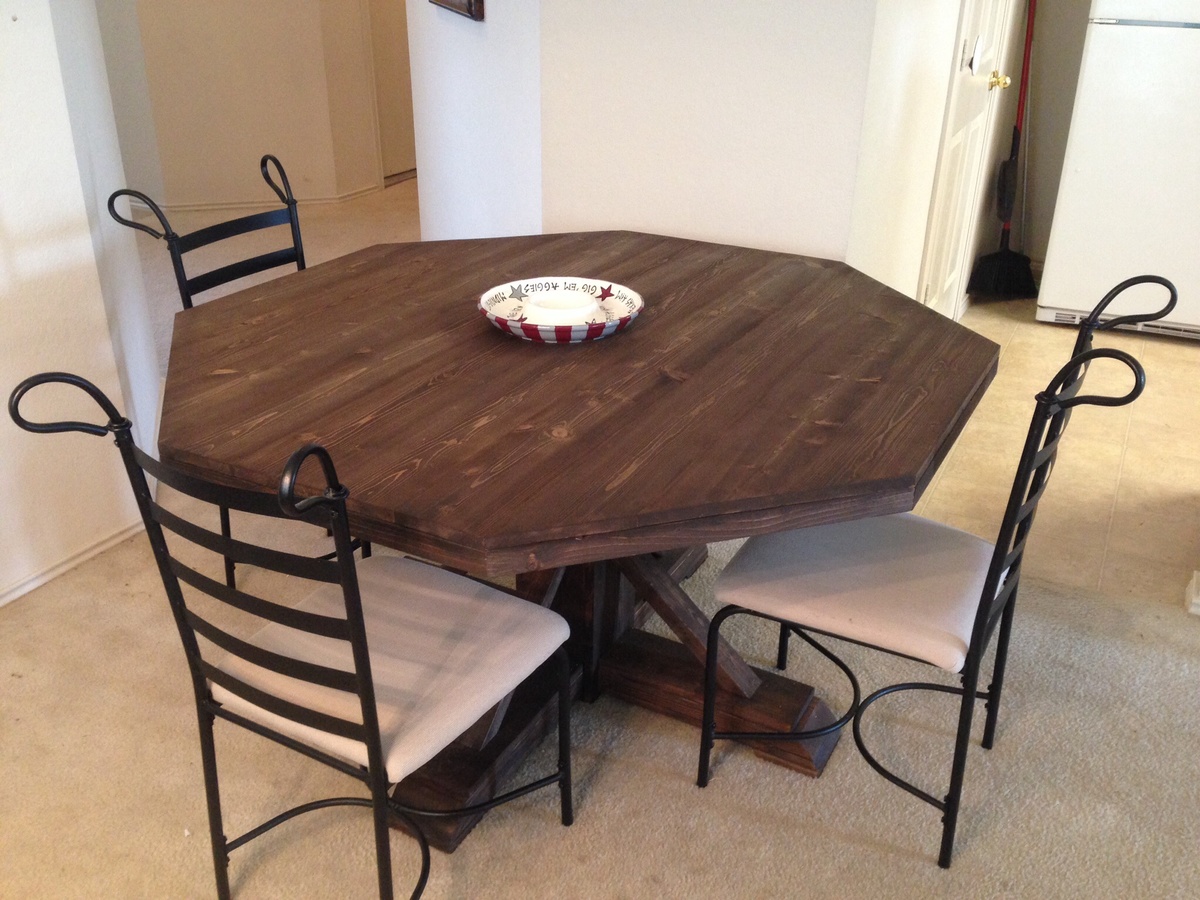
Really enjoyed making this one. The plan was great but i ran into a few difficulties. The 2x2 trim was the hardest. I settled on 22.5* miter because my saw has a positive stop there and i thought it might be the angle that i needed. Careful as the plan doesn't have much room to experiment unless you want to buy an extra 2x2. If your selection of 2x2 is anything like mine, that could be a huge endeavor. Hard to find a straight board in texas.
Built from Plan(s)
Estimated Cost
120
Estimated Time Investment
Week Long Project (20 Hours or More)
Finish Used
Minwax PreStain Conditioner
Rustoleum Kona
Rustoleum Ultimate Polyurethane in Semi-Gloss x 3 coats. Sanded by hand with 320 in between coats and wetsanded with 600 grit after the final coat and it really came out smooth.
Rustoleum Kona
Rustoleum Ultimate Polyurethane in Semi-Gloss x 3 coats. Sanded by hand with 320 in between coats and wetsanded with 600 grit after the final coat and it really came out smooth.
Recommended Skill Level
Intermediate
Comments
Den/football chair
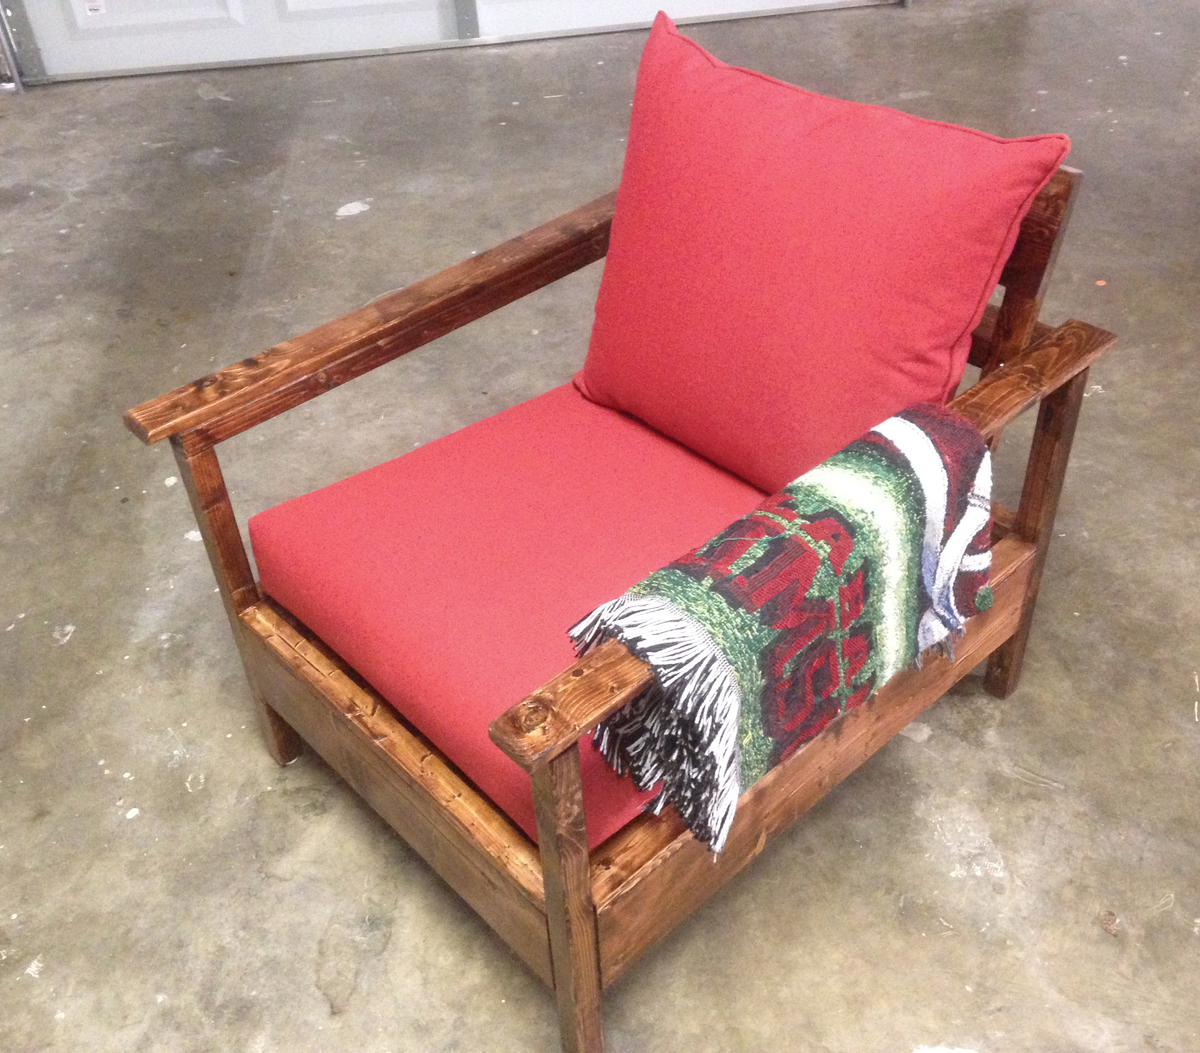
We needed extra seating for friends to come over for football game days, so I took the outdoor chair plans and decided to use it for a den chair. Simple build, but I did add some 1x3 boards on the rails for more comfortable armrests. Add some appropriate color cushions and it's ready for football season! Quick assembly, but as usual, staining and clear-coating took the bulk of the time spent.
Built from Plan(s)
Estimated Time Investment
Weekend Project (10-20 Hours)
Finish Used
Minwax Red Oak and Polycrylic.
Recommended Skill Level
Beginner
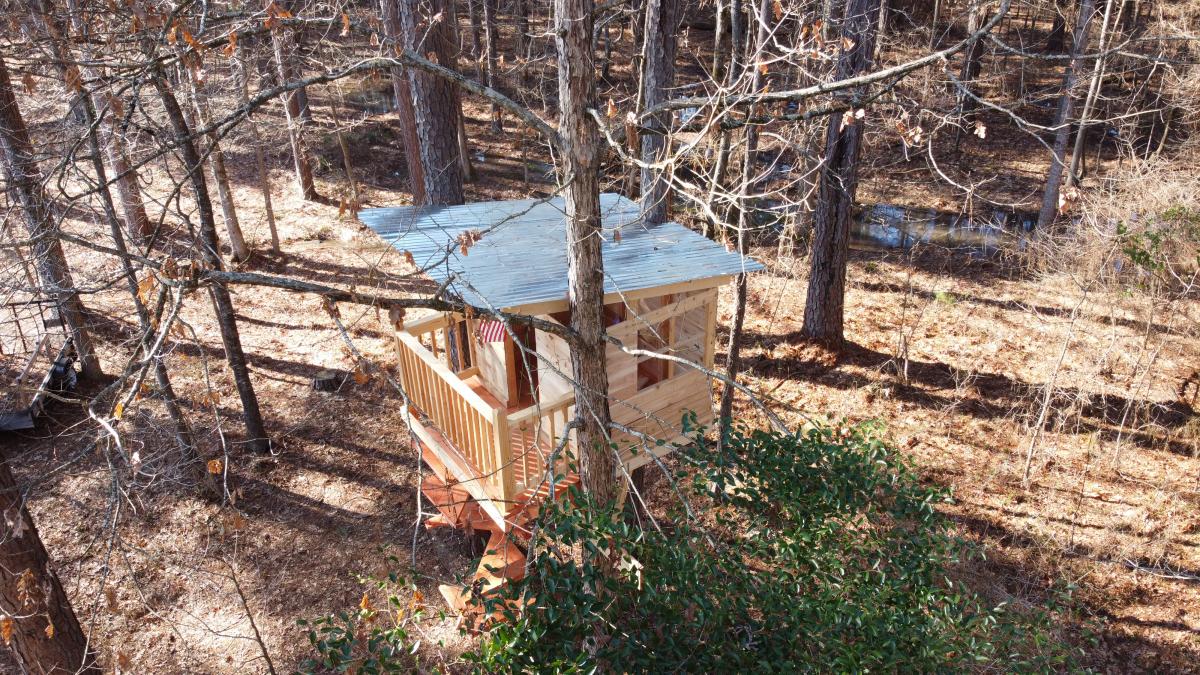
Modern tree house
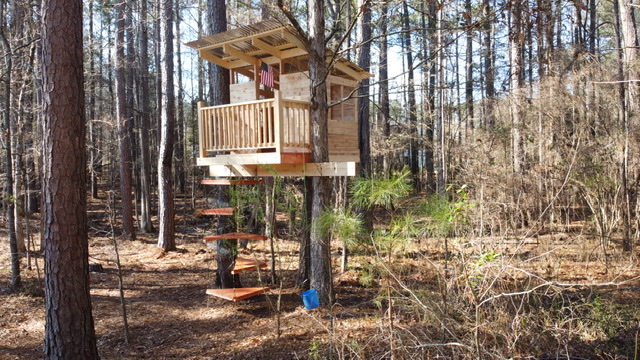
I modified the modern tree house plan and added some safety features for young kids. I did a spiral up ladder enclosed with a mesh net so they can’t fall very far. I also added more siding and put cross bracing in window wells to limit opening size. Finally, a full porch style railing and the main support beams are pinned at one end and have a self designed treehouse sliding bracket to allow for tree movement in the wind.
Estimated Cost
$1500
Estimated Time Investment
Week Long Project (20 Hours or More)
Recommended Skill Level
Intermediate
Comments
Wed, 11/18/2020 - 11:16
Amazing job!
Absolutely love all the features you added! Thanks for sharing:)
Sat, 10/30/2021 - 07:09
Modifications
Hi! I know this post was forever ago, but this is exactly how I want the treehouse to be for the my kids! I am trying to see if there was anyway you could show me how you did the modifications! I’d be forever grateful!
TV Fireplace Wall
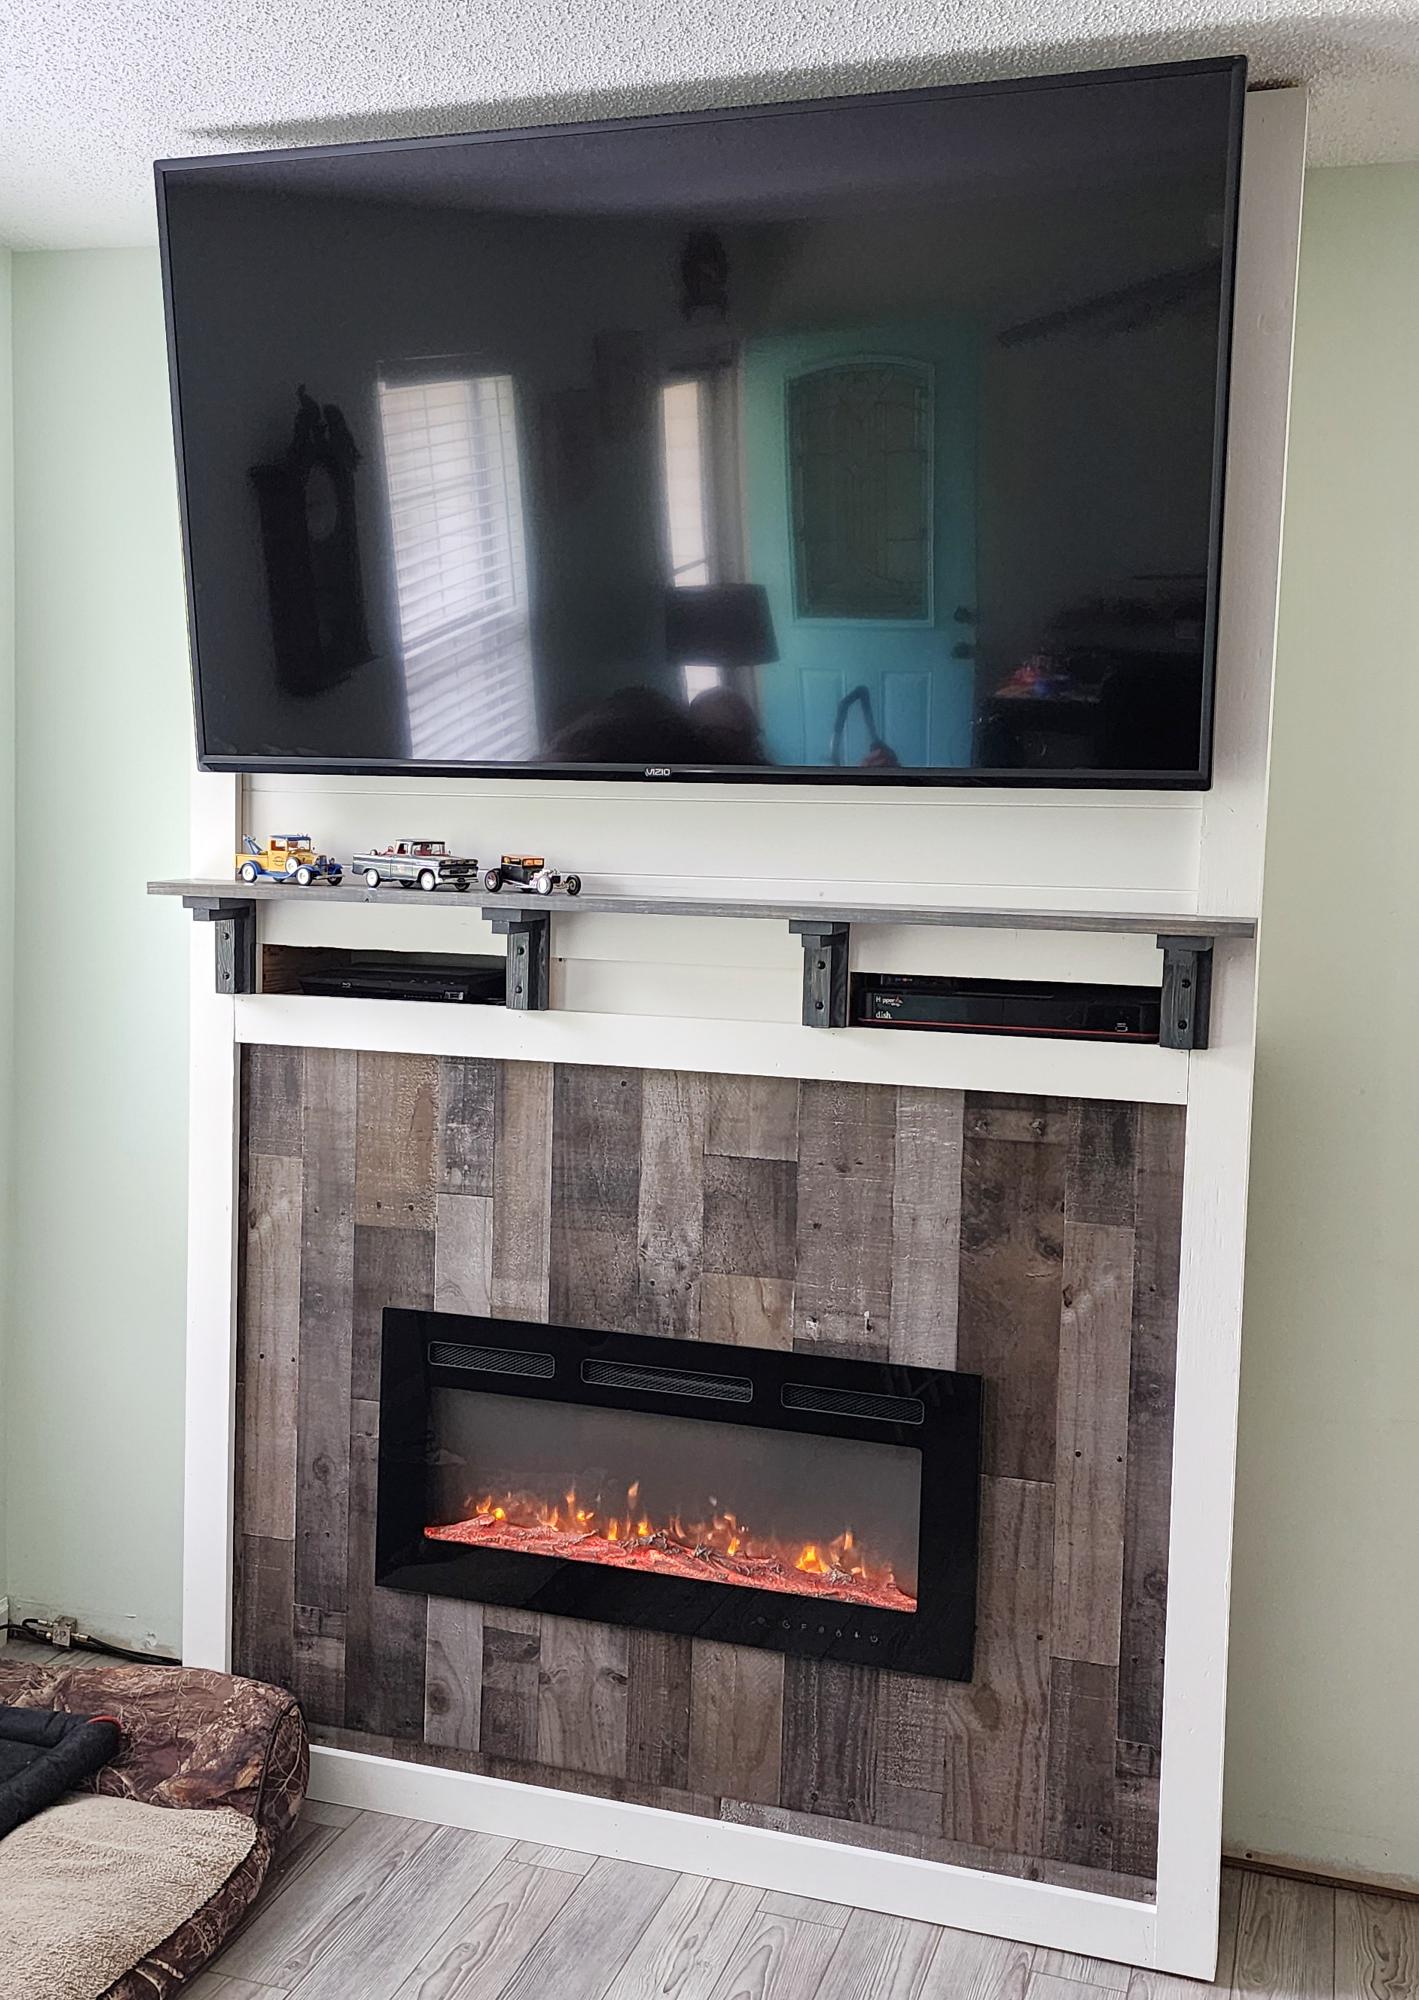
I wanted a tv/ fireplace for Christmas and my husband built this using your plans. I love it!
Joe Hall
Built from Plan(s)
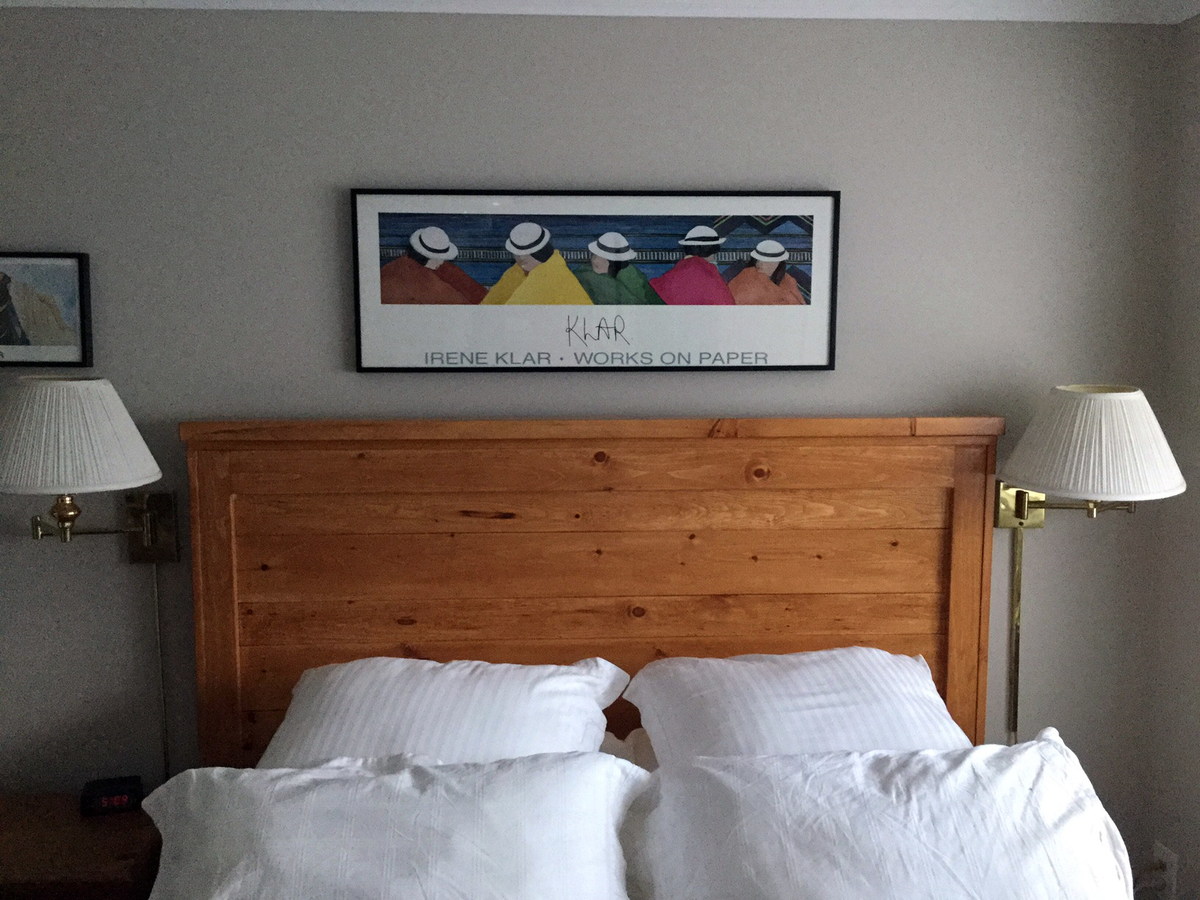
Farmhouse Queen Bed

So far we are in absolute love with this bed! It was a easy quick project that was fun to do. Made an adjustment so that we could fit the box spring in the frame. We also used the bed rail brackets from Rockler. http://www.rockler.com/product.cfm?page=11&site=ROCKLER
Estimated Cost
$120.00
Estimated Time Investment
Weekend Project (10-20 Hours)
Finish Used
After we sanded it we then used wood conditioner and then applied Minwax dark walnut stain, and for the very finish, we wet-dry sand papered it and then applied a coat of poly.
Recommended Skill Level
Intermediate
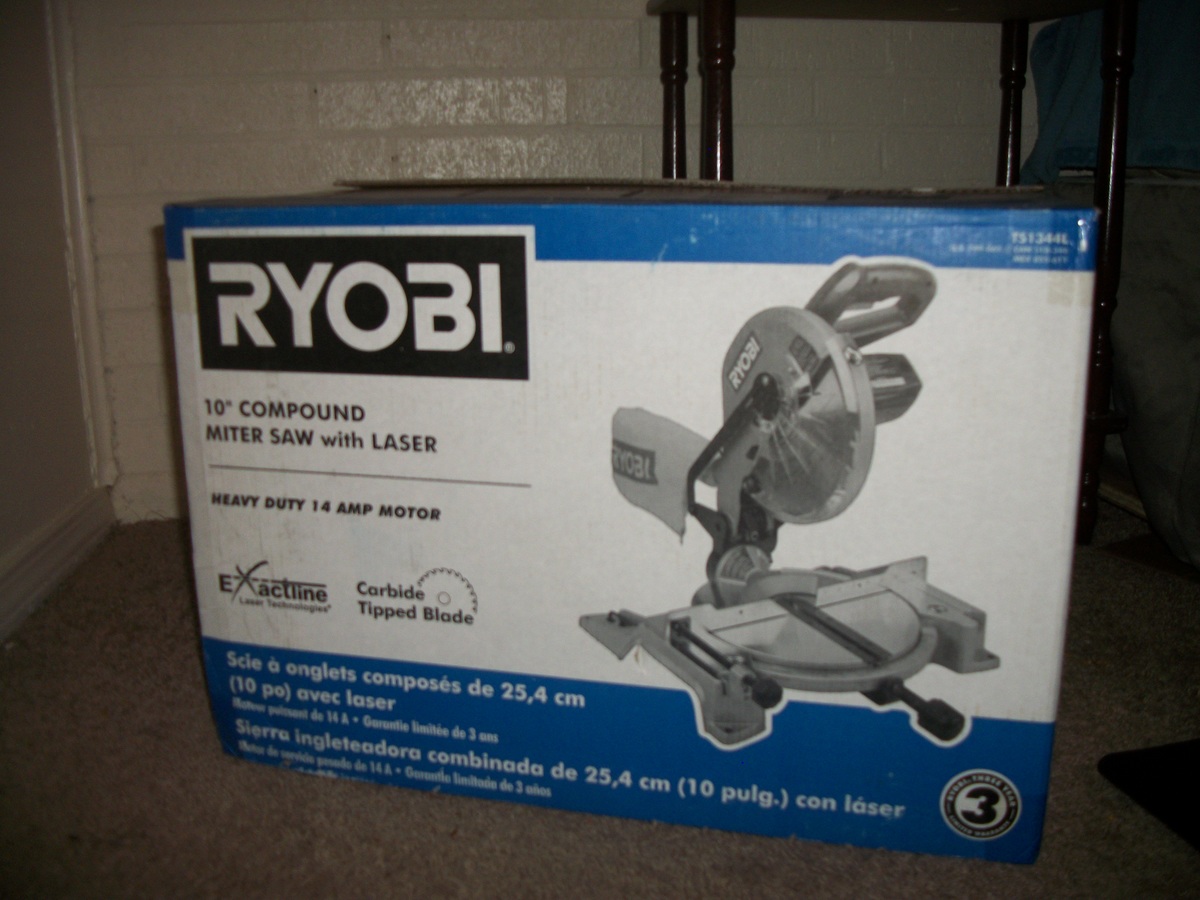
Bathroom Door Organizer
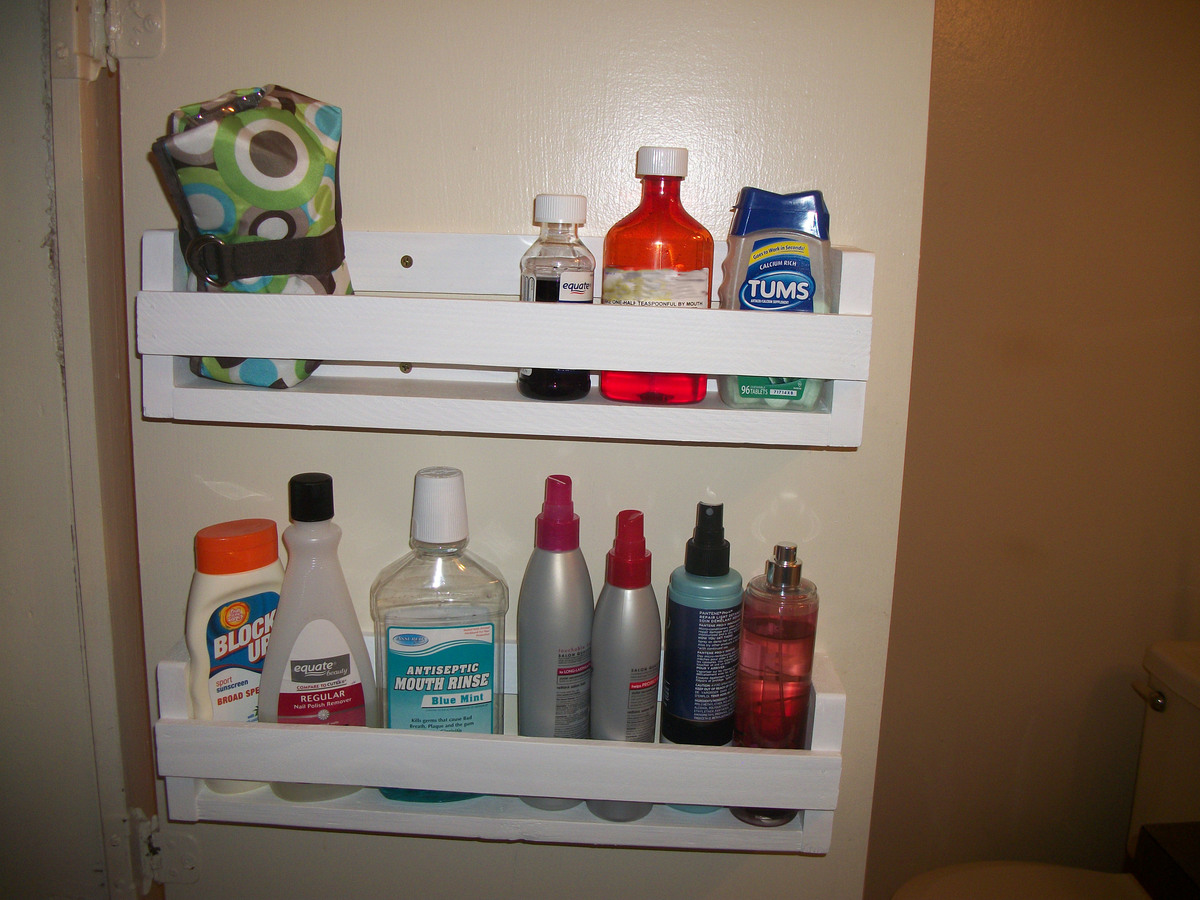
I got a miter saw for mother's day this year! This is the first project I made with it. We needed some accessible storage in the bathroom and this works out perfect
I loosely based them on the flat wall bookshelves and made them the right width to fit on the door. I used scrap wood and lathe that we had laying around to make both shelves.
Built from Plan(s)
Estimated Cost
Free (I used scrap wood, if you had to buy the wood, it would be less than $10)
Estimated Time Investment
An Hour or Two (0-2 Hours)
Finish Used
Krylon interior paint - white
Helmsman Spar Urethane - Semi-gloss
I figured it's going in the bathroom might as well make it as waterproof as possible... and it was what we had on hand.
Helmsman Spar Urethane - Semi-gloss
I figured it's going in the bathroom might as well make it as waterproof as possible... and it was what we had on hand.
Recommended Skill Level
Starter Project
Comments
MarshaSt
Tue, 08/21/2012 - 11:18
Awesome job!
Awesome job!