Community Brag Posts


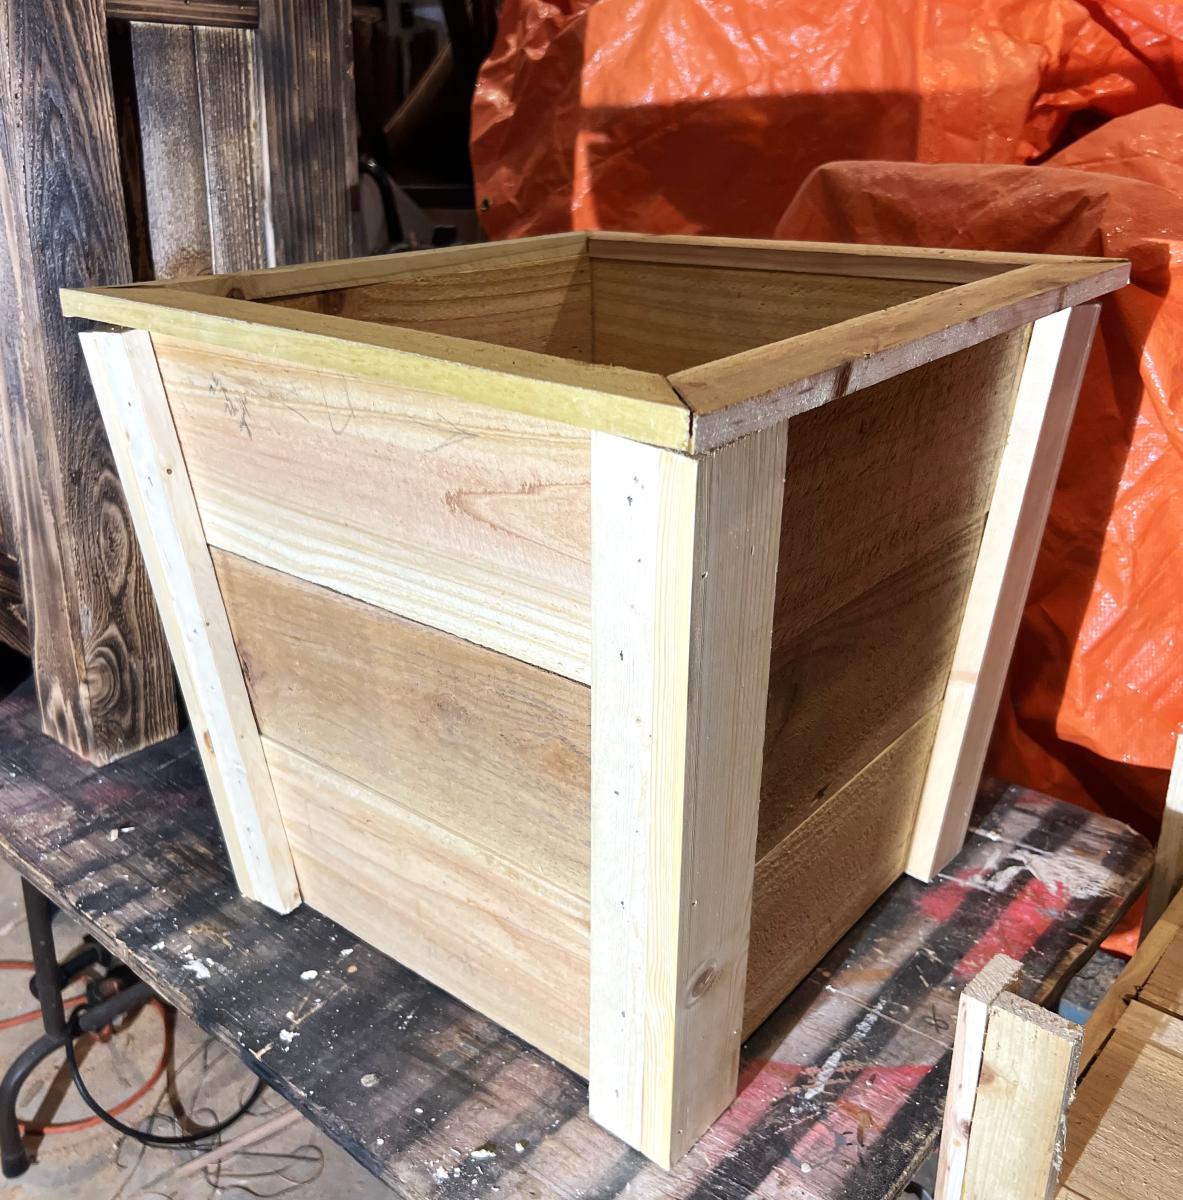
Cedar Planter DIY
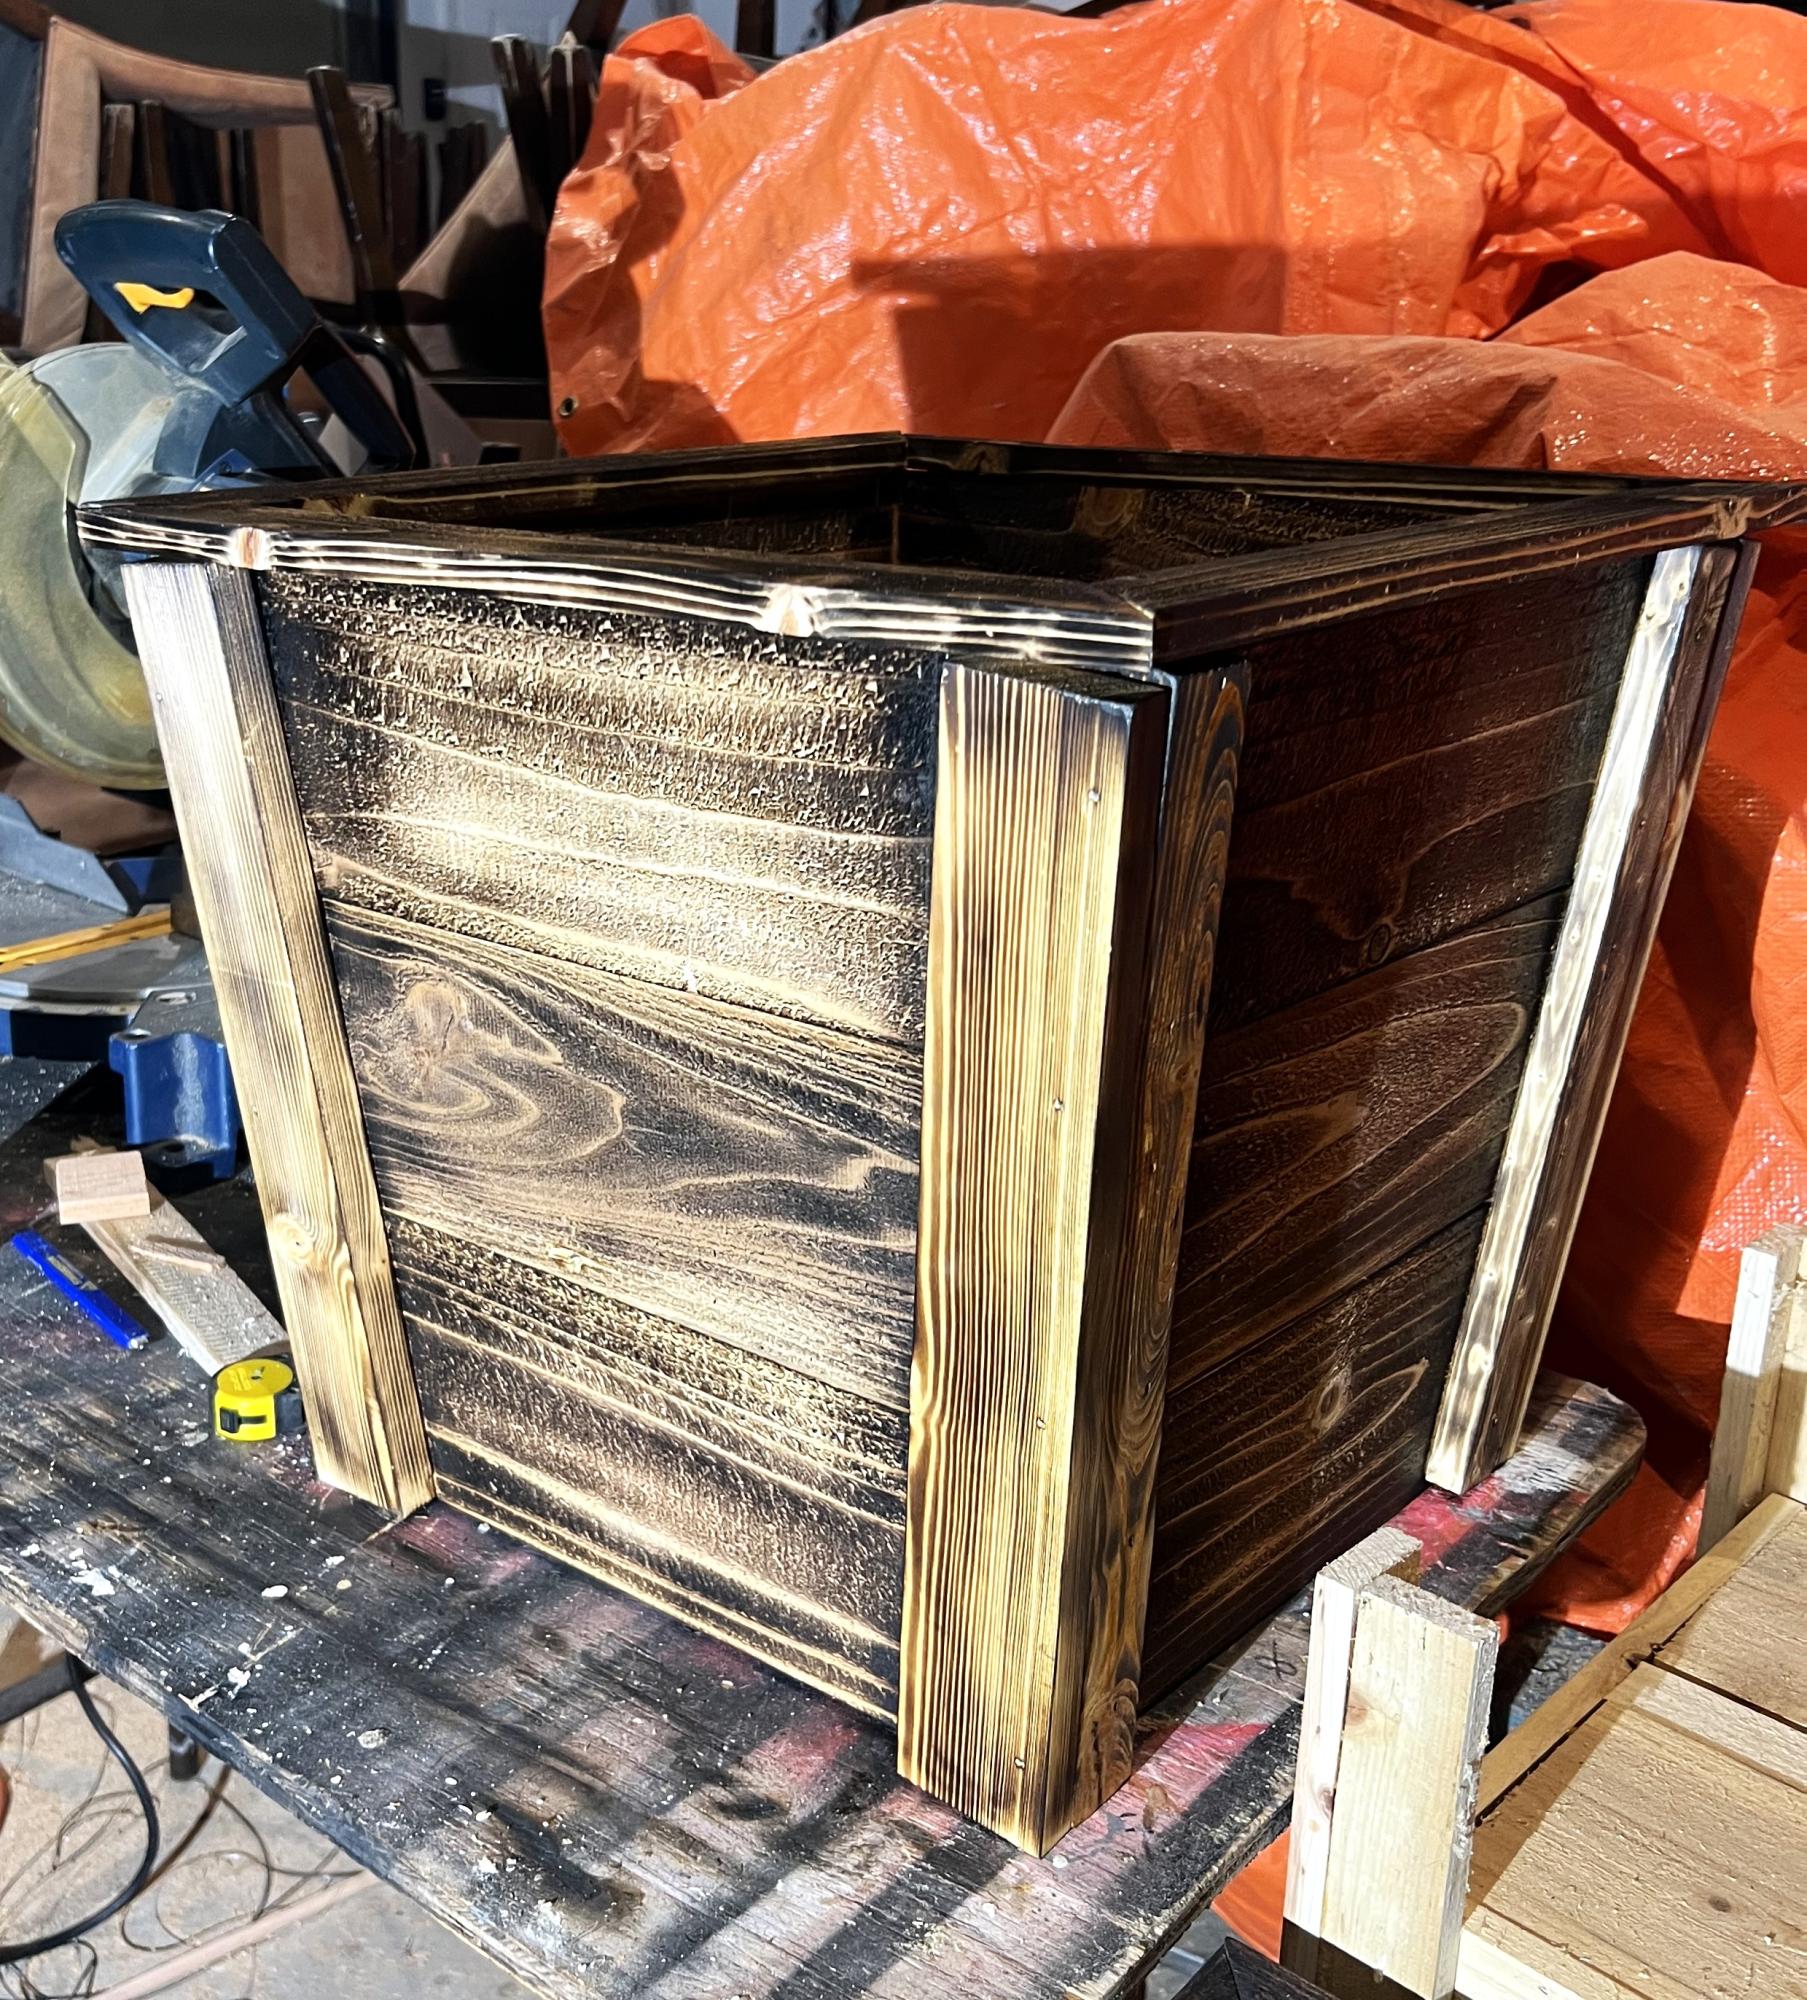
Followed your plan for cedar planter had fun building it thank you so much I added my touch to it of the burn look
JR Lopez
Built from Plan(s)
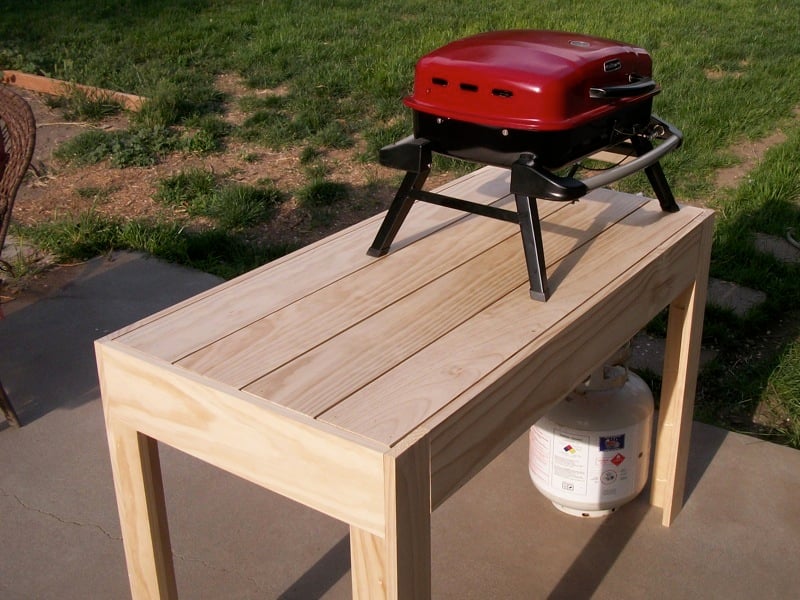
My Bristol BBQ Table
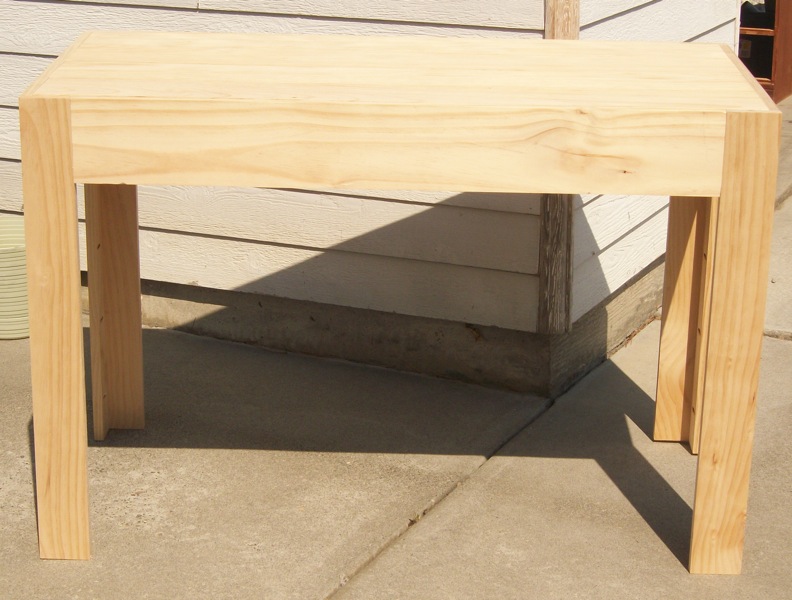
This is what I hope to be the first of a whole outdoor set. This is the BBQ table for our patio. We had one of those large BBQ's but with many years use, it's fallen apart and we can't get parts for it anymore so.. back to the small BBQ and the need for a table.
Built from this plan only modified to suit our needs!

Built from Plan(s)
Estimated Cost
$125
Estimated Time Investment
An Hour or Two (0-2 Hours)
Finish Used
Clear polycrylic in satin
Recommended Skill Level
Beginner
Large Rustic X Bench

This was project number 2 for the wife to replace some kitchen chairs the dogs chewed on when they were younger. I didn't have a jigsaw so the cutouts in the legs were done with a small hand saw and chisel - i recommend the jigsaw. Cutting and fitting the "x" beams was interesting. After struggling for a bit with remembering basic geometry they came together without too much trouble. I went with three pieces for the top joined with pocket hole screws and seated on top of some left overs from my fancy x desktop boards to beef it up just in case. Staining is always a bit discouraging until the poly goes on then bam!, grain comes out and it looks great.


Built from Plan(s)
Estimated Cost
$100 - (a few initial tool purchases in there too)
Estimated Time Investment
Day Project (6-9 Hours)
Finish Used
Minwax Espresso and Minwax Polyeurathane Clear Gloss (oil) (very shiny)
Recommended Skill Level
Beginner
Outdoor Sofa and Loveseat set

I couldn't believe how easy this project was to make. I'm so glad I made my own outdoor sofa and loveseat rather than paying big bucks for a set at the store!
Estimated Cost
$200
Estimated Time Investment
Weekend Project (10-20 Hours)
Finish Used
Behr exterior stain in Coffee
Recommended Skill Level
Beginner
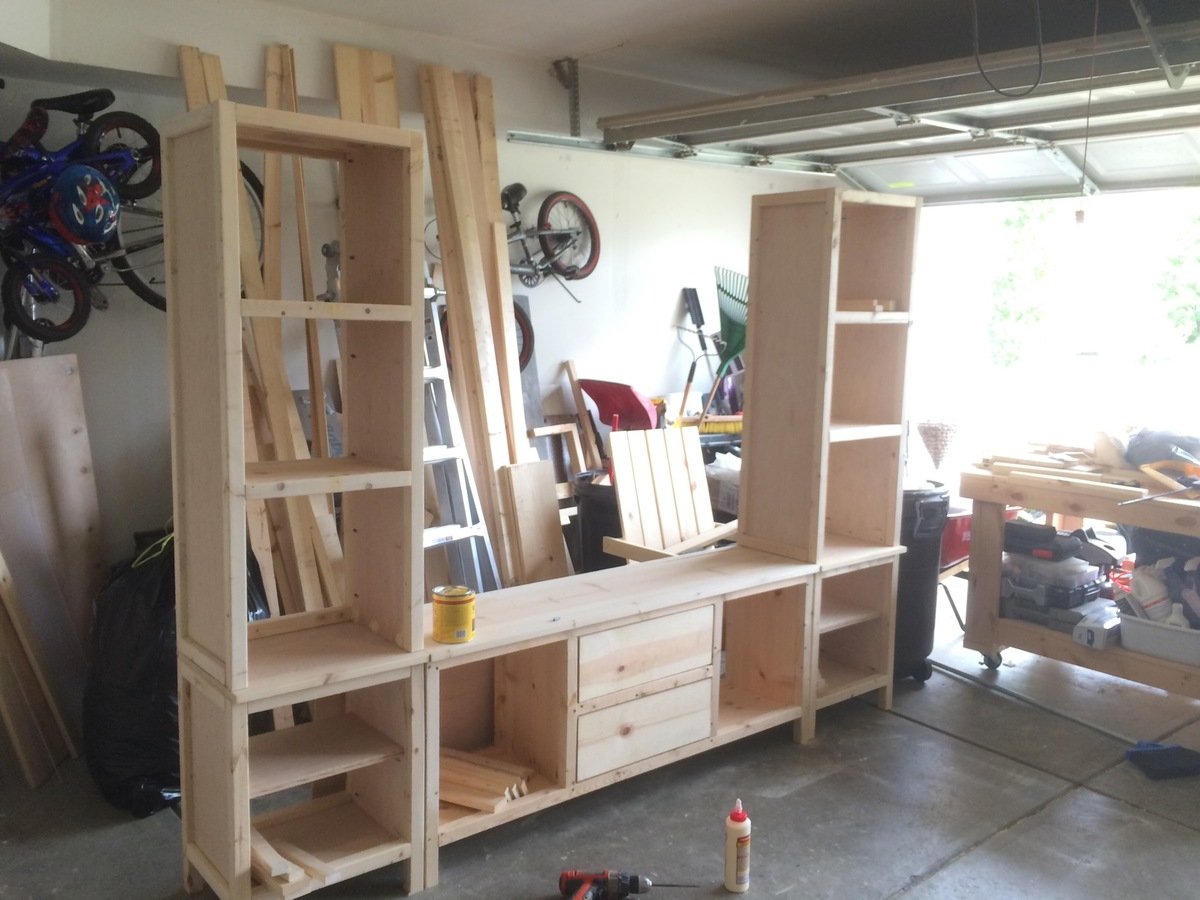
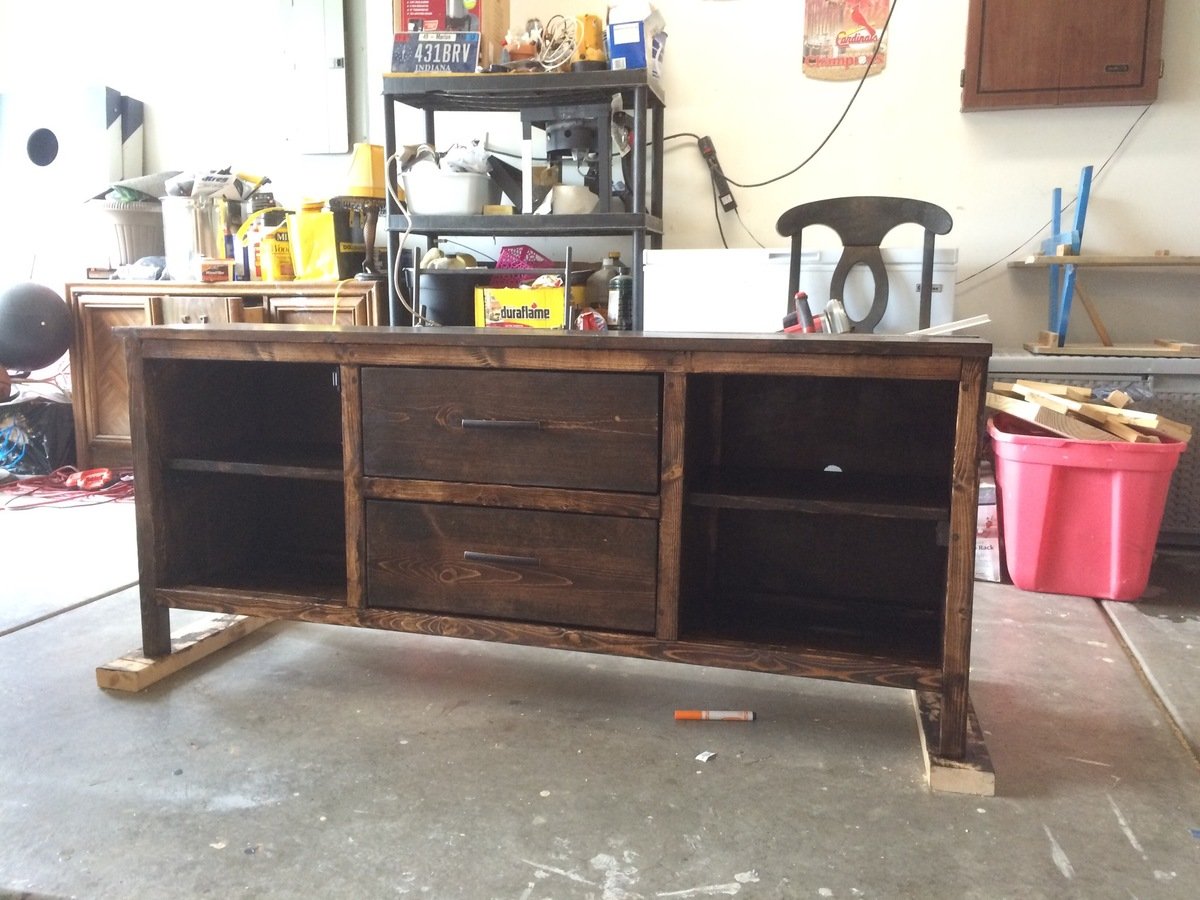
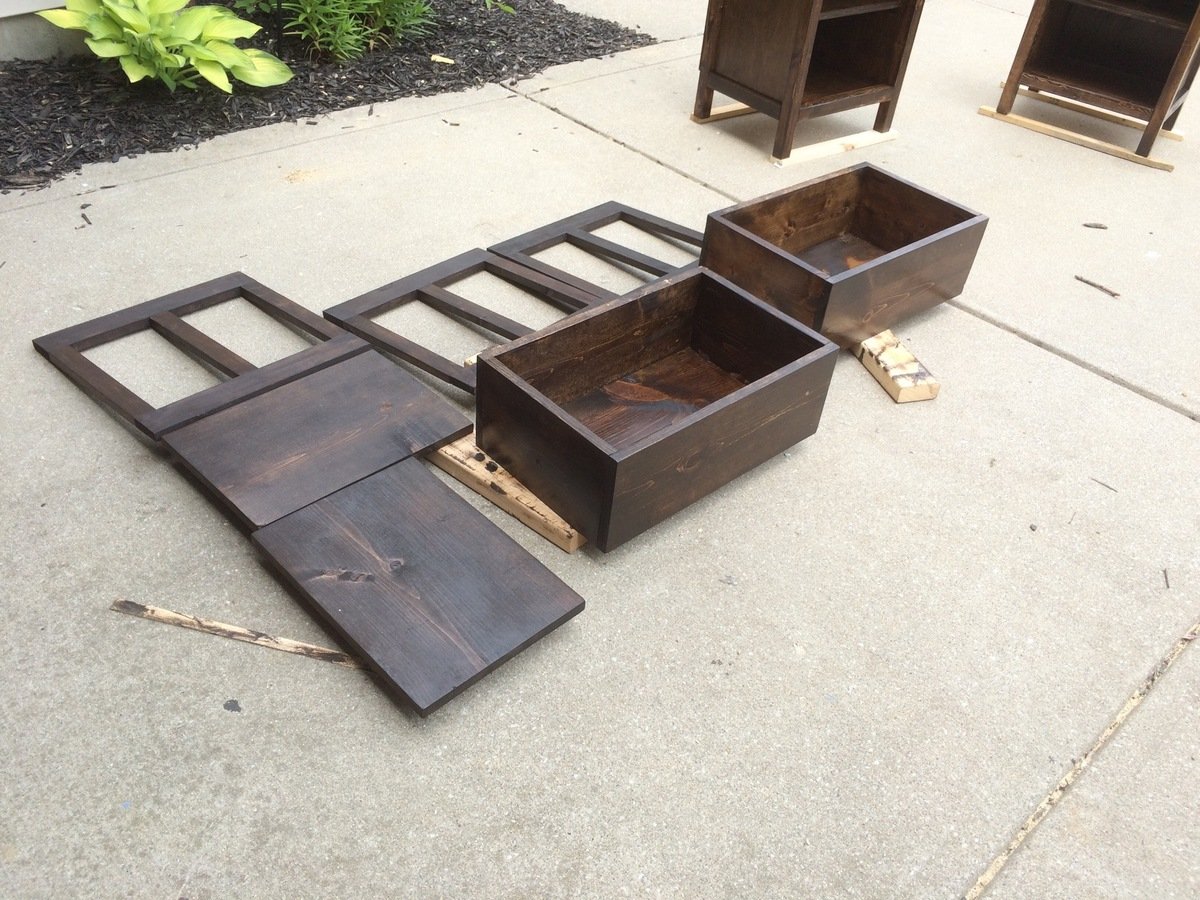
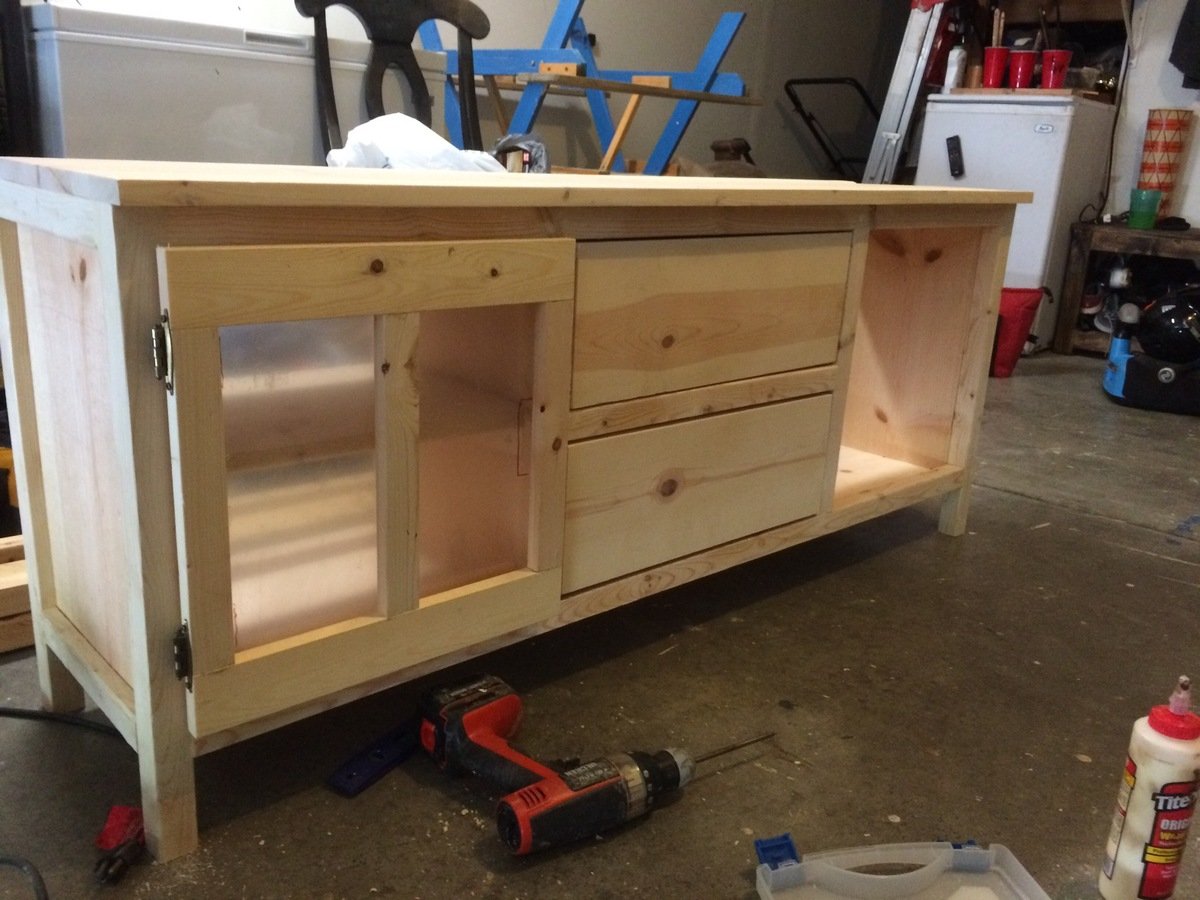
Mid Century Modern Entertainment Console
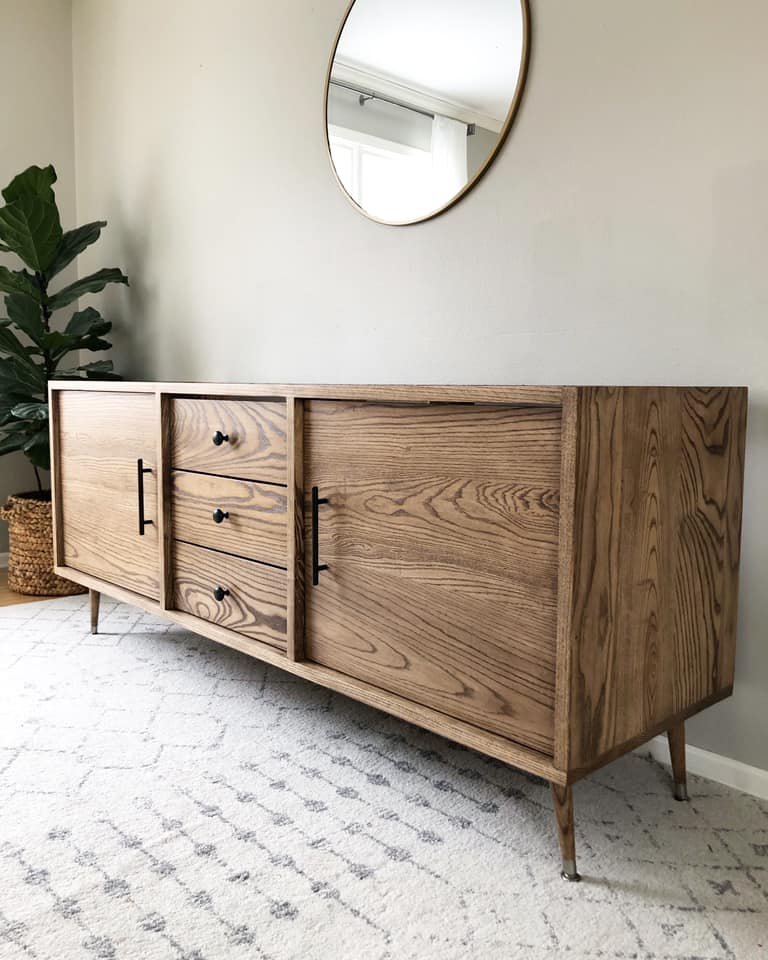
Built by Holli Peterson
Built from Plan(s)
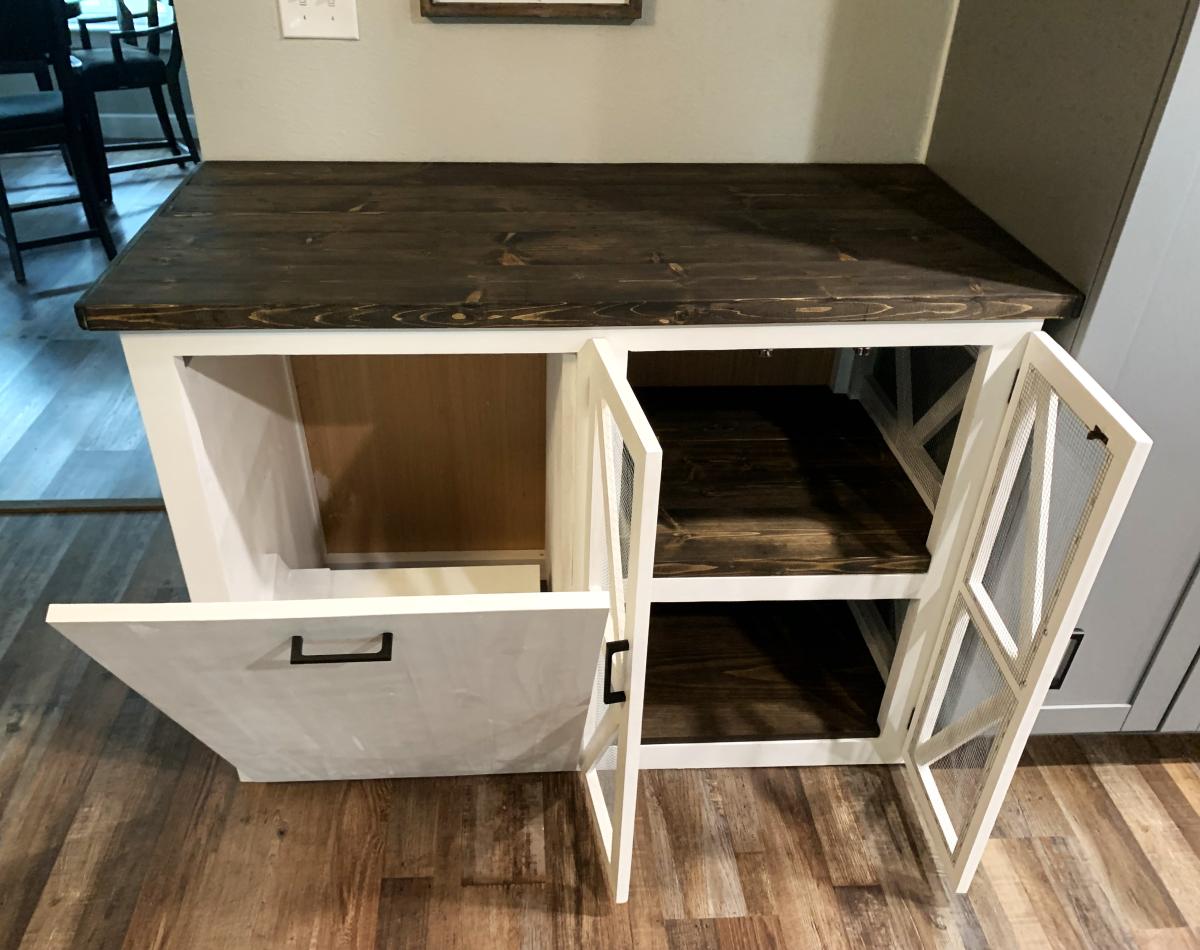
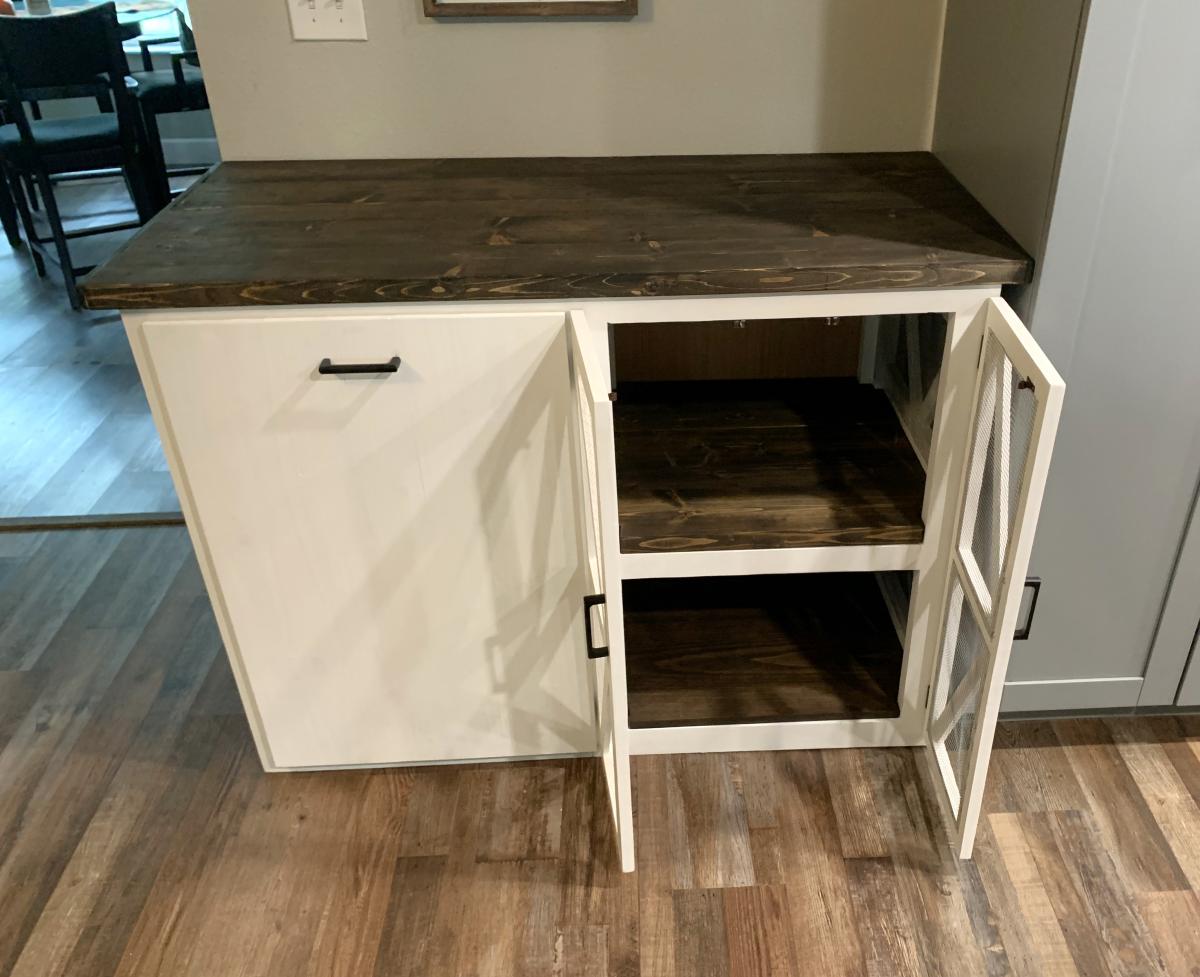
Coffee Station with Tilt-out Trash
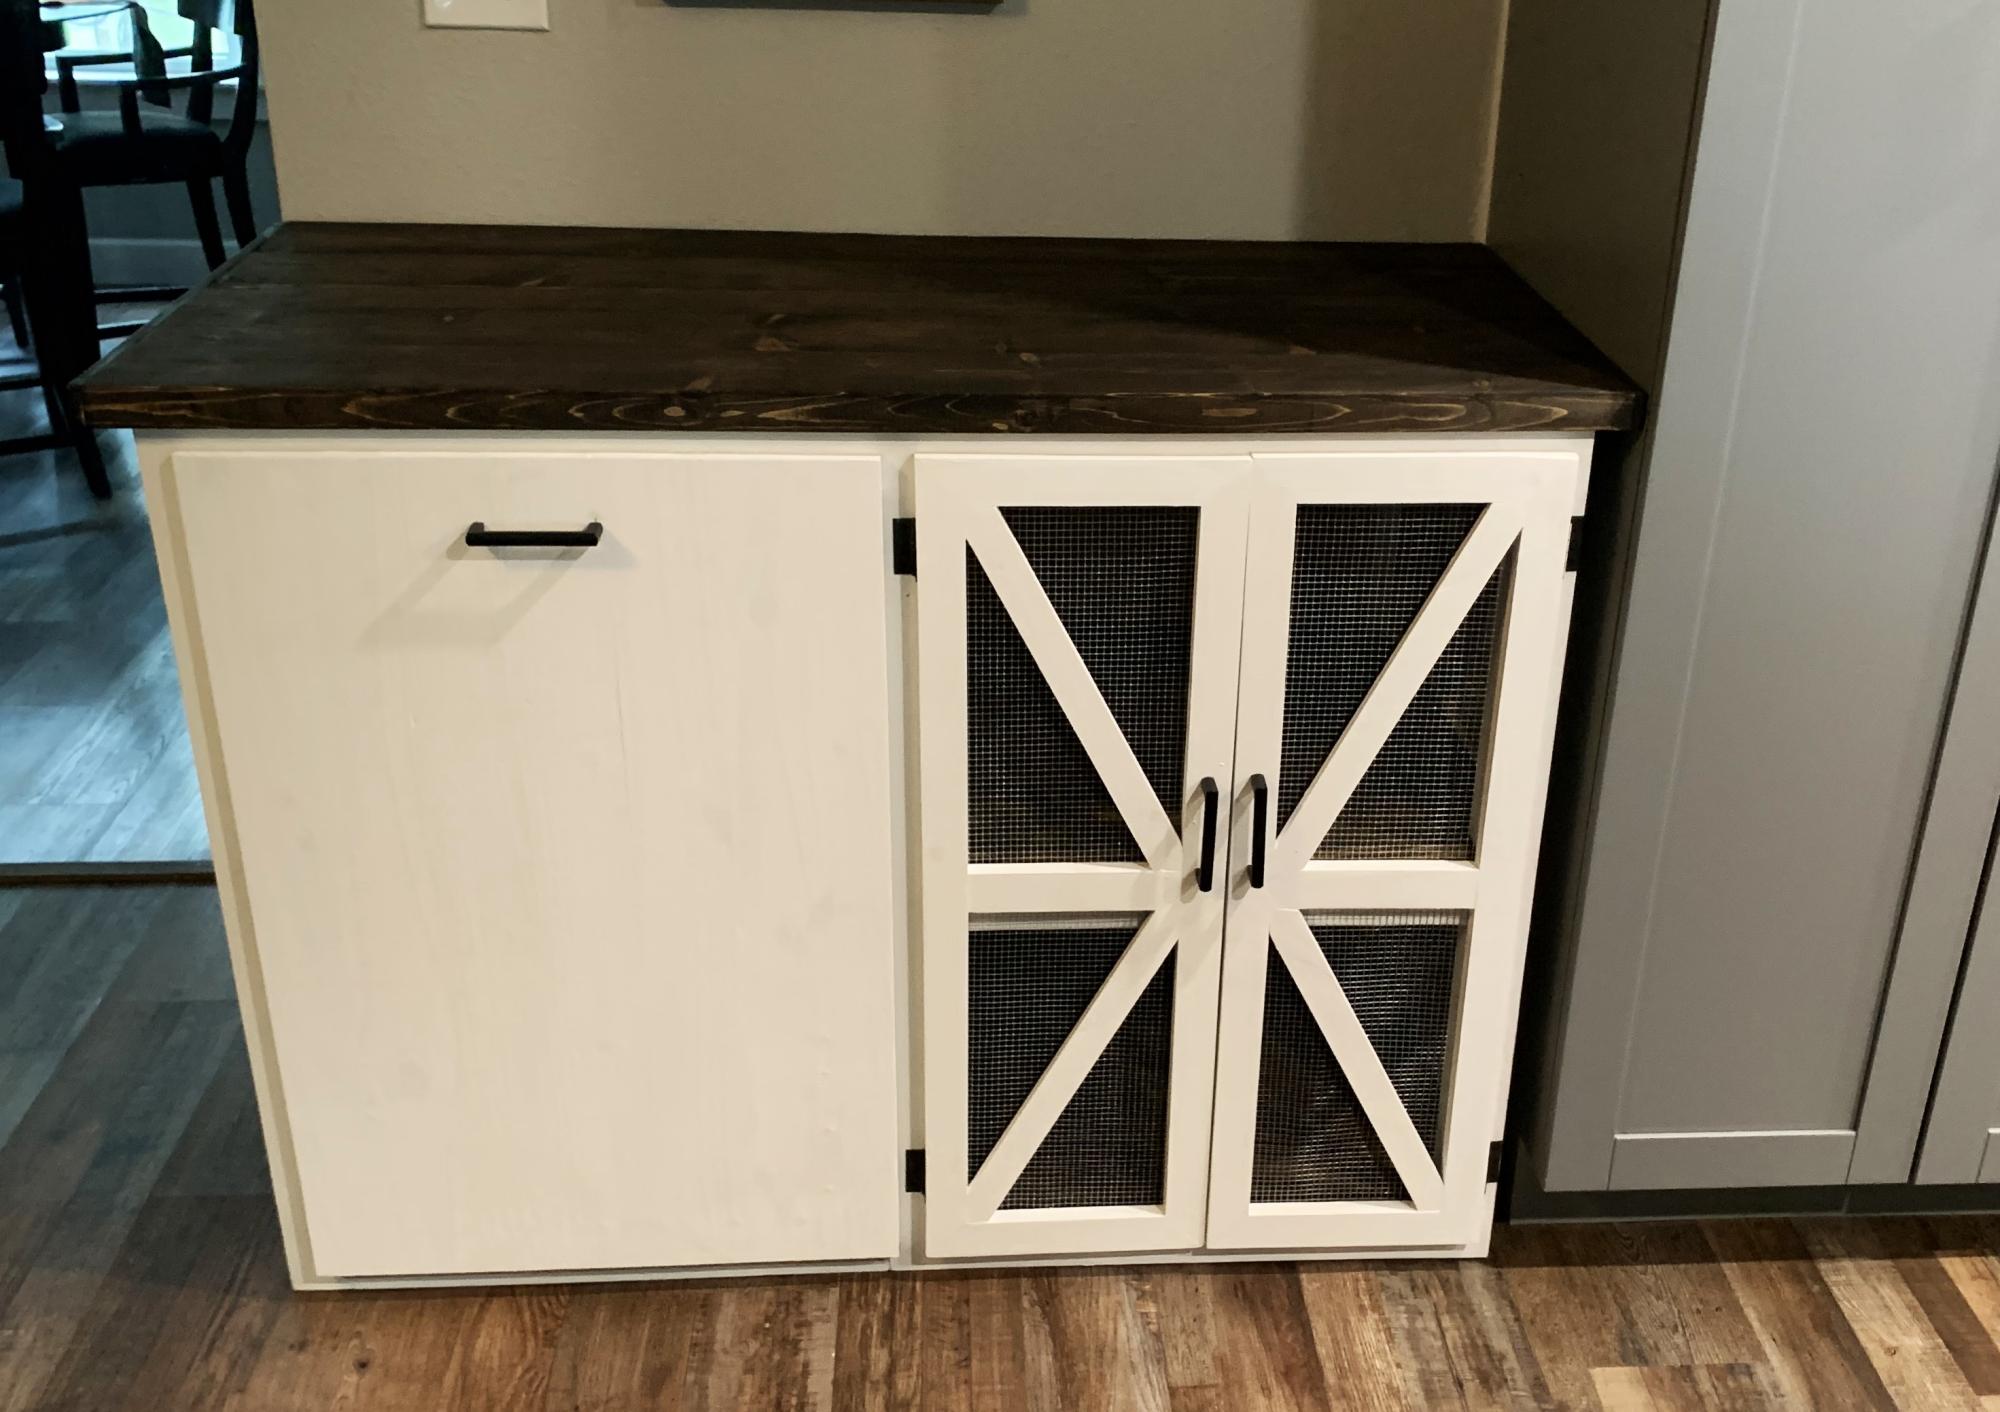
Coffee station with trash can holder and storage.
Royce and Lynn Ledford
Built from Plan(s)
Closet Organizer for two!
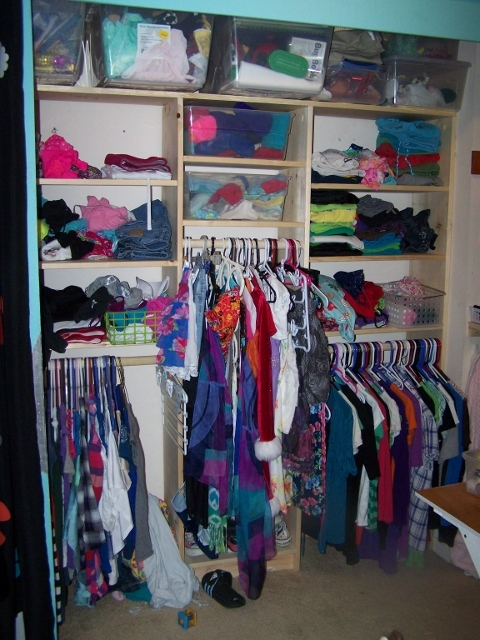
My two girls (9 and 12) share a room and their dressers (cheap from Ikea) were not only taking up too much space, but also falling apart!
I used Ana's closet organizer plan as inspiration for this, adding more shelves since they won't have any drawers to use.
All of their clothes fit (though its tight!) and they each have their own space, plus much more space to move in the rest of the room.
I made a google sketchup file to work with, but I'm not sure how to upload it?
Basically, I just bought 7 1x12 boards (6' length).
I used 4 of them as uprights: one on either side wall because I couldn't find any studs!?
Then one more is the top shelf (for storage of things they don't use often)
Then the final three were cut to make the shelves - I had very little waste.
One 6' wood dowel (1.25" diameter) for the closet rods. I screwed them directly into the vertical supports instead of using a bracket.
Additionally, I used a couple small 1x4 scraps to make a toe-kick for the middle bottom shelf and a brace at the top. I was going to use the top brace to attach the whole unit to the back wall, but it ended up being too tight a fit and too heavy to pull out to drill into it :) So I think its stable for now at least!
I chose to leave it unfinished because I was in a hurry and the boards I got (at Lowes) were really clean and smooth to start with. The girls have been using it for a few months so far and I don't see any problems with it (splinters, etc.)
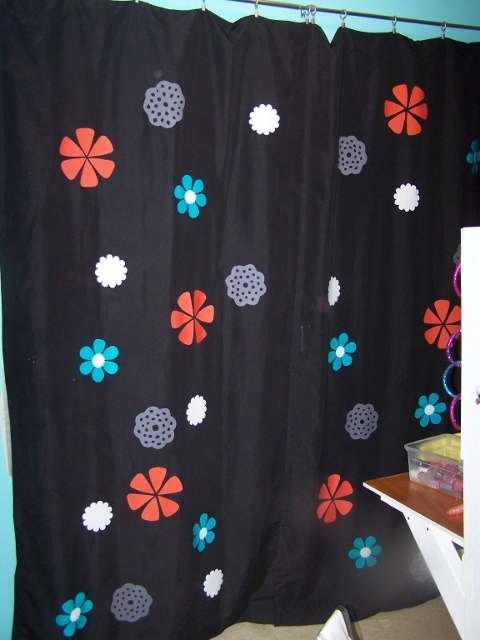
I managed to get a picture while it is tidy (hardly ever) and also a picture of the curtains I made to replace the doors - much easier to see the whole space now, and still close it up when (always!) its not tidy.
Built from Plan(s)
Estimated Time Investment
Day Project (6-9 Hours)
Finish Used
none
Recommended Skill Level
Beginner
Comments
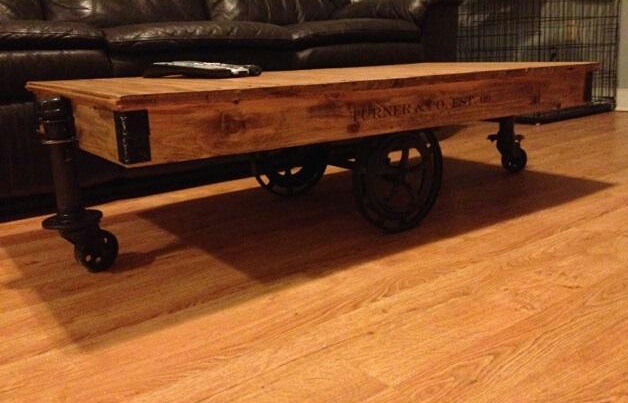
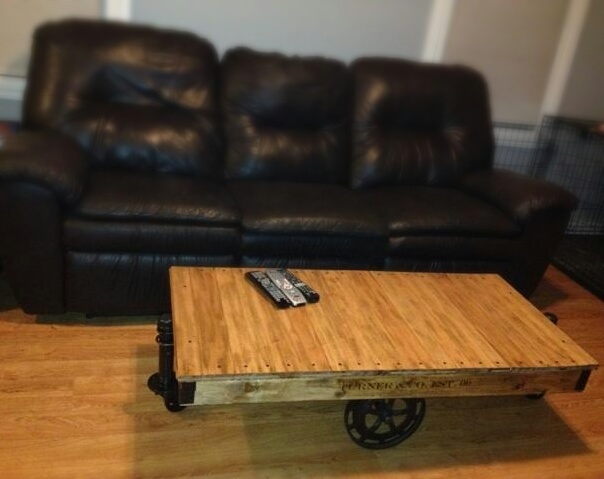
Altered Factory Cart Coffee Table
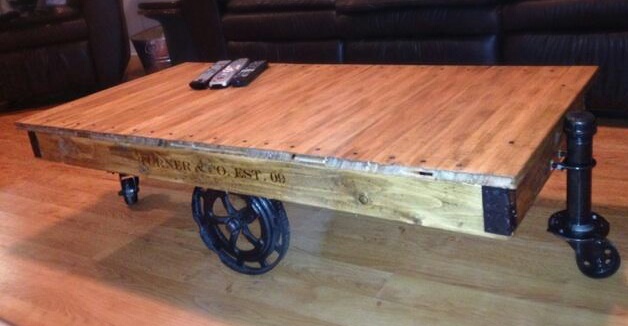
I absolutely had a minor design change. But there was not a single plan I found with measurments! Can always count on Ana White's blog! I found FREE unfinished hardwood being scraped and I was able to use it as my table top. I found the large wheels on ebay for around $20, they are old heavy duty 10 inch lawn mower wheels. I bought the frame wood and plumbing hardware from lowes, and the 4 inch casters from a tractor supply company! I also used a finish from this blog. Had an amazing time building this table, can't wait to DIY some more!
Estimated Time Investment
Weekend Project (10-20 Hours)
Finish Used
Golden Pecan Minwax Stain, and a Dark Walnut Minwax Stain. The Finish on the blog called for espresso but I was not able to find it.
Recommended Skill Level
Beginner
Truss shelf

Easy to follow plans. Took about 3 hours to complete.

Built from Plan(s)
Estimated Cost
$50
Estimated Time Investment
Afternoon Project (3-6 Hours)
Finish Used
Dark walnut
Recommended Skill Level
Starter Project
Miter Saw Cart
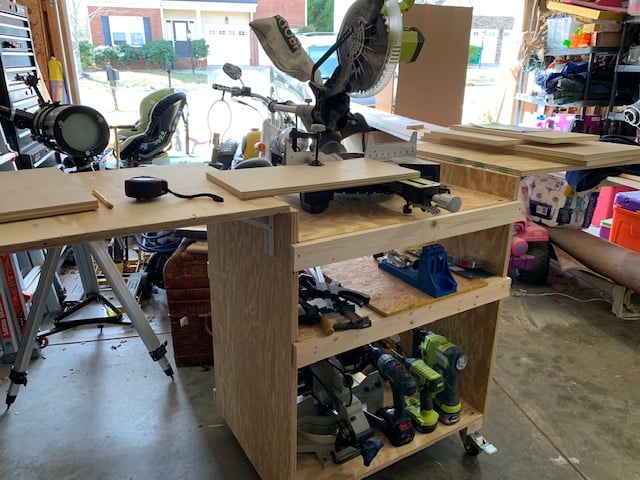
I desperately needed a cart and working space for my new sliding saw and other tools. I built an extra shelf to store the Kreg Jig! Awesomeness. My friends at the big blue box cut the plywood to spec for me! I am enjoying already! Most of the cost came from the brackets and casters - I chose heavy duty!
Built from Plan(s)
Estimated Cost
$115
Estimated Time Investment
Day Project (6-9 Hours)
Finish Used
No finish
Recommended Skill Level
Beginner
Barn Screen Door
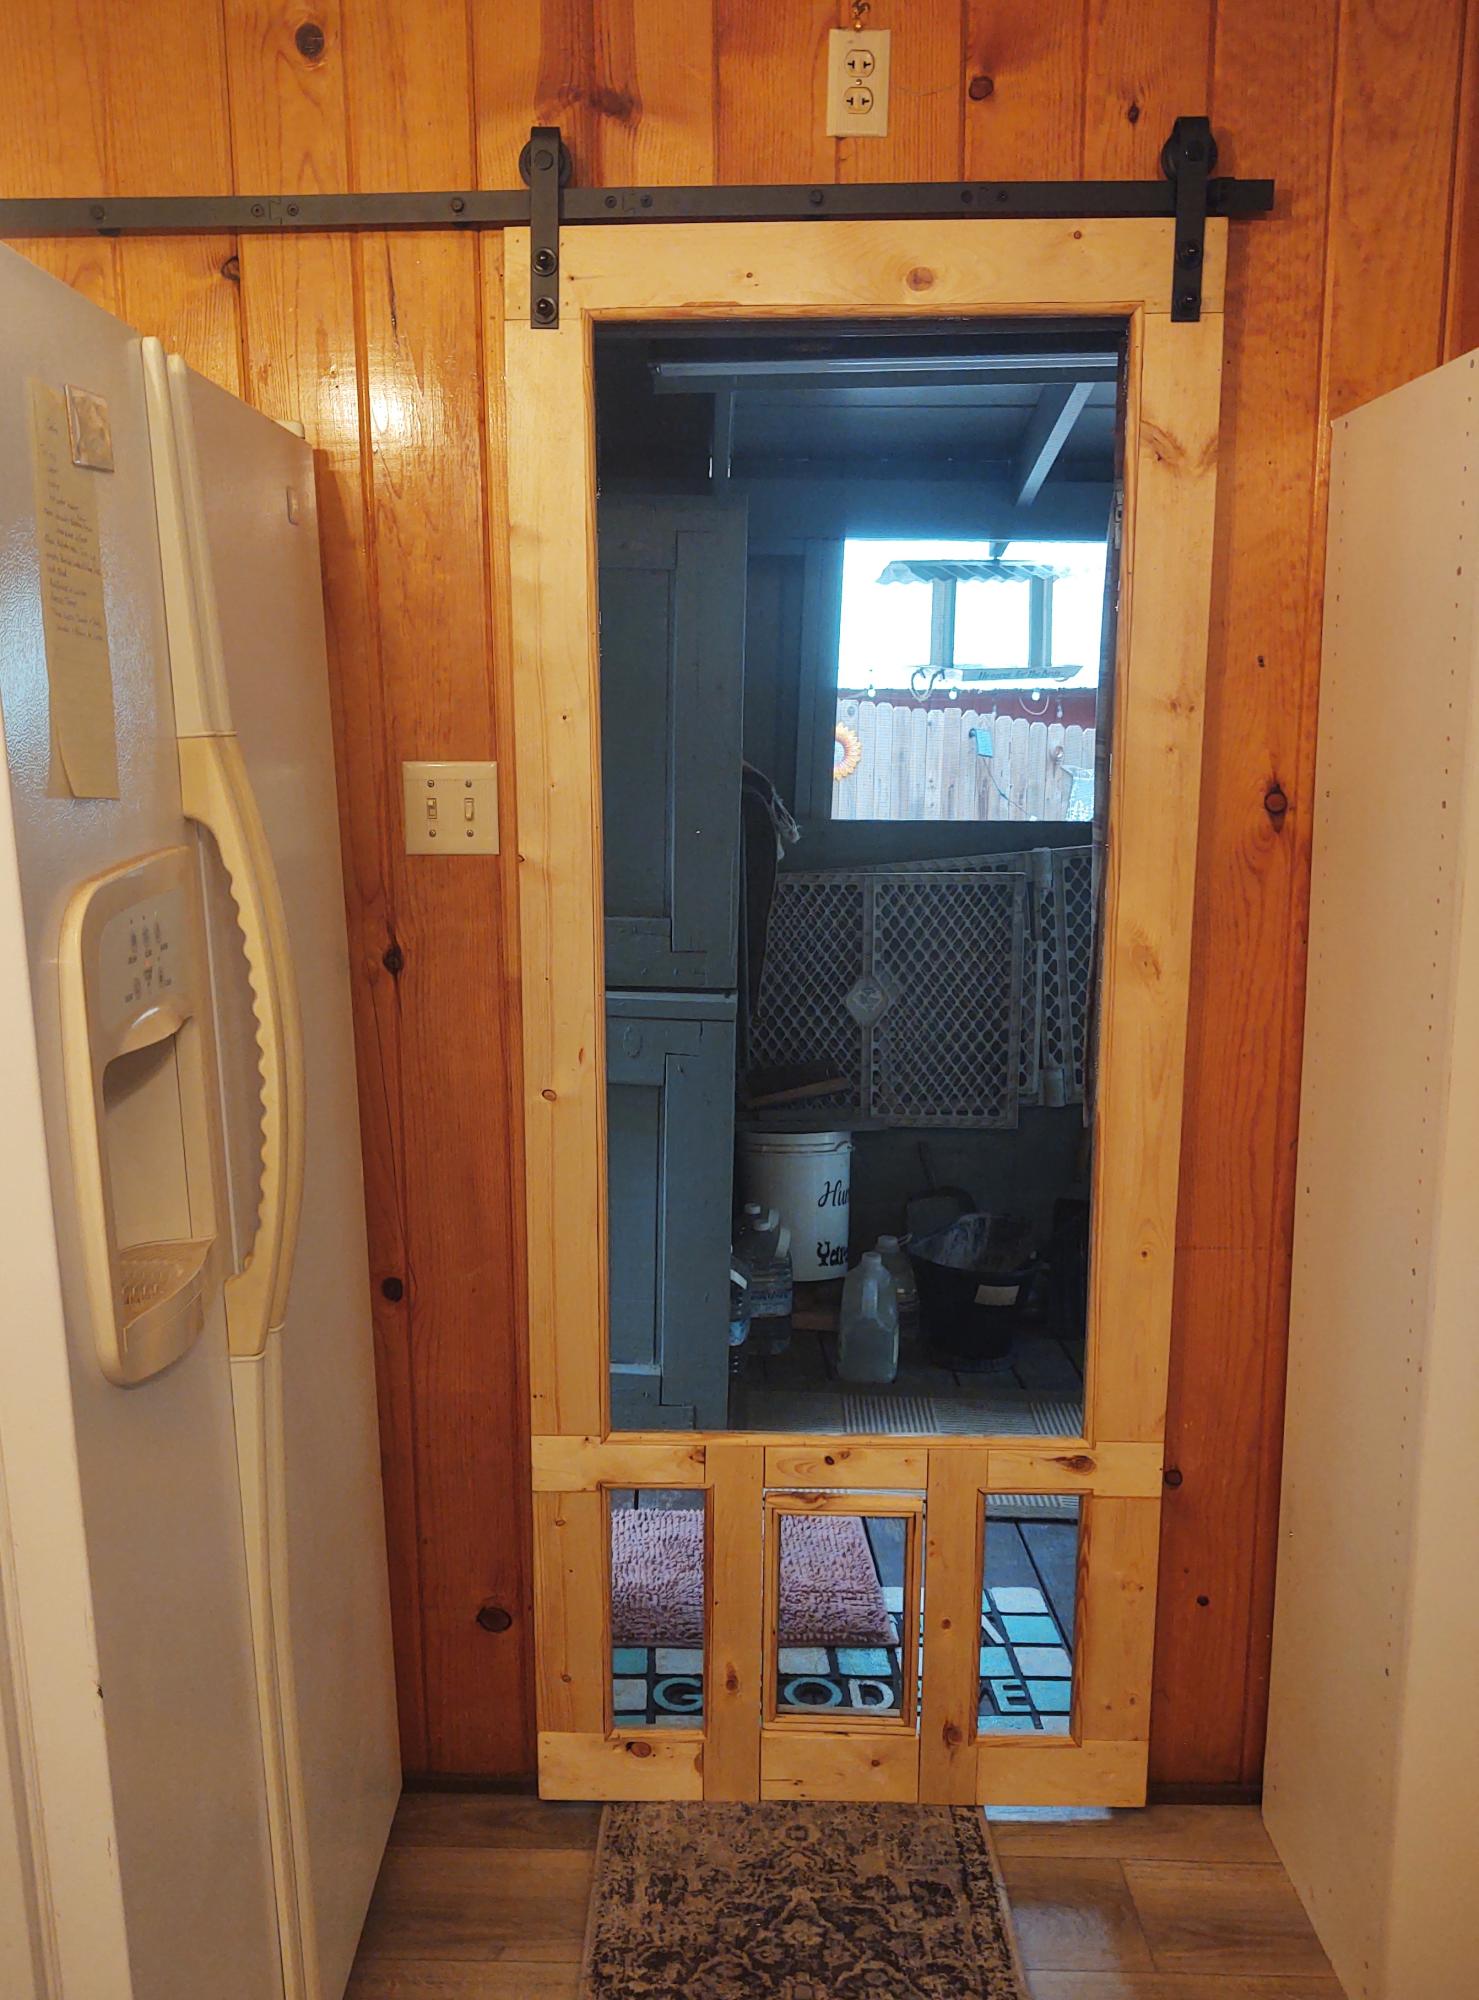
I needed a screen door but one on hinges wasn't a option. So I built one as a barn door. The center bottom panel is a doggie door. Lynda Westbrook
Comments
Fri, 10/20/2023 - 06:47
Question about door function
Do you have a problem with insects coming around the edges? Or is this an interior door and you just needed good air flow?
Michael Collection: Twin platform bed

We made for our two oldest. This is our first couple project
Or rather a family project.
Built from Plan(s)
Recommended Skill Level
Intermediate
Comments

Barnwood Frames - $1 and 10 minutes
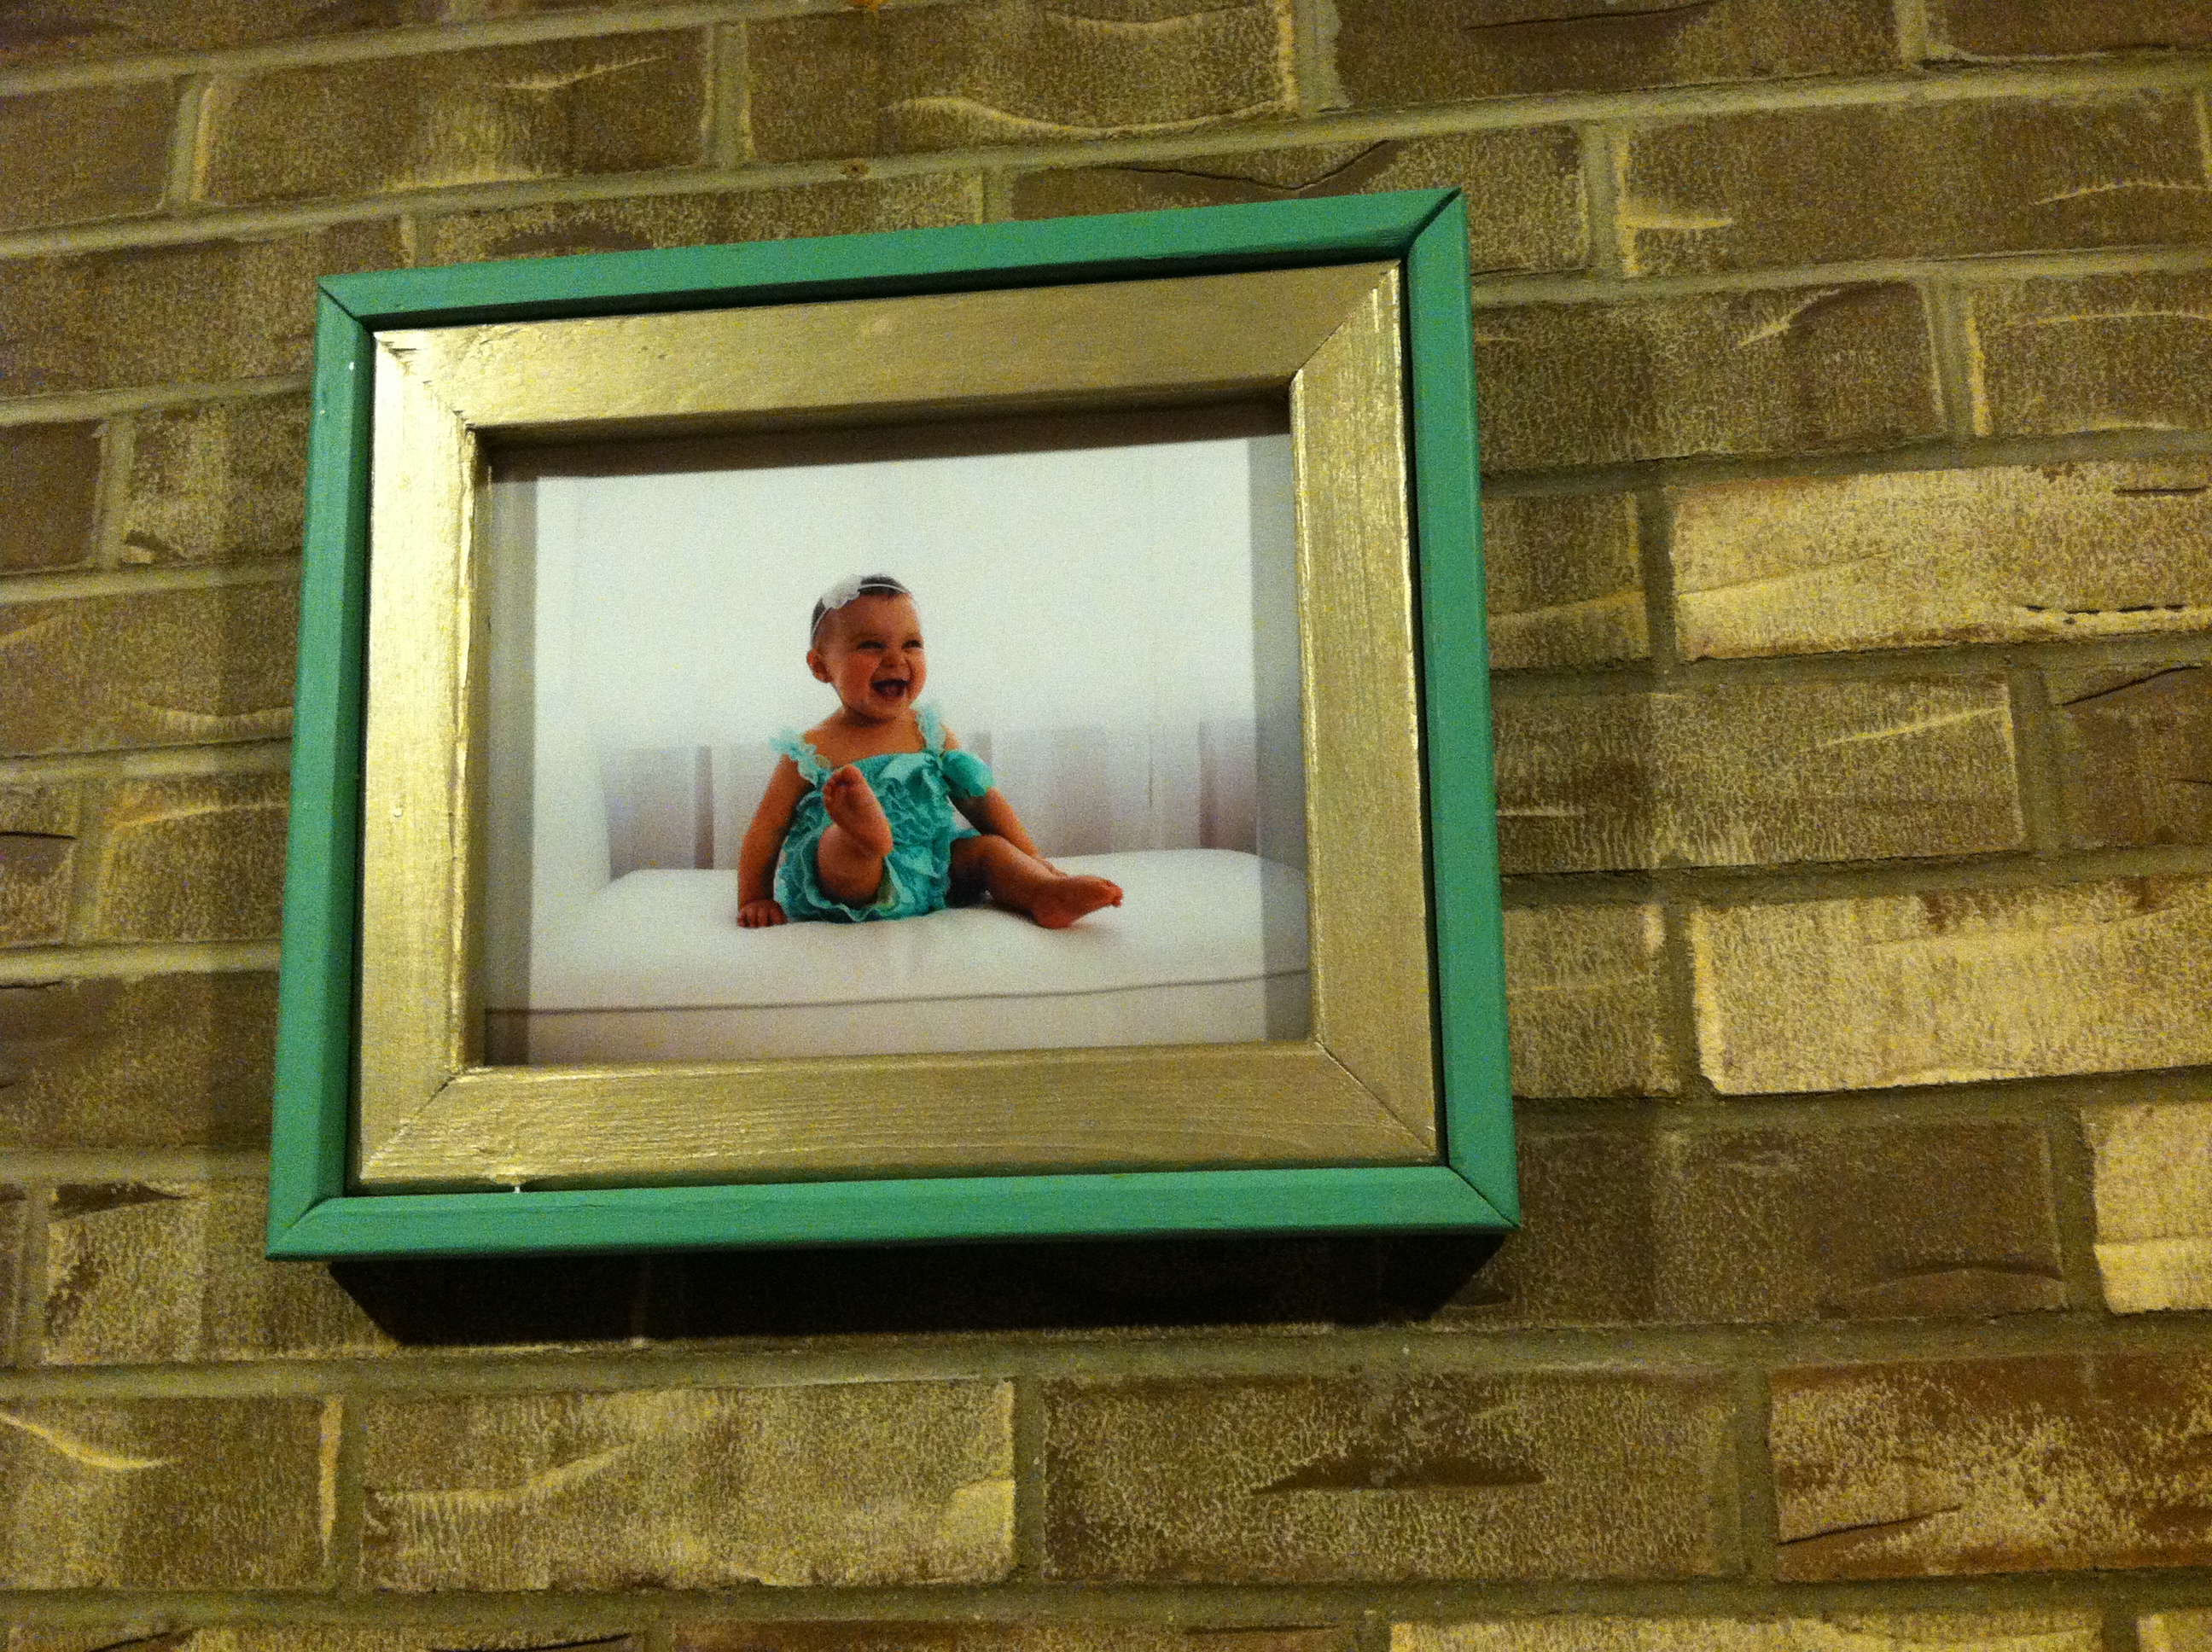
With some extra scraps of wood and paint, I tested my new miter saw by building this frame. I also finished it to match the green in the rustic media console cabinet that I had just built.

Built from Plan(s)
Estimated Time Investment
An Hour or Two (0-2 Hours)
Finish Used
Behr scotch lassie and Martha Stewart vintage gold specialty finish paints with a couple of layers of Minwax polycrylic
Recommended Skill Level
Beginner
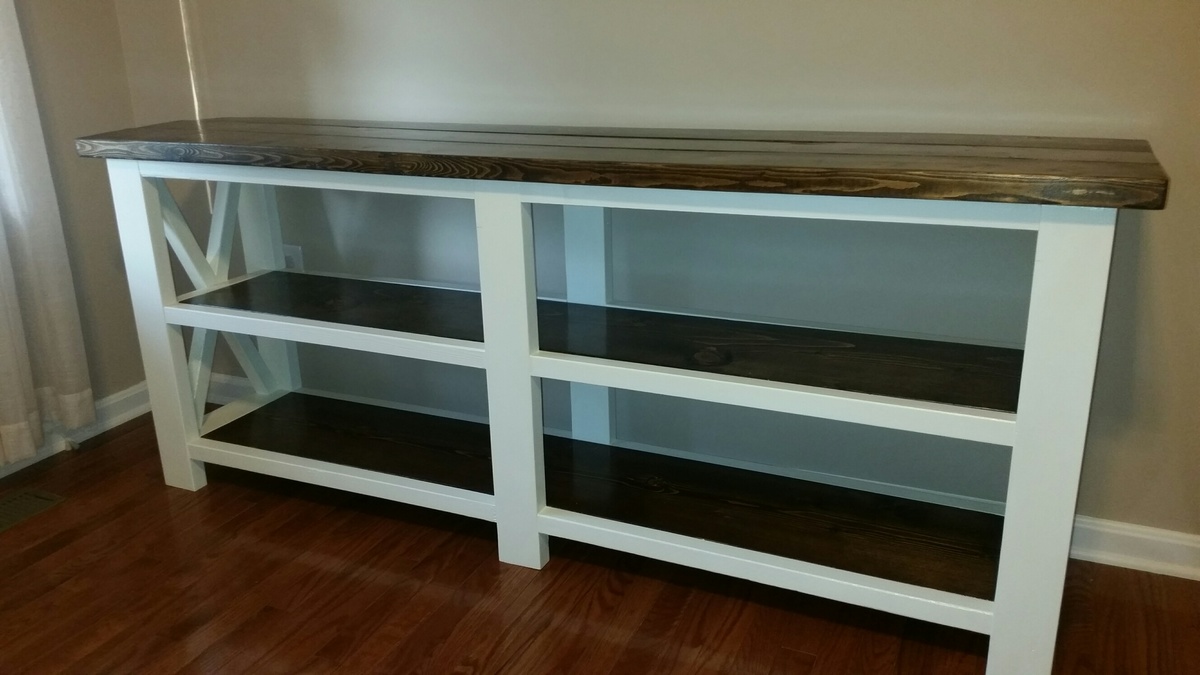
Rustic X end table
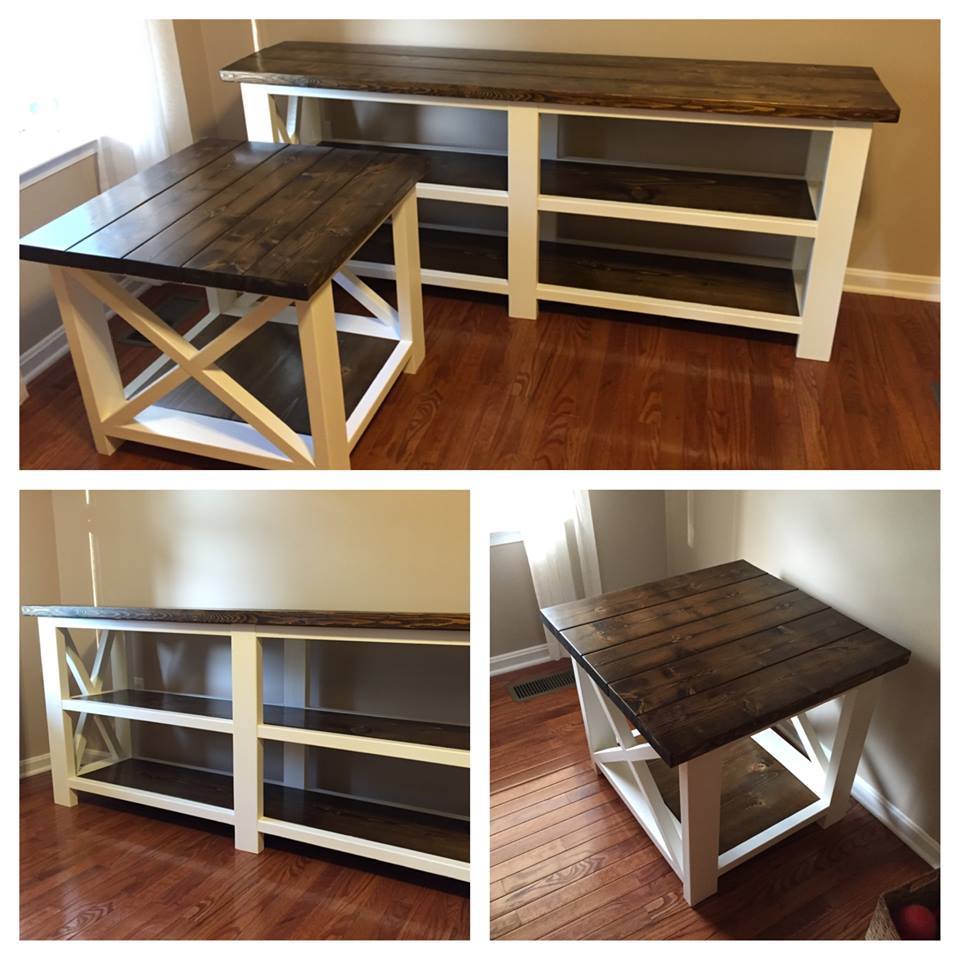
Built both using the rustic x end table and console plans. Wanted the shelves stained and inlaid so that took some thinking on how to assemble. Used valspar "white rose" paint and jacobean minwax stain.

Built from Plan(s)
Estimated Cost
$150-200
Estimated Time Investment
Week Long Project (20 Hours or More)
Finish Used
Jacobean minwax
Valspar "white rose" latex
Semi gloss stain
Valspar "white rose" latex
Semi gloss stain
Recommended Skill Level
Intermediate
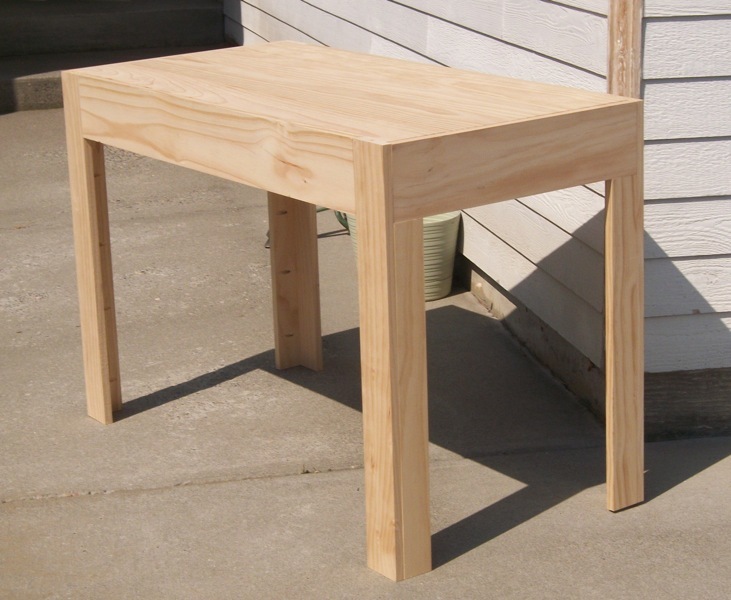
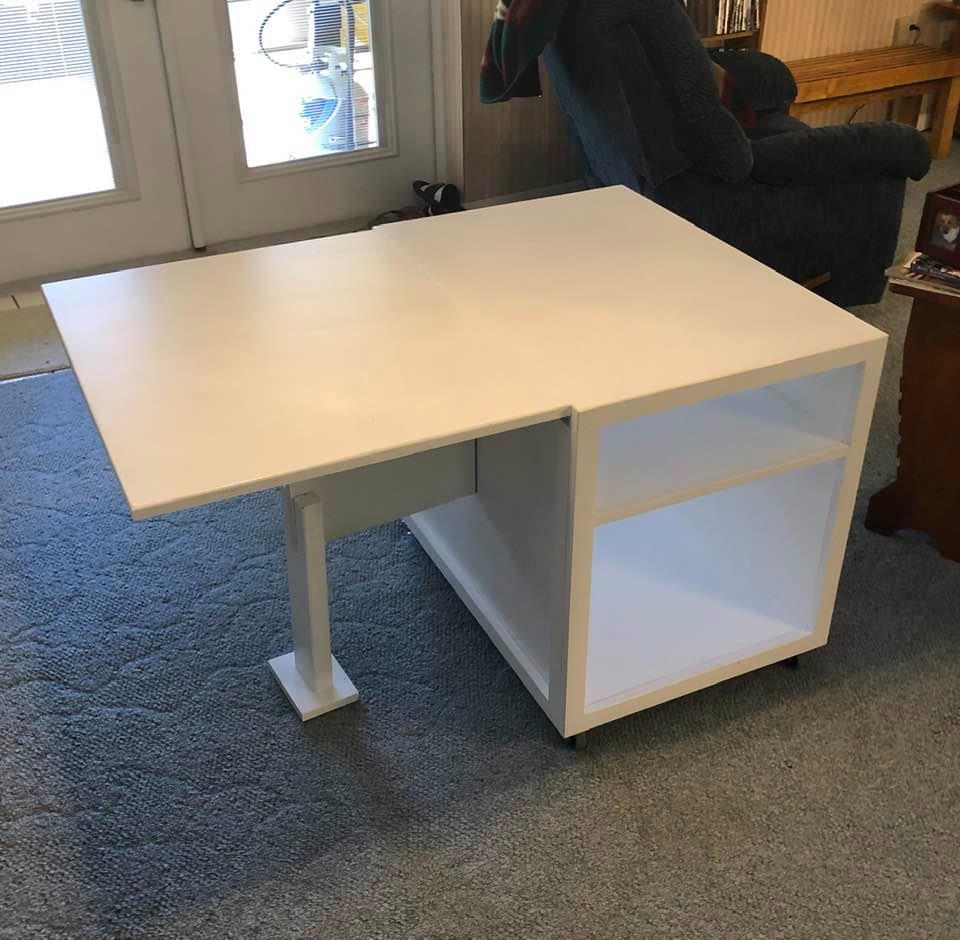
Sewing & Craft Table
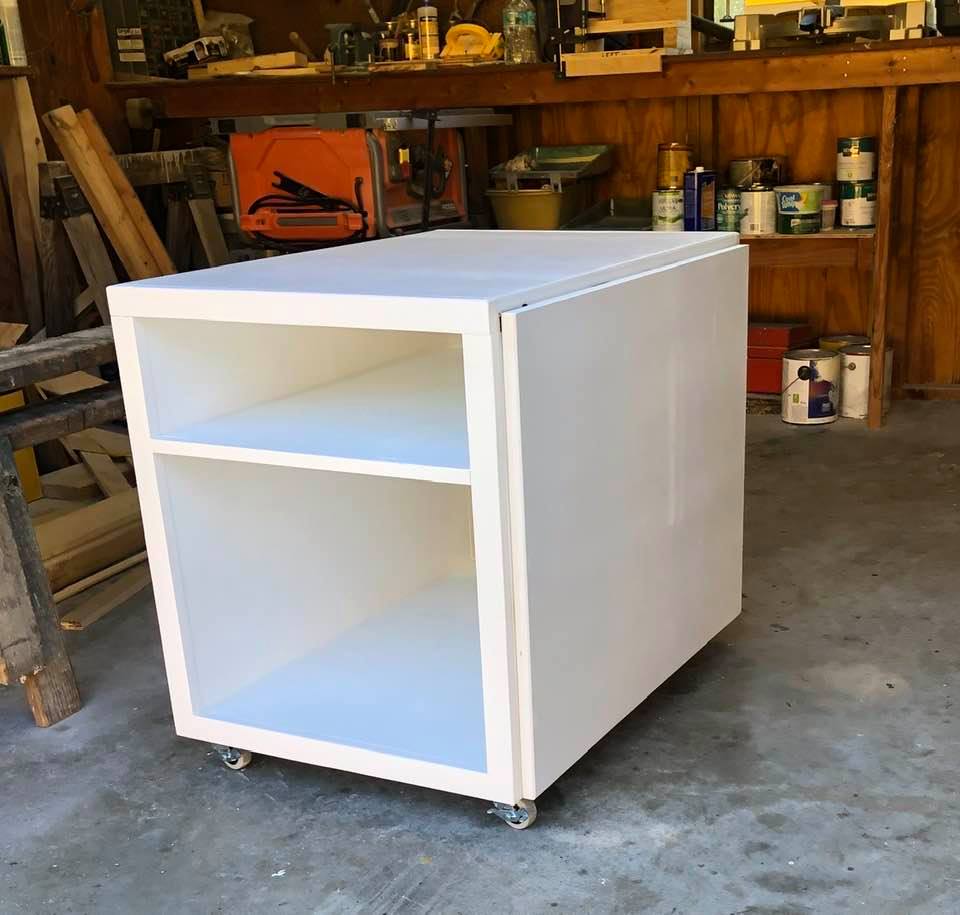
Using Ana's plan for a simple sewing table, I modified it to meet the needs of my daughter.
I only used 1 wing instead of two and made a brace that folds away under the leaf. On second thought I added a safety leg and foot to keep the table from tipping when the sewing machine is on top of the leaf.
I trimmed out everything but the leaf with 1 x 2 pine.
The top (with leaf raised) is 31 x 46 inches of work space.
Built from Plan(s)
Estimated Cost
$130
Estimated Time Investment
Weekend Project (10-20 Hours)
Finish Used
White satin paint ( 1 1/2 quarts) applied with a roller and a sprayer
Water based polyurethane on the top only, applied with a brush.
Water based polyurethane on the top only, applied with a brush.
Recommended Skill Level
Intermediate
Comments

Sat, 02/29/2020 - 14:55
The bottom and the shelf…
The bottom and the shelf were both mounted in 1/4 grooves cut in the sides with a homemade router jig.
DIY Reclaimed Wood Fireplace Built-in

Definitely one of my favorite rooms in the house. Not shiplap but reclaimed wood. Had to deal with lowering everything because of the trunk lines but overall we love it.
Leslie Webber
Built from Plan(s)
Laundry Basket Dresser
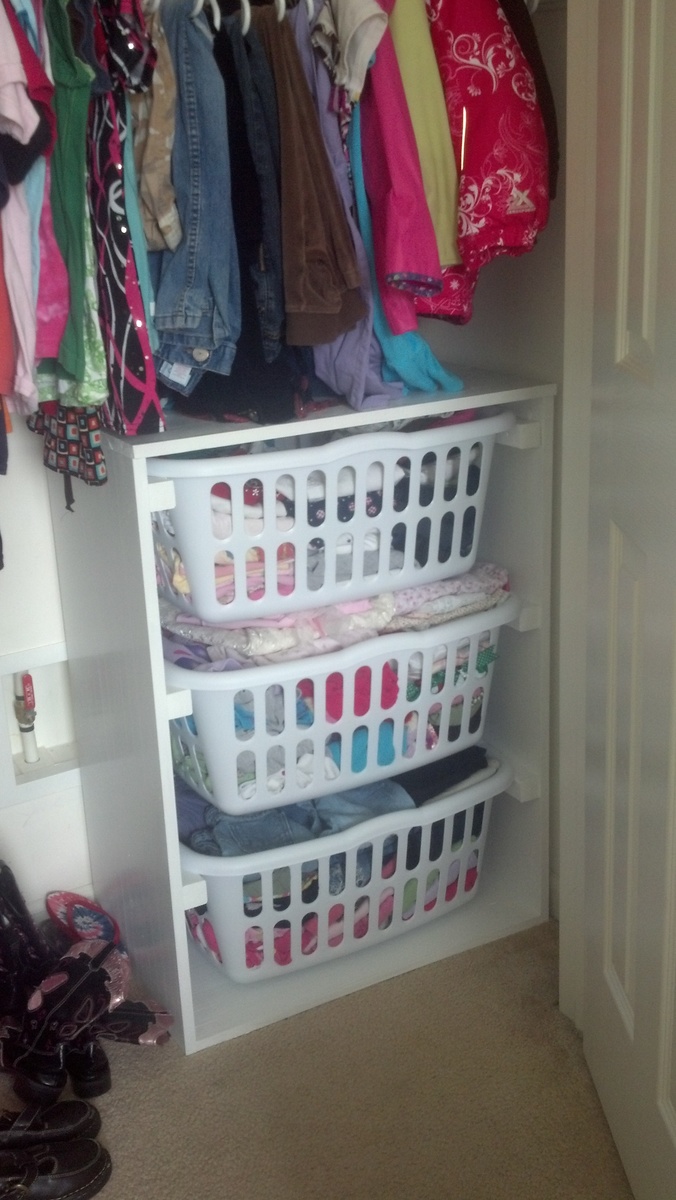
We had to get rid of our standard dressers awhile ago, since they were in awful shape. We tried only hanging clothes, but that was a disaster too (our daughter stood on the wire shelf). I was so excited to find these plans. The dresser is super sturdy and was easy to build. No more problems with standing on them, heck I could even stand on them.
The angle iron was really expensive, so we went with wood rails instead. It was super easy to do and really cheap.


Built from Plan(s)
Estimated Cost
$20
Estimated Time Investment
Afternoon Project (3-6 Hours)
Finish Used
We used white paint without primer, but next time i will definately use a primer first. I also should have sanded better.
Recommended Skill Level
Beginner
Doll bunk bed
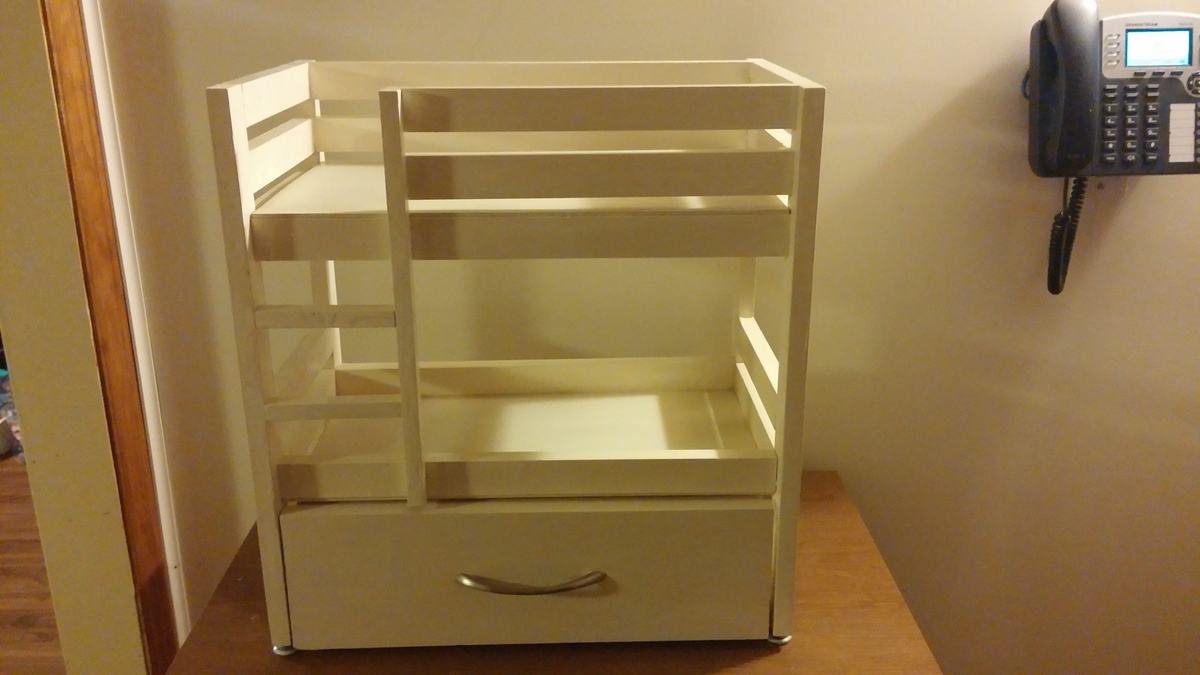
I used the basic bunk bed plans from the site, but made it a bit taller (21.5") and fitted a drawer under the lower bunk. The girls can store some of their Maplelea doll clothes in it.
Built from Plan(s)
Estimated Cost
$50 CAN
Estimated Time Investment
Afternoon Project (3-6 Hours)
Finish Used
Home Depot Semi gloss, Antique White.
Recommended Skill Level
Beginner
Comments

Entertainment center!
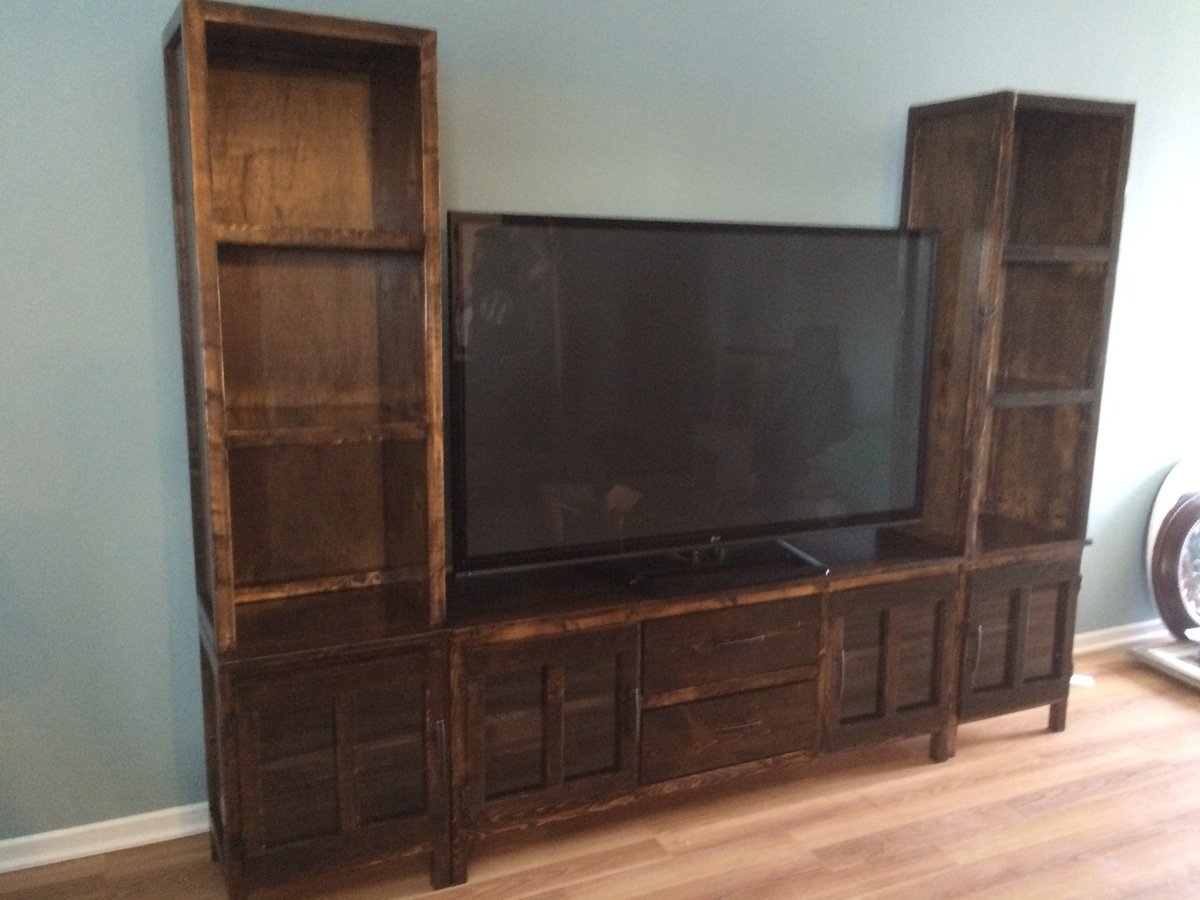
This was a fun project to build. I did change somethings around. I used plexiglass on all doors instead of plywood and it turned out great. Took a lot longer than planned but in the end it was worth it!
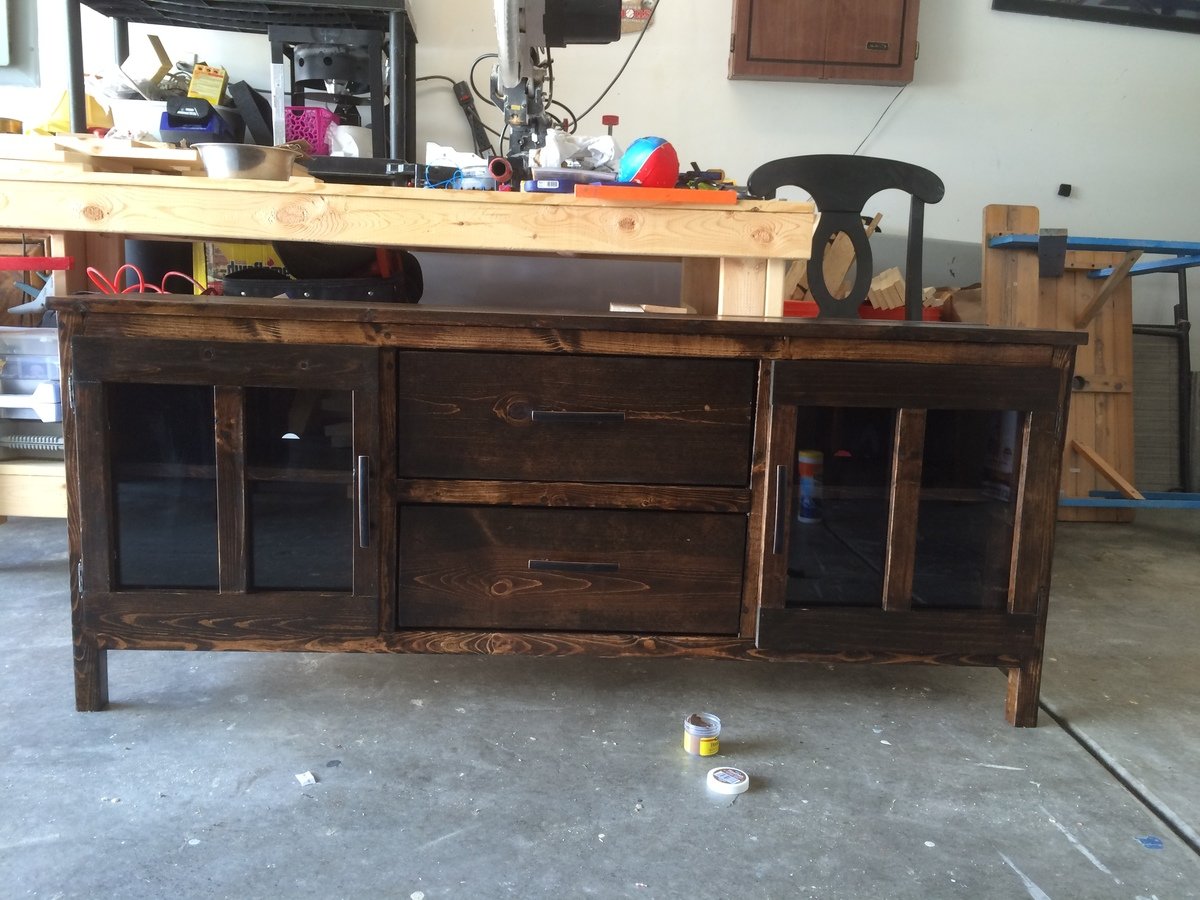
Built from Plan(s)
Estimated Cost
$400-$450. I lost track of how much it cost because of multiple trips to lowes. The plexiglass added $120 to it. I ended up with lots of scraps of plexiglass though.
Estimated Time Investment
Week Long Project (20 Hours or More)
Finish Used
Espresso minwax and semis gloss satin poly
Recommended Skill Level
Advanced

Comments
ladybug618
Tue, 06/30/2020 - 02:12
What plan was used for this?
What plan was used for this?
Ana White Admin
Sun, 10/25/2020 - 19:22
Amazing!
Love this look so much, thanks for sharing!