Farmhouse Dining Room Table with Benches!
![](/sites/default/files/8_8.jpg)
Love Ana White plans!
Dining Room Table: http://www.ana-white.com/2012/11/plans/farmhouse-table-updated-pocket-h…
Benches: http://www.ana-white.com/2011/01/plans/farmhouse-bench
![](/sites/default/files/6_16.jpg)
![](/sites/default/files/7_11.jpg)
![](/sites/default/files/1_103.jpg)
Love Ana White plans!
Dining Room Table: http://www.ana-white.com/2012/11/plans/farmhouse-table-updated-pocket-h…
Benches: http://www.ana-white.com/2011/01/plans/farmhouse-bench
We didn’t have much storage space in our little galley kitchen. Imagine how excited I was to find this plan on my favorite site.
This was my first build using my new circular saw. For previous projects, I’d take both the shopping list and cut list to Lowe’s and have them cut the wood. This time, I made all my cuts. I was nervous but love how it turned out.
I anchored it to the wall because with the barn door and the hardware weight, it felt a little front heavy.
We used the same color as our kitchen cabinets (AH13 Salty Dog) and then selected coordinated colors for the body (AH18 Debonair) and shelves (AH15 Rural Green).
I had a lot if fun building this and am so glad I did!
Ana mentioned that she distressed the planks by using a screw driver between them to scrape off some of the paint, I did this on the headboard and, while it did work, it was a pain and added a lot of time. For the foot board I painted and distressed all of the pieces prior to assembly and it worked out a lot better! :-)
My 1x8's were slightly smaller than Ana's so I cut down a 1x2 using my circular saw to fit into the spaces left on both sides.
I attempted to use pocket holes to assemble the bed to minimize visible holes, it actually worked great except one side on the foot board :-( I ended up sanding it down and actually ended up really liking it. it always makes me think of it when I see that spot (and not in a bad way)
I cheated when putting this together. I decided to keep the mattress and box spring in their original frame. I used brackets from Woodcraft to connect the side rails to the headboard & foot board.
http://www.woodcraft.com/product/2003981/9364/hafele-nomortise-bed-rail…
Wed, 10/03/2012 - 14:48
Your finish is beautiful! I love it! You did a great job on both the night stand and the bed! Congrats!
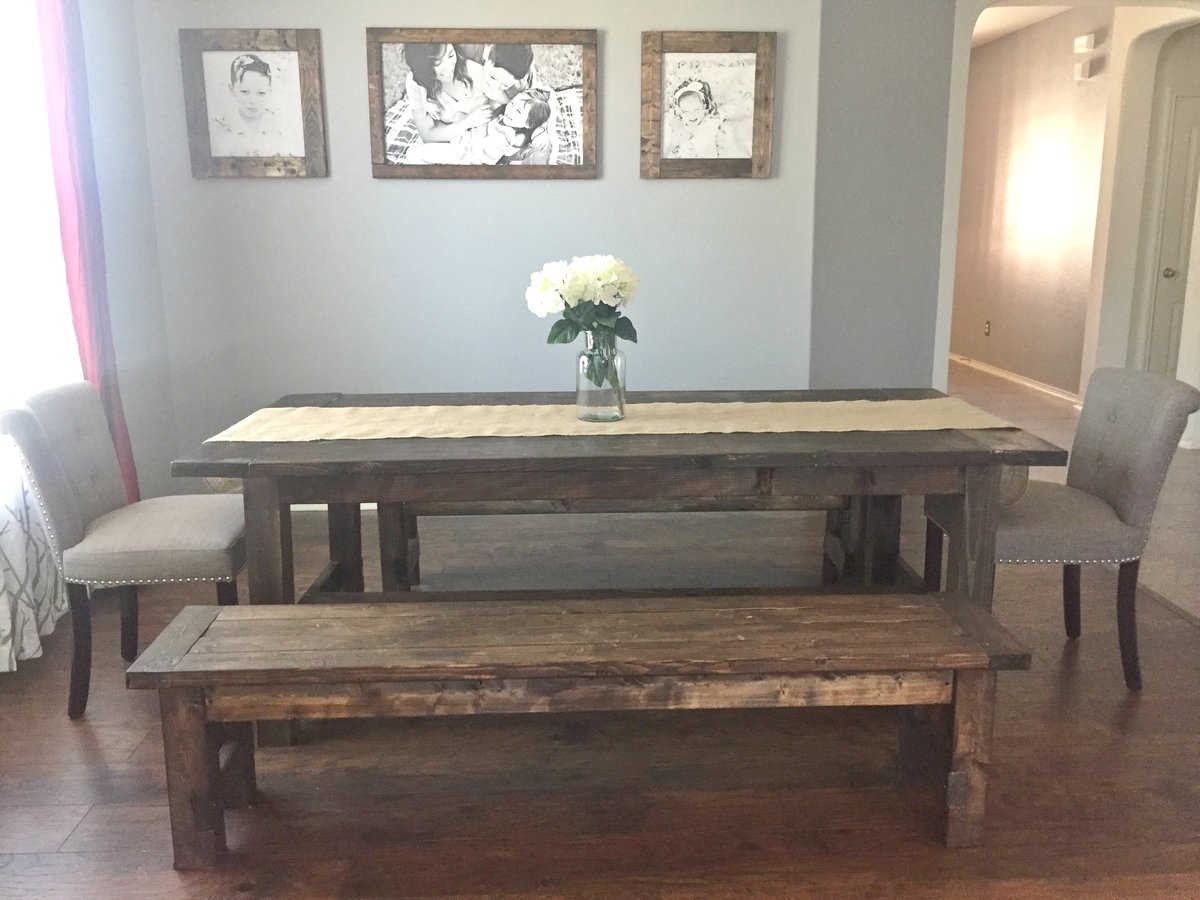
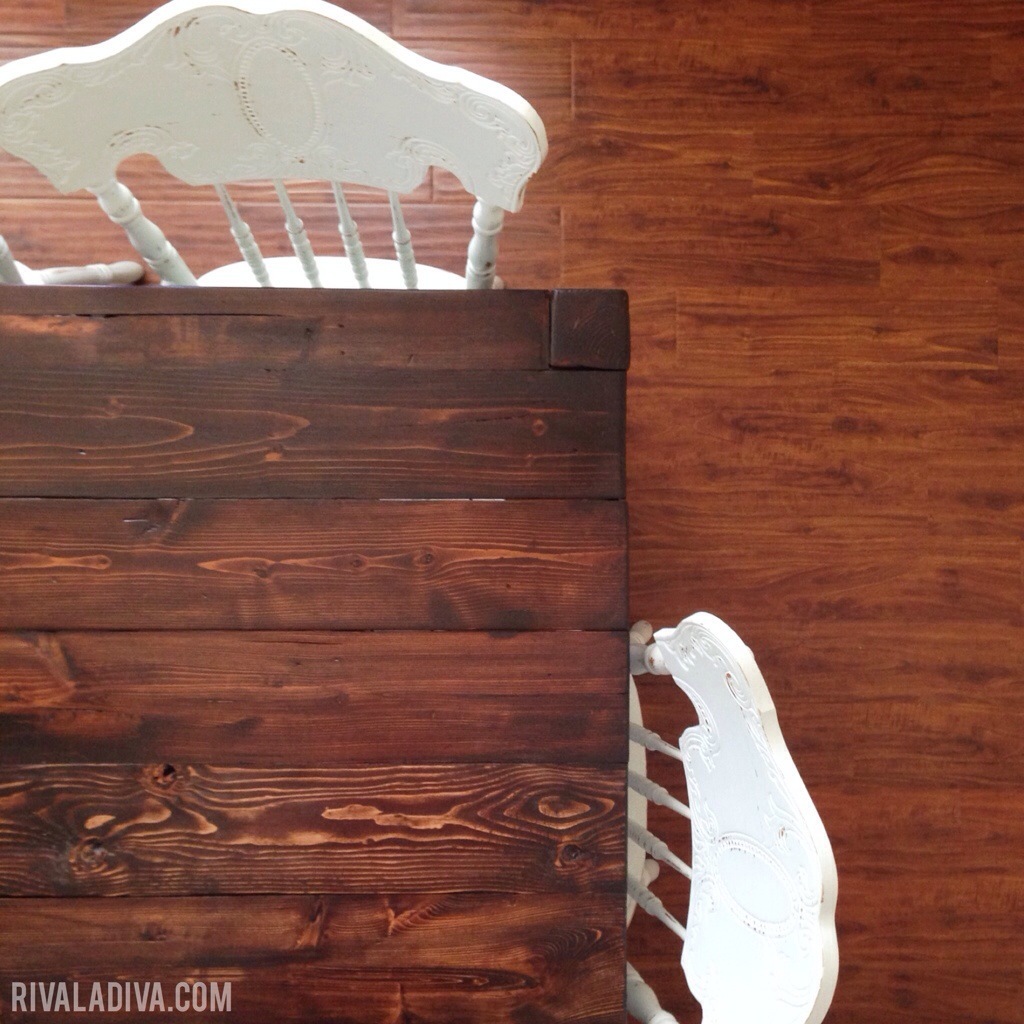
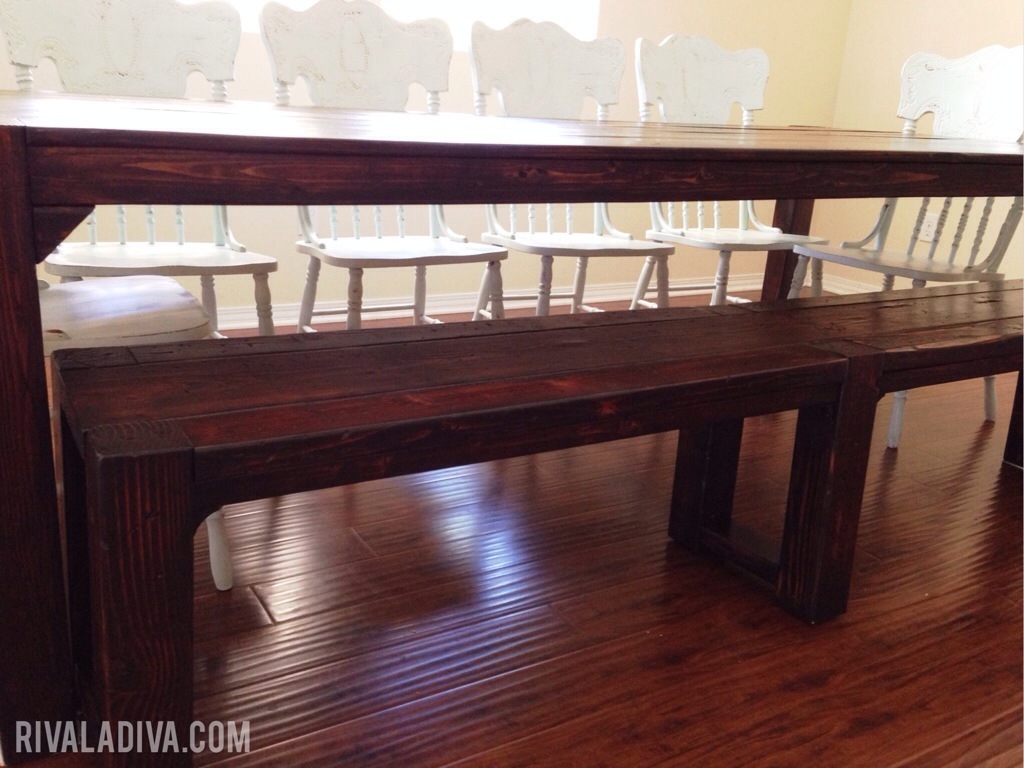
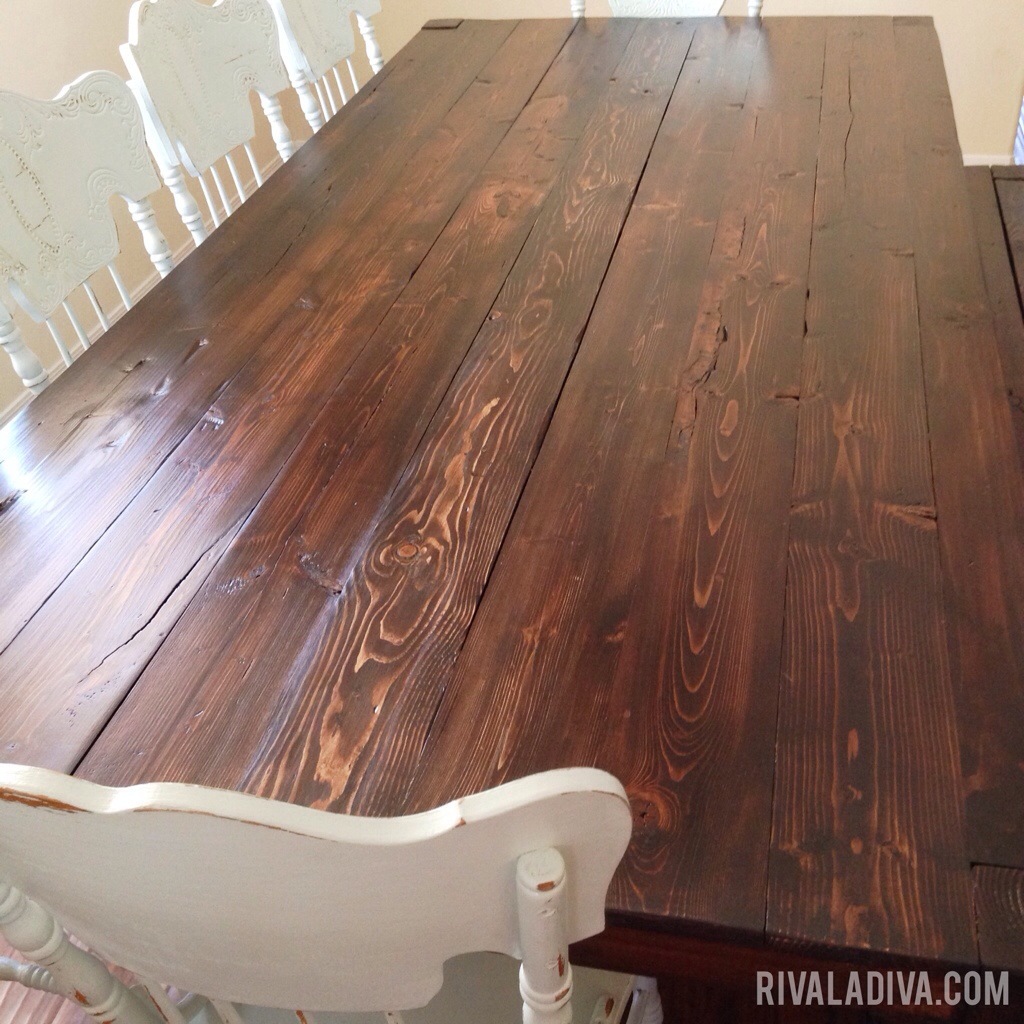
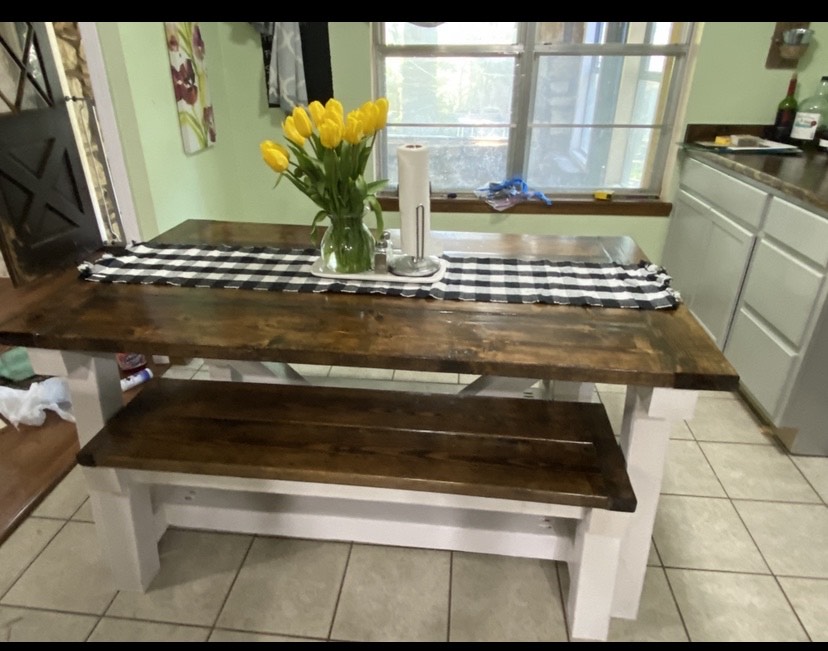
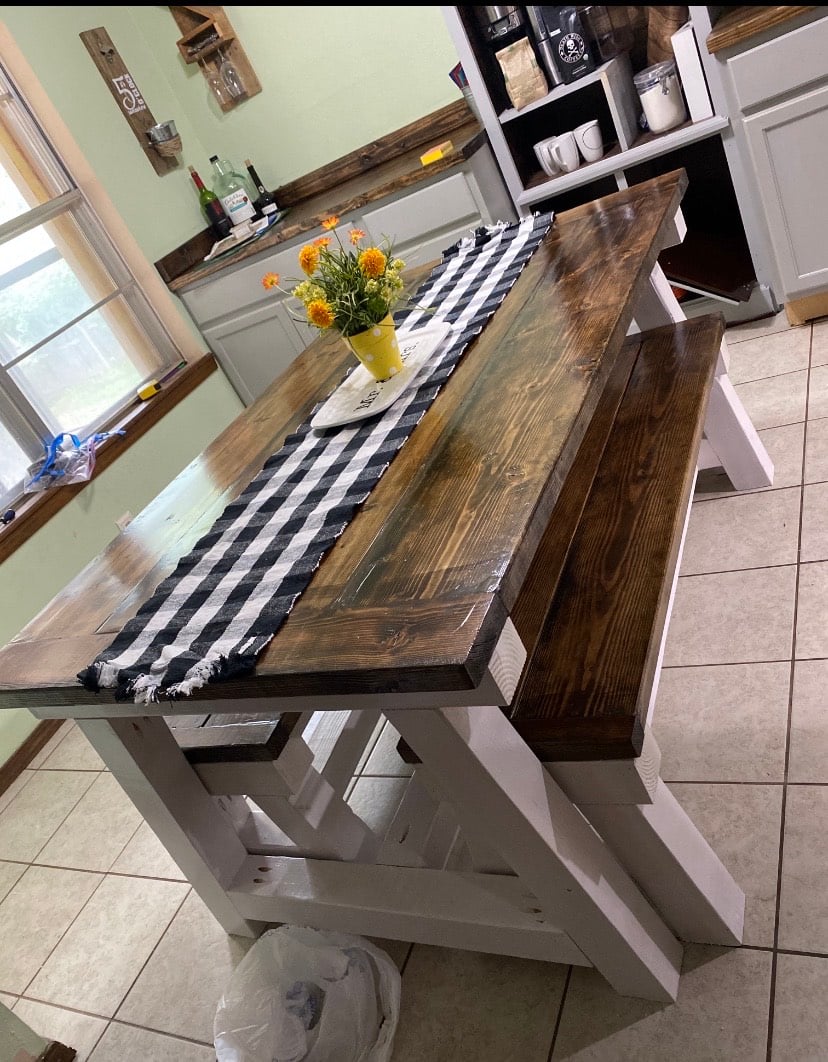
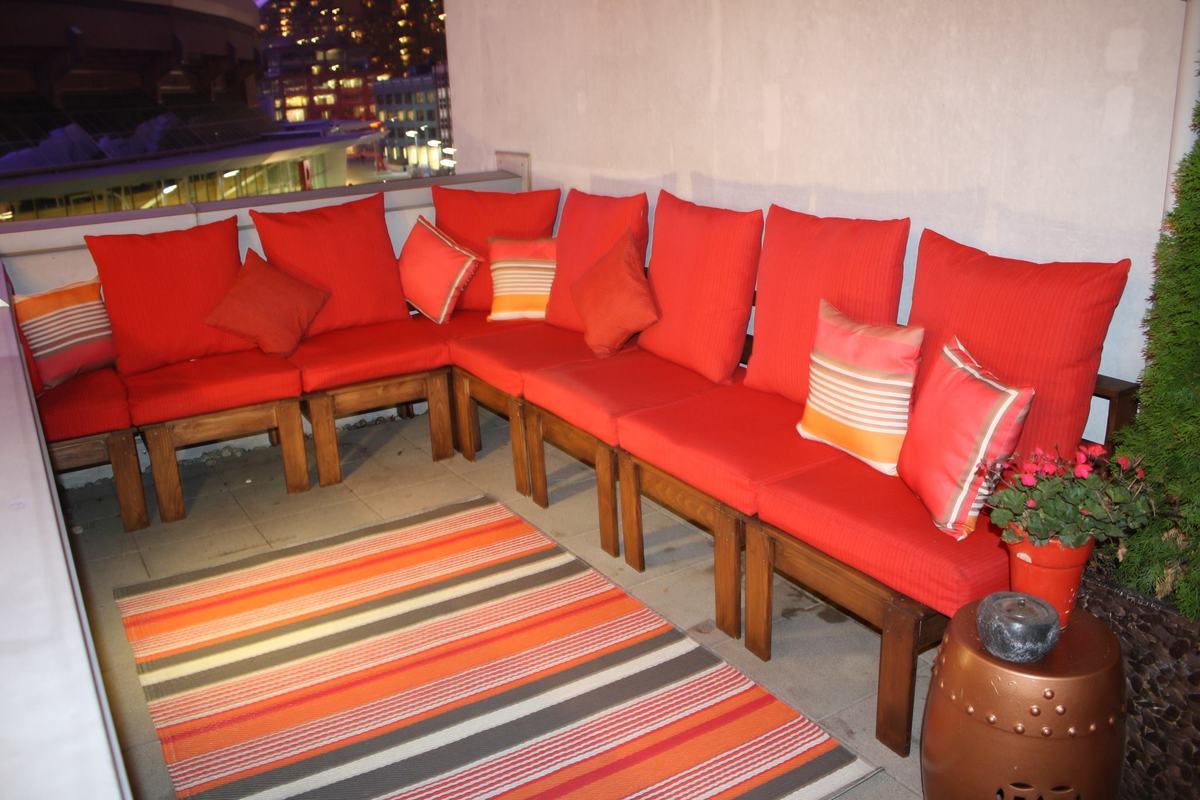
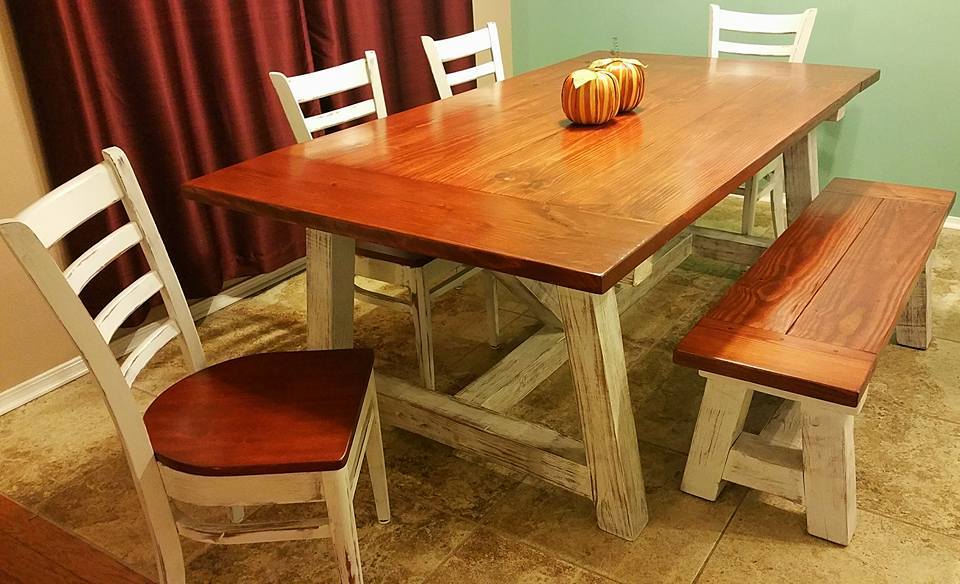
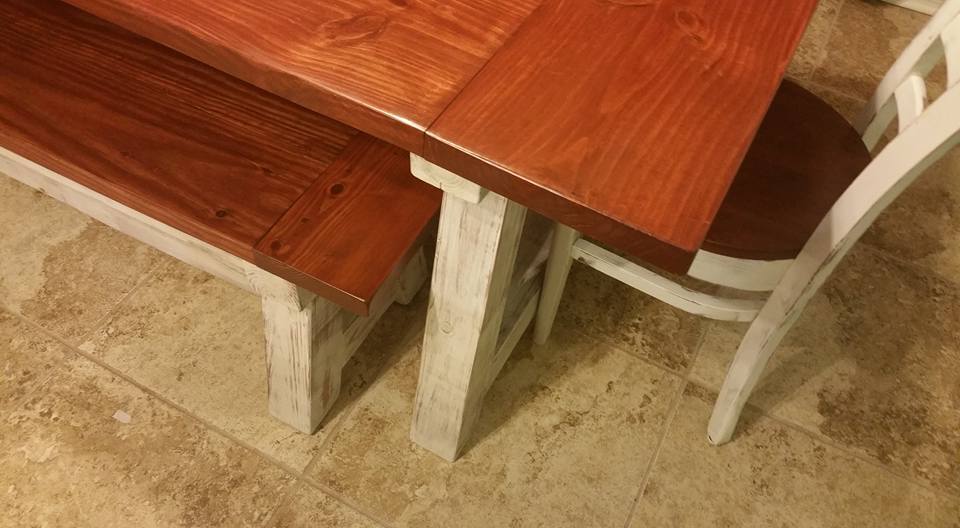
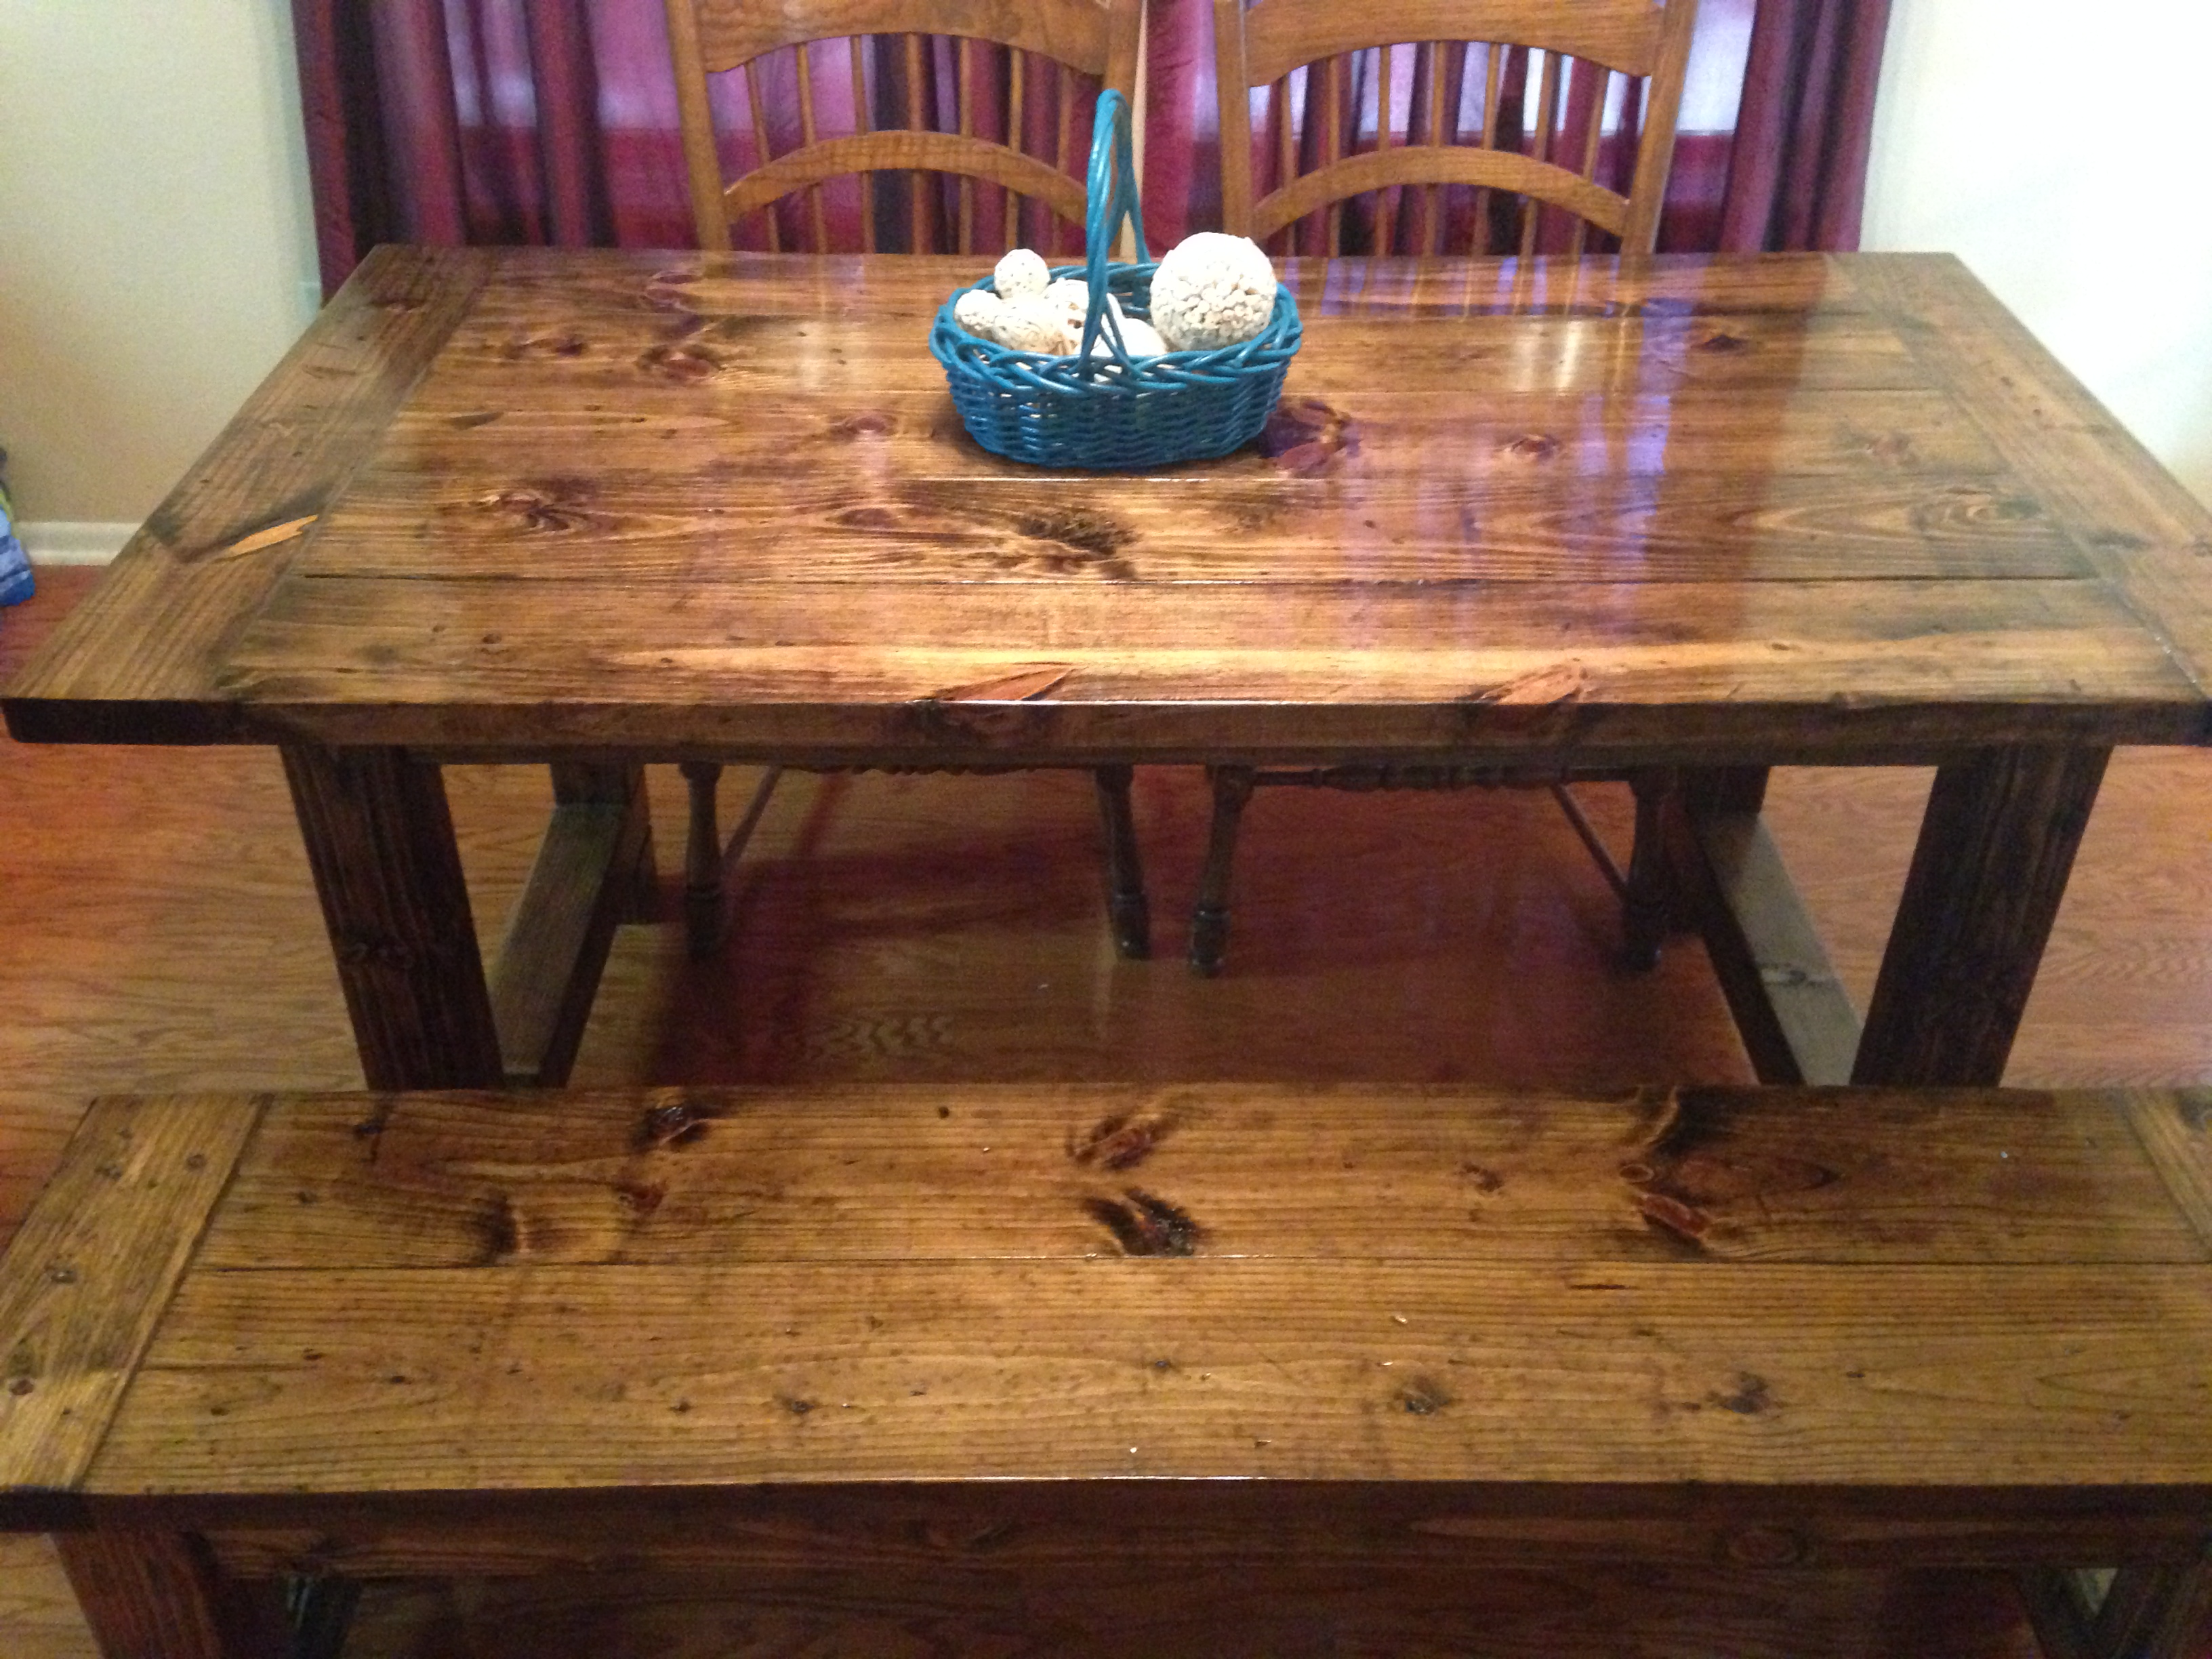
Flashback to last year when I found this way chic table at Restoration Hardware.
But the price tag is a bit steep for moi.
I have, like, a million kids, so… as I am a huge fan of Ana White and her amazing skills – I looked for a similar plan AND found one!
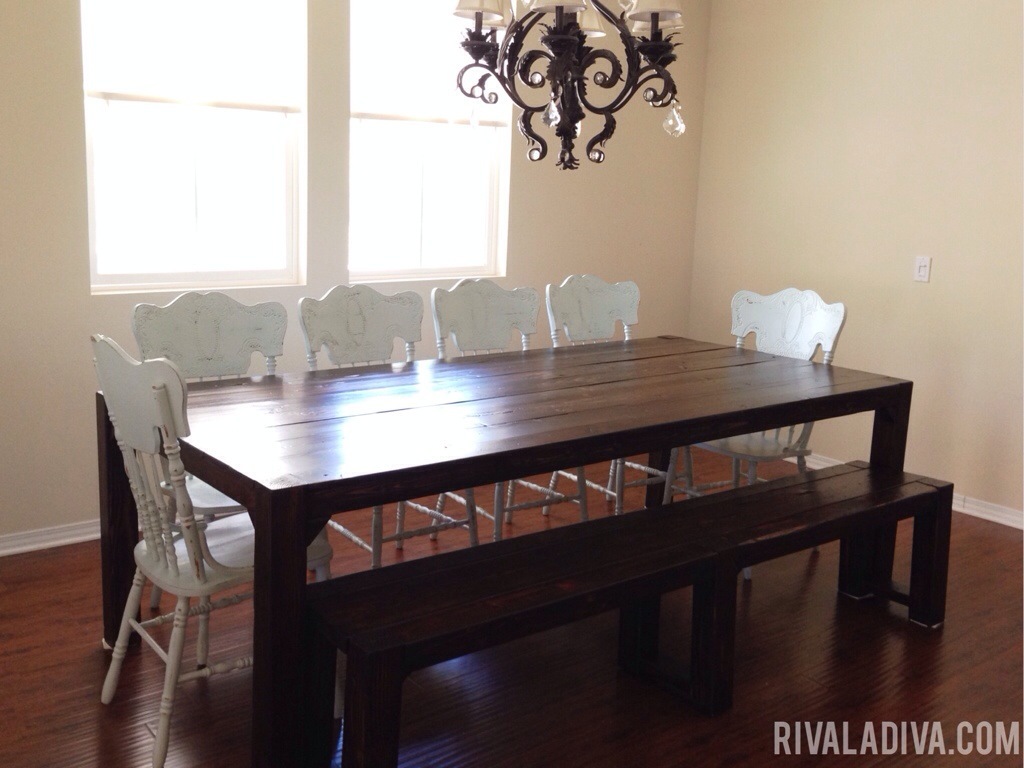
Well, you have to remember I have a million kids and I usually hangout with other families with their millions kids and there is never enough room, a 28″ x 58″ table is crazy small for my type of entertaining. Go big or go home, right?
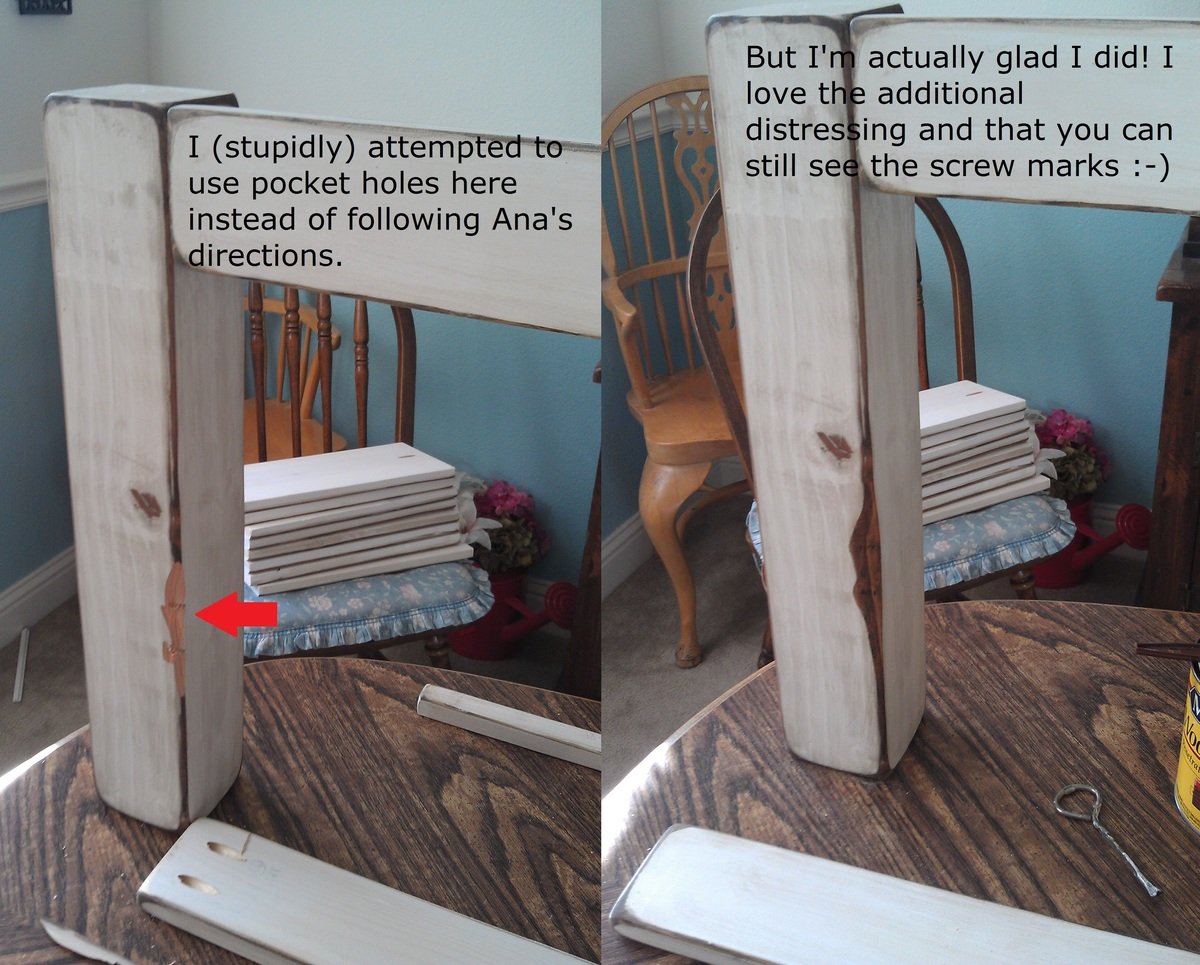
So I drafted modifications for these plans – I am a seamstress and can draft sewing patterns, TOTALLY the same thing, right?
I am kidding, I really wouldn’t know, but so far so good.
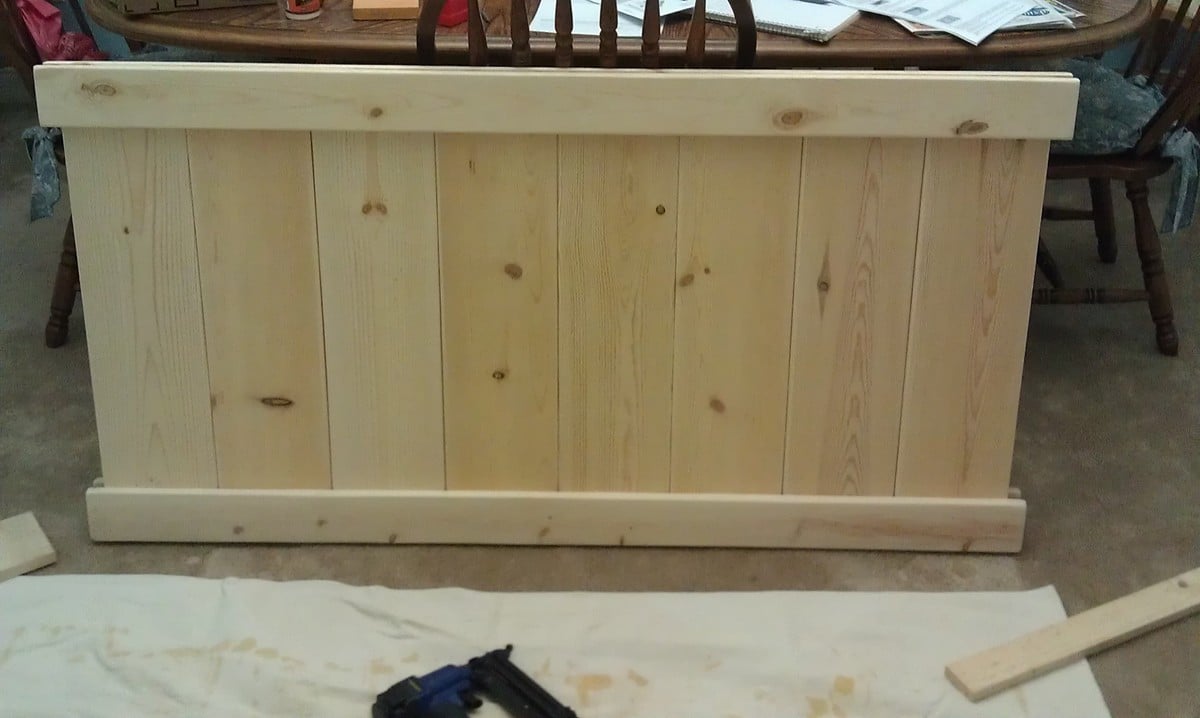
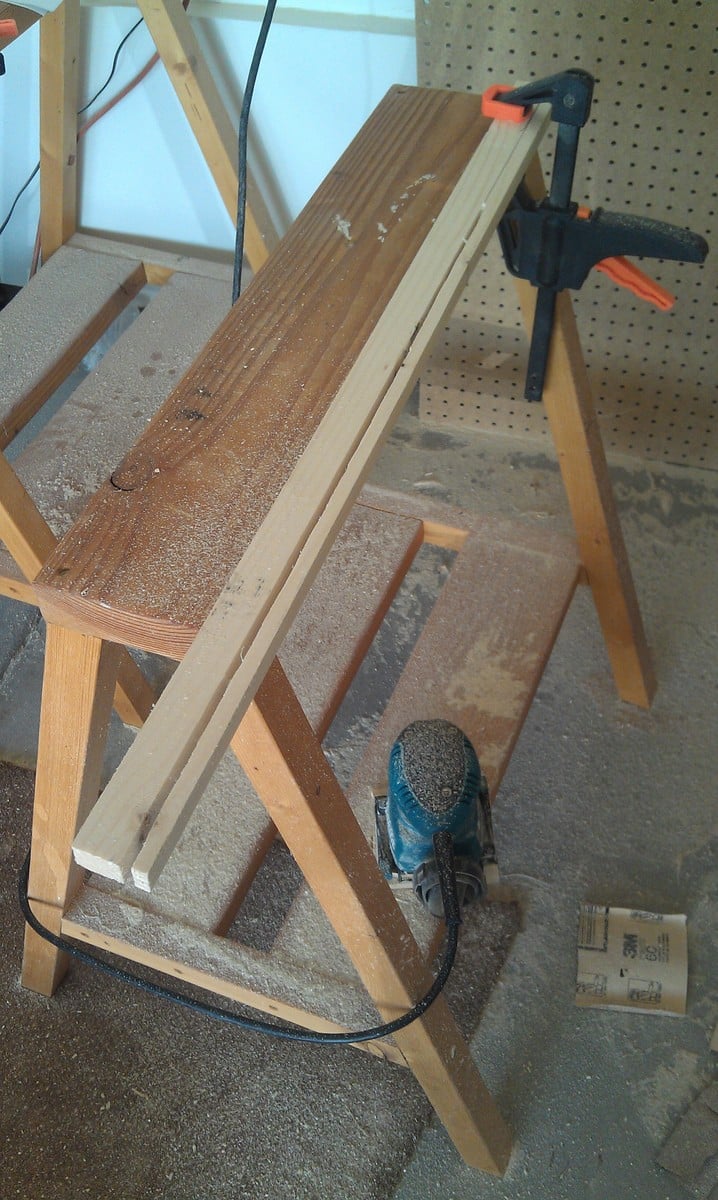
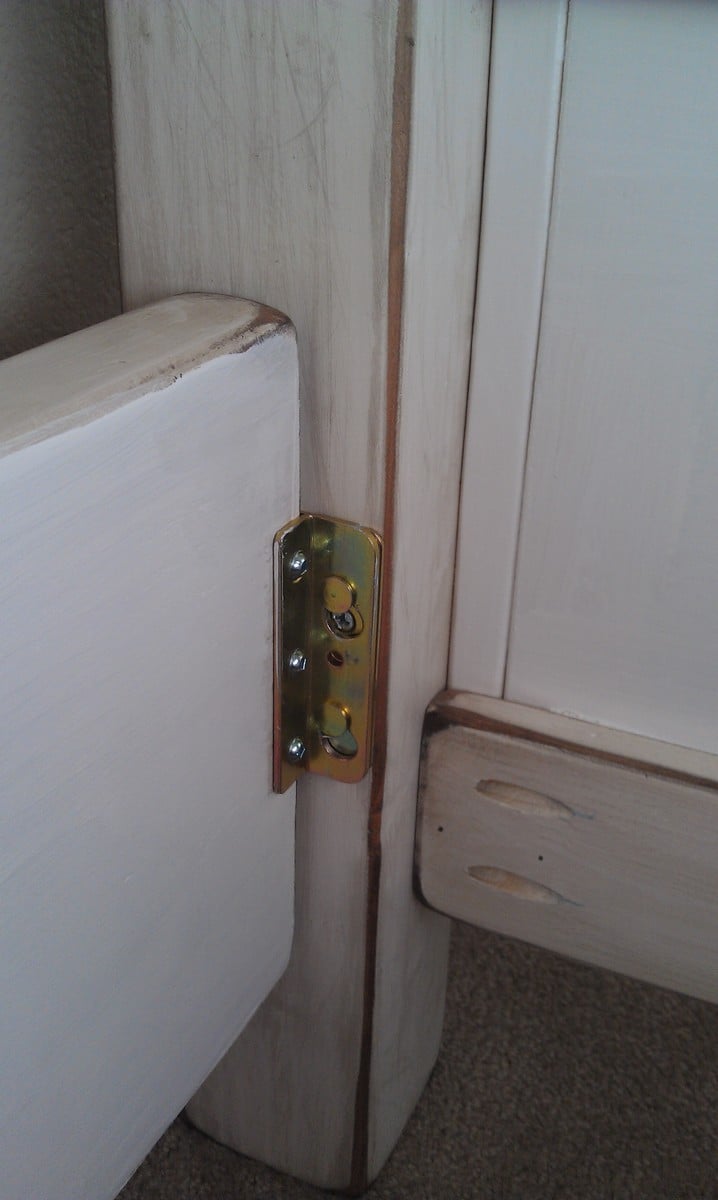
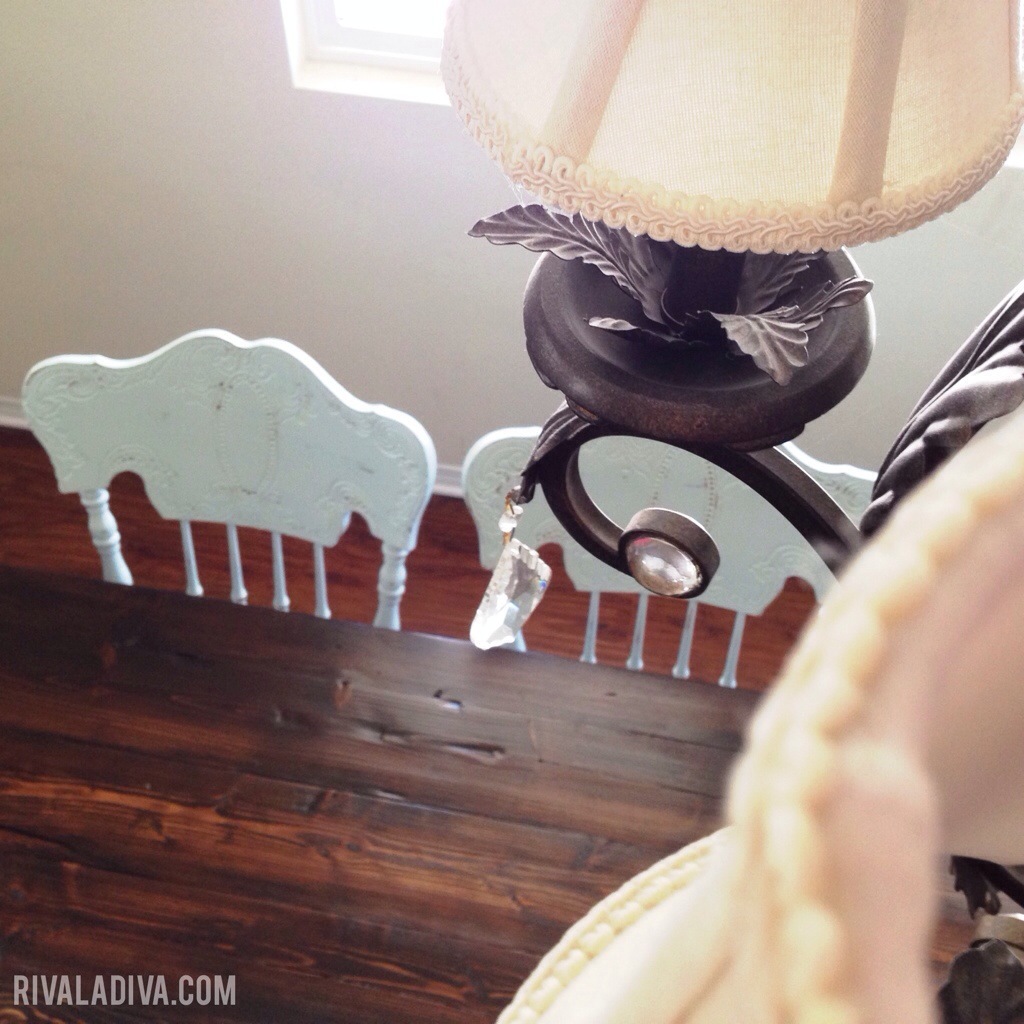
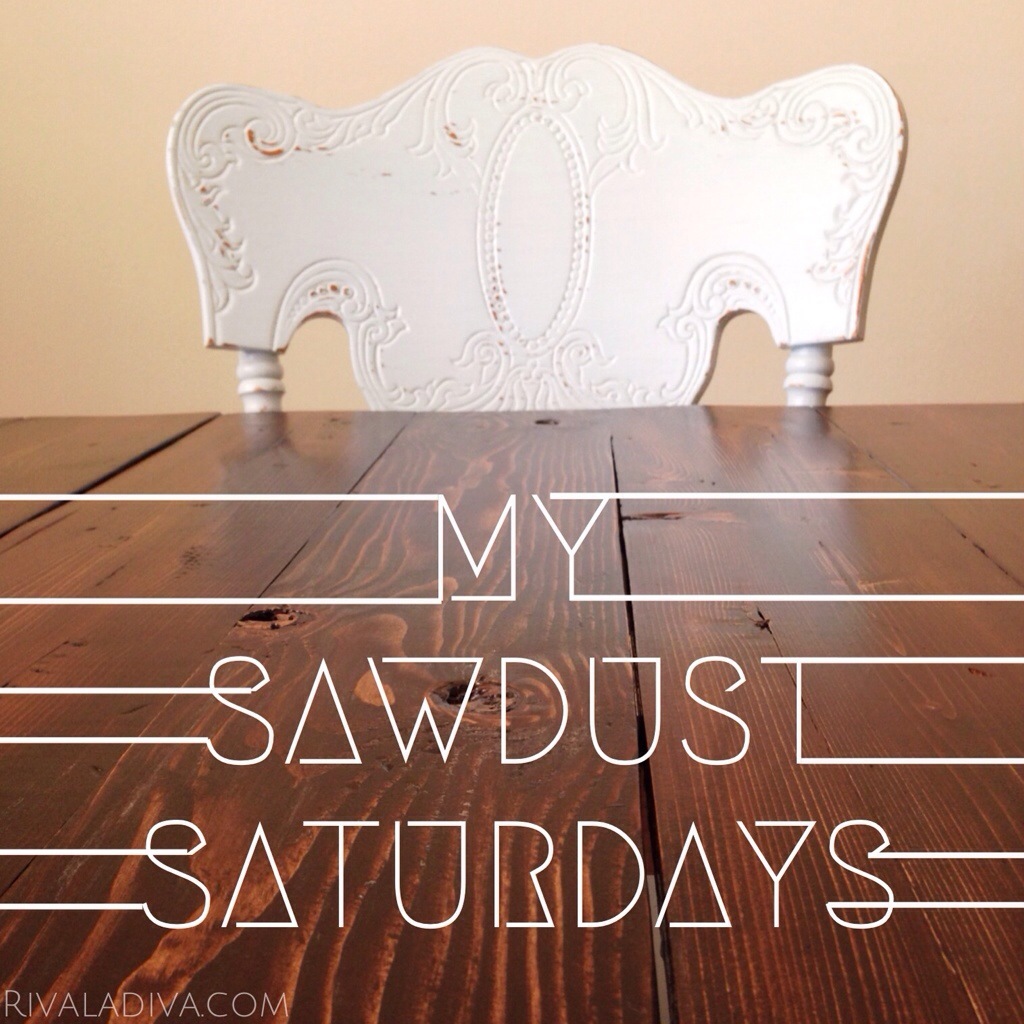
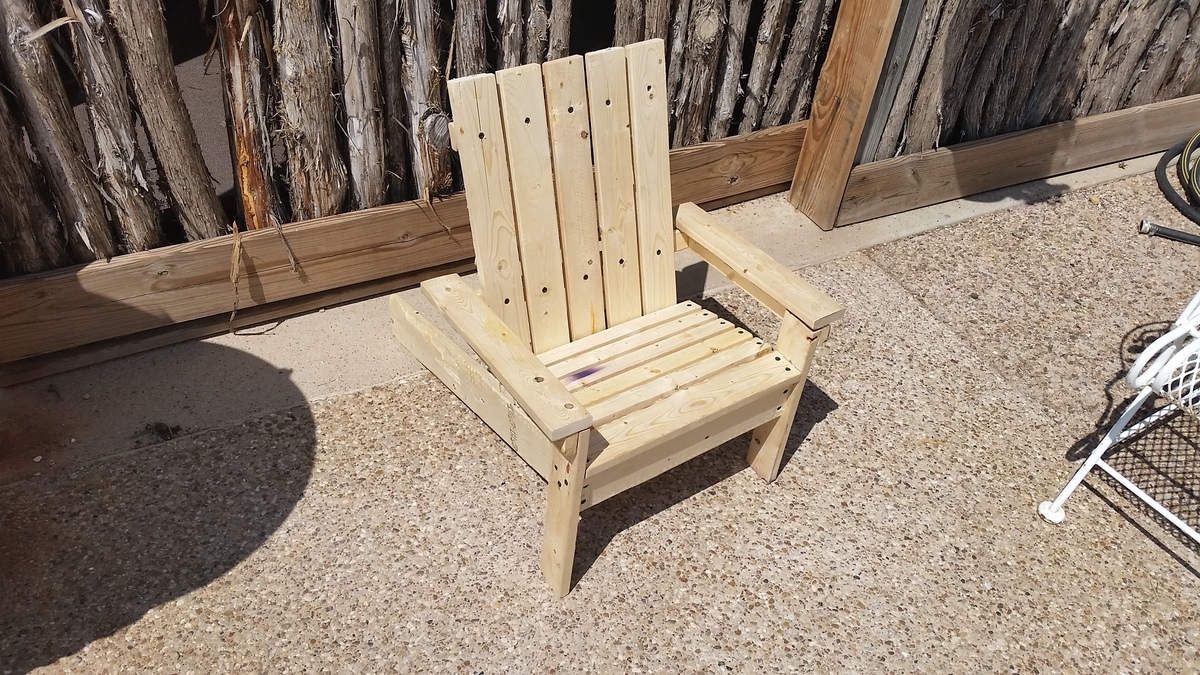
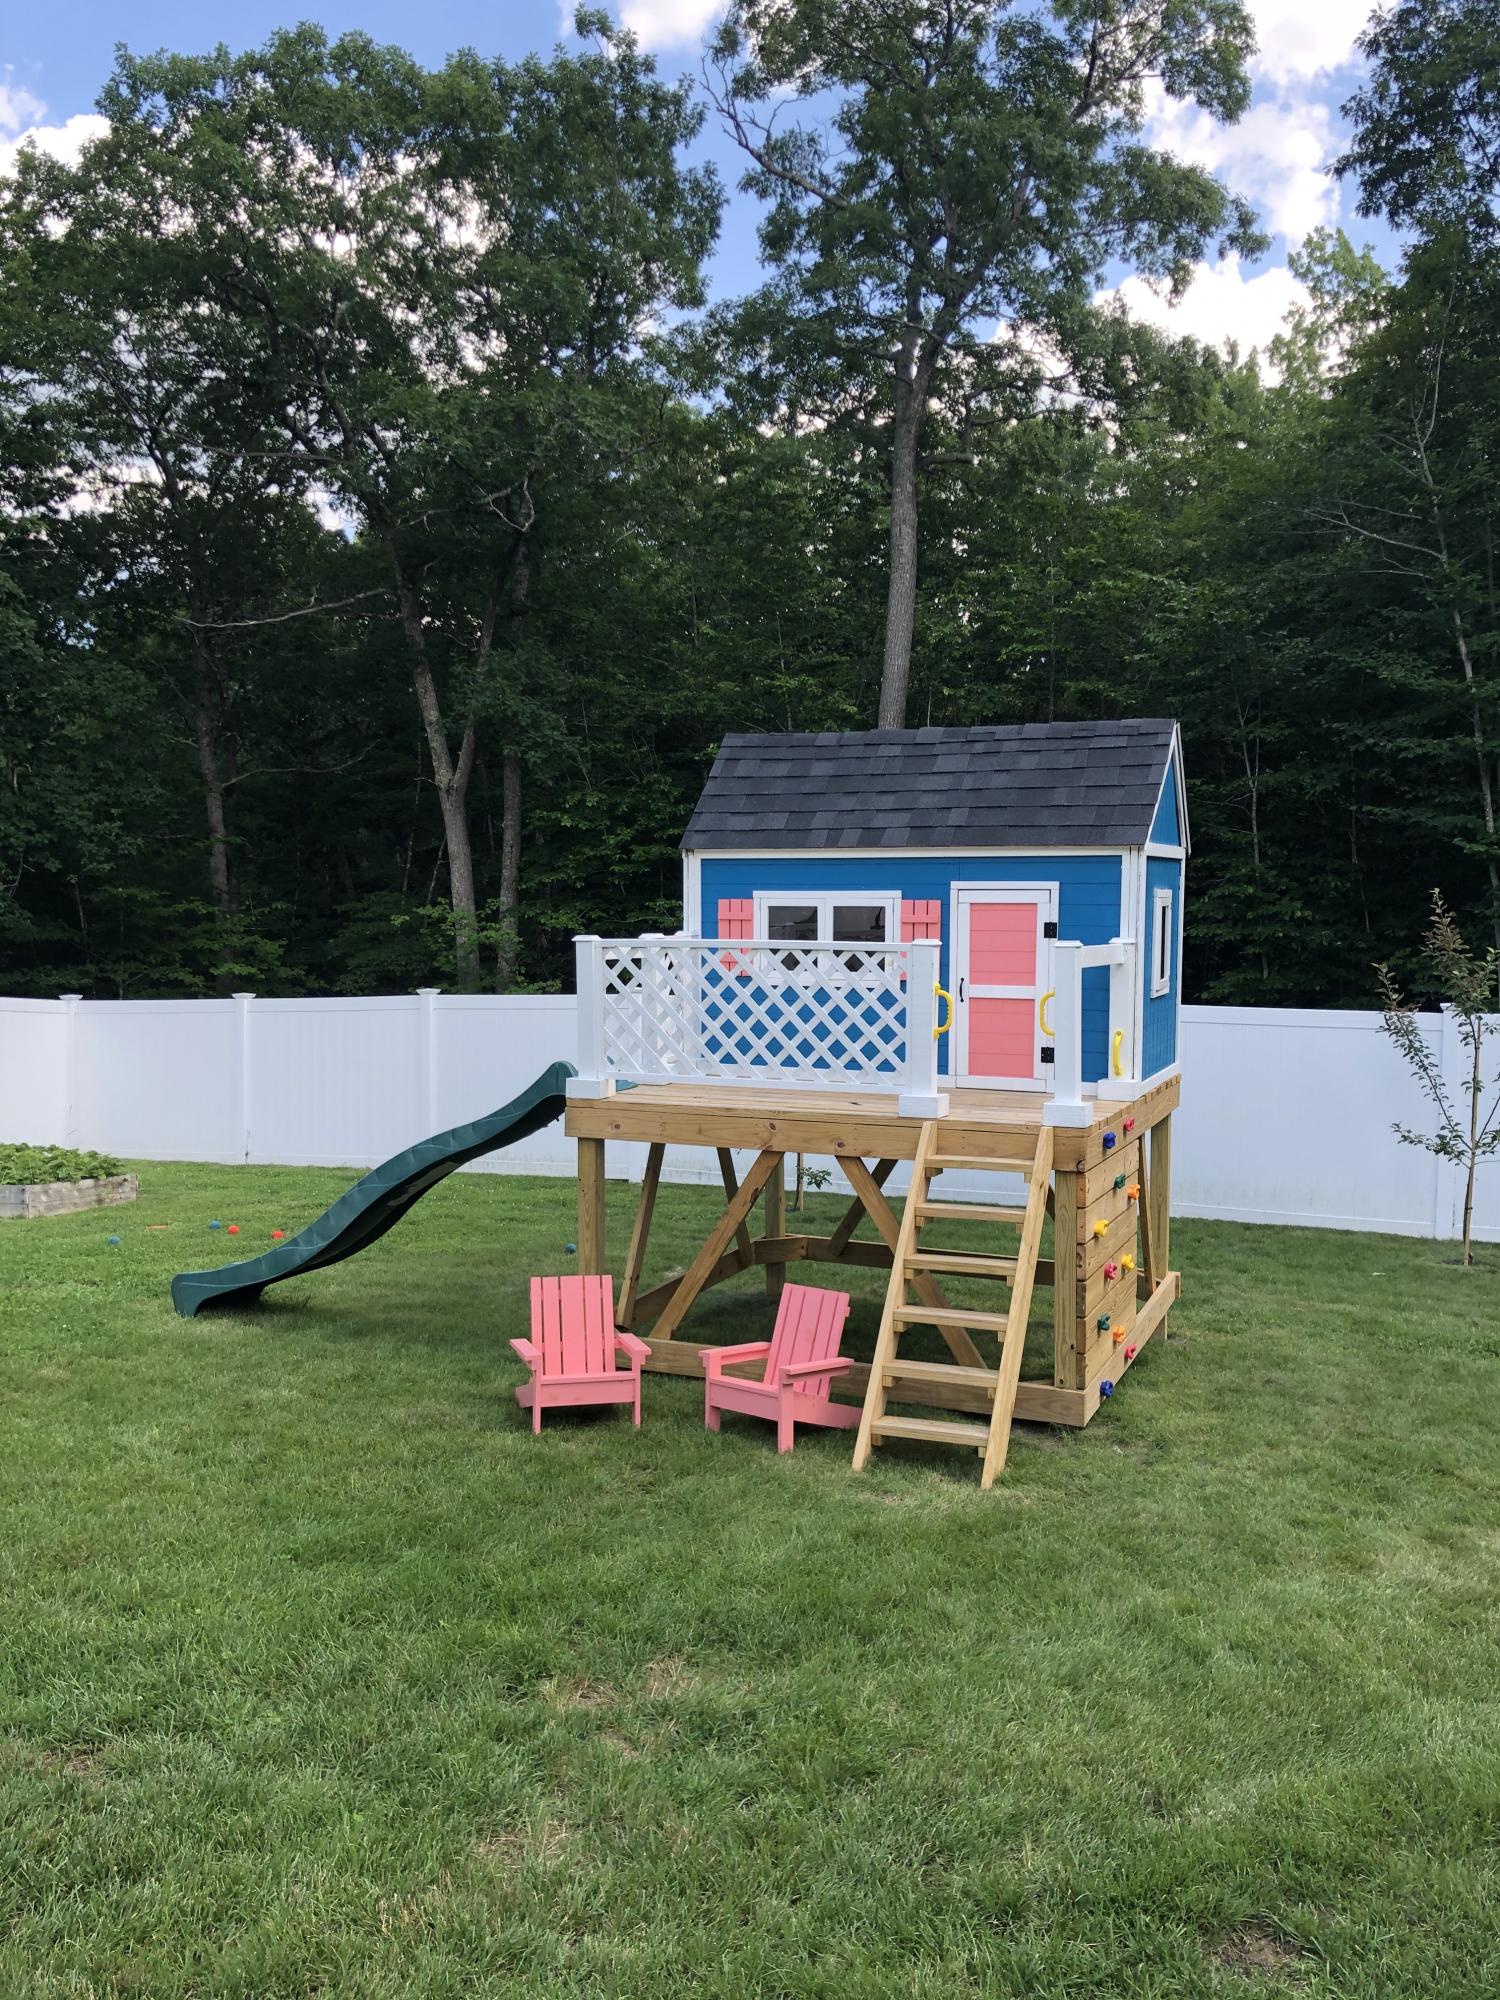
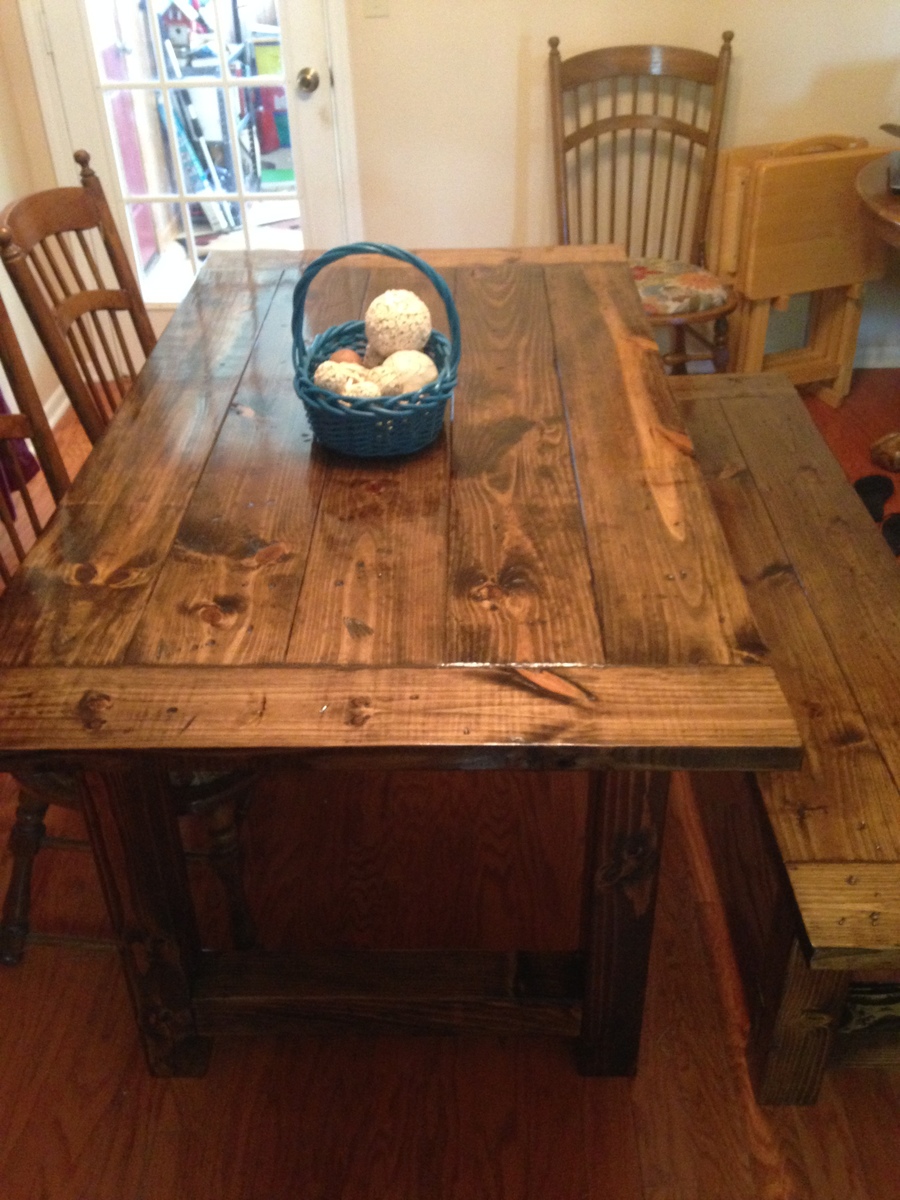
Anyways, I bought the wood and got to work and here's how it turned out!!
I would LOOOOVE to hear how you like it! :)
Isaac is 14. He built his baby sister a chair inspired by Ana! He builds things almost daily!
My first big project and my kids couldn't be happier. I'm pretty proud too, just don't take a square or level anywhere near it :)
Mon, 07/27/2020 - 12:41
This is too cute! Thanks so much for sharing a photo, love all the additions!
Here is a bed I recently made. My inspiration was a bed we saw at a local high end furniture store in the mountains that has price of $4,800. I bought my wood at a local saw mill for $125. I used a wood planer, table saw and miter saw to build the bed. It turned out great.
G Russell
I can't believe I built this bed! It's the project I'm most proud of so far and my daughter loves "my big girl bed!" I recently got a jigsaw and tried it out making the arch. It didn't turn out perfect but I'm probably the only one who notices it. I built the rails using 1x2's from the "Traditional Wood Toddler Bed" plans on this site and altered them to fit this design. I added a third rail to it because there was too much space between the mattress and rail when my daughter lies on the bed.
I found a bunch of free wood on Freecycle from someone local so I didn't have to spend a ton of money on this.
Thanks for the plans, Ana!!!
Wed, 10/17/2012 - 09:53
I love the arch...looks perfect to me! Your little princess looks so proud of her new bed. Love it!
I copied the boat wood painting technique using the colors of my daughters room and it turned out wonderful. It really is as easy as it looks on the tutorial! You can see more of my stuff on anexceptionalife.com
I have followed Ana for many years and made my first project! This corn hole board set was for a customer and they loved it! Plans at fun and easy to follow!
Lela Patterson
I decided to make the camp loft bed into a bunk bed for the kids. The room is really small so I had to make it toddler length (about 62") and the stairs are only about 13.5" wide. It turned out great and the kids love it!
This bed was picked out by my daughter. Built straight from the plans and she loves it. Now if I can get her to pick a color.
This was the second building project I've ever completed. I had to make a few adjustments to make it fit the size of ray's closet, but it was totally worth it. most of the work was in the measuring, sanding, and sealing of the wood. Ftting the frames can be a little tricky if your planks aren't perfectly straight. Otherwise, this project was pretty straight forward and can be done in just a few days depending on how much time you have to dedicate to it. Thanks Ana!
As a beginner this was a pretty fun and easy project. I did use wood screws to hold the edges together since the fence boards are typically curved and brad nails didn’t seem to hold on my first try. Ultimately I really enjoyed the results!
I was in love with the West Elm slat collection but knew I could never afford it let alone live in a spot that would have the outdoor space for it. Luckily as fate would have it, I stumbled across the perfect townhouse with a huge rooftop patio in downtown Vancouver last year right at the same time I discovered Ana White - with no experience in this kind of project, but a love for DIY and alot of determination I'm proud to say I finally finished my dream patio set, and it looks even better than I could have imagined! Thanks Ana :)
One day I was considering buying a wine cabinet for a friend. However, once I did a little bit of research, I found that the cabinets that were reasonably priced, were made of low grade material. That is when I took to the internet and immediately searched Ana's site. I have been on the site in the past and hadn't made anything yet. Once, I found the plan on here to make it, I grabbed a little bit of graph paper and worked it to the proportions I needed and added a few extras. It took me a while to finish the project as I only had weekends and occasionally weeknights to work on it. Also, the staining and finishing obviously took some time.
P.S. This project allowed me to use a Kreg Jig for the first time. I can't believe that I haven't used one before and have since built a few other projects using it.
Wed, 08/20/2014 - 20:31
your friend must've been thrilled! Amazing build and finish!
P.s. Will you be my friend? ;-)
We love this table. It's great for big meals, board games, and family gatherings. I enjoyed the work and finished result. Learned a lot. Thanks for the plans!
These steps turned out great!!! My in-laws were using some busted up pallets as a front porch so I knocked these out in a few hours. The blue stain looks really good and matches the other blue on various out-buildings. Very easy project and the plans available were spot on. Thanks Ana!!
I adapted the Braden Bench plan to make it more of a built-in feature of our mudroom. It's added wonderful organization to our busiest room.
rustic farm table.
Plans are easy to follow.
Motified the legs a bit. I use a 4x4 cross members rather than a 2x4.
Dark walnut stain with semi gloss poly finish.
Comments
Ana White Admin
Thu, 11/03/2016 - 09:46
Beautiful!
Looks amazing, thanks for sharing your build with us!