Console Table
This was my first building project using plans from Ana's website. I love it in my entry way where it fits perfectly and fills up an otherwise blank wall.
I wanted to make a headboard for our Queen-sized bed and wanted it to be something I hadn't seen before. I came across a pallet of kitchen cabinet doors at a discount resale shop and knew these would look great! I used a 1/32" spacer between each door so I wouldn't have to sand the edges. If I ever do something like this again, I would do another row to make it just a bit taller to give it a hotel room look.
I slightly modified the Full/Twin storage bed plans to place the top of the cubbies on top of the vertical supports, rather than butted up against them. The cabinets were assembled using glue and pocket holes and screws. The foot board cabinet, being fully exposed, received pocket hole plugs to conceal the holes. I also employed threaded inserts for the cleats and also for attaching the cubbies together. This way, the bed can be assembled/disassembled for easier movement in less than 10 minutes, without leaving any stripped holes or damage. this project used oak and oak plywood througout, and both stain and polyurethane to finish.
This is my first bed build. Modified plans by adding 2x6 and 1x4 on top head/foot board, to give a more traditional farm house look. Painted in Sherwin William's Sea salt color. Overall, easy build, and great plans by Ana. Thank you.
I used the Large Rustic Bench plan and modified the dimensions to fit under our kitchen island. The height was adjusted to 24" and the length to 48". I used brown pockethole screws to connect all the pieces together and add a decorative touch. The top was covered with 2" foam padding, batting and drapery cloth. A staple gun was used to attach the batting and cloth.
Tue, 10/04/2011 - 20:45
This was my first Ana-White project plan completed and I now have a favorite project web site! Thanks for sharing.
Wed, 10/05/2011 - 16:53
This looks great and I LOVE that fabric! It matches your yellow walls well :)
After I got our bed-frame done, it was time to make night stands :)
I used Farmhouse bedside table plan, but I modified it for our needs. In my blog you can see step by step what I did.
We don't have need to drawer so I left them out.I also made them a bit smaller as our bedroom is quite a small. Also I wanted to make it match our bed frame, so I used plywood on sides, not 1x12's. (foot-board in our bed frame is plywood)
This took me a couple of weekends and late night sanding after I put the kids to bed. It's not a long project or super hard but I wanted to make sure I sanded it enough and took the time to plain the top with a hand plainer. I used Douglas fir wood from Home Depot, I wanted to use nicer wood from a wood shop but it would have cost over $500 dollars in wood alone. I used a hand Plainer to make sure the boards were even and then I sanded it and sanded it some more. I went up to 400 grit sand paper and that made a world of difference. I used pre-conditioner before I stained it with dark walnut. I am very pleased with the result and my wife loved the table for Christmas.
We had an area between our kitchen nook and formal dining room that we had put small shelving units in over the years. This is also directly across from the downstairs bathroom so every time someone walked out, they would see this huge mess of board games, books, kids coloring pages, and so on. I wanted to do something useful and nice with the space. So, with the wife's blessing, I started on this project. It took me about a month of on and of work between life. The 4 hooks are for each of us in the family, and the lower hook is for my wife's (and eventually daughter's) purses. My wife picked out the paint and cloth for the bench seat and put that together from the lid I made. Underneath the bench is storage of 18hx15wx24d (1 for each of us). Each of us have bags or backpacks that we store in there with extra room for shoes. The above storage is for seasonal head and hand gear and my wife picked out those as well. Original boxes were supposed to be the full 12" space but she liked these more, and I did too. I did have to replace the top shelves once because I made it too close to the inside dimentions and it got stuck. It's all made of 3/4" top choice lumber from Lowe's. I'll post more if anyone is interested. No plans, I did this as I went. Sorry for the poor image, I had to do a vertical panoramic picture.
Adirondack Chair by Ricky
We were in desperate need of some functional storage in our laundry/mud room. I had been searching for a long while for a solution and almost built another mud room configuration from this site until I saw the 'Smiling Mud Room'. It was EXACTLY what we were looking for! This is the first thing my husband has ever built and I think he did an awesome job. We had to change a few things to fit our room and taste and there are still a few things that need to be finished (hooks, trim pieces and painting). It took him about 20 hrs total to get this far.
Sun, 10/09/2011 - 18:31
So excited to see your mudroom! I am giddy!
Looks great thank you for sharing and making my day!!!
Ana
Sun, 10/09/2011 - 18:31
So excited to see your mudroom! I am giddy!
Looks great thank you for sharing and making my day!!!
Ana
Mon, 10/10/2011 - 14:52
Thats looks awesome! Why didn't he go to the ceiling?
Tue, 10/11/2011 - 07:03
Thanks! I wanted to be able to reach the shelves without a step stool and I am not very tall. I agree it would have looked better if they went to the ceiling but functionality won out over style.
Still need a couple more drawers, plus stain and seel, but I just couldn’t wait to post. Took me most of the day (drawers suck), but it was extremely helpful to have the article and visuals to aid. Can’t wait to move on the the next project. I’m slowly becoming obsessed and a “wood whore”
Wed, 02/01/2023 - 09:21
I would be excited too, that looks amazing! I can see some really great projects being built there, thanks for sharing!
I found a table on Pinterest that I wanted to make but I wasn't sure how to make the base for it. I used the Tryde Coffee Table plans to build the base but then I altered the plans of the top of the table to give my table the look I desired. I LOVE it. It's very sturdy and a beautiful addition to our living room.
I used some leftover 3/4" maple/birch plywood for the box, douglas fir 2x2 legs, and free trim from a deconstruction warehouse to make this super simple shelf bench. We keep a select few books on ledge shelves for my daughter to read through for the week or so, and all the other books are stored in the bins in this little bench. :)
Simple building process in photos @ Sunnyside Up-stairs
Sat, 10/12/2013 - 06:10
So pleased you like this, Joanne. I've been thinking about these builds for some time. It was nice to make very simple versions and use up some wood in our garage. :)
I wanted a mix of the two - detail with a footboard. I modified measurements to suit my project. Also, I did a though mortise for the bed rails and pocket screwed from the inside. Then I used 5 slats and a center raiser for three of them because it was a double box spring.
We were setting up our finished seesaw the same day we bought the project supplies, so this is a fun project without a lot of waiting around. It’s been a huge hit in the backyard and the extra-long seats allow a couple of kids to pile on each end.
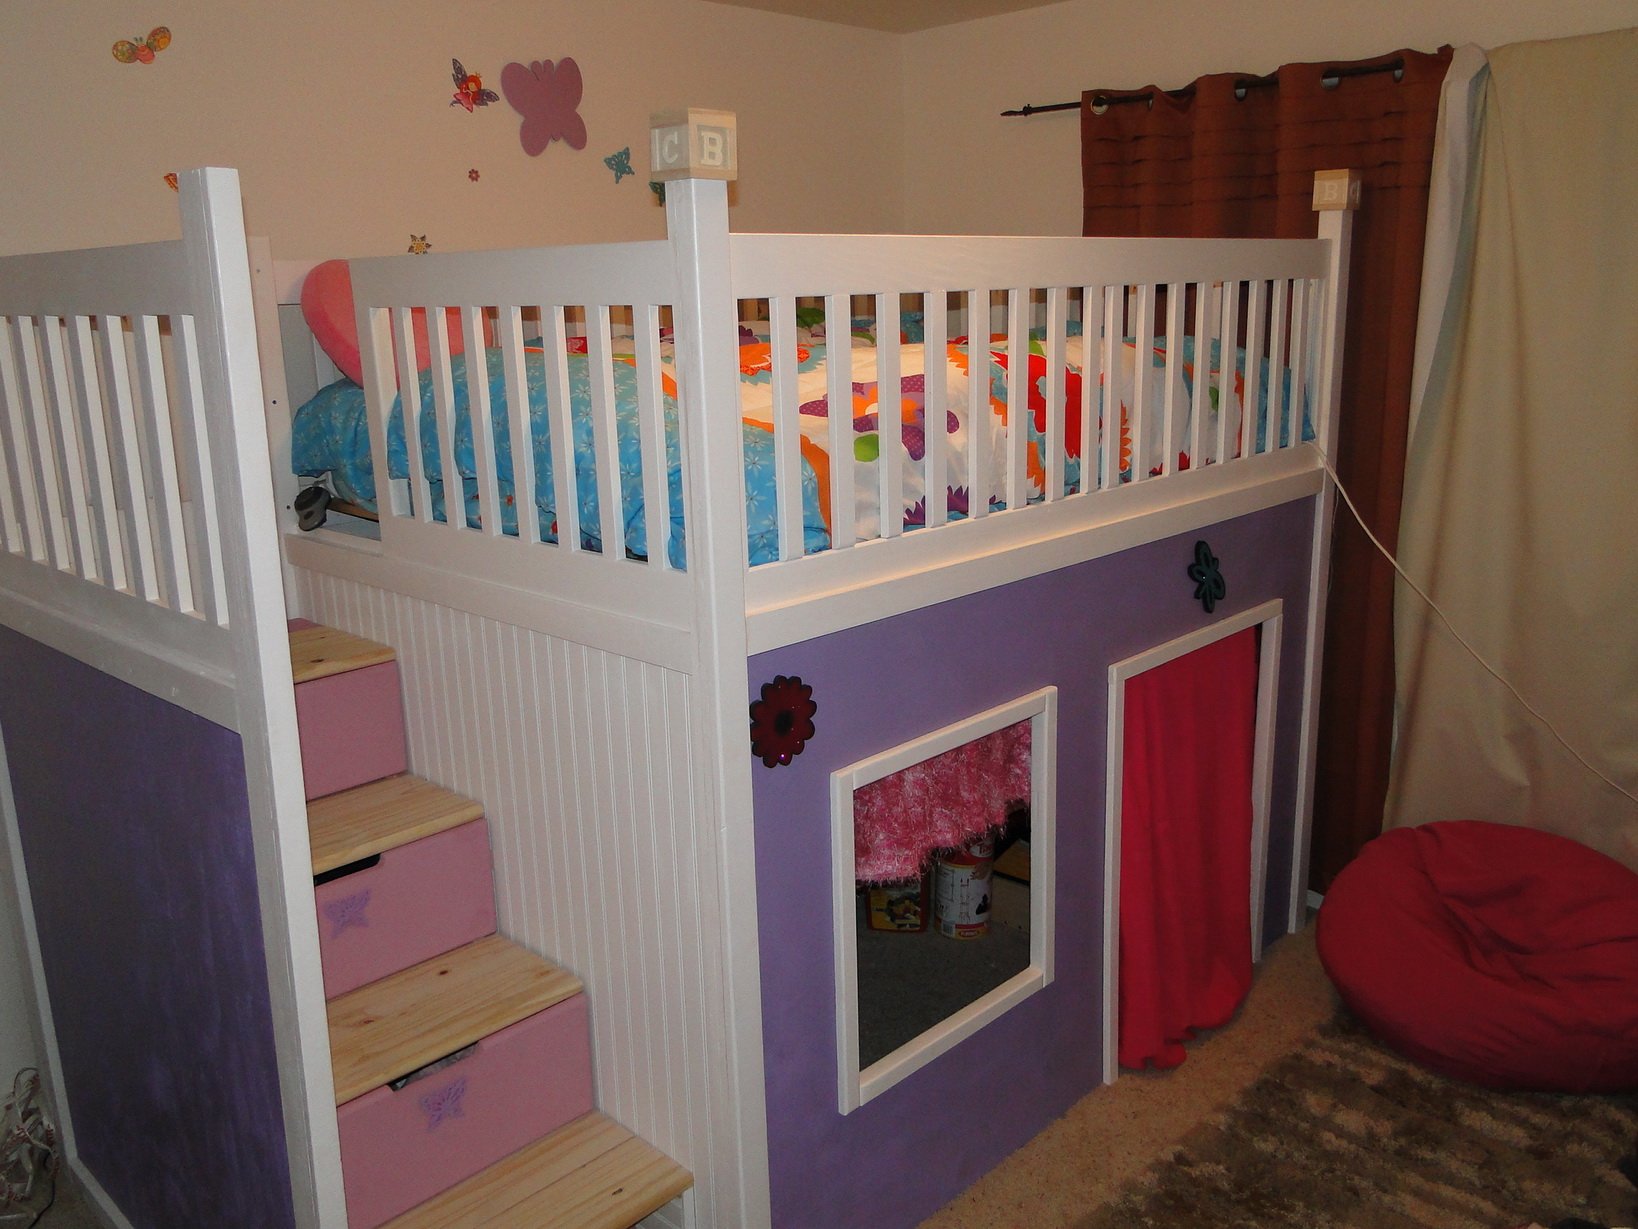
I wanted to create something for my 2 girls (6 & 4) that would make both of them happy, fit in a small room, and get it done within 3 weeks while they were away on vacation. It was a surprise as neither the girls nor their mother had any idea what I was doing.
I copied the idea from others on this site but then modified it a bit to get what I wanted.
I still have more touches to complete.
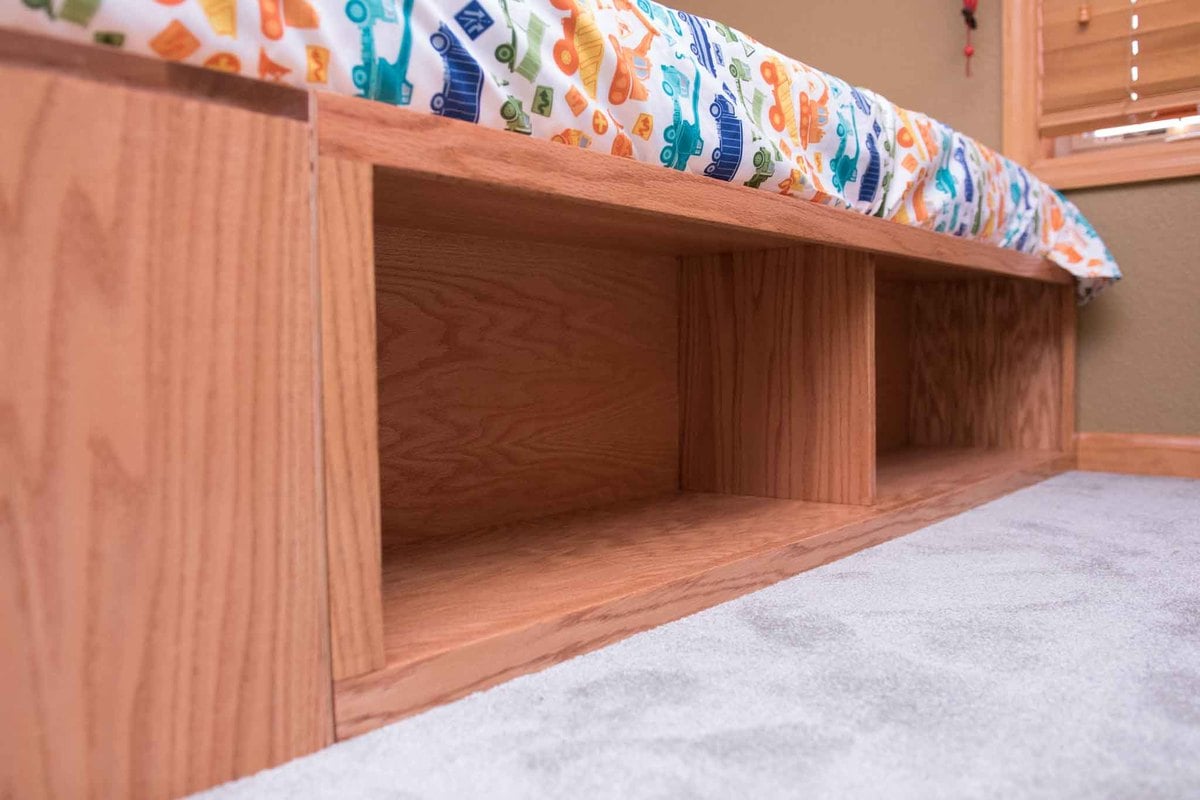
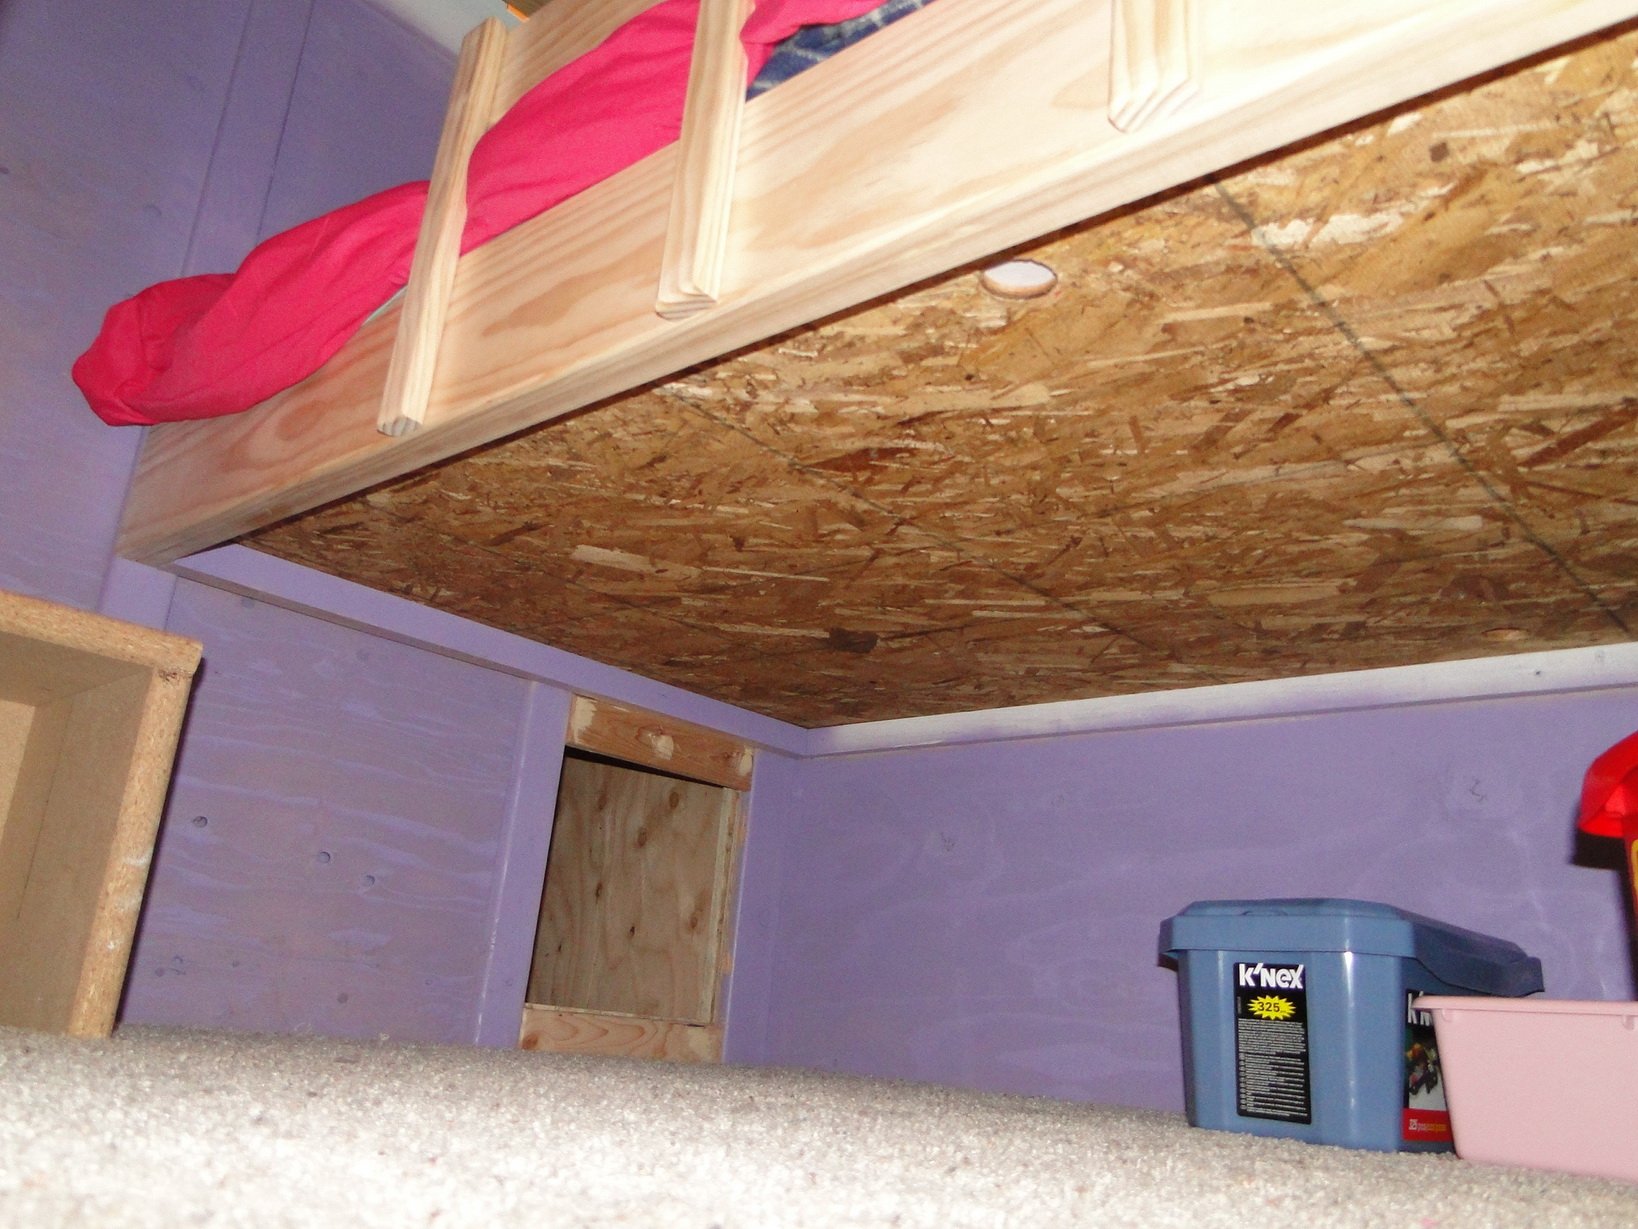
I didn't finish the inside for the sake of time. I might wallpaper the inside or just paint it when time allows.
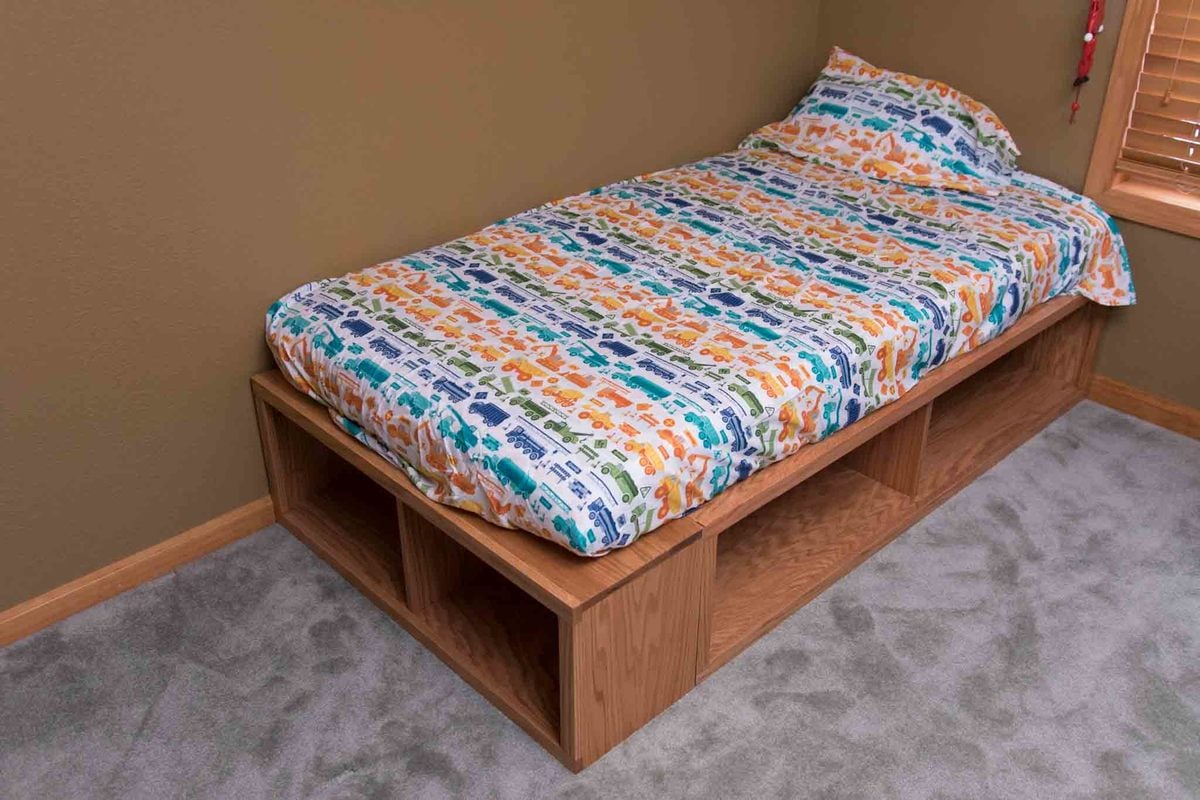
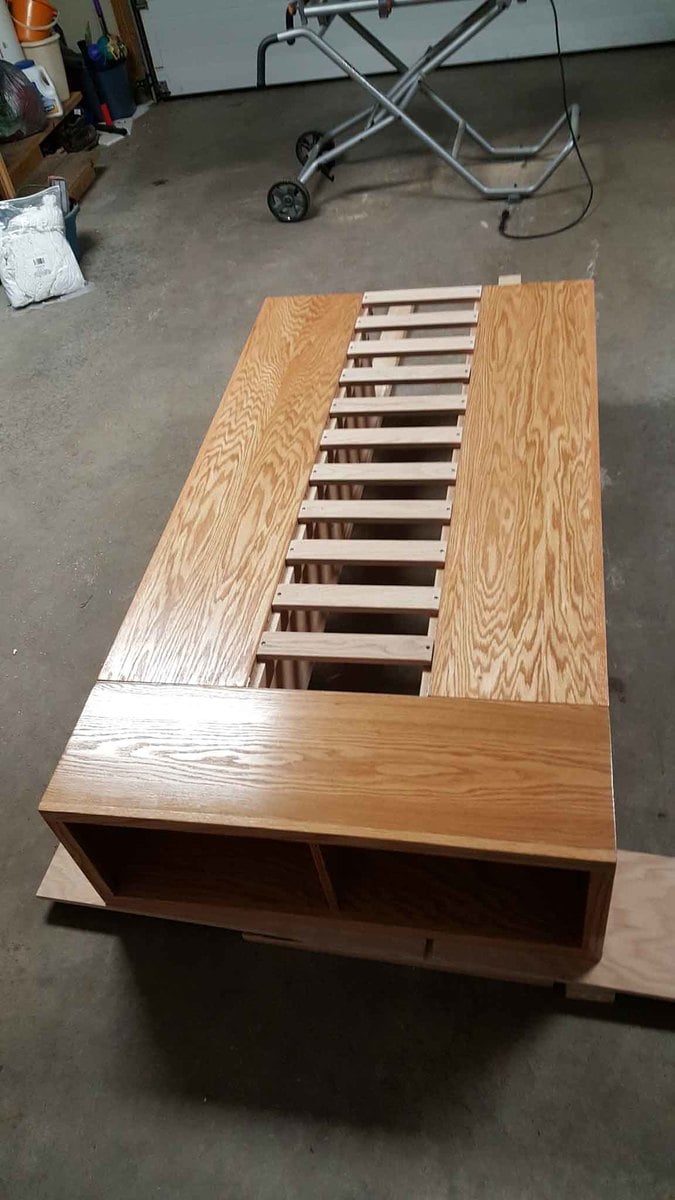
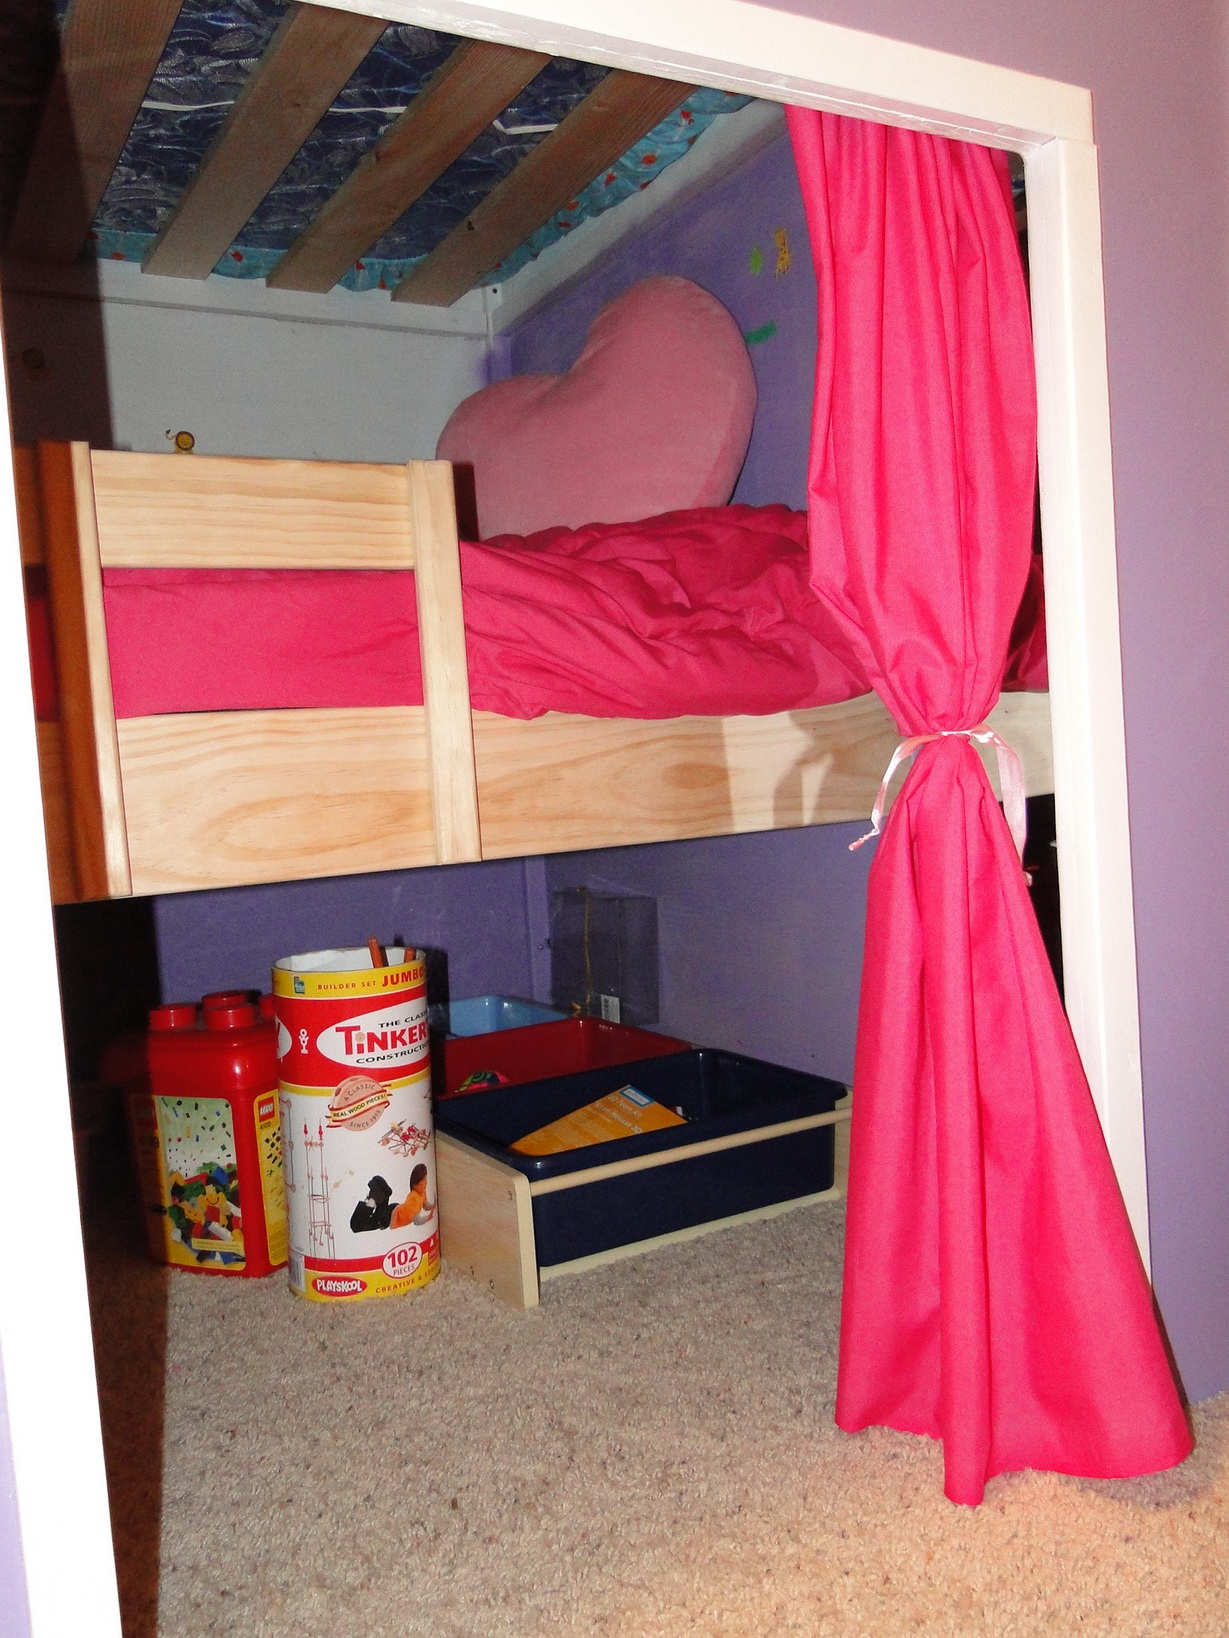
The top is a full size bed. The playhouse is enclosed with walls on all sides. There's a bed inside of the playhouse that's a Twin size with a simple stool to get on it (ran out of time - was going to create a 2 step drawer stairs).
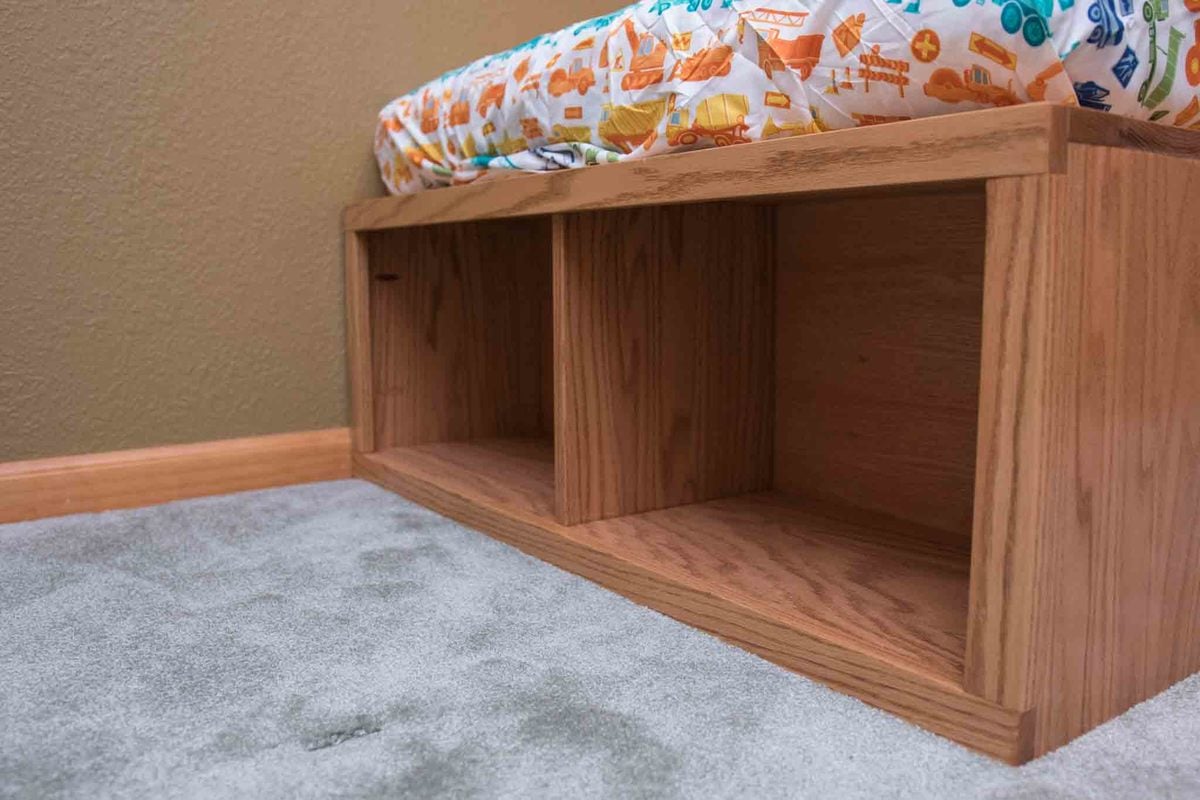
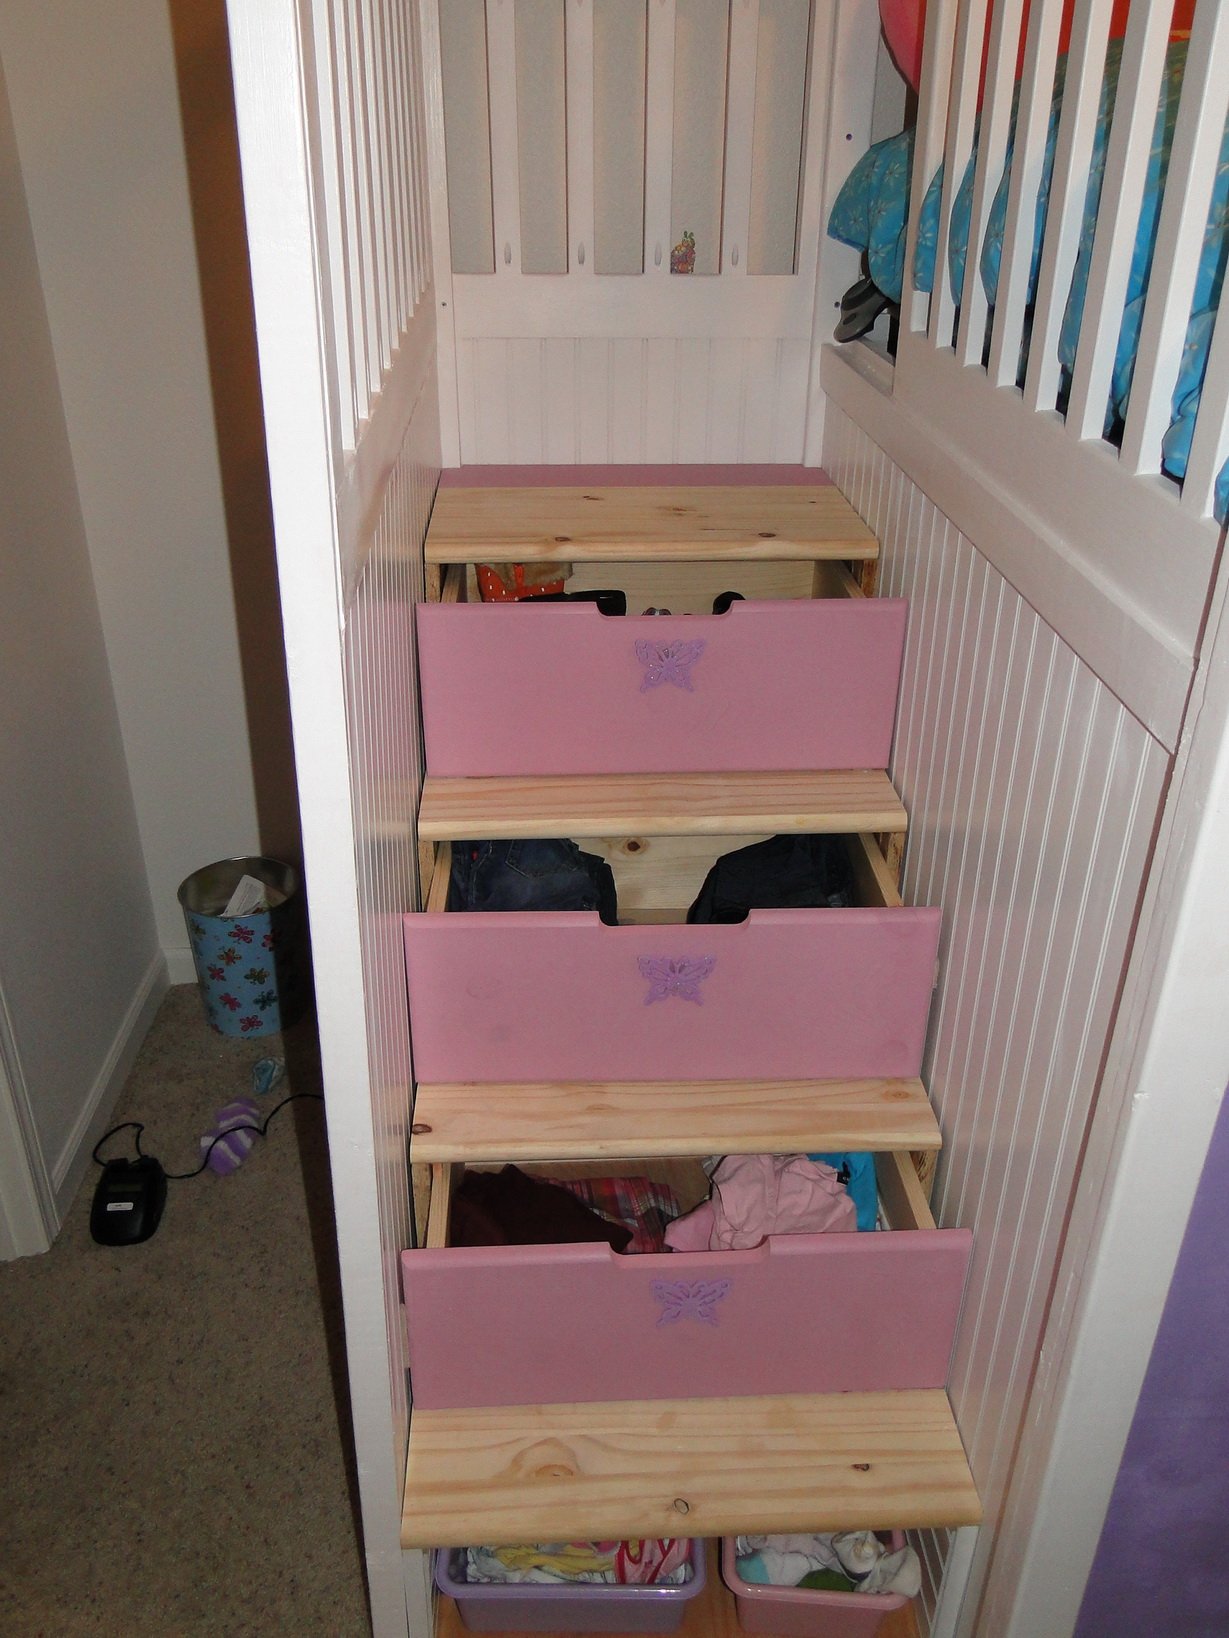
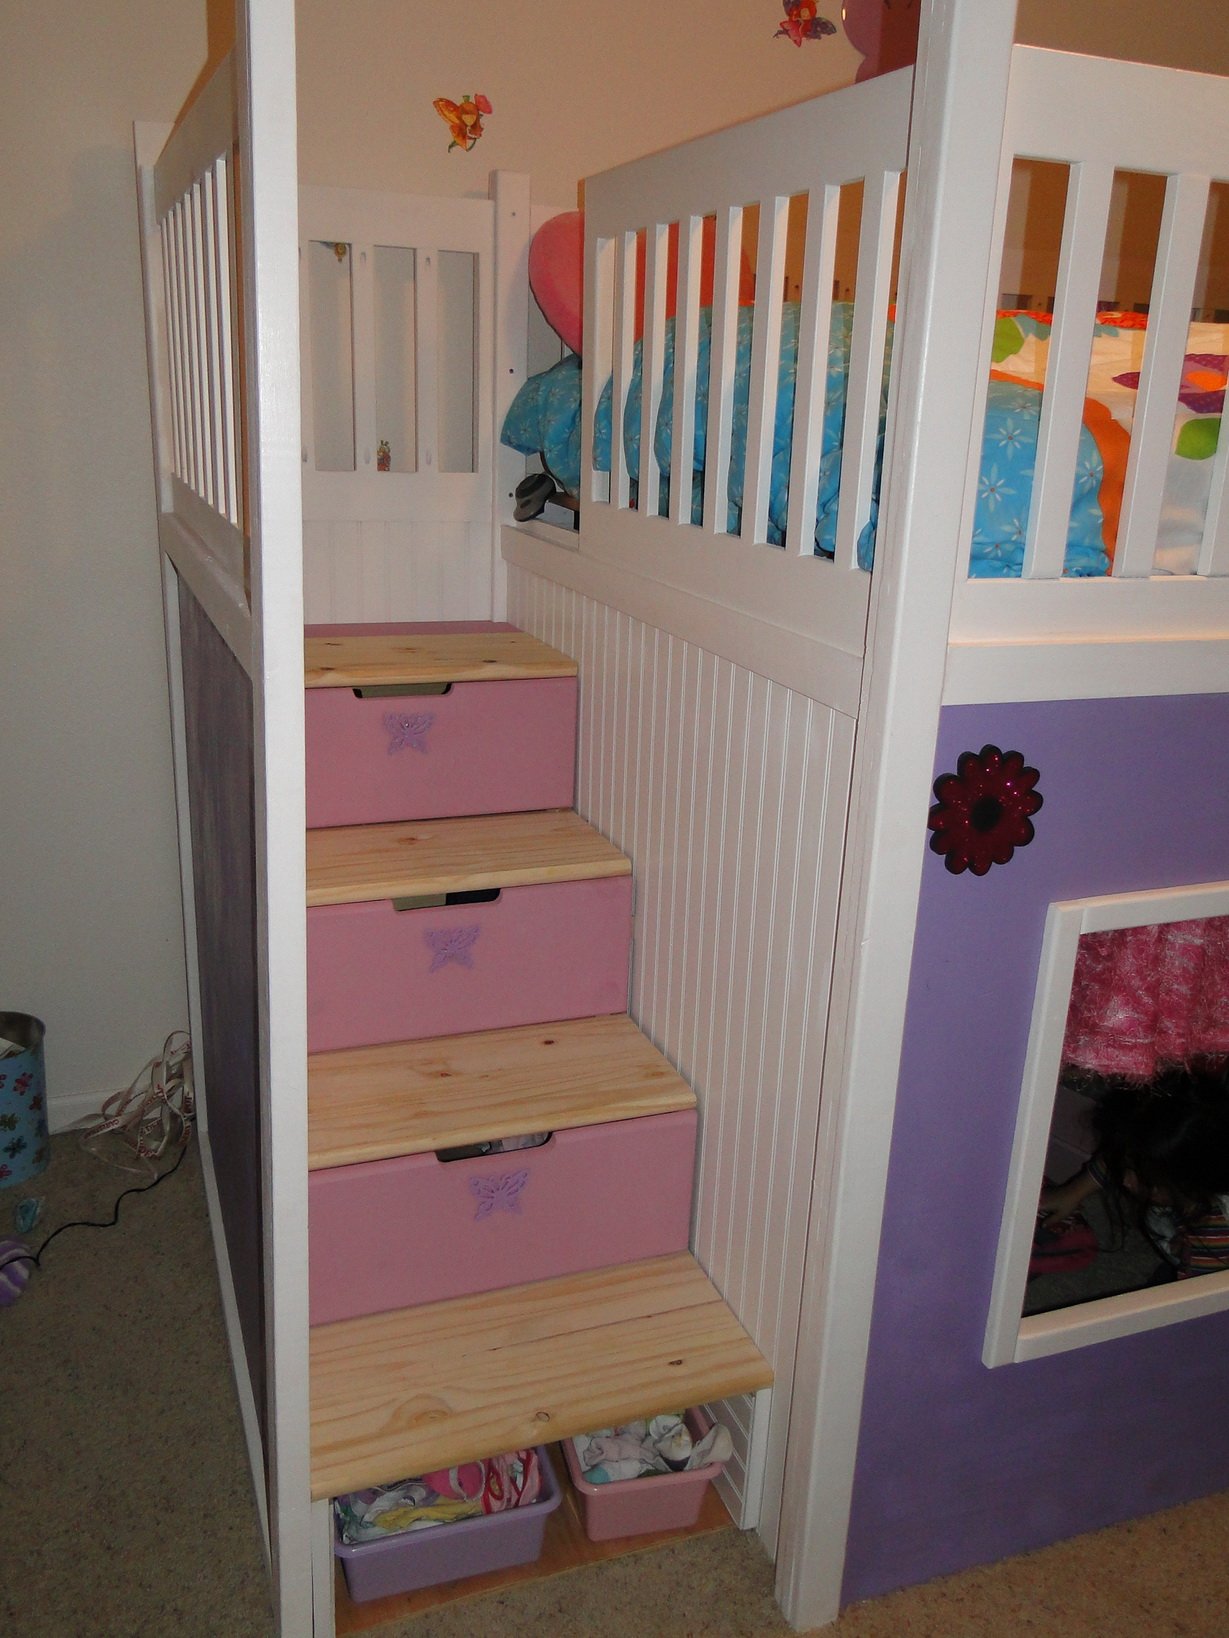
The stairs are drawers and there's a "secret" opening under the bed going into the stairs where the girls can hide stuff.
Left the first step open in order to use for totes. My 4yr old currently fits in there and can get in and out of the playhouse through that opening. I might put a flap there.
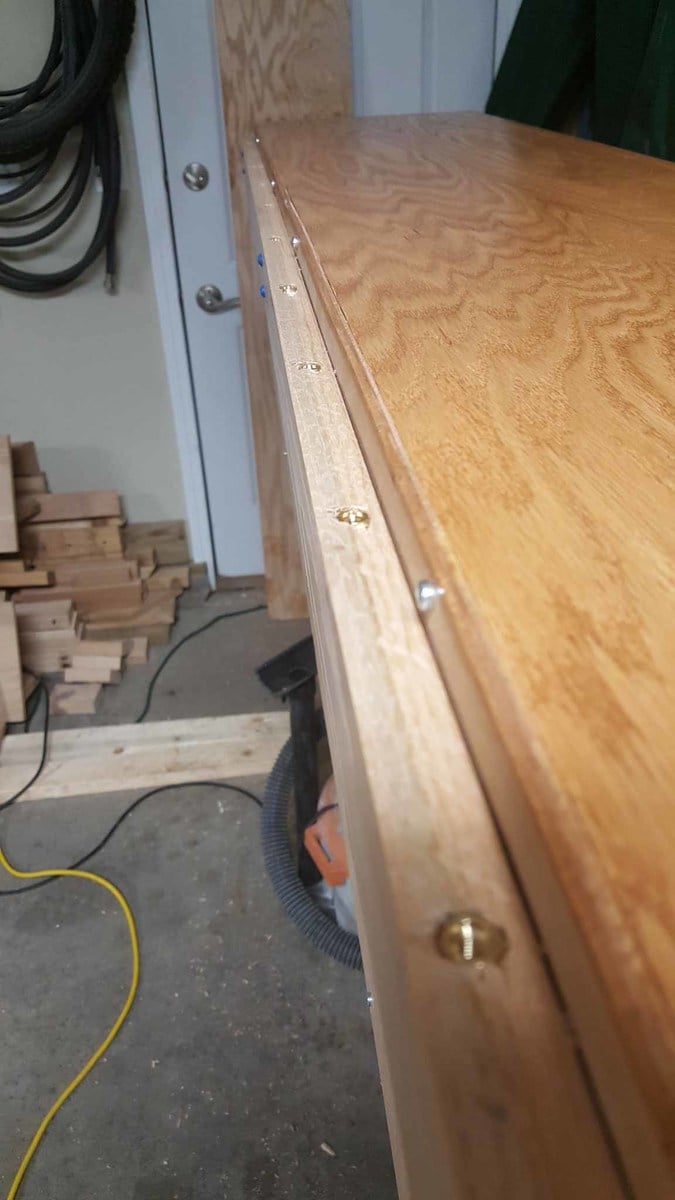
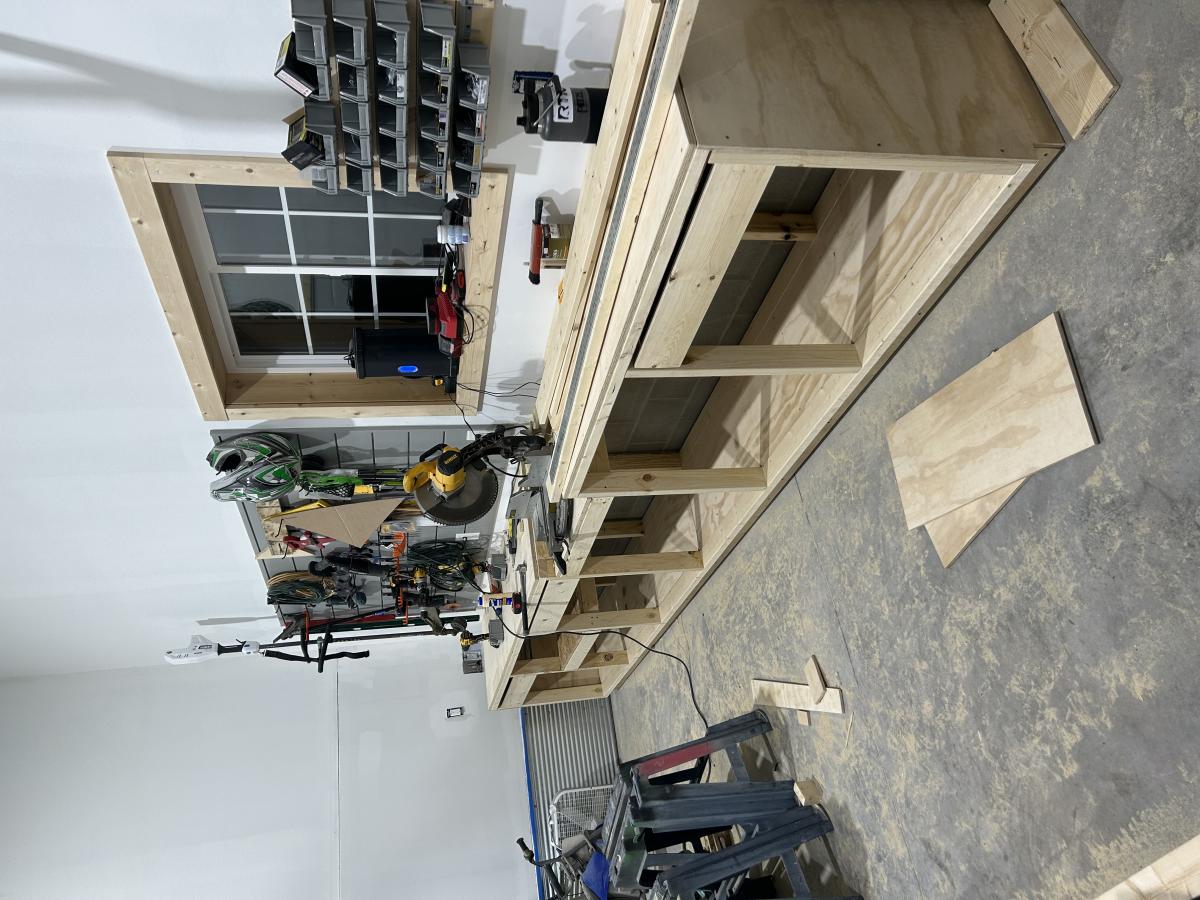
I worked on this playhouse for about 200hrs which includes tons of visits to hardware stores, furniture stores, finishing, touches, etc. Worked in the garage and built it such that it can be disassembled and re-assembled easily.
Wanted to make it more fancy but ran out of time.
Made the stairs a separate piece on its own.
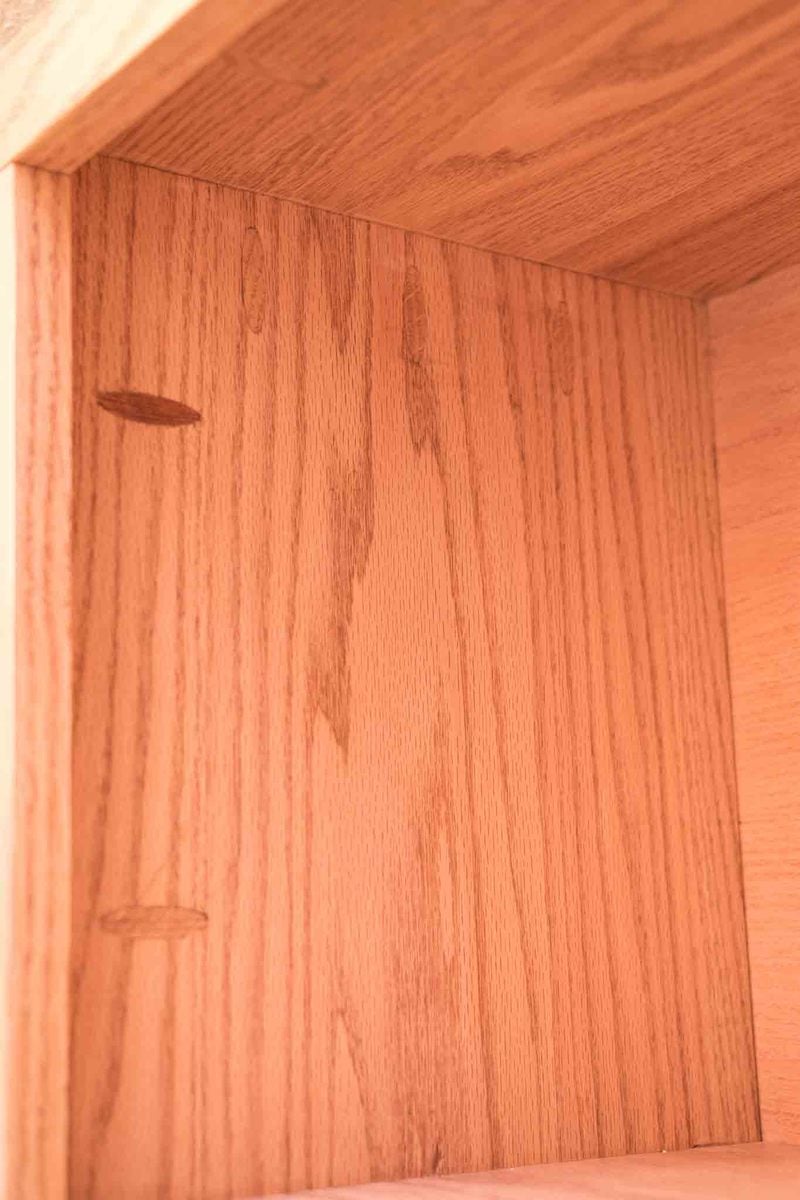
MADE MANY ERRORS but was able to correct almost all of them. Learned a lot from this project.
I didn't follow any particular plan except for the concept since my dimensions were different. I made the rails higher for added safety since my girls almost sleep walk!
Accommodating the Full size mattress made this project very challenging and more costly since I had to get a full sheet for each side - total 5 sides.
Detailed Pictures and Dimensions:
https://plus.google.com/photos/103590147643813514240/albums/56496973048…
Stairs:
https://plus.google.com/photos/103590147643813514240/albums/57625265707…
Wed, 10/19/2011 - 21:41
That is stunning. Please tell us how mom and the girls reacted to your wonderful gift!!
Thu, 12/01/2011 - 13:08
Sorry just saw the comments.
After some 30hrs of travelling by air and land, they arrived exhausted. When they saw this they all got charged up with energy. The girls loved it and it's now a toy & a bed. Their mom loved it and all the storage and began using it right away.
Slight problem is that the younger one wants to sleep in the top large bunk so we settled to having them swap in the weekends!
One nightmare is making the beds!
Wed, 12/07/2011 - 07:53
Abzman this is the most wonderful thing I have ever seen. At first I thought I was gonna read where you got this from but when I saw you made this I just had to tell you what a marvelous job you did. I really wish I could buy something like this for my own girls (4 and 3). Thanks for sharing
In reply to This is absolutely awesome by Dimika (not verified)
Mon, 12/12/2011 - 08:44
Thanks for the kind comments. Very appreciated.
Wed, 12/21/2011 - 19:23
Hi, I'm building for a full size mattress as well. It looks like you are using 1x4 for the slats. How are they holding up? Did you have to reinforce them because of the added width?
Also, how high and deep are the stairs?
BTW, everything looks great.
Thanks for the help.
In reply to bunk bed by Guest (not verified)
Wed, 12/21/2011 - 22:10
Hi,
I just finished documenting some of my dimensions and included them in the photo album linked below.
I did use 1x4's and picked the hardest and straightest I could find. I tested all of them first at HD!
They are holding up well. I used 12 total. They are all a tight fit and that was good enough support. I didn't use additional support and I know they will hold up well for a 100+ lbs person but I still have it planned to secure a few of the slats. I laid down on the top bunk and it felt sturdy.
Note that some might not agree with the height of my top bunk rails. They are at 4' even!
As for the stairs, I included the measurements in the pics. Hope this helps.
I will be covering the inside walls with colored carpeting! It will also act as a noise insulator so the kids won't wake up early AM from street noise.
https://plus.google.com/photos/103590147643813514240/albums/56496973048…
Fri, 07/06/2012 - 23:08
Give me your email address and I'll email you the pictures I have. I don't have dimensions but maybe the pictures can help. Since my staircase is removable I built the drawers outside of the bed then re-inserted the staircase. I did it the easy way using cleats and I installed felt padding under the drawers so they wouldn't scratch the steps.
Sat, 07/07/2012 - 10:15
Thank you! I'm planning on building the stairs separate as well. I've never built any with drawers in them before, and I can't find any plans for them. :-(
Sat, 07/07/2012 - 13:32
I just realized a better solution, I've posted the pictures to Google Photos. Hopefully that would help.
Basically, I built the frame of the drawers and made the front fascia separate which I attached afterwords. It allows for error correction in case the drawer doesn't come out straight and also allows for adjustments and fine tuning.
Go here: https://plus.google.com/photos/103590147643813514240/albums/57625265707…
We are getting ready to list our house and the laundry room was the last room in the house that hadn't been renovated. I used the momplex cabinets as an inspiration and made a 6 cubby cabinet, small cabinet with drawer and door, laundry pedestal, and sink cabinet. The cabinets are made of MDF and face with pine and pine doors. The countertop is made of 2x6's.
Sun, 01/03/2016 - 08:23
This looks great, you might want to keep the house after that upgrade!:)
Plans were very easy to follow and it all went together nicely. The top was inspired by a cafe table my daughter saw at a street cafe in Chile. She liked it so much I made her one for Christmas. I wanted to do a similar coffee table since - the Rustic X Coffee table plans fit the bill perfectly!