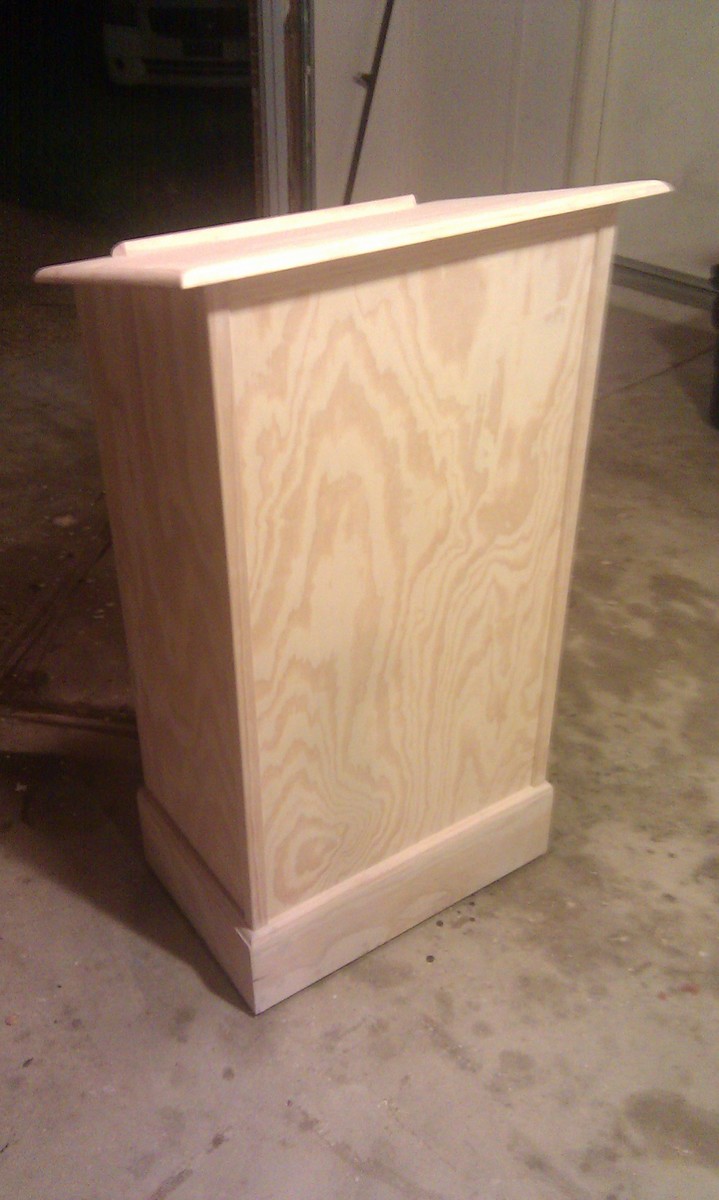
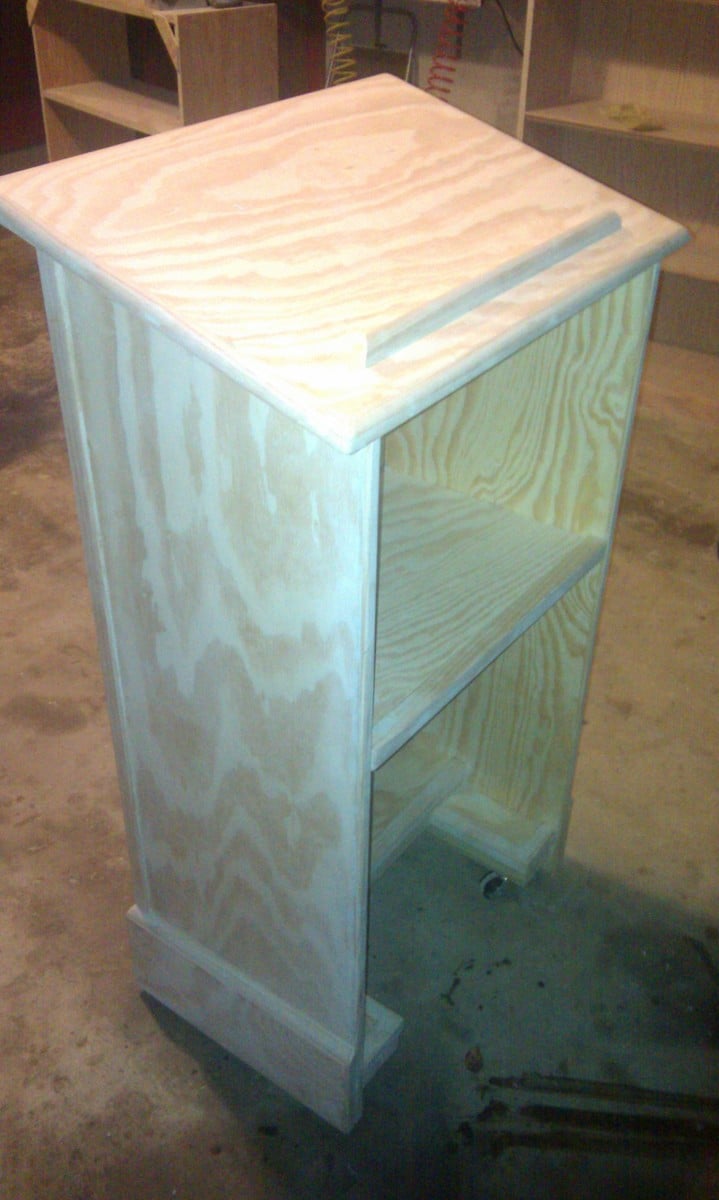
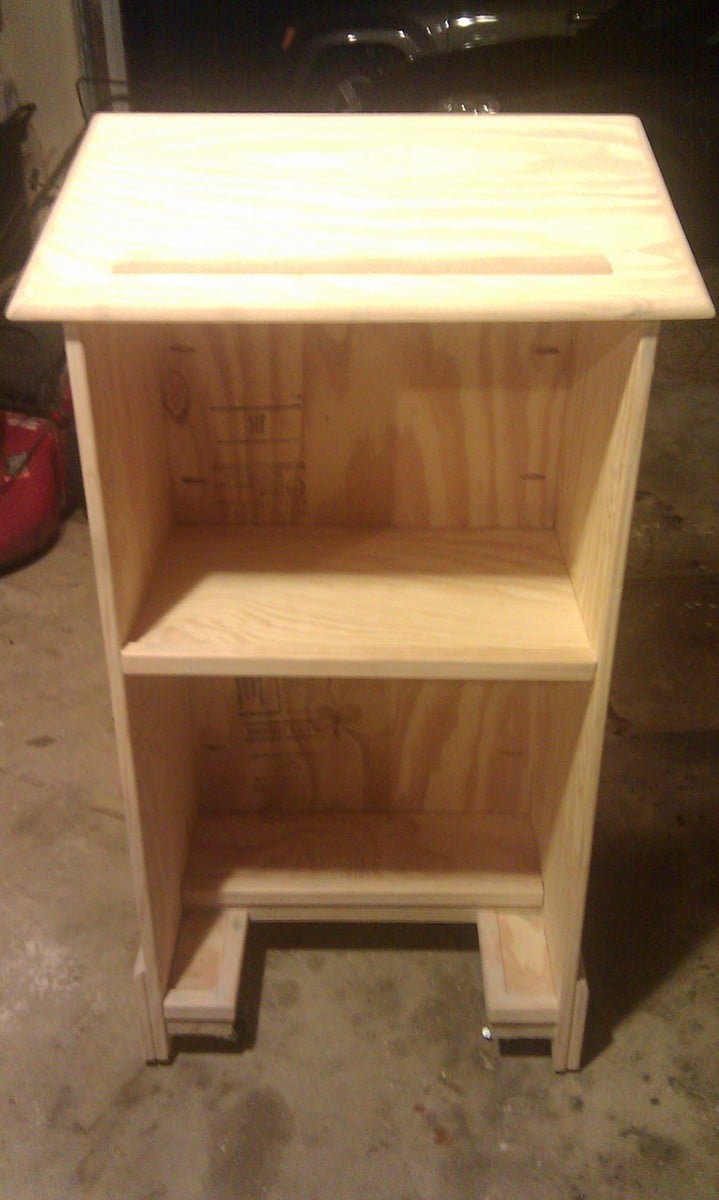
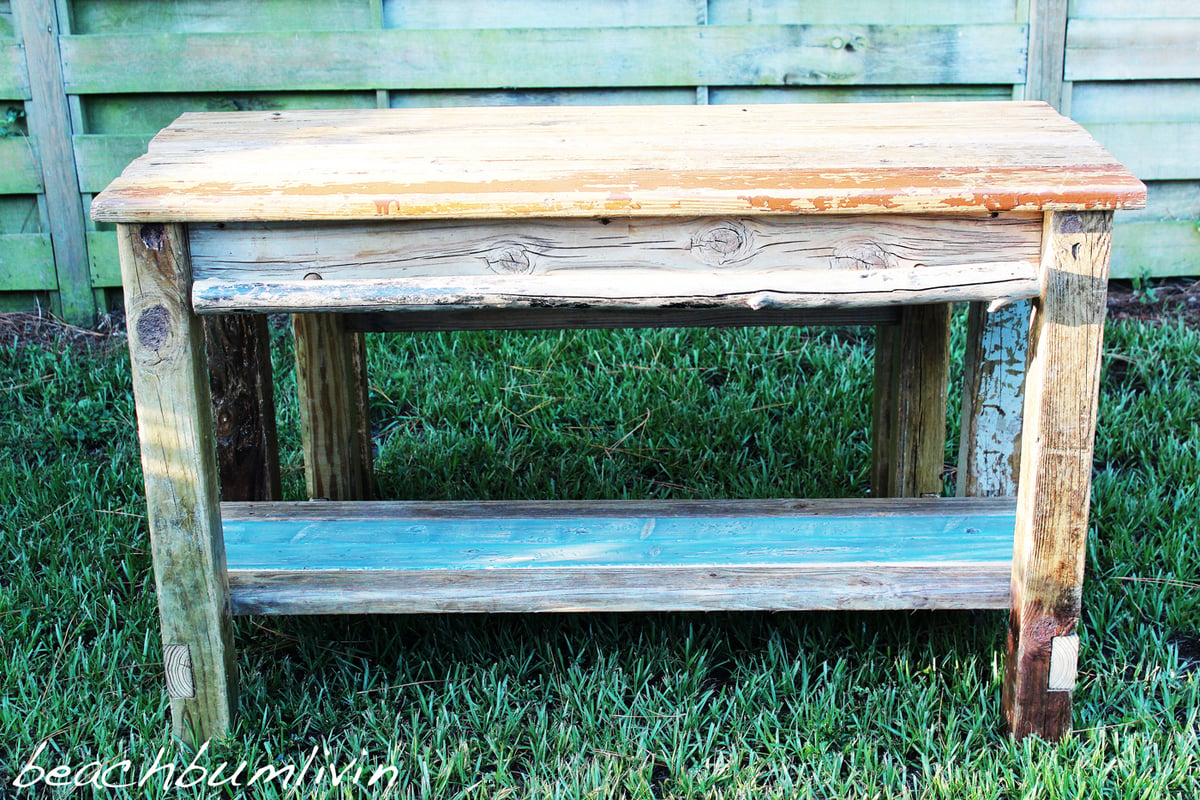
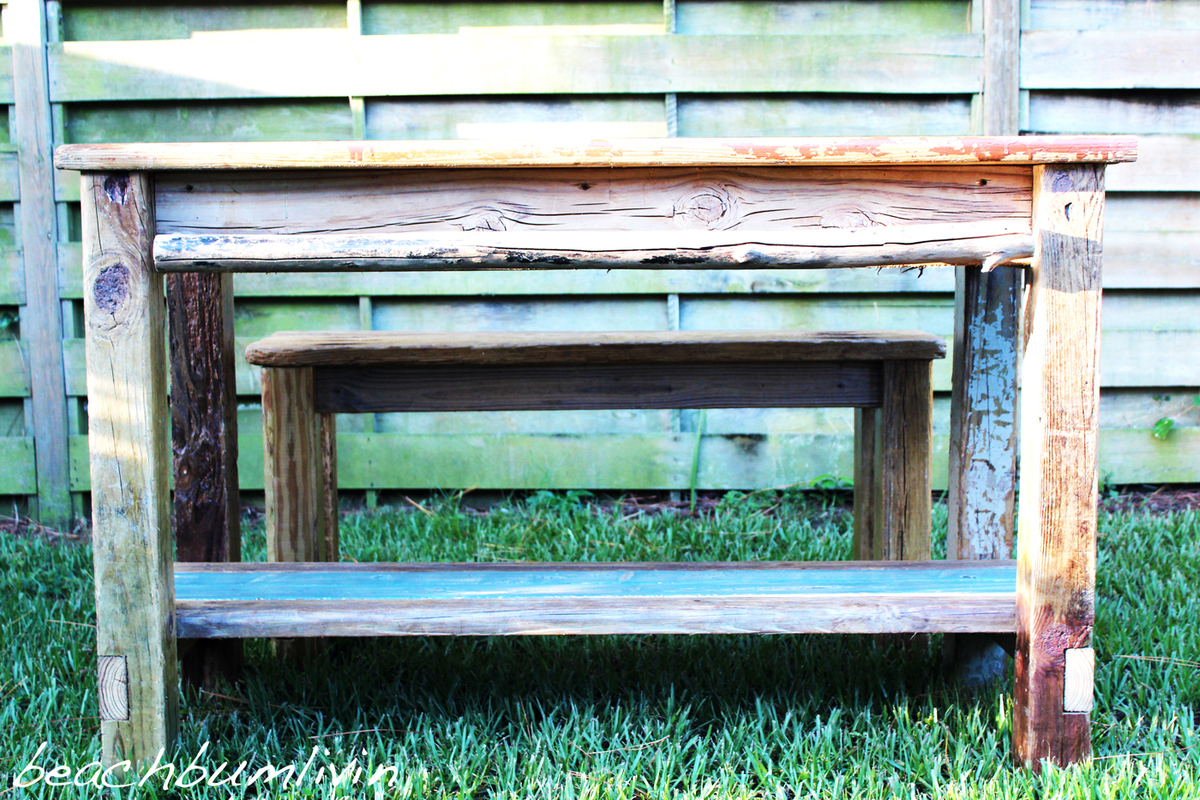
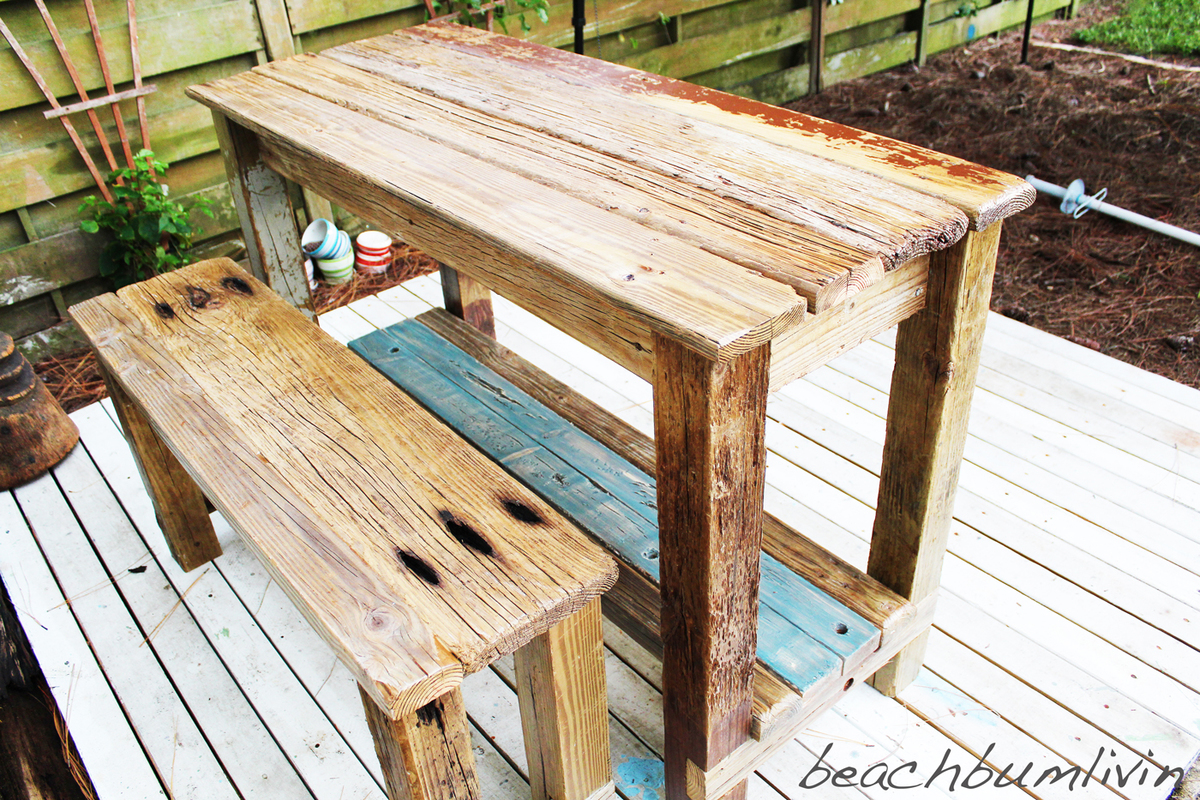
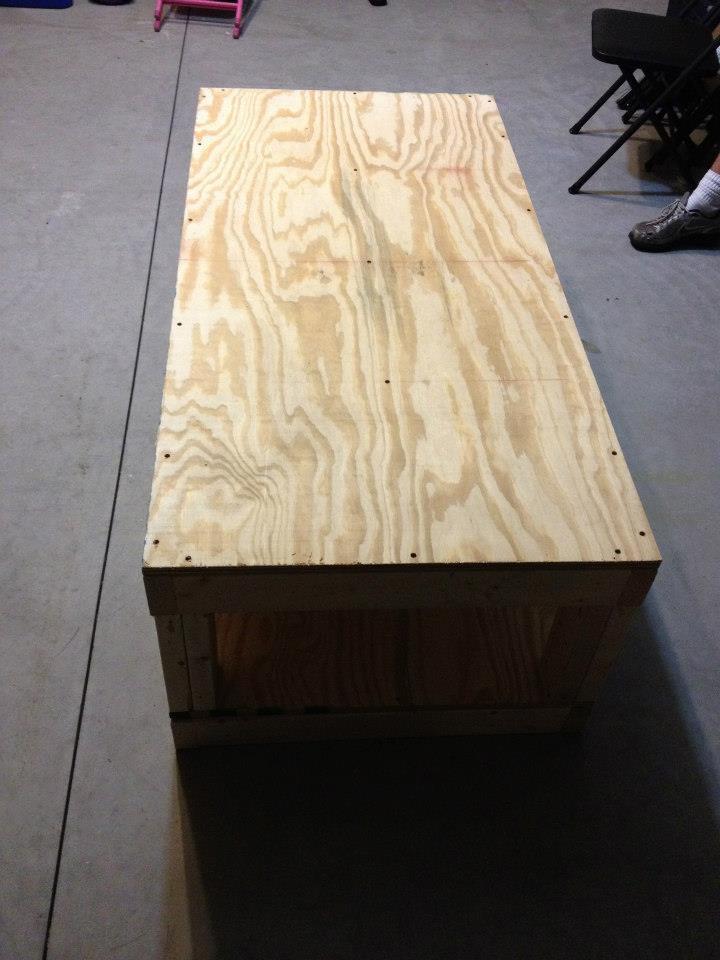
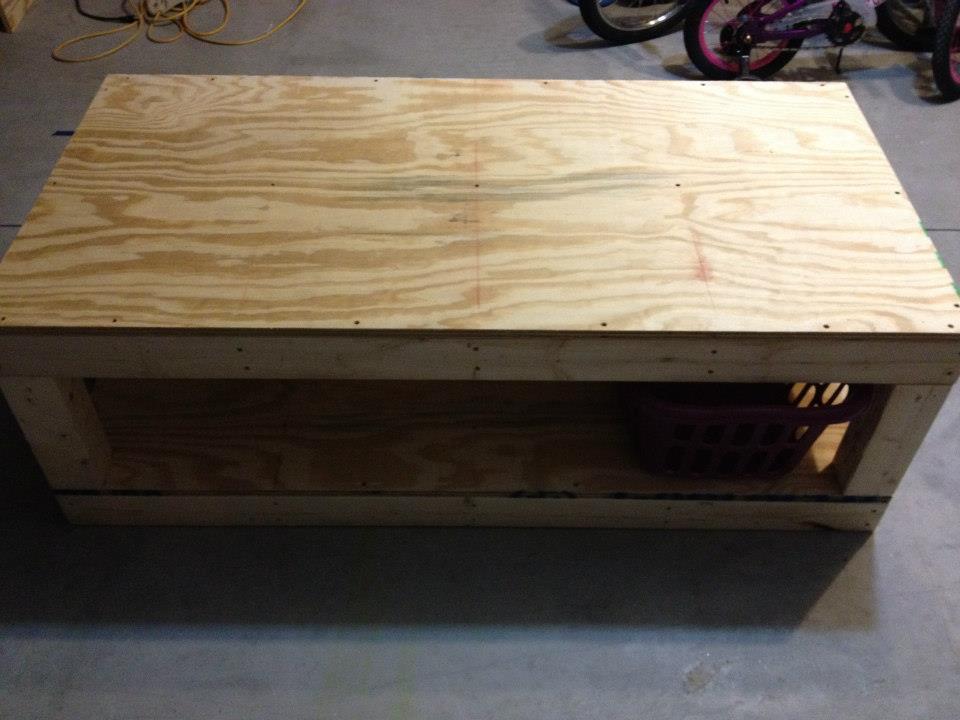
Baby Change / Kitchen Island
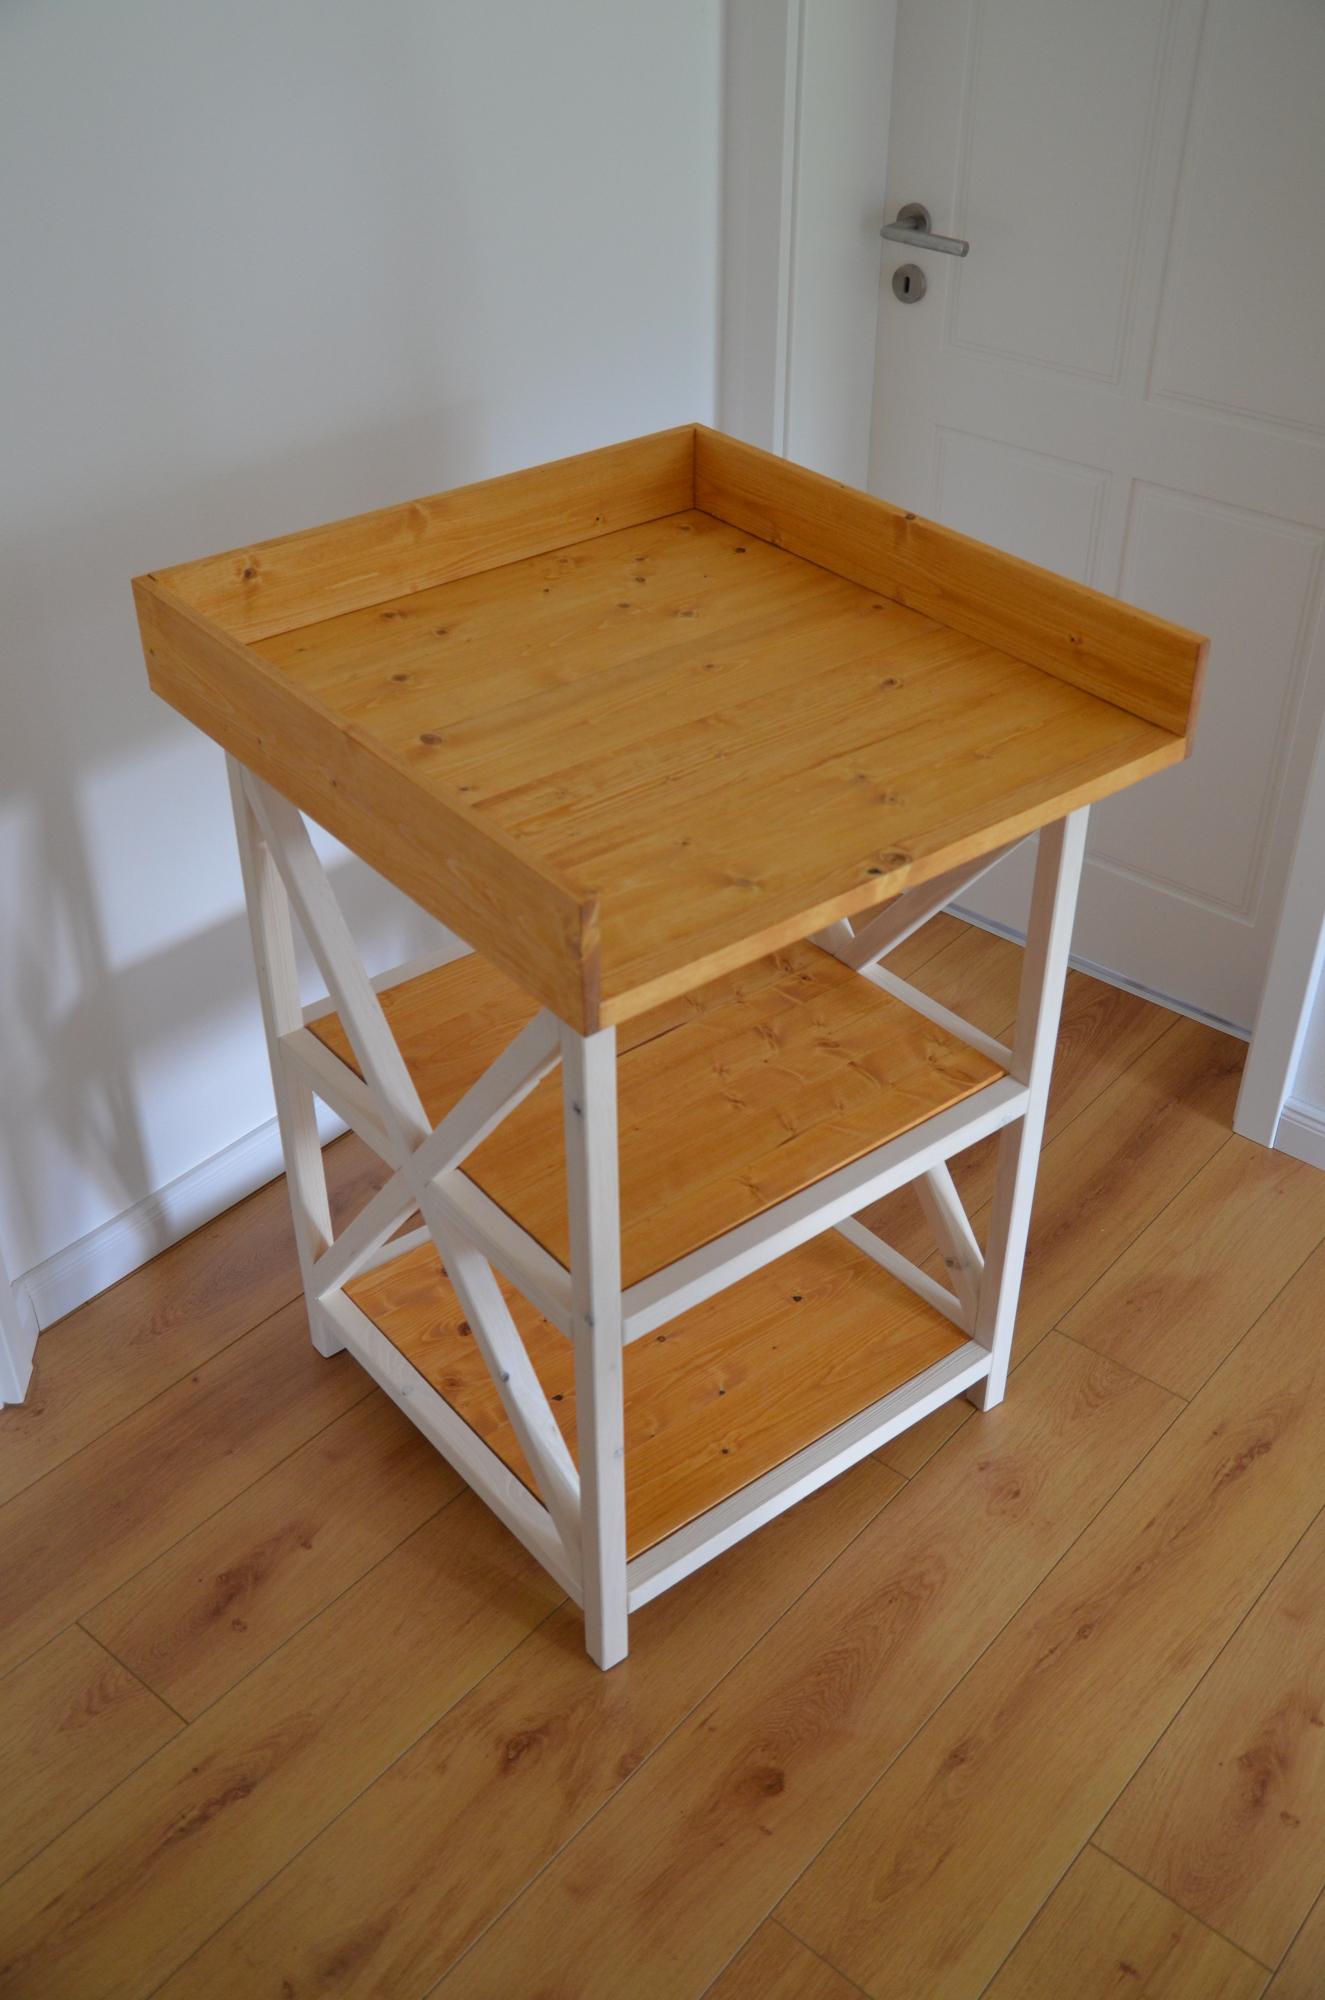
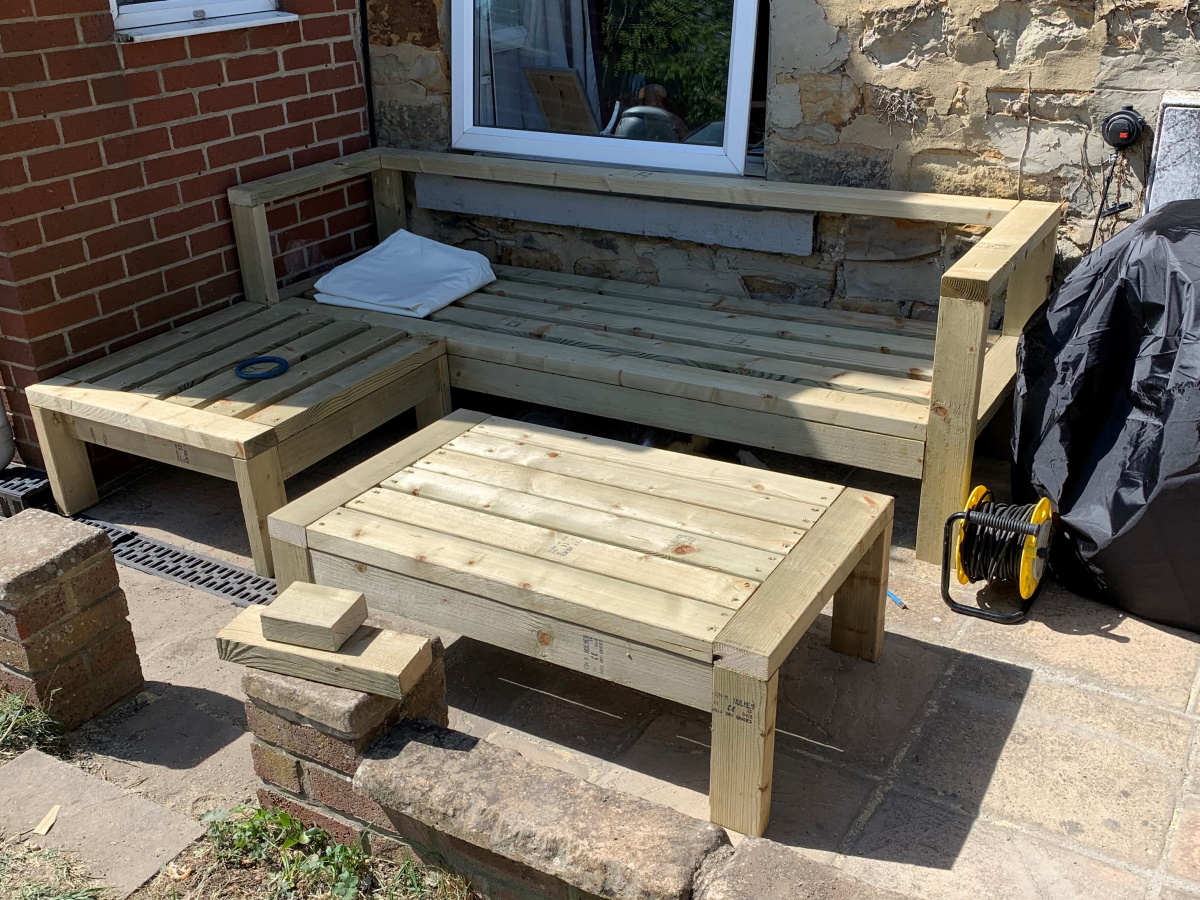
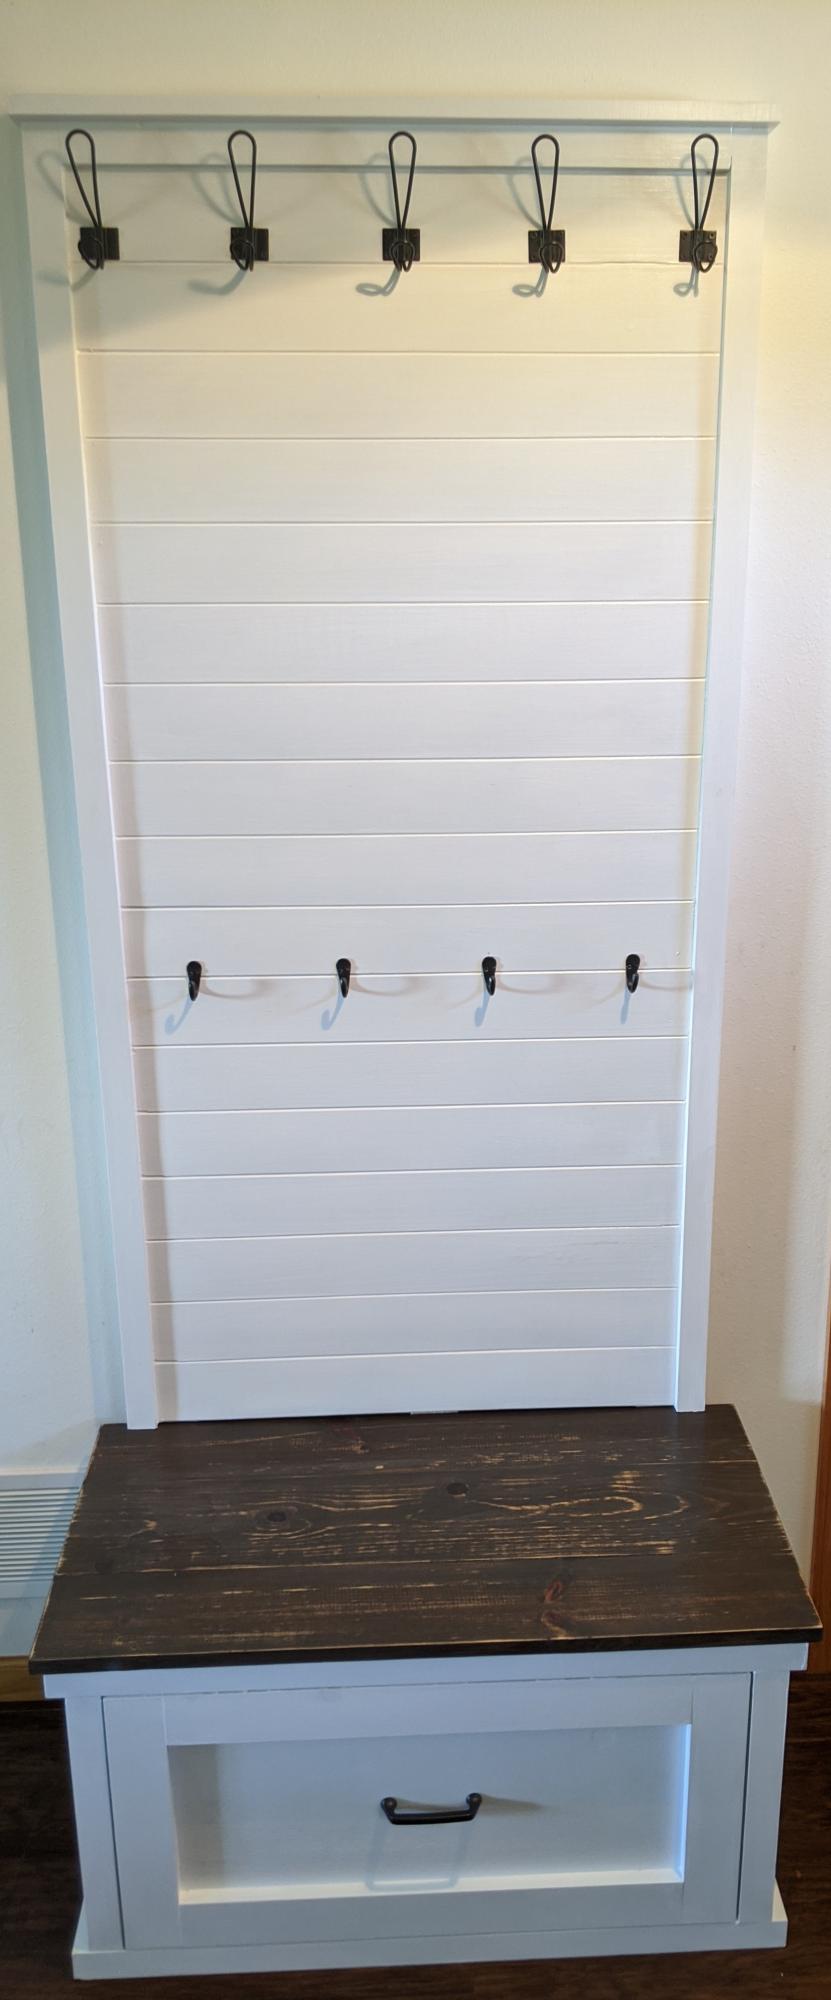
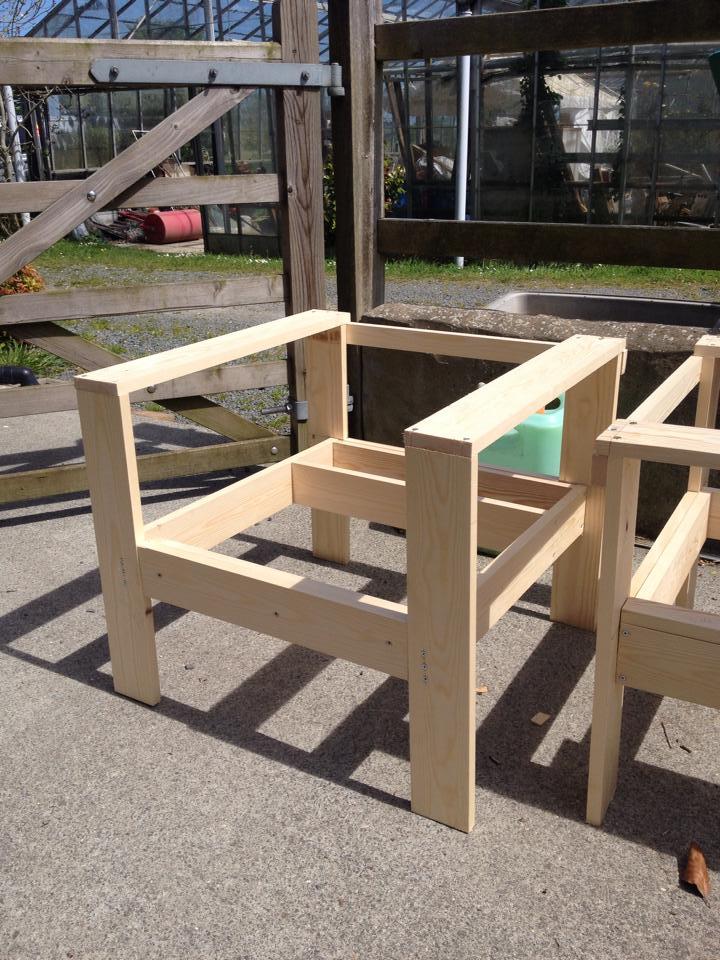
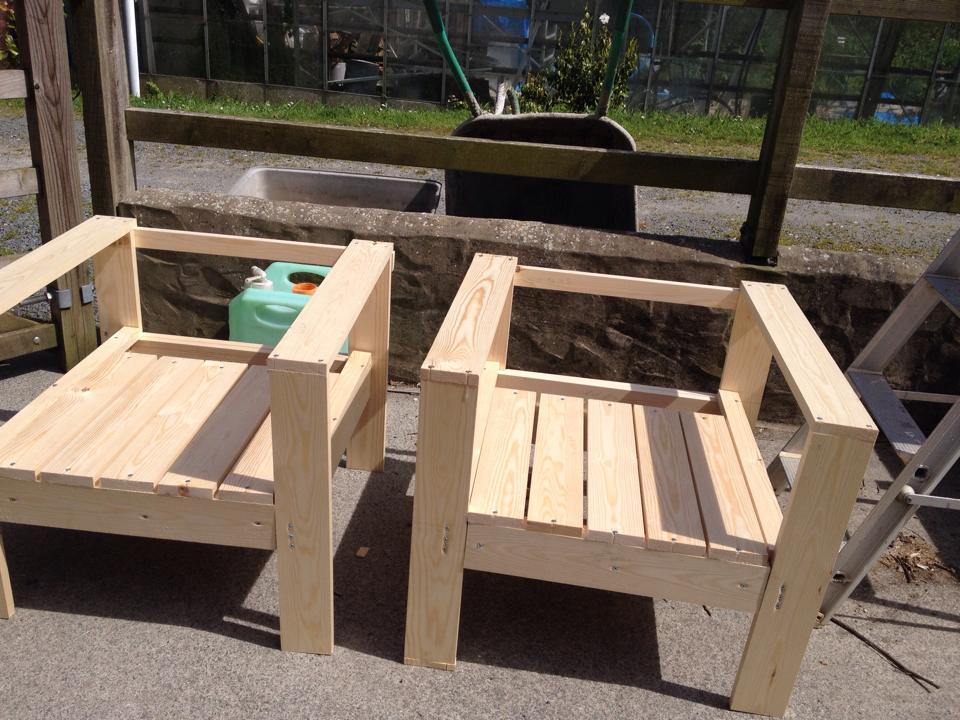
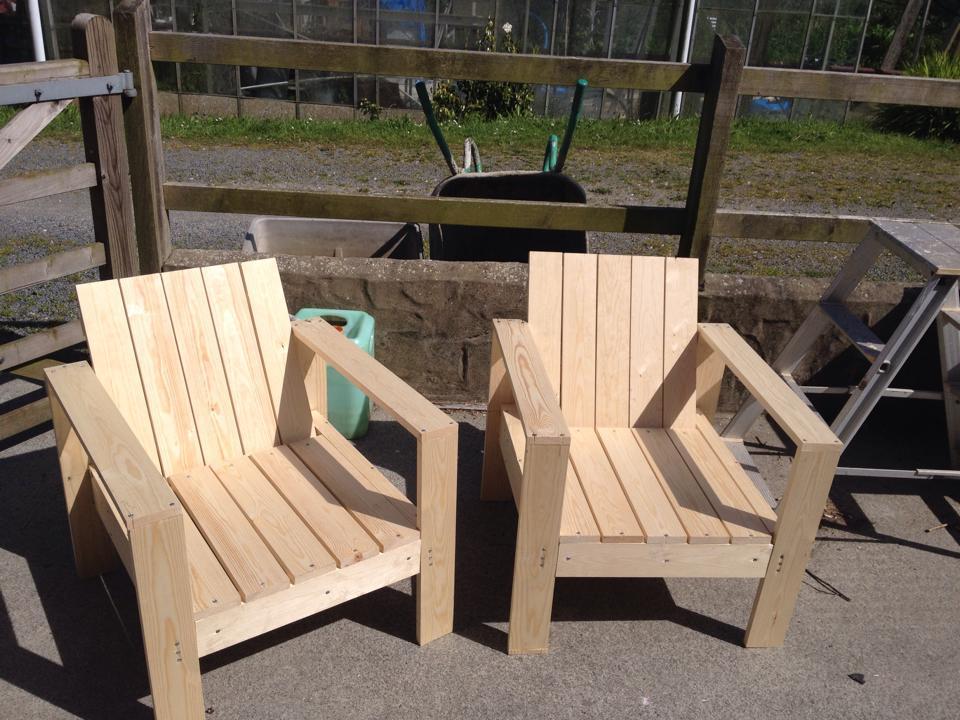
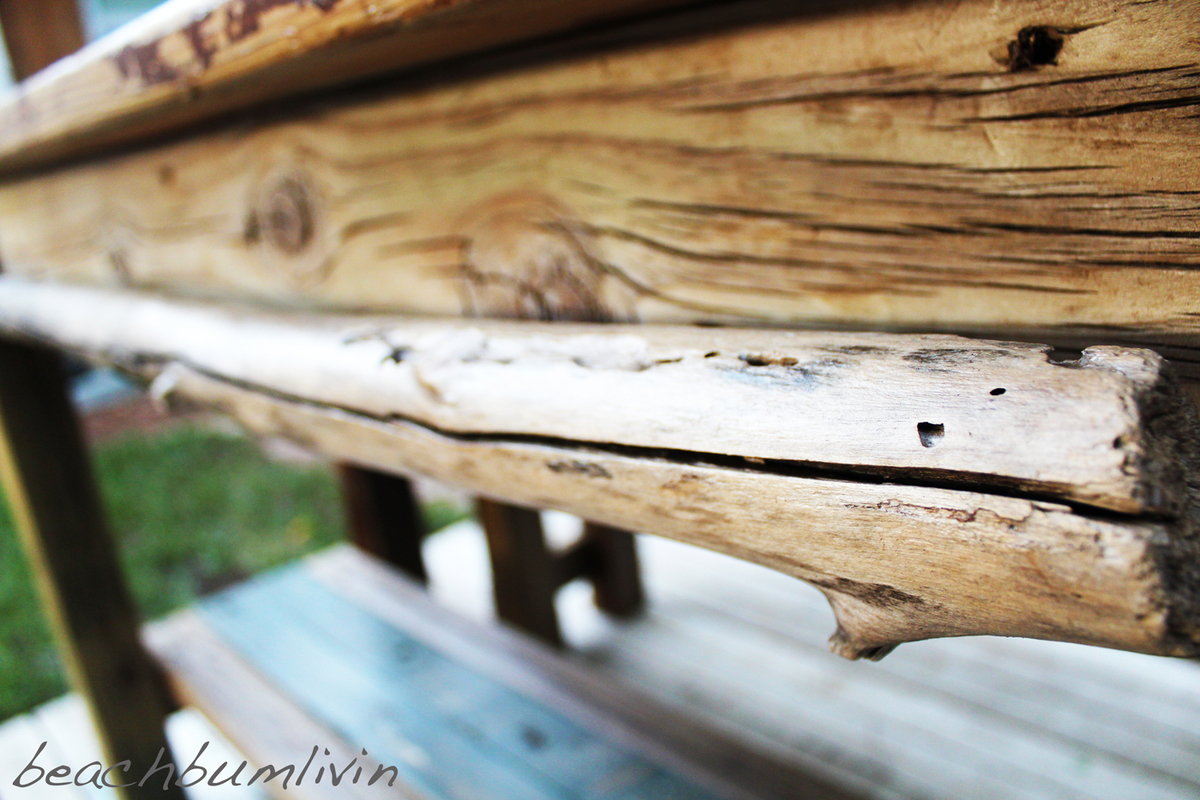
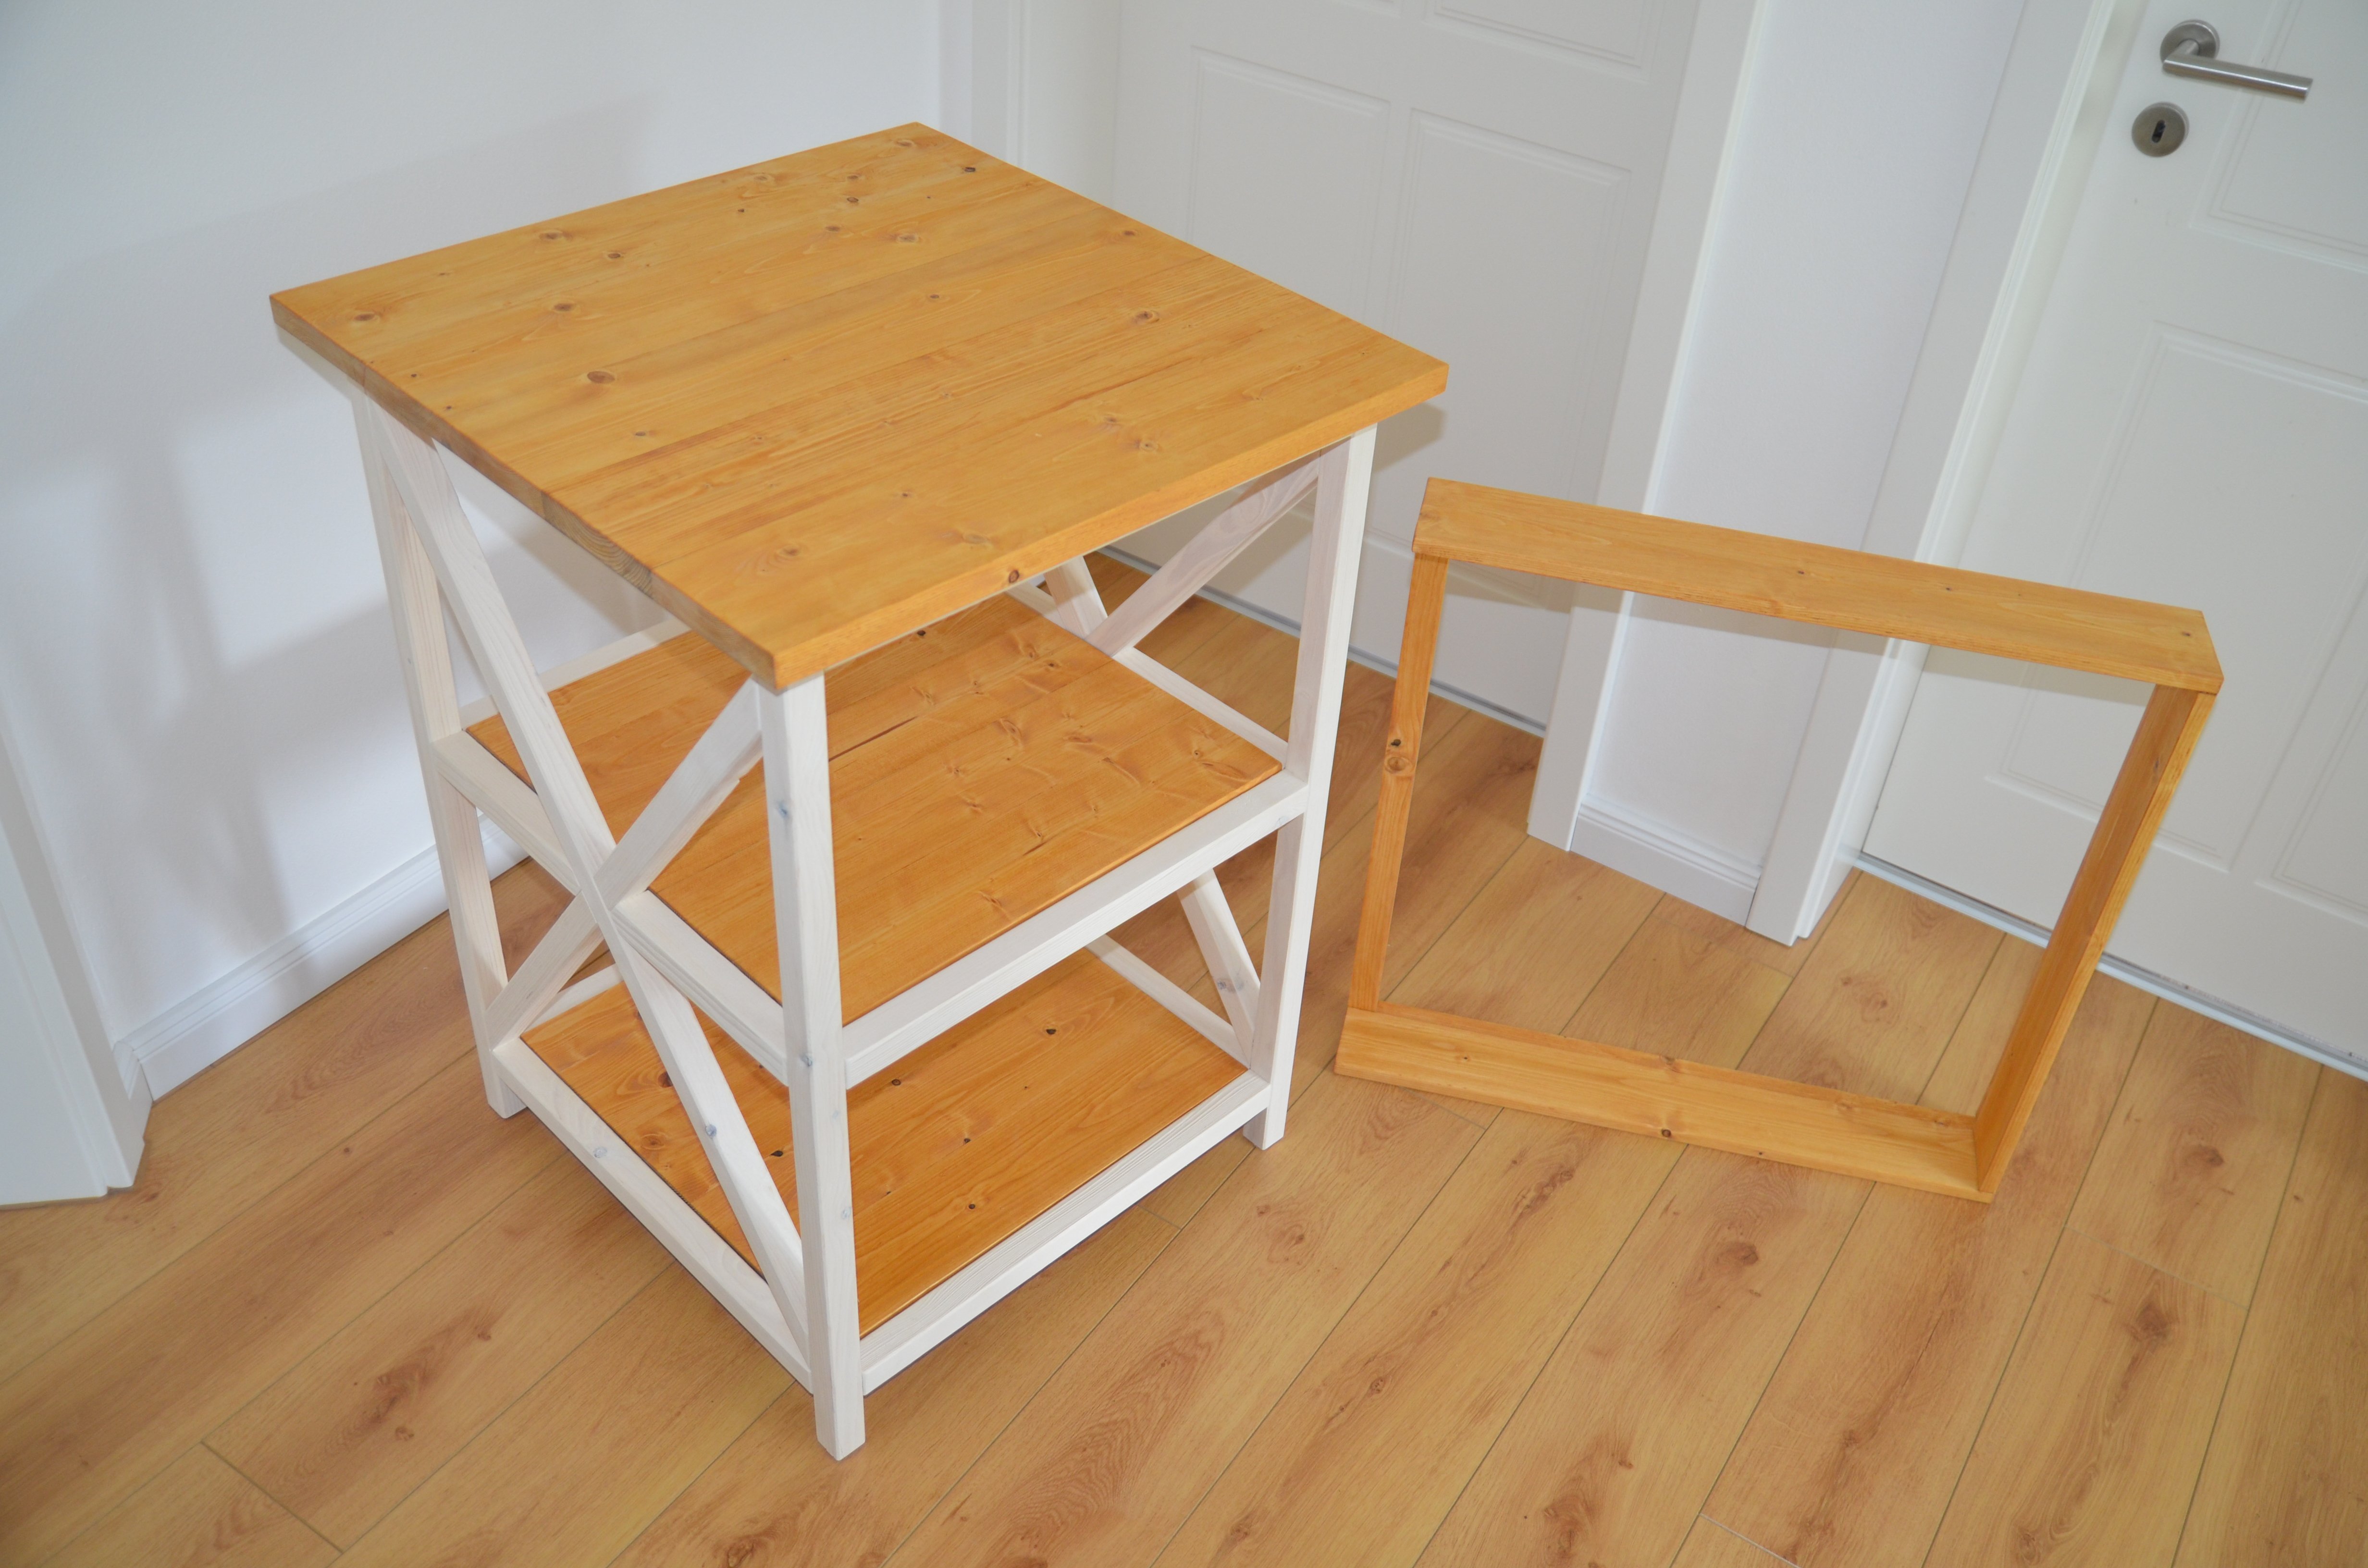
Made this baby change for our newborn. Later it can be used as kitchen island or grill table. The top has a removable fence.
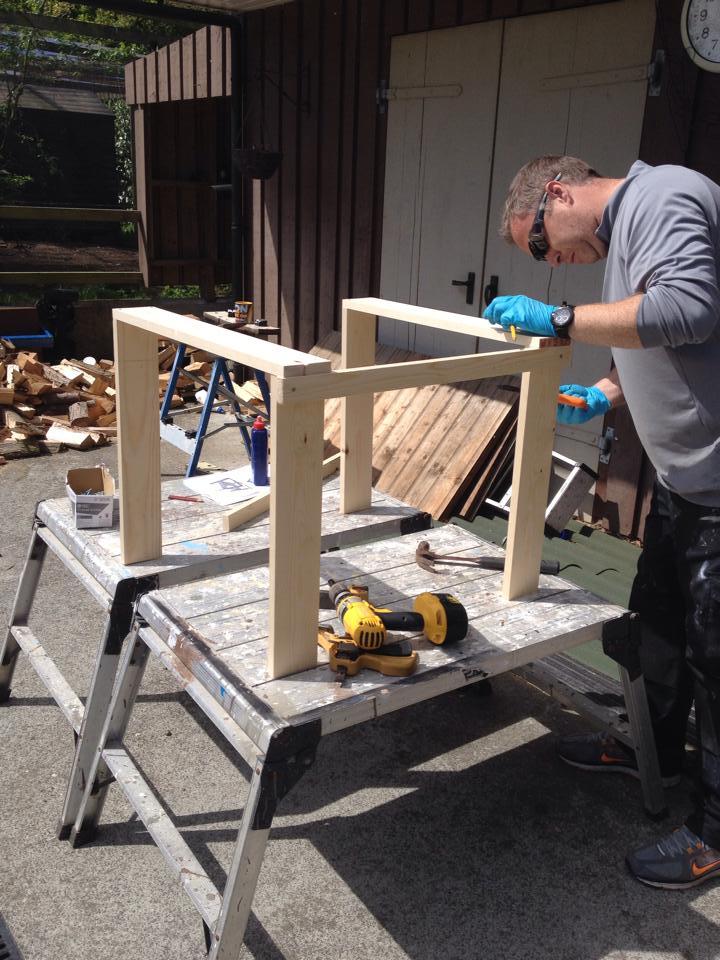
Built from Plan(s)
Estimated Cost
70 USD / 60 €
Estimated Time Investment
Weekend Project (10-20 Hours)
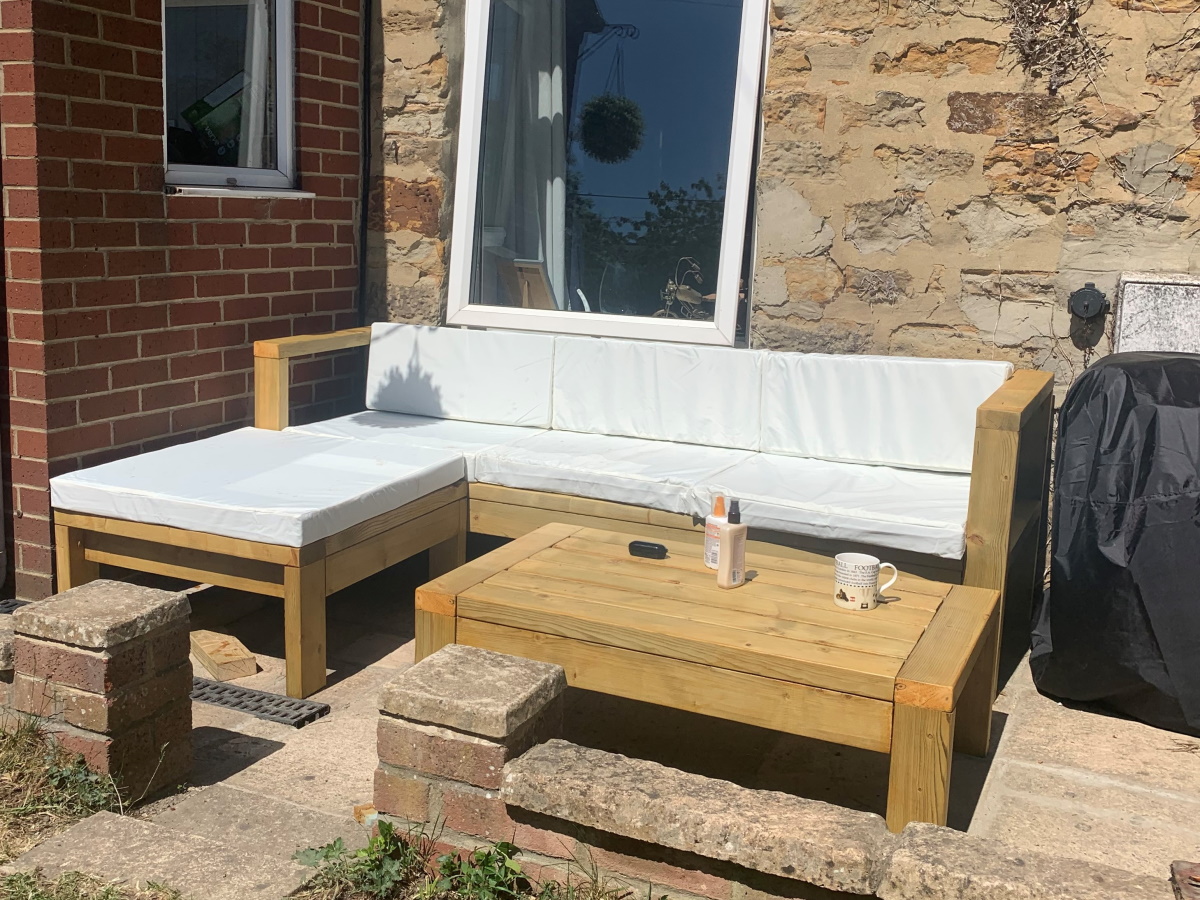
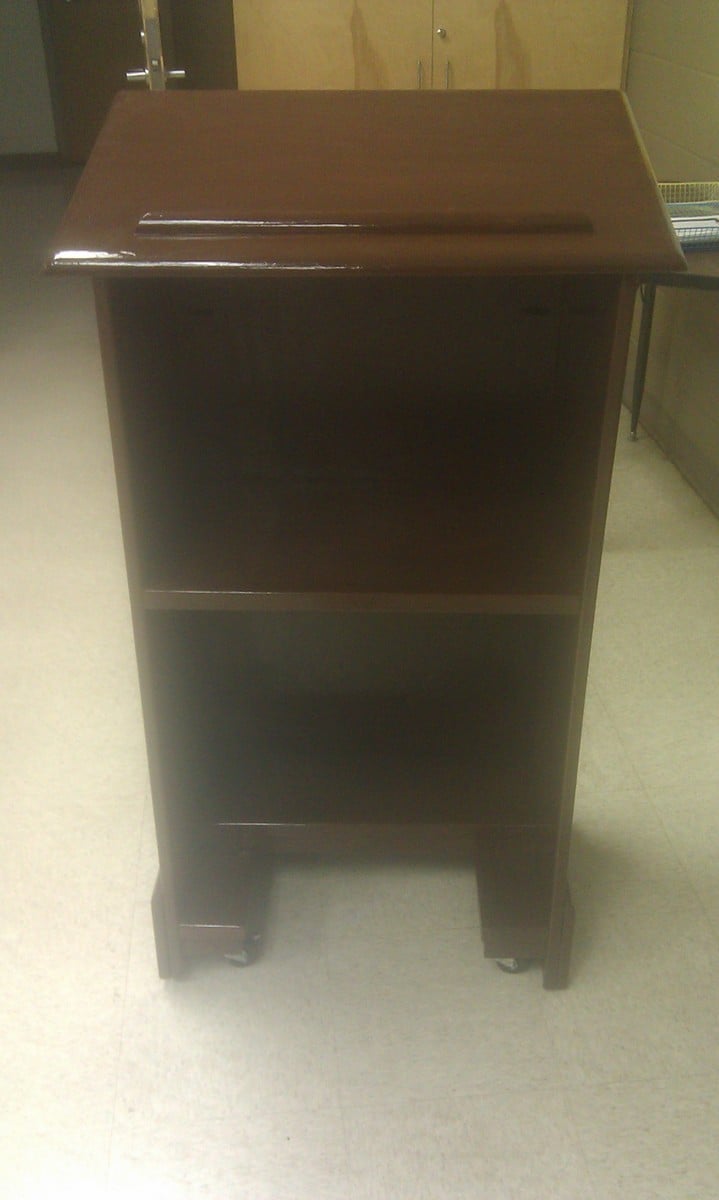
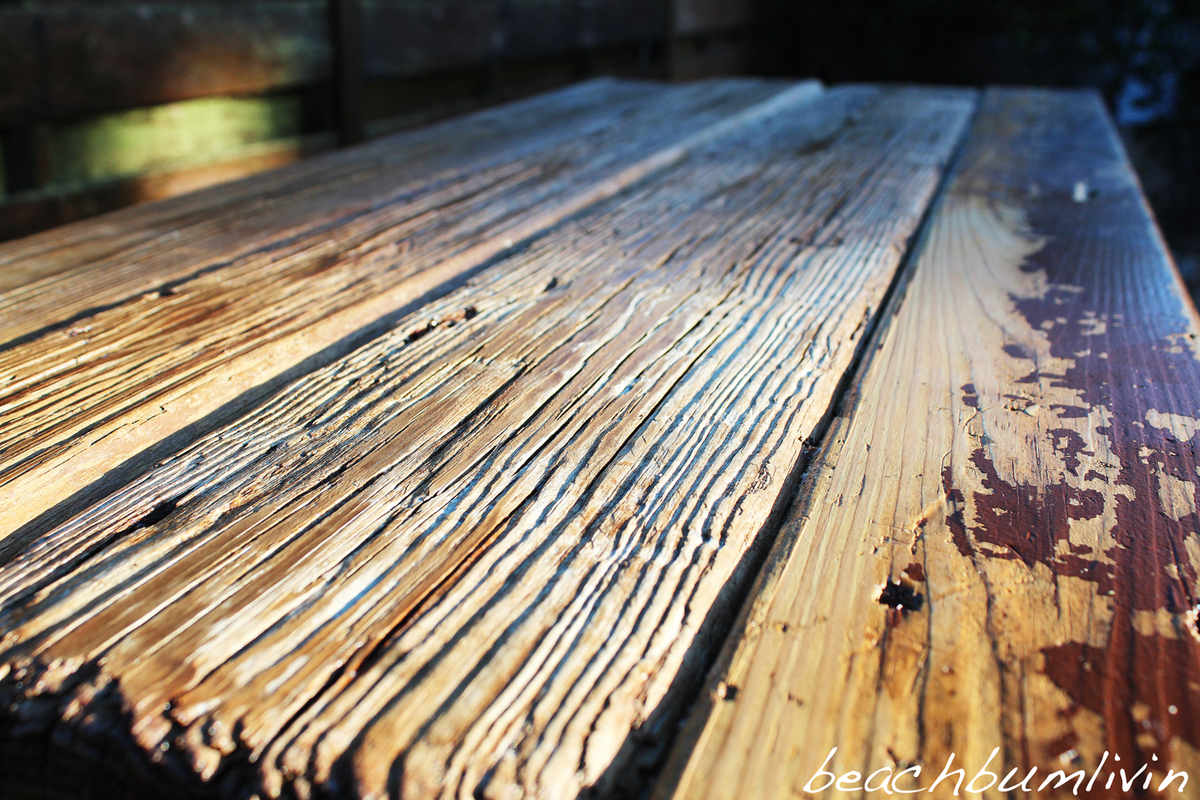
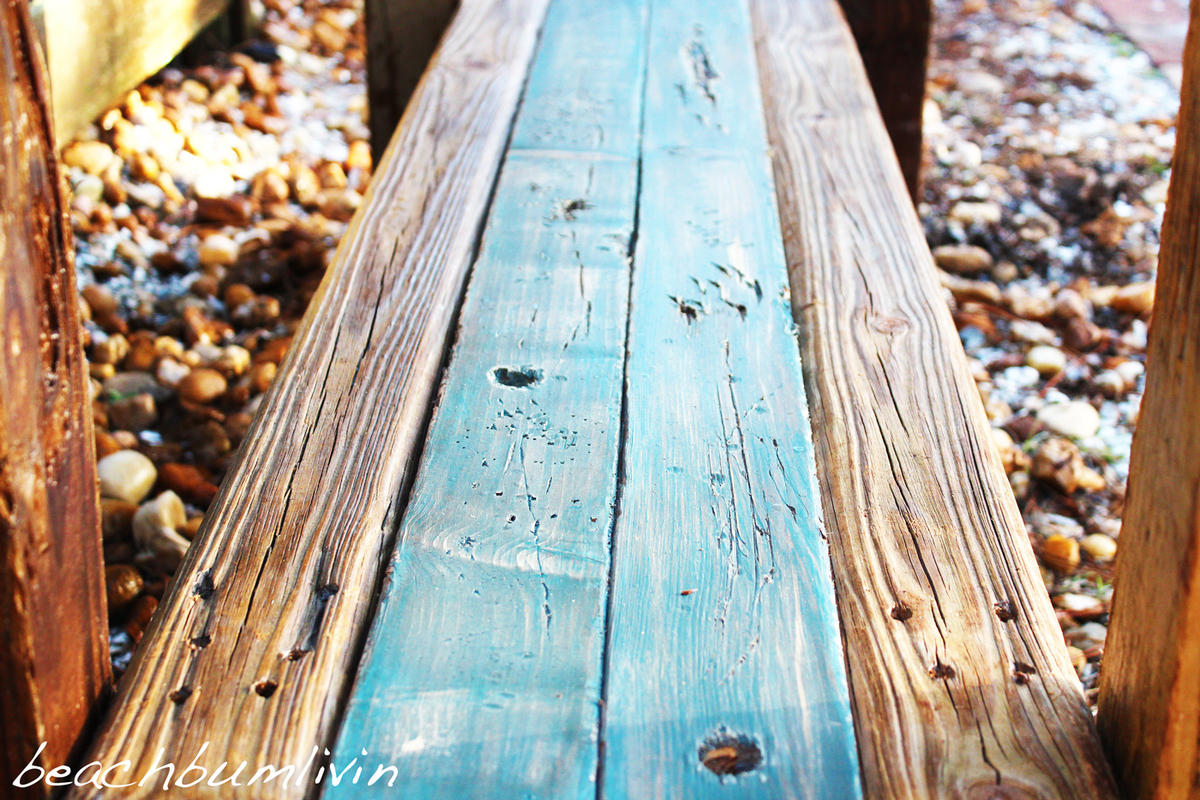
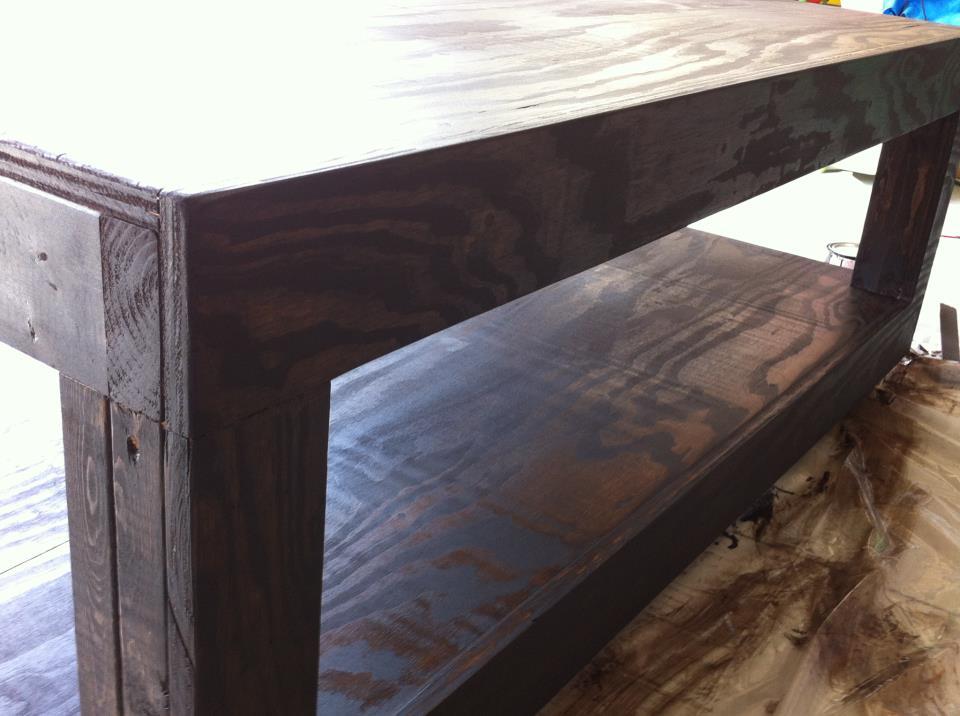
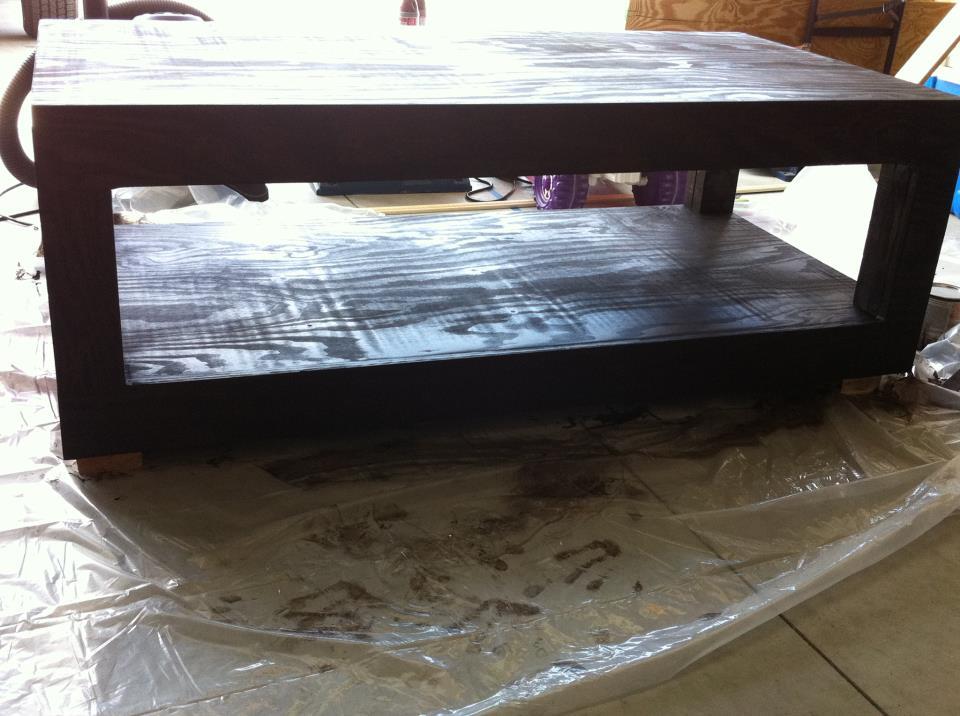
Finish Used
Amber linseed oil (Linos Bernstein) for the top and the shelves
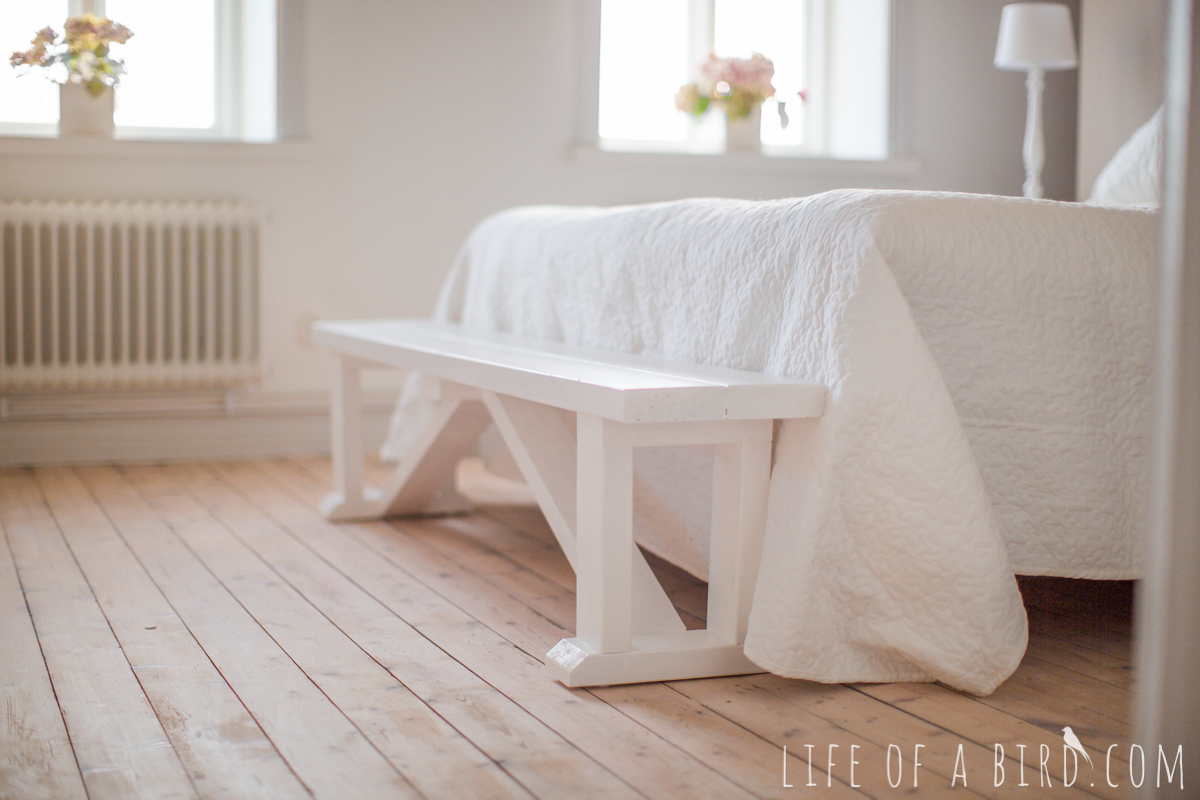
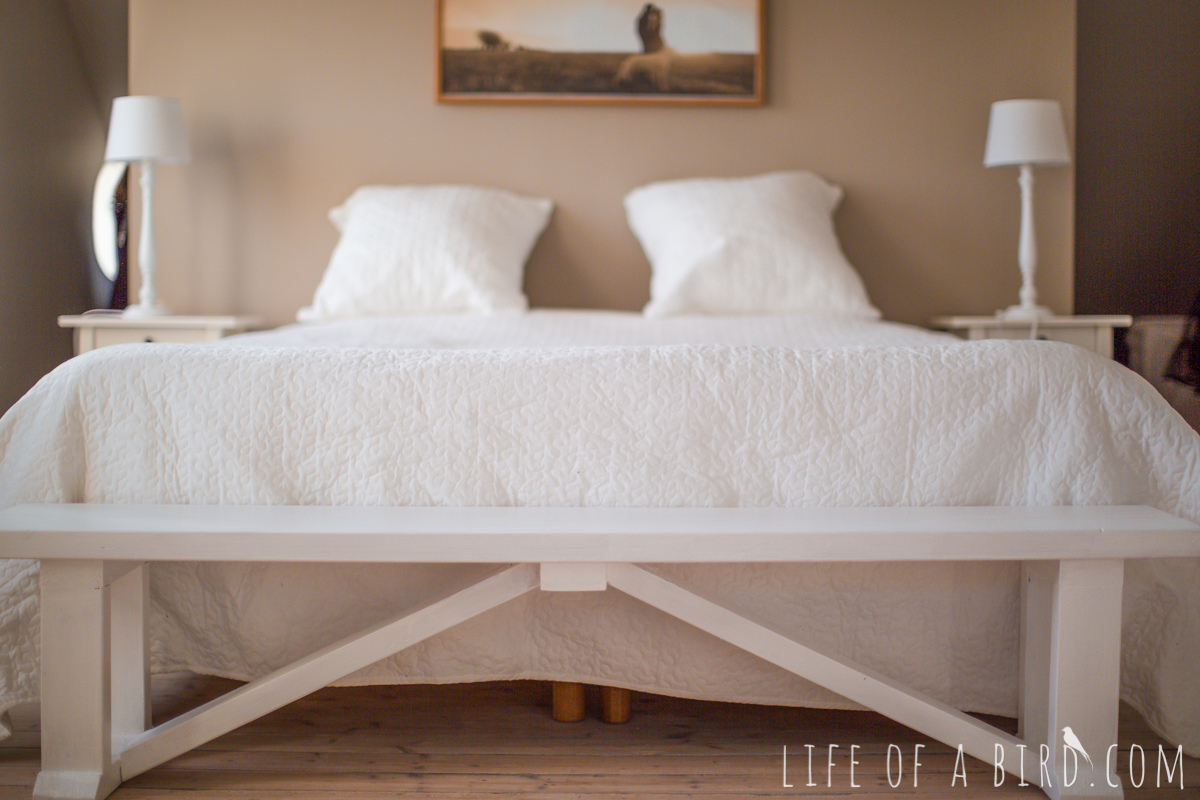
White linseed oil (IKEA Behandla) for the frame
White linseed oil (IKEA Behandla) for the frame
Recommended Skill Level
Beginner