2x4 Modern Adirondack Chairs
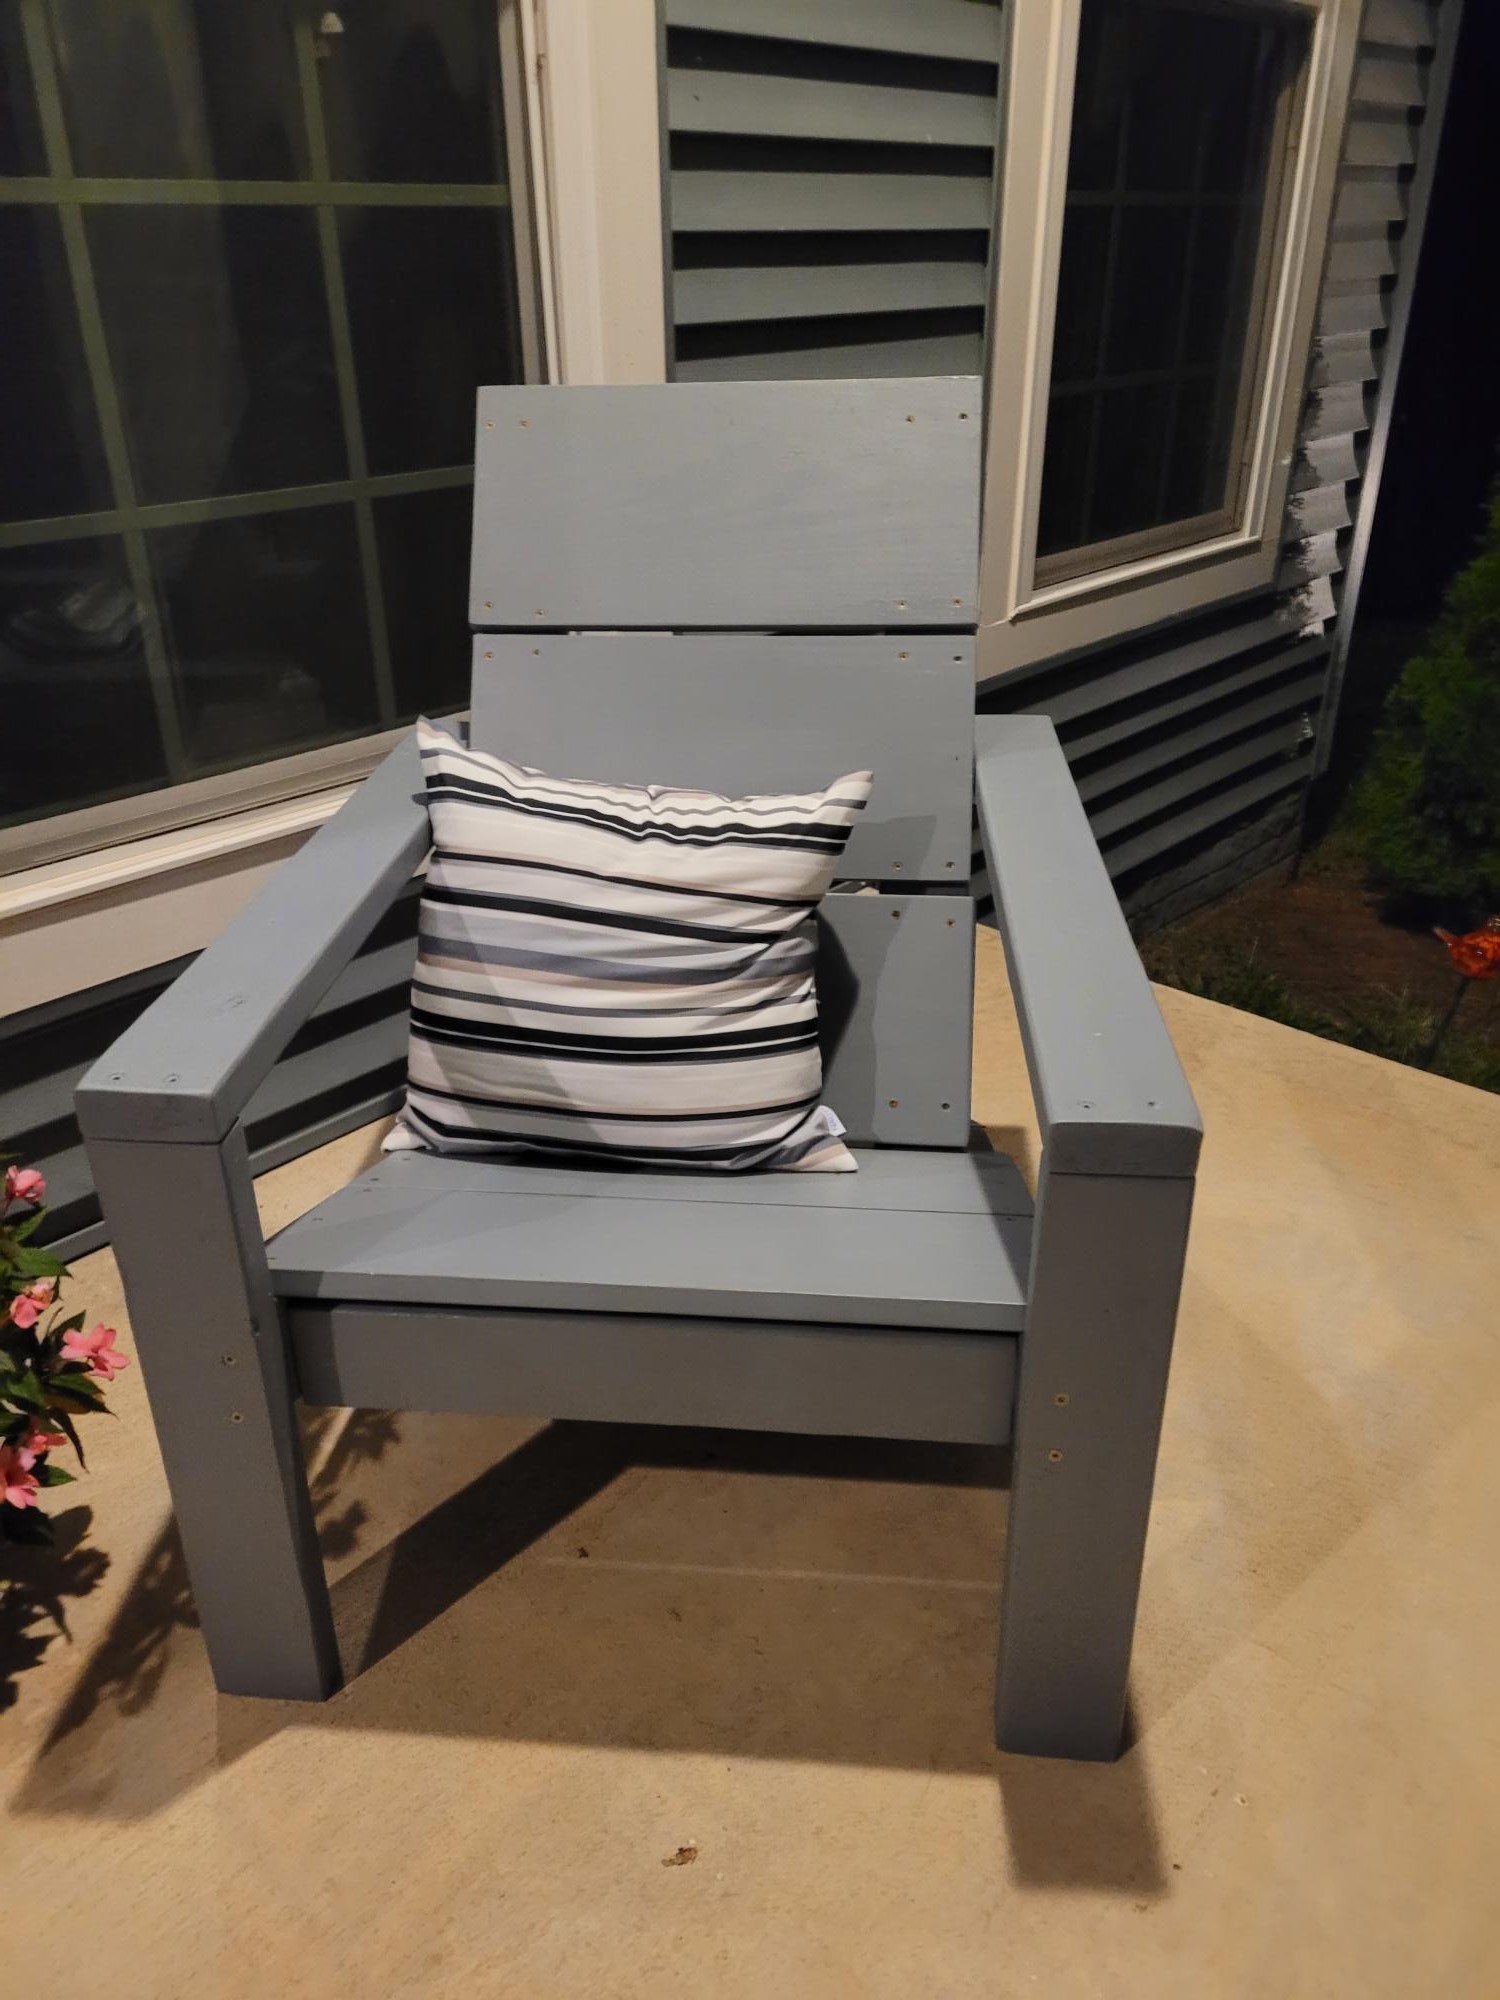
These chairs were a perfect addition to the front porch and so comfy!
Built from Plan(s)
These chairs were a perfect addition to the front porch and so comfy!

Built my sister a cat condo before she moved so she could take it with her to her new house. Made out of carpet remnants, and scrap wood, so it was FREE! hahaha. I like free! Don't you?

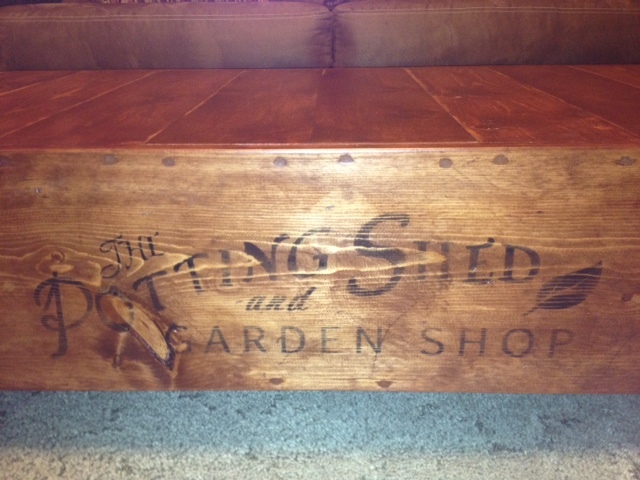
This was my first furniture piece. I was very please with the way it turned out. The step by step instructions are so easy to follow. Anyone can do this!
I stenciled on the design then sanded to make it look worn.
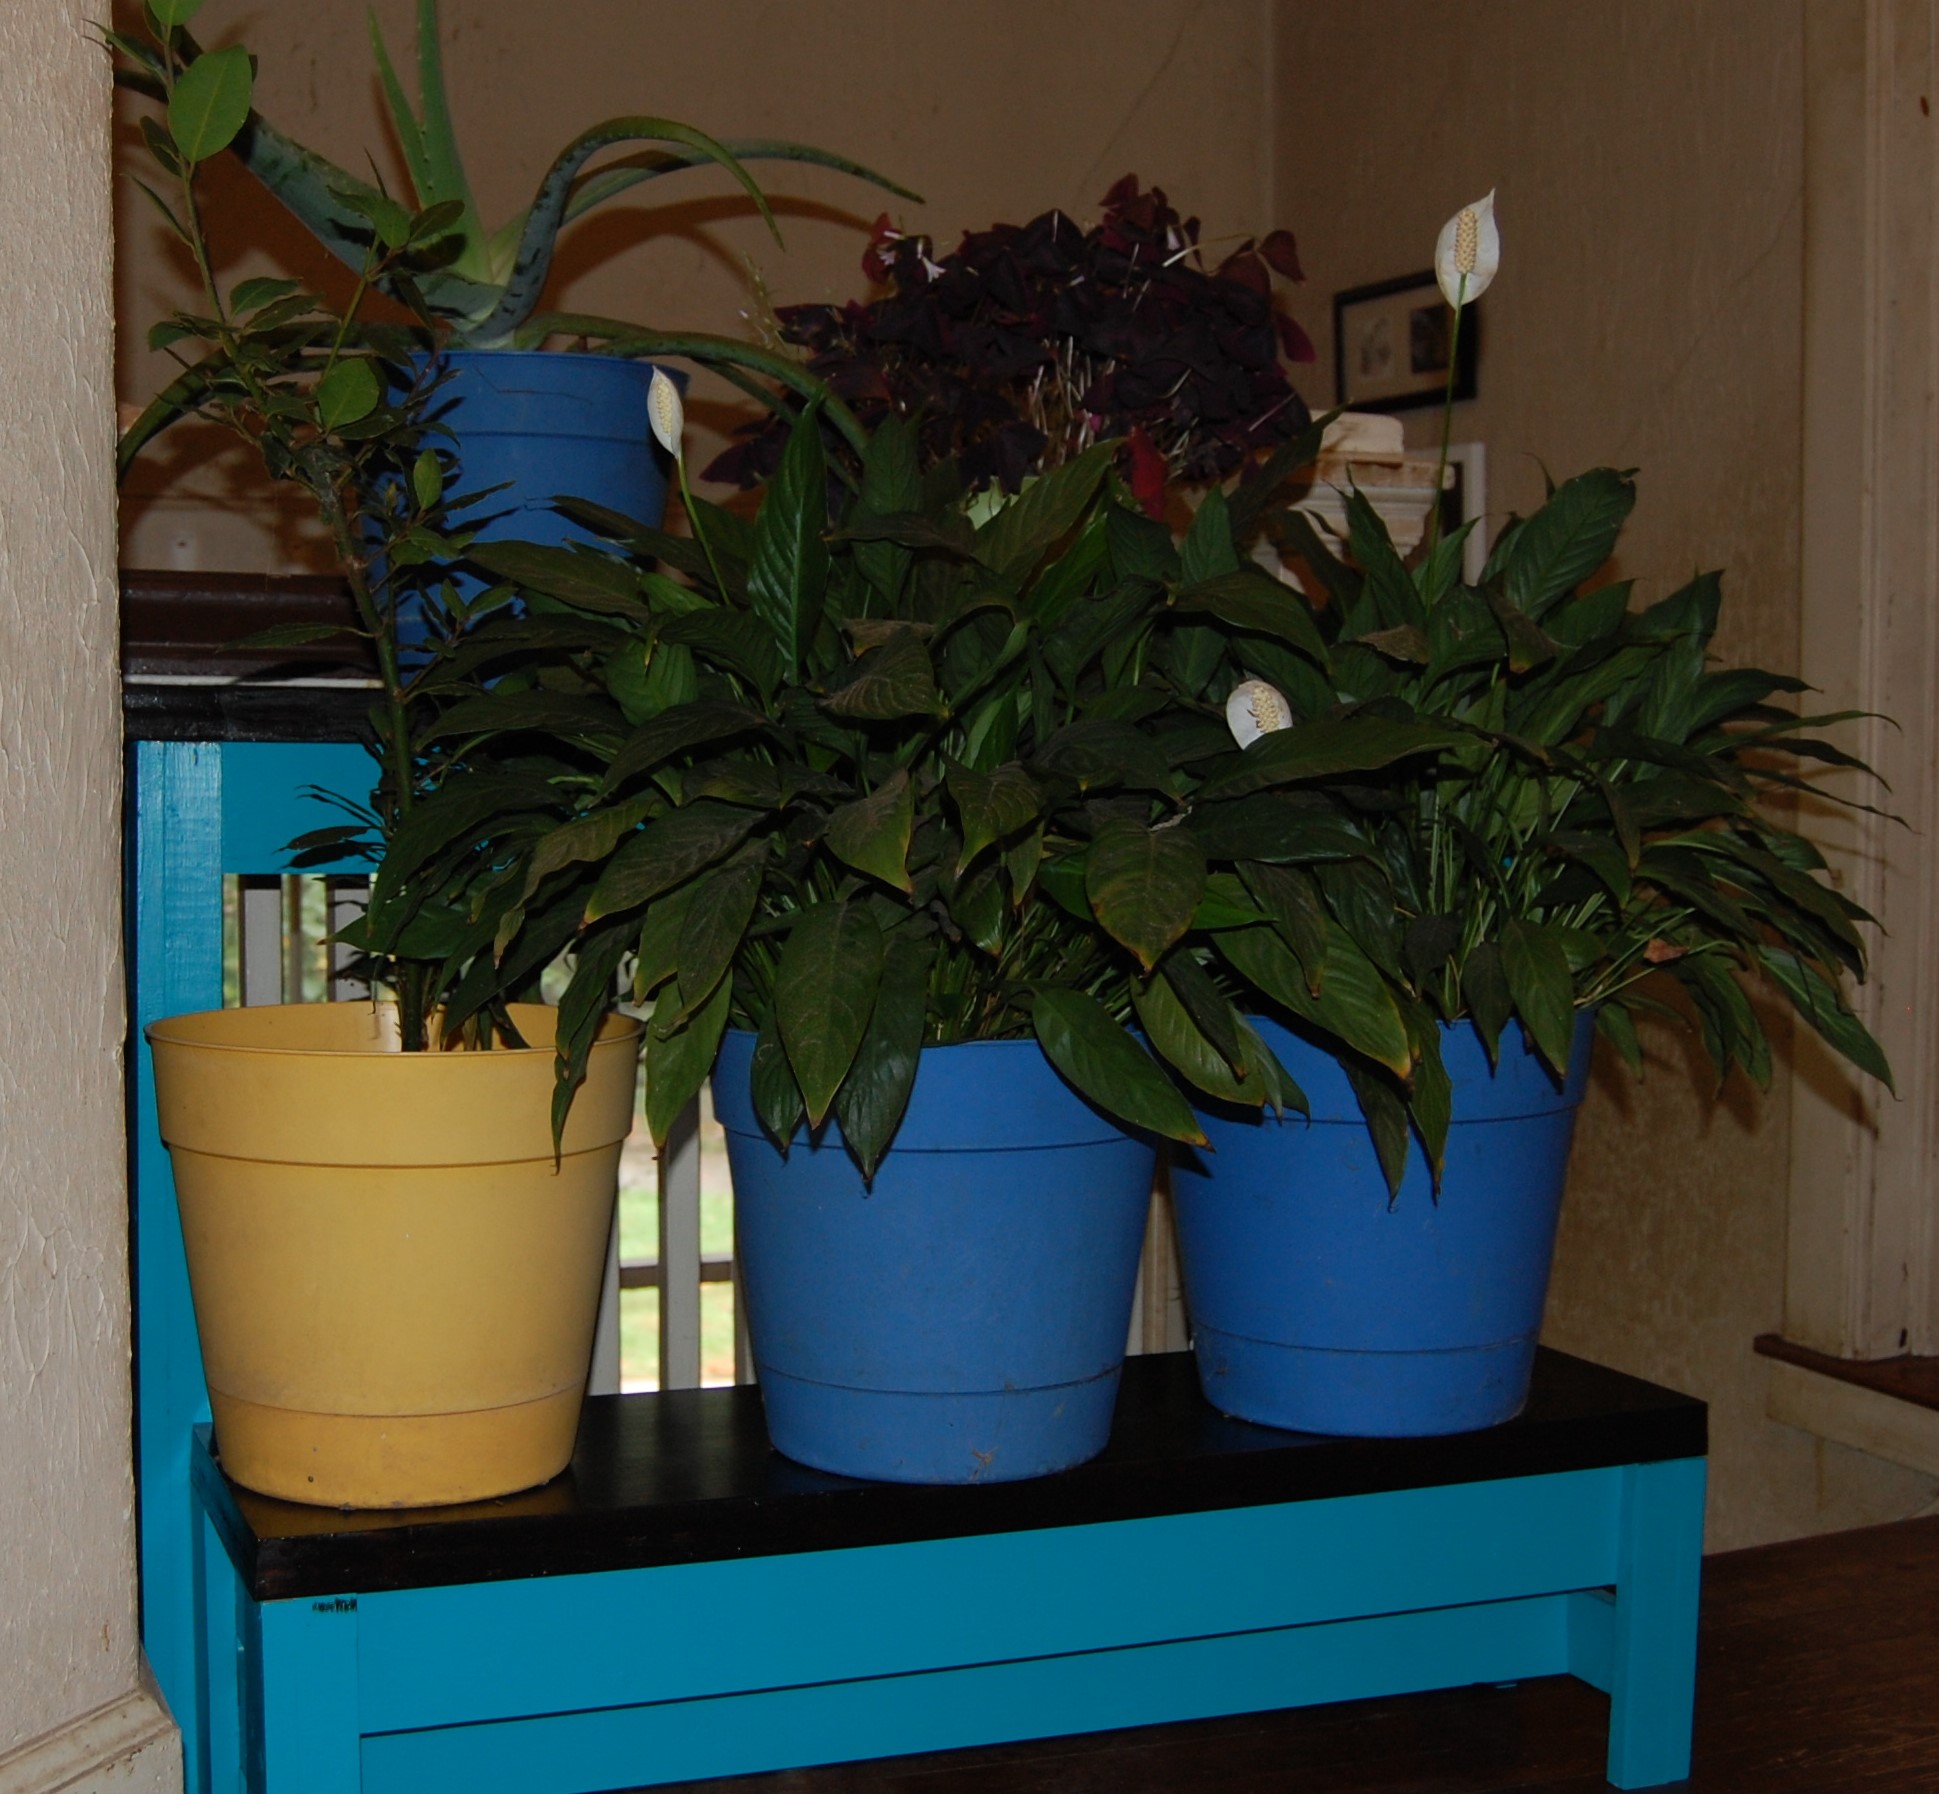
Winter is approaching, and my plants needed a place to live indoors. I built two of these console tables to fit in the space at the head of the stairs.
The base layer of the tops is plywood, because I had a half-sheet left over from another project. These went together really quickly with my Ryobi Airstrike nailer

Easy and fun project that took part of a day. I made so my wife can give to friends she will be staying with on a girl's trip.
I used Provincial stain on wood I had on hand. I bought handles and it was done.

Mon, 08/22/2022 - 17:46
This looks very pretty and I am sure the recipients will love it! Thank you for sharing.
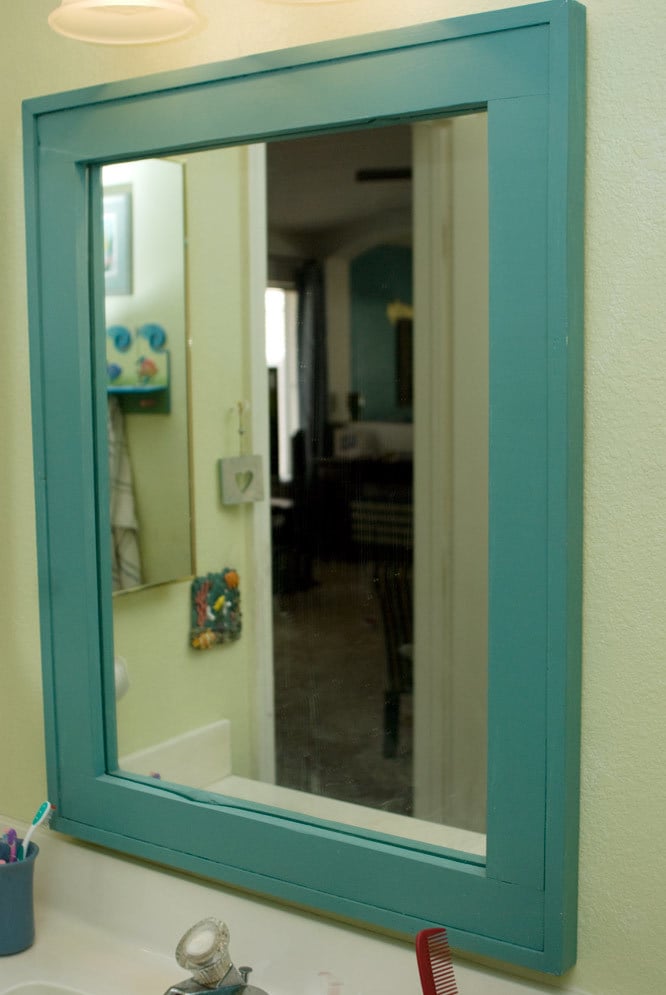
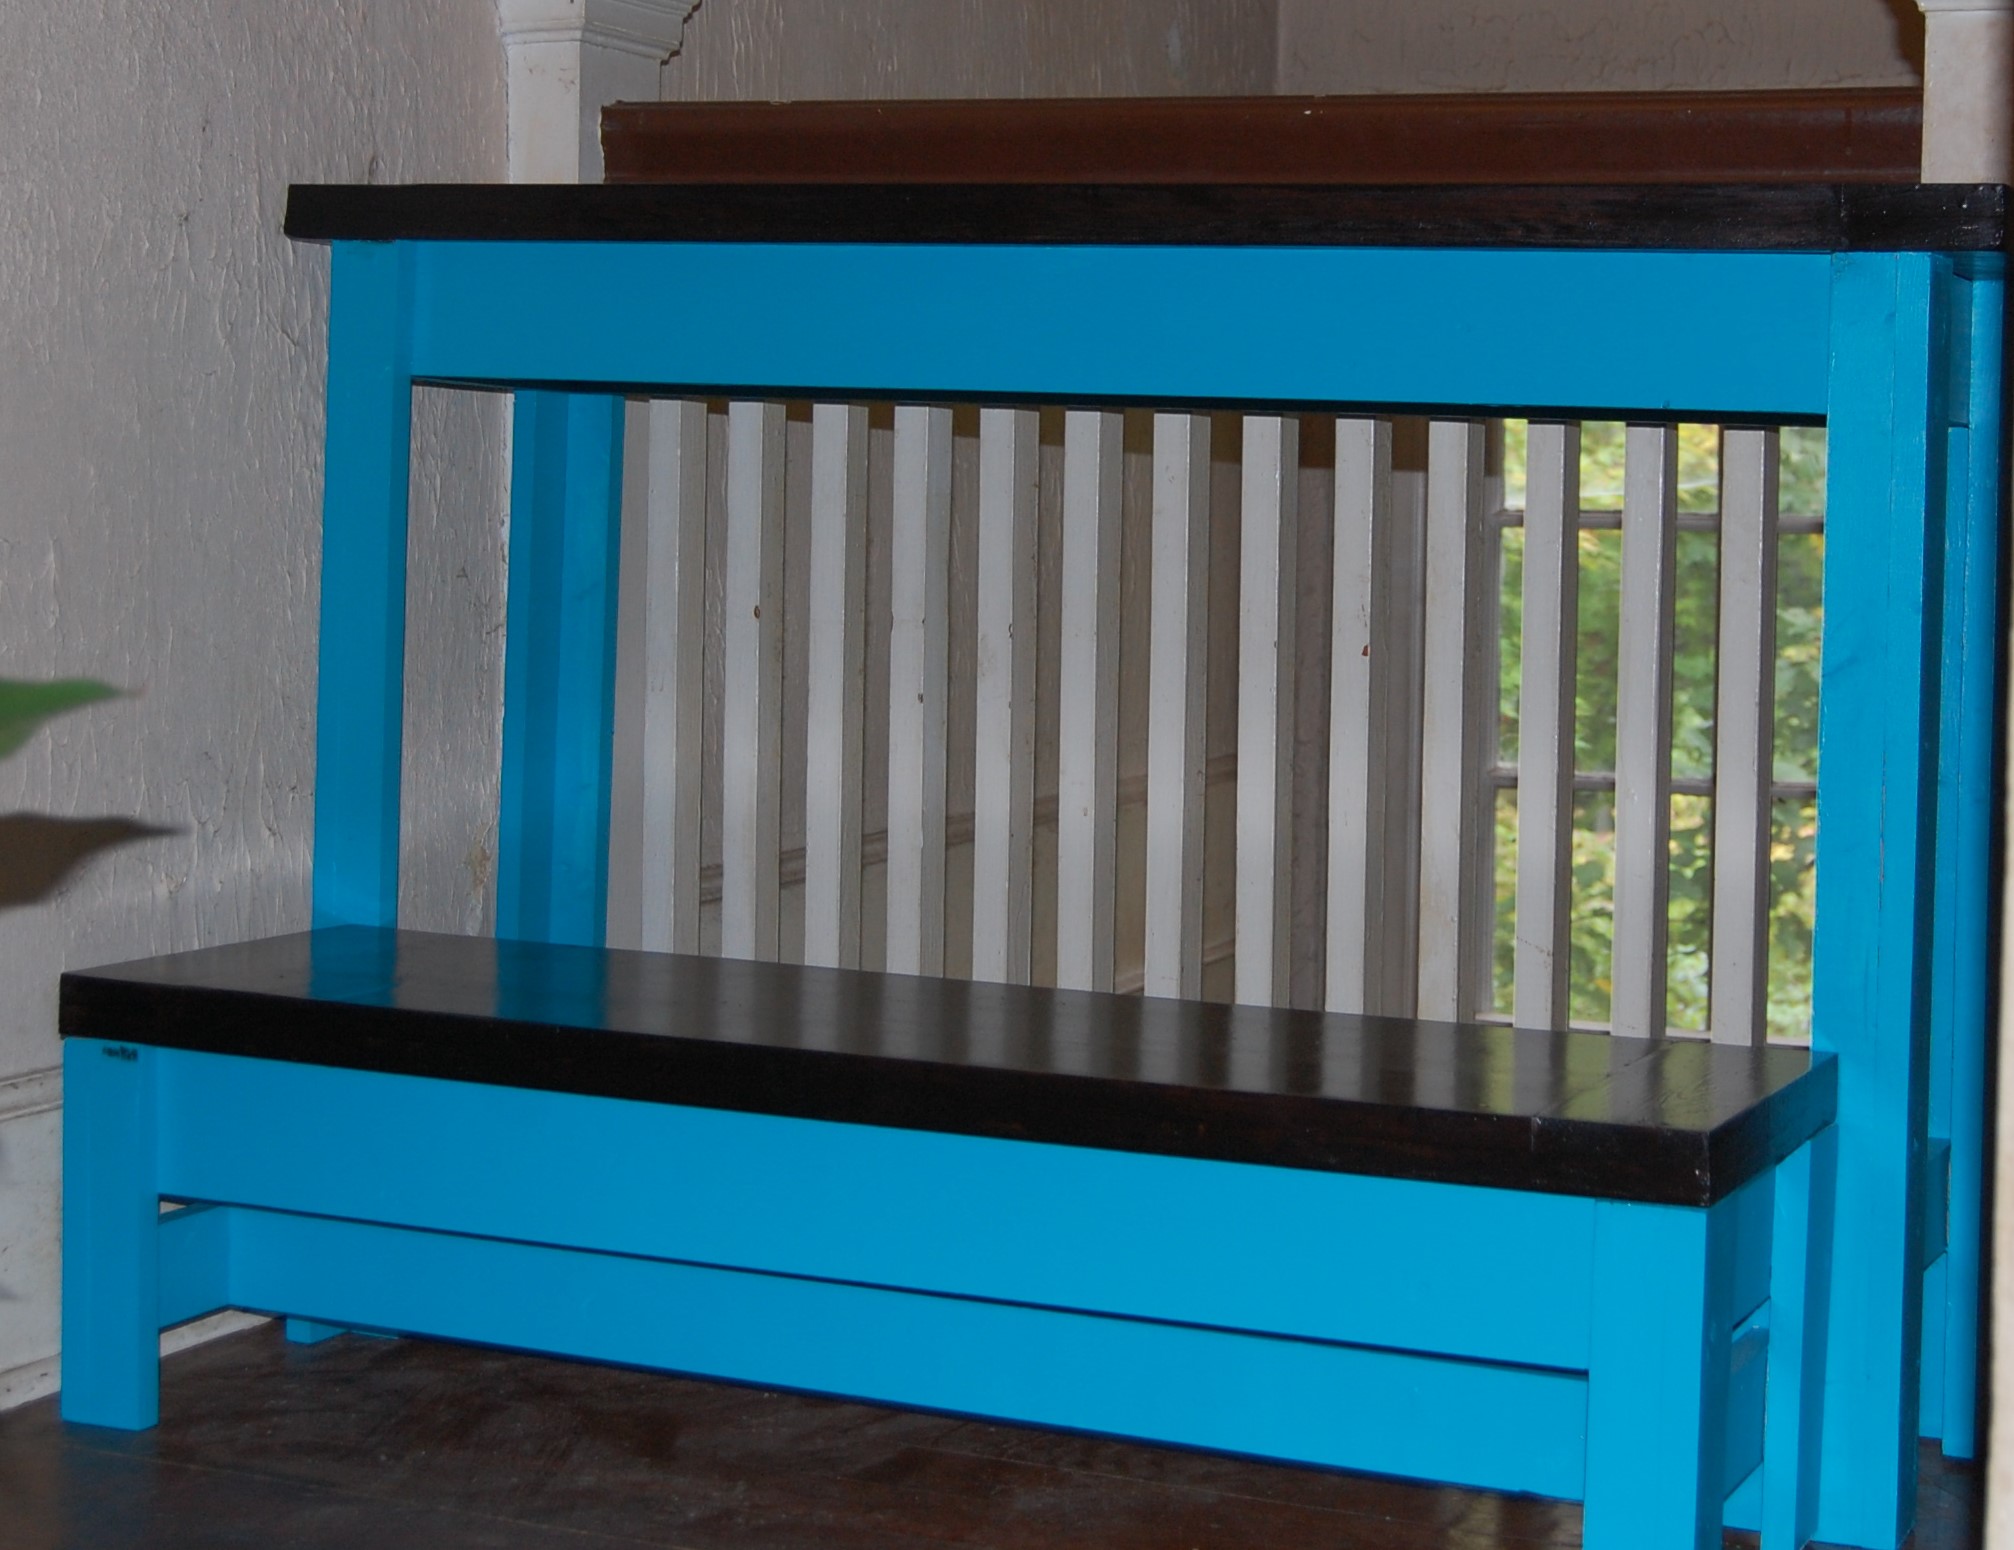
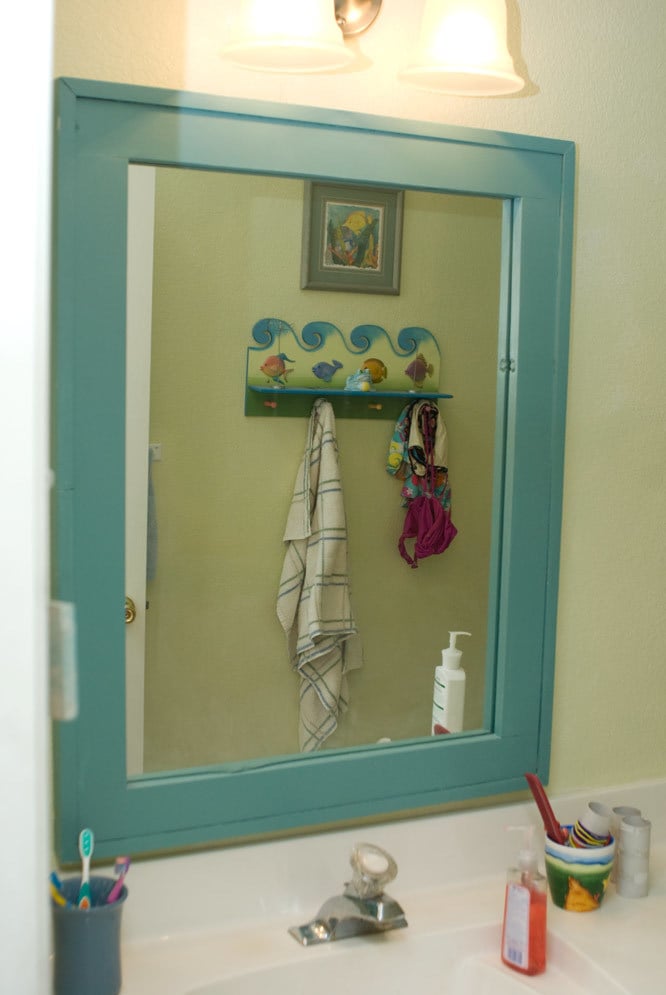
I was watching the DIY network while my neighbor was over one day, and got a hair up my butt to take the builder grade mirror down from my hall bath. I had just gotten a $50 Lowe's gift card for my birthday, so I decided to do a mini bathroom makeover. I had NO plans and no clue what I wanted in there, but the mirror was down so I needed to get GOIN!
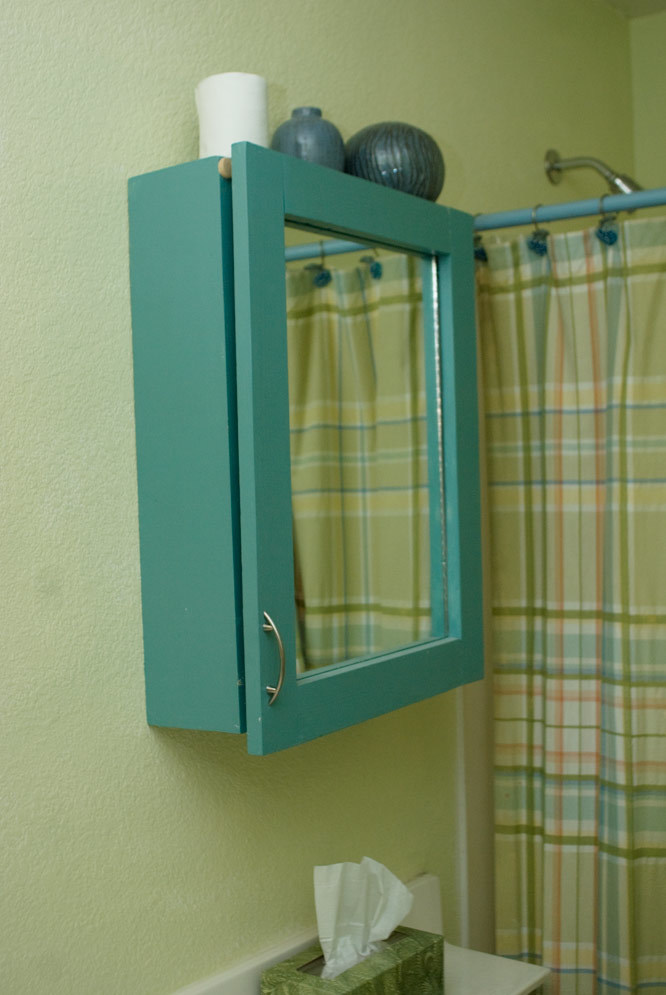
I saw the plan for the Barnwood Frame and altered it to use 1x3s as well as 1x2s, and (obviously) made it bigger. I also built a medicine cabinet from 1x6s.
The biggest issue with this whole thing was cutting the mirror to size. I had never done anything like this, so my medicine cabinet mirror is about 1/8" too small for the frame (hid that by using DUCT TAPE on the inside!).
I still plan on building a vanity and changing out the sink in there, but that has to wait until I have the motivation to redo the floors!
Yeah, me and motivation aren't very close...

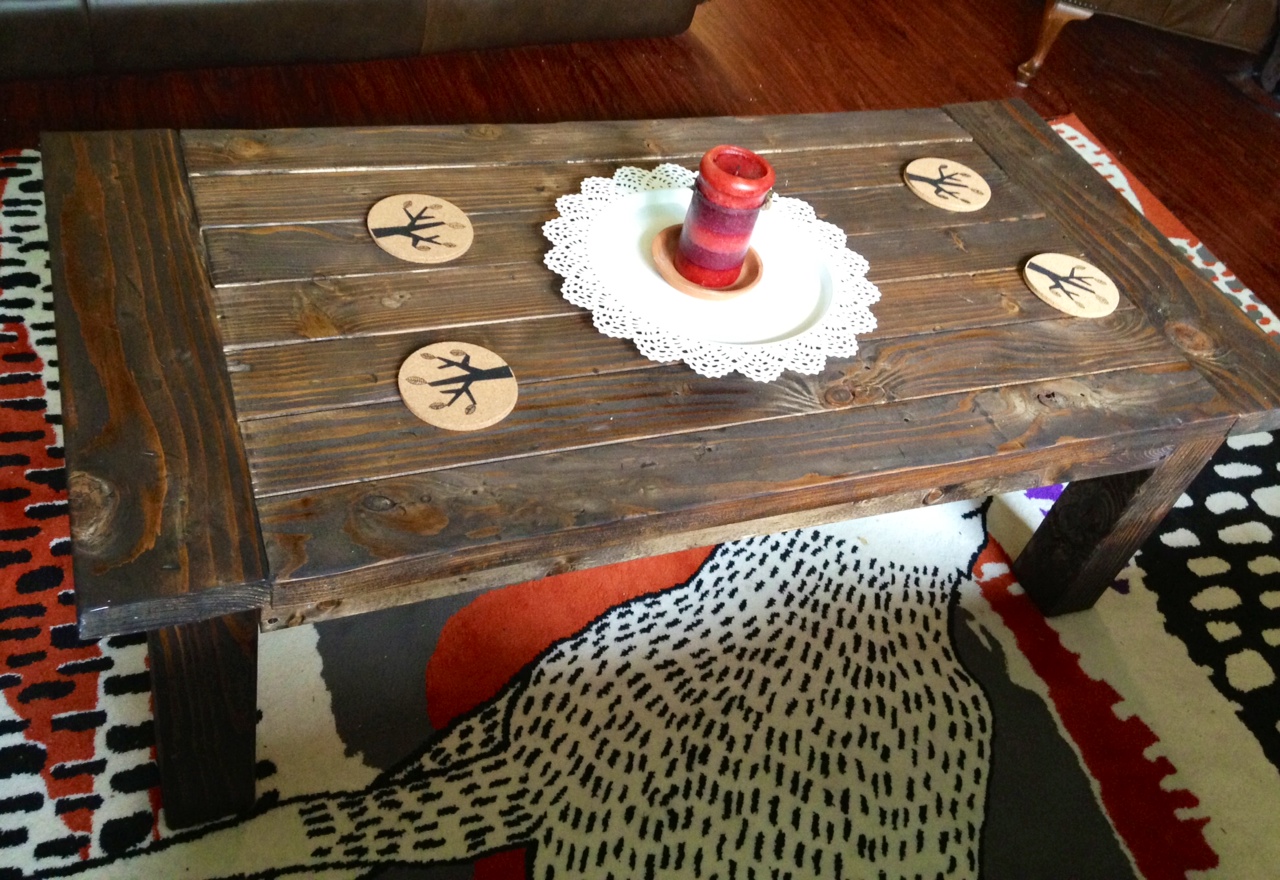
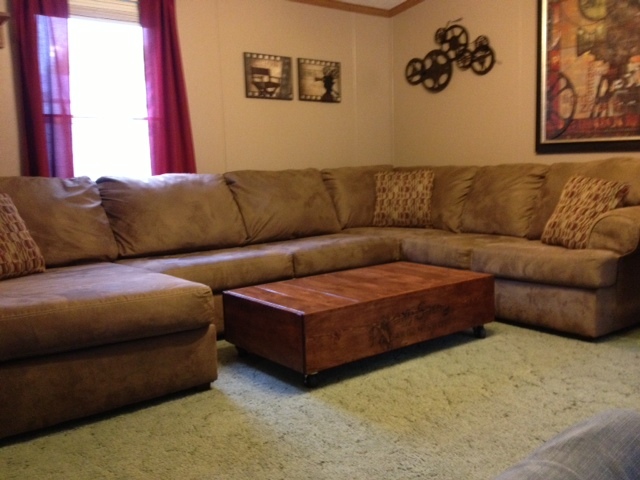
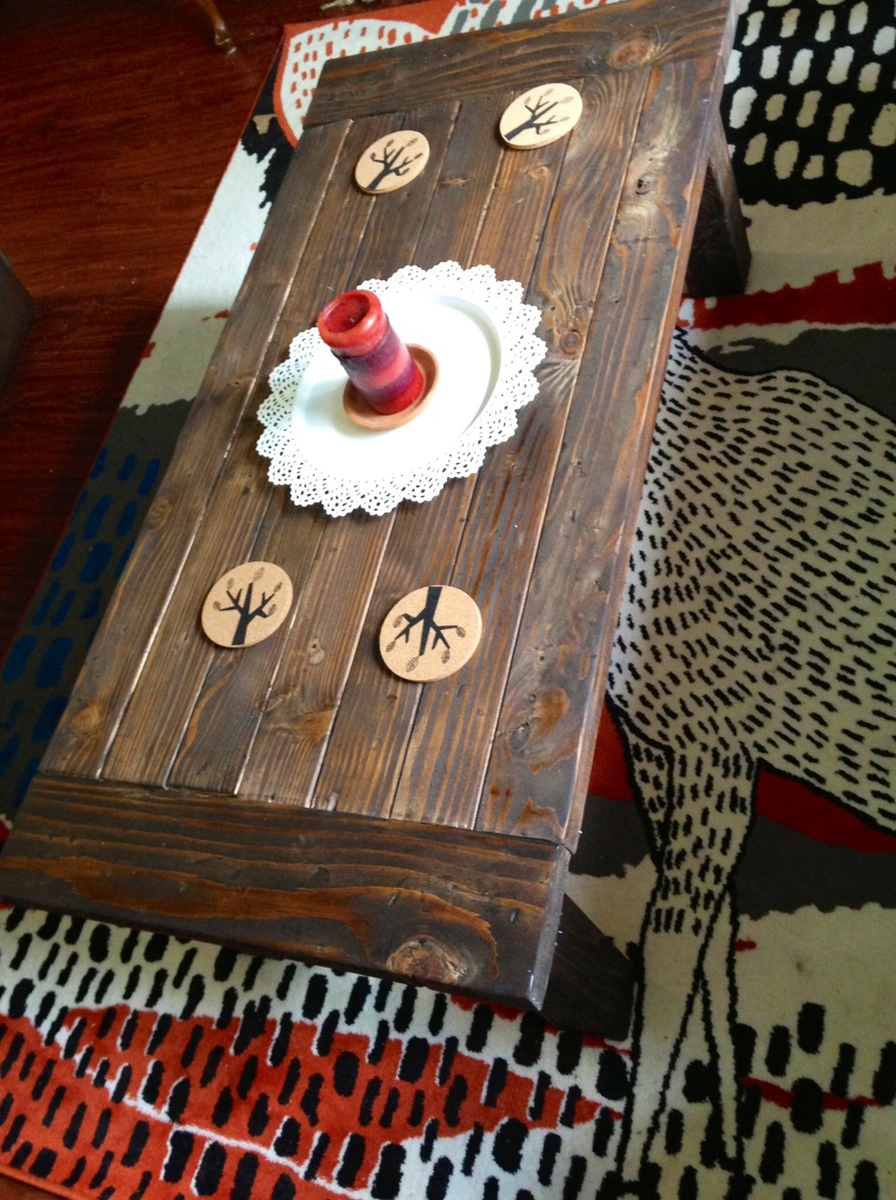
I have been looking for a big enough rustic coffee table for us, and oh boy those cost a lot of money!
My friend told me about ana-white.com website and when I found this Tryde coffee table, I was so happy!
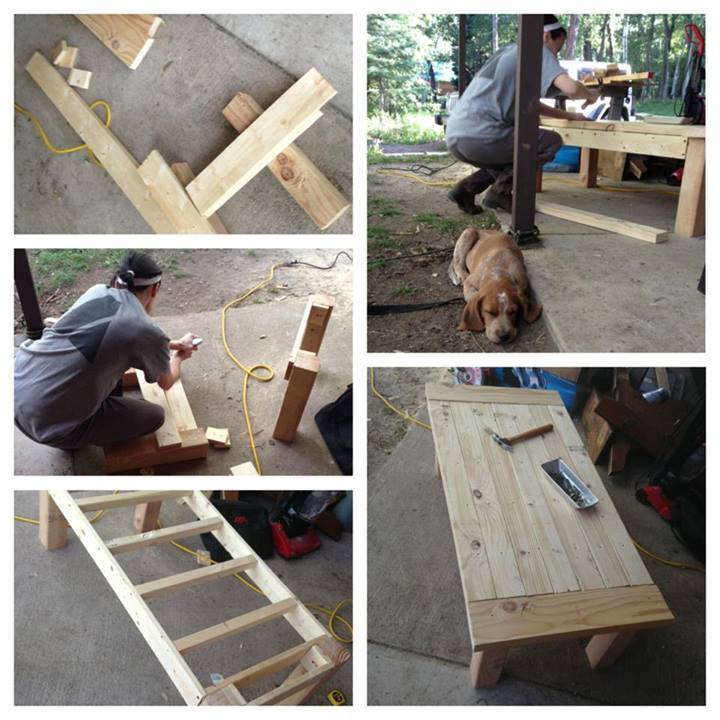
It took me about hour to cut (with help of my husband) and put this coffee table together and then during next weekend I sanded and stained it.
We are having our full house under renovation and it was so nice to have clear plans to follow and get this done without hassle.
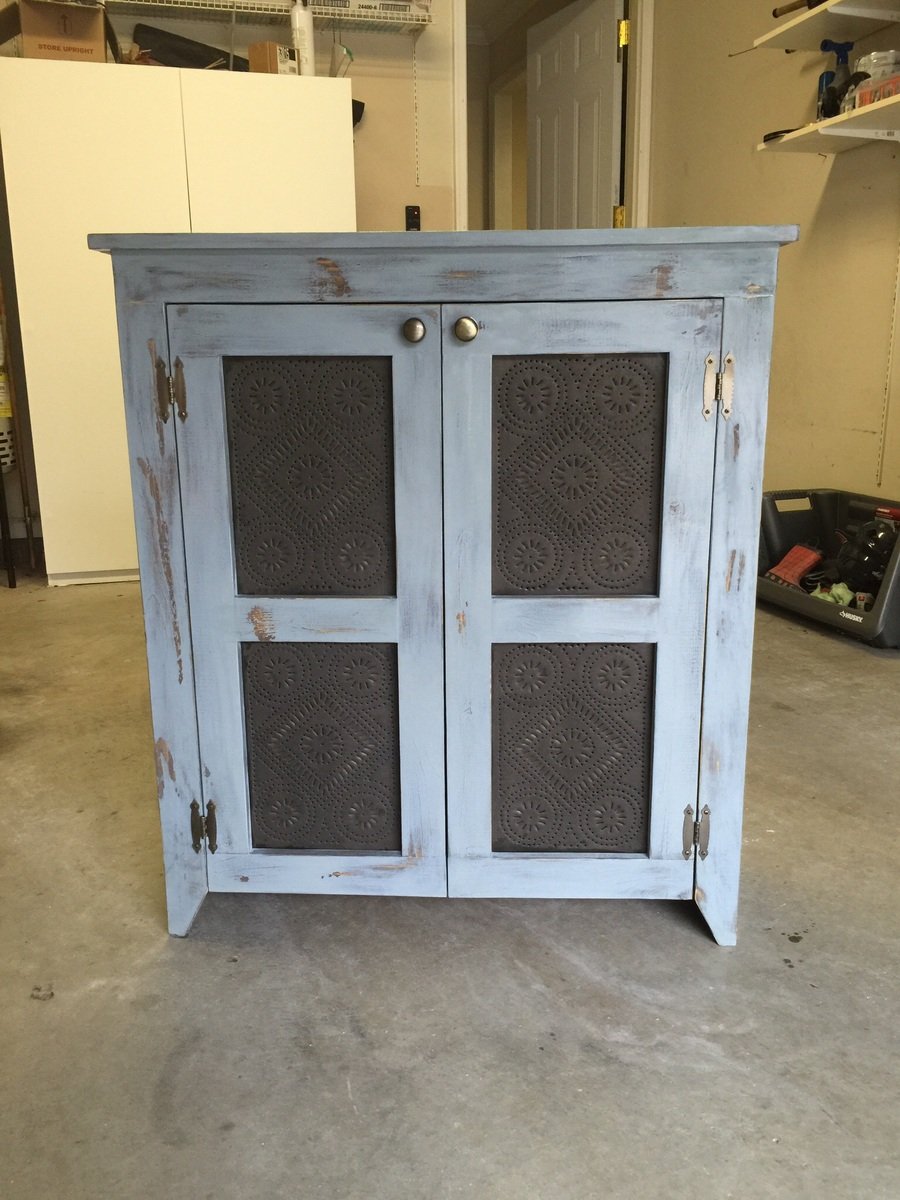
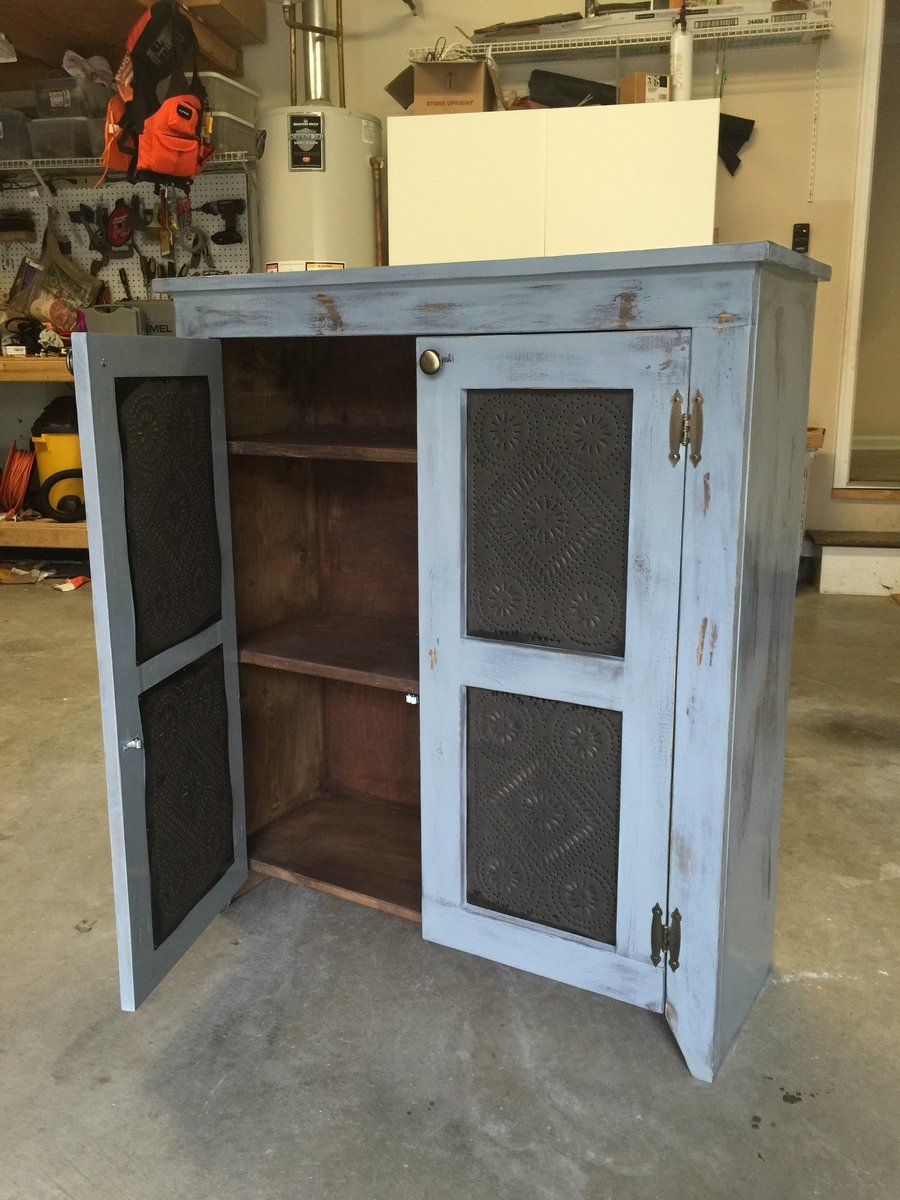
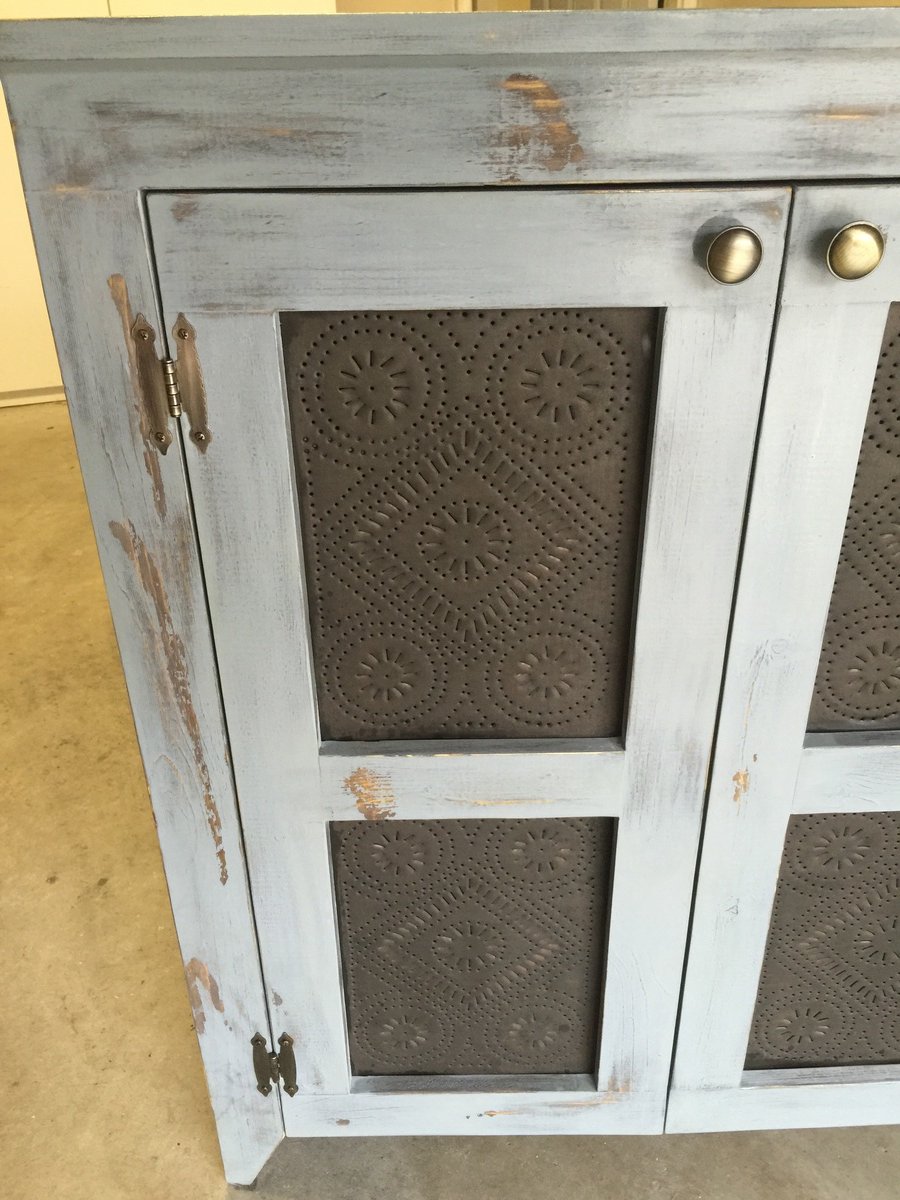
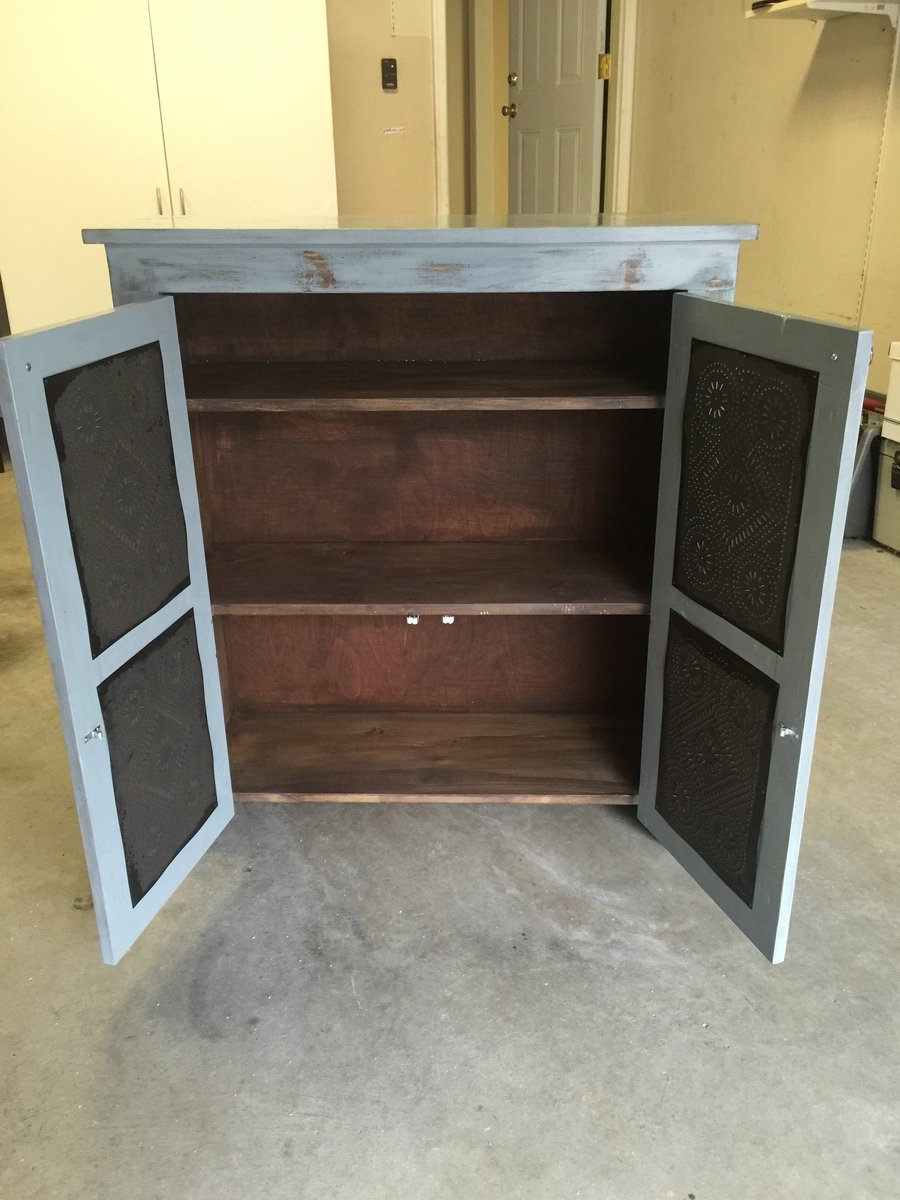
This is my first, of hopefully many projects to come. I modified Patrick's Jelly Cupboard plans to be 40" tall and added the tins to the doors. I used spruce and pine board from a local lumber yard. The finish is Miss Mustard Seed milk paint inside and out. With kids in the house I didn't want to use stain with the heavy chemical smell so I mixed the milk paint with a lot of water to look like a stain. That product is so easy to use and looks great. Needless to say my wife loves her pie safe. Thanks Ana for this site and the inspiration to give this a try. I'm hooked!

Sat, 10/31/2015 - 09:36
This is really beautiful! Might I ask where you got your tin inserts? Thanks!
Tue, 12/01/2015 - 11:13
Thank you for the comments. I ordered the tins from Irvin's online. They were quick to ship and were packaged well. Here's the link
https://www.irvins.com/category/Kitchen-Cabinet-Punched-Tin-Panels/08_2…

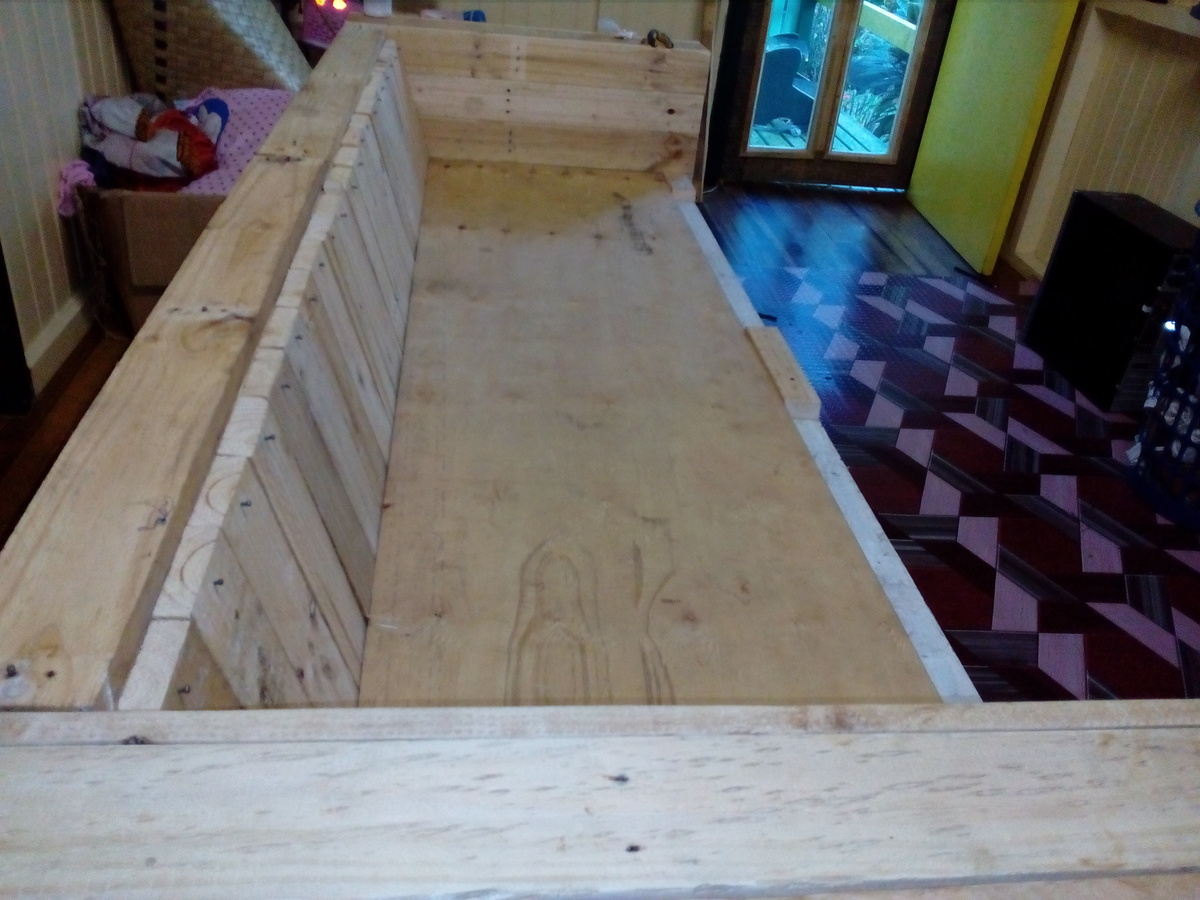
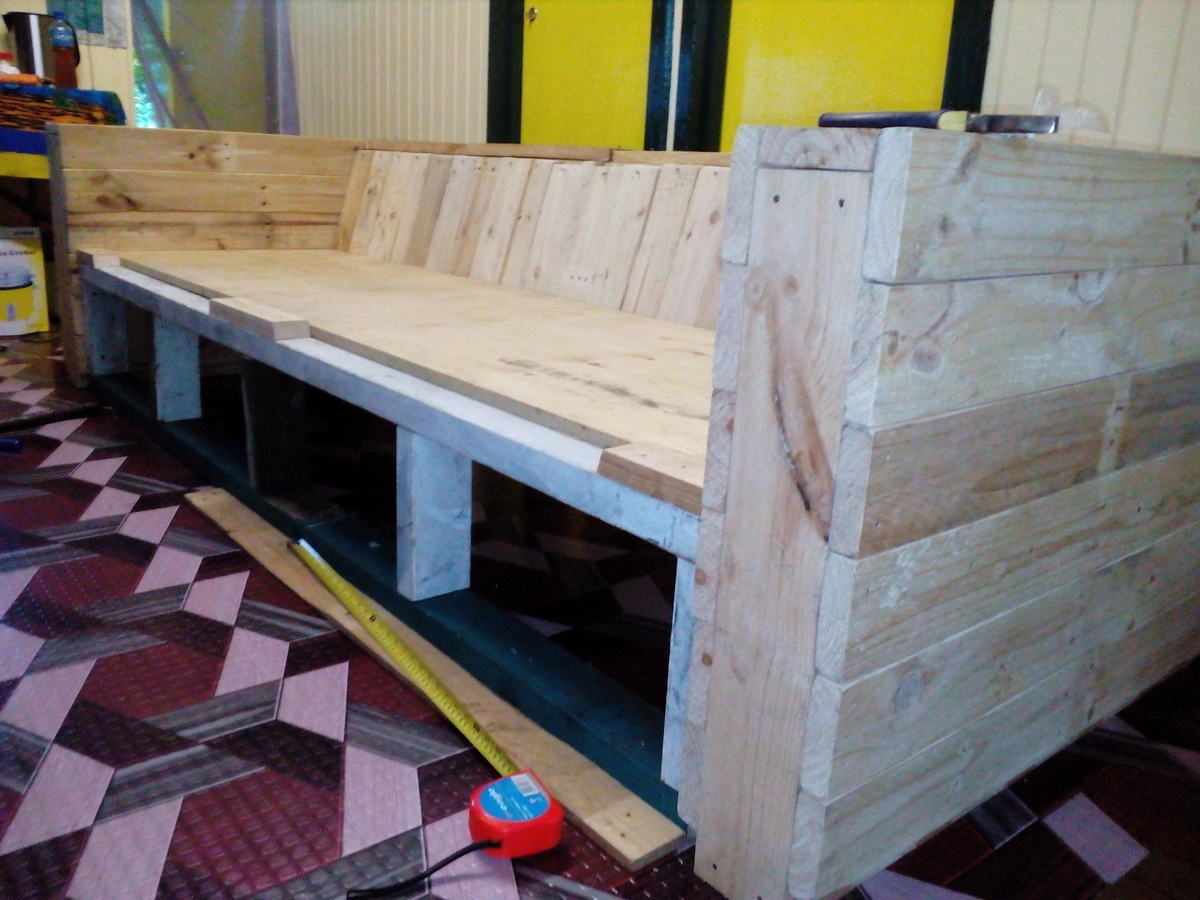
I modified the plans for a smaller size and used pallet wood as well as 2x4s and 2x6s ( scraps I had from earlier projects)

Wed, 12/26/2018 - 13:41
These are gorgeous! Love the modified size. Thanks so much for bragging!

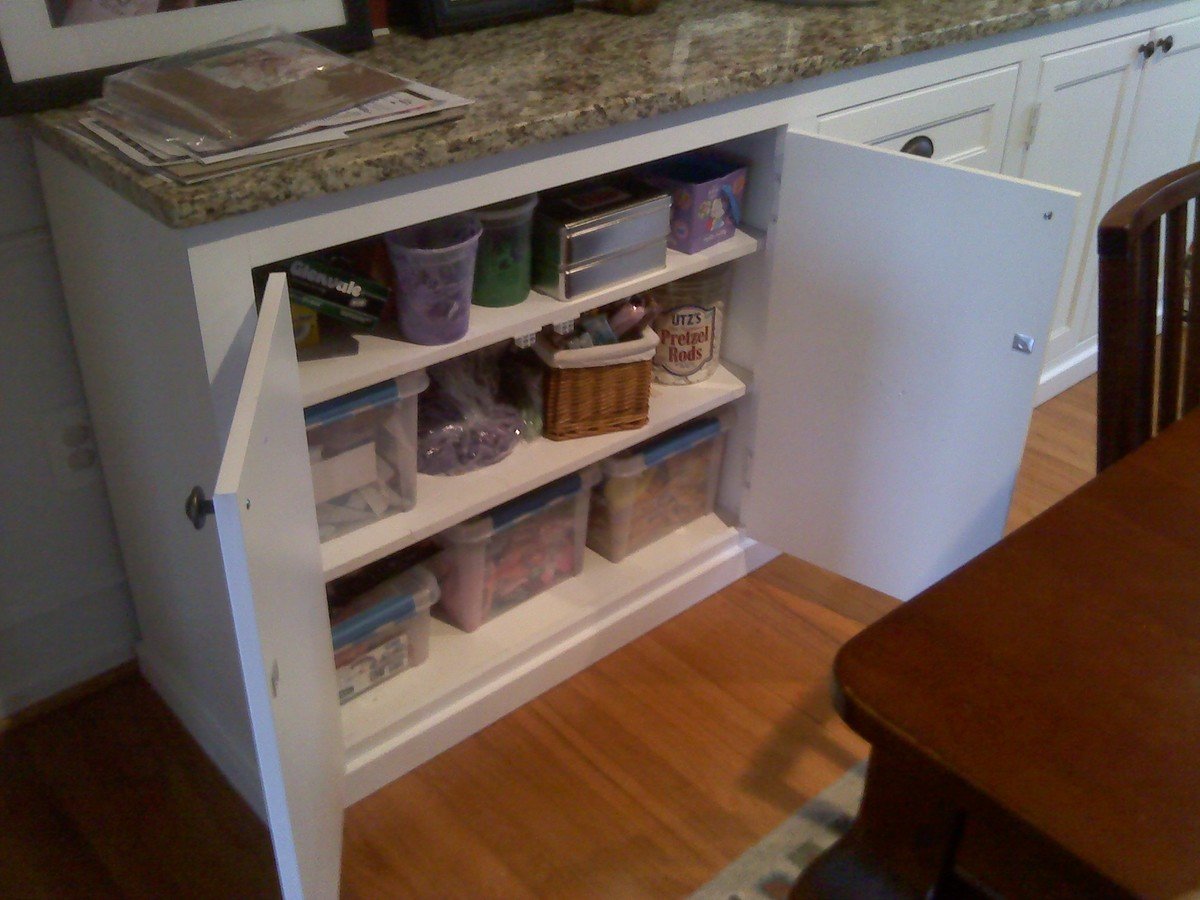
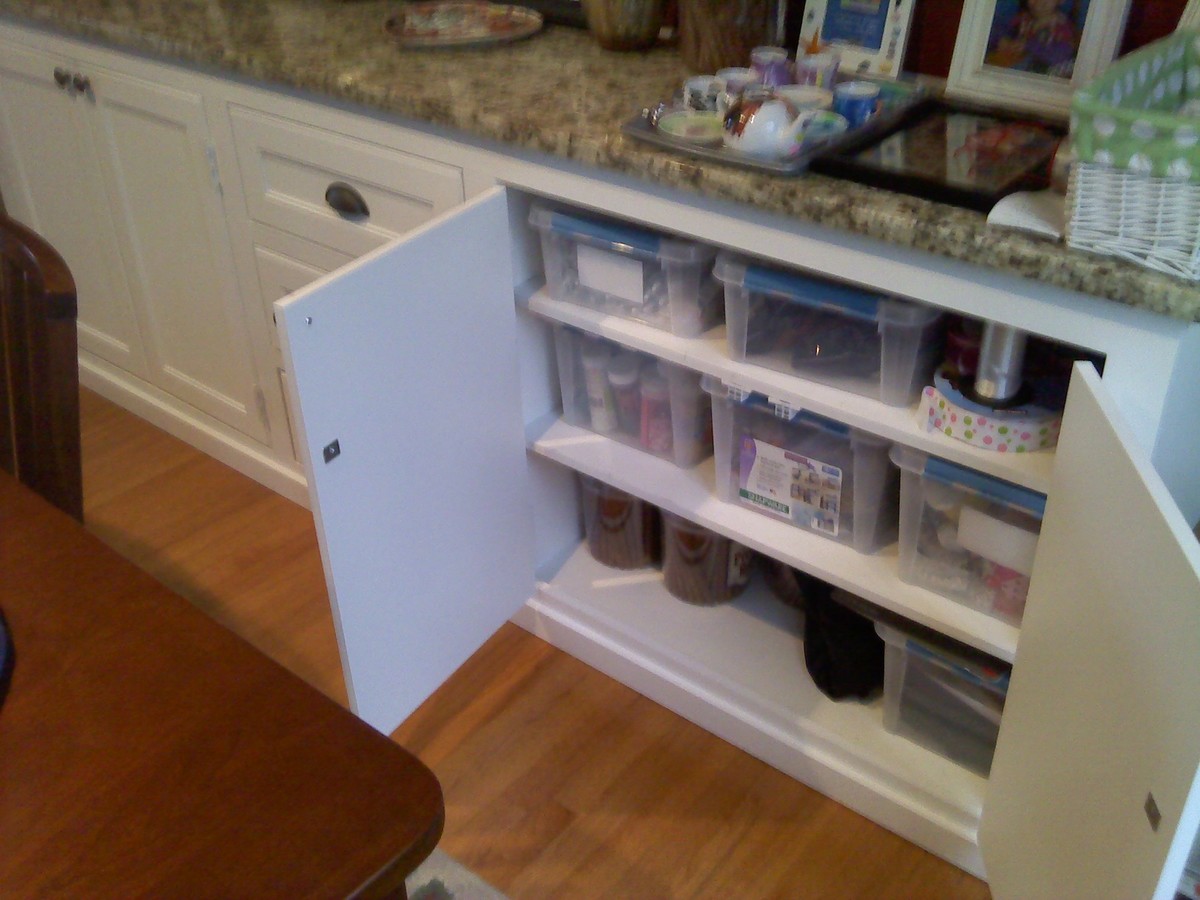
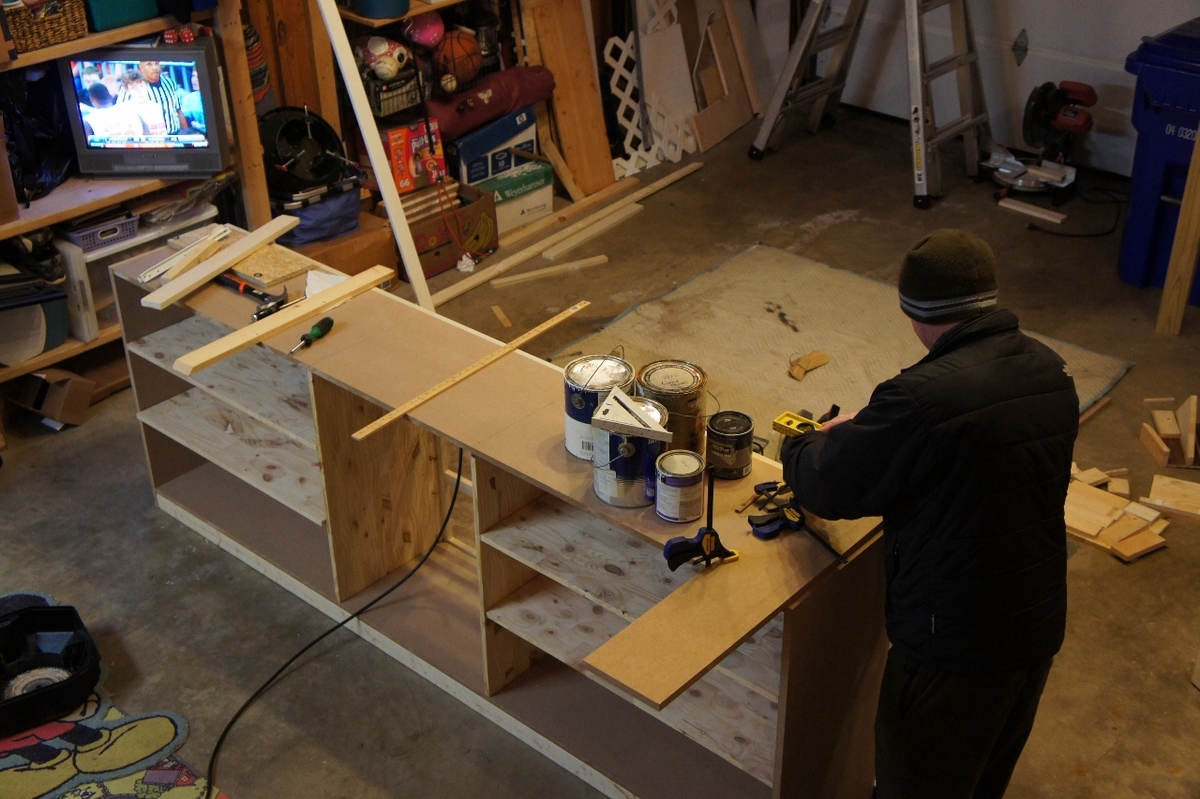
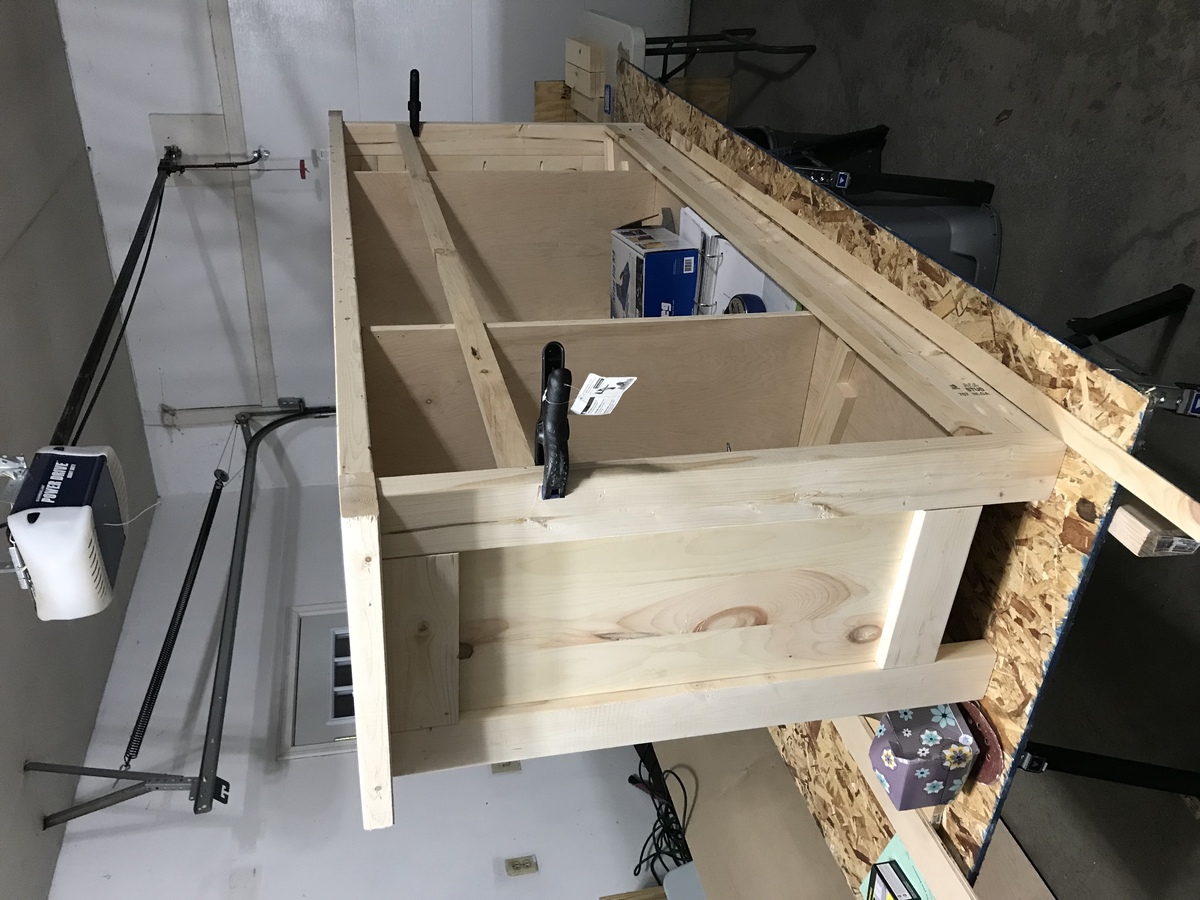
I scoured the web unsuccessfully for months trying to find a cabinet big enough to store everything we needed to store. I wanted something huge and bright and simple, and so I decided to just build away. It's 8'4" long, 18" deep and 36" tall. Topped with a slab of Giallo Napoleon granite and painted a nice plain white. Took me only a few nights to build and paint, thanks to my power nailer and power paint sprayer. Thanks to a great deal on a remnant granite slab, this was just about $400 total start to finish. I winged the entire plan and didn't really use any plans in particular, though I have gathered many great ideas and tips from this site.

Sat, 08/13/2011 - 14:51
Wow - looks great! You would think it was done by a pro! You should be very proud of your finished product.
Tue, 12/04/2018 - 06:43
Trying to find cabinets like this. Did you buy them or build them?
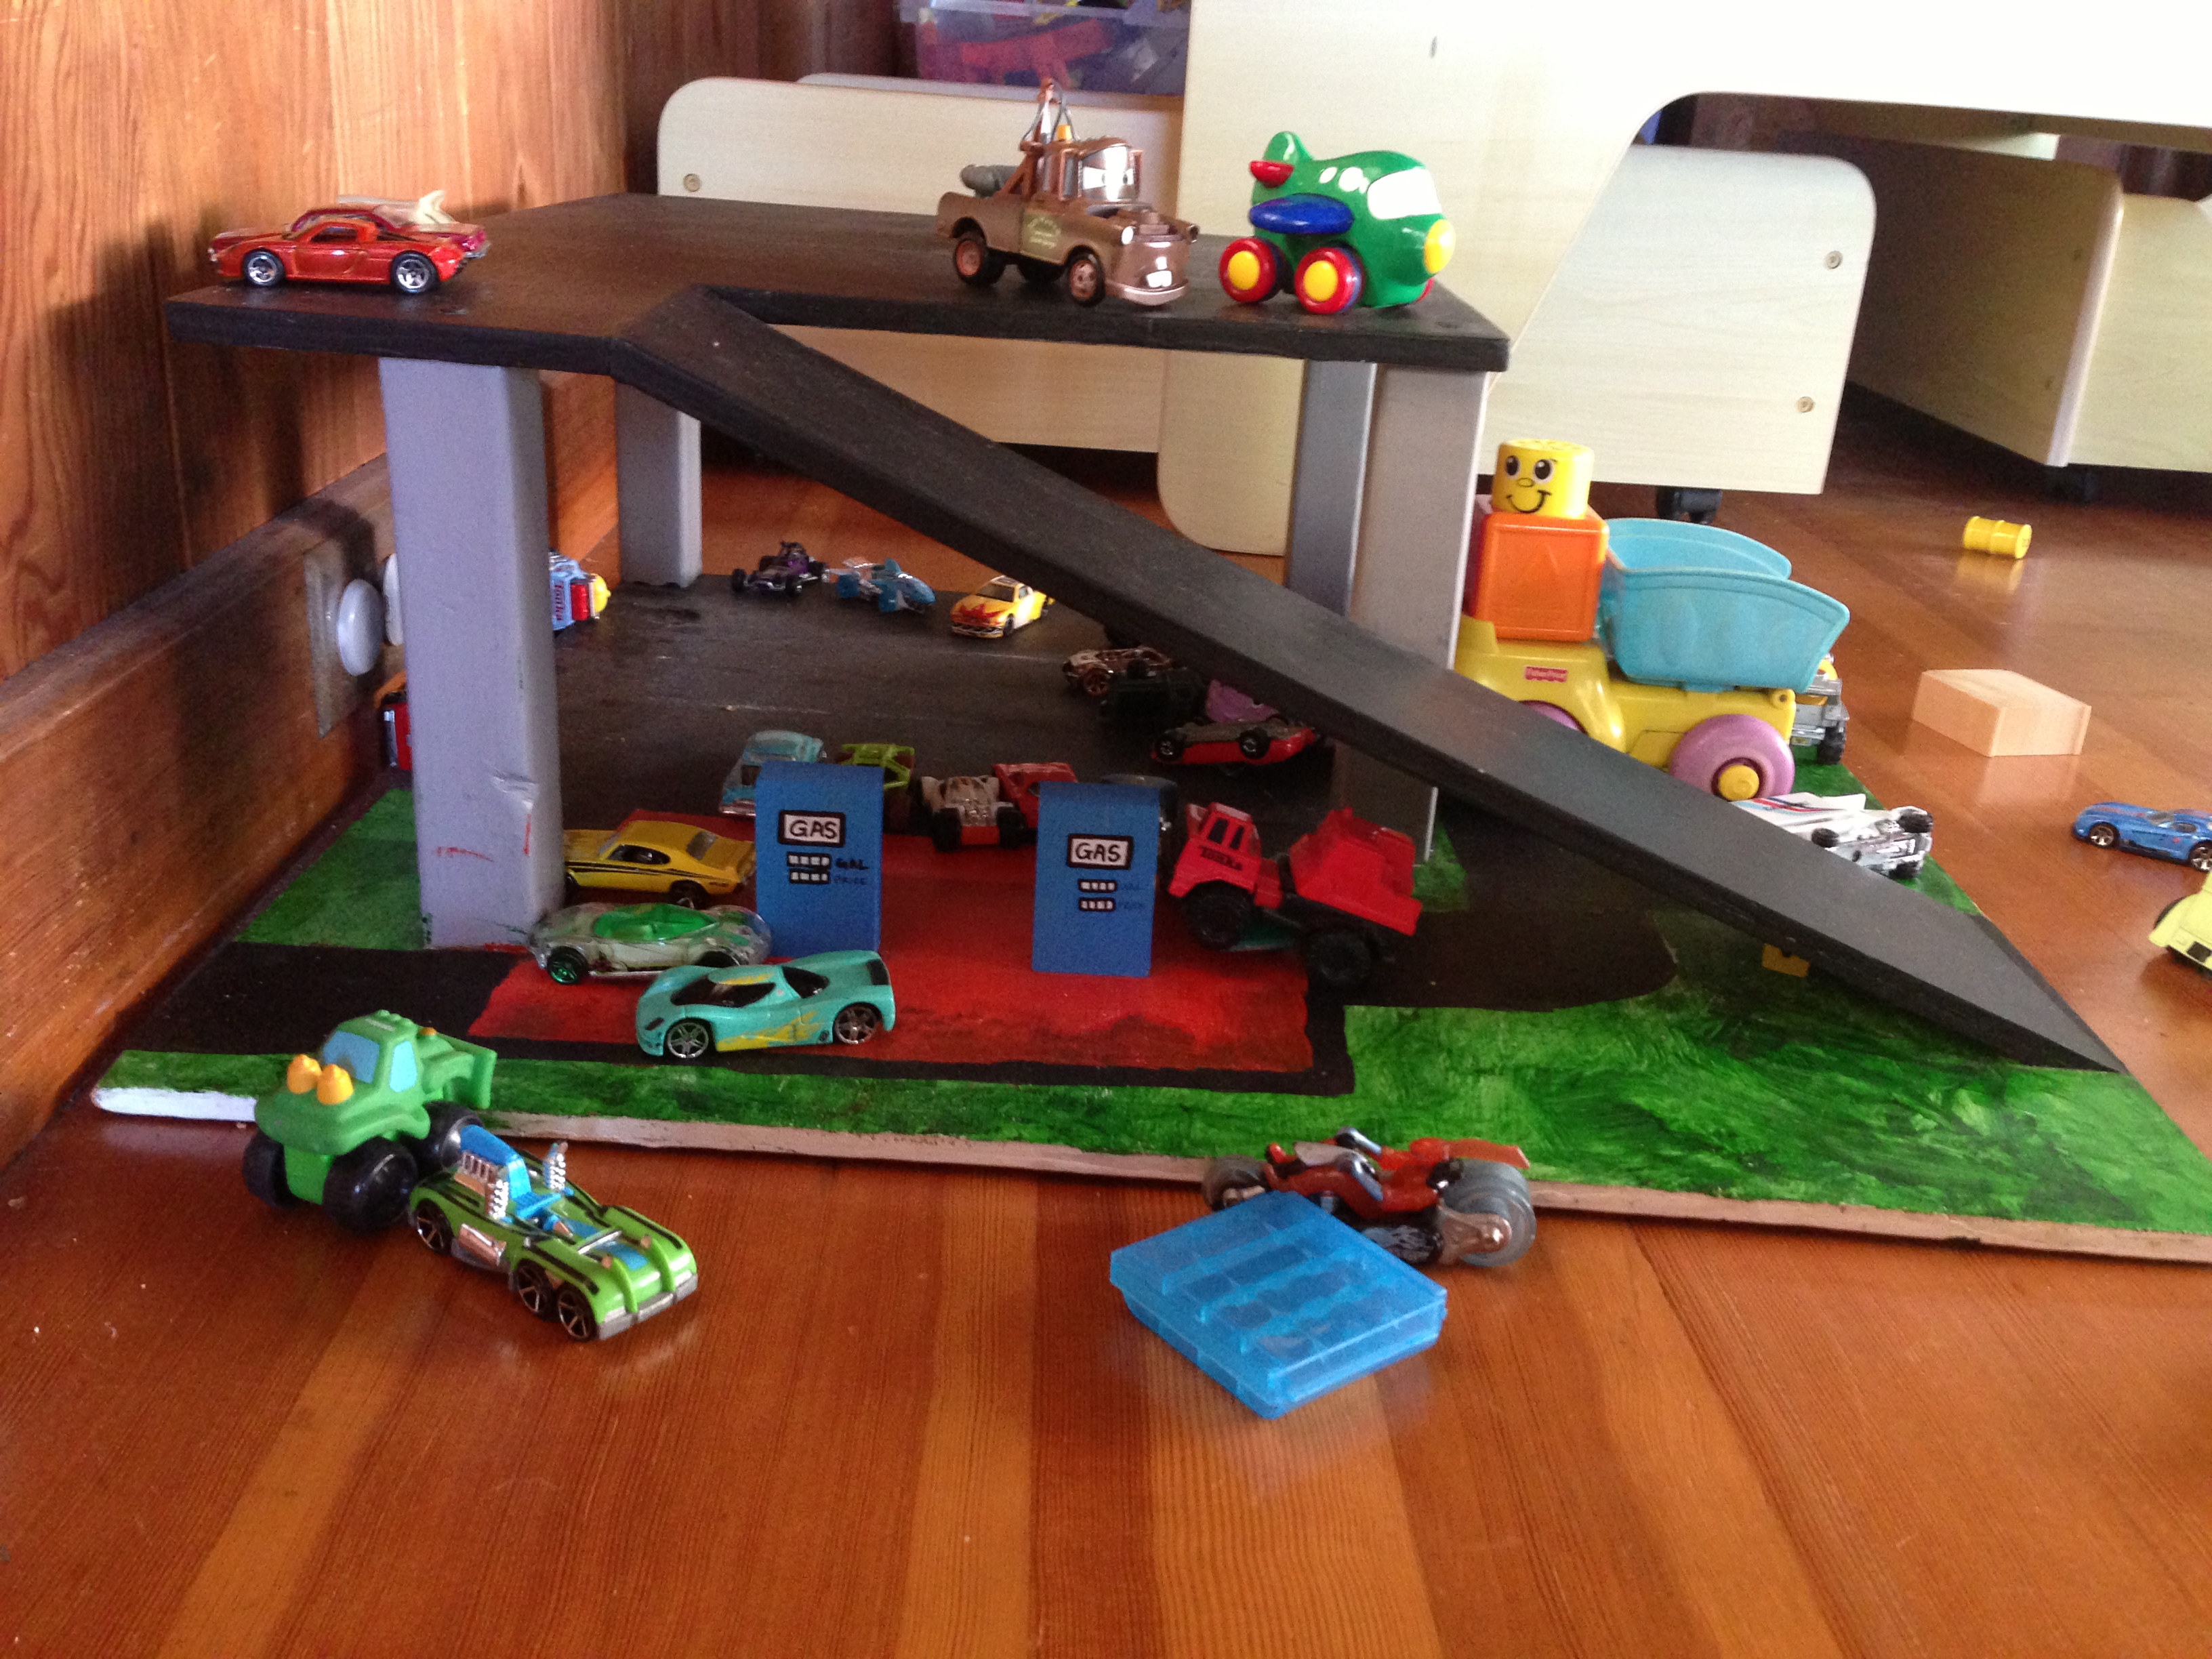
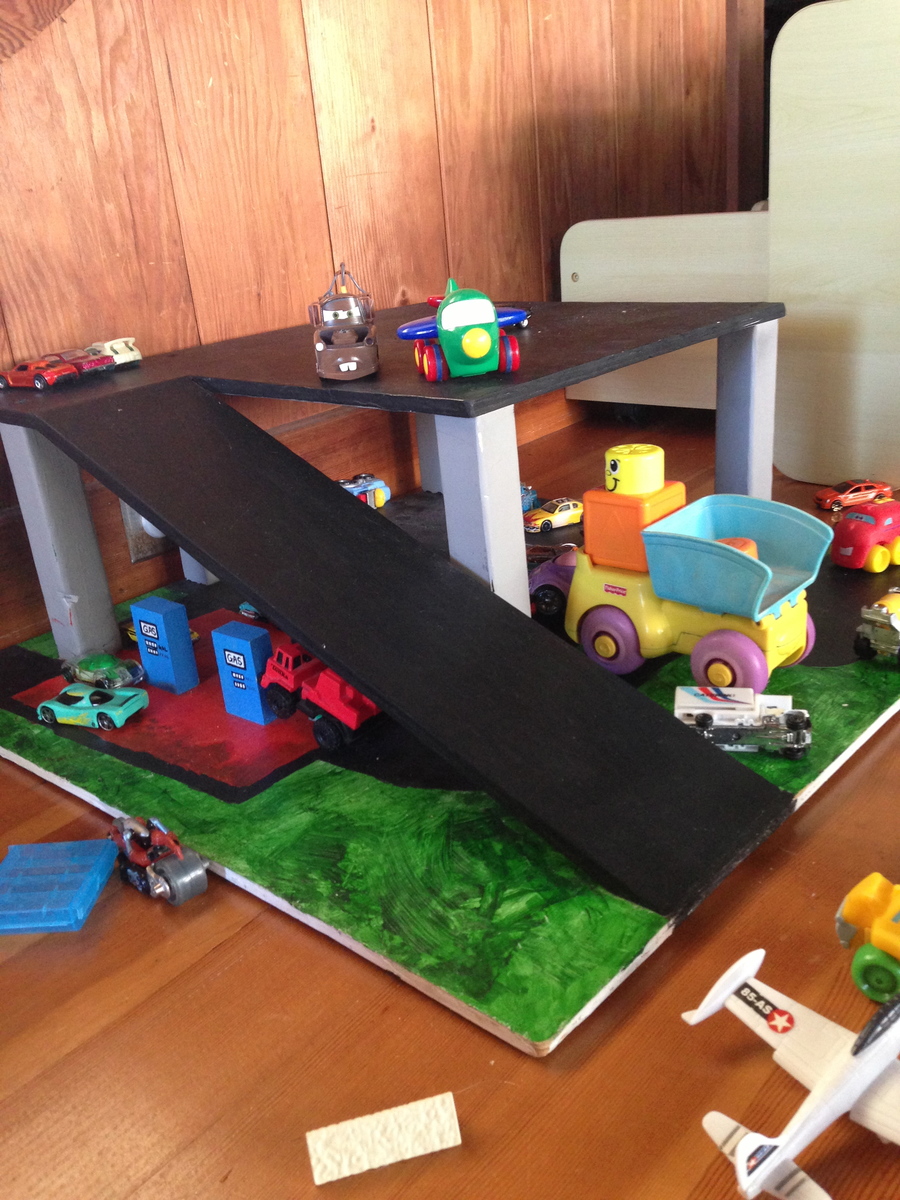
I got inspired by Ana to design my own toy garage - so that there would be somewhere to store all the hot wheels that kept piling up! I have no idea what the angle is for the driveway ramp - it was trial and error with help from my husband, but it's pretty sturdy. Between the mitered cut and the copious amounts of glue, it holds the weight of a 25 lb toddler walking up it (though I try to discourage it!).
I used chalkboard paint and acrylics - so that we can draw parking stalls, lanes, or arrows as desired - my son helped with the painting. So far, the favorite activities are sending the cars down the ramp, one after another...
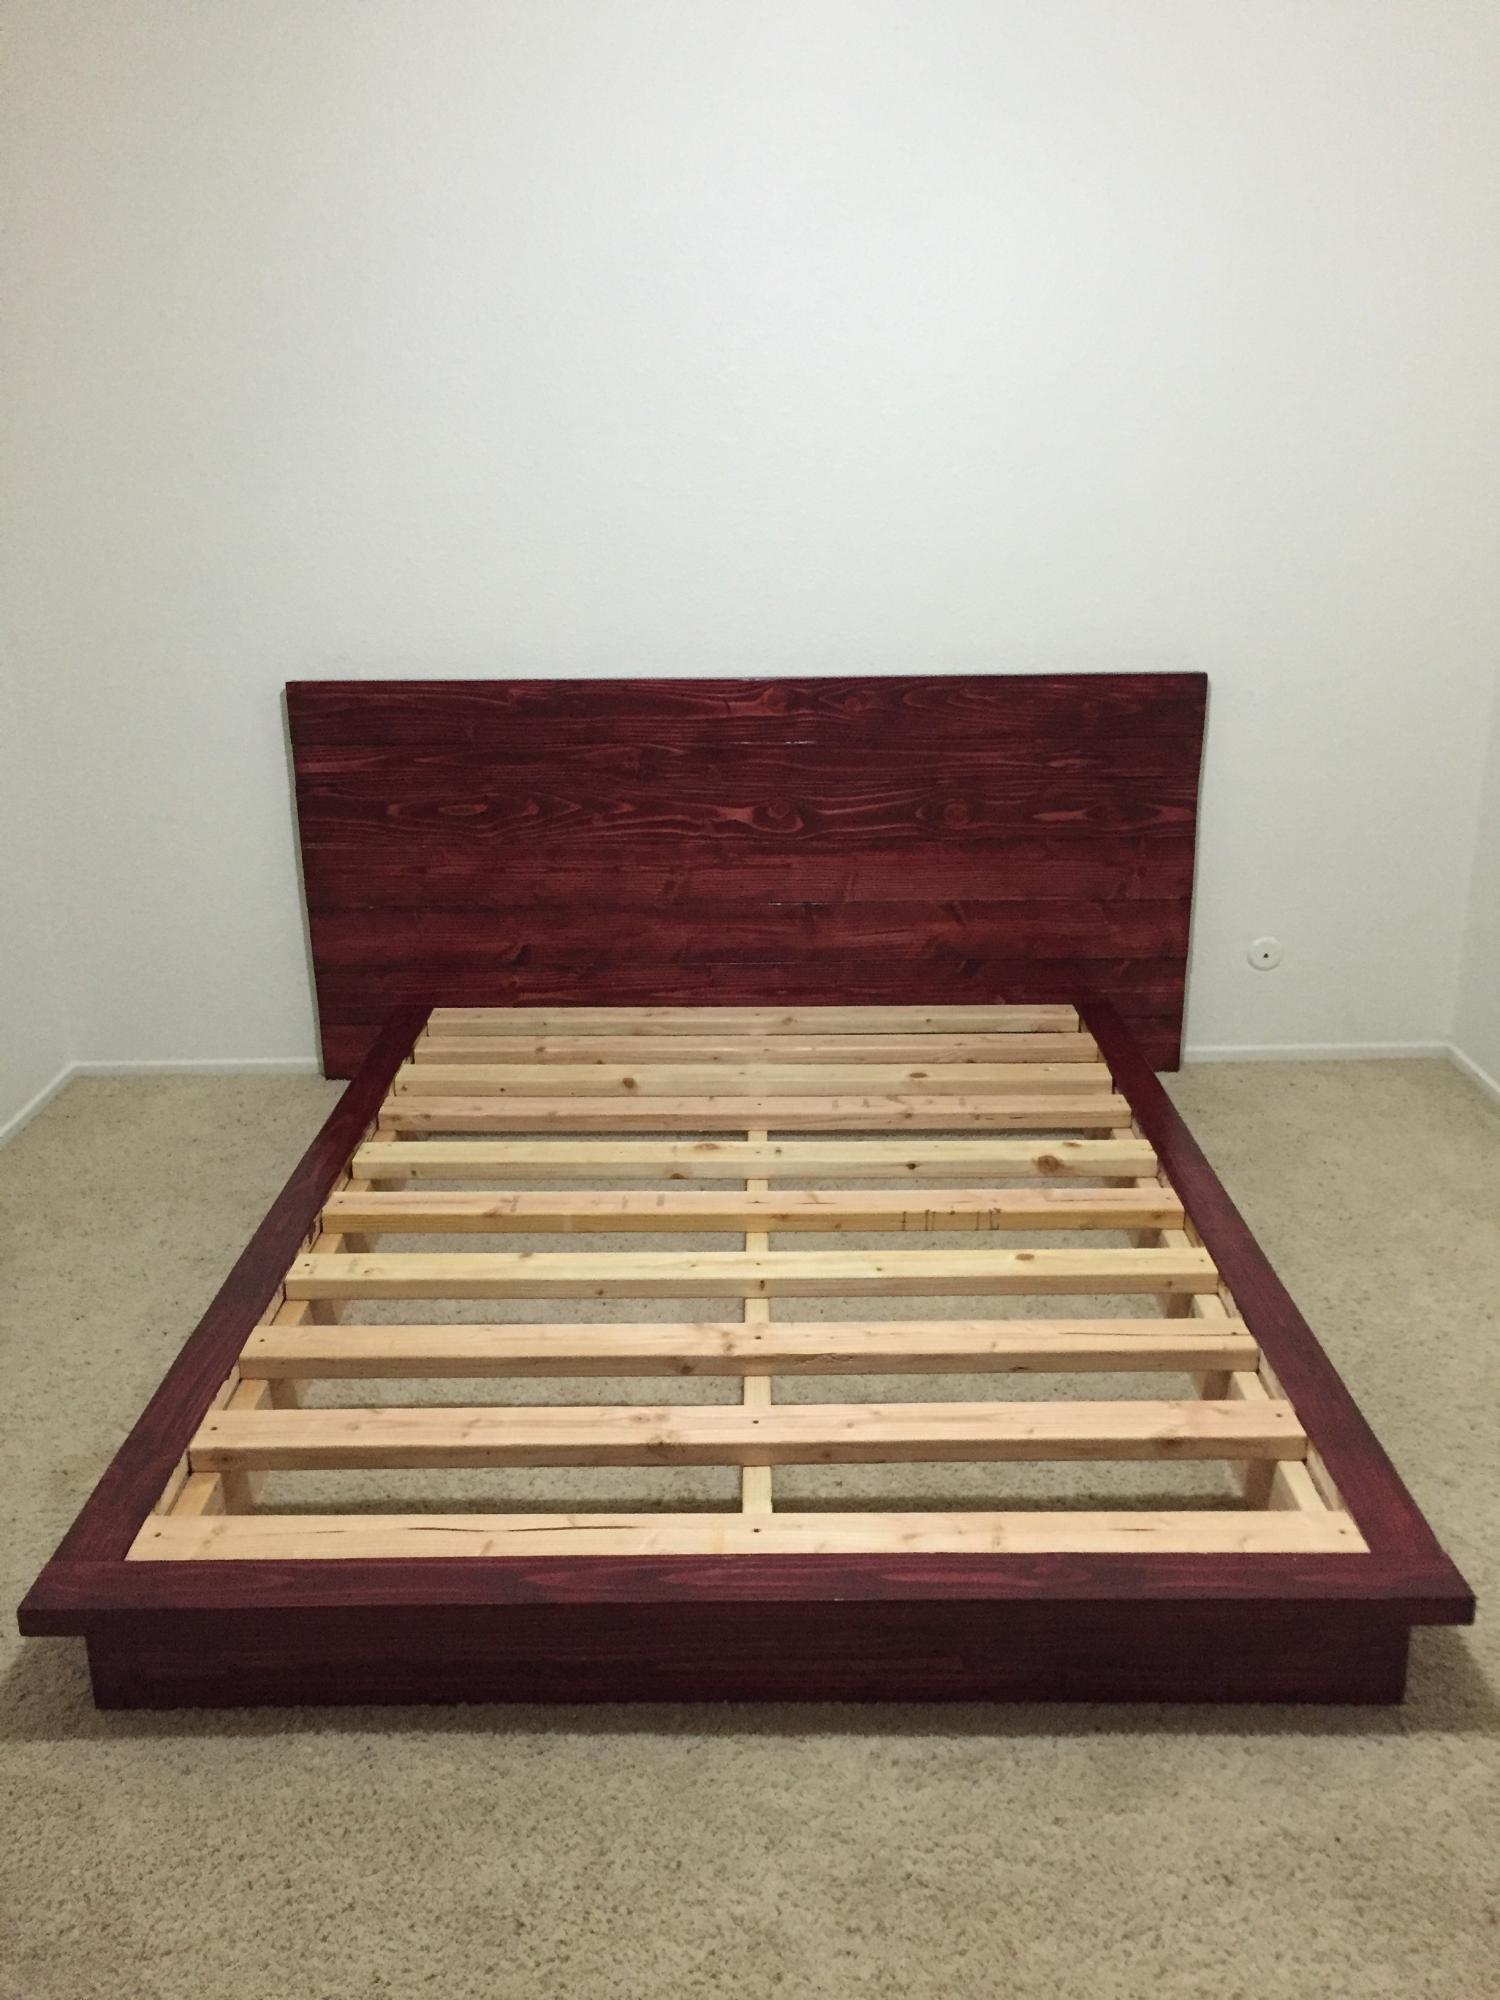
I had a similar bed in grad school that I had purchased from Walmart. I loved the design but despised the quality. I was obviously very happy to find this plan here and had no reason to not invest in the required tools and supplies for my very first woodworking project.
This was very easy to make. I did have a small issue in that some of my lumber was bowed but a little improvisation fixed the problem.
I used pocket screws to join the headboard pieces and also used 4 cleats at the back of the headboard to keep it all together. I did not nail it to the wall stud and I see no sign of warping.
I used a semi-gloss polyurethane finish, but I am not a fan of it and will not use it again. I also did not sand between polyurethane coats and wish I had done so. In future I will use a satin polyurethane finish or wax.
I did not use glue because I would like to take the bed apart if and when I move houses. It is nonetheless a sturdy piece and is held together very well.
In short I am very proud of my very first build and the little imperfections are all lessons well learnt.

You'd think it'd be easier to find a great coffee table but it's not! After looking for several weeks I finally told my wife that I could build us a table cheaper (even accounting for tools) than what we would pay, not to mention we were spending weekends looking for something that doesn't exist.
This table is STURDY - with all the nails and glue in it, it's not going anywhere. I would recommend this to anyone who thinks they'd like it, fairly straight forward directions but there's lots of sanding involved. This is the first thing I've ever built and I think it turned out great.
You can do this just as easily!
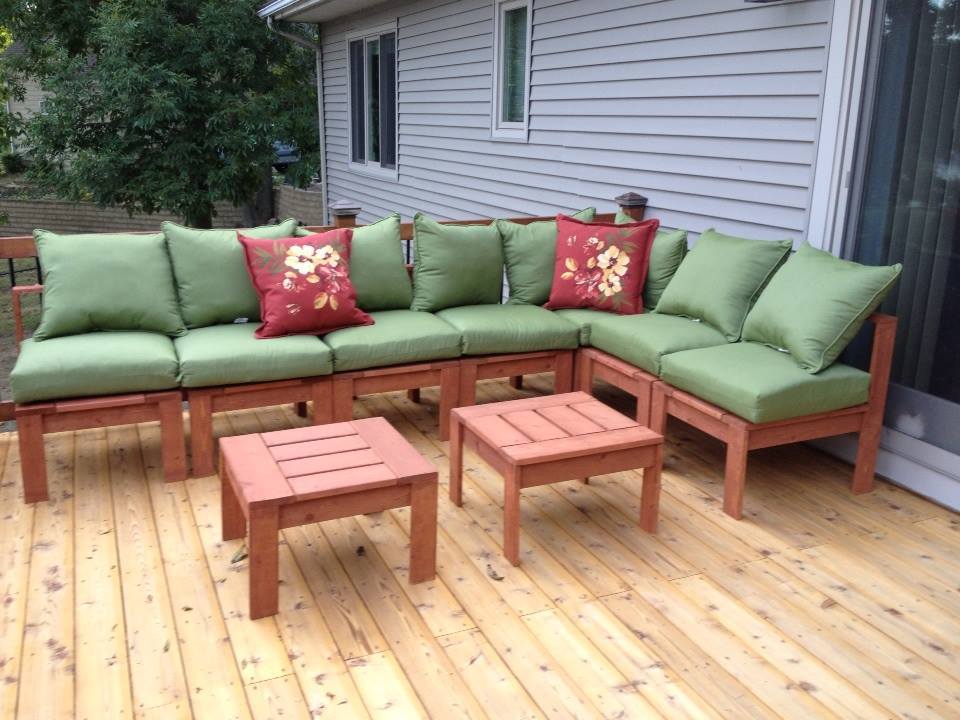
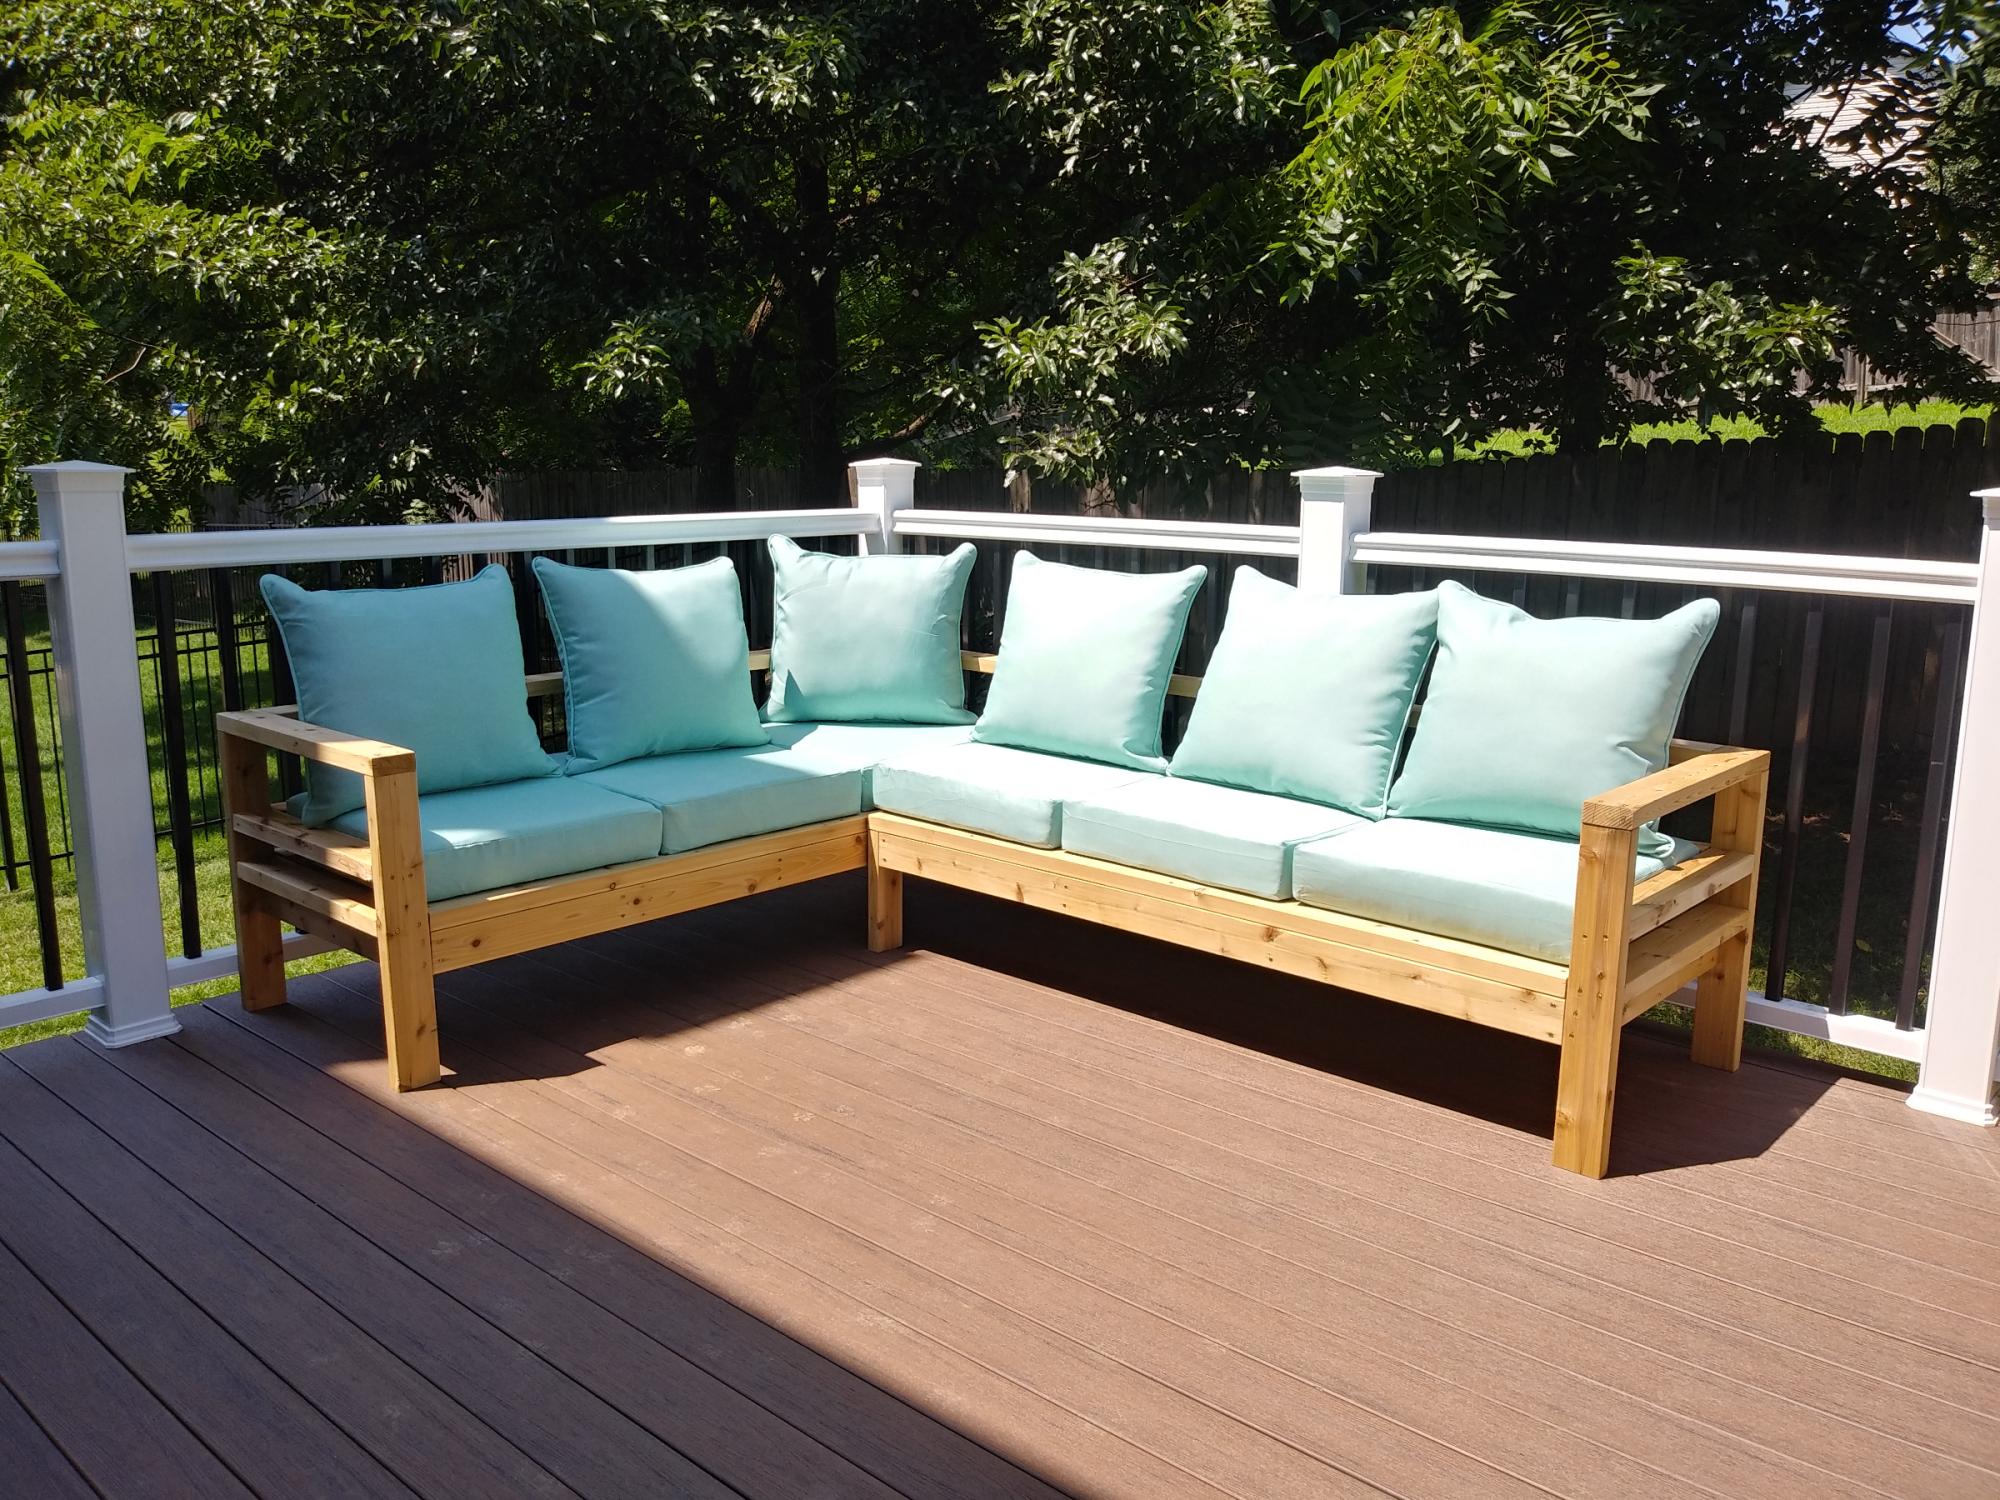
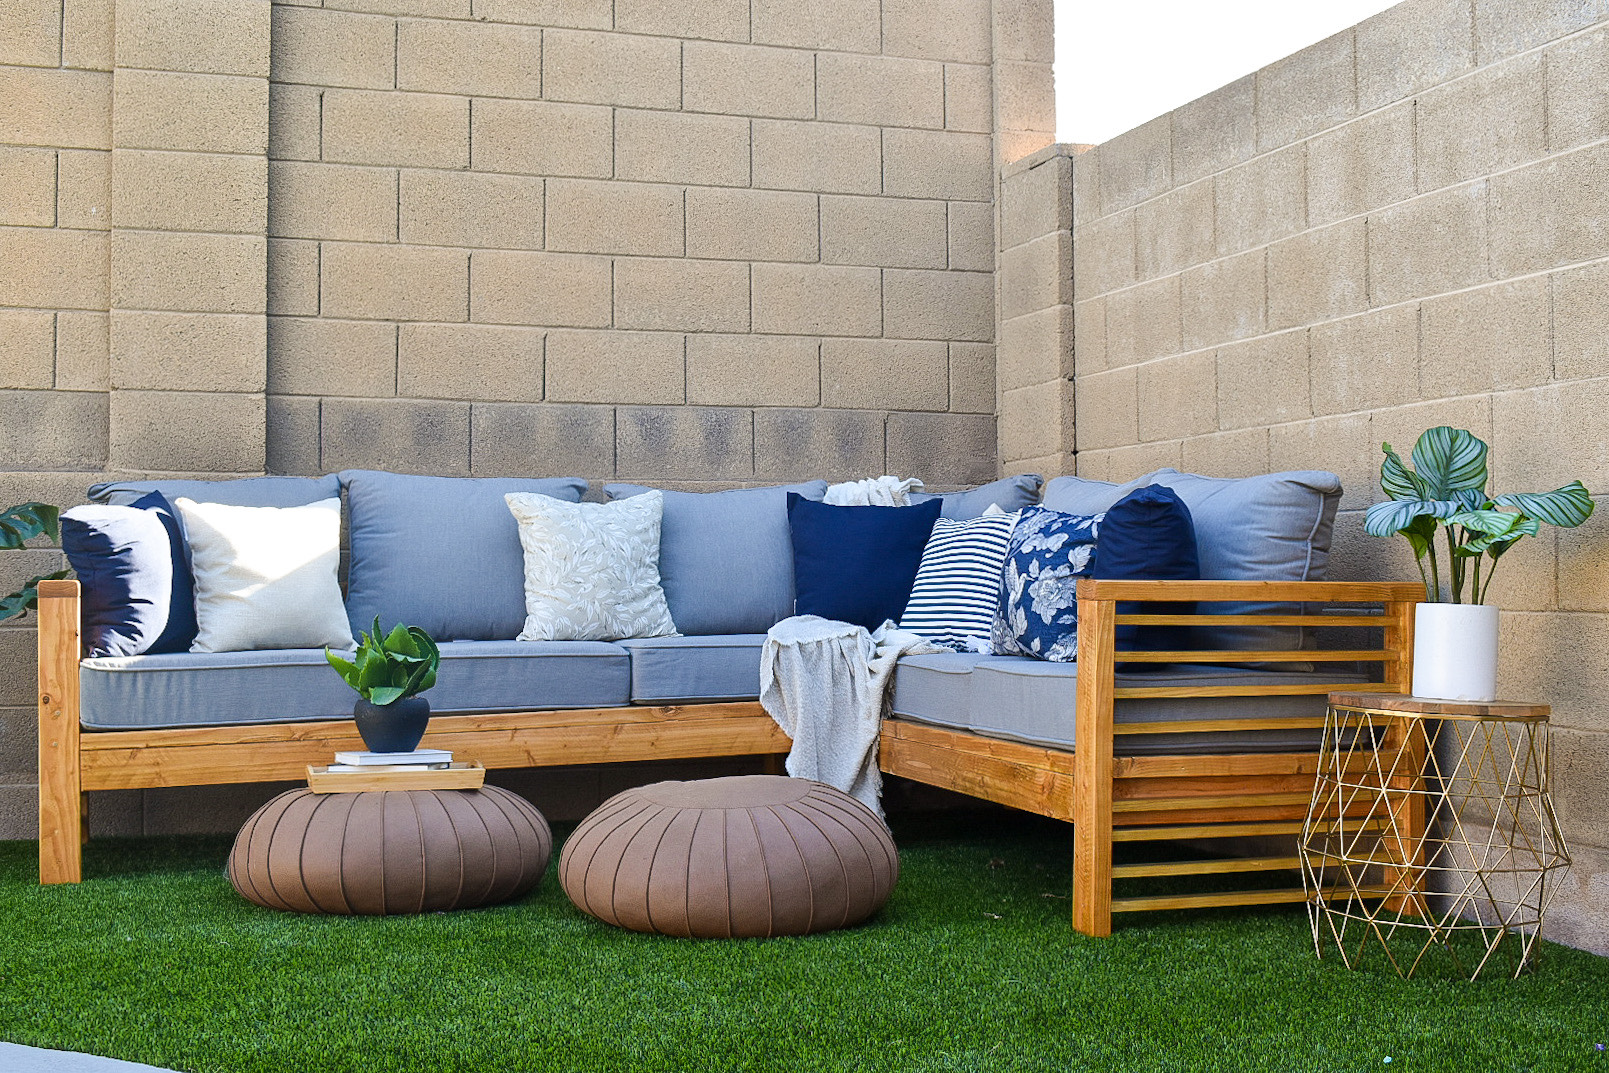
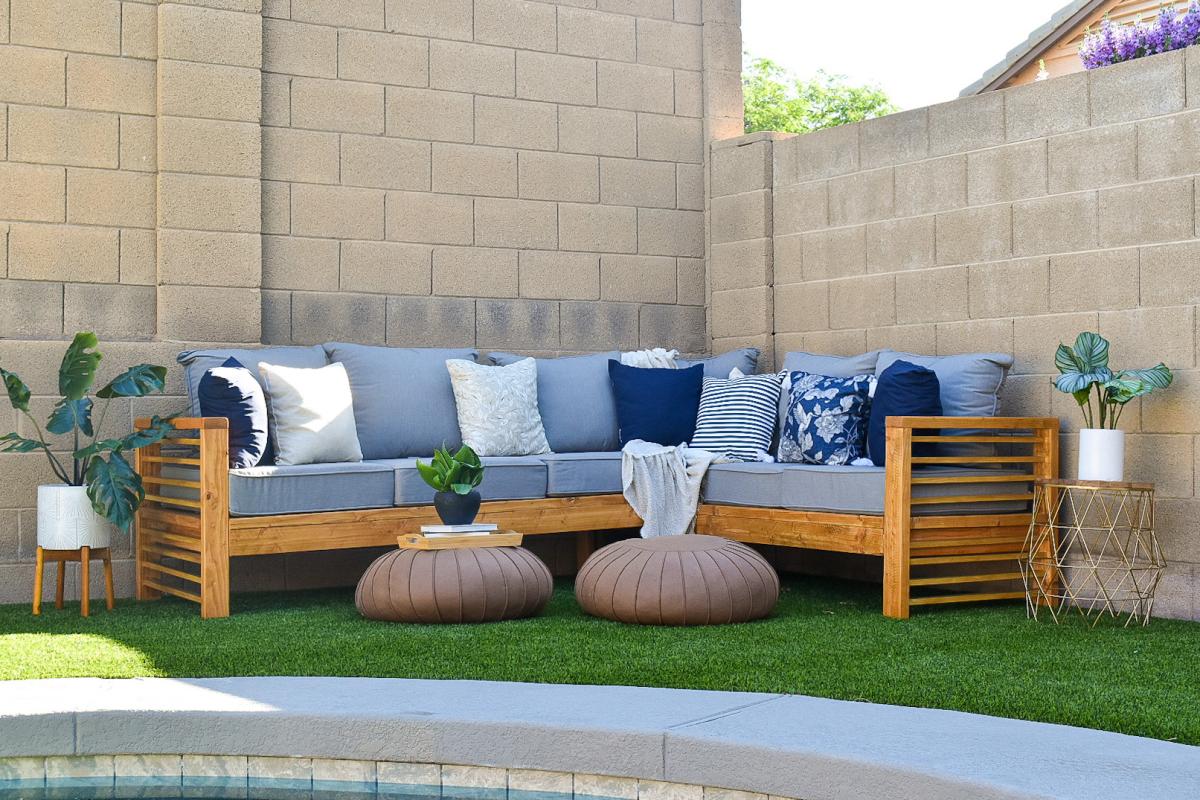
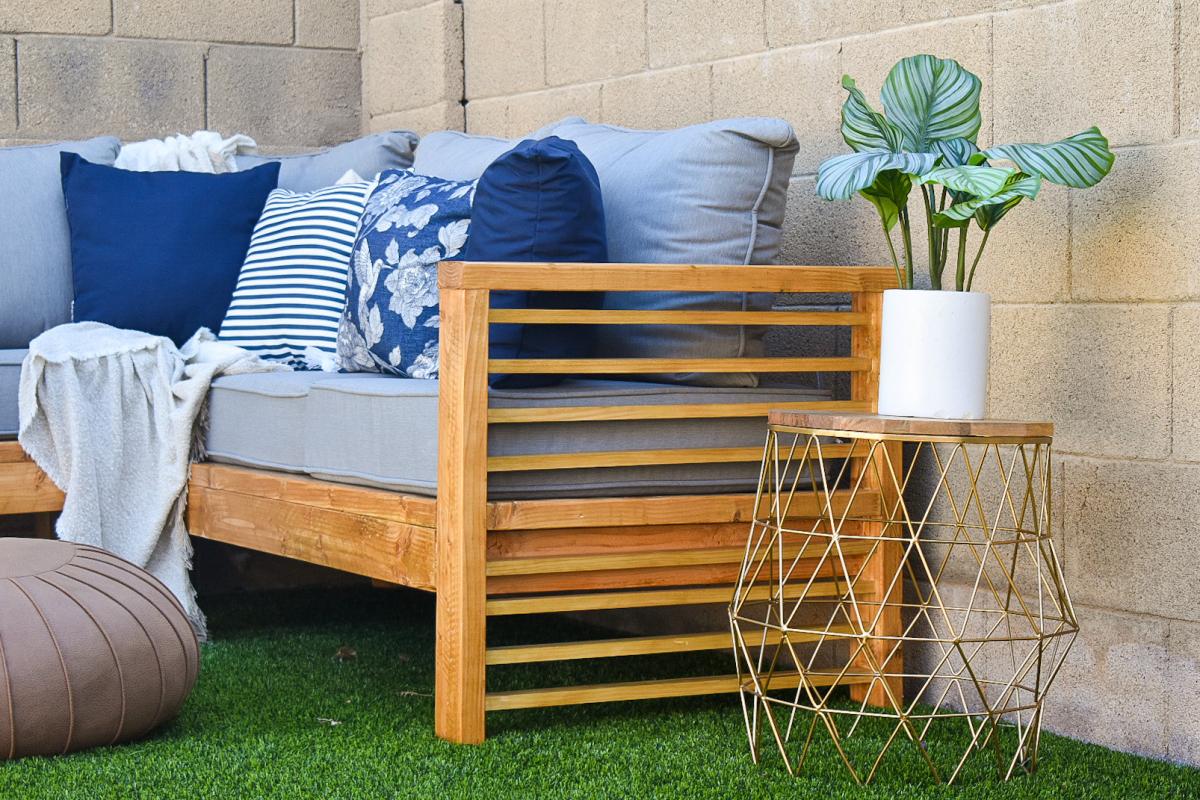
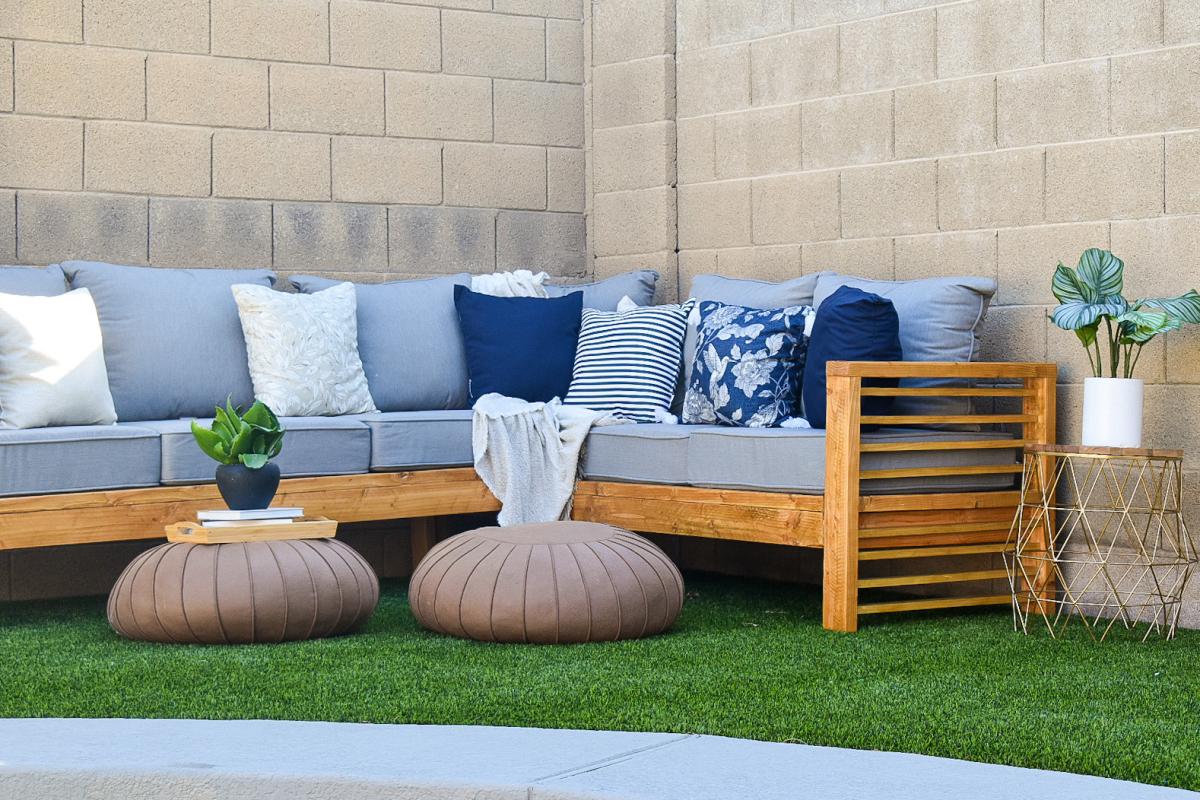
Used 1 x 4 cedar boards for the legs and backs and 1 x 6 cedar deck boards that were left over from when we built the deck it is sitting on. Built 6 armless units and one corner unit. Total the sectional is 10' x 6' with two 2'x2' ottomans. As everyone else states, the cushions were the most expensive part of the project. We purchased these 8 Sunbrella cushion sets from Home Depot for about $600. After cutting all of the pieces it really did not take that long to assemble the units. I ended up building a little "support bridge" that I rested the unit on so I could attach the back legs since the front legs are attached first. This way I knew the legs would end up level without having to measure, attach the back legs and hope that the legs would end up level. With the front legs resting on the ground and the rest of the unit supported by the "bridge" I could set the back legs in place, resting solidly on the ground and attach the legs to the seat, with no measuring needed.

Sat, 09/14/2013 - 23:36
Looks like a fantastic and inviting place to relax! Amazing job!!
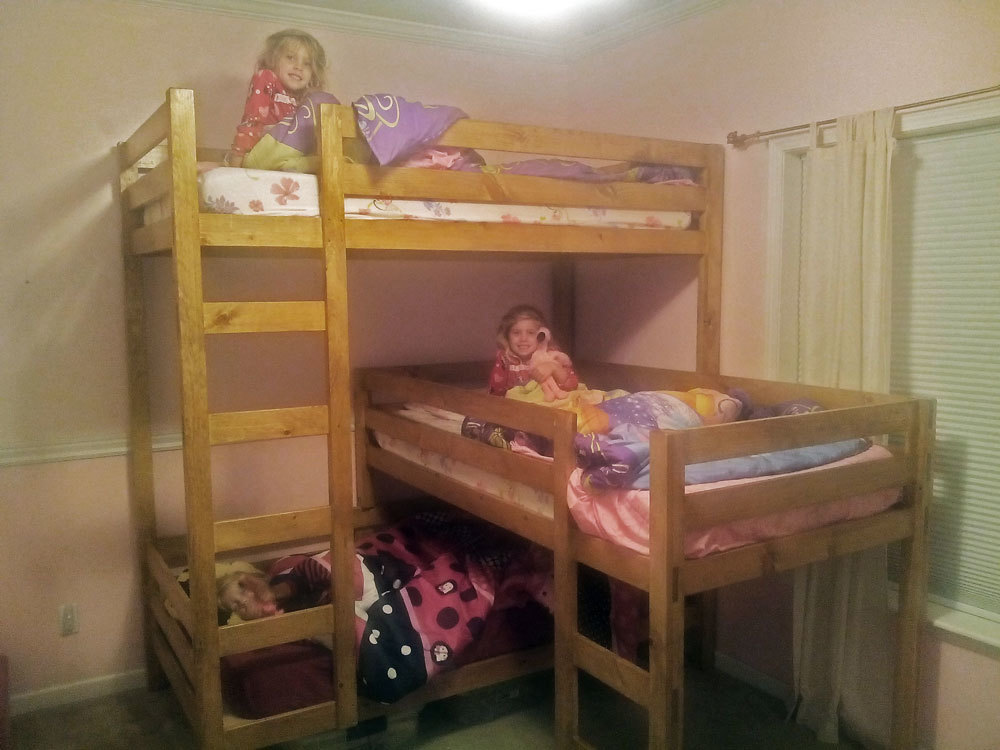
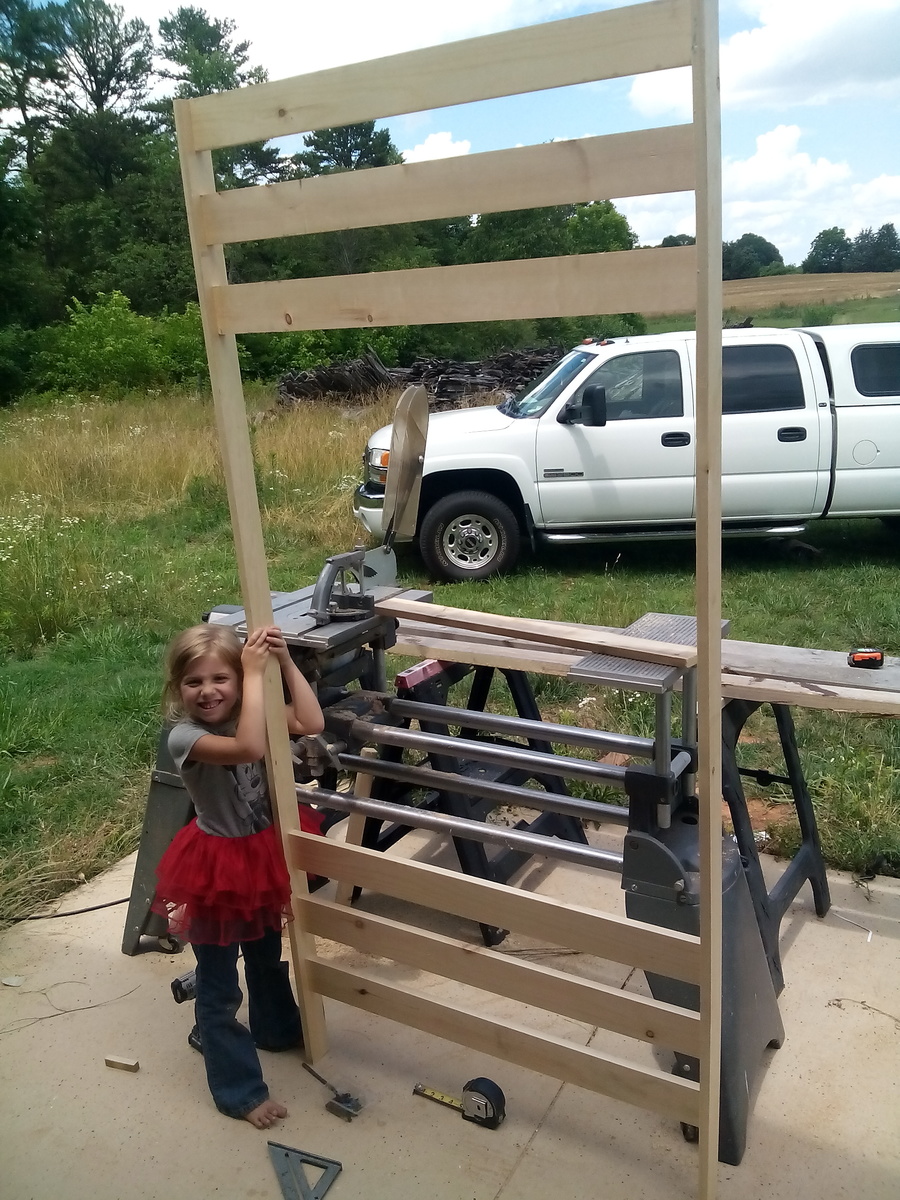
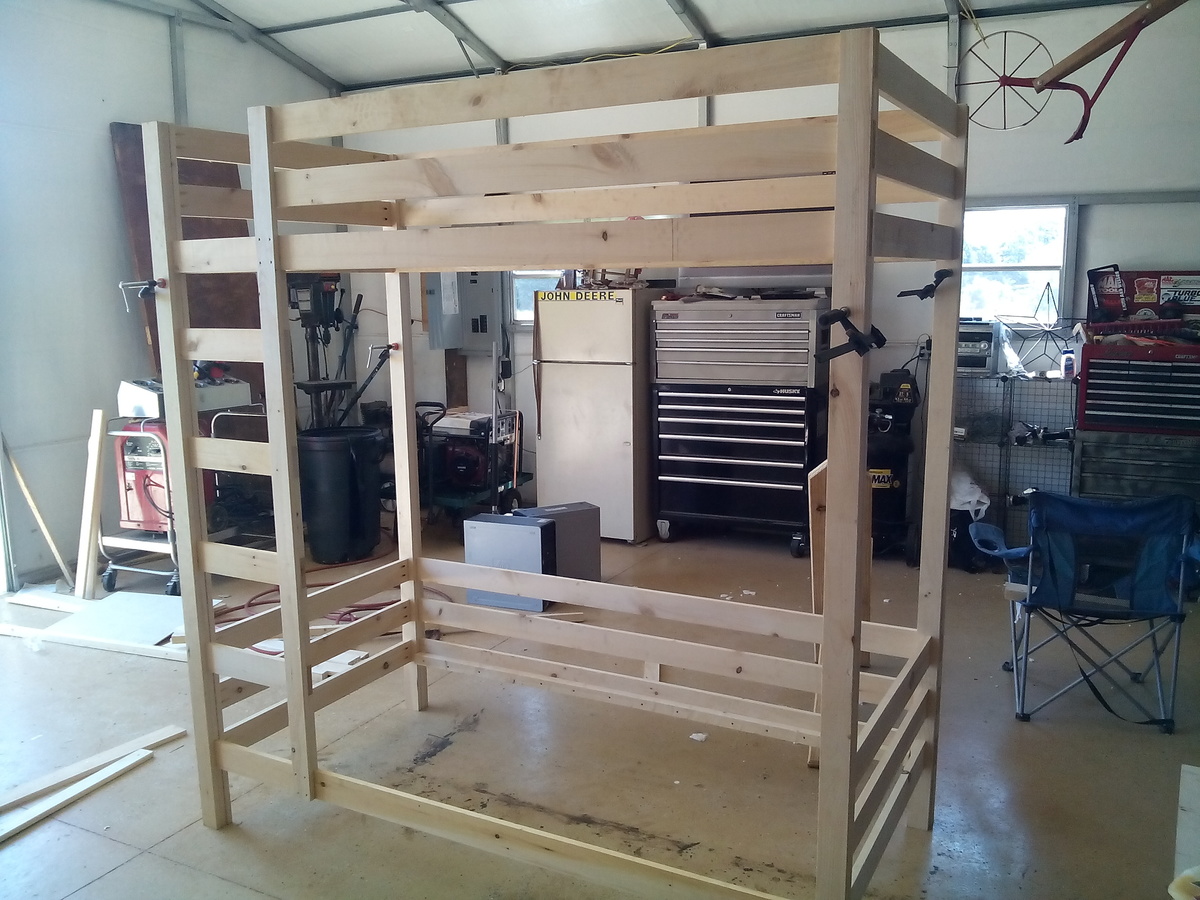
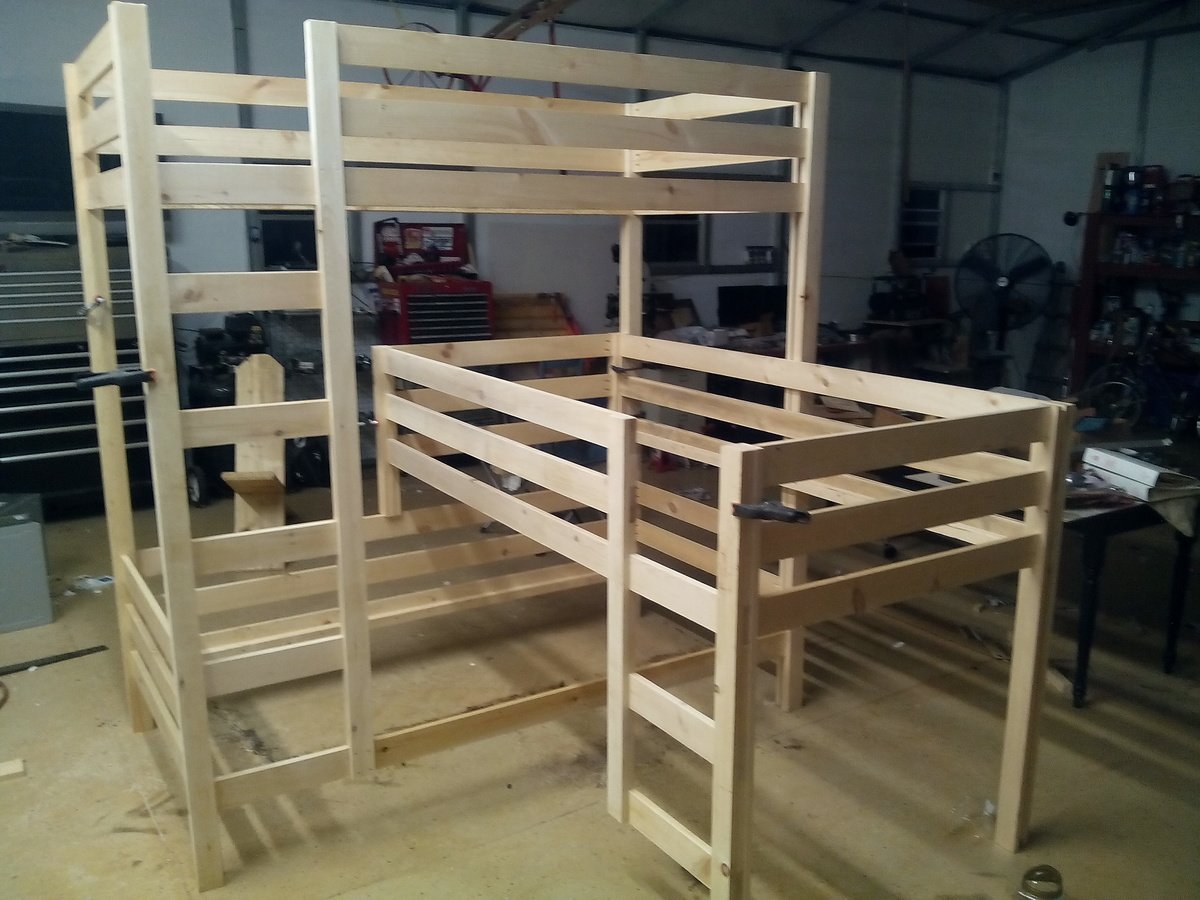
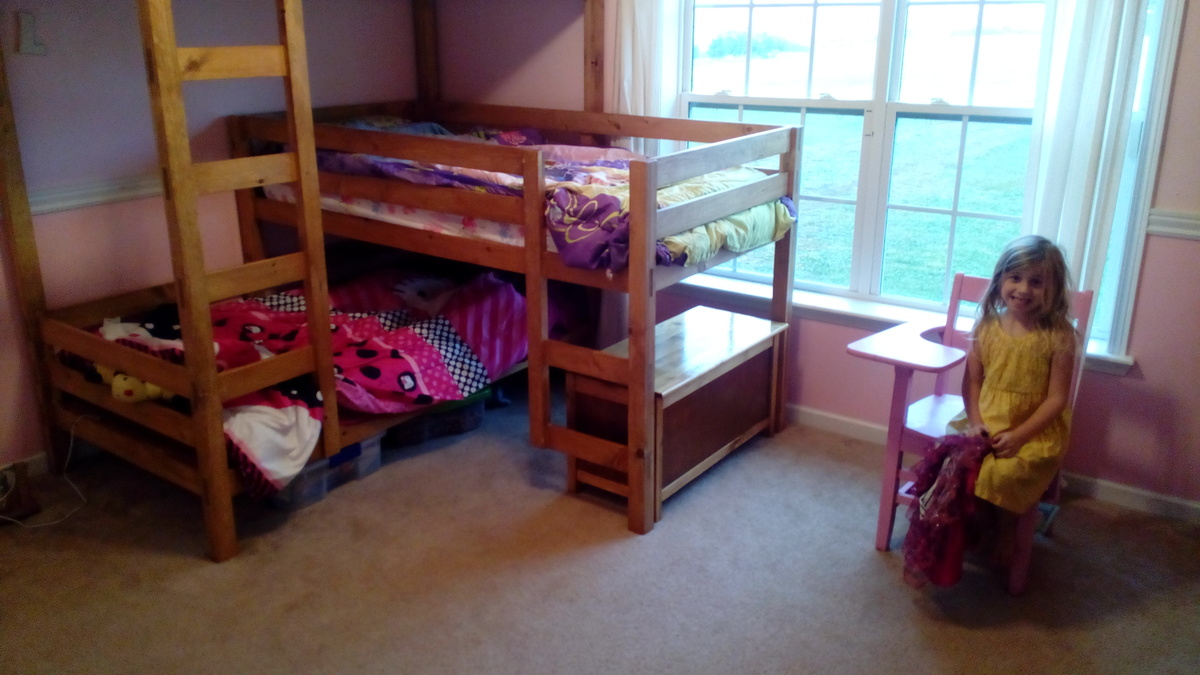
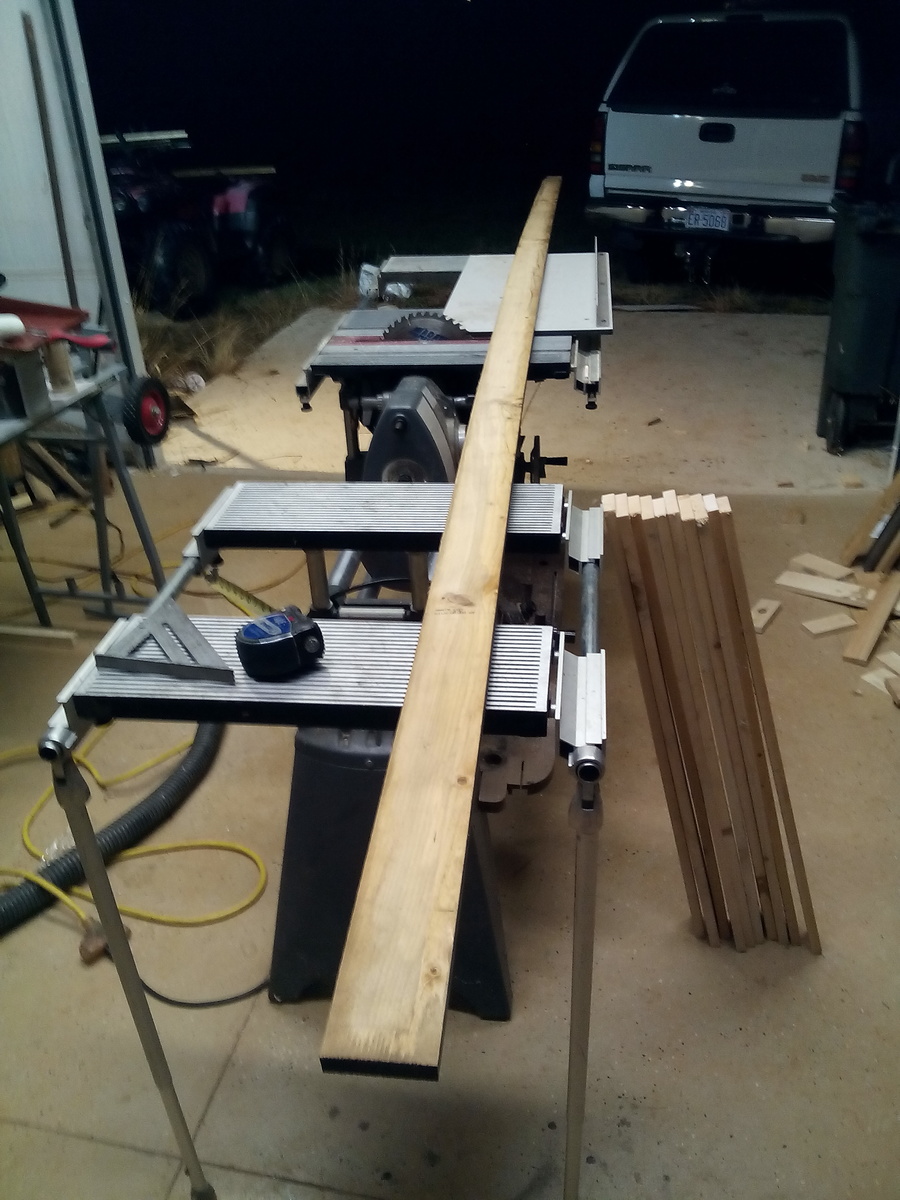
I took the “classic bunk bed” plans and changed them to accommodate my 3 girls. I have 9 ft ceilings so I just stretched the traditional plans out to allow the 3rd bunk to be added. It turned out nice and my girls enjoy it. I also built a matching toy box that is visible in one of the pictures. Please excuse my messy shop. I built this with my 40 year old shopsmith and a kreg jig. Thank you for the plan.

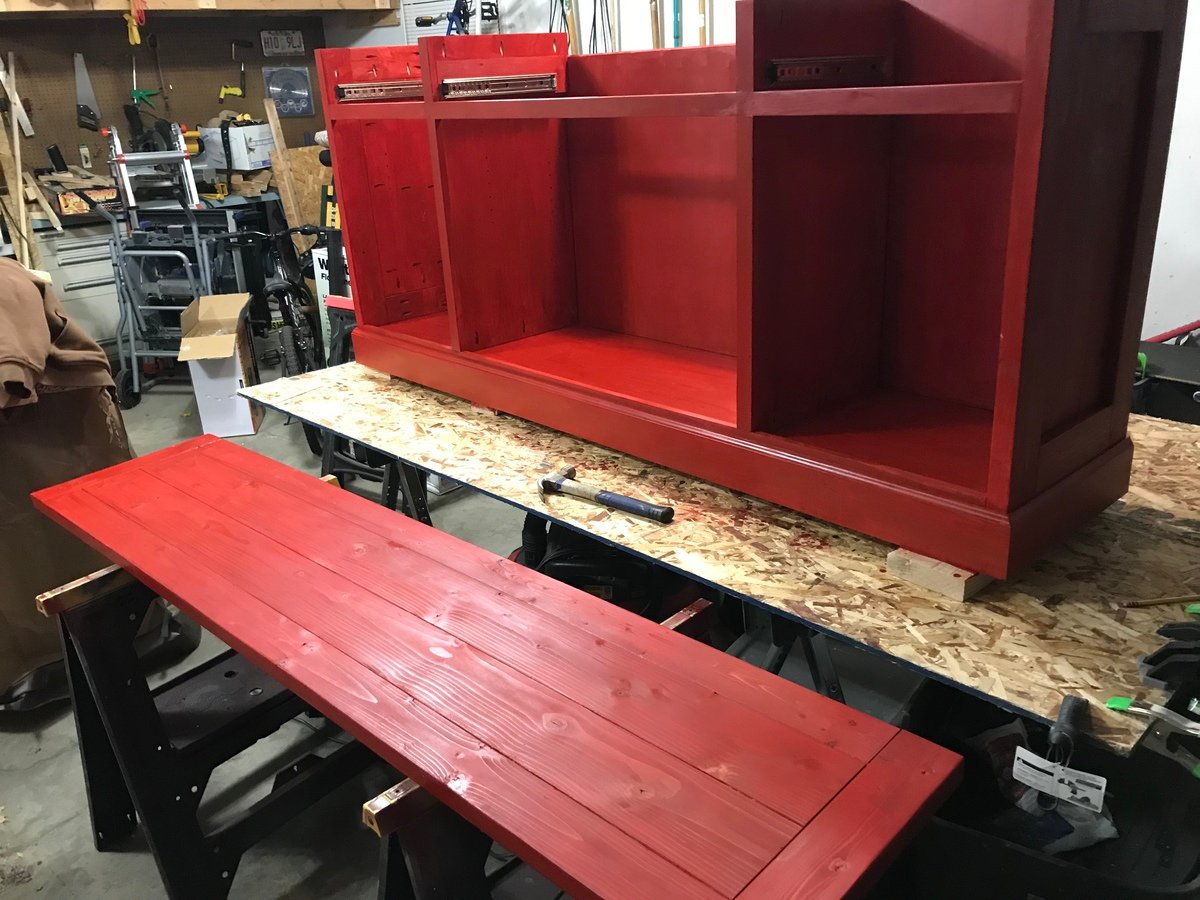
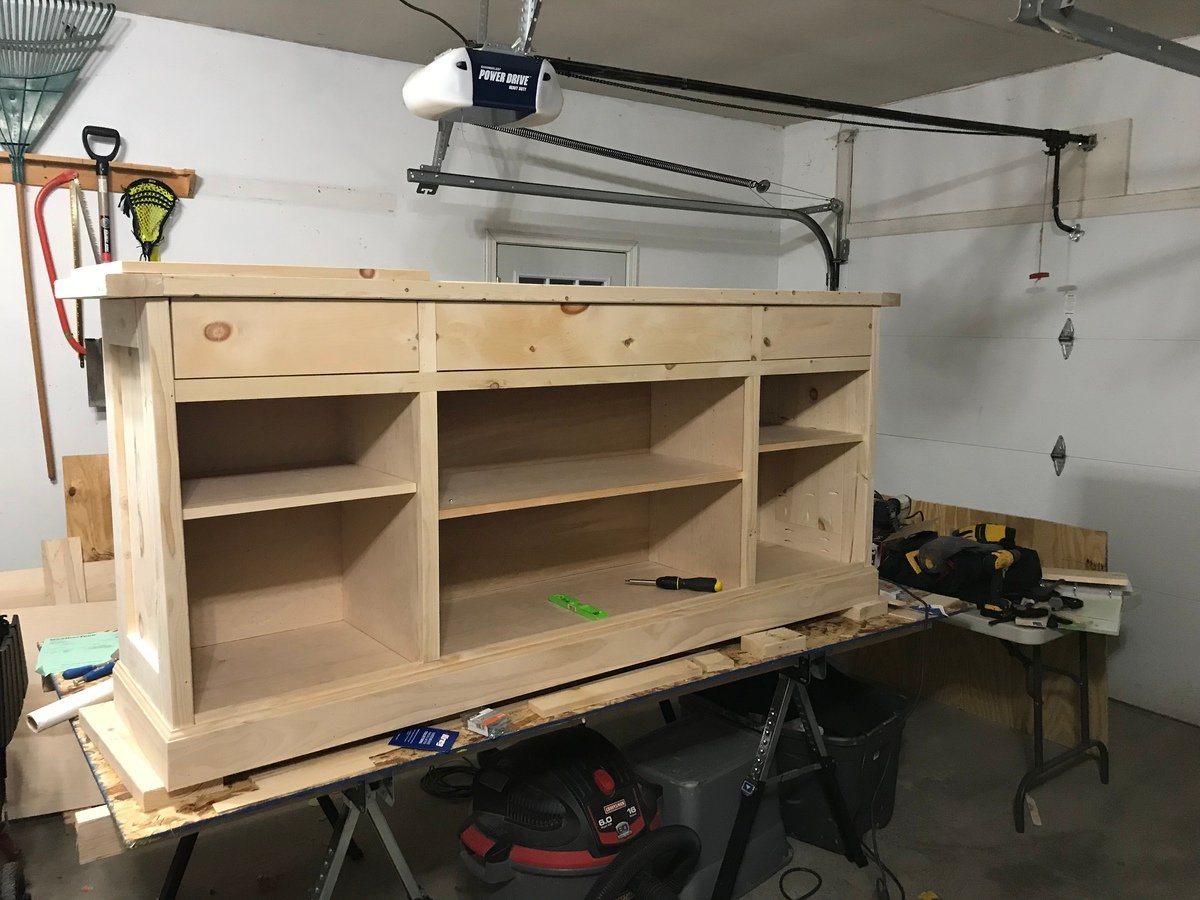
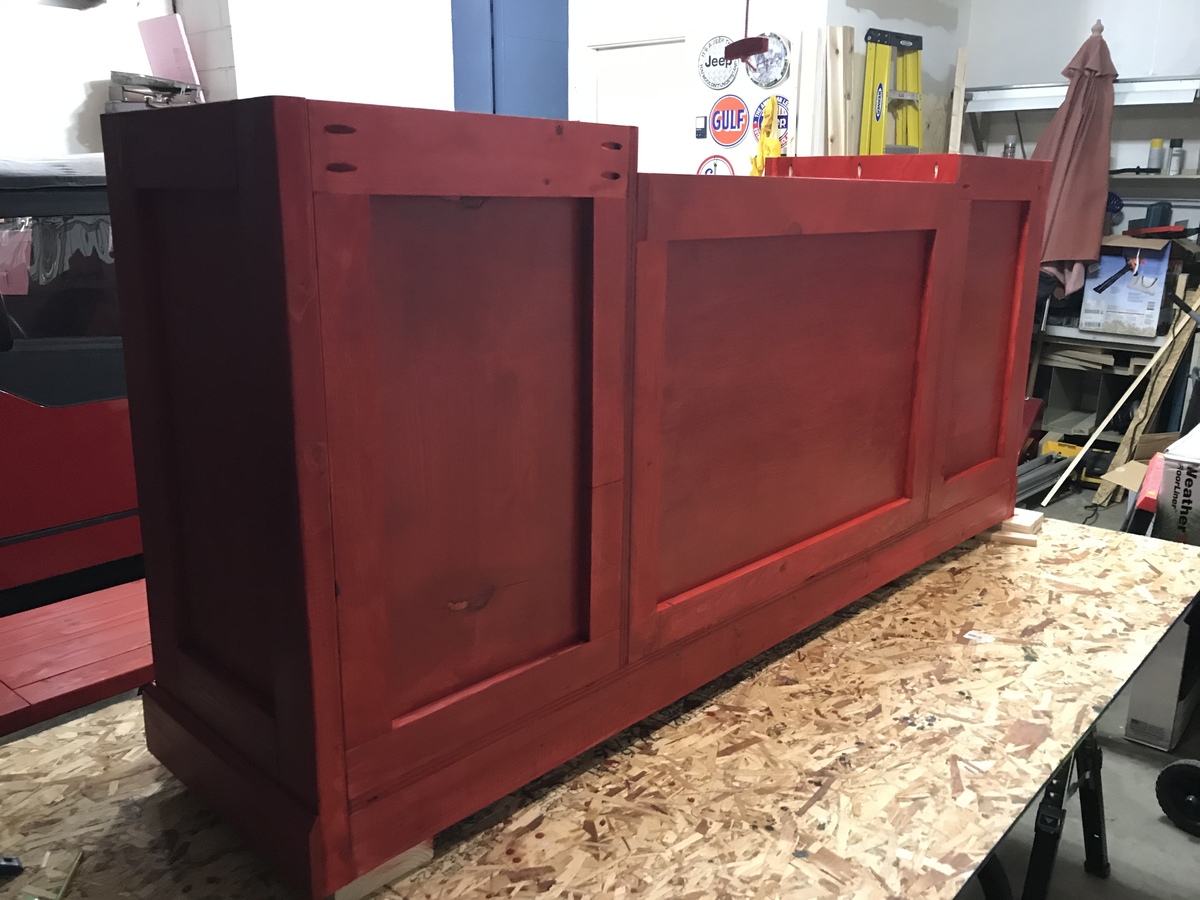
This project was a lot of fun to build. I always learn something along the way. The sideboard filled the one wall in our kitchen, taking the place of a bench and a drop zone for miscellaneous stuff. Now we can keep those things out of view with proper storage spaces.
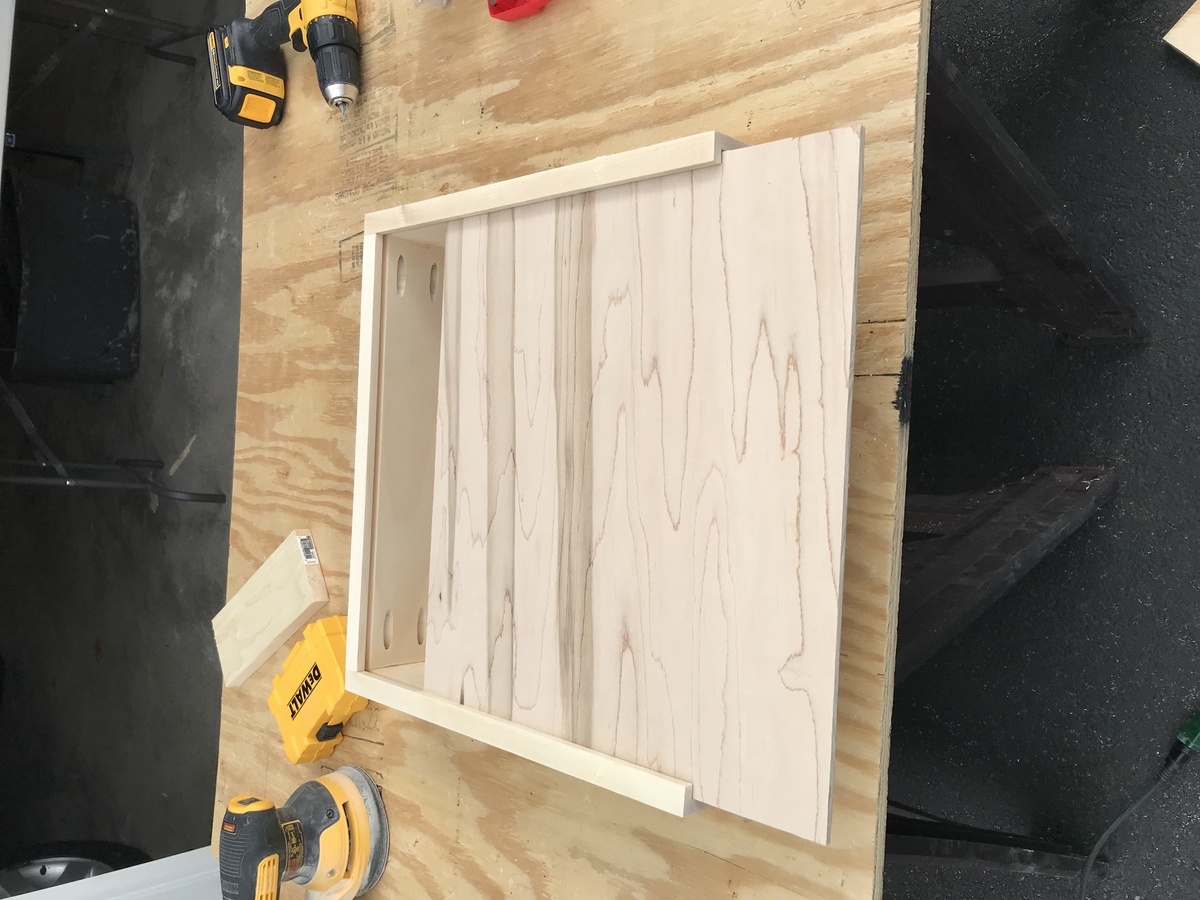
I routed a channel into the front and side pieces of the drawers so that I could slide the 1/4 plywood bottom in. I then screwed the bottom to the back piece which I ripped down to size. This way if I need to change out the drawer bottom I can just unscrew it from the back and replace it if needed.
i also chose to finish the back up a bit more in case we decided to ever move it off a wall in the future.
Thanks for the great plans Ana!
After we built our deck we needed furniture...so I headed to see what projects Ana White had. These benches were so easy and quick to build and look great on our deck!


Comments
Ana White Admin
Fri, 08/12/2022 - 11:46
Awesome!
This looks great, thank you for sharing!