Chevron end table

I loved the look of this table and wanted to try something a little bit different.
The chevron detail was made using painters tape, off white spray paint, then then edging the chevrons with a gold Sharpie

I loved the look of this table and wanted to try something a little bit different.
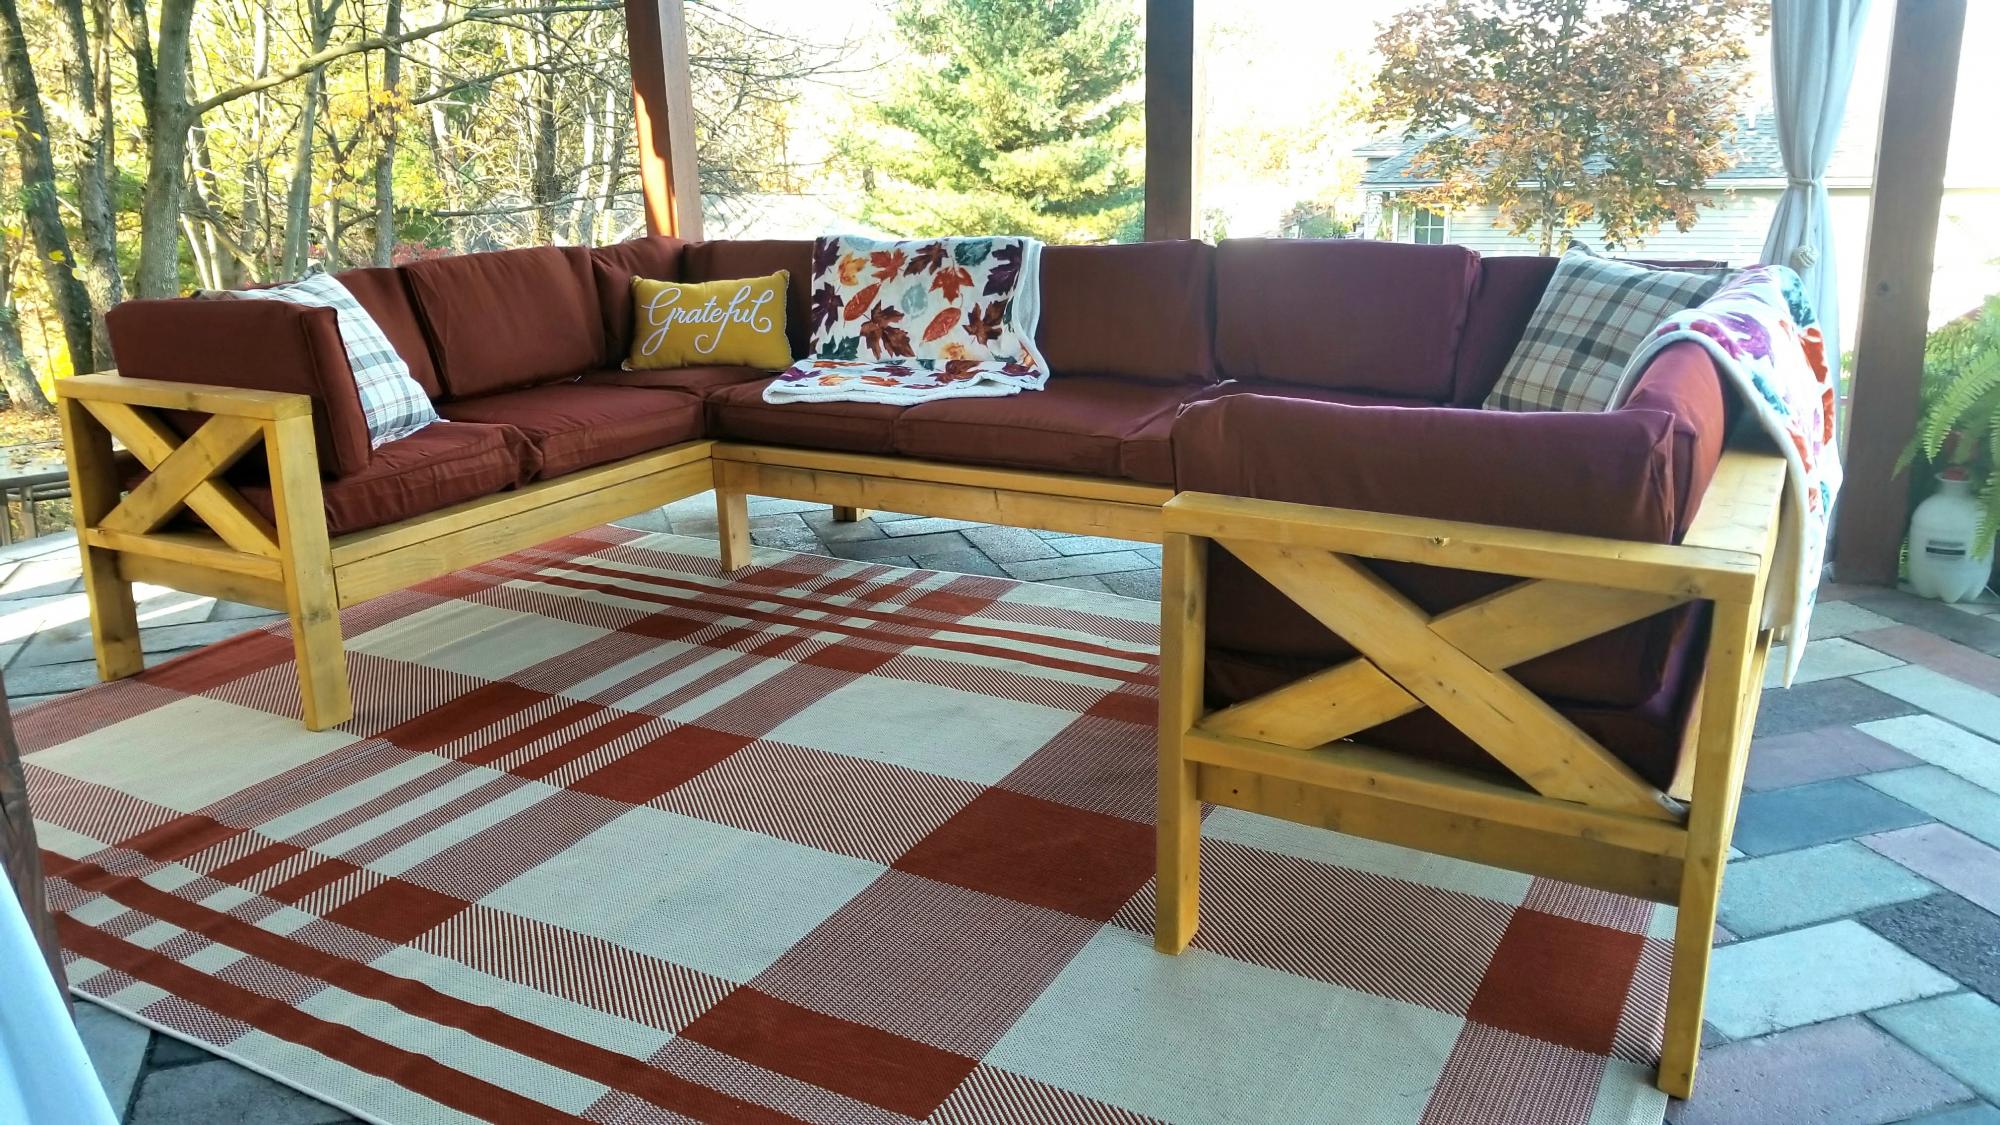
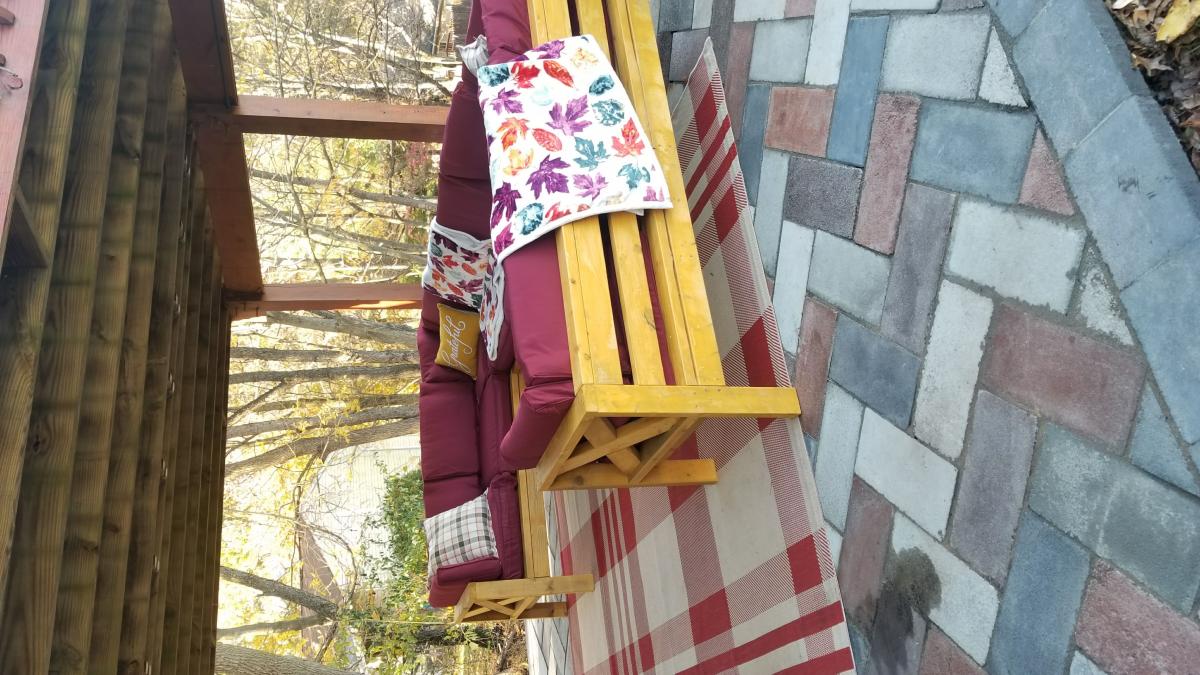
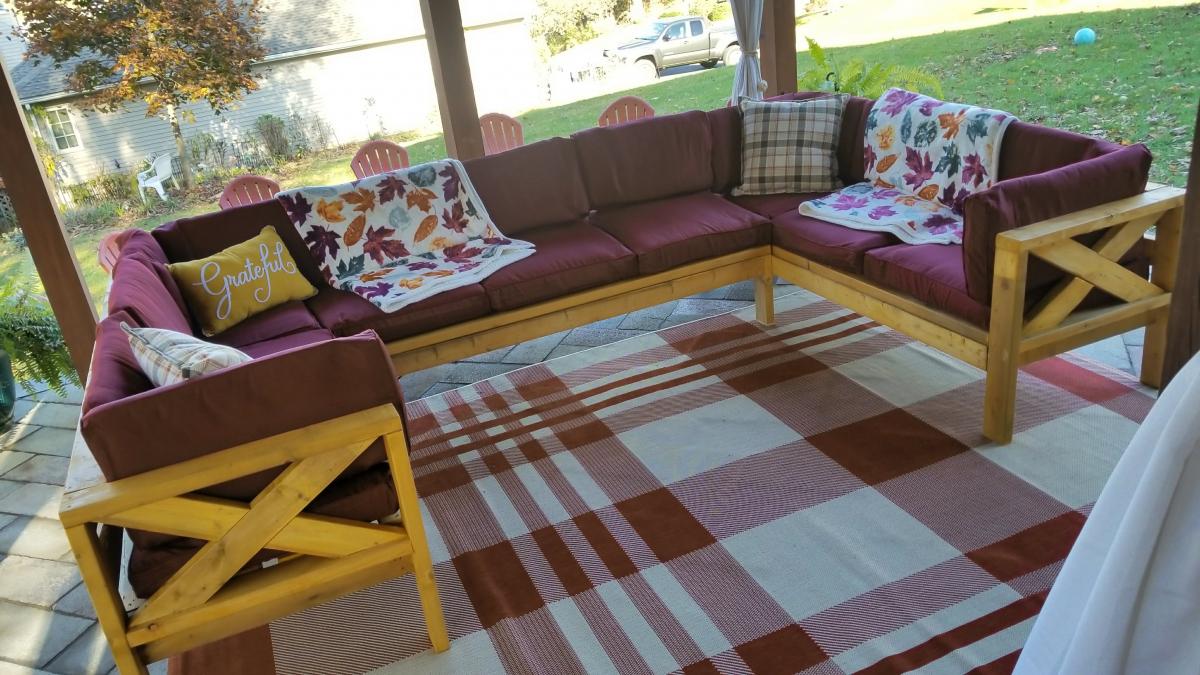
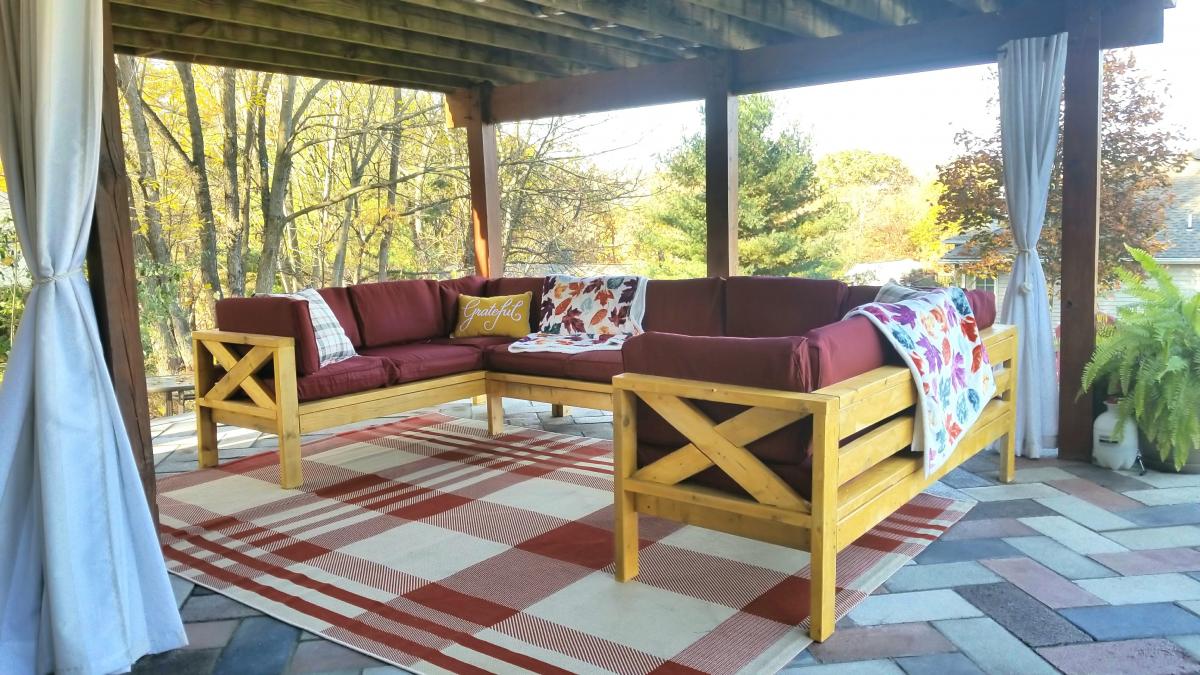
Just put the final stain on the outdoor sectional and I'm so psyched at how great it came out. Believe it or not, this is a very beginner piece (just 2x4s, NO pocket hole screws, all straight cuts- x ends optional) and anyone can do it with a circular saw, some clamps, a sander and an impact drill. Just takes some planning ahead of time. I bought the 2x4 wood and the cushions off Facebook Marketplace to save money so the total cost of this whole sectional was only $140 (wood, cushions, stain, screws). If you price similar new wood sectionals (U shaped, 9 seats) they're well over $1500+. Now, my sectional isn't as perfect as a brand new sectional but I do feel way cooler for saving a ton of money and doing it myself. In all it only took 4 days, working no more than 2.5 hours per day from start to finish to build this and stain it. It's made up of three pieces and I finished one piece a day and stained on the last day. You can make it while your toddler naps;-P Or if you had no other distractions you could bang it out in one long day. As for any of Ana's outdoor sectional plans the biggest expense is going to be the cushions. The cheapest new ones I could find were $40 a set (a 25" seat and a back cushion). That would have made this at least $400 in cushions ALONE! So what I did instead and I recommend this for anyone trying to save cost on this project is that I got a whole bunch of cheap and random cushions off Craigslist and Facebook Marketplace and then I bought cushion covers off Amazon. https://amzn.to/2BRBeeZ I cut some of the cushions to fit the covers and added stuffing to others.
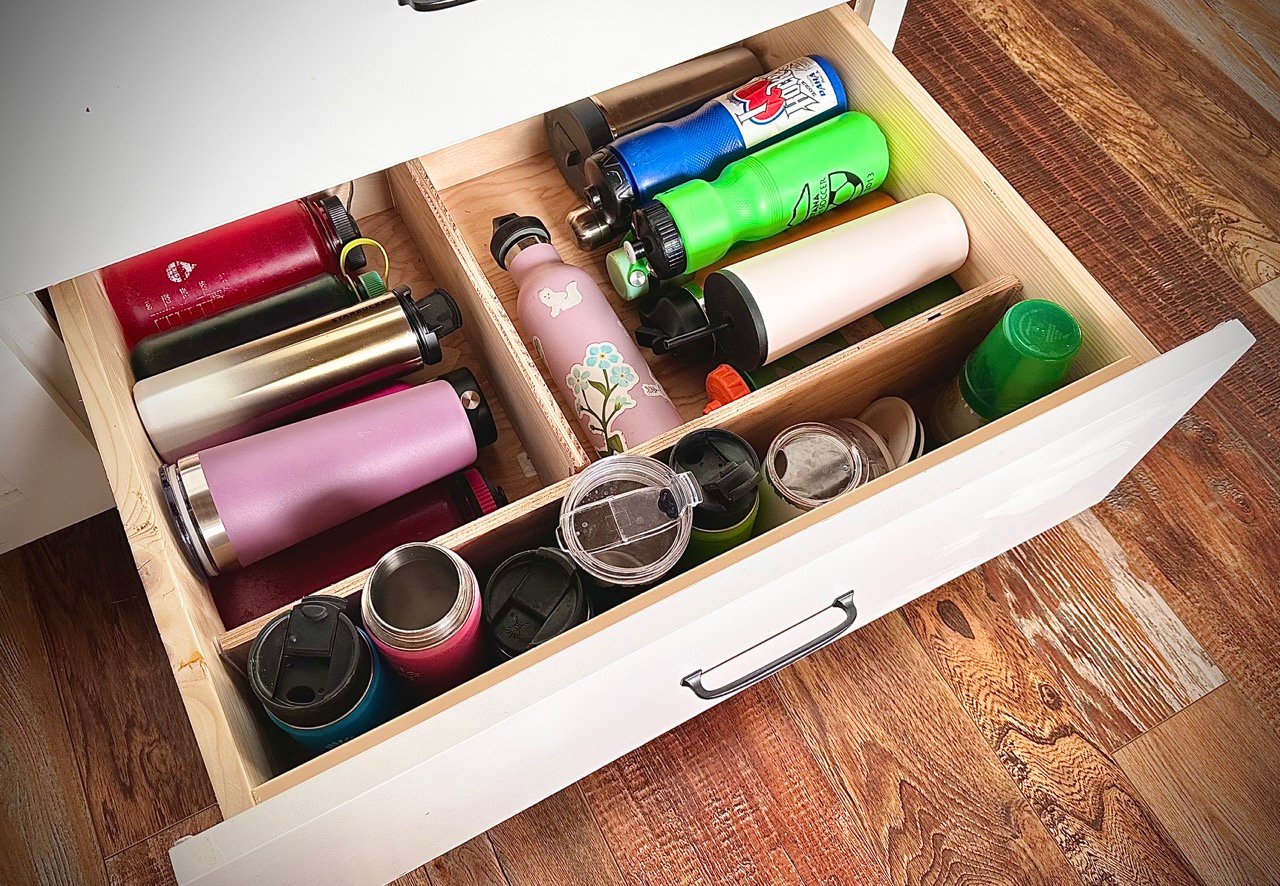
I used the Stick on Drawer Divider tutorial to divide up a drawer for water bottles. The custom drawer dividers allowed me to divide up for different sized water bottles. I used ripped 1/2" plywood for the dividers. Total cost was about $10.
This drawer makes me so happy now!
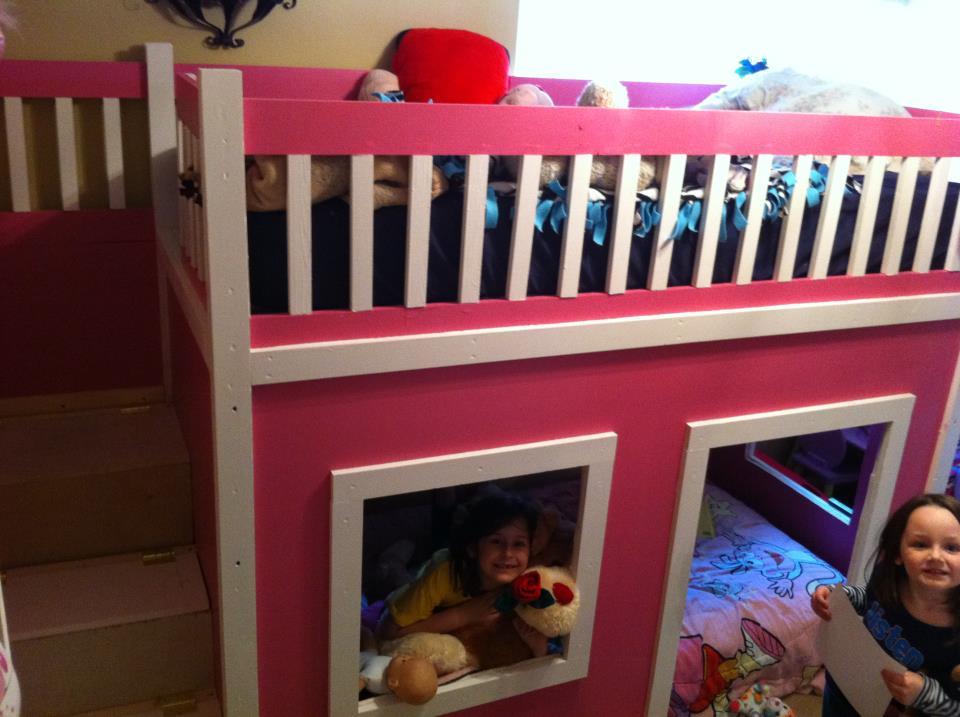
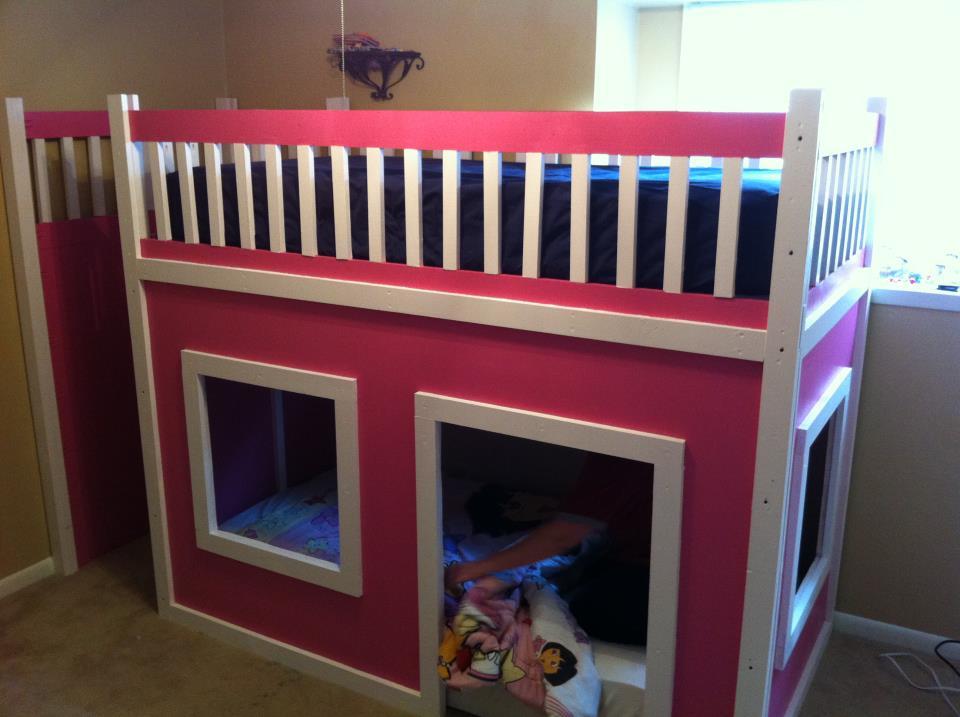
After about a month of looking for a new bunk bed for my daughters and becoming more frustrated with every new search at the outrageous price and often cheap quality of what's available I decided to look to the web for inspiration to build one myself. It took a little while to work myself up to going for it but man am I glad I did. And I am even more glad I found Ana White's site almost immediately. Her incredibly well written and documented plan for this bed made it not only doable but incredibly fun for me. And it gave me the confidence to create a loft bed for my son from nothing but an idea and dream. Thanks a ton Ana!
Thu, 06/12/2014 - 11:01
Hello.....is that another mattress in the bottom portion of the playhouse? If so, how did you get it in there? I wanted to try and put another mattress in the bottom but couldn't figure out an easy way to get it in and out......
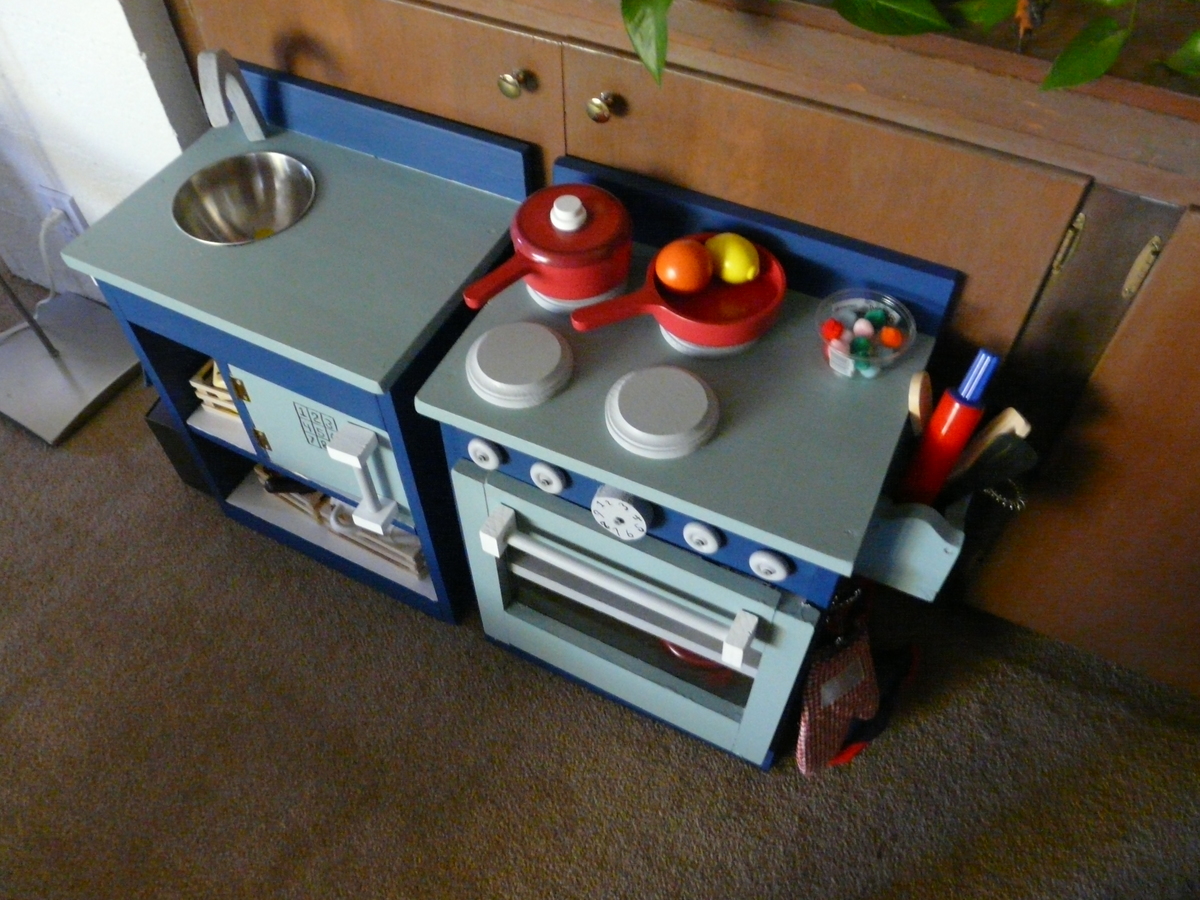
The painting took me a long time but it was fun learning all the skills required to make this project. I added a little microwave oven under the sink and a utensil holder along one side. The wood construction was quick - the painting knobs, and jig cut-outs took a little longer!
Built from Ana White plan. Gray barnboard and red barnwood inlay.
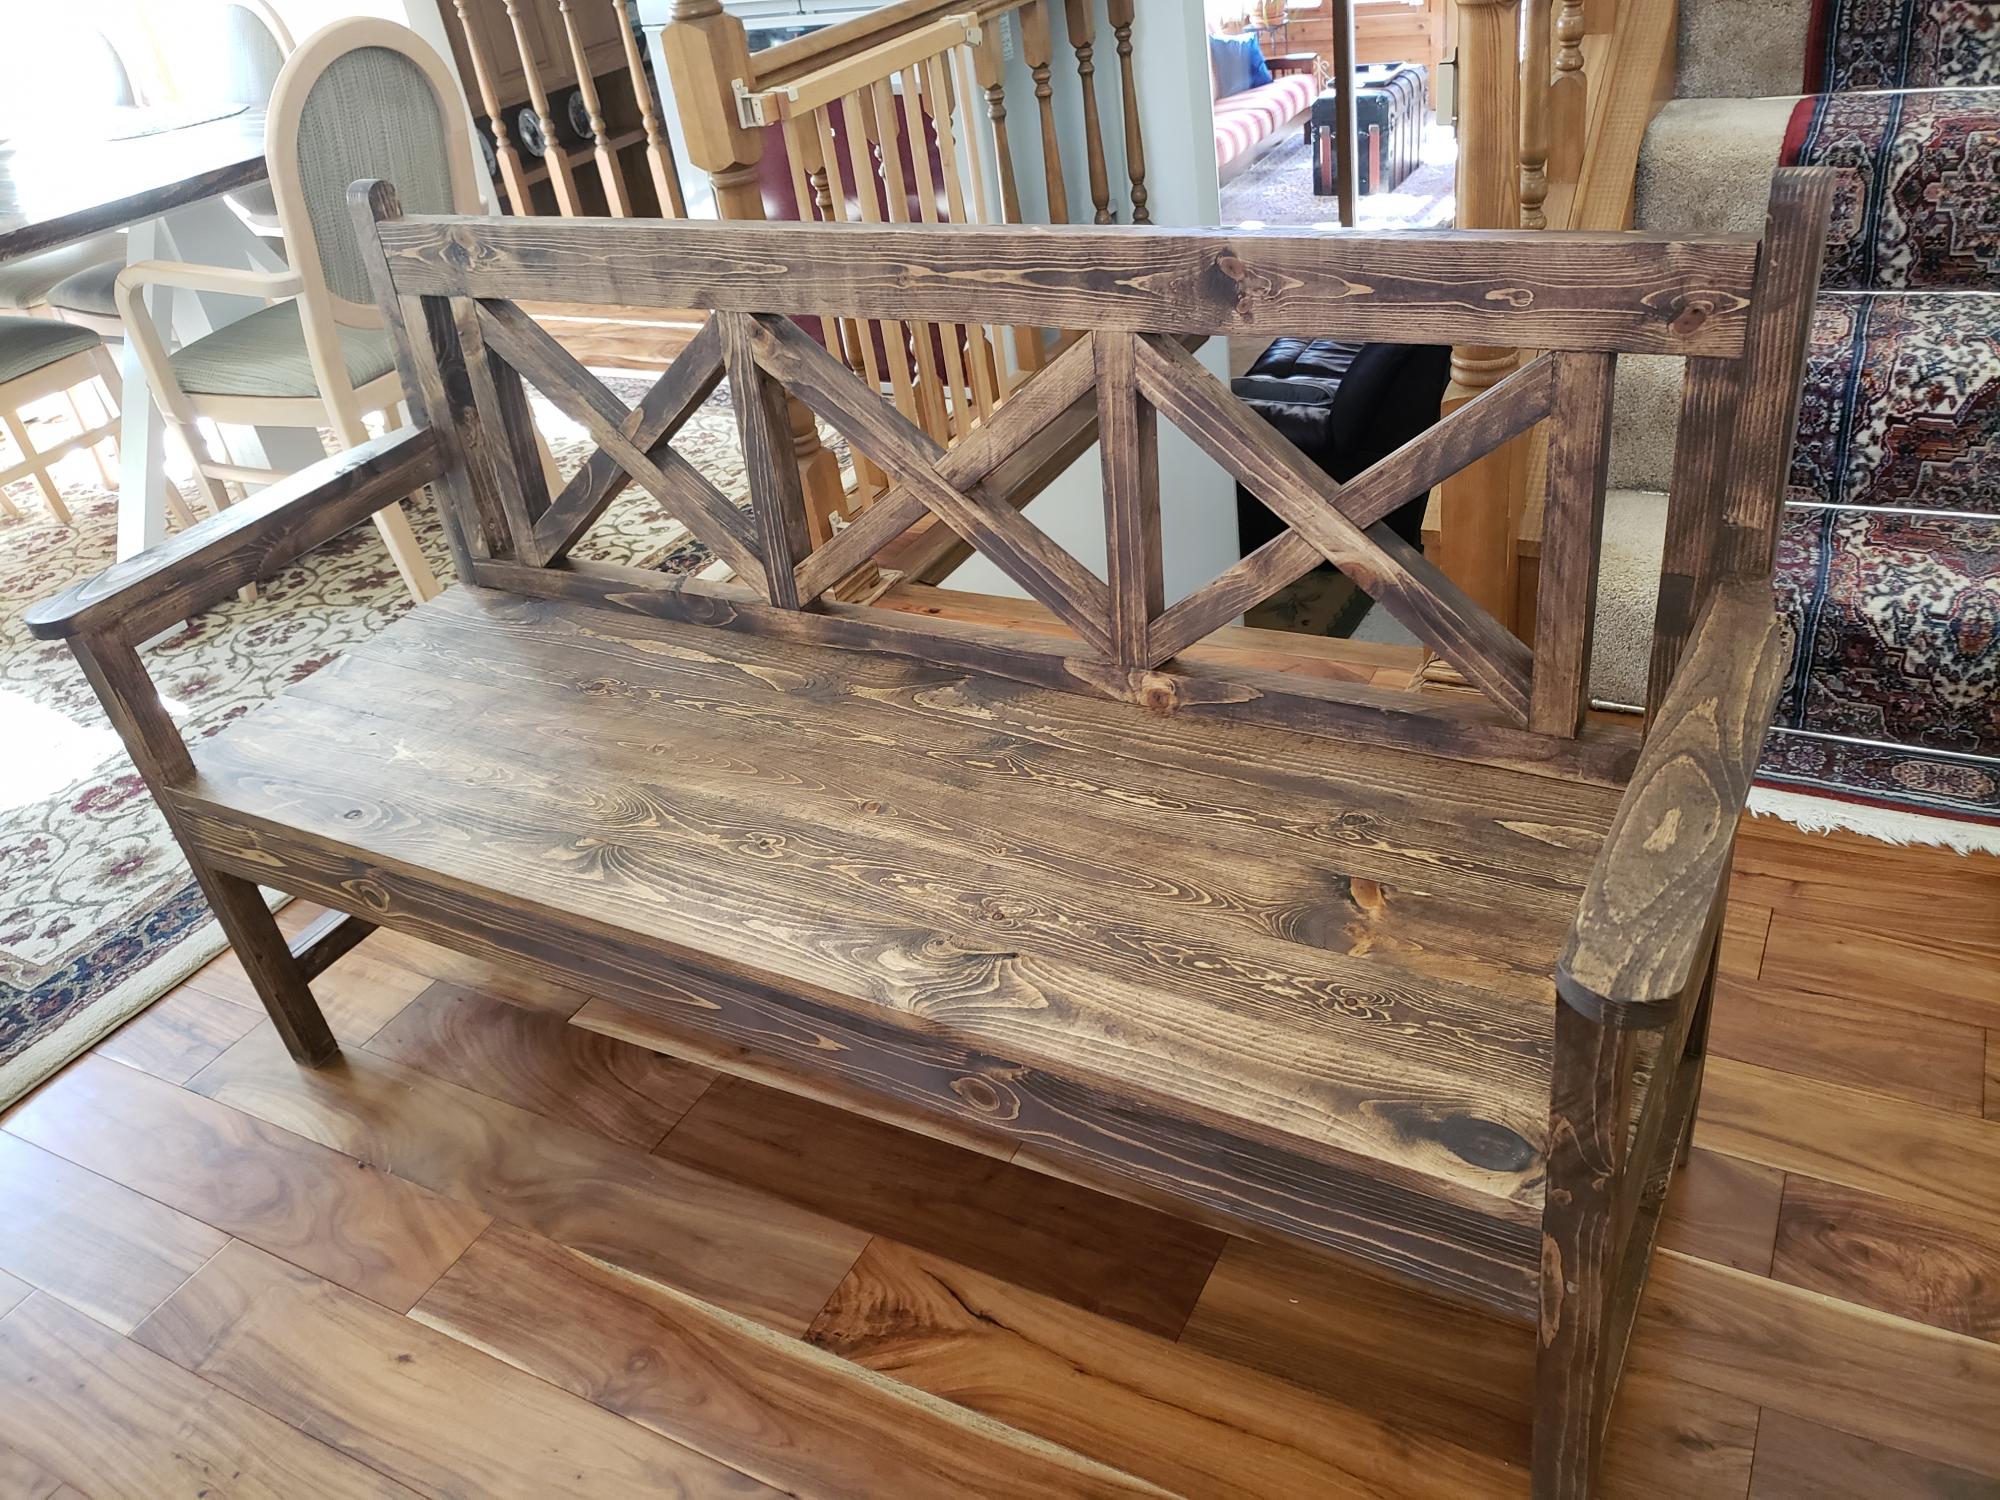
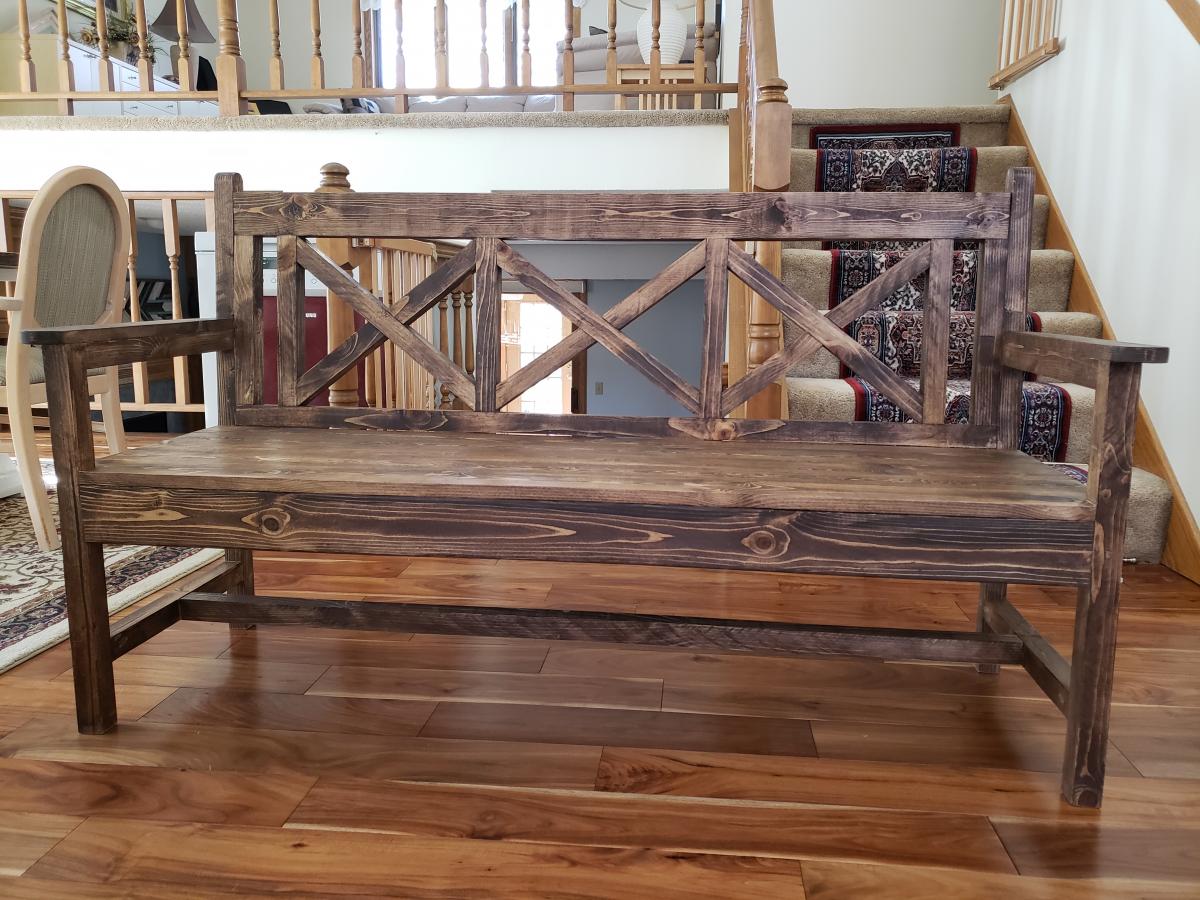
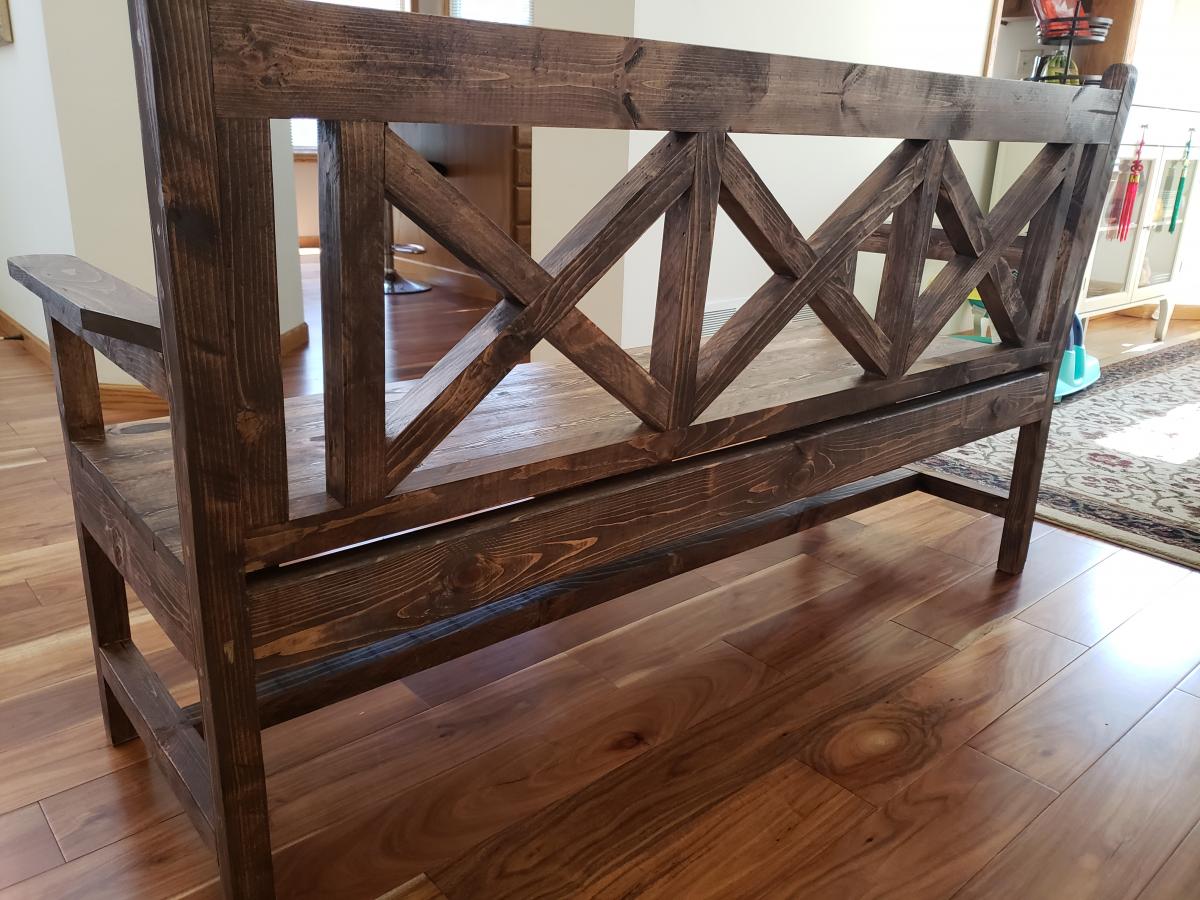
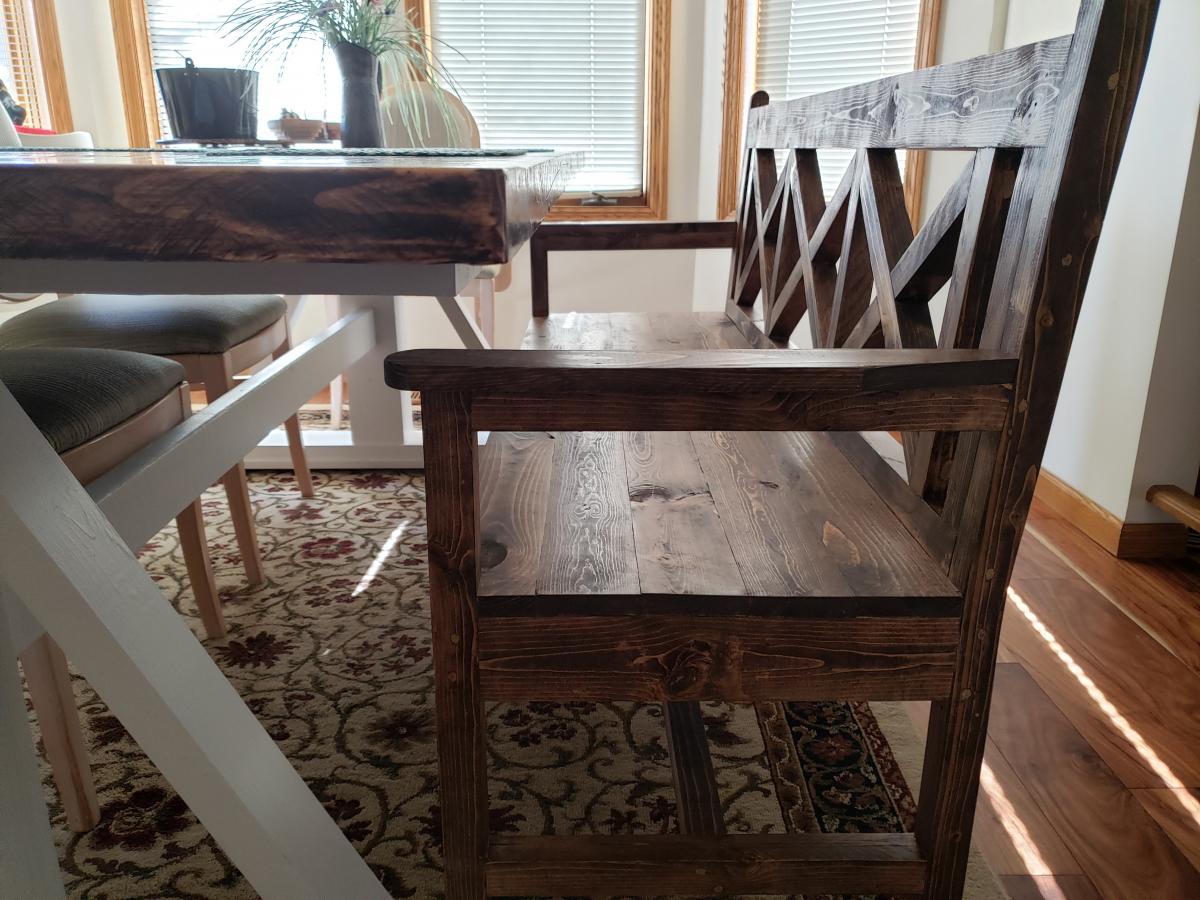
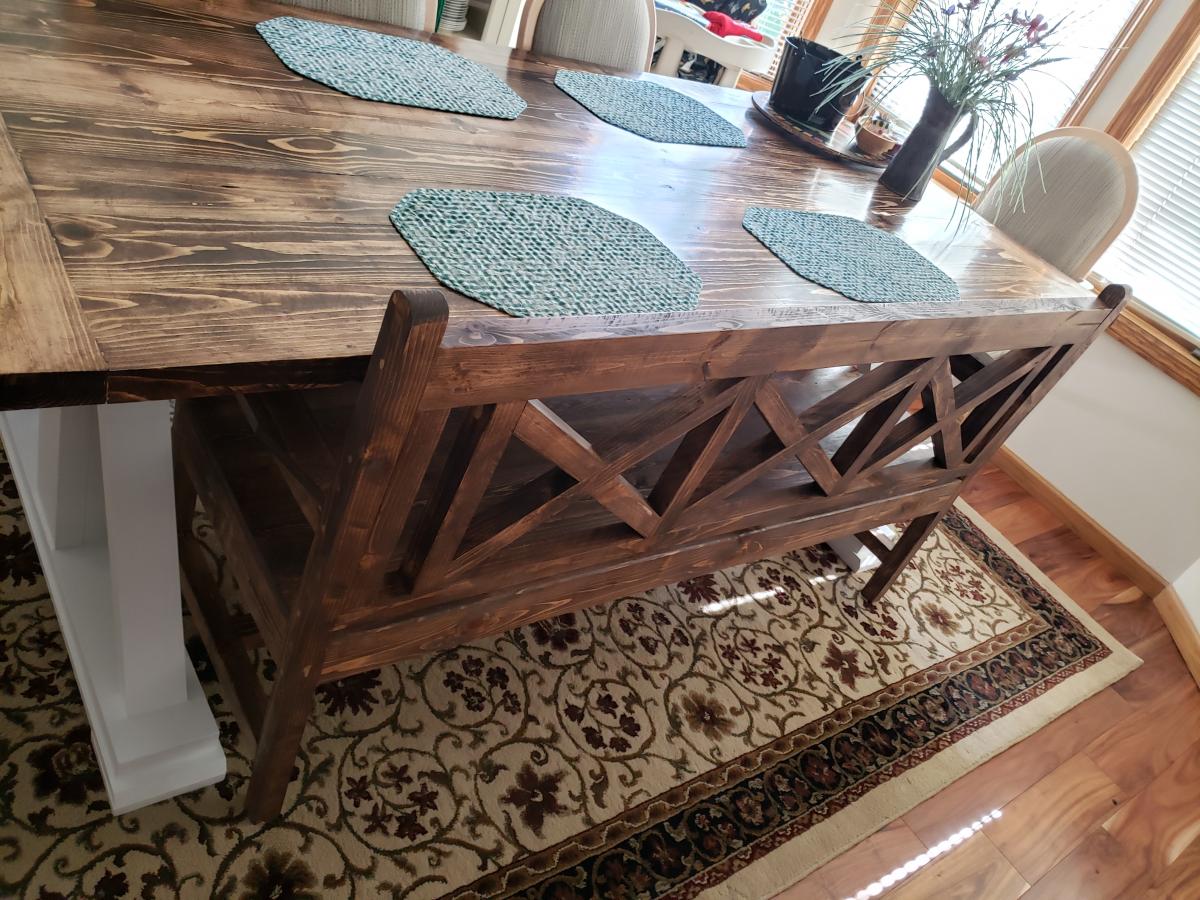
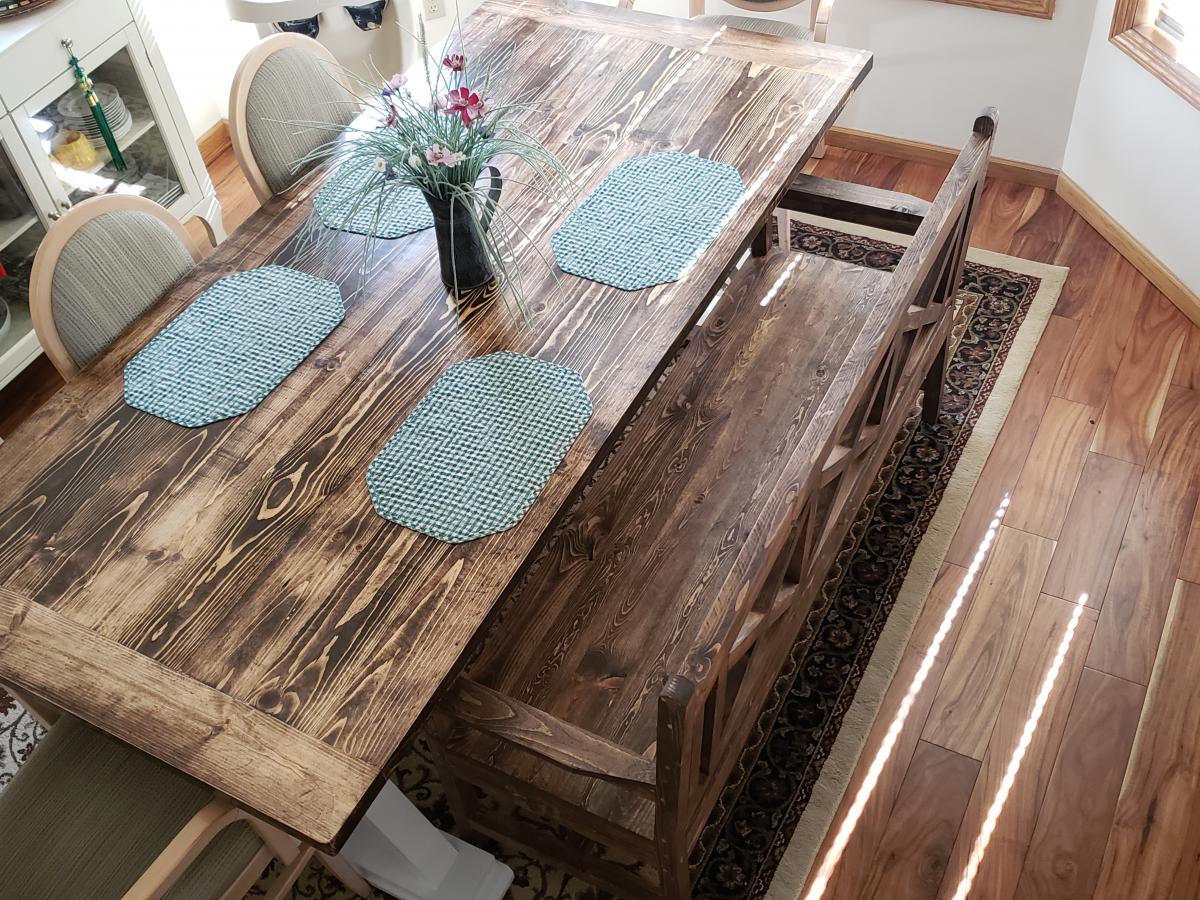
I made this bench for my Farmhouse dining table, modified for 3 seats.
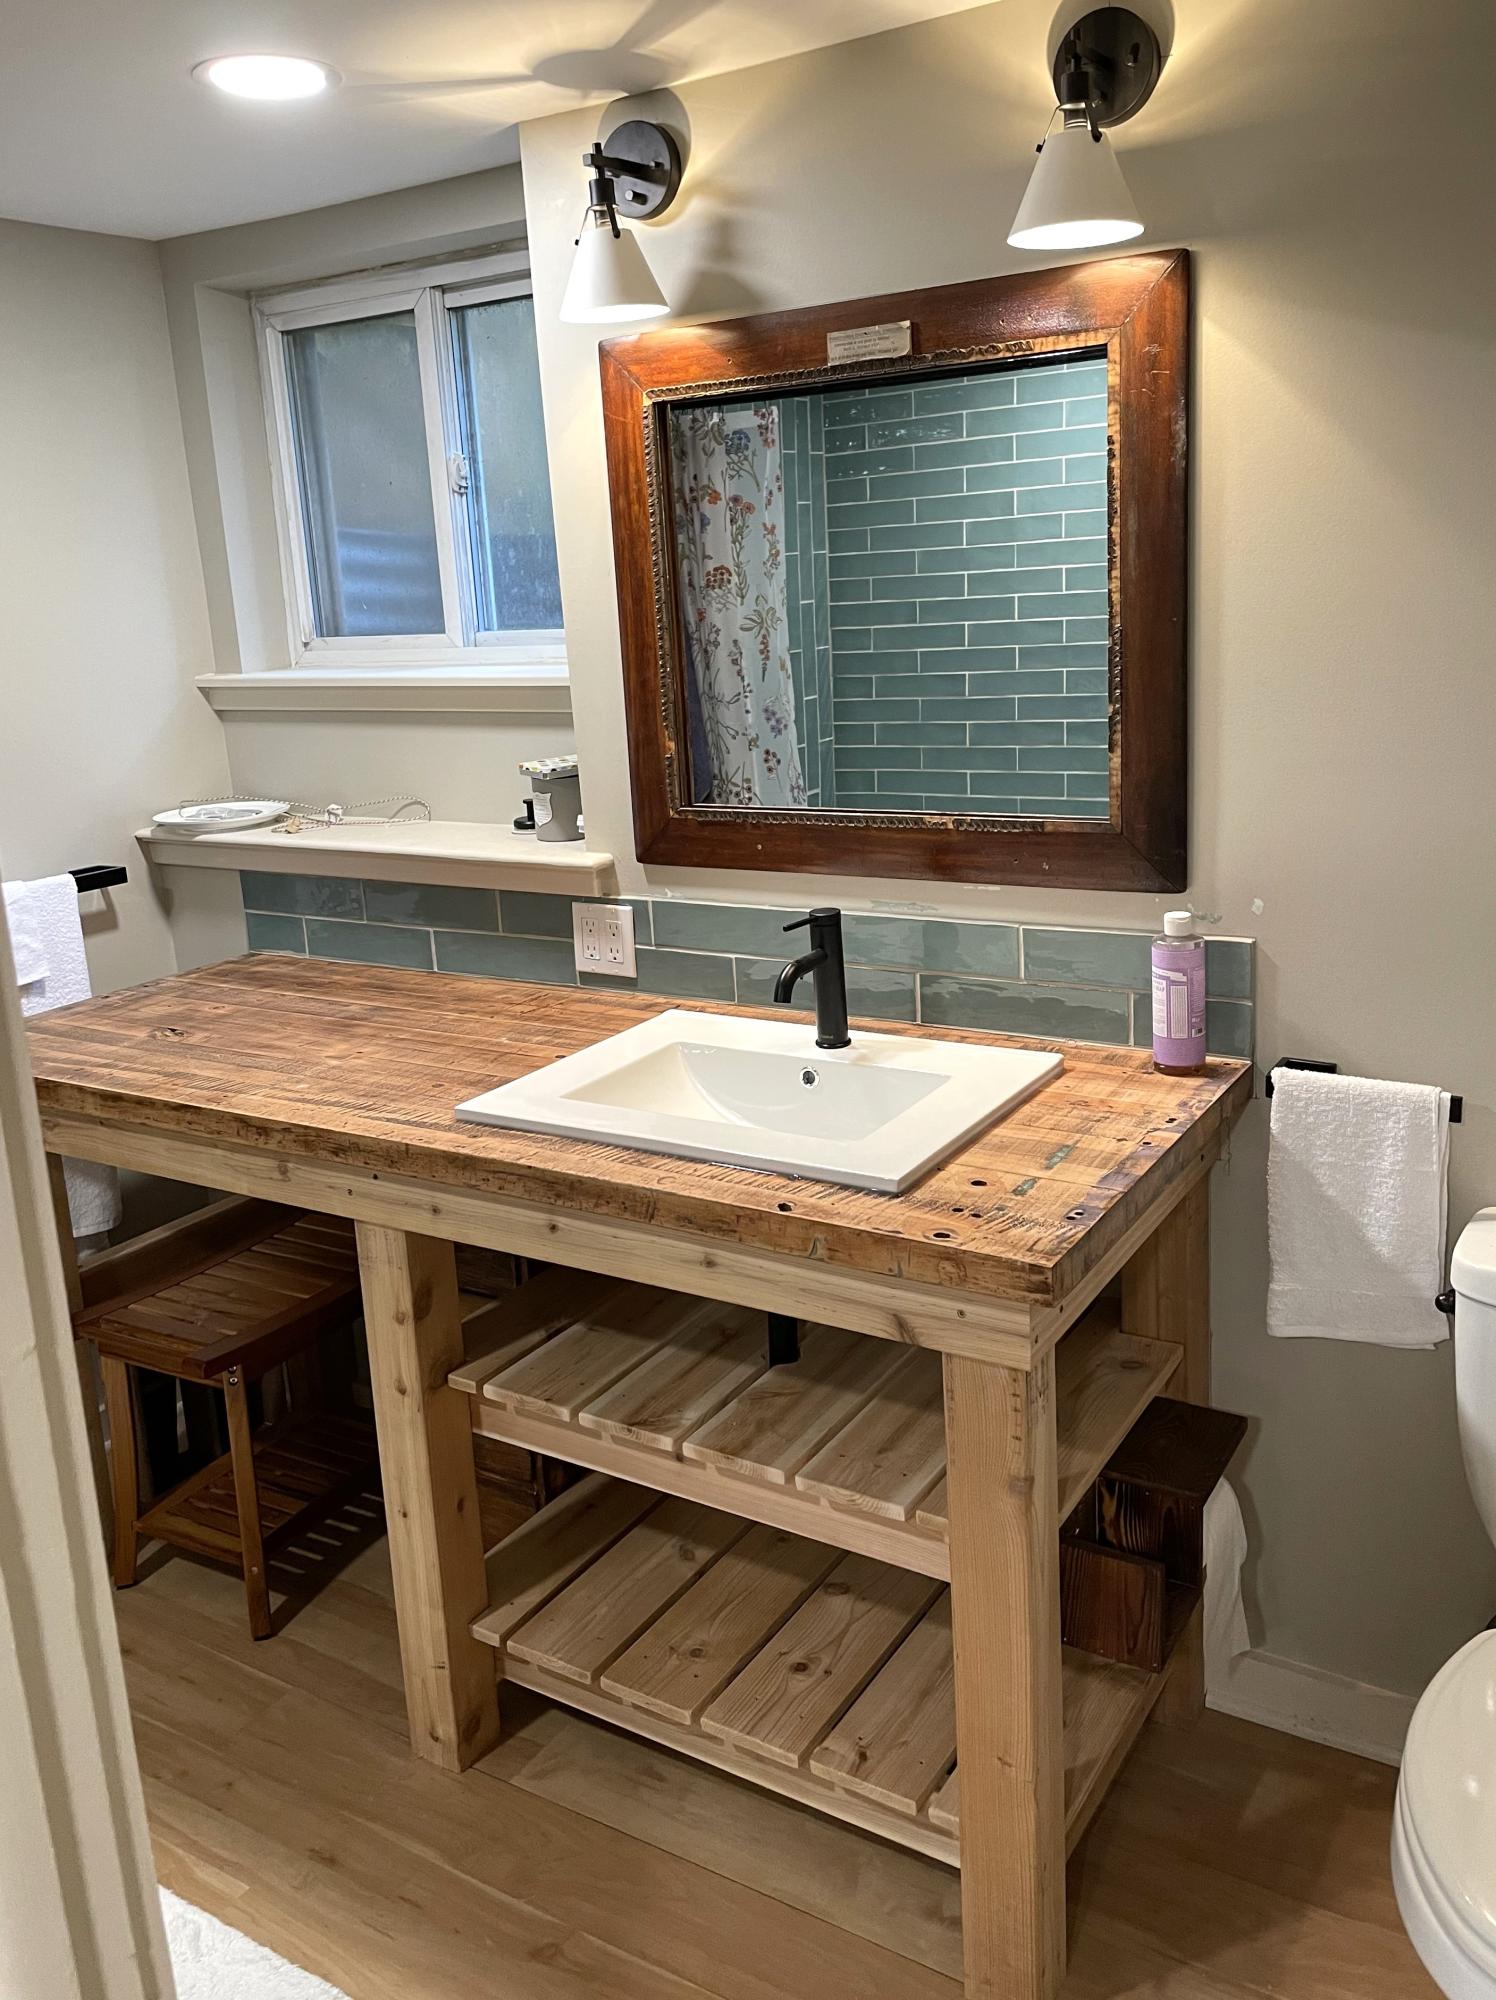
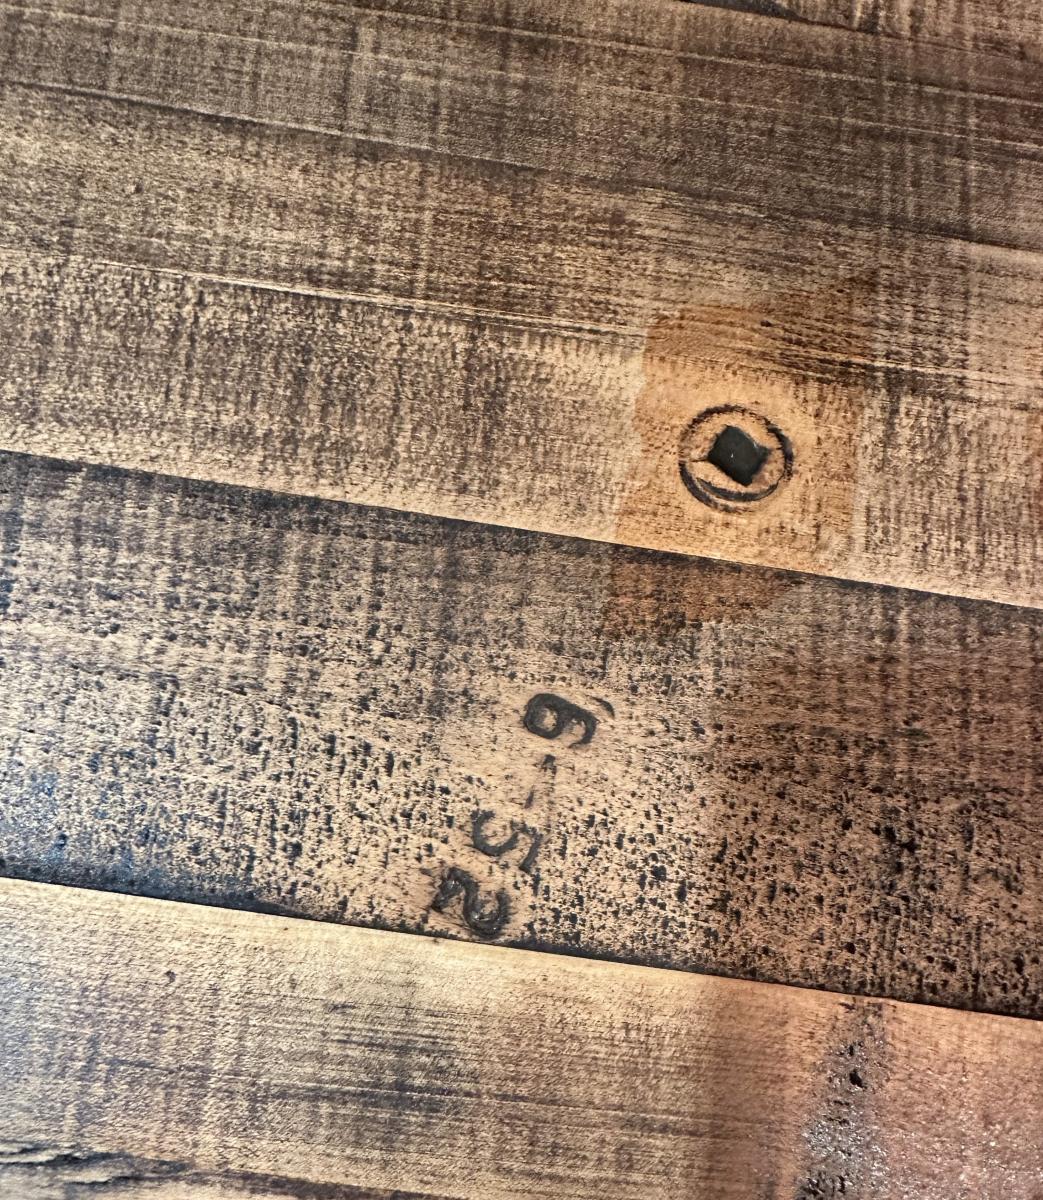
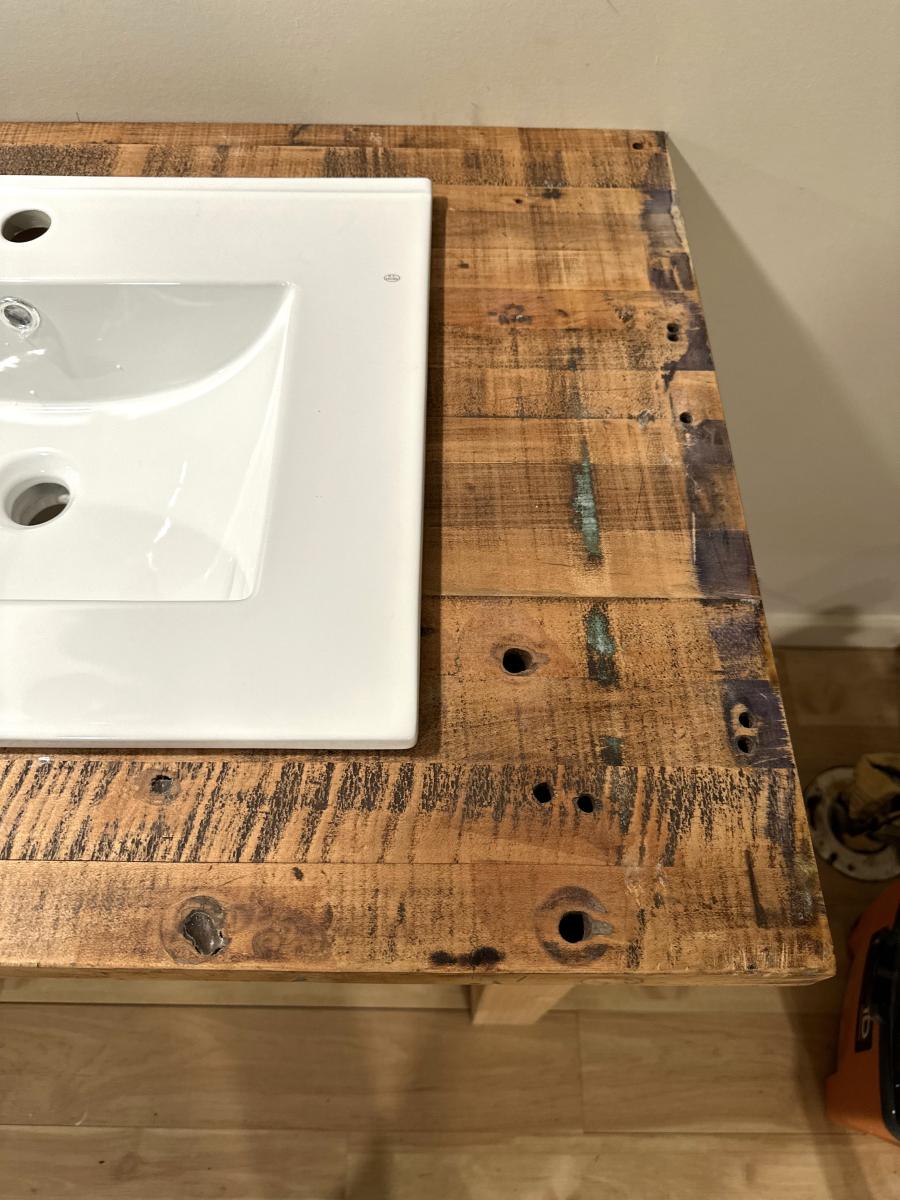
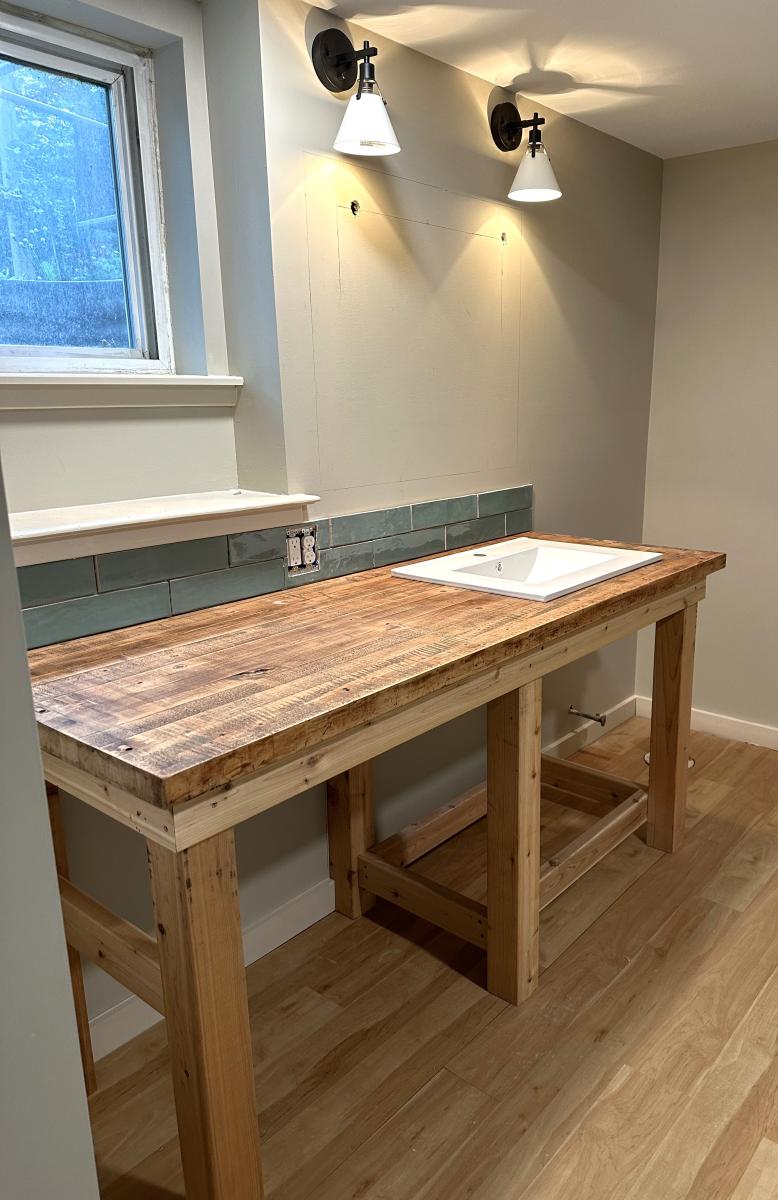
Use the general idea of the kitchen island plans. I had an old butcher block work table top from June 1952. I wanted to cut it down and make a bathroom vanity. We used cedar legs for the posts and shelves.
Kristi
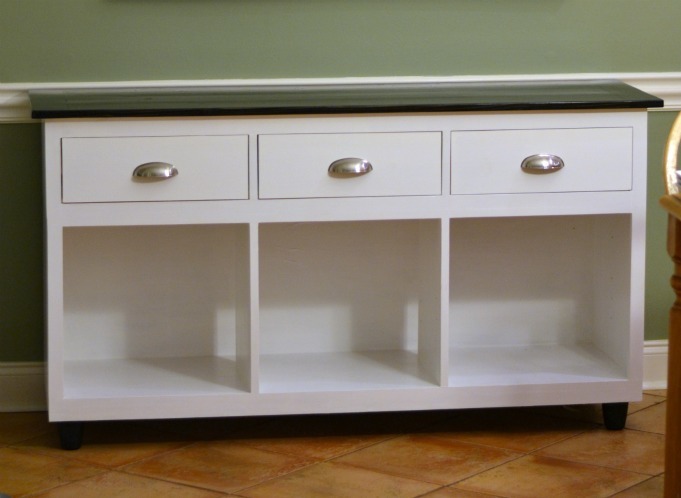
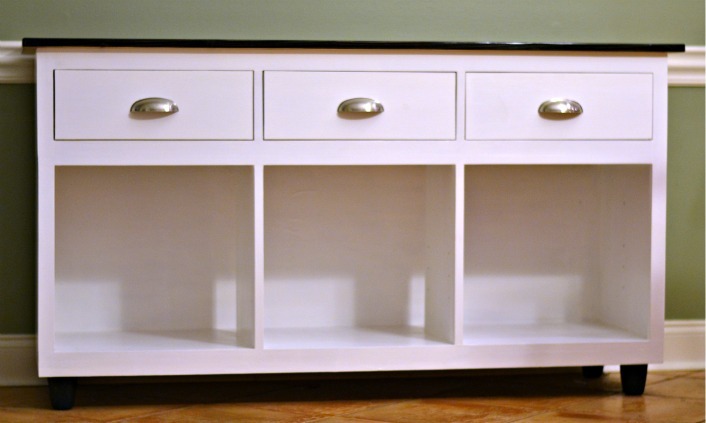
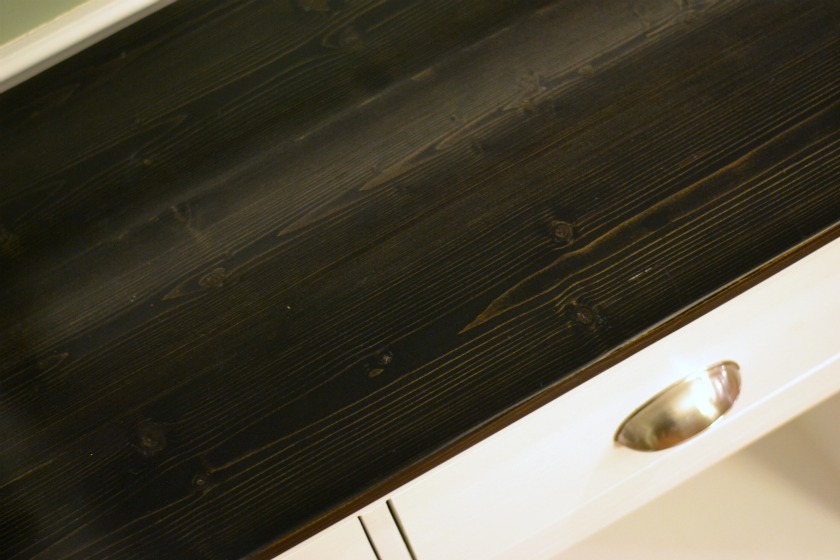
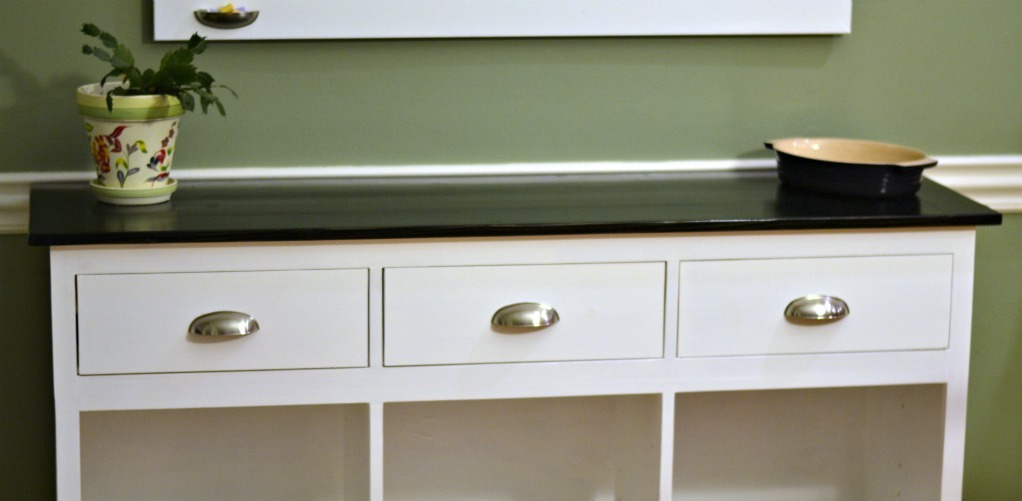
We took the plans for the salsa console and modified it by leaving the bottom of the console open. We painted it a bright white and stained the top.
Mon, 03/12/2012 - 15:13
You did a very professional looking job. I would never have guessed that you didn't buy it.
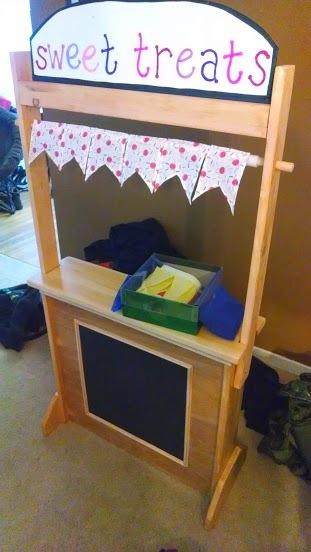
I saw this at the perfect time for deciding to make one for my niece for Christmas. It was too cute of an idea to not make!! She turns 3 at the end of January and it's perfect-sized for her. From what I hear, she threw a tantrum when her parents told her she had to stop playing with it because it was naptime! I'm hoping that she will share with her brother when he's older (he's about 7mos now) and they can play with it together.
I apologize for the lack of pictures, I got the buntings done about one day before we had to pack it up to head out for the holidays, so there wasn't much time for pictures!
For the hutch part, I attached each side with bolts and wing nuts so that it could be knocked down for transport (especially since we have smallish cars and had to drive an hour to gift it, and the recipient had to drive 2 hours back to their house!). I added some holes just under the dowel (lining up with the holes in the base when knocked down) so that it could be connected again as a shorter version for transport. This actually worked out pretty well and you can almost use the dowel as a handle when it's like that. The only issue I ran into with that was once I put the lower velcro on for the theater curtains, they would hit when trying to collapse it and we wound up losing one in transport.
Buntings weren't too hard, but I've been sewing much longer than I've been building! I did have some issues getting the theater curtain to lay right.
So my sister in-law kept sending me tables on craigslist that were for sale. I didn't like anything I was seeing and to buy what I wanted I was looking at roughly $1000 so I found these plans and was like... YES! When I told the family I was doing this they were all pretty much like... "yeah sure, good luck"
I knew that I could do I just needed the plans which were here.
I pretty much stuck to the plans with a few exceptions. I made the table longer to accommodate the entire family on Friday Family Night...! It's a little over 10' long. Instead of 3 – 1x12x8 I went with 3 - 2x12x10. One because as I said earlier I wanted the table longer and two because I just felt that the 1x12 was too flimsy and I wanted something real solid. Because of that I ended up putting pocket holes on each side of all the 2x12 boards and I also put a 2x6 in the middle for additional support.
Everything was pretty much right on except for the base posts, for some reason they were about 2" too short which forced me to cut the upper parts of the X on the base a bit shorter as well. I ended up putting an additional 2 2x6 on top of the base to raise the table to the height I felt was necessary. If I did it over I would have just made my base post 2" higher and only used one additional 2x6 for the additional height.
I ended up staining it with a semi-transparent beige stain to give it a grayish look.
I gotta say everyone was like "holy crap...!" and thought it was beautiful. I gotta say it feels really good to build it yourself and especially when it comes out the way you want it.
thanks so much for the plans!!!
Thu, 06/04/2020 - 12:15
Hi Ana. I'm a new member here. My wife and I really enjoy your projects! Quick question about the Chunky X Base Table... we're about to build it and we're going to do it 10 ft long like you did. I'm curious how rigid the center span is? I'm guessing the span is roughly 6'. Is it bouncy? I was thinking about running 2 or 3 2x4 "joists" under thre table attached to the bases to provide more support. Thoughts? Suggestions? Thank you!

Definitely a fun project(s). I started Using pine, countersinking wood screws, and brad nailer. Now I’m using a kreg jig and ripping my own 1xs out of birch plywood. The top pictures in the doubles were my first draft and the bottoms are my second draft. I sold my first bench! Next buy is a table saw , router , miter saw, then on to some cabinet work! Thanks so much for the step by step designs. Oh and I‘ve been cutting everything with my skil saw. So the bench is 21”t x5’w x15.5 “deep the top is plywood ripped into 1x10 but top 1x is 10.5” deep 5’ wide also. Basically just made everything to fit my spot in my house . Not bad for third set of actual furniture.
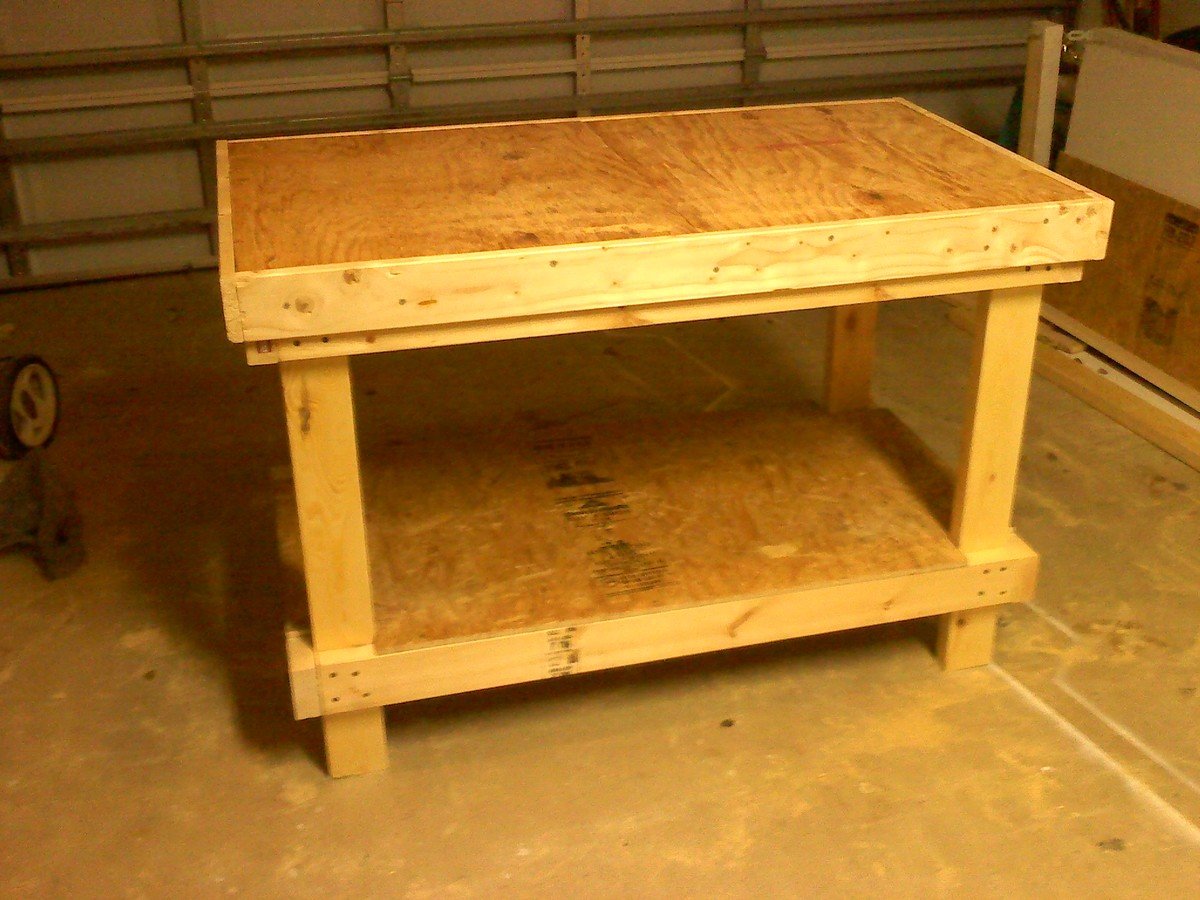
This plan isn't an Ana-White, but I wanted to share due to the low cost. I'm sure many of you are like me and are about tired of building on the garage floor.
(I'll be posting more projects soon)
I modified the plan slightly by making a thicker top (doubled the OSB and some 1/2 plywood I had around the garage for a smoother surface.) and 1 x 4 furring strips for trim around the top edge. This gave a very sturdy setup and matched the height of my table saw, making this my outfeed table when needed.
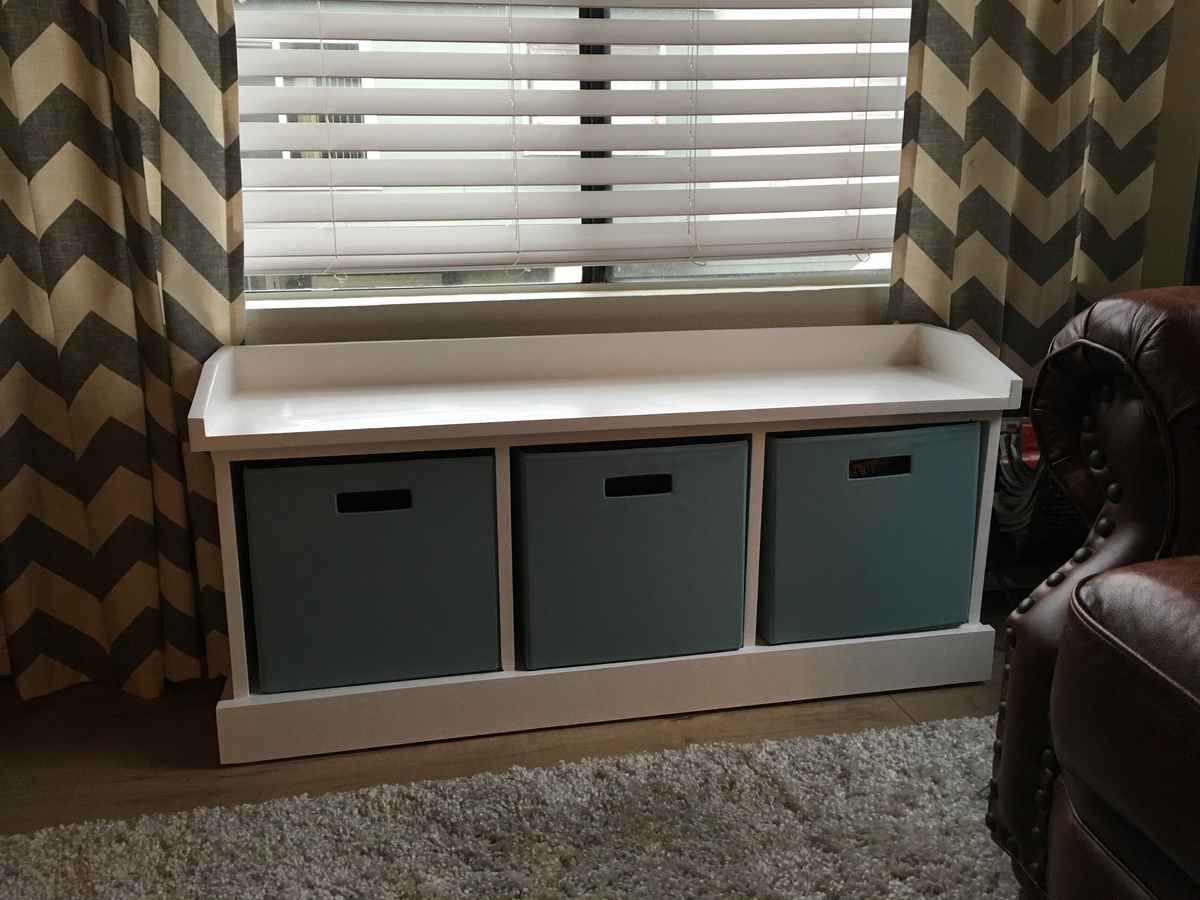
I just completed my first project and while it's not perfect, I learned a lot and am pleased with the results!
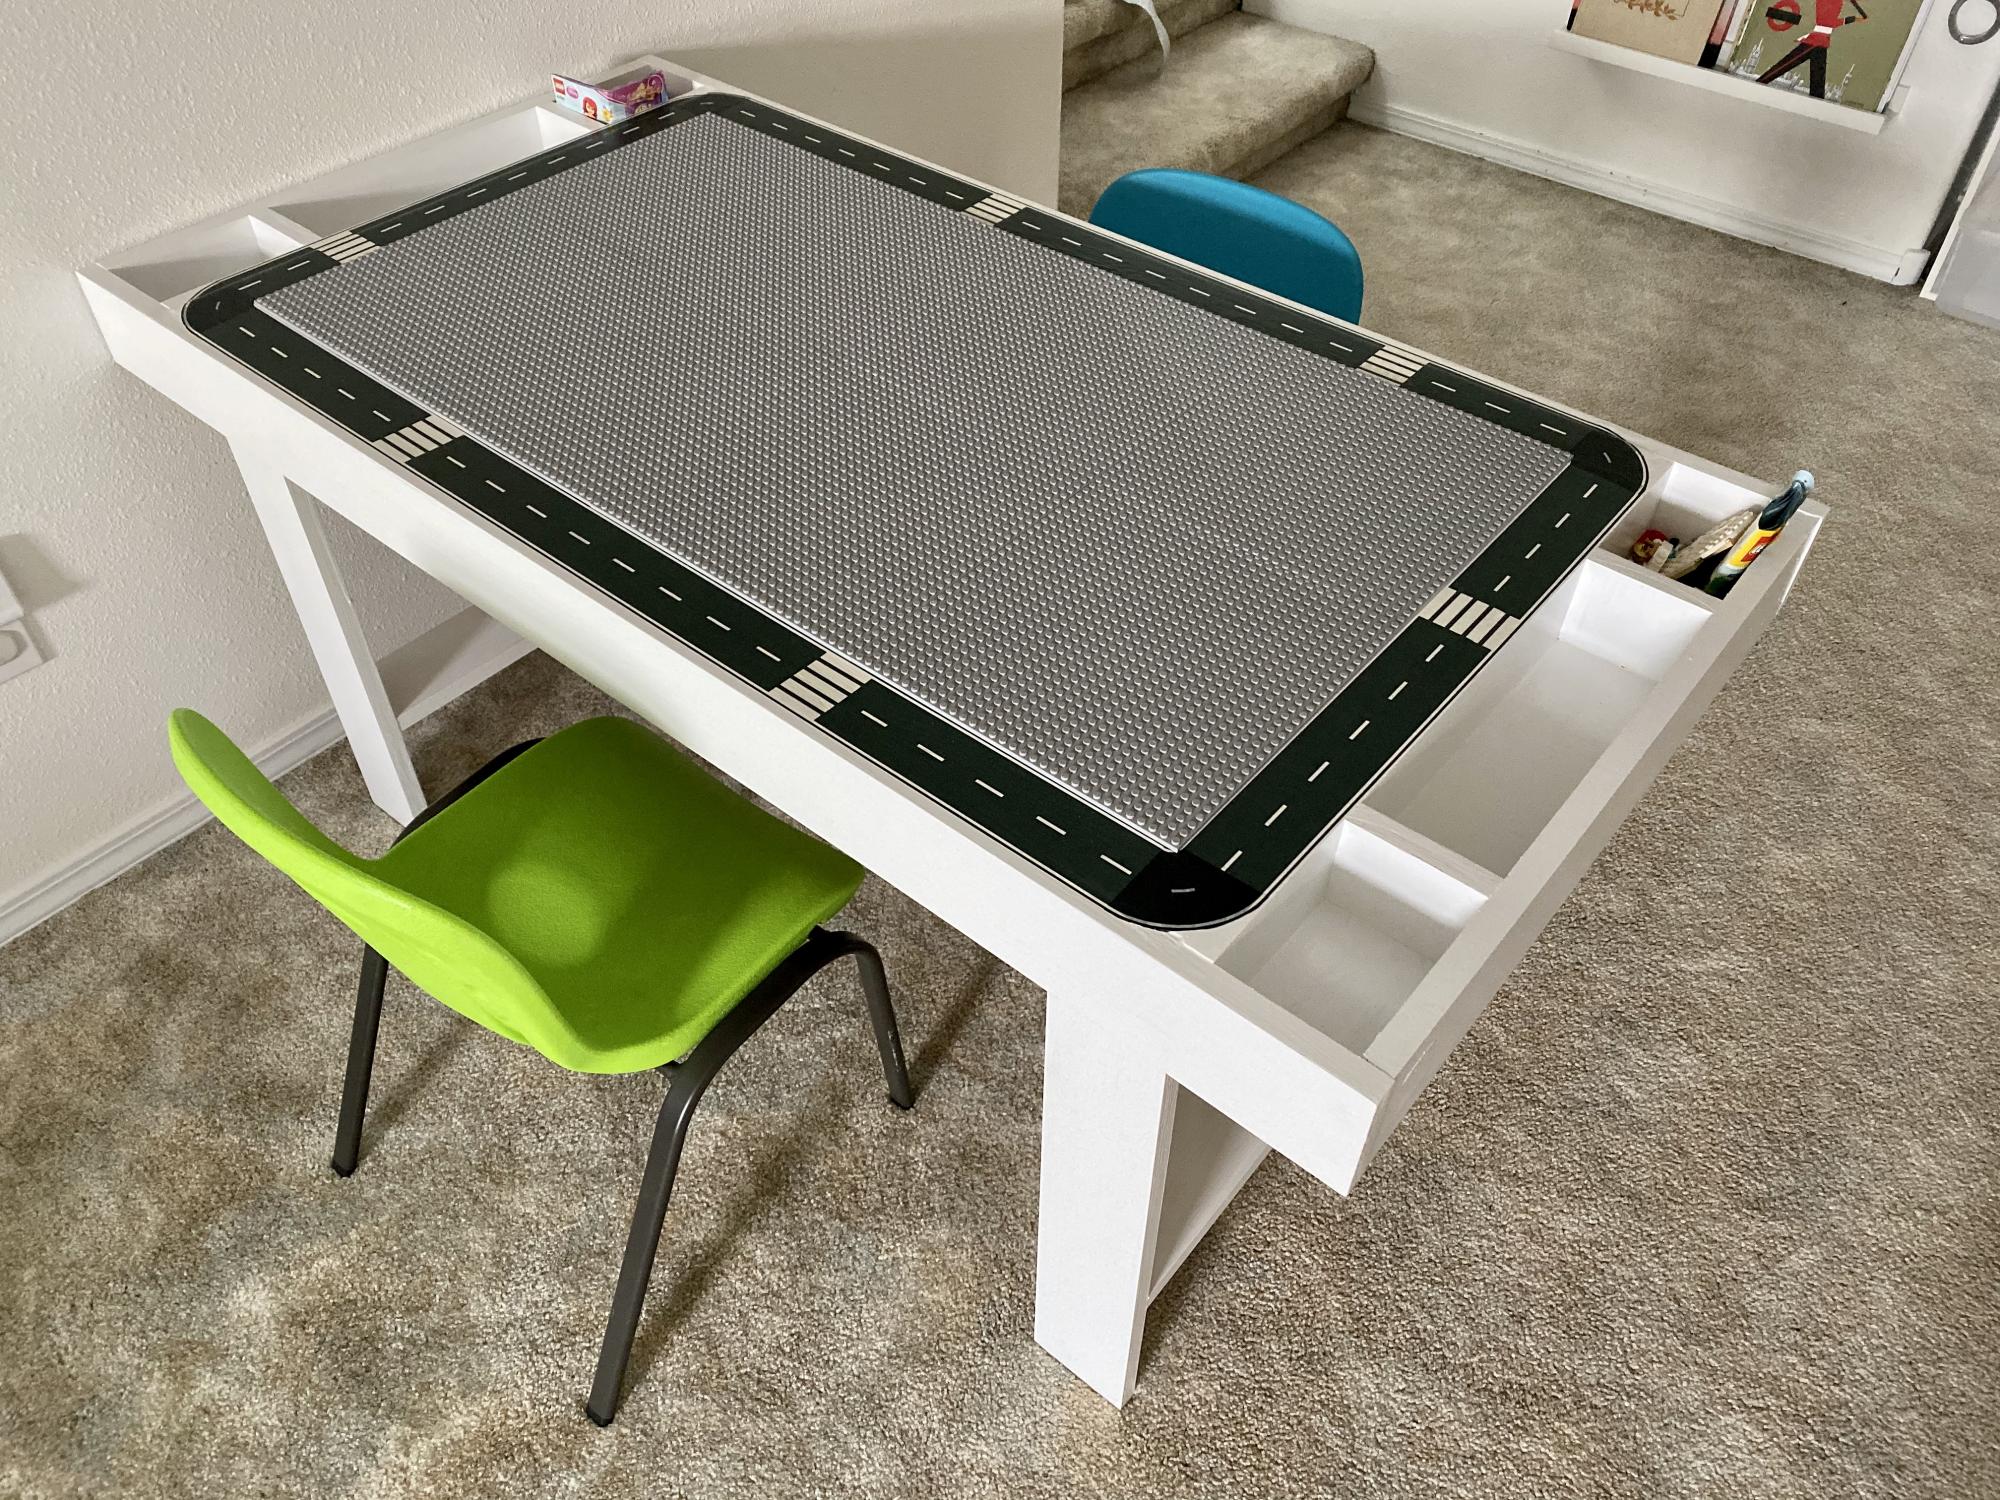
I built this Lego table for my son’s fifth birthday. I added some dividers in the trays for organization, Brickyard plates for the table top and road tape around the edges.
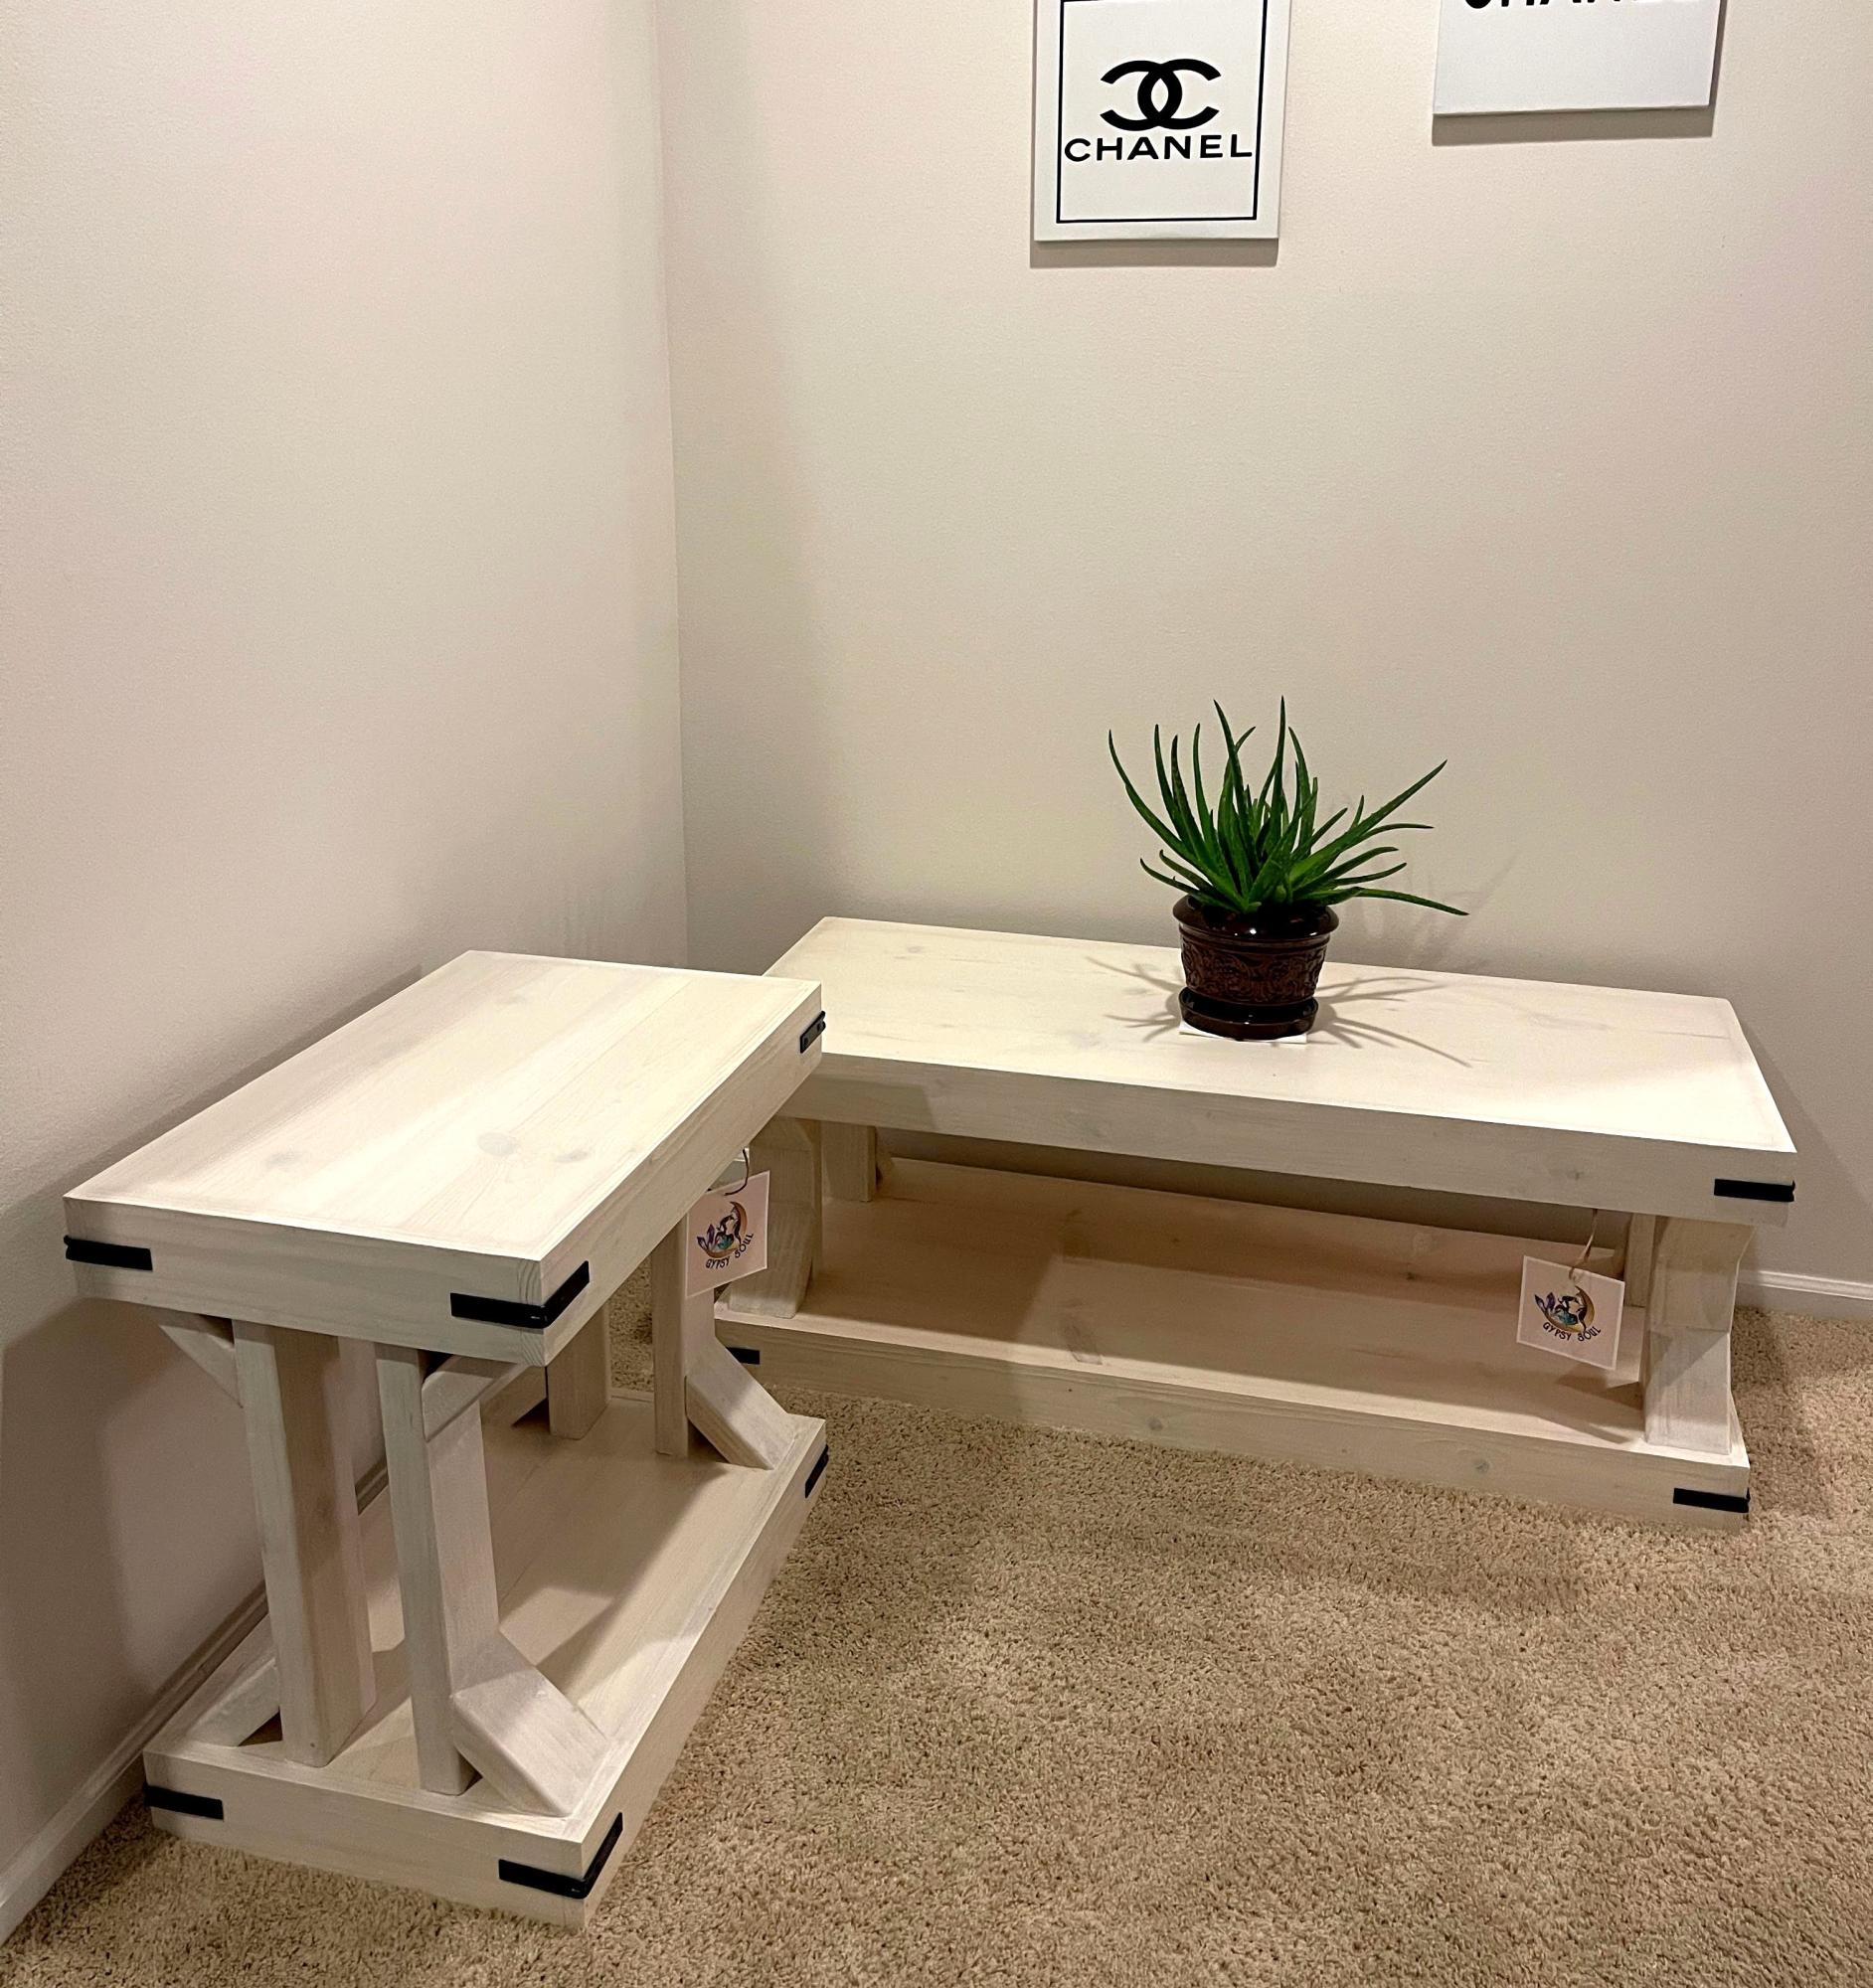
Ana White's plans are super easy and fun to do! I made these for my mom and I really enjoyed doing it. It’s an antique white water base stain.
David Marks
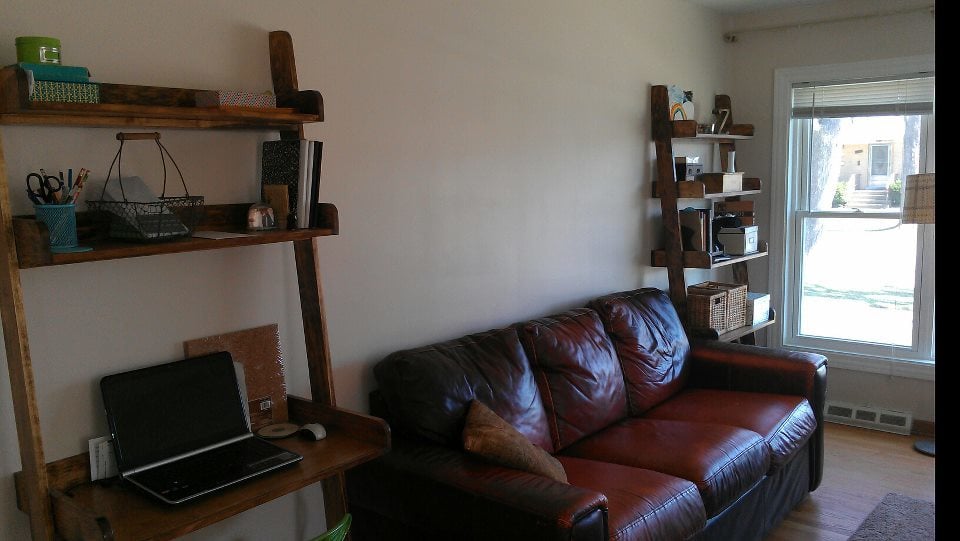
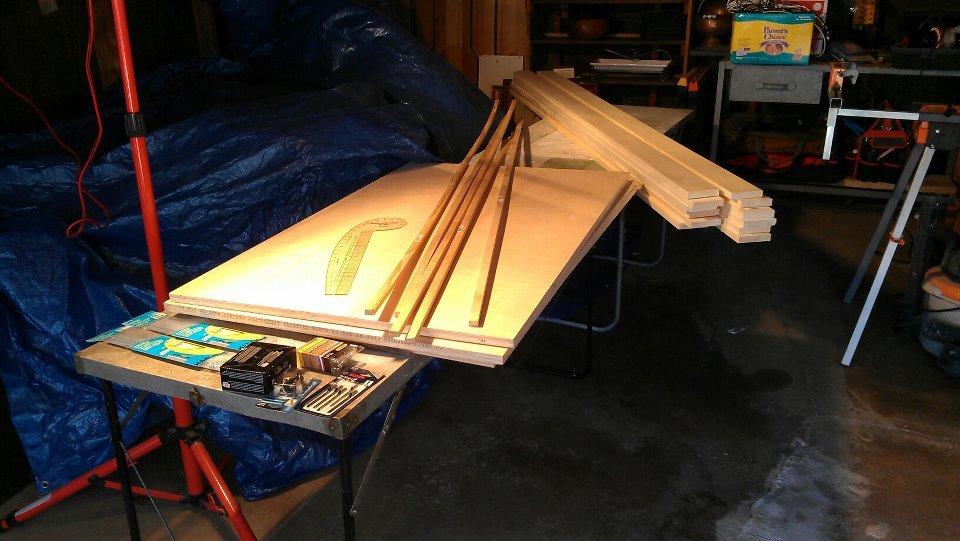
Followed the plans but used hardwood for the edging instead of a veneer.
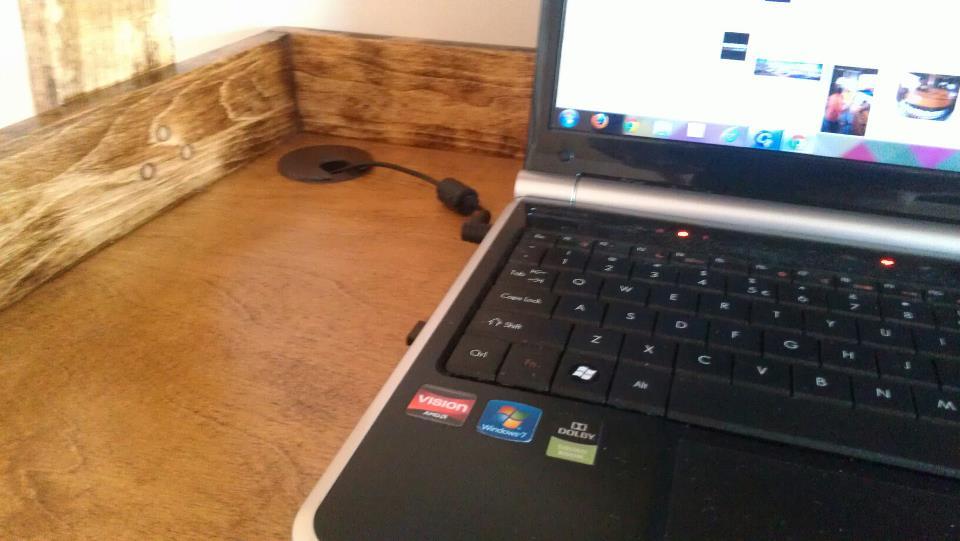
On the desk version I found that screws are needed from the inside of the desk sides to the frame to strengthen the joint. I also added a cross brace to support the desktop, the brace also conceals the power strip and laptop cables.
The desk version also needs to be secured to the wall with more than the picture hanging kit. I used a painted screw and fender washer on the middle shelf. With that attachment the desk is solid as a rock.
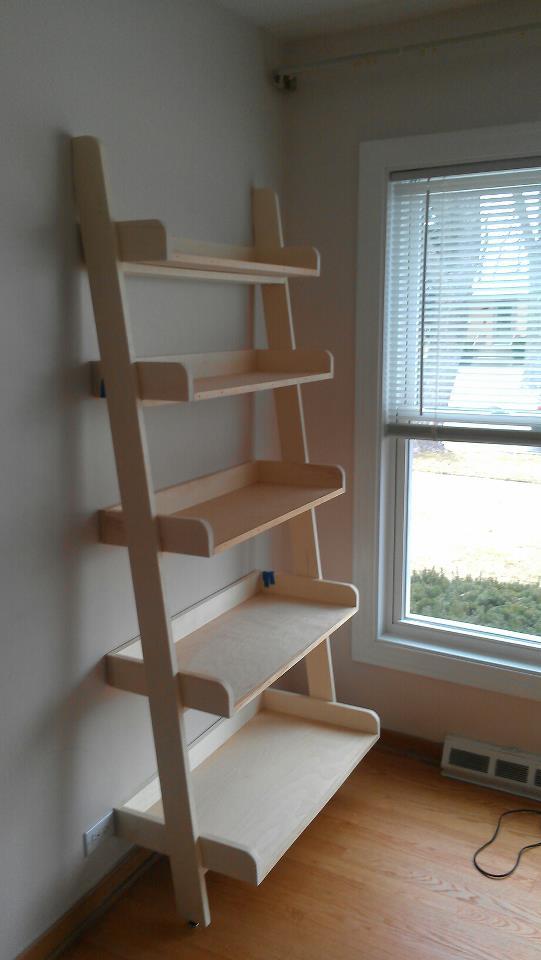
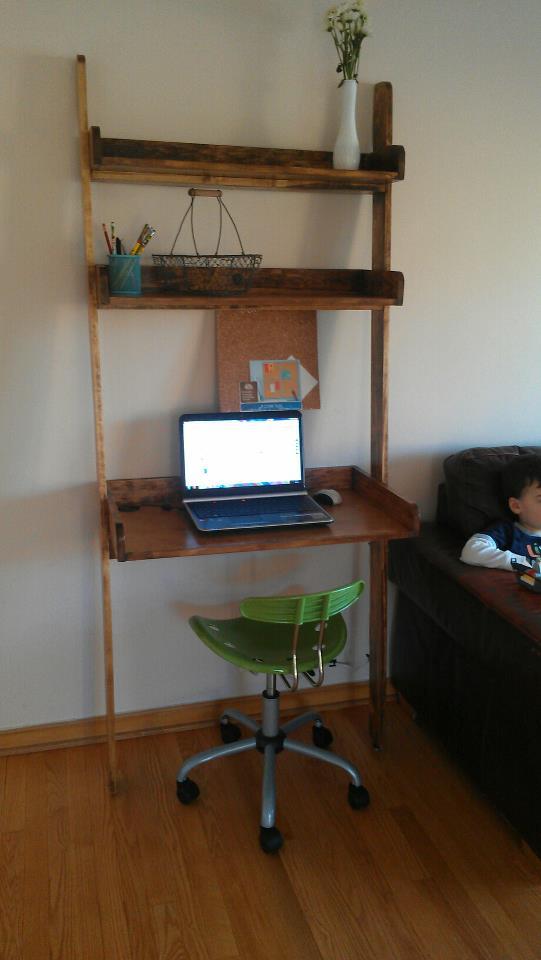
Sun, 03/18/2012 - 23:20
Absolutely love the desk mod! The full shelf is amazing too!
Mon, 03/19/2012 - 18:00
My wife turned me on to your site. We like your style.
I'll be building a modified (larger) version of your cubby bench. The goal is "false drawer front doors" that hide shoe cubbies.
I'll be sure to post the work.
http://ana-white.com/2011/01/perfect-cubby-bench-plans-want-it.html
Tue, 06/10/2014 - 12:43
I would love an additional picture of the desk bracing. Also, I'm curious how deep you made the desk. Great mod! Hope ift has held up well.
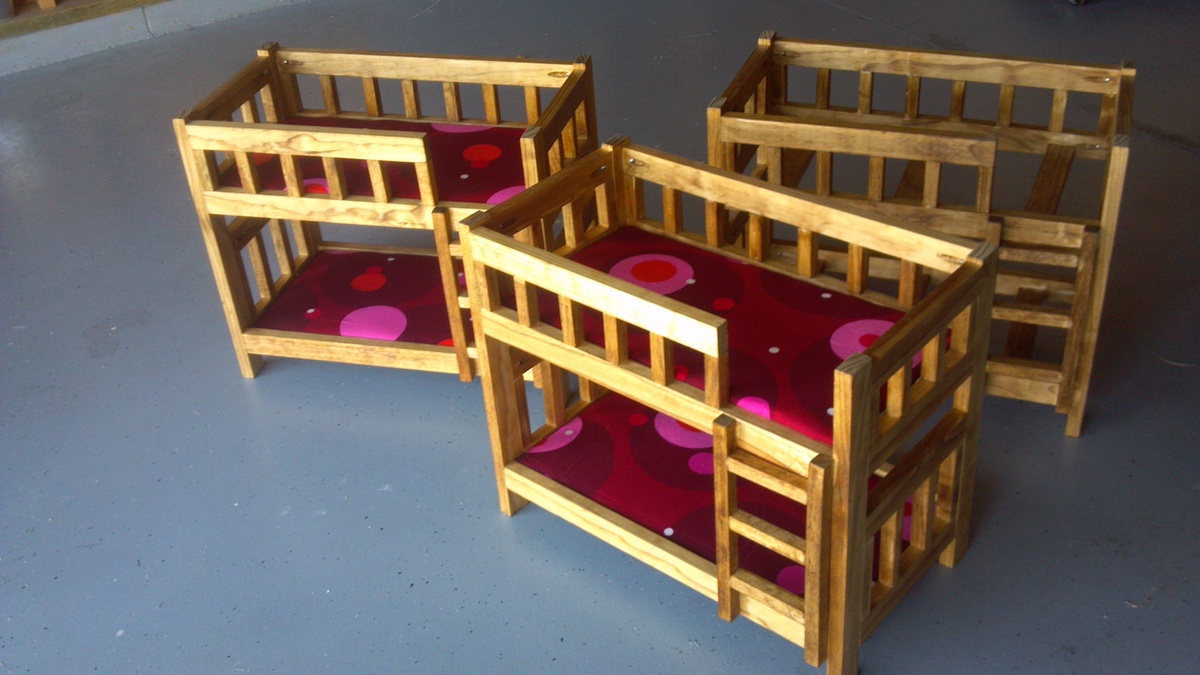
These bunk beds are a big hit for daughters, nieces, granddaughters, and even full grown kids. After making a few as gifts, I decided to make three at once and cover several birthday parties at once.
The plans were very well done and I just followed along. Worked great!
Thanks for the plans!
Peter
p.s. I put that these take more than 20 hrs, because there's a lot of gluing and waiting time while doing the guard rails.
p.s.s. An old pillowcase is the perfect size for material for the mattresses.
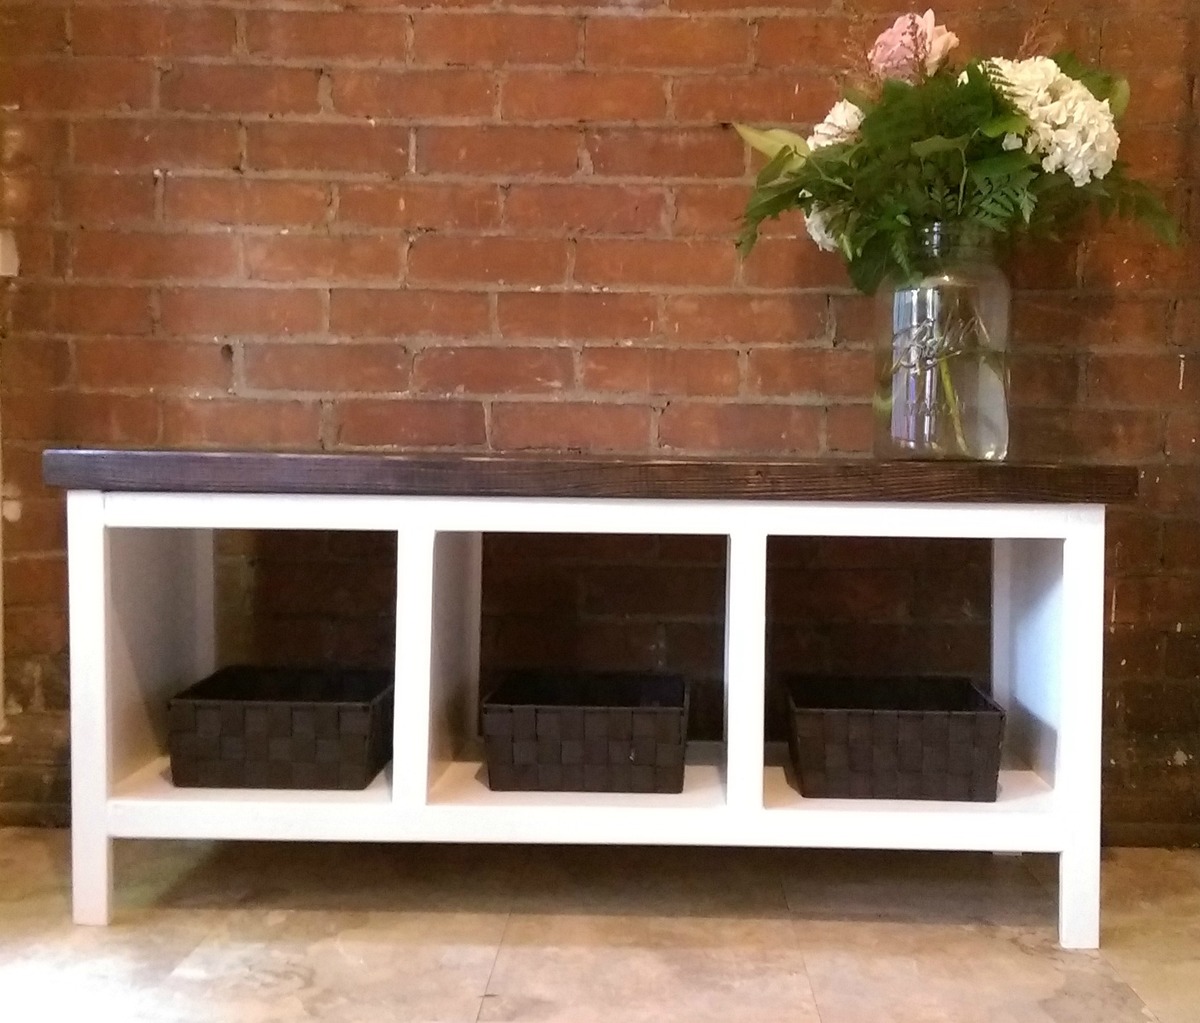
This bench was really simple to make. I built it over the course of three days - I needed the first night for the wood glue to set, and then the second night for the paint to dry. I added two 2x8 boards on top, stained a dark walnut, for a more finished look. I'm so proud of how this turned out - it's my first wood working project of any sort since my grade 8 shop class! Next up: the Bigger Kid Picnic Table. :)
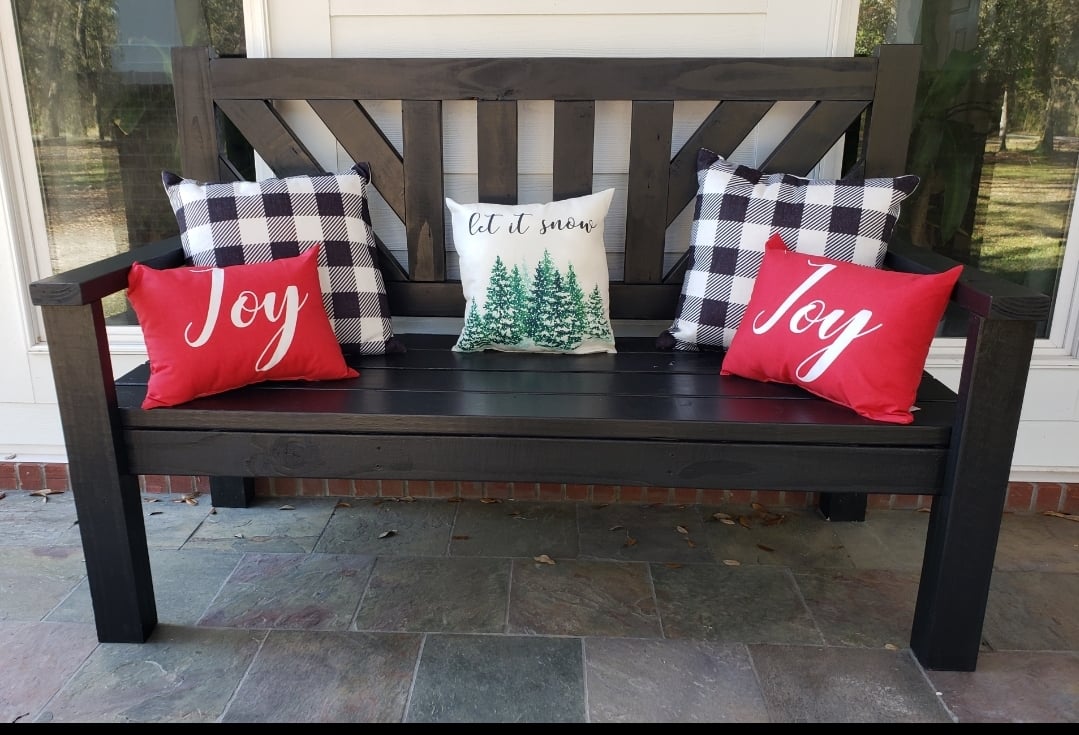
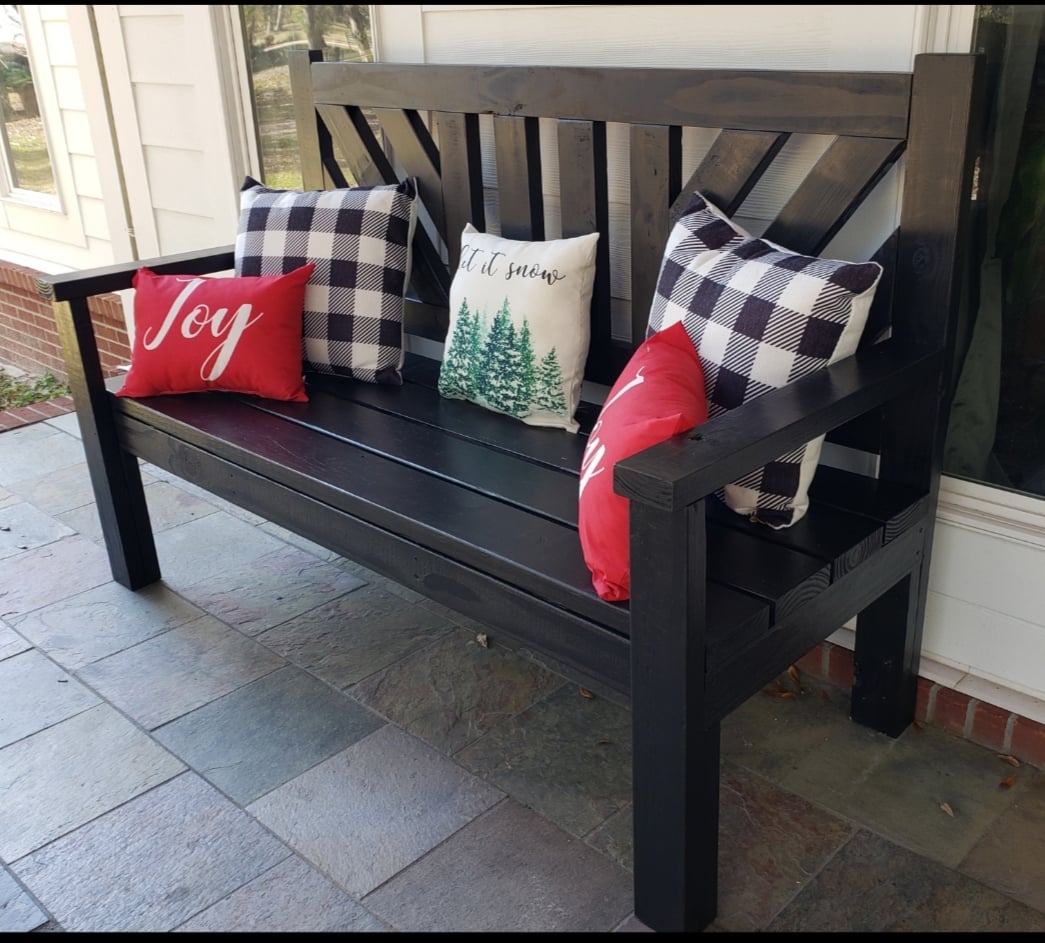
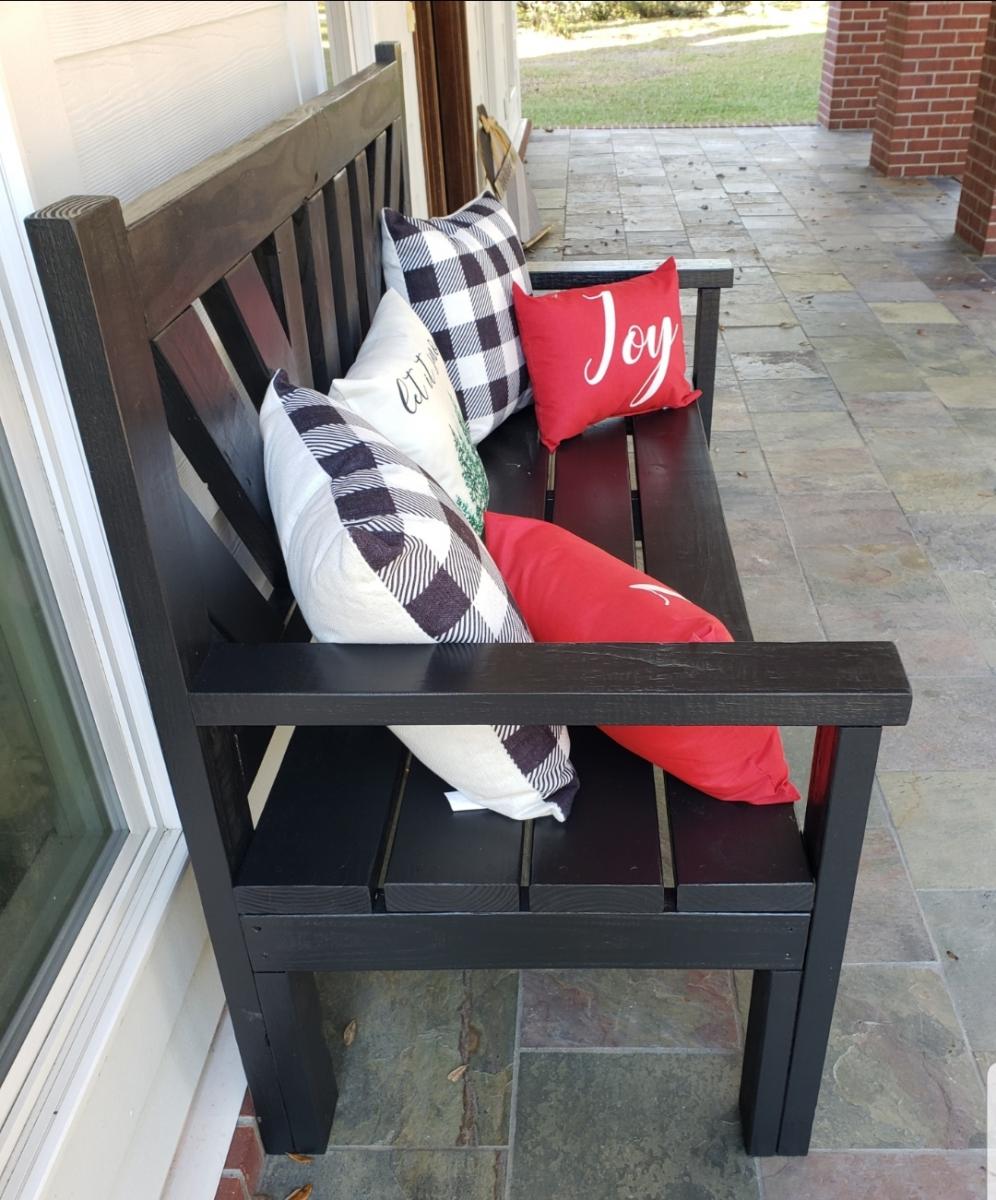
This very large porch bench is made of regular pine since it is under a covered porch. I did modify the back and change from the x design to this diagonal. I like it! The plan was easy to follow and I will be making another one for the other side of the porch! I used exterior black paint.
Thu, 04/16/2020 - 11:27
Would you mind sharing the cut list/wood needed for the modified back! I like it even better than the original!
Tue, 04/21/2020 - 02:33
Hi! Sorry I just saw your comment. I just measured and cut to fit after I got the back together. I just placed the boards how I wanted them and marked the angles and cut them. The center is just straight boards cut to fit. I used 2x4 scrap pieces that I had left over.
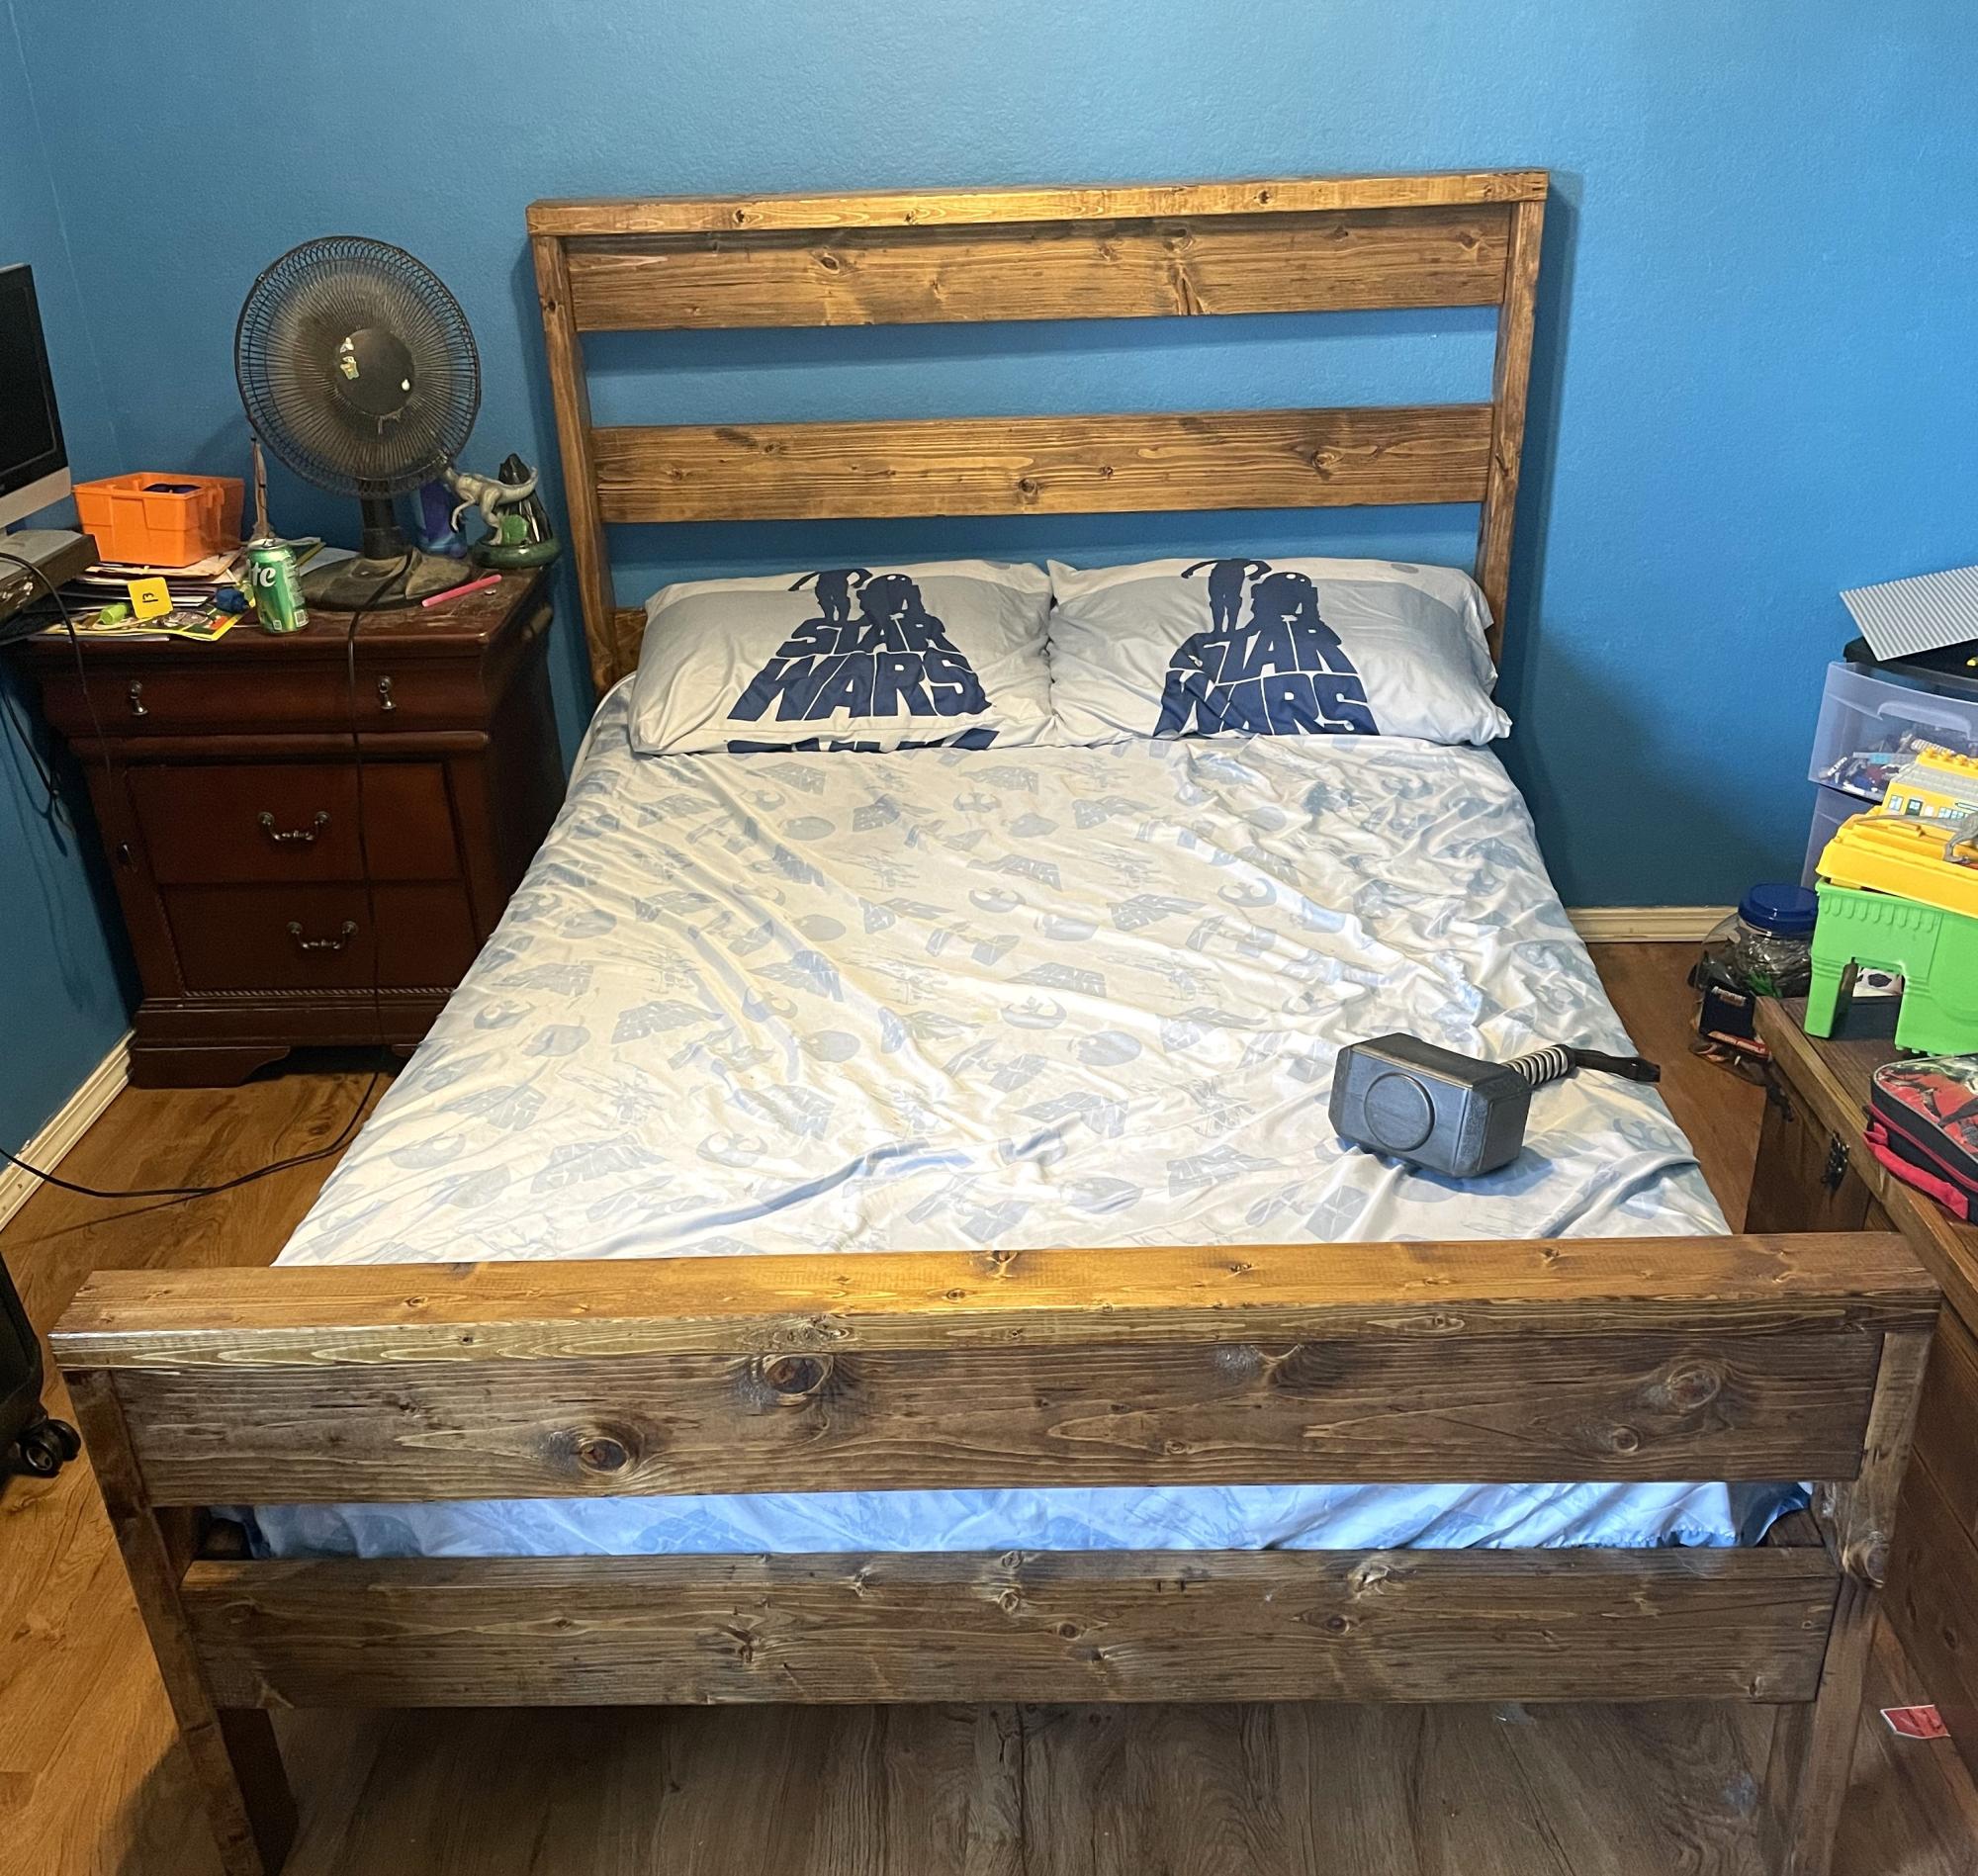
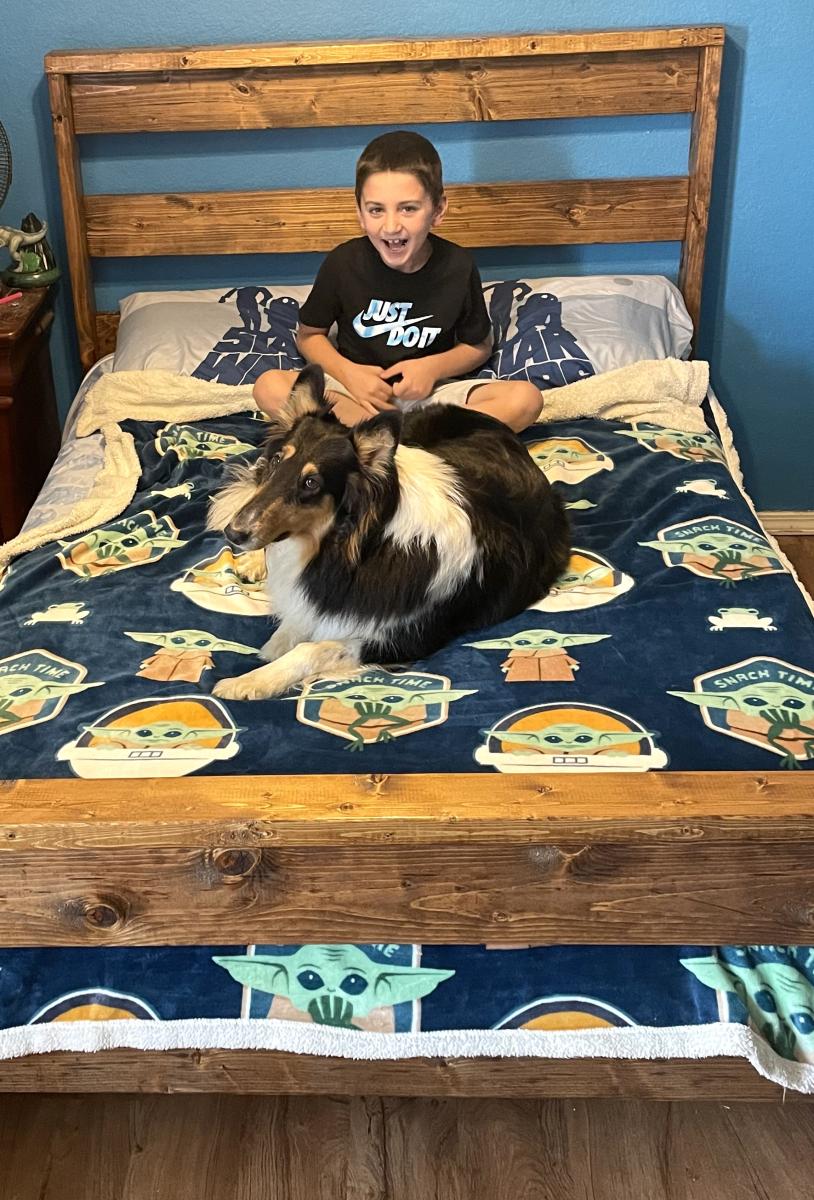
New bed for my boy. Great plan and not expensive.
Sean Hight on Facebook
