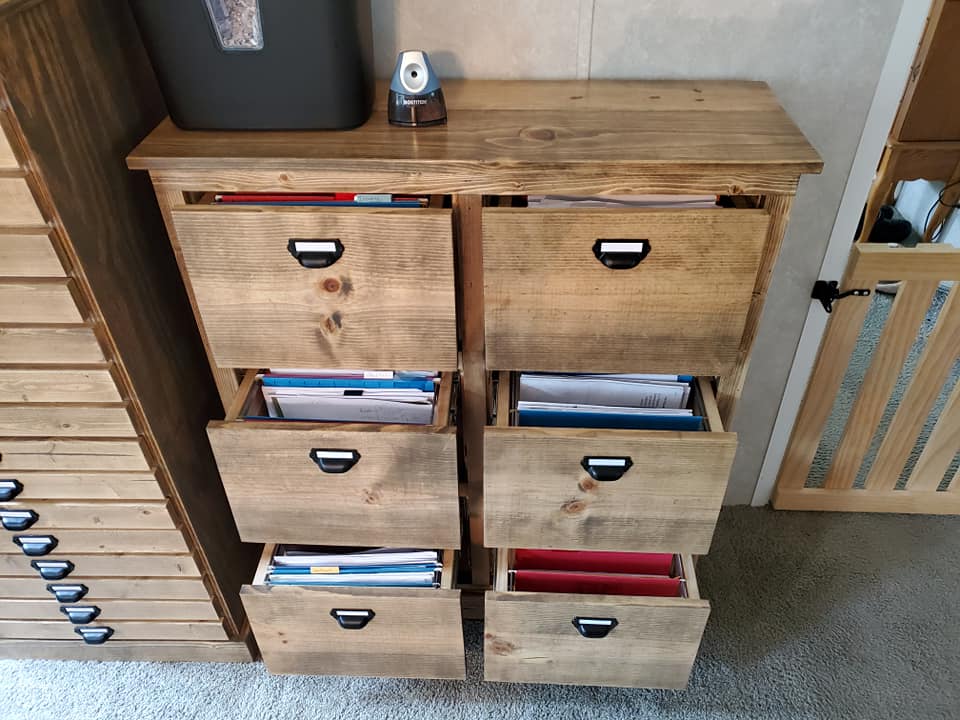
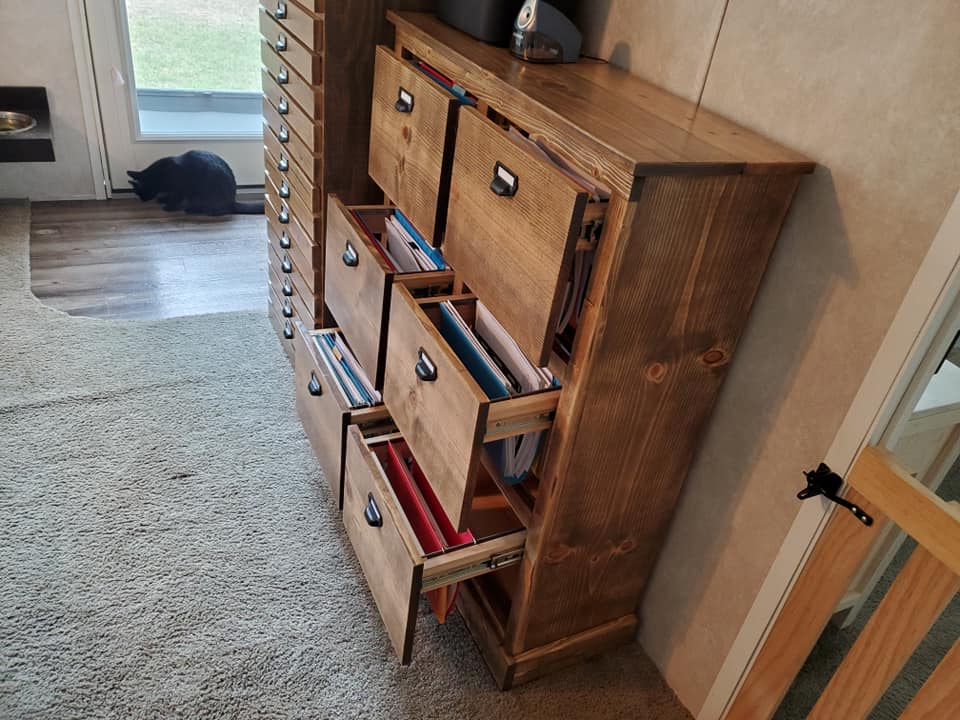
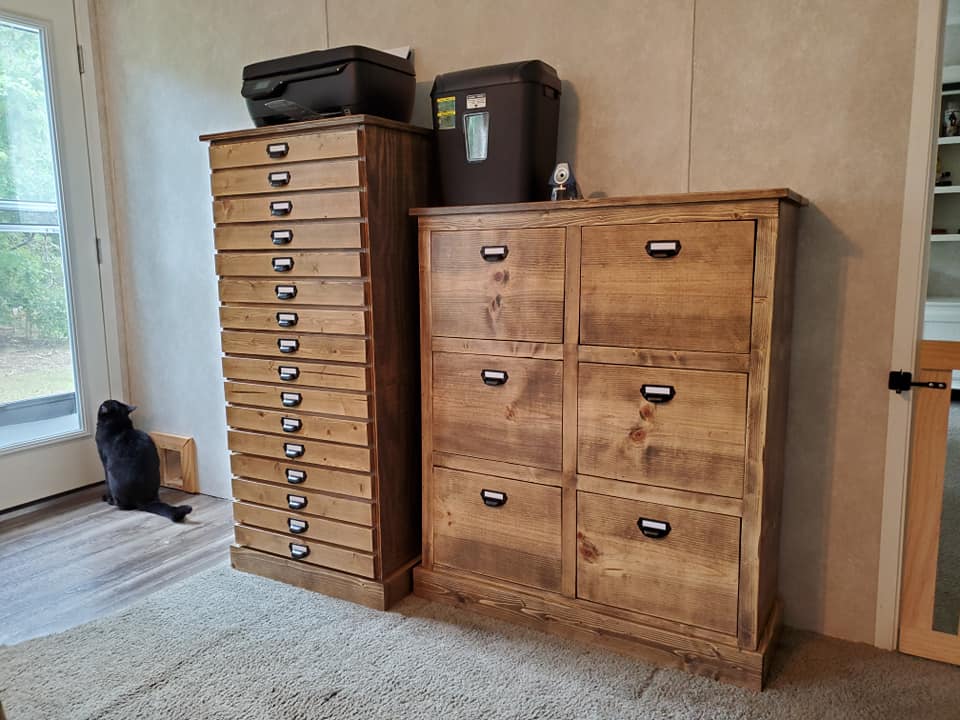
My mail boss

I made it a little taller and it is all a filing cabinet.

Built from Plan(s)
I made it a little taller and it is all a filing cabinet.

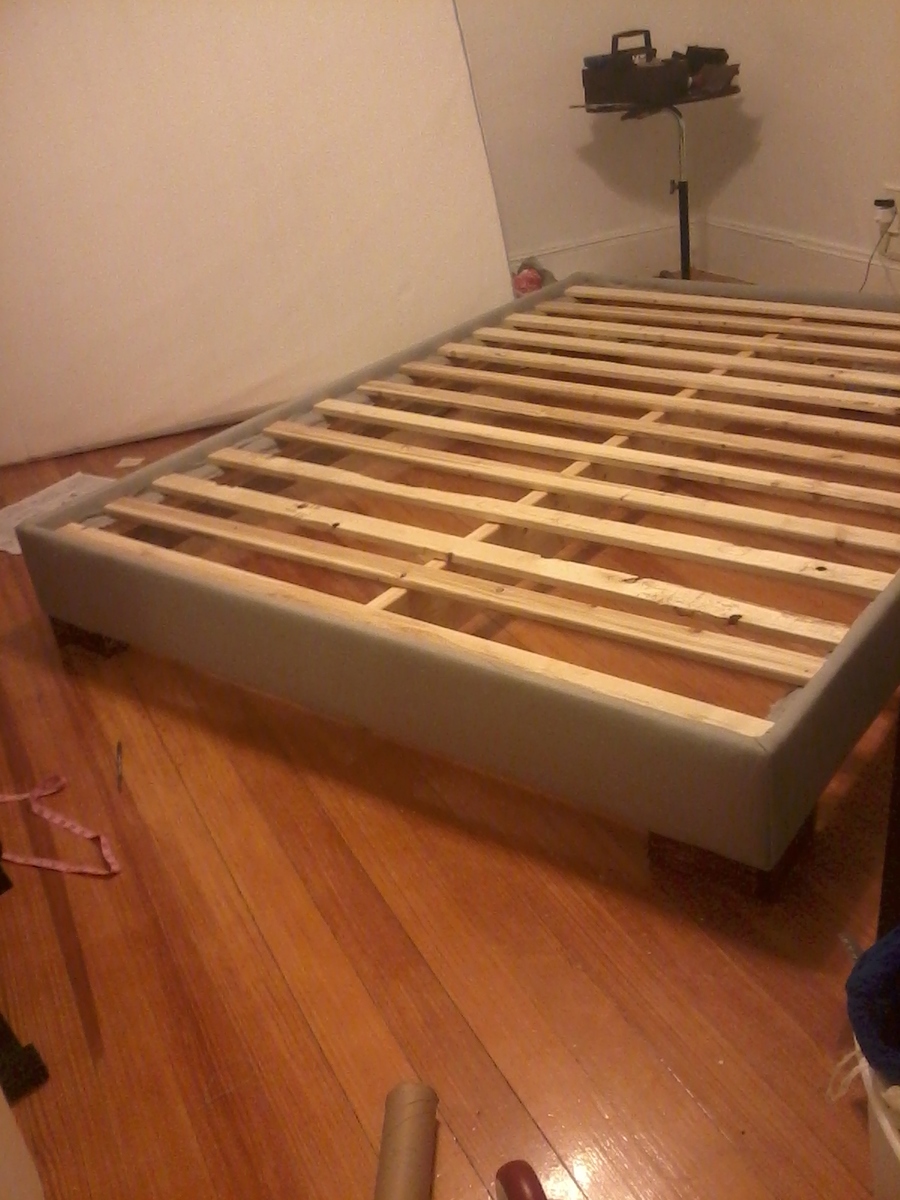
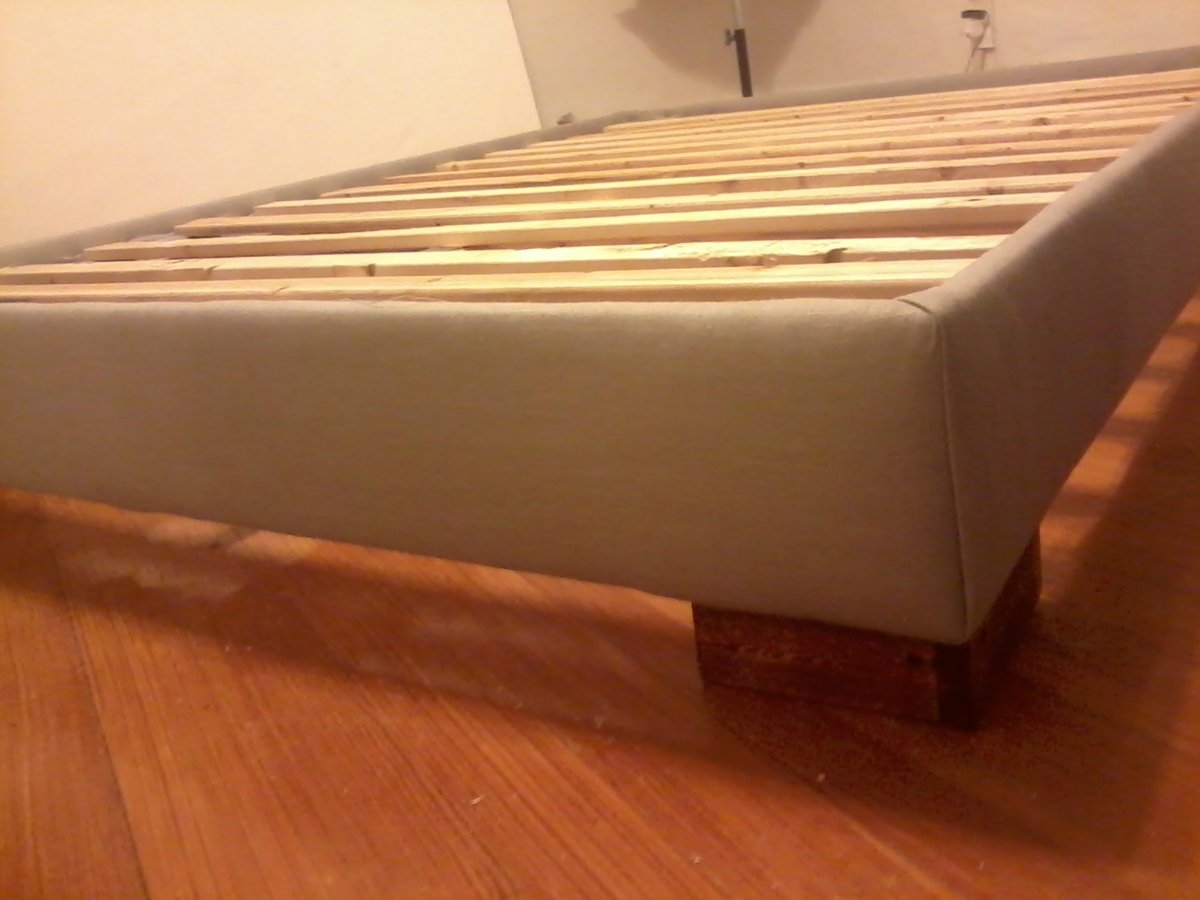
I was inspired to build this bed by this post at Big Box Detox. http://www.bigboxdetox.com/diy-make-own-upholstered-bed
I chose not to build the headboard because I have my bed placed in front of a window. However, I may add it in the future. For those of you going on a search for fabric and batting I recommend scoping out Joann's Fabric and Crafts, especially when they offer 50% coupons. The cost for me for wood, batting and fabric was less than $150! My project can also be found on my blog at designroost.net
Happy building!
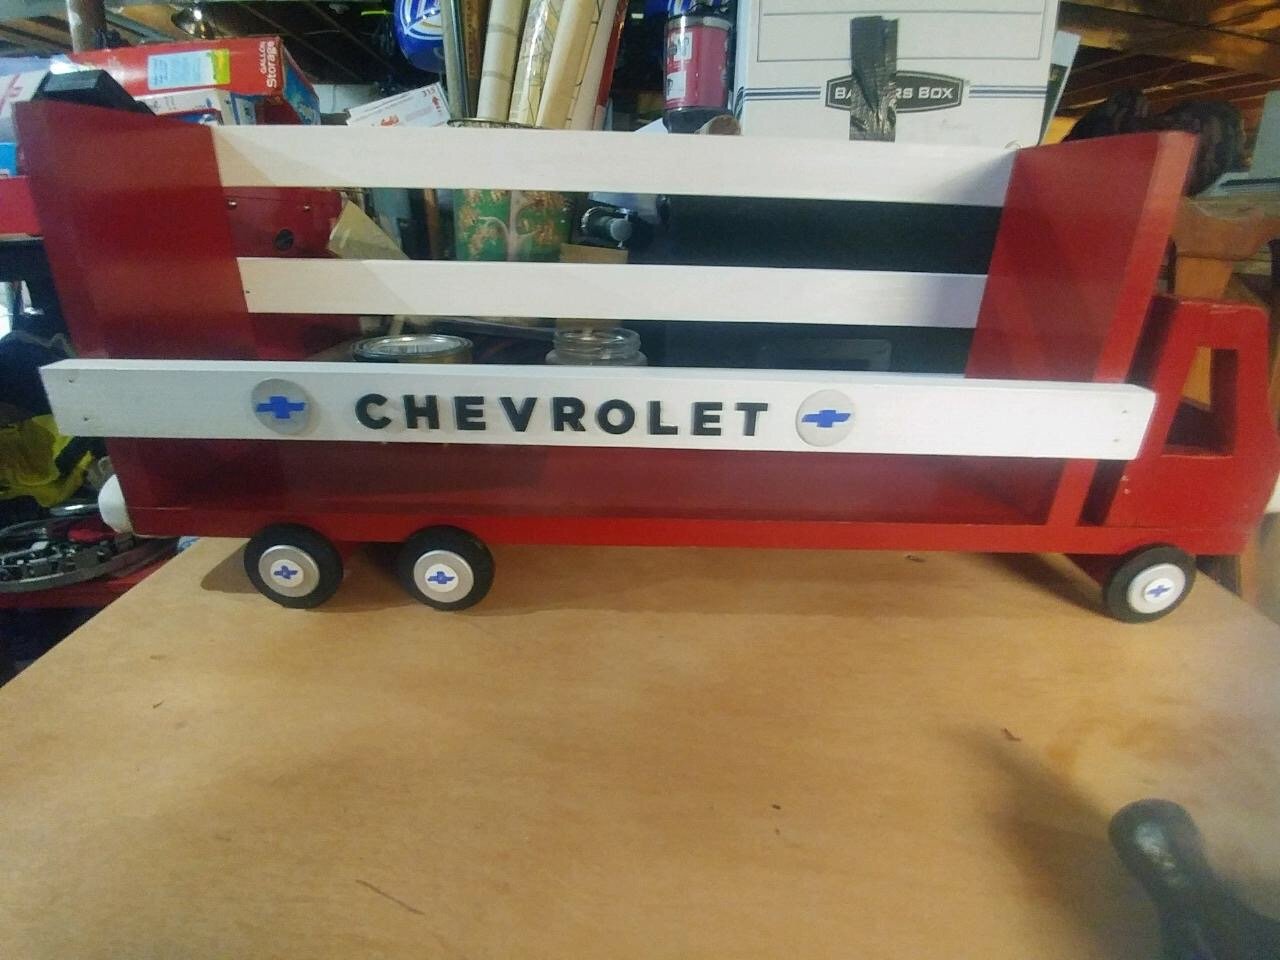
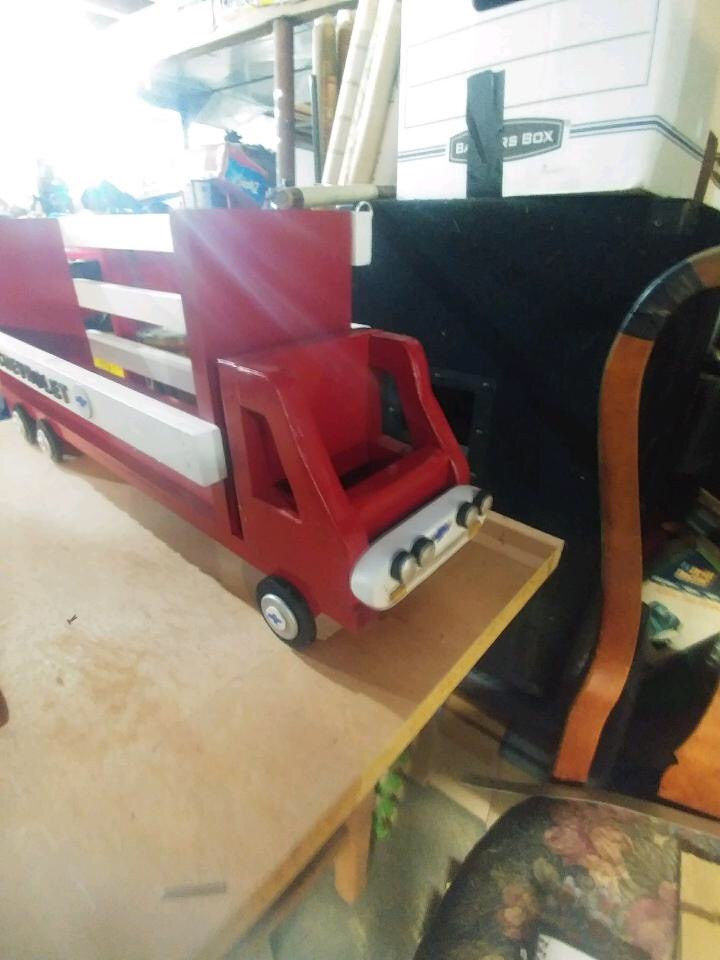
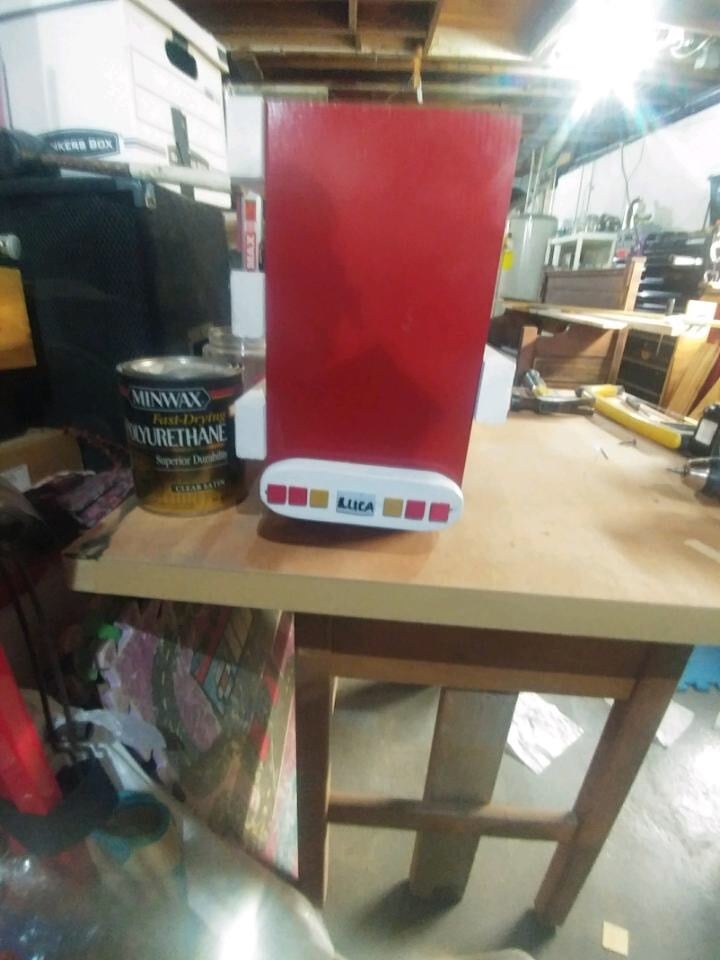
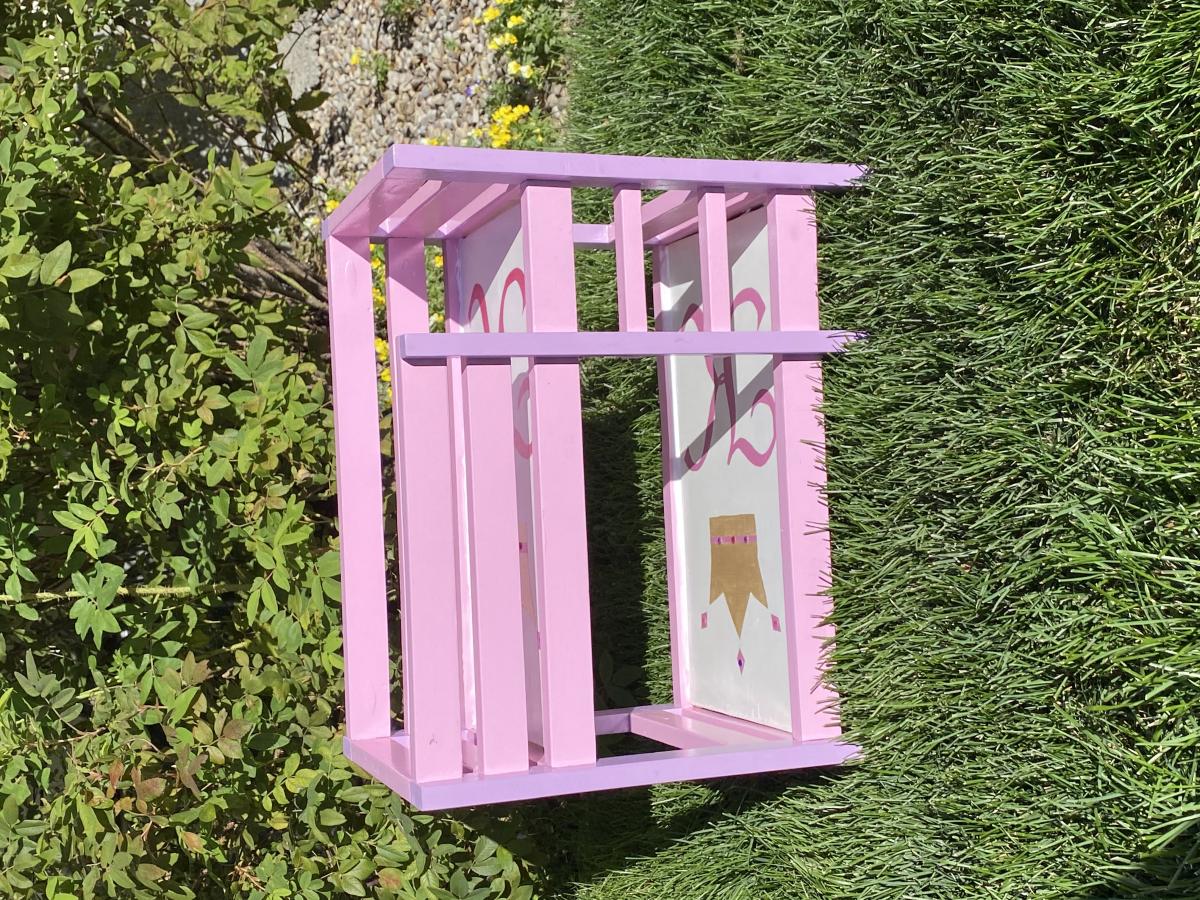
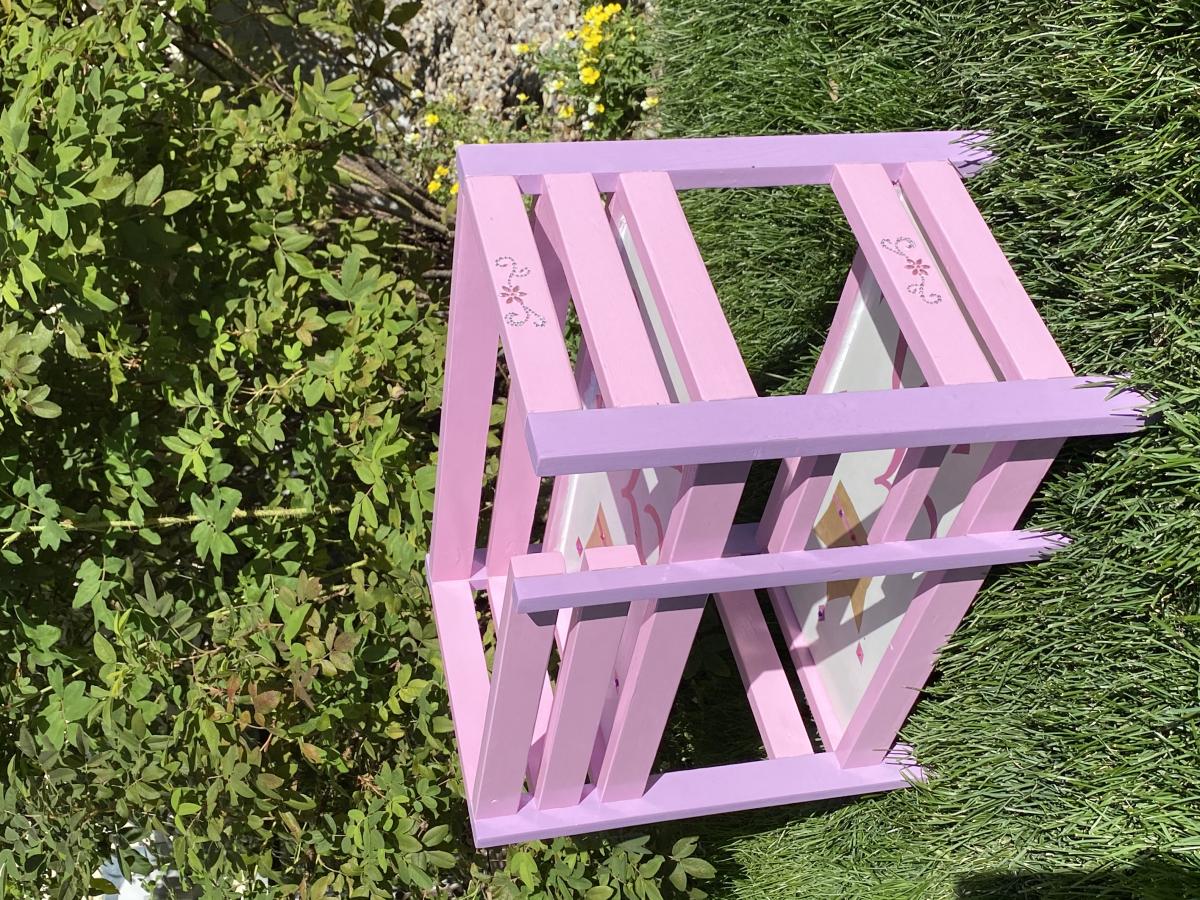
A fun project to make ending with a functional product to boot! I went all out making sure that each truck/shelf would coordinate with each grandson's theme/decor in their bedrooms. Luca, who just turned 2, got a new Chevy Corvette Racce Car Bed for his birthday and I built the gas pump book case/cabinet to match. Therefore, for Luca I went with the Red and white to match his bed & bookcase/cabinet and added painted on logos and lettering for his vintage Chevy truck.

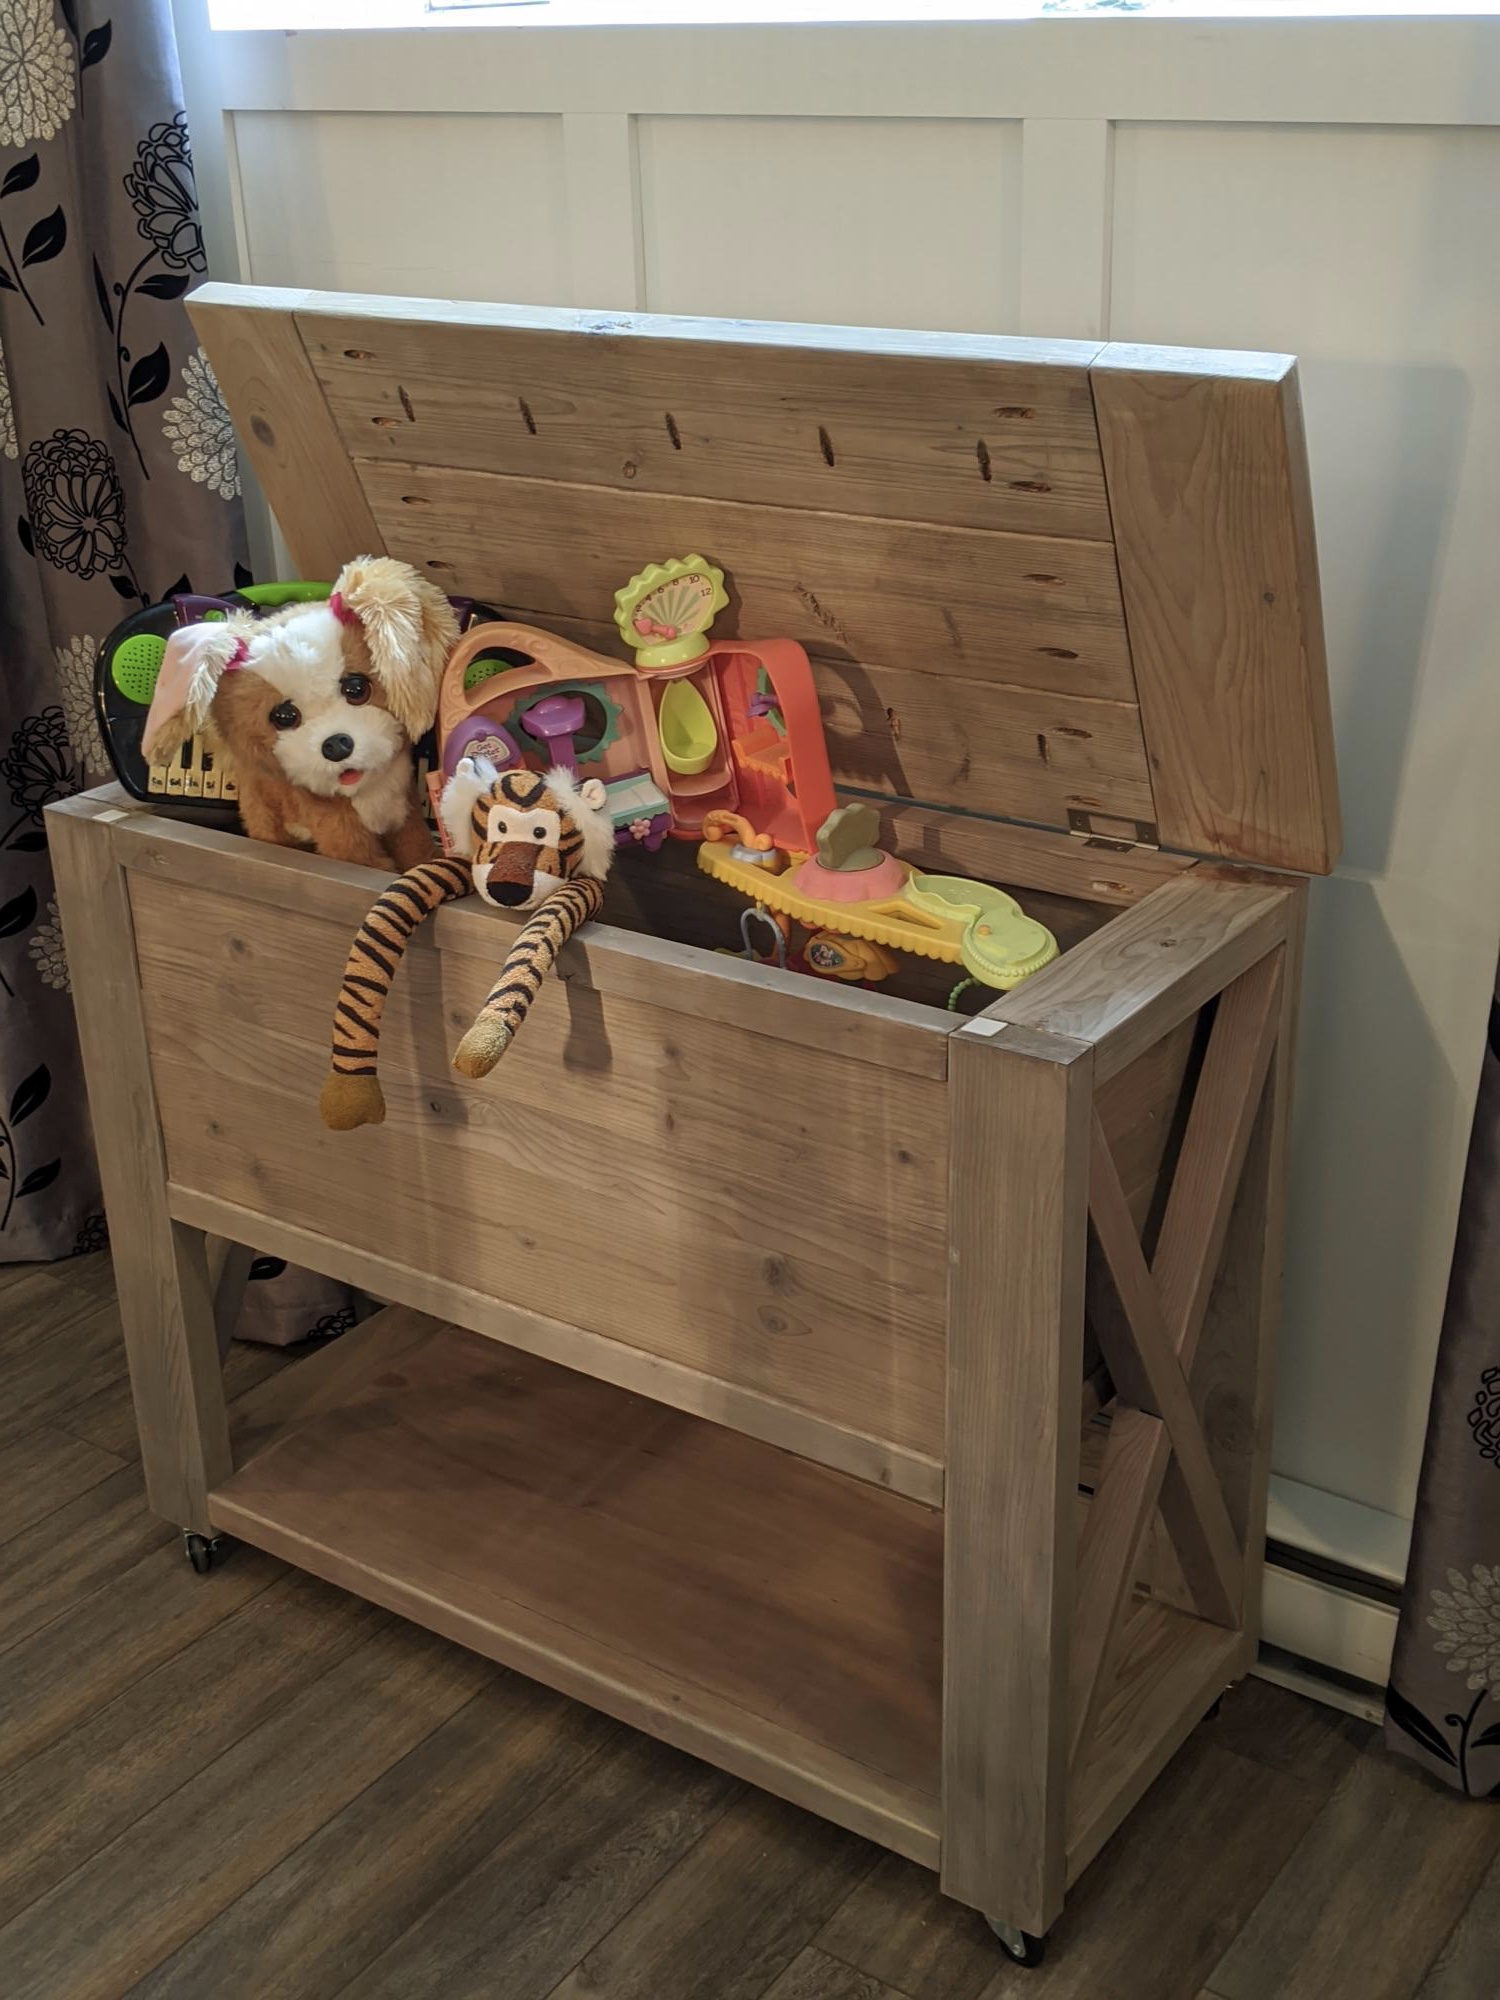
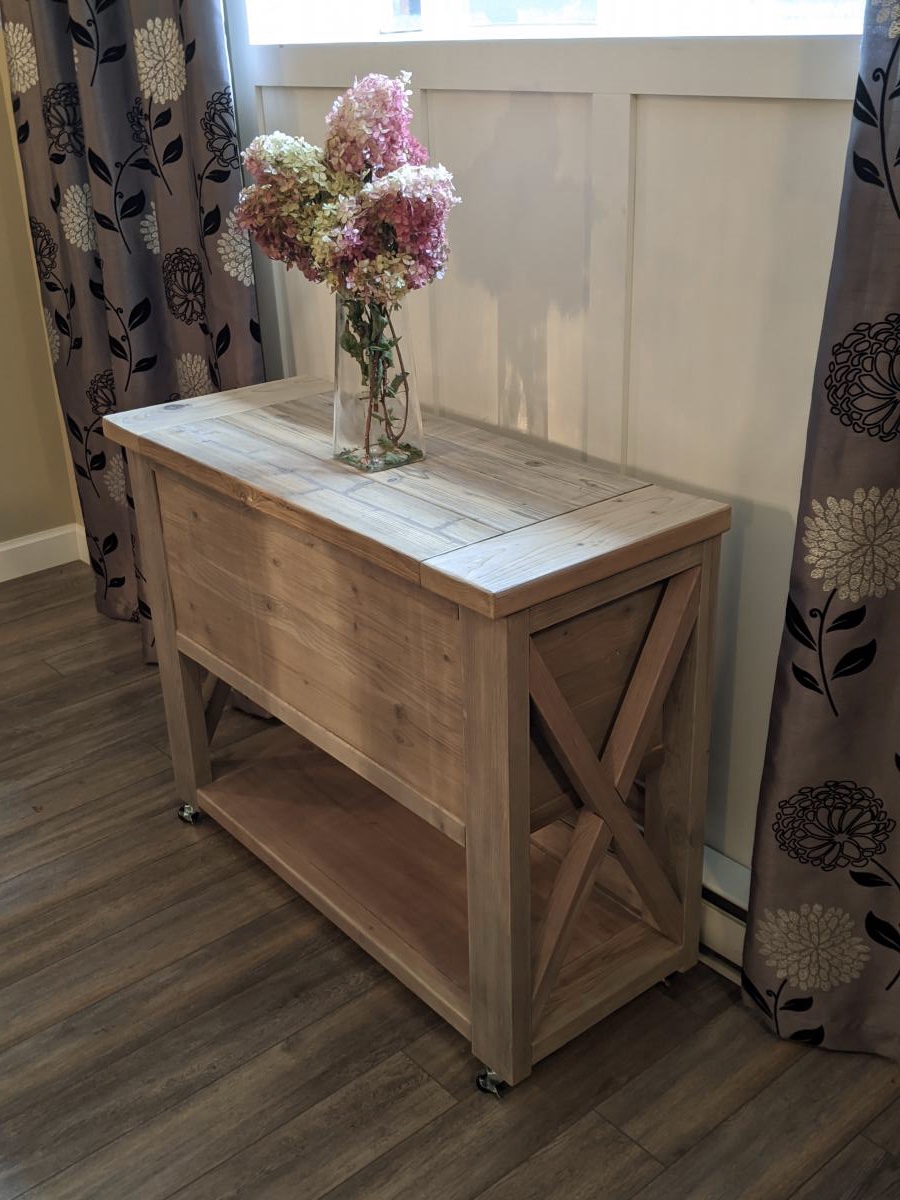
Adaptation de la table console pour en faire un coffre à jouets.

Built two Rustic X end tables and one Rustic X coffee table. I modified the design to fit my room better. Just building the two tables (no sanding) took me about 5 hours.

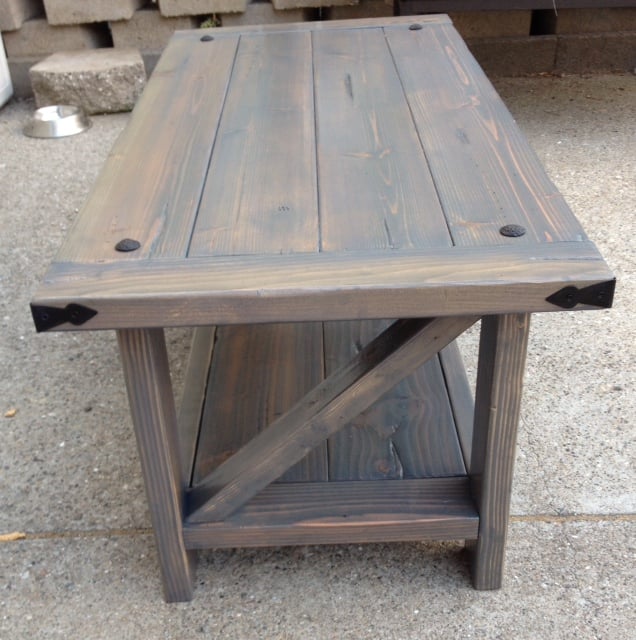
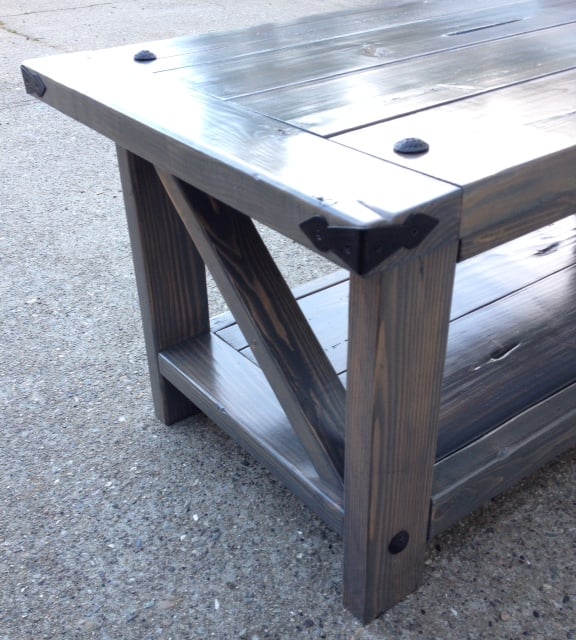
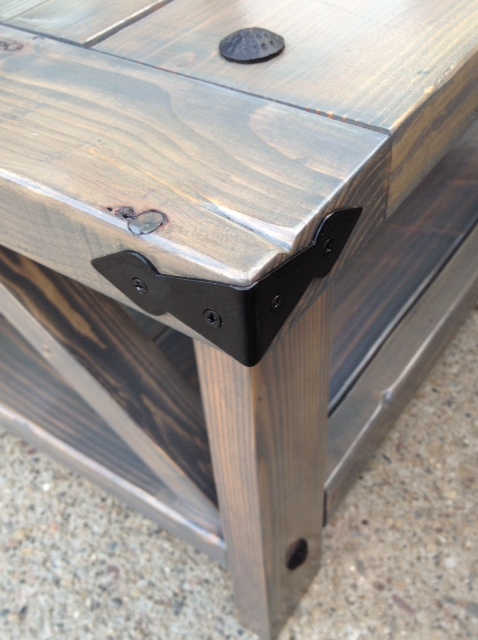
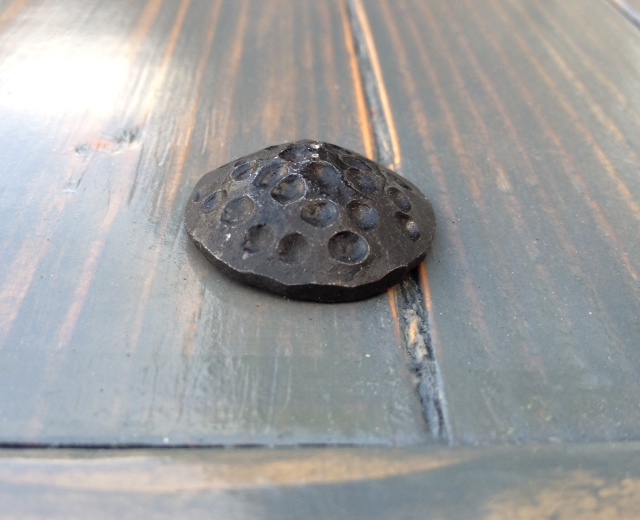
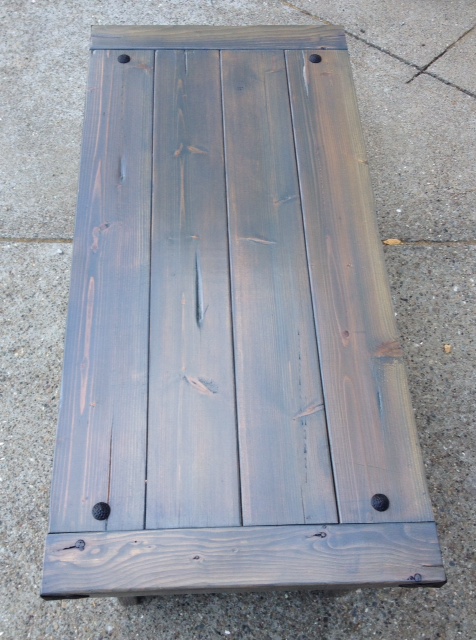
Second Ana White project. Modified it from the "X" to a "Z" coffee table. Hand distressed it. Narrowed the width, bread board ends, and added clavos and trunk corners I purchased on Amazon. Very happy with this second build. It went much easier than my first one.
I've made another record cabinet, this time with a nice dark walnut stain. To see more details and plans visit my blog.
http://www.woodworkingfourdummies.com/
Cheers,
Ian
Used pine, stained with Special Walnut and poly acrylic. It was a tricky doing the angle on the tops and bottoms but came out ok. Used leftover wood I had in my stash.
Thu, 09/17/2020 - 10:15
Great use of leftover lumber! Thanks for sharing:)
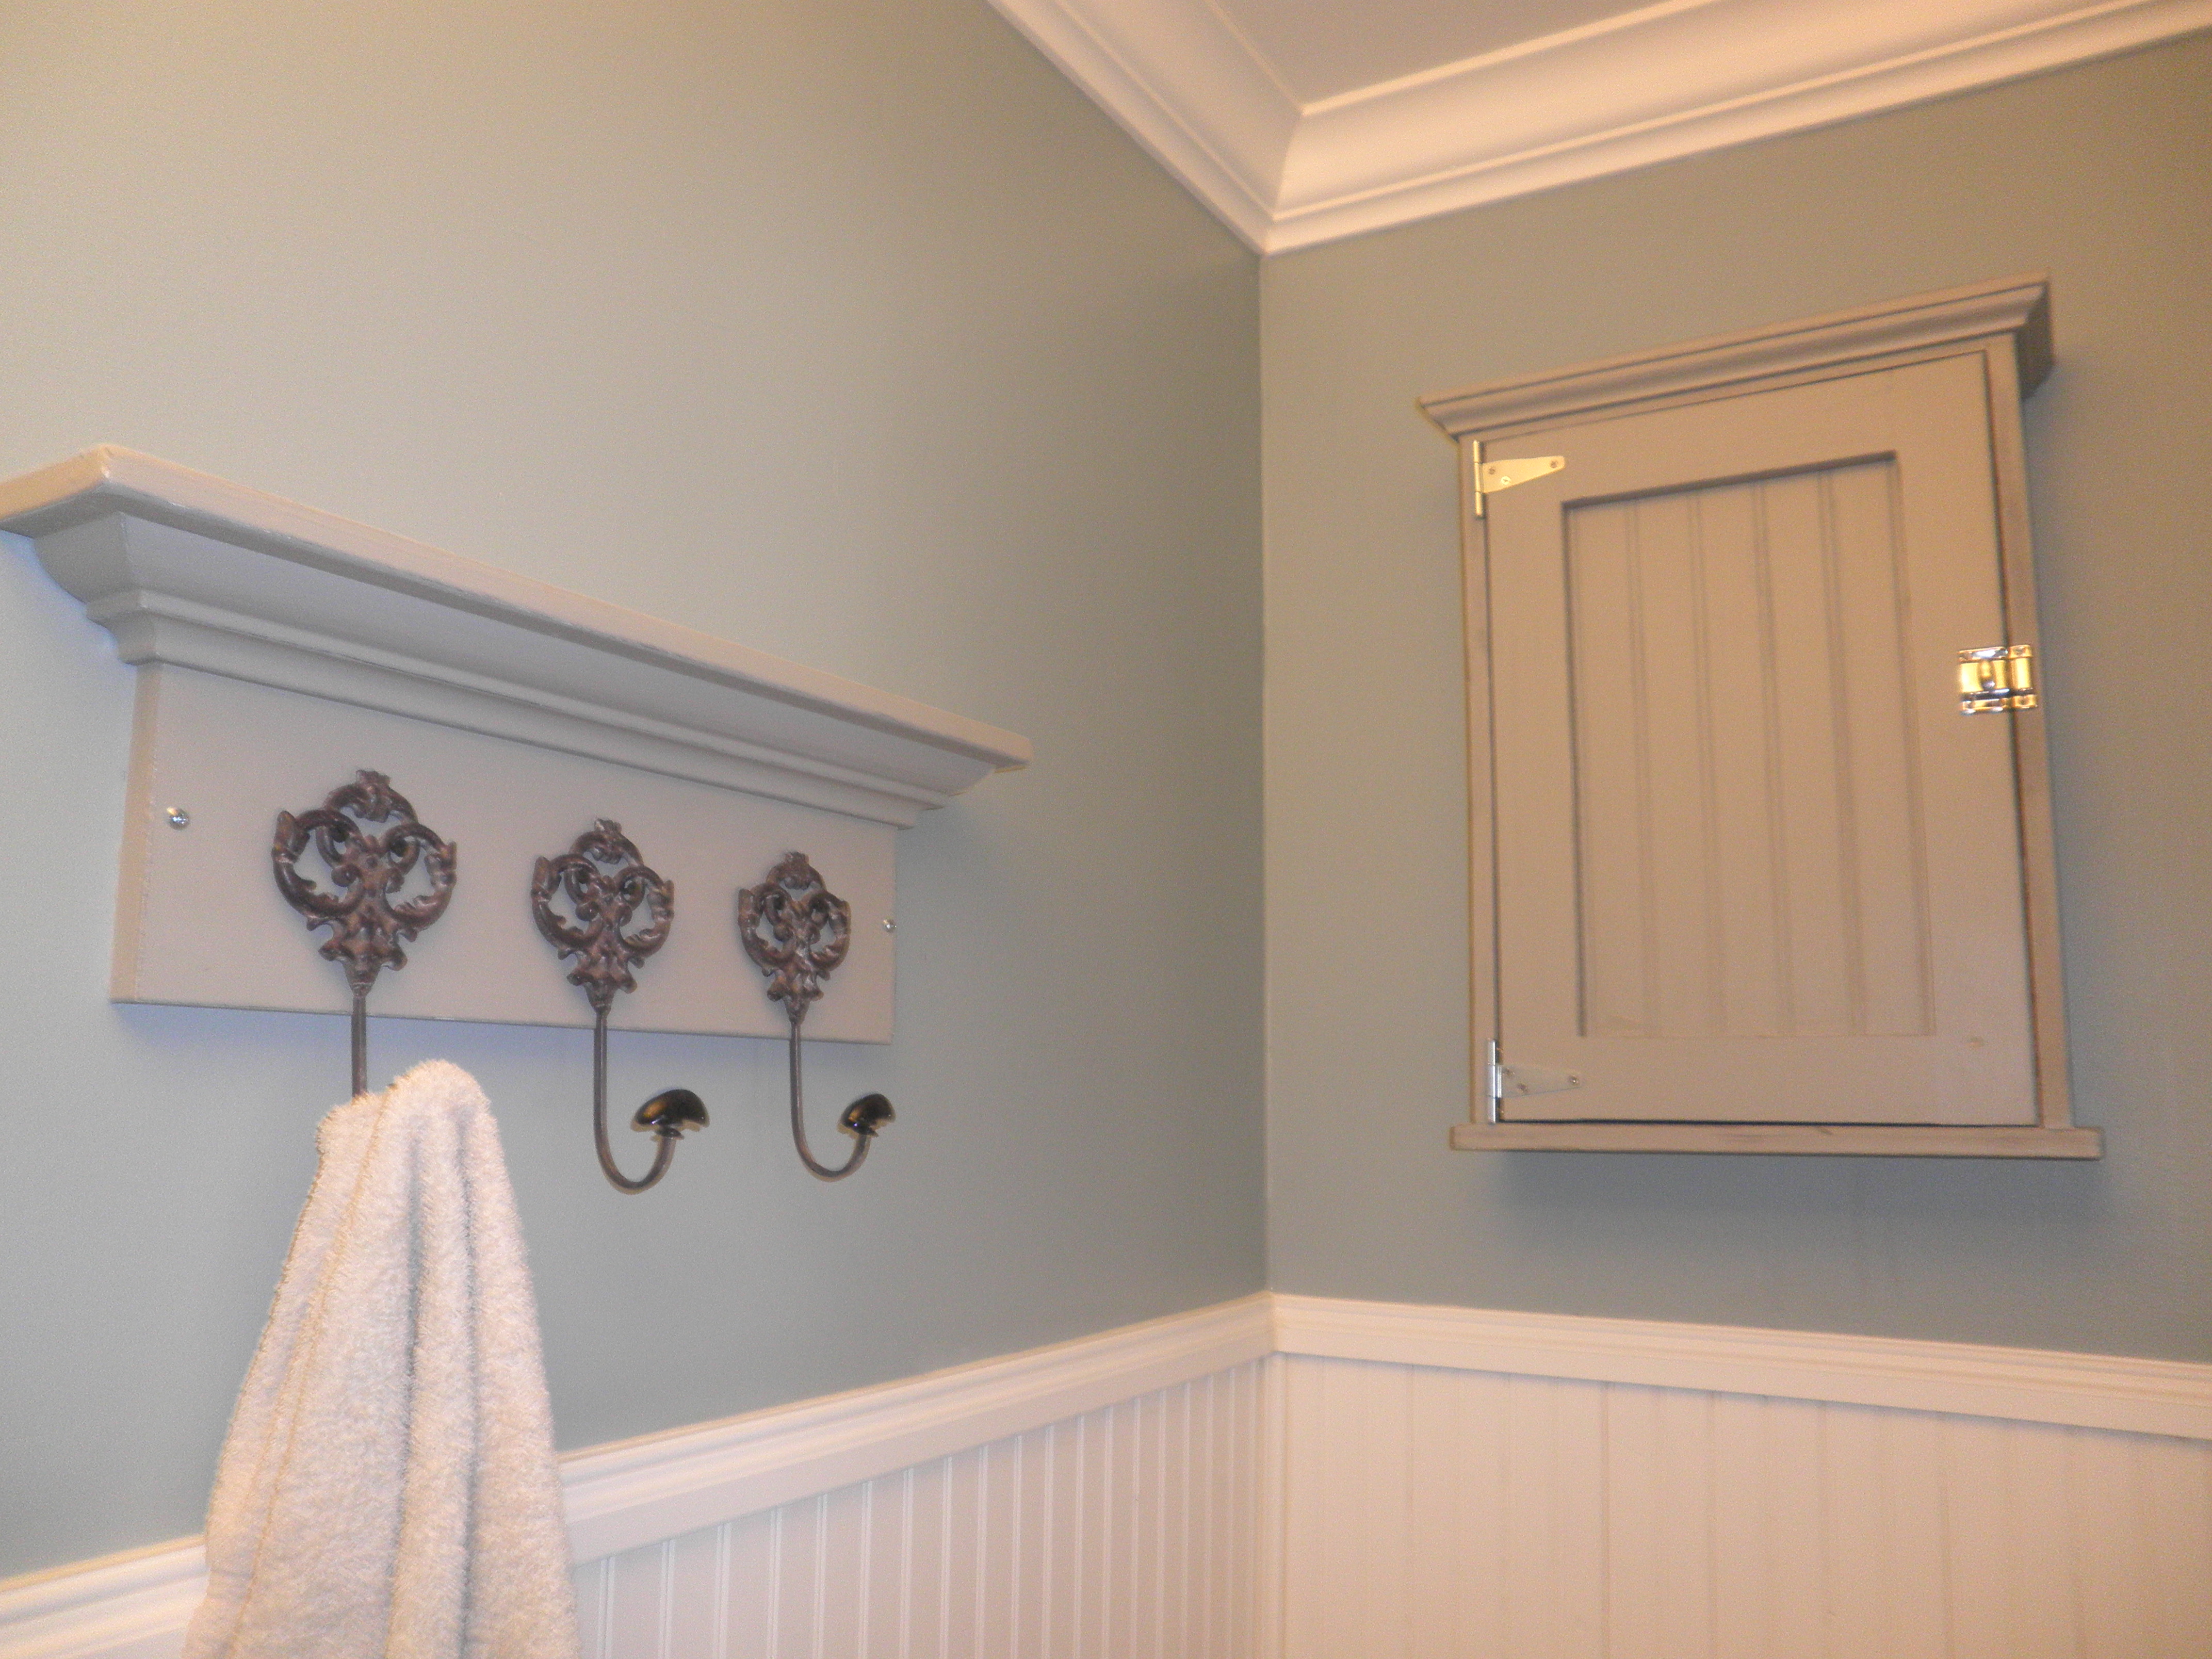
I used the jewelry cabinet as inspiration by adding crown moulding to the top and b-board to the door and changing the measurements.
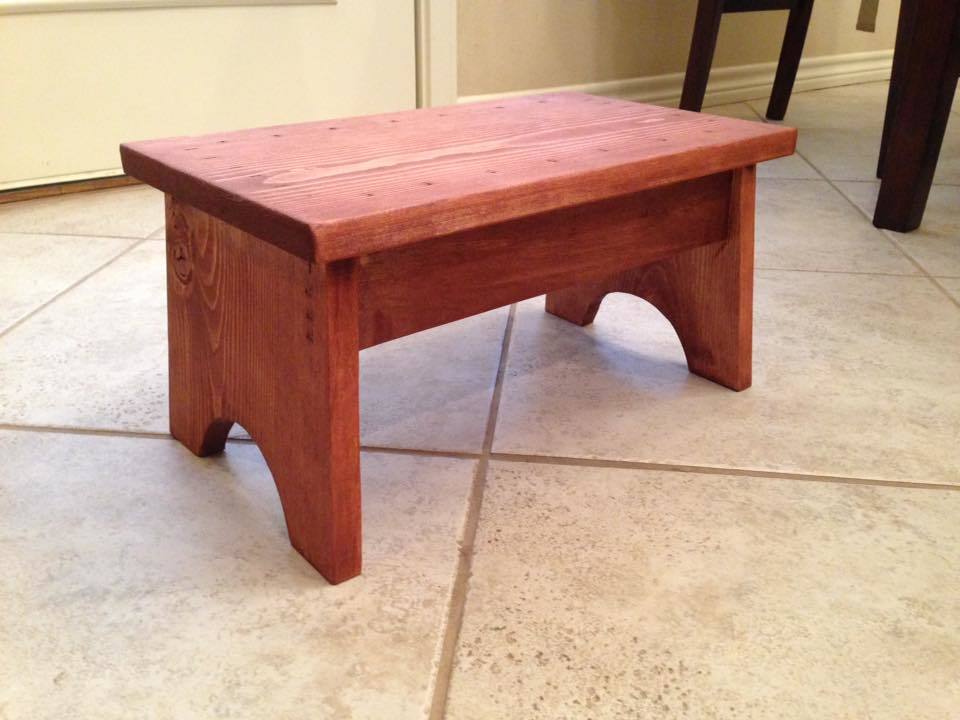
I am really new at this woodbuilding thing, but found this and gave it a try.
Turned out quite good in an afternoon.
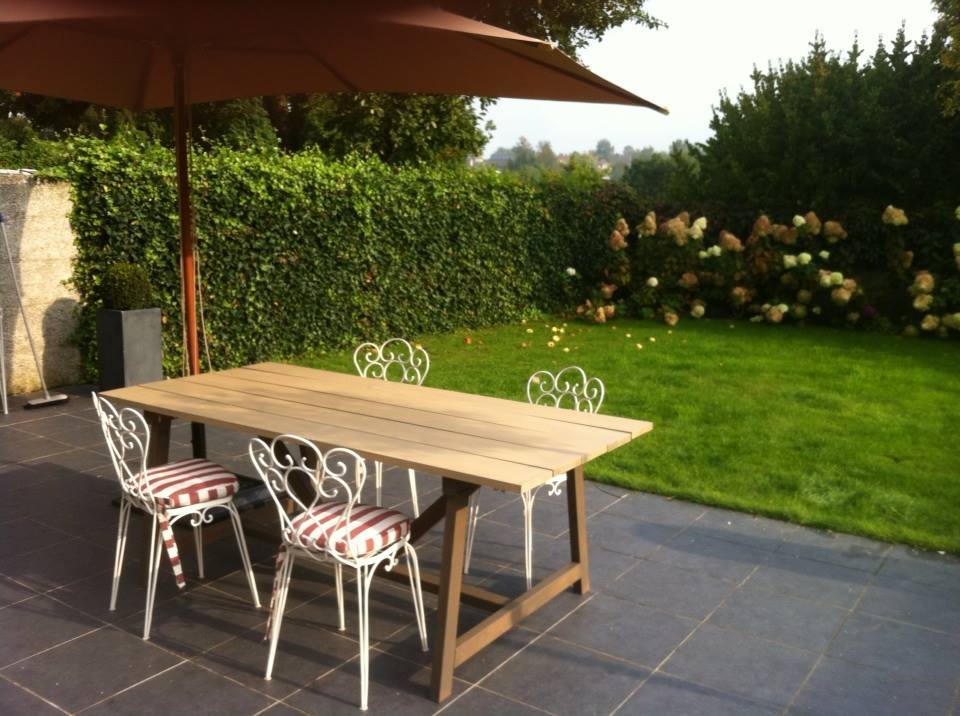
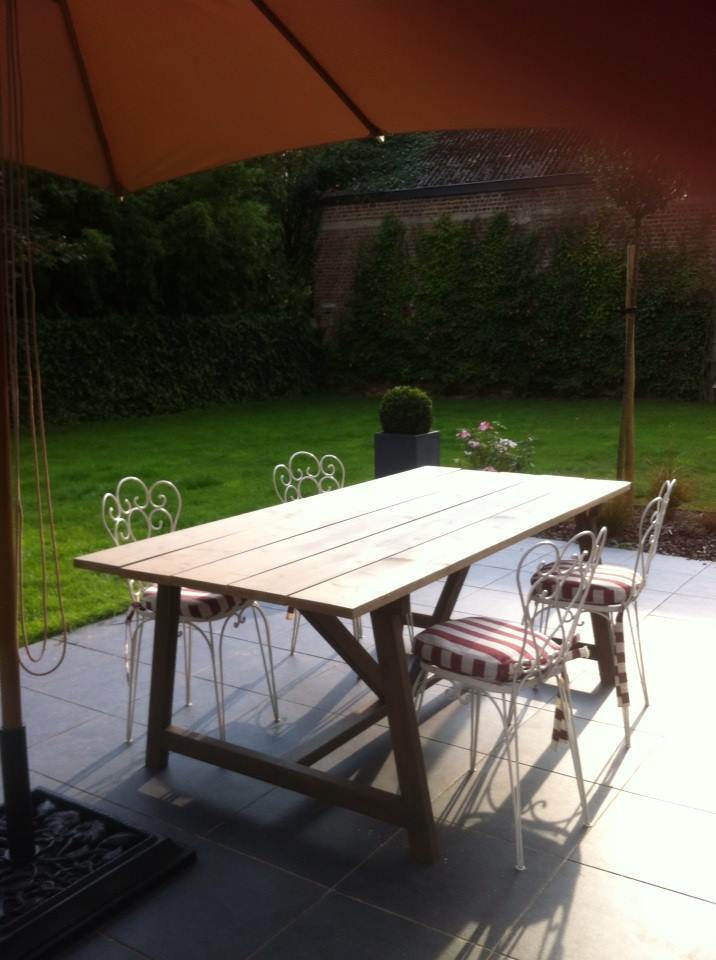
I did not use a Kreg Jig as I live in belgium (Europe), but Wolfcraft has a similar kind of tool, with the advantage of showing the mesurements in cm instead of inches.
Structure : used 69x44cm
Surface : used 150x35cm
Pain : V33 cacao for structure and ivory for surface.

My wife and I traveled to Boston for Thanksgiving with our daughter. While we were there ,we were browsing around Restoration Hardware and stumbled on a loft bed. My daughter fell in love with it, but I was hesitant of the 3300 price tag, thinking how fast she is growing. I decided to do some research and thanks to your site , I have one happy child. It took me about a week and half start to finish and cost me 600 dollars in all materials , a few miscellaneous tools, and a new mattress . It was fun to build , plans were accurate , and the completed project is flawless. Thank you for your help!!! Bianco Family
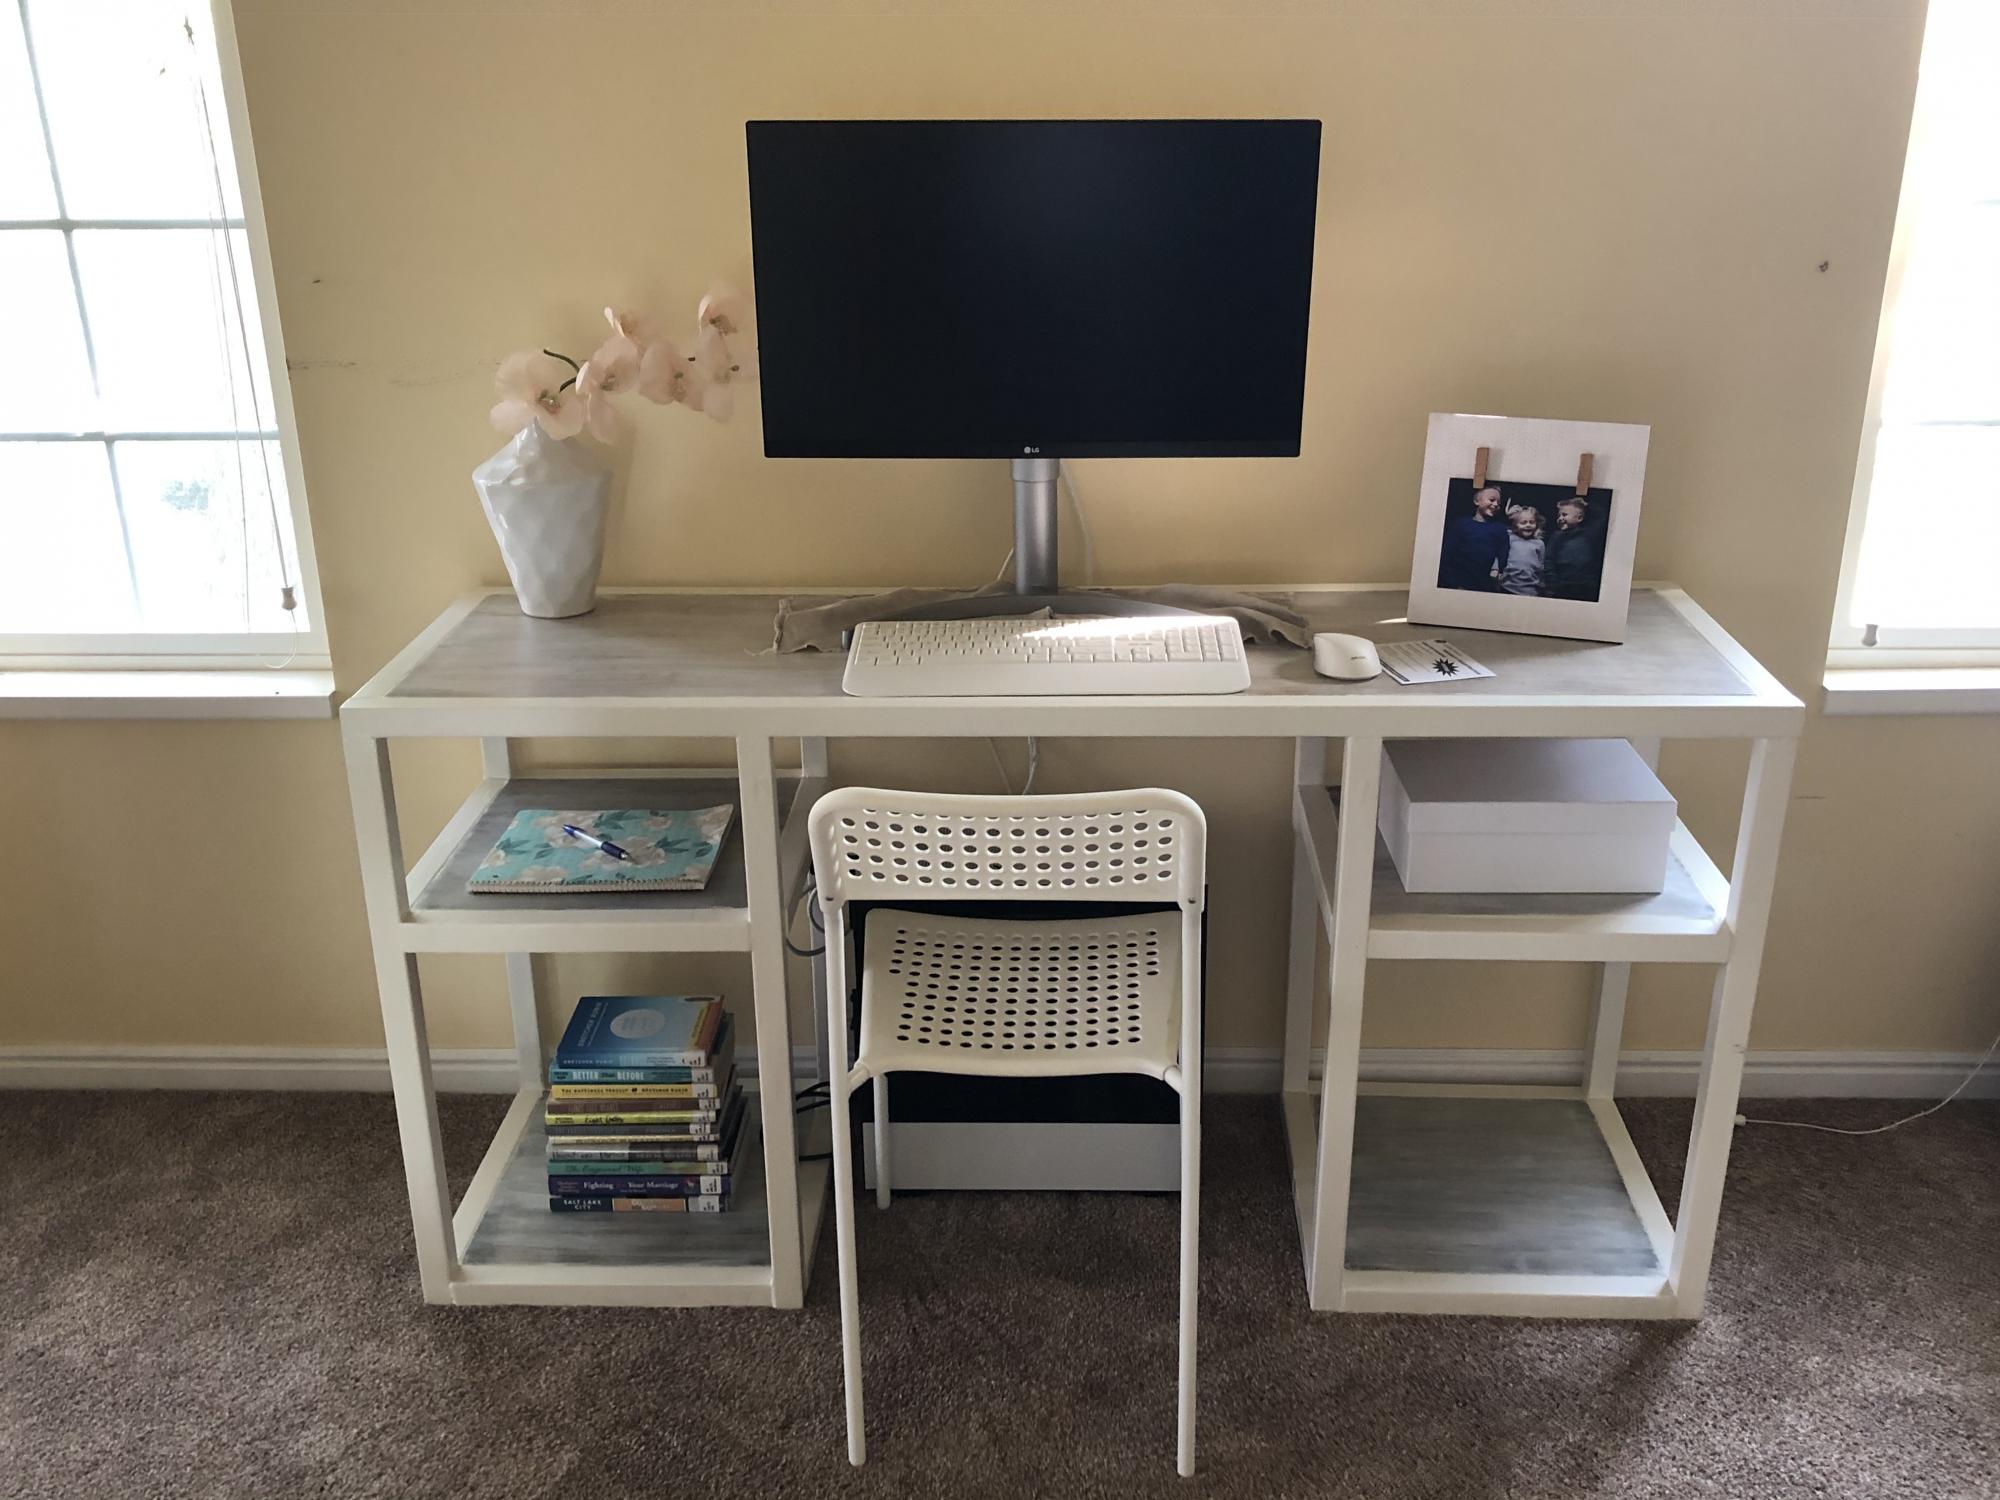
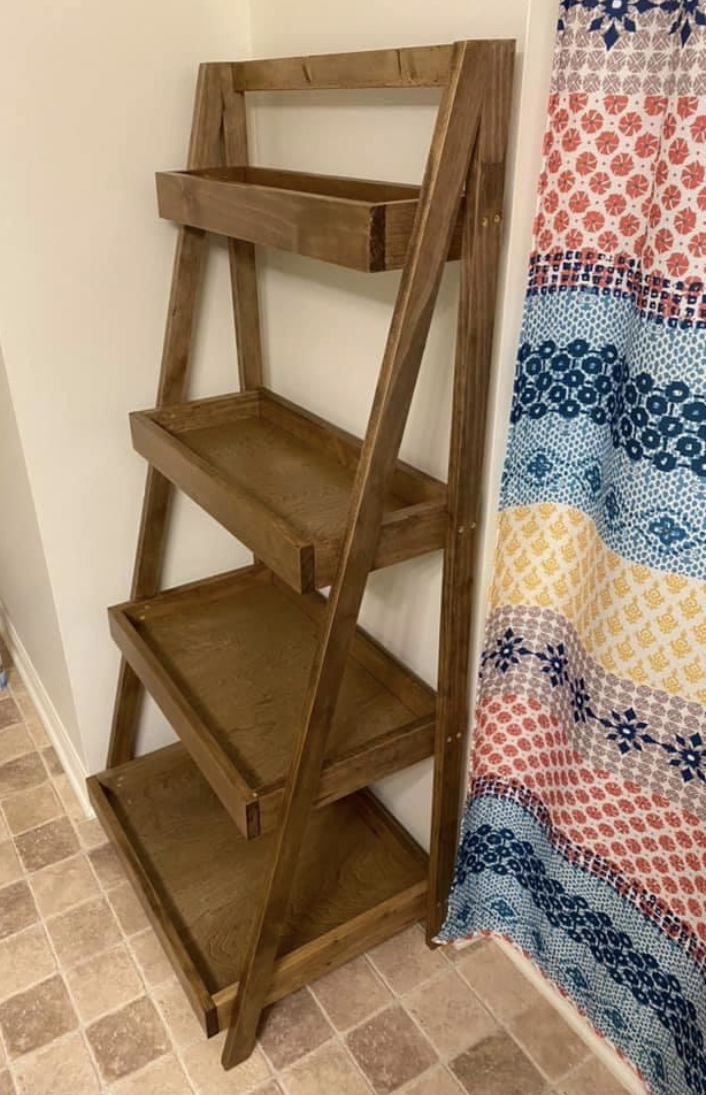
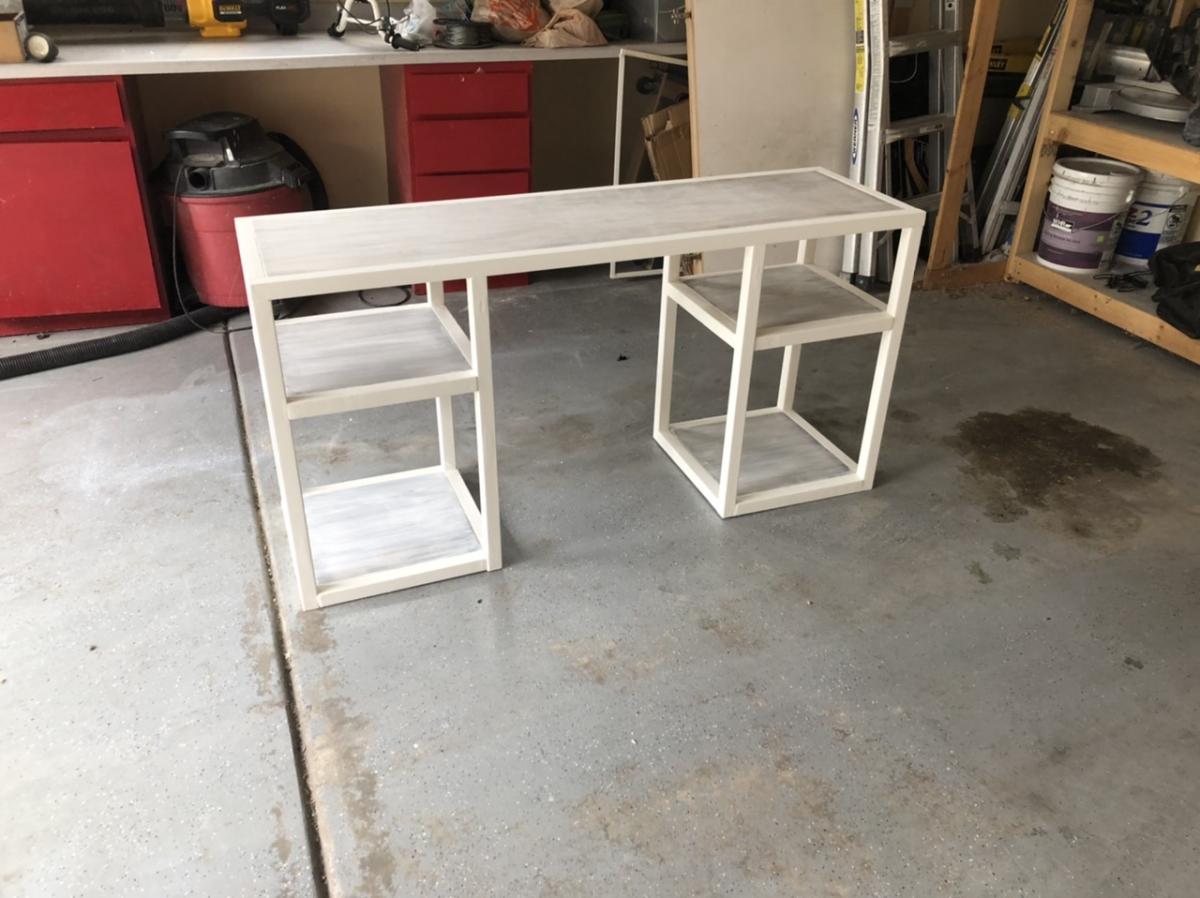
This was my first woodworking project. And even though it took me much, much longer than the afternoon Ana White said she built it in, I’m still happy with how it turned out.
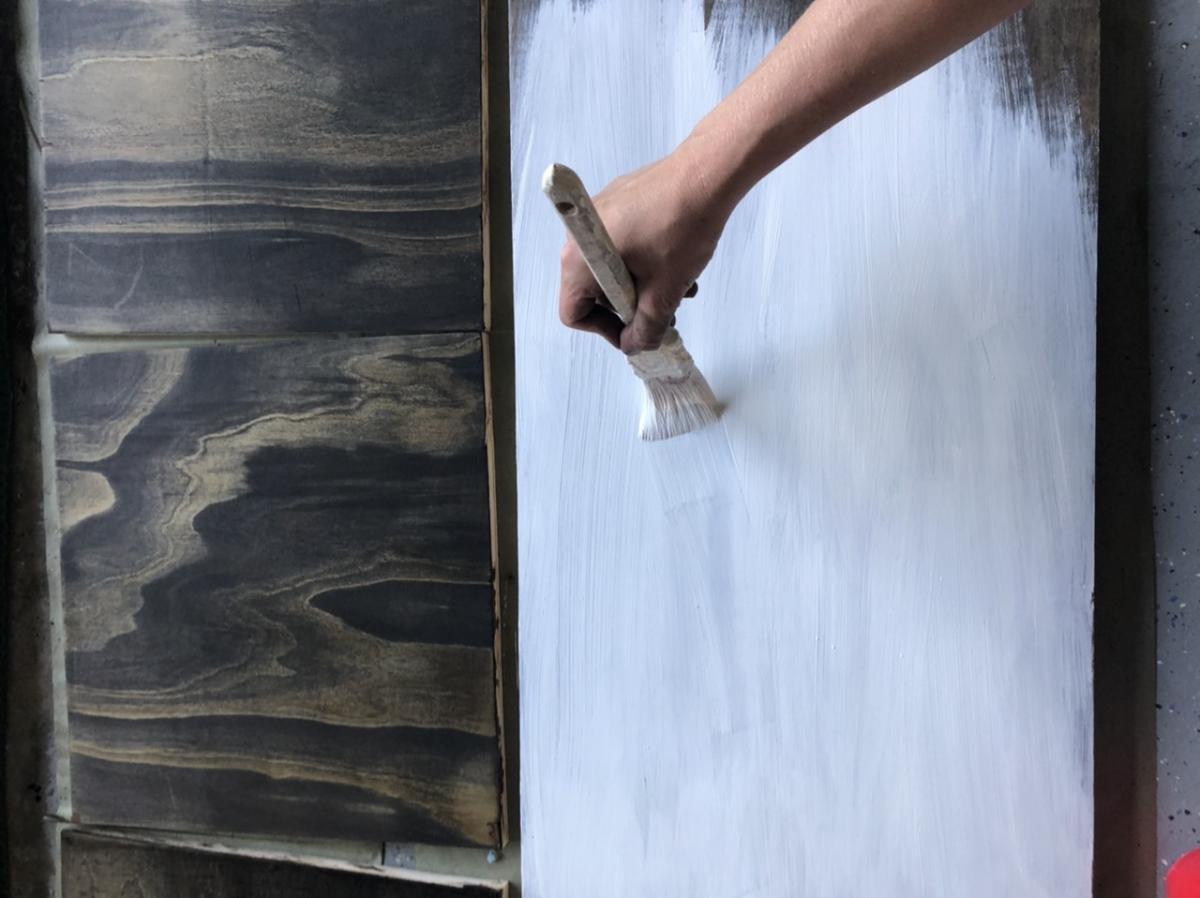
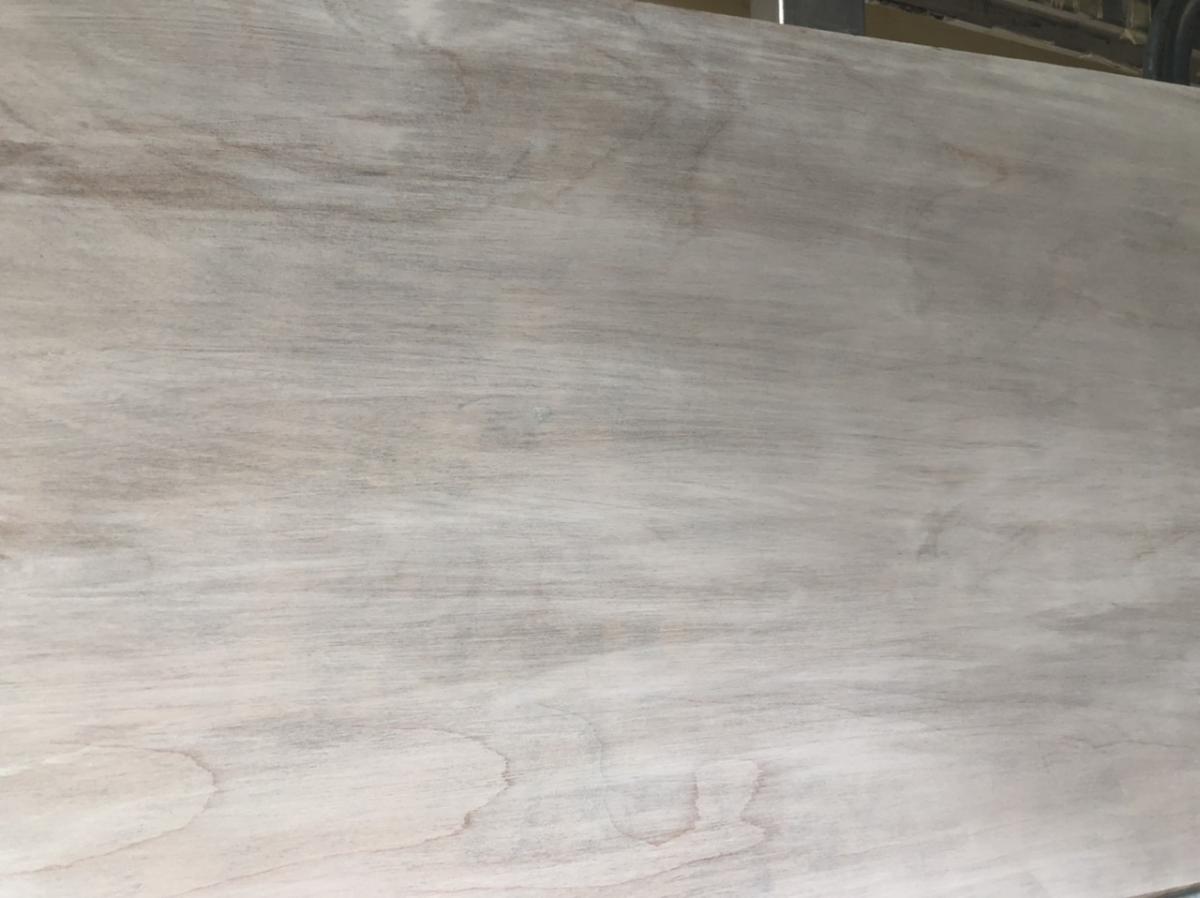
I changed the plans just a bit because I chose to make the shelves higher up, rather than even, so that I could have larger spaces and smaller spaces to store things. I also tried to match a two-toned look that a few pieces of our furniture already had by making the top and the shelves a different tone than the edging. The “weathered” wood I managed to create was more gray than the inspiration pieces, but they tie together well enough. I’m sure that trying to match that look was one big reason it took me so much longer than I expected, since I couldn’t assemble the desk and then paint the wood since I would risk painting or staining the wrong surfaces. Also, I made a bunch of rookie mistakes that I had to try to correct and that ate up time as well.
This project only cost about $35 since my husband has all the tools I could possibly need, plus had several large pieces of wood left over from home remodeling I was able to use for the top and shelves. We had leftover paint and leftover stain I was able to use as well, and he even had a kreg jig and pocket hole screws. Really all I had to buy were the 2x2’s for the legs and edging, plus some cheap plaster of Paris to make homemade “chalk” paint.
It is so amazing to look at this and realize that I made it. It’s a pretty big feeling of accomplishment, and I love the open clean lines of the desk as well as the fact I was able to match furniture I had in a way that wouldn’t be possible at this point with a store-bought desk. Thanks, Ana!
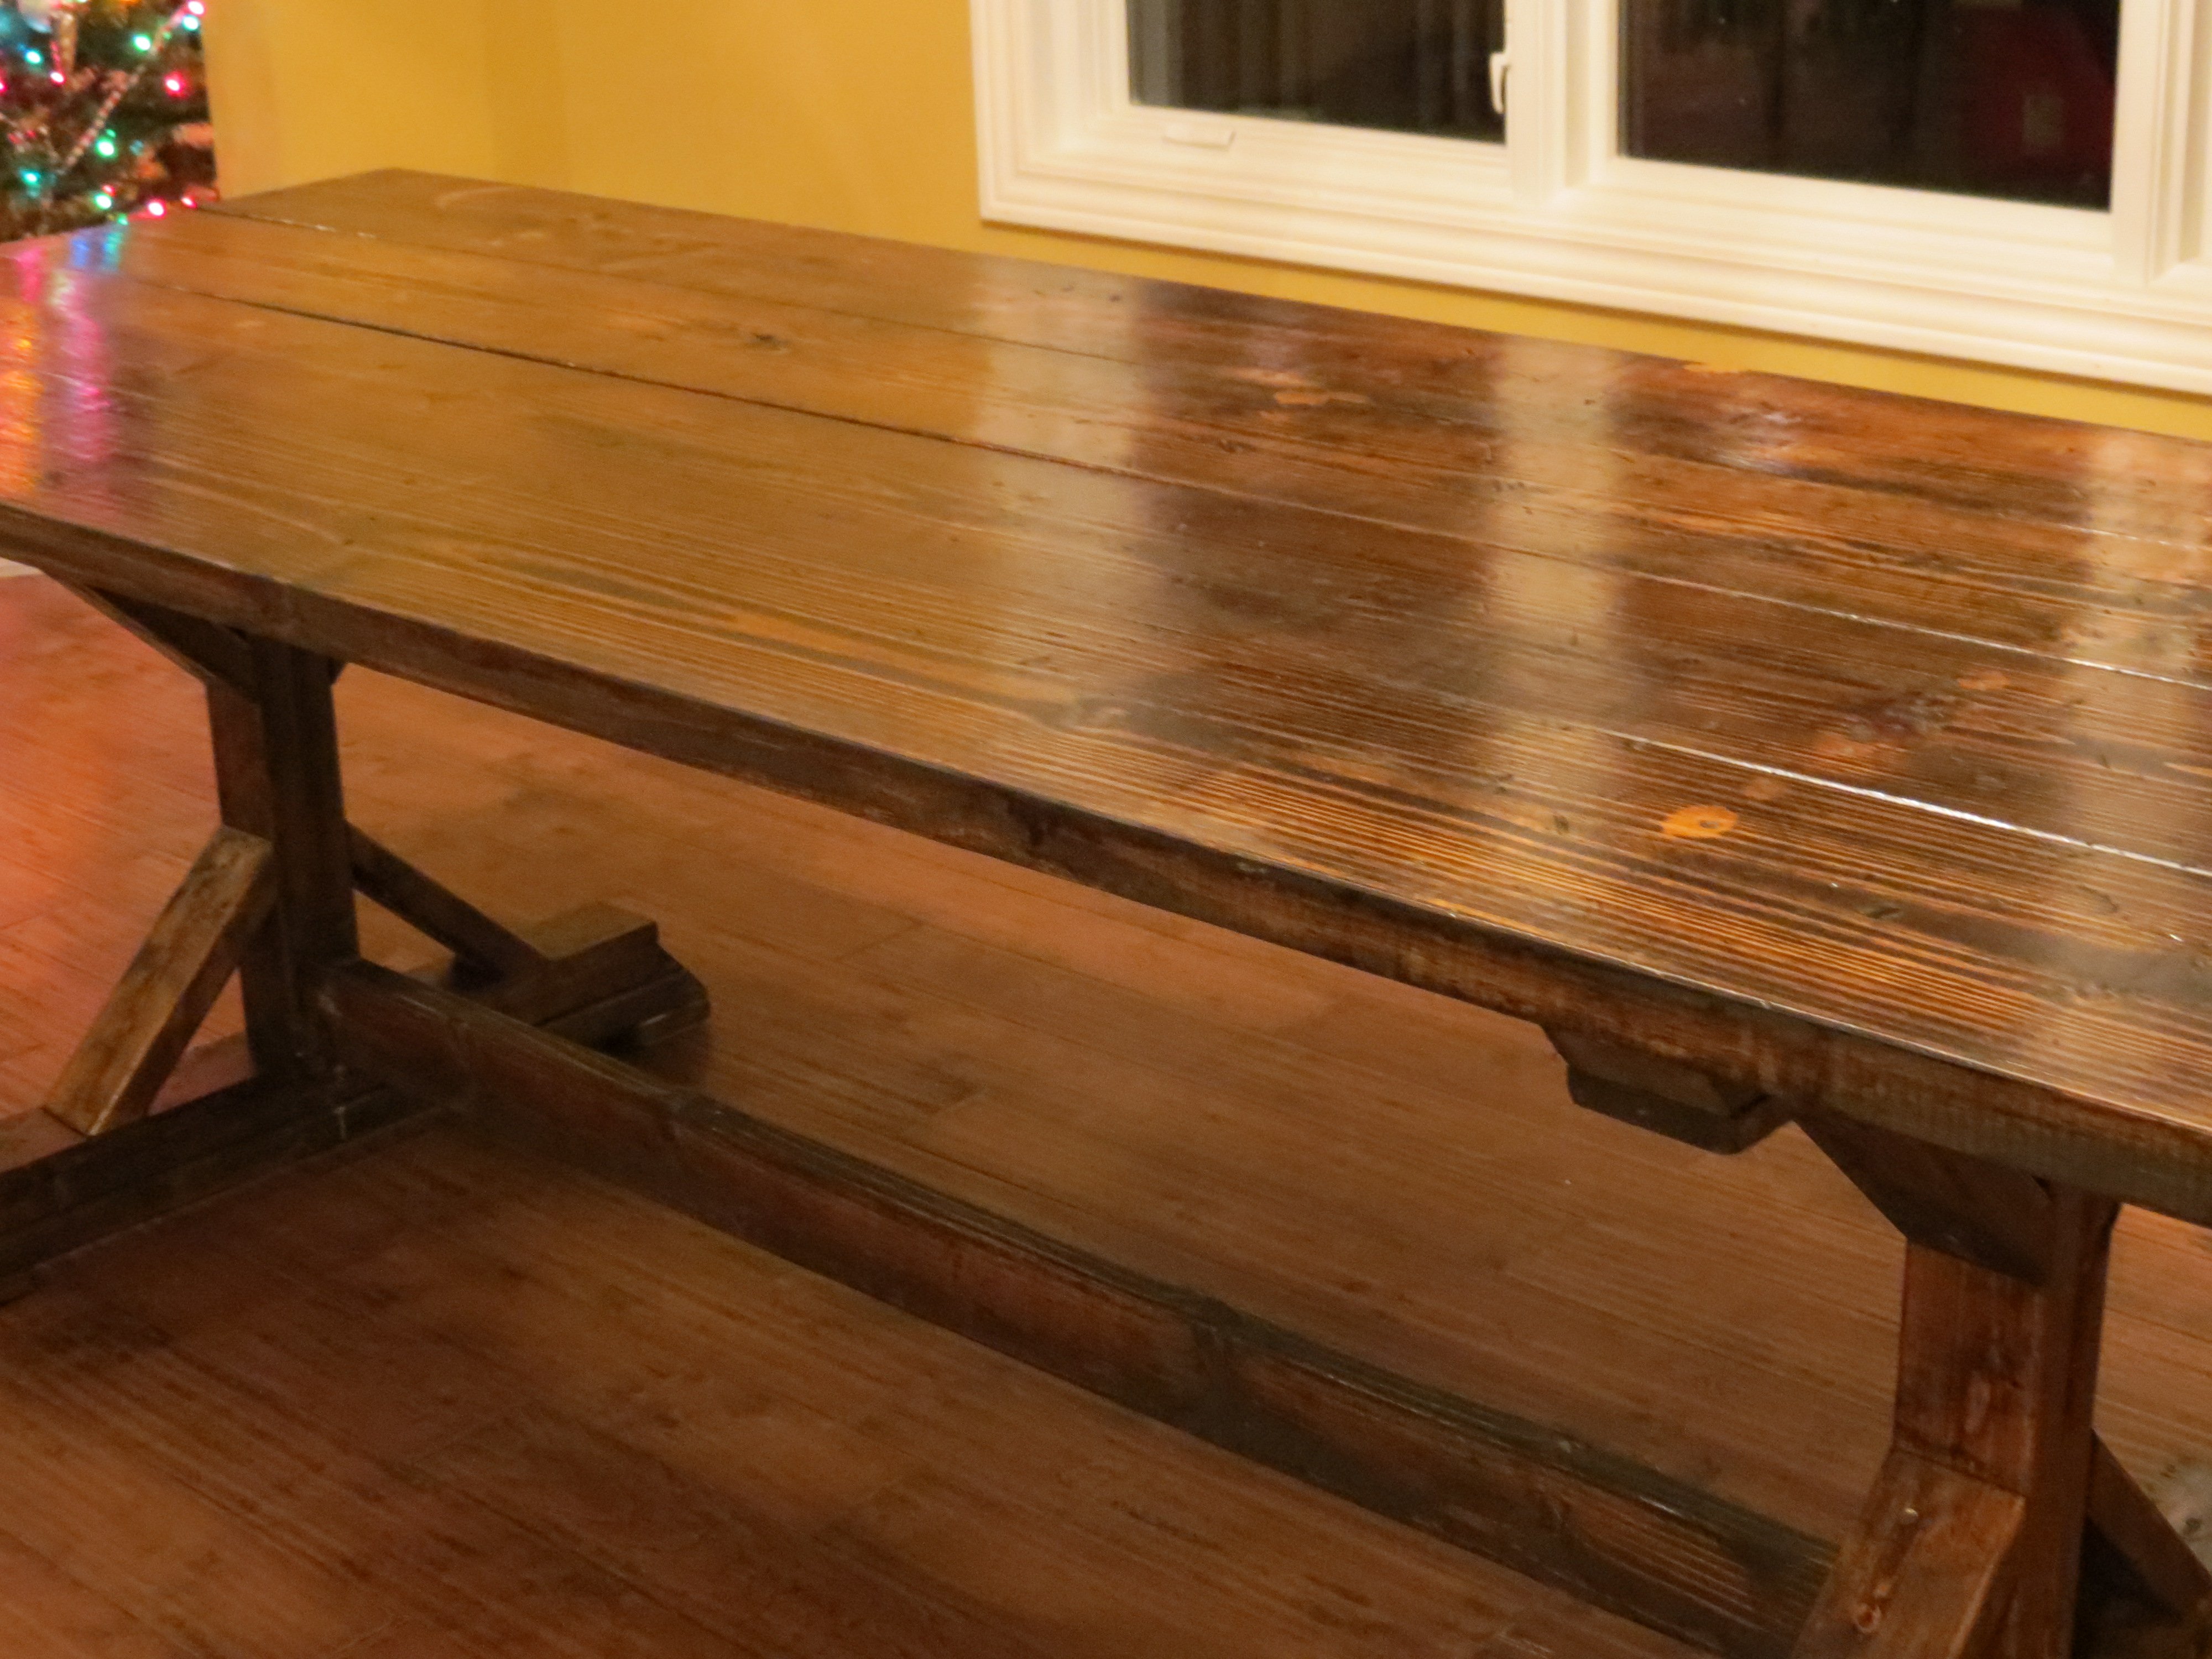
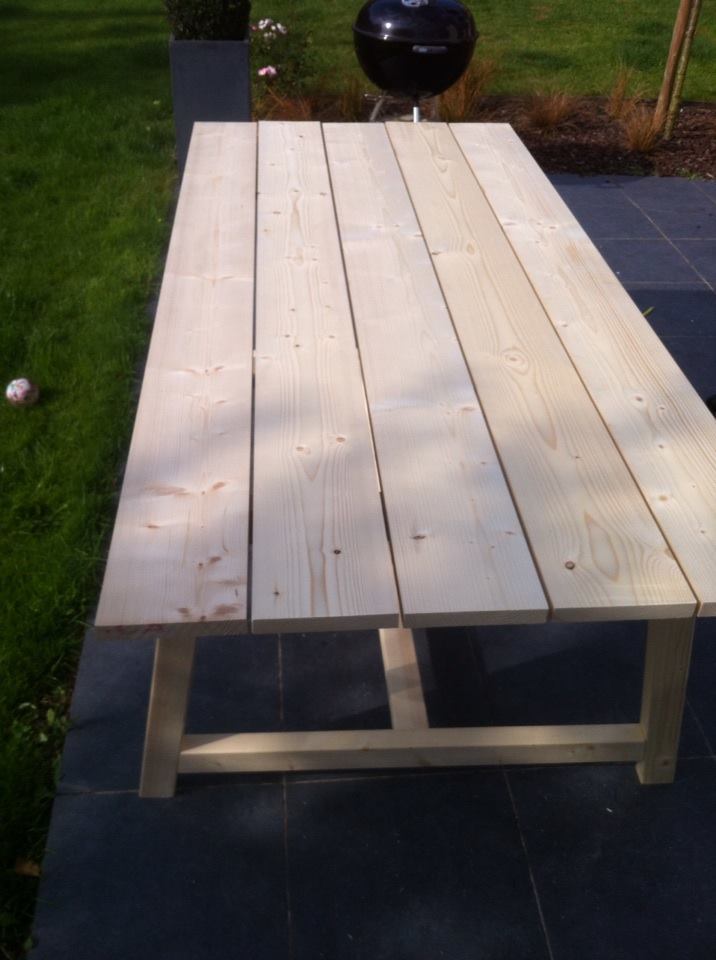
We built this table over one weekend and did the finish work another weekend. We are in the middle of building our home so the table project took a back seat for awhile but we are happy with the result in the end! Could be done all in one weekend without an issue.
You can read about it and see lot's more photos here:
http://letsjustbuildahouse.blogspot.com/2012/12/diy-rustic-farmhouse-ta…
and I'm sure I will be posting more photos with hopefully a bench soon too on:
http://letsjustbuildahouse.blogspot.com/
thanks for the plans can't wait to see what I can talk my husband into next from Ana's site!
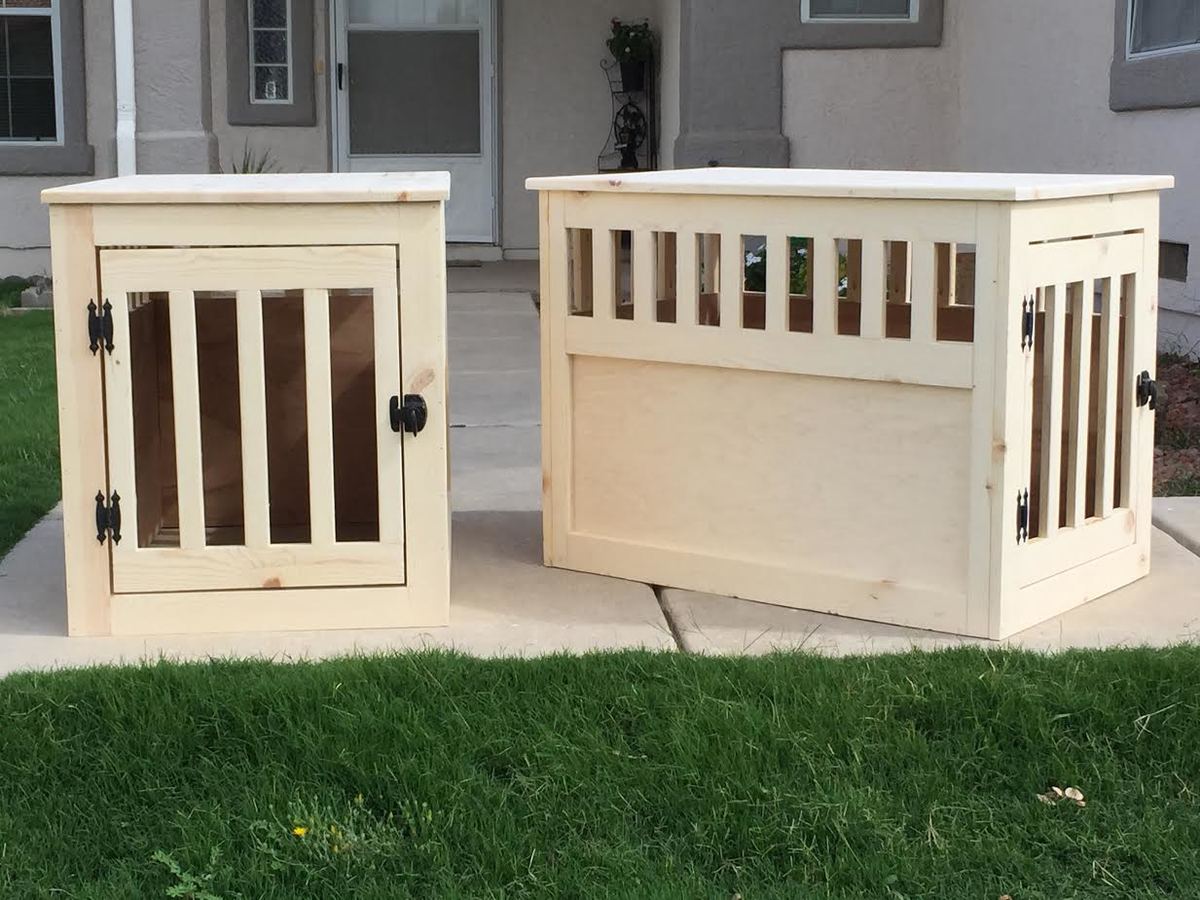
Someone on Facebook reached out to me after seeing a gallery of some items I've built from this site. She asked if I could build a couple of the large pet kennel end tables from the plans posted here. This is the final result. This was a very fun project.
I slightly modified this one from the original plans by rounding off the cutout in the legs.

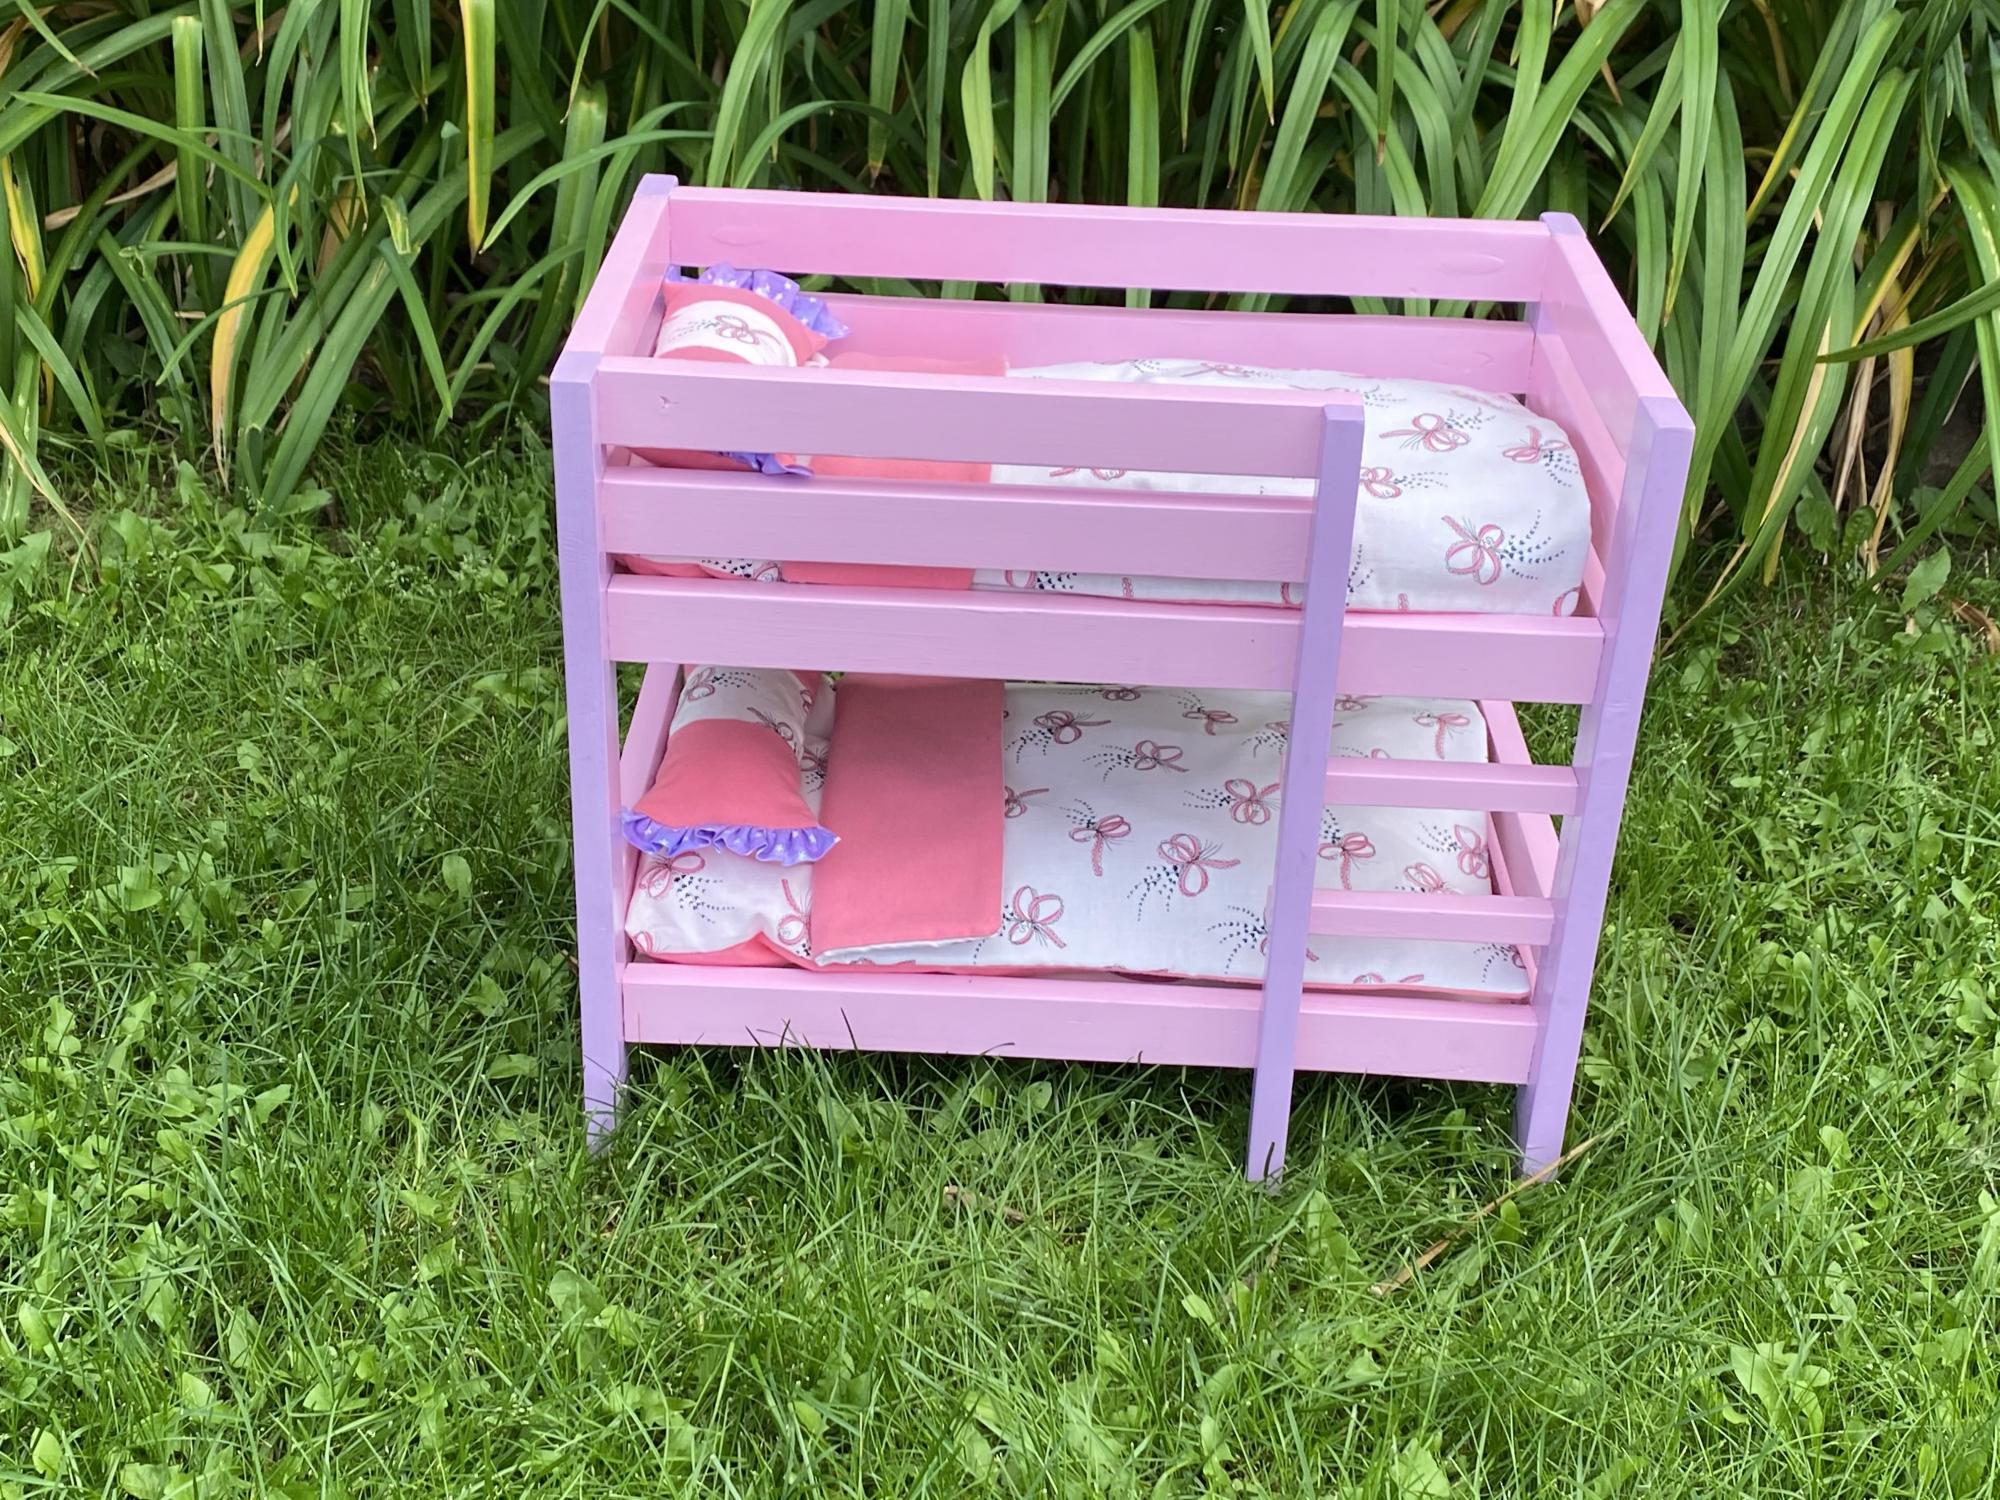
Second bunk bed, made for my great-niece’s third birthday. She has a one year old sister as well, and their names both start with “K”. Bedding created by Great Gramma; there were little Purple Heart pillows that matched the ruffle. I definitely benefitted from my experience in building the first one. Thanks Ana!

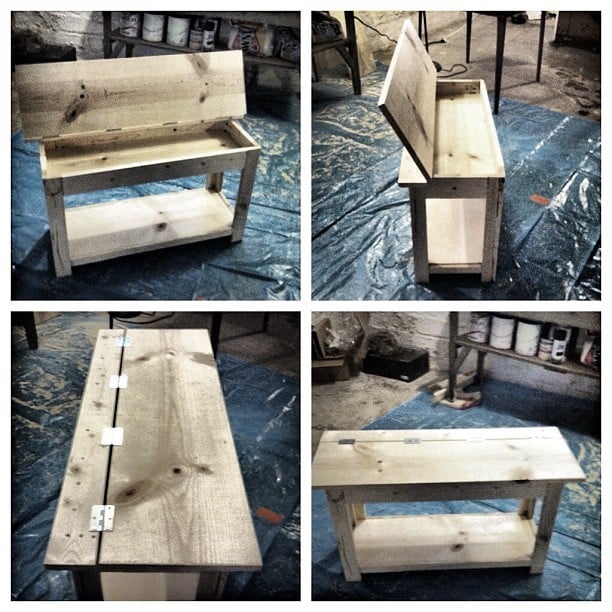
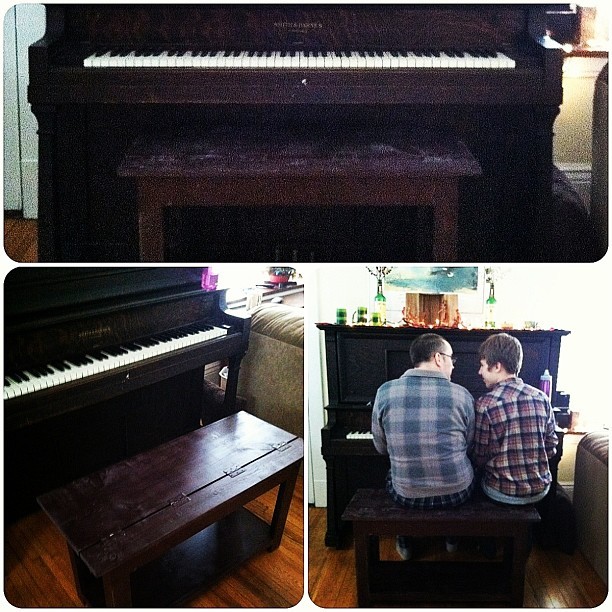
This was my first DIY build. Having been inspired by my good friend, the brilliant Jen Woodhouse of The House of Wood, I decided surely I could do this too. So I picked something that looked like a challenge, but that we also needed. We have an old piano we bought from Craigslist that has heretofore been benchless. So I used the Flip Top Storage Bench plans, headed to Home Depot, collected the wood (and let them cut it - but made a few of my own cuts, too), and got to work.
I had a little trouble at first, simply because, after assembling the sides and aprons, the unit did NOT square up. I took a few pieces apart and realized it wasn't user error (what?), but warped wood. That's right: one of my 1x3s was warped and bendy. So I rebuilt that side with some of my leftovers, and made sure to square up after each step, and lo and behold it came together!
It's not perfect - one of my legs is a bit off, so it wobbles when no one's sitting on it, but there's no issue when it bears weight - but for my first build, I'm quite pleased! And now that I know I can do this...well, this is just the beginning!
Total time it took me was probably around 15 hours, which includes practicing using my circular saw and kreg jig (both of which were straight out of the box when I started), along with my rebuilding the side.
I used Minwax pre-stain wood conditioner after sanding, followed by two coats of Rustoleum spray stain in Kona. I sanded with 400 grit sand paper after each coat of stain, and finished with one coat of semi-gloss polyurethane. I considered a few more coats of stain, but so fell in love with the weathered look that evolved from the staining and sanding that I just left it!
I also spray painted the hinges - that was a bit of an accident (I didn't know how NOT to cover them in stain...), but turned out to my liking!
My estimated cost is about $100, which covers the wood (including the extra 1x3s and an extra 1x2 I needed for a screw-up), nails, screws, three cans of spray stain, polyurethane, wood conditioner, paint brushes, two packs of sandpaper, and my hand sander. All but the wood will be used in my next few projects too, so that cost covers QUITE a bit!
Wed, 01/30/2013 - 08:19
Hey Angela,
The Kreg Jig is a tool that creates pocket hole joints on all your boards - whether you're joining vertical to horizontal pieces, or two horizontal or two vertical, etc.... - and made this build, as my first, INFINITELY easier. You don't *need* the Kreg Jig to build this bench, but Ana recommended it, my good friend Jen Woodhouse, who contributes a lot of plans and builds to this website recommended it, and I highly, highly recommend it. It's about $100, and worth every penny.
Here's the video I used as a tutorial on how to do it. And seriously - it made this job SO much faster than it would have been without the Jig! :)
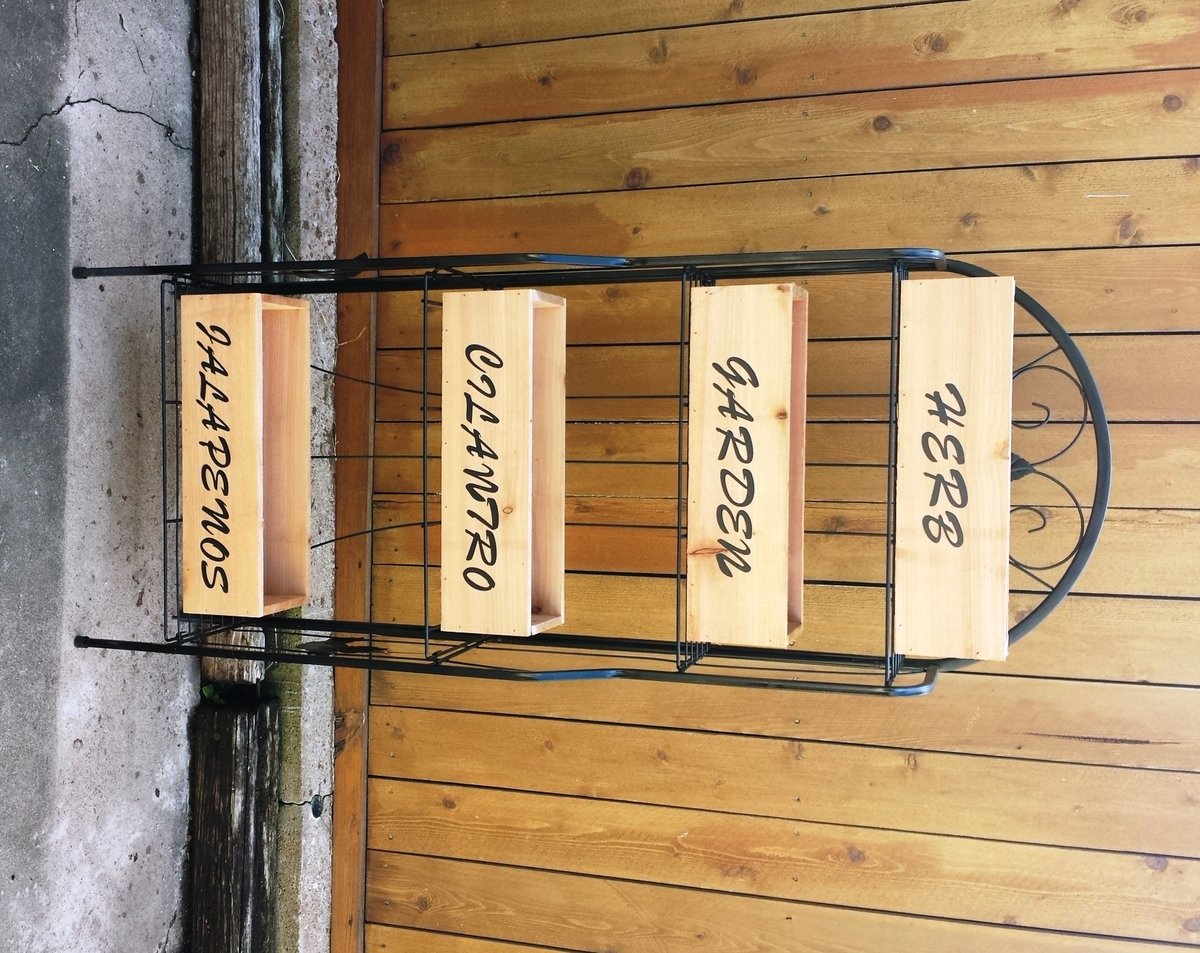
I made these super easy herb planters for my daughter. When I say easy I really mean super simple. I built 4 planters within 1 hour, that includes cutting the wood. I used all cedar pickets from Home Depot. The black rack was sitting under my patio collecting everyone's junk. I decided to use it to stack all the planters. I spruced it up with a little touch of black spray paint. The planters look awesome outside next to the elevated planter I also made. Thanks Ana!! You rock!! 
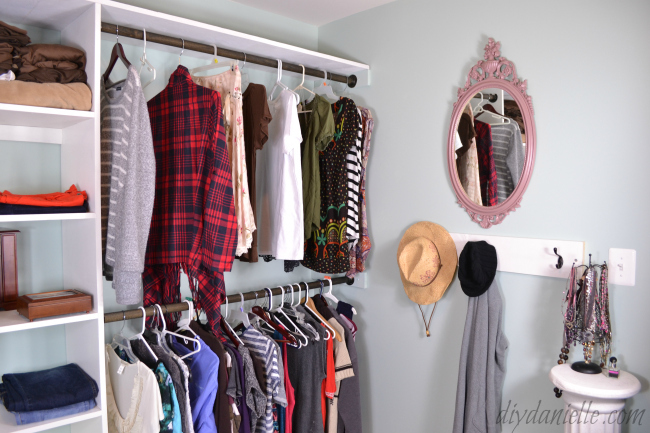
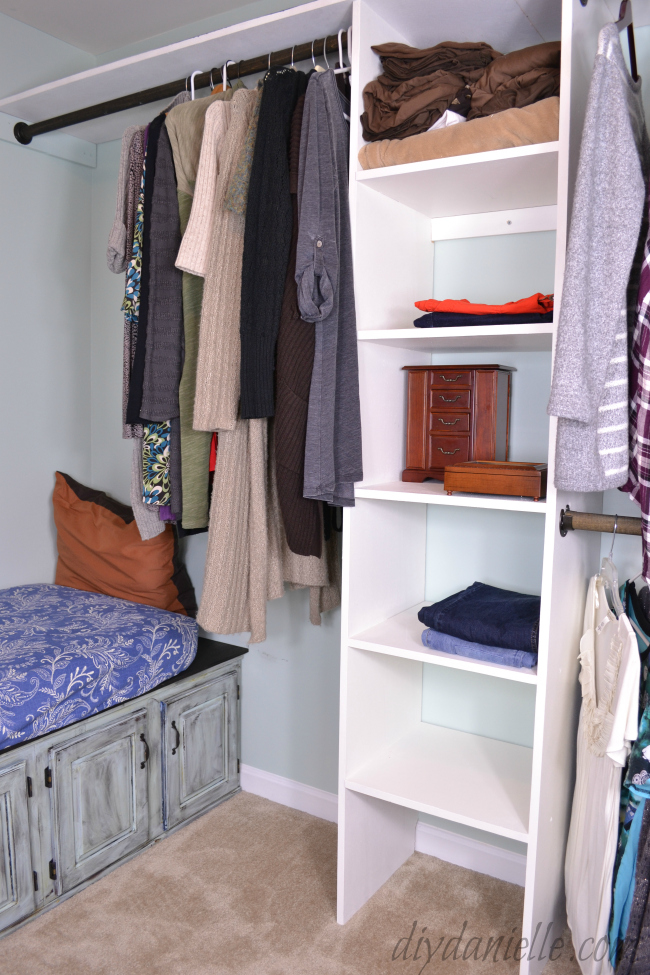
We used the plan about using one sheet of plywood to make a closet organizer (http://www.ana-white.com/2013/03/plans/closet-organizer-one-sheet-plywo…) to make several shelves for our master closet.
We added a seating area with hidden storage, using an upcycled crib mattress for the seat (instead of buying new materials to make a seat cushion).
We added multiple wood dowels for the rods across. There is wood across the top of the whole closet system so we can store things up above.
This project added a lot of extra storage for us and we're so happy with how it came out. The shelves were pretty reasonable to build.
Read more: http://www.diydanielle.com/2017/01/how-to-build-walk-in-closet.html
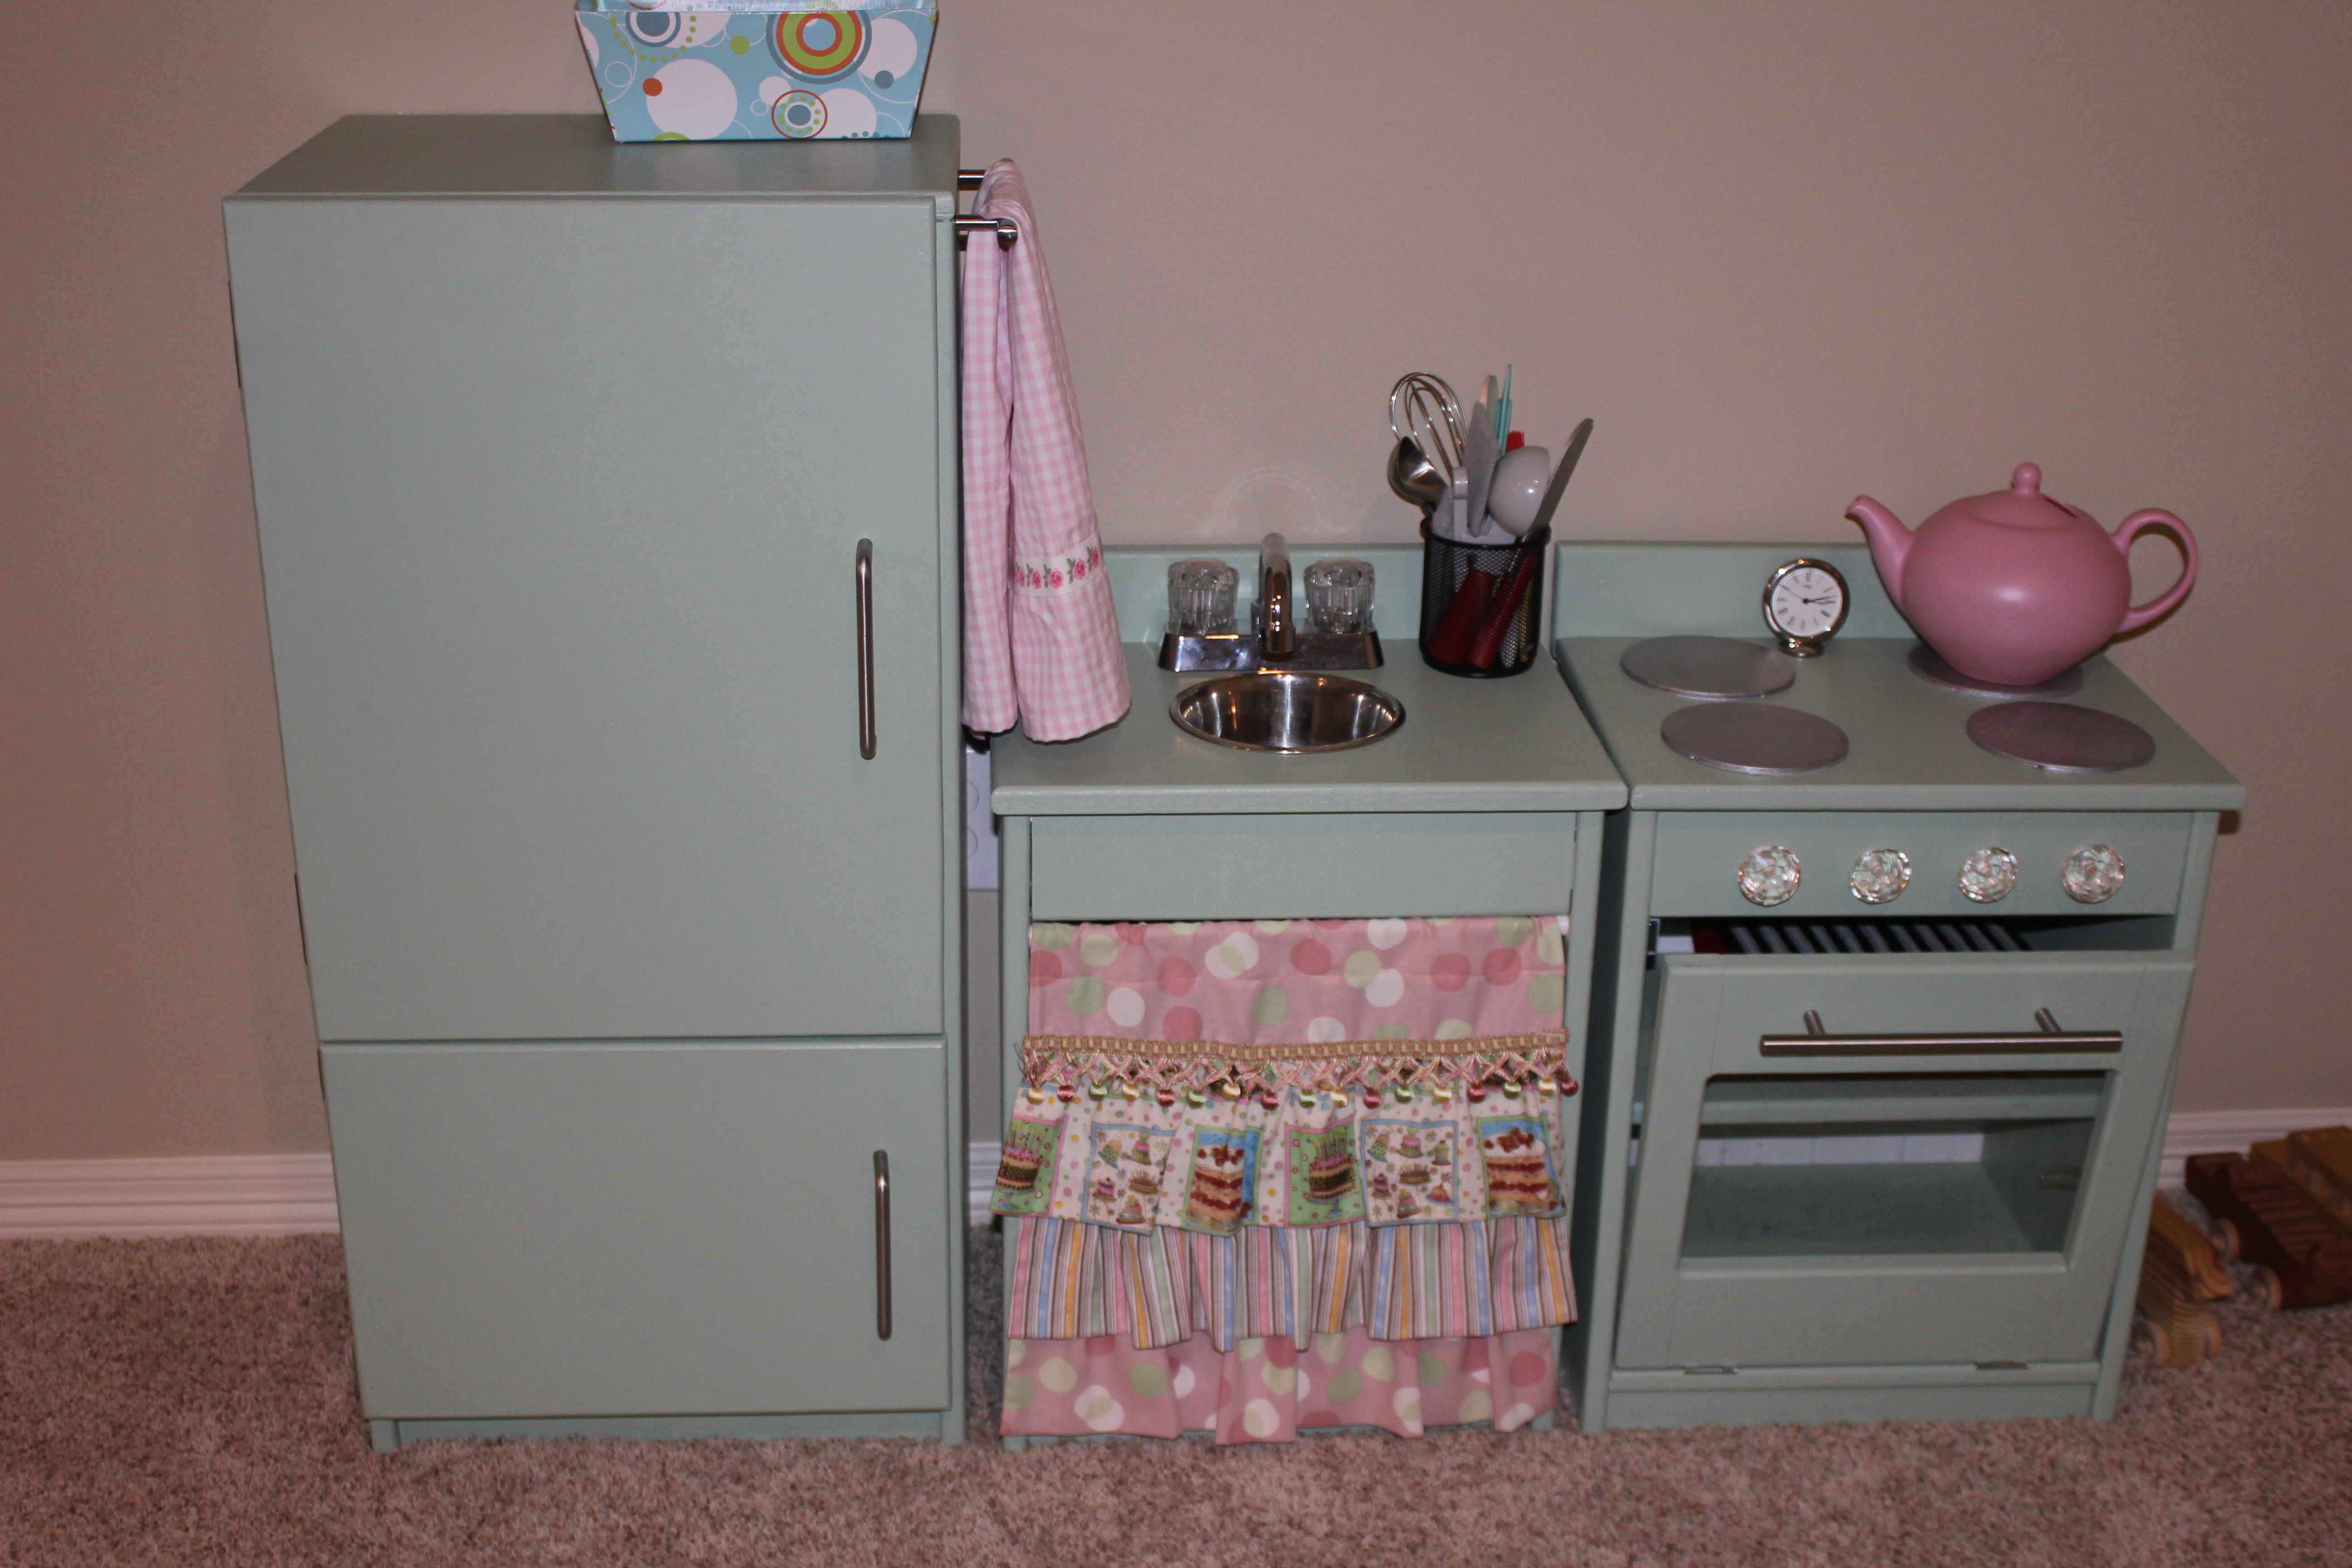
My husband and I built this play kitchen for our 3-year-old daughter. It was only our second project, and we couldn't be prouder of it! We modified the fridge and freezer doors to look more like the "real" one, and used a router on all the edges. My mother-in-law sewed the cute curtain from the plans at http://thecraftingchicks.com/2010/04/giveaway-2-custom-photo-backdrop-a…
We now have plans to add a microwave and dish shelf, and an oven light in the oven. Our daughter and son love playing with it!


Comments
Ana White Admin
Fri, 09/11/2020 - 10:43
Storage galore!
Love your mods and finish choice! Thanks for sharing.
juliefuqua
Tue, 09/15/2020 - 06:51
Did you build the tall…
Did you build the tall cabinet? Do you have plans for it?
Thanks!
heidi4kidz
Sat, 09/19/2020 - 13:17
Here you go! https:/…
Here you go!
https://jaimecostiglio.com/diy-16-drawer-dresser-free-plans/
makermave
Sun, 02/14/2021 - 15:27
Wow! These are amazing!…
Wow! These are amazing! Thanks for sharing! What finish did you use? And how tall did you make the filing cabinet? Thanks!!