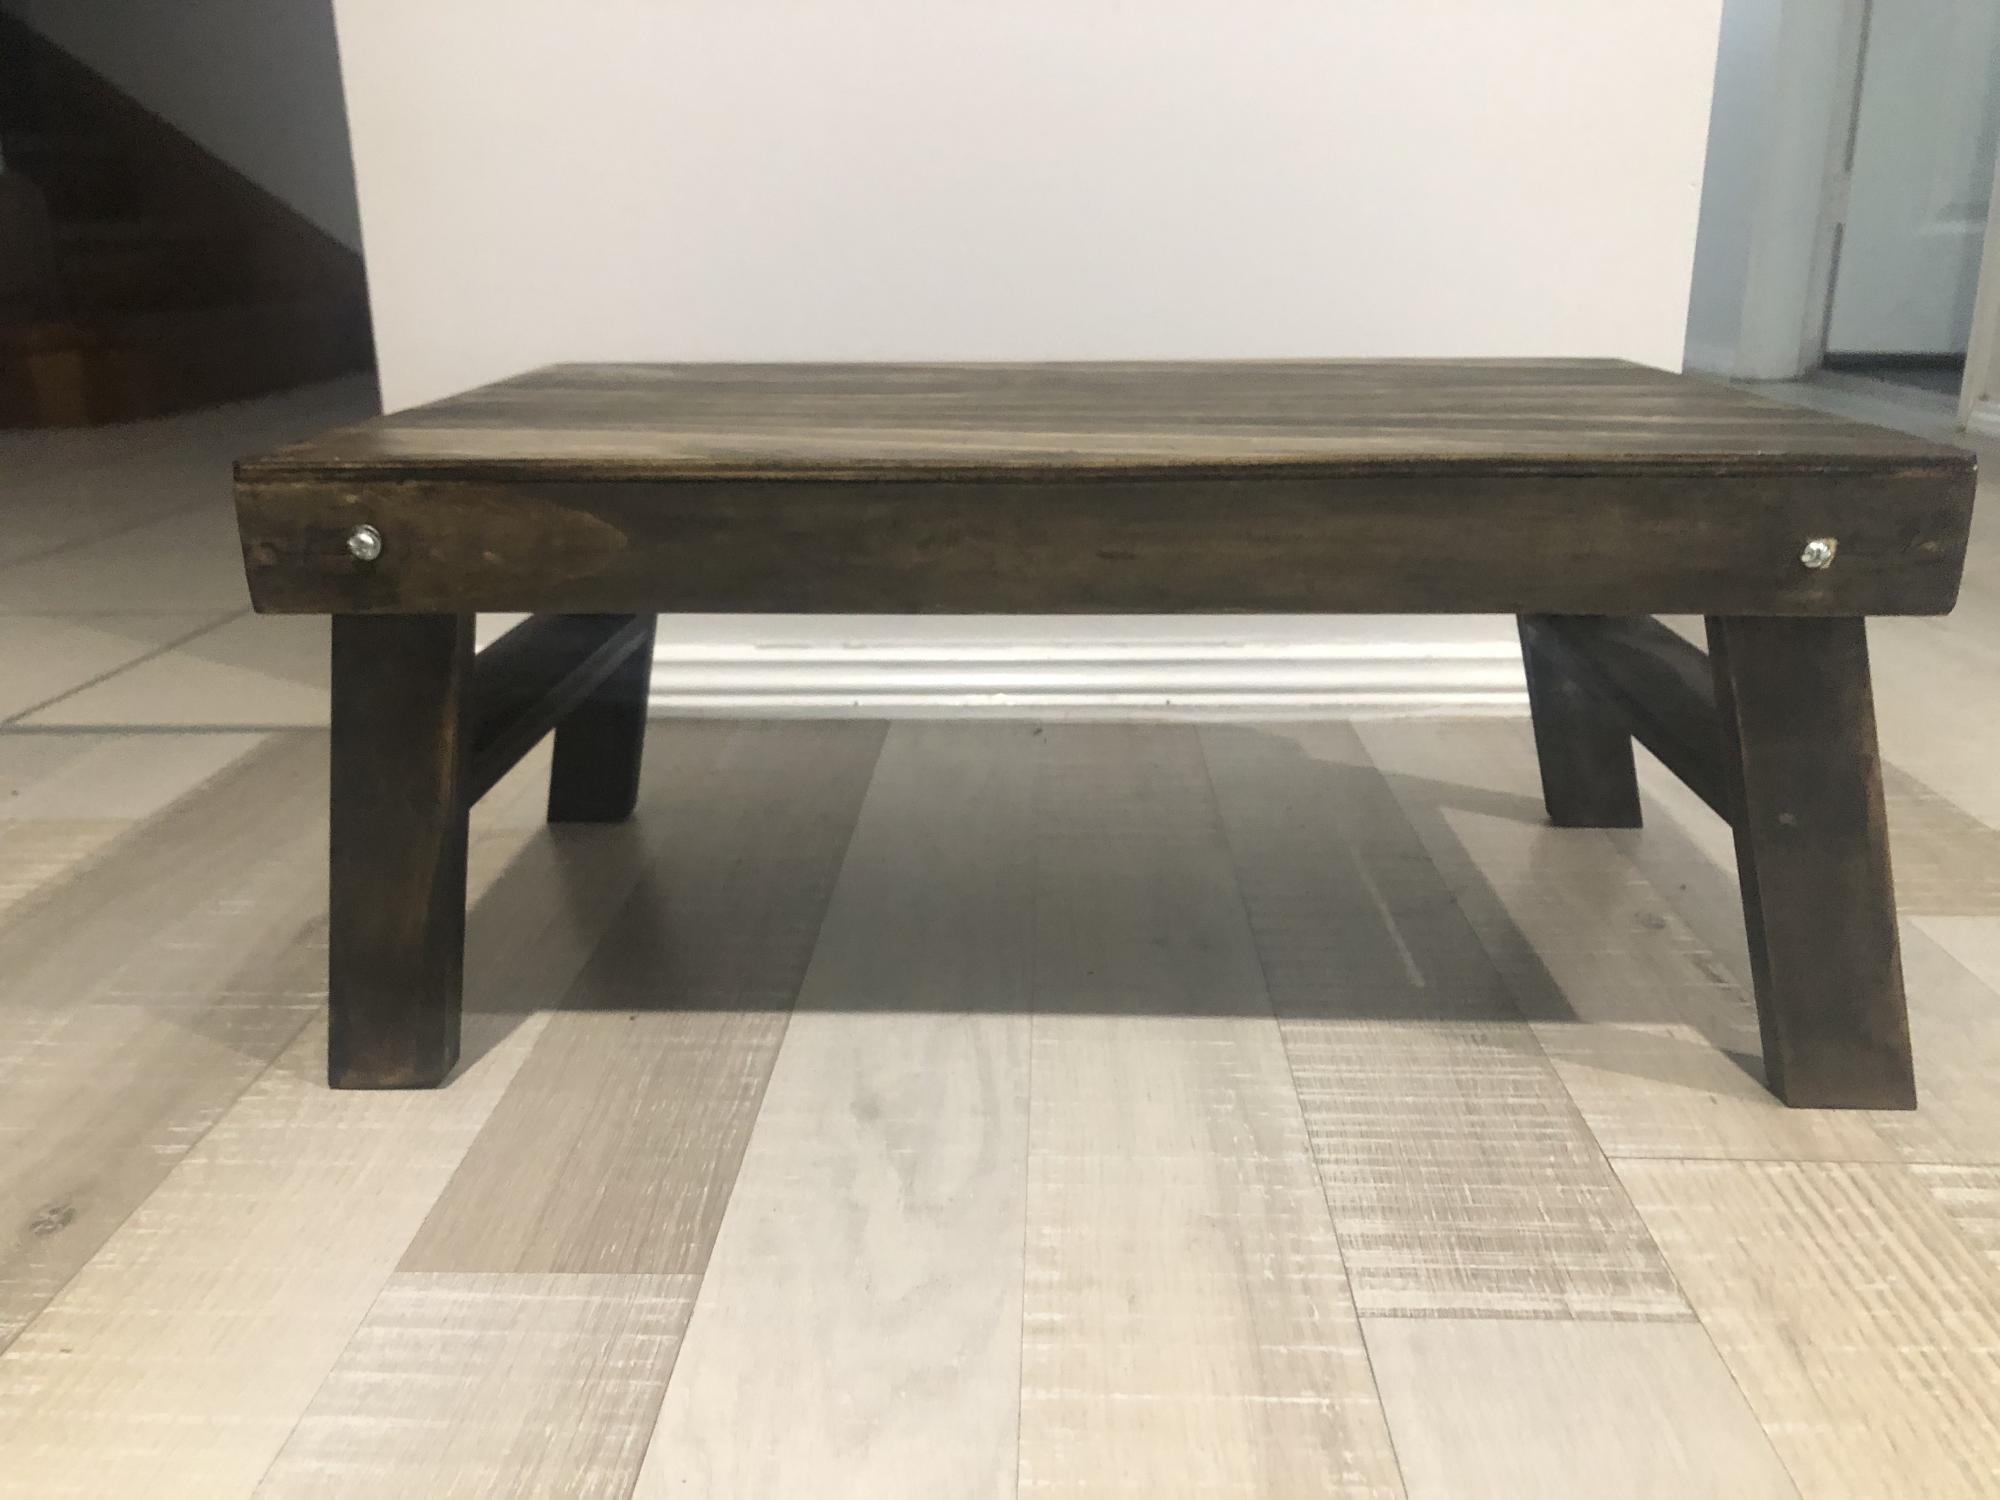
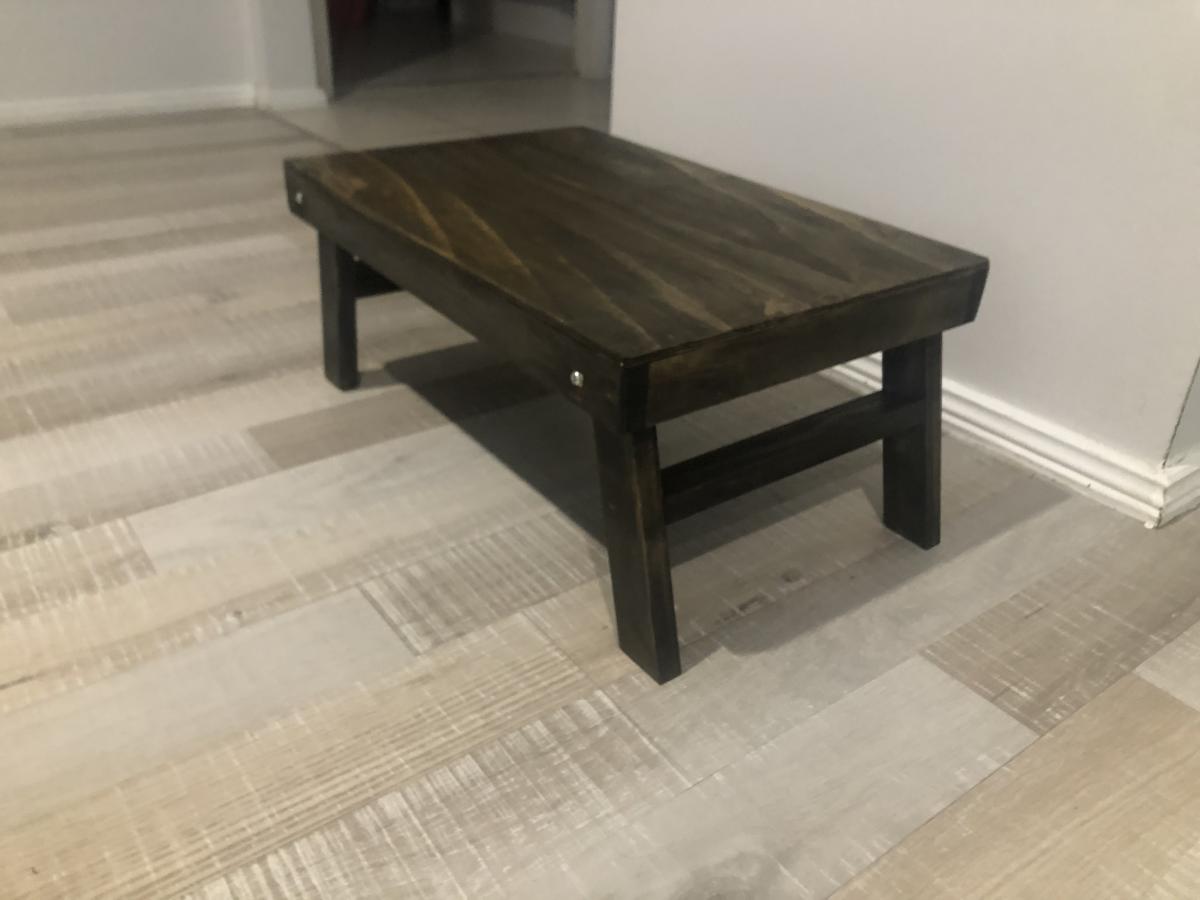
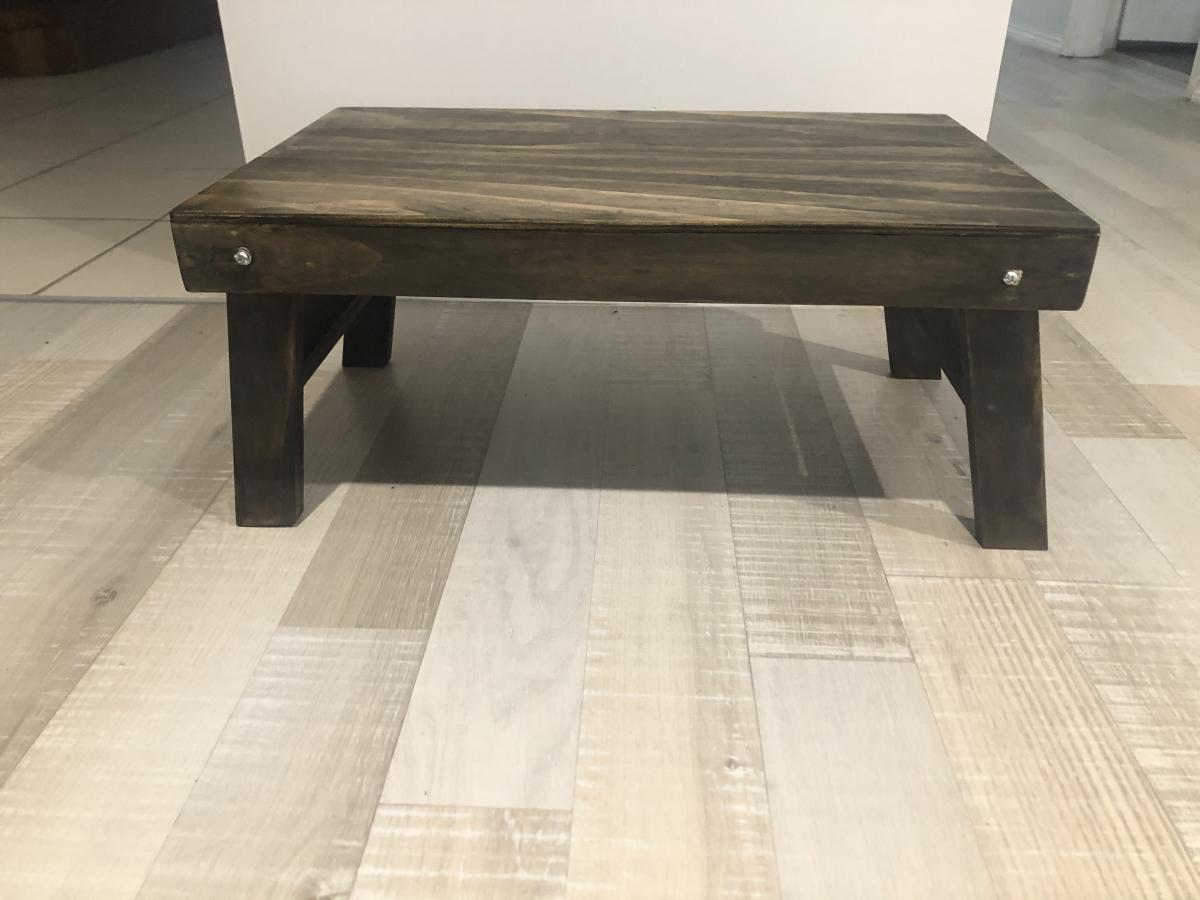
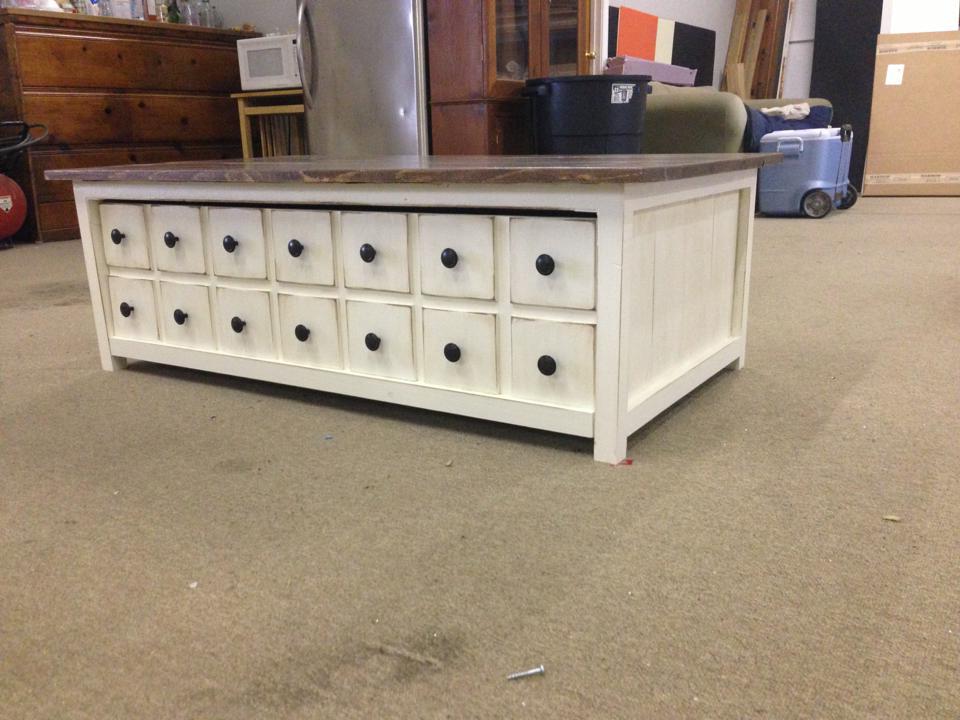
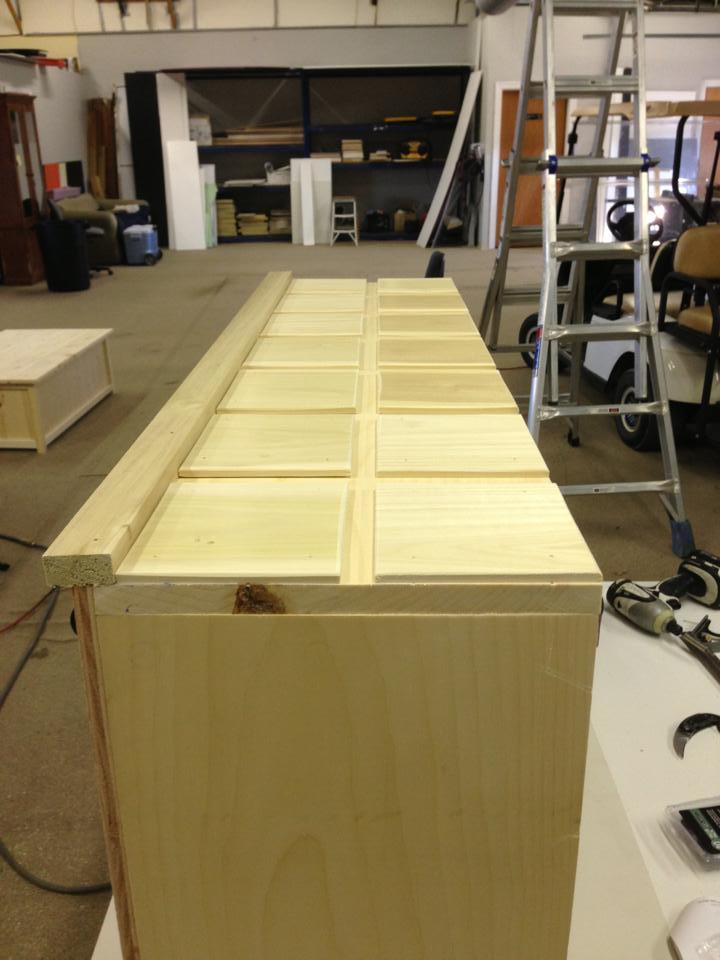
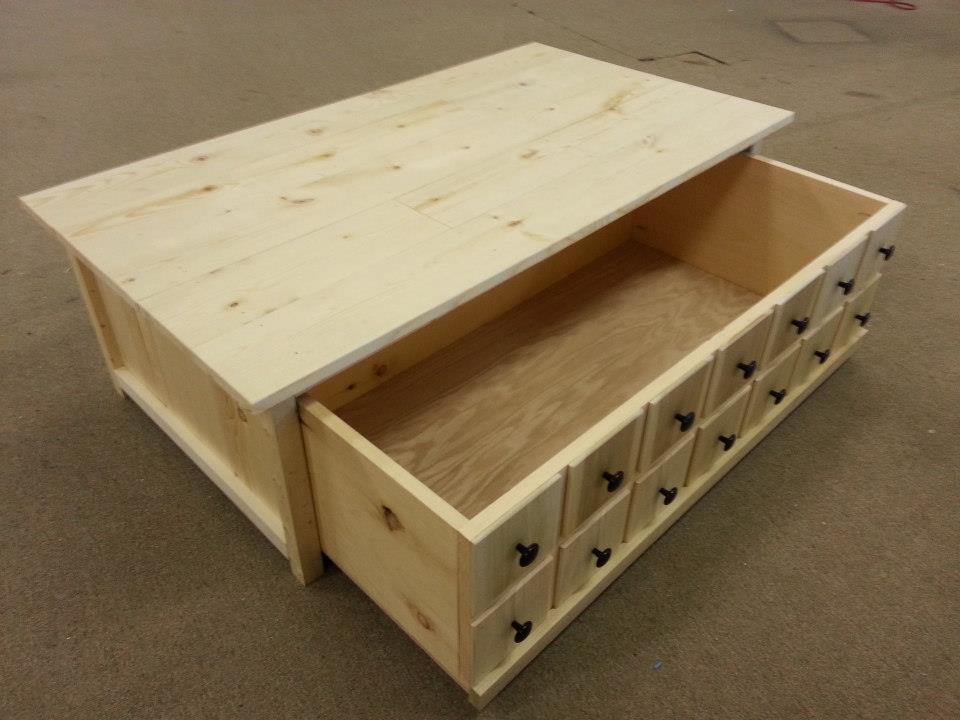
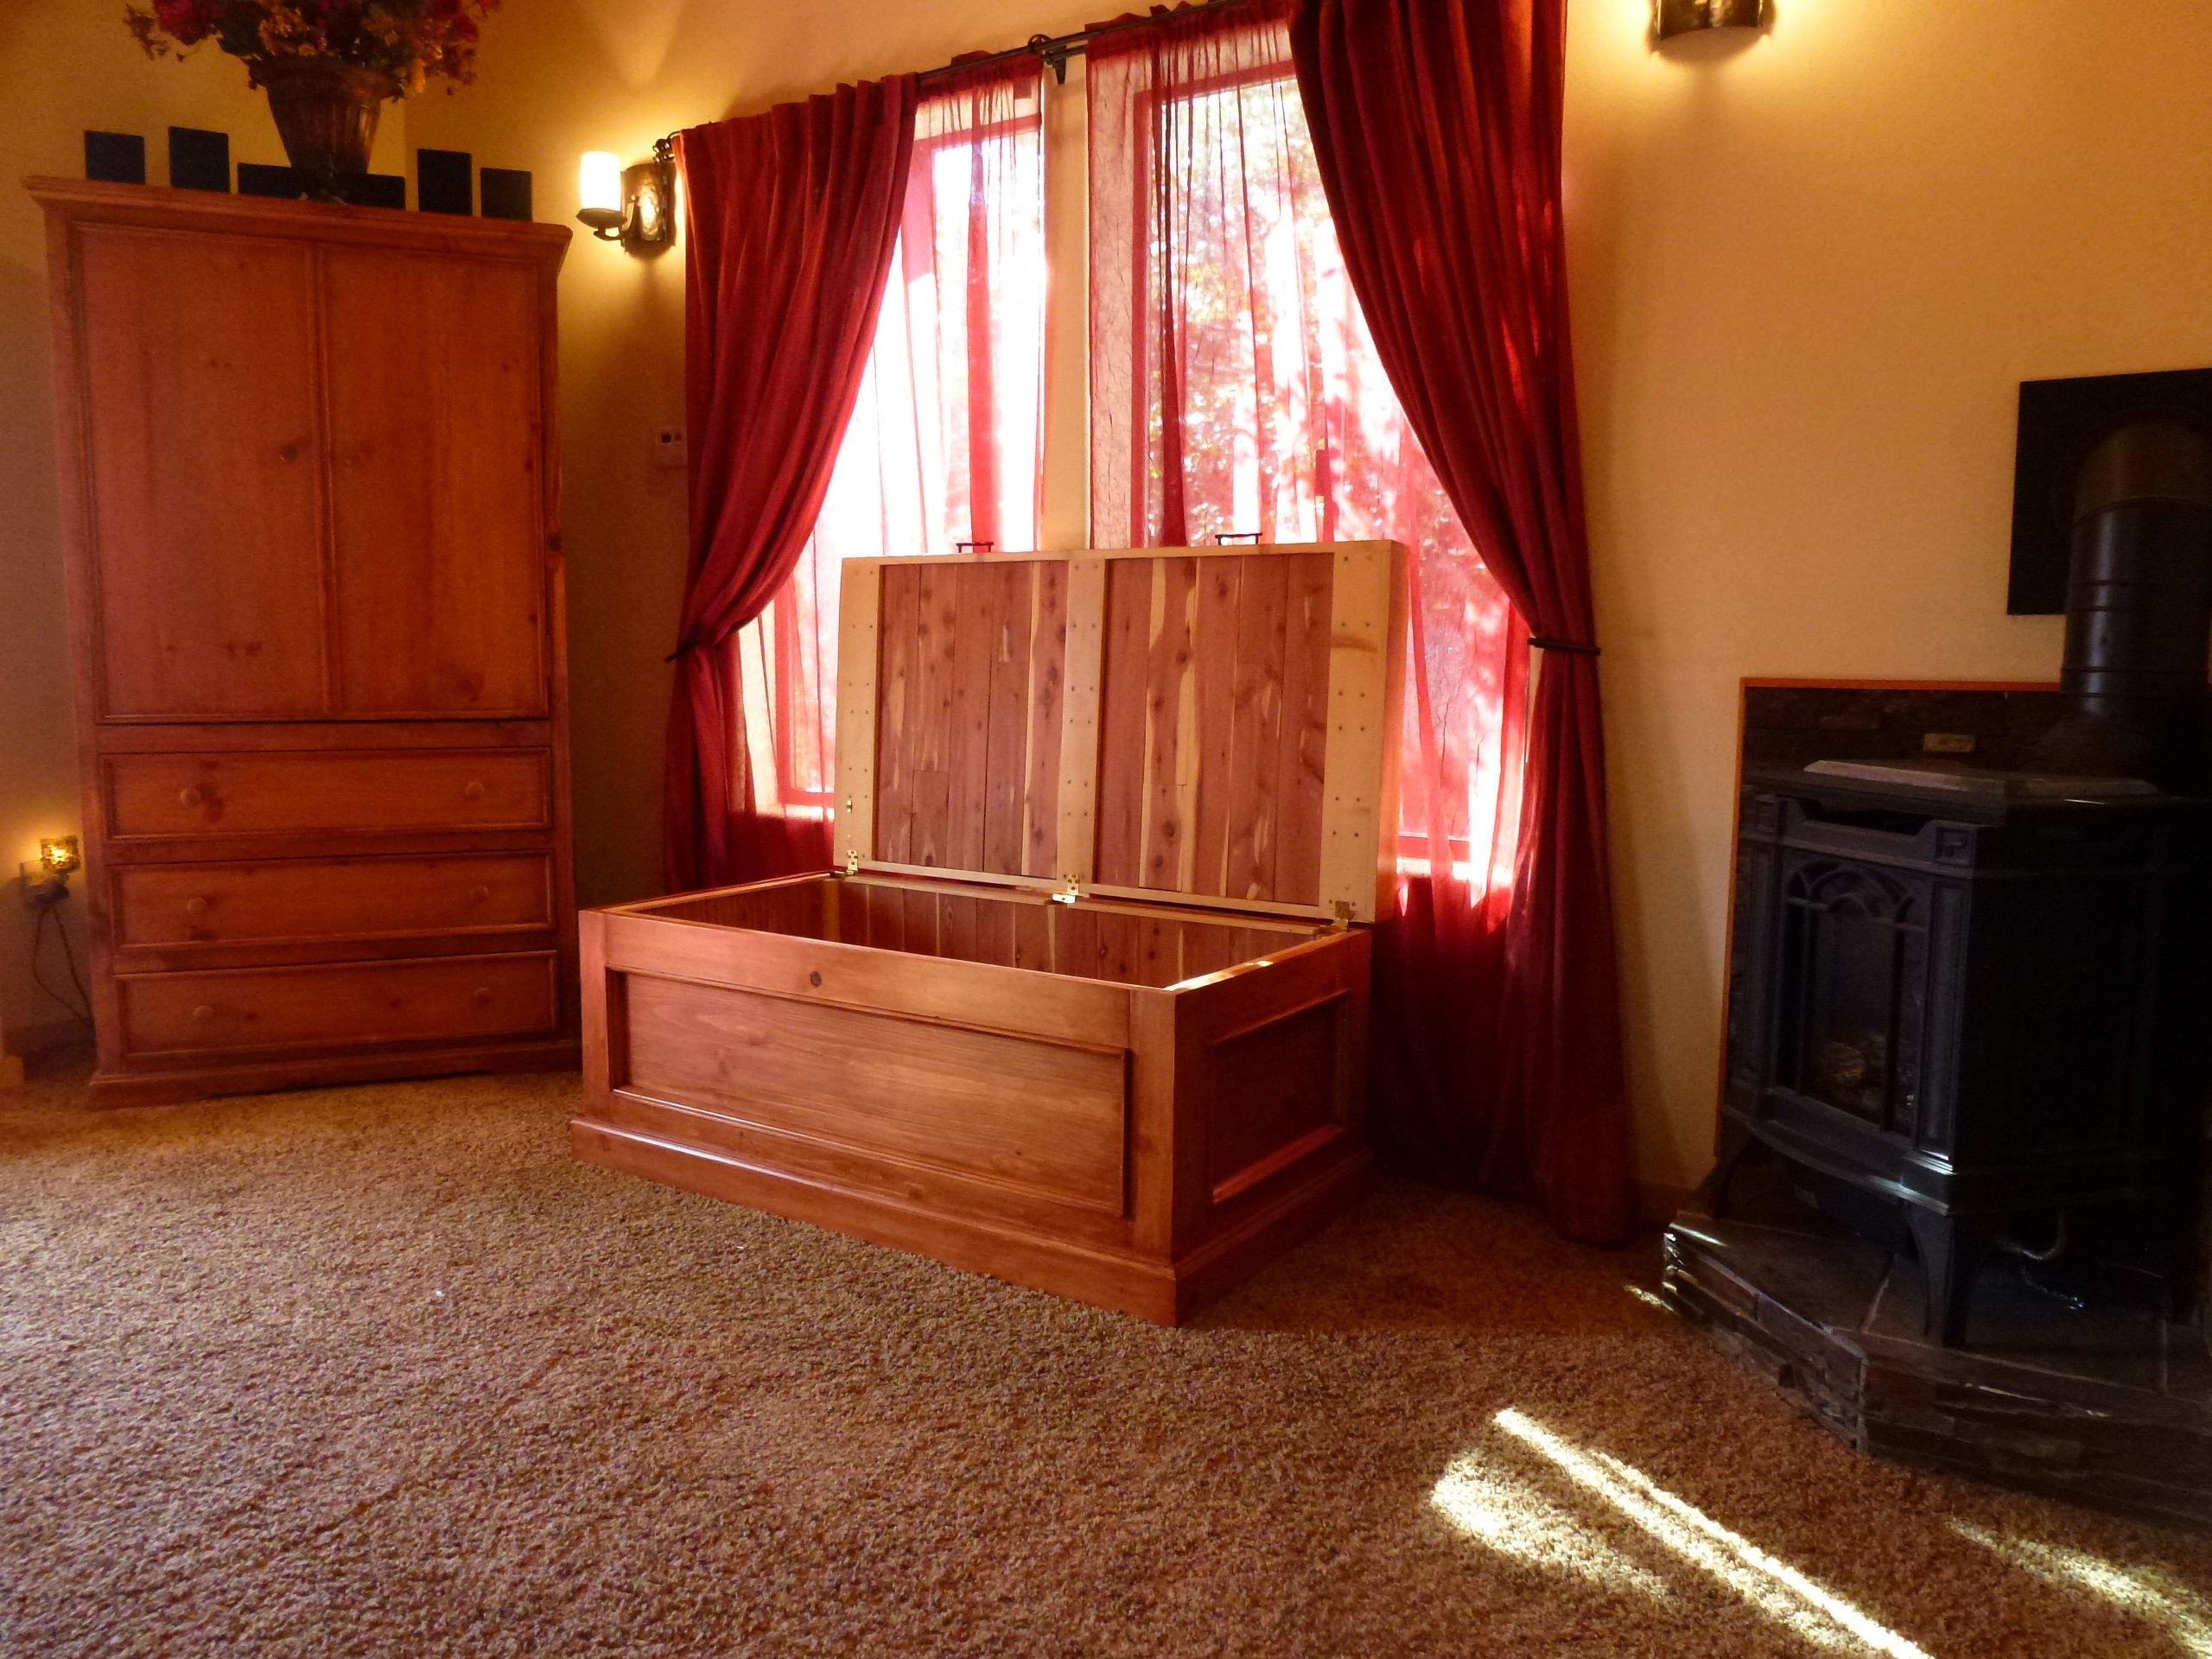
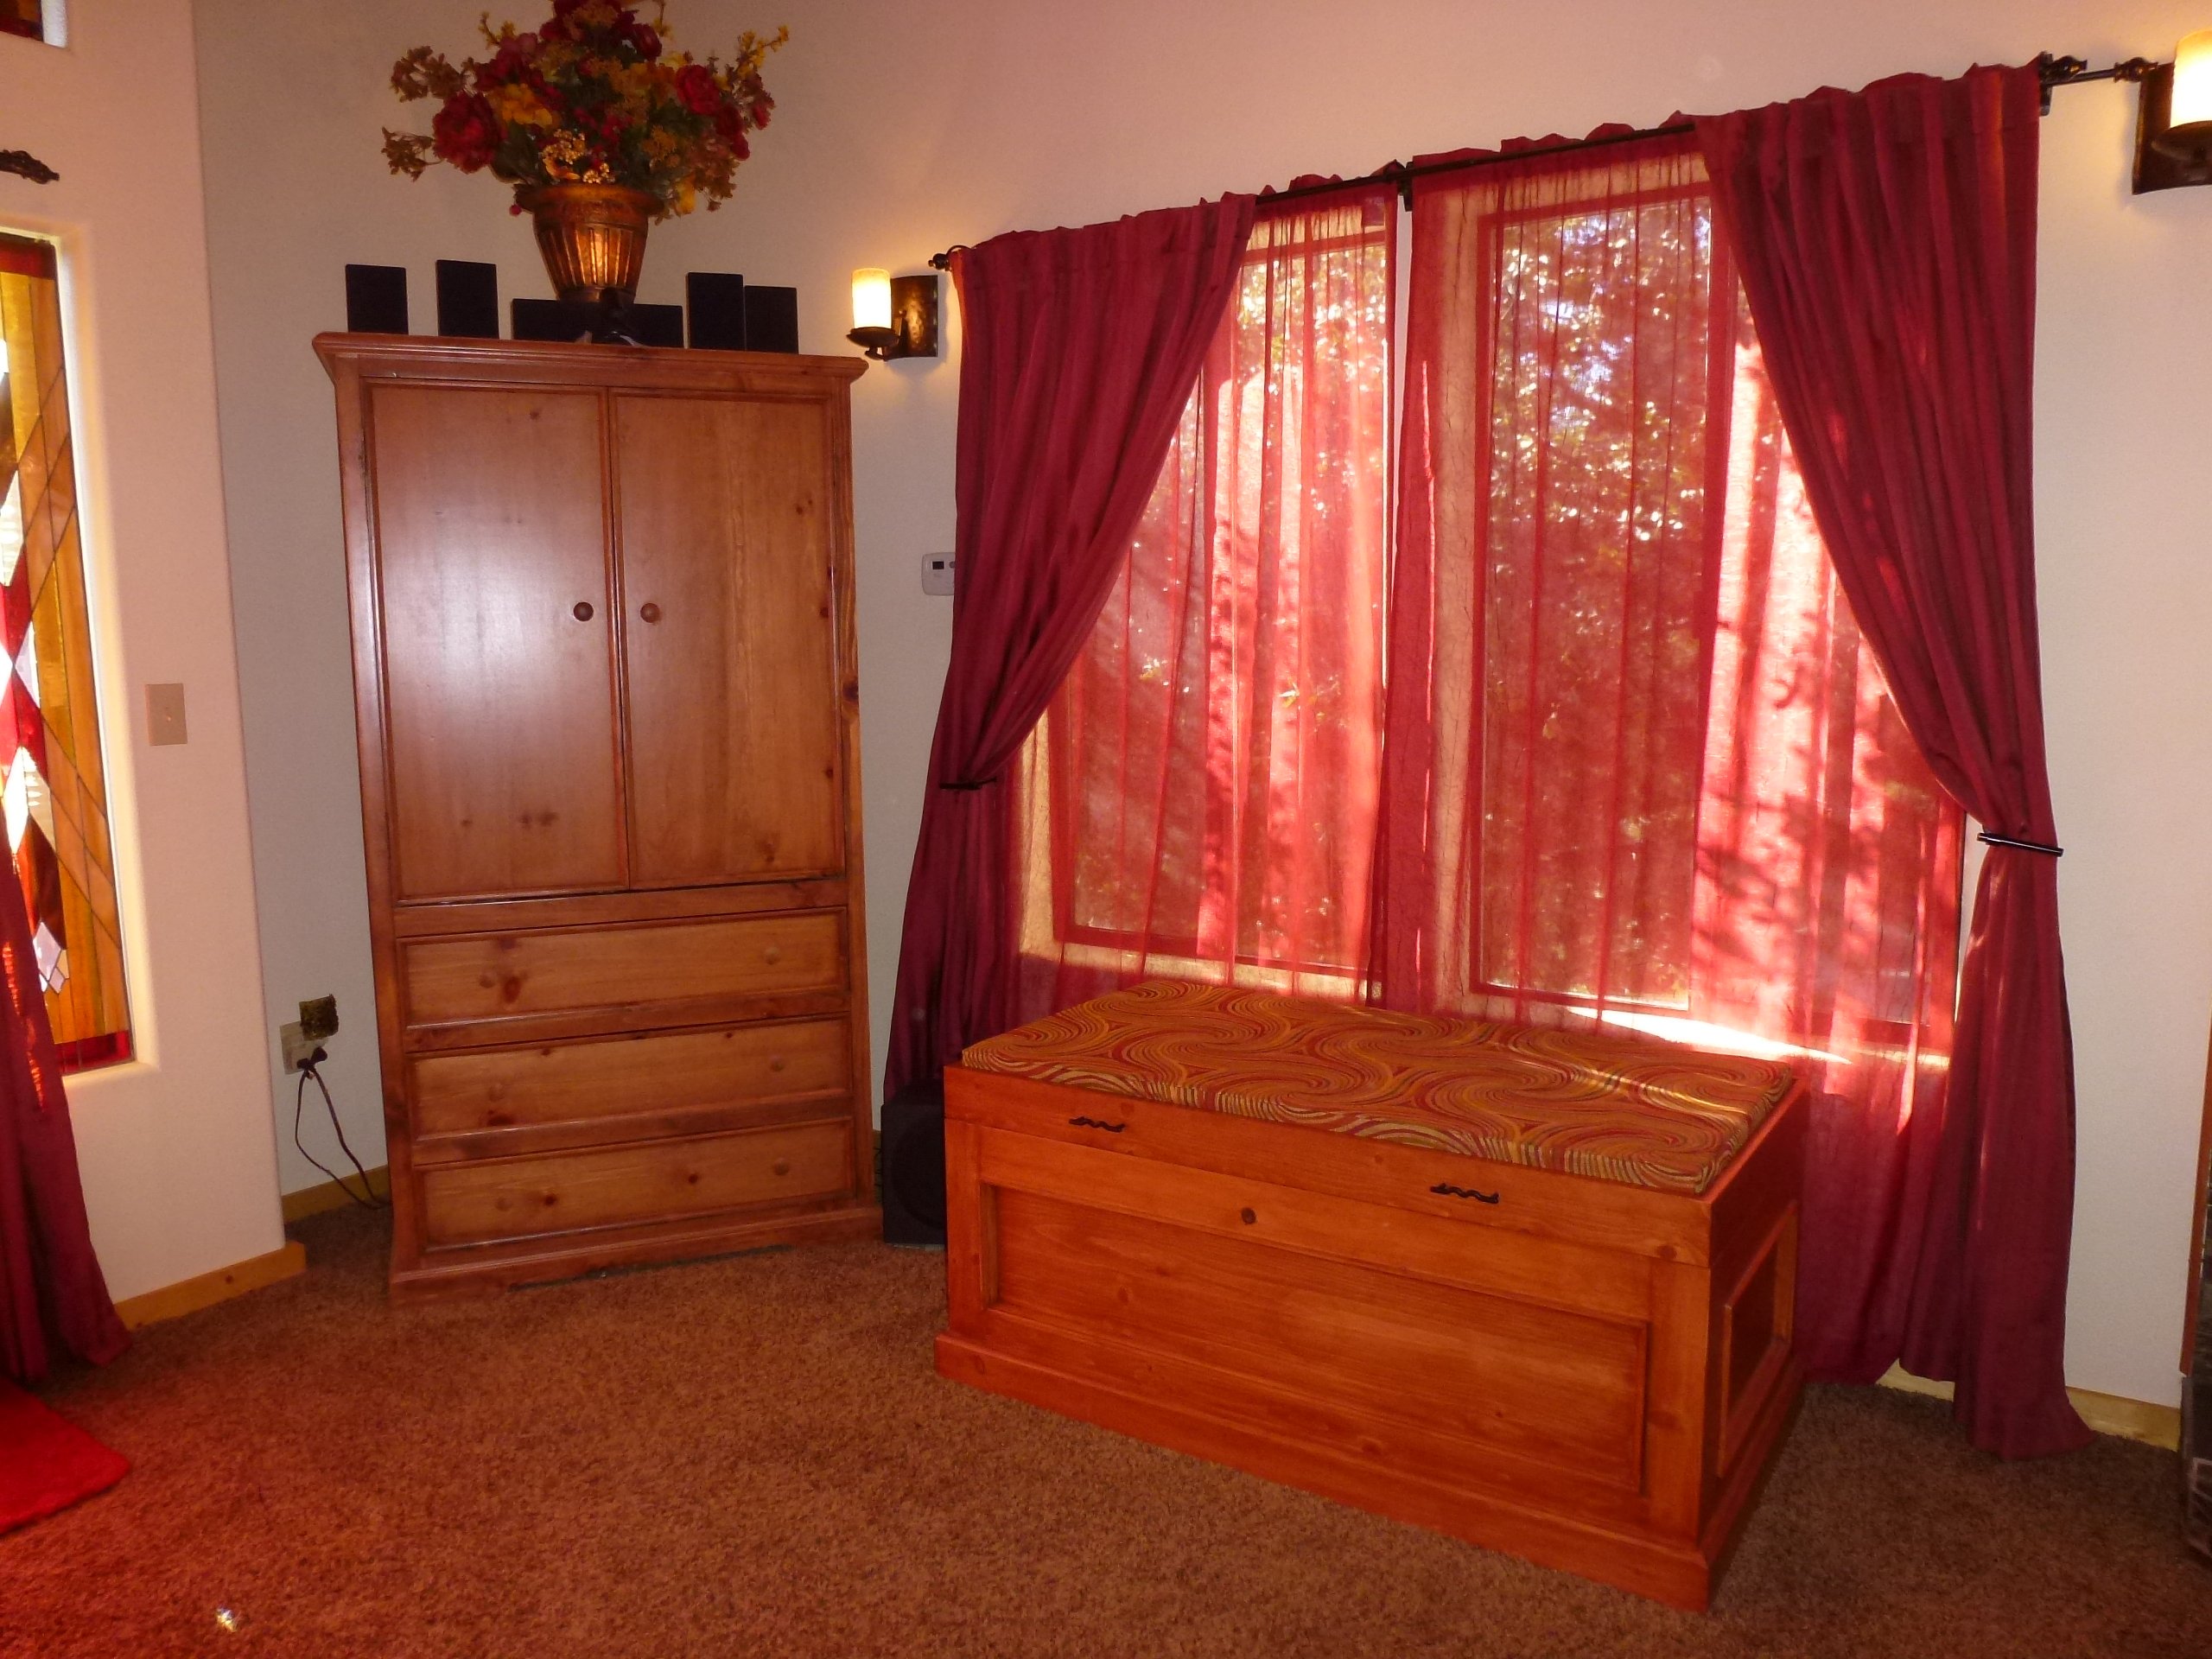
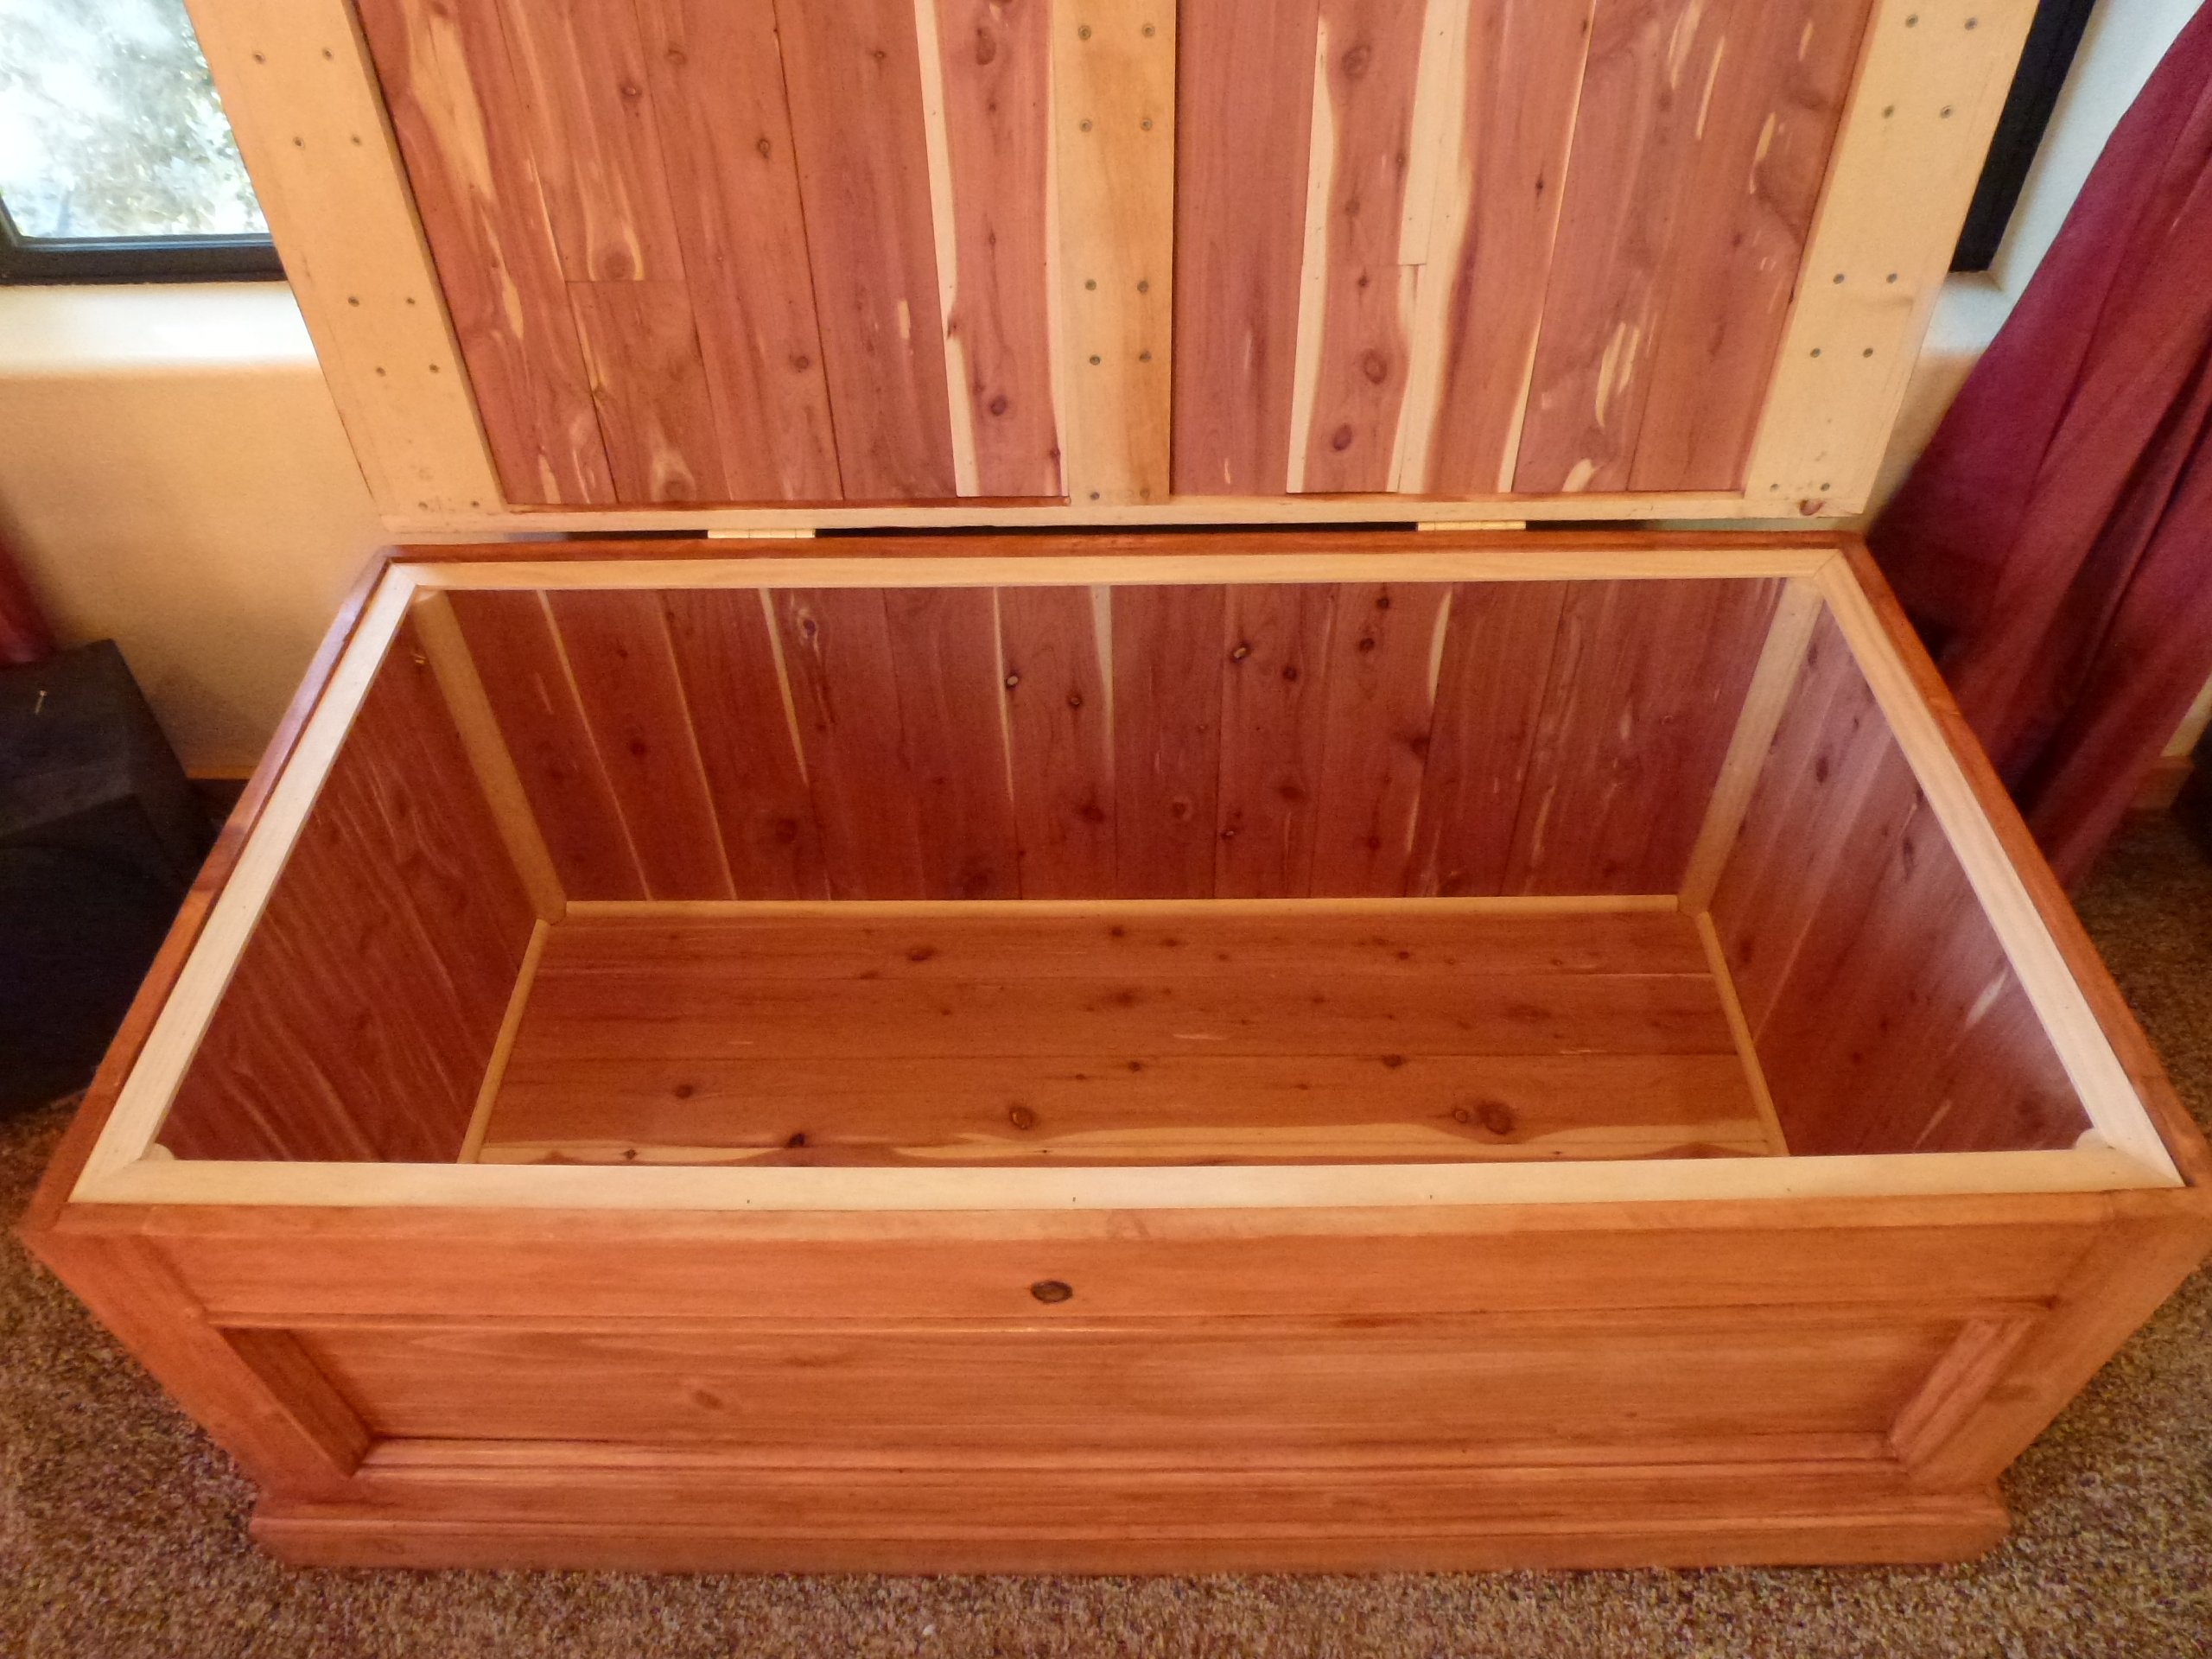
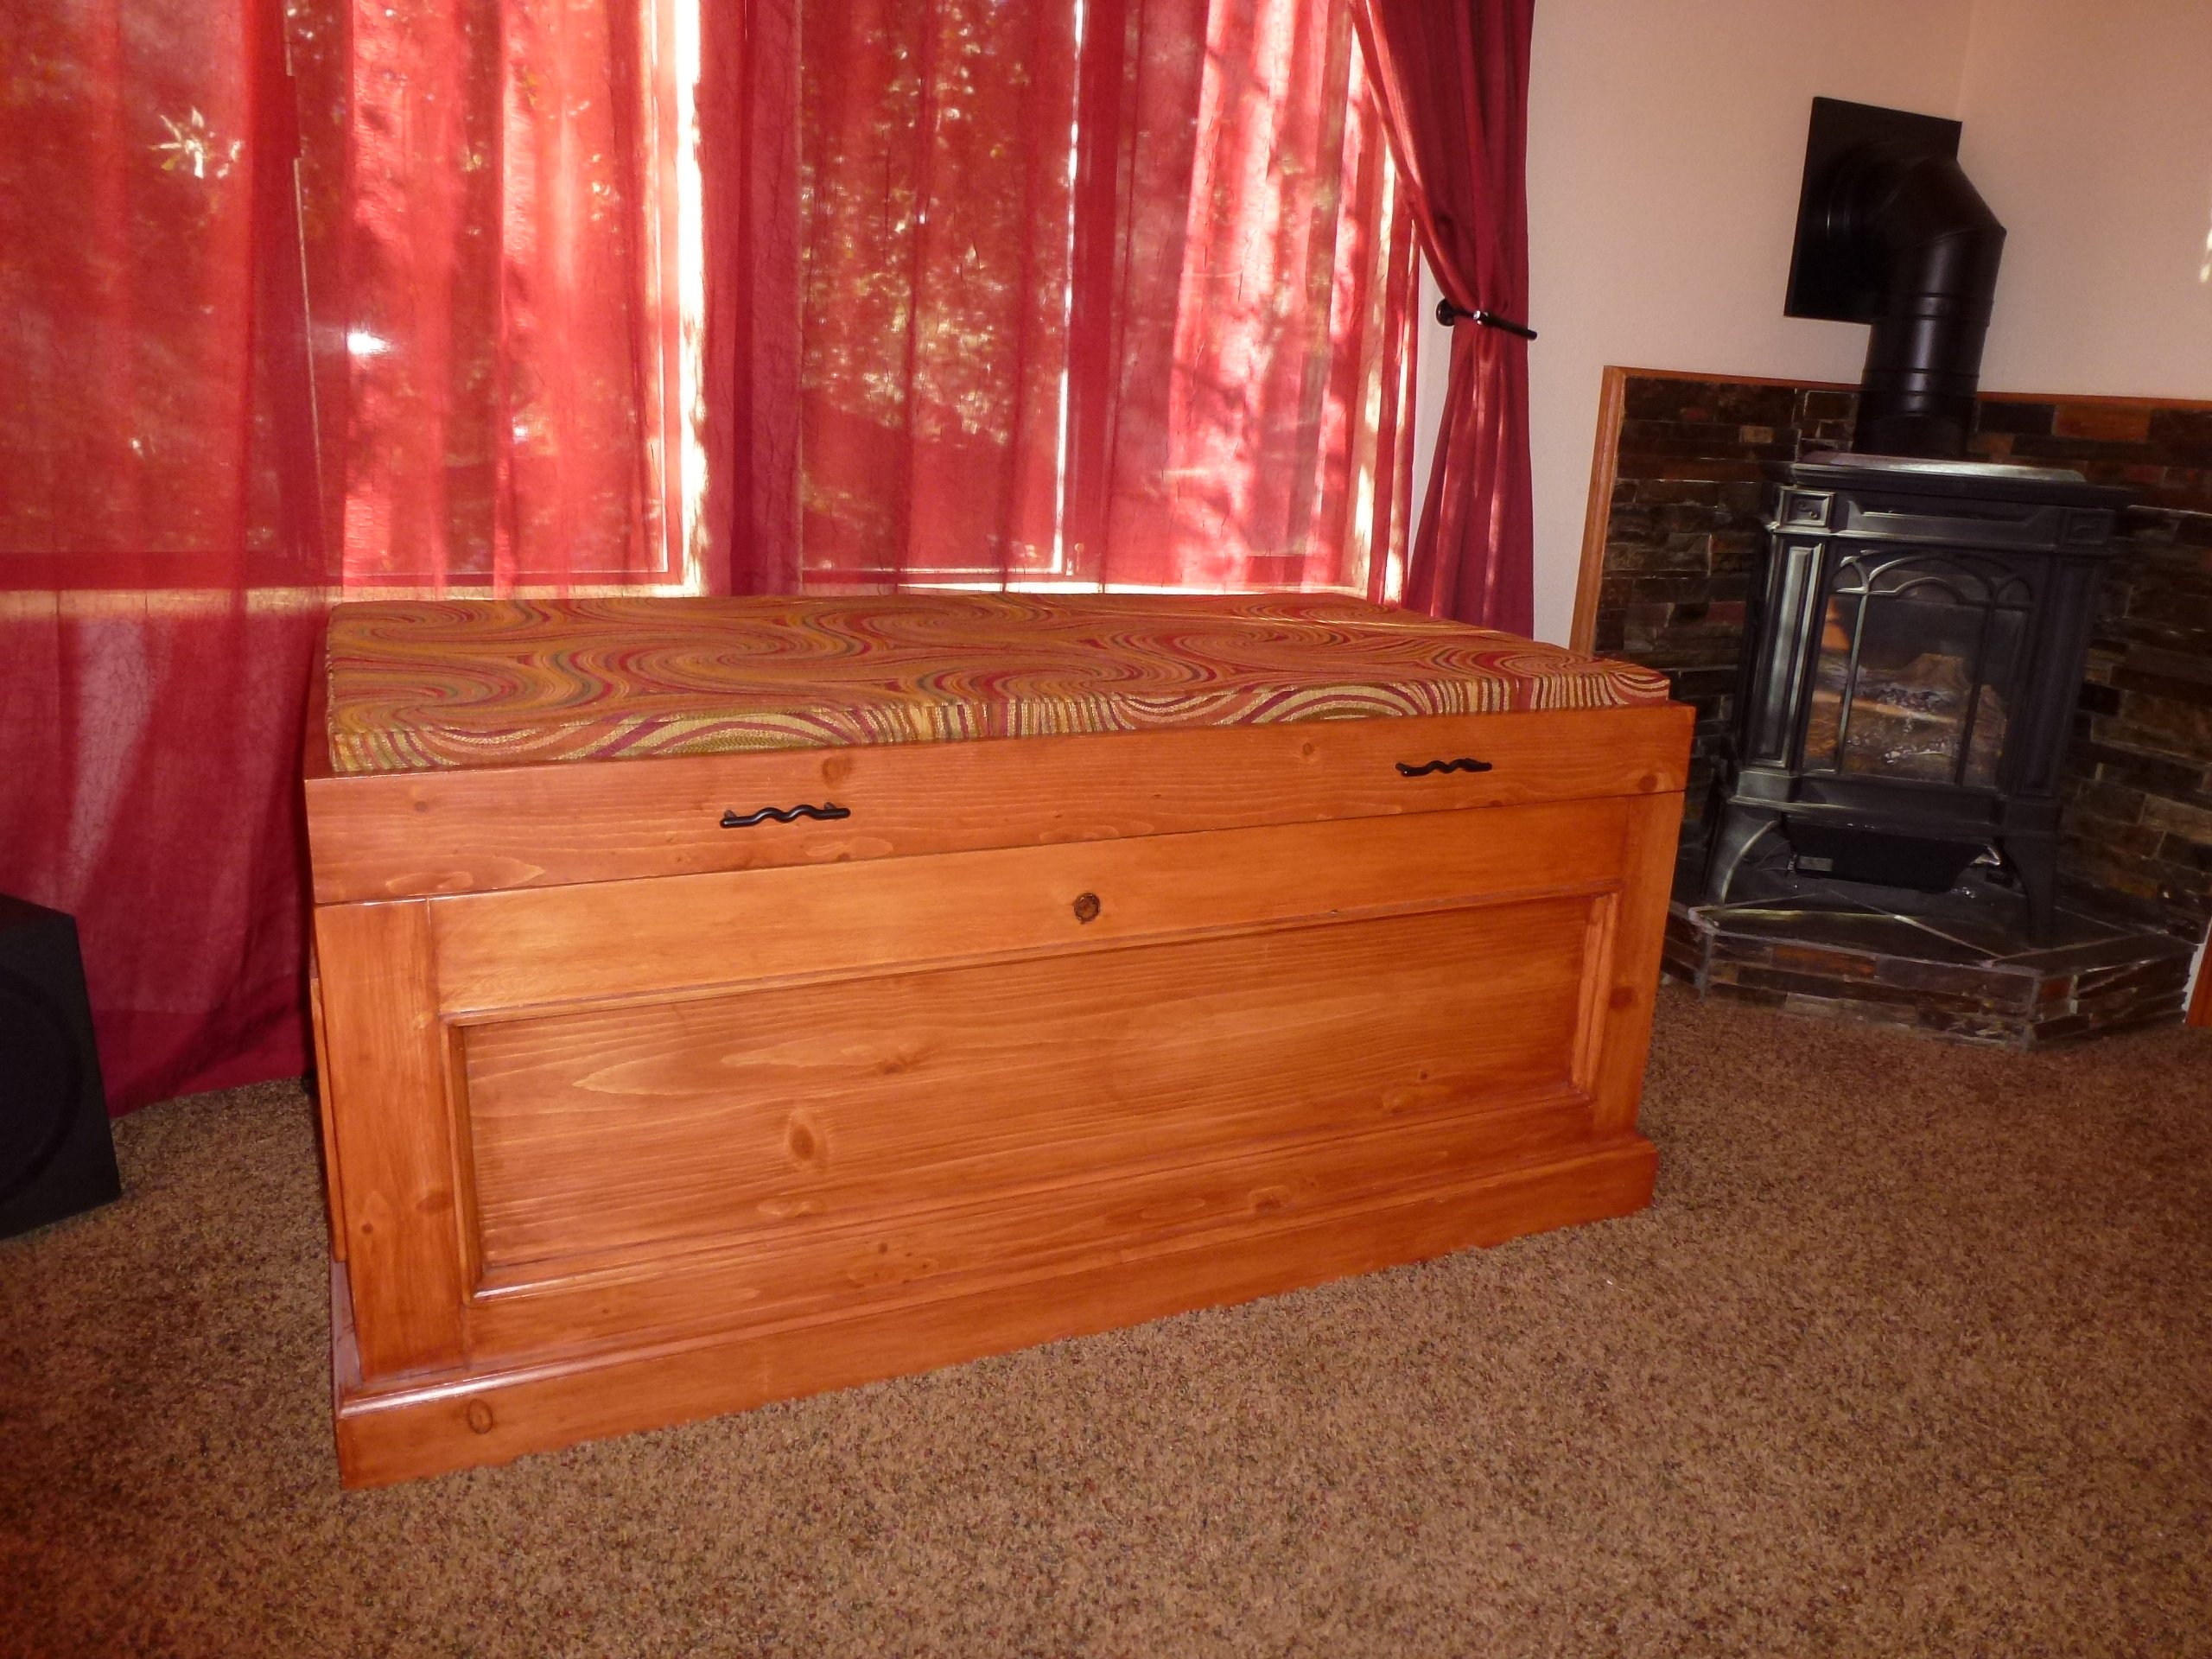
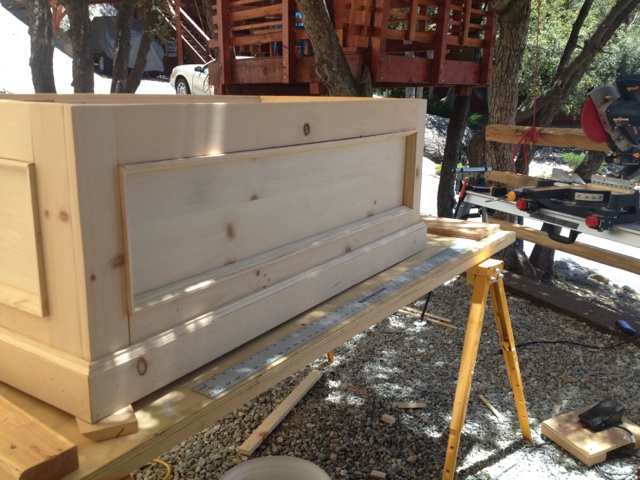
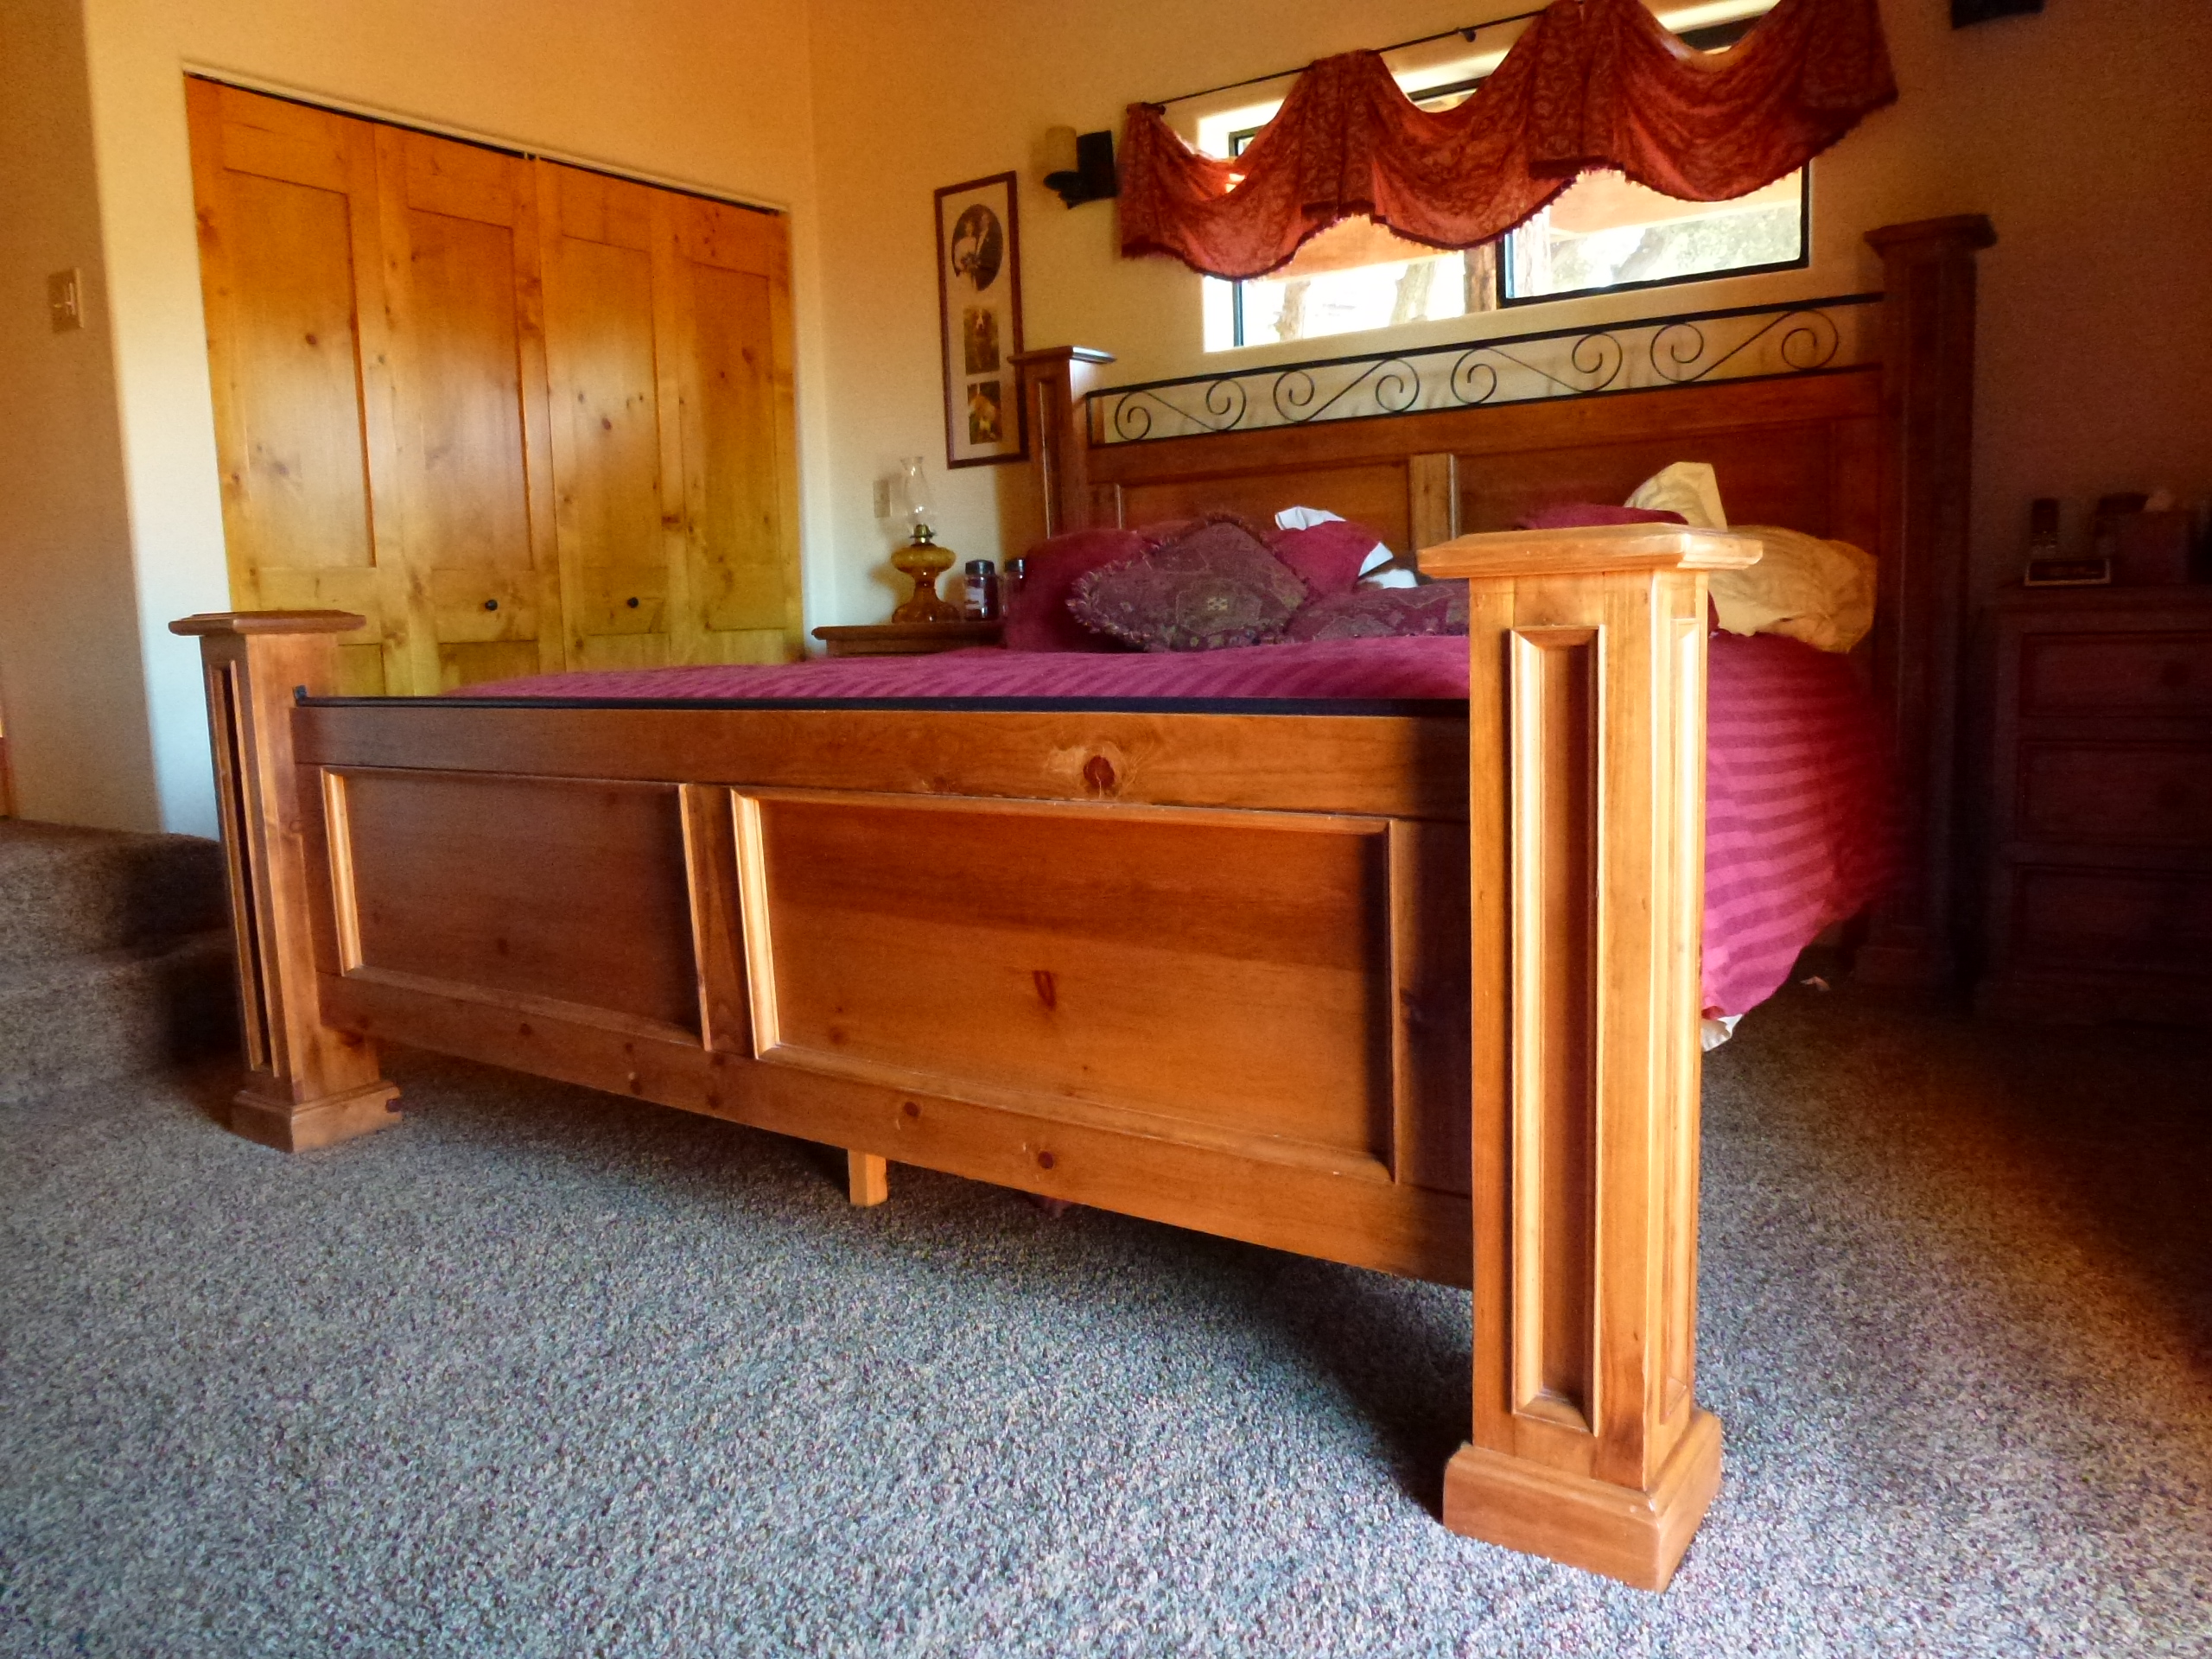
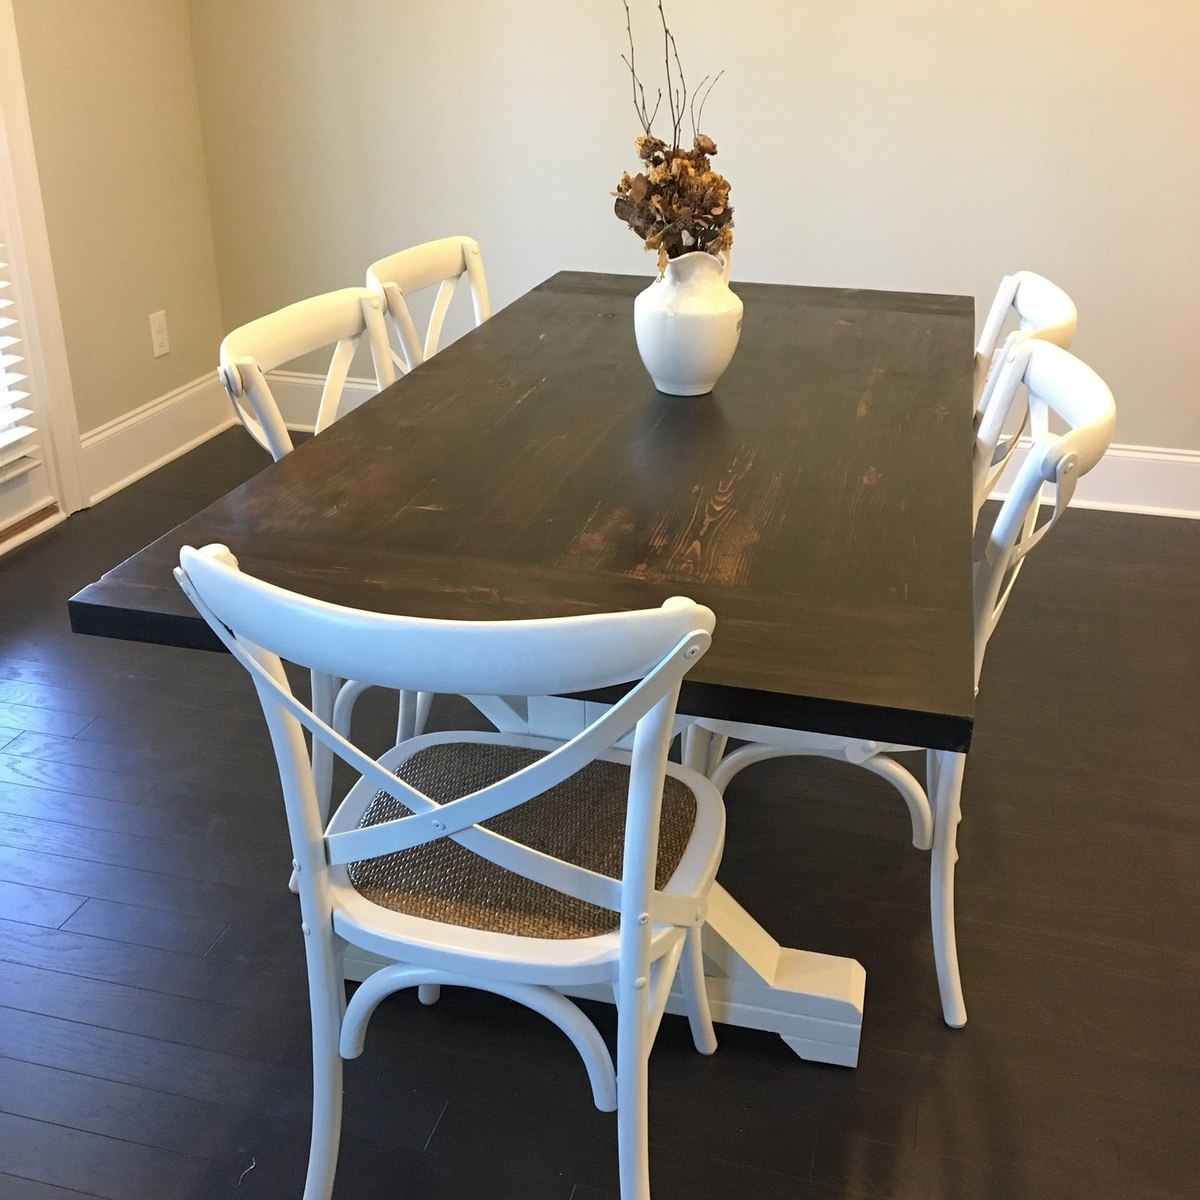
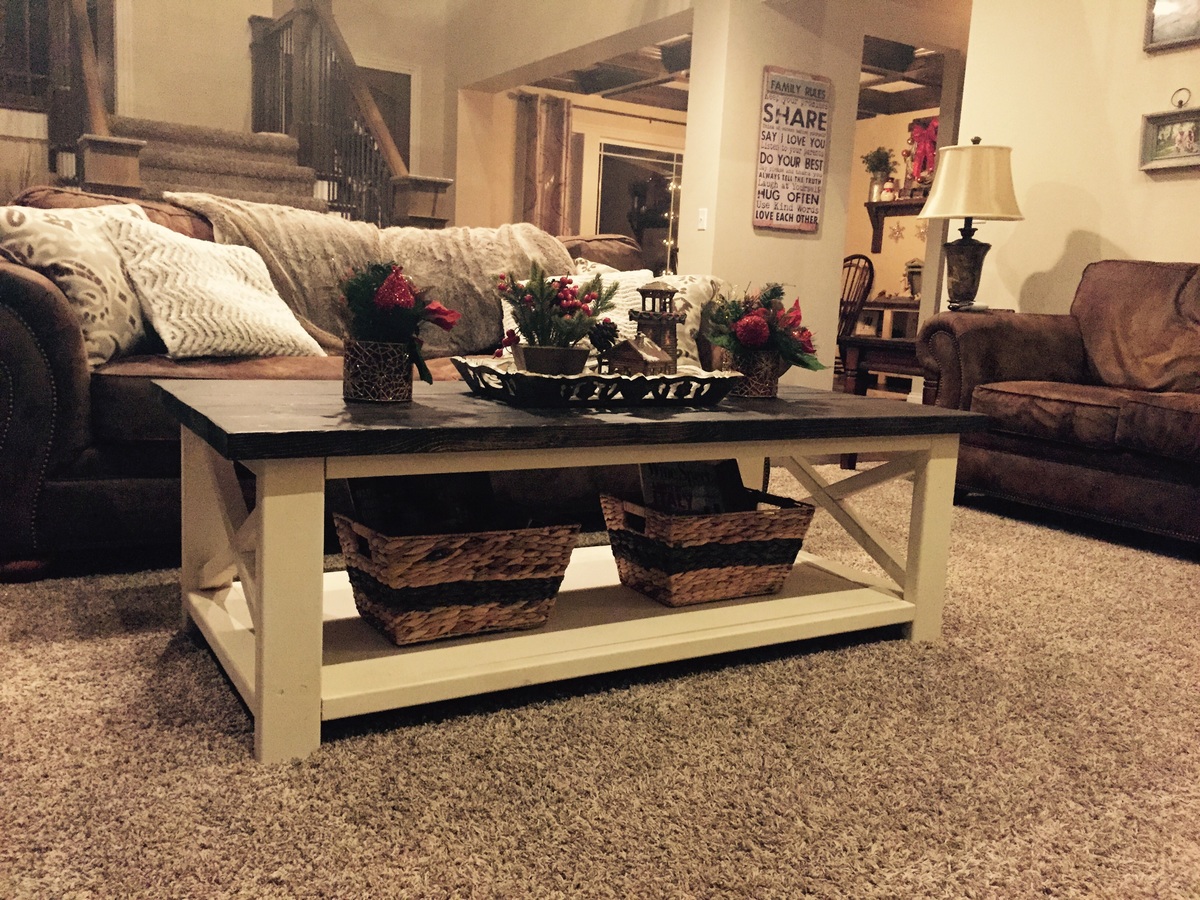
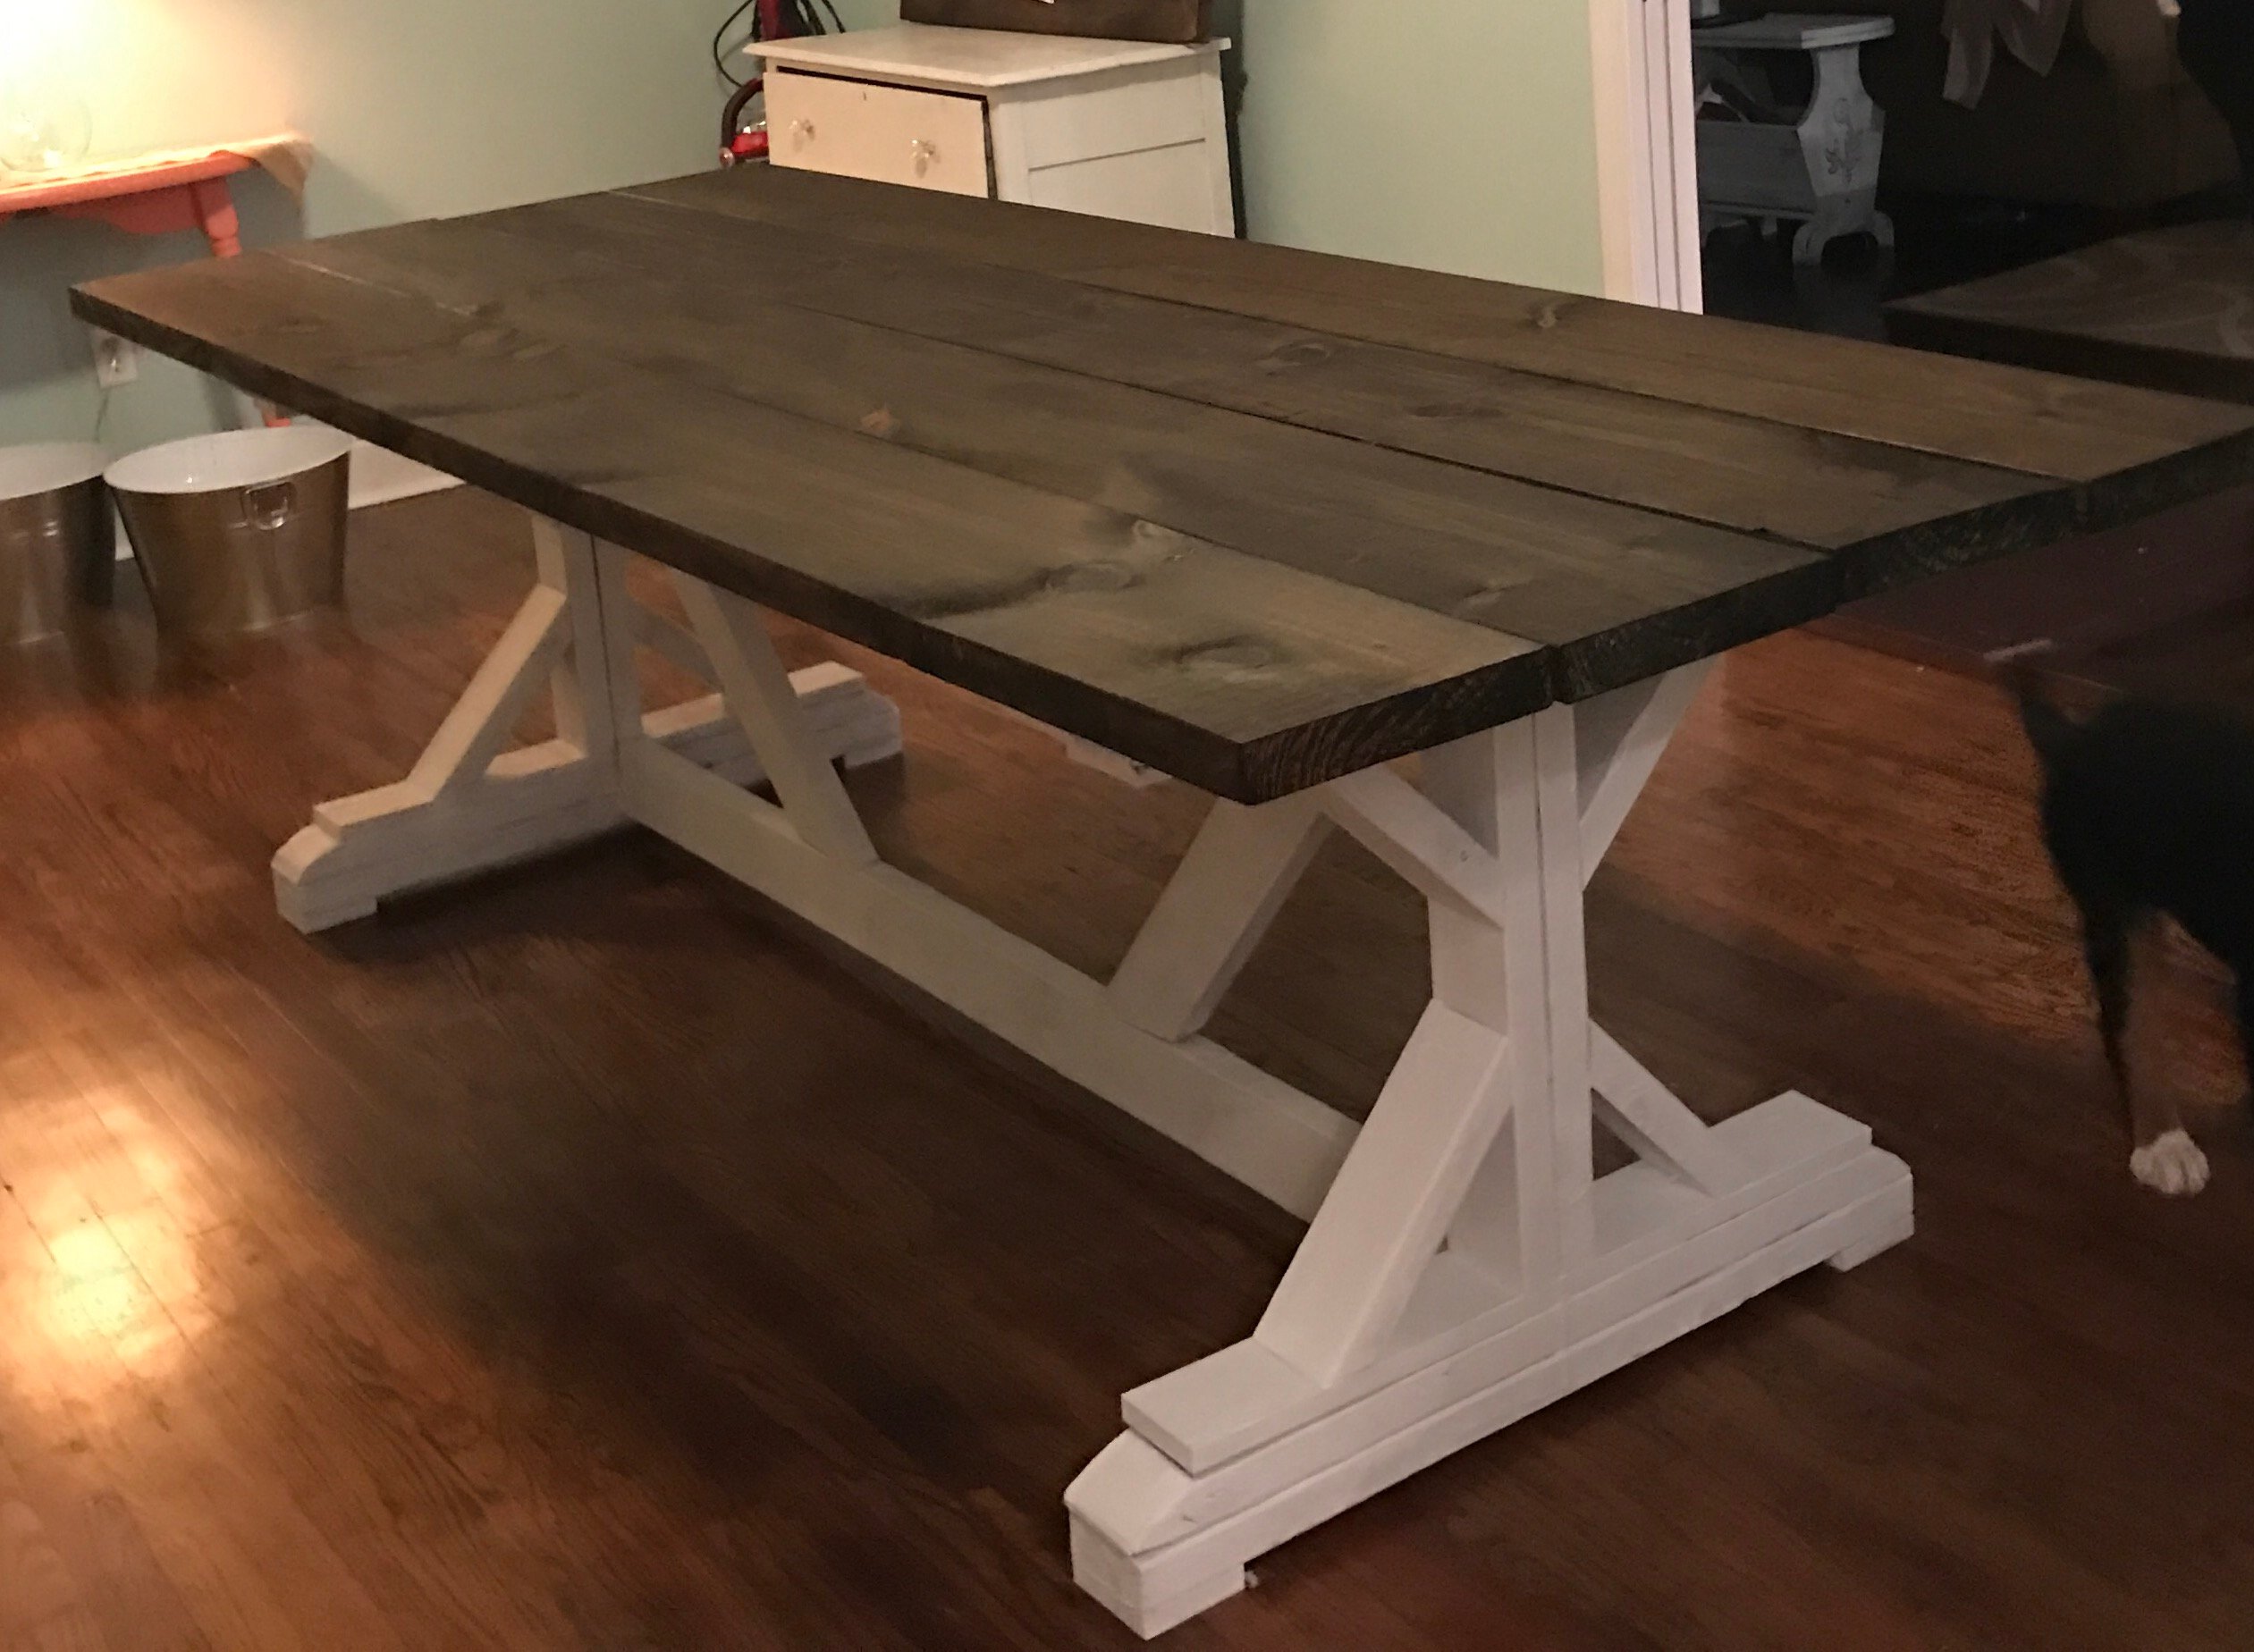
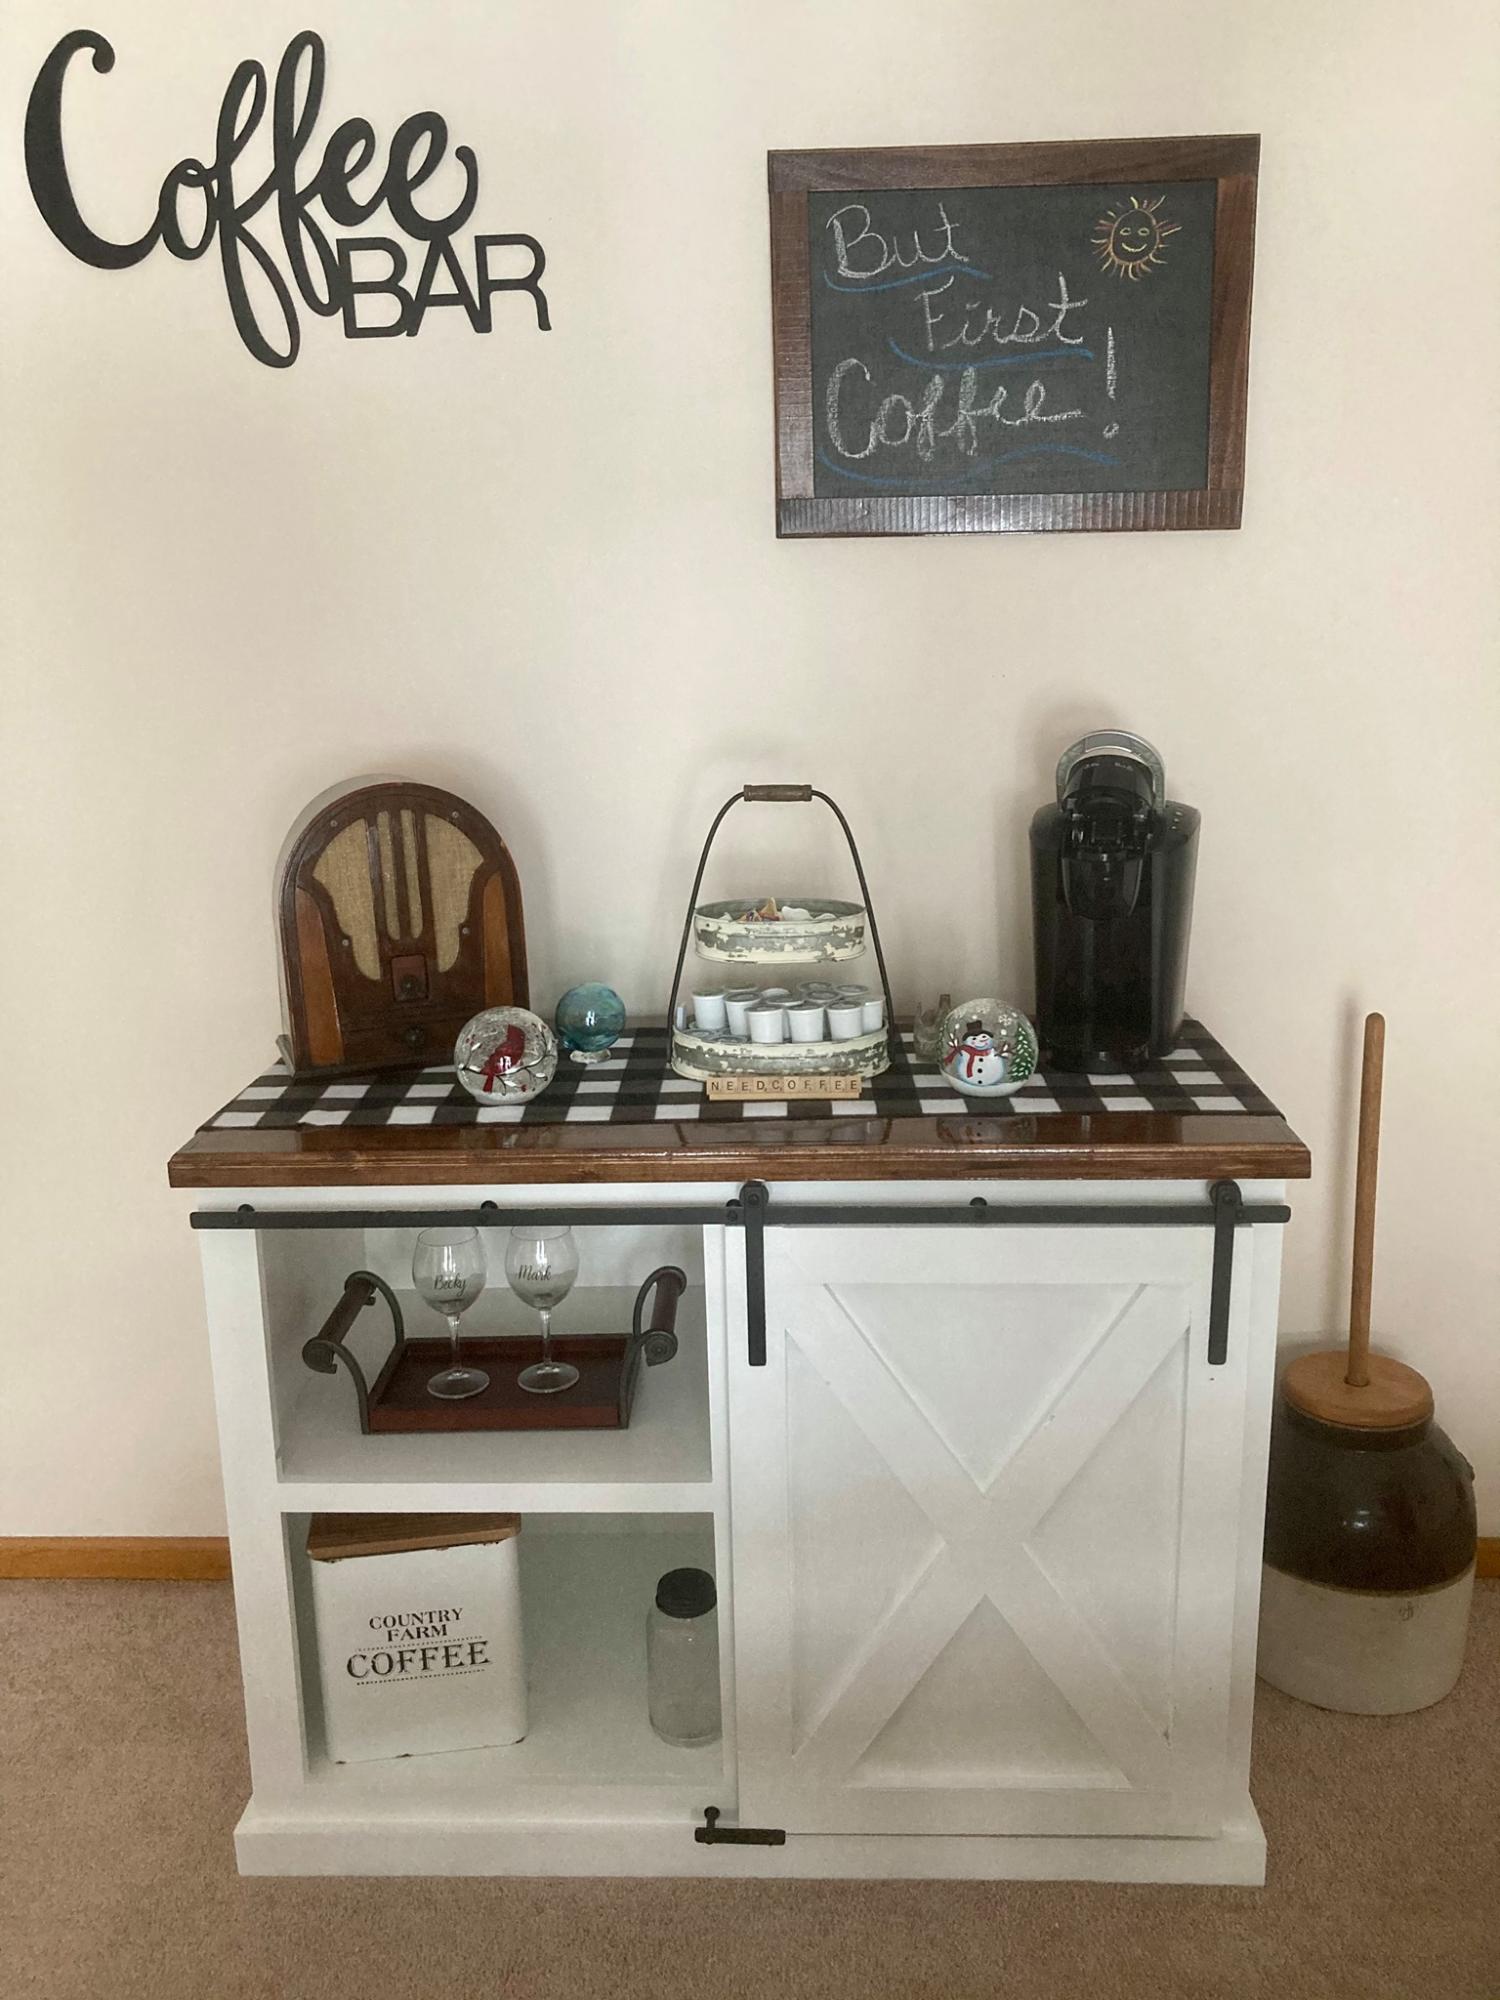
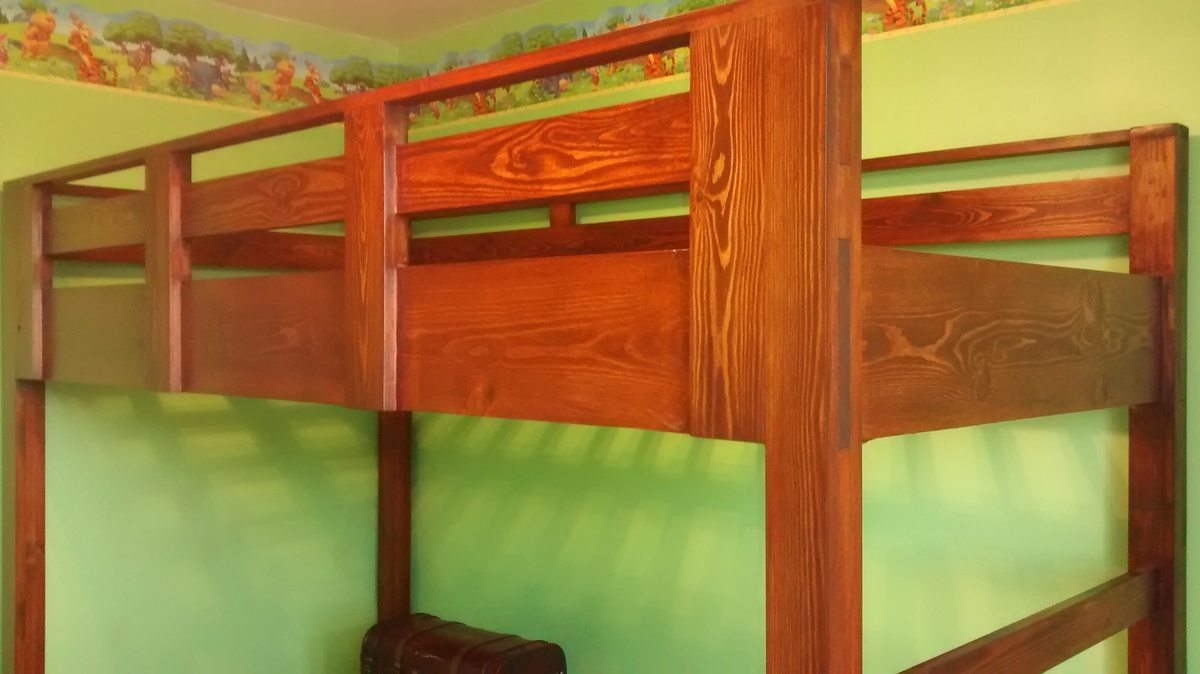
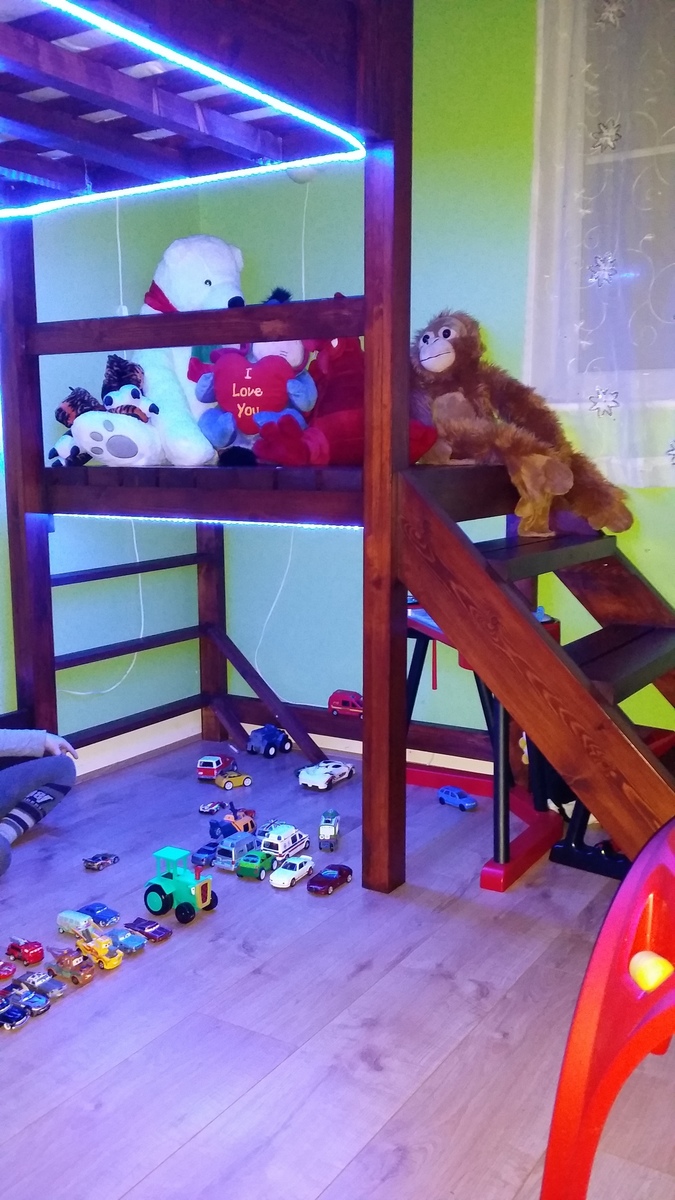
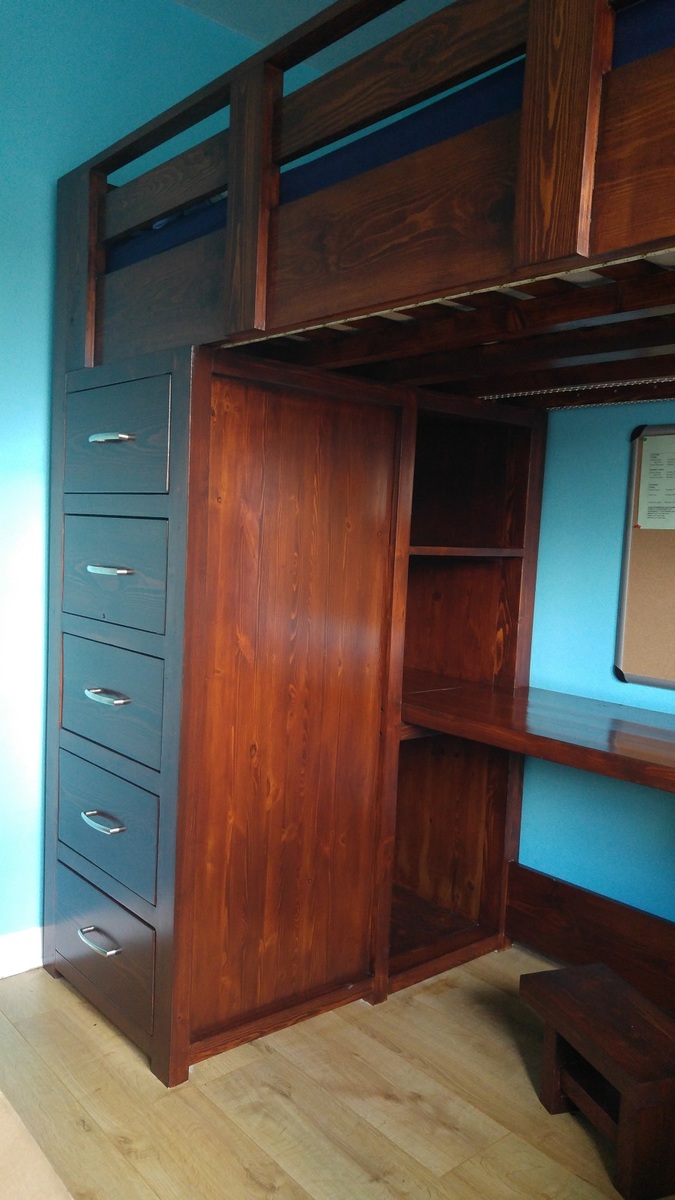
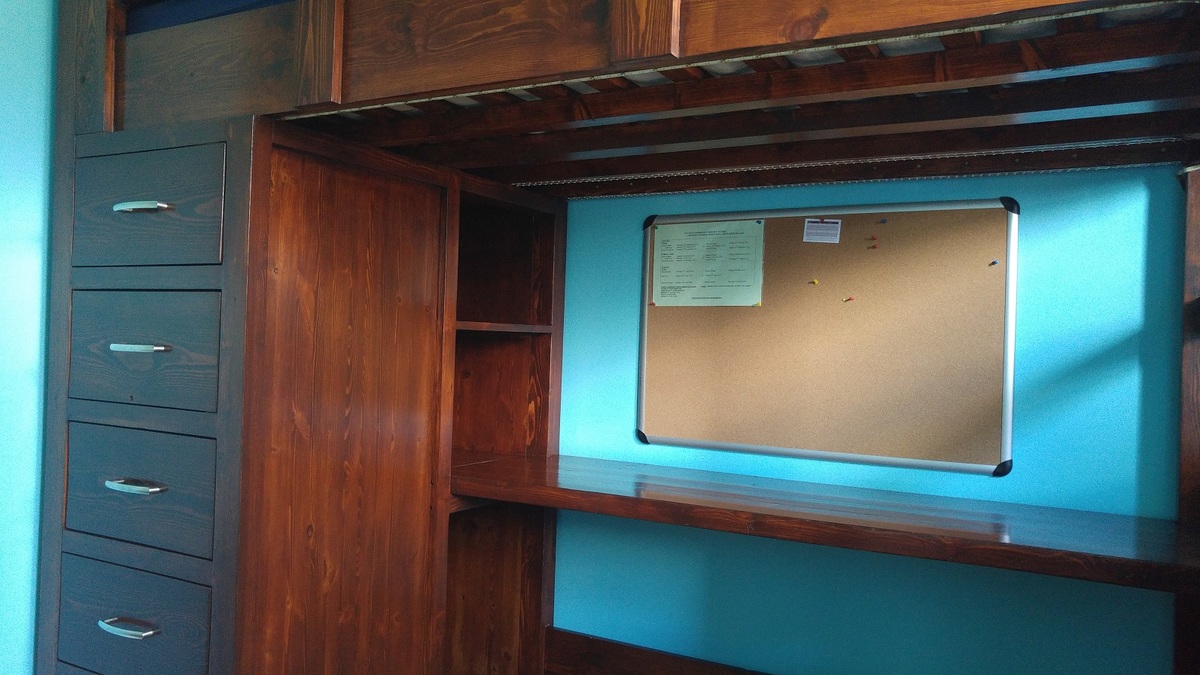
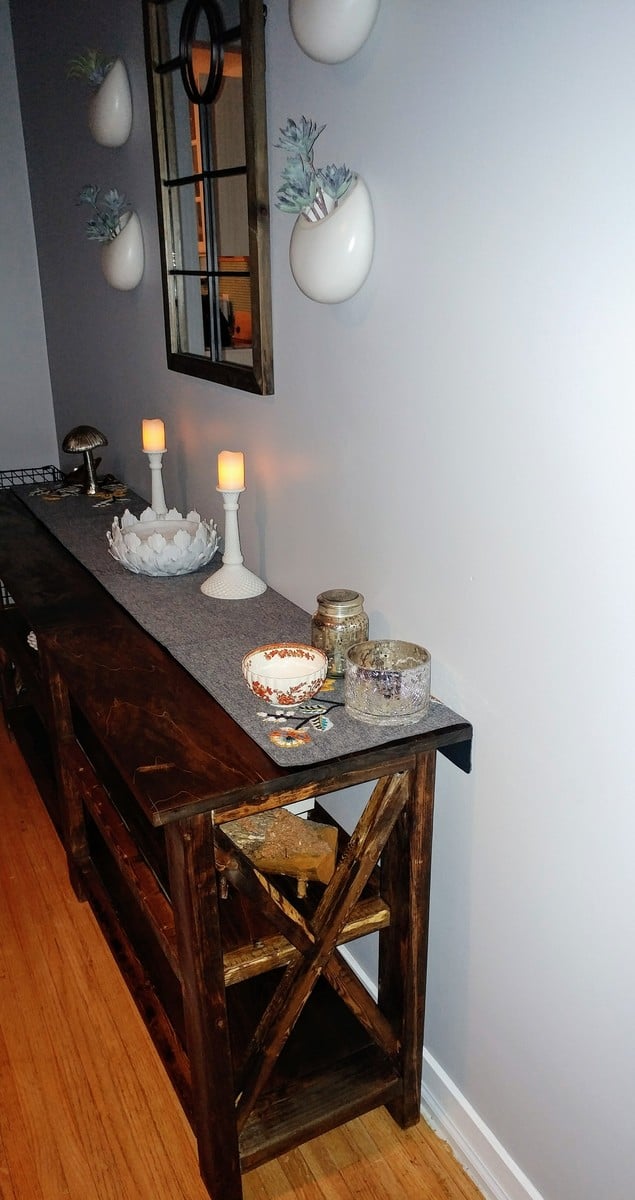
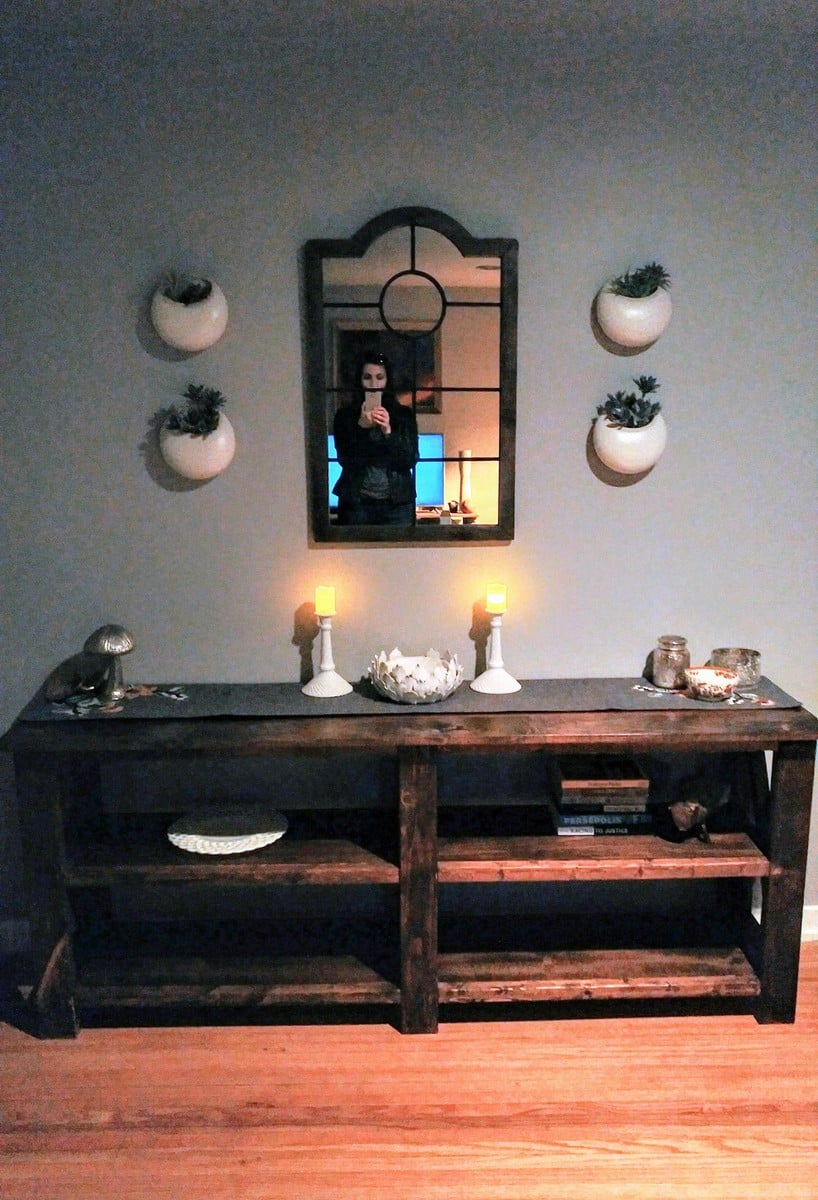
Community Brag Posts

Rustic X Console

Submitted by Anonymous (not verified) on Wed, 03/08/2017 - 08:42

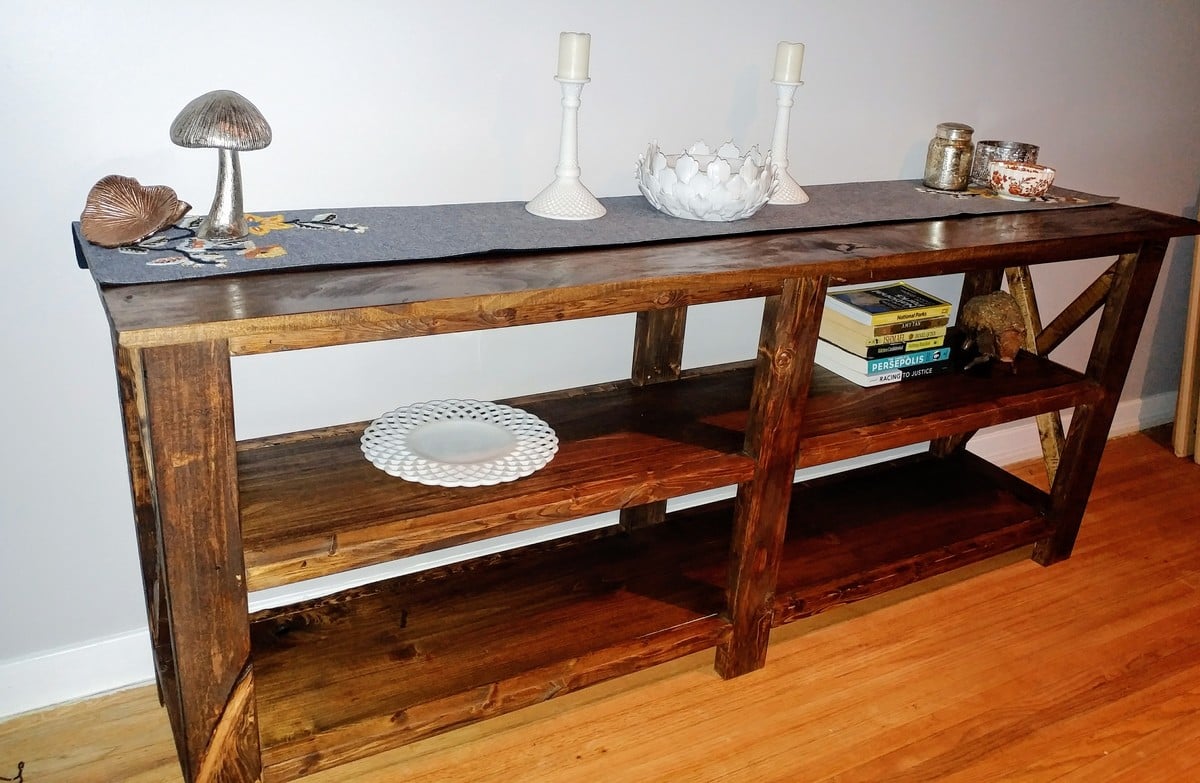
This was a great project! I didn't use the 2x6's for the top, as one wasn't quite straight. I used some pretty poplar I had in the basement and it worked beautifully. I wouldn't use poplar for a high-use project but this table top won't see much abuse.  Used pocket holes to connect them and used finish nails and glue to attach to the apron. Minwax Provincial stain and wipe-on poly in gloss. 5 coats on the top and shelves. 3 on the rest. This is a really sturdy, beautiful piece. And so cheap! Took 2 weekends  - a few hours here and there and time in between poly coats.

Built from Plan(s)
Estimated Cost
Less than $100
Estimated Time Investment
Weekend Project (10-20 Hours)
Finish Used
Minwax Provincial and Wipe-on Poly
Recommended Skill Level
Beginner

Modified Octagon Picnic Table

I built the octagon picnic table, and modified in a couple of ways.

1) Due to project deadline (Christmas) (and cost) I opted for composite decking for a finished top and bench, and pressure-treated 2x framing stock. Builder beware! Composite decking can be 5 1/4" wide, which impacts the spacing between the pieces, which means re-calculating most of the table-top pieces. Also, I added lateral structure underneath the benches (more weight!)

2) I really wanted that hole in the center, and hope that my solution (which slightly weakens the overall structural integrity) withstands the test of time.

Built from Plan(s)
Estimated Cost
350
Estimated Time Investment
Weekend Project (10-20 Hours)
Recommended Skill Level
Advanced

A Big Huge Desk for My Son

My adult son needed a bigger computer desk for the new computer with double monitors and lots of accessories that he received for Christmas from his Dad. I ripped a sheet of plywood in half length-wise using Ana's tip of clamping a 2x4 to the board to be cut in order to get a long, straight line with a circular saw. The front edge of the plywood desktop is covered with flat trim to make it smooth and give it a finished look. I built two basic bookshelves to hold up the ends of the desk for storage of software and other accessories. Since the desktop is 8 ft long and will be supporting a lot of equipment, I decided it needed a 2x4 framework in the middle to keep it from sagging. My son wanted space between the desktop and the wall for lights and wires, etc., so that's why there is a 6inch gap between the back of the desktop and the wall.
The bookcases and desktop are stained with MinWax "Golden Oak" and sealed with Varathane Premium Polyurethane. I didn't use any wood prep because I was going for a more rustic look. The underside of the desk and the 2x4 framework is painted with Benjamin Moore "Copper Mine" in a Pearl Finish.
I didn't use any particular plan, but put together several ideas that I've learned from following Ana's blog for a few years now. My son is thrilled with his desk and we both are looking forward to furnishing his entire apartment with hand-built furniture from this site.
Thanks, Ana!!!!

Estimated Time Investment
Day Project (6-9 Hours)
Finish Used
MinWax "Golden Oak" Stain
Varathane Polyurethane
Benjamin Moore "Copper Mine" paint
Recommended Skill Level
Beginner

Comments

Linda7

Fri, 02/08/2013 - 09:17

Pam,
This is such a neat build for someone who has to really "spread out". That's what I'd like to be able to do, but don't have the room. Your son's a lucky man.

Linda

King Farmhouse BED

This is my DIY for a farmhouse bed. Inspired by Anna white and Pottery Barn. I wanted a sturdy look and used 4 x 4 posts and decided to make a king!

Check out my blog:

http://www.woodworkingfourdummies.com/blog/king-farmhouse-bed-diy


Cheers,

Ian

Estimated Cost
$ 270.00 CDN
Finish Used
Minwax Dark Walnut with a water based polyurethane
Recommended Skill Level
Intermediate

Comments

Outdoor sectional

Submitted by maw0130 on Fri, 03/10/2017 - 07:44

This is built similar to the Reef sofa from Crate and Barrel. The Design Confidential had some plans, but I made my own. My 24" x24" cushions didn't fit their plans so I modified to fit. Plus the base and frame are modified a good bit. Also, I've built a swing too that matches. I'm loving it...and so are the fur babies. 

Estimated Time Investment
Weekend Project (10-20 Hours)
Recommended Skill Level
Beginner

Folding lap desk

This is my first project that I’ve done entirely by myself and I’m so happy with how it turned out. These plans were great! The only thing I did differently was make the legs 1/2 an inch longer and I stained the table instead of personalising. I made this for my mum and she loves it, thank you for these awesome plans ❤️ This only took me an afternoon to build and then just going back and puttying the screws and staining the table was done over a few days. The wood cost around $30 and I already had the putty and stain at home. It would cost more to make if you had to buy the stain and putty.

Built from Plan(s)
Estimated Cost
$30
Estimated Time Investment
Afternoon Project (3-6 Hours)
Recommended Skill Level
Beginner

Comments

Clothes Line Picture Frame

Submitted by jzacharuk on Tue, 02/05/2013 - 21:33

This was a fun little project. Not only did we get to use Ana's new picture frame plan, but we also tried out the whitewashed stained finish.

Estimated Time Investment
Day Project (6-9 Hours)
Recommended Skill Level
Beginner

Range Hood Cover

I have a very ugly, plain old range hood that needed to go.  It's not in my budget to get a custom range hood or to buy and insert.  So, I decided to cover up the existing one.  Turned out great IMHO :)  For details and a step by step tutorial including cut list for my project, click over to my blog.  Thanks for looking!!


Estimated Cost
$20
Estimated Time Investment
An Hour or Two (0-2 Hours)
Finish Used
Off the shelf Semi gloss White paint
Recommended Skill Level
Beginner

Lofted Kids Bed

Submitted by Anonymous (not verified) on Mon, 03/13/2017 - 10:49

I took the Fire Station plans and the Little Cottage plan and came up with this for my grandson.  He wanted a slide so I came up with that on my owe 

Built from Plan(s)
Estimated Cost
$175
Estimated Time Investment
Weekend Project (10-20 Hours)
Recommended Skill Level
Intermediate

Cabinets for games and piano books!

Submitted by Anonymous (not verified) on Tue, 01/05/2021 - 08:26

I’ve been following Ana for almost a decade and this was my first build. I loved this design plan so much I made two versions in a week! It was easy to modify the dimensions for both to accommodate the baseboard heating behind the double cabinet. I wanted a flush alignment along the wall. I love how it turned out! I definitely learned from my mistakes and the second one came out much better than the first. I made both cabinets from one 4 x 8 sheet of plywood. So cost effective!!

Estimated Cost
$75
Estimated Time Investment
Weekend Project (10-20 Hours)
Finish Used
Still deciding...eeks!
Recommended Skill Level
Beginner

Comments

APOTHECARY COFFEE TABLE WITH TRUNDLE

Submitted by athonu on Fri, 02/08/2013 - 13:50

My version of the APOTHECARY COFFEE TABLE WITH TRUNDLE, I decided to add a back for added strength and support. It's solid as a rock. I also went back and sanded down the edges after painting and added stain as well as stained directly over the painted panels for a more weathered look. This is my first project from ana-white.com, hopefully there will be more to come.

Estimated Cost
$120 for lumber, paint, stain, and hardware
Estimated Time Investment
Weekend Project (10-20 Hours)
Finish Used
Valspar Semi Gloss in an off-white, MinWax water base stain in American Walnut, and MinWax Polycrylic protective finish in a satin sheen.
Recommended Skill Level
Intermediate

Comments

Cedar Chest

We have considered buying a cedar-lined chest to store blankets, towels, etc. for many years.  However, we couldn’t find one that came close to matching the Knotty Pine bedroom set that we had in our master suite. 

Hence, our design criteria was quite simple; match the bedroom set and have a chest sturdy enough to support our Beagles as they peer at the squirrels outside the window.

We used plans / ideas from several different chest designs which were readily available on the internet.  Most of those plans were using hard woods such as oak.  Those plans called for a hard wood framing with ¼” oak plywood for the panels.  Since we needed to use Knotty Pine to match the bedroom set, we used 1” Knotty Pine for framing and Knotty Pine ¾ ply w/ Kreg Screws and copious glue to strengthen the construct.  We finished it off with locally available 3/8” cedar T.G. planks.  It is very heavy and very strong!  This project was done entirely w/ Kreg Screws and no router rabbeting for the panels.

We learned the following while doing this project:

·      When using soft woods, always put the power sander on the wood before you start the sander.  Otherwise, you can get scratching / sander burns that don’t present themselves until staining begins.

·      While very strong, ¾” plywood is very heavy!

·      When using plywood, it is recommended that you stain both the visible and non-visible sides of each piece where glue is not to be applied.  Otherwise the chance for delaminating increases dramatically.

60 hours work and $350 to build.   

Estimated Cost
$350.00
Estimated Time Investment
Week Long Project (20 Hours or More)
Finish Used
Minwax stain and hand-rubbed varnish.
Recommended Skill Level
Intermediate

Comments

Flag storage

This is just a simple flag storage for smaller items like jewelry. The frame is 1×4, the stripes are 1×2 and the field of stars is made from 1×12.

Estimated Cost
$30
Estimated Time Investment
Weekend Project (10-20 Hours)
Finish Used
Burned then polyurethane.
Recommended Skill Level
Beginner

84' patio sofa

Submitted by anrtist on Sun, 02/10/2013 - 08:28

Wanting nice seating for the patio, I could not afford the sofa I wanted from Restoration Hardware. Since I have more interest and willingness than money, I looked on-line for a DIY design. Fortunately, I found Ana's site and her plan. I lengthened her sofa design to fit the RH cushions and went to work. Thank you Ana for easy to follow plans, especially thanks for the cutting & shopping lists! I had your plan by my side during the entire process. Now, I'm ready to build a footrest bench to place in front of it. (I did order the RH cushions... on sale, but still expensive!) I am 71 years old.... you never have to stop becoming, it is a choice!

Estimated Cost
$105 plus cushions.
Estimated Time Investment
Day Project (6-9 Hours)
Finish Used
sanding only, I want a weathered look.
Recommended Skill Level
Beginner

Comments

Rustic x coffee table (larger version)

Submitted by Srice20 on Tue, 12/16/2014 - 05:30

This table was a lot of fun to make! I love it with the dark top and white base!!!! 

Estimated Time Investment
Afternoon Project (3-6 Hours)
Recommended Skill Level
Intermediate

Comments

TwoCuteKids

Tue, 12/16/2014 - 05:46

Great job on your coffee table, it looks fantastic in your living room! Love the dark on light as well.

Farmhouse table

Submitted by Anonymous (not verified) on Fri, 03/17/2017 - 13:17

We were so excited to stumble across your plans on Pinterest for this farmhouse table. We literally seen the same table for 1600.00 on Wayfair's website. We can not wait to tackle another one for outdoors. Thank you. 

Built from Plan(s)
Estimated Cost
We only spent 115.00 on this table but it did help that we already had the stain and paint in our garage to finish the table with.
Estimated Time Investment
Afternoon Project (3-6 Hours)
Finish Used
Jacobean finish and white chalk paint.
Recommended Skill Level
Beginner

Patio Seating

Patio Seating I decided on.. Went with the same concept i did as before with the pallet storage table bench, just on a larger scale. Added the back and complete.. Probably should of done 6 supports for the back since its a solid 10 foot bench. Its completely stable but most defiantly would recommend 6 vs 5. I did do the lid in 5 foot sections to make easier for taking on and off.

Estimated Cost
80.00
Estimated Time Investment
Weekend Project (10-20 Hours)
Finish Used
stain
Recommended Skill Level
Starter Project

Loft bed with platform

Submitted by Radek on Thu, 12/18/2014 - 16:09

Modified a plan to fit 200x90cm mattress and added platform with steps from another Ana's plan.  Also added LED strip light under mattress base and under the platform. We leave that on at night so it's safer if he would wake up at night :)

In the future I'm planning to build a desk with drawers and a bookcase to fit under the bed.


Thank you Ana, my son loves it :)


2016 update :)

Finally added drawers (from Ana's plan) desk and shelfs. added four cool white LED lights over the desk.

Thank you again for your plans!

Estimated Cost
£150 for timber
Estimated Time Investment
Week Long Project (20 Hours or More)
Finish Used
I used General Finishes gel stain. It's a dye and a top coat in one. Done three coats of Candelite using old socks to wipe it on :)
Recommended Skill Level
Beginner

Comments

Cal King Farmhouse Bed

Submitted by Anonymous (not verified) on Sun, 03/19/2017 - 21:06

After multiple military moves, we were tired of factory made furniture with veneers that don't hold up to wear. So we were so happy to find the plans for this bed in a Cal King size.  Not only is it a classic design, but it's solid, sturdy, and we know exactly how to repair it if needed! We built everything to plan except that we used brackets to attach the side rails for ease of dissembling during moves. We love that it works with our freestanding, moveable base Tempurpedic mattress with no need for support slats. 

Estimated Cost
$220
Estimated Time Investment
Weekend Project (10-20 Hours)
Finish Used
Dark walnut stain for base. Rustoleum Painters Touch spray paint in Heirloom White.
Recommended Skill Level
Intermediate