Community Brag Posts

Miter saw cart

I looked at several solutions for a potable miter saw cart given that I had just purchased a new miter saw and it is quite heavy. Opted for the miter saw cart in Ana's website because it provided the most flexibility given my limited working space.

Built from Plan(s)

Farmhouse Bed (King Size)

What started out as an innocent shopping trip for a bed, sparked an idea, and led me to Ana White. Next thing I know...I had built a Farmhouse Bed. All by myself! Then I started a blog to document my whole bed building adventure - http://gleeinspired.blogspot.com/2010/10/bed.html.

Thanks Ana! You are truly amazing!

Estimated Cost
$150
Estimated Time Investment
Week Long Project (20 Hours or More)
Finish Used
I primed the wood with one coat of Behr latex wall primer. Then painted 2 coats of Behr latex paint (eggshell finish) in Cozy Cottage. Finally, I distressed some of the edges with sandpaper.
Recommended Skill Level
Beginner

Comments

Lori E. (not verified)

Sun, 09/25/2011 - 08:54

Gorgeous!! Your bedroom is absolutely beautiful.... great job!!

Kate (not verified)

Sun, 09/25/2011 - 09:32

It looks great!

Also, I'm so excited that you incorporated your existing bed frame! I also have been wanting to build this bed, but was worried about trying to make it solid enough to support our big split-base king mattress. Could you tell me a bit more about how the frame works with this? Did you attach the frame to the wood, or is the wood bed just kind of floating around the frame? Does it look odd to have the frame legs as well as the wood legs?

Glee Inspired

Sun, 09/25/2011 - 15:10

Thanks so much! I love our bed and Ana's plans make building this bed simple enough for complete beginners!

To attach our metal bed frame, I screwed it into both 4x4 posts on the headboard. Then I used 1x12 boards on each side, attaching them to the headboard and footboard with 2 L-brackets at each corner. I also screwed the metal bed frame to the side boards wherever possible. This provides a little added stability to everything. Not that the bed really needs it...it's super solid and sturdy!

Since our bedroom is long and narrow, it's impossible to see the frame legs with our furniture placement. Otherwise, I'd probably use a simple tailored bedskirt to hide them.

Hope this helps. Happy building!

birdsandsoap

Mon, 03/19/2012 - 13:28

Am I crazy? I swear I've seen this room somewhere. Did you get published in a magazine or blog feature? Love it. The color scheme is so different; seriously- how did you pull off orange and blue and get it to look so fantastic?

parly (not verified)

Tue, 03/20/2012 - 09:33

absolutely love the finish on this! ....any chance you could share with us what you have done?

thank you soooo much!!!

Jim Pierce (not verified)

Thu, 01/17/2013 - 02:23

Any chance you can email mail me or post here, the dimensions? I know the length along the frame is fixed but the width of the boards on the headboard and footboard and the height of the posts on each end as well as the height of the boards in the center of the head and foot board. I am a beginner and have been looking at headboard ideas online for quite some time now and yours is the first I actually liked and want to build.

Very Green Camp Loft Bed with $10 Ledge Bookshelves

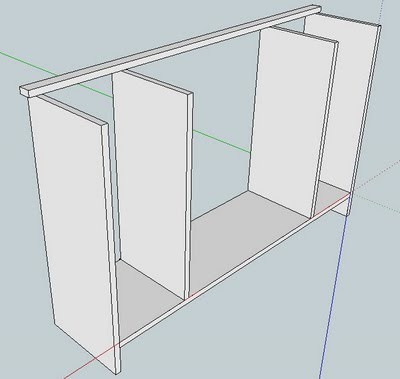
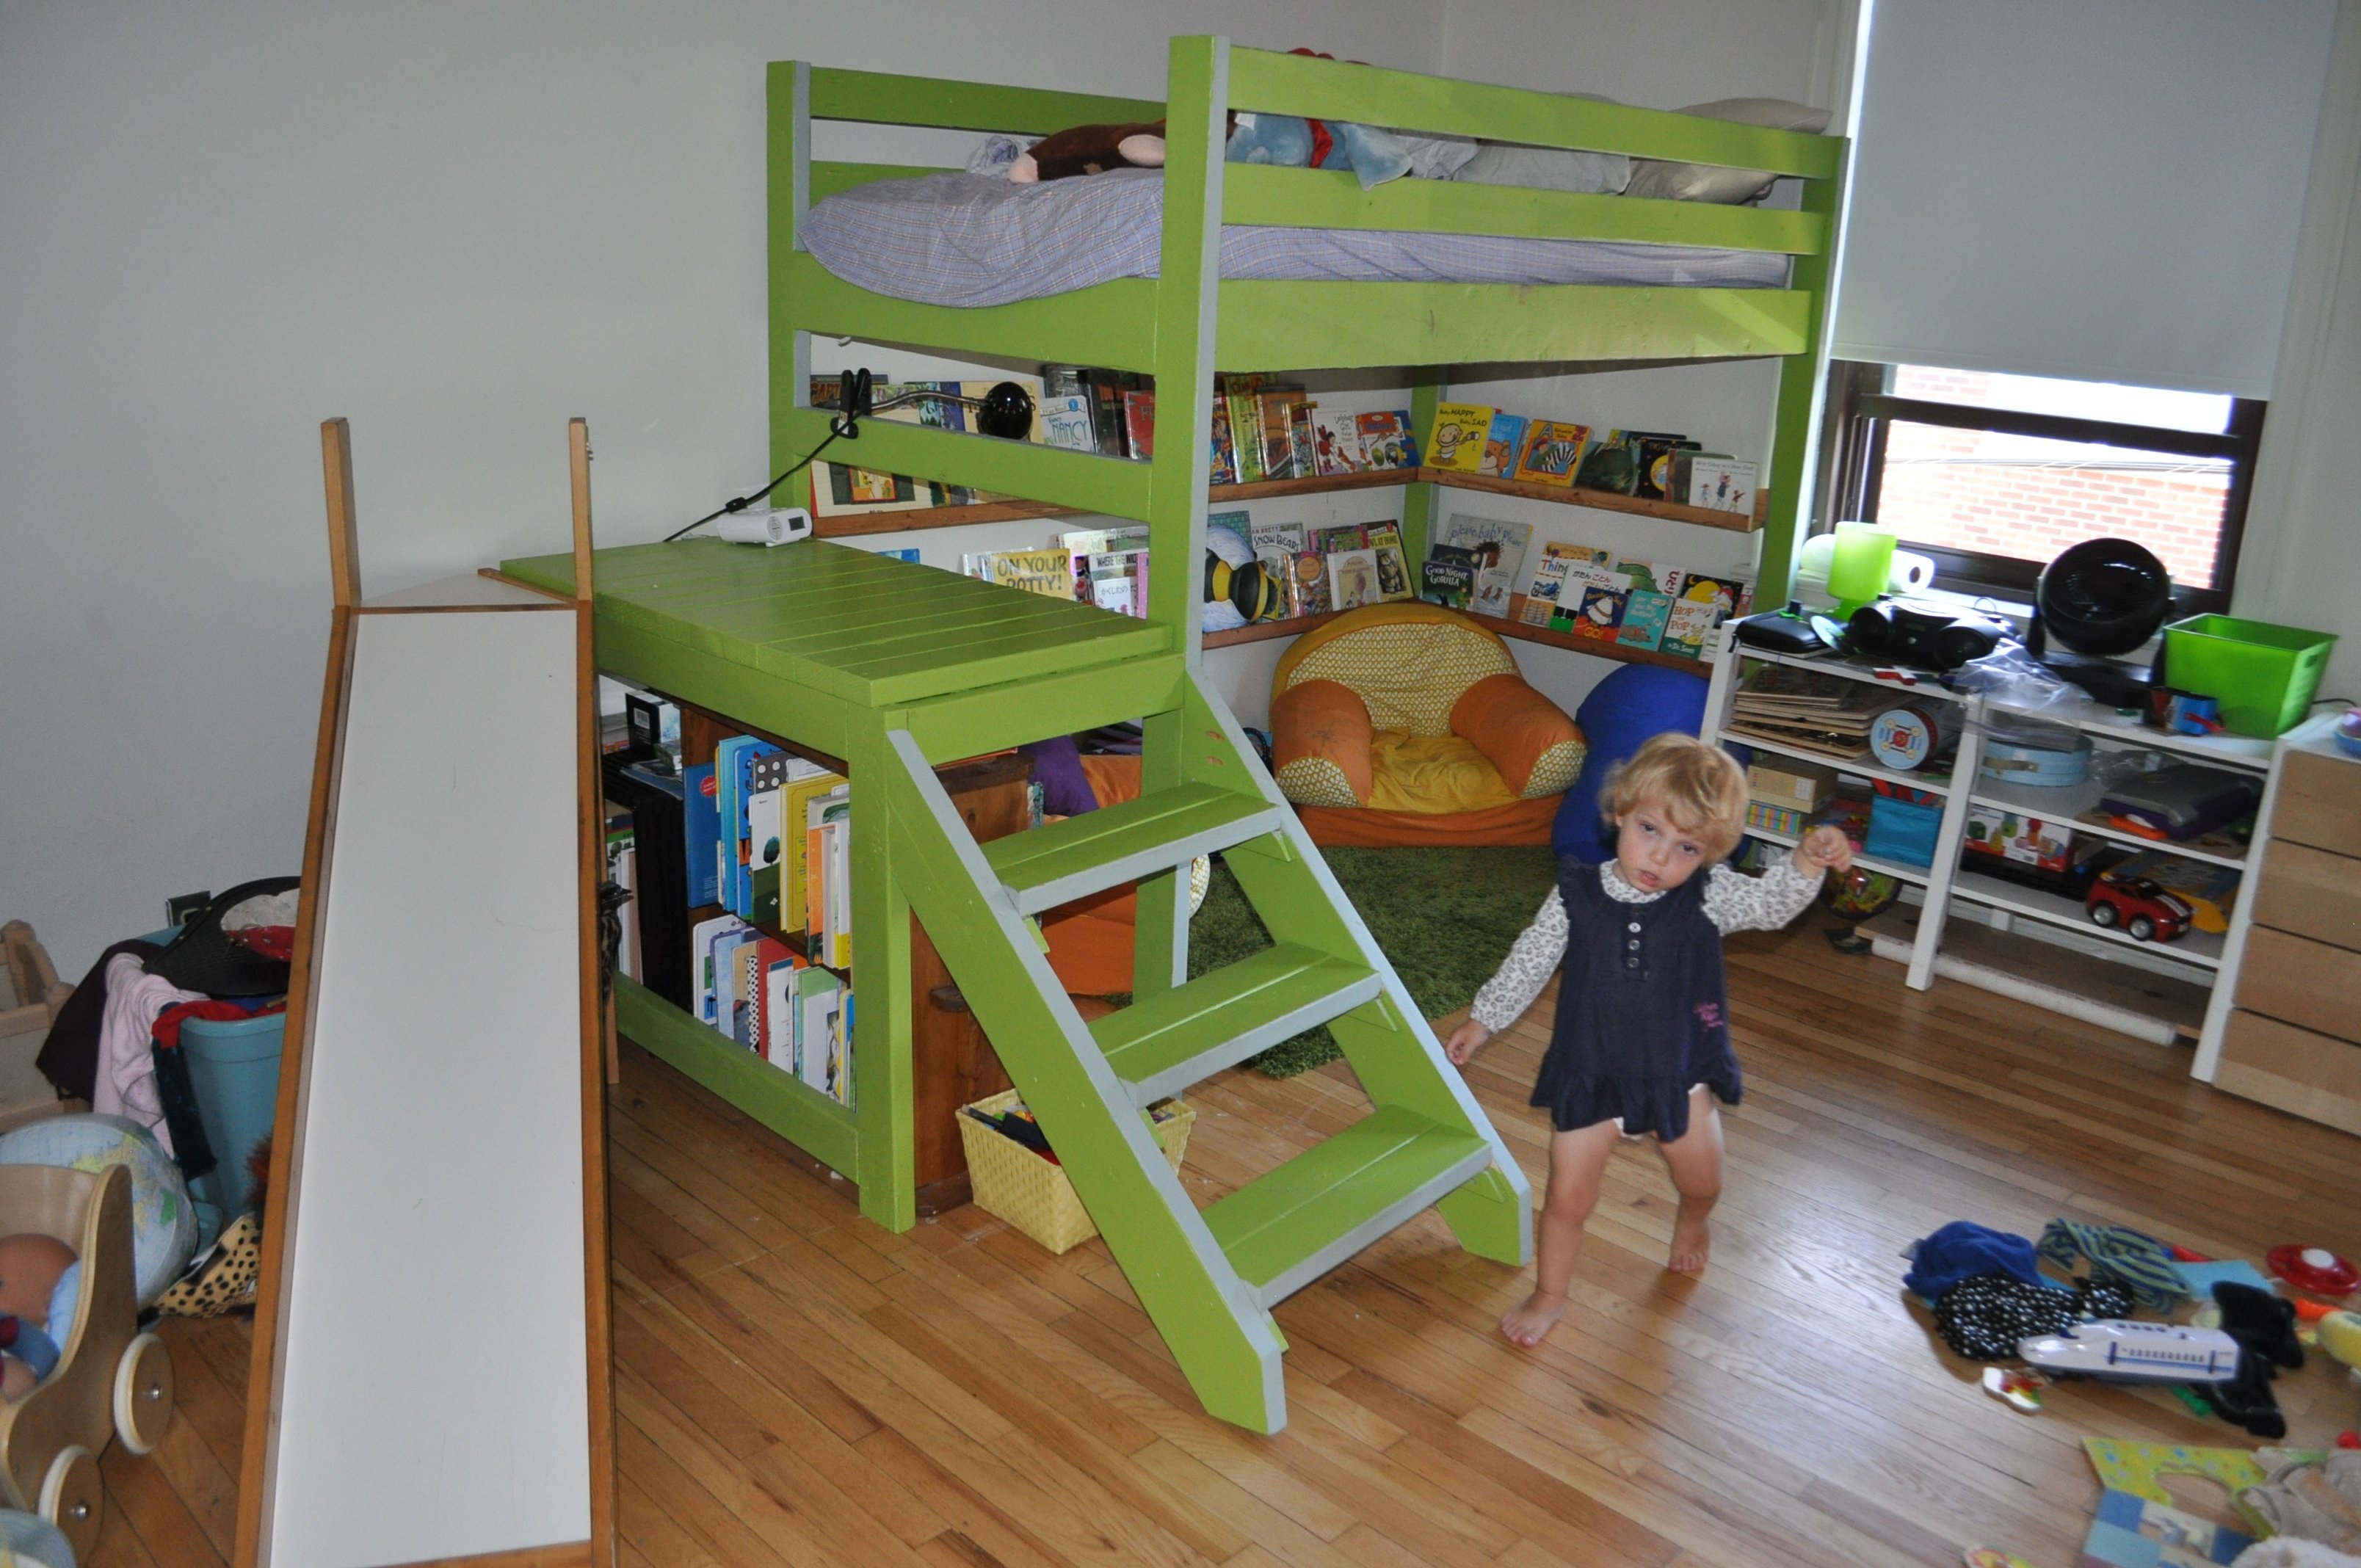
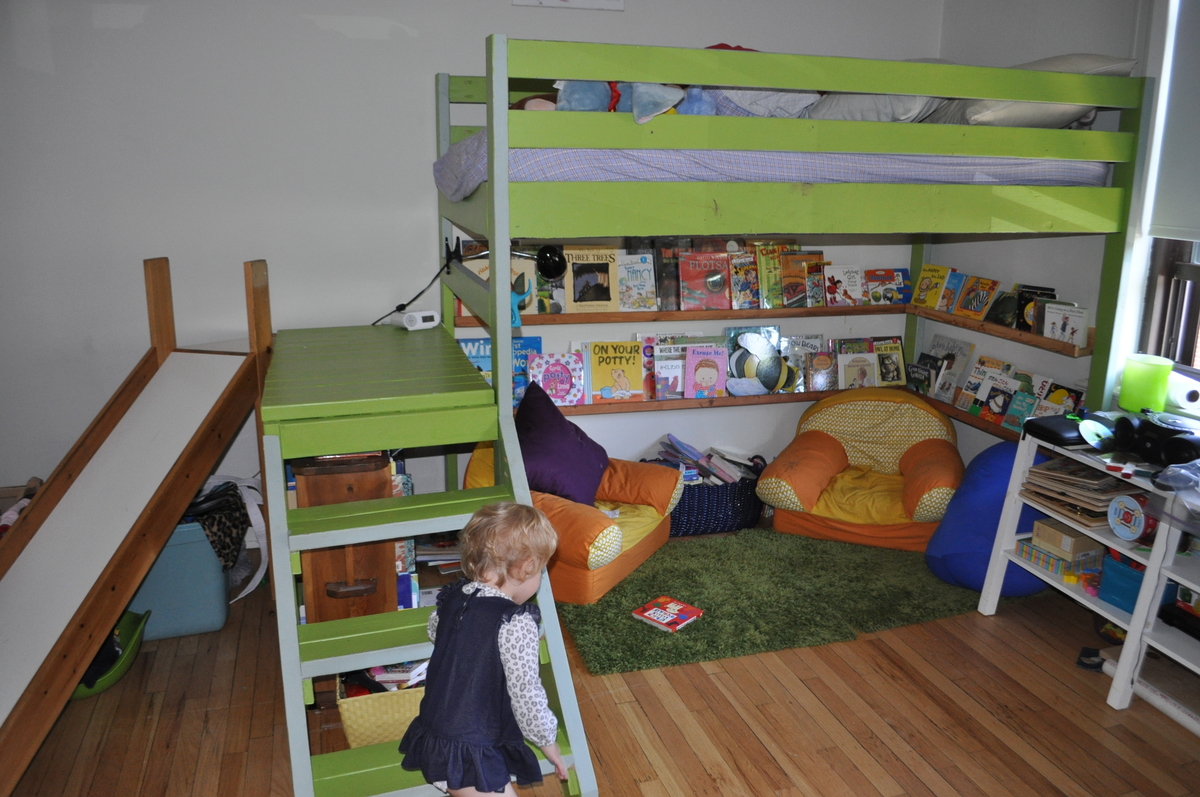
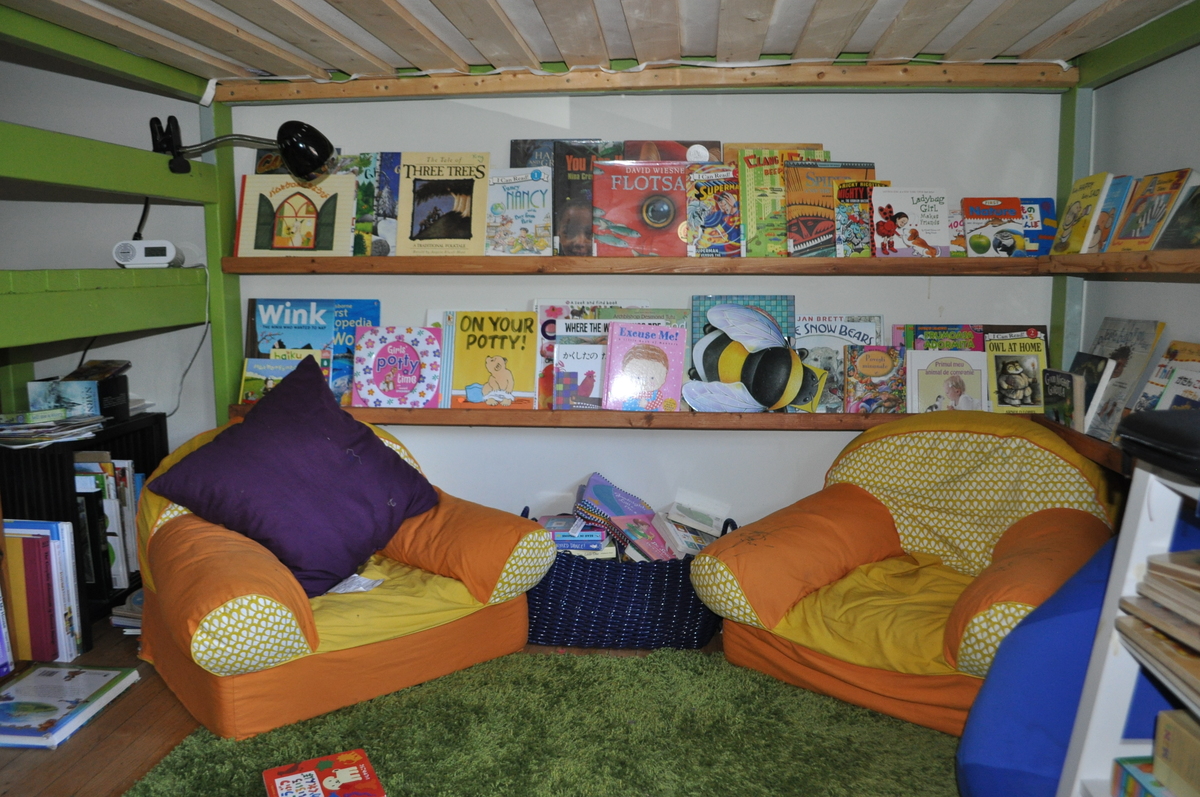
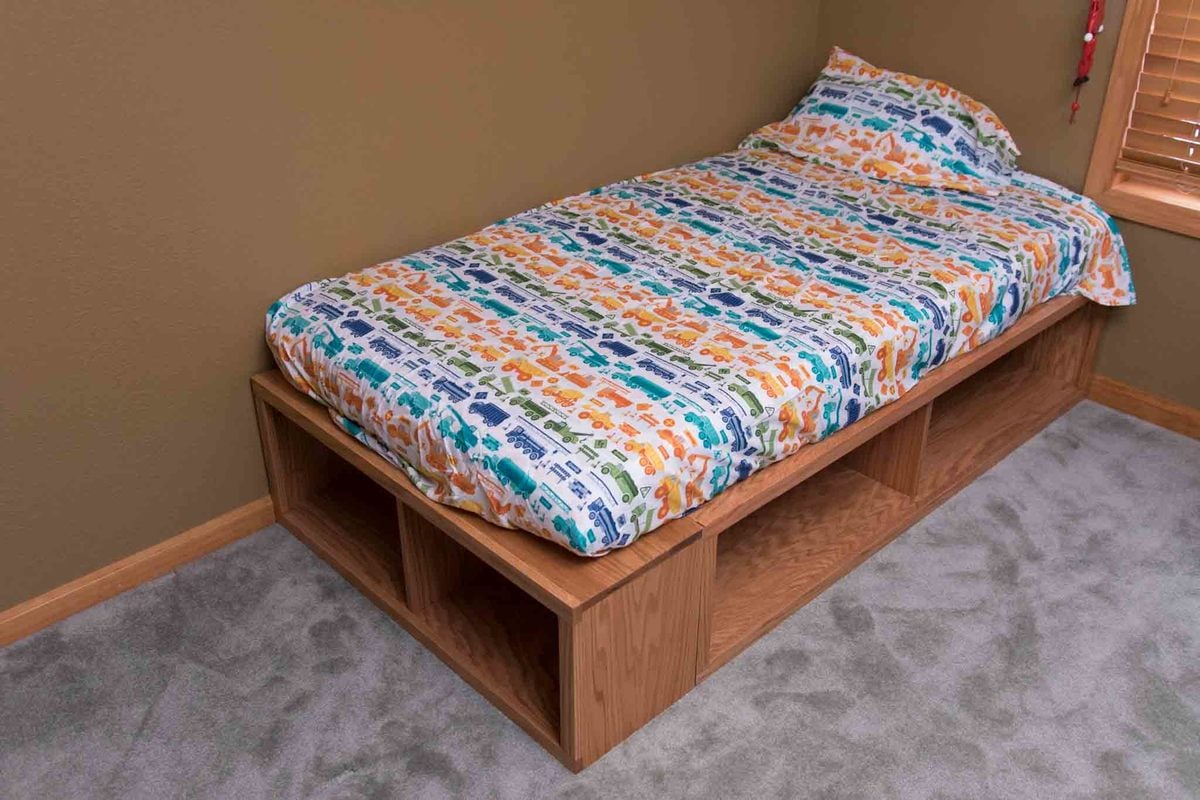
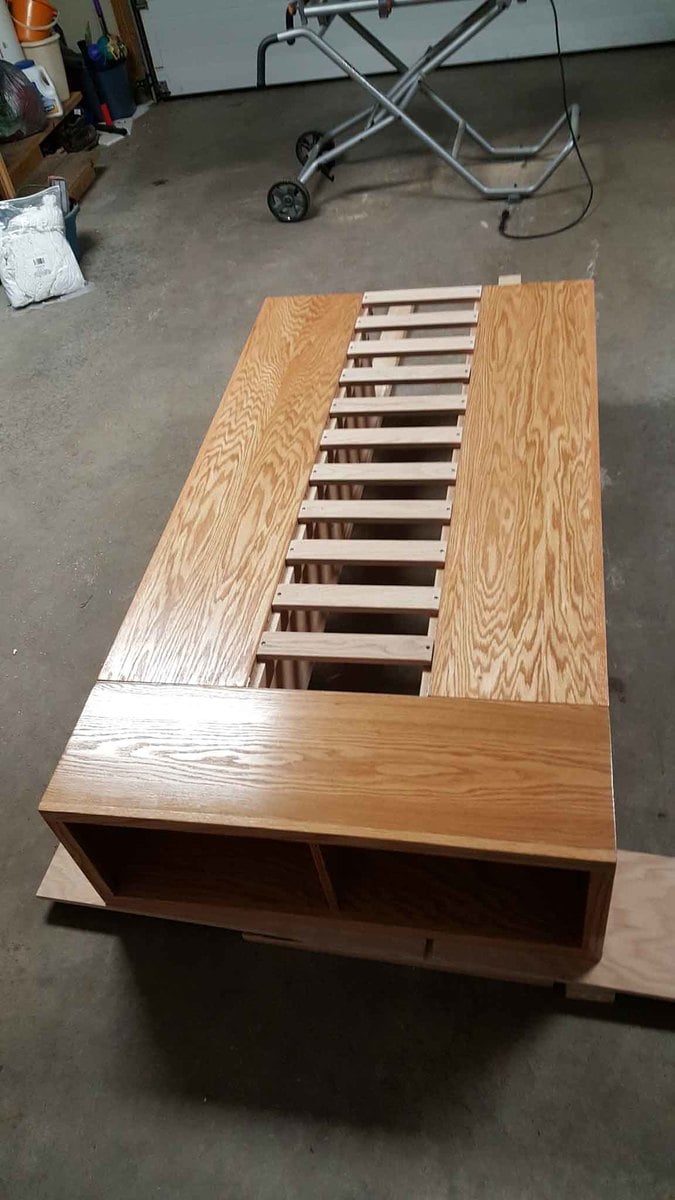
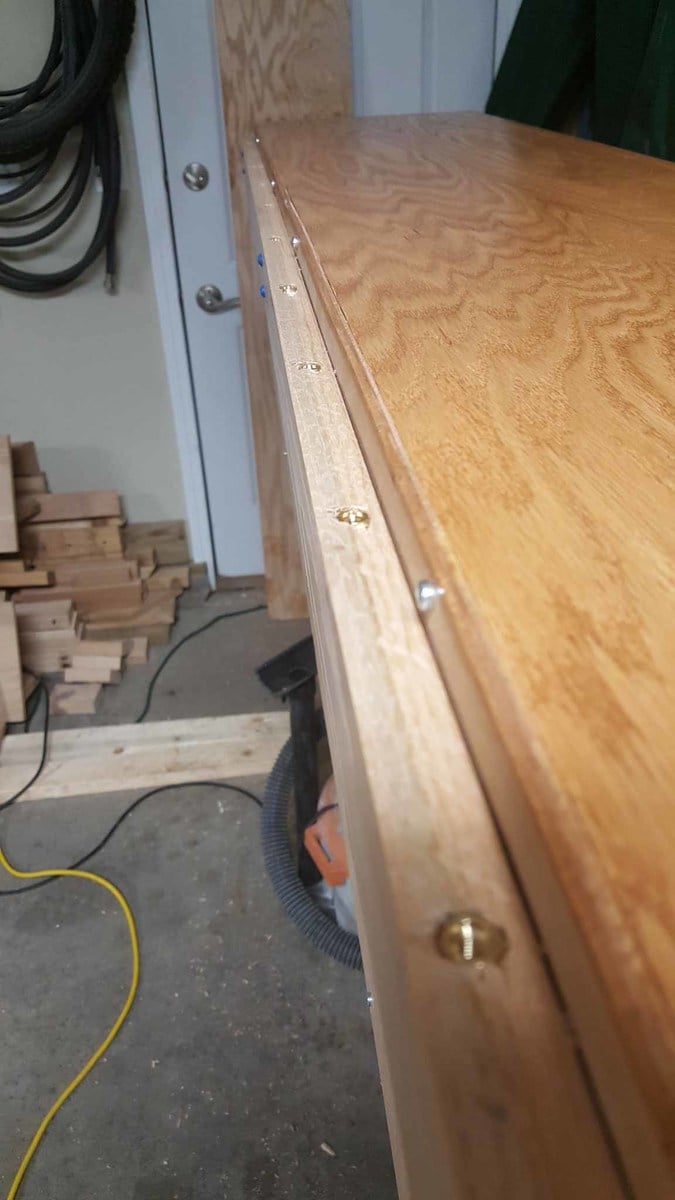
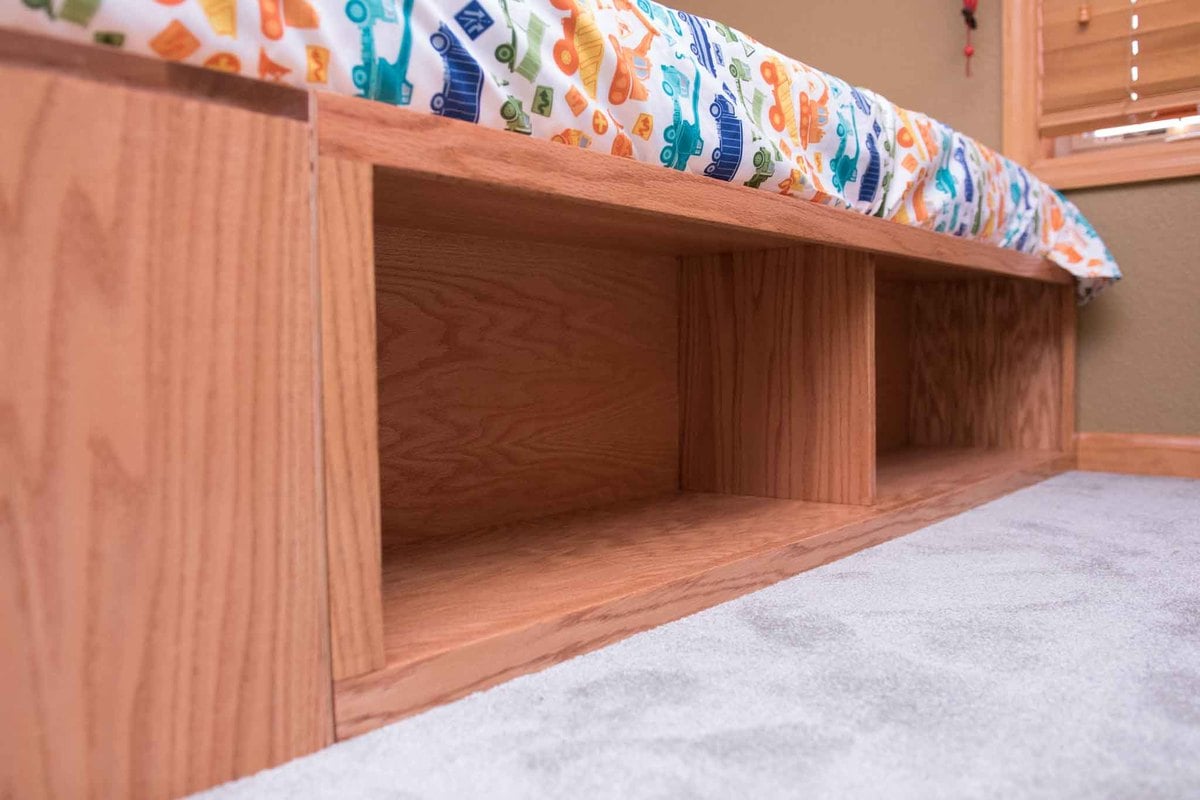
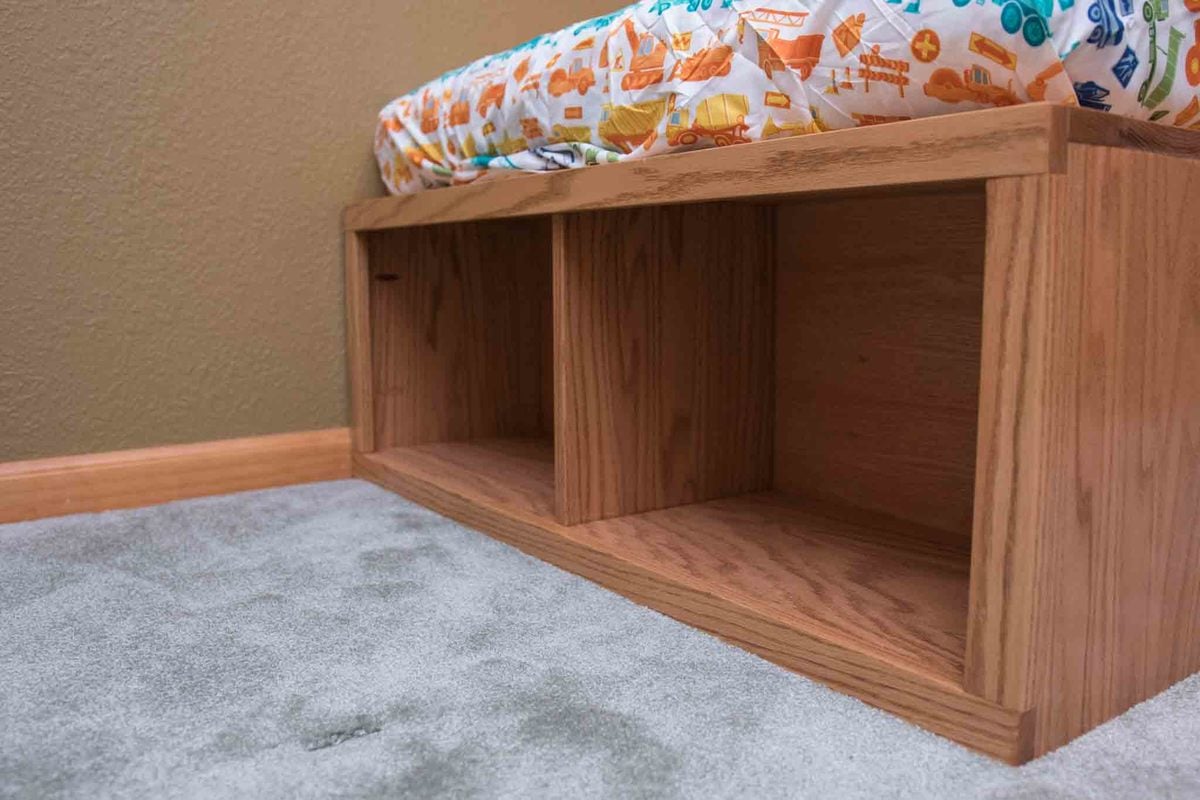
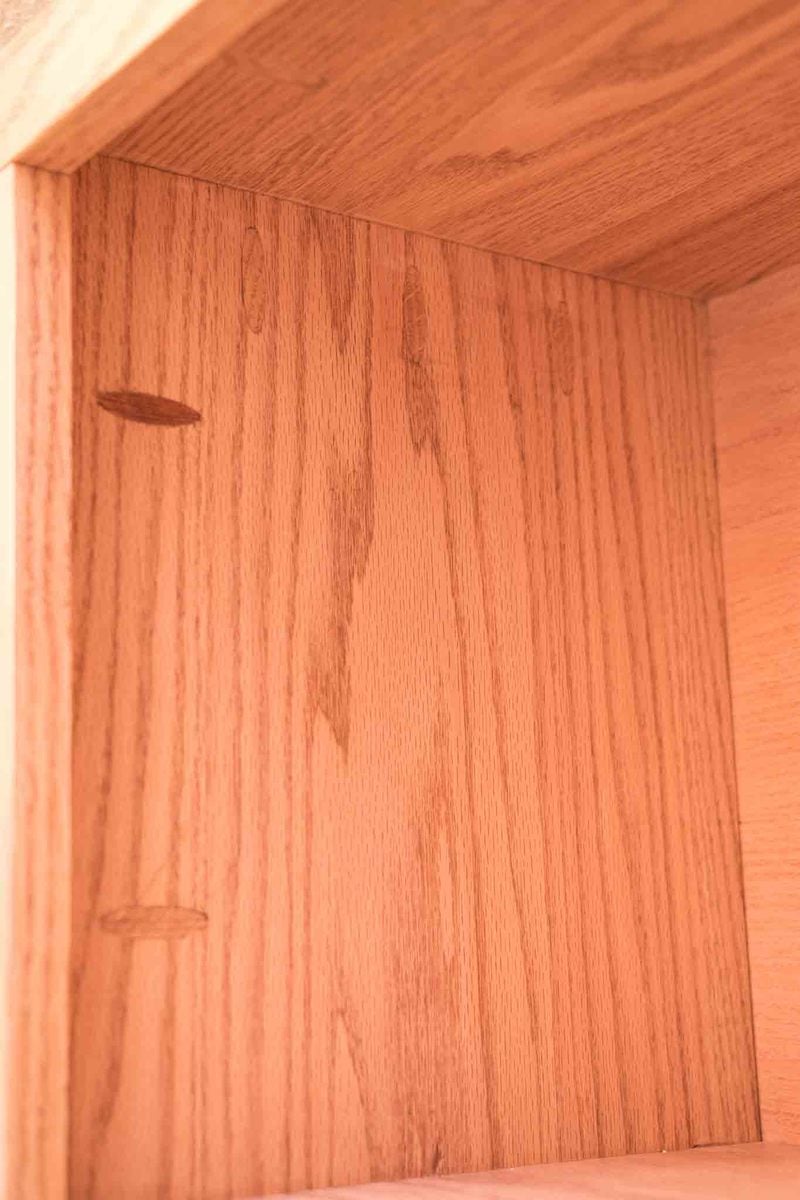
I built this bed in July in anticipation of my two children sharing a room for the first time. They love it. In August, I thought to add the $10 ledges to the frame of the bed when I realized our walls wouldn't support their weight and we're in a rental. I used 1x3s instead of 1x4s those plans called for so the shelves would sit at the same depth as the 2x4s on the frame of the bed.

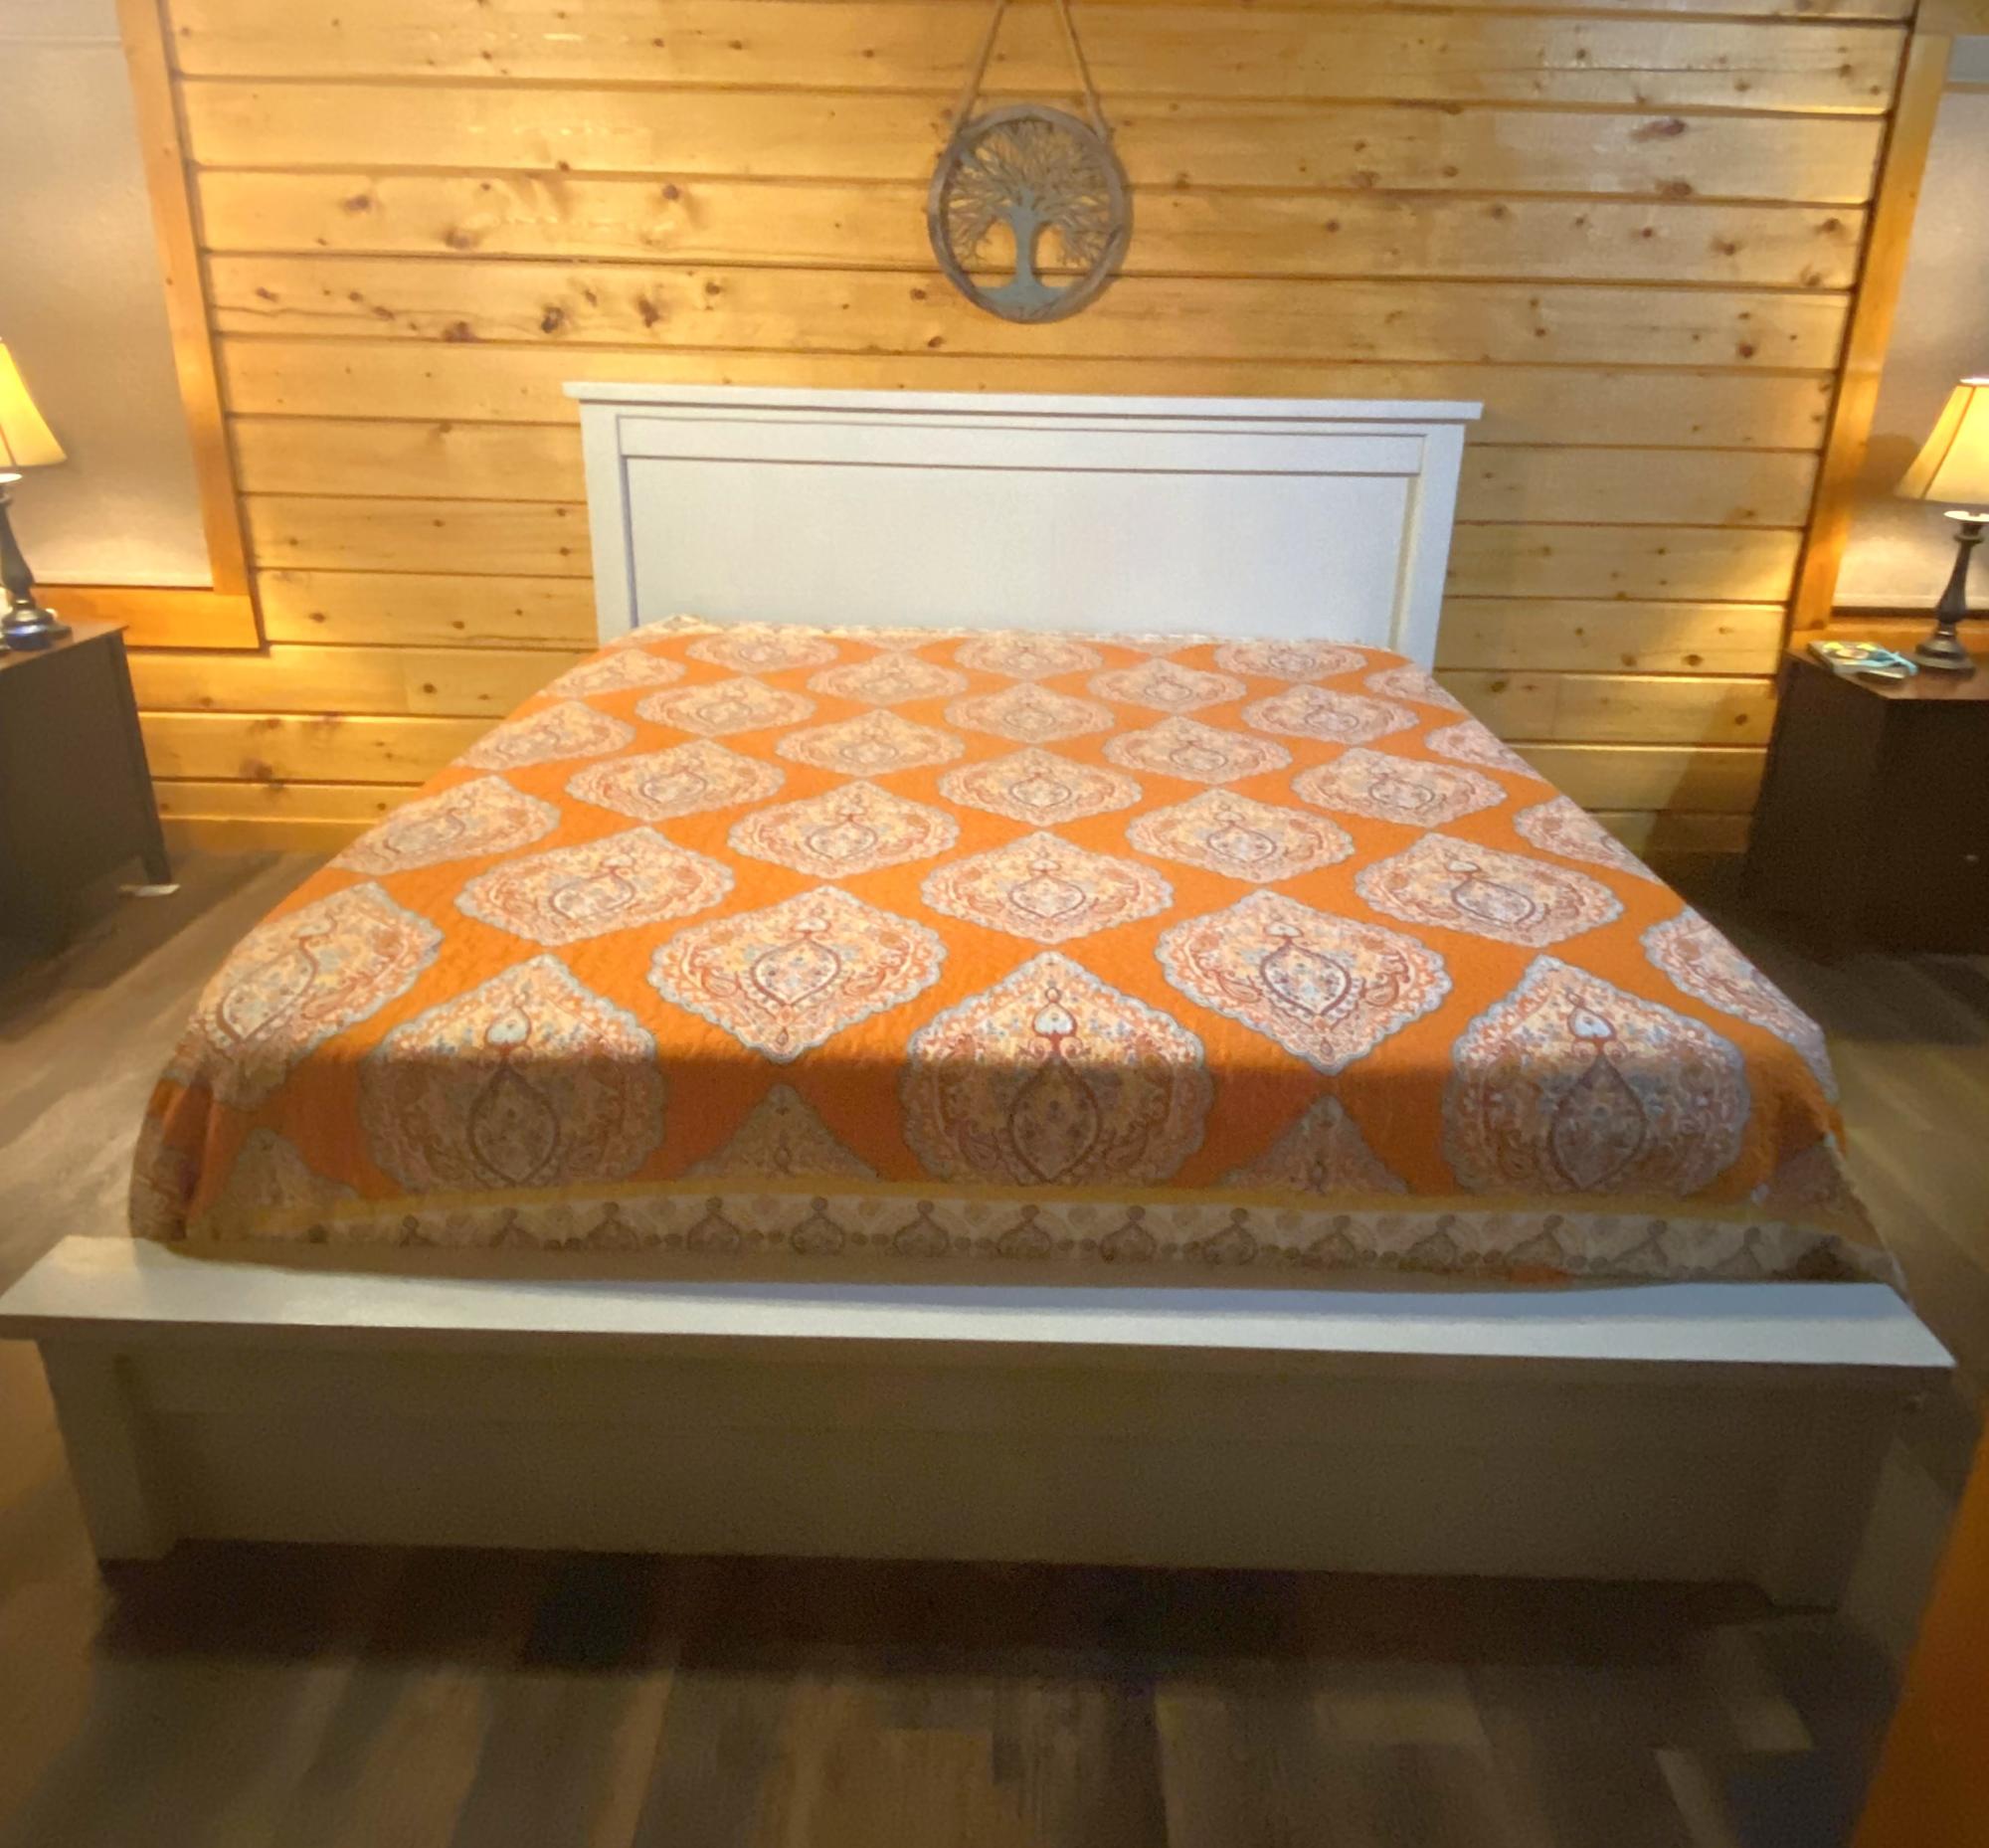
I wish I knew more about painting soft wood because I don't love how the paint job turned out, though it is green per my son's request. I couldn't deal with more green, hence the ledges are stained.

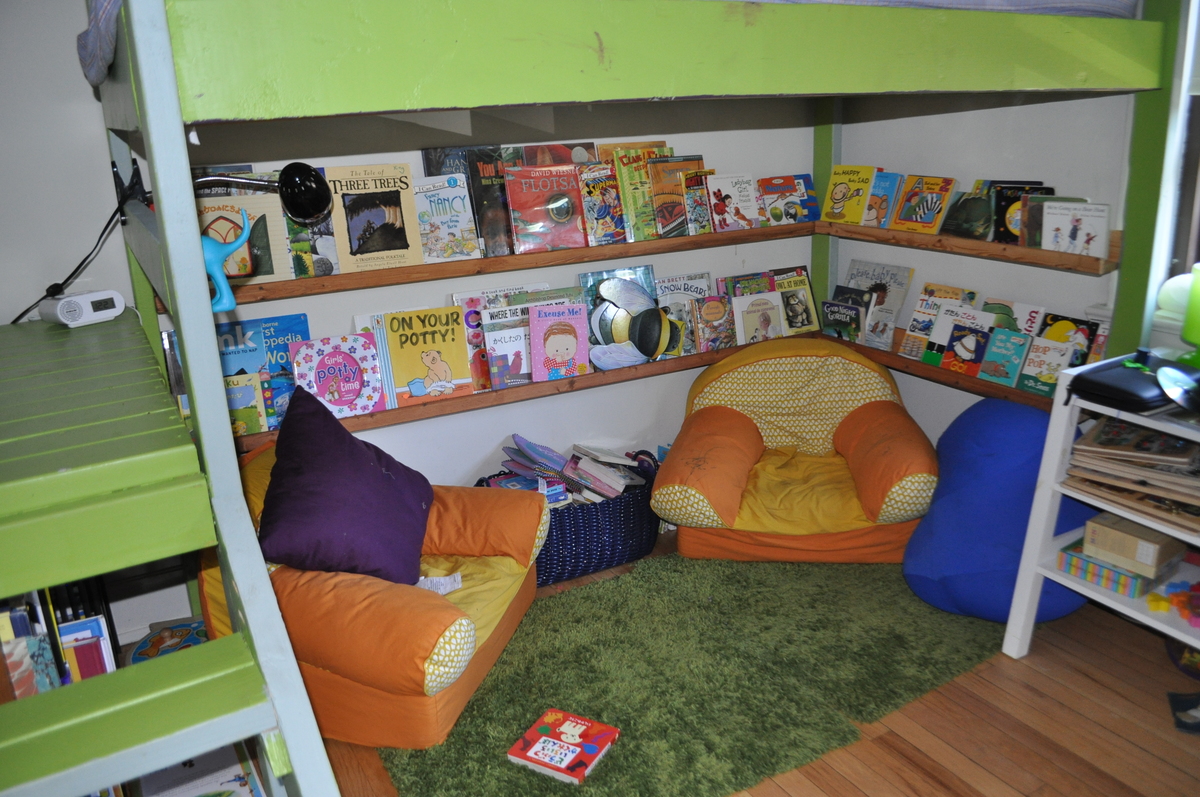
I love the little alcove this has created. I added curtains and we read stories in there every night. Thank you so much for the inspiration and plans!

Estimated Time Investment
Week Long Project (20 Hours or More)
Finish Used
Interior latex paint with primer built in. I don't recommend this. Better to prime the wood separately, I think.
Recommended Skill Level
Beginner

Comments

Vinegar and Steel Wool with Tea Project

Submitted by Anonymous (not verified) on Tue, 12/22/2015 - 17:23

Loved this first project! Can't wait to start the TV stand. Thank you Ana White 

Built from Plan(s)
Estimated Cost
$35
Estimated Time Investment
Afternoon Project (3-6 Hours)
Finish Used
Oxidized- Vineger and 0000 Steel Wool
Recommended Skill Level
Beginner

Four Generation Farmhouse Table

Submitted by Anonymous (not verified) on Sun, 02/17/2019 - 13:43

Slowly, over the course of 6 months, my grandfather, my mother, my sister and I put this together.  Believe me when I say if I can do it, so can you.  We had to watch a lot of Youtube videos to learn to do the pocket holes, but they are so worth it!! 

Estimated Time Investment
Week Long Project (20 Hours or More)
Finish Used
Varathane - Dark Walnut stain
Varathane - Water based Matte polyeurathane
Behr Marquee - Polar Bear paint for bottom
Recommended Skill Level
Beginner

Console Table

Submitted by amym on Sun, 10/02/2011 - 07:50

This was my first building project using plans from Ana's website. I love it in my entry way where it fits perfectly and fills up an otherwise blank wall.

Estimated Time Investment
An Hour or Two (0-2 Hours)
Finish Used
Dark minwax stain
Recommended Skill Level
Beginner

Headboard out of kitchen cabinets

I wanted to make a headboard for our Queen-sized bed and wanted it to be something I hadn't seen before. I came across a pallet of kitchen cabinet doors at a discount resale shop and knew these would look great! I used a 1/32" spacer between each door so I wouldn't have to sand the edges. If I ever do something like this again, I would do another row to make it just a bit taller to give it a hotel room look.

Estimated Time Investment
Afternoon Project (3-6 Hours)
Finish Used
Minwax Walnut stain and Minwax Poly.
Recommended Skill Level
Starter Project

Matt's bed

Submitted by wjvoltzke on Fri, 12/25/2015 - 16:53

I slightly modified the Full/Twin storage bed plans to place the top of the cubbies on top of the vertical supports, rather than butted up against them. The cabinets were assembled using glue and pocket holes and screws. The foot board cabinet, being fully exposed, received pocket hole plugs to conceal the holes. I also employed threaded inserts for the cleats and also for attaching the cubbies together. This way, the bed can be assembled/disassembled for easier movement in less than 10 minutes, without leaving any stripped holes or damage. this project used oak and oak plywood througout, and both stain and polyurethane to finish.

Estimated Cost
$250-$300
Estimated Time Investment
Week Long Project (20 Hours or More)
Finish Used
Minwax Stain - Ipswitch Pine, wipe-on polyurethane
Recommended Skill Level
Intermediate

Modified loft bed

Submitted by Anonymous (not verified) on Sun, 02/24/2019 - 11:35

This is made from the loft bed plans and has modified steps. 

Estimated Time Investment
Day Project (6-9 Hours)
Finish Used
Two different latex paints
Recommended Skill Level
Beginner

Rustic Modern Farmhouse Bed

Submitted by Anonymous (not verified) on Tue, 01/17/2023 - 10:57

This is my first bed build. Modified plans by adding 2x6 and 1x4 on top head/foot board, to give a more traditional farm house look. Painted in Sherwin William's Sea salt color. Overall, easy build, and great plans by Ana. Thank you.

Comments

Kitchen Island Bench

Submitted by RMJ3 on Tue, 10/04/2011 - 20:41

I used the Large Rustic Bench plan and modified the dimensions to fit under our kitchen island. The height was adjusted to 24" and the length to 48". I used brown pockethole screws to connect all the pieces together and add a decorative touch. The top was covered with 2" foam padding, batting and drapery cloth. A staple gun was used to attach the batting and cloth.

Estimated Cost
$150.00
Estimated Time Investment
Afternoon Project (3-6 Hours)
Finish Used
English Oak stain applied with soft cloth
Recommended Skill Level
Beginner

Comments

RMJ3

Tue, 10/04/2011 - 20:45

This was my first Ana-White project plan completed and I now have a favorite project web site! Thanks for sharing.

Farmhouse Night Stands

After I got our bed-frame done, it was time to make night stands :)

I used Farmhouse bedside table plan, but I modified it for our needs. In my blog you can see step by step what I did.

We don't have need to drawer so I left them out.I also made them a bit smaller as our bedroom is quite a small. Also I wanted to make it match our bed frame, so I used plywood on sides, not 1x12's. (foot-board in our bed frame is plywood)

http://ourleaningtree.wordpress.com/diy/night-stands/

Built from Plan(s)
Estimated Cost
20$
Estimated Time Investment
An Hour or Two (0-2 Hours)
Finish Used
MINWAX dark walnut
Recommended Skill Level
Beginner

4x4 Christmas Table

Submitted by mikehorn05 on Mon, 12/28/2015 - 09:28

This took me a couple of weekends and late night sanding after I put the kids to bed. It's not a long project or super hard but I wanted to make sure I sanded it enough and took the time to plain the top with a hand plainer. I used Douglas fir wood from Home Depot, I wanted to use nicer wood from a wood shop but it would have cost over $500 dollars in wood alone. I used a hand Plainer to make sure the boards were even and then I sanded it and sanded it some more. I went up to 400 grit sand paper and that made a world of difference. I used pre-conditioner before I stained it with dark walnut. I am very pleased with the result and my wife loved the table for Christmas.

Built from Plan(s)
Estimated Cost
$150
Estimated Time Investment
Weekend Project (10-20 Hours)
Finish Used
Pre-conditioner, dark walnut, and a satin clear coat.
Recommended Skill Level
Intermediate

New built in with coat hooks and storage

Submitted by Anonymous (not verified) on Sat, 03/02/2019 - 15:31

We had an area between our kitchen nook and formal dining room that we had put small shelving units in over the years.  This is also directly across from the downstairs bathroom so every time someone walked out, they would see this huge mess of board games, books, kids coloring pages, and so on.  I wanted to do something useful and nice with the space.  So, with the wife's blessing, I started on this project.  It took me about a month of on and of work between life.  The 4 hooks are for each of us in the family, and the lower hook is for my wife's (and eventually daughter's) purses.  My wife picked out the paint and cloth for the bench seat and put that together from the lid I made.  Underneath the bench is storage of 18hx15wx24d (1 for each of us).  Each of us have bags or backpacks that we store in there with extra room for shoes.  The above storage is for seasonal head and hand gear and my wife picked out those as well.  Original boxes were supposed to be the full 12" space but she liked these more, and I did too.  I did have to replace the top shelves once because I made it too close to the inside dimentions and it got stuck.  It's all made of 3/4" top choice lumber from Lowe's.  I'll post more if anyone is interested.  No plans, I did this as I went.  Sorry for the poor image, I had to do a vertical panoramic picture.

Estimated Cost
$250-275
Estimated Time Investment
Weekend Project (10-20 Hours)
Finish Used
Satin paint.
Recommended Skill Level
Intermediate

Mud Room

We were in desperate need of some functional storage in our laundry/mud room. I had been searching for a long while for a solution and almost built another mud room configuration from this site until I saw the 'Smiling Mud Room'. It was EXACTLY what we were looking for! This is the first thing my husband has ever built and I think he did an awesome job. We had to change a few things to fit our room and taste and there are still a few things that need to be finished (hooks, trim pieces and painting). It took him about 20 hrs total to get this far.

Built from Plan(s)
Estimated Cost
$170
Estimated Time Investment
Week Long Project (20 Hours or More)
Finish Used
Latex Enamal paint
Recommended Skill Level
Beginner

Comments

[email protected]

Tue, 10/11/2011 - 07:03

Thanks! I wanted to be able to reach the shelves without a step stool and I am not very tall. I agree it would have looked better if they went to the ceiling but functionality won out over style.

CrunchySoul

Sun, 11/06/2011 - 14:35

Wow, this is really impressive -- and encouraging to know it was the first thing your husband built. Thanks for sharing!

End table

Submitted by Anonymous (not verified) on Tue, 12/29/2015 - 17:51

End table with top made from repurposed pallet wood

Recommended Skill Level
Beginner

Workbench w/Mitre

Submitted by mdgurnoejr on Tue, 01/31/2023 - 21:45

Still need a couple more drawers, plus stain and seel, but I just couldn’t wait to post. Took me most of the day (drawers suck), but it was extremely helpful to have the article and visuals to aid. Can’t wait to move on the the next project. I’m slowly becoming obsessed and a “wood whore”

Built from Plan(s)

Comments

My New Coffee Table

I found a table on Pinterest that I wanted to make but I wasn't sure how to make the base for it. I used the Tryde Coffee Table plans to build the base but then I altered the plans of the top of the table to give my table the look I desired. I LOVE it. It's very sturdy and a beautiful addition to our living room.

Built from Plan(s)
Estimated Cost
$120.00
Estimated Time Investment
Afternoon Project (3-6 Hours)
Finish Used
For the base I painted 2 coats of primer and then 2 coats of high-gloss wood finishing paint. For the top boards I used 2 coats of Dark Walnut stain and a final coat of high-gloss enamel.
Recommended Skill Level
Beginner

Comments