Deck chairs
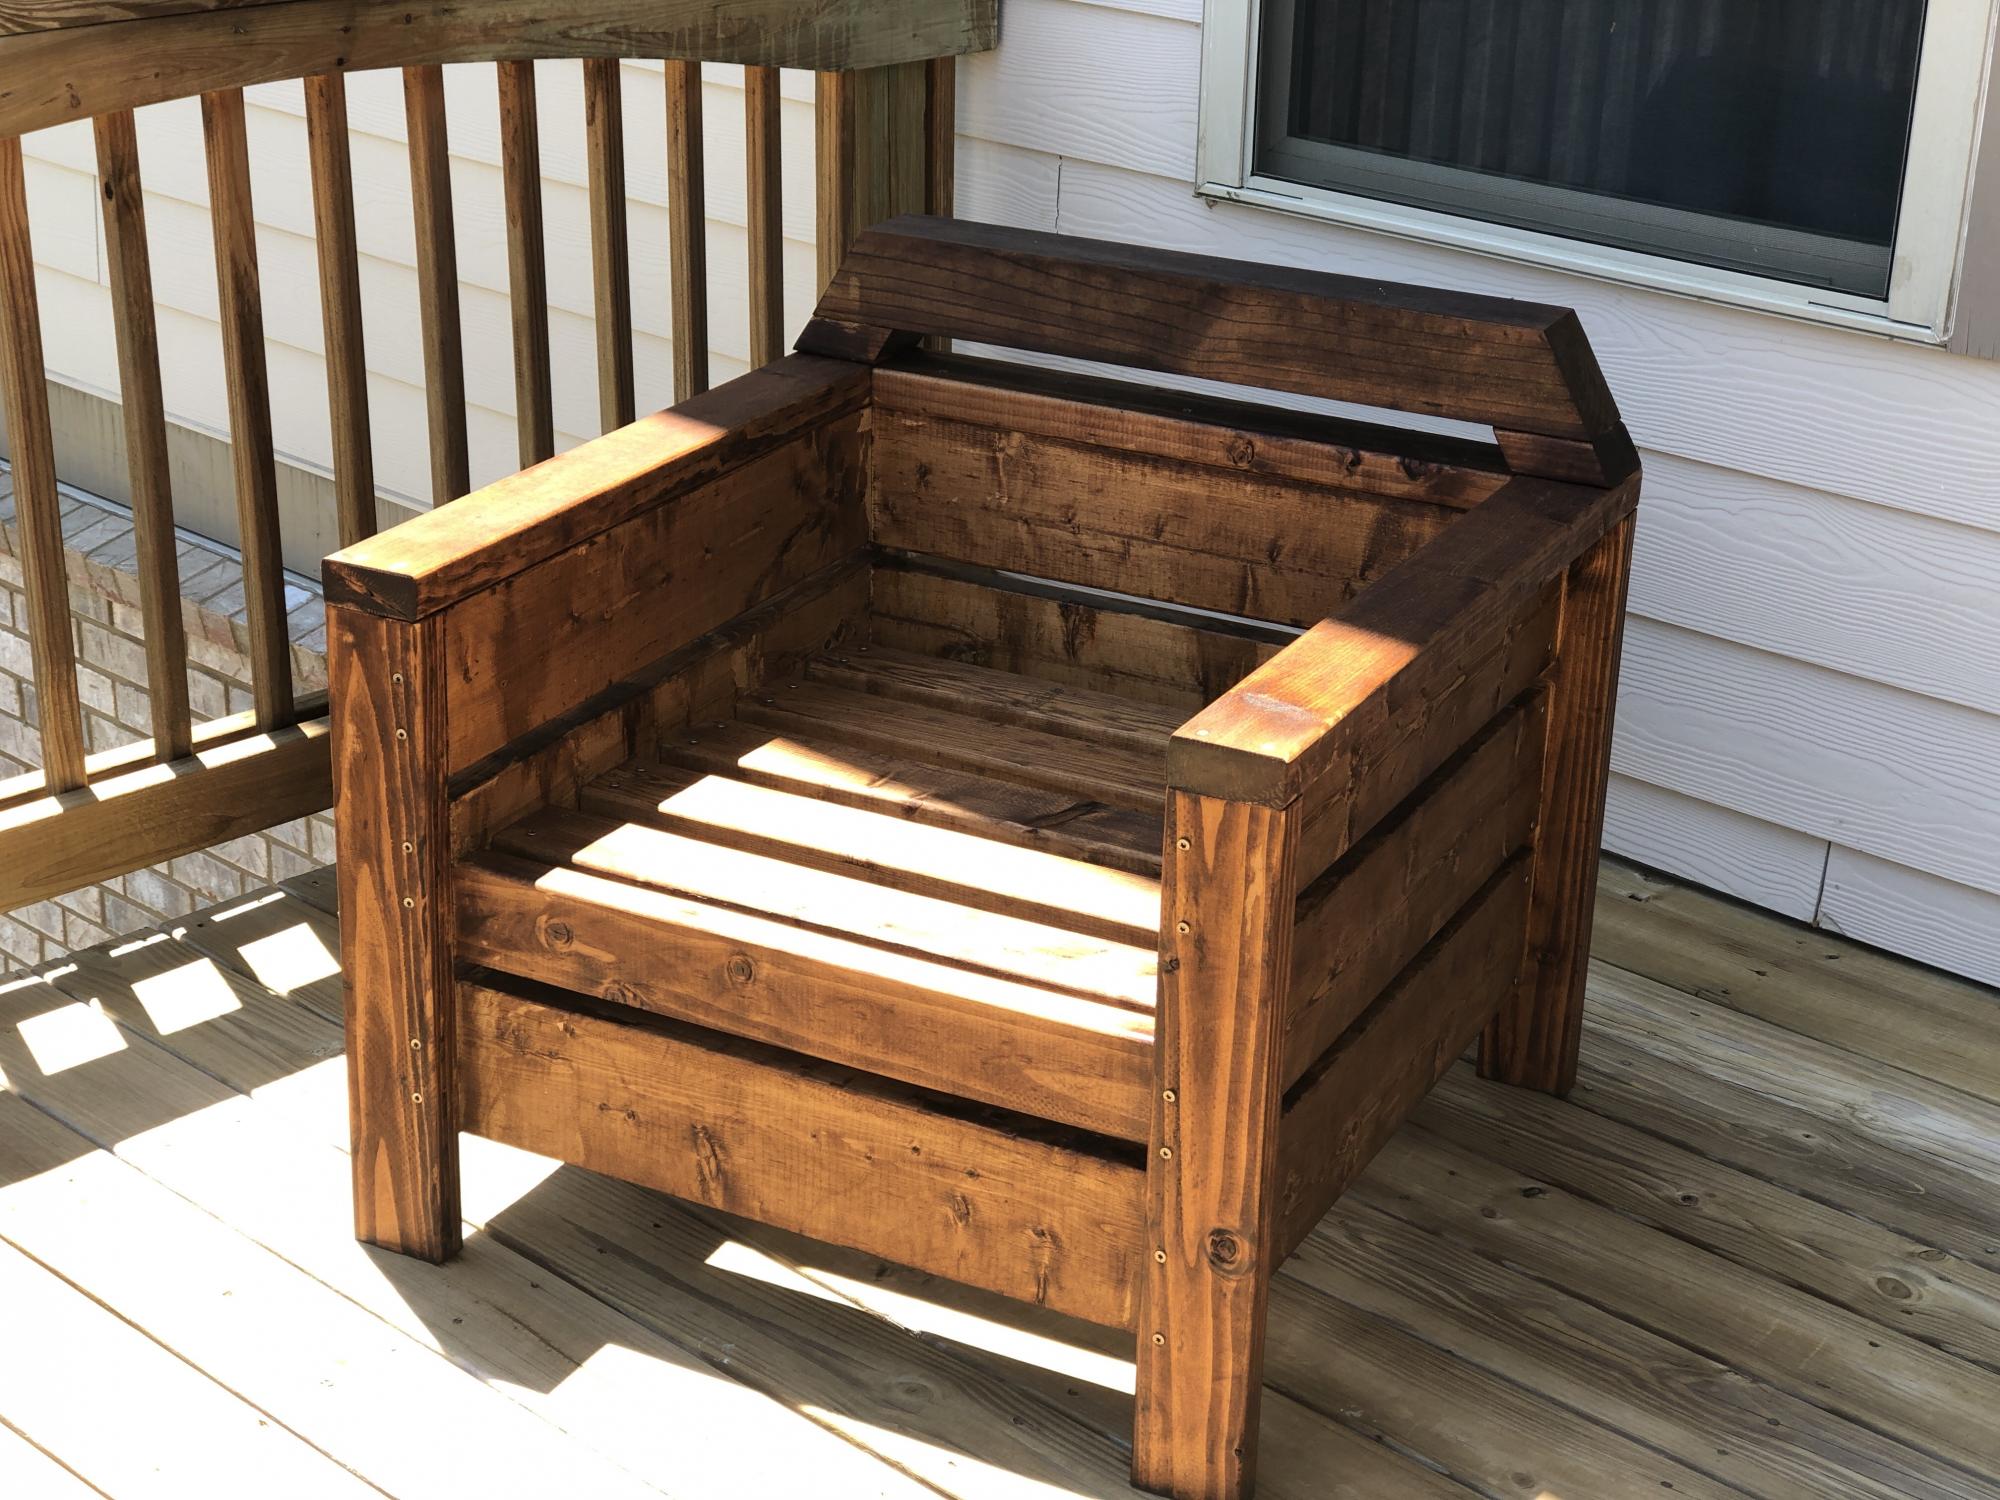
I Love the modern look of these chairs but definitely felt a little uncomfortable without the back rest so decided to add a little more back rest.
Great plan and easy directions to follow - my first wood working project.
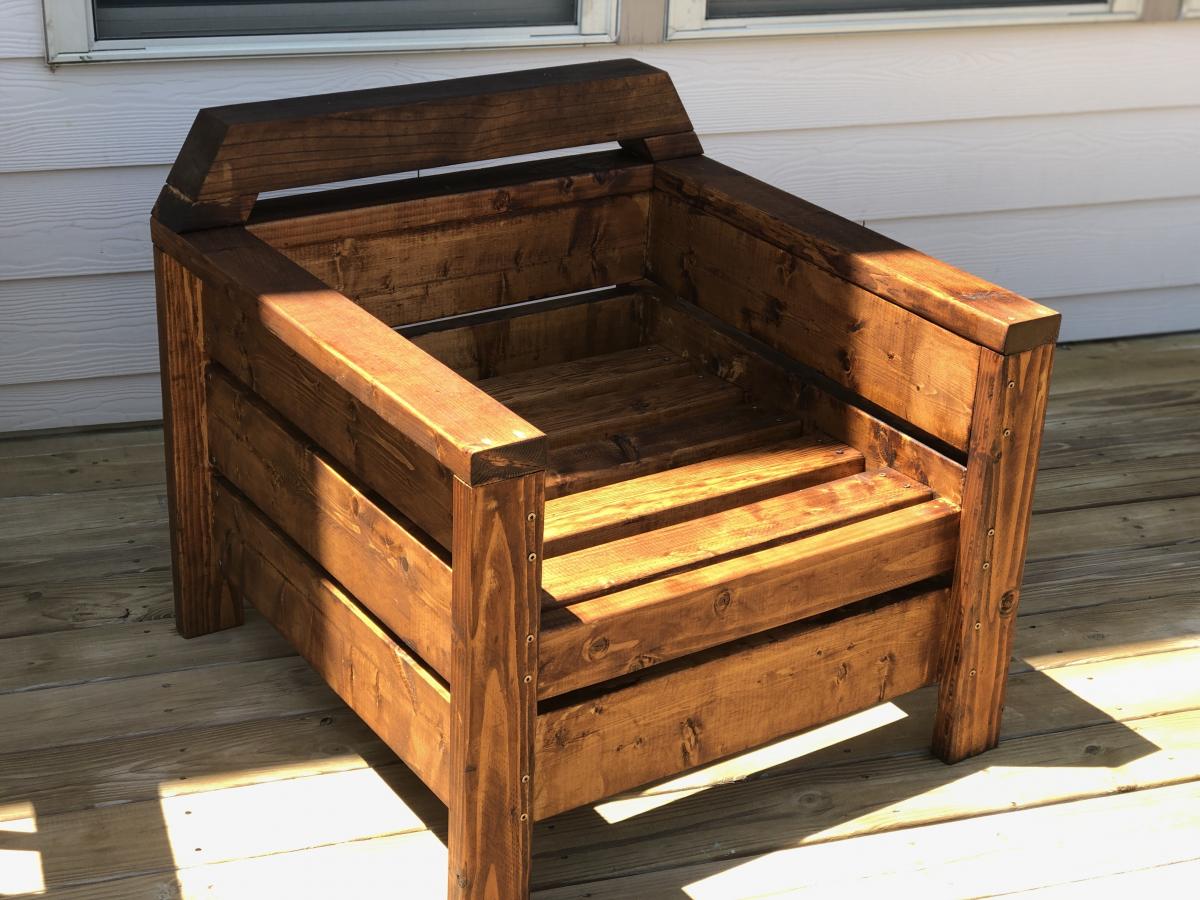
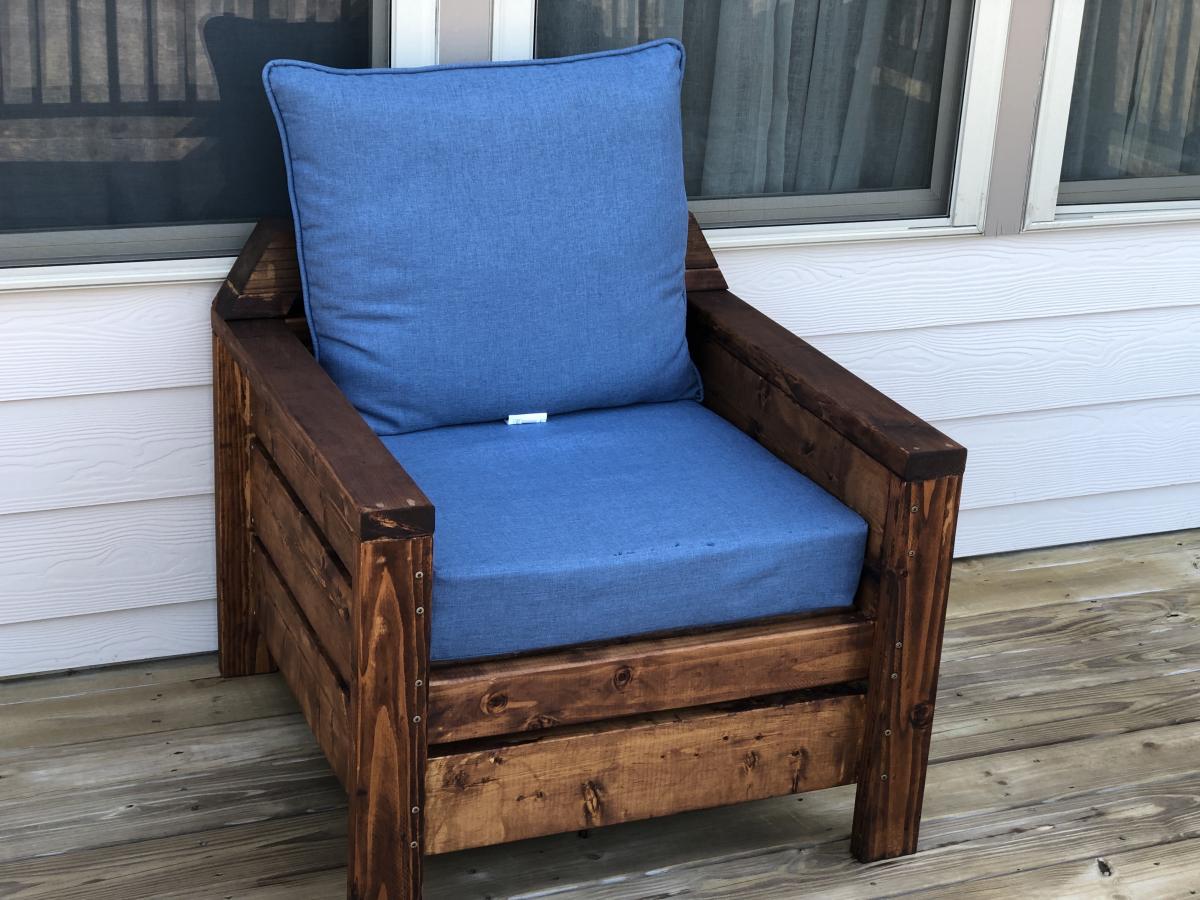

I Love the modern look of these chairs but definitely felt a little uncomfortable without the back rest so decided to add a little more back rest.
Great plan and easy directions to follow - my first wood working project.


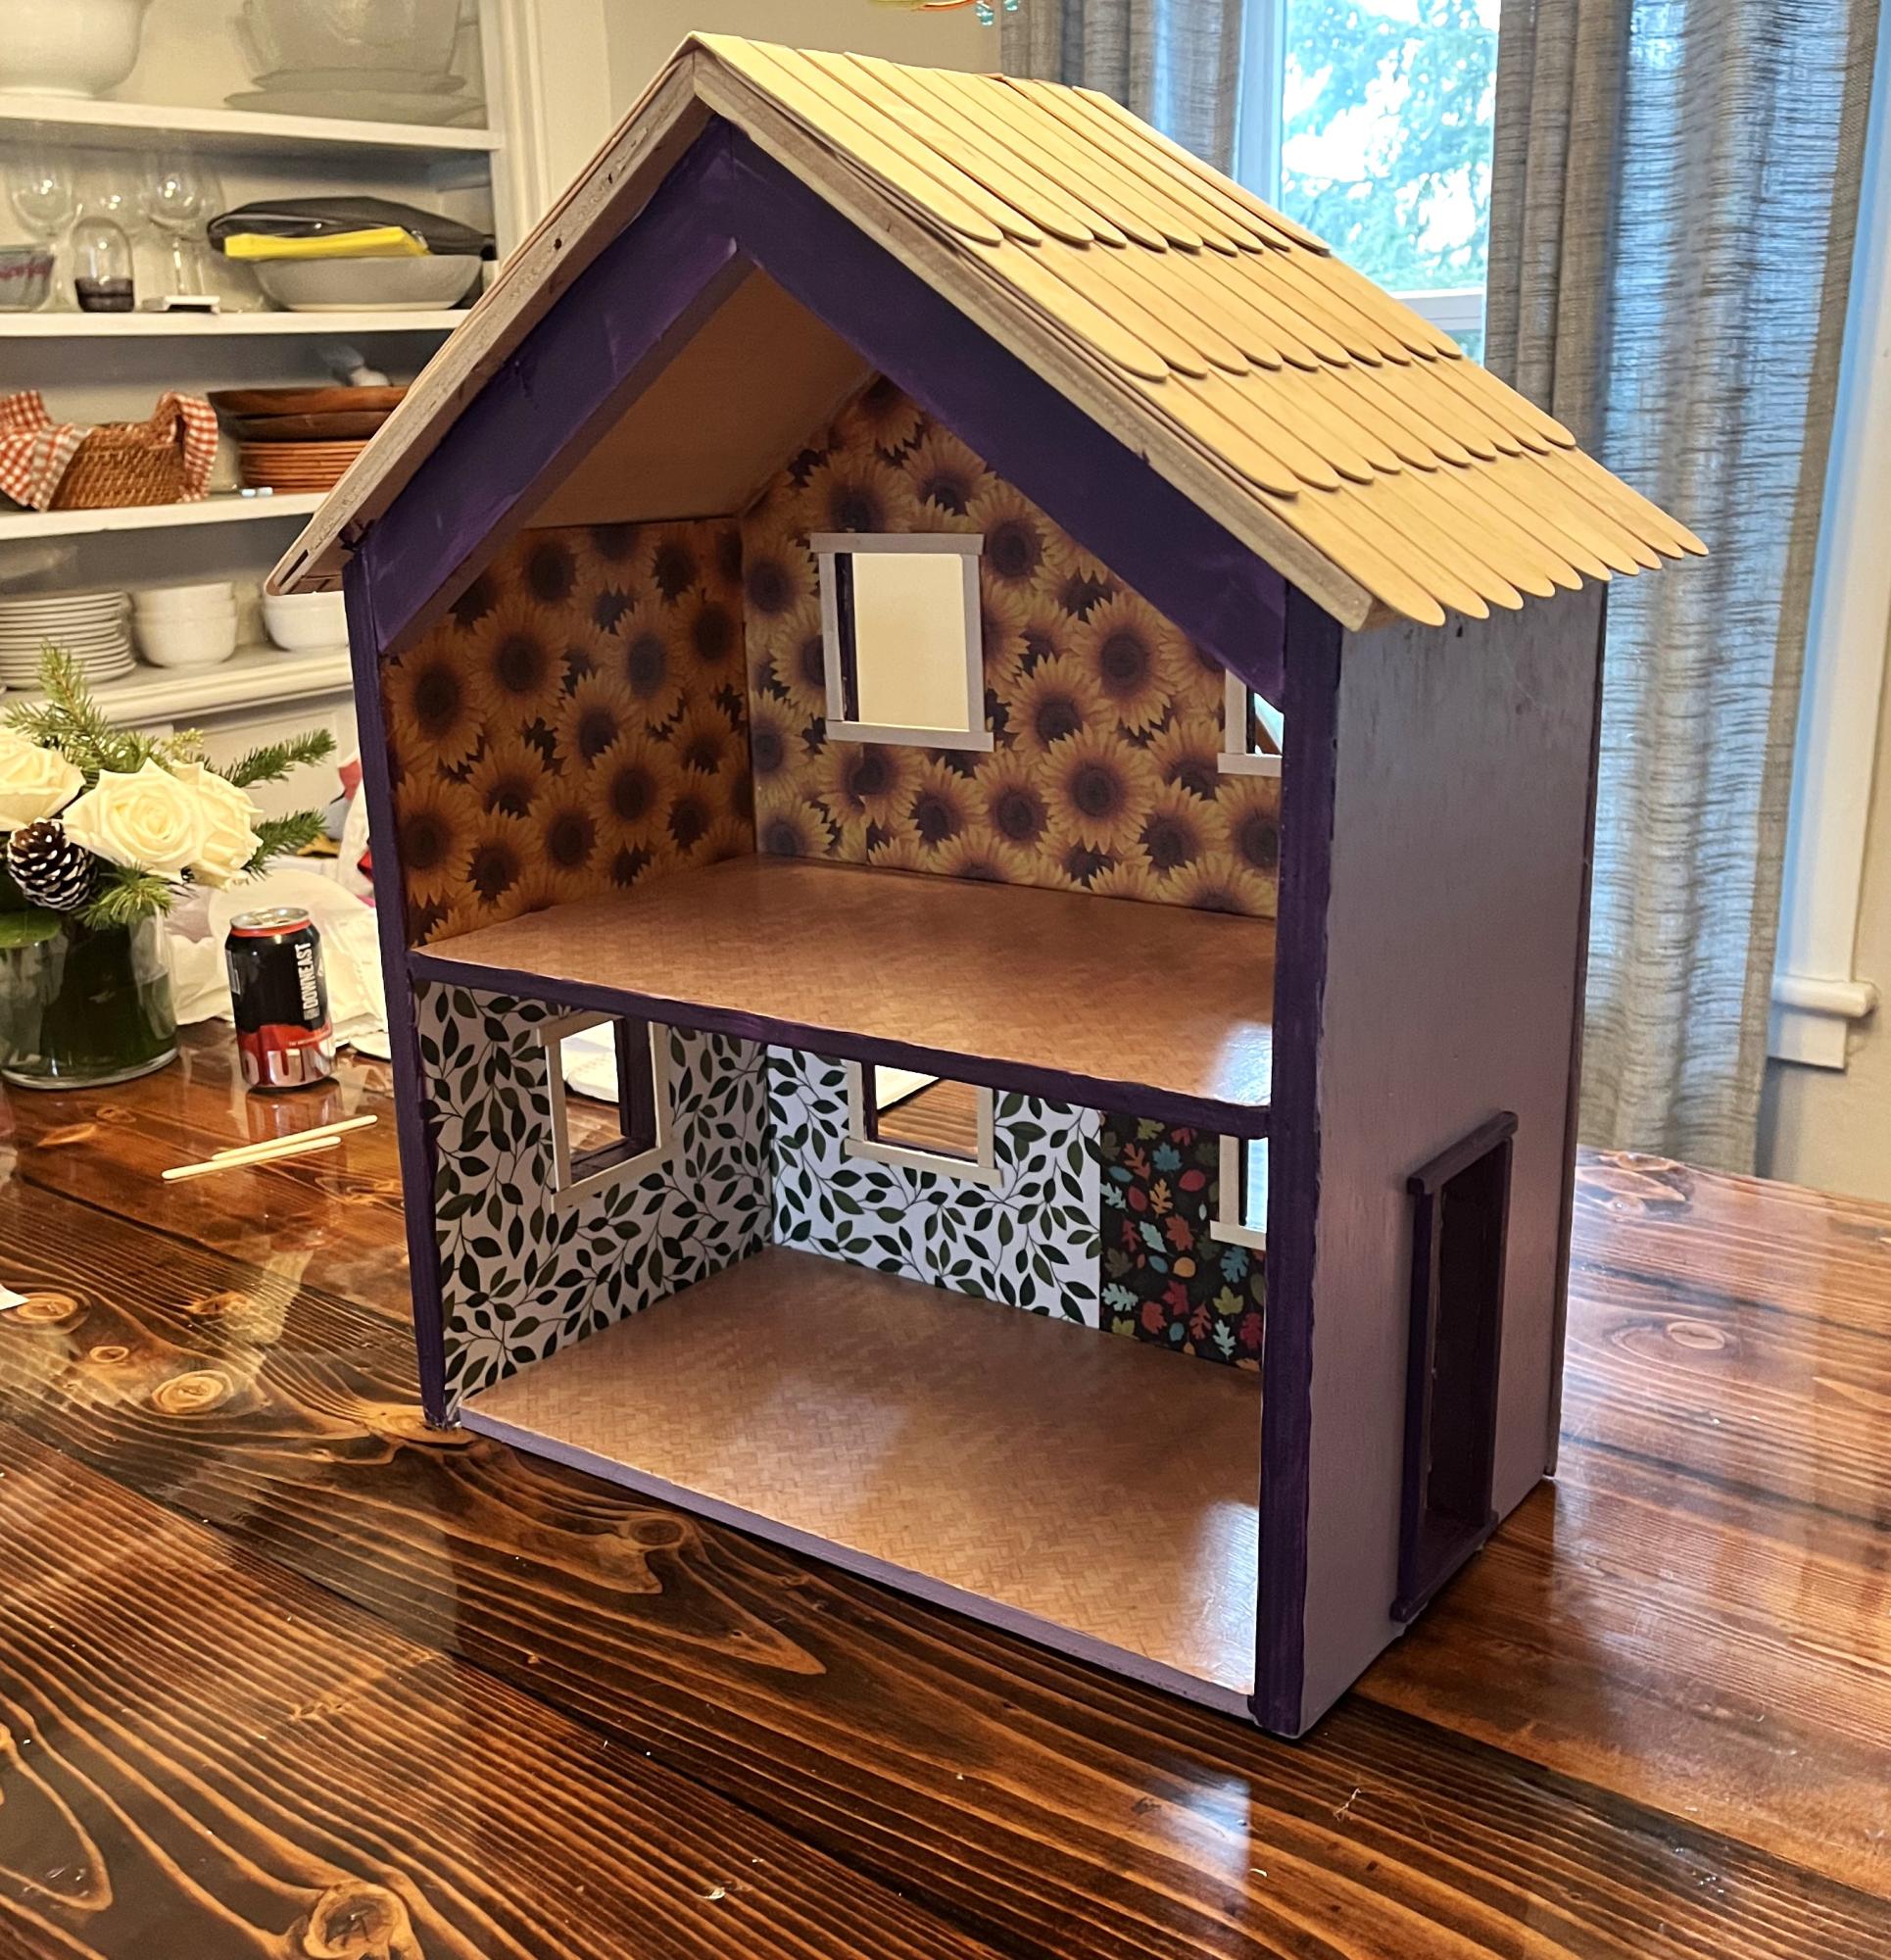
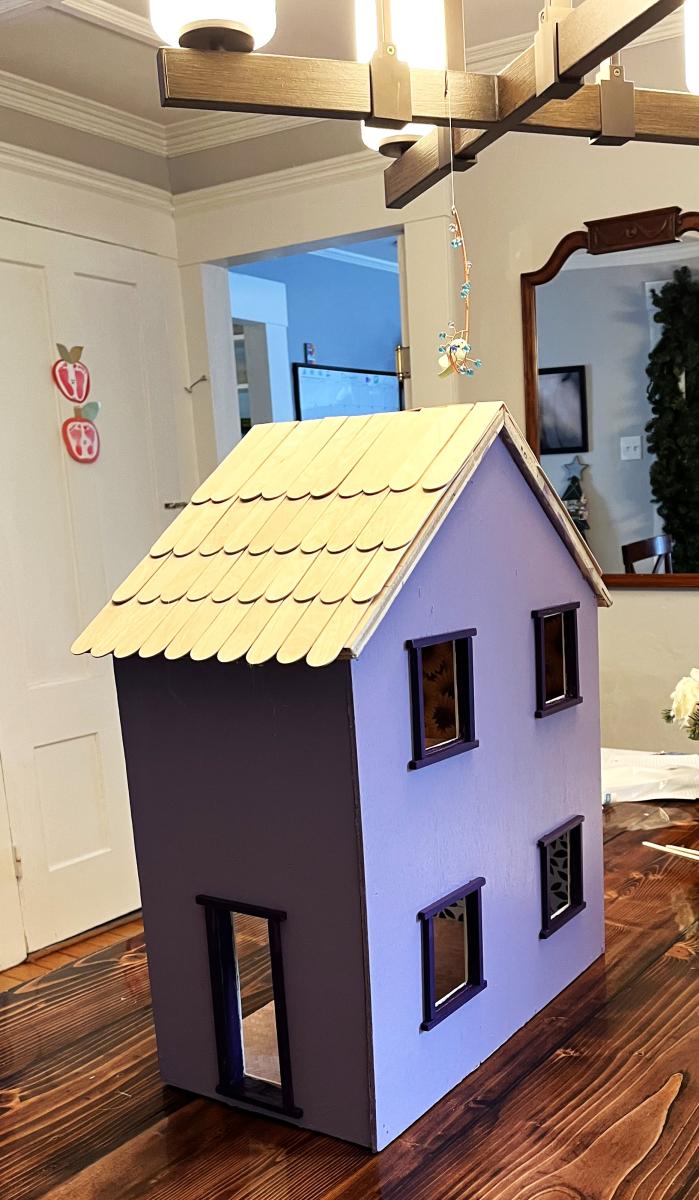
This is for my daughter’s 3rd birthday. I decopaged the walls and floor with patterned paper before assembling. I thought it would be easier.
I also didn’t bother with the middle ‘front’ door. The dollhouse in the example photos look beautiful from the outside, but kids don’t really play with the outside of the houses. So I made the windows a little bit bigger.
The windows and doors both looked terrible. My first time using a jigsaw was not a success. So I used tiny dowels for the trim around the door and craft sticks on the inside.
The last thing I need to do is put some lights in it. I ordered some fairy lights on amazon. I plan to use another dowel that I’m hoping I can wrap with the fairy lights and then wedge in the back on the ‘ceiling’ on the first floor and then Velcro the switch to the side of the house. It won’t look professional or anything, but being able to turn the lights on and off will be very fun.
Casey
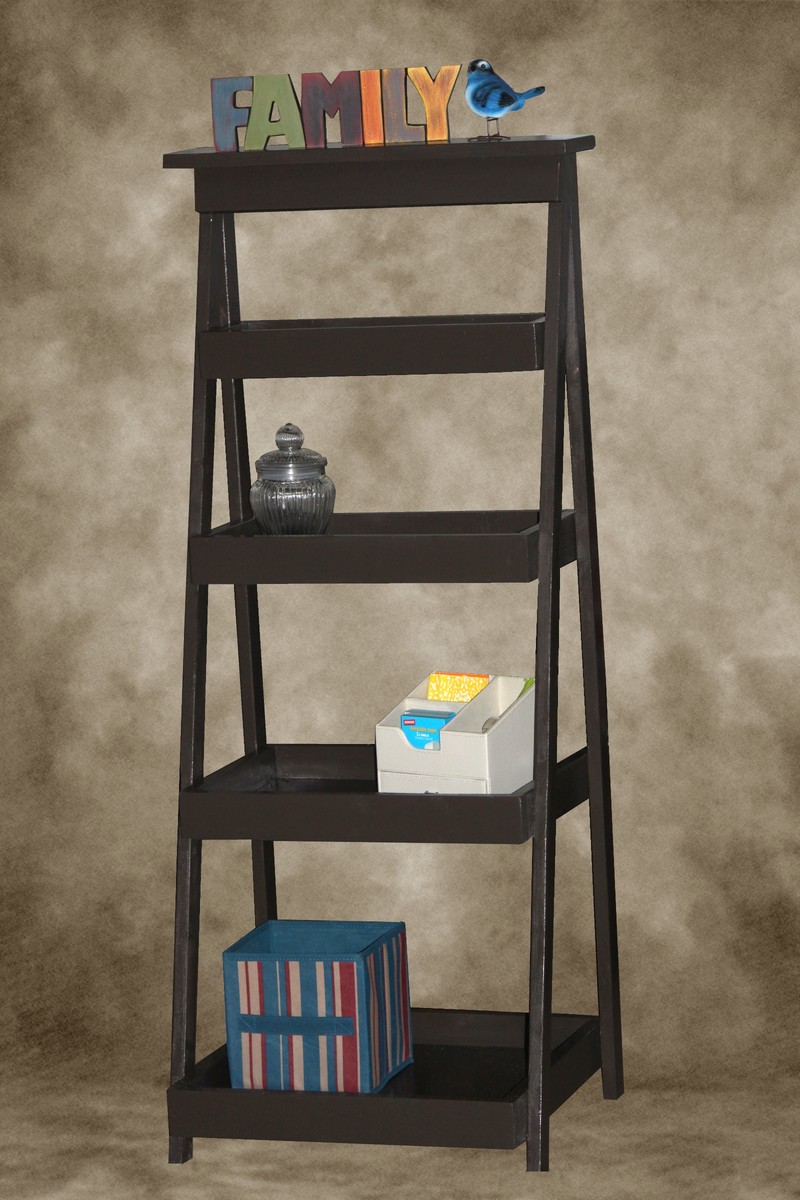
My daughter has me building again. She needed shelves for beside her computer desk so I suggested this ladder shelf. I altered the plan a little to add a top shelf and since it had to fit under some existing wall shelves, I shortened the height a little.
She is really into the brown paint lately, so as much as I would have loved to paint this in a bright color like Ana's, I painted it brown as she asked. I love this plan though, so I will probably build one for my bathroom.
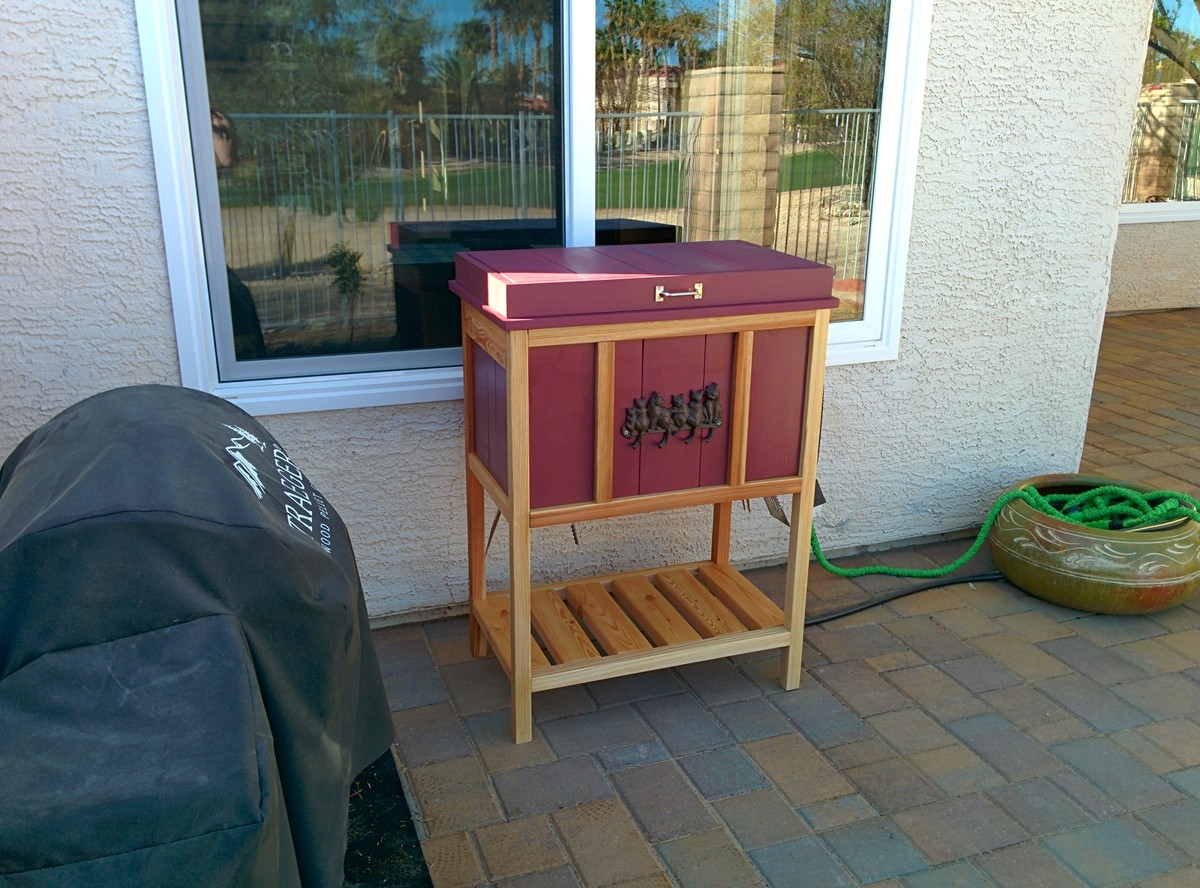
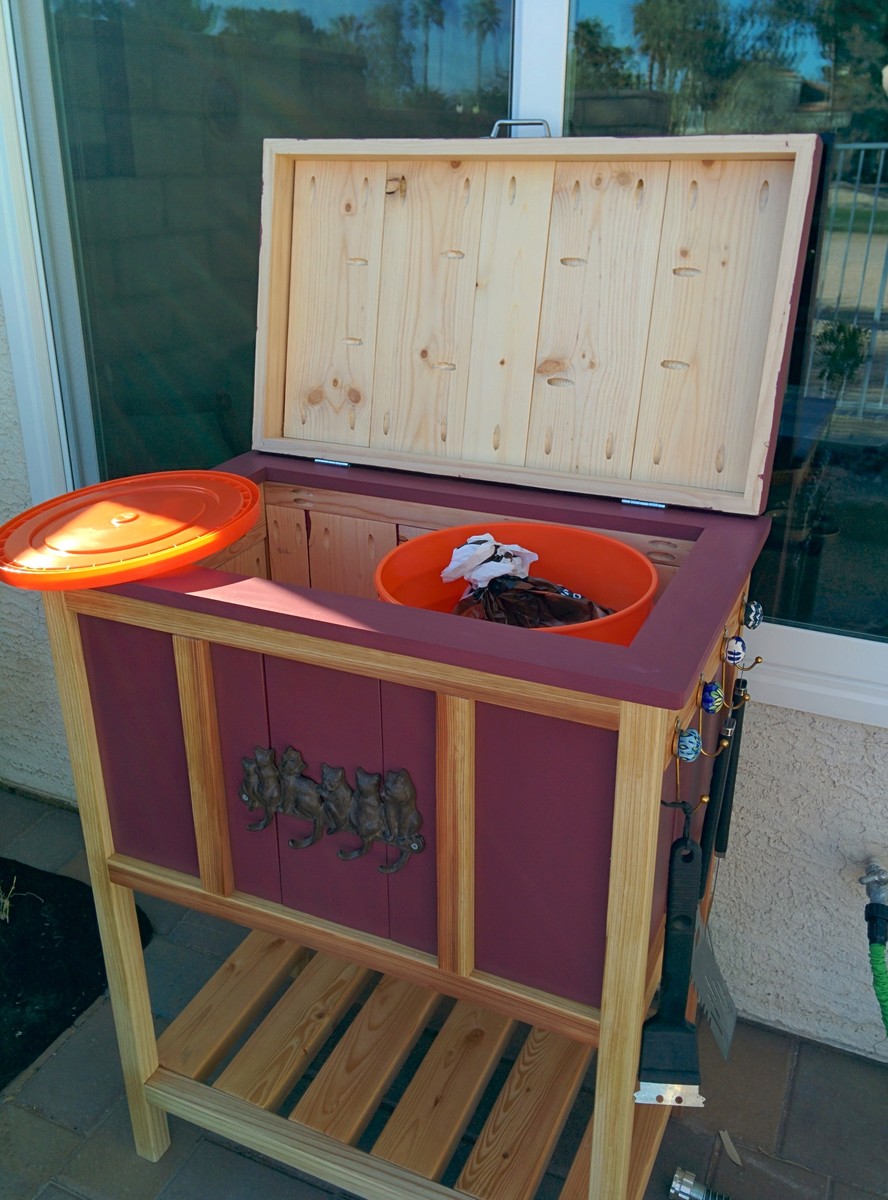
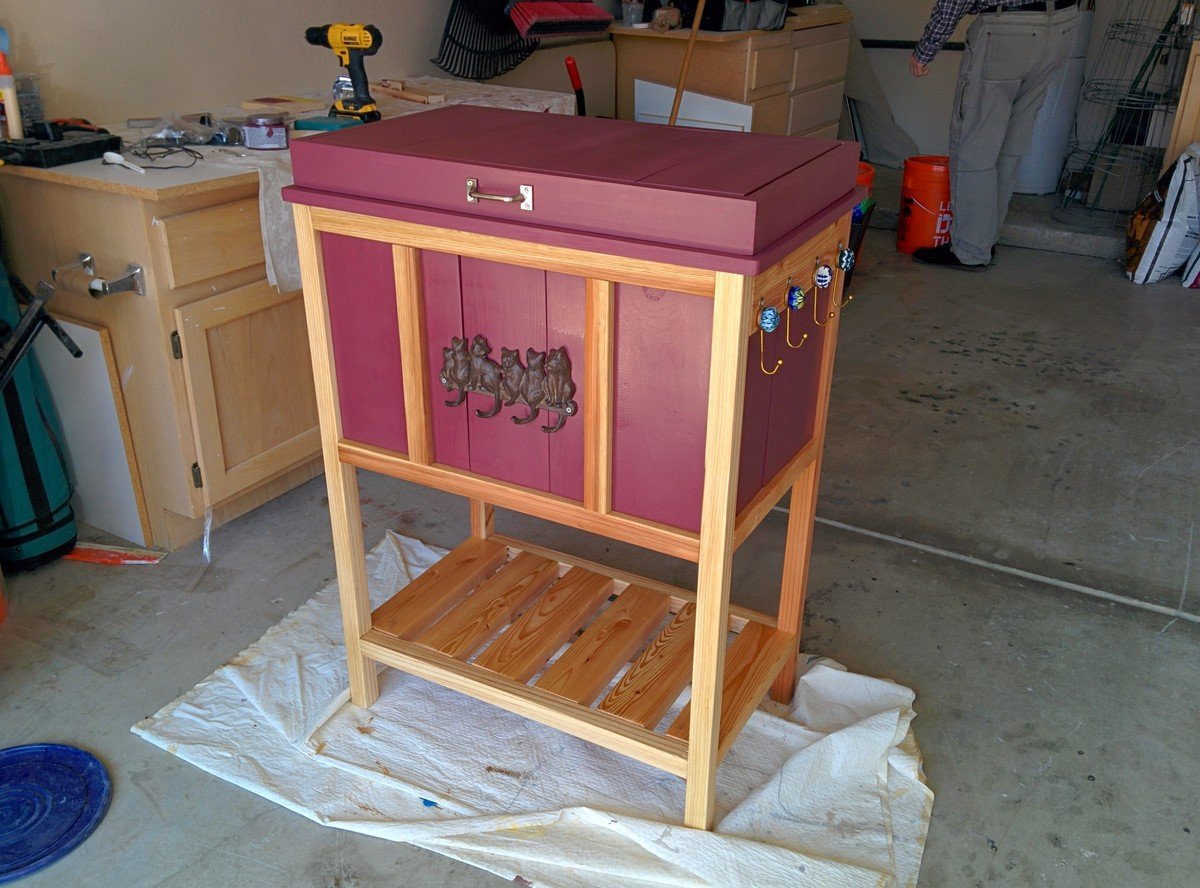
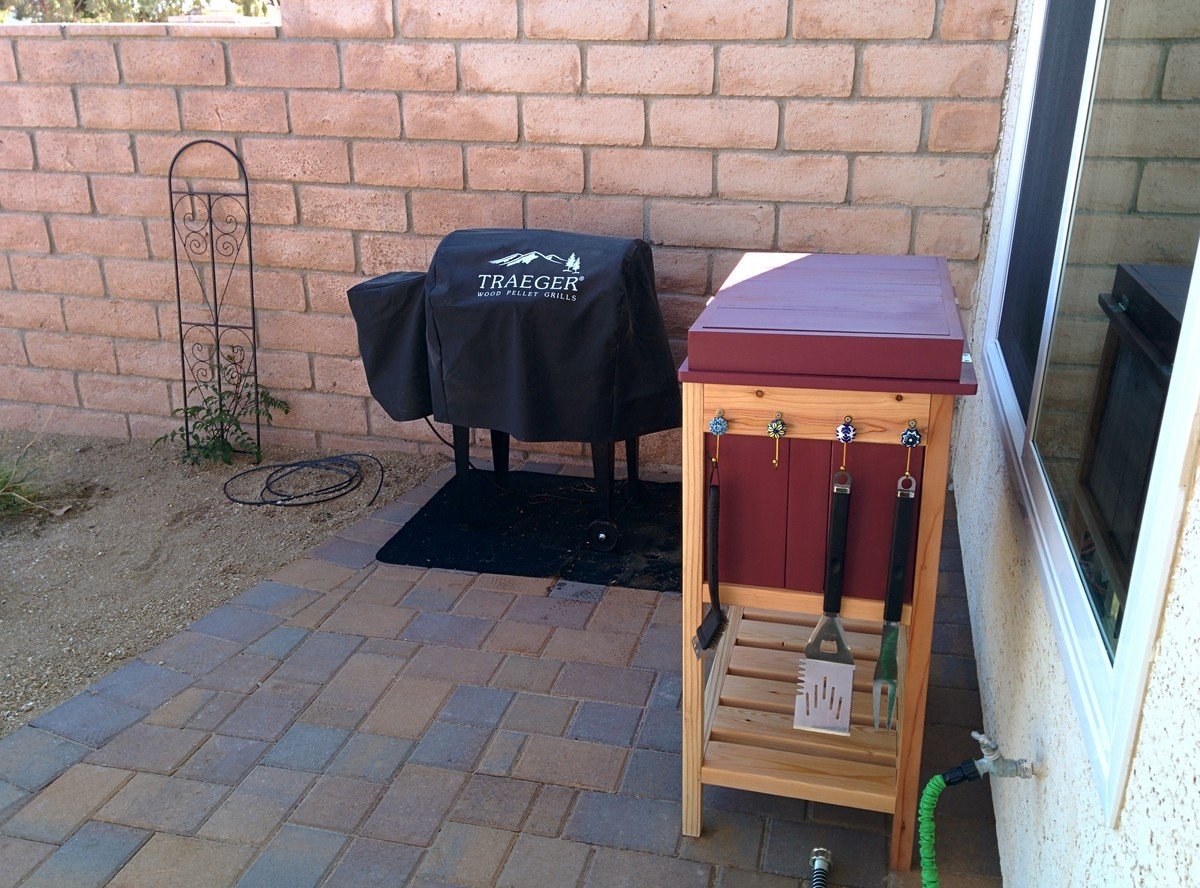
I built this chest from the birds and soap wooden cooler plans. I have a Traeger Pellet grill and wanted a place to store my pellets as well as serve as a side-table for my grill. I love how this turned out. I modified the plans to make the chest deeper so I could insert two 5 gallon Home Depot buckets (to store the pellets in). I used redwood deck balusters for the legs and pine for the rest of the chest. The paint is a sample I got from Lowes on sale, then I sprayed the whole thing with Spar Varnish - which I hope will protect it from the sun. The little cat-hook thing on the front is cast iron - a gift from my sister. Then I put some hooks on the side to hold my BBQ tools and voila!
It took me a lot longer to make this than I expected, as I got ill in the middle of the project and had to wait to finish it up. This is the first thing I've made like this and I'm very proud of it!
Thanks so much for the plans Ana and birds and soap.
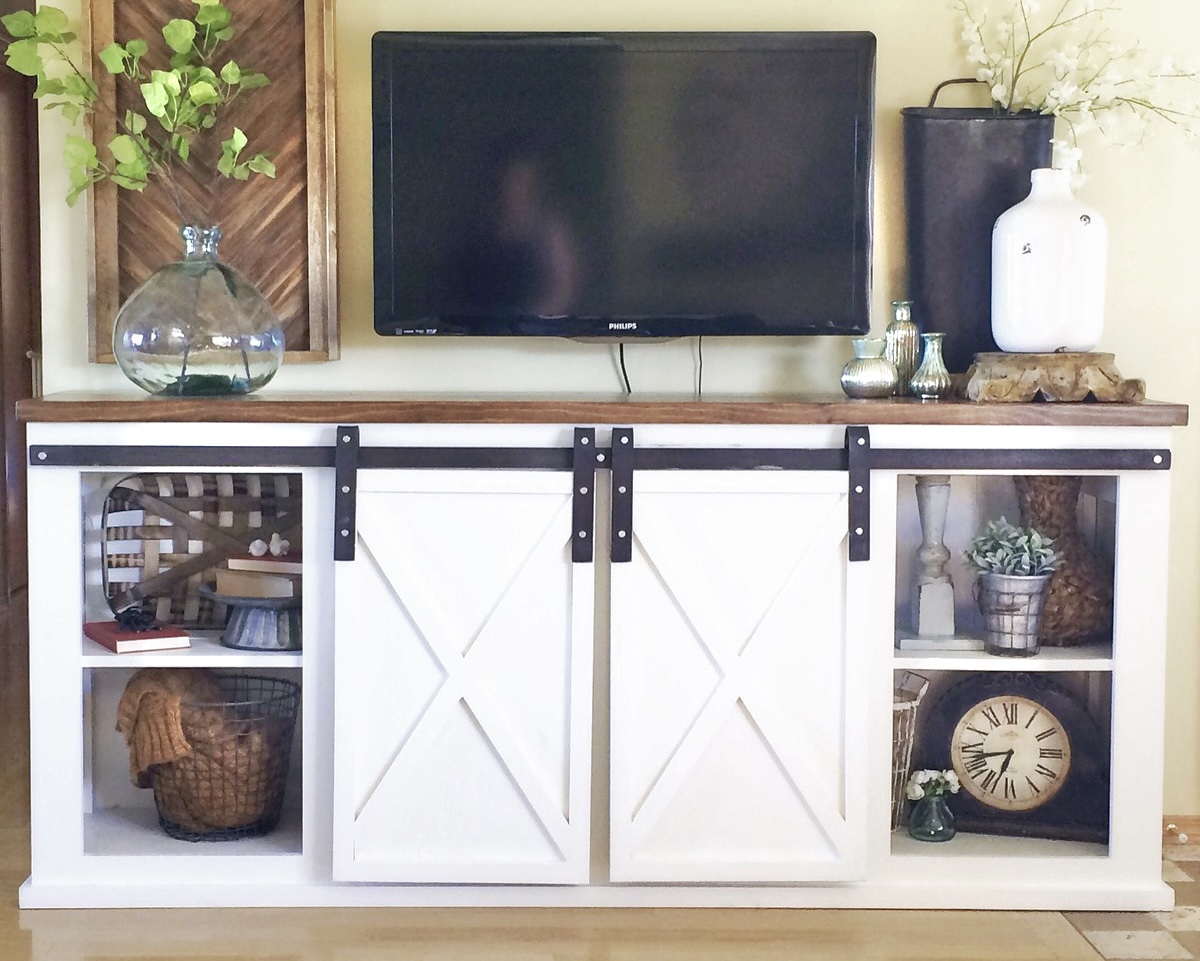
Sliding door console with homemade sliding door hardware.

Tue, 01/16/2018 - 12:34
What are the dimensions are this exact console table

My daughter needed a new bed frame because her box spring broke so it no longer fit on the metal frame. This bed was perfect for what she needed. However, I needed to add one more 1x6 to the headboard. Didn’t realize that until I had the bed together. Will add it later.

Loved making this. I added a top rail for a shelf.
R Chase
I needed mine to move so I added some castors to the bottom. It is my bakery cart! I also had hubby put a double towel rack on it for my flour clothes. Thanks so much for the plans! This is my first project and I loved doing it! Hubby got me the Kreg Jig and it was a breeze. I even used that for the top!!
First furniture project, first Kreg jig use.
Heavily adapted storage sofa plans. Used existing day bed mattresses. Made all wood surfaces finished with nice cladding, and all fabric portions removable and washable.
Added arms, and a back ledge. Ledge is hinged to allow access to wall behind so I can get to the outlets.
Lots of work, but it is AWESOME. Thanks for the inspiration Ana!
Sun, 01/22/2017 - 13:37
This is almost exactly what I want to do! I have a dog who loves to rub on furniture and I don't want upholstery. Why did you make the back thicker? Is it just for added shelf space along the back? Thanks for posting the pictures. Very inspiring!
Mon, 02/20/2017 - 07:18
Sorry for the delay in seeing your question. I haven't signed on to this site for a while. You are correct thinking that I wanted to have shelf space along the back. The sectional is the entire width of the wall and I knew that I would not be able to have end tables. I wanted a way to have a lamp and a place to put drinks, etc. As it turns out the arms of the sectional are great for holding my beverage. The shelf holds my lamp and some baskets with general stuff like the remotes inside. Thank you for the compliment.
Wed, 01/18/2023 - 09:28
Hi! I know this is a very old post but I would love try to make something similar to what you did in your storage sofa modifications - especially the wider frame and armrests. Any chance you wrote down your plans or have more pictures of your build? I also would love to understand how you made your upholstery/fabric removable. Did you follow any plan for making the cushions? Thanks in advance!
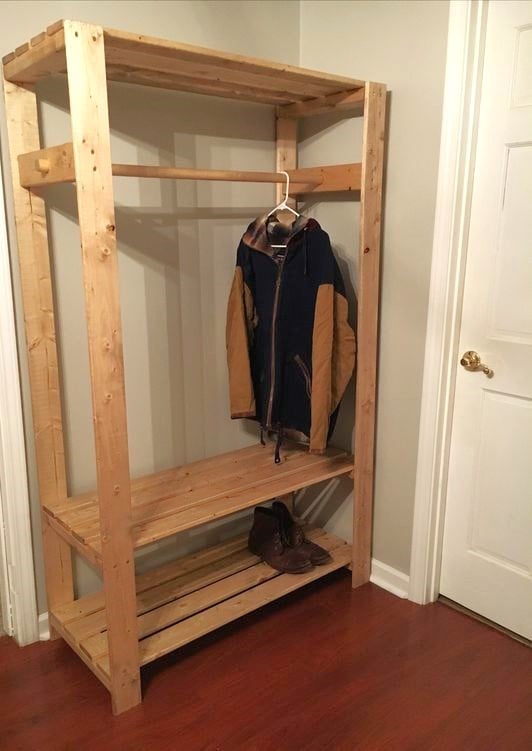
Quick and easy closet to add anywhere.
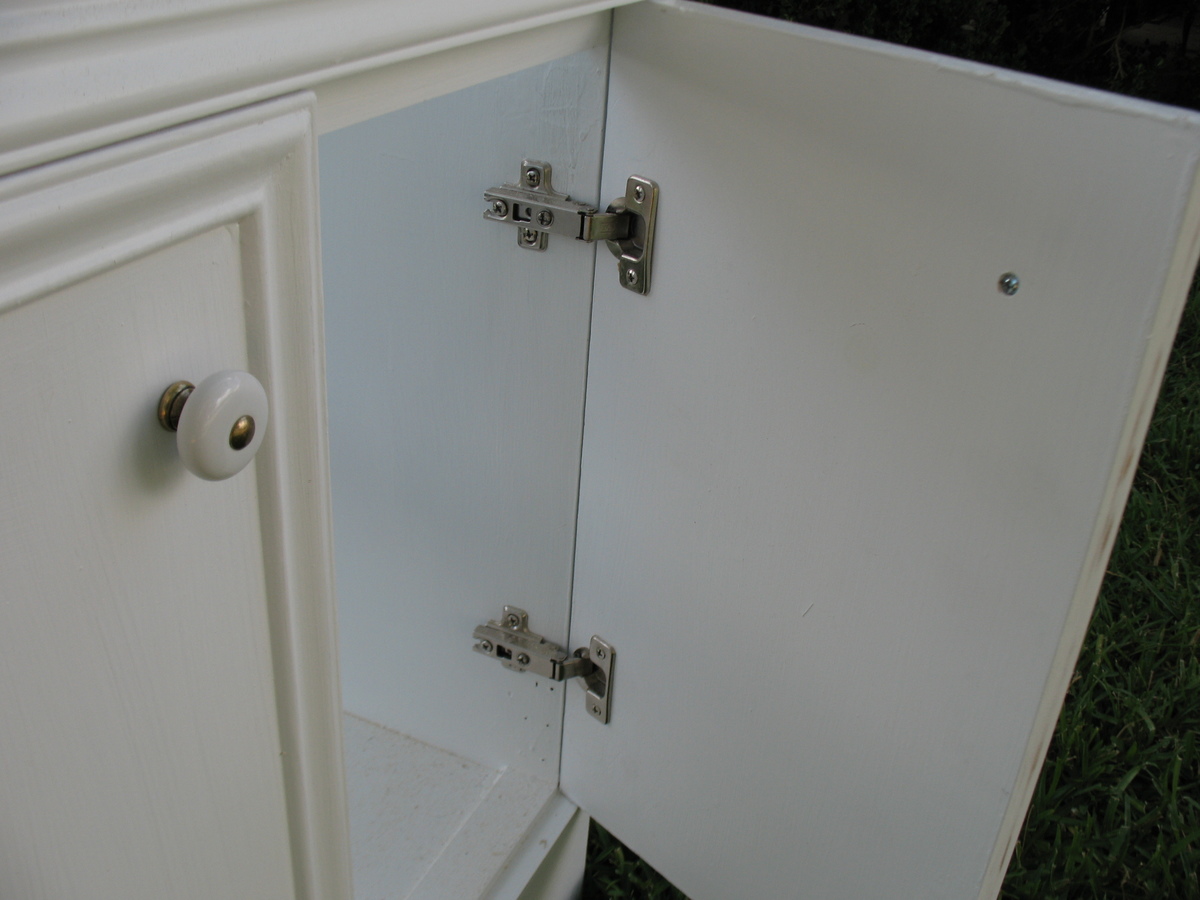
Great and easy build from Ana. I made it to replace a vanity made of fake wood that falls apart when it senses water. No changes to the design. I used the "European" hinges and all I can say is that they are great but it is learning experience getting them to work properly. Thank goodness for the adjustments the hinge allow.
Wed, 10/24/2012 - 16:33
Wow, this looks great! And for $35, that can't be beat. I may need to build some of these for my bathroom too

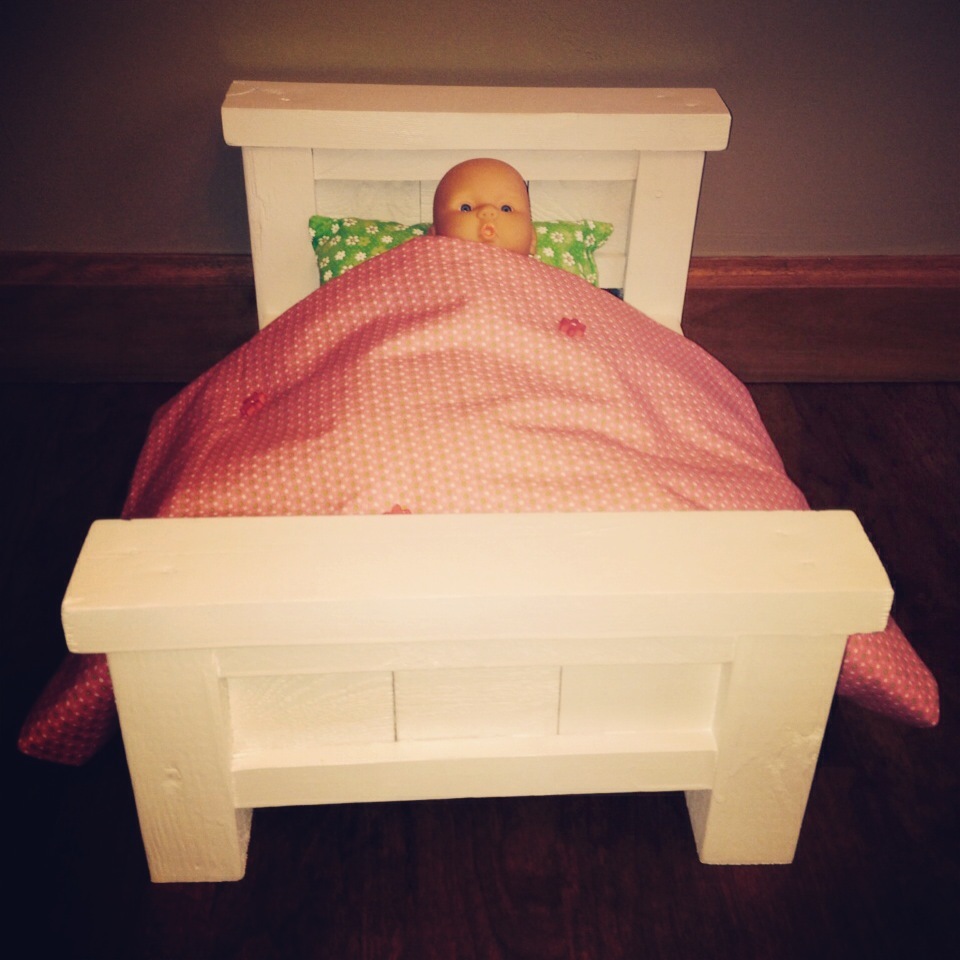
I saw the doll bed post that Ana had done and wanted to try and make one for my daughter out of scrap wood I had laying in the garage. I basically used the picture from her post for the idea and pieced everything together. Then grandma got involved and made the little pillow and blanket to top it off, my daughter loves it.

This piece was headed to the dumpster when I rescued it, the top drawer was chipped and broken.
The drawers have such beautiful curves, so I removed the broken one and the 2nd one and reused it elsewhere. A beautiful coat of teal paint, changed out the knobs for eclectic vintage glass knobs and added wine glass holders, finished it by wrapping stripped fabric around thin plywood for the backdrop.
It is perfect for storing my summer entertaining dishes in the sunroom.

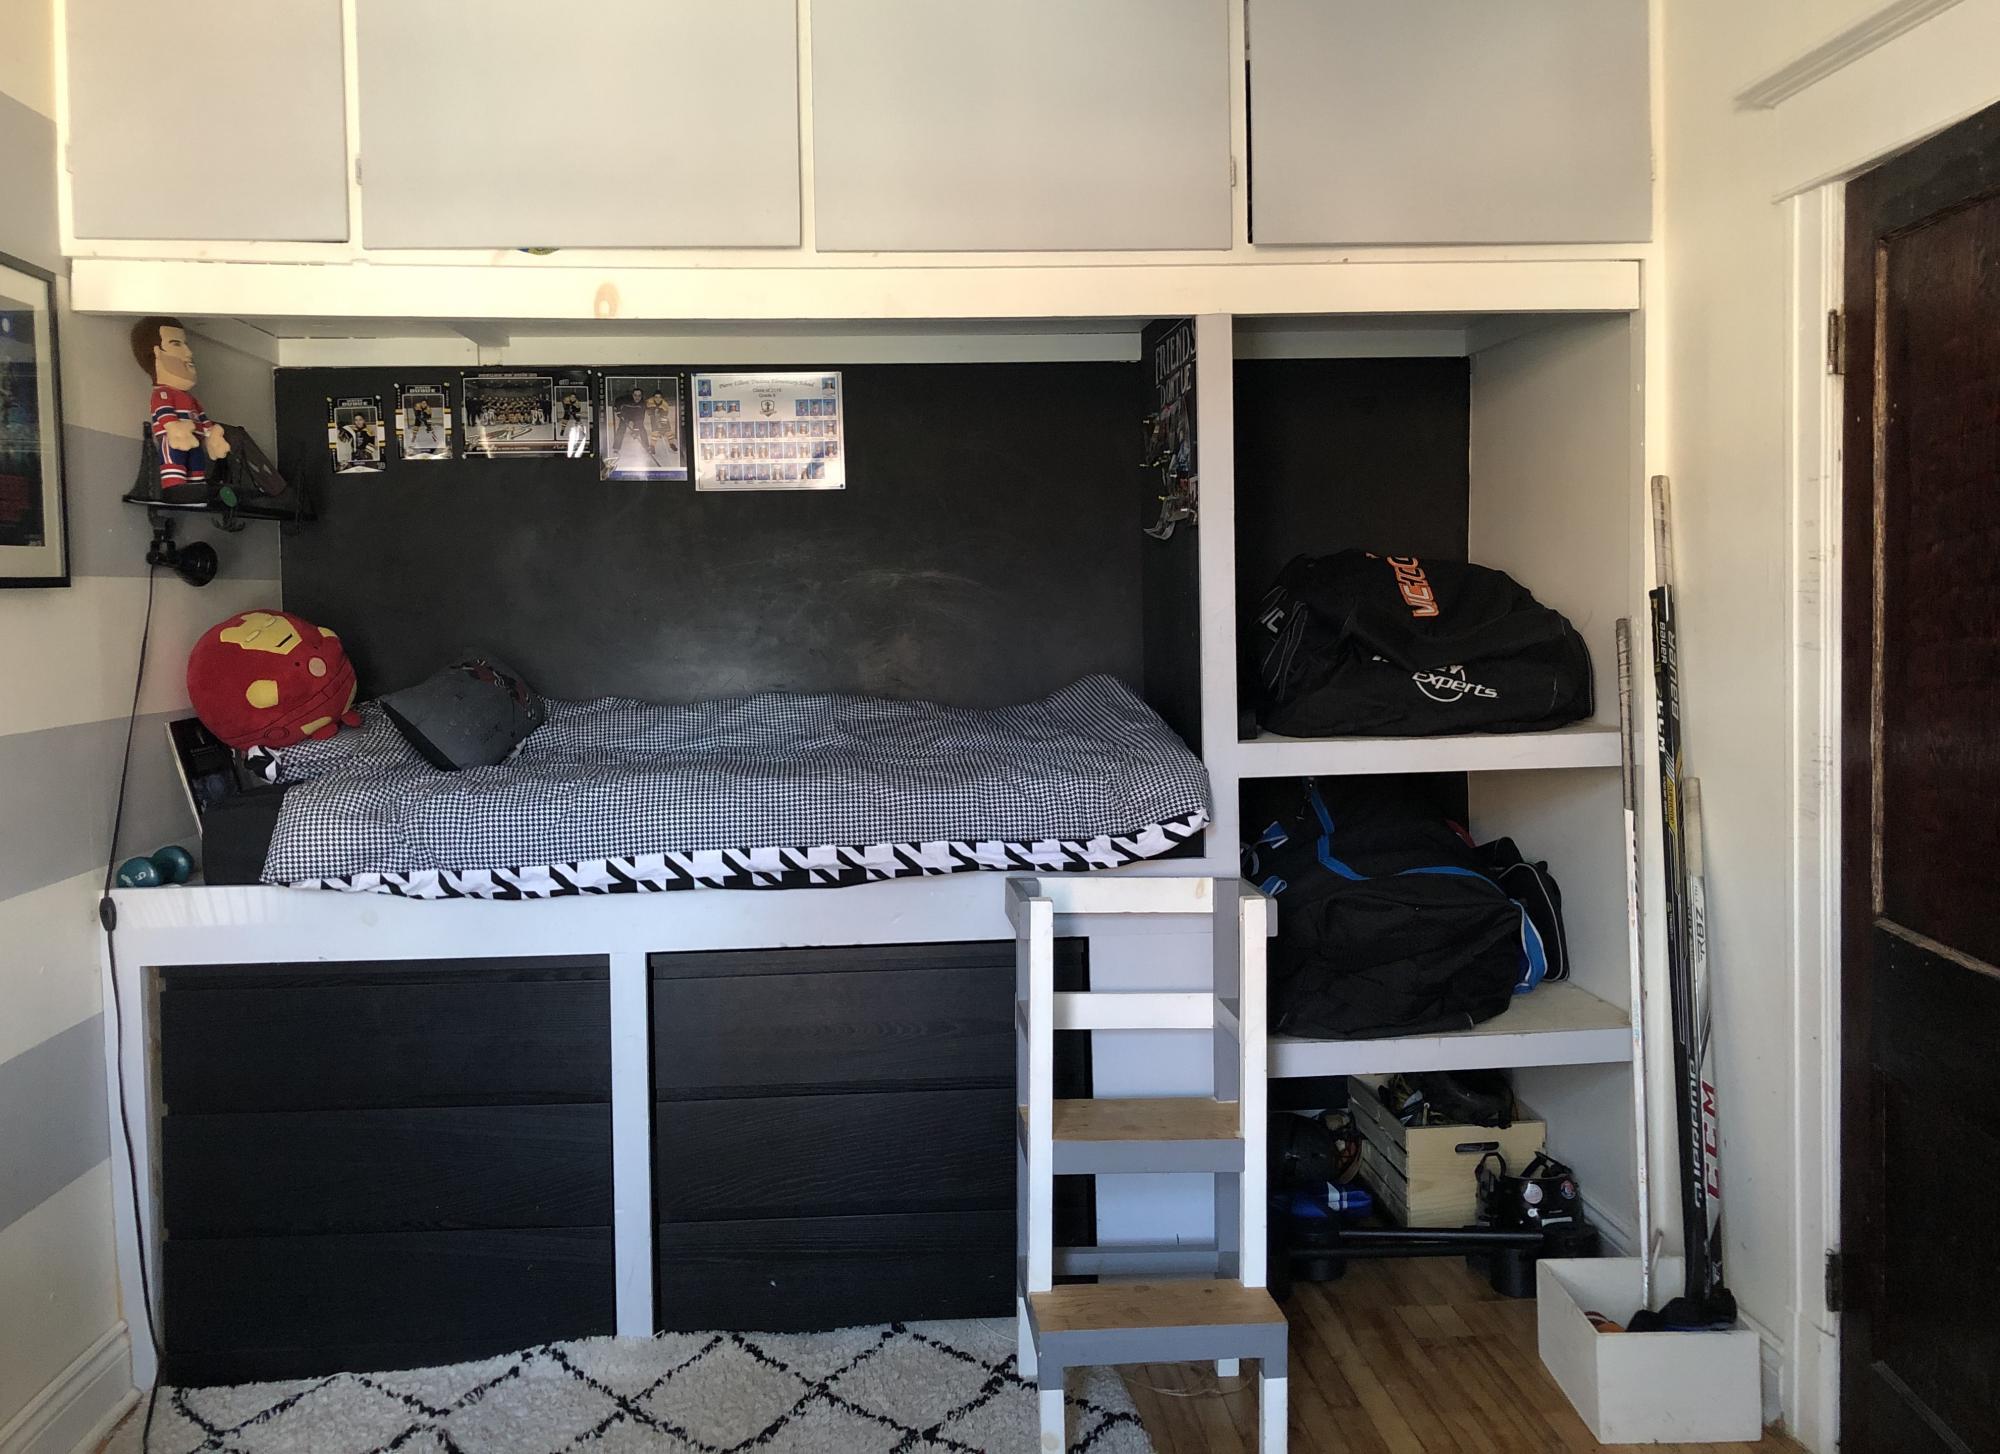
In this small teen bedroom (9-5' large), we had to fit clothes storage as well as room for the family hockey bags.
We decided to use 2 IKEA MALM dressers (one of which we already had) and we built a platform to elevate the bed. The space under the bed could then fit the 2 dressers.
After having measured the length of a single standard mattress, we used the remaining space to create very large shelves in order to place the hockey bags. We designed them open so that my 2 sons can come back from their hockey practices and drop their bag. We also made sure to not put the shelves too high so they can easily access them.
The upper storage (cupboards) were already existant in the house. They add even more storage.
The bed part is 6-7' long x 3-4' large
The locker part is a bit less than 3 feet long and 3-4' large
The little stool used to get up on the bed is a kitchen stool that we reused. It is movable.
Once the structure of the elevated bed was built, we finished the bedspring with a plywood sheet.
The rough 2 x 4 and plywood sheets that were used for the structure were then covered with nicer flat and smooth pine planks and mouldings, then painted grey. It makes for a nicer finish on the outside. But first of all, those mouldings hide the gaps between the dressers and the structure.
The cost of this project was very low: 264$ of wood + nails from Home Dépôt
PS: if you understand french there is a video on my blog that explains the building process in details.
Thank you !

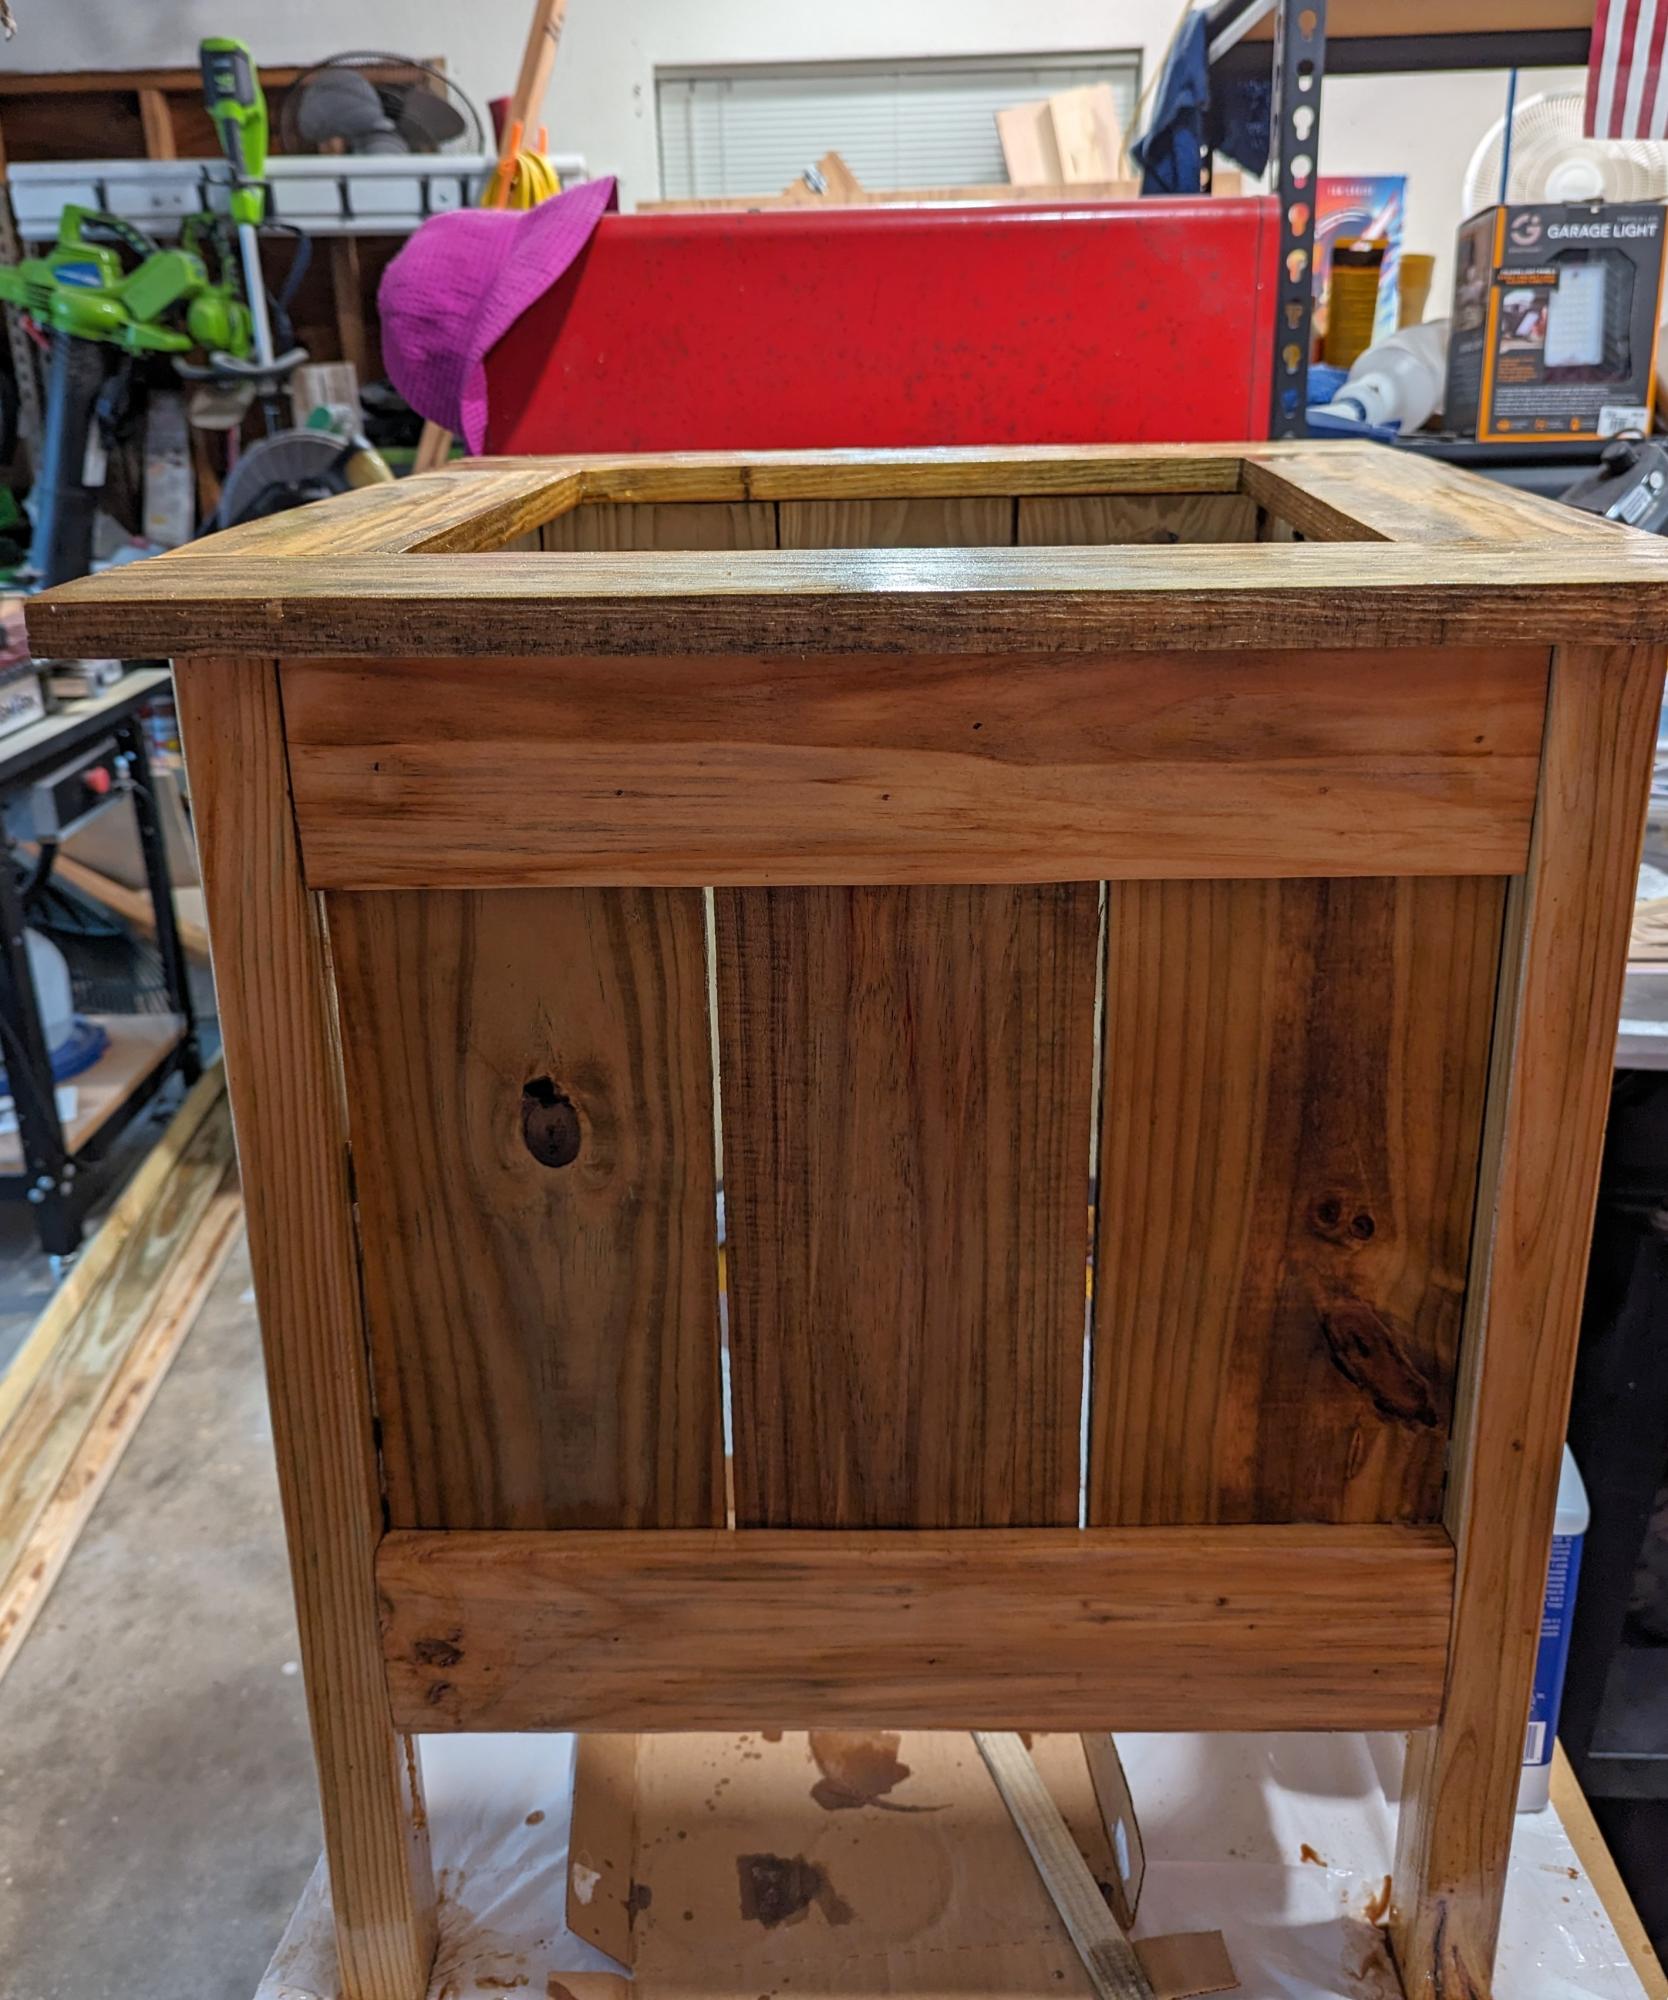
I built 4 planter stands, for Christmas. I finished the planter with a monlding on top.
From free Cummings workshop.
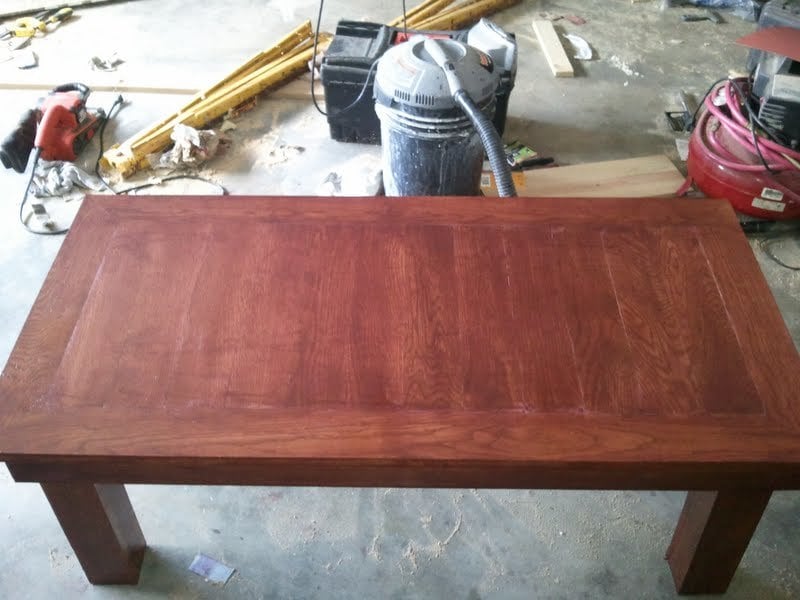
This is my first attempt at a coffe table. I used 1 5/8 inch screws, wood glue,and finish nails. I decided to use oak because someone gave it to me.
Mon, 07/09/2012 - 15:47
This is my first stained piece of furnature. I got the wood for free and didnt want to paint over the grain of the wood. This was also my Mother's Day gift to my mom so I wanted it to turn out perfect. She seemed to love it and I am pretty happy with how it turned out. Thanks Ana for all the great tips and ideas.
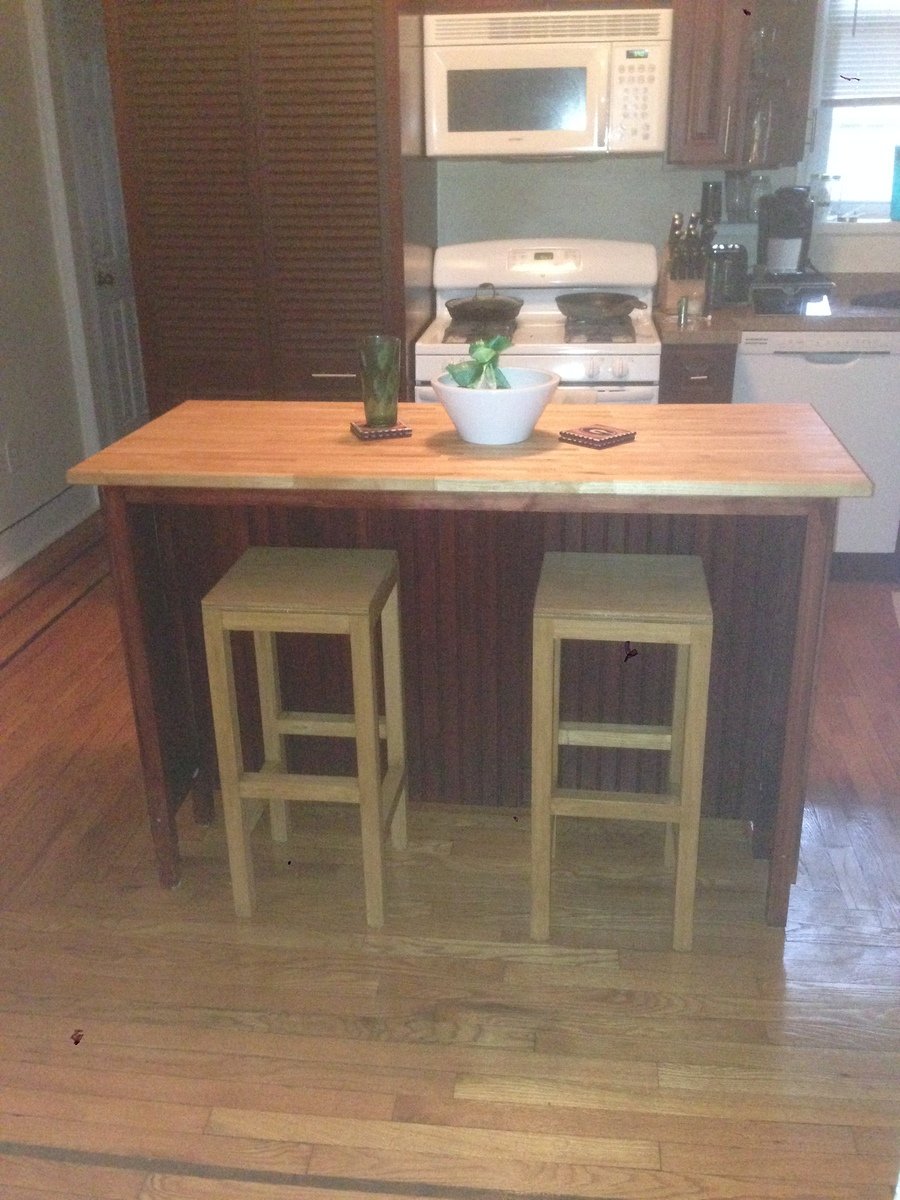
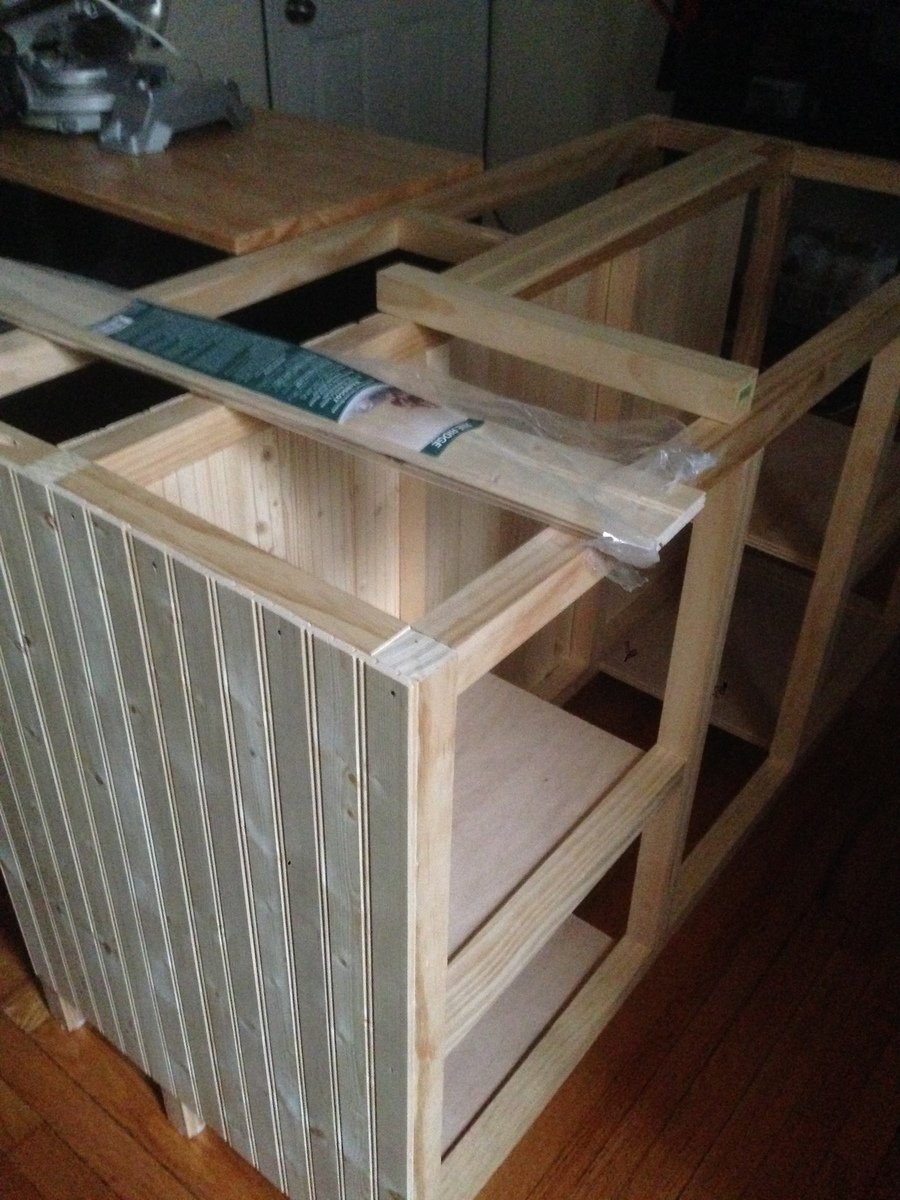
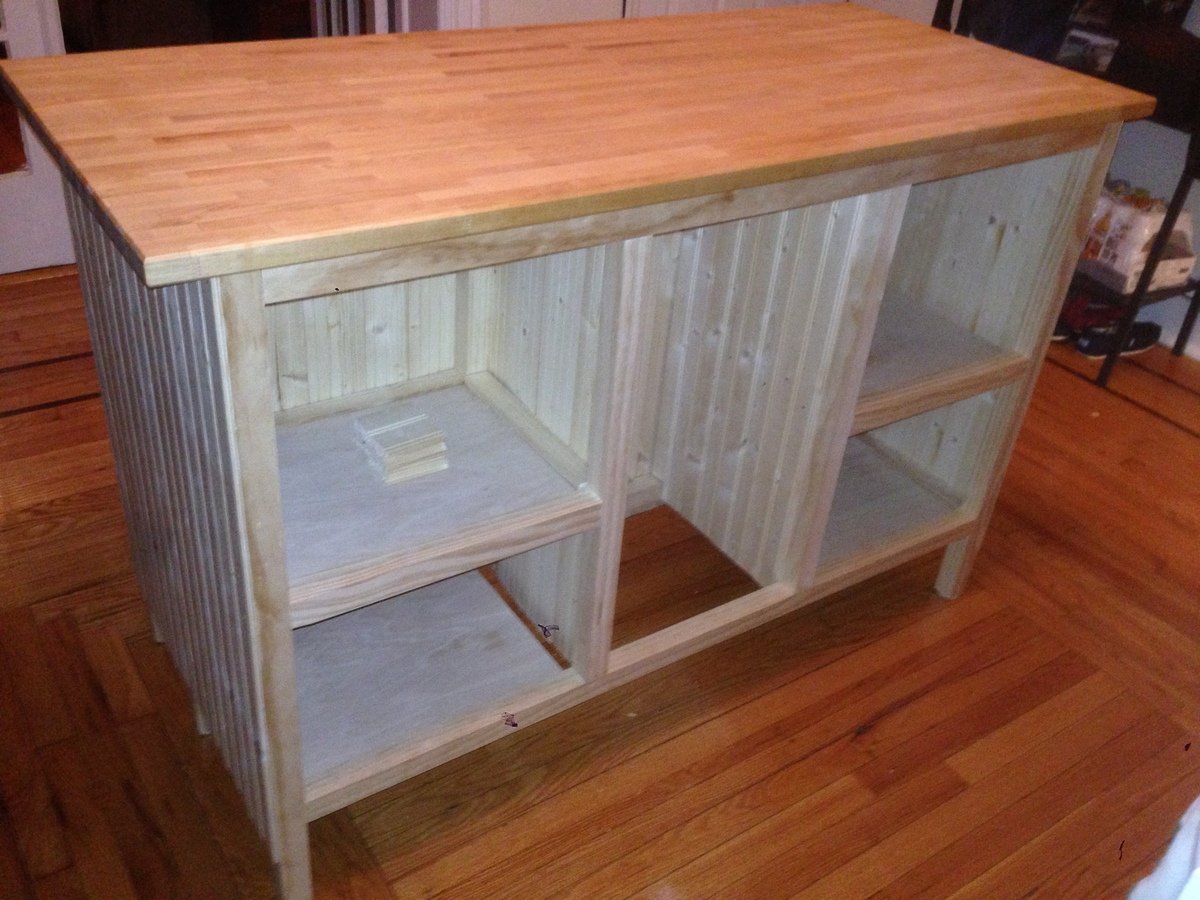
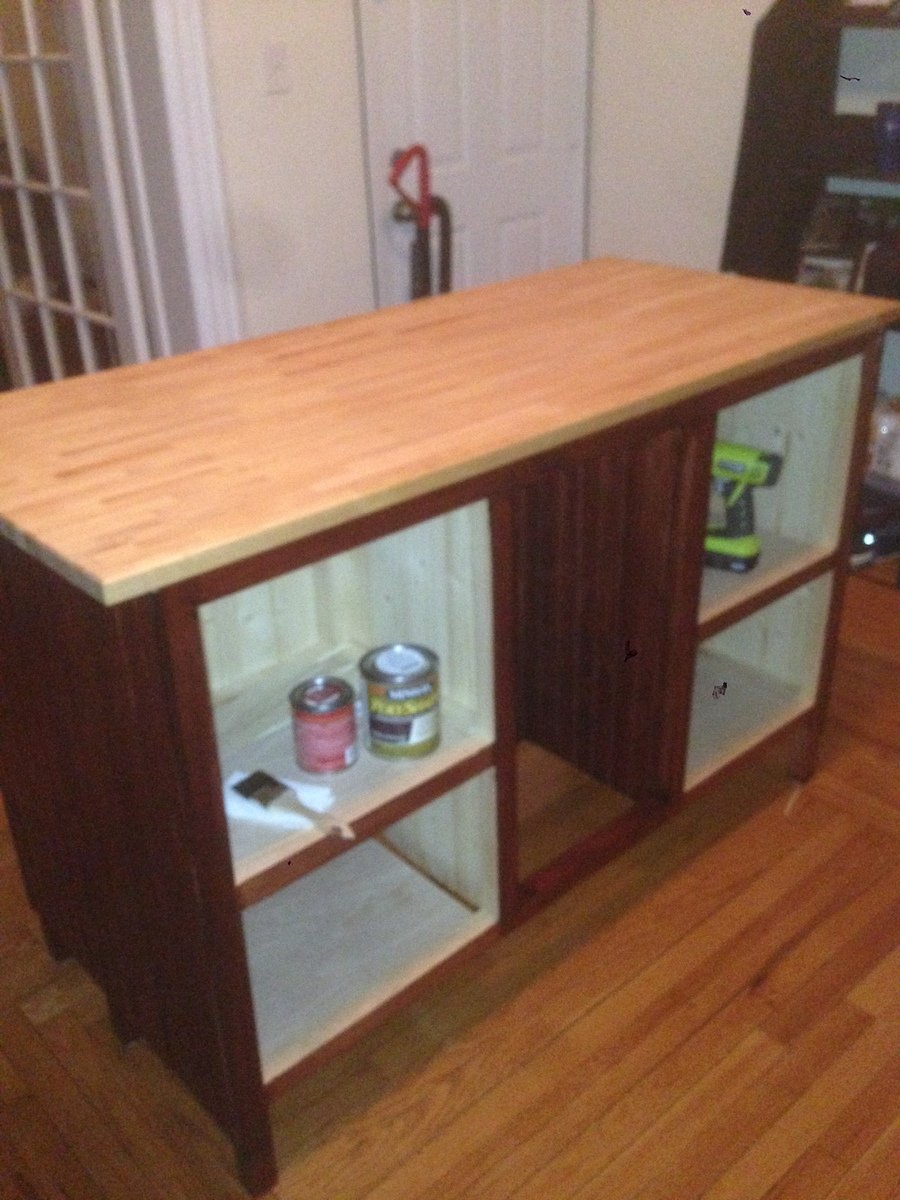
I used the Farmhouse Kitchen Island as inspiration as well as the Ikea Stenstorp Kitchen Island, but I designed the island to fit my kitchen and what I was looking for.
First purchase was the butcher block top from Ikea (Varde countertop, 57.5x25, birch, $80).
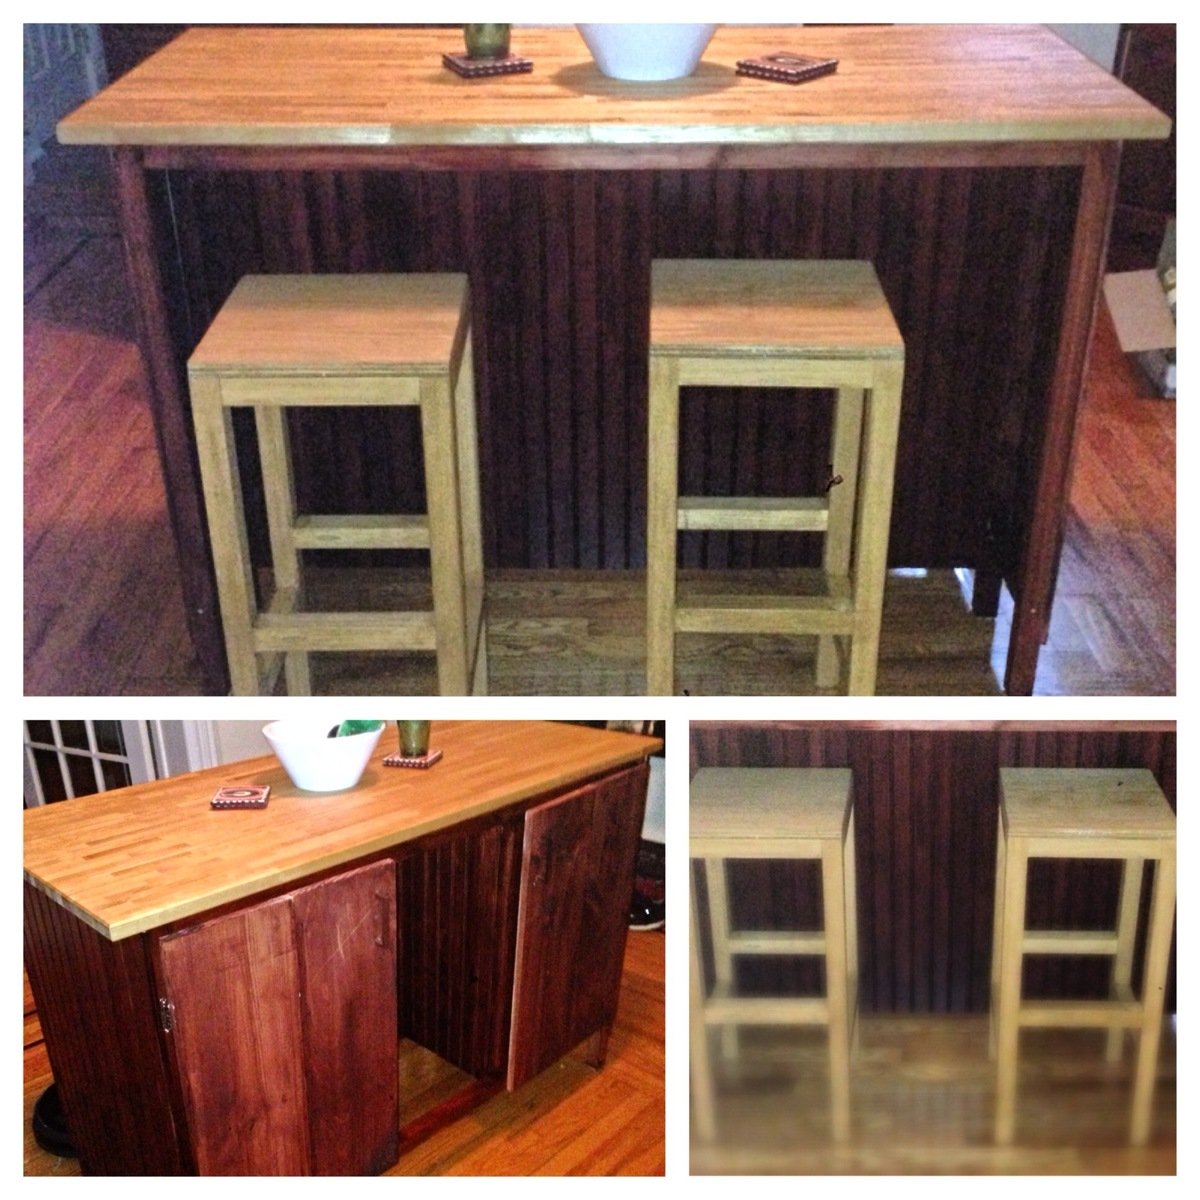
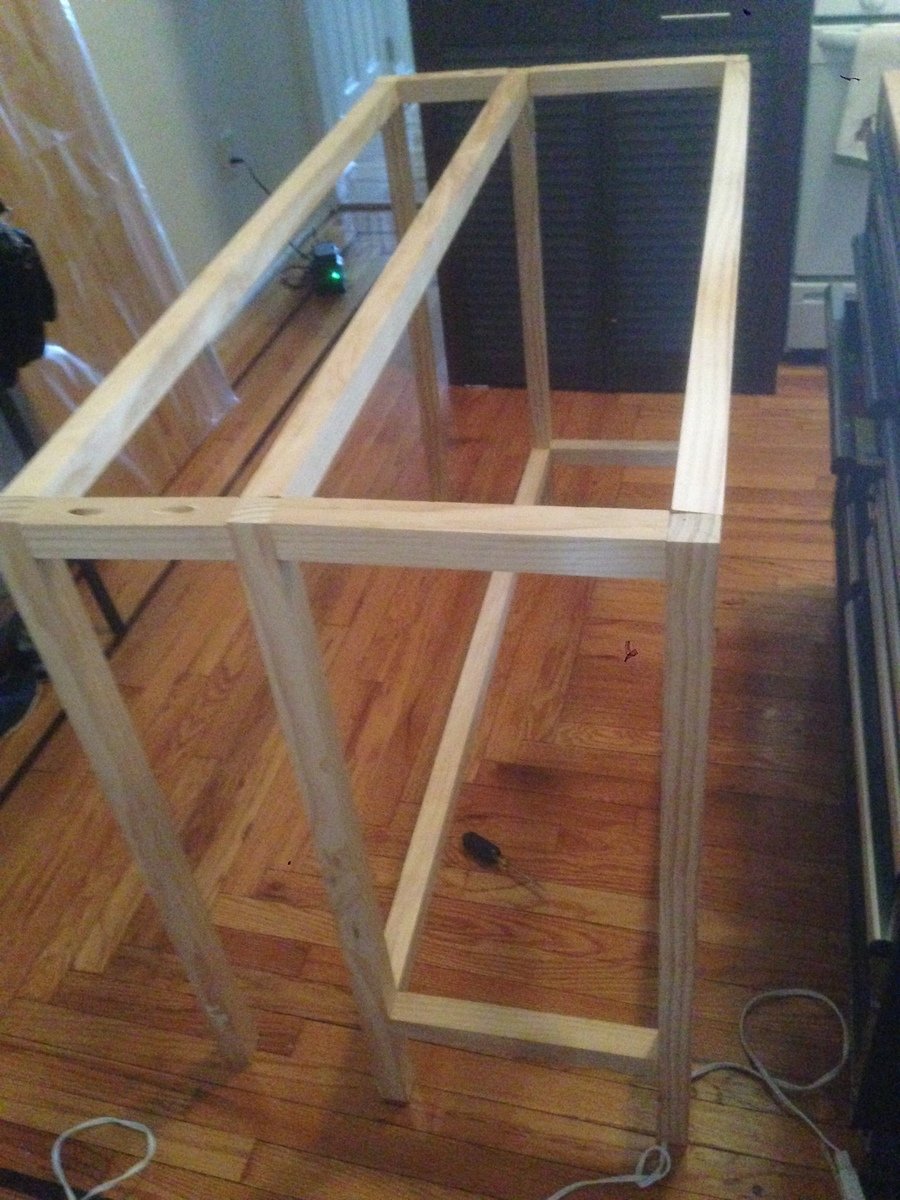
I built the frame using 2x2s, allowing for about 1/2 inch overhang of the countertop on all sides. Next installed the two shelves for each cabinet. I decided to use wood planking from Home Depot ("Knotty Pine" planking) to keep the weight of the island down. I liked the look of these planks and the ease of installation (nail to the frame, cut to fit). I built the cabinet doors using 2x12s. They are functional, but at some point I will probably make new doors using plywood.
Originally I wanted bar stools with the legs at a slight angle. I used the same 2x2s as used on the island frame. I cut the legs at a 4 degree angle but did not like the way the stools looked. Redesigned the stools to be straight and simple. The seat is a heavily sanded 2x12. The seats are slightly too tall since I forgot to account for the height of the furniture pads (the ones I use are about 1/2 inch each).
I used pocket holes for everything except for attaching the butcherblock to the island (just drilled underneath). Filled with plugs and sandable wood filler.

Made the Toddler Tree House bed. My little human was still a bit small for the ladder so I added a Ramp to it. It works great and my toddler has already made a permanent transition to it from the crib. My wife wanted to make it more of a beach shack this the colors. Im exploring putting some small bookshelves or a pull out to chest underneath to maximize storage.

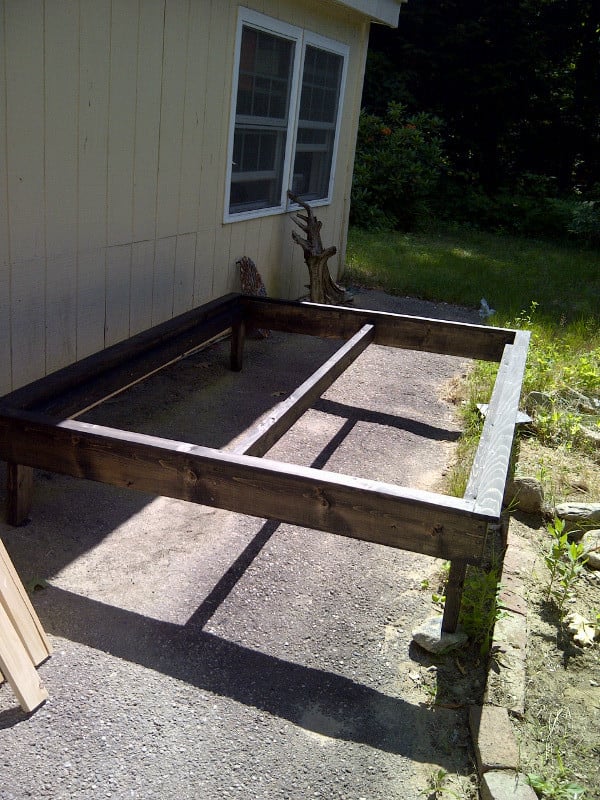
Since we moved 2 months ago, our bed has been a mattress on the floor. Being busy with other projects needed to make the house more liveable, I kept putting off this one until I just couldn't stand it any more.
So I spent the weekend getting over the fear of the people at my local lumbar supply store (the guys aren't always very nice, but I lucked out and got one of the ladies to help), buying the materials and building the bed. It took a good solid weekend. But by Sunday night, no more sleeping on the floor.
Finished with minwax ebony stain and lemon oil (my cats hate it, keeps them from clawing the pine to shreds)
Now hopefully I can get to the headboard...at least once all my kitchen cupboards have doors, haha.
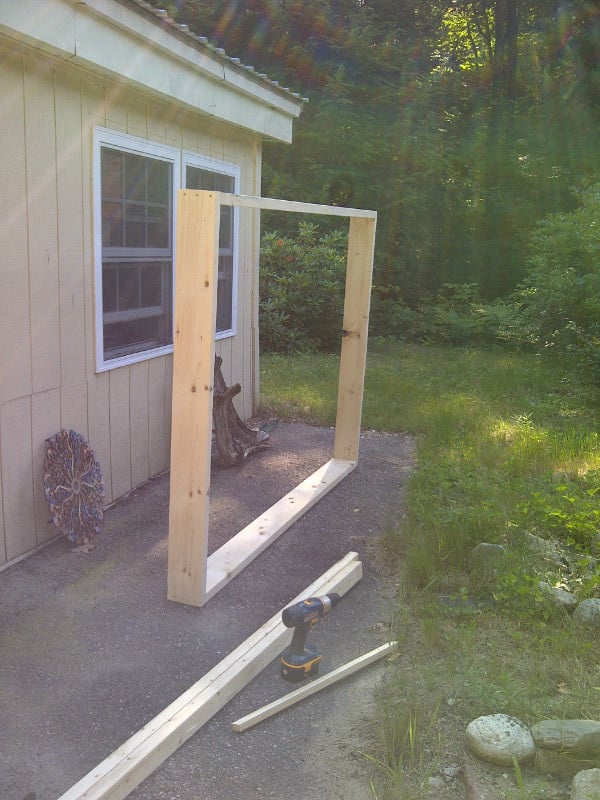
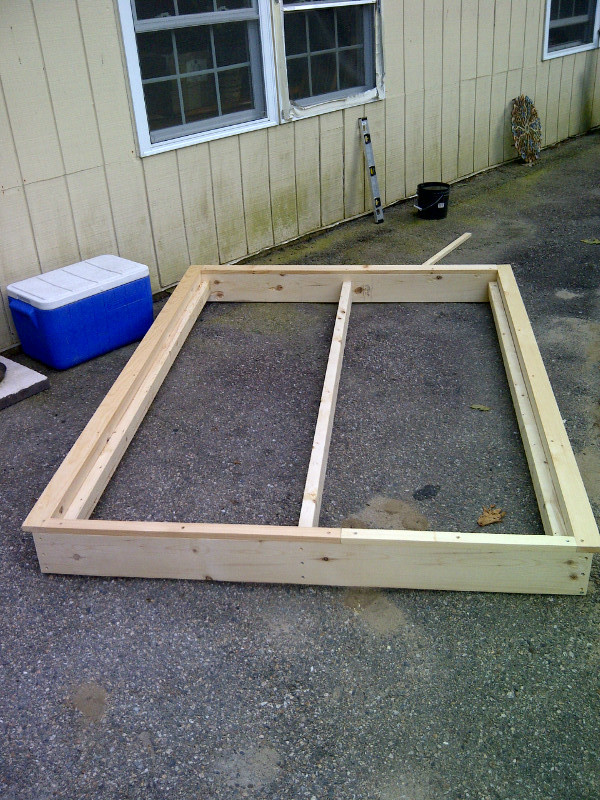
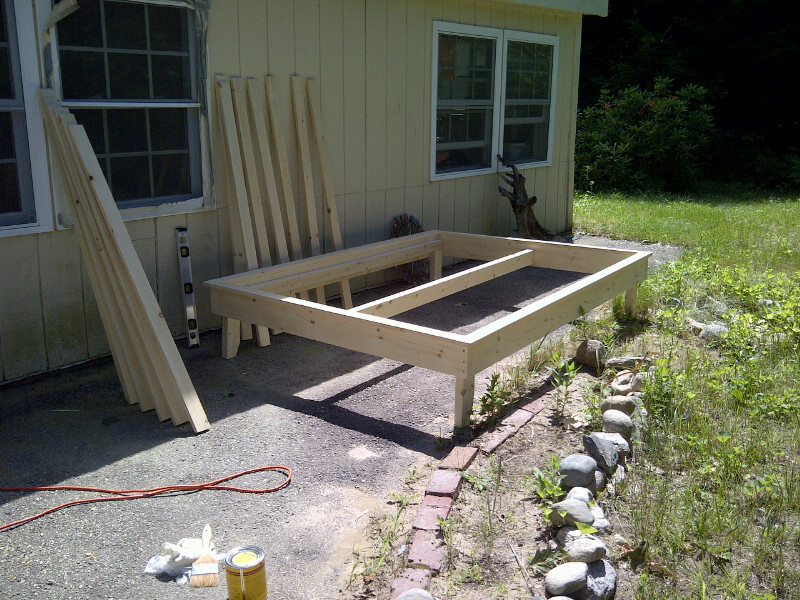
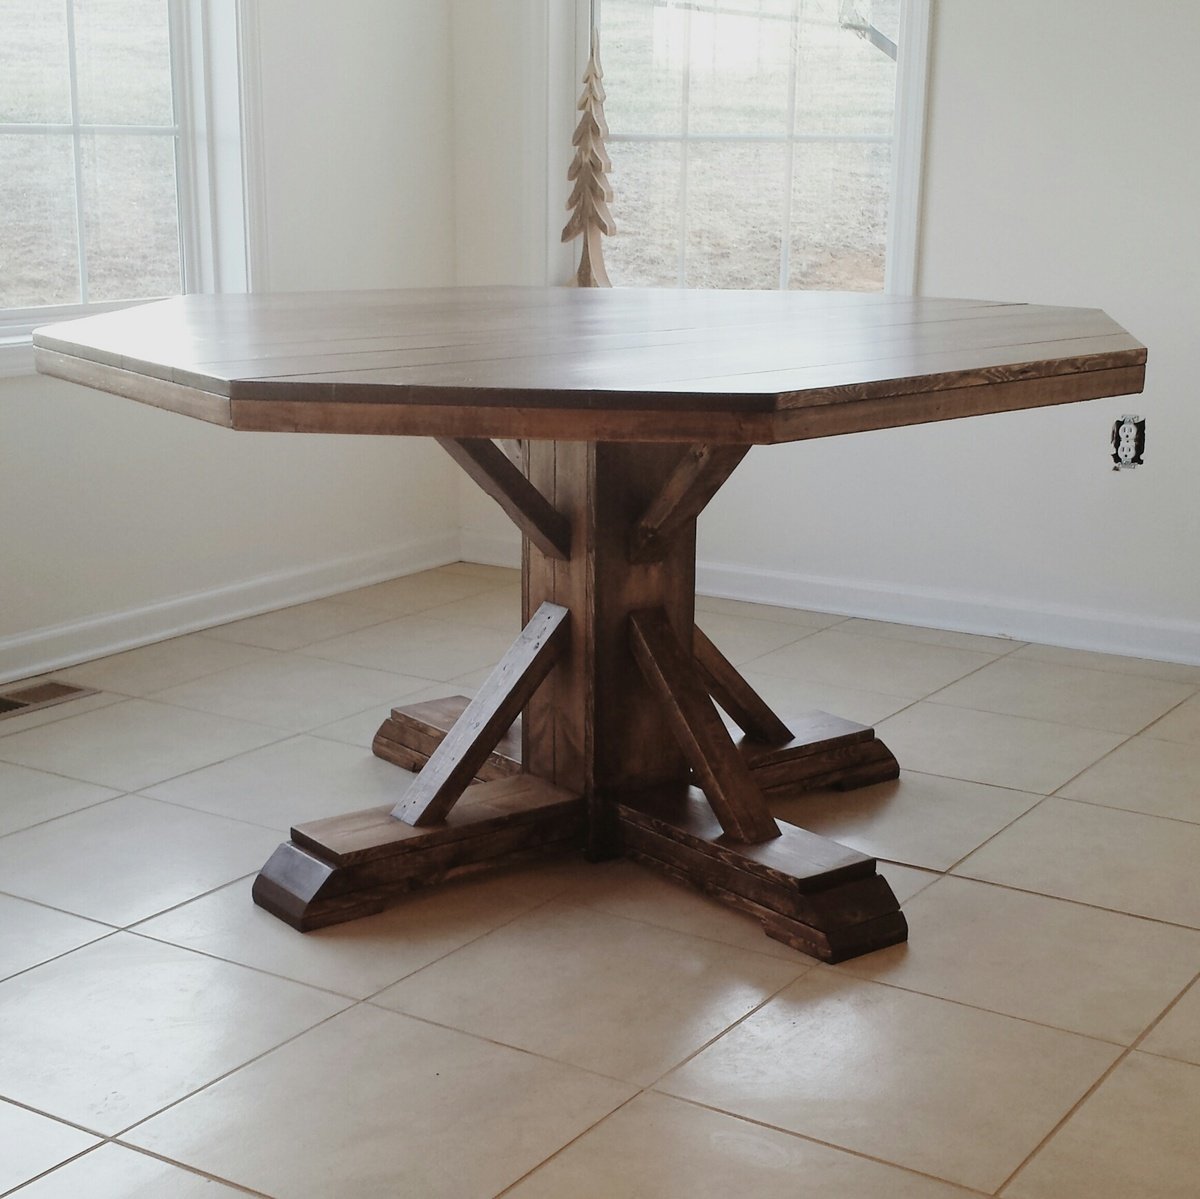
This table was my very first project and I am proud of myself! After getting married in January and closing on our house in February, I was overwhelmed with all the empty space! (Being 19 and buying a brand new house.. everything was foreign to me! We had NO furniture!) We needed a decent place to eat instead of using the borrowed barstools and my dad has all the tools I could ever need, so I figured I could try out building our own kitchen table! I think it went well! Since then I have made a media cabinet, a dining table and bench, storage cubbys for above the fridge, a mail holder, a towel holder and a wooden tray for our ottoman ALL from Anas plans! I'm just now getting around to posting my brags :)
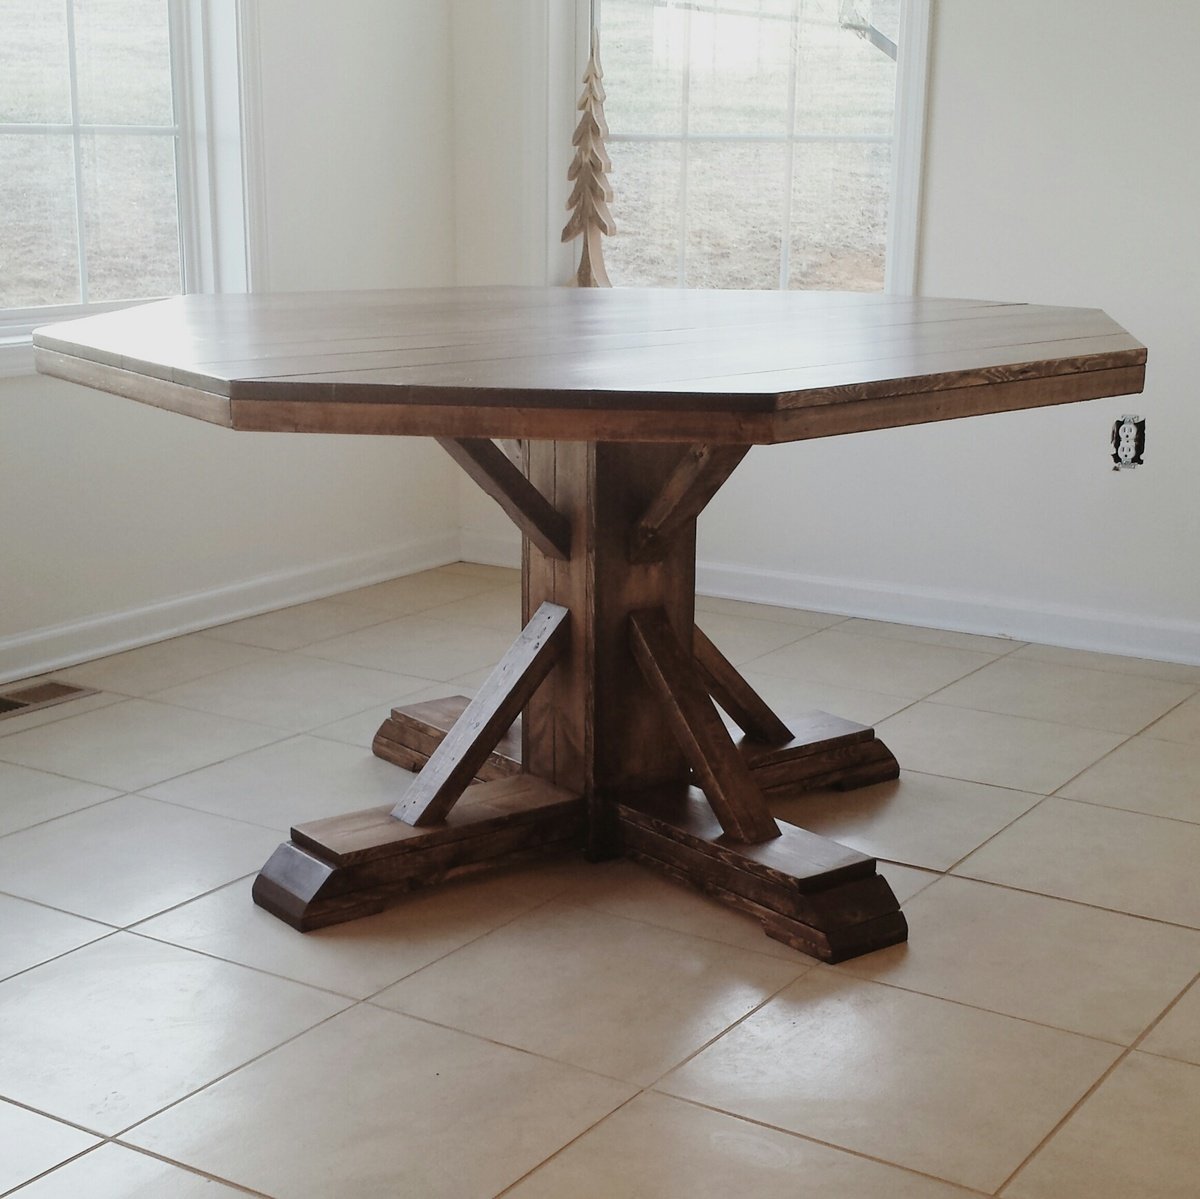
This was my first attempt to build furniture. Me and my daughter built this for her first house. This was very easy if you follow the plan instructions. I had an extra 2x2 to play with the angles till I got them right for the x. We didn't want the grey finish so we used one coat of Miniwax Early American with 2 coats of polyurethane satin finish. We used star nails instead of the bolts and used the angle brackets that we spray painted both black. It took a weekend but I plan on building the end tables next and it should go quickly since I have the hang of the plans now.
Comments
cgray757
Mon, 06/01/2020 - 07:29
Do you have measurements for…
Do you have measurements for back rest addition?