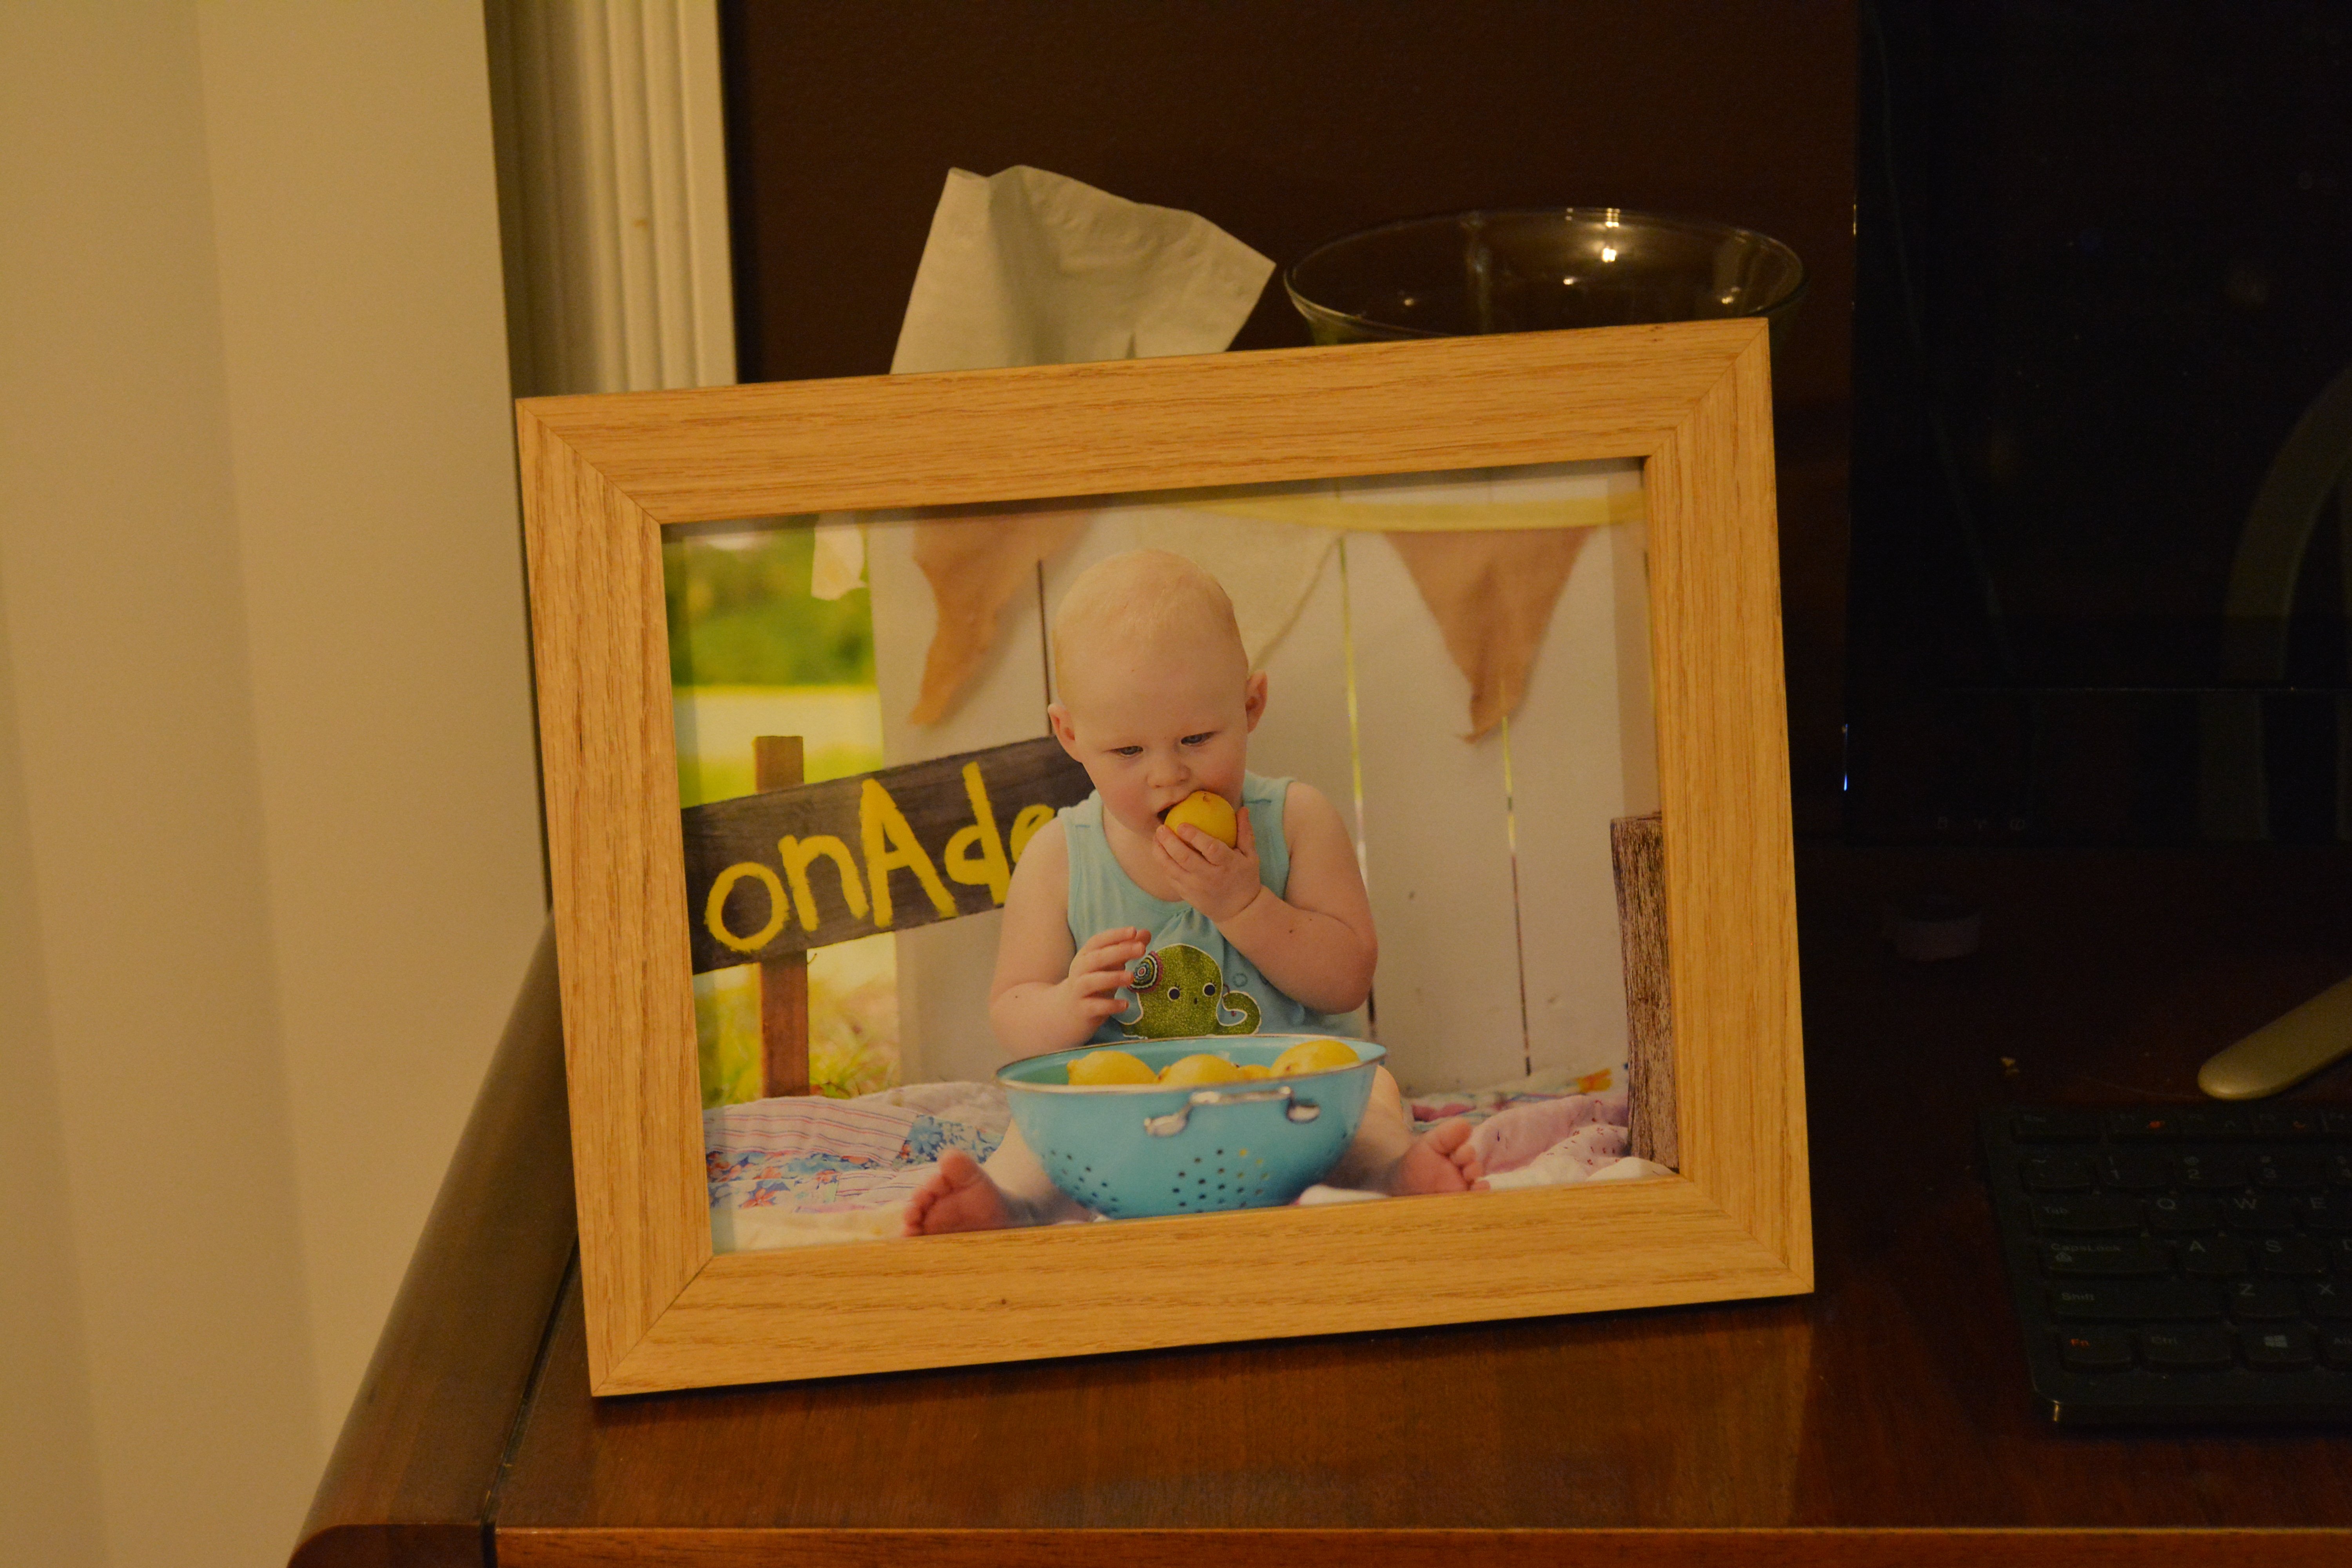
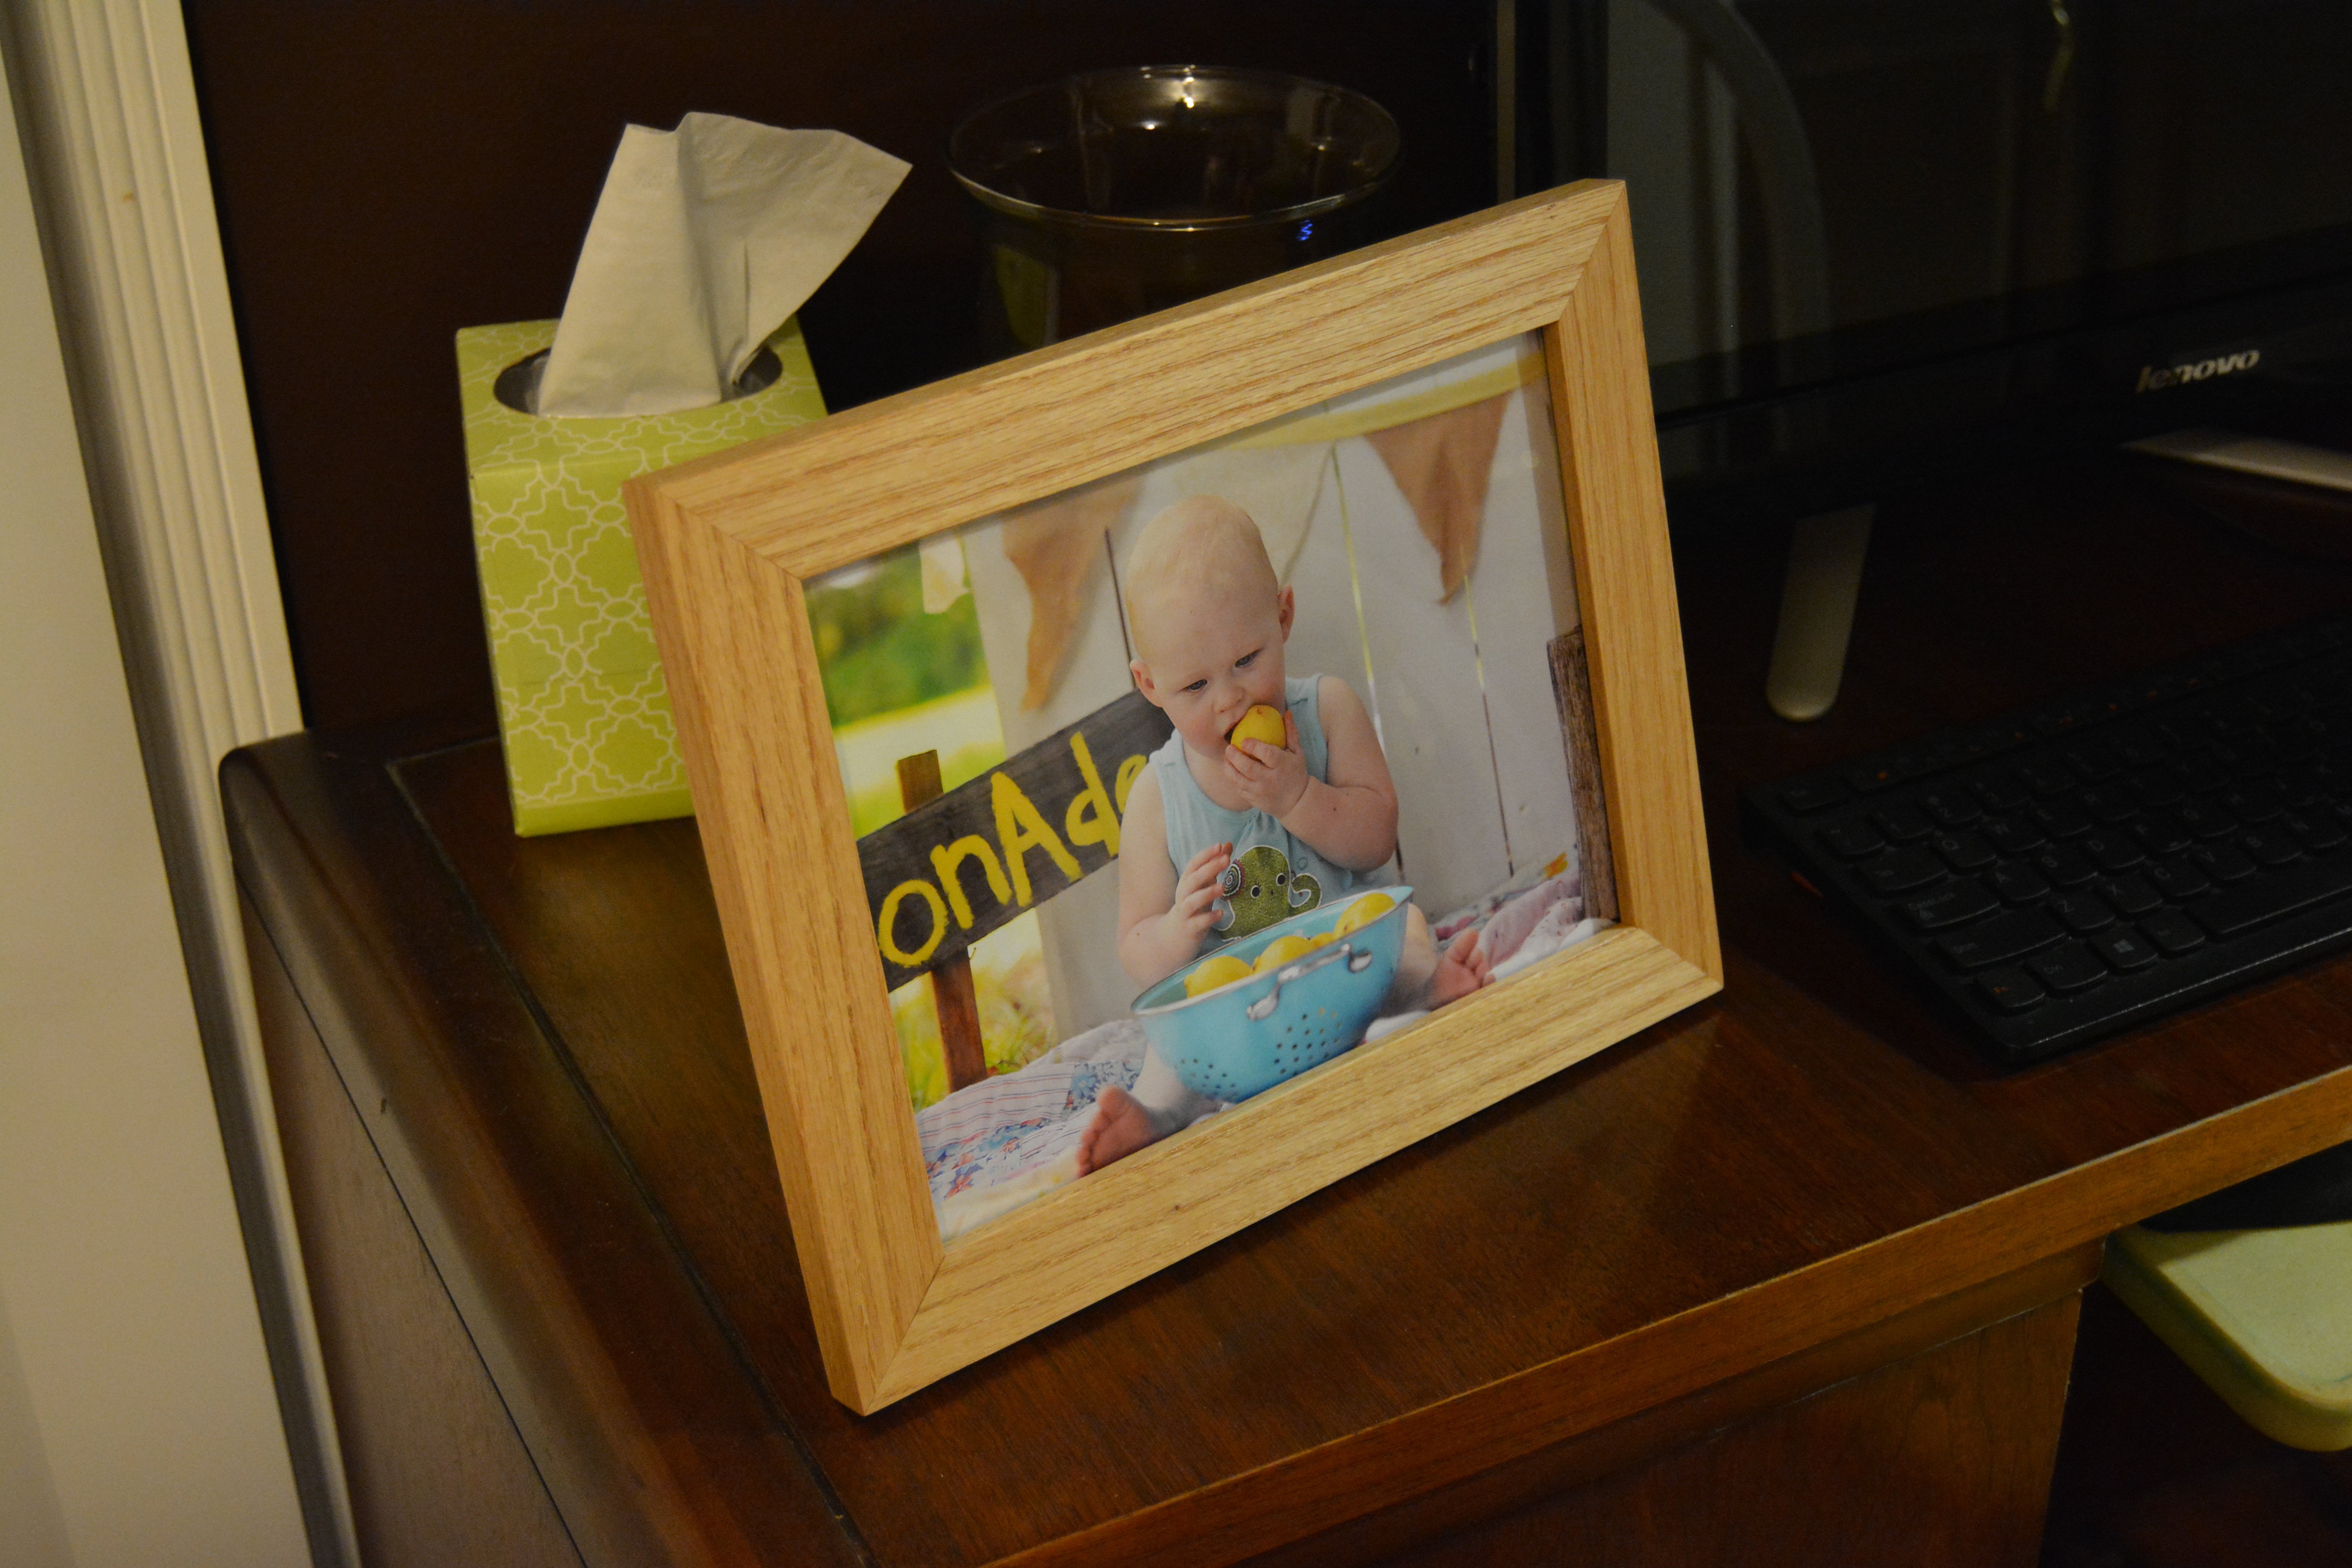
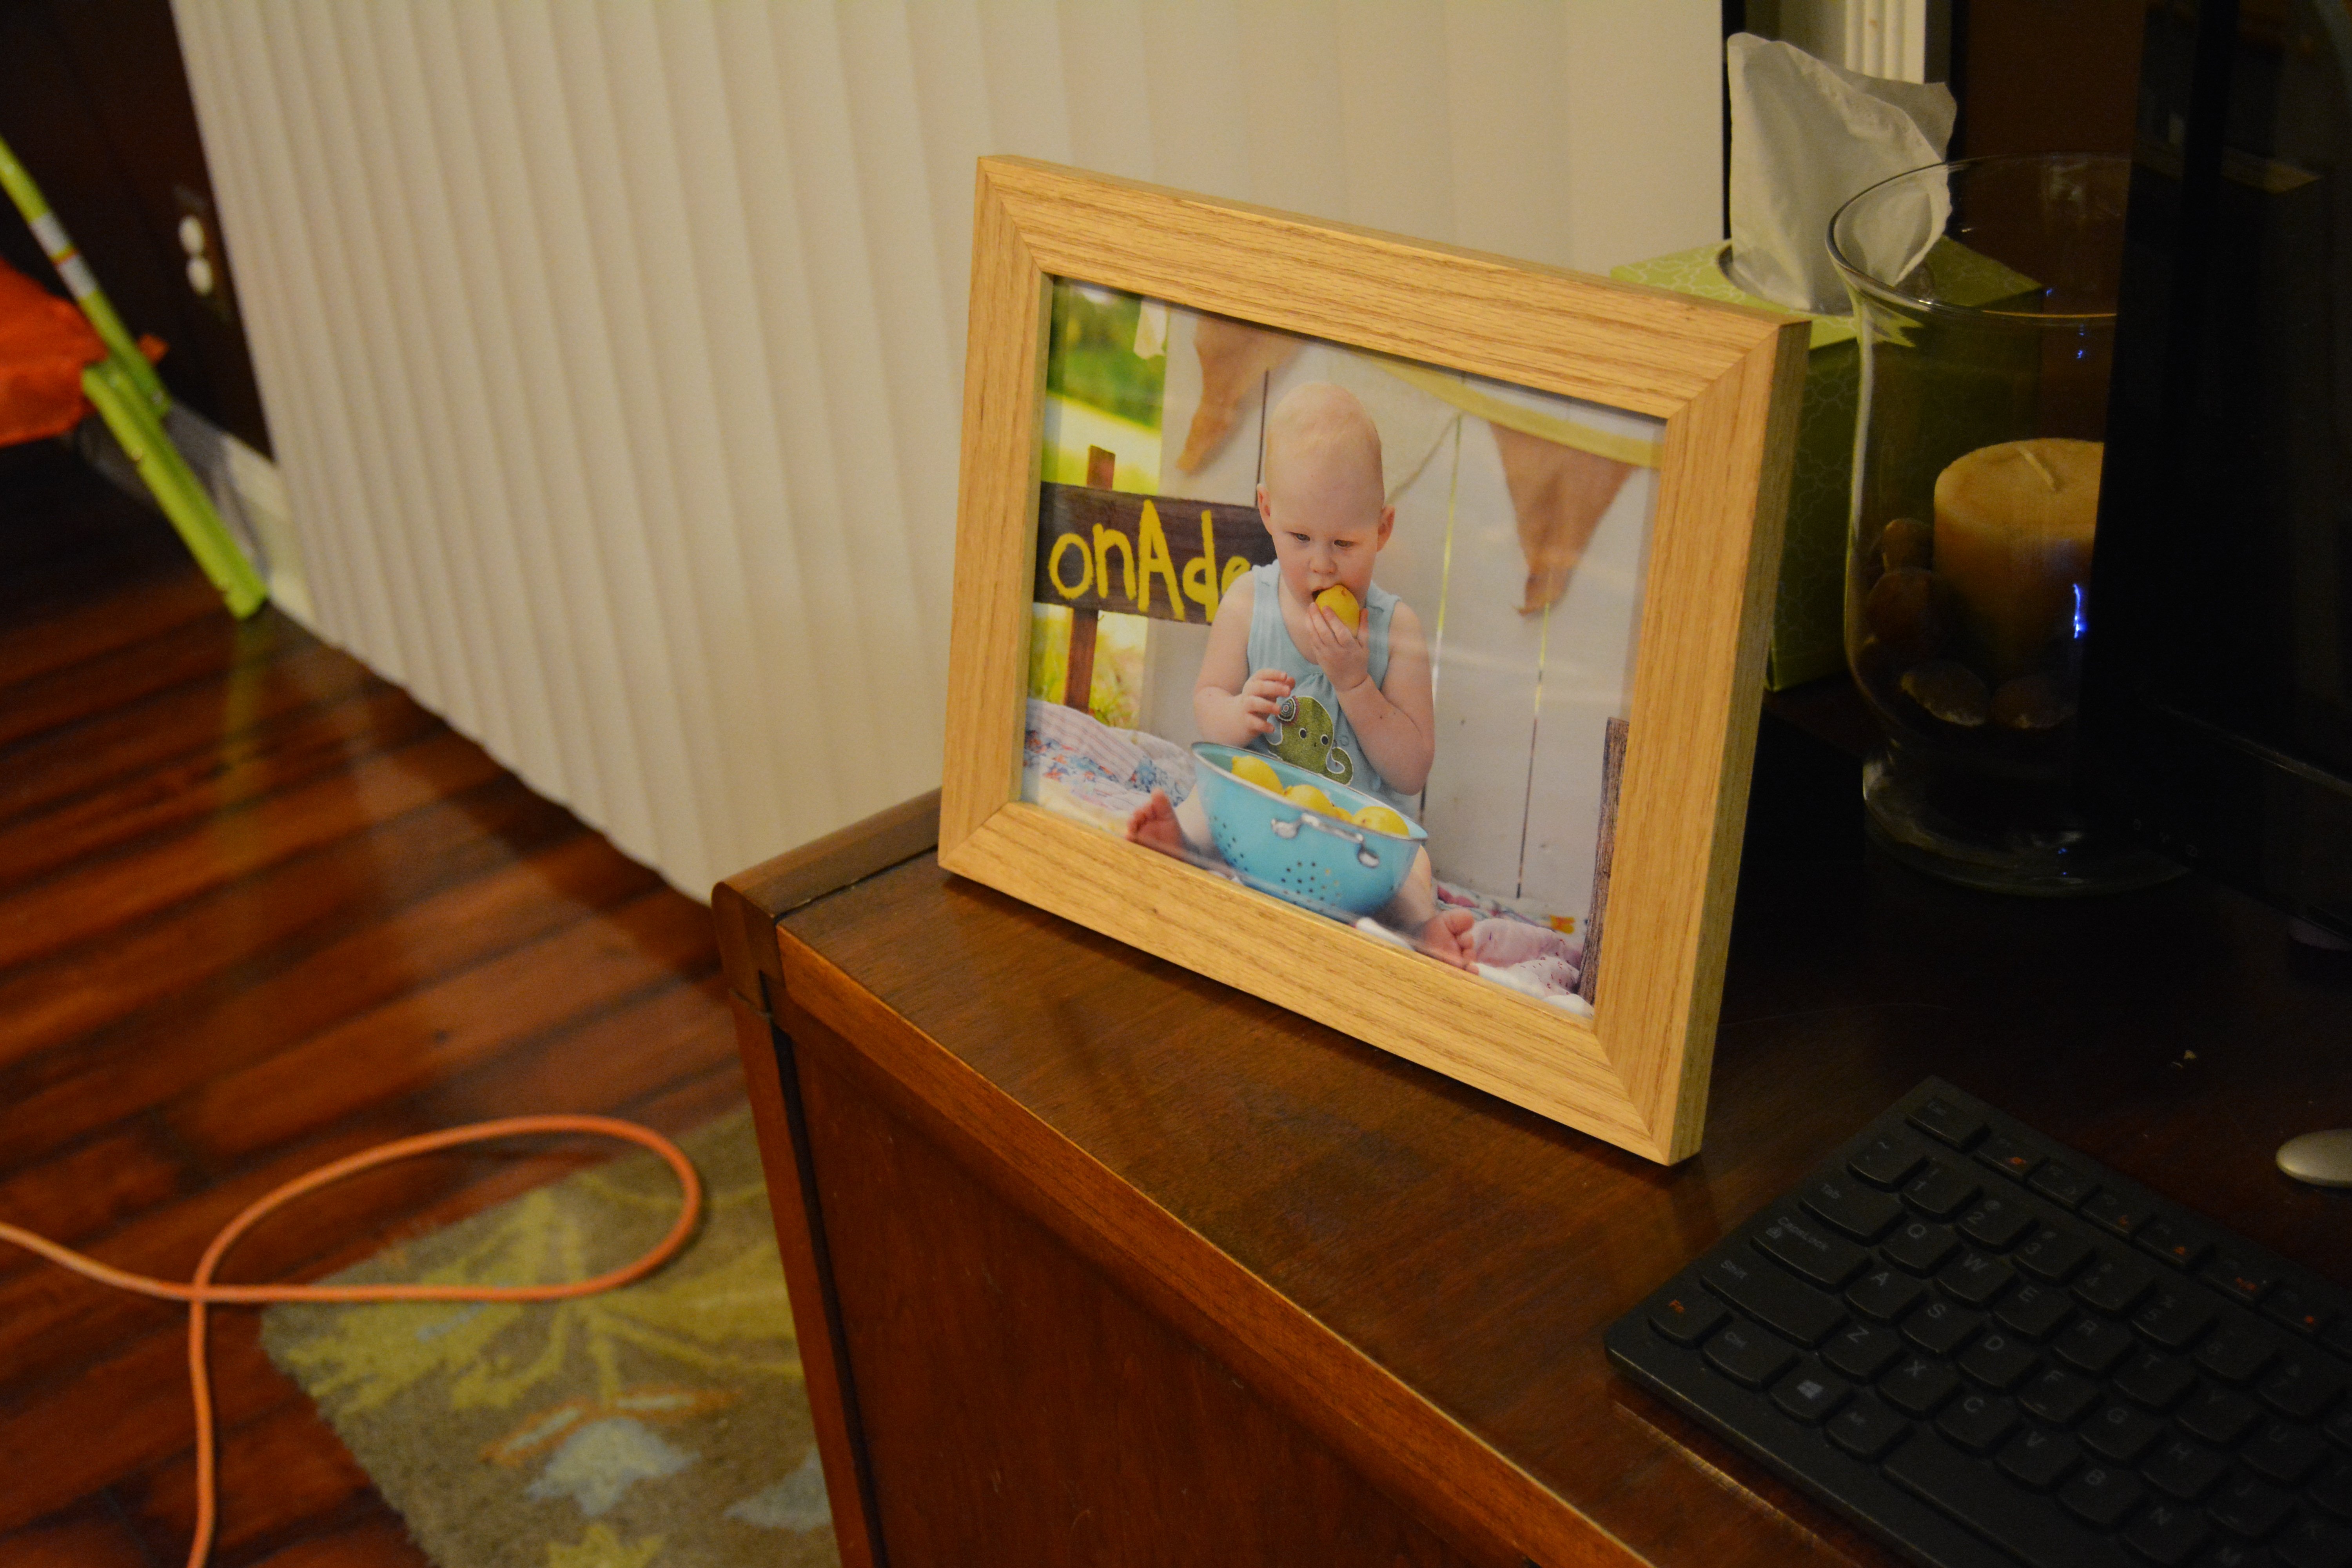
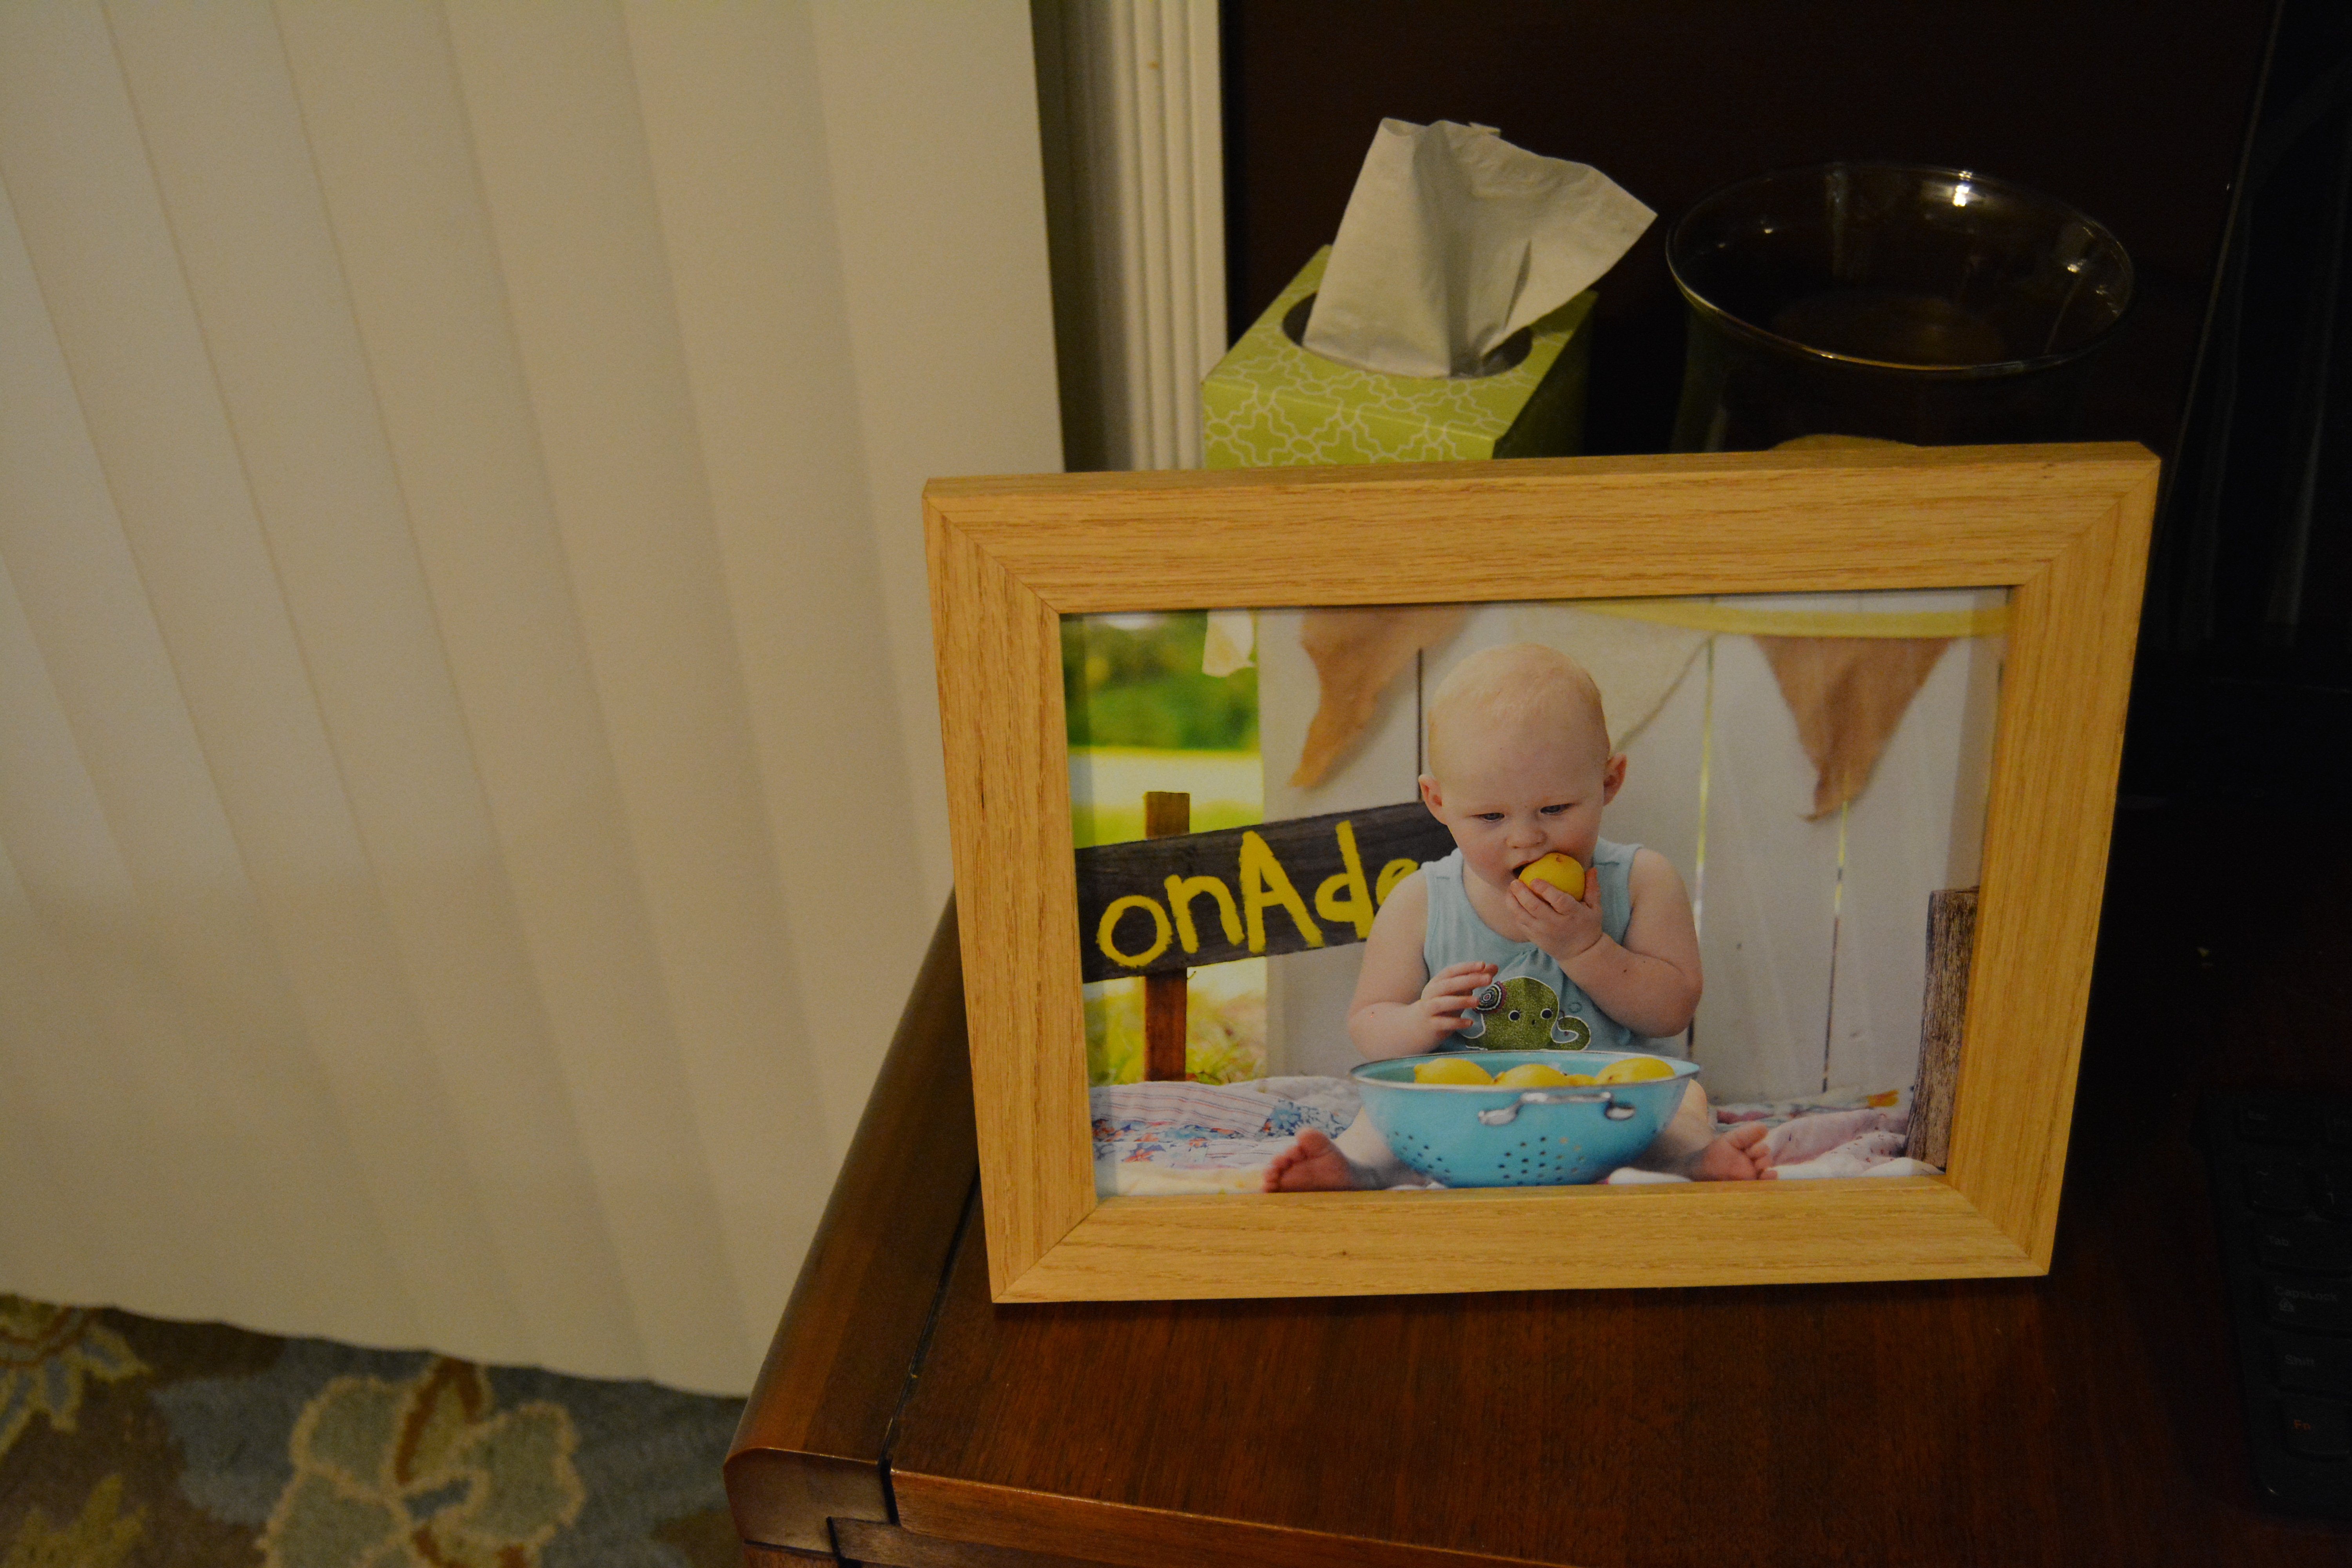
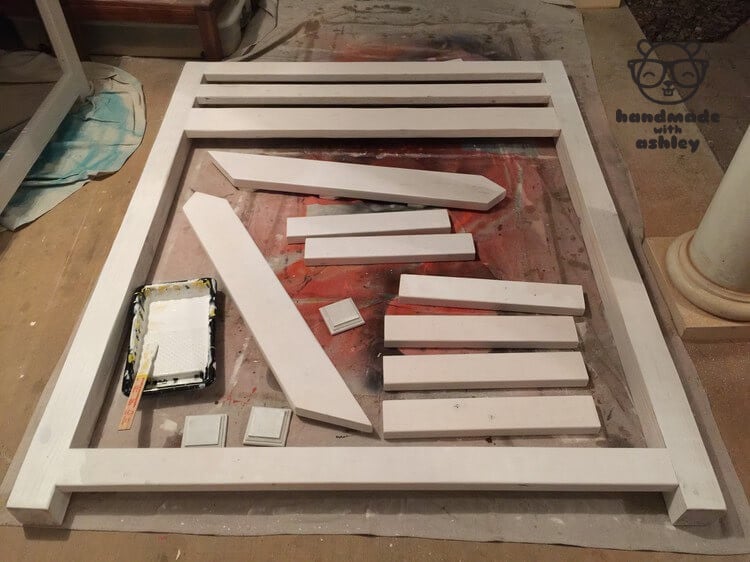
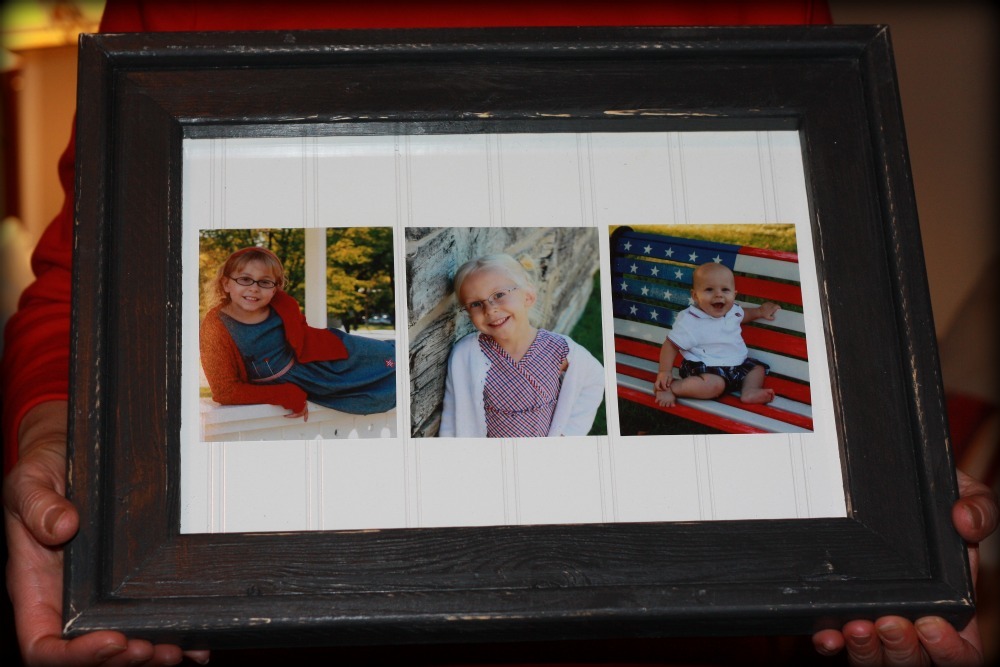
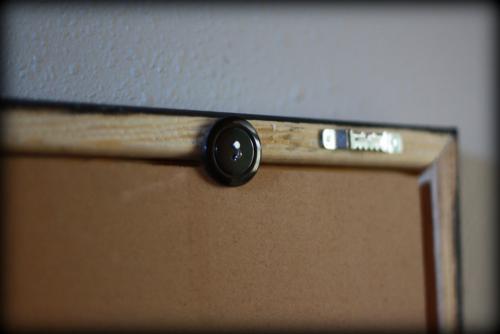
I decided to make a frame for a Christmas present for Grandma (my Mom). I wanted a different size than the plan listed so I did some modifying and thought posting the measurements would save someone else time in figuring it out. I wanted to cut down three 5×7 photos to square-ish shapes so decided on buying glass of 12″x16″ ($3.52 @ blue). The overall frame is a few inches bigger than that but I didn’t measure the exact size. I didn’t know what to do for the matting so decided to use some extra beadboard scraps that I had on hand. I had to get creative for holding the glass and beadboard in the frame (I’m sure there was something at Blue that was really for this, but the guy I talked to was no help!) so I nailed four buttons on the back. They can twist to allow the backing to come out to change the pictures.
Here is my cut list:
12×16 glass
12×16 beadboard
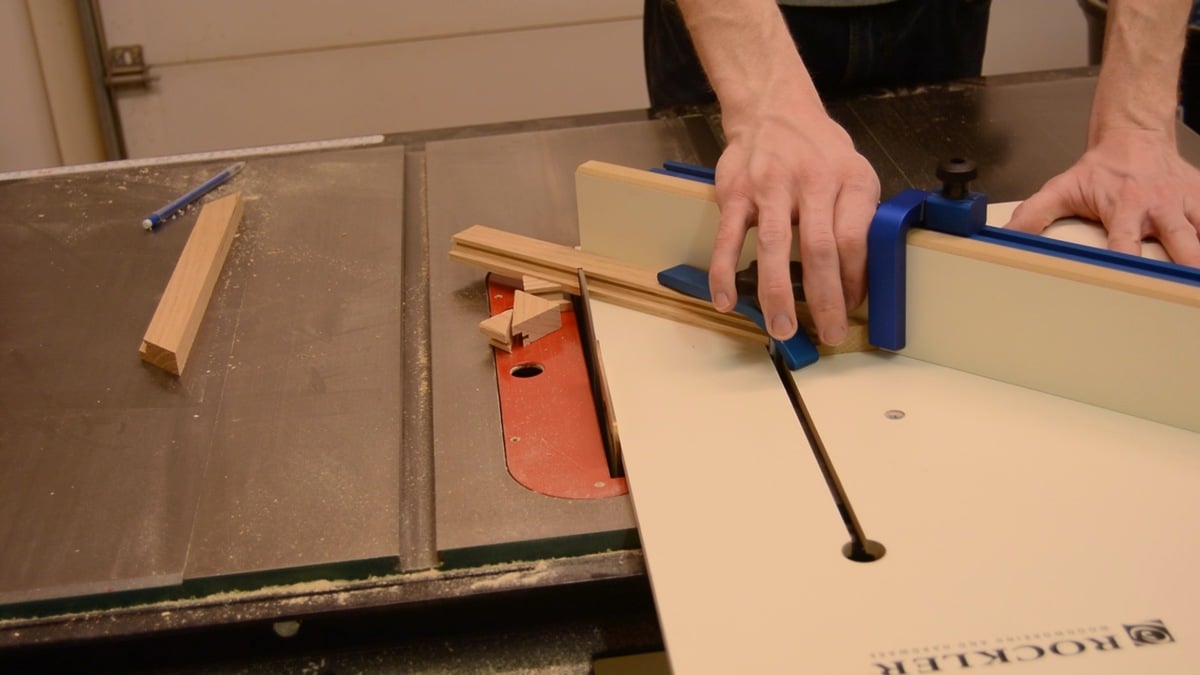
1×2 cut into:
(2) 12 1/4″, (2) 16 1/4″ (mitered at 45 degree angle on each end with the board laying TALL)
(2) 13 3/4″, and (2) 17 3/4″ (mitered at 45 degree angle on each end with the board laying FLAT).
Follow the plan being careful to miter the ends correctly (so you don’t have to cut new boards when you thought you were done cutting). The glass and beadboard fit well with a 1/4″ space as the plans suggest. I also found it helpful to mark the 1/4″ on the outside of the frame when putting in nails…b/c I didn’t and ended up with a little extra ‘character’ poking through than I was planning. :)
Estimated Cost
$7 ($3.52 for the glass pre-cut at Blue
Estimated Time Investment
An Hour or Two (0-2 Hours)
Finish Used
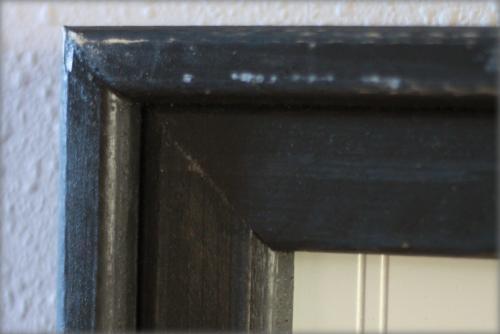
Two coats of almost black no VOC paint, roughed up on the edges after it dried
A little bit of wood filler in the mitered corners, sanded the edges and places with wood filler, two coats of black paint, sanded the edges. I signed the back of the frame “My first frame. Full of love and imperfections!”
Recommended Skill Level
Starter Project