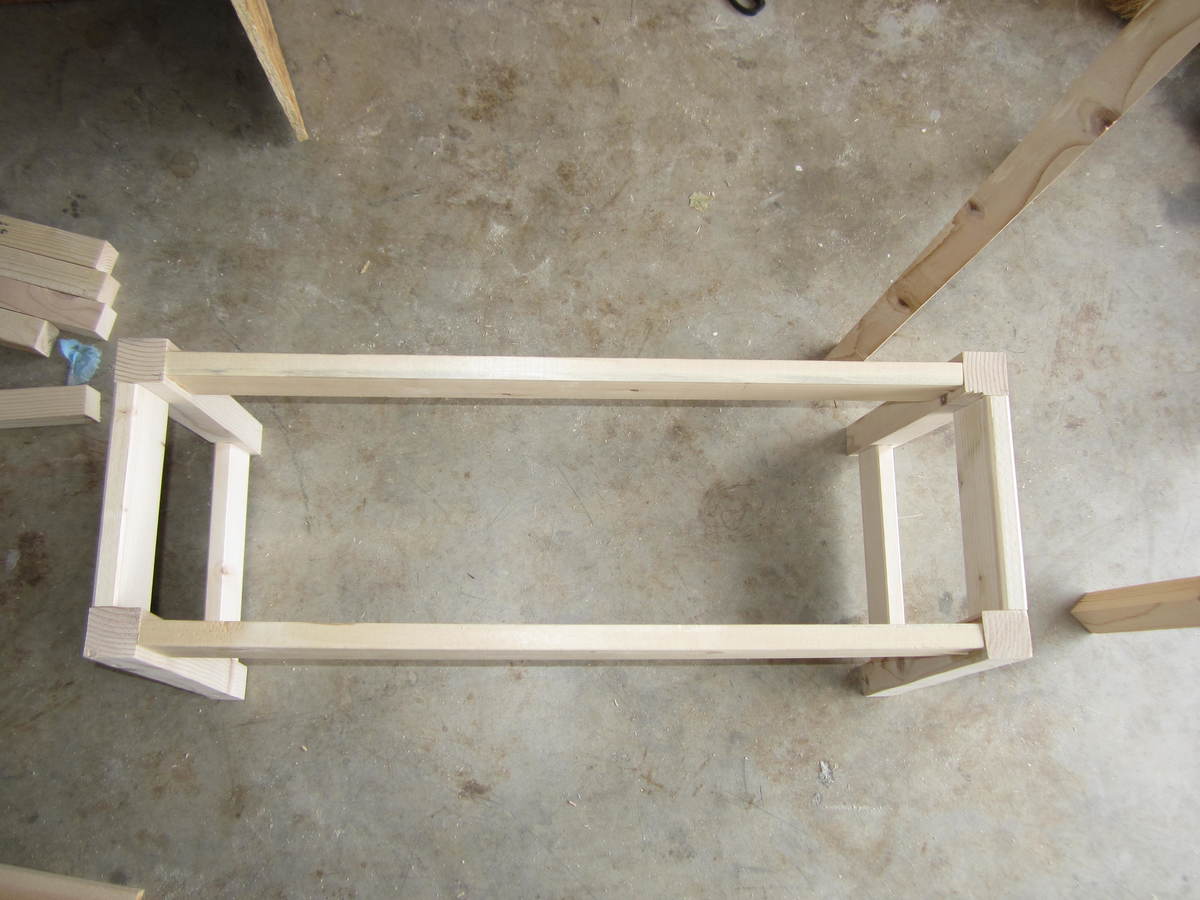
Custom Horse Handle Teeter Totter
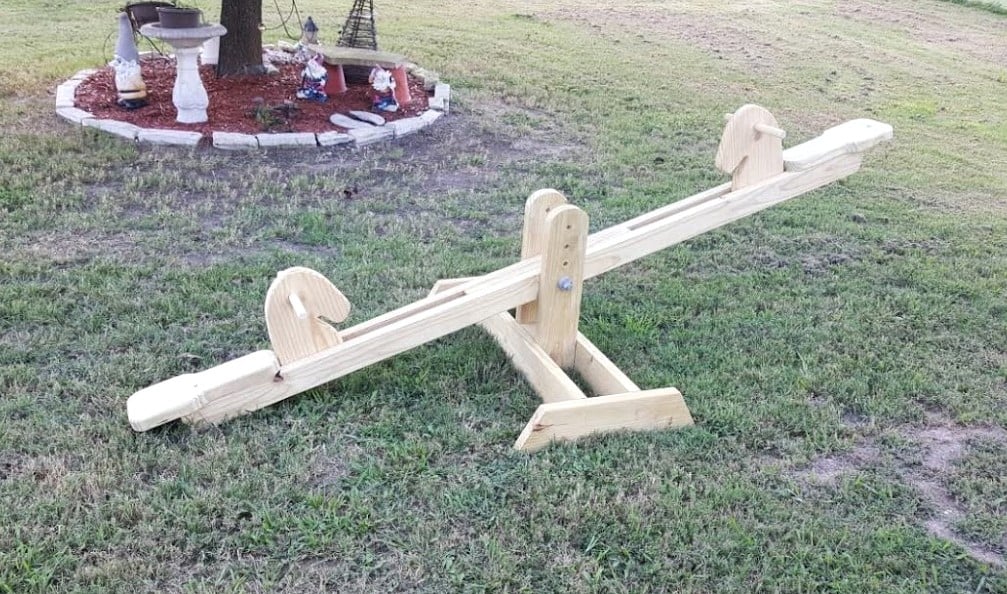
This is the Seesaw I made for our Granddaughters, plans were easy to follow and the girls love it.
sawhorseworkshop
Built from Plan(s)
This is the Seesaw I made for our Granddaughters, plans were easy to follow and the girls love it.
sawhorseworkshop
This was my first big project from Ana's site. I had so much fun building it, I didn't quite get the "X" right, so I left it off. Hope it doesn't hurt the strength. I made it for a friend of mine as a wedding present. I can't wait to give it to her.
My family was so struck by what I was able to accomplish!
Can't wait to make one for my home!
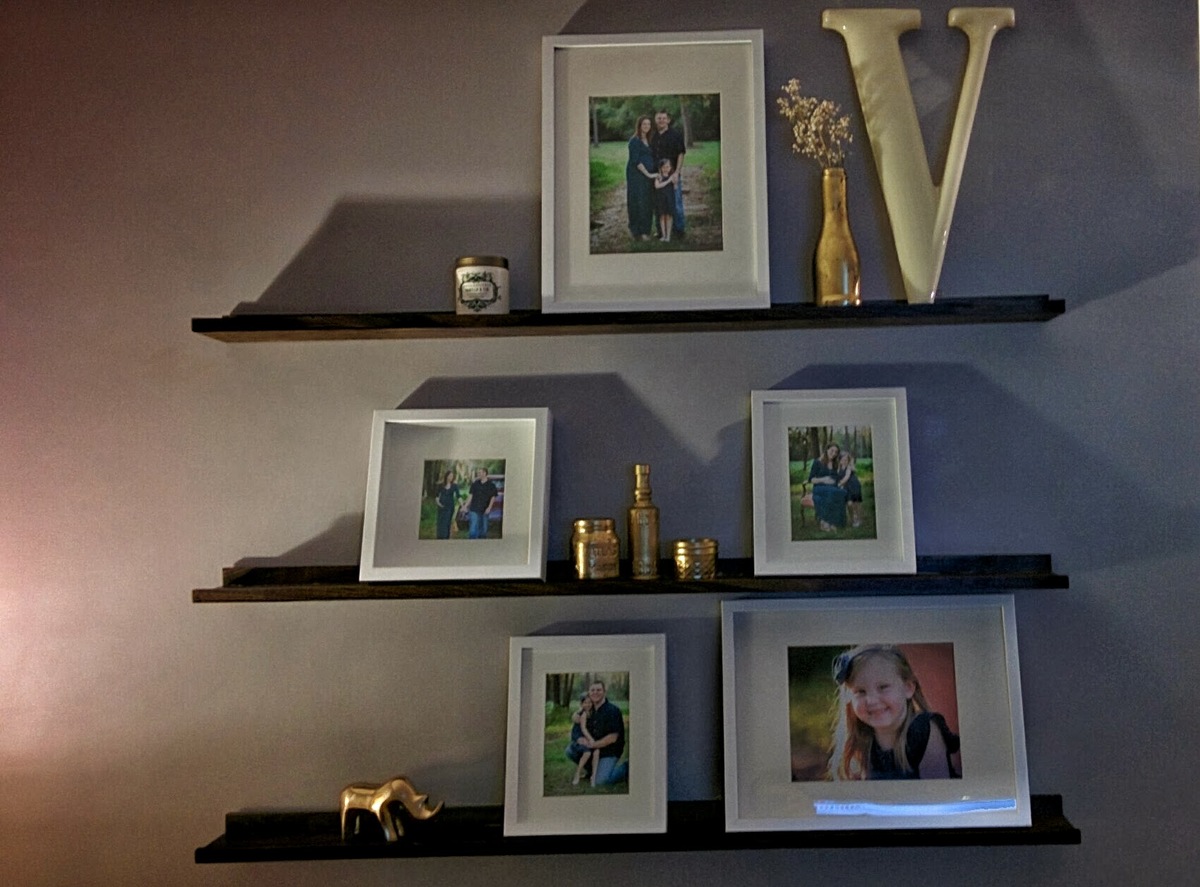
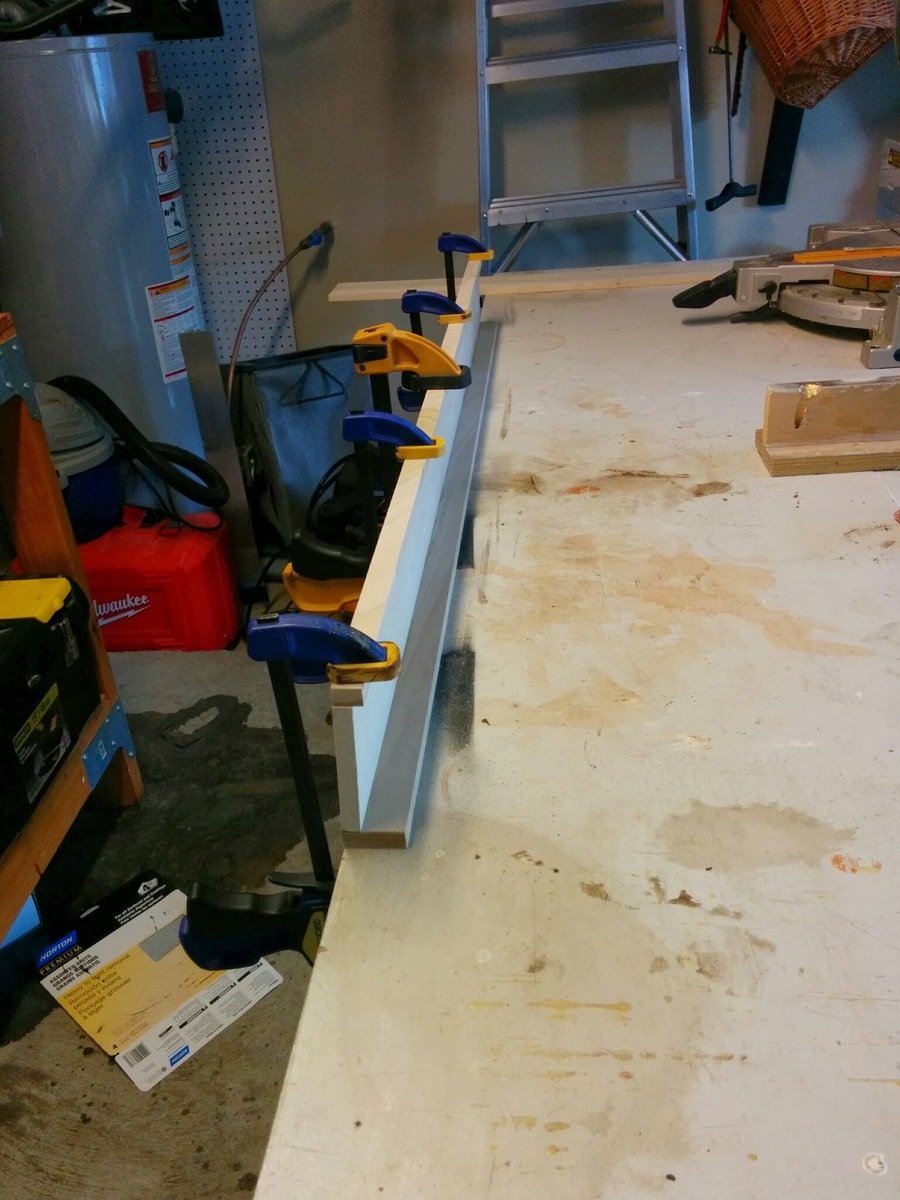
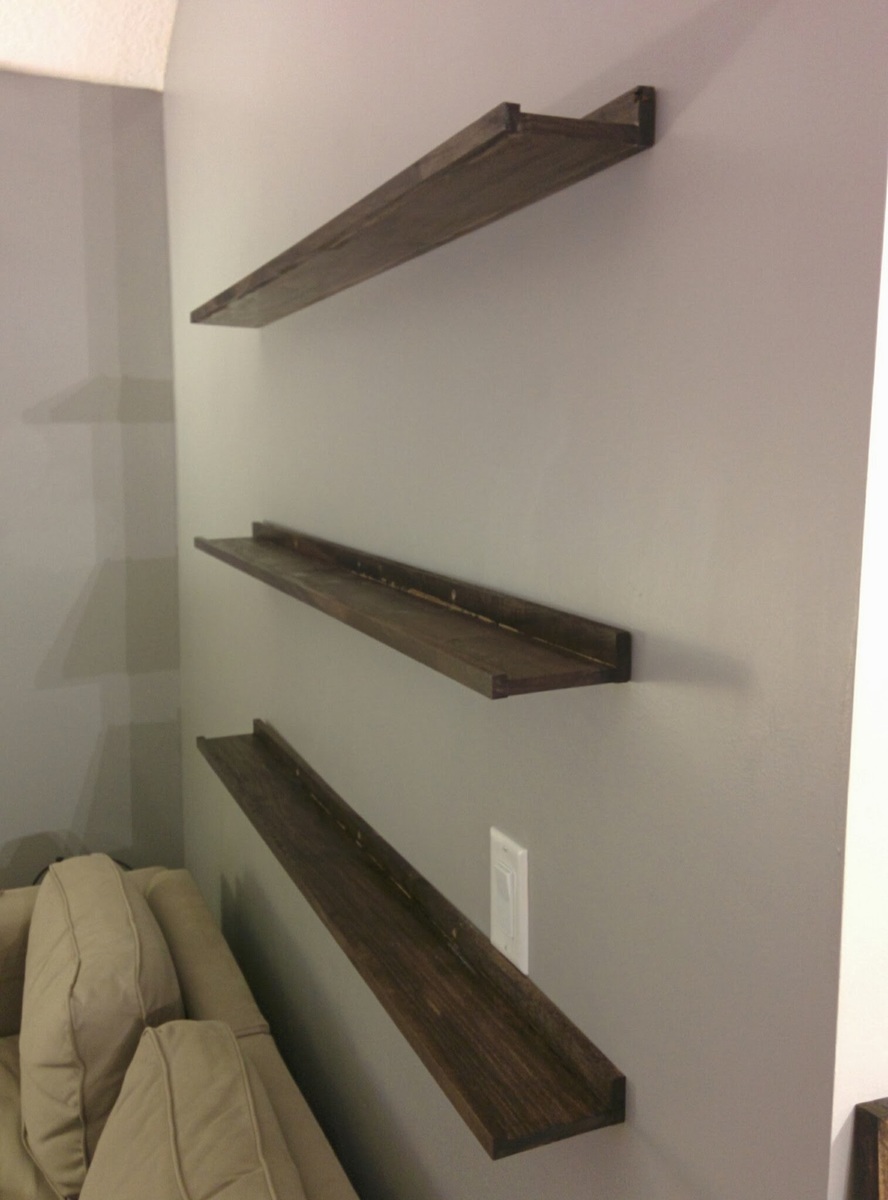
My wife wanted some low profile shelves for pictures on the wall so I decided to throw these together.
I made the "Ten Dollar Ledges" (http://ana-white.com/2010/10/plans/ten-dollar-ledges) from here for our son's room, but my wife did not like how big they were. I decided to make these out of 1/2 inch wood instead of 1 inch.
I bought 1/2" thick common boards. The bottom is a 1/2" x 4" board and the back is a 1/2" x 2" board. The front lip I made by cutting a 2" board in half so I could make 2 lip pieces out of one 1/2" x 2" board. The boards were just clamped and glued together. Use plently of glue and clamp them down on a flat surface. Wait about 30 minutes and then scrape off any dripping wood glue. The trick is to let it dry a little bit so that is scrapes off easily without getting glue all over.
I finished it with Dark Walnut stain and one coat of water based clear coat.
I simply drilled 3 holes in the back and screwed them into wall anchors.

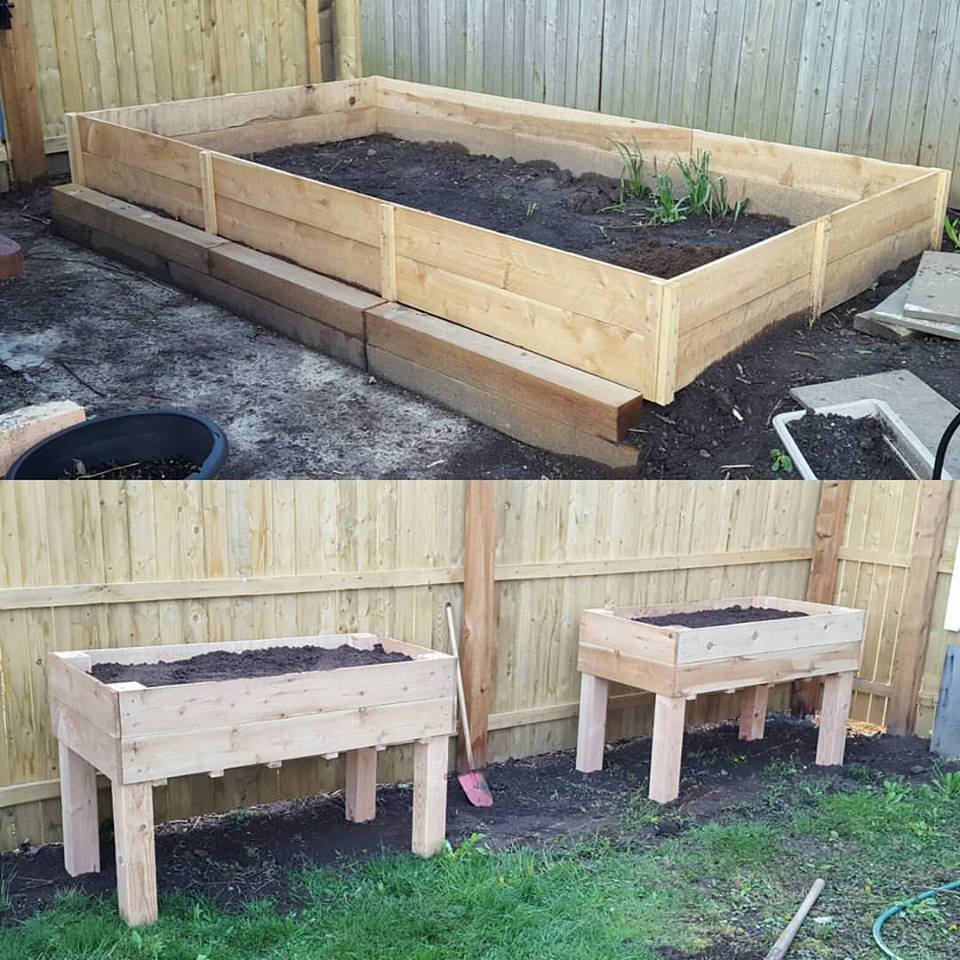
Modified plans to make a full size bed.
Thu, 04/28/2016 - 06:47
Forgot to add that we made the steps into toy boxes to make the most of the space.

Easy weekend project for chairs that I hope will last a decade. I used Painters Touch Gloss Navy Blue paint and primer. I put alot of paint to help withstand the Arizona summer sun. One change I made to the plans were as follows:
When I attached the back support, I initially used one screw on each side so that the support could swivel. This way, I could swivel the support to be flush with the back of the chair.
Going to try the outdoor loveseat next.
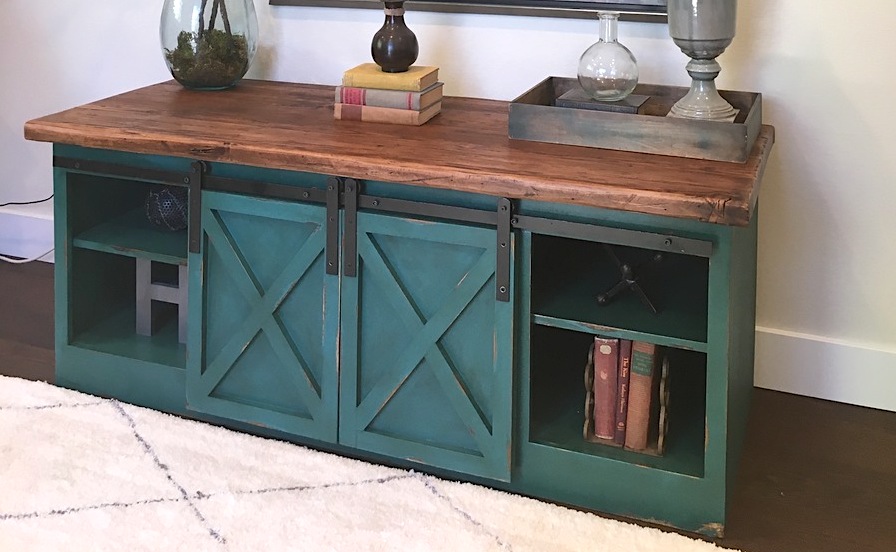
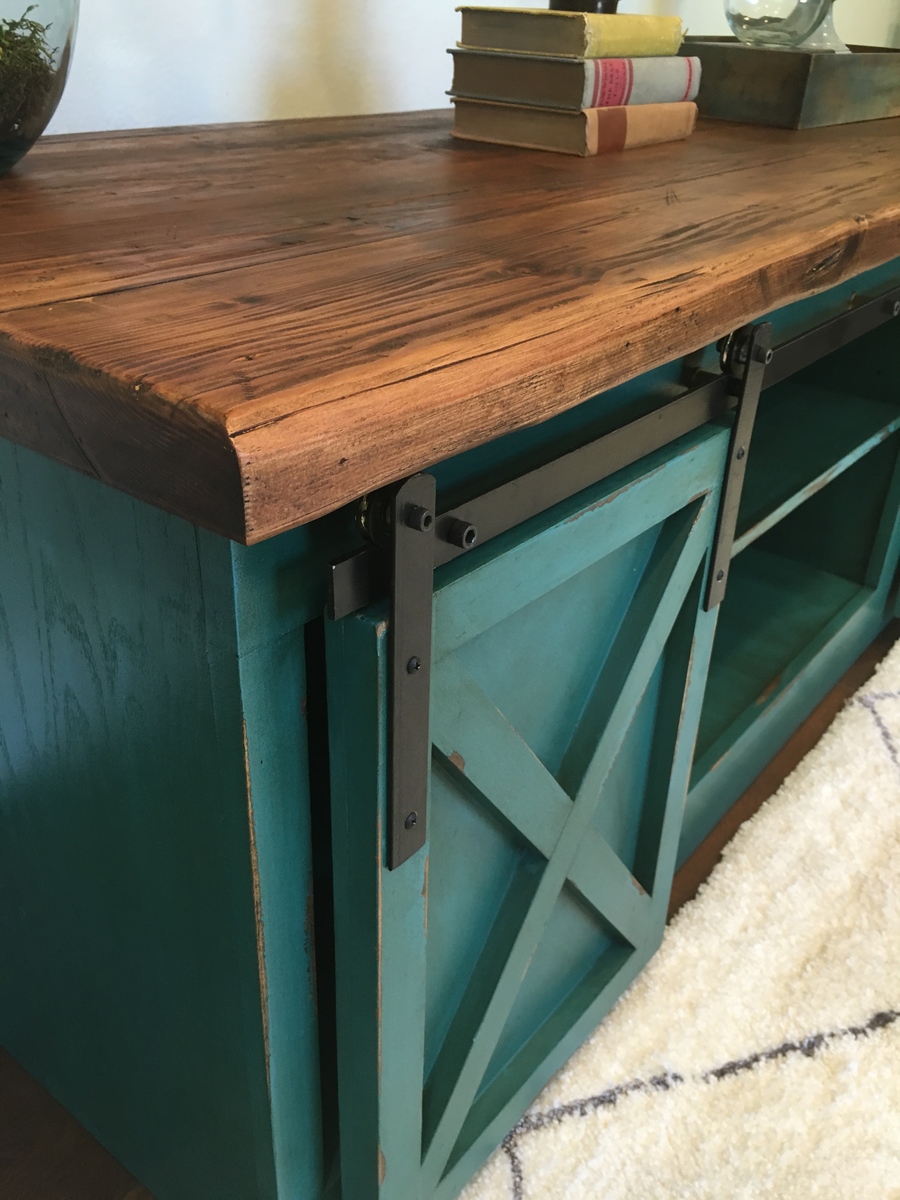
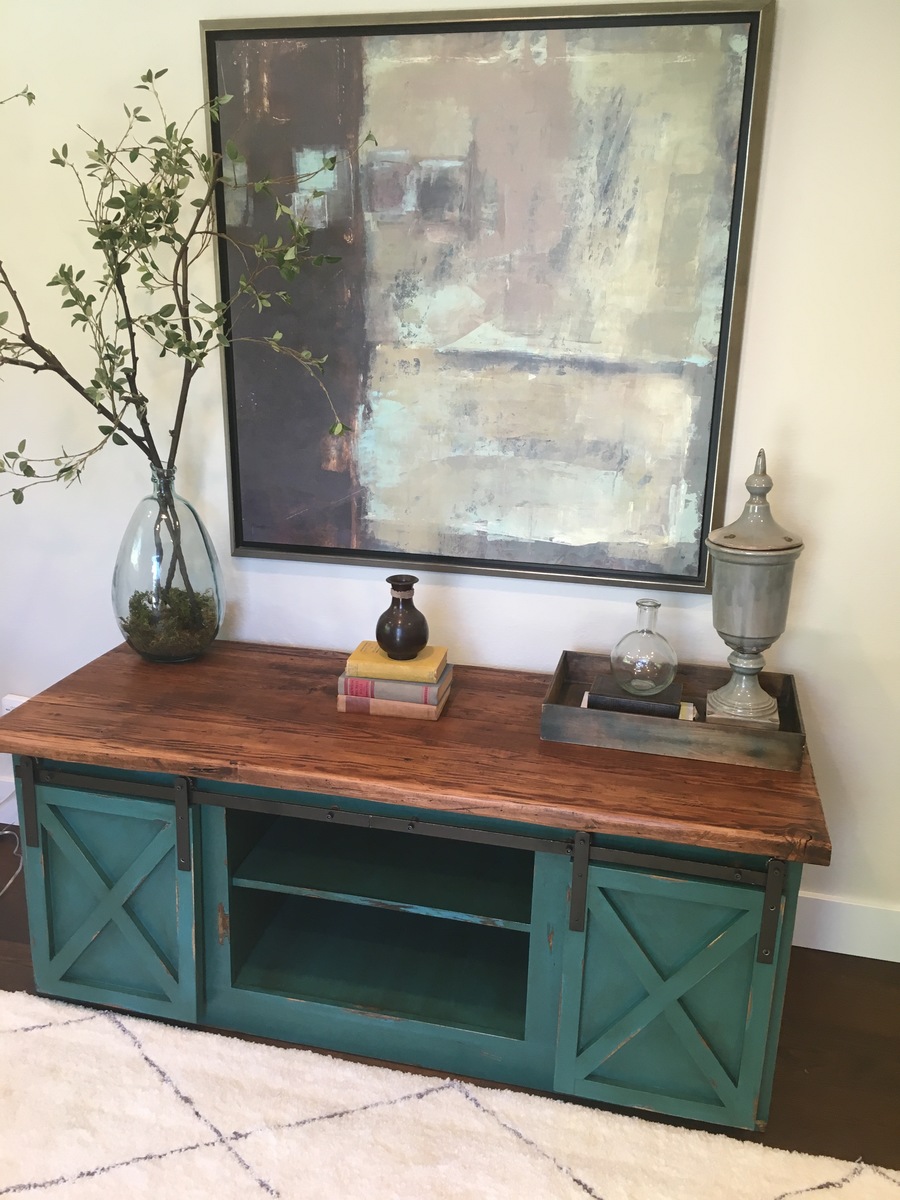
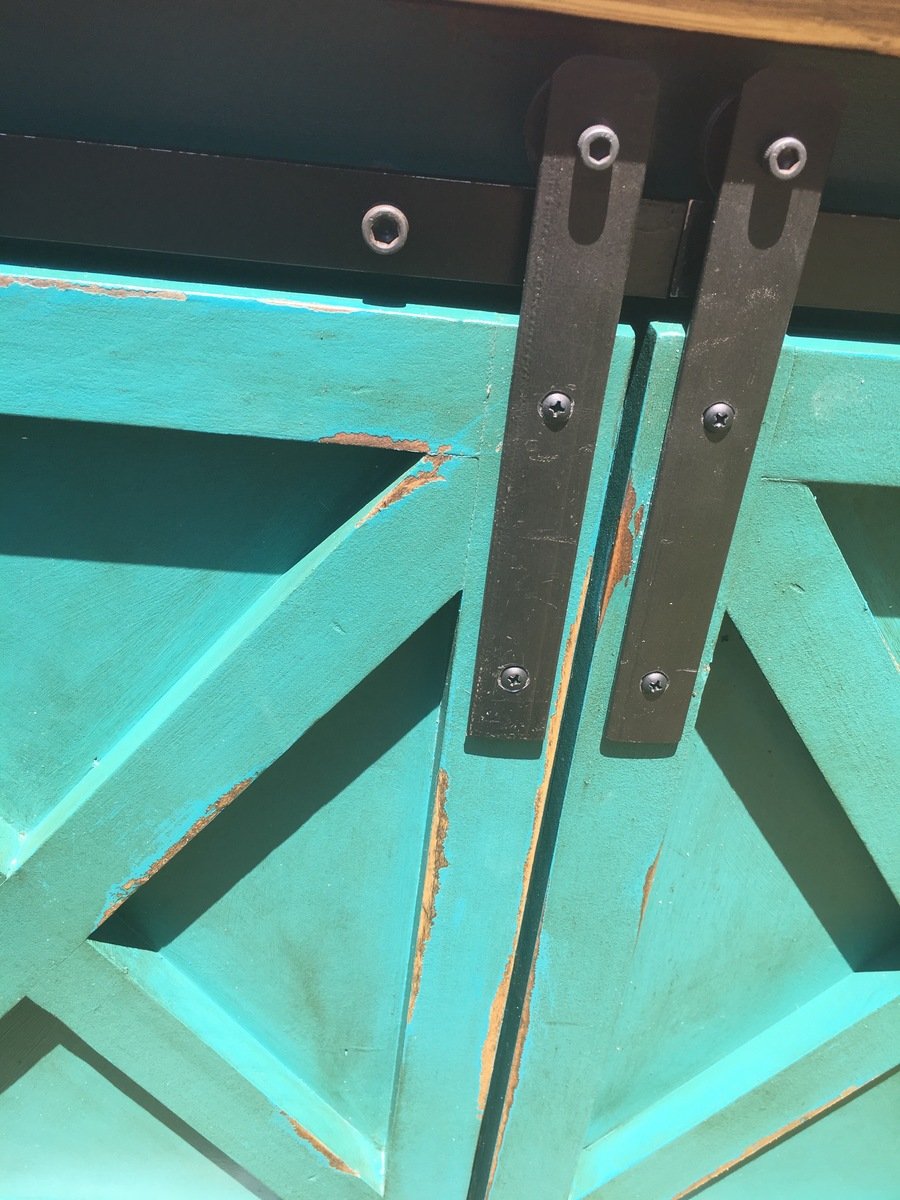
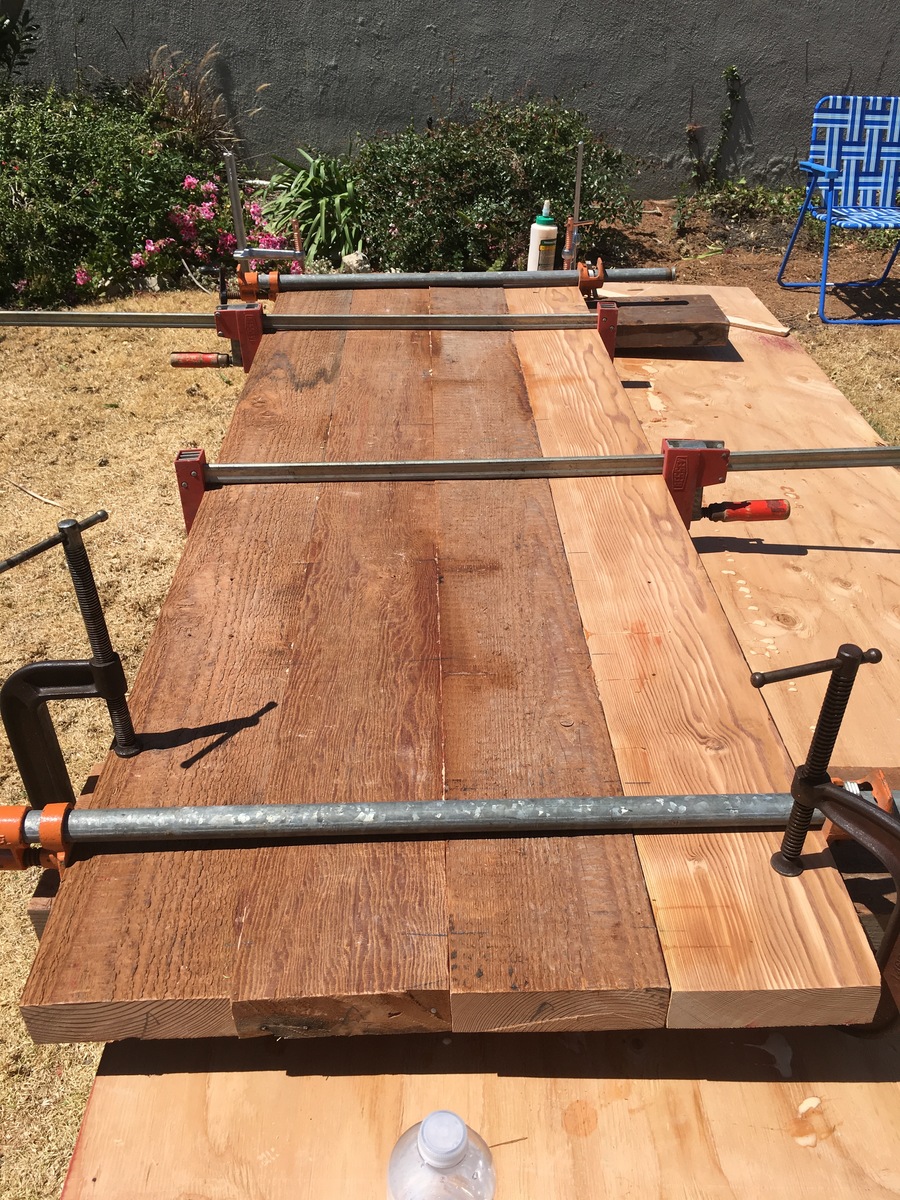
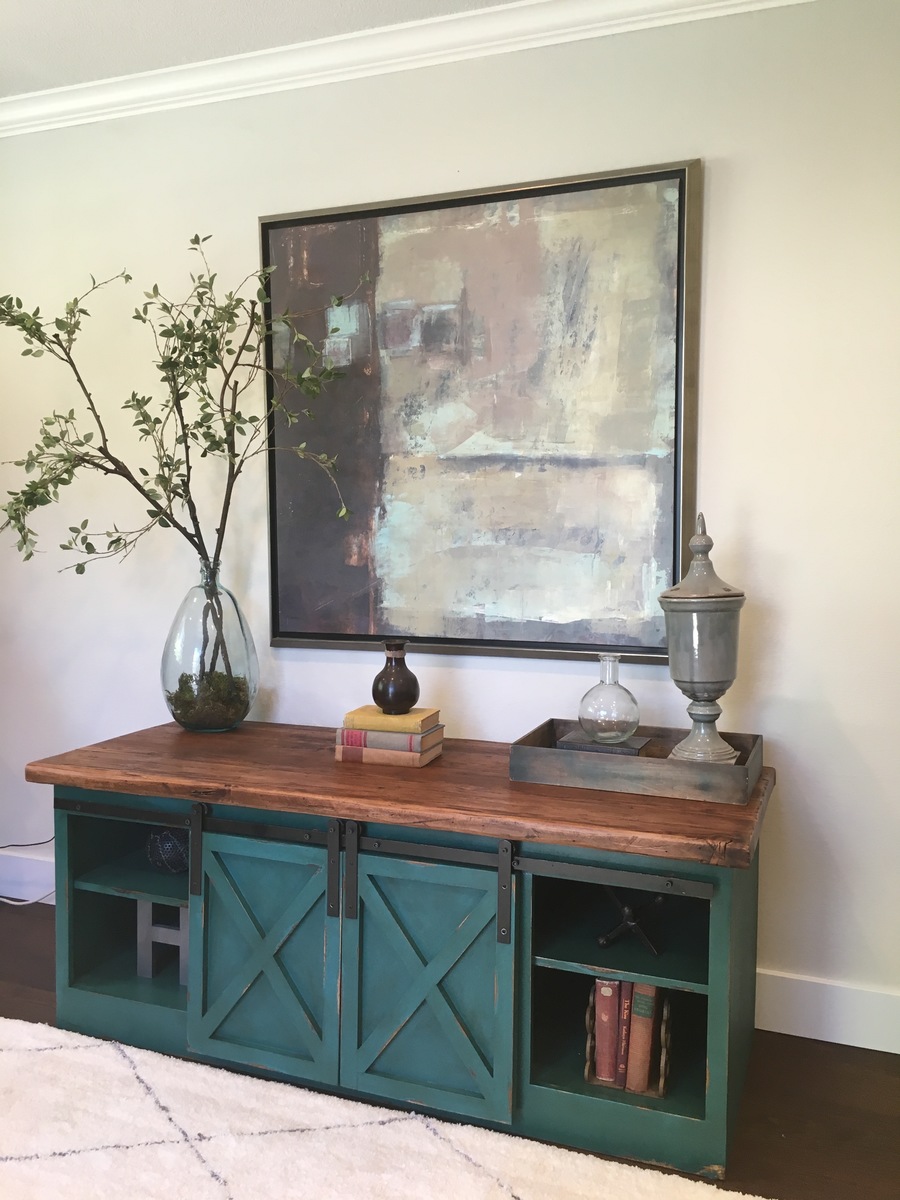
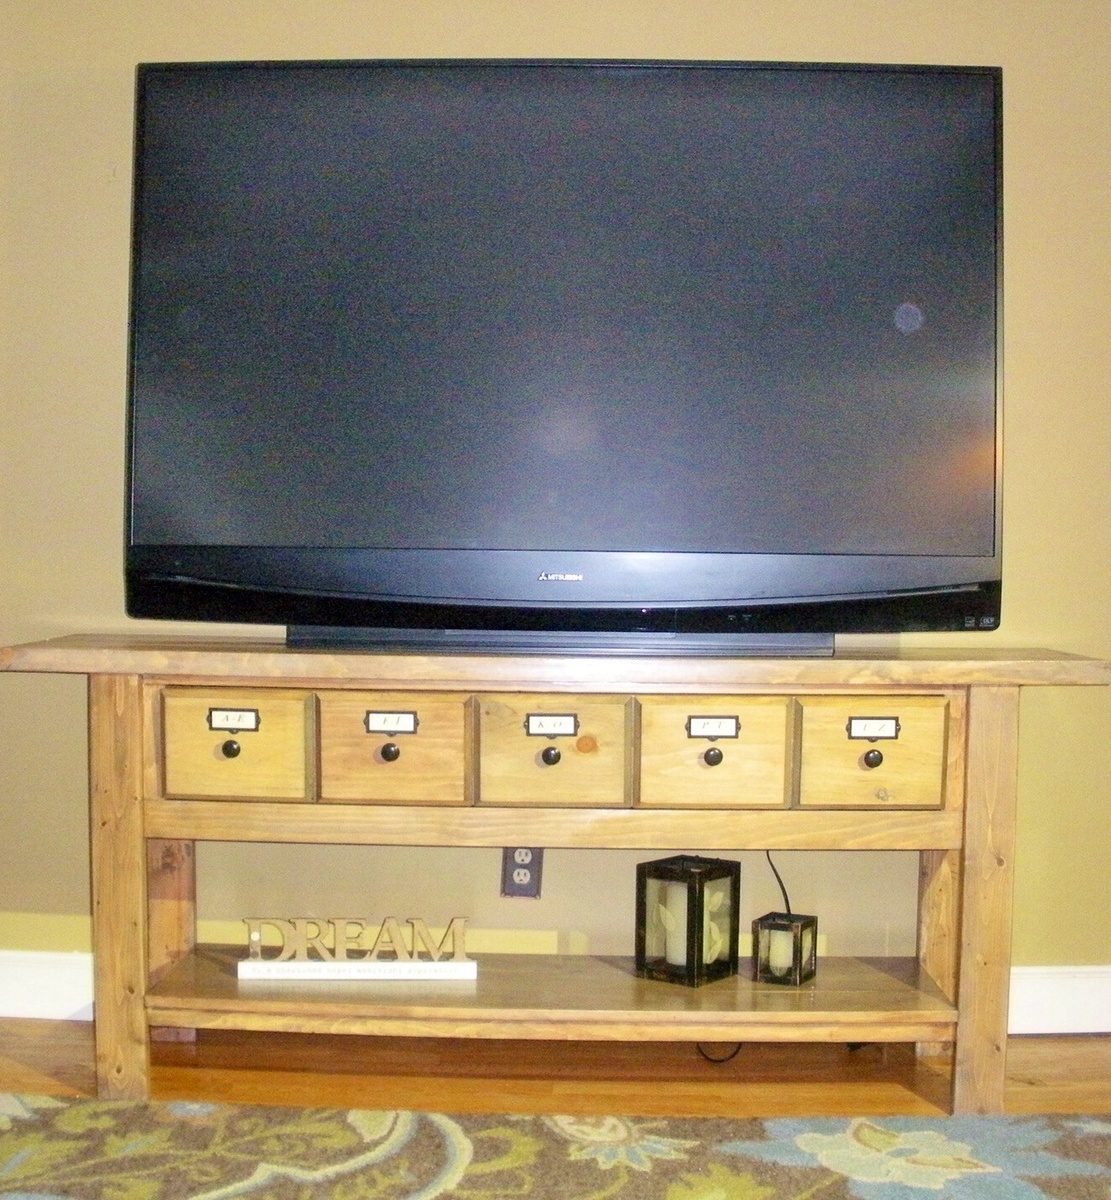
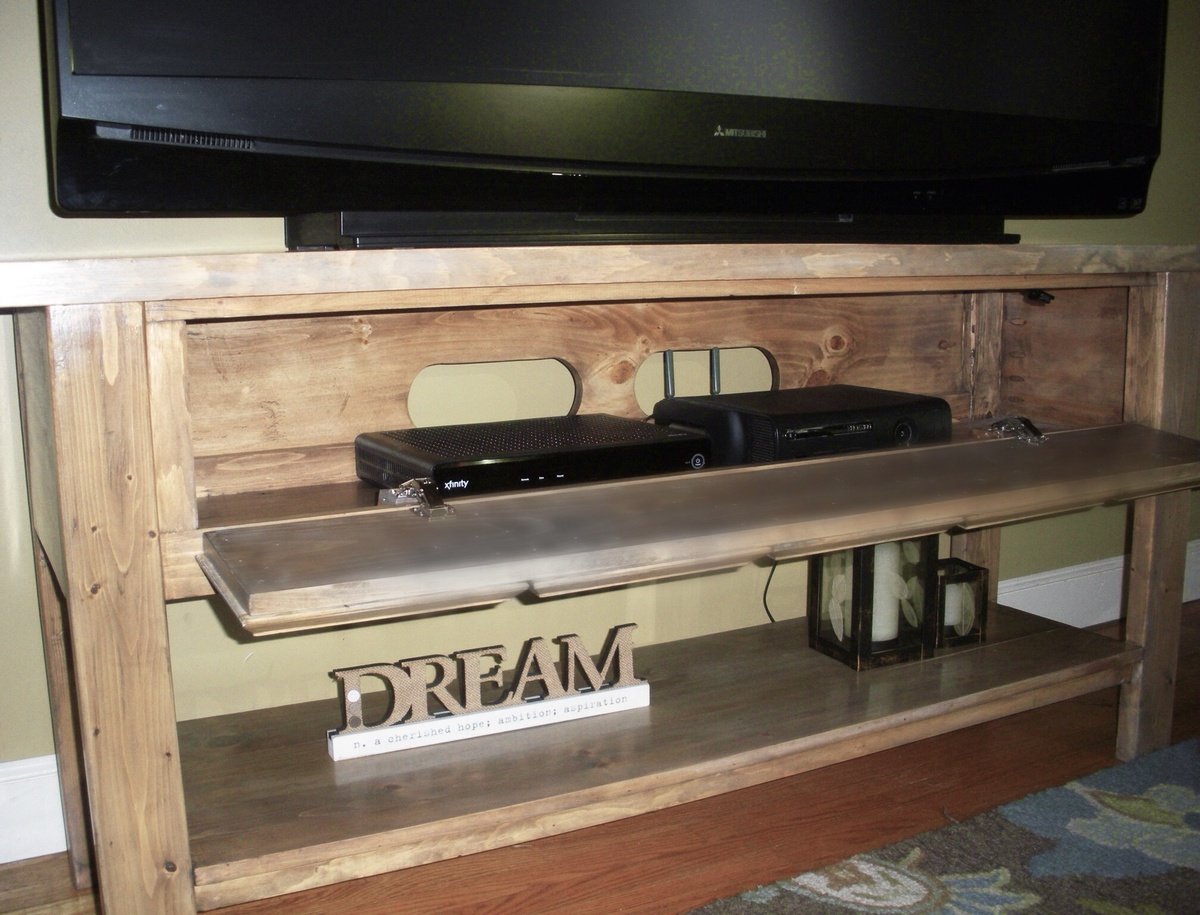
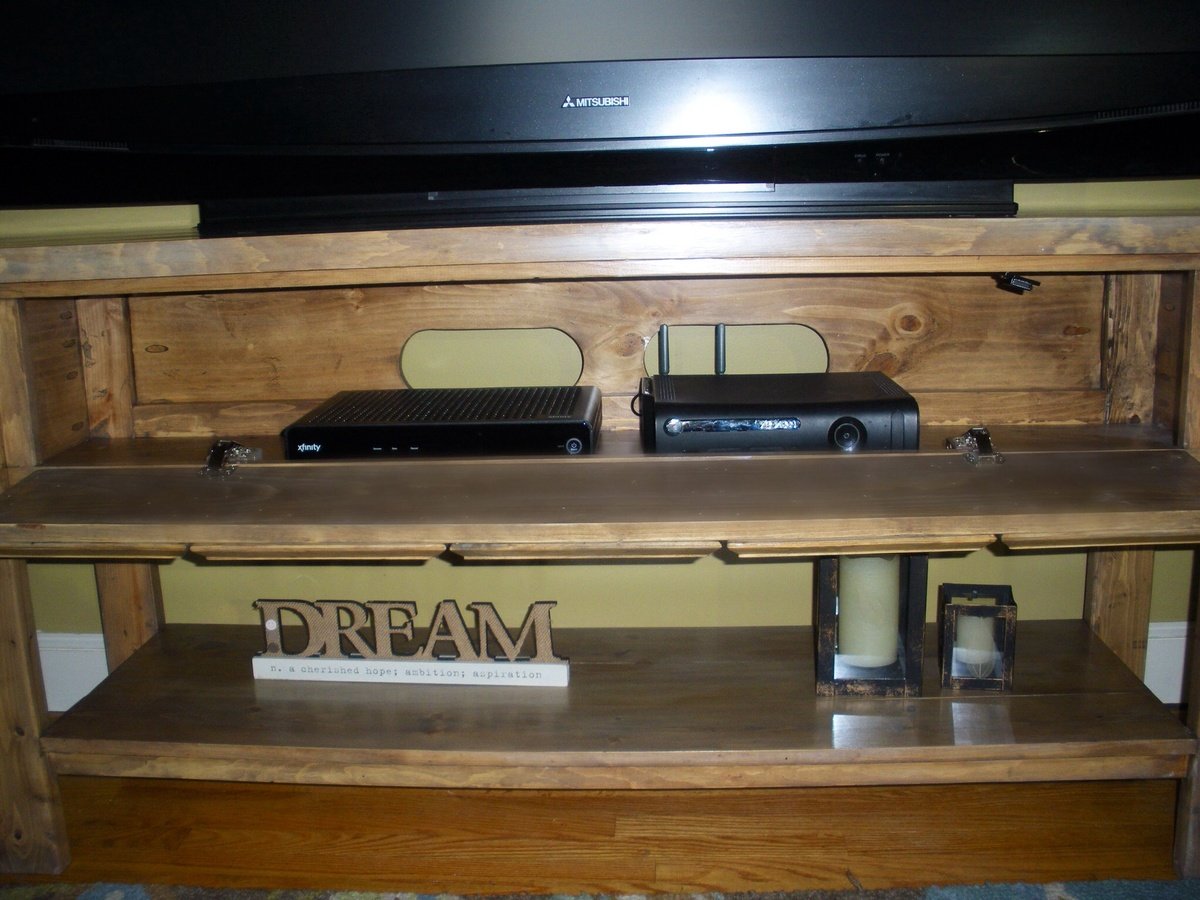
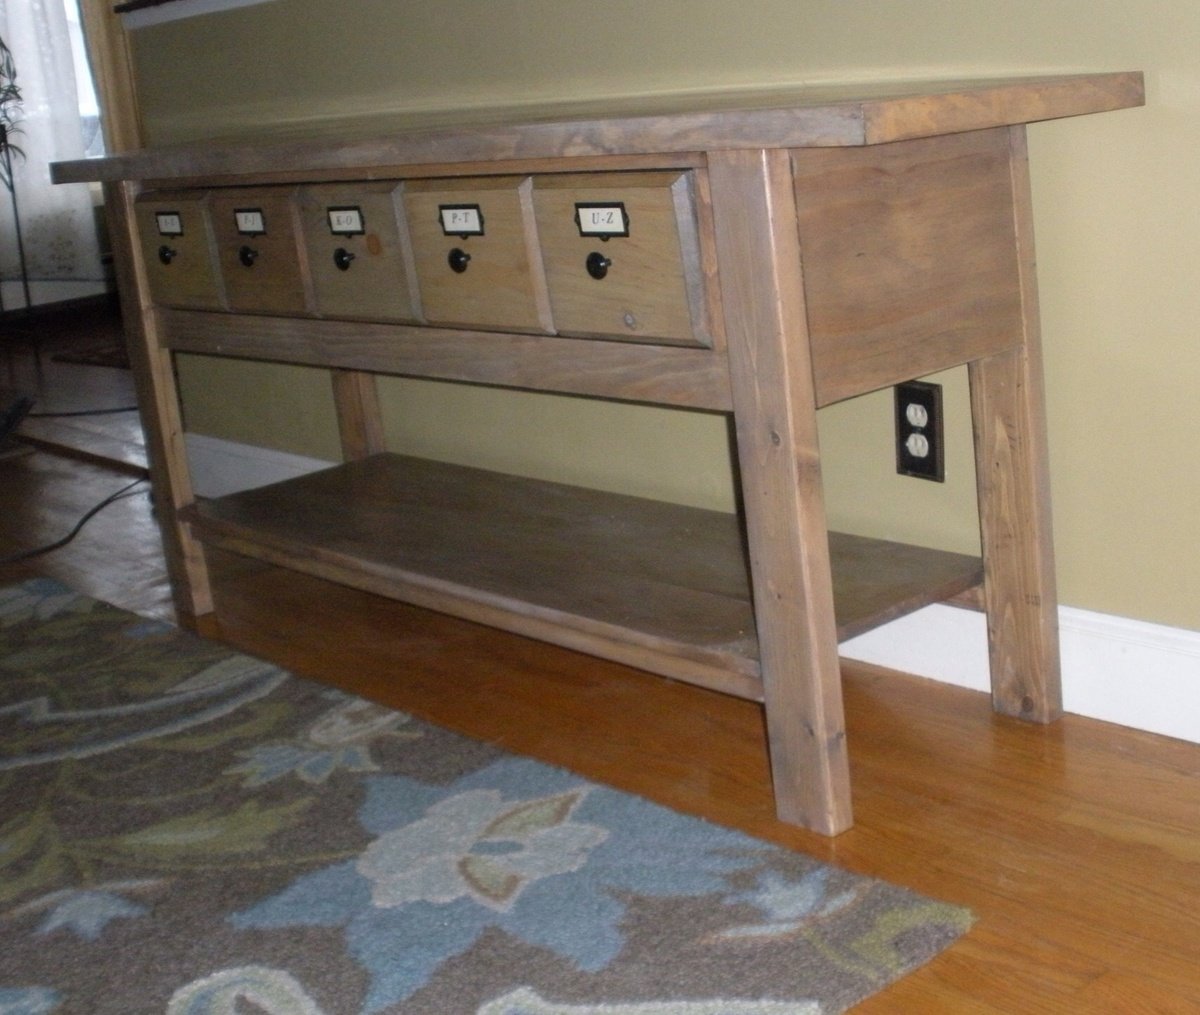
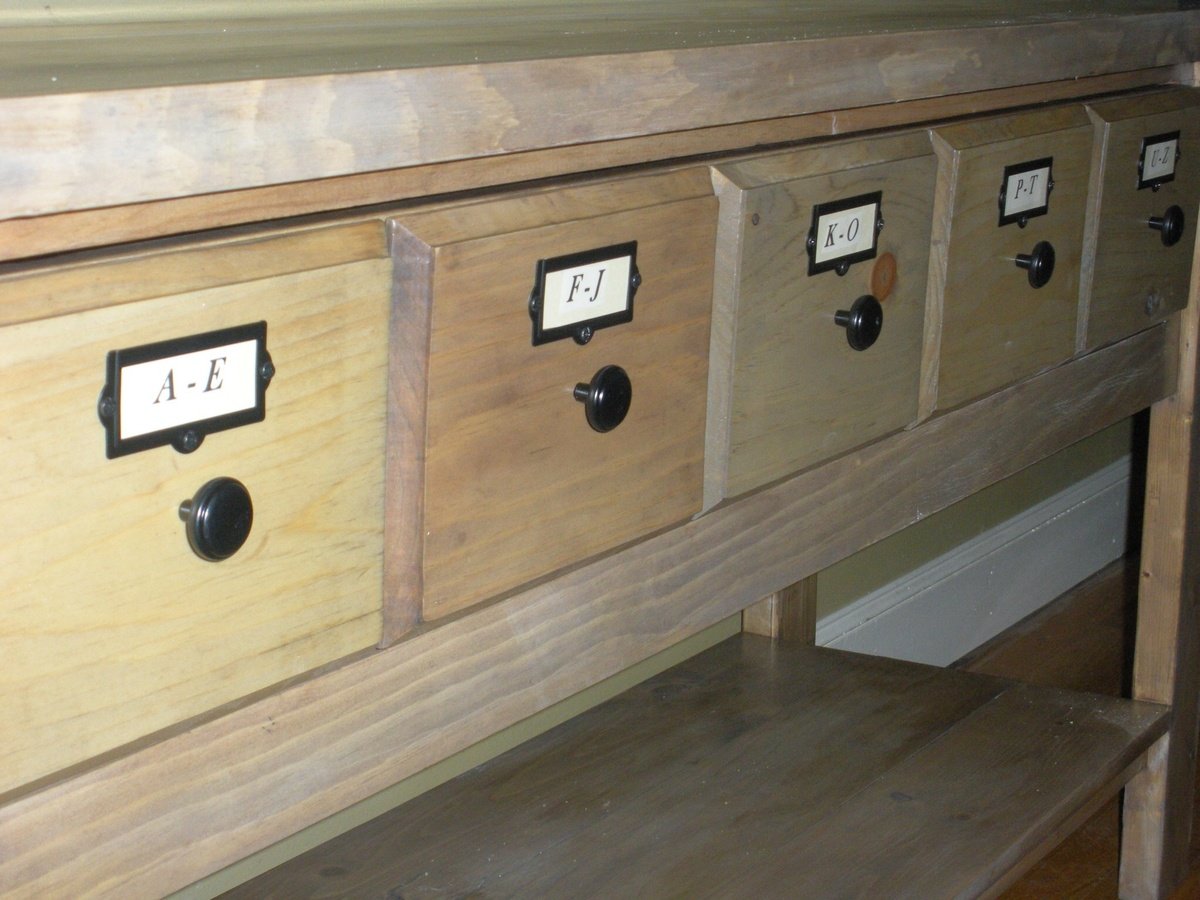
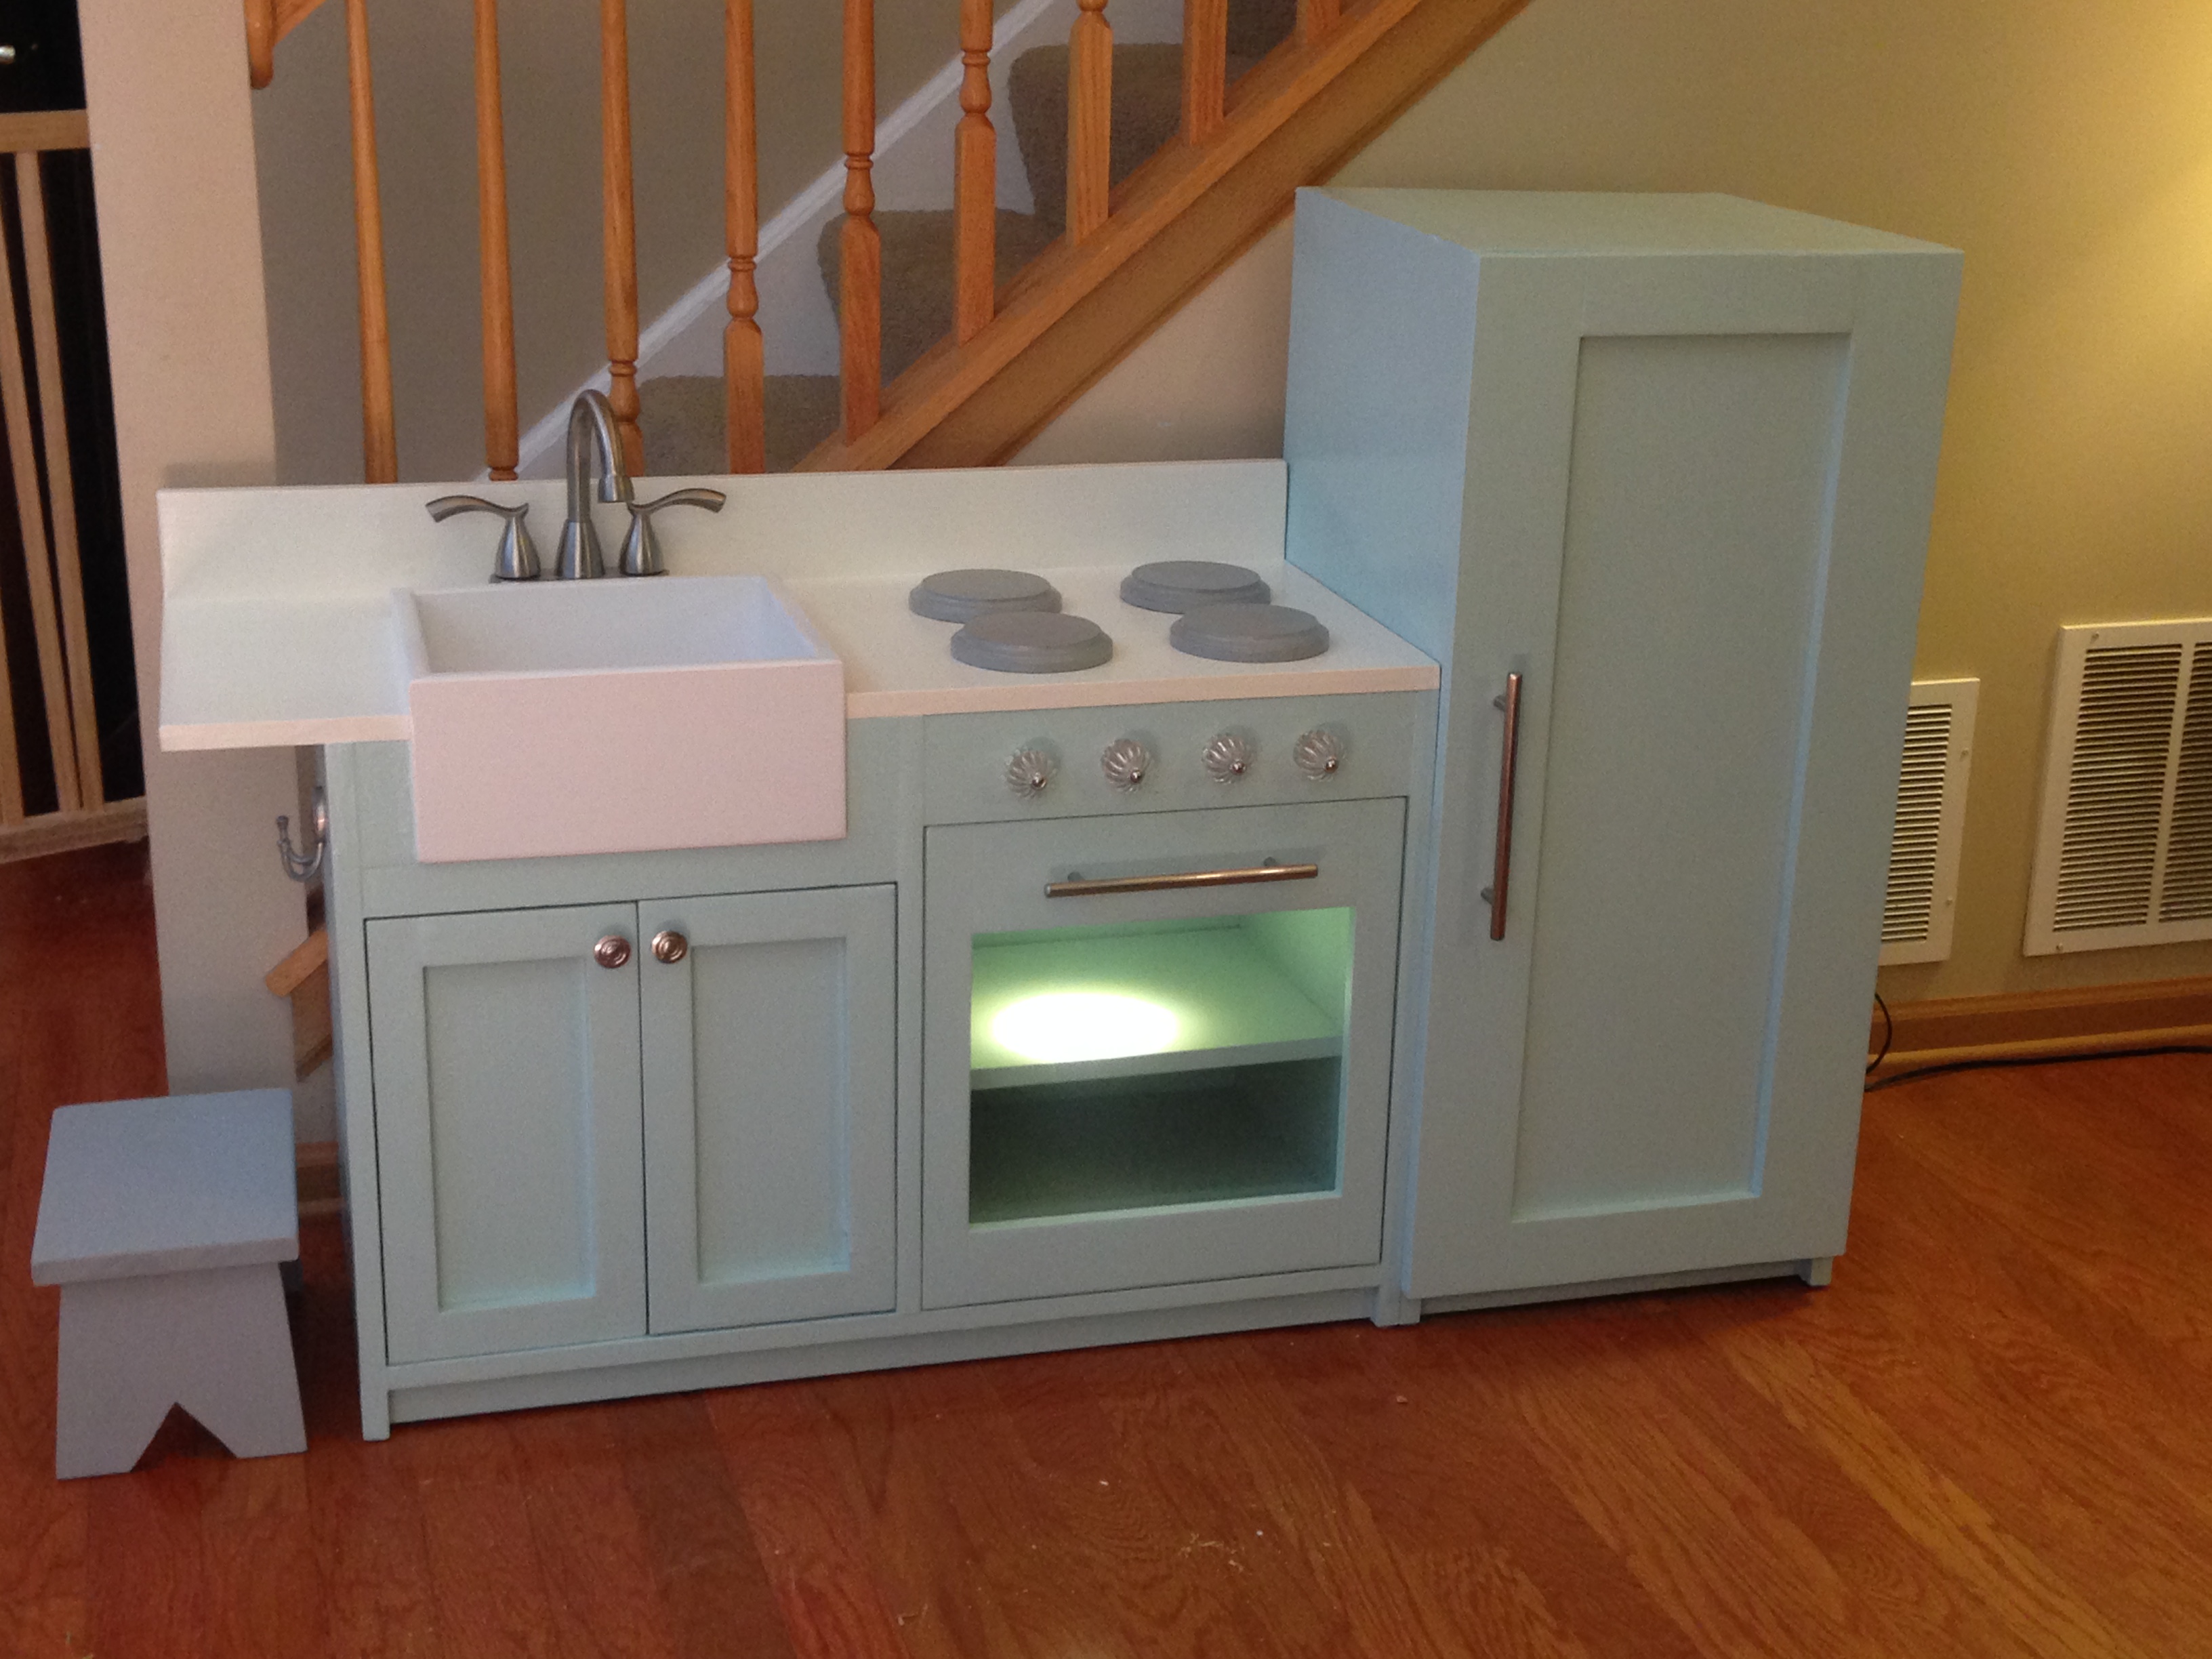
Distressed Sliding Door Console.
I absolutely enjoyed making this console. It's different and a conversation starter in our home. After figuring out how to make the hardware (pulling my hair out for a moment), I was off and running. I wanted to make my piece look old with character and charm. I searched for reclaimed wood and finally found thick pieces of wood that were perfect for my top. After sanding for hours (literally hours!!), it was smooth and ready for a stain. I distressed the cabinet base after applying a teal paint.
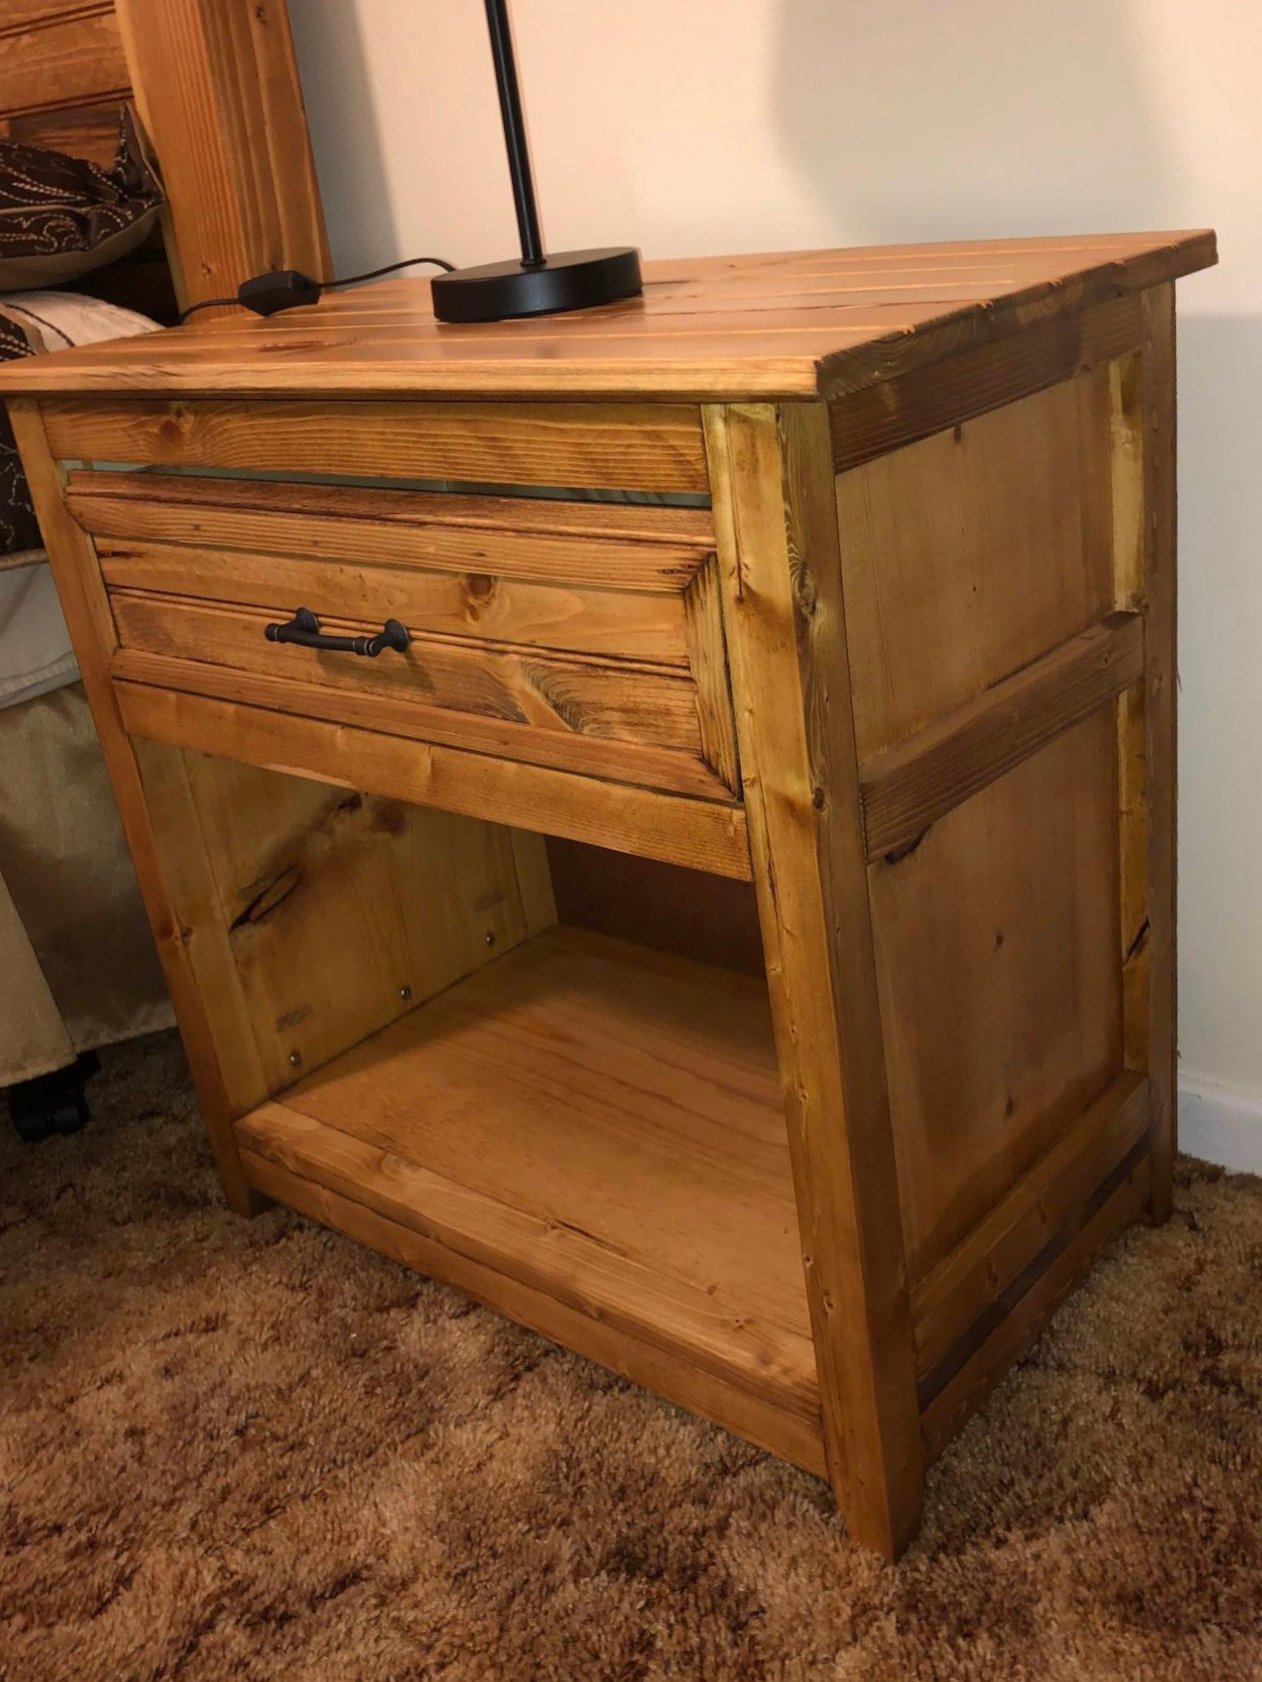
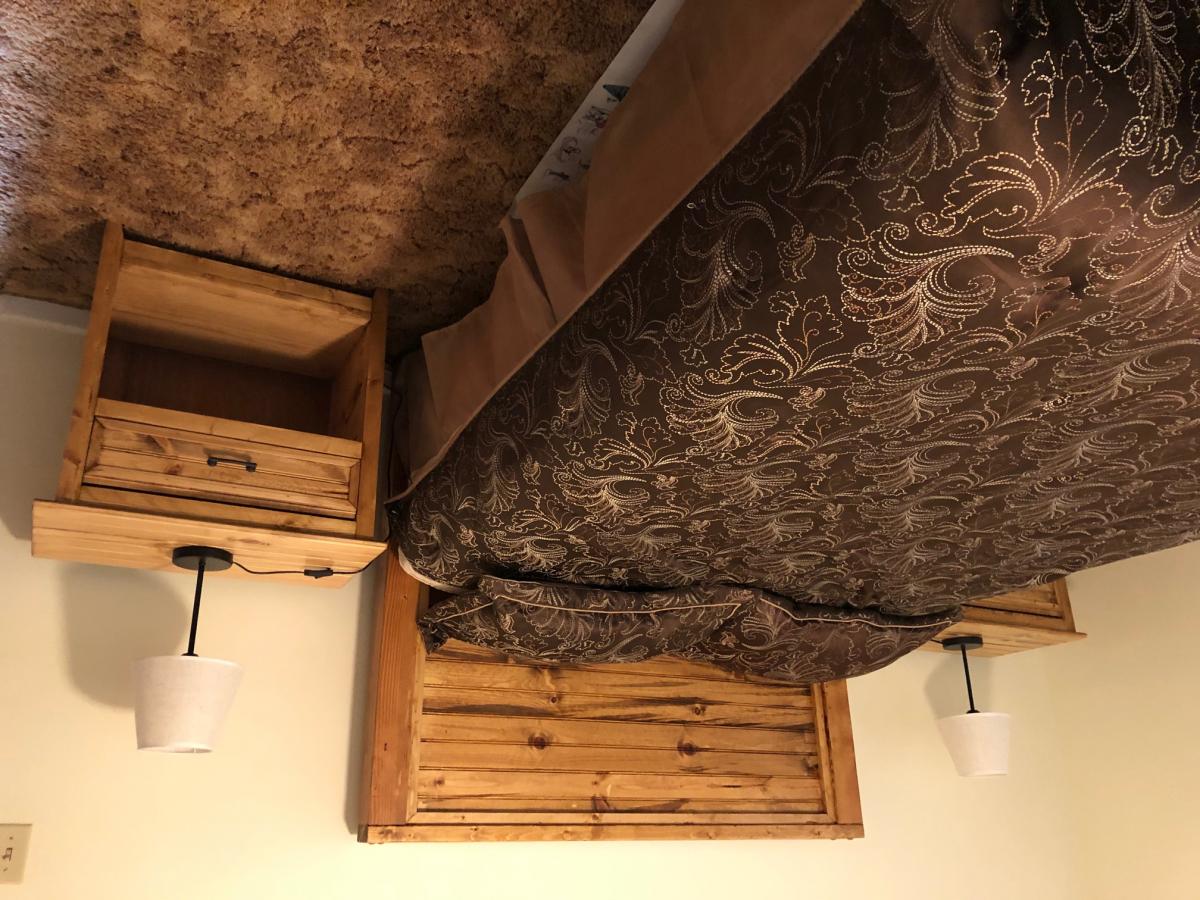
I built a pair of these nightstands to go with the Farmhouse Headboard that I made from plans elsewhere on this site.
I used tongue and groove bead board for the tops and drawer fronts.
Decent 2 x 2's are hard to find so I ripped down 2 x 4's for the legs on my table saw.
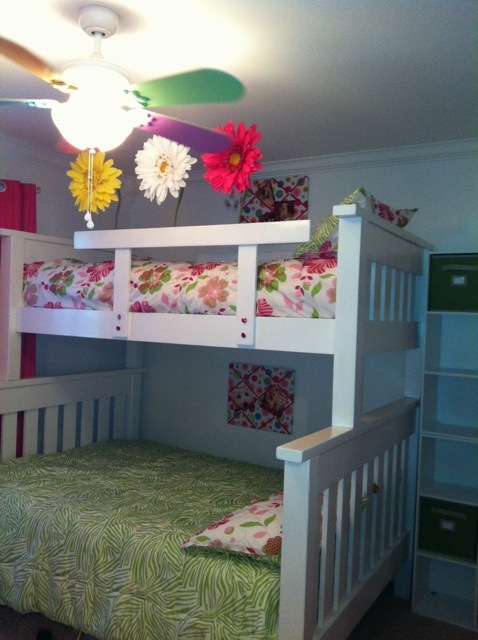
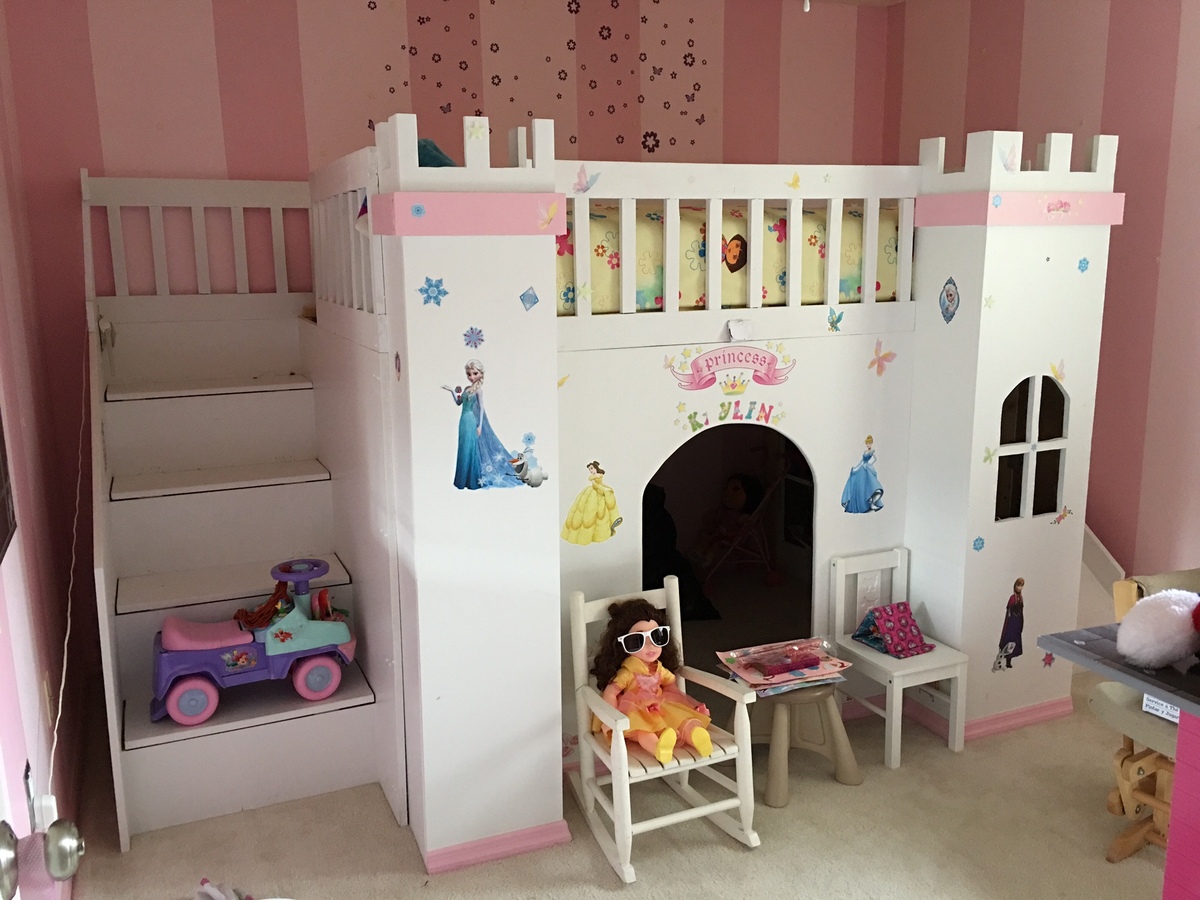
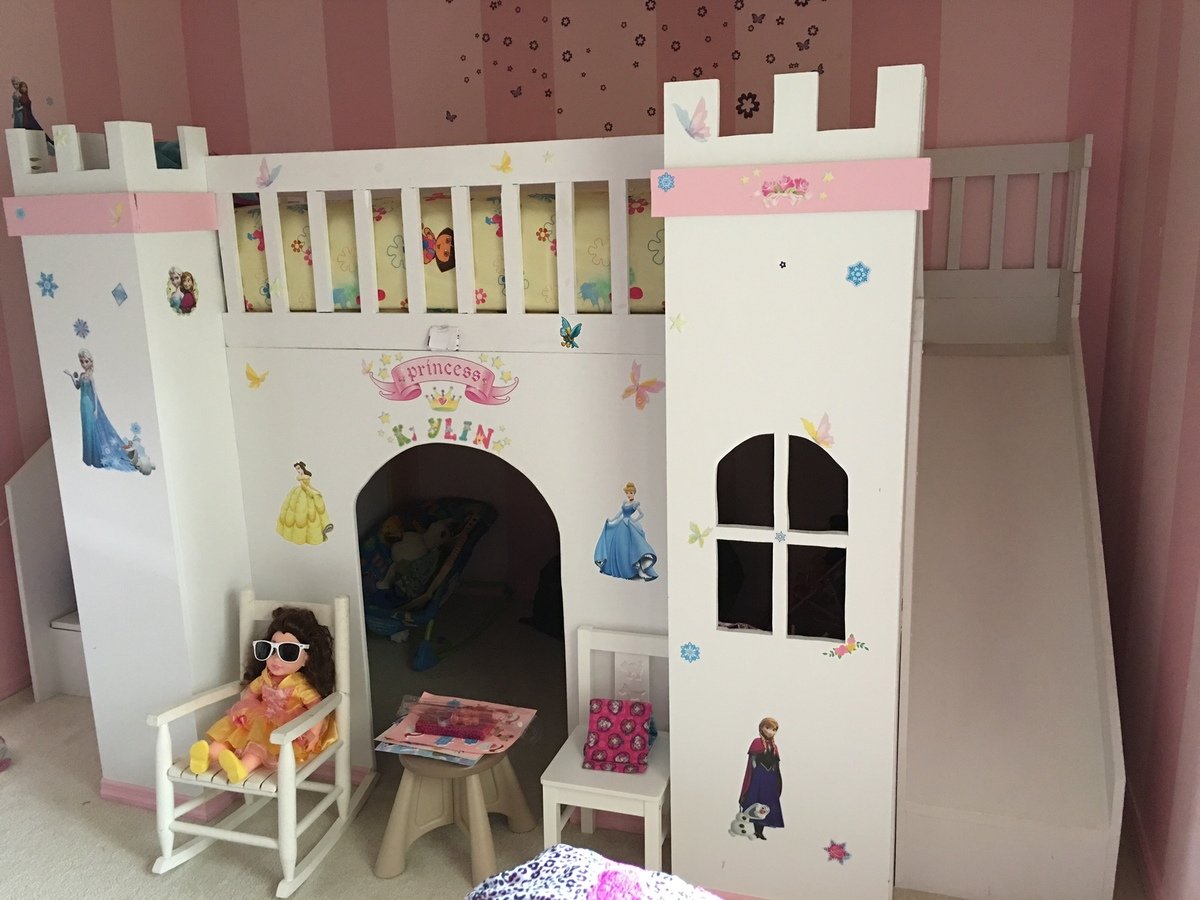
This is a Twin over Full Simple Bunk Bed for my girls who share a room. The bottom bunk leaves plenty of room for even adults to sit down without hitting their heads. We mounted Large decorative flowers on the railing to match the room just in case my daughter woke up in the middle of the night and decided to look over the edge. We were nervous she'd hit the ceiling fan and it's too hot in South Texas not to have ceiling fans. The flowers work perfectly in that area and she loves it. We pretty much followed the plans found here: http://ana-white.com/2011/01/plans/twin-over-full-simple-bunk-bed-plans. We have not added a ladder yet, but are thinking about it. On a side note, the girls like to mount blankets and cover the bottom bunk to create their "own" personal space/fort and it's pretty cool. Special note: Untreated wood for this project was hard to find. Only one of the local home improvement stores had it and it wasn't from a large chain.
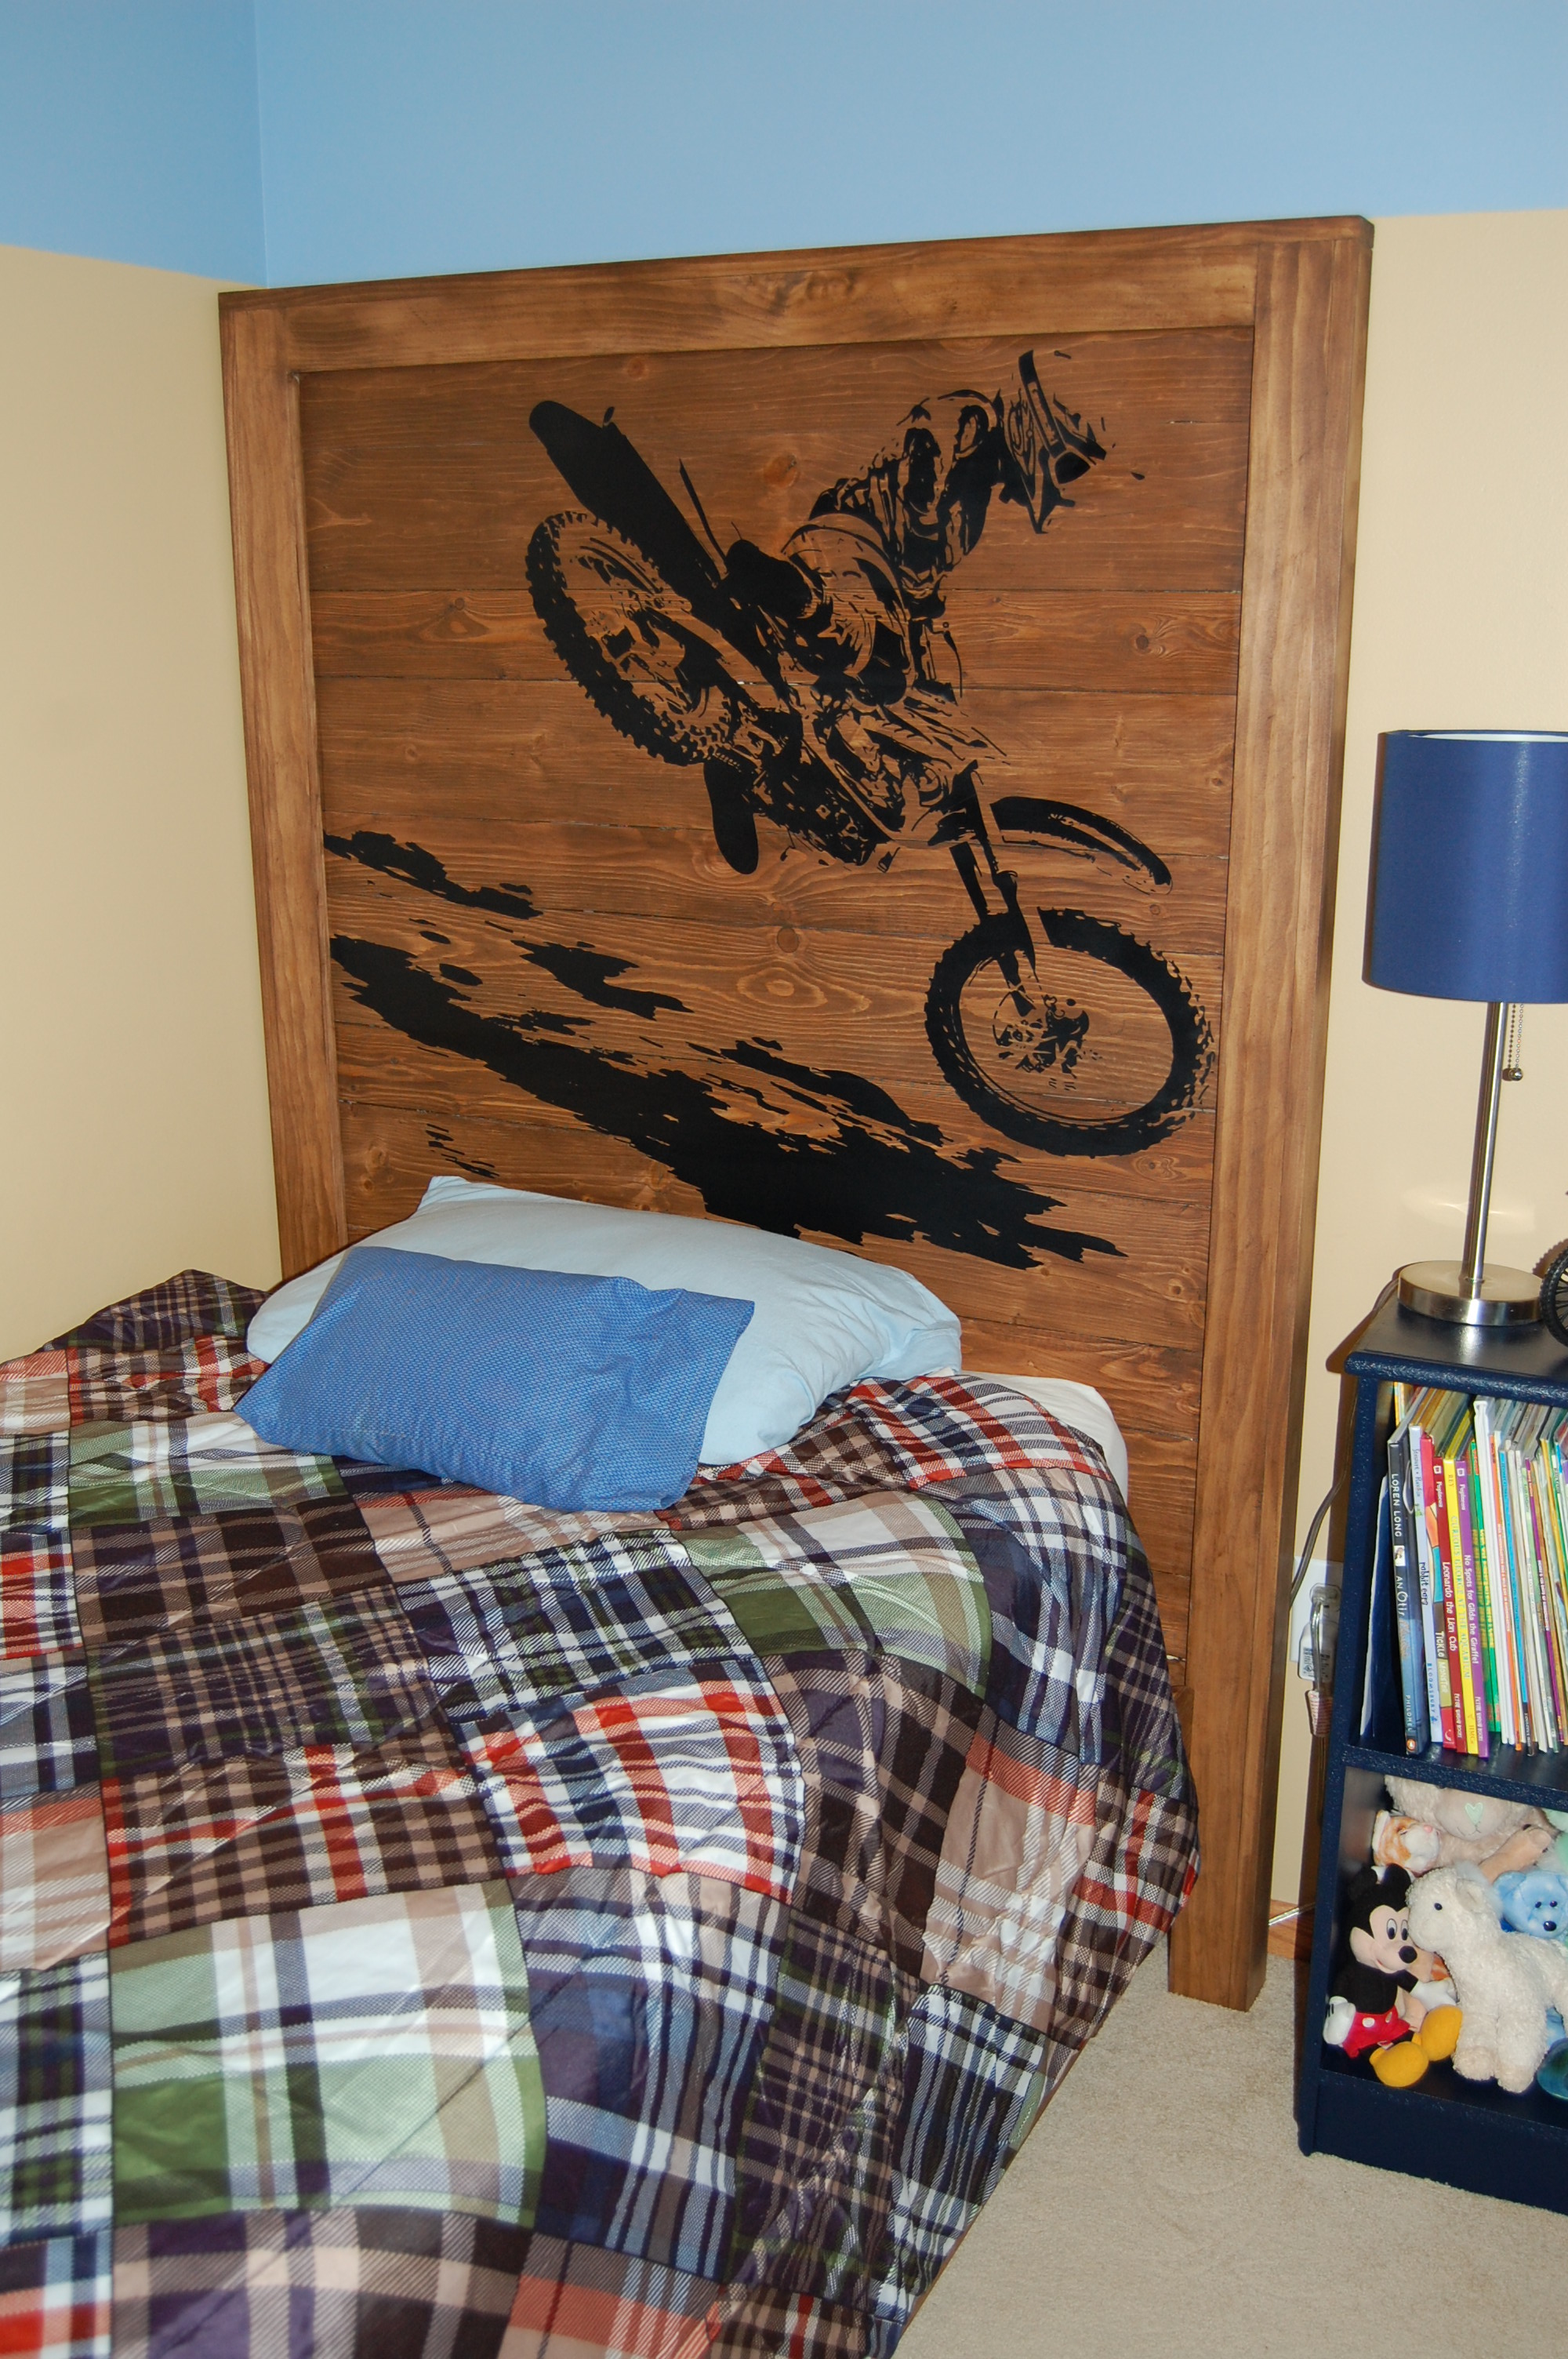
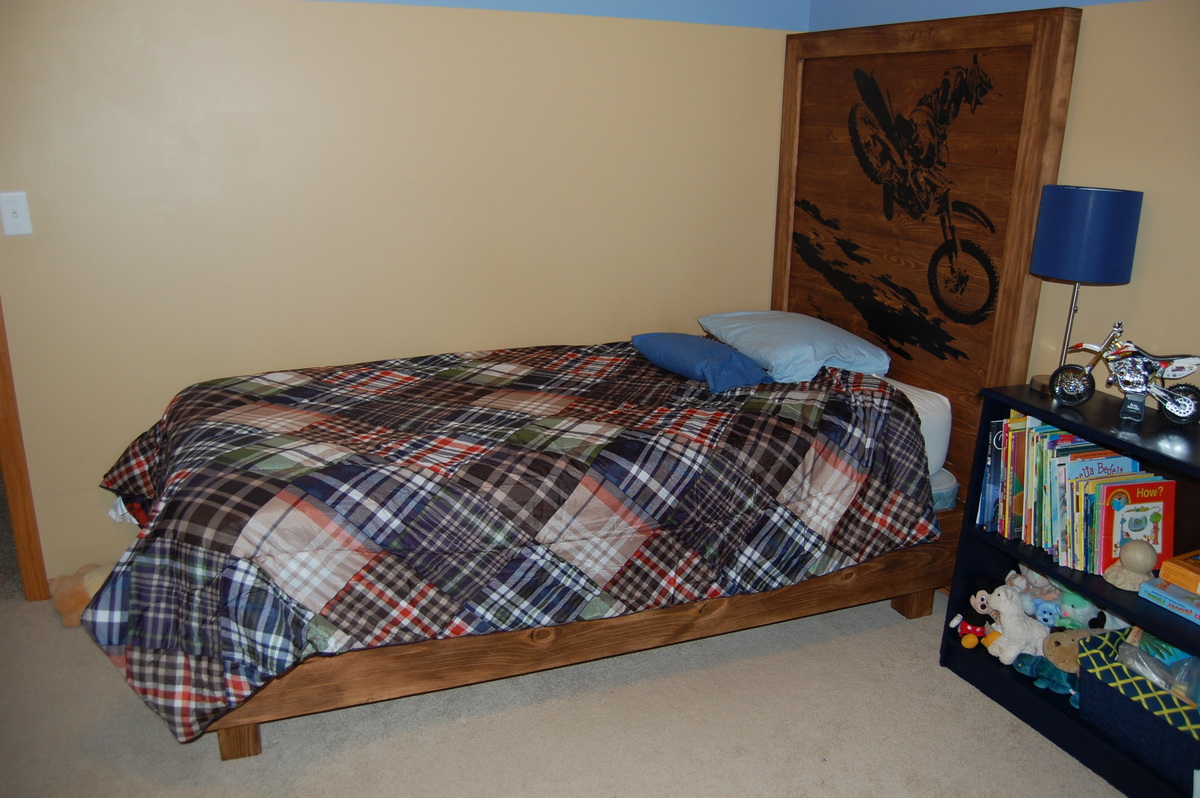
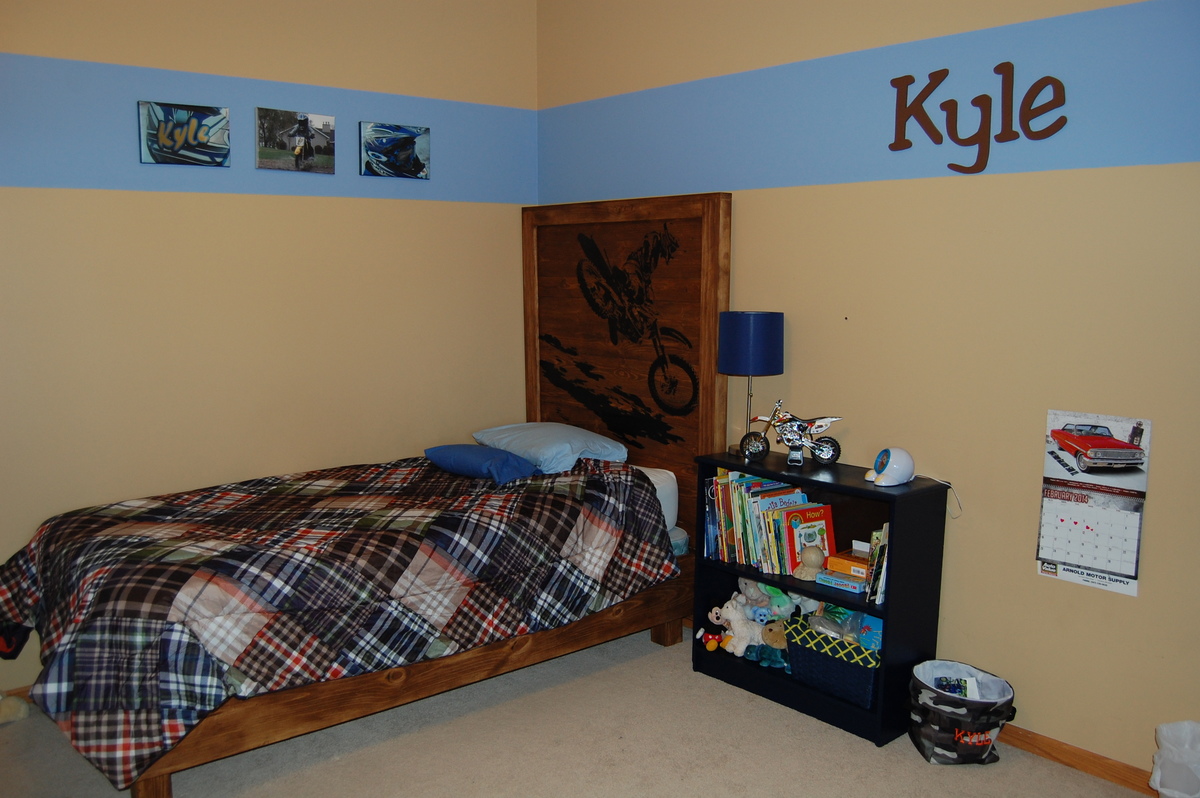
My son didn't have a headboard for his bed and was jealous that his little sister did (we made her the Farmhouse bed when she learned to climb out of her crib). So, finally we made him a bed, too! We used the plans for the reclaimed wood headboard but made the panel taller so we could put the custom sticker on. We also chose not to add the 2 X 4 on top, as we liked this look better with the taller panel. I love the final look!
I'm only moderately handy and these were fun and pretty easy.
Learned a lot and got better as I went along.
I found ways to make it as cheap as possible, probably did all three projects for 150 bucks.

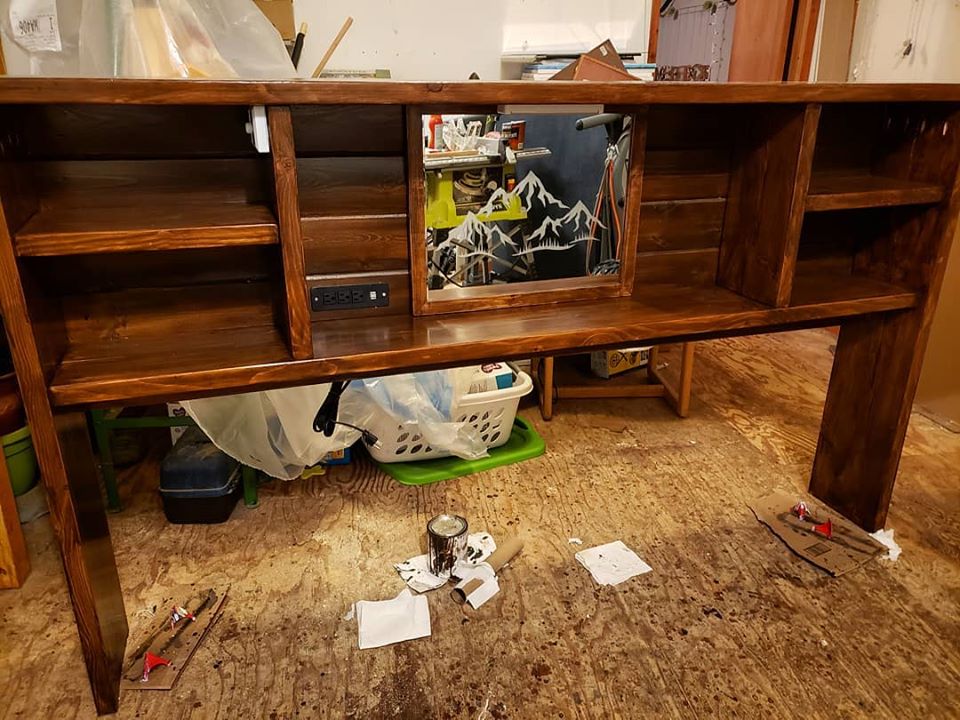
I designed this headboard on the back of a napkin, after we couldn't find one at a box store that met our needs. I used Douglas fir 2x10 for the headboard/shelves and Pine T&G for the backing. My fiance etched a mountain range into an unframed mirror, which I then framed from the scrap fir wood, and stained to match. Also attached an LED Lightbar above the mirror, Dimmer switch LEDs on each bookshelf, and a recessed USB/Plug port. This wasn't the cheapest project with the electrical accessories added, but we now have a custom wooden headboard with bookshelves, lighting and chargers that will last us years and be far beyond anything we could have bought at a big box store for the same cost.
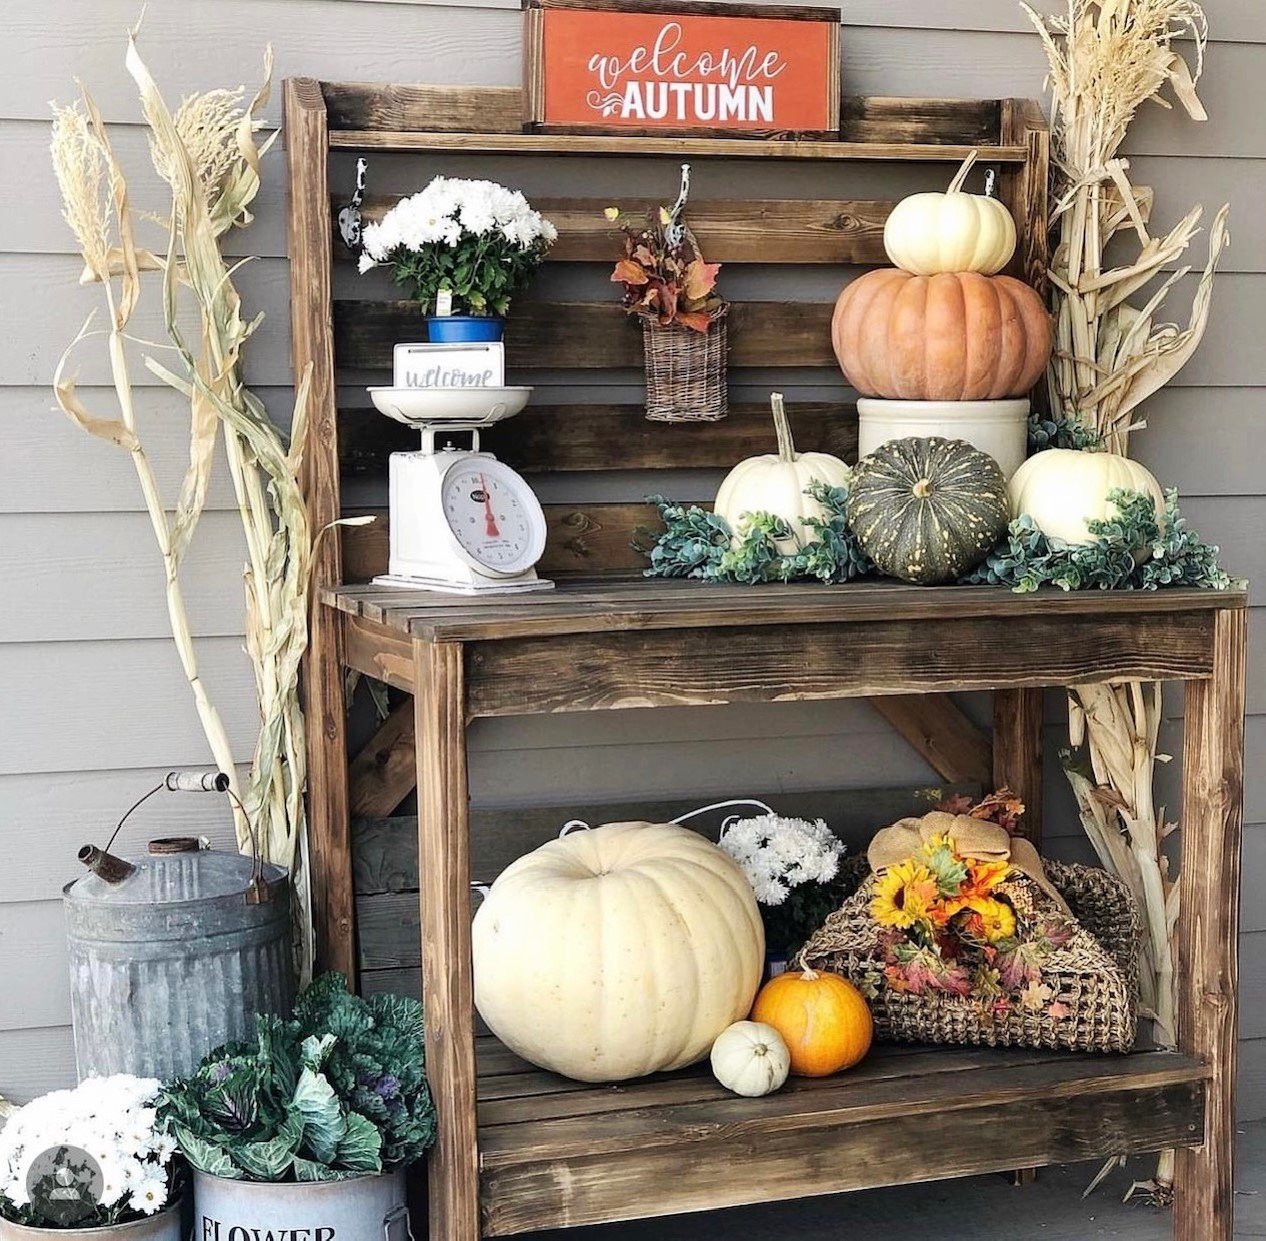
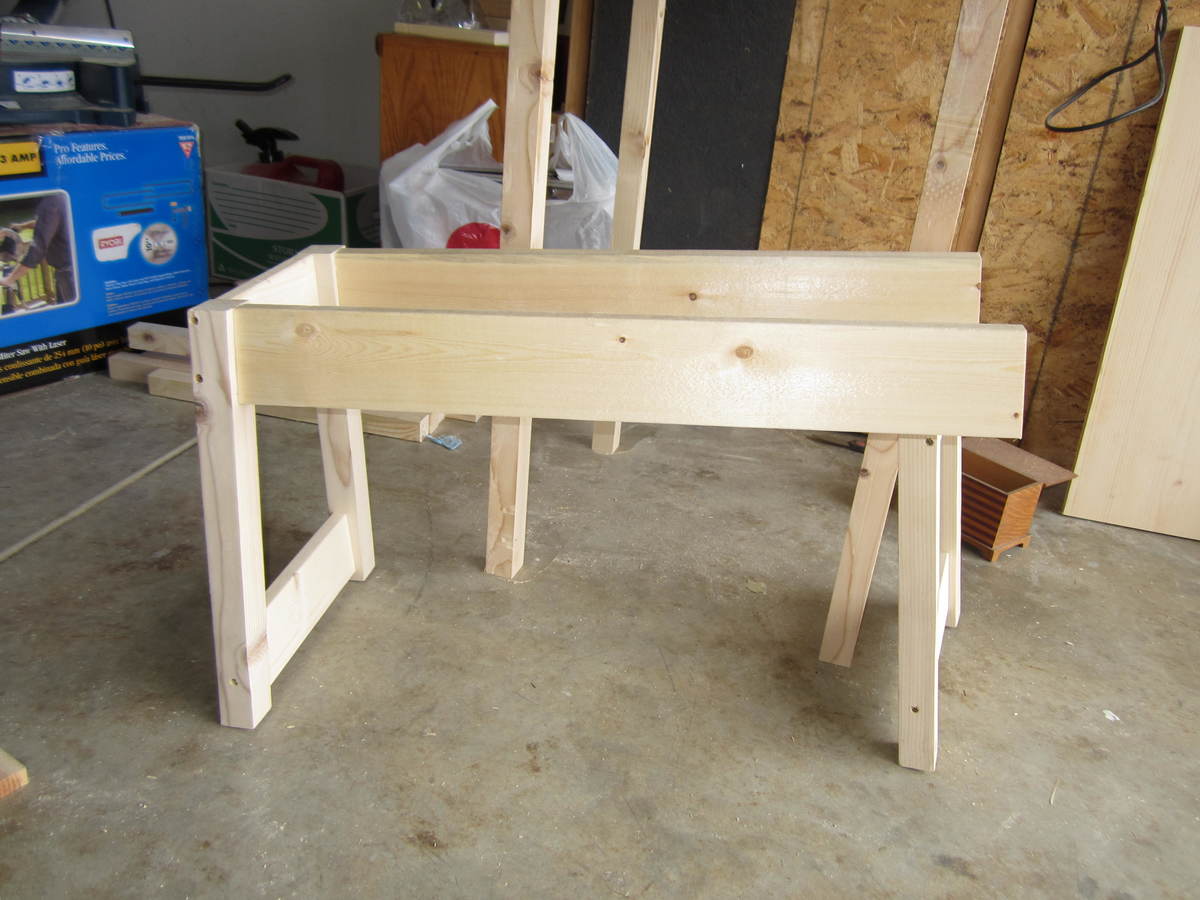
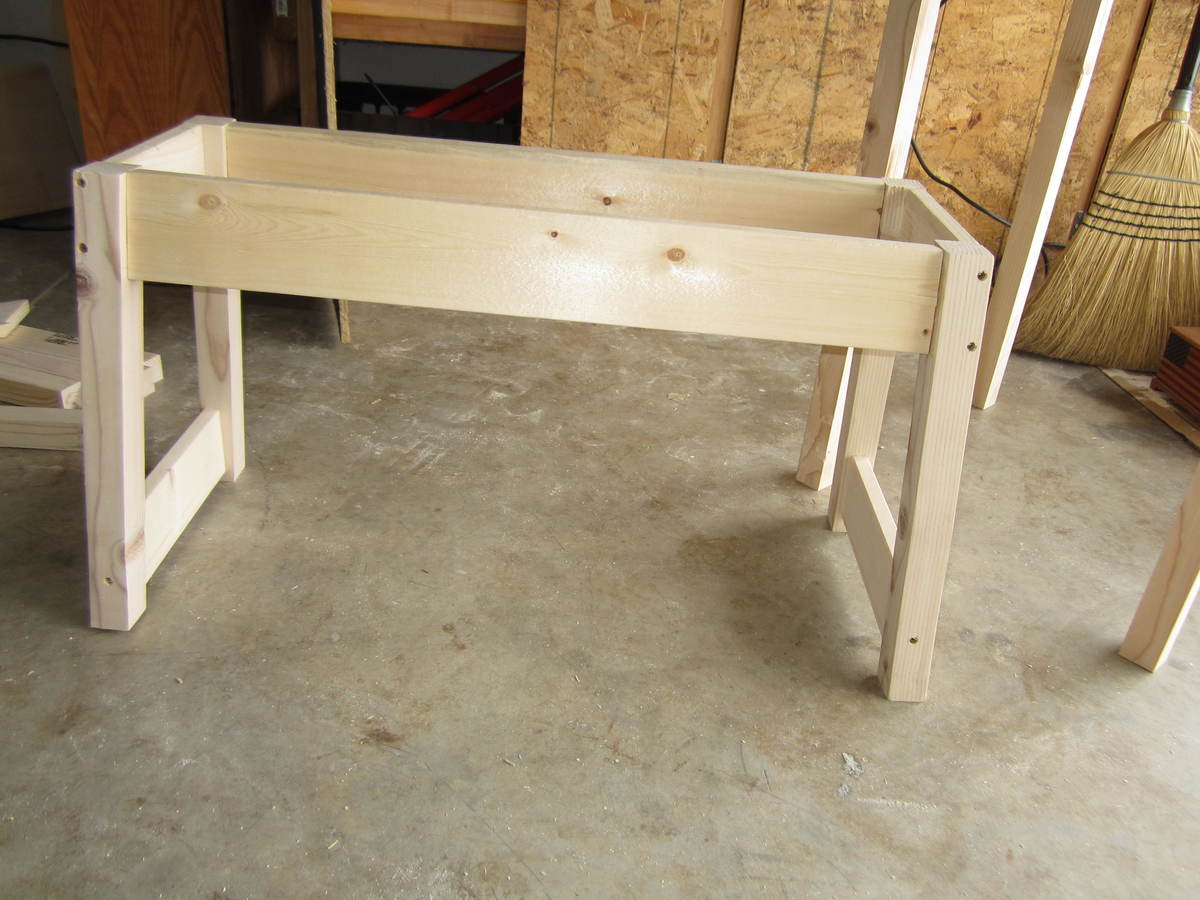
Fall potting bench
I made this shelf one for my mom, and one for my sister.

While working on this project I thought it was extremely challenging but in the end I changed my opinion and was extremely happy I took on and completed the challenge. One rule I stand by is if you start something you finish it. I learned how to use a router, jigsaw, and learn even more how clamps can be our bff's!!!!! My advice is to take this project on, go slow and if you need it ask for help! Good luck!
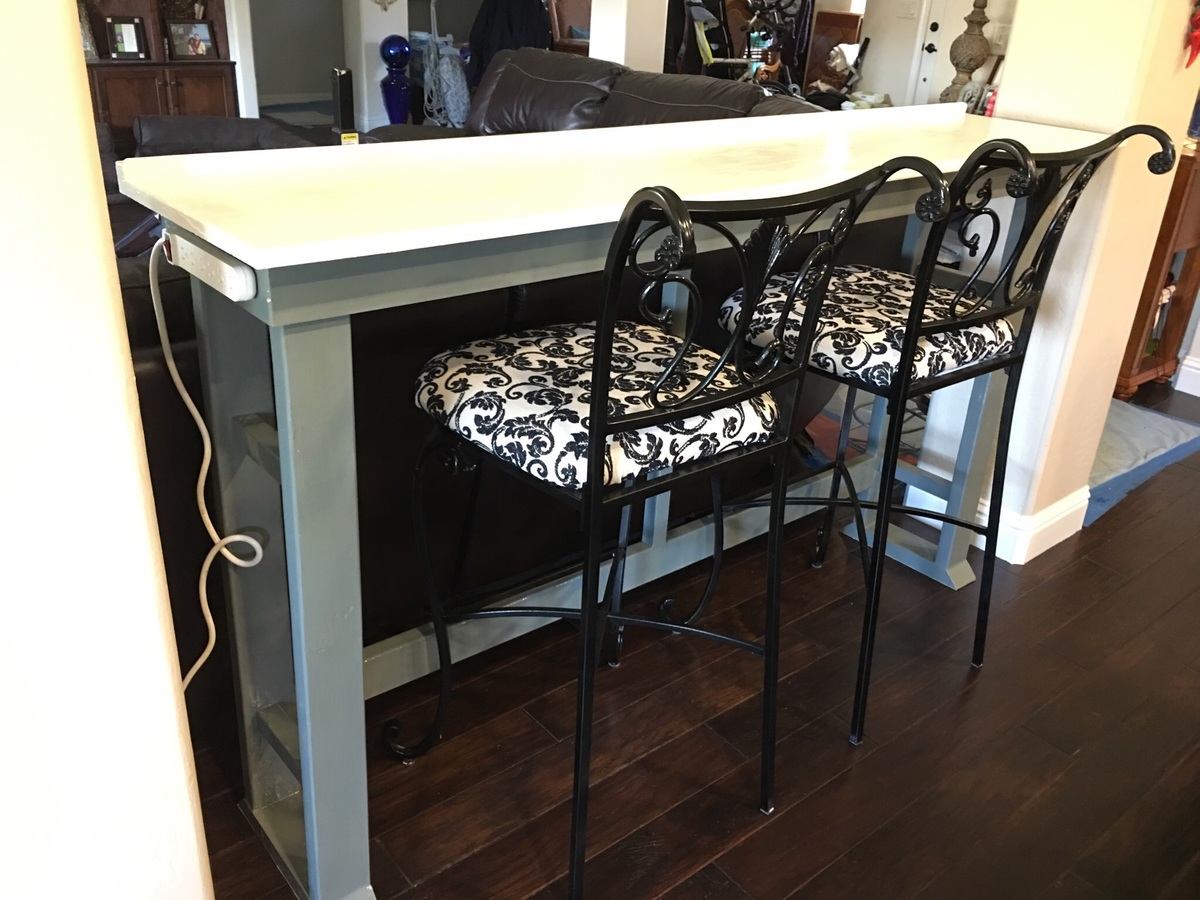
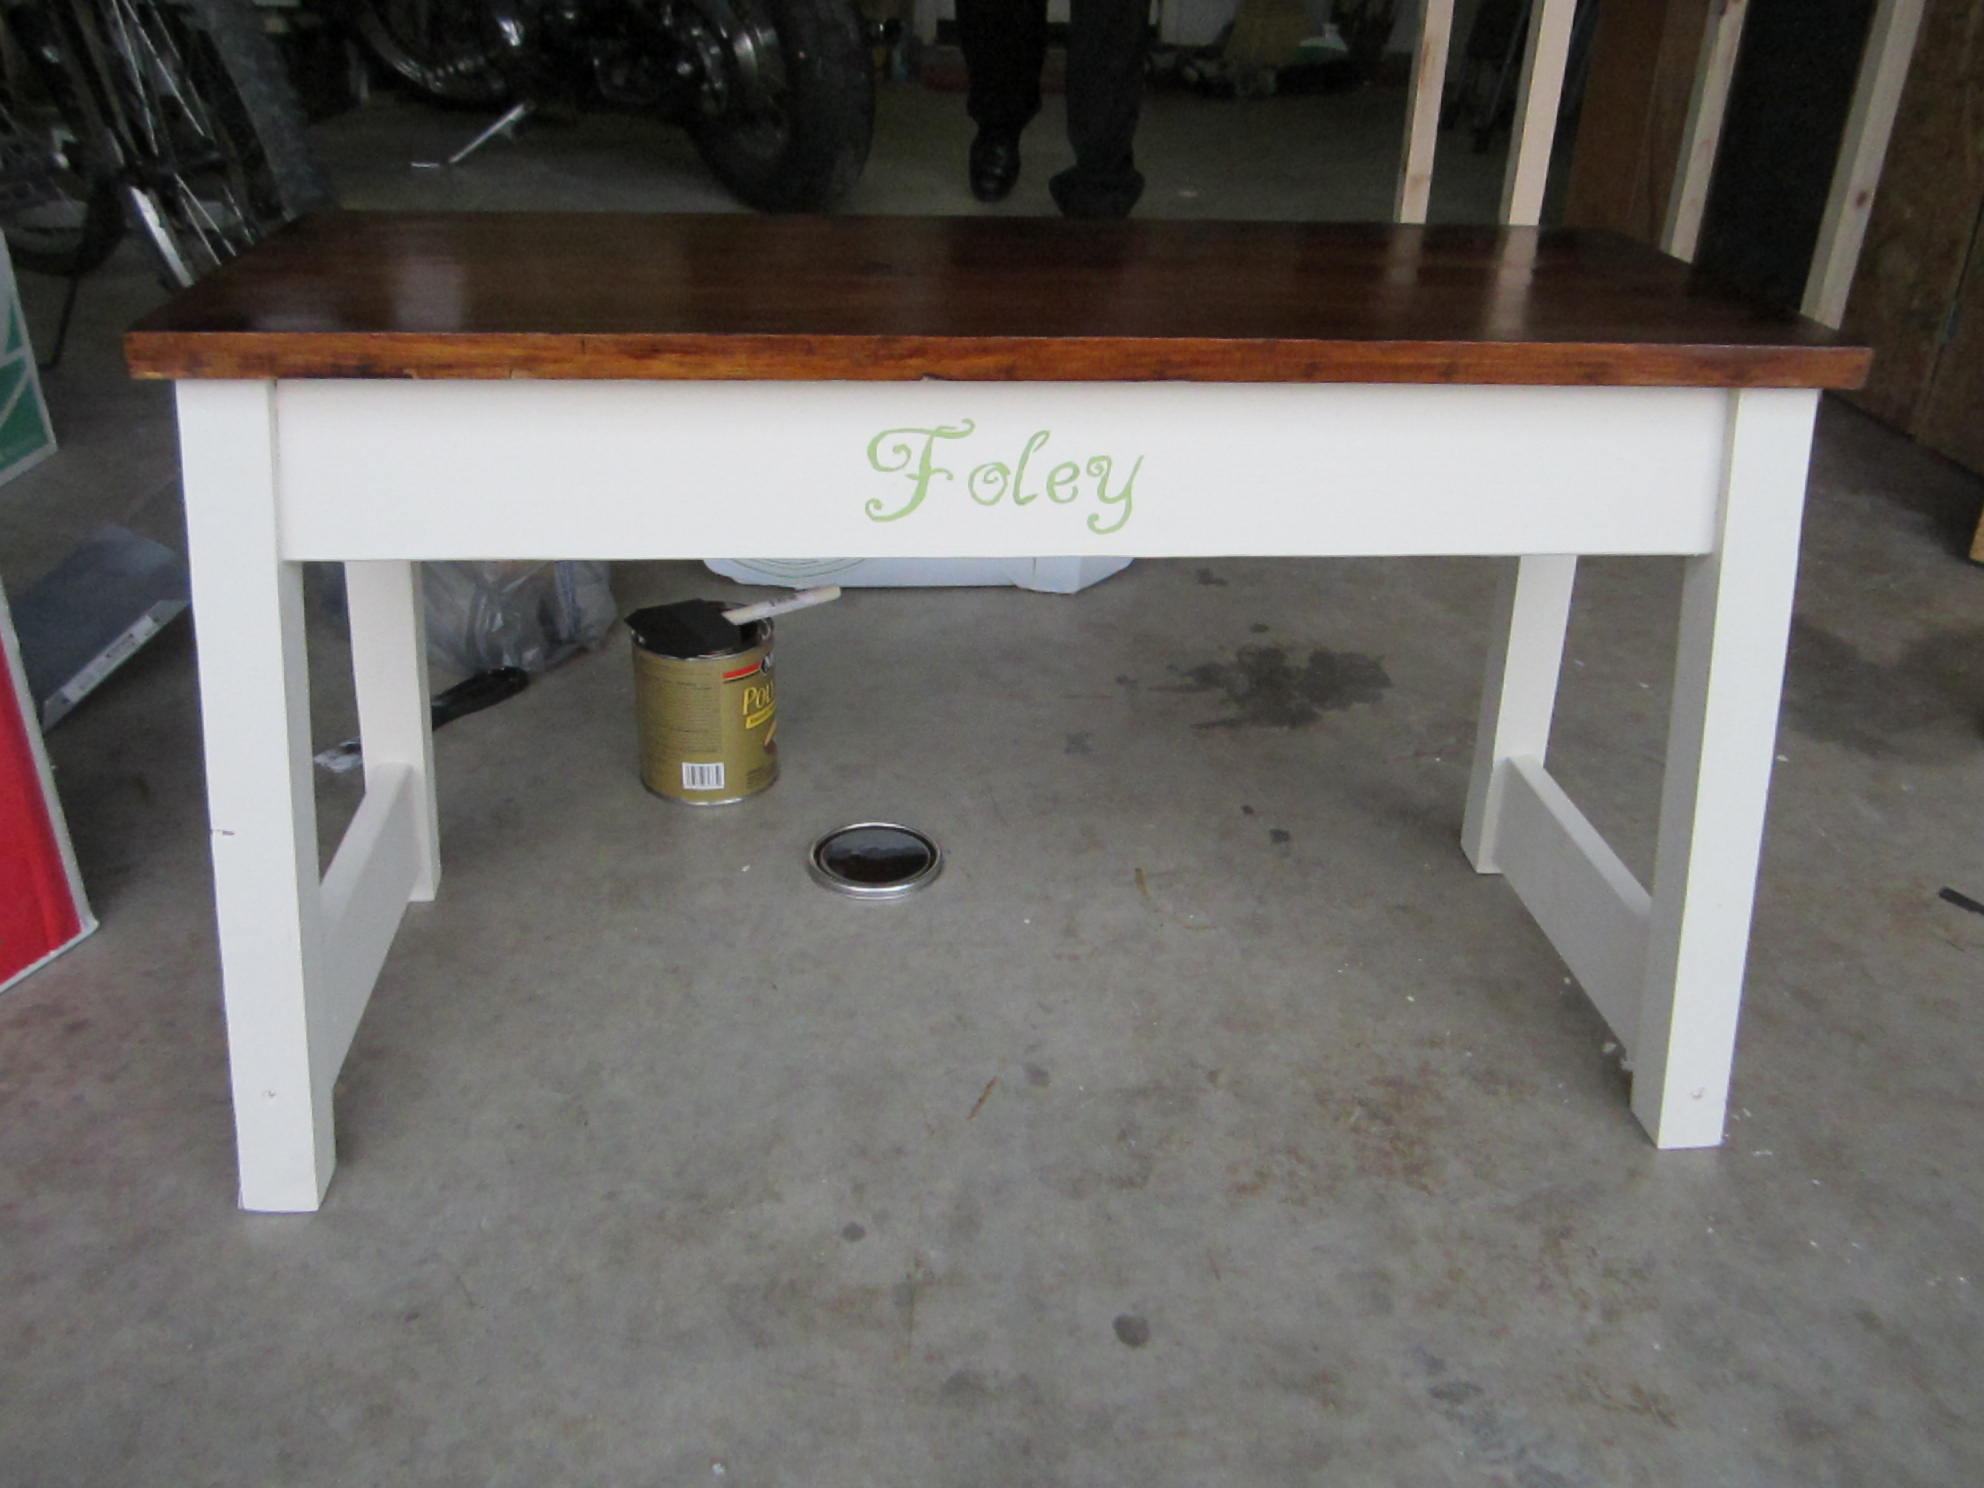
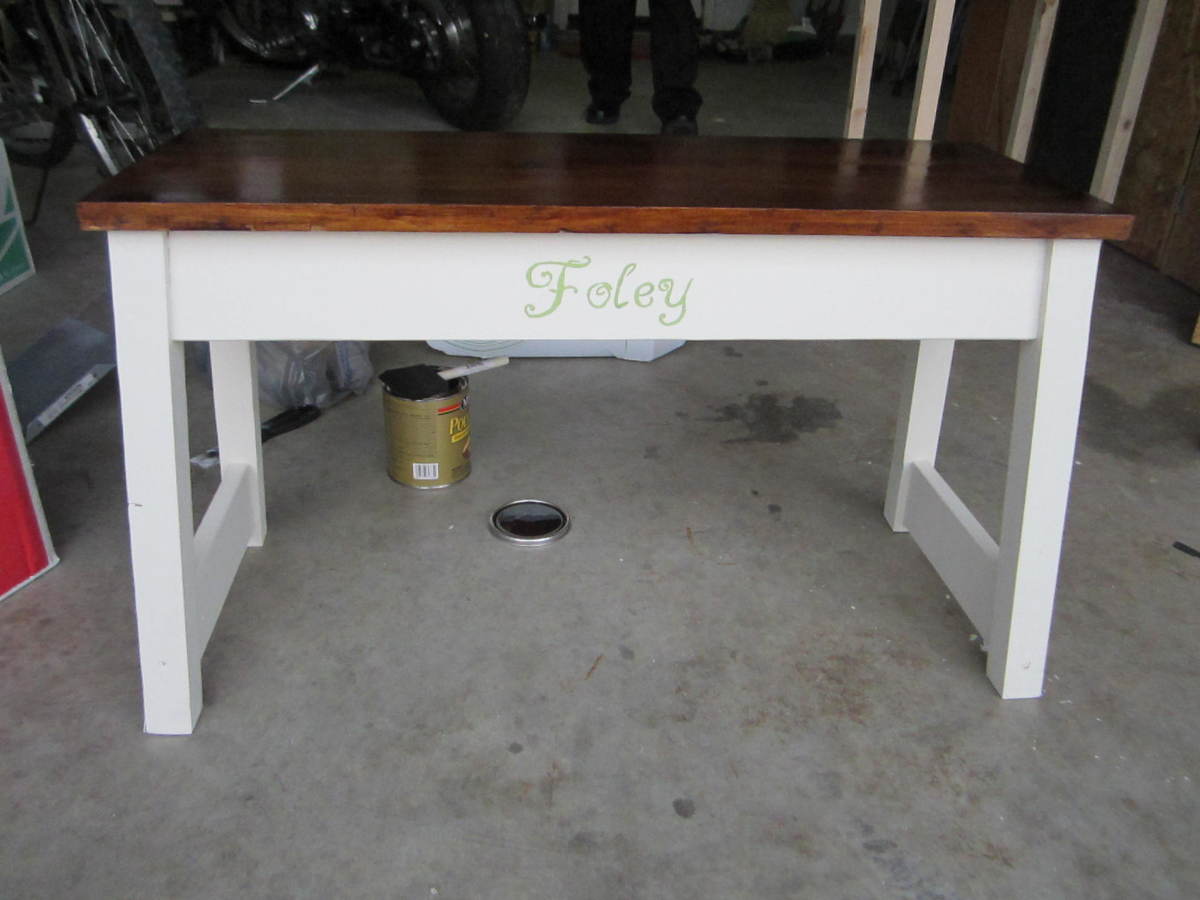
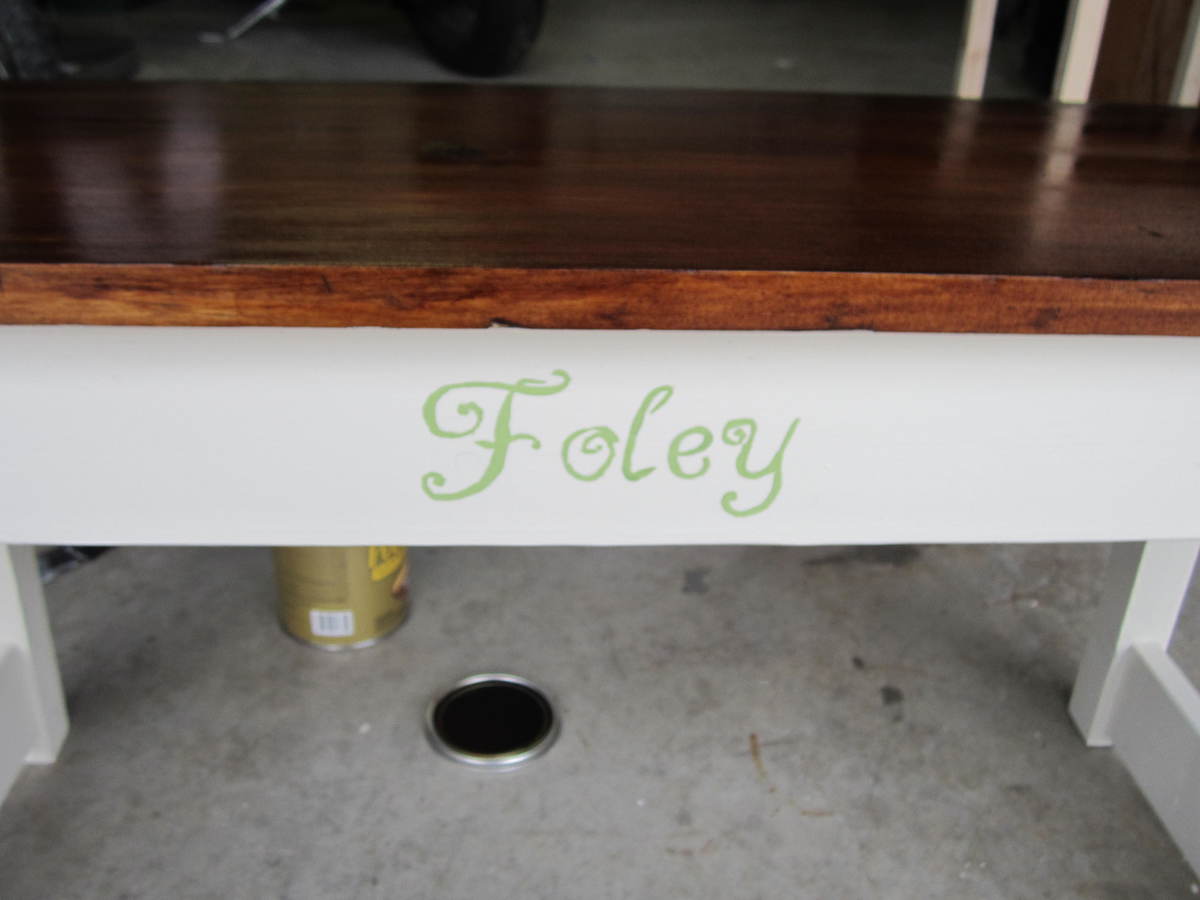
Needed custom size table that is versatile. Daughter can do homework, act as bar table, and work area. Chairs repainted and reupholstered. Screwed in multiple plug outlet to the side. First of many projects. Learned how to use Kreg Jig.

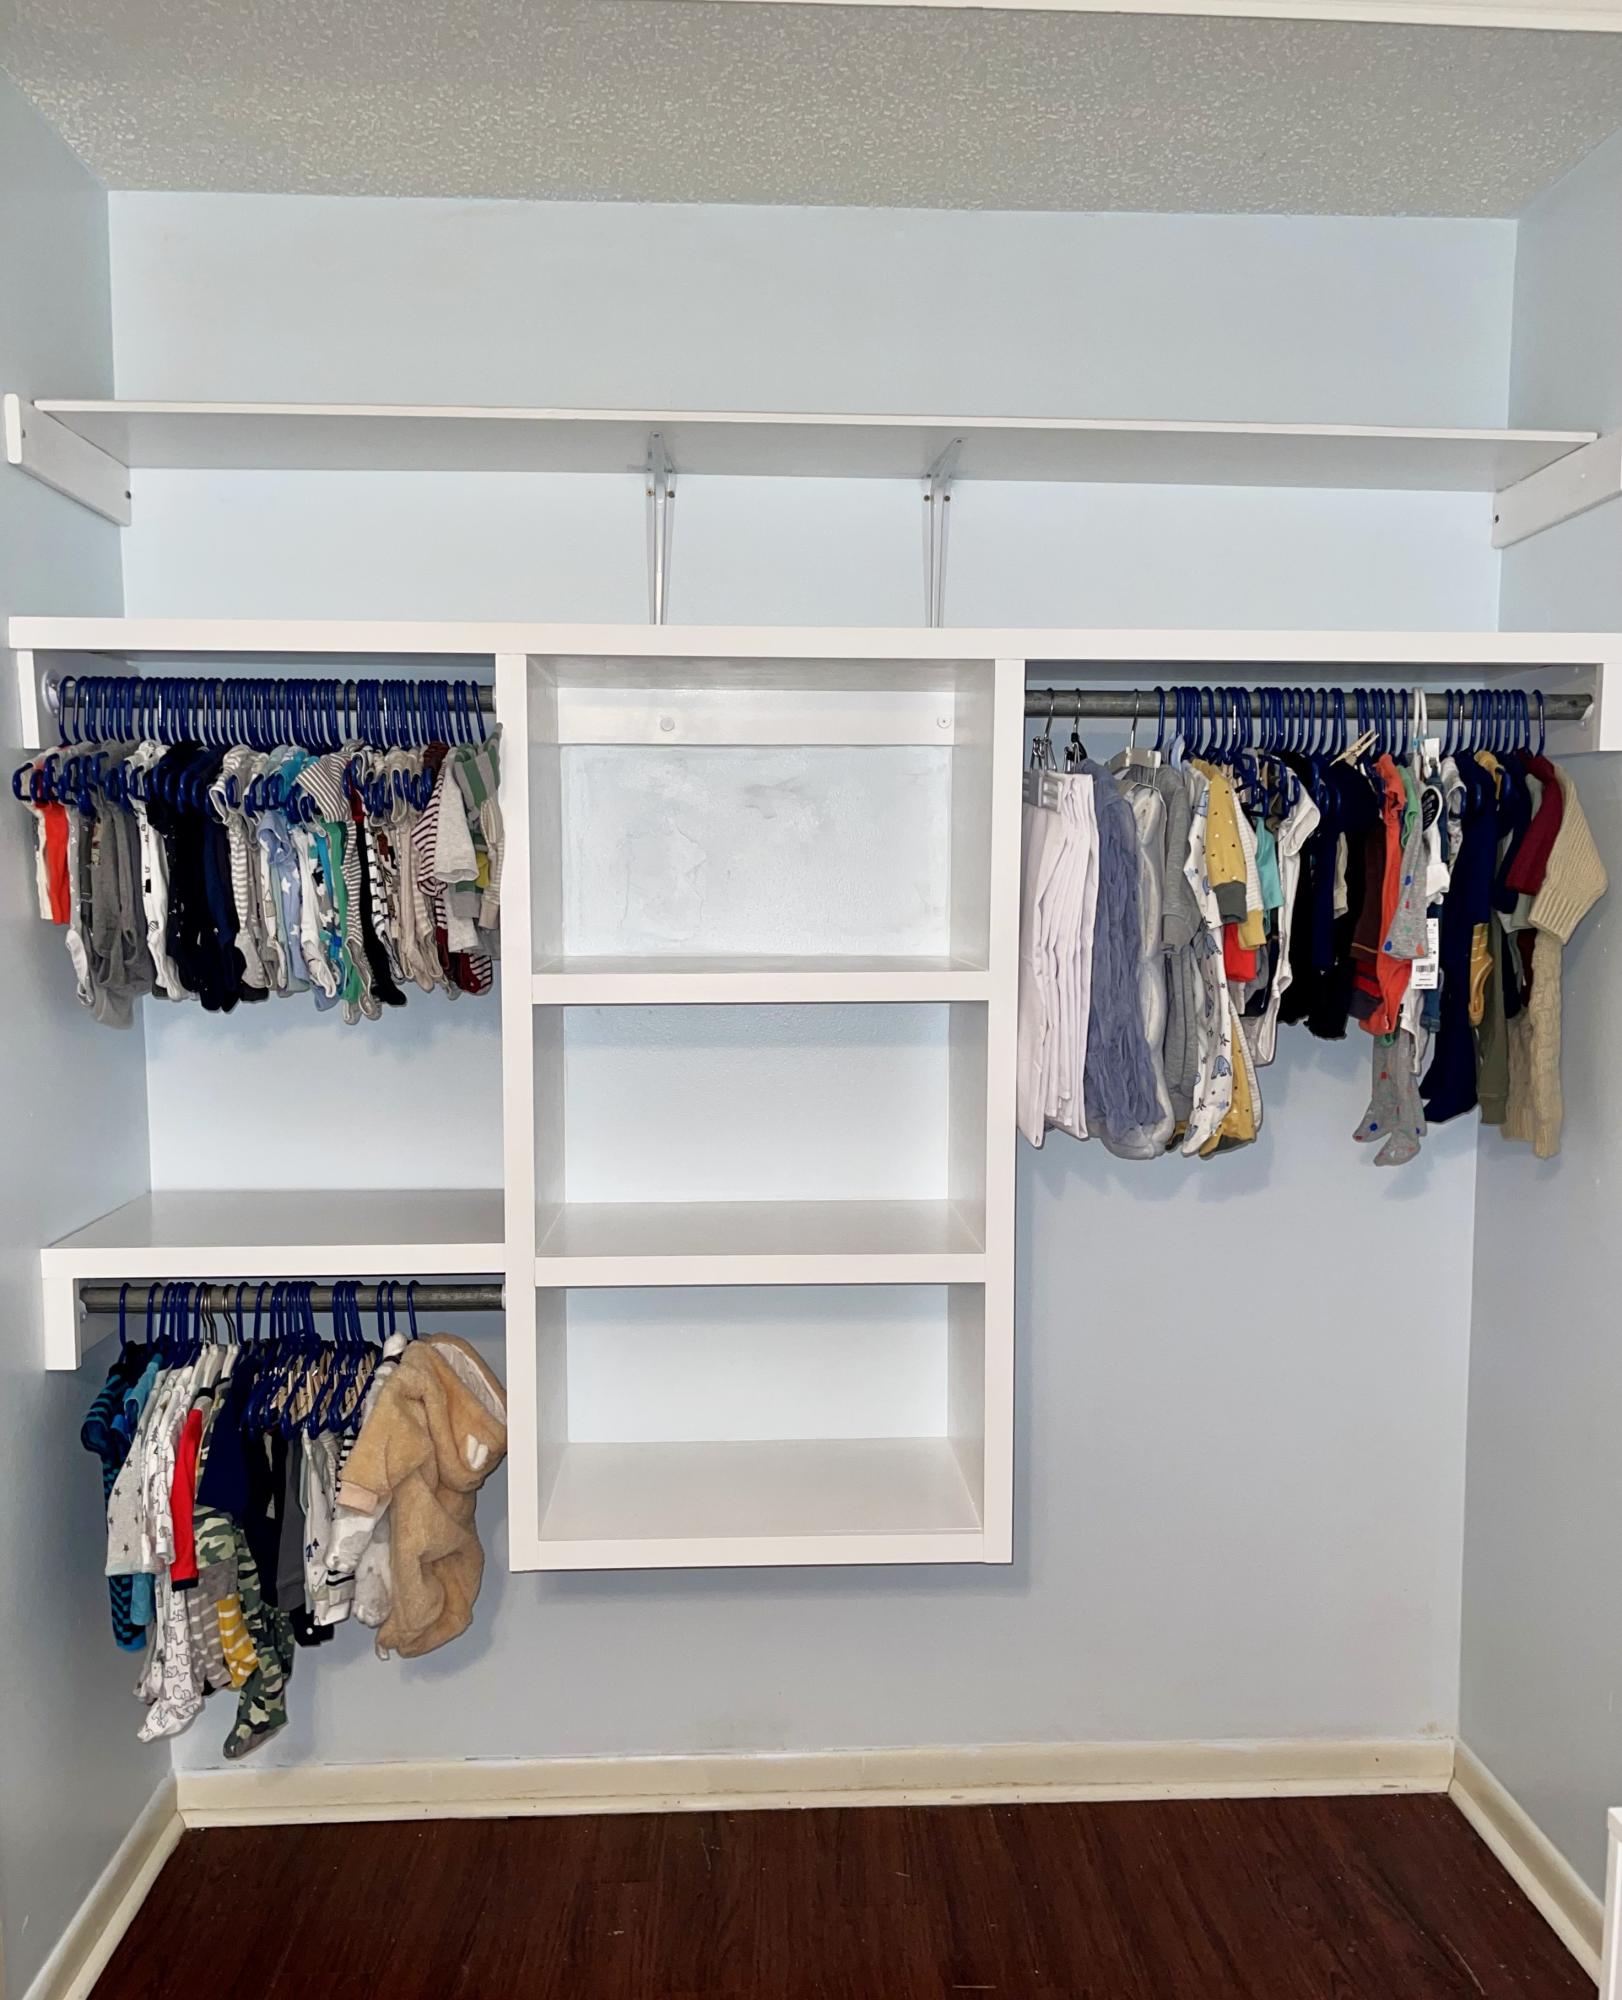
This project is based on the floating closet tower build. This is the first time I’ve attempted a renovation project of this size, and I feel satisfied with the results. I did not purchase my boards from shelf help, I cut mine from a sheet and a half of plywood. Thank you for providing your plans for free. They are very helpful for beginners like me!!
Charity P
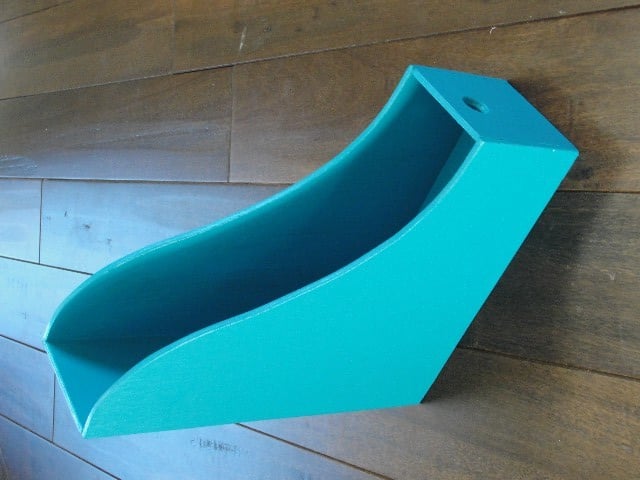
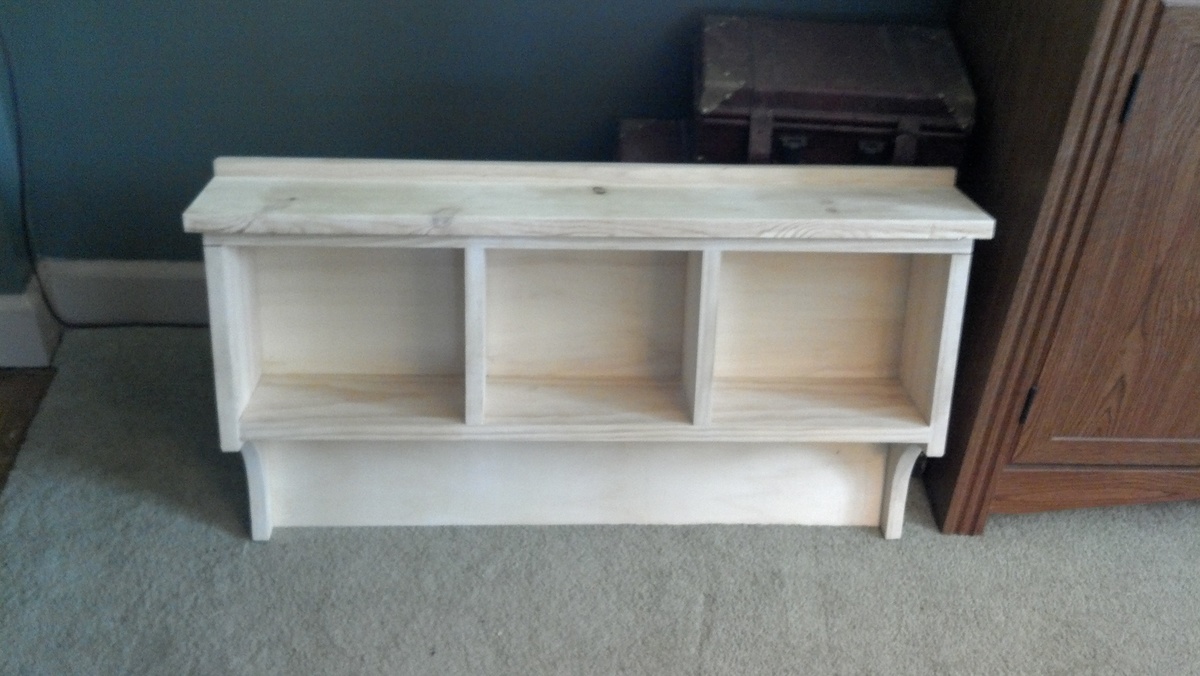
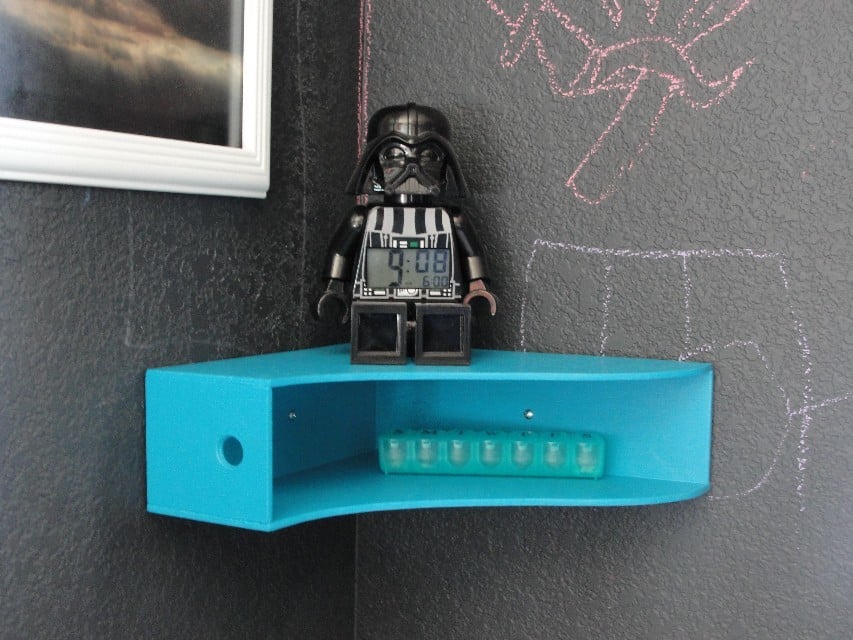
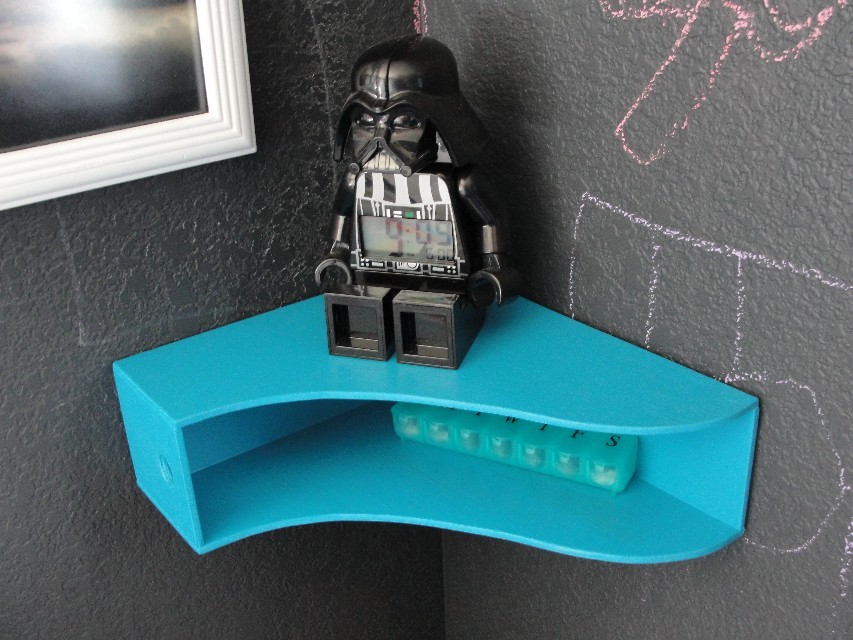
A long time ago I saw a picture of an old magazine file turned on it's side and used as a shelf. I loved it. And it had a curve that I loved too. After waiting over a year for vintage magazine file to fall into my lap, I decided it was time for me to take action.
I have it attached in the corner by my son's bed. It is a perfect little spot to hold his glasses, water, pills, and of course Darth Vader.
A few changes I made-
After cutting the side panels I drew a curve on them. It was 12 inches tall, and I started the curve up 4 inches from the front. I used painters tape to hold the 2 side pieces together and cut them on my scroll saw, you could also use a jig saw.
The old one in the picture had a whole on the front, so I added one too.
Because I planned to turn this on it's side, I attached the front and back to the bottom first. Then attached the sides. That way the sides rest on the back and front for a little support. I had to adjust the width on all sides for that.
It was super quick and super easy.
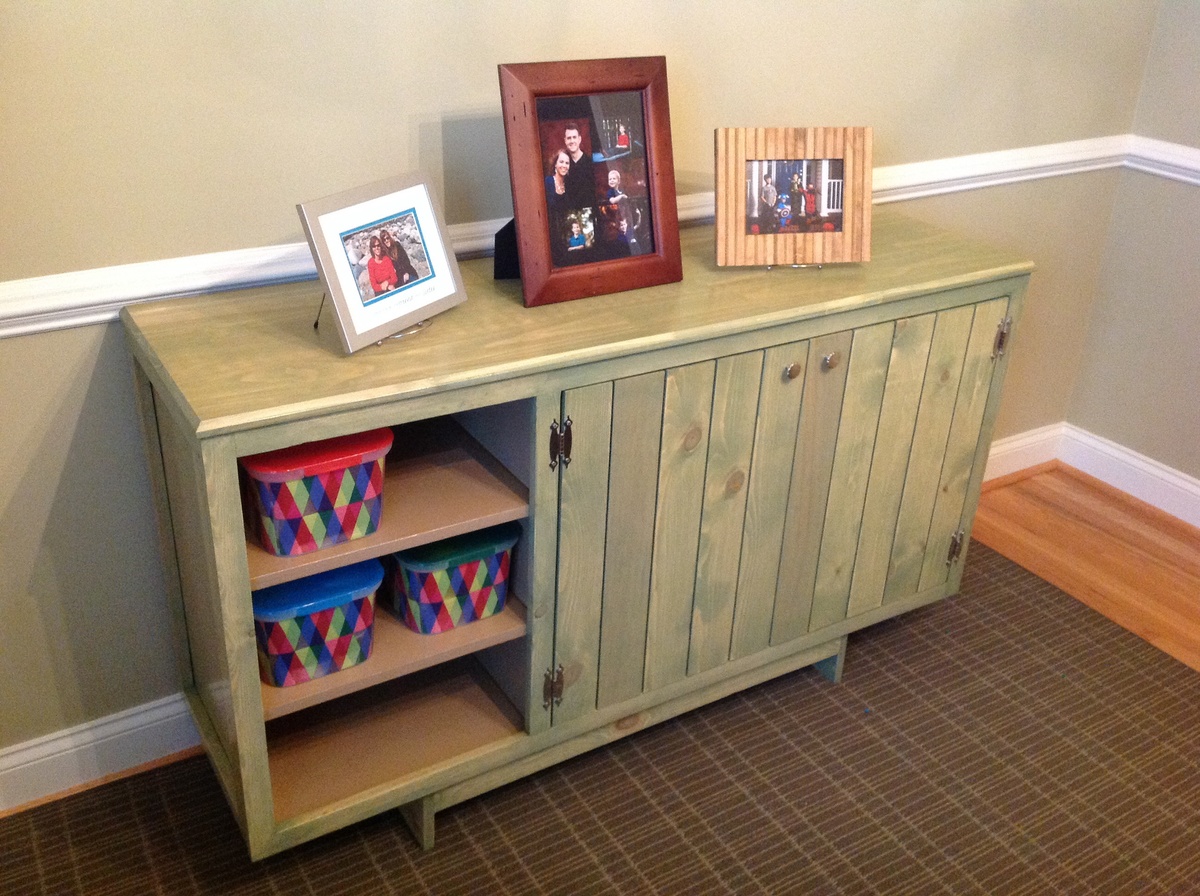
We used the plans for the Emerson-inspired buffet to create a cabinet for our kiddos school and art supplies. It turned out so beautifully that we put it in our dining room.
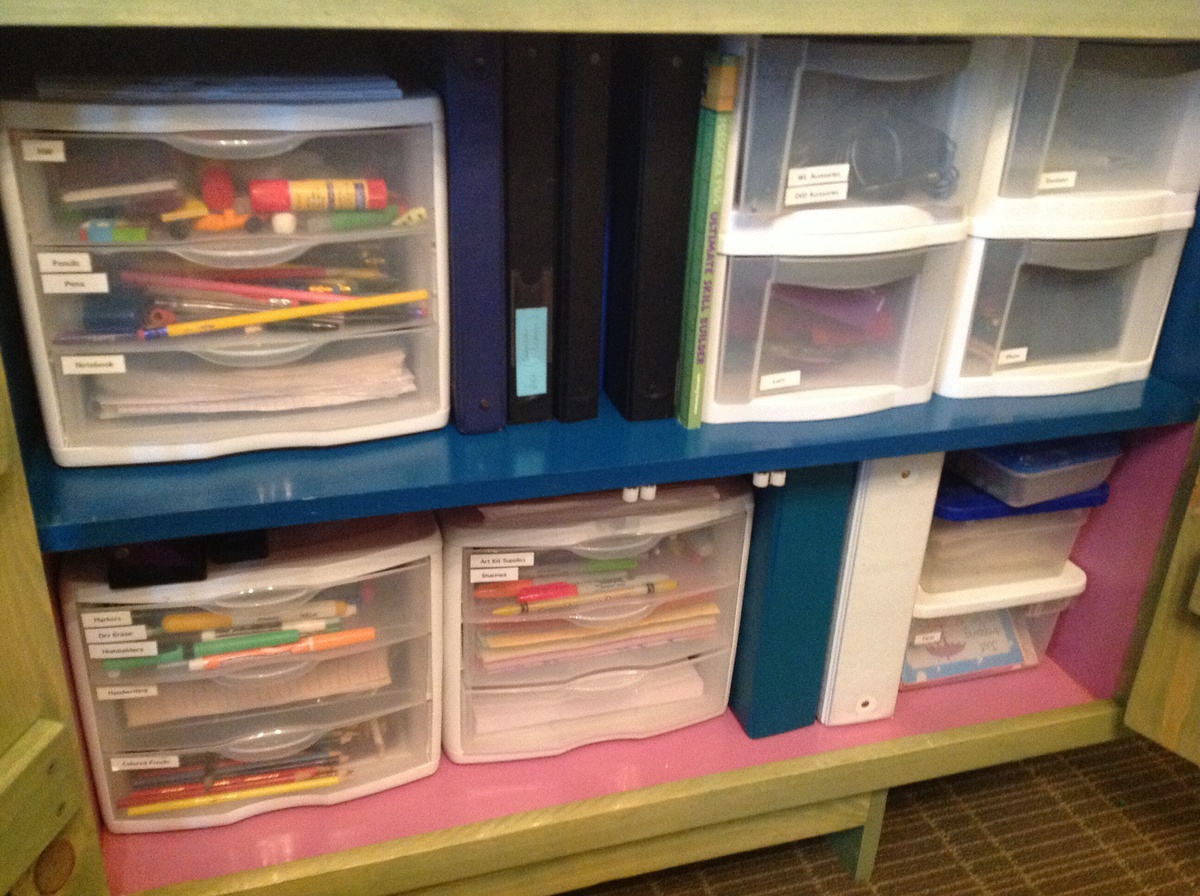
Made a few mods. Super fun...
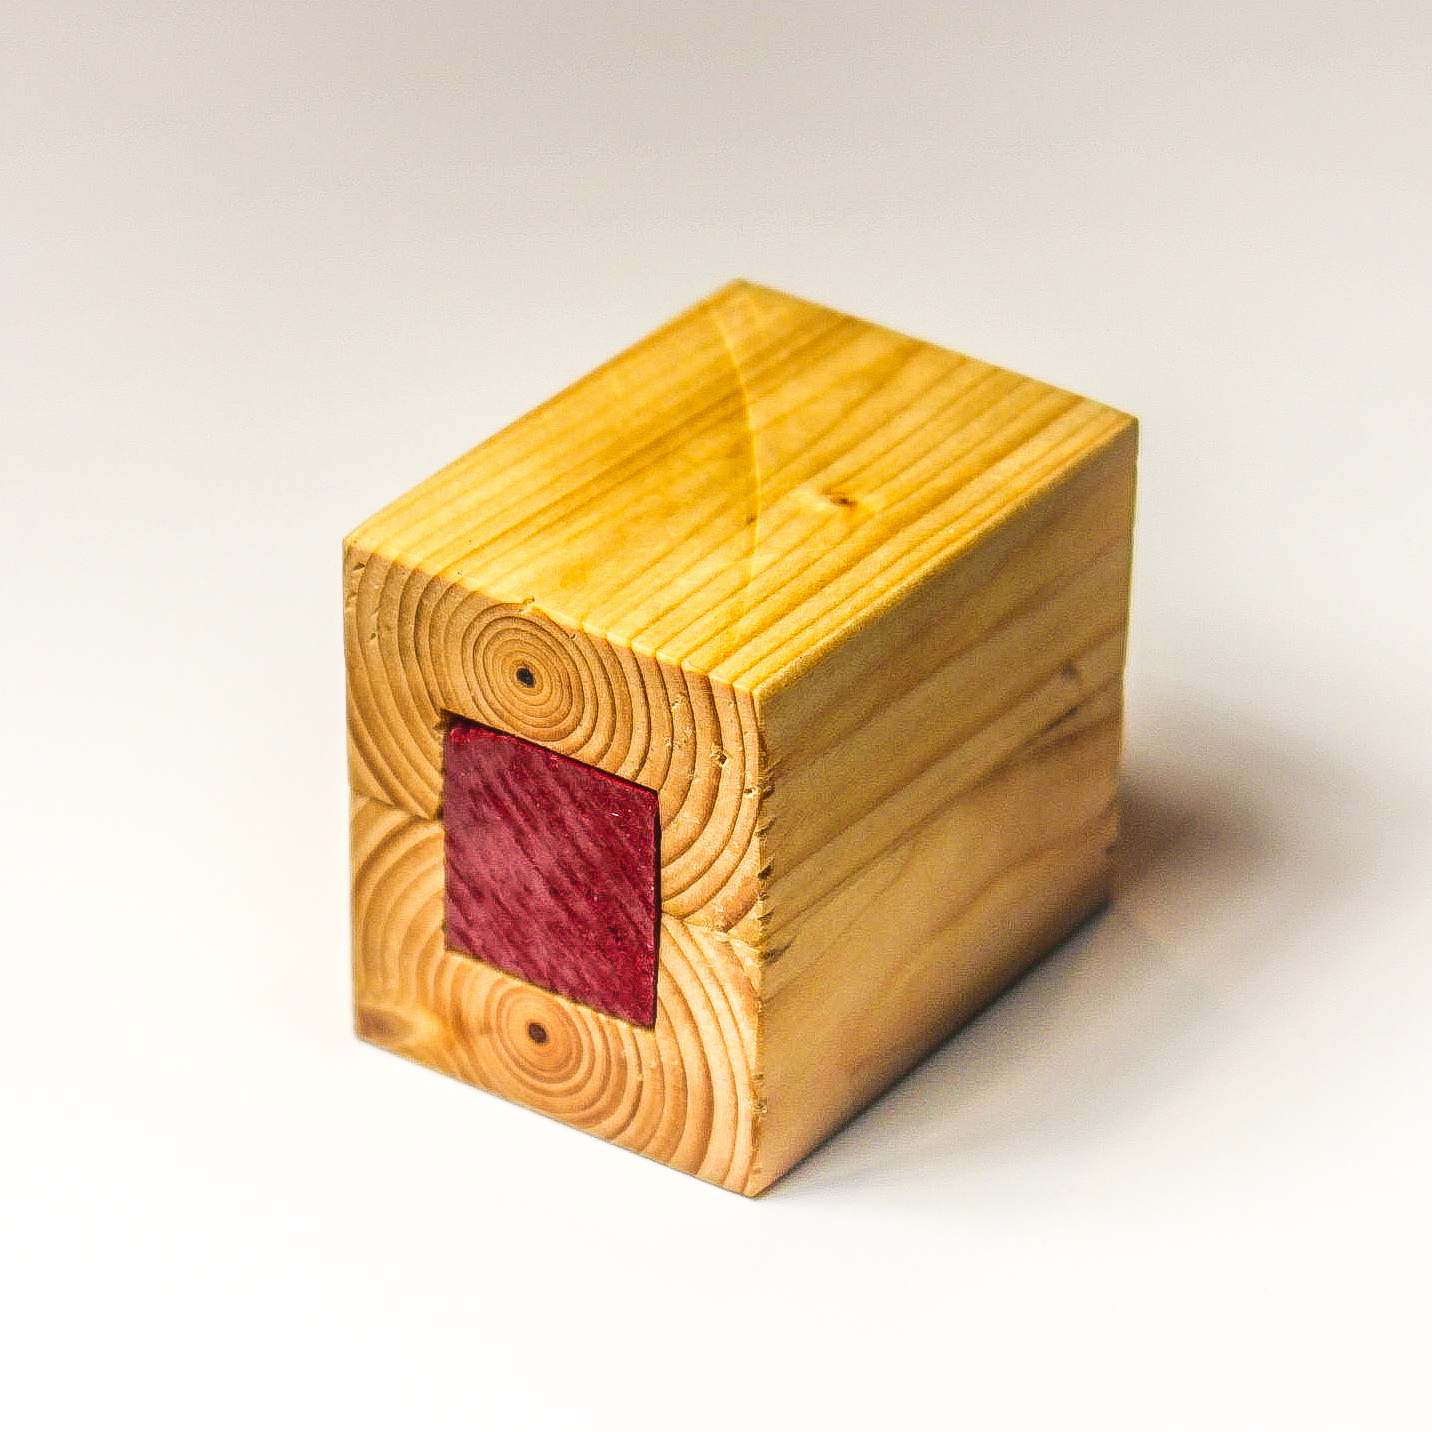
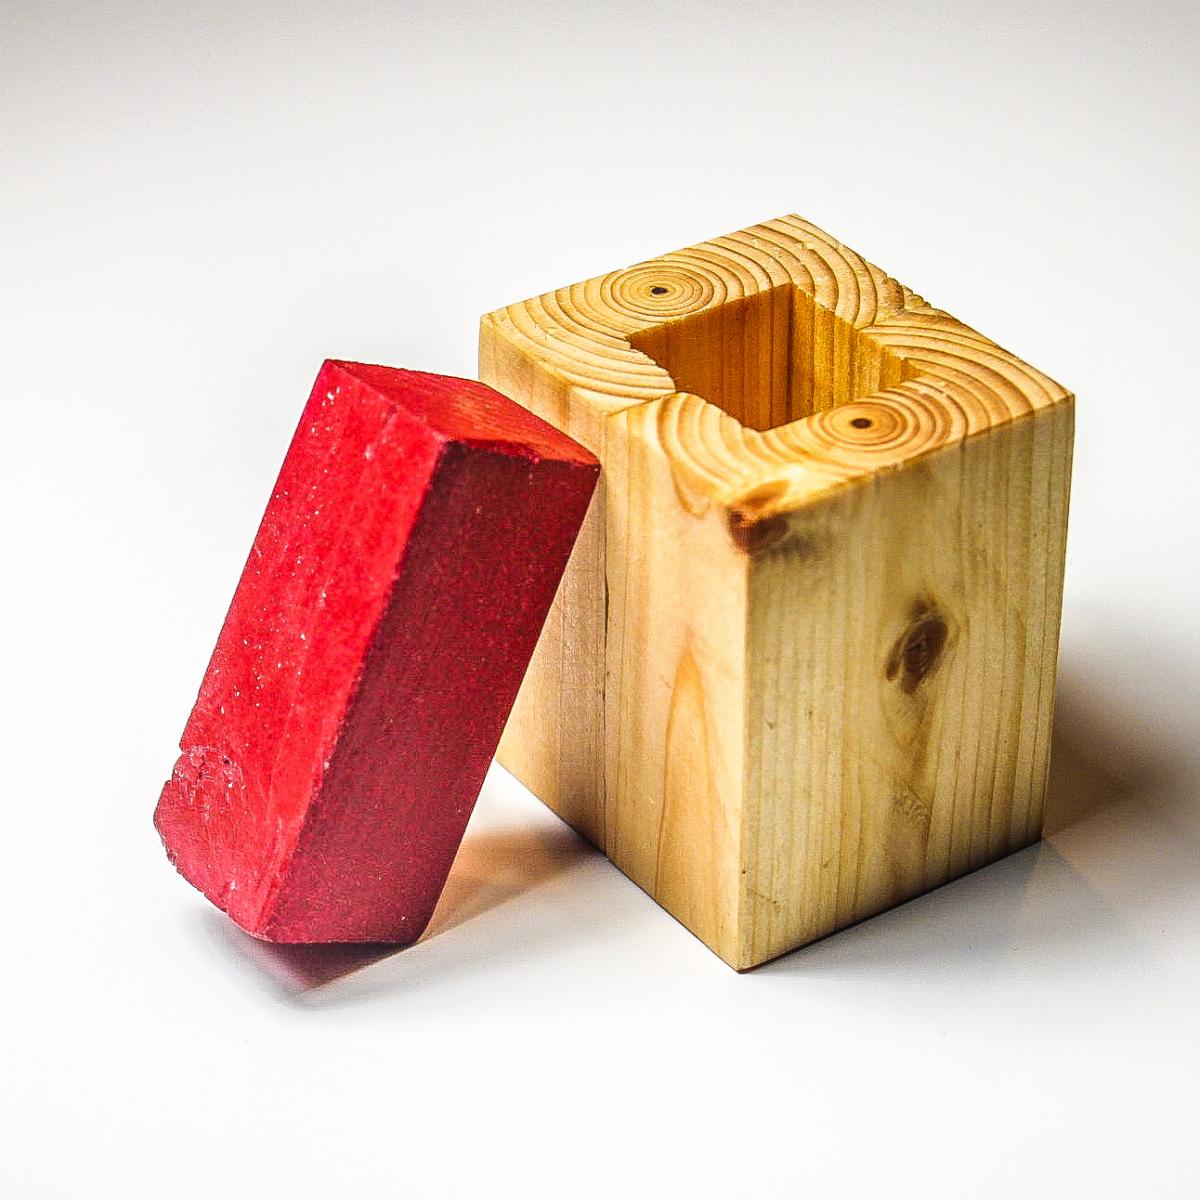
This little puzzle was pretty fun to make and allowed me to use up some of the magnets from my last project. The goal of the puzzle is to remove the center piece from the tube. You will quickly notice that there isn’t much to the puzzle – no buttons, latches or any other obvious locking mechanism.
Build Instructions: https://www.instructables.com/id/Tube-Puzzle/
How it Works / Solution: https://youtu.be/N4ID3-wBdik


Comments
Ana White Admin
Wed, 09/13/2023 - 09:31
Awesome Horse Handle Teeter Totter!
You dd such a fantastic job! Thank you for sharing.