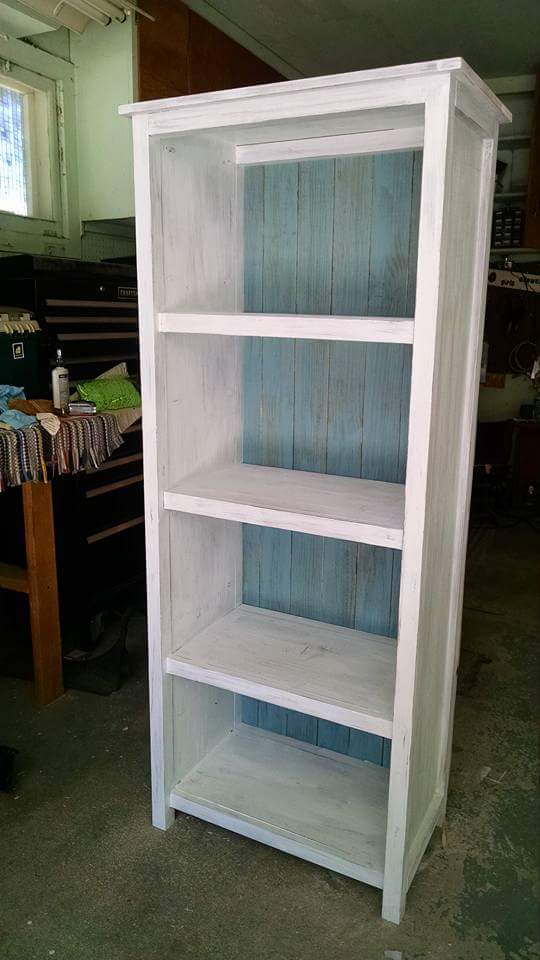
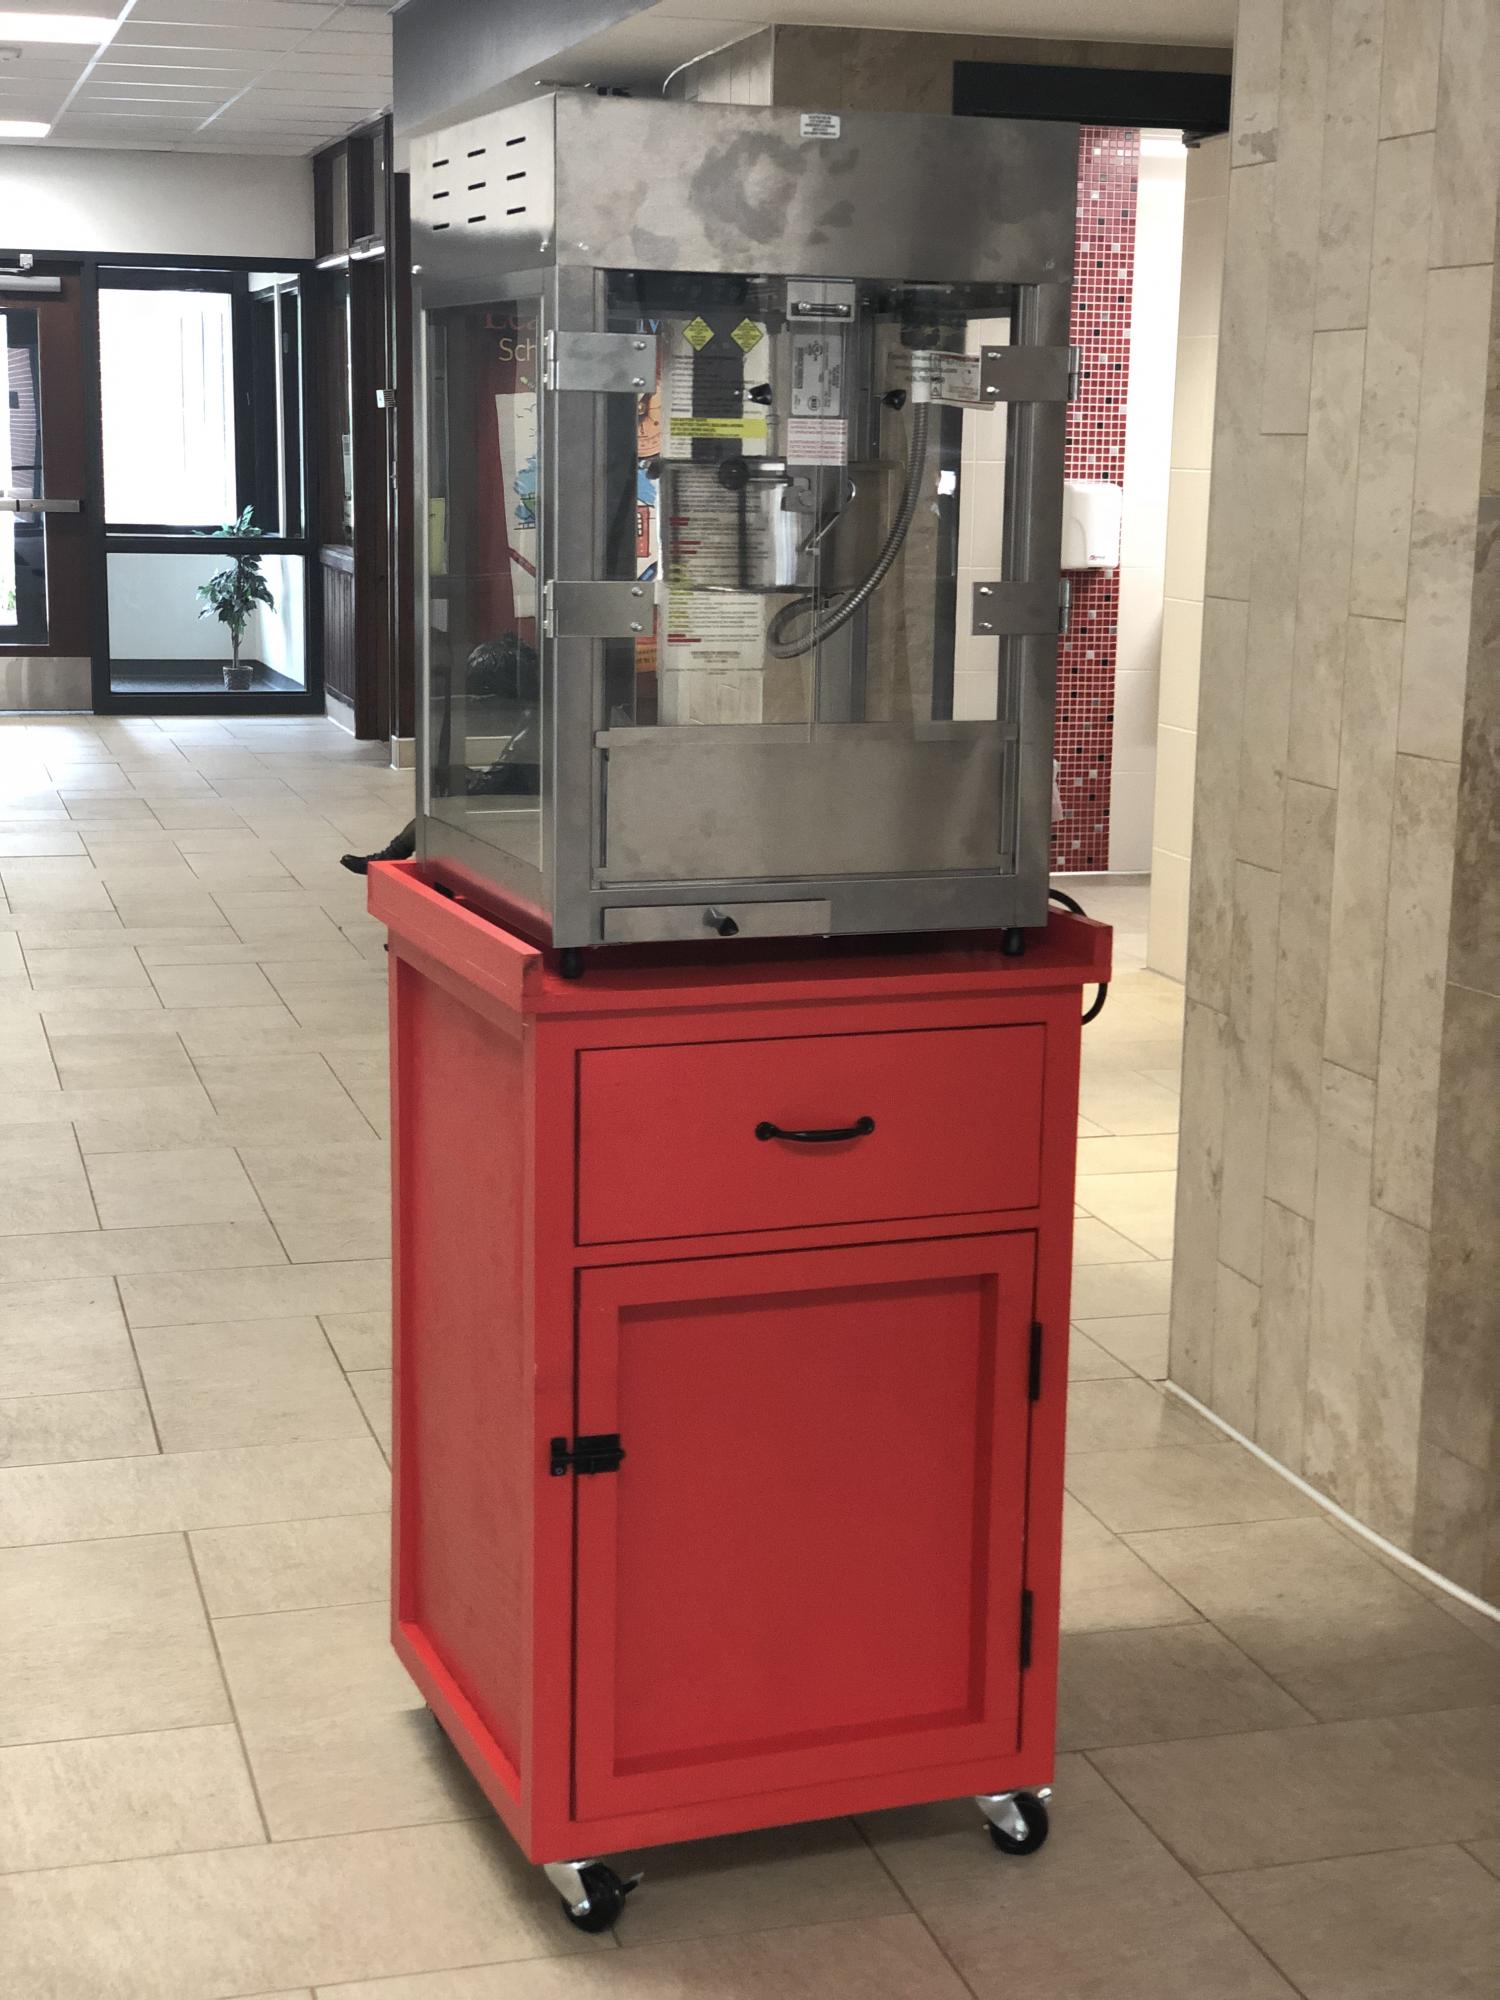
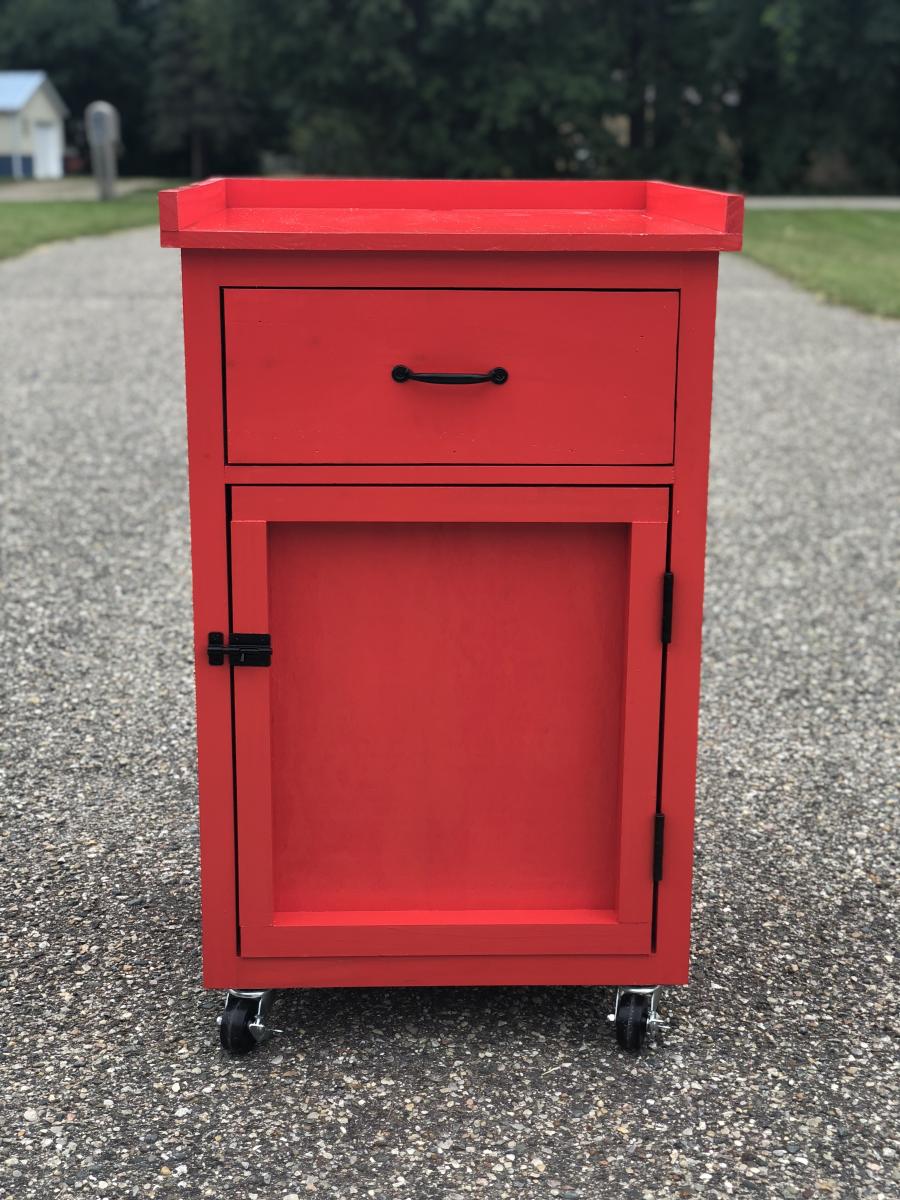
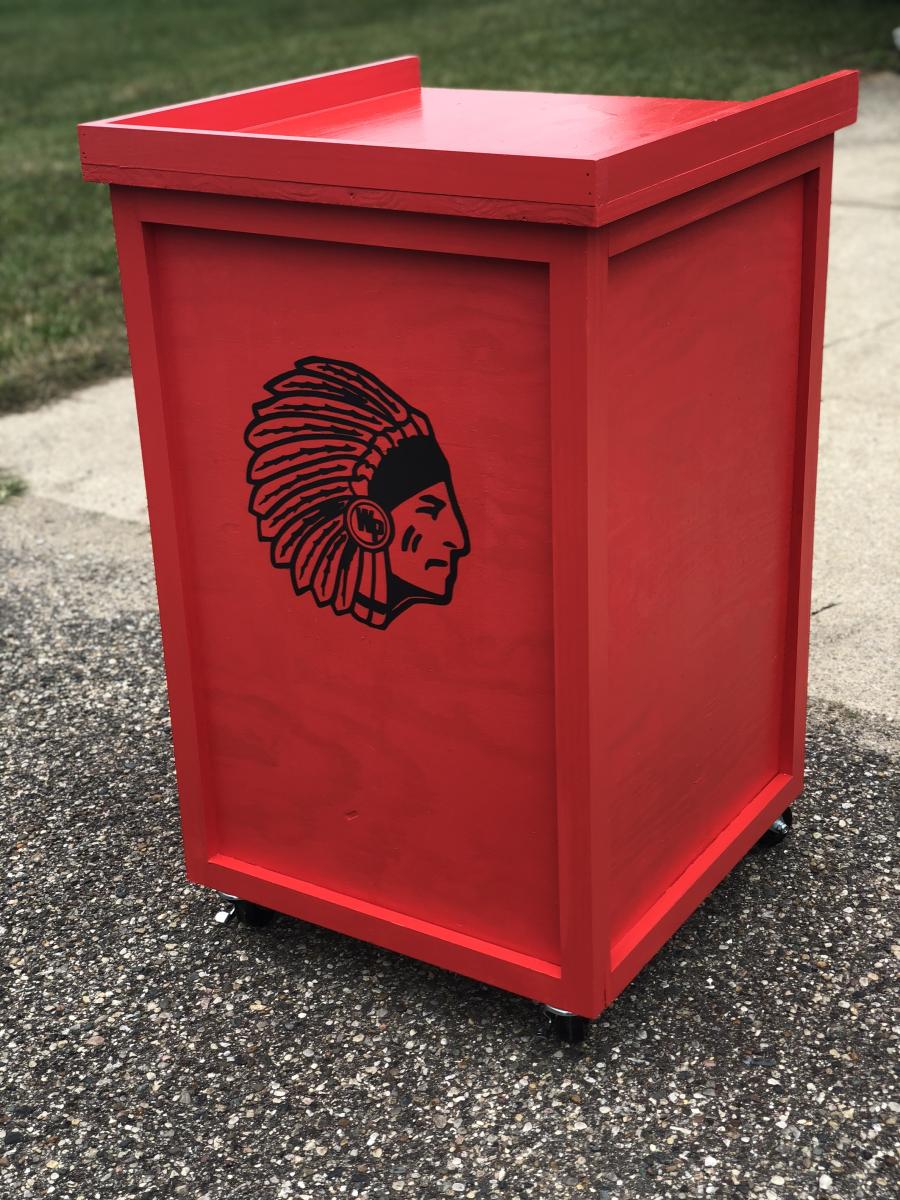
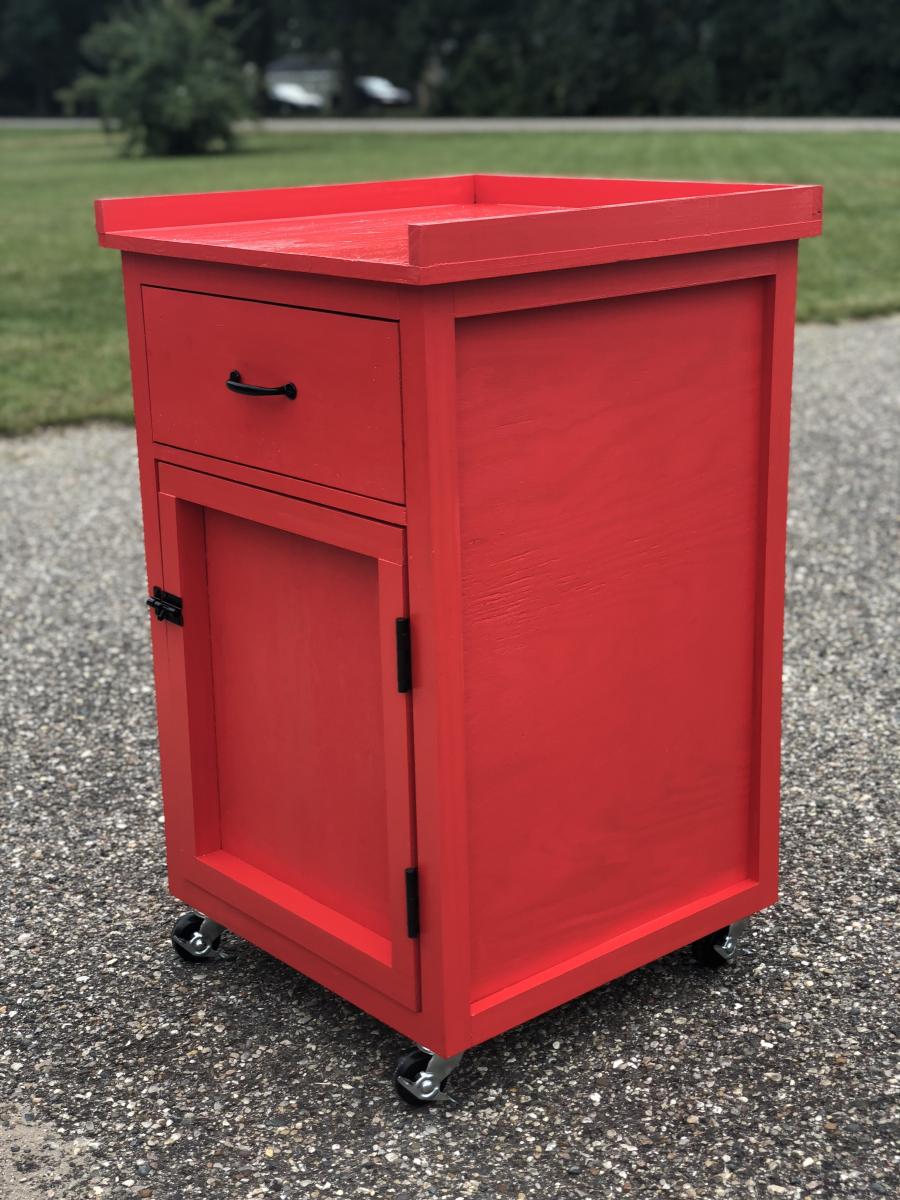
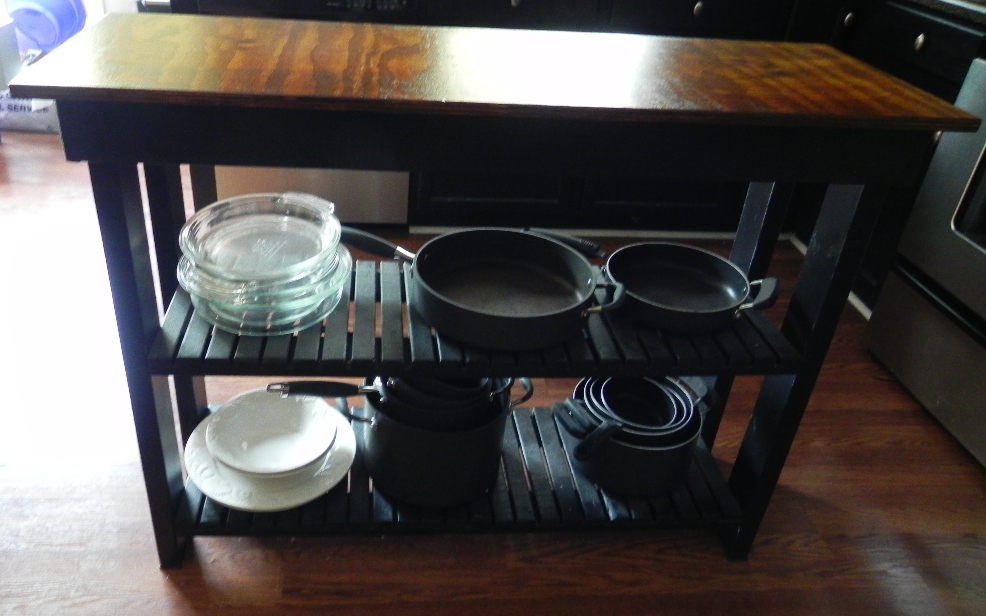
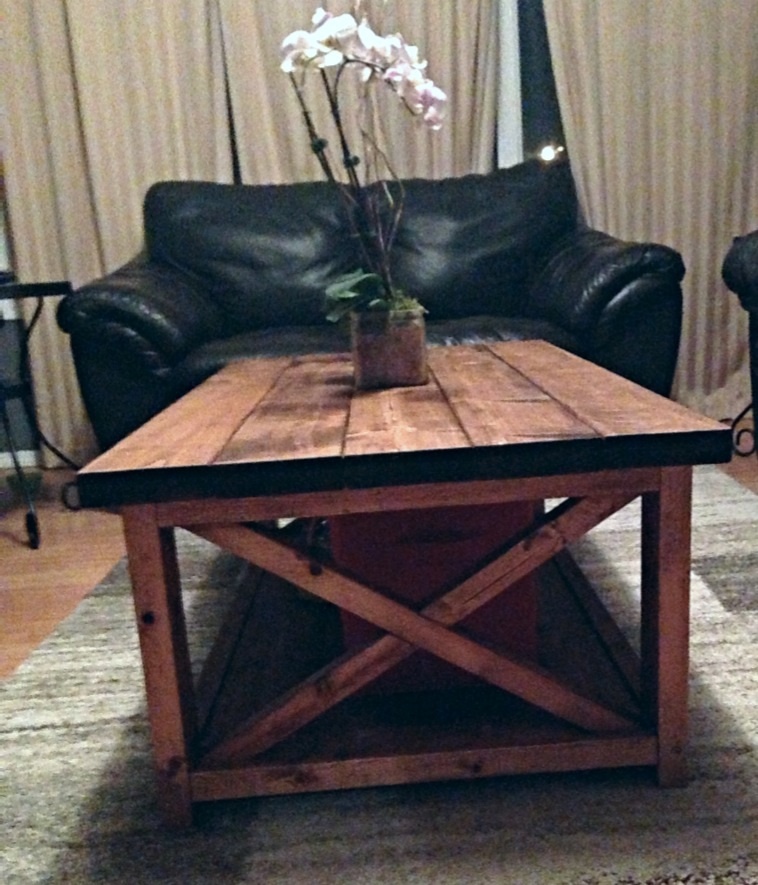
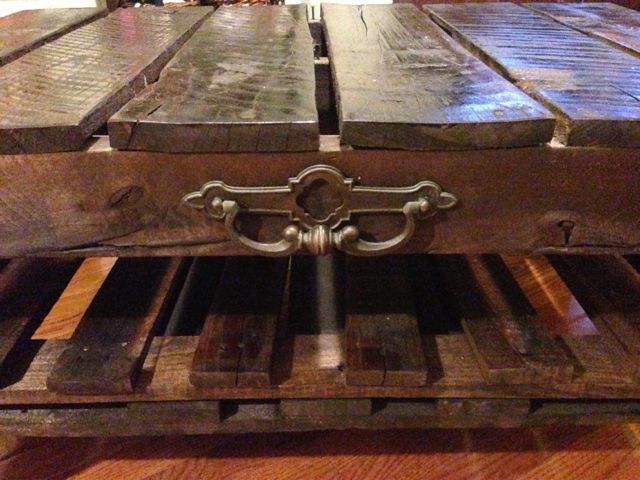
Pallet Rustic Coffee Table with Hinge Top

This is the first piece of furniture I have ever built. I am real happy with how it came out. Spent nearly nothing on it. All the wood is from oak and pine pallets I found on the street. The top piece ended up being the first piece I found and it came exactly as it is, not a typical pallet but was the perfect piece for the top. The brass hinges and lock were found around the house and the front handle is from an old dresser trashed on the curb. The top opens in order to create some easy access storage space. The wheels came off a vintage TV rolling table. Nothing I could afford would have looked this good.


Estimated Time Investment
Weekend Project (10-20 Hours)
Finish Used
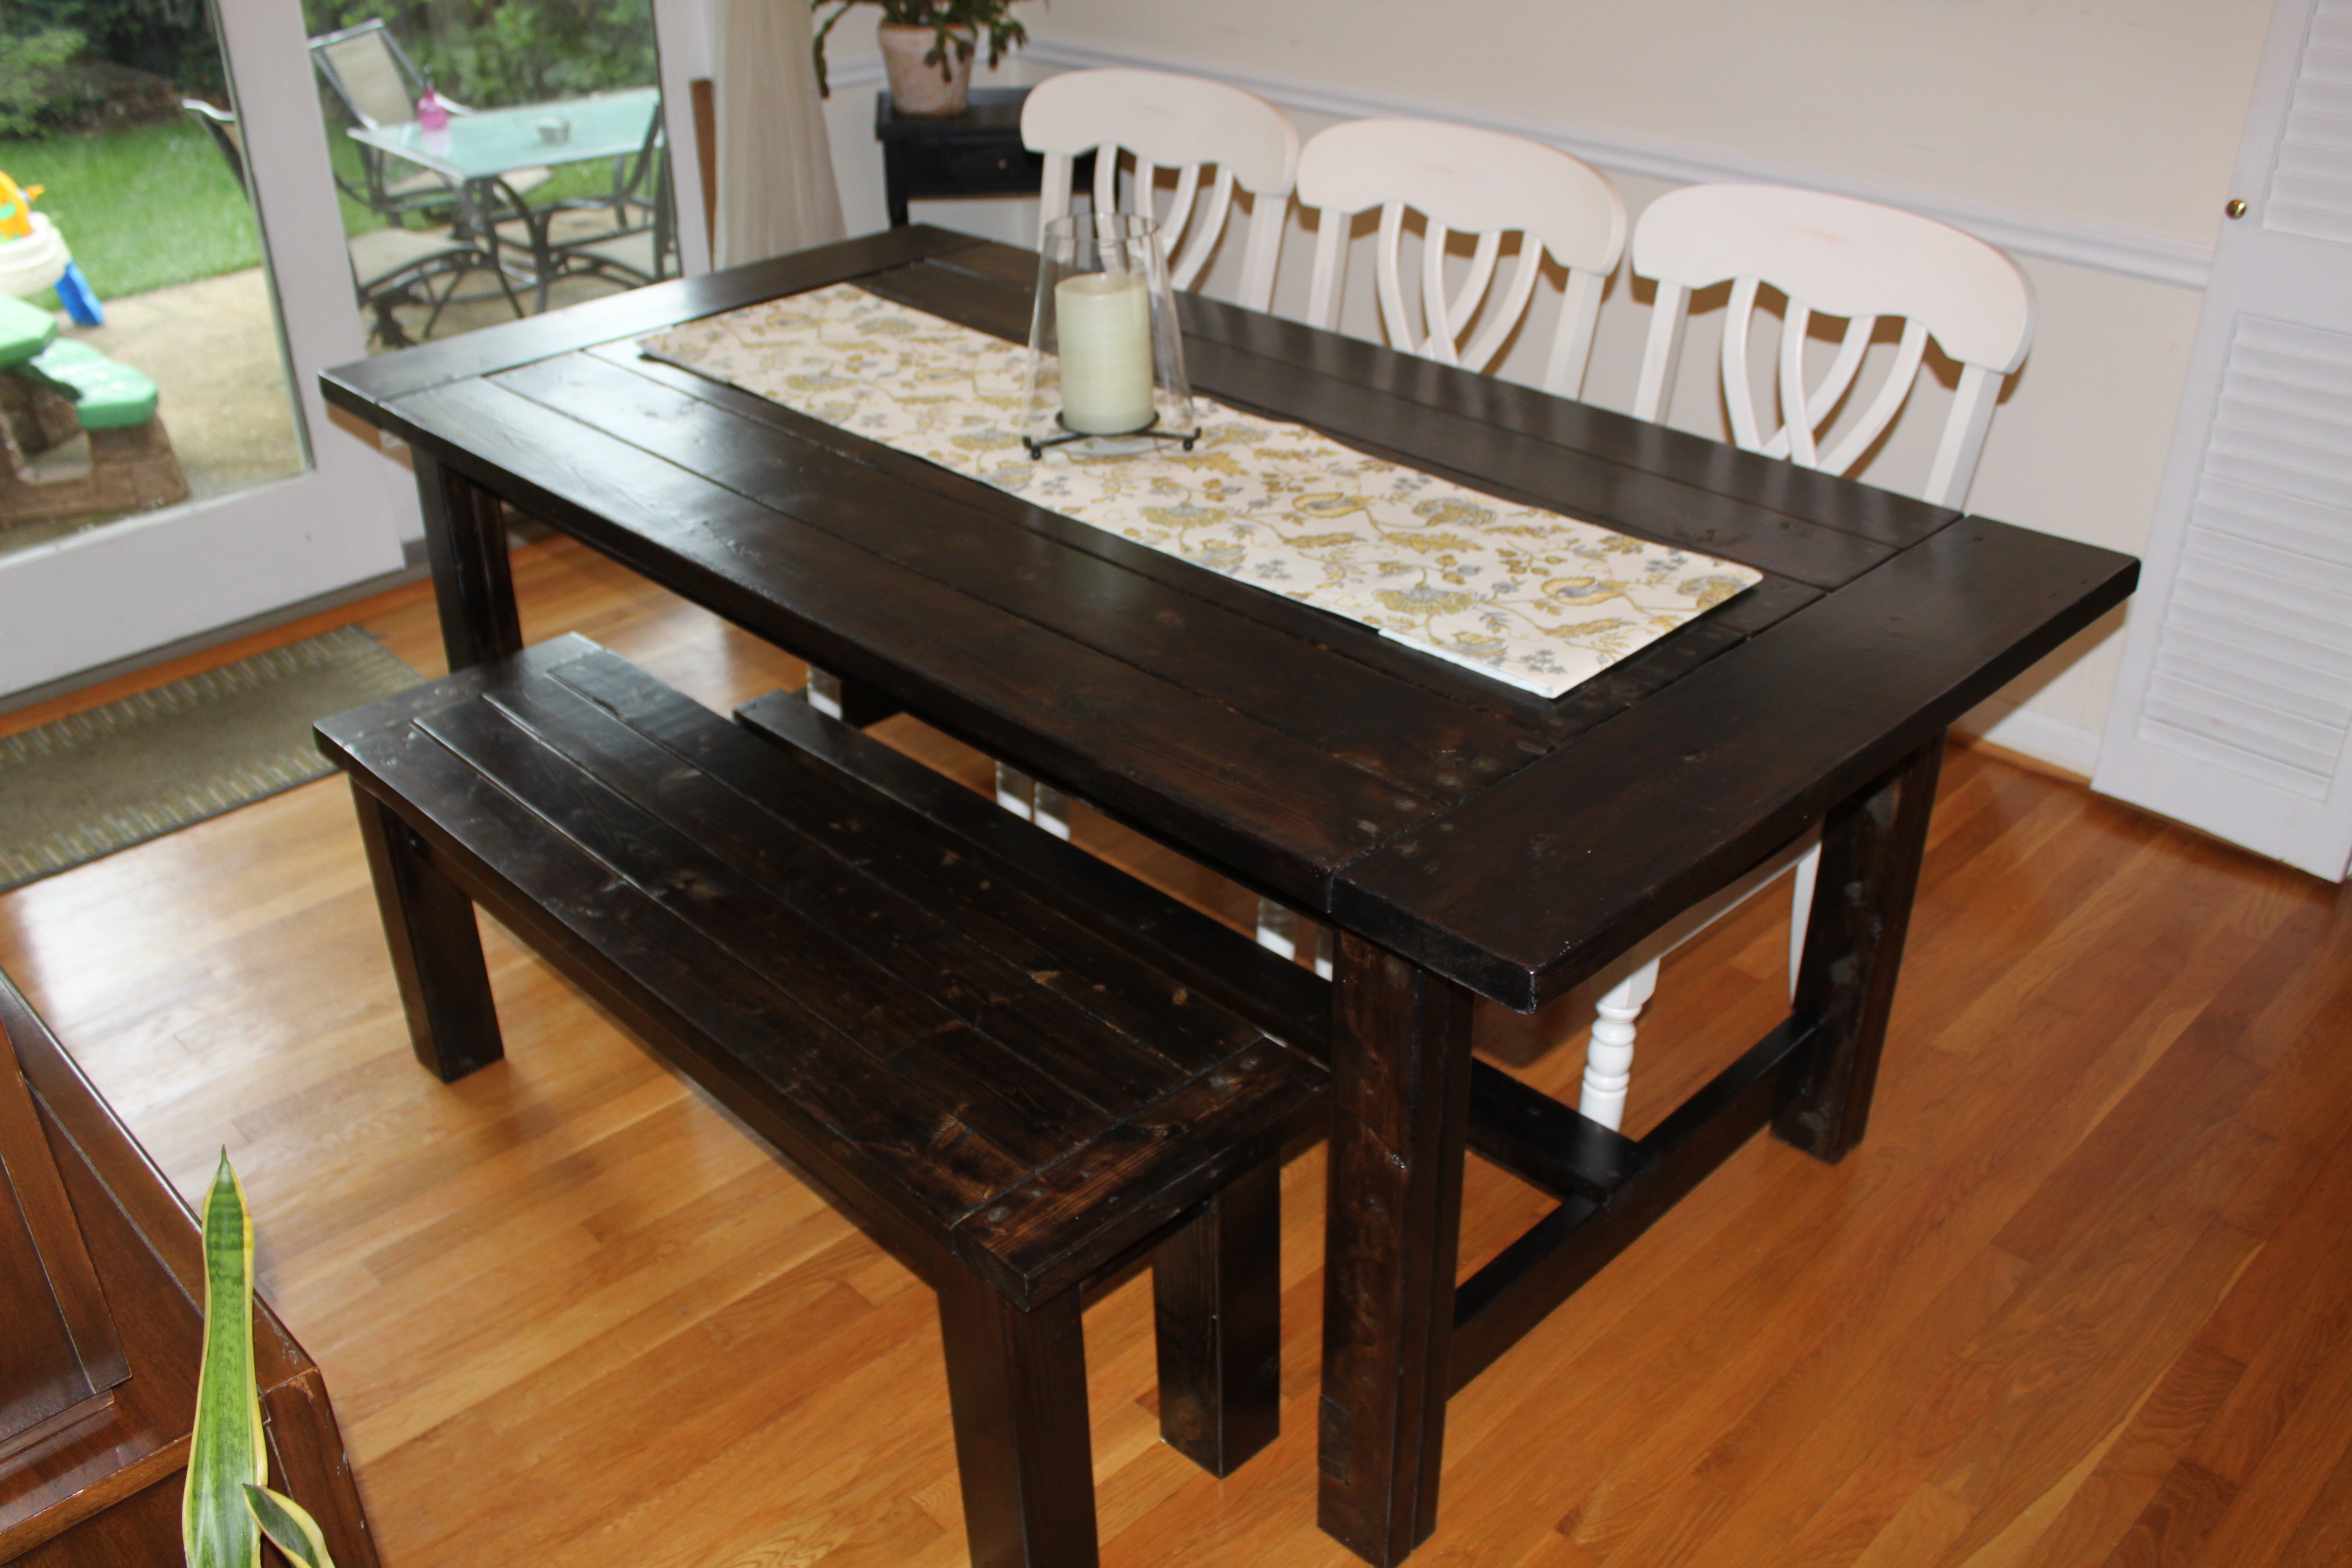
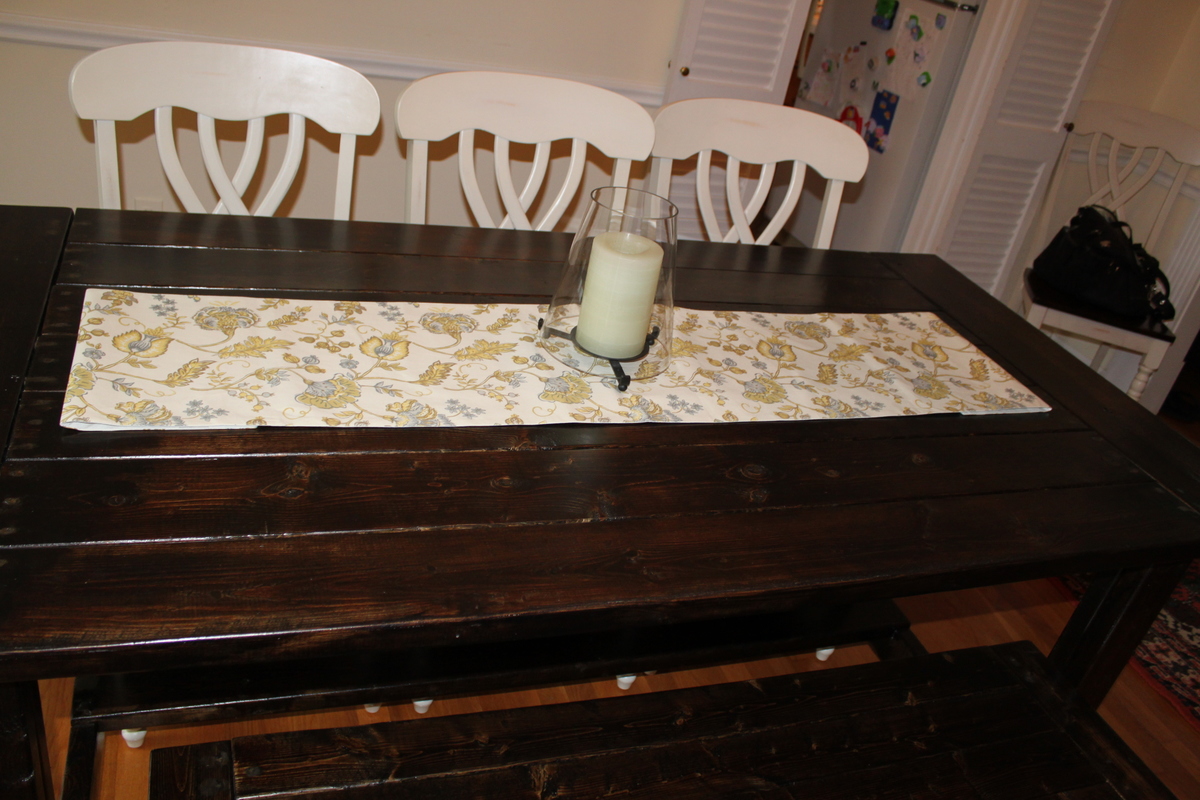
Minwax Jacobean
Recommended Skill Level
Starter Project