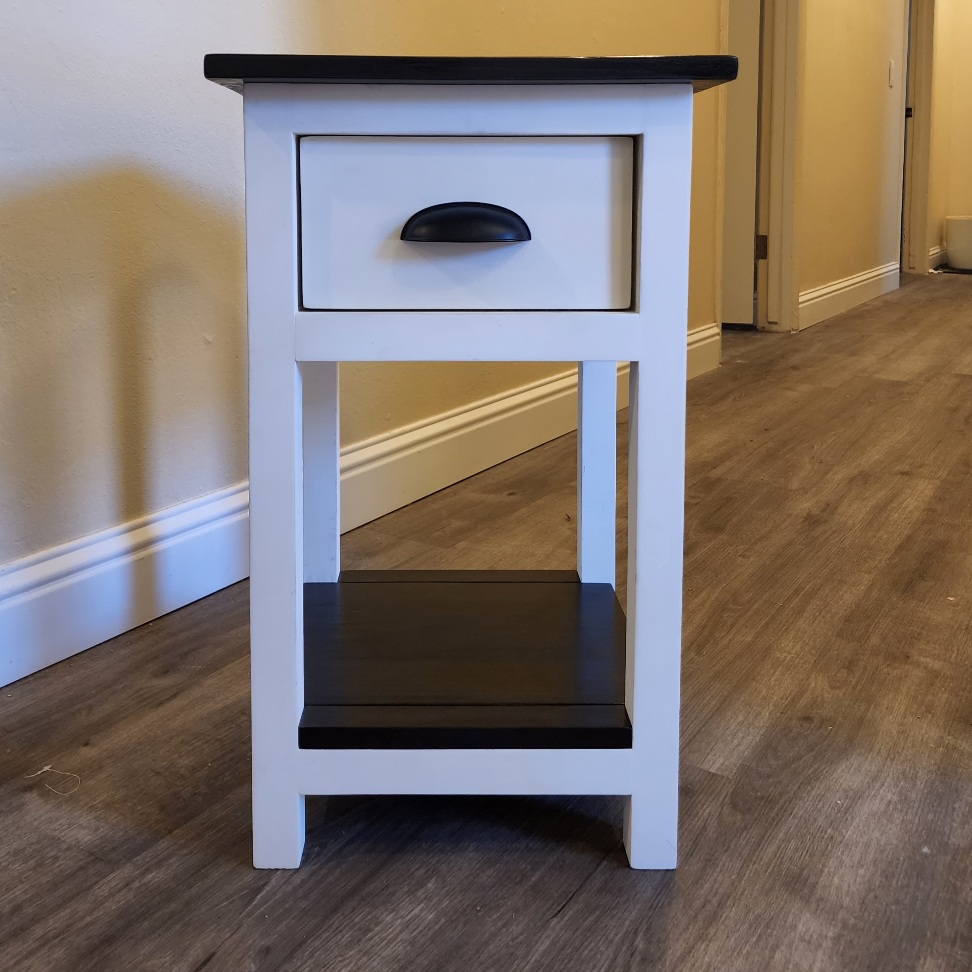
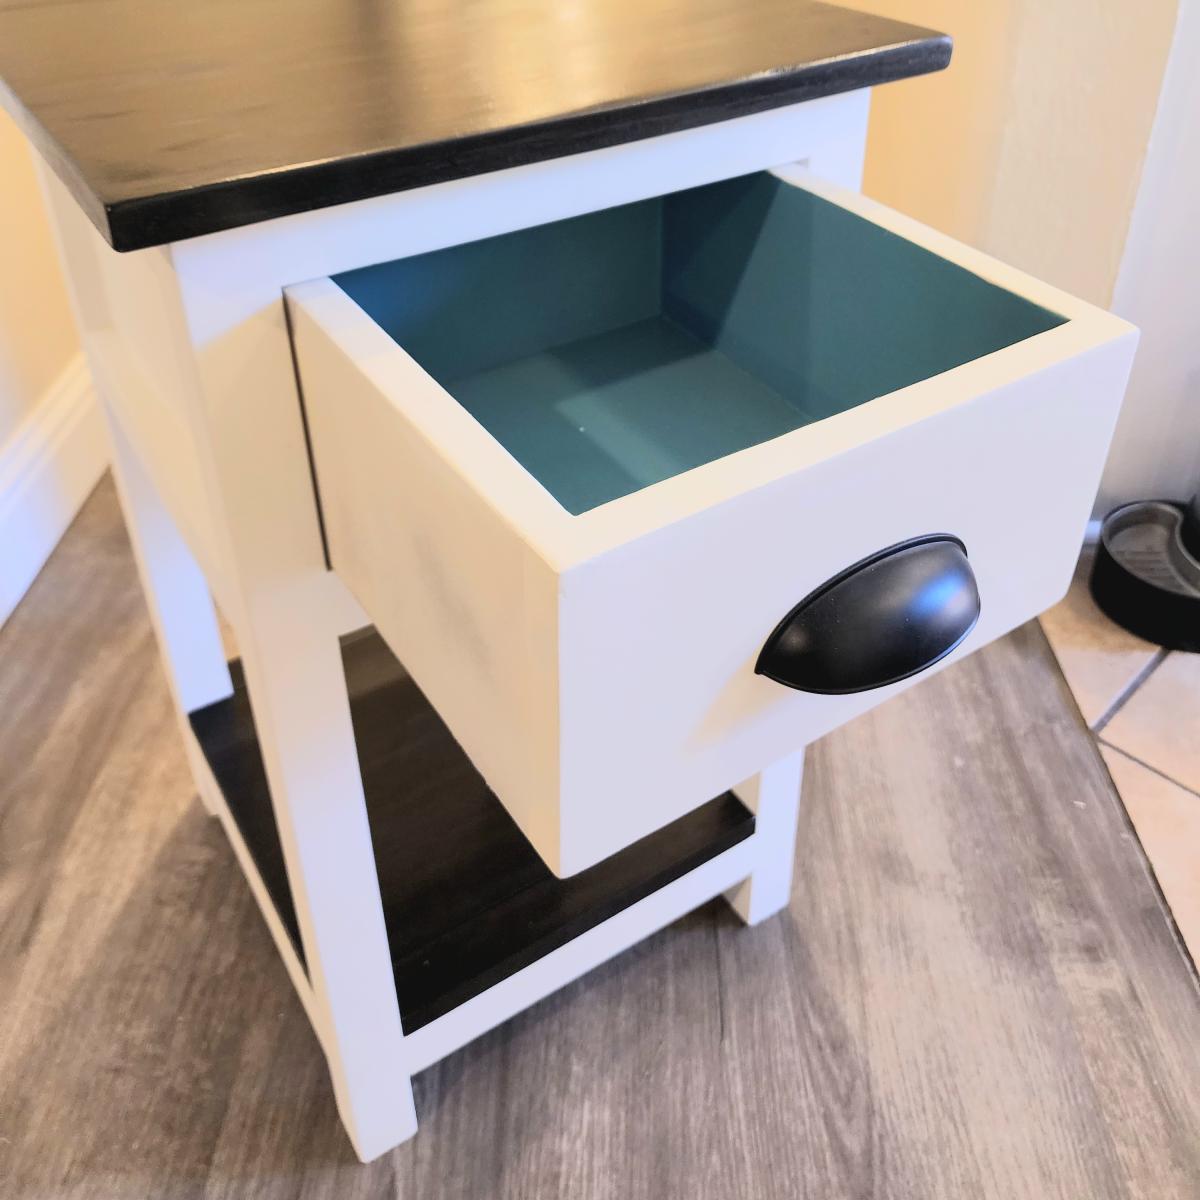
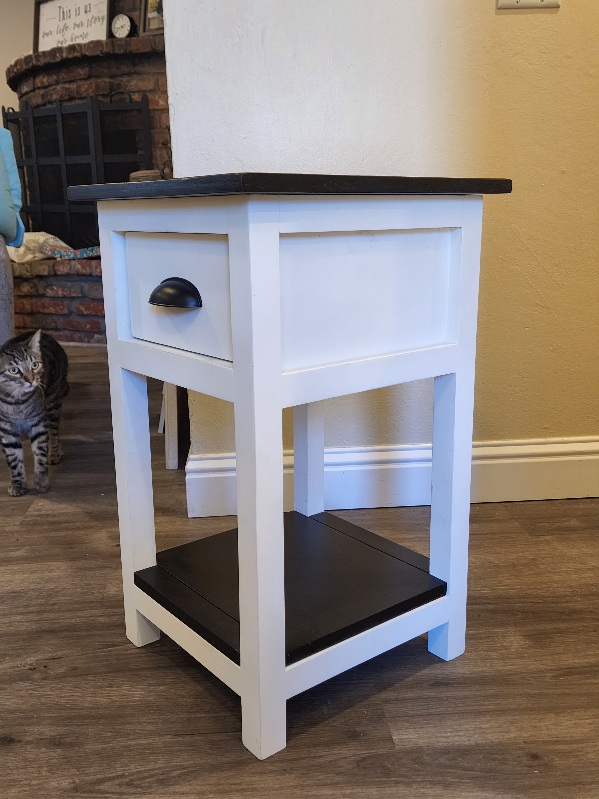
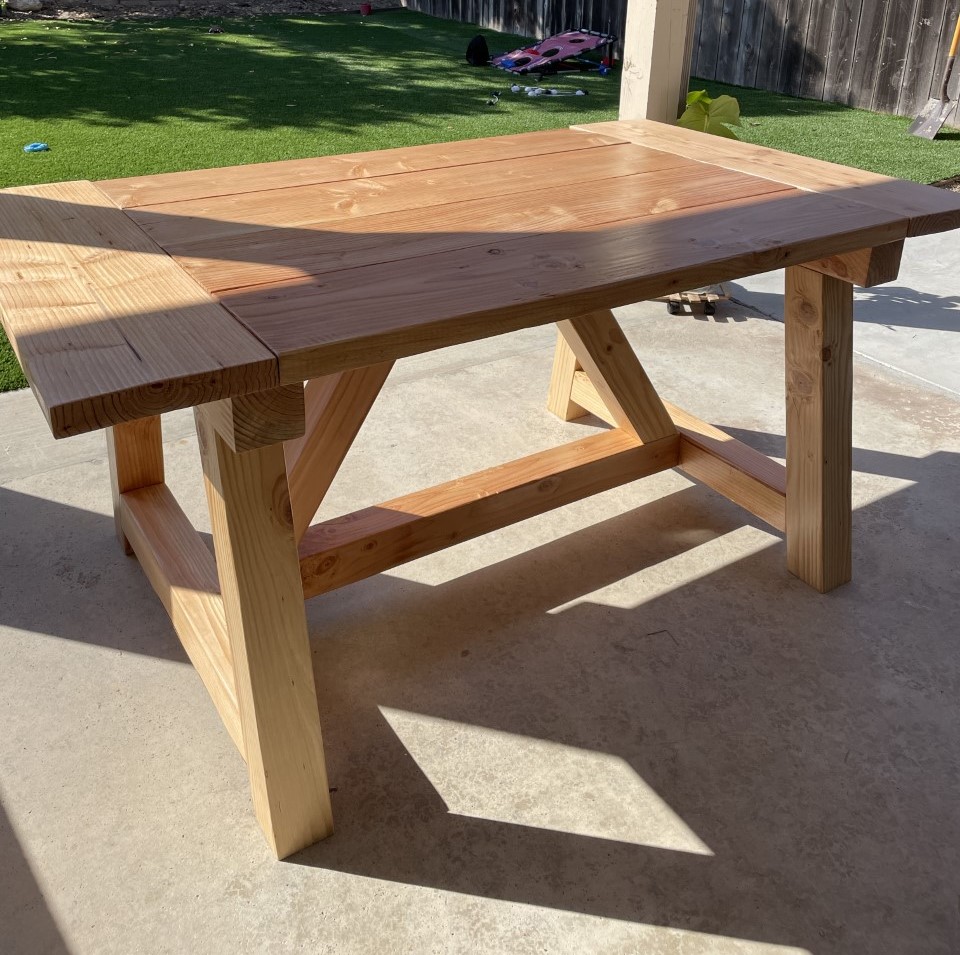
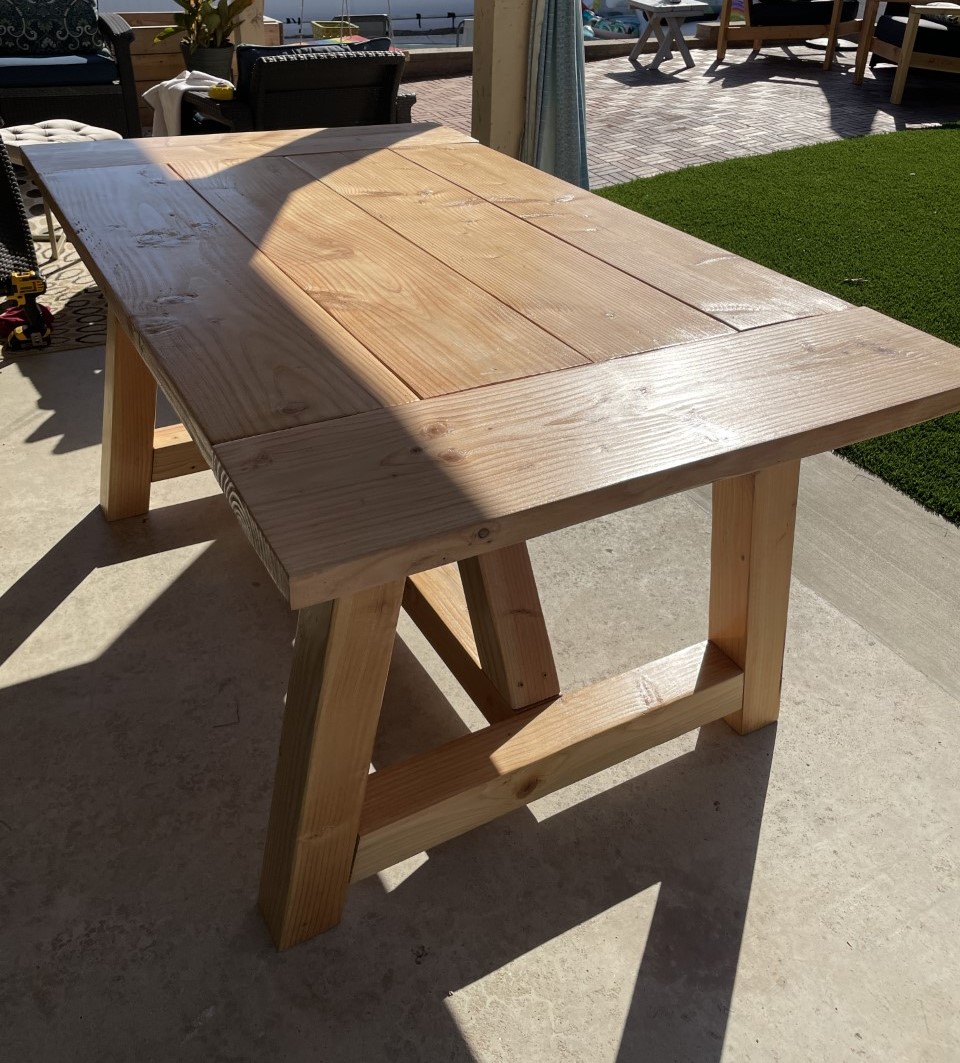
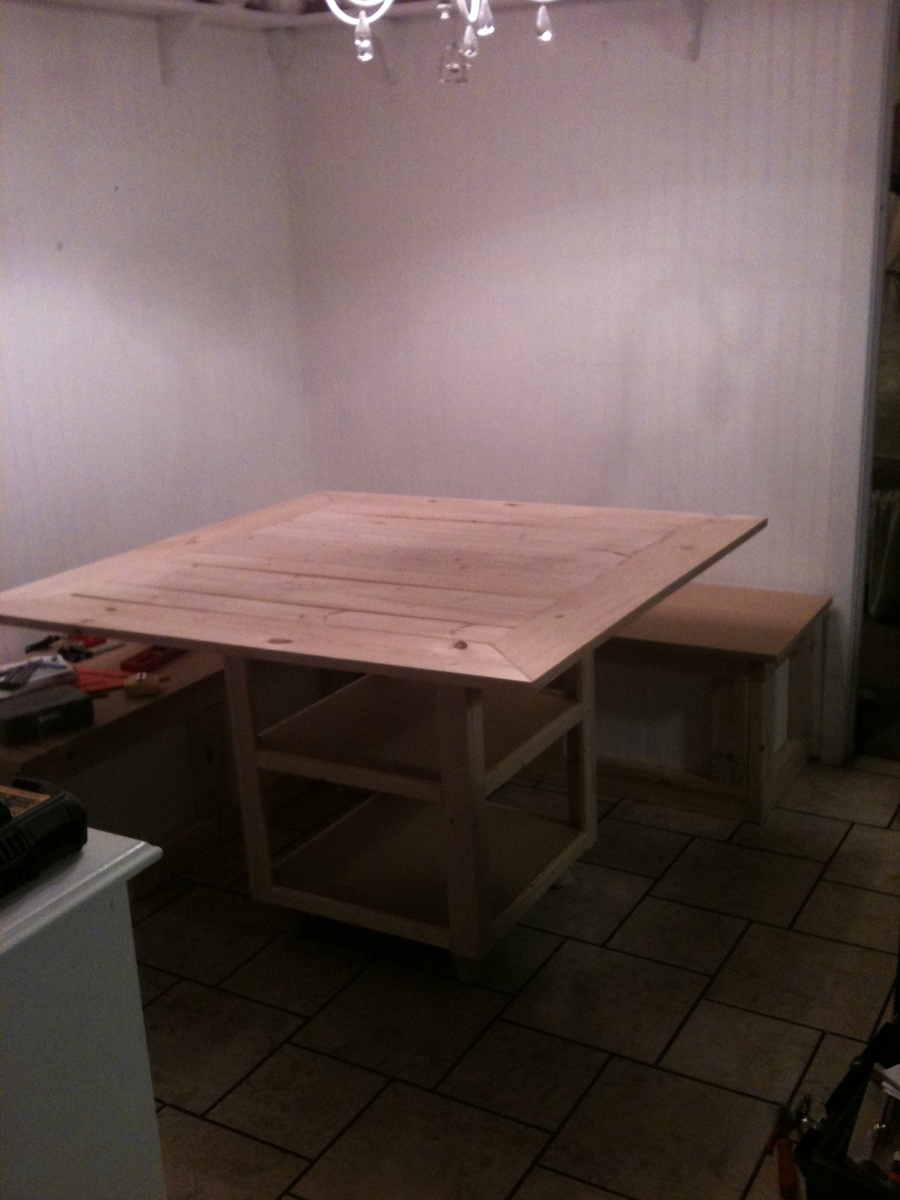
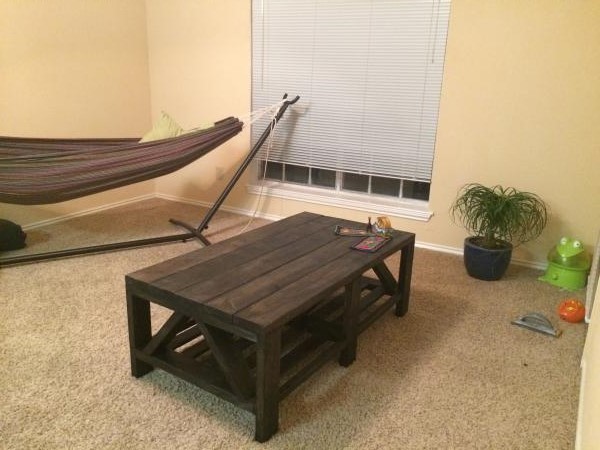
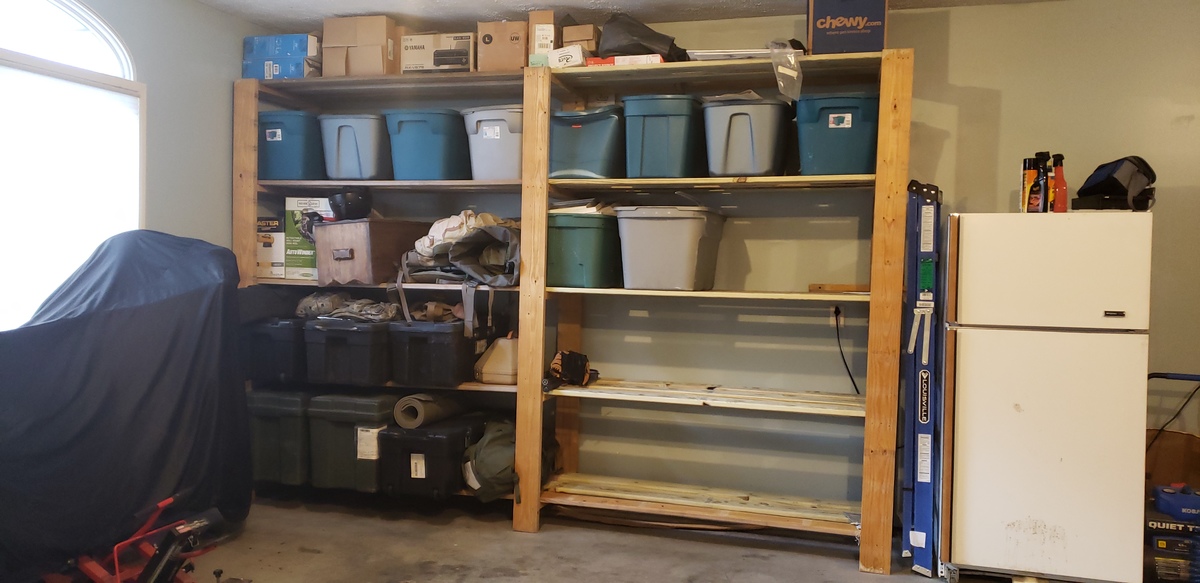
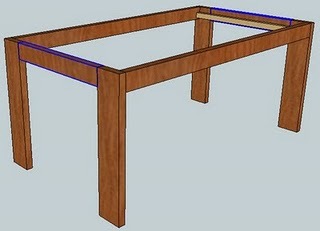
Community Brag Posts

Sawhorse Desk Bases

Submitted by nrc261 on Wed, 10/14/2015 - 14:15

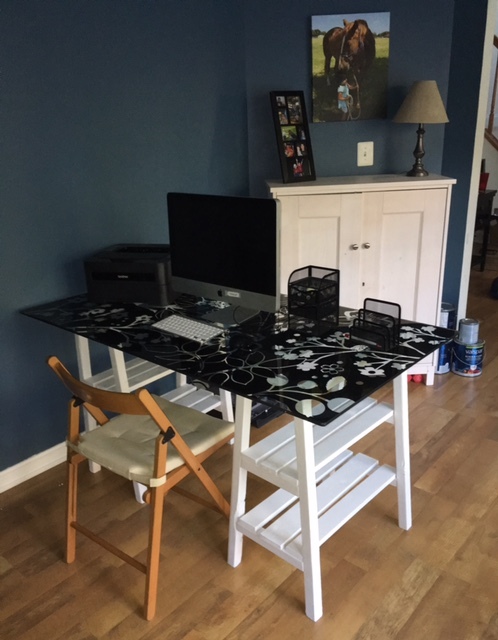
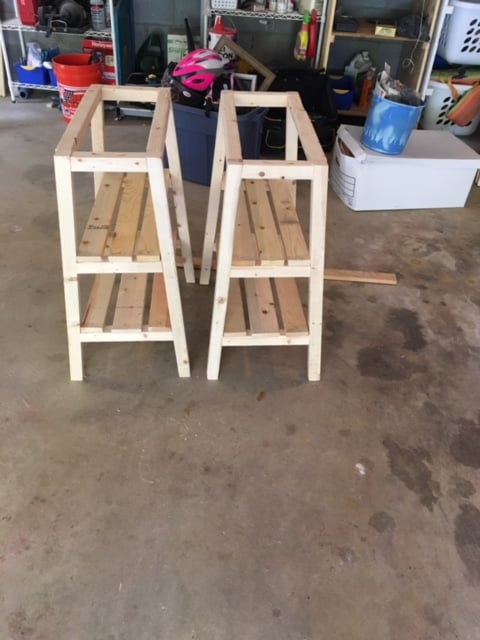
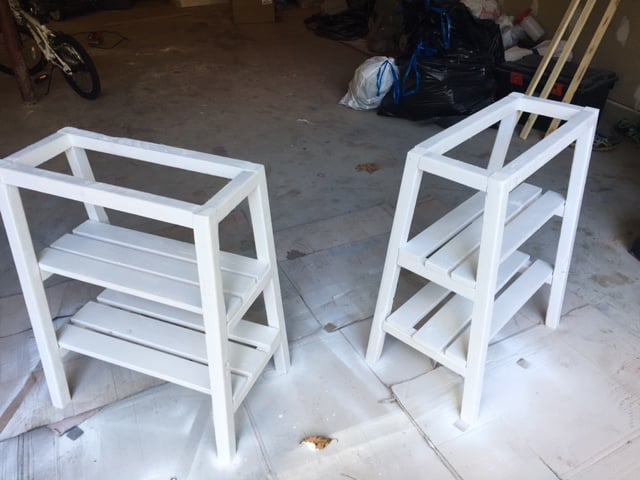
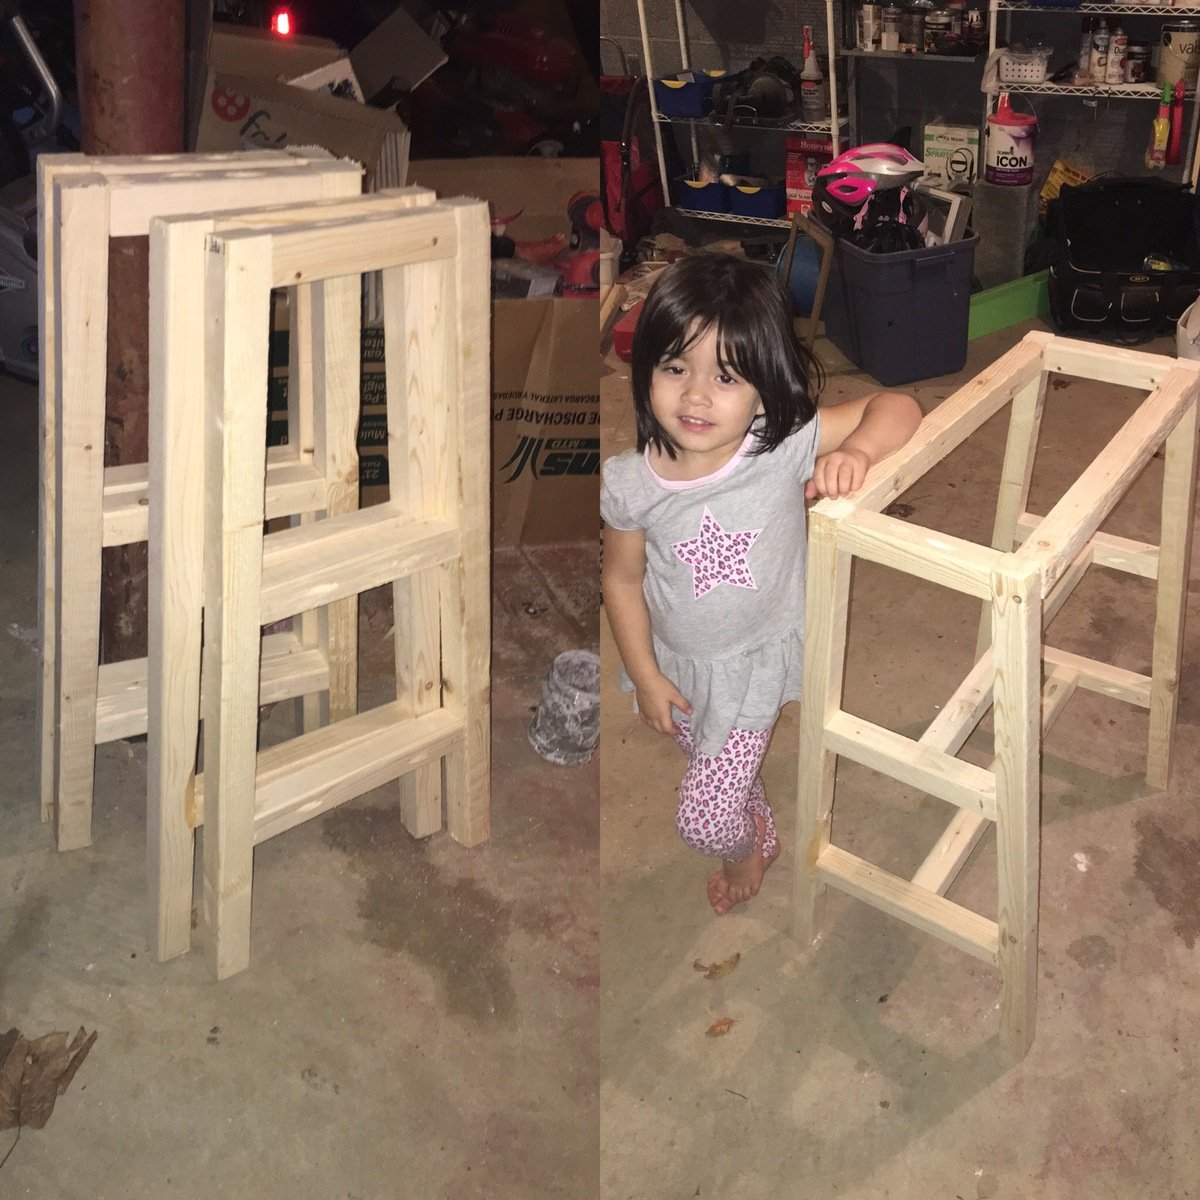
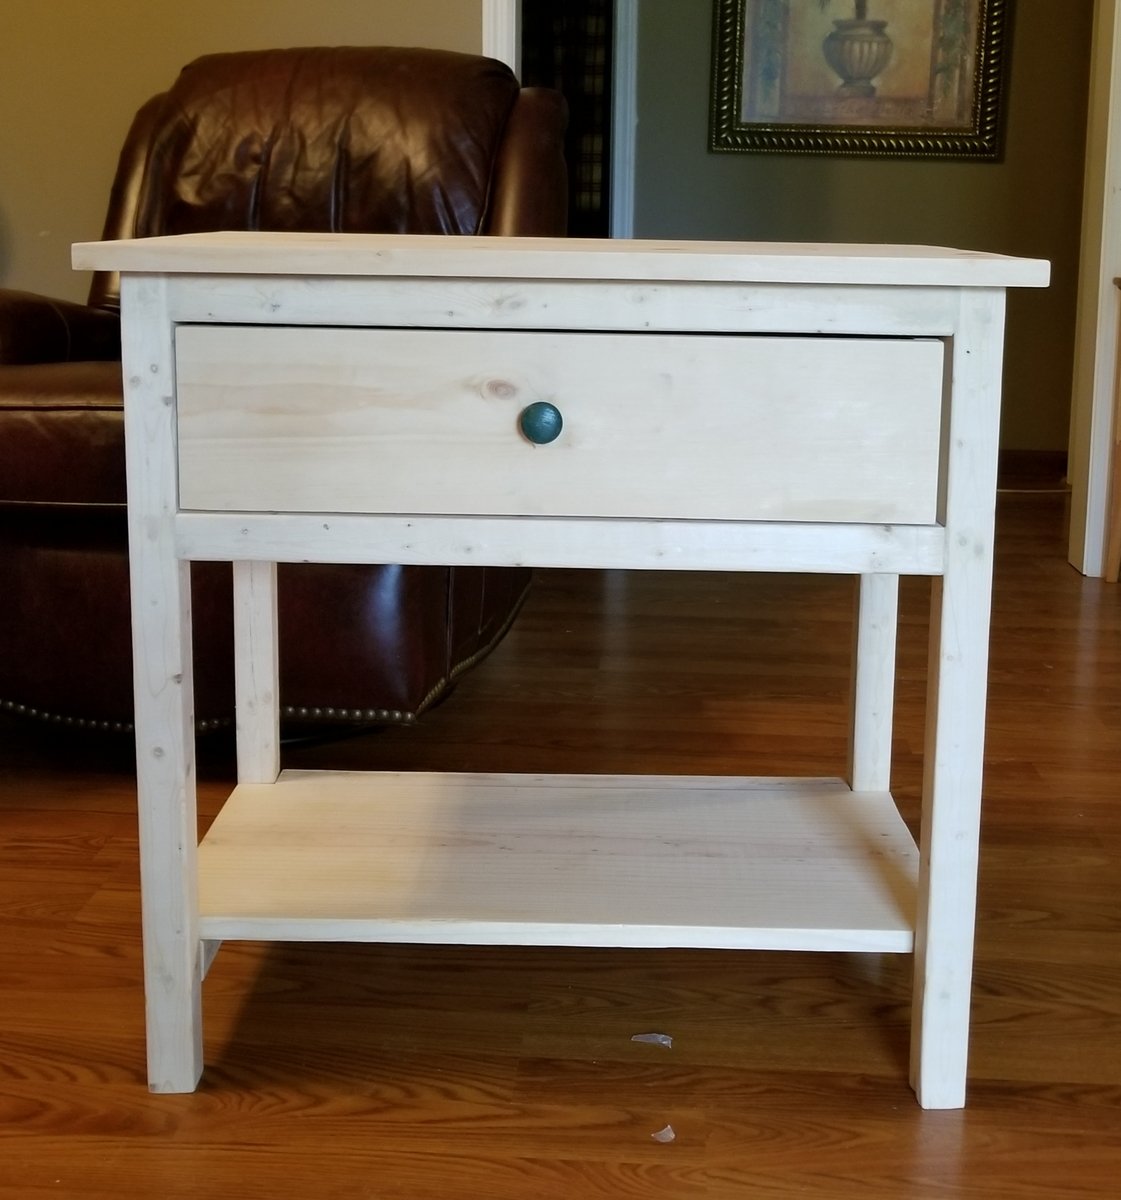
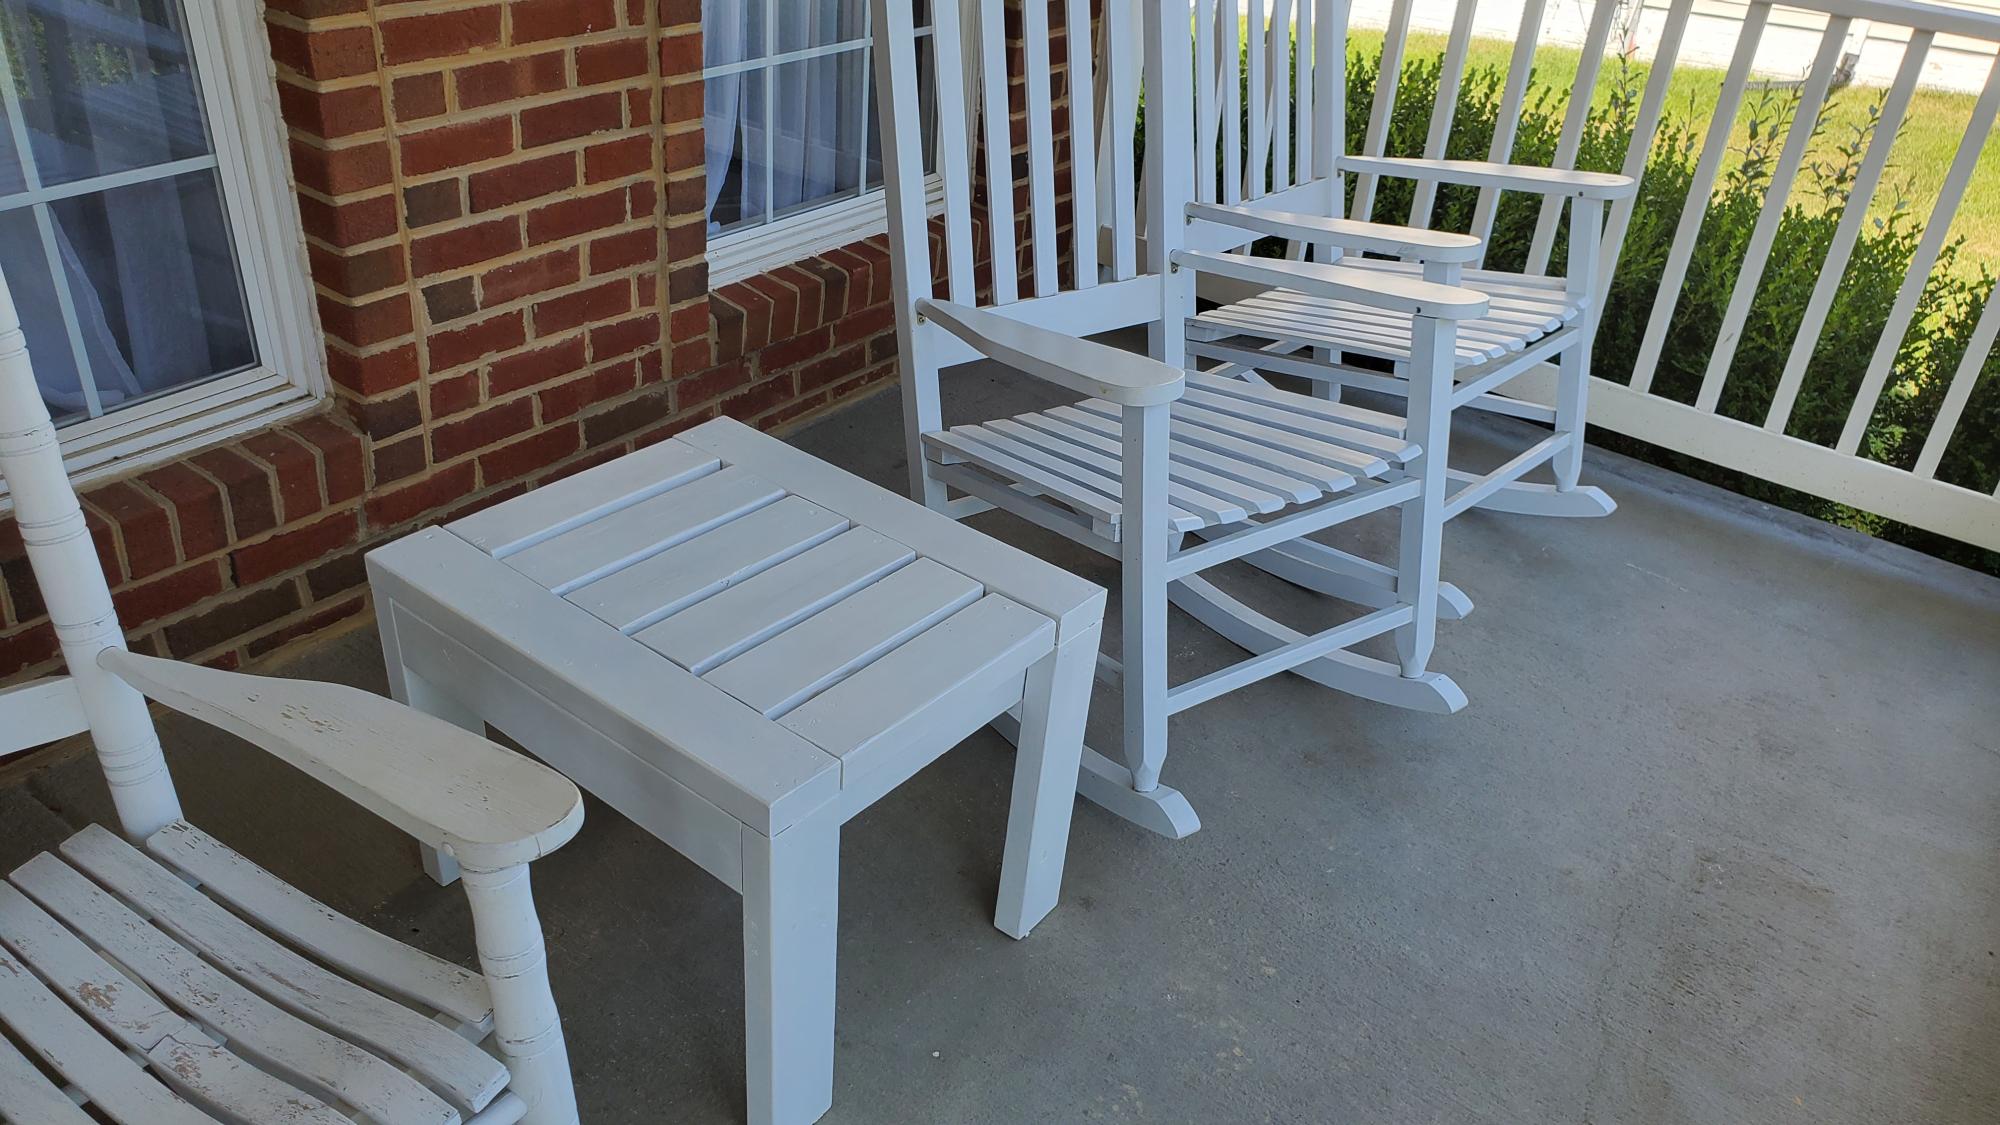
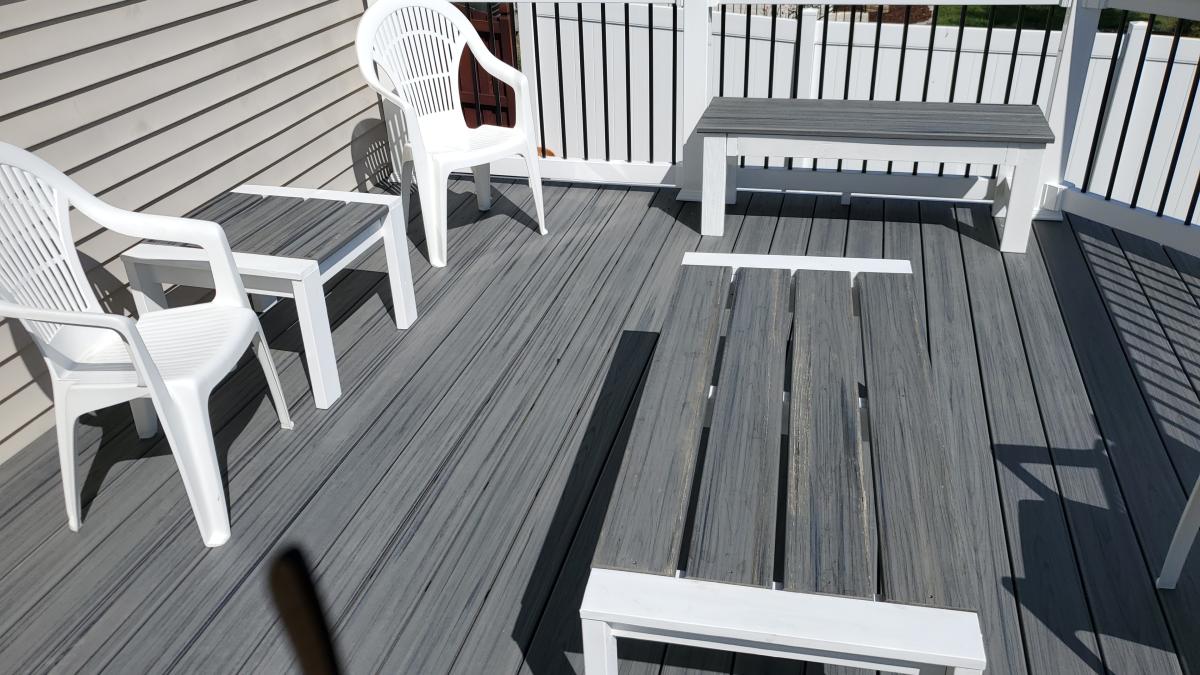
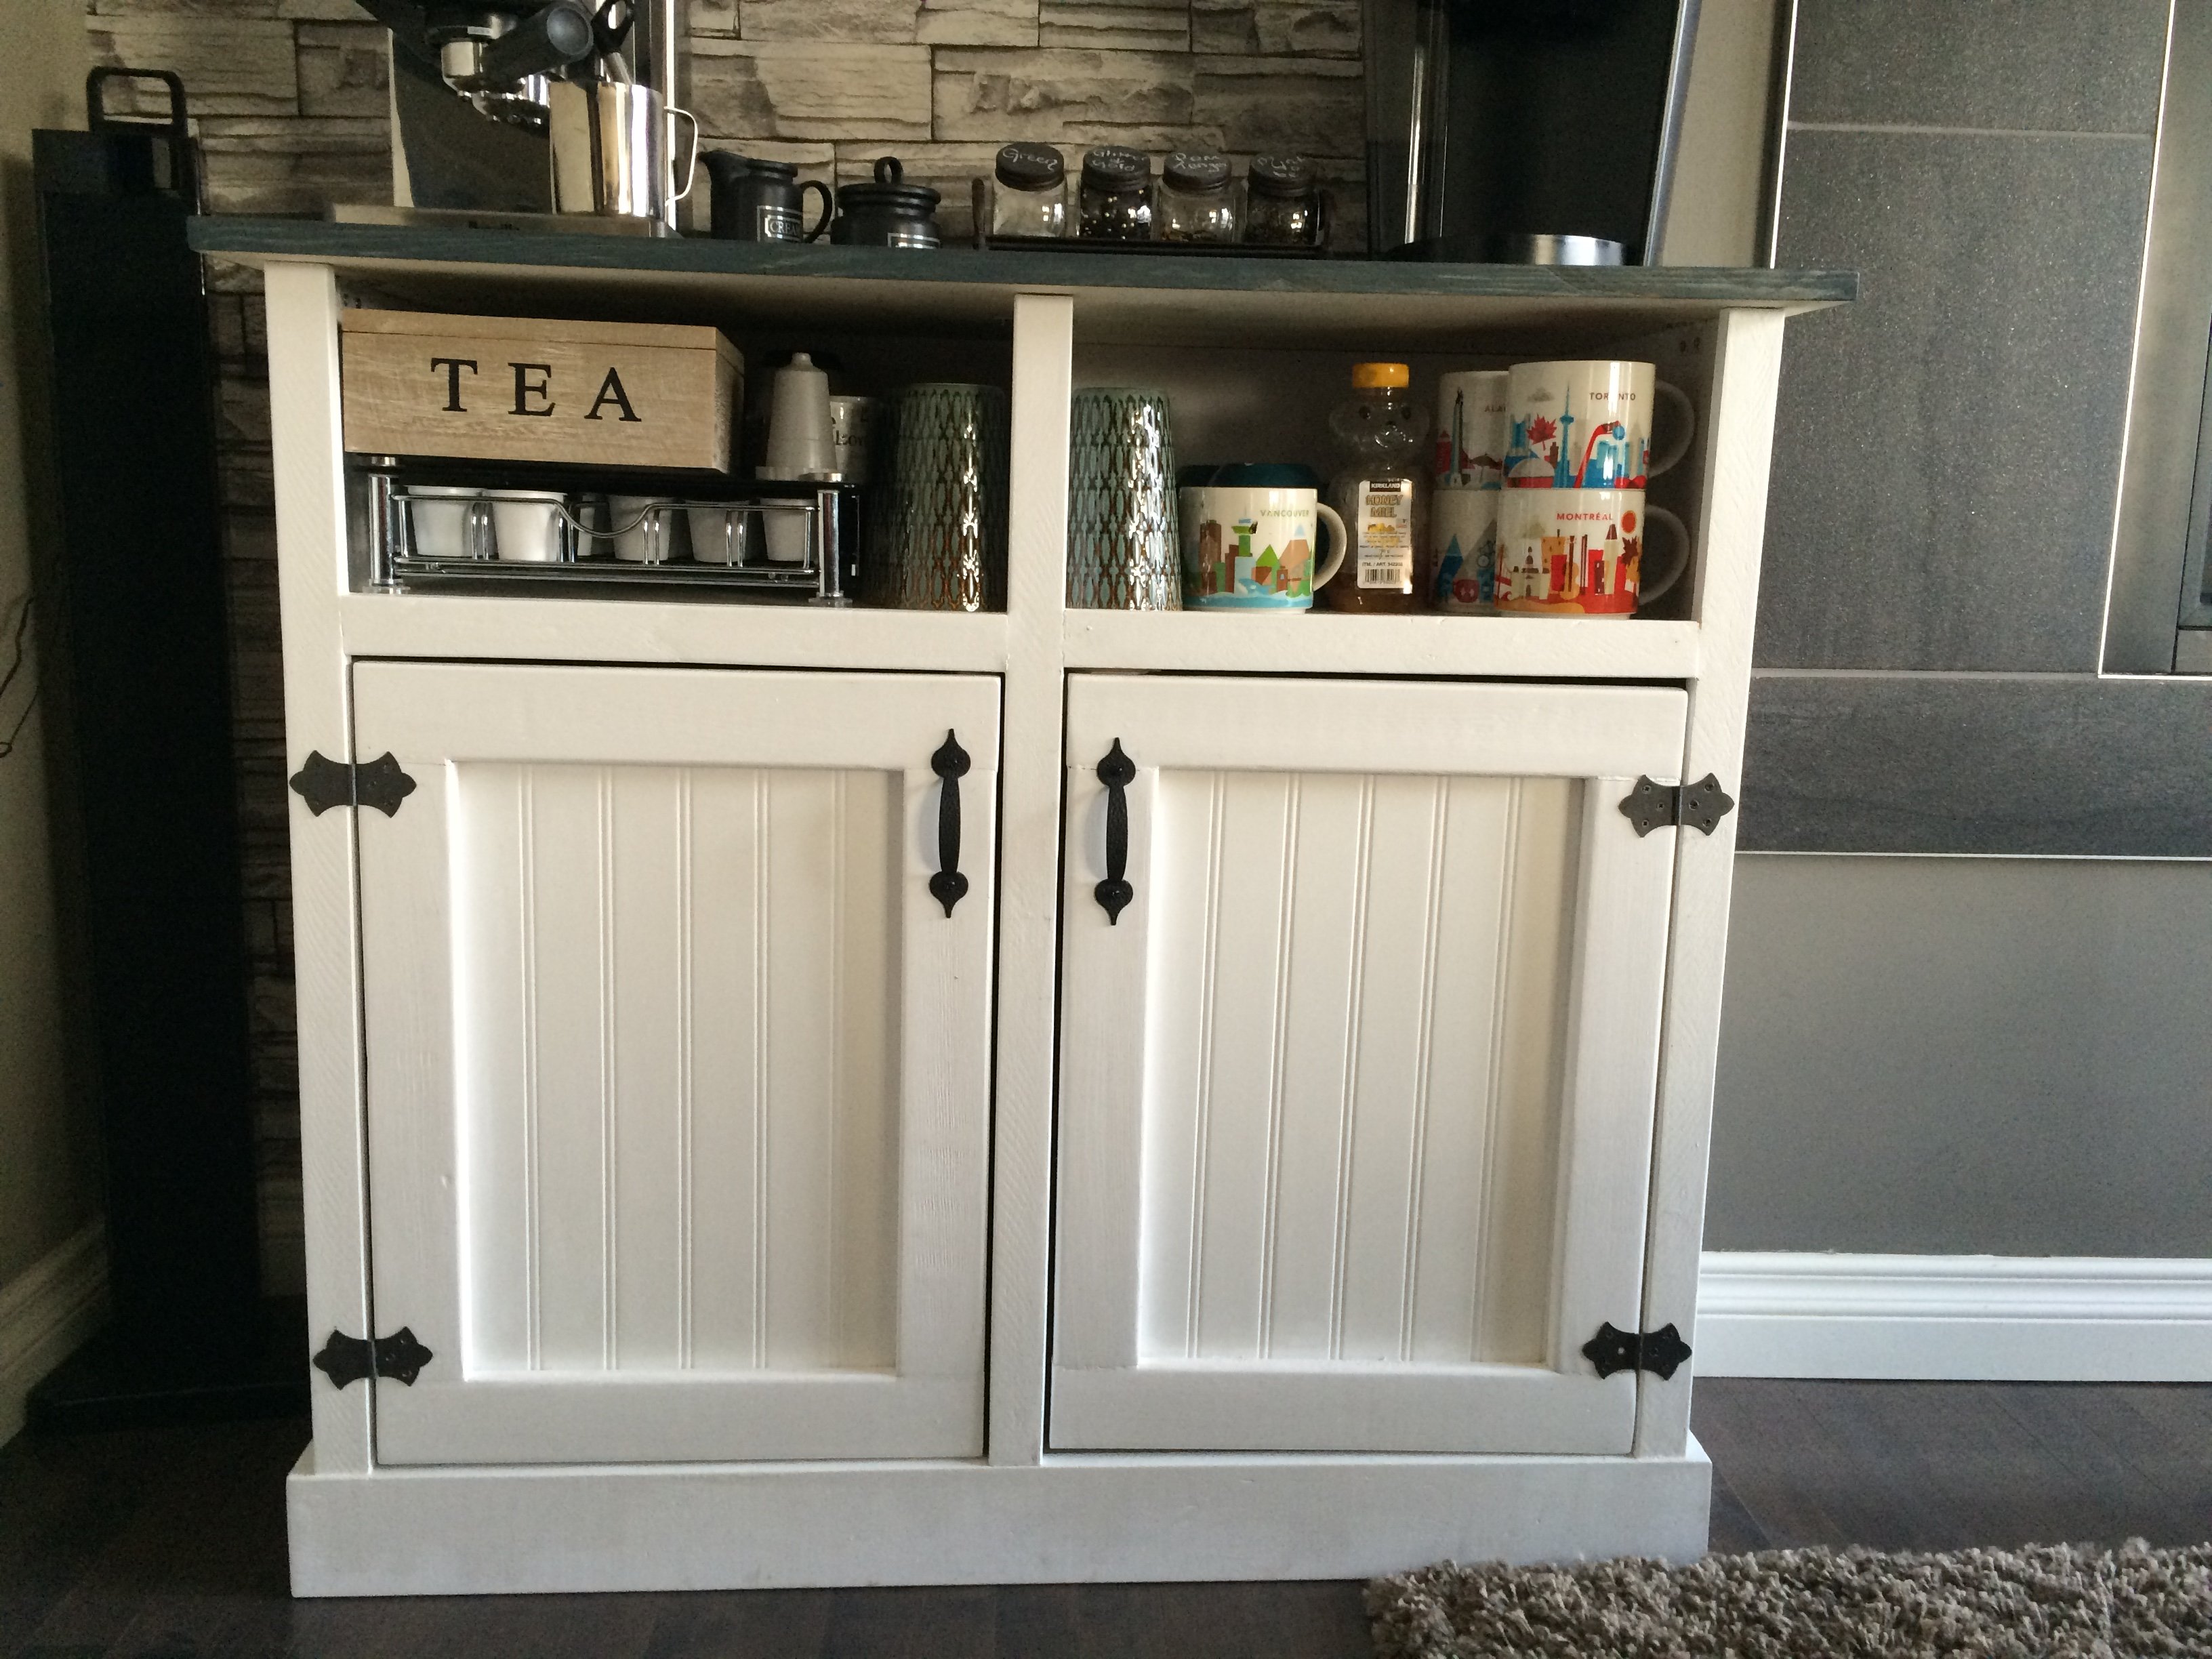
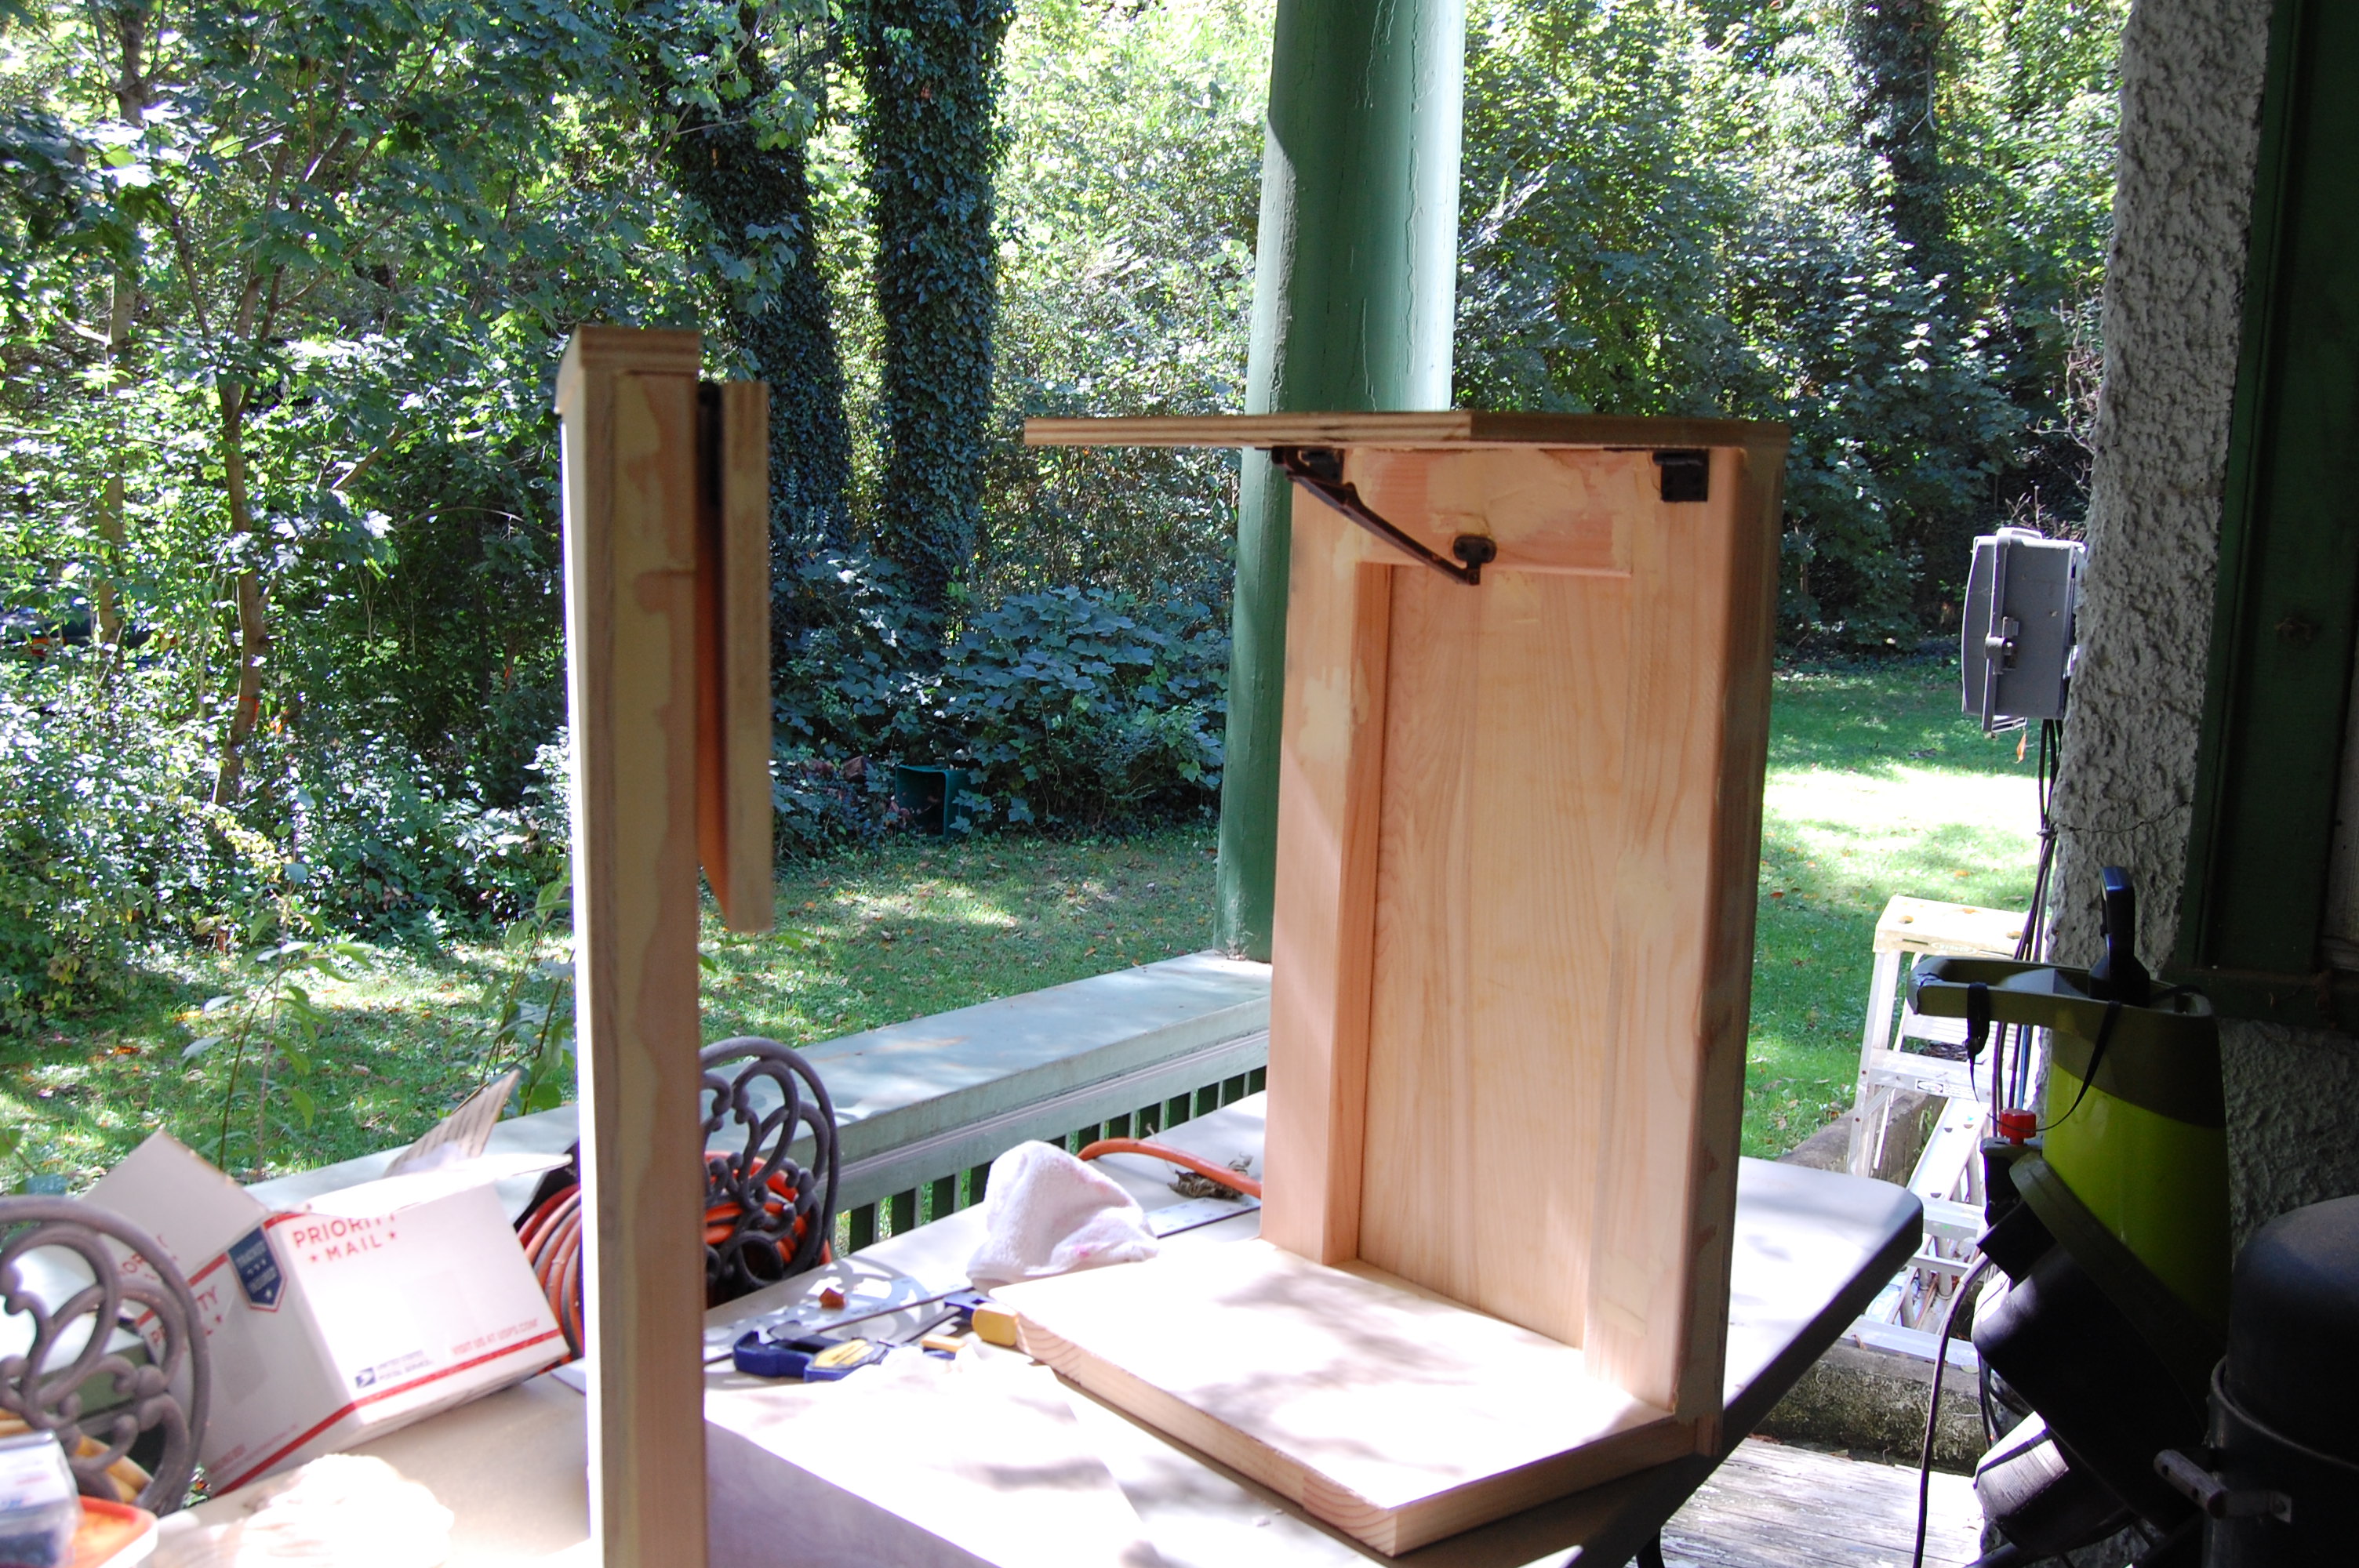
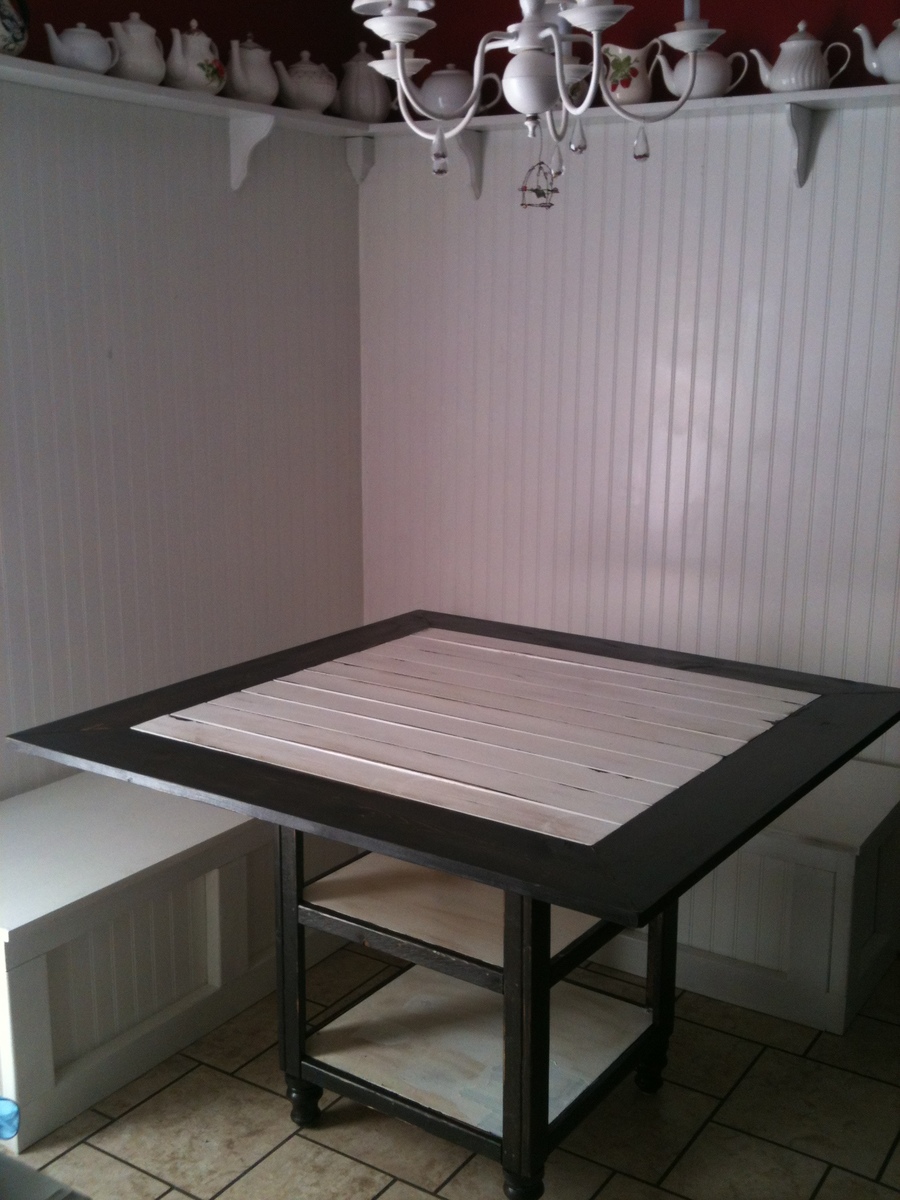
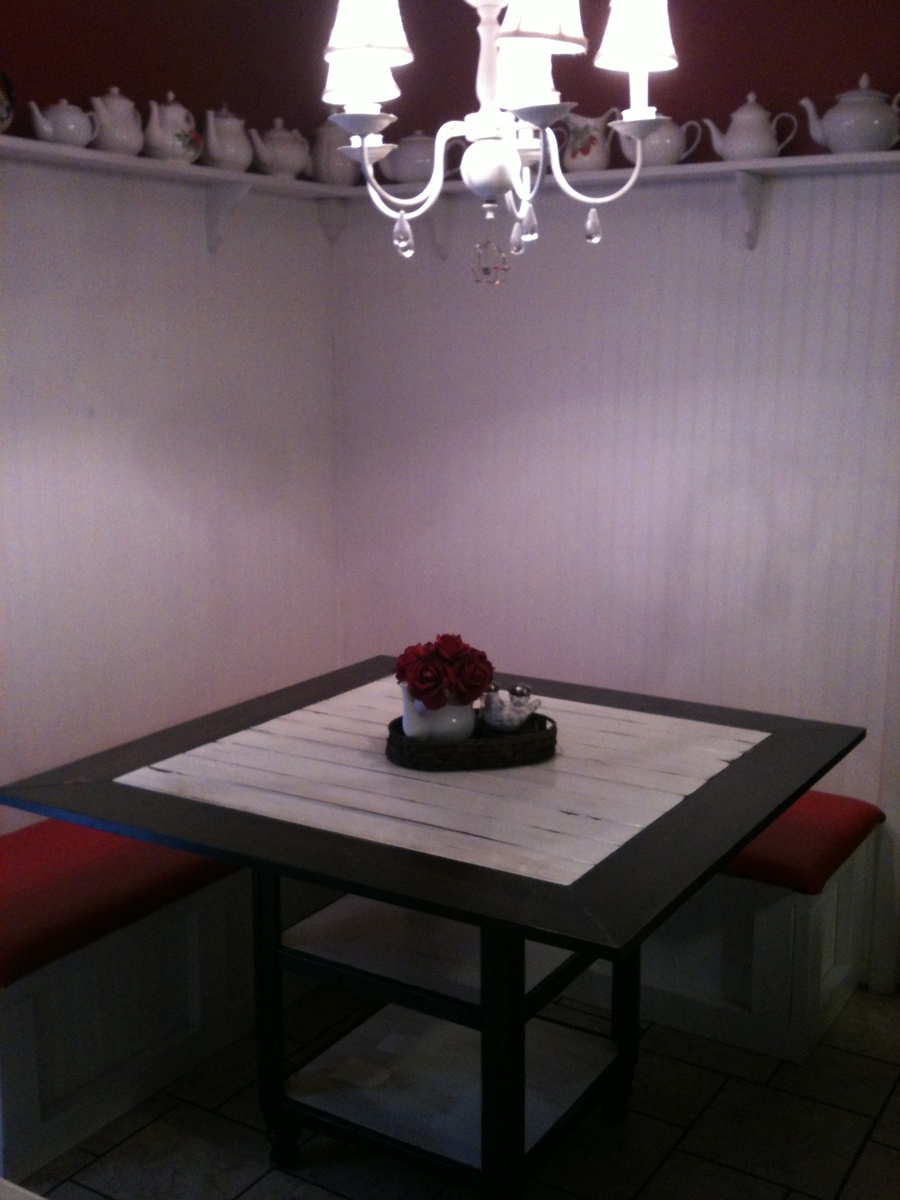
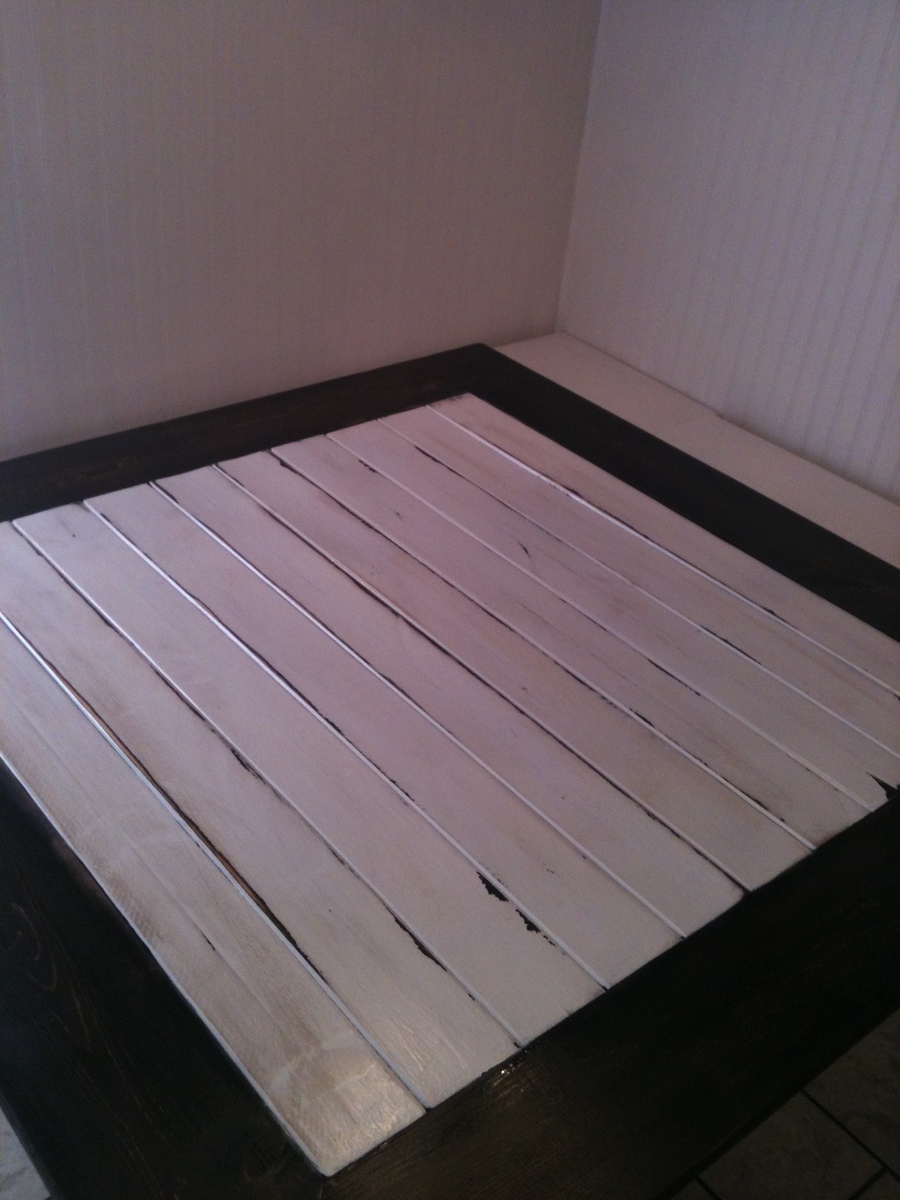
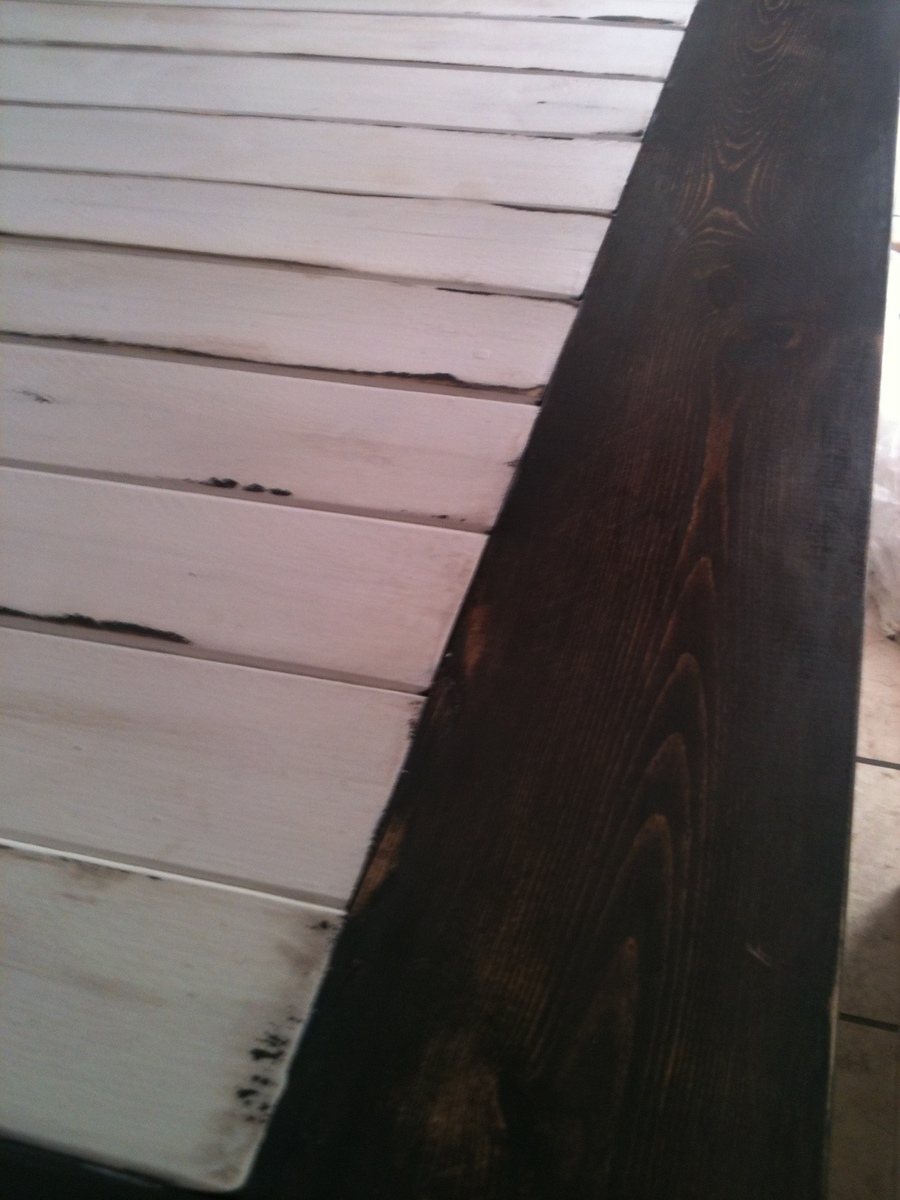
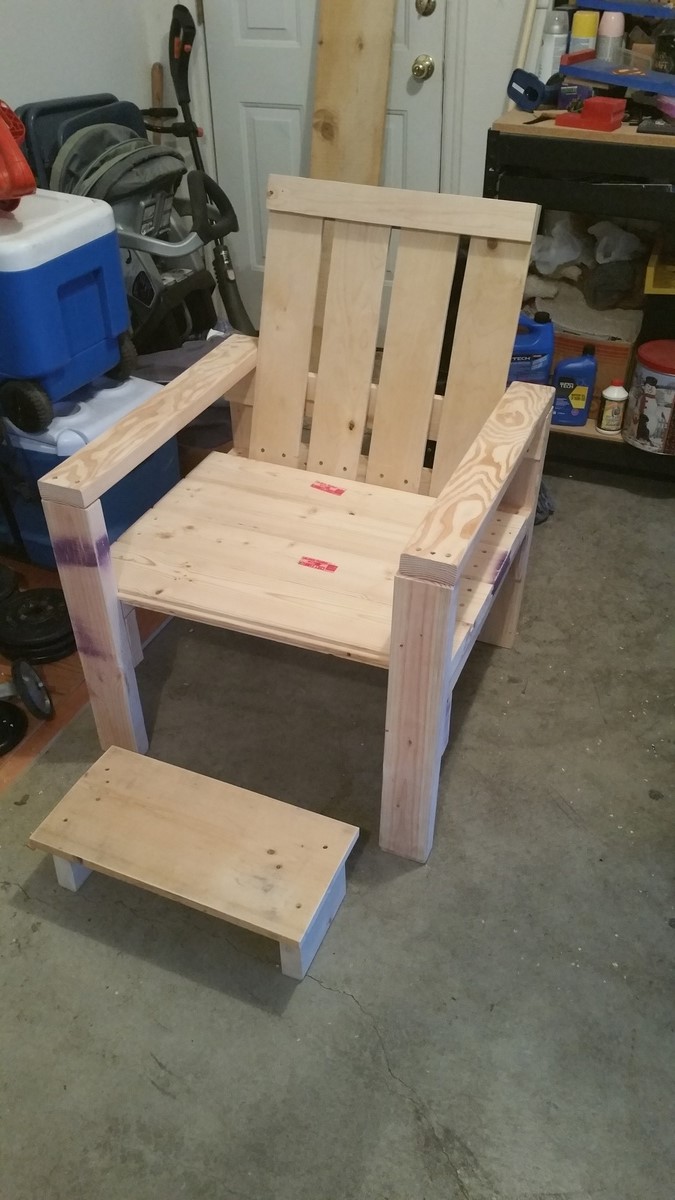
I needed new bases for my glasstop desk. I found the Sawhorse Leg Storage Desk and thought it would be perfect! I am a beginner and this was my first time cutting an angle like 5 degrees parallel and not paralell. The pictures in the instructions really helped me out with that. The units came together pretty easy and I decided to plank the shelves instead of using plywood (because I had scraps on hand and wanted to use those rather than cut plywood). I am a beginner and am still a little weary of using my circular saw too much, so planking the shelves was a better fit for my skill level. I think it turned out really good. I used white satin spray paint and got small clear plastic "bumpers" to pad the top where the glass sits on the bases. 

Built from Plan(s)
Estimated Cost
$20-$25
Estimated Time Investment
Afternoon Project (3-6 Hours)
Finish Used
Rust-o-leum White Satin Spray Paint
Recommended Skill Level
Beginner

Farmhouse Bedside Table 11.04.18

Submitted by Soni_max on Mon, 11/05/2018 - 05:55

I built this for my son and his fiance. I am leaving the staining up to my son. It is only the 3rd or 4th piece of furniture I have built. I still have to build the match for it. I'm sure it will be much better, since I have learned from my mistakes with the first one. 

Built from Plan(s)
Estimated Cost
$50.00
Recommended Skill Level
Beginner

Comments

Soni_max

Tue, 03/26/2019 - 11:01

I am a true fan of your plans, site, and projects. Any time I want to build something new, I always check your site for ideas. You are an inspiration. 

Thanks,

Soni Max

Memphis,TN

Outdoor Tables and More - Thank You

Submitted by rhogle2000 on Thu, 08/04/2022 - 09:04

Thank you the inspiration!
I'm a retiree and beginner woodworker, through your videos I used leftover lumber and Trex decking from new deck to make two side tables, coffee table, and a bench.
Thank you so very much!

Built from Plan(s)

Comments

Shanty Open Shelf Coffee Station

Submitted by A_Soto on Wed, 10/21/2015 - 13:01

The first 'from scratch' project my husband and I have completed. For extreme beginners, definitely simple to put together for an amazing finished piece. 

Built from Plan(s)
Estimated Cost
$120
Estimated Time Investment
Day Project (6-9 Hours)
Finish Used
Extra storage in our main living/kitchen open area. Gave us tons of extra counter space by having a place to put our Keurig and espresso machine. Flat white paint, Charcoal stain used on top with polyacrylic finish. Spray painted hardware with Soft Iron spray paint.
Recommended Skill Level
Beginner

Mug tree

Submitted by SoCalMom on Wed, 11/14/2018 - 17:22

Fun and easy build to use up some scraps and try out some finish techniques and router edging. Not perfect because I was getting the hang of a new router, but perfect low commitment project to practice on. I only did 2 hooks for my needs and preferred not having to knob on top. 

Built from Plan(s)
Estimated Cost
$2 for hooks maybe? Everything else I already had on hand.
Estimated Time Investment
An Hour or Two (0-2 Hours)
Finish Used
Vintage aqua stain followed by weathered grey stain and a coat of poly. F
Recommended Skill Level
Starter Project

My very first woodworking project!

Submitted by Anonymous (not verified) on Fri, 08/12/2022 - 07:31

Just bought myself a miter saw and this was my first ever woodworking project... had a lot of fun putting it together. I opted to build the back the same as the sides rather than just putting the piece of plywood as suggested in the plans (and shortened the length of the drawer accordingly), so I could add a surge protector/usb port with extension cord in between the trim boards since the outlet placement in my bed is horrible and requires pulling out the bed from the wall anytime we need to plug something in. Took a bit longer than anticipated, with never having built anything before, but now that I know what I'm doing I expect the 2nd one to go much quicker!

Comments

"Big Ur" Table

Our first Ana build - the "Big Ur" table to match our existing Crate and Barrel "Basque" chairs and bench. We LOVE IT!! More info on our blog strawbridgestuff.com - check it out!

Estimated Cost
$75
Estimated Time Investment
Weekend Project (10-20 Hours)
Finish Used
Minwax stain in "ebony"
Recommended Skill Level
Starter Project

Comments

Keri Beth (not verified)

Wed, 08/10/2011 - 07:38

I've been waiting for someone to post a brag post for this table! Yours looks great. I'm thinking of making one for my first project as well. Couple of questions: What did you use to cut the 4x4s? And is the plank tabletop smooth enough to, say, write a letter on, or are the grooves too deep for that?
Thank you!

In reply to by Keri Beth (not verified)

strawbridge stuff

Thu, 08/11/2011 - 05:58

Hi Keri Beth! Thanks for your comment! To answer your question, we had to cut the 4x4s at home since the saw at our Lowes couldn't handle it. We used our mitre saw, and were able to get all the way through the 4x4 in one cut by going nice and slow, making sure to hold the entire piece as steady as possible while cutting.

After reading your comment I took a piece of paper and a pen over to the table and tried to write a little note. The tabletop is definitely smooth to the touch, but the fine-point pen I was using did poke through the paper over the grooves. However, I can roll the pen across the tabletop and it does not get caught up in the spaces between the boards, if that makes sense :) The grooves are hardly noticeable, and I think if I was writing on anything thicker than a single sheet of paper it would have been fine.

Hope that helps, and feel free to ask more questions if you decide to build the table. We love it, and I'm sure you will too!

Keri Beth (not verified)

Thu, 08/11/2011 - 06:46

Wonderful! Thanks for your reply. Is your miter saw a 10" or 12"? I plan to buy one soon. Thank you!

skyblueviews

Thu, 12/29/2011 - 17:25

I just made this table and plan on making a matching bench. Would LOVE to have wonderful chairs to match. Suggestions on what to build? I am on a budget but would like something substantial.

Where did you get your chairs, or did you build them??

strawbridge stuff

Fri, 12/30/2011 - 20:12

Hi! Glad you built the table...we've been so happy with it so far! The inspiration behind us building this table was actually me finding those two dining chairs and the bench at Crate and Barrel as floor samples on clearance...I think I spent $150 for all three pieces? This was before we even moved into our house/had the slightest inclination to start building furniture :) That being said, the chairs are from the "Basque" line of dining chairs at Crate & Barrel in "Java"...we stained our table with Minwax Ebony stain and it's a verrrry close match, as you can see in the pictures. We got another 2 chairs as wedding gifts, so we were lucky!

Right now, the chairs are on sale for $179/each (they also come in a lighter honey color if you don't want to go quite as dark as we did). They are very sturdy and compliment the rustic style of this farmhouse table. We've never built chairs, so I can't speak to that as an option - might be worth a shot though! Or, you could build two benches and buy fun chairs (upholstered parsons chairs maybe?) for the ends? Totally depends on the look you're going for, but I hope it works out! Let us know :)

jlwild (not verified)

Tue, 09/04/2012 - 22:00

I love your table. I'm wondering- it looks as if 6 people can sit at your table. Is this right? And did you use the same dimensions as Ana's plans? Thanks!

drop leaf sofa table

Submitted by maggiekat on Sun, 10/25/2015 - 08:24

When we rearranged the living room to create better sight lines for the football games, we lost table space near the sofa. My daughter helped me design these: she asked for the drop-leaf, even though they currently reside over the arms of the sofa.

My sofa is so low-to-the-ground that I couldn't put casters on these. Otherwise, they are Seriously Over-engineered: heavily framed with 2x4s!

Estimated Cost
about $40 for the pair, including the drop-leaf hardware?

Estimated Time Investment
Afternoon Project (3-6 Hours)
Finish Used
diy chalk paint, made from Mythic paint "Sunny at Heart," finished with 2-3 coats of beeswax/mineral oil rubbed on
Recommended Skill Level
Beginner

Bookshelf

Submitted by SmeesAlf on Fri, 12/07/2018 - 15:57

Currently redesigning our living room and needed a bookshelf to put next to our prop picture. Found this rolling bookshelf and decided to give it a go. We already made a few pieces of furniture so we already had the kreg Jig (my favorite tool ever!) and assorted screws. I found the directions to be fairly easy to follow, but then again, I had already built some furniture so maybe for a beginner it'd be harder to follow. I spent about 20 hours, and $66 on this - $40 for wood and metal emt pipe, and $26 for the 3"caster wheels (work brakes) found on Amazon. I already had all the screws and stain around from other projects   I used Walnut Minwax stain with 2 costs of polycrylic. Really loving this bookshelf!

Estimated Cost
70
Estimated Time Investment
Weekend Project (10-20 Hours)
Finish Used
Minwax Walnut
Recommended Skill Level
Beginner

Truss Beam Table

Submitted by Anonymous (not verified) on Sun, 08/21/2022 - 16:47

I can't believe I made this table myself!! Thanks so much Ana for your plans. It's super sturdy and oh so pretty! Yay!!

Built from Plan(s)

Comments

Banker's Bookcase & Wall Shelf

Submitted by Lady Goats on Thu, 08/11/2011 - 10:48

WARNING! I haven't dusted in weeks, so if you get all queasy from the sight of dust, look no further! This is NOT for those who are OCD about clean homes!

These were my first "big" builds, and I still absolutely love looking at them. We had two cheap-o Target bookcases in the playroom that were falling apart after our move, so we definitely needed something to replace them. I absolutely LOVED these when I saw them, and was thrilled that I could just "do my thang" with the carving on the sides...

Now, this was my first time using a jig saw, and looking at them now, you really CAN tell! haha!!

I had a sheet of 1/4" ply left over from the back that was almost exactly the same width as the sides of the bookcase, so I made my template with that.

From the scraps, I looked through Ana's site to see if she had any wall unit plans, and stole the idea from the flat bookholders (even though... mine aren't flat!)

The table in the middle of the bookshelves are actually a plan from Rayan's site, http://www.thedesignconfidential.com

Built from Plan(s)
Estimated Time Investment
Weekend Project (10-20 Hours)
Finish Used
Valspar "Perfect Plum" In semi-gloss
Recommended Skill Level
Beginner

New Dining Nook

Submitted by nfontenot on Wed, 09/04/2013 - 10:16

I have always thought a comfy nook would be perfect for this corner in my dining area. Our house is small and lacks storage, so I also wanted a bench with storage. Our previous dining table was bar height and was uncomfortable for some guests; therefore, I wanted a standard height table and seating. Pre-made banquets are quite pricy and way out of our budget. I've been dreaming of this little nook for about four years and always thought it would be expensive to make. A few weeks ago I finally decided it was time to make it. Once I figured out the plan and measurements for the project and priced materials, I was astonished that the project would only cost me about $150-$200! The bench frame is made of 2x4 studs with MDF for the lid and leftover bead board for the bench face. I pre-cut my studs, assembled them, and attached the frame to the wall before I cut the tops. Once the bench was built, I started on the table. (I wanted to do all my painting at once.) I made the base using the plans for the storage dining table, and designed the 46"x46" square top in order to obtain the maximum amount of table top space I could get. The top is made up of 1x4s in the center and 1x6s (mitered at the corners) as the outer frame. I painted the entire bench with white semi-gloss paint. I stained the entire table dark brown and then painted the shelves of the base and the 1x4s on top with 3 coats of white. I then sanded the white to give it a distressed look and to allow the stain to show through. I also did a very light glaze of the stain in order to tone down the white. I sanded the stained parts of the table as well and then highlighted the natural wood showing through with a goldish stain. I finished it off with three coats of semi-gloss polyurethane. I padded the bench top using an egg crate mattress topper from the dollar store covered with a few layers of batting. I then covered it with red vinyl for easy cleanup and made the throw pillows for comfort and coziness! Considering that decorator fabric can be expensive, I waited for a Labor Day sale at the fabric store combined with store-issued coupons in order to get the best price for my fabric. I bought half a yard of the decorator fabrics at 50% off for pillow fronts and 3 yards of a coordinating clearance fabric (which was also on sale for an additional 50% off) for the backs. The vinyl was not on sale, so I was able to use a "40% off a regular priced item" coupon. I also used an in-store "Take an additional 15% off your entire purchase" coupon. I ended up saving about $70 on fabric! The total cost of my project was about $250, and it was custom-made! You can't beat that!

Estimated Cost
$250
Estimated Time Investment
Week Long Project (20 Hours or More)
Recommended Skill Level
Beginner

Comments

spiceylg

Wed, 09/04/2013 - 11:54

This came out so nice. Love the fabric and what awesome savings you got!

nfontenot

Wed, 09/04/2013 - 12:19

Thank you! It seemed like I would never finish because I had to do it all around my work schedule and other planned activities! It was my source of stress relief after long days at work! Definitely worth it!

drekin

Tue, 02/11/2014 - 10:32

This is exactly what I have in mind for my dining room. Can I ask how you did the corner of the bench? Did you build a frame for the corner as well?

Solid Sturdy Chair

Submitted by Rodax74 on Wed, 10/28/2015 - 18:34

I built this from a set of older plans on this site. Next, to paint and deliver ! It is a gift.

Awesome site, so many great ideas. I was also lucky enough to find all this wood in the bargain bin (70% off) at Home Depot. So my total out of pocket cost for the wood supplies was $5.68. So I was pretty lucky.

Built from Plan(s)
Estimated Cost
5.68
Estimated Time Investment
Afternoon Project (3-6 Hours)
Recommended Skill Level
Beginner

Laundry basket organizer

Submitted by Anonymous (not verified) on Wed, 12/26/2018 - 08:10

Inspiration came from this site, but the design is mine. I didn't have plans, so it was drawn out on paper from the sizes of the laundry baskets themselves. Birch plywood with Home Depot feet painted with rattle can white. Sanded and stained with a Minwax redwood stain and coated with Minwax poly. 

Built from Plan(s)
Estimated Cost
$80
Estimated Time Investment
Weekend Project (10-20 Hours)
Finish Used
Minwax redwood stain with Minwax poly
Recommended Skill Level
Beginner

Comments

Country Rustic Shelf

Submitted by PINAR on Sat, 08/13/2011 - 10:05

I replaced the 20 years old fence door, and reused it for my new shelf :)

Built from Plan(s)
Estimated Cost
FREE :)
Estimated Time Investment
An Hour or Two (0-2 Hours)
Finish Used
Acrylic
Recommended Skill Level
Starter Project

Toddler Room

My daughter's room has no closet and is pretty small, and I just couldn't find any furniture I liked around here. But I found tons on Ana-white.com! So, her entire room (except one old bookshelf) is now ana-white originals.... the cubbies hide her clothes and toys; the dress-up center functions as her hanging closet; she colors on the easel (originally made for her brother, but he never used it...); and the doll bed serves as a resting place for several different dolls (sometimes all at once). I think I will build her the dollhouse bookshelf to replace the older bookshelf, and once she's ready for a real bed (as opposed to the mattress on the floor), I'll be building that too! The chalkboard easel was one of my first builds, and I have to say, it still remains one of the most challenging (my screws kept splitting, I had a hard time fitting things together, esp. without another pair of hands....), but watching my daughter scribble all over it nearly every day makes it worth every minute! Building the dress-up center and cubbies took almost no time at all - but it took me over a month to get them finished (sanded, painted and poly'd). Thanks again Ana for the great plans and all your hard work!

Estimated Time Investment
Week Long Project (20 Hours or More)
Finish Used
The lavender color is oops paint; the white on the cubbies is Benjamin Moore that we used as trim for other rooms in the house.
Recommended Skill Level
Beginner

First Project-Triple Truss Coffee Table

This was my first project other than making garden boxes. It went really well. I built it with some friends and we had it assembled in a weekend. Stained it the next weekend. We used a Ryobi Miter Saw.

We used pine. For assembly, we decided to invert the middle truss for fun. We also fell in love with the Kreg Jig and decided to Kreg Jig the 2x6's together to make a flatter surface and incase I move it would make it easier to detach to carry down 3 flights of stairs. Did two coats of wood conditioner and stained with a light coat of Onyx water based wood stain. We decided to keep the legs and not have wheels.

Built from Plan(s)
Estimated Cost
Wood $25
Stain and wood moisturizer $10-$12 each.
Estimated Time Investment
Week Long Project (20 Hours or More)
Finish Used
Onyx water based wood stain from Home Depot. Very light coat.
Recommended Skill Level
Beginner

Heavy Duty, from reclaimed deck boards!

Submitted by Anonymous (not verified) on Sat, 12/29/2018 - 12:31

Heavy Duty, from reclaimed deck boards!

Especially with having to store active military gear, the huge gorilla trunks, and conveniently having a huge pile of 2x6's from disassembling a small deck . . Worked out perfectly!

Also, because they are heavy and tall, we did anchor them to the wall!

(I personally want to figure out how to add a sliding ladder, haha)

Estimated Time Investment
Afternoon Project (3-6 Hours)
Finish Used
None, pressurized deck boards
Recommended Skill Level
Beginner

Farmhouse Dog Bed

Submitted by StacieM on Mon, 08/15/2011 - 10:26

So I finally finished the dog bed I've been working on for over a month now (I've been trying to avoid the 100+ Texas heat but it just wouldn't go away!) It was based on dmanar33's farmhouse dog bed (linked below) and I just made it larger for our greyhound, Daisy. It's far from perfect but it's been another good learning project for me while practicing before I start our desperately needed King bed.

The bed was made using 2x8 for the internal structure (with one 2x4 center "slat"), 1x6 and 1x8 boards for the surround, with 1x2 as trim and 3/4" plywood for the cushion base. It is rather heavy but can easily be moved with two people. This was my first project using my finish nailer ($16 at Harbor Freight) and it was worth every penny! I can't believe I never picked one up before.

For the cushion I tried to find a cheap, thin 3" futon mattress on Craigslist to cut up (as I've done before), but after 2 days of looking online I ended up settling for a $12 full size foam mattress topper from wally world. I folded it in half and wrapped with some thick batting I had laying around so the cushion ended up ~2" thick. And for the cover I used Ana's doll mattress tutorial with some wally world Chino Cotton curtains for $16 as fabric (thick, durable, cotton and cheaper than anything I could find at the fabric store) and it worked out great! I left one end open to put a zipper into once I pick one up, so right now it is like a large pillow case, but it works just fine.

I'm very happy with the total project and I love that Daisy (~75lbs) won't be breaking it anytime soon. She has plenty of room to stretch out and it looks much nicer than the old lumpy "giant pillow" style dog bed on the floor we had before.

Estimated Cost
~$30 for the wood and ~$30 for the cushion
Estimated Time Investment
Day Project (6-9 Hours)
Finish Used
One coat Sherwin Williams bright white flat (leftover ceiling paint) and one coat Rustoleum gloss white spray paint.
Recommended Skill Level
Beginner

Comments

kelli224

Mon, 08/15/2011 - 10:47

This is so fantastic!! But what I love even more...is that sweet greyhound! We are a greyhound family as well and I think our Breezy girl needs one of these.

juliead18733

Sat, 11/12/2011 - 08:35

You did an amazing job on this and thanks so much for giving detailed info about what you used! I've been toying with the idea of making a bed like this for my Pit Bull but I've been hesitant without knowing what materials would make it structurally sound for a large dog to lay on. Thanks for showing me how to give my big dog some of the pampering that the little dogs get all the time!

tnlscott

Wed, 01/11/2012 - 07:55

I saw the original blog about this bed, but it was quite smaller. I have a great dane that I want to make this bed for, so it's good to see how it looks bigger! I have a baby mattress that I'm going to use, so it'll be pretty big!! Awesome job!!

Adirondack chairs

Submitted by yummybear on Sun, 09/08/2013 - 12:20

This was the plans for the adirondacks out of your book, The Handbuilt Home. This was super easy and I love how they turned out! I plan to build 2 more and then onto the child size version. Thanks Ana!

Estimated Cost
$13 for the wood only
Estimated Time Investment
Day Project (6-9 Hours)
Finish Used
I used some indoor paint I had bought for kid's room. I finished it with a coat of spar urethane.
Recommended Skill Level
Starter Project

Comments