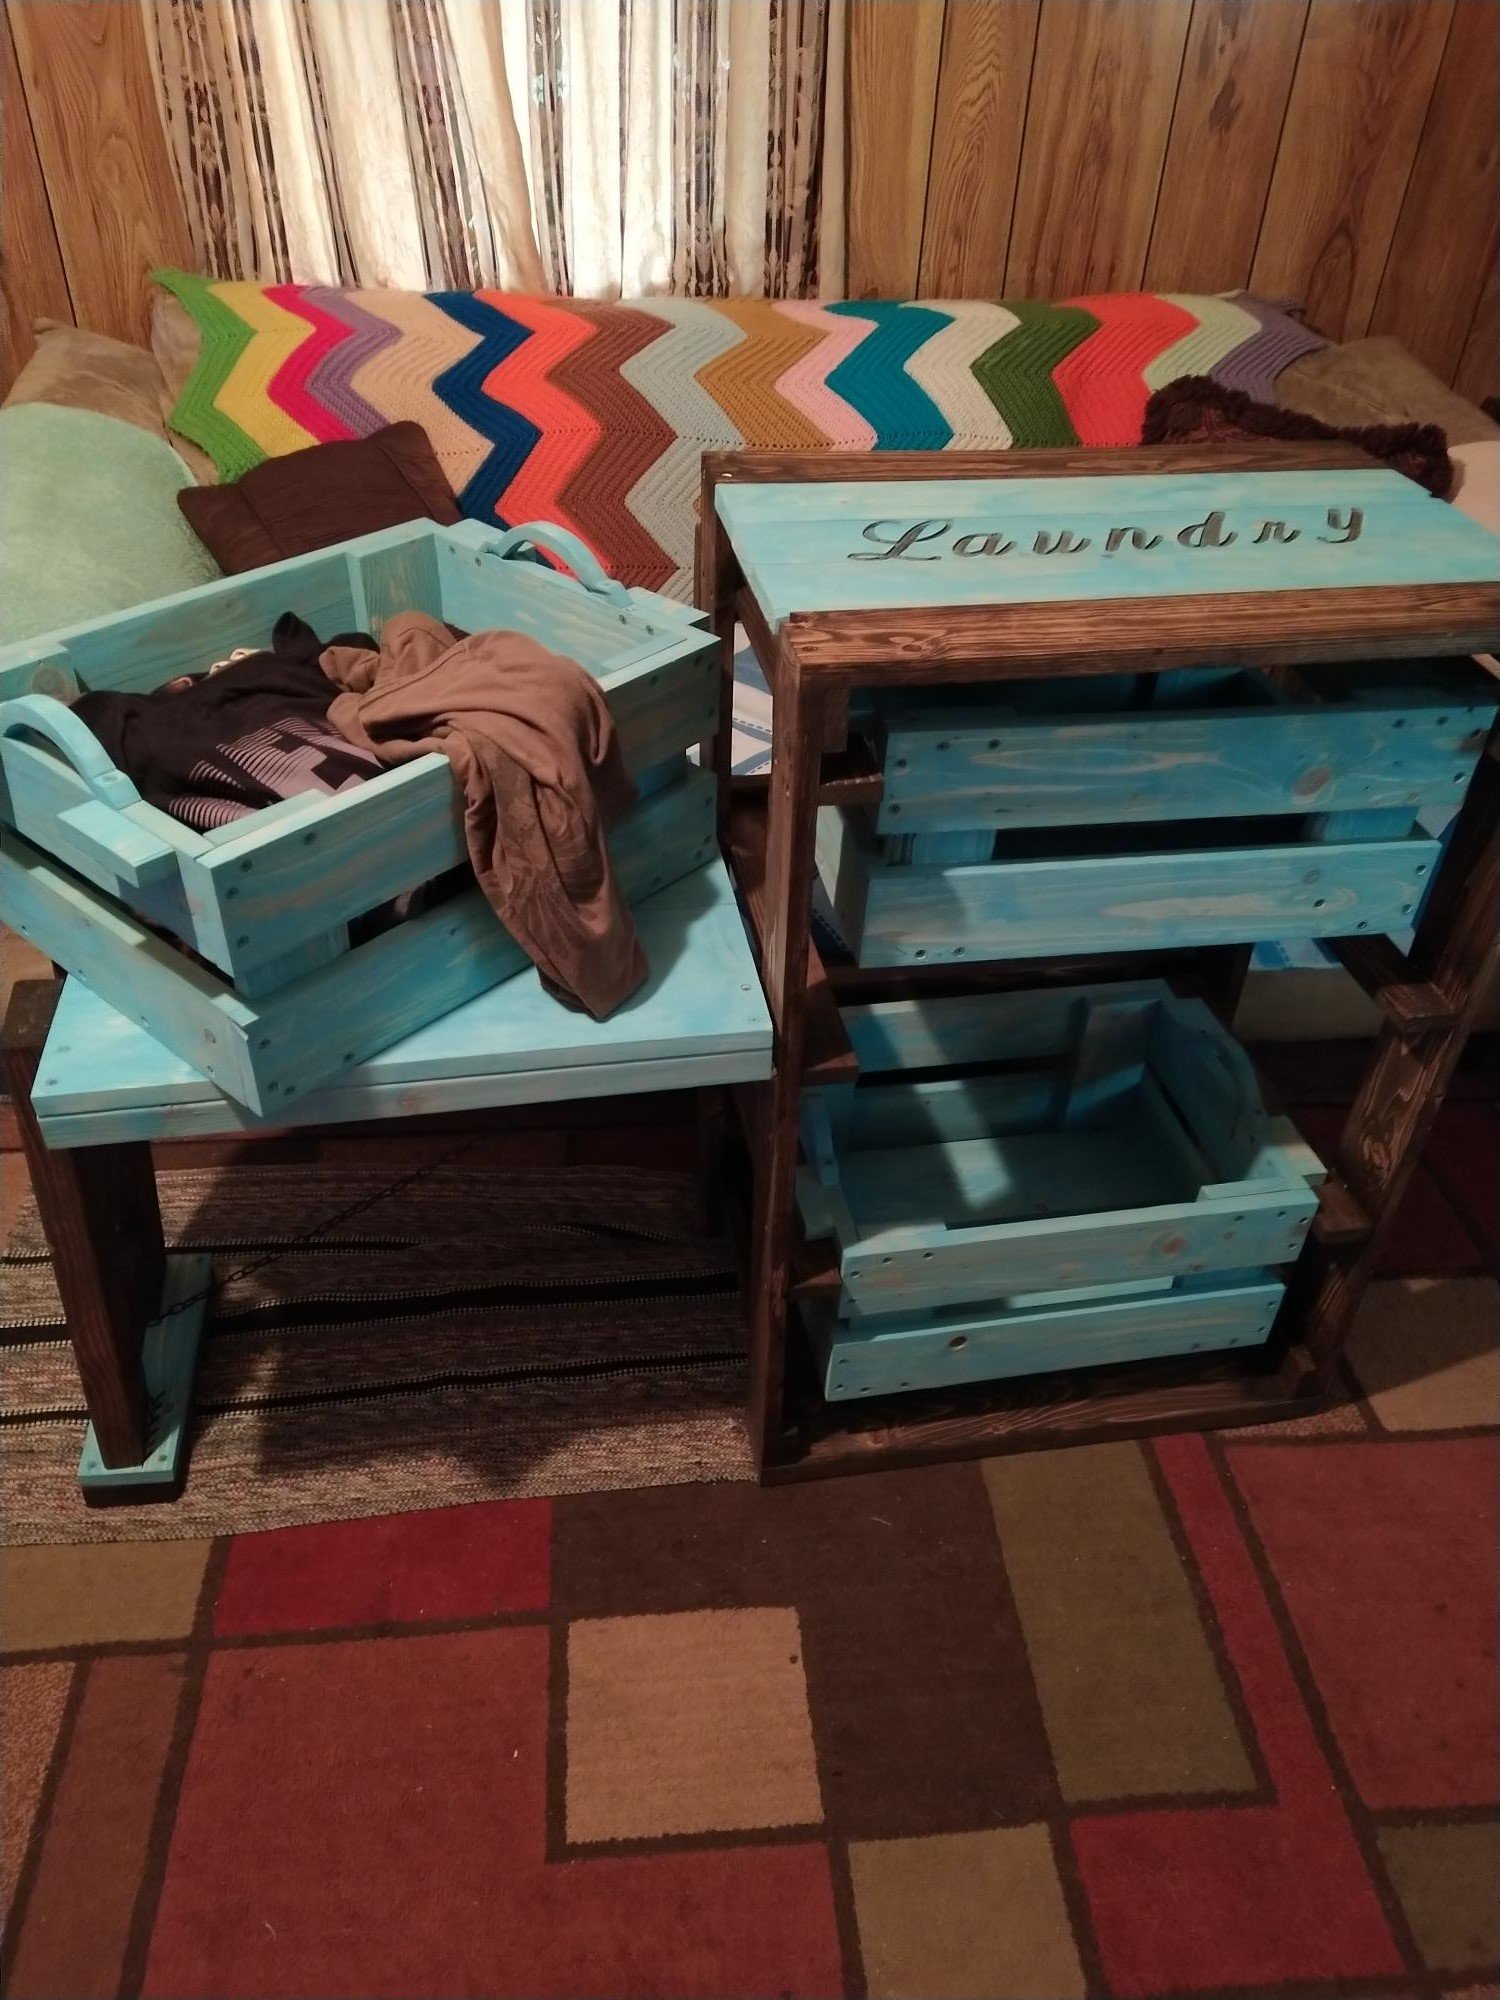
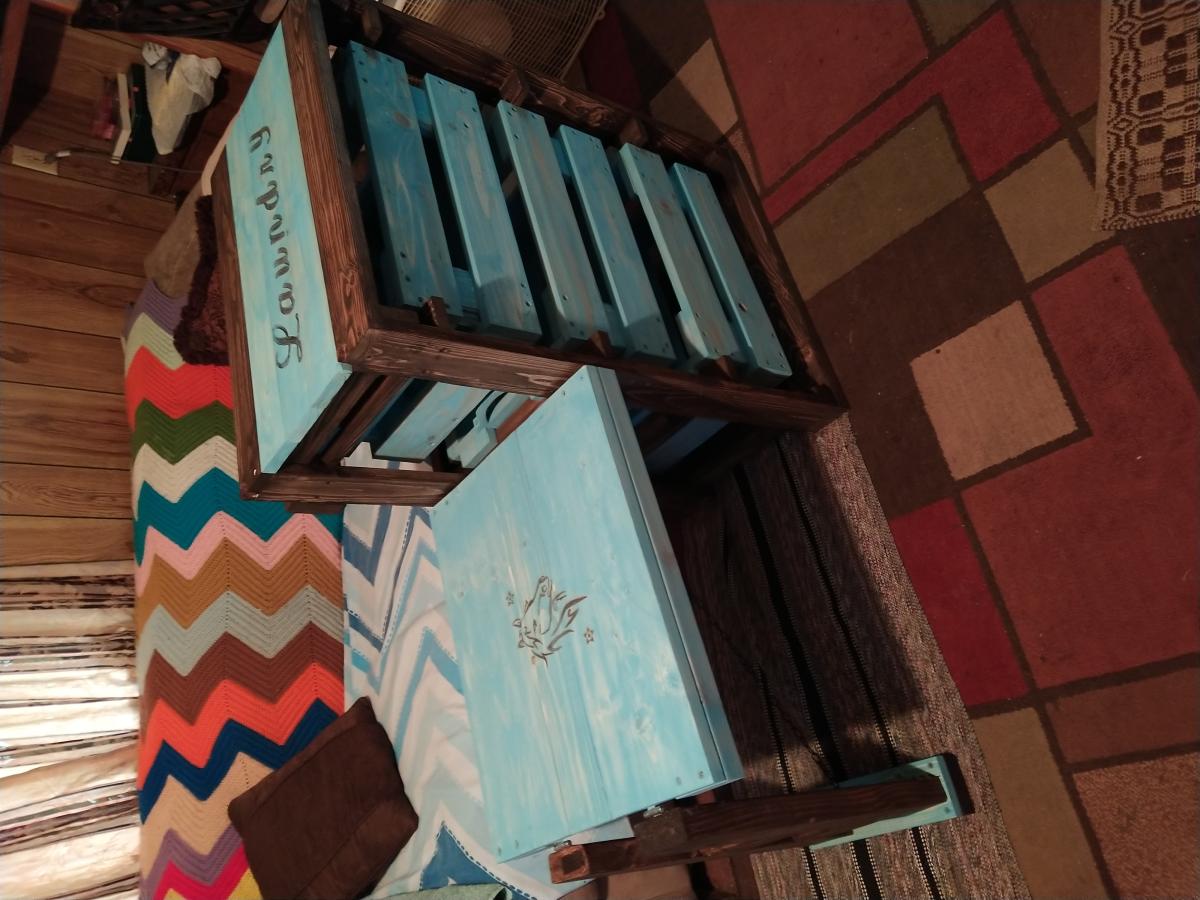
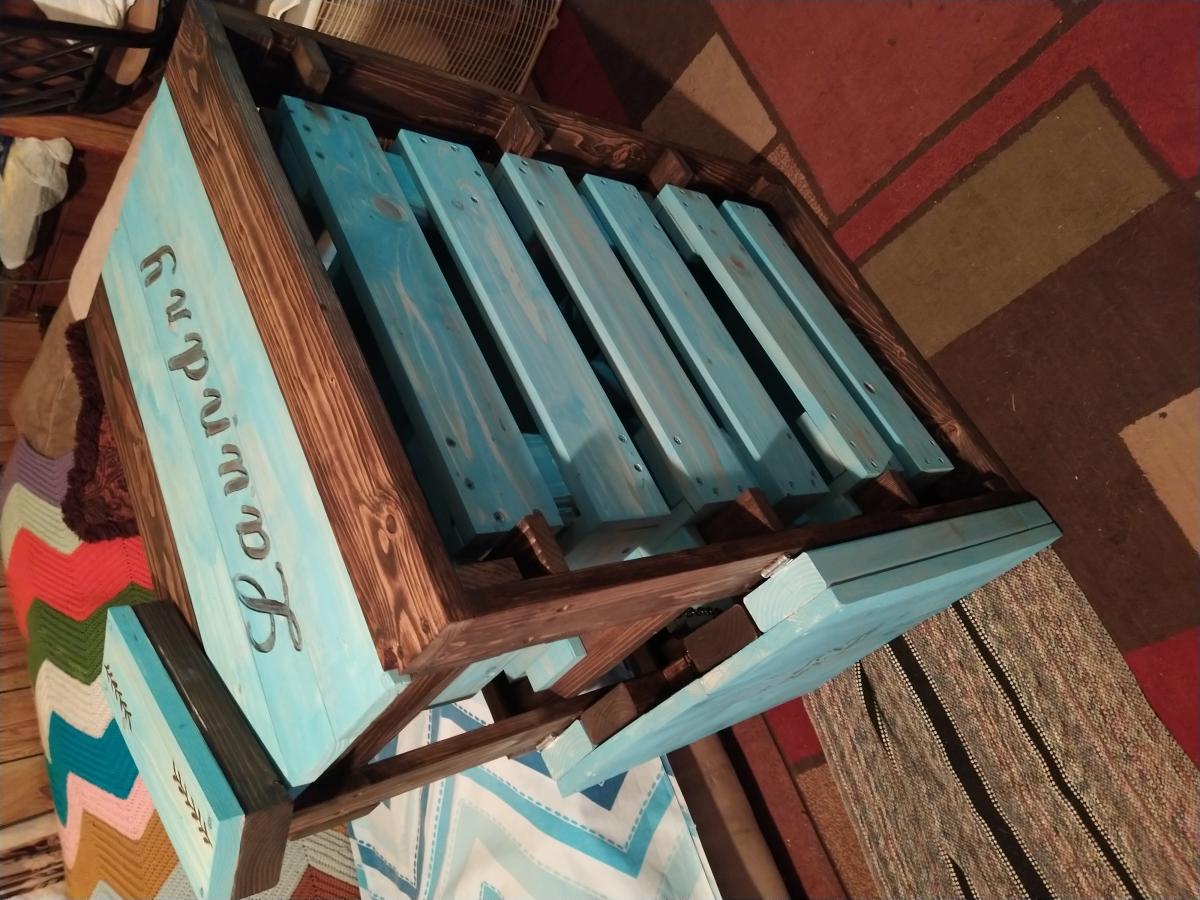
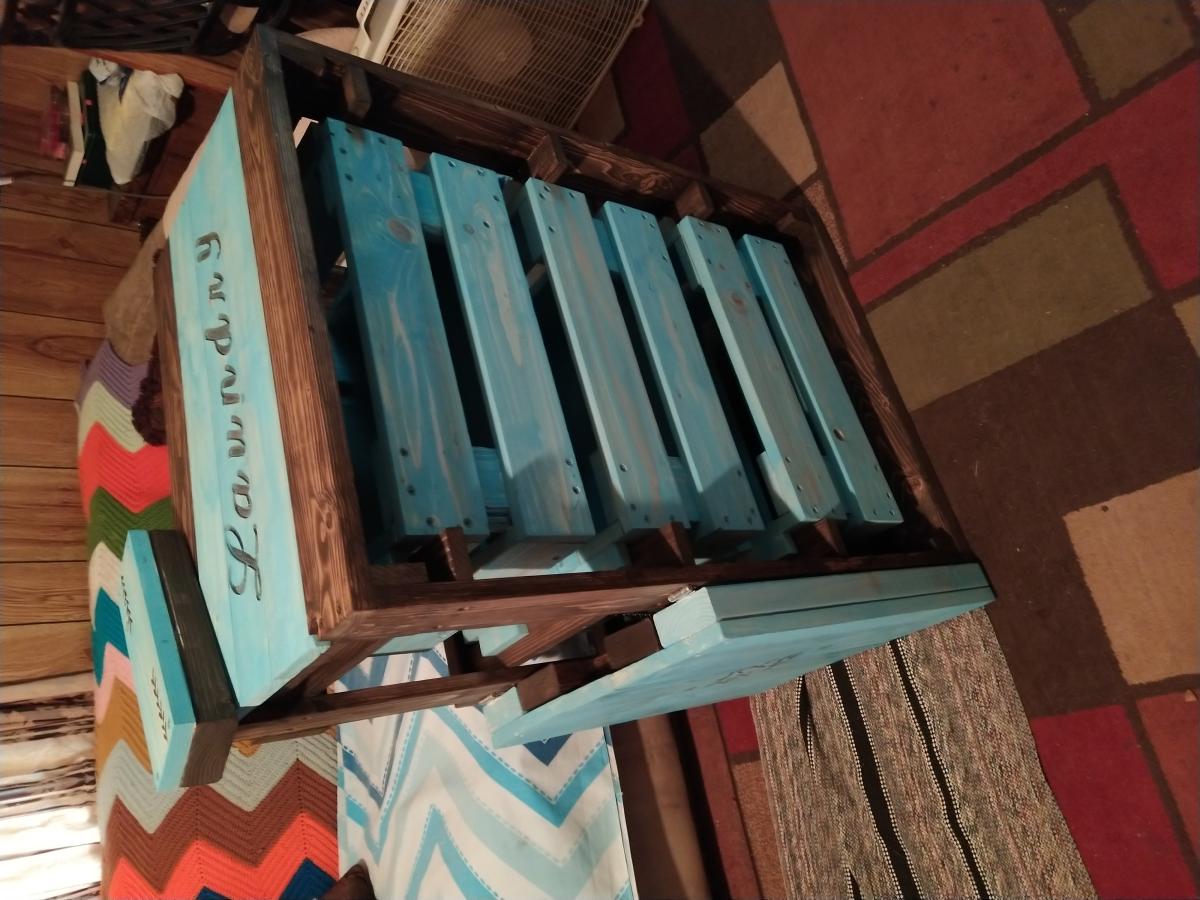
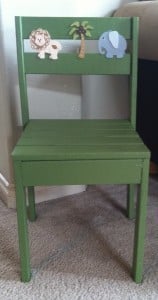
Community Brag Posts

$4 Stackable Chairs

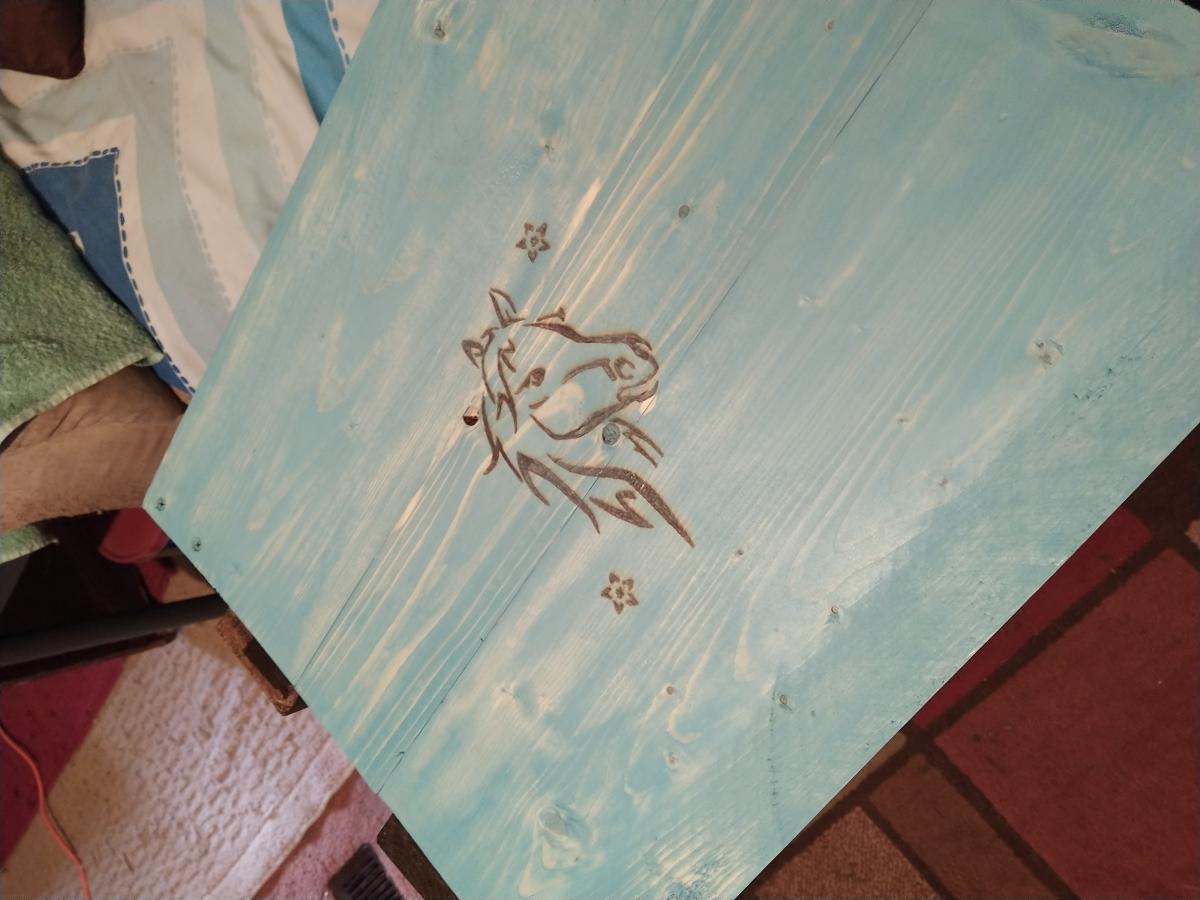
Oh boy did my kids squeal when they saw their chairs! I followed Ana's plan on these chairs and used some leftover pink paint from one of the walls in my daughter's room on the pink chair, and mixed left over paint from my son's room for the green chair. I wasn't sure what I was going to do for the personalization until I found the crown and animal wood pieces at the local craft store, then it all just kind of came together. I'm very pleased with how sturdy the chairs are and how happy they are making kids!

Estimated Cost
$10 with accents if I had to buy the wood, since I had most of it, about $4.00 total for both
Estimated Time Investment
Afternoon Project (3-6 Hours)
Finish Used
Leftover paint, sand paper, and wood glue for crown
Recommended Skill Level
Starter Project

Eco Modular Office Desktop

Submitted by solomonson on Mon, 07/22/2013 - 13:42

We (my husband and I) were in desperate need of a better work space, and this was perfect.

Estimated Cost
$150-$200 for the entire set
Estimated Time Investment
Weekend Project (10-20 Hours)
Finish Used
General Finishes in espresso (water-based), top coated with GF polycrylic in gloss
Recommended Skill Level
Intermediate

Comments

sgilly

Mon, 07/22/2013 - 20:47

I'd love for you to share how you got that beautiful color! I'm using an espresso stain right now. I've put on 3 coats of stain and still have light spots!

sgilly

Tue, 07/23/2013 - 07:21

I use birch in most of my projects. Usually, I can get a decent color from the stain. But, I'm thinking that this last batch of plywood wasn't the best. Also, I've never used General finish stains. I might try that next time.
I think I'm going to sand again, add another coat of stain, and if it's still a hot mess I'm thinking I'll mix some color into the poly and try to even out the color with the sealer. I don't have any idea if that will work - I'm not a finisher, but my husband used to do something he called "fogging", where he'd tint the sealer (Lacquer, in his case) with the color and as he sprayed the finish on it blended the colors.
Thanks for the response.

In reply to by sgilly

solomonson

Tue, 07/23/2013 - 08:39

I *love* GF stains - I was really hesitant to try it because of the higher price point, but I just can't go back to Minwax. I'm forever spoiled. Well, the water based ones, that is - I tried a Minwax gel stain and actually got decent results, but I think their water-based stains are crap. I'm just lazy and don't want to go through the extra effort in using oil-based, though I acknowledge their durability is superior.
I'd be interested in knowing how your technique works out, as I don't have a lot of experience with stain - just wood conditioner, stain, poly. I've heard of using sealers and mixing ingredients but have been too afraid to try it myself. Good luck!

Corner TV stand

Submitted by jasondk on Fri, 07/31/2015 - 06:36

Modified the plan a bit to make it shorter. Top is made from pine 1x4's and polyurethaned. Painted the base antique white. Bought the bun feet at the box store.

Estimated Cost
$125
Estimated Time Investment
Week Long Project (20 Hours or More)
Finish Used
minwax poly and white paint
Recommended Skill Level
Intermediate

Rustic Farmhouse Coffee Table

Submitted by Edziadul on Tue, 02/27/2018 - 04:42

Rustic Farmhouse Coffee Table 

Estimated Cost
$50
Estimated Time Investment
Day Project (6-9 Hours)
Finish Used
Varathane Kona stain 1 coat and Minwax gloss poly 3 coats
Recommended Skill Level
Beginner

Custom Pallet Laundry Basket!!!

Submitted by Anonymous (not verified) on Fri, 04/15/2022 - 15:43

I told the love of my life about how Ana had a really cool laundry basket shelf, and asked her if she wanted one. Of course she said yes, so I made her one! I added a few twists to mine as you can tell, but the actual shelf itself is completely from her design!

Comments

L'il Man's Picnic Table

Submitted by Anna H on Tue, 06/07/2011 - 08:12

My first Ana White project! This was the first project on my to-do list, and my little guy loves it!

Built from Plan(s)
Estimated Cost
$25
Estimated Time Investment
Afternoon Project (3-6 Hours)
Finish Used
Stained with Minwax Ebony then dry brushed with Behr Star Command Blue to give it a weathered look. Finished with spray sealer.
Recommended Skill Level
Beginner

Comments

Patio Dining Table with Built-In Drinks Cooler

Submitted by duncans on Wed, 07/24/2013 - 20:11

I found this website when I was looking for patio dining table designs/styles. When I looked at this table, I knew I wanted it but I will have to make it myself. With no prior building experience, I gave in and purchased circ saw, sander, kreg jig and lumber.

The directions provided on the website were very easy to follow. And in about one week, I had built a new patio dining table.

I modified the plans slightly. The original table looked very small. So I added 2x6s on the long sides and 2x8s on the short sides to make the table wider/longer. And I also made the legs out of 4x4s. And for the inner skirt, I used 2x4 studs instead. Each leg is secured by 3" L brackets (3 sides) and 2 1/2 screws thru 2x4 stud on one side. This made the table stable and strong.

Dimensions:
84" L x 43" W x 31 1/2" H

Estimated Cost
$234 if you don't count the tools purchased (circ saw, sander and kreg jig)
Estimated Time Investment
Weekend Project (10-20 Hours)
Finish Used
Home Depot guy suggested Behr Transparent Waterproofing Wood Finish and Helmsman Interior/Exterior Polyurethane Clear Gloss.
Recommended Skill Level
Beginner

Comments

H2OSifu

Tue, 08/25/2015 - 08:36

Sir,


Just wanted to say your table turned out great!  I too have little experience and want to make this table. I have left over 2 X 6s from a pergola I put up.   (Board are already stained!)  Saying that, I had a question with the demensions of the the short boards and middle board between the troughs.  Both short boards are 2X8s correct?   The inner middle board looks like a 2X4? 

Any assistance would be appreciated!

Robert

Extra Long Buffet Cabinet

Submitted by ClayCox86 on Tue, 08/04/2015 - 07:52

Kept it natural for now. Might stain it in the future. 

Built from Plan(s)
Estimated Cost
$300 in wood. Another $100 in hardware.
Estimated Time Investment
Week Long Project (20 Hours or More)
Finish Used
Kept natural color of wood.
Recommended Skill Level
Intermediate

Half Moon Baby Cradle

Submitted by Rkh81989 on Mon, 03/05/2018 - 06:49

Built by Keith Hunt from pallet boards

Recommended Skill Level
Intermediate

Comments

Rustic "X" endtables-reimagined!

Submitted by hurdle1464 on Thu, 04/21/2022 - 13:00

I loved these end tables, but they were too big for what I needed. I made one table to be 20" x26" and two others that were both 13"x26". We modified the top of the table by using quarter-sawn oak that had been sitting in the basement for years. We squared the boards, glued and biscuited them together and planed them to create a beautiful butcher block top. I am so happy with the way they turned out and they fit perfectly in my space. I learned a lot and the time spent with my Dad to create them is priceless!

Built from Plan(s)

Comments

LITTLE PALLET DRAWERS

I made two of these little drawers to use in the Bathroom Wall Storage project that I built from Ana's book, The Handbuilt Home. They're from her Pallet Storage Boxes plan. They went together in no time! I really like the rustic look of them, so I'll be making lots more!

Built from Plan(s)
Estimated Cost
About $4 for both boxes.
Estimated Time Investment
An Hour or Two (0-2 Hours)
Finish Used
I used two coats of stain in Minwax Early American, followed by a coat of Varathane's Diamond Finish in satin. All coats were applied with a rag.
Recommended Skill Level
Starter Project

Slatted Bedroom Bench

Submitted by P76 on Sun, 08/09/2015 - 15:17

No plans.  Just found a picture online that I liked and built it by trial and error.  Made out of pine boards and hardwood legs purchased at the local hardware store.

Used jig saw to cut the sides to desired slanted shape.  Then used random orbital sander to round all the edges.

Estimated Cost
$60
Estimated Time Investment
Weekend Project (10-20 Hours)
Finish Used
Pre-Stain Conditioner to bring out the natural color of the wood, no stain, 4 layers of water-based polyurethane. Light sanding in between each layer.
Recommended Skill Level
Beginner

Simple stools

Submitted by Glynn6153 on Tue, 03/06/2018 - 16:30

Thank you for the basic stool design. I’m new to wood working and have been using you website for the last two years. I built these stools using 2by3’s and an oak top. And the lichtenberg figures filled with color resin is my specialty. I completed the tops of stools with clear  table top resin.

Estimated Time Investment
Weekend Project (10-20 Hours)
Finish Used
Provincial stain
Polyurethane
Table top resin
Recommended Skill Level
Intermediate

Lemonade Stand

Submitted by jsle_bel on Tue, 06/14/2011 - 13:44

Simple lemonade stand

Estimated Time Investment
Day Project (6-9 Hours)
Recommended Skill Level
Beginner

Comments

brookifer86

Wed, 06/15/2011 - 19:10

How can you not buy lemonade from a stand this pretty, and a kiddo that cute?! The finish is amazing

jsle_bel

Thu, 06/16/2011 - 09:08

Thank you! I'm really happy with how it came out and I've already received bites on orders. I think it's the kiddo that makes the build so appealing ;)

First Project

Submitted by Mightyd40 on Tue, 07/30/2013 - 07:08

After a couple years out of bodybuilding because of a bad injury, I decided I really needed a new hobby. I've always been impressed with woodwork but it just seemed out of my reach. I wanted a porch swing and saw these plans and though, "even if I mess up it'll only cost me a couple hundred dollars". I bought the kreg jig kit and some lumber and thankfully have all the other tools I need. This only took me a few hours to build and it was so easy and a really good time. I watched a few you tube videos with both ana and Jeff devlin from Kreg Tools and it really prepared me. The job was fun and I plan on going back to the lumber store this week just to build more stuff I probably don't need lol.

Built from Plan(s)
Estimated Cost
$250 for lumber/ kreg jig and a few other reusable initial purchases
Estimated Time Investment
An Hour or Two (0-2 Hours)
Finish Used
Minwax Bombay Mahogany stain and Poly mix
Recommended Skill Level
Starter Project

My Lego table

Submitted by niecey on Fri, 06/17/2011 - 14:54

My third project (second from Ana). I love how it turned out. So far it's held up well to a massive amount of abuse from my 4 year old and 2 year old. I've had it for about 3 months I think. I used 1x6s kregged together for the lids and bottom shelf, because I like that look.

Estimated Cost
$60
Estimated Time Investment
Weekend Project (10-20 Hours)
Finish Used
1 coat ebony, 1 coat "natural" and a couple coats of semi gloss poly.
Recommended Skill Level
Beginner

Miter Saw Cart

Submitted by Nermell on Wed, 07/31/2013 - 16:51

As a complete beginner in wood working (unless you count a year of woodshop over a decade ago), I decided that building a cart for the miter saw I just bought would be a great first project. So what did I do with that brand new miter saw? I left it in the box and made all of the cuts with a circular saw. Not sure what I was thinking there...

I mostly followed the excellent plan provided here but used wooden arms to prop up the wings in order to save on cost. I got the idea from the folding sling chair plan. It took quite a few screw ups and adjustments of the lower support bar before getting one of the wings level but I got it eventually.

Update 8/20/13: The miter saw has been a joy to use with the cart and the big flip up wings provide a ton of really convenient work space in addition to stabilizing 8 ft boards for cutting. I added a sliding drawer and some utility hooks for additional storage.

Built from Plan(s)
Estimated Cost
$70-80
Estimated Time Investment
Weekend Project (10-20 Hours)
Finish Used
none
Recommended Skill Level
Starter Project

Comments

davidmauer15

Thu, 08/01/2013 - 08:10

I originally just had a 2x2 and two blocks to hold up the wings on the cart. They kept falling out, so I replaced them with hinged arms, which were a pain to fit and install, but they work well. Your approach has the same advantage of hinging the support arms: the wood can't fall out and it looks way simpler to install than my system.

One hint if you try Nermell's approach: Flip the cart upside down when you fit and install the support arms. I did all kinds of complex sketches and measurements, then realized it was just faster to lean the support bracket at roughly 45 degrees, then I installed the two block (one on the side, one on the wing) to hold the bracket in place. Flip the cart over, and your wing will sit at a perfect 90 degrees to the sides of the miter saw cart.

DIY Rustic "X" Coffee Table

Submitted by juliedrev on Mon, 08/17/2015 - 14:12

This was such a fun project and only took 1 day to complete! It was a lot more fulfilling to build my own coffee table than go out and spend $400 on one. It looks beautiful in my living room and is a perfect accent to my rustic, earthy decor.

Built from Plan(s)
Estimated Cost
$150
Estimated Time Investment
Day Project (6-9 Hours)
Finish Used
Dark Walnut
Recommended Skill Level
Beginner