Octagon Picnic Table with Umbrella
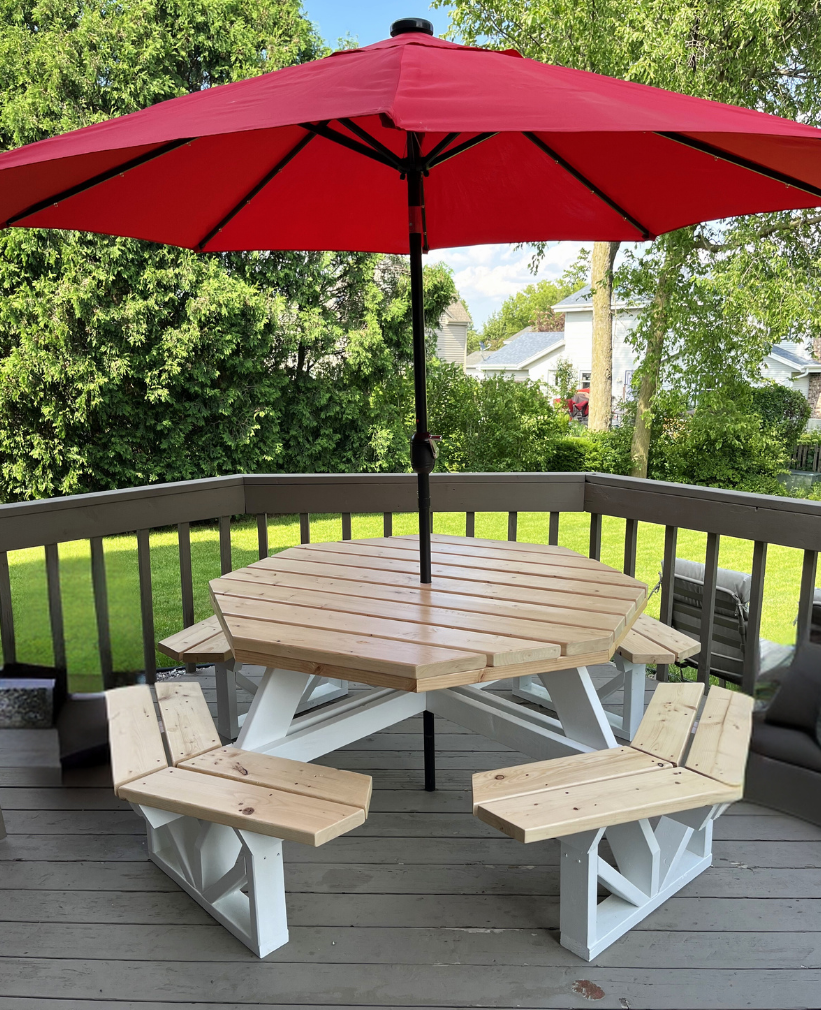
A new table for a new home for my son. Added hole and block for umbrella. Very satisfied with project and plans. Thanks Ana
Frank N.
Built from Plan(s)
A new table for a new home for my son. Added hole and block for umbrella. Very satisfied with project and plans. Thanks Ana
Frank N.

I built this key locker from a jewelry armoire plan I found on TheDesignconfidential and the link is http://www.thedesignconfidential.com/2012/09/key-locker-aka-small-jewel…
It is a wonderful and simple design. Easy to build. Cost me abut $17 since I went for the S4S poplar wood for the frame and door. I used scrap hardwood flooring for the door face. The key is from Hobby Lobby at $2. All the rest including the knob, hinges, hooks, etc were gathering dust in my garage.

Fri, 09/28/2012 - 08:07
Ana the stool the locker is sitting on is one of my very first projects I got from your site. It definitely is the most useful and used.
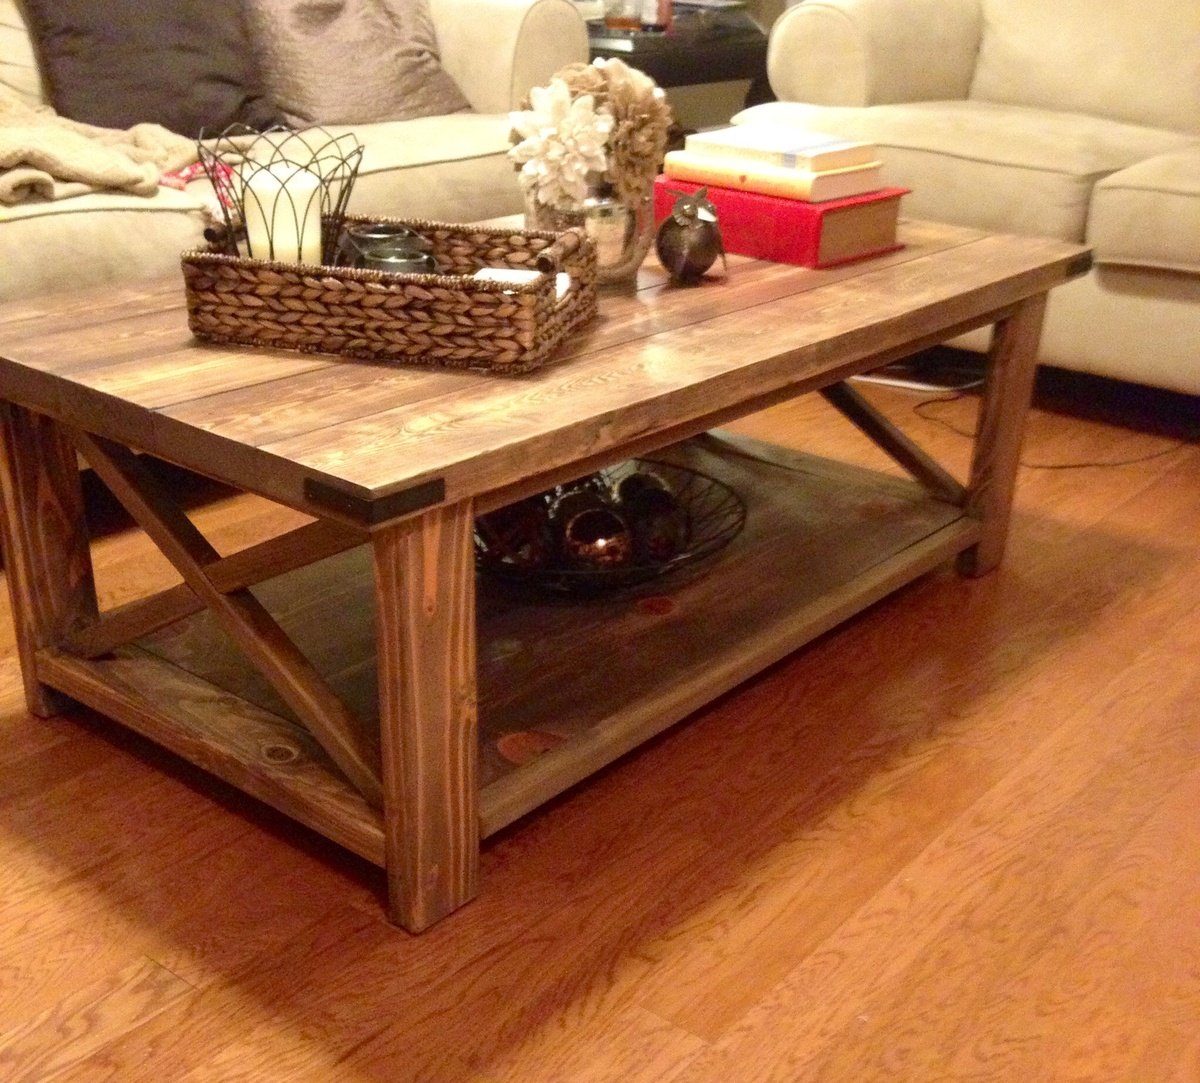
This was our first project and I love how it turned out!

Between my day job and daily chores I somehow managed to build this, make the stain with the vinegar/steel wool, and sew all the cushions in about a week and a half. The hardest part for me was lifting the sofa onto the deck by myself after I built it.
I also made the chairs from this site (simple white outdoor chair) and the coffee table.
Thanks Ana and everyone for contributing your plans and for everyone posting their projects. It helps me do it to.
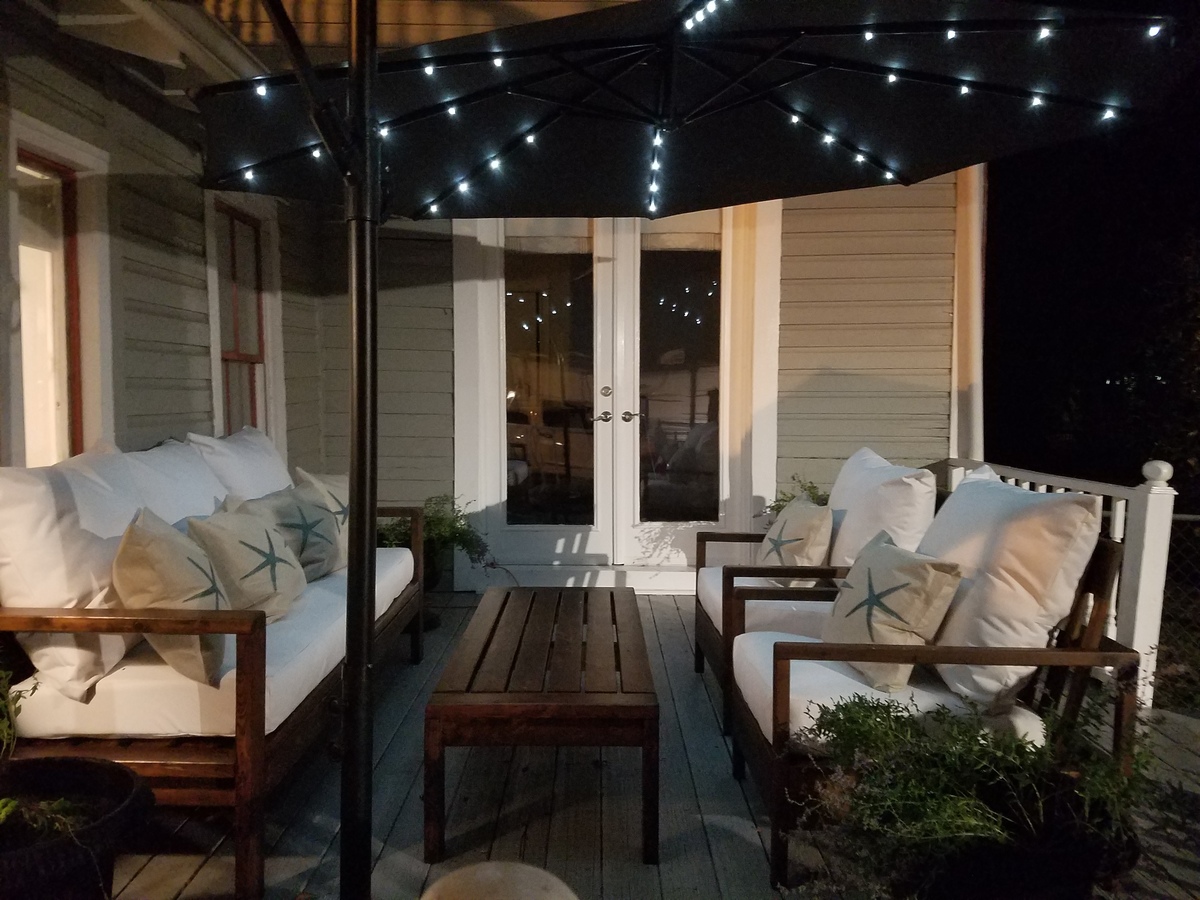
Thanks Ana for your easy to follow plans - I made the sofas and coffee table two years ago, and added the Adirondack chairs in June.

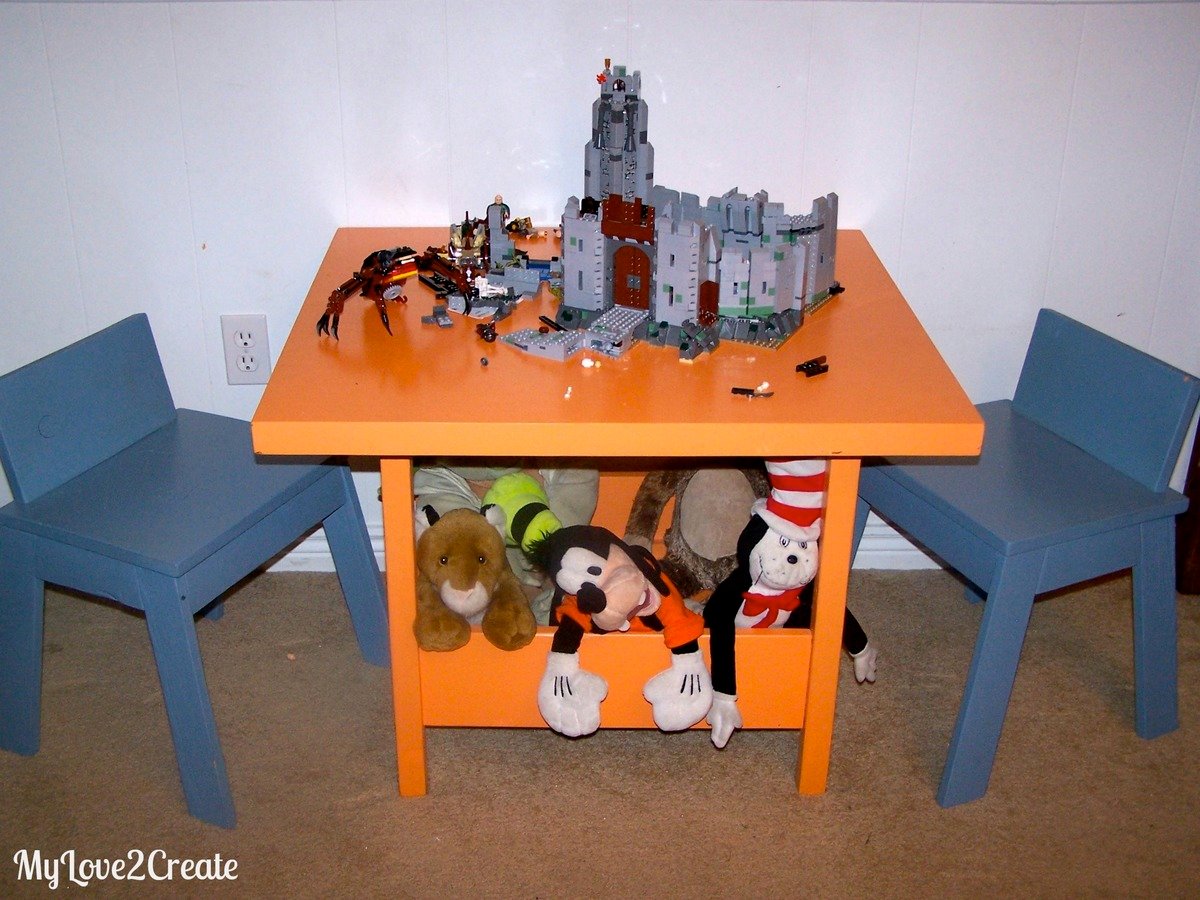
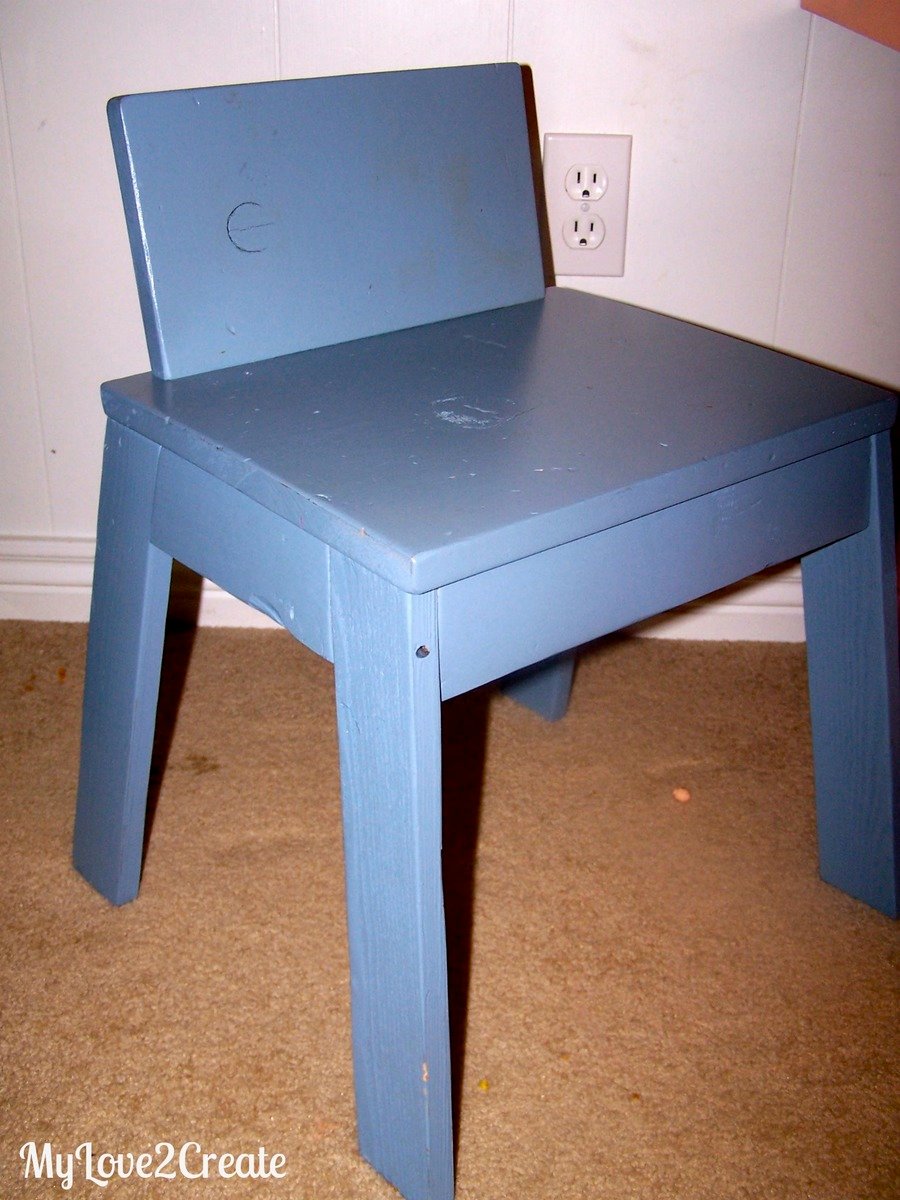
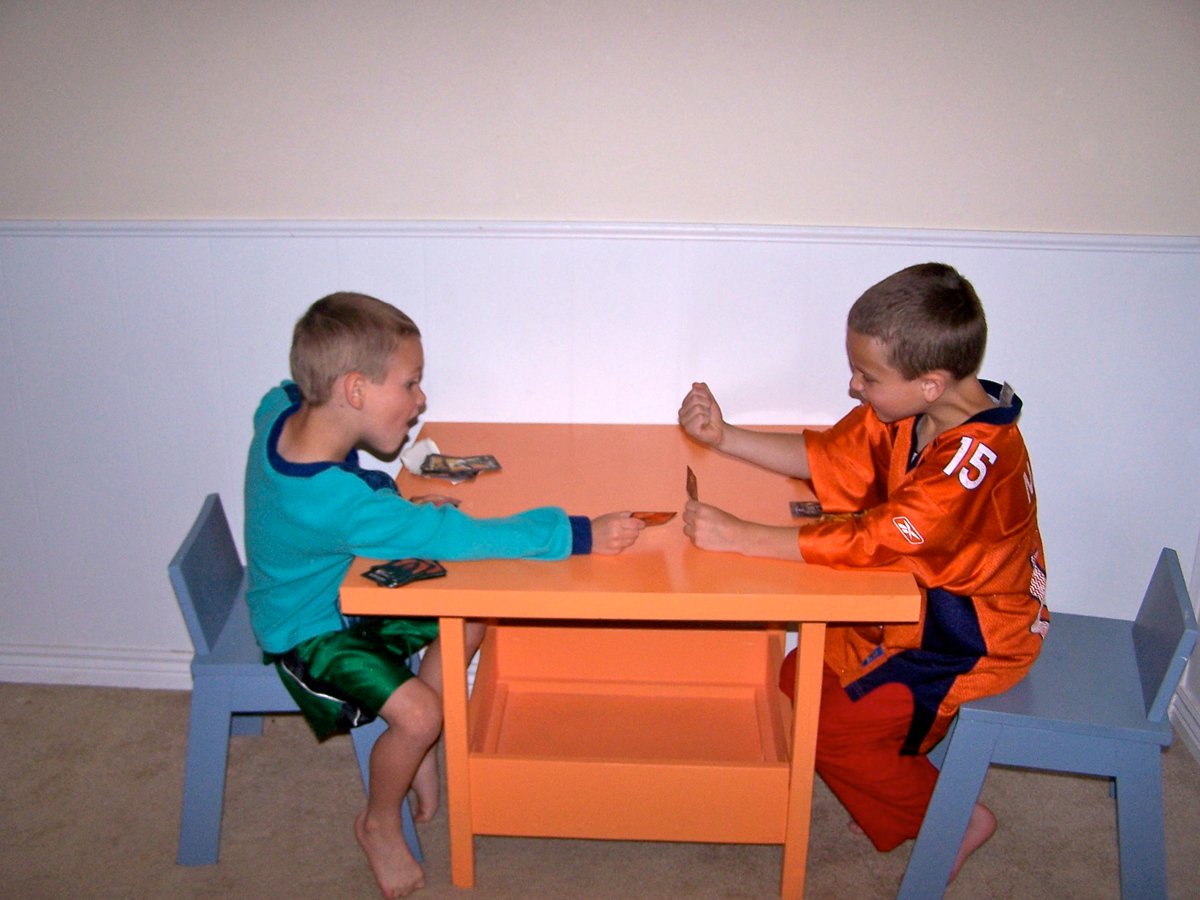
I made this for my boys and they LOVE it! I opted for a square top, since the flower would not have gone over well...Plus I found a square top for $1 at the Restore and who can pass that up, and the legs were free. The rest of the wood was from the Home Depot Cull bin or furring strips. The chairs didn't get rounded (no jig saw) and I didn't add a hole (not a big enough drill bit). But my boys love them and use them all the time!
Thanks Ana for such great plans!
Check out more at http://mylove2create.blogspot.com/2012/10/diy-kids-table-and-chairs.html
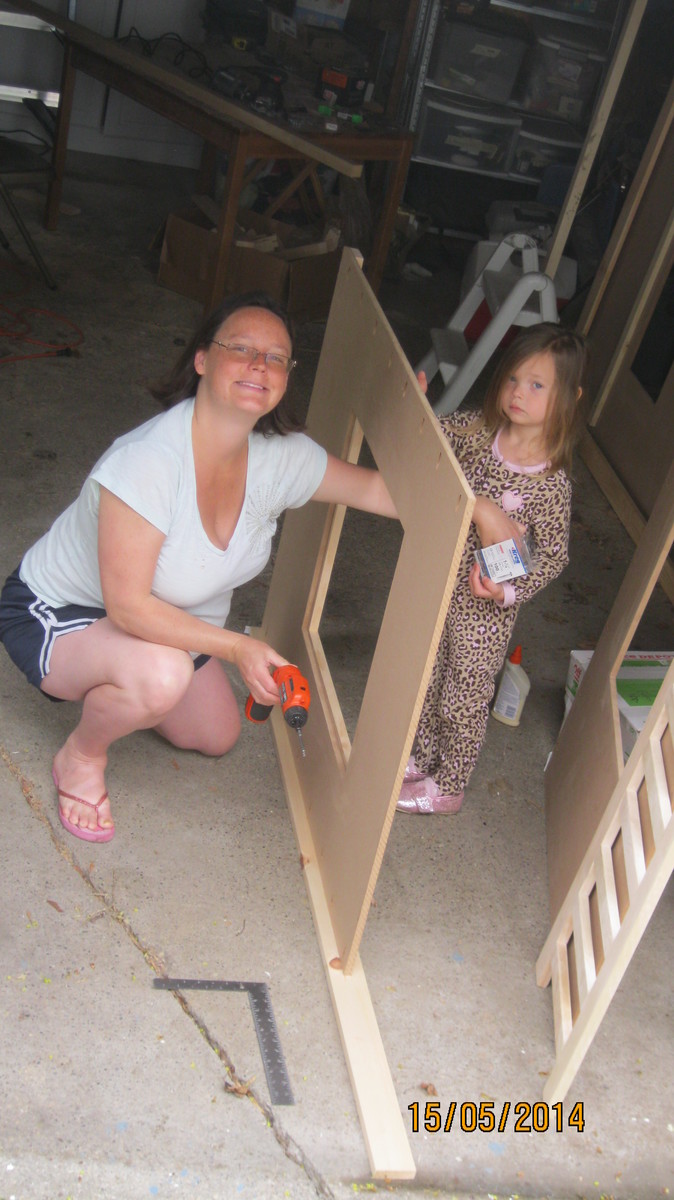
I had a good time with this project, and I learned a ton!
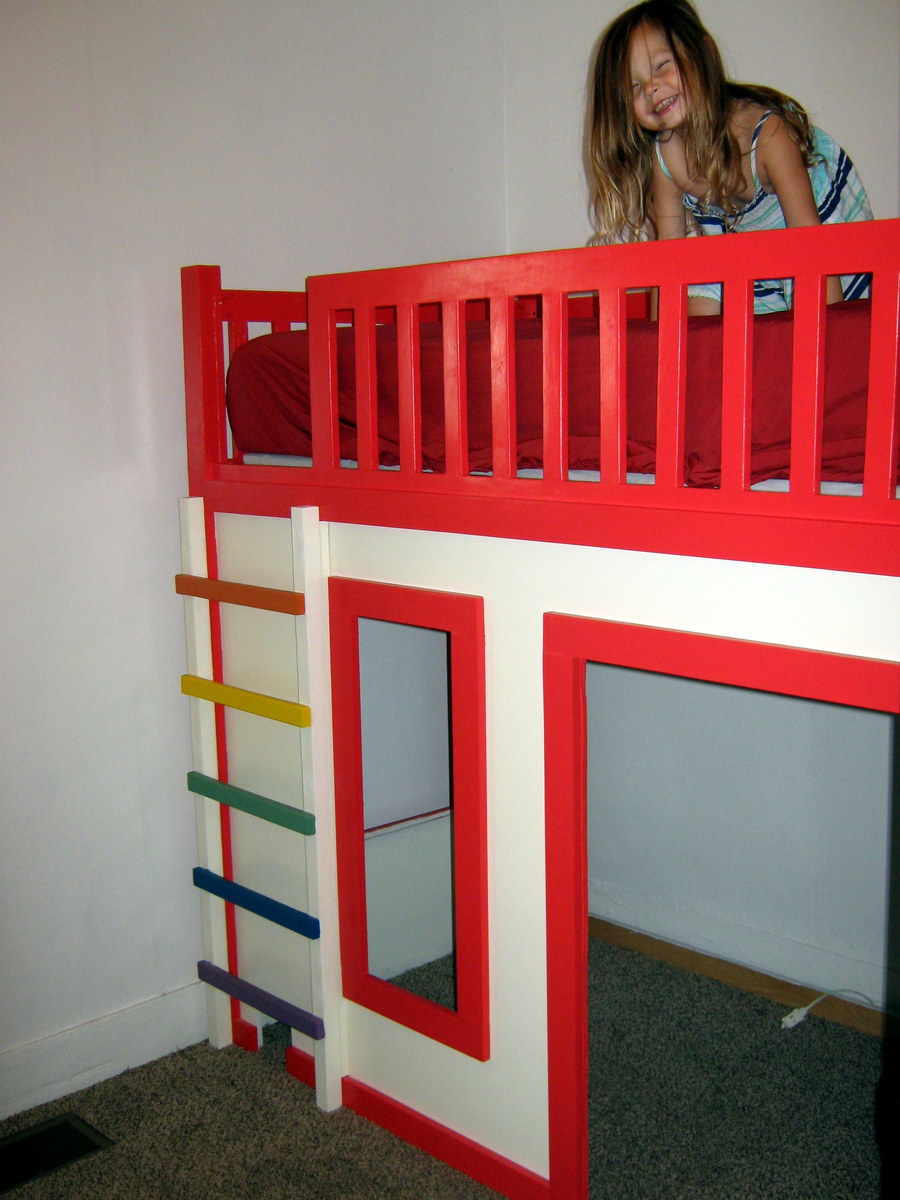
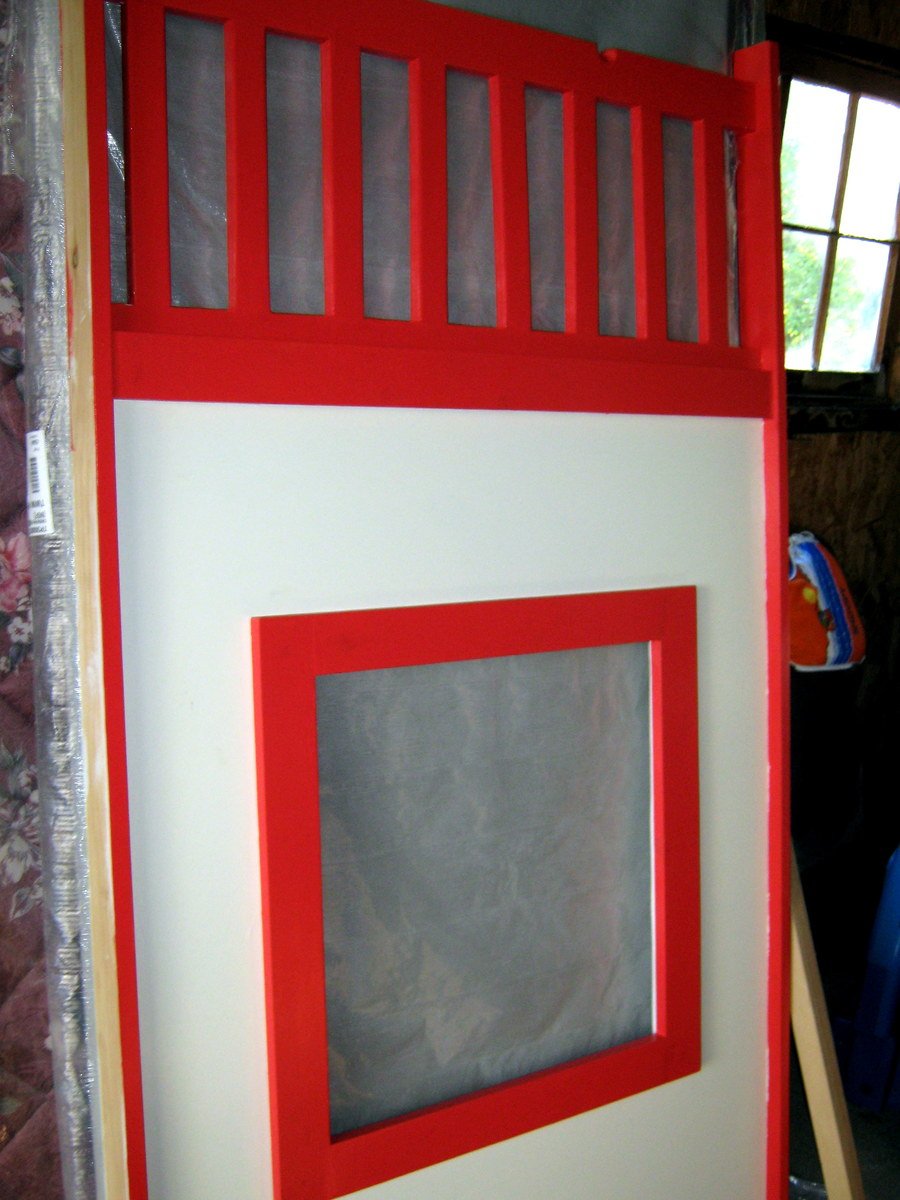
It took me a very long time (months!) because I had to work on it during nap time, and I had a baby before it was finished. There were times when I thought it would look terrible, but my husband assured me that after sanding and painting it would be fine - and he was right!
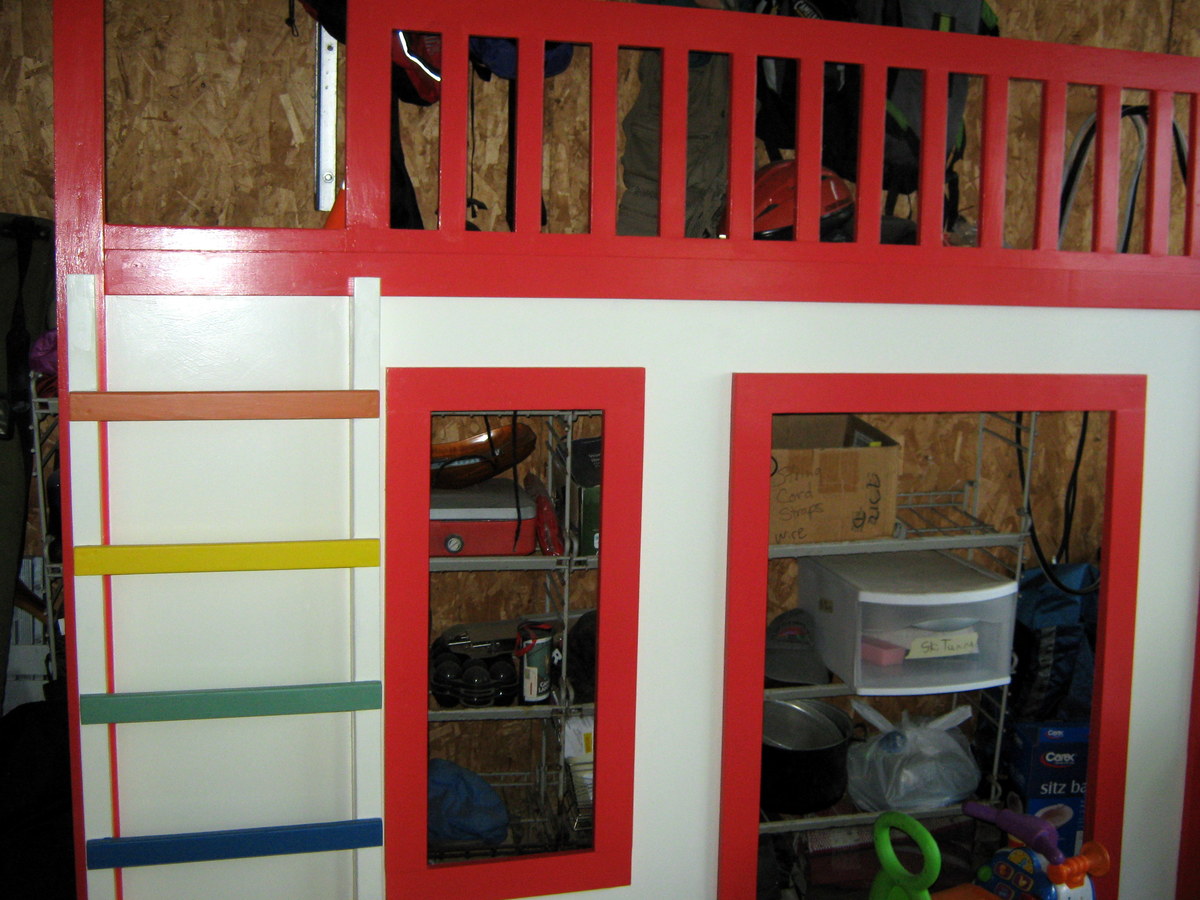
I had to modify the plans slightly (ladder in front) so the bed would fit in my daughter's tiny, tiny room. I also made the door and front window a bit larger. If I were to build it again, I'd make the railings higher as well - the mattress we bought is pretty tall, and there's only about 5" of railing above the mattress.
My daughter LOVES the bed! :)

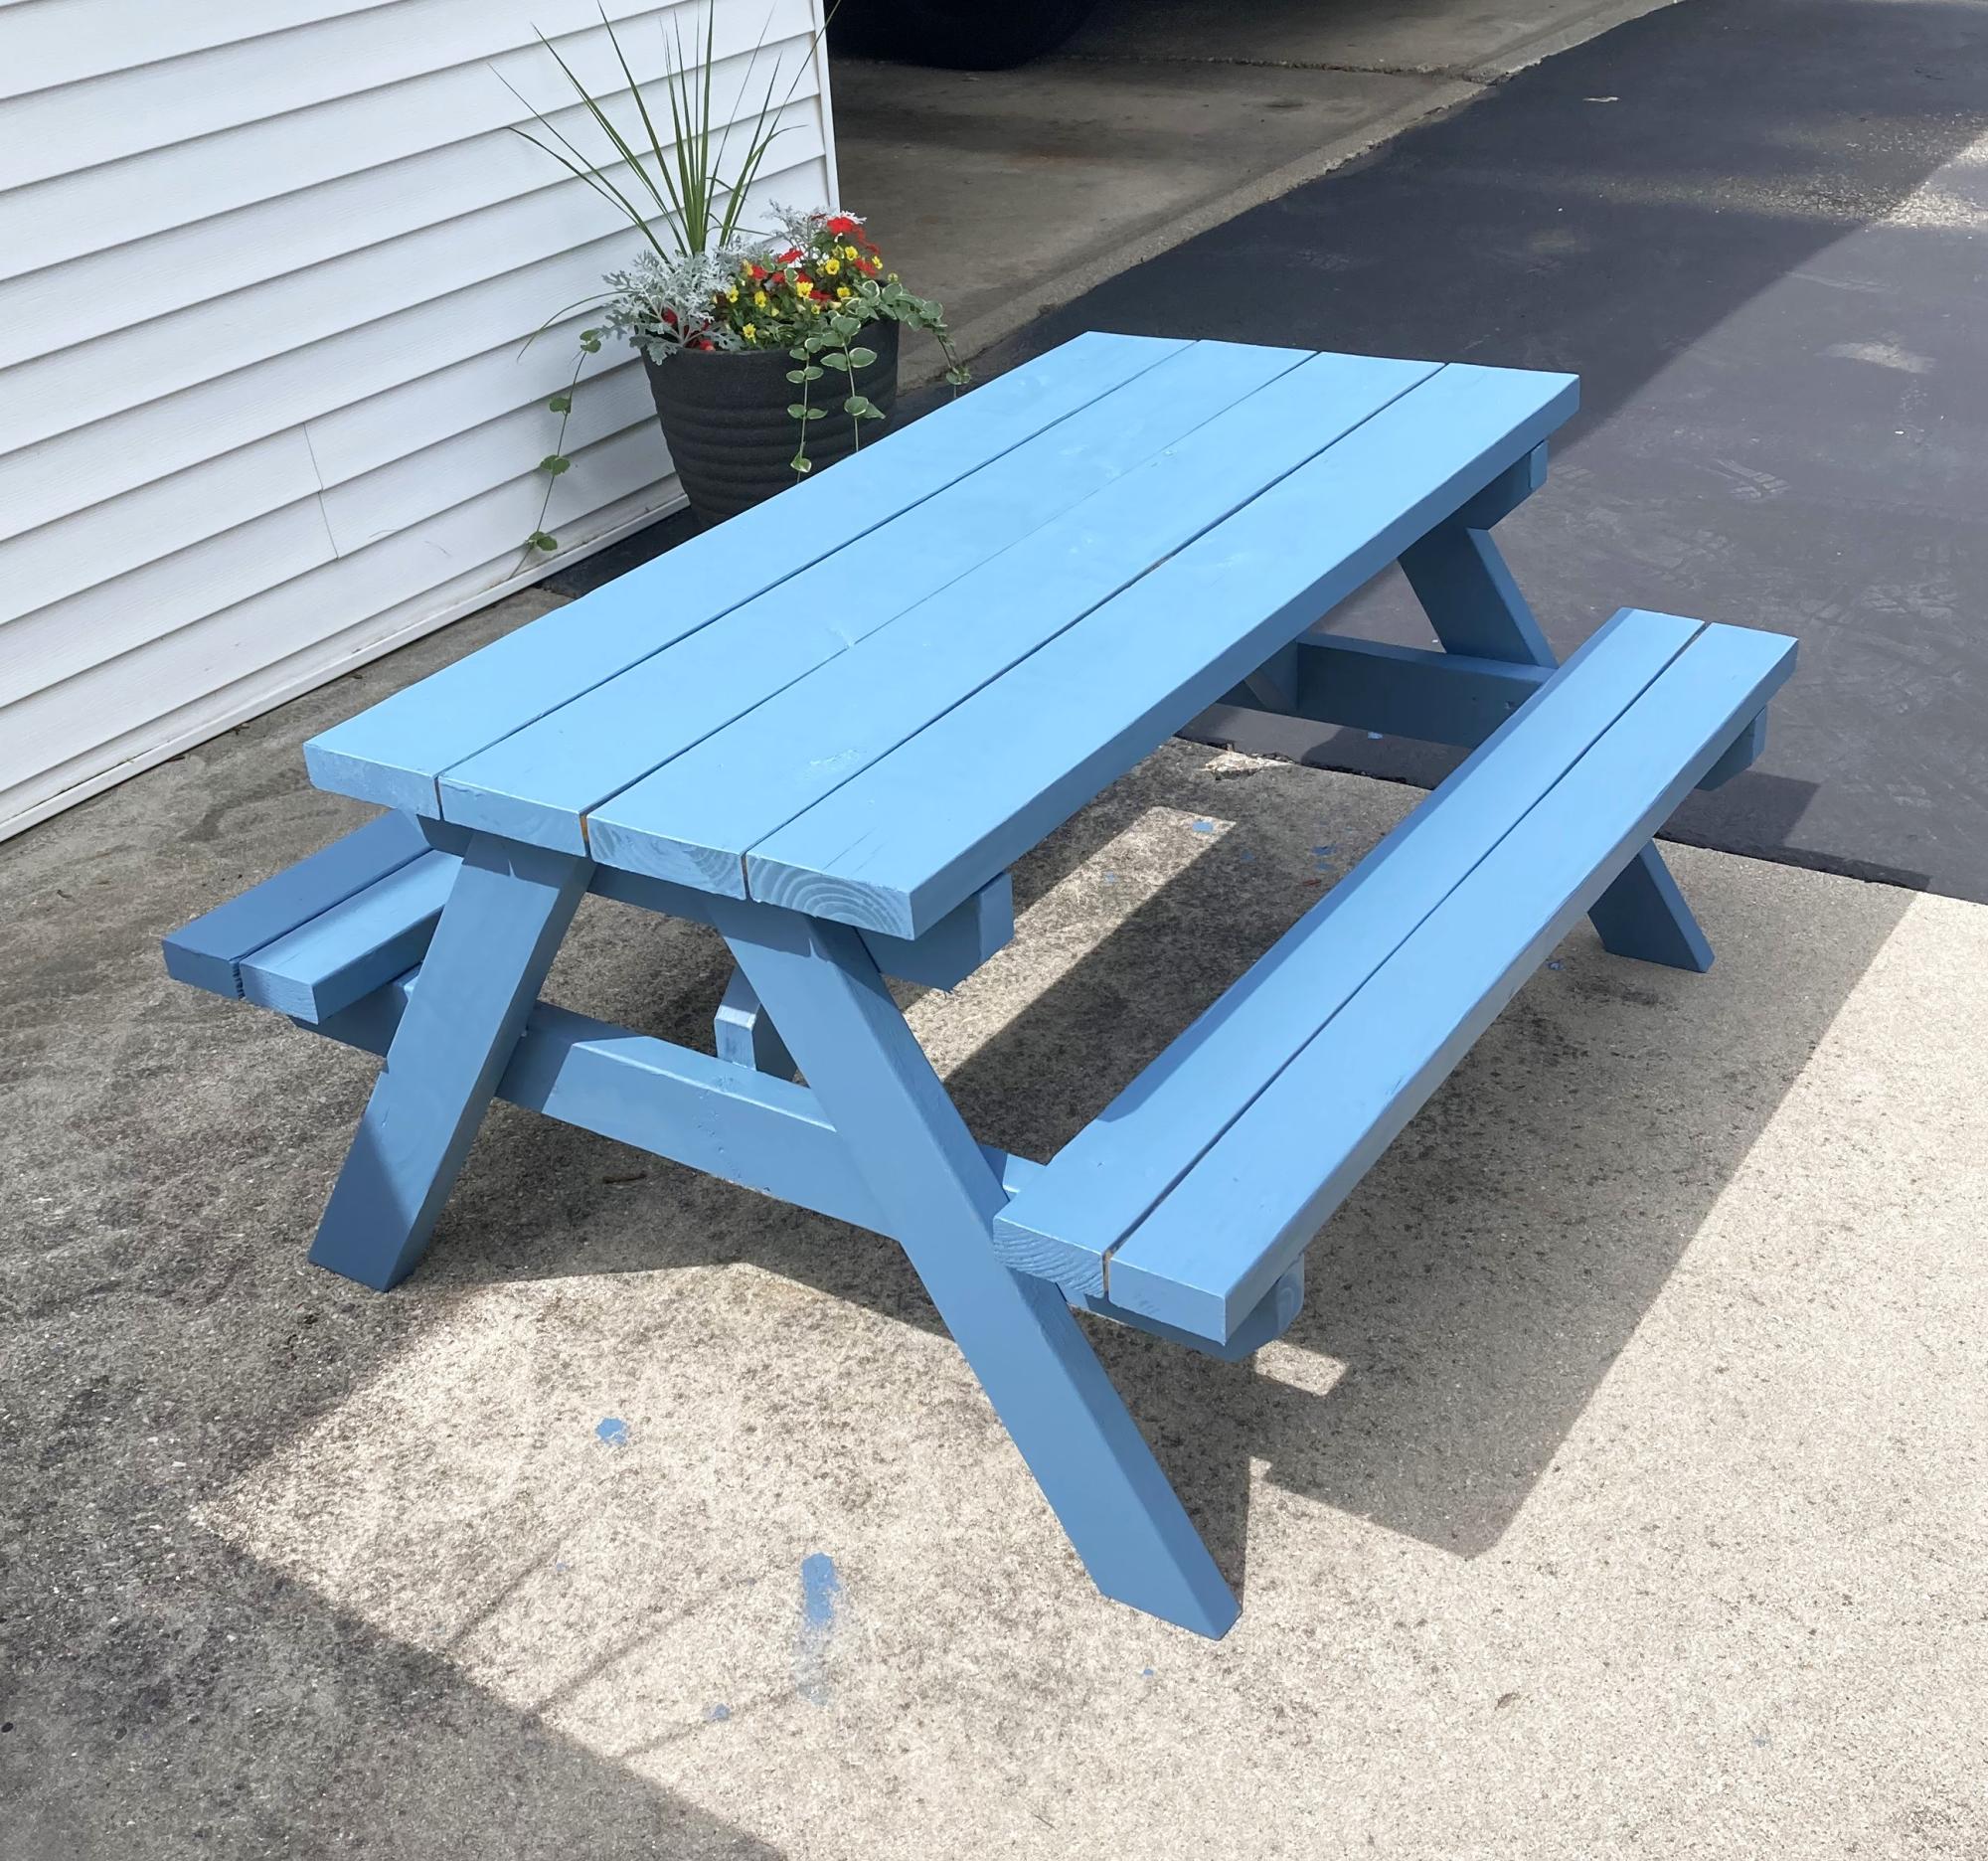
We have been eyeing this table for years now...finally the military has brought us to the east coast where we have room to do some wood work hobbying! This table is sturdy and beautiful. Love that we can break it down into so many pieces for our moves. Thank you Ana White!!
Wed, 05/08/2019 - 14:49
Can you please link the original design plans for this table? I really like it!
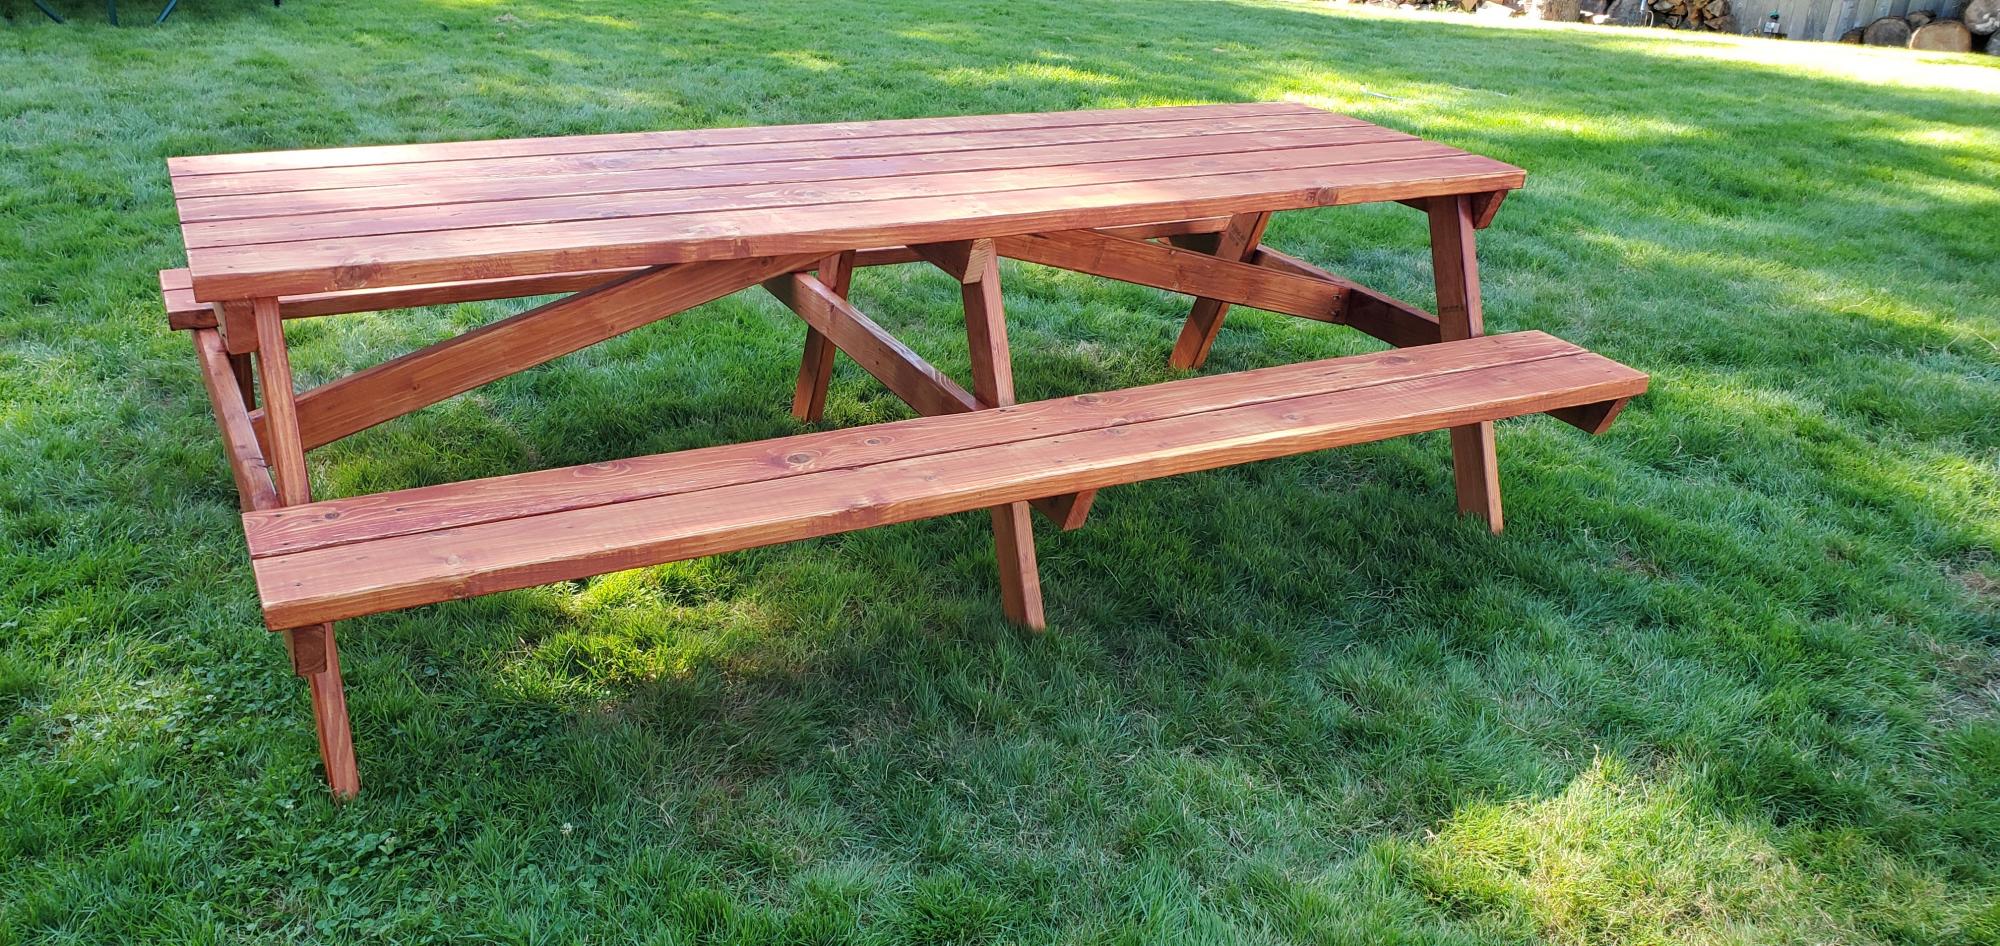
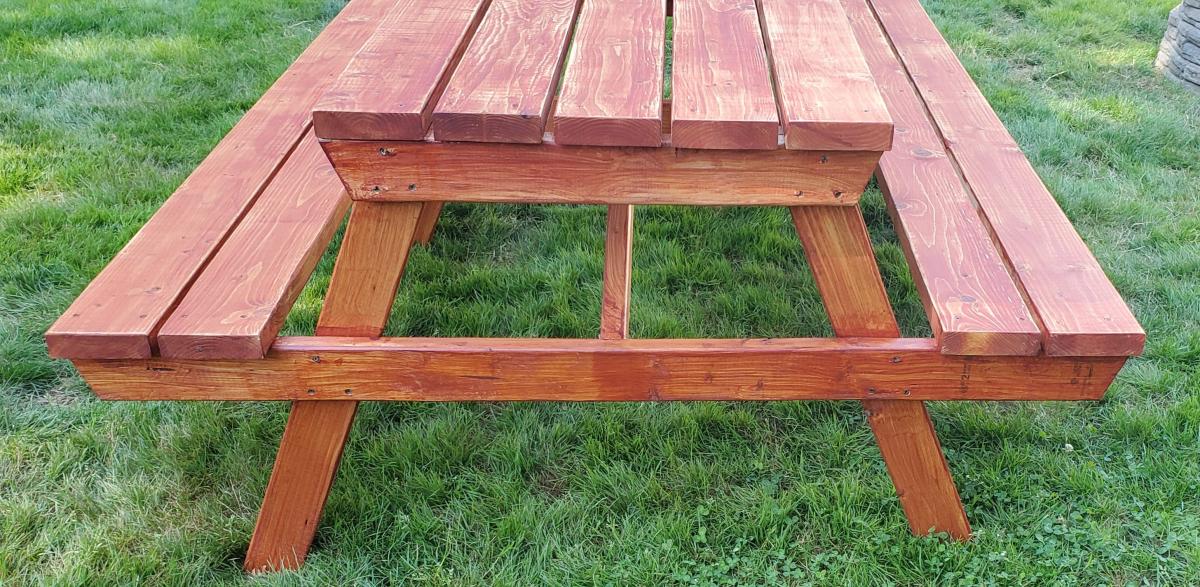
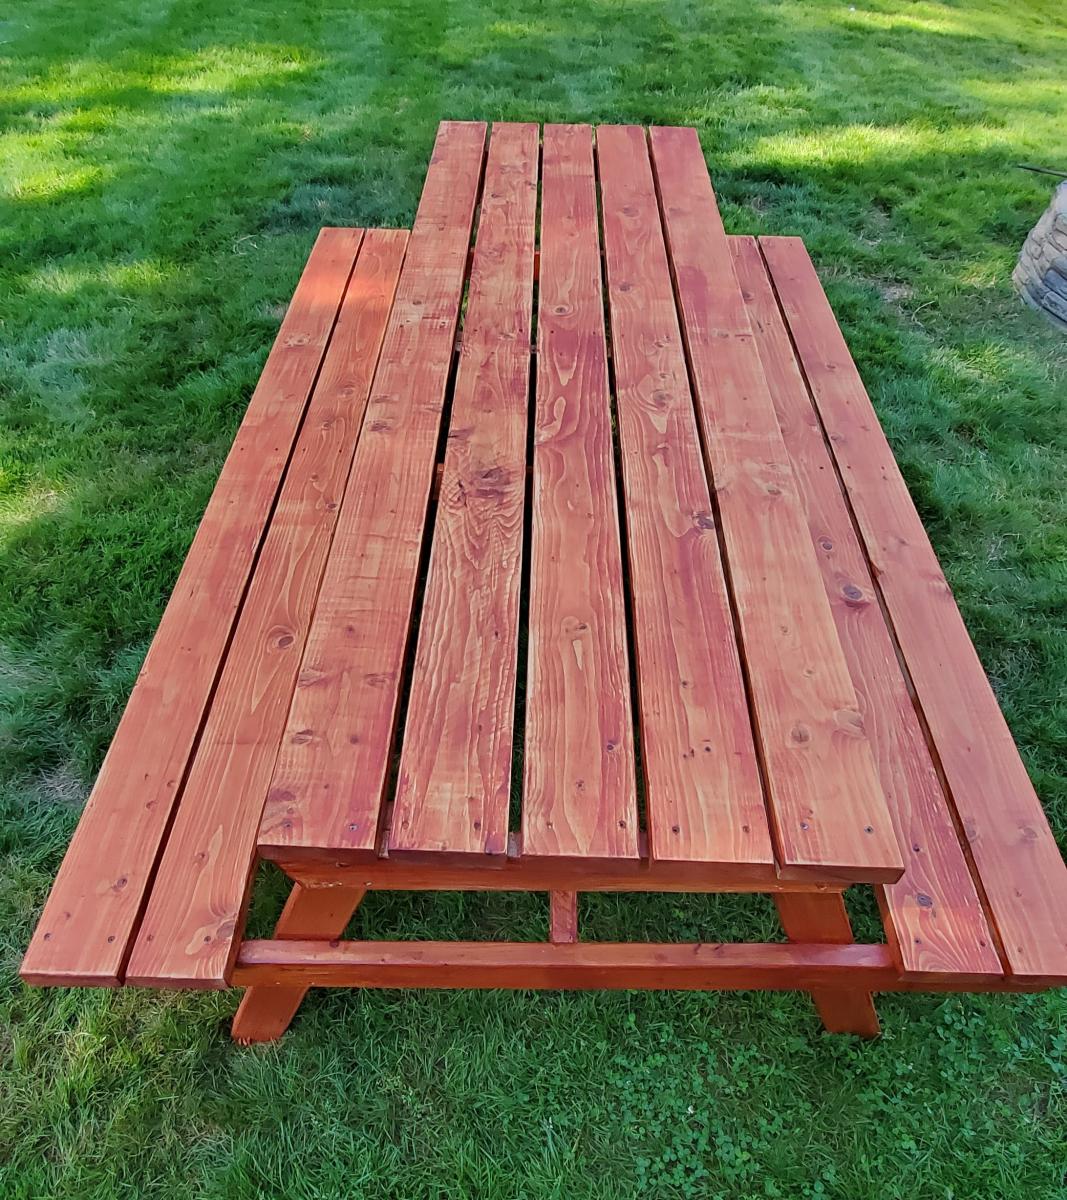
I built the 8 Foot Picnic table off of Ana's plans but didn't do the greatest job following the full directions. I was going a little too fast. The area I most regret moving too quickly on was the legs. I neglected to look at the sketch of the table legs with dimensions close enough to see that the spread for the bottom of the legs should be 47-1/4" and that the top 2x4 should extend beyond the top of the leg by 3". I only looked at the note "meets at corner" and built the legs off that. The legs were thus, not uniform. The next error I made was not measuring my 2x6 boards to make sure they were equal. All were longer than 8' and none were the same length. When I started attaching the unmeasured, uncut boards to the table legs, I attempted to attach them per plan but ended up with a table slightly out of square. Overall though, I am generally happy with the table and will be donating it to my church. If I build more in the future, I will make sure to space my legs correctly.
60 inch version. Sir Duke chalk Paint color from the blue box store.
Rich

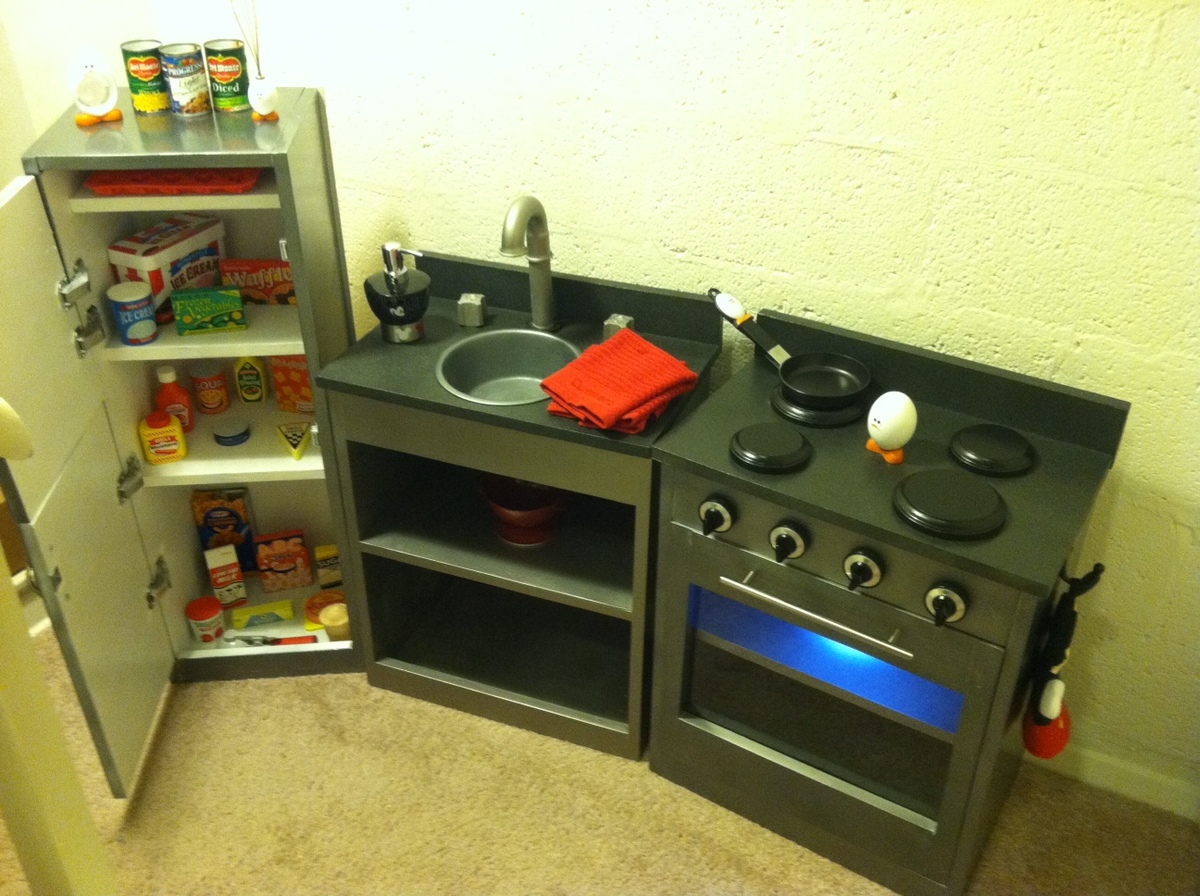
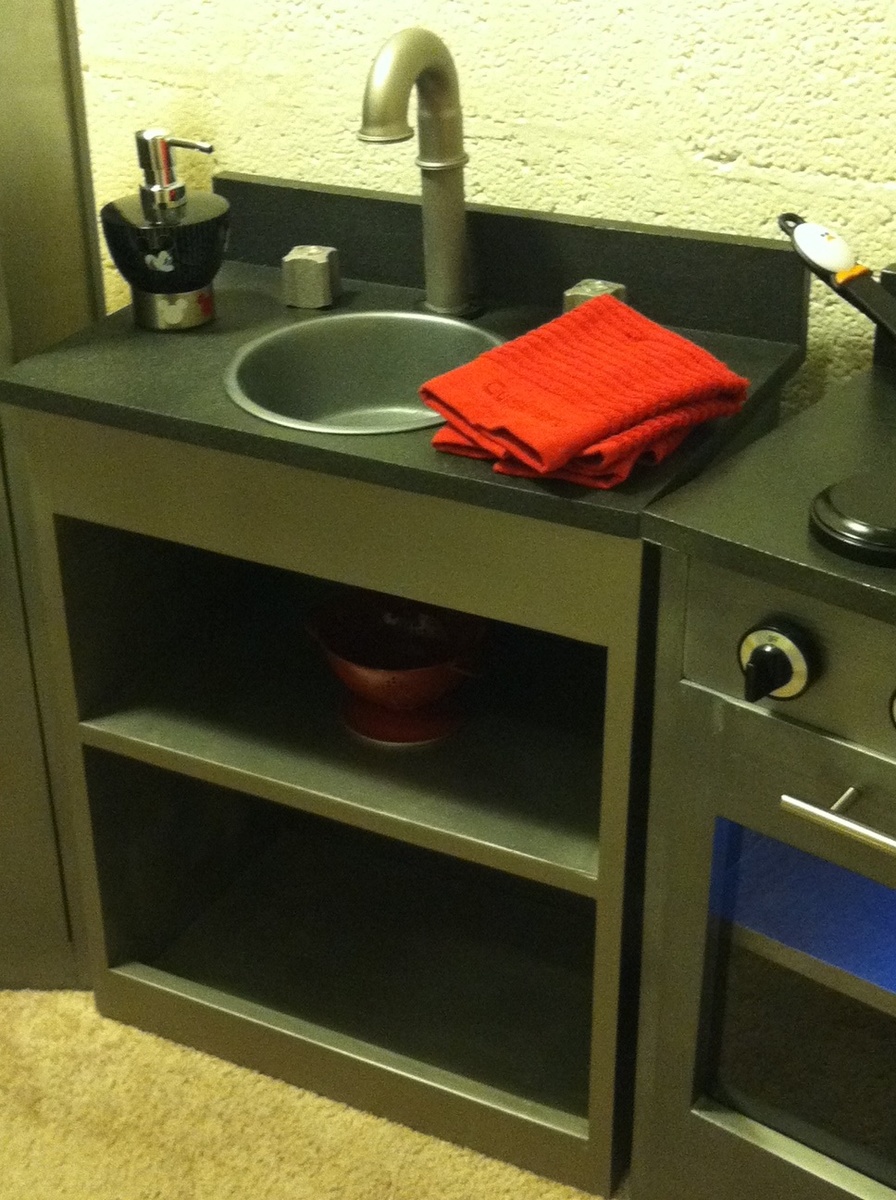
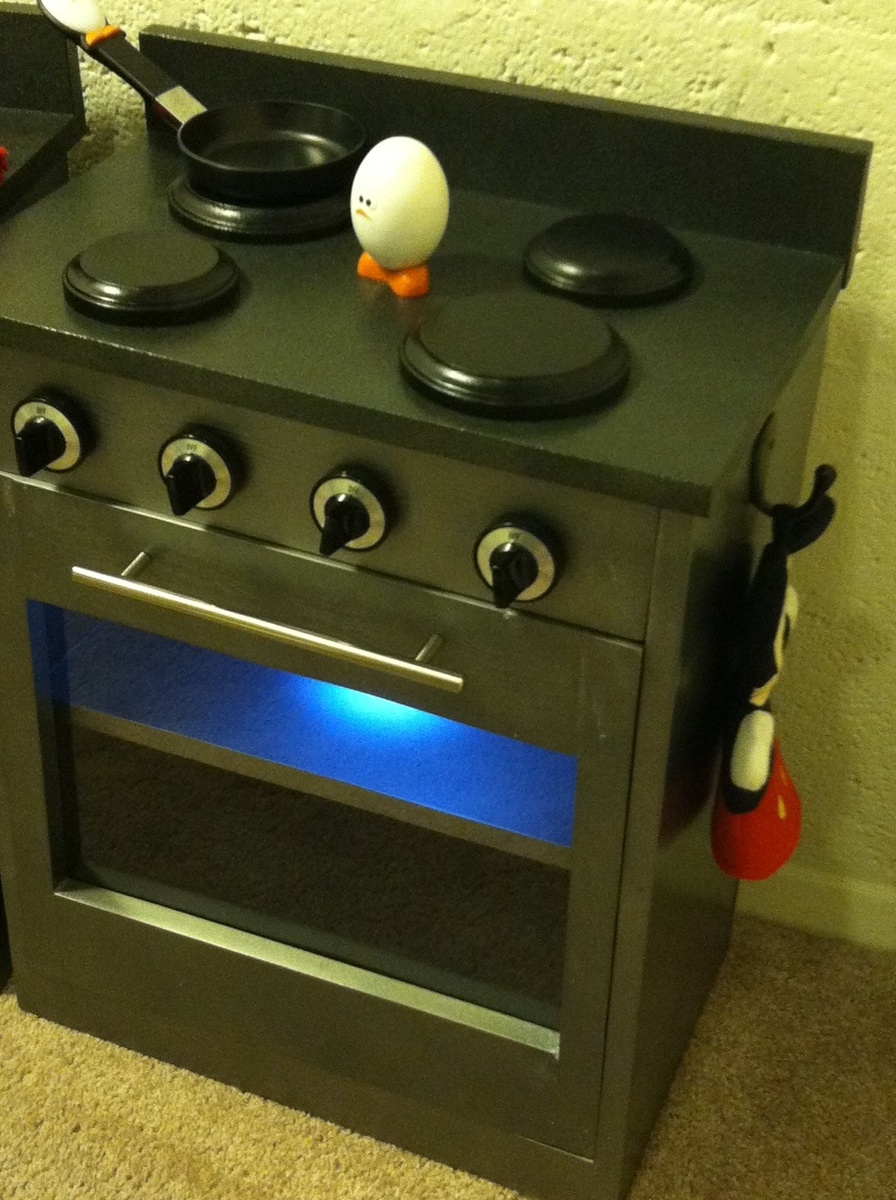
This was my first build! I made this kitchen for my 2 1/2 year old son, and he LOVES it! I used the Kreg Jig which made it super easy to build. It was the finishing that took the most time. That and I had to squeeze the work in during naptimes and bedtimes.
I followed the plans for the Simple Play Kitchen and also the Old School Fridge. I added 3 inches to the height and width of the sink and stove pieces after reading another post. The fridge I kept the same dimensions as in the plan.
For the accessories:
Fridge handles: under 3$ each at Lowe's, Stove handle about 4-5$
Sink faucet: random plumbing part from the plumbing aisle at Home Depot, glued together and then spray painted
Sink hot and cold knobs: clearance replacement knobs from Home Depot
SInk: pet food dish spray painted
Stove burners: wooden discs from Michael's, spray painted black
Stove Knobs: replacement knobs also found at Home Depot
Stove Light: $5 at Home Depot, it's battery-powered push light, and happened to have a magnet on the back of it, so I screwed a magnet plate in the oven and now it stays in place, the velcro didn't work
Towels and other accessories found on clearance at Marshalls
The building part went quickly like I said, but the finish took forever! But it was worth it to see the look on my son's face when he finally saw it. He loves it!

Fri, 05/06/2016 - 11:50
I couldn't help but get a little excided when I found this play kitchen you have built. I am currently building a tiny house in my daughter’s bedroom and I am working on her kitchen. I have been having nothing but nightmares trying to get a realistic stainless steel appliance look. I have tried stainless steel contact paper and the exact same glittery stainless steel spray paint you tried before. I also ended up with a horrible outcome and had to sand everything back down and start over. I can wait to go to home depot and get the colors you used for your final coats and give them a try. You may have just saved my workshop from a father that might have went incredible hulk on it from one more failed attempt at creating stainless steel looking play furniture... Thank you!!!
I followed the directions other than the hinges in the plans. Those hinges where $25 a piece so I went with a basic hinge and added the soft close attachment. Works just a as well! This was a mother day present and it turned out so nice I hated to give it up.

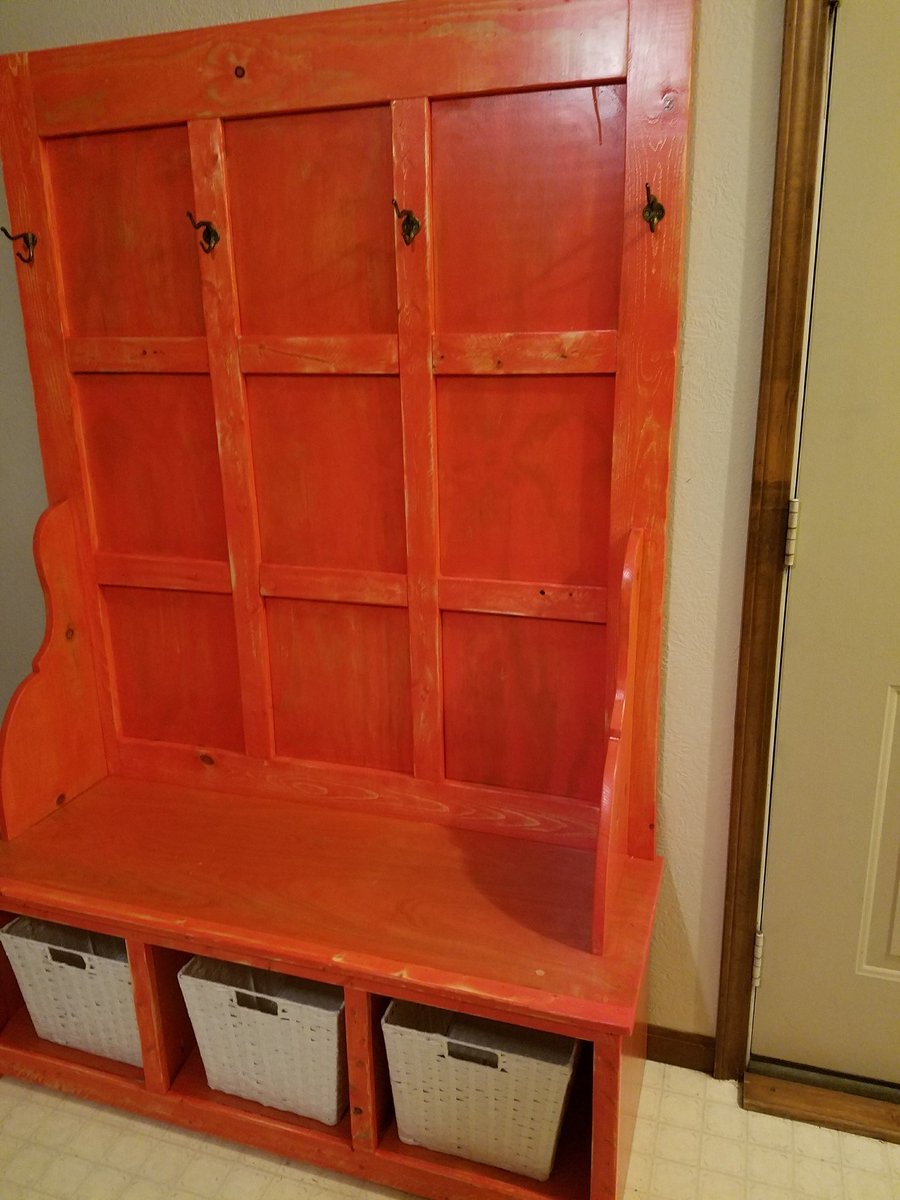
First project so I followed I plans pretty close. I took the Cut list to Menards lumber yard they got the wood together for me for around a hundred bucks .
I used a Minwax orange stain brushed on polyurethane.
The 1x4's are used for the back had very rough saw marks my sanded everything before I stainded it after I stand it I sanded it lightly to expose some wood and then I brushed on Minwax polyurethane I am happy with the results bright color yet you can still see the wood grain
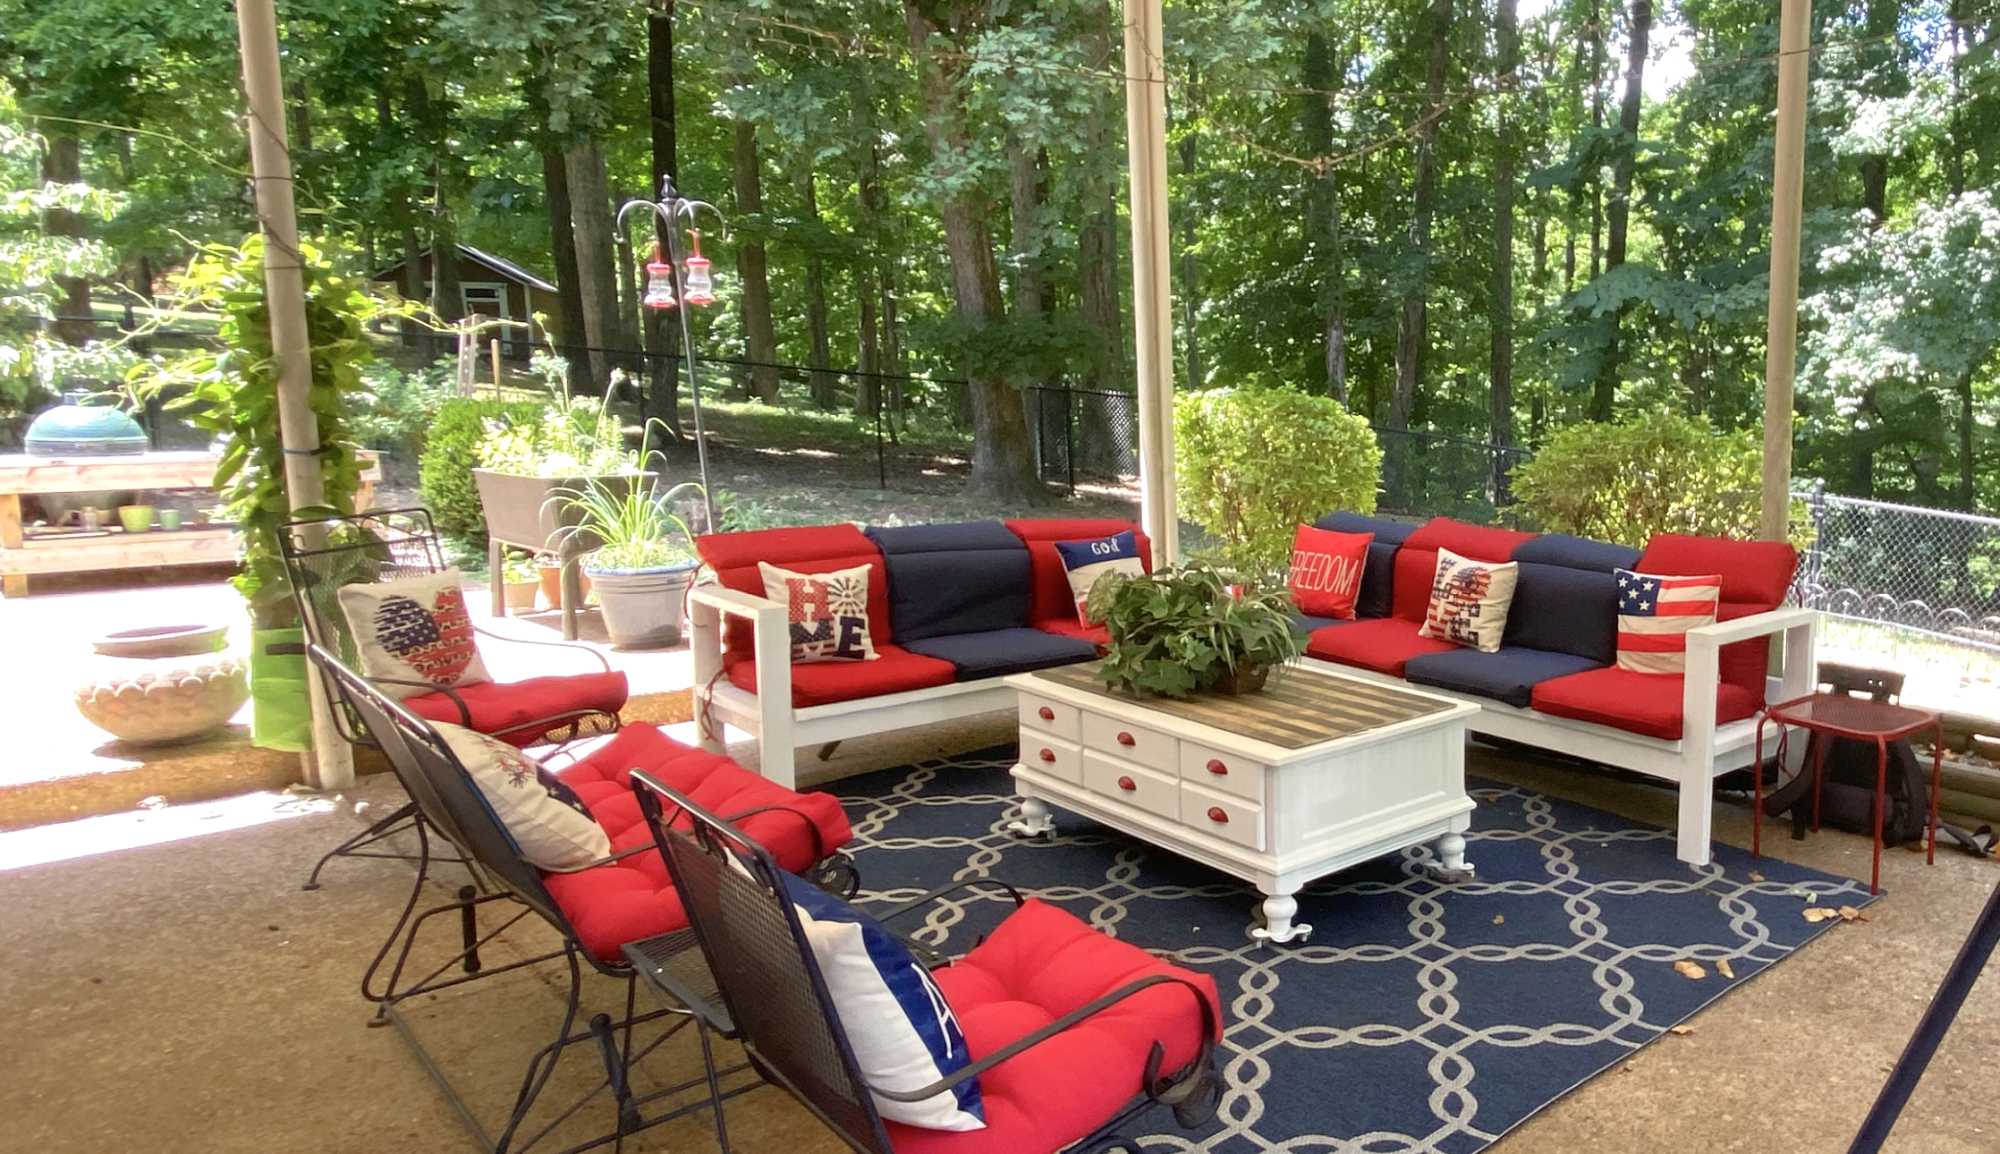
I wanted an outdoor lounge. My partner had to work so he helped me get started and I finished it alone. He surprised me a build a corner table to complete the look.
I love it !!
Donna H.
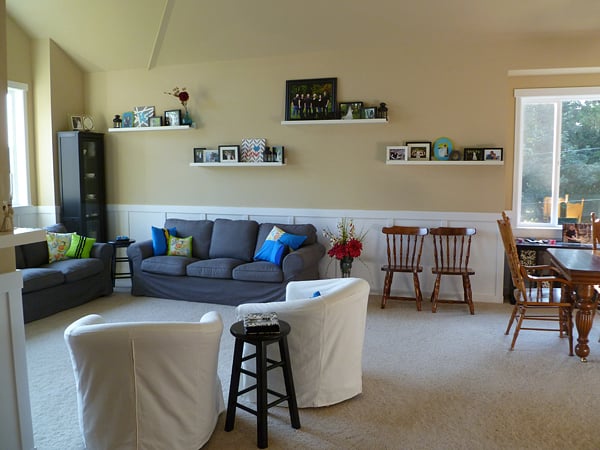
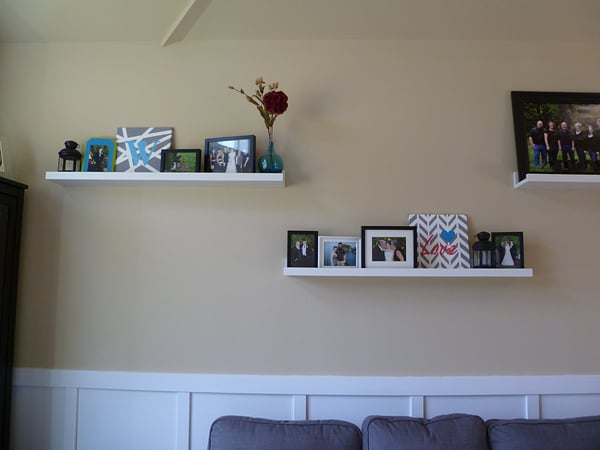
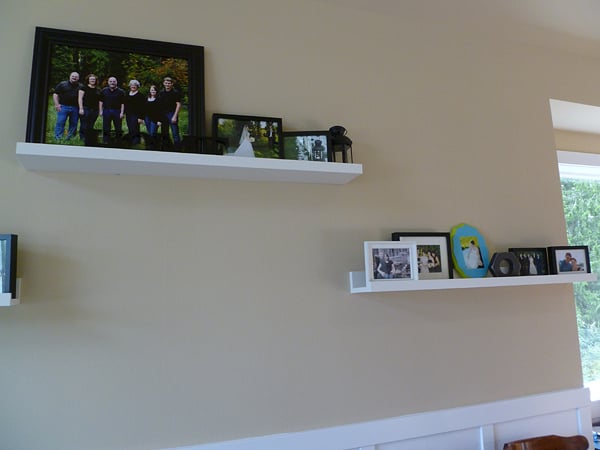
I went with a 1x6 on the bottom so that I would be able to display more than just pictures. So far they are working great and I love them.
I used the kreg jig, filled the holes with wood filler and then painted them white.
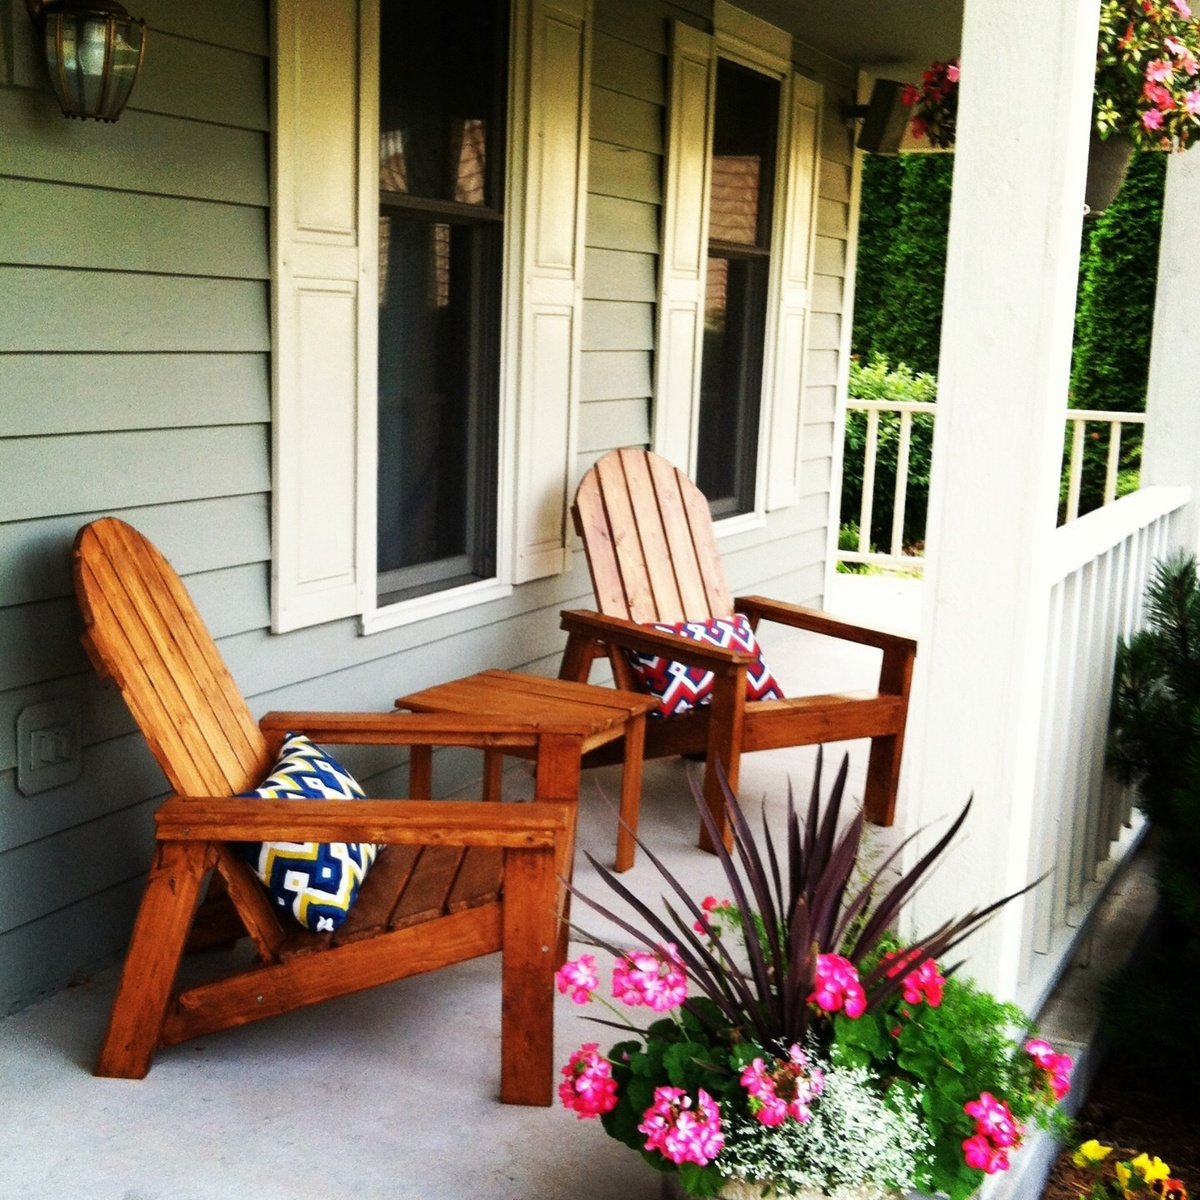
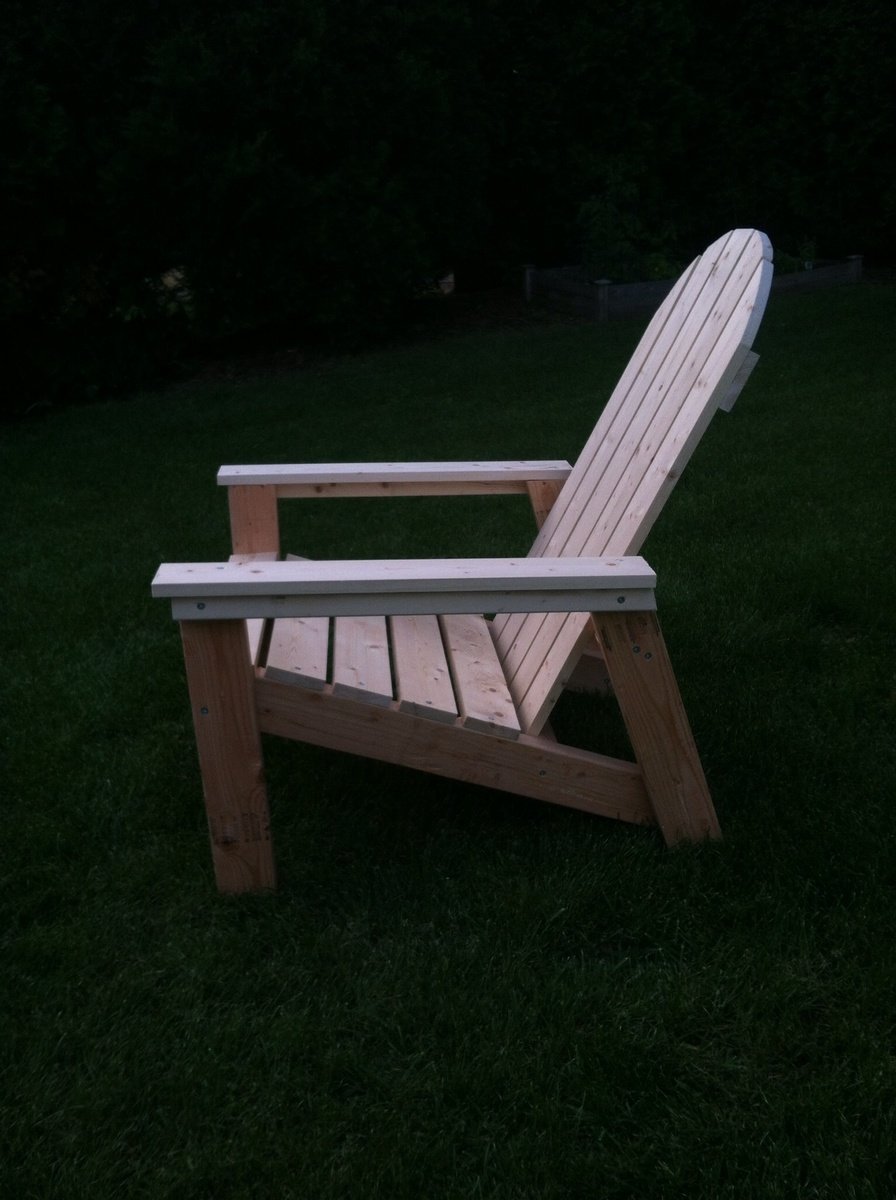
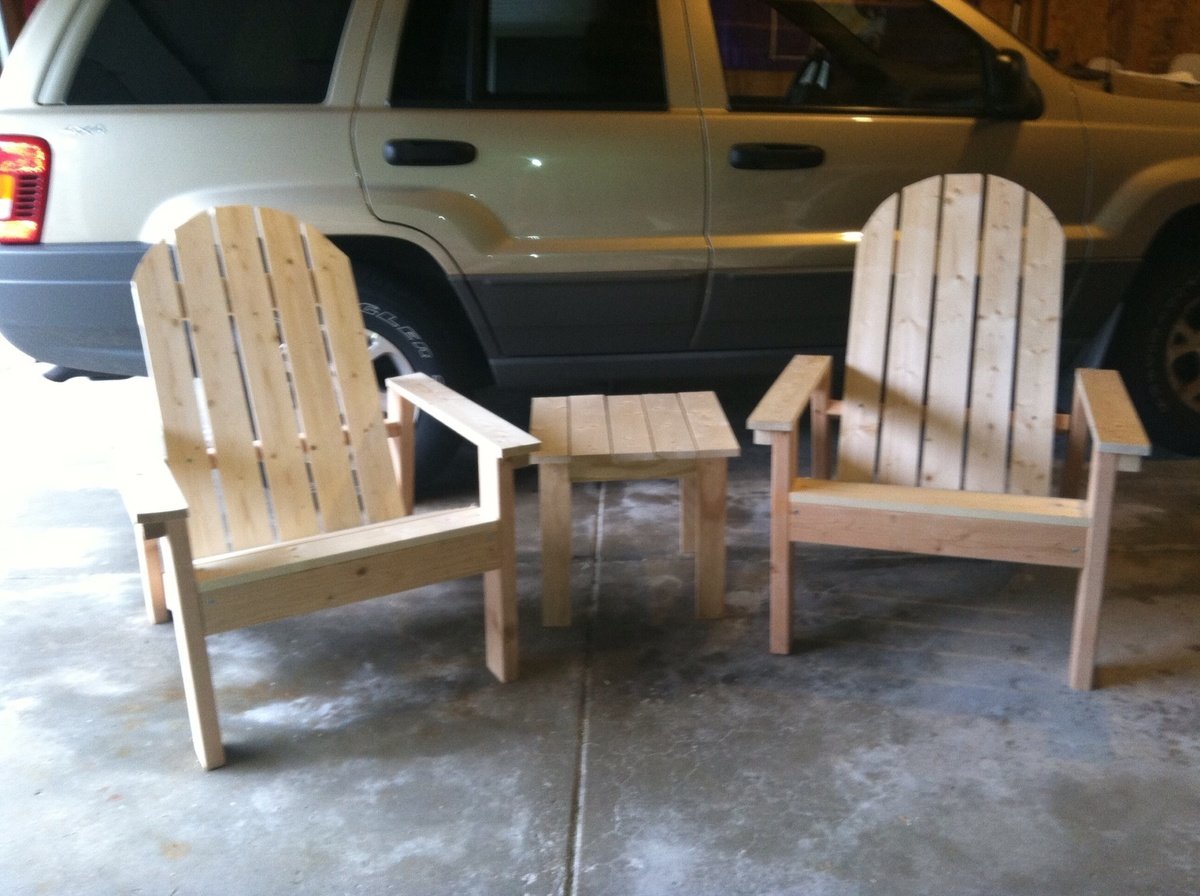
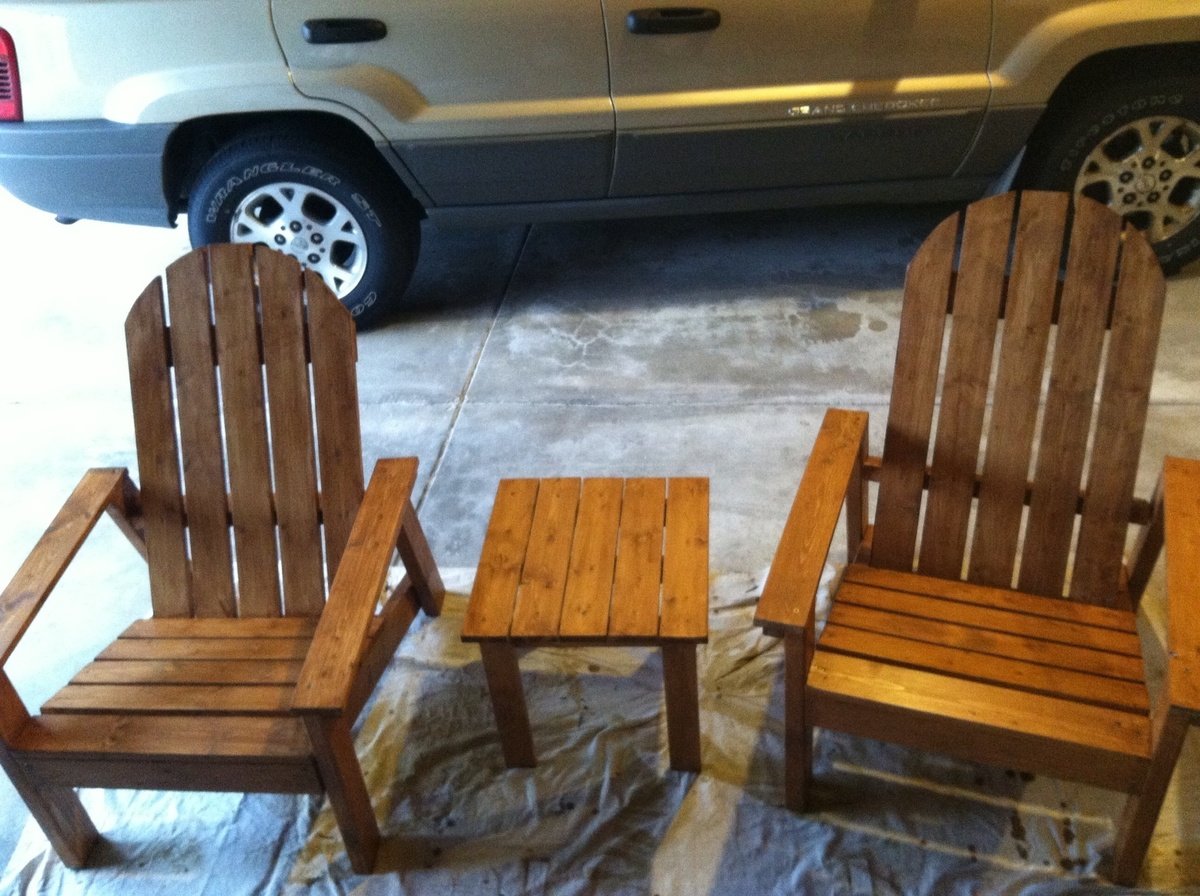
This was my first project! I took my time, learning many lessons as I went and borrowing tools from friends. Although there are some flaws, I am so proud of these chairs. They look awesome on our front porch and are the perfect spot to relax after work and watch the sun set with a glass of wine. After building the first chair which fit my husband (6'3" tall), I decided to slightly change the angle of the second chair such that the depth better suited me (5'4" tall and short legged). Thanks for the inspiration Ana, I can't wait to start my next project!

wife wanted some new tables.


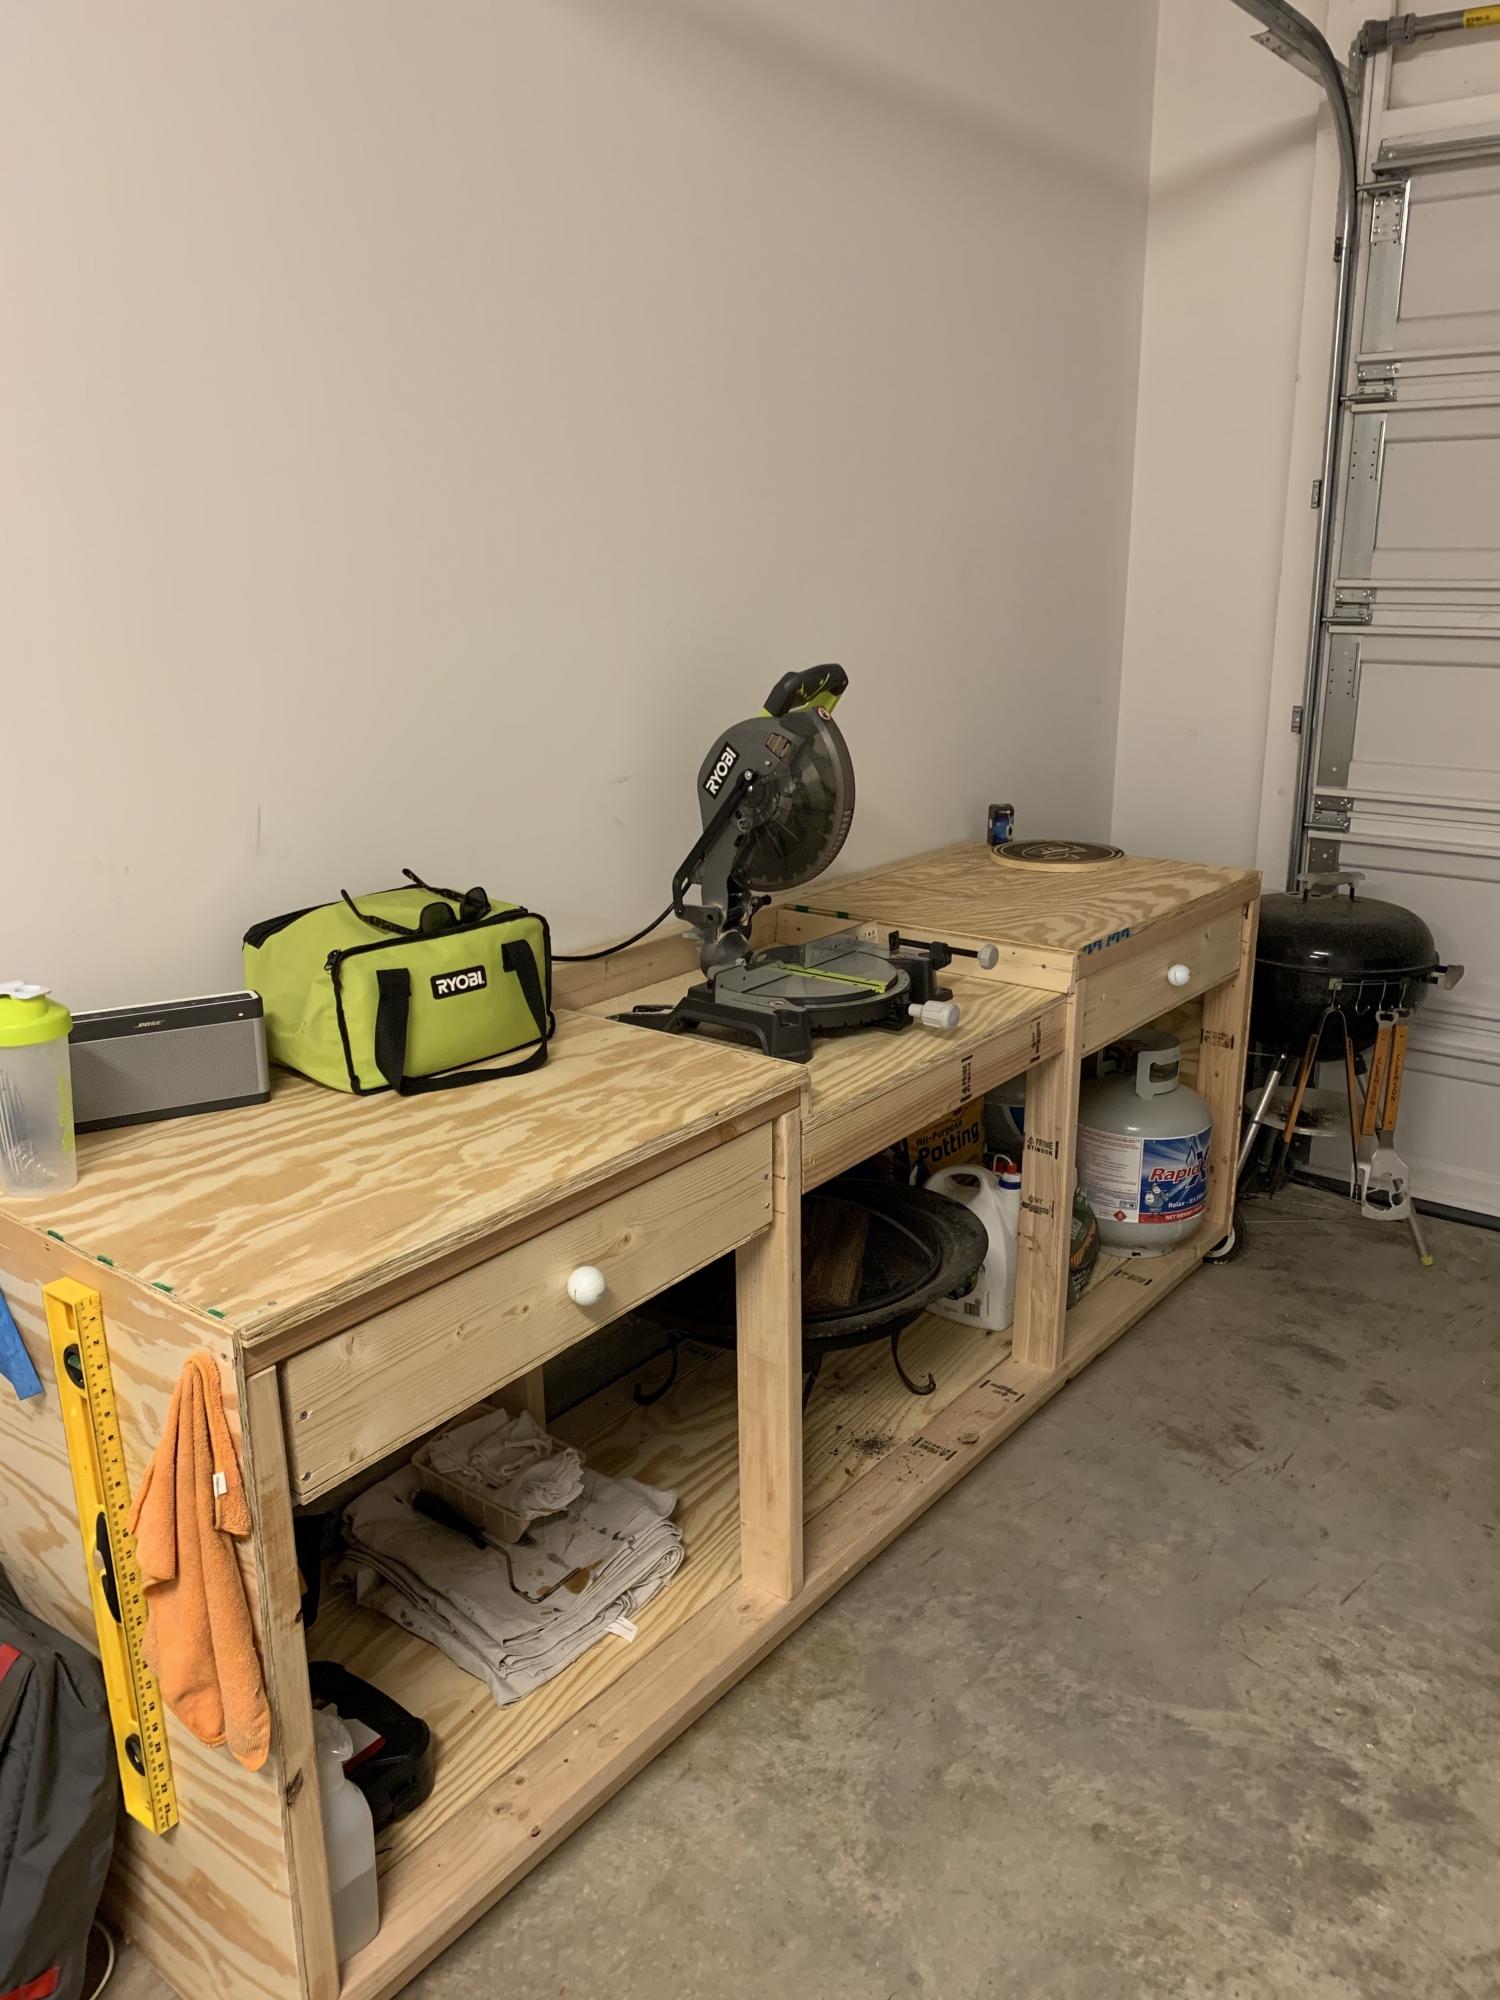
I picked up wood working as an indoor hobby during the Coronavirus and working from home. I was doing everything on the floor in my garage until I saw these plans for the Pony Wall Workbench. I'm 6'4 so having a bench to work at is such a savor for my back. I didn't have as much room, so I just used the 8 foot section and dropped the miter saw into the middle, two drawers on either side. I'm a big golf fan as well, so I spiced it up with some old golf balls I had laying around for drawer knobs!
I really appreciate this site and all the plans. I'm looking forward to many new builds, not on the ground haha!
My granddaughter picked the stain color.
K-man
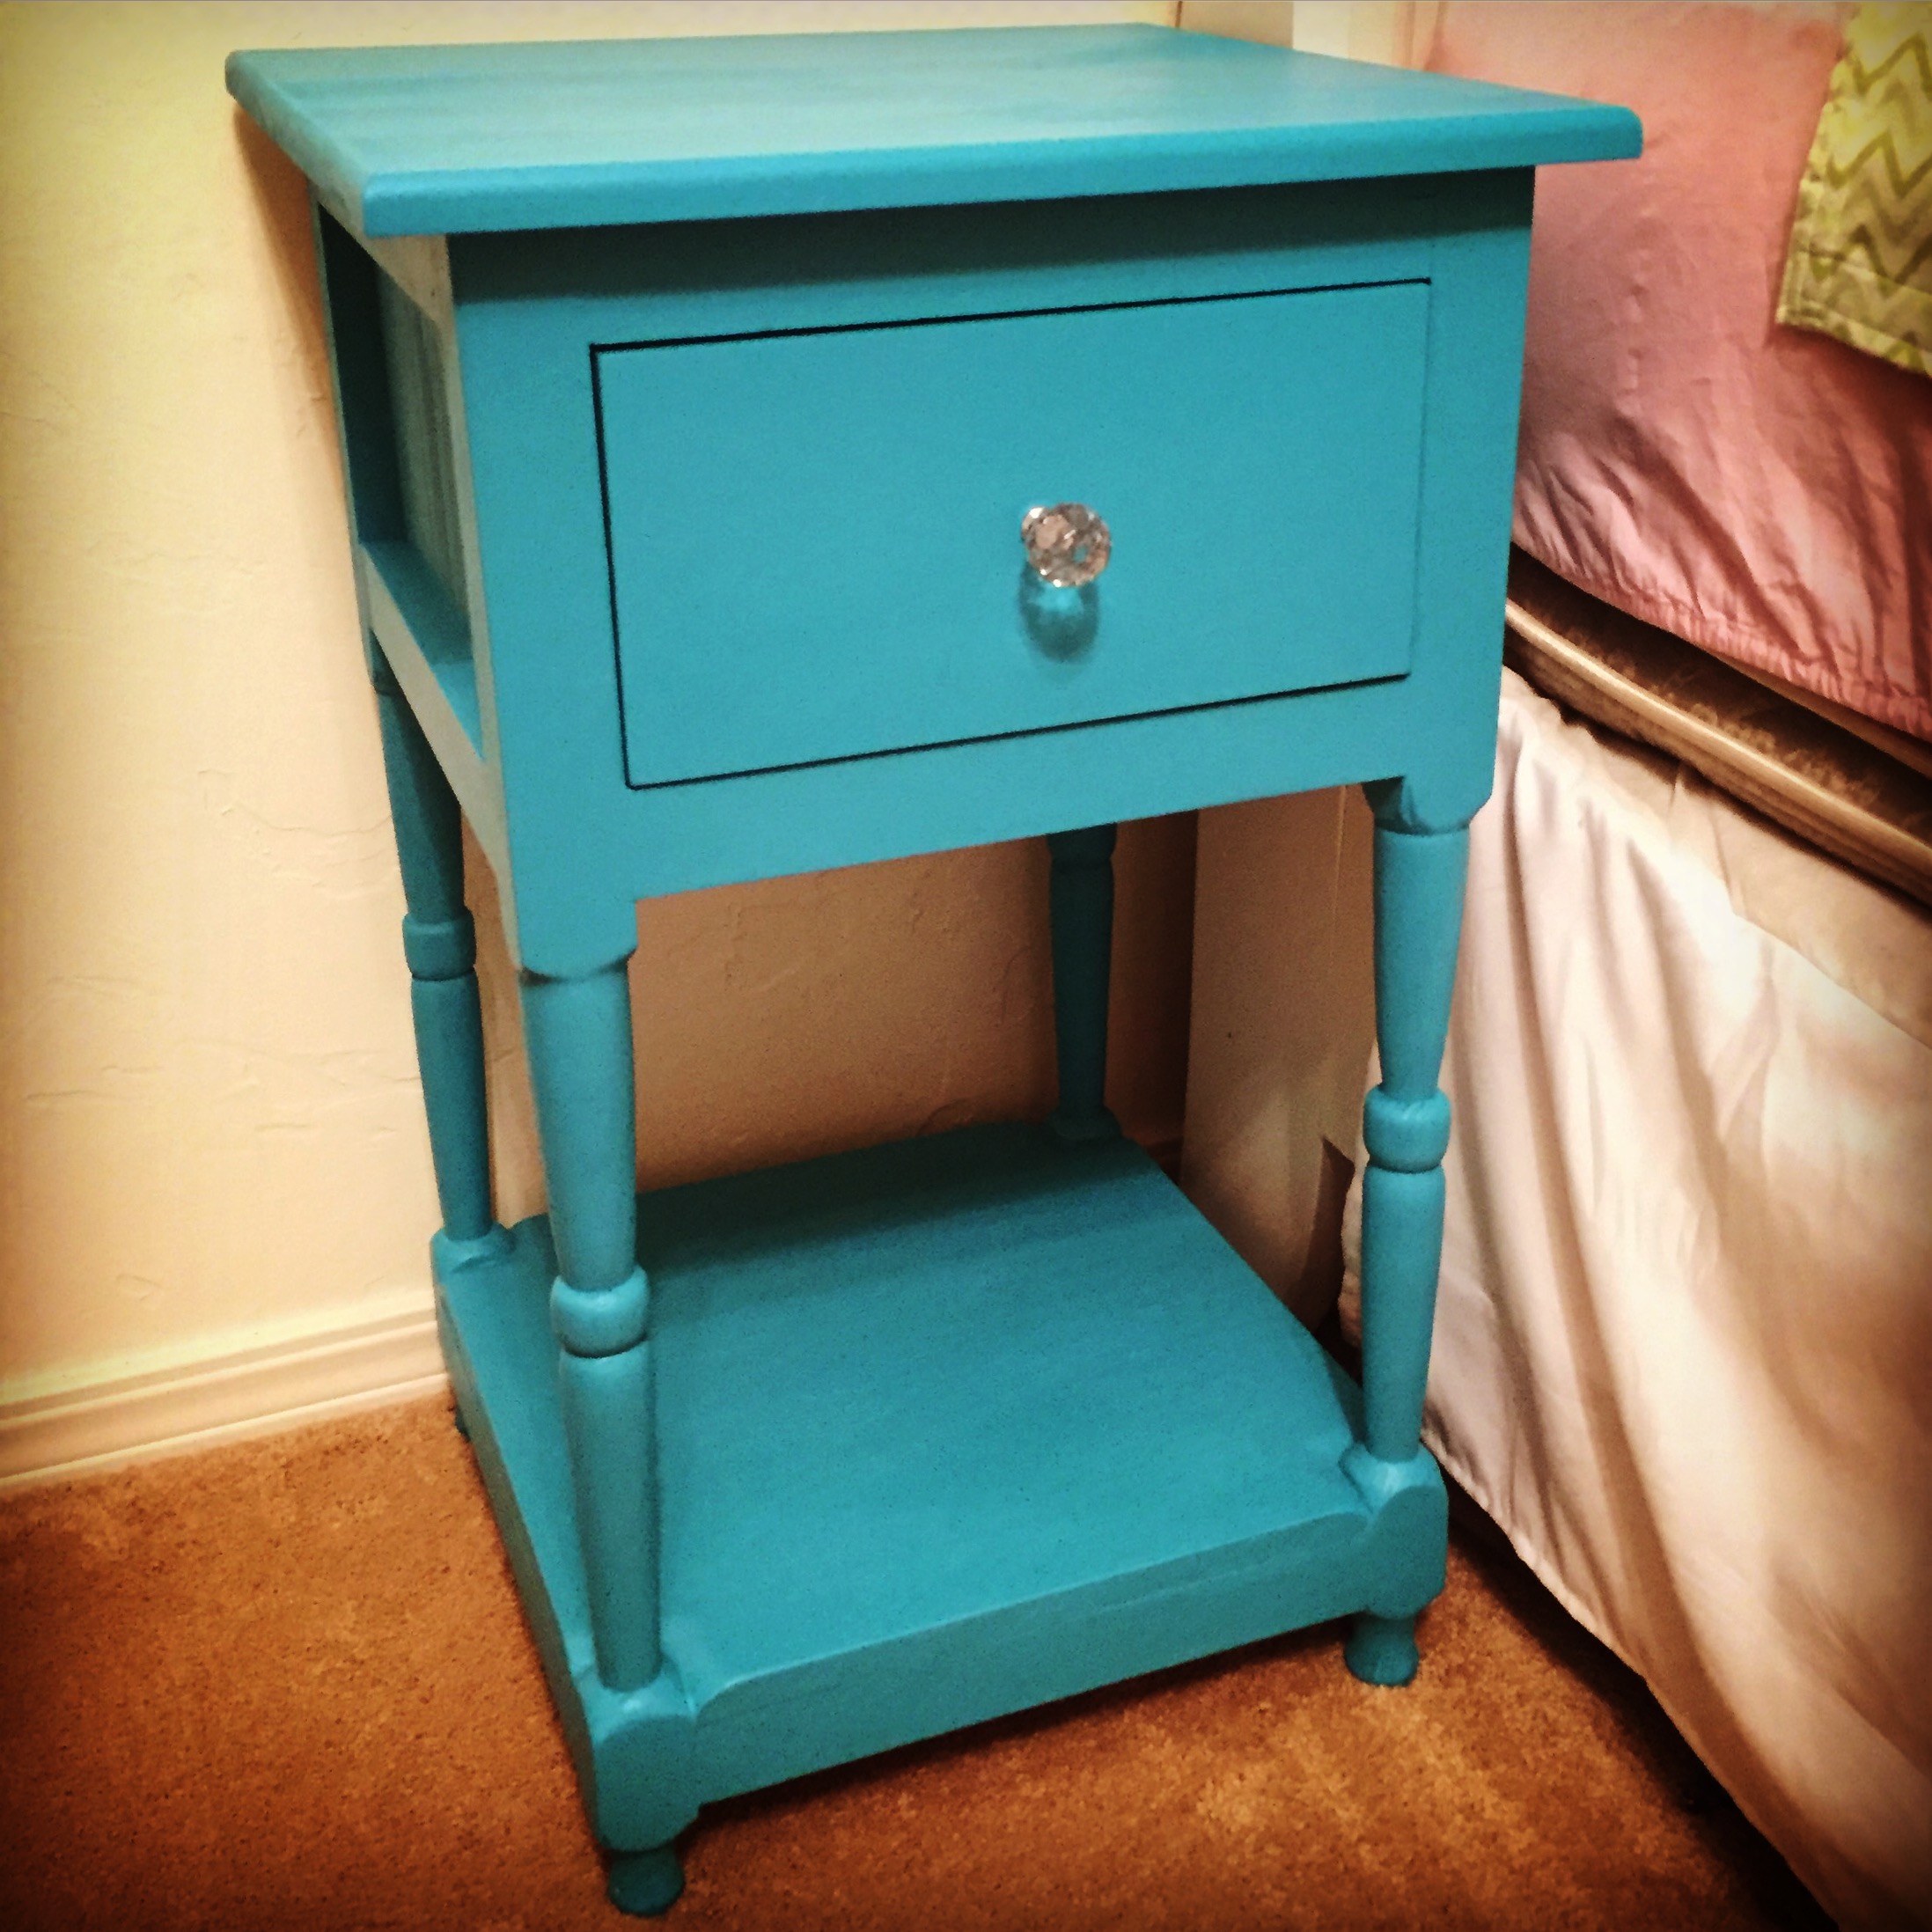
Built this from the mini farmhouse bedside table plans, but decided to use the lathe on the legs (which also added a lot of time). This was one of the first furniture projects I've done and it was pretty easy to follow the plans.

Thu, 01/12/2017 - 10:15
adorable! the turned legs add alot of character too!
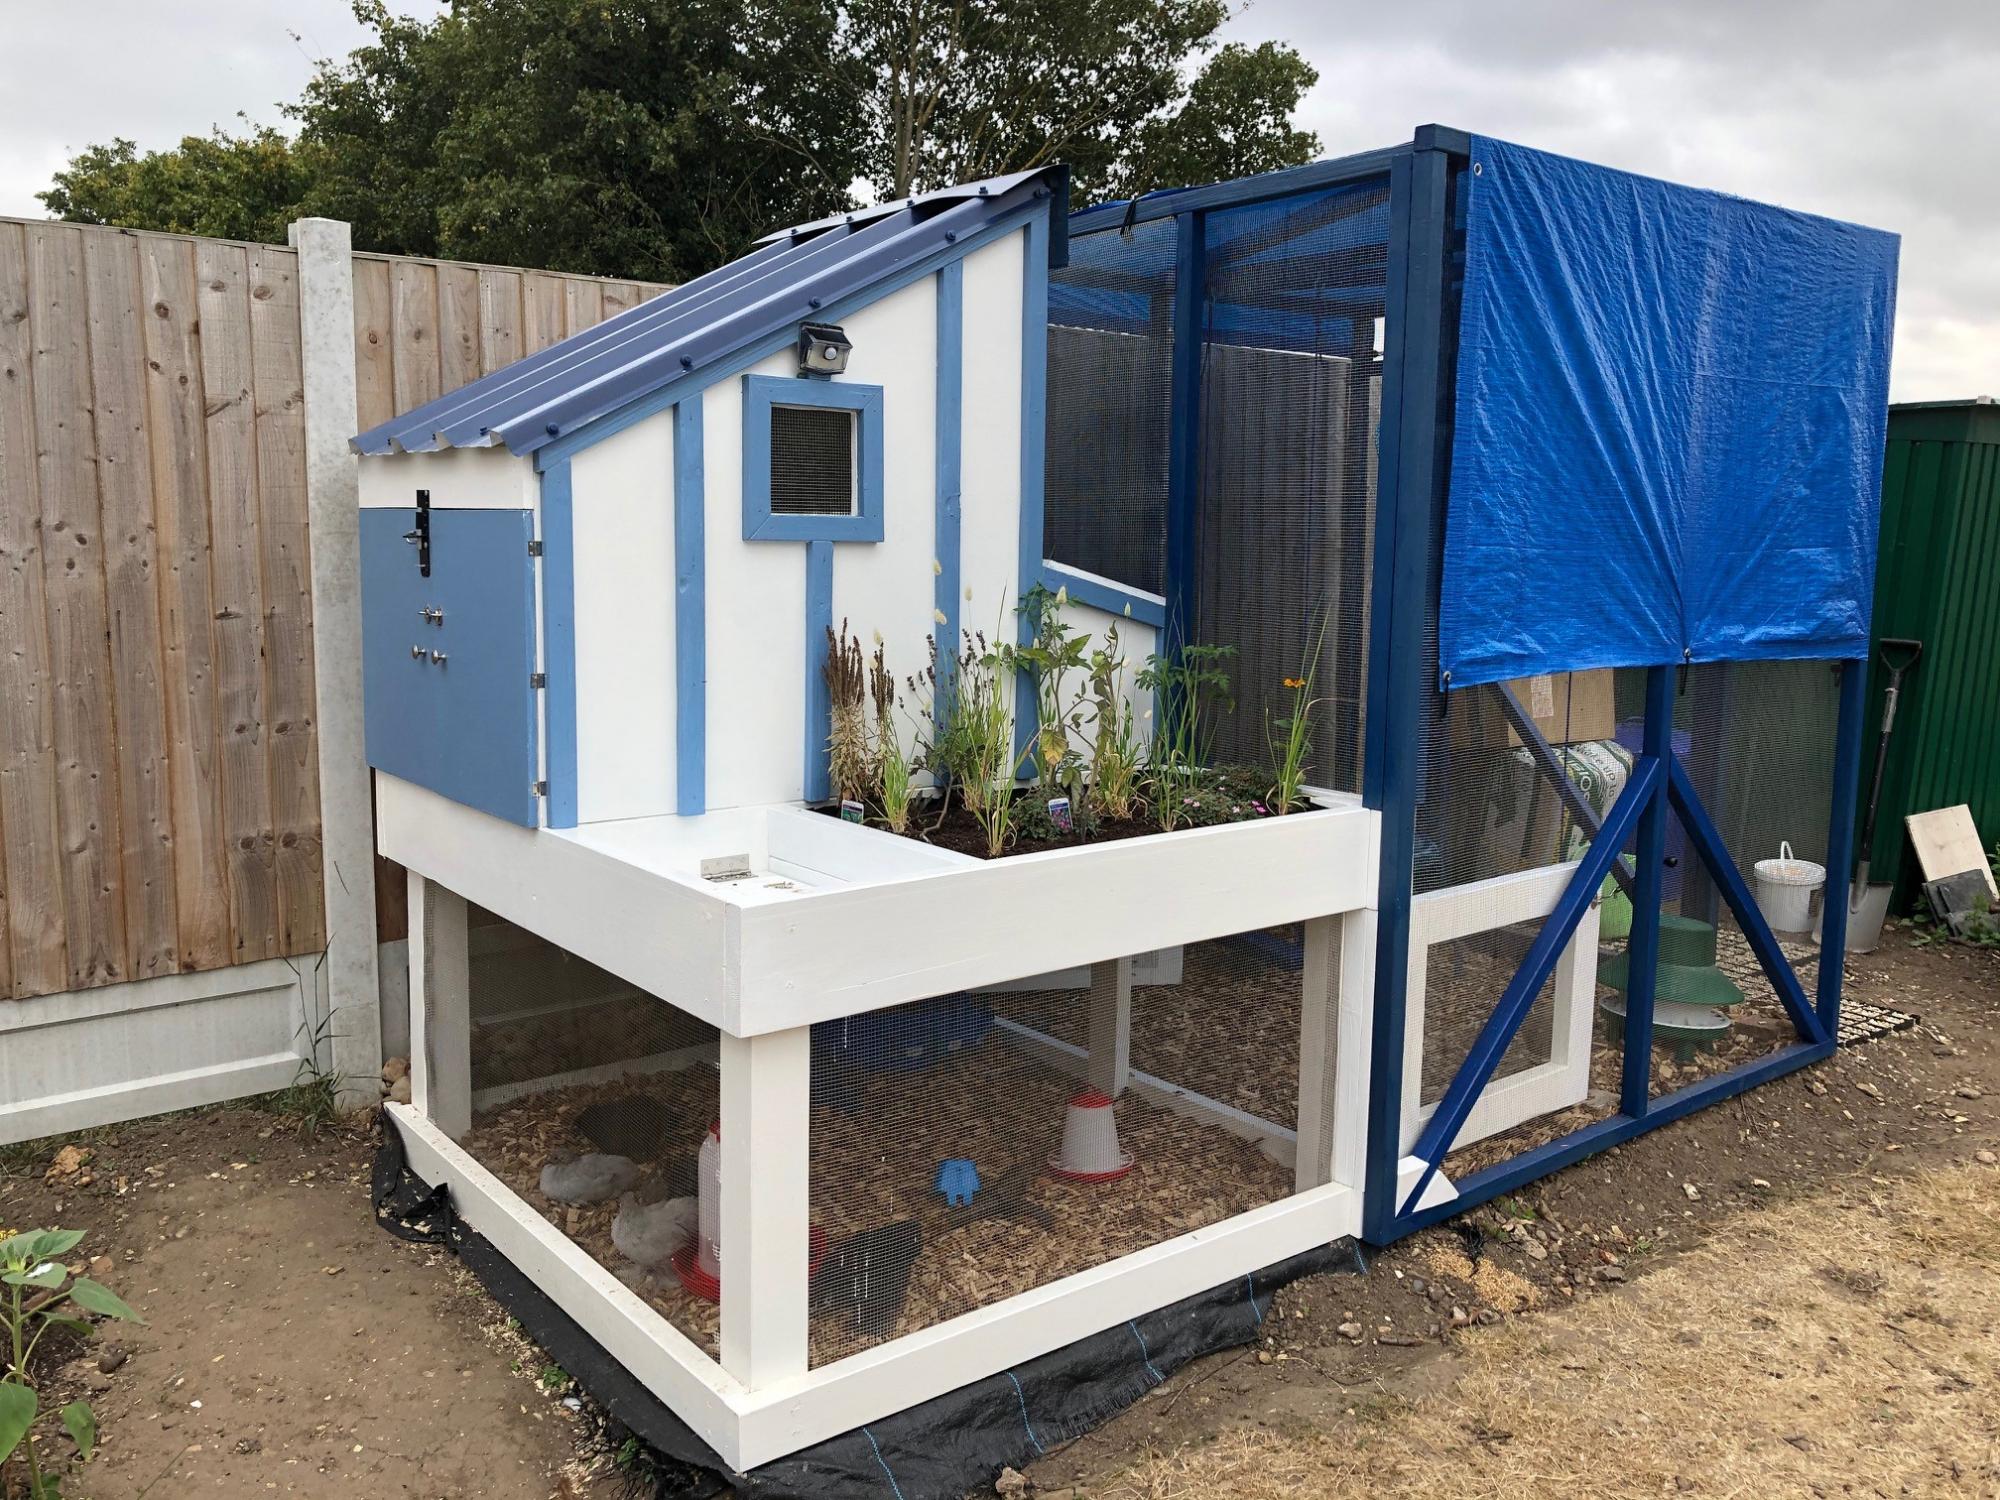
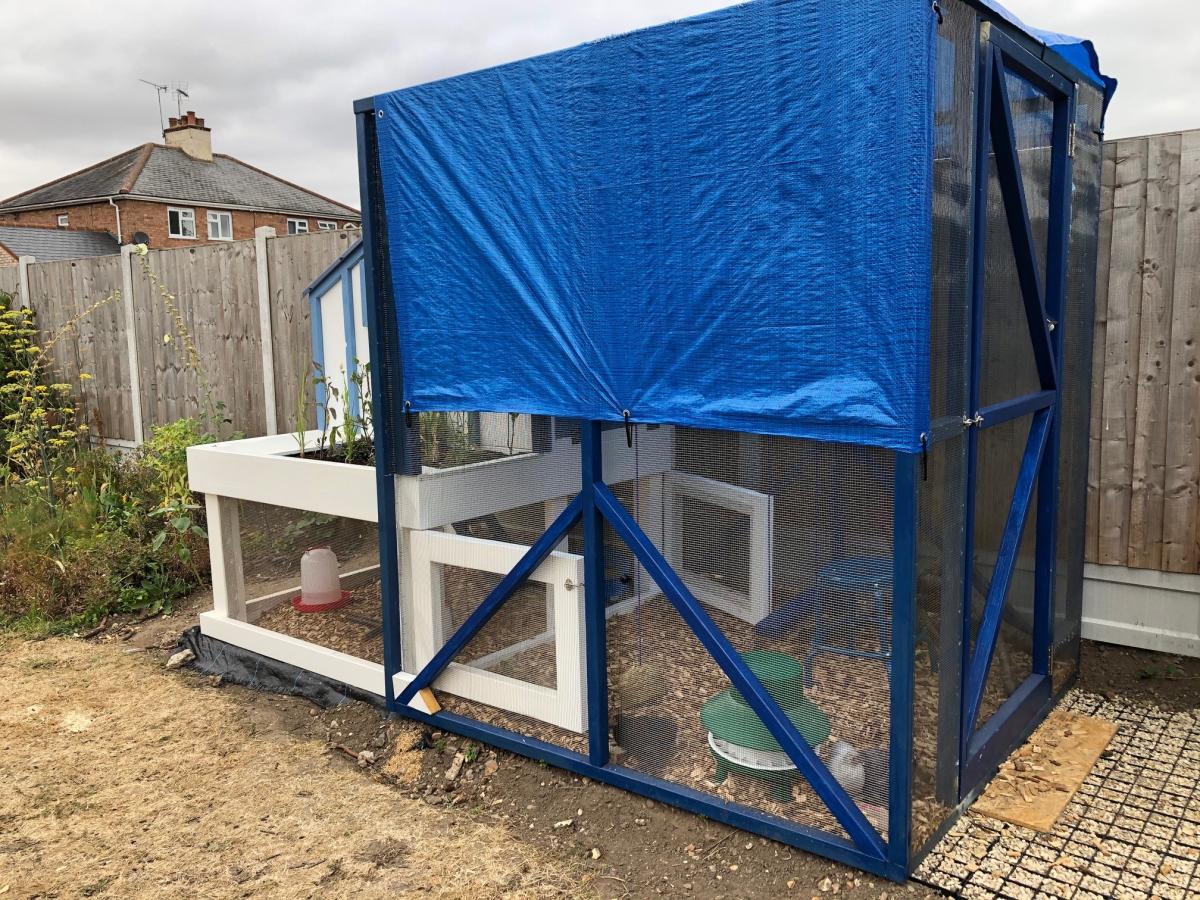
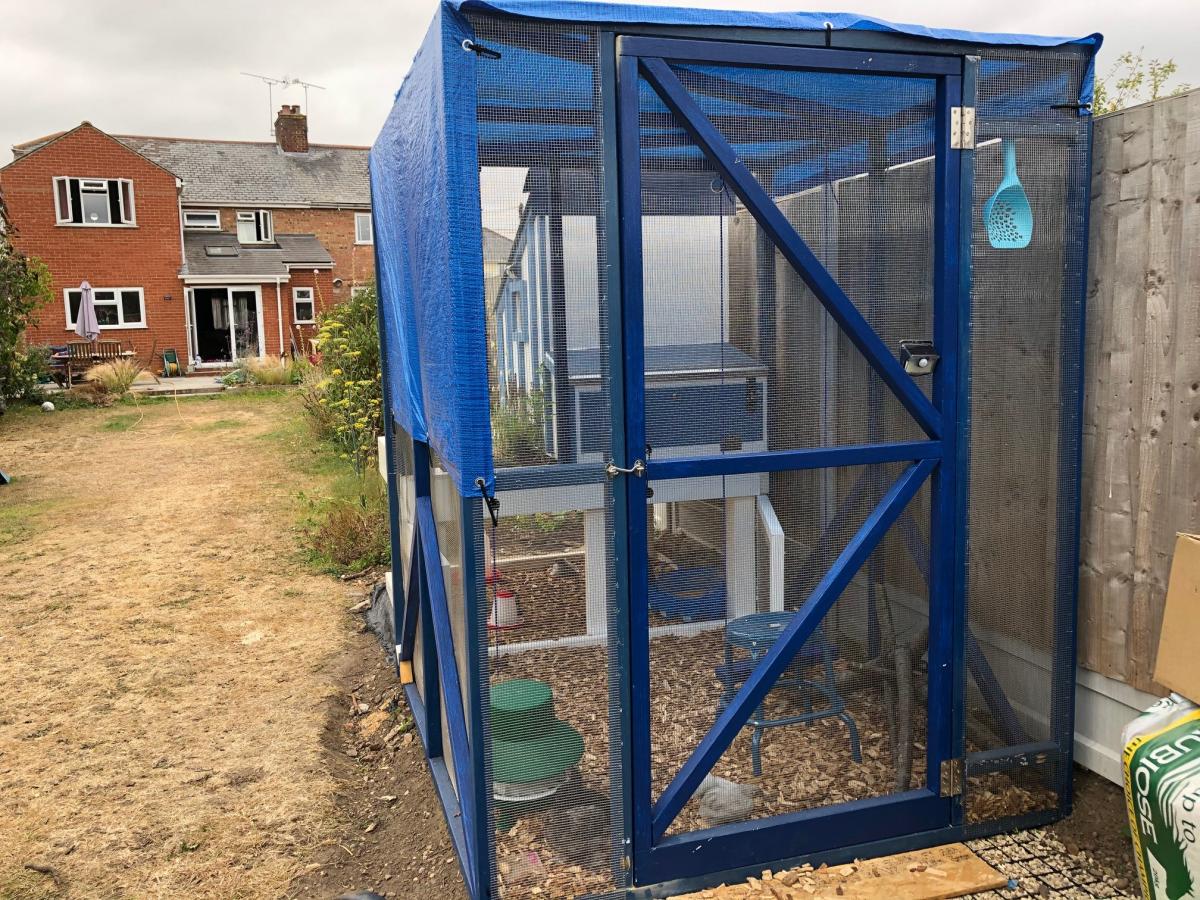
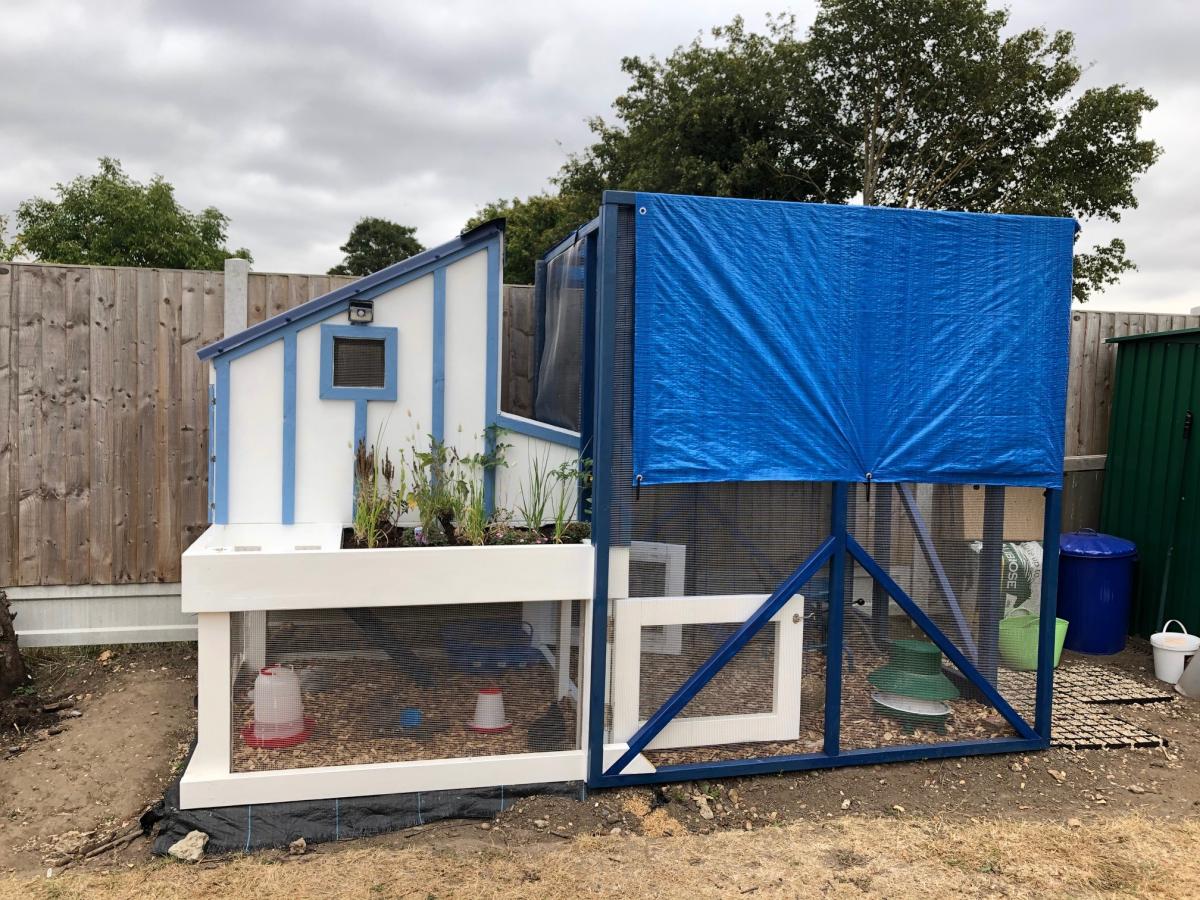
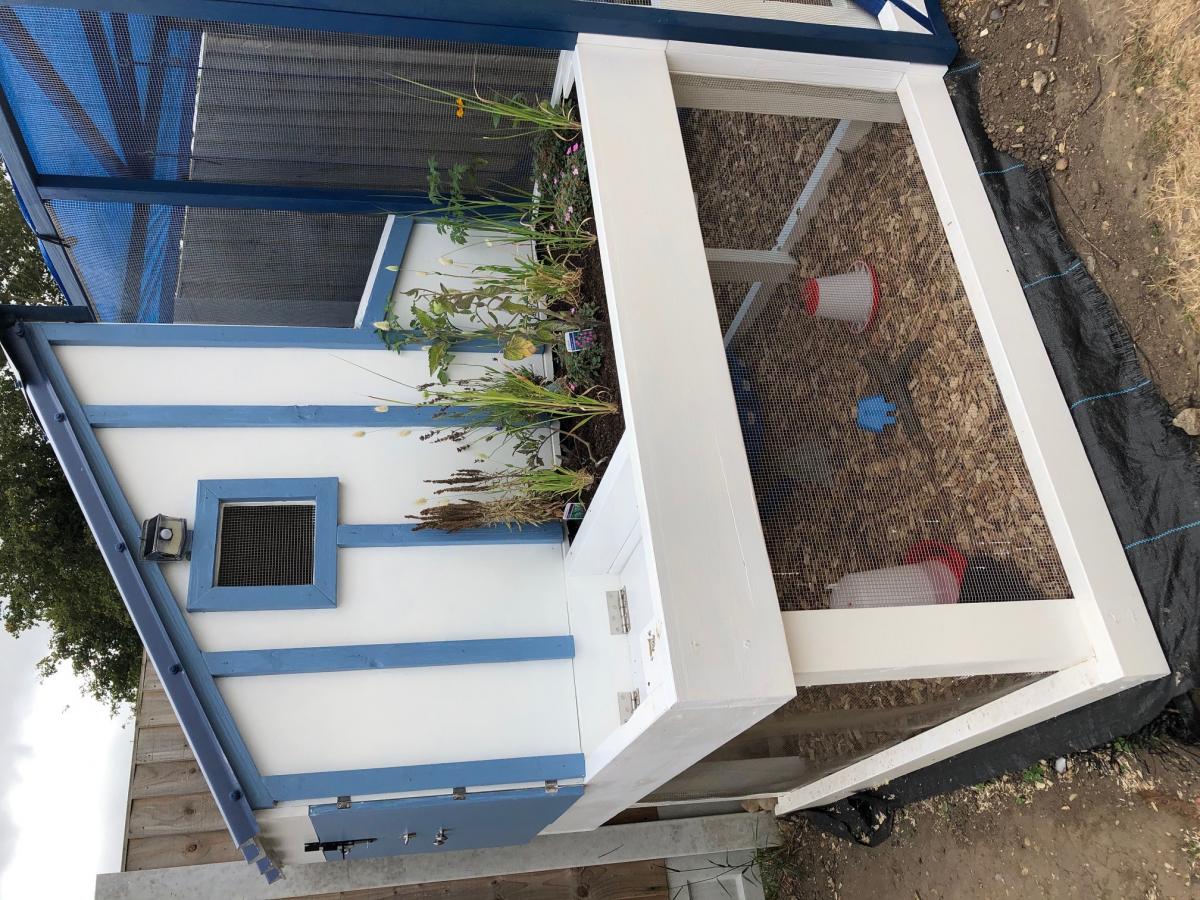
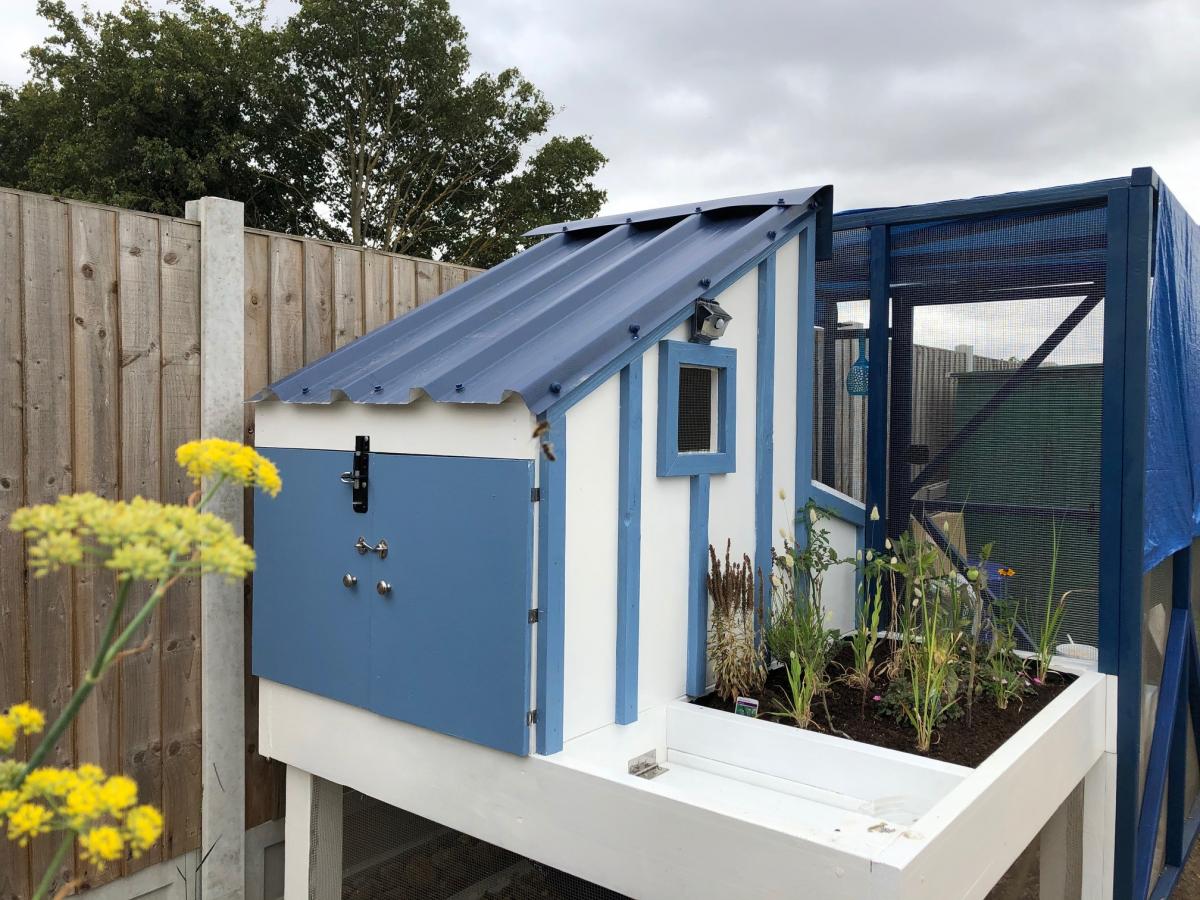
I loved the design that Lady Goats and Ana had created but it wasn't quite right for me, so I used the 'essence' of the coop and tweaked it.
I had some leftover metal roofing sheets from a tool storage area I'd made so used this on the roof, and also made the roof a pent shape. I moved the doors to the side, and also reduced the size of the planter. Next to the planter I've made a lift up hatch so that I can more easily replace the water and feeders.
I've added in a 2m x 1.8m (approx. 6.5ft by 6 ft) run so that the little chicks are safe and can run about from their coop.
The whole coop is covered in stainless steel rodent mesh so not only can foxes not get in (our main predator in the UK) but also rats and mice won't be able to get in to take their food and bring their disease.
I undercoated all the wood and then double-coated in exterior weather-proof gloss. Inside the coop I triple coated (I wanted to be thorough!) and also sealed every single joint in the whole build to avoid water penetration as well as mites setting up camp. It's already very easy to clean and hopefully should last a long time.
Hope that you like what I've done here. I'm so pleased with the results but pretty tricky to do by myself.
I'm learning, learning, learning though :-)
P.S. Sorry that the pics below aren't the correct way up -I don't know how to make them appear in the right direction.....