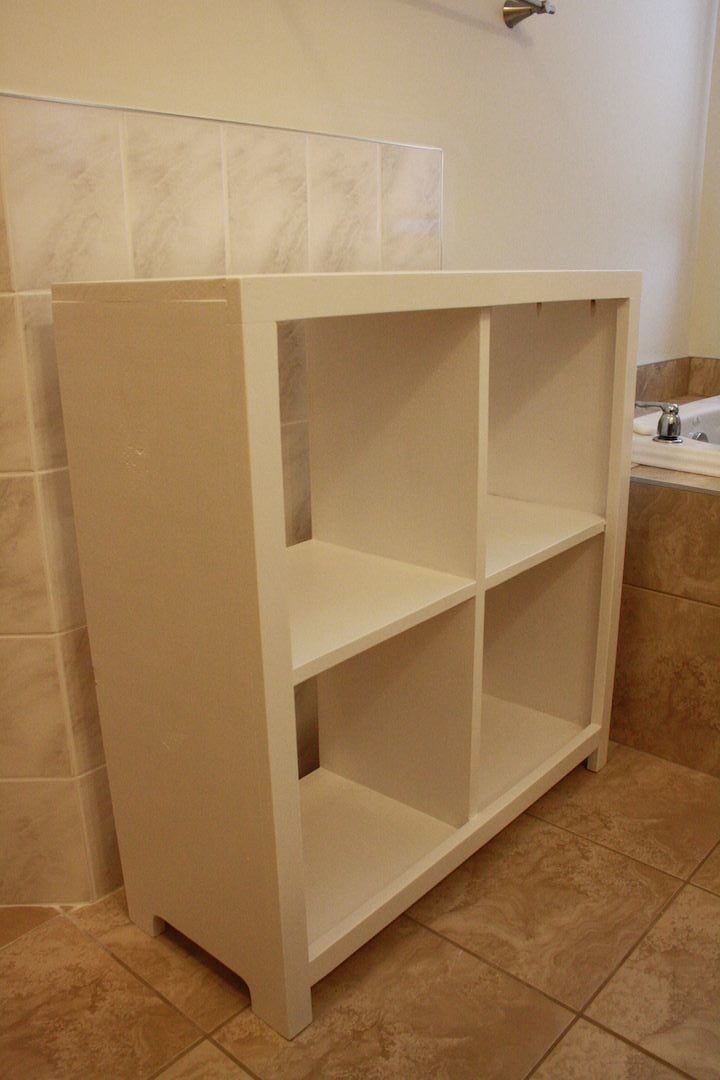
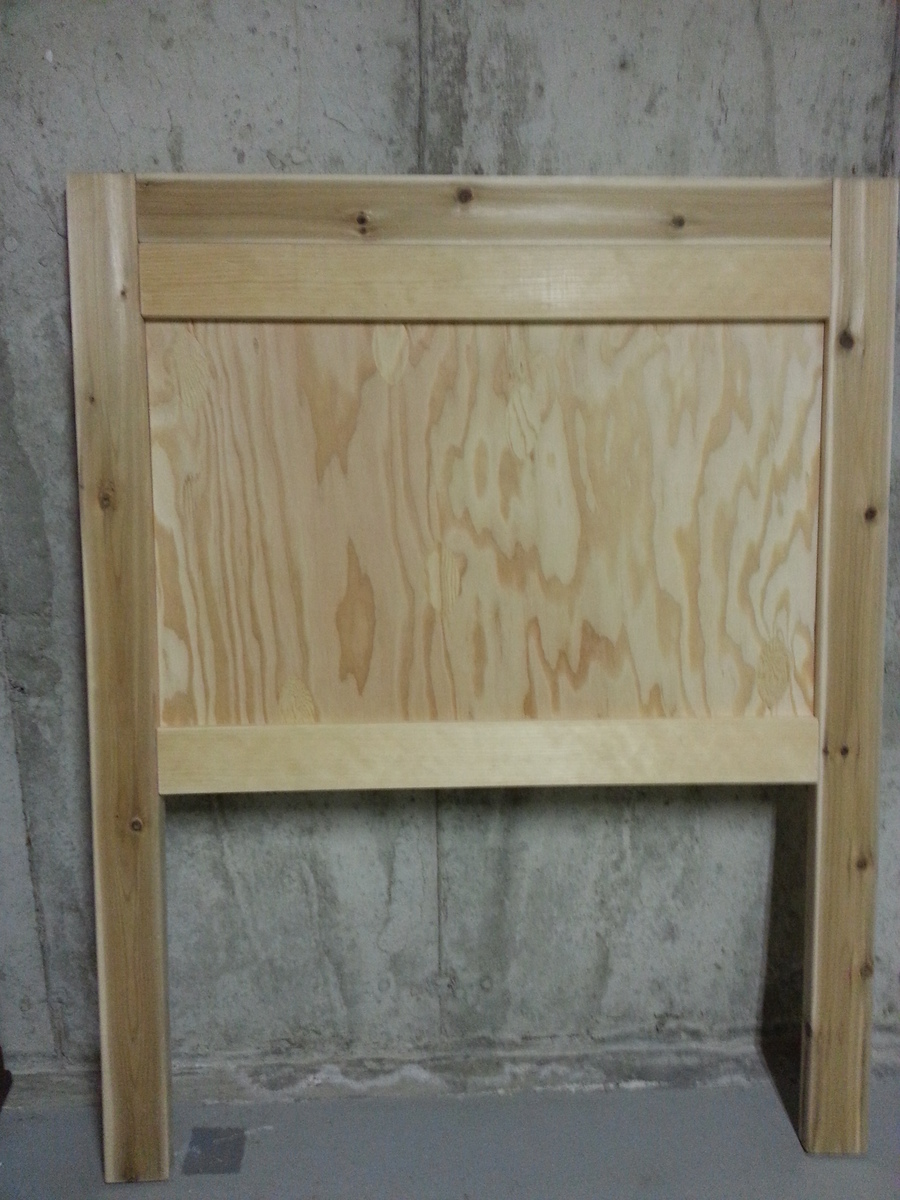
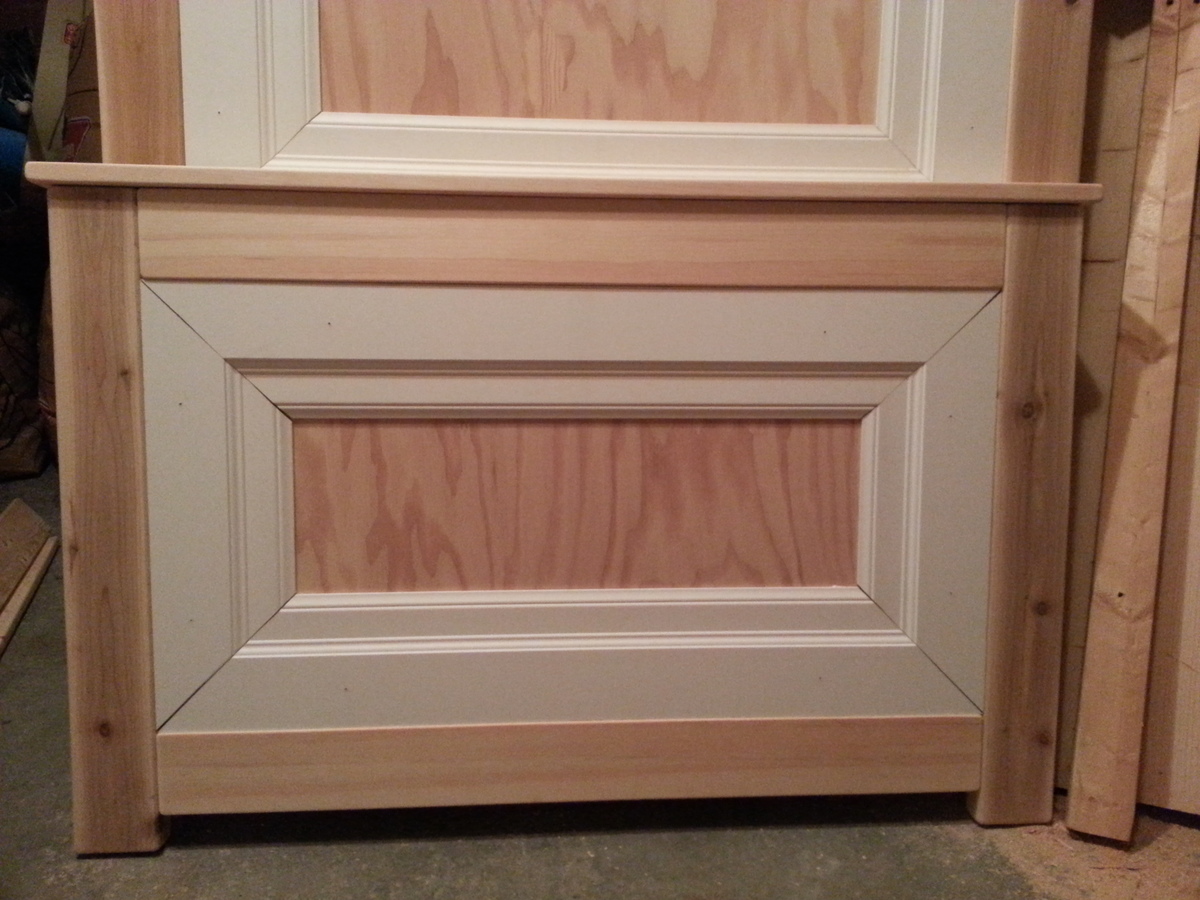
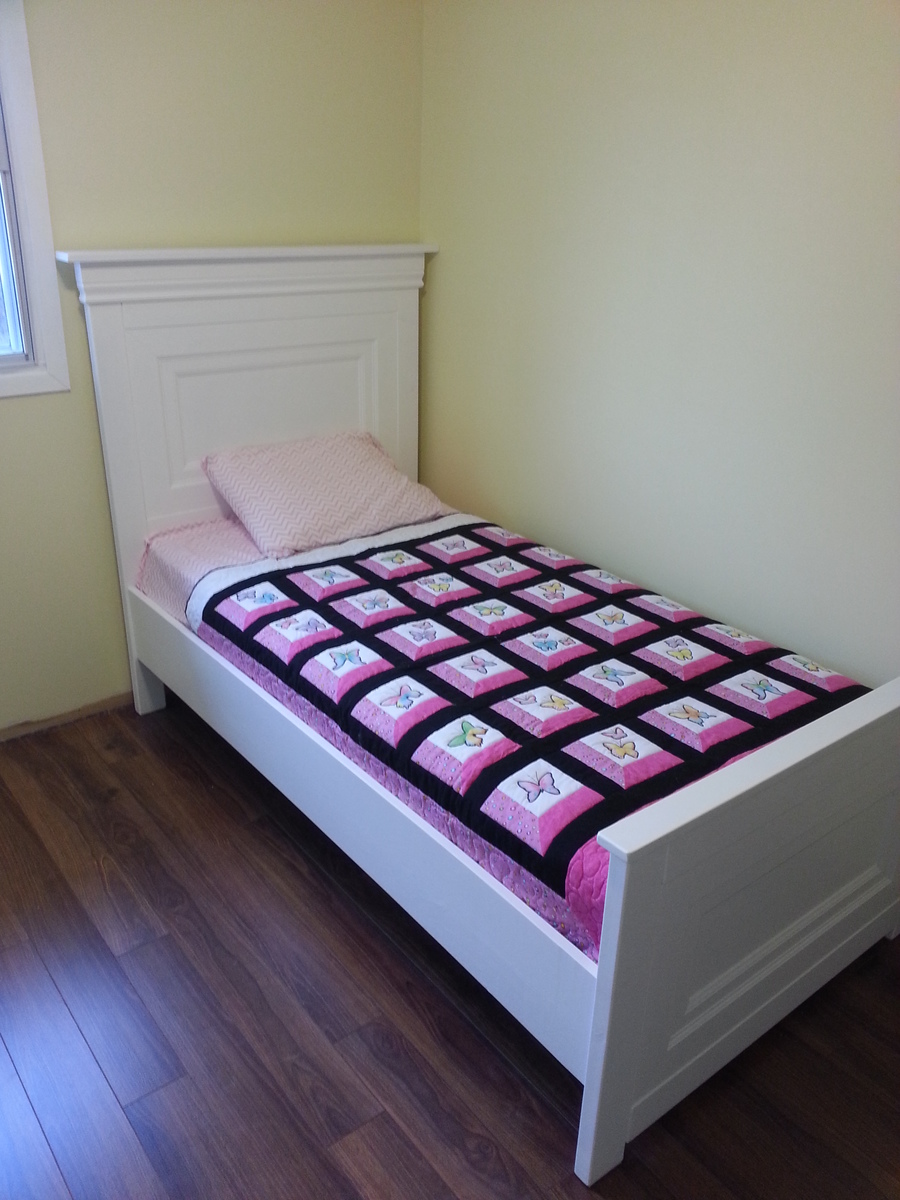
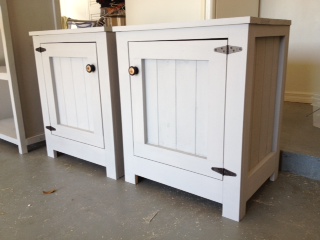
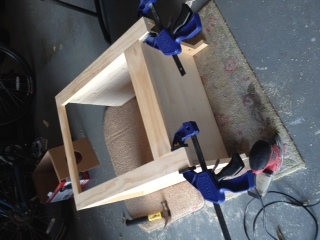
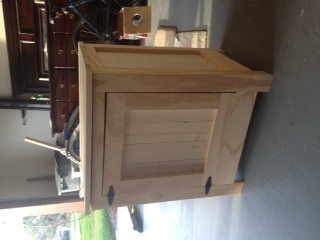
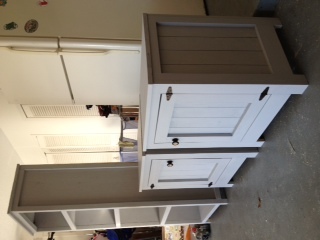
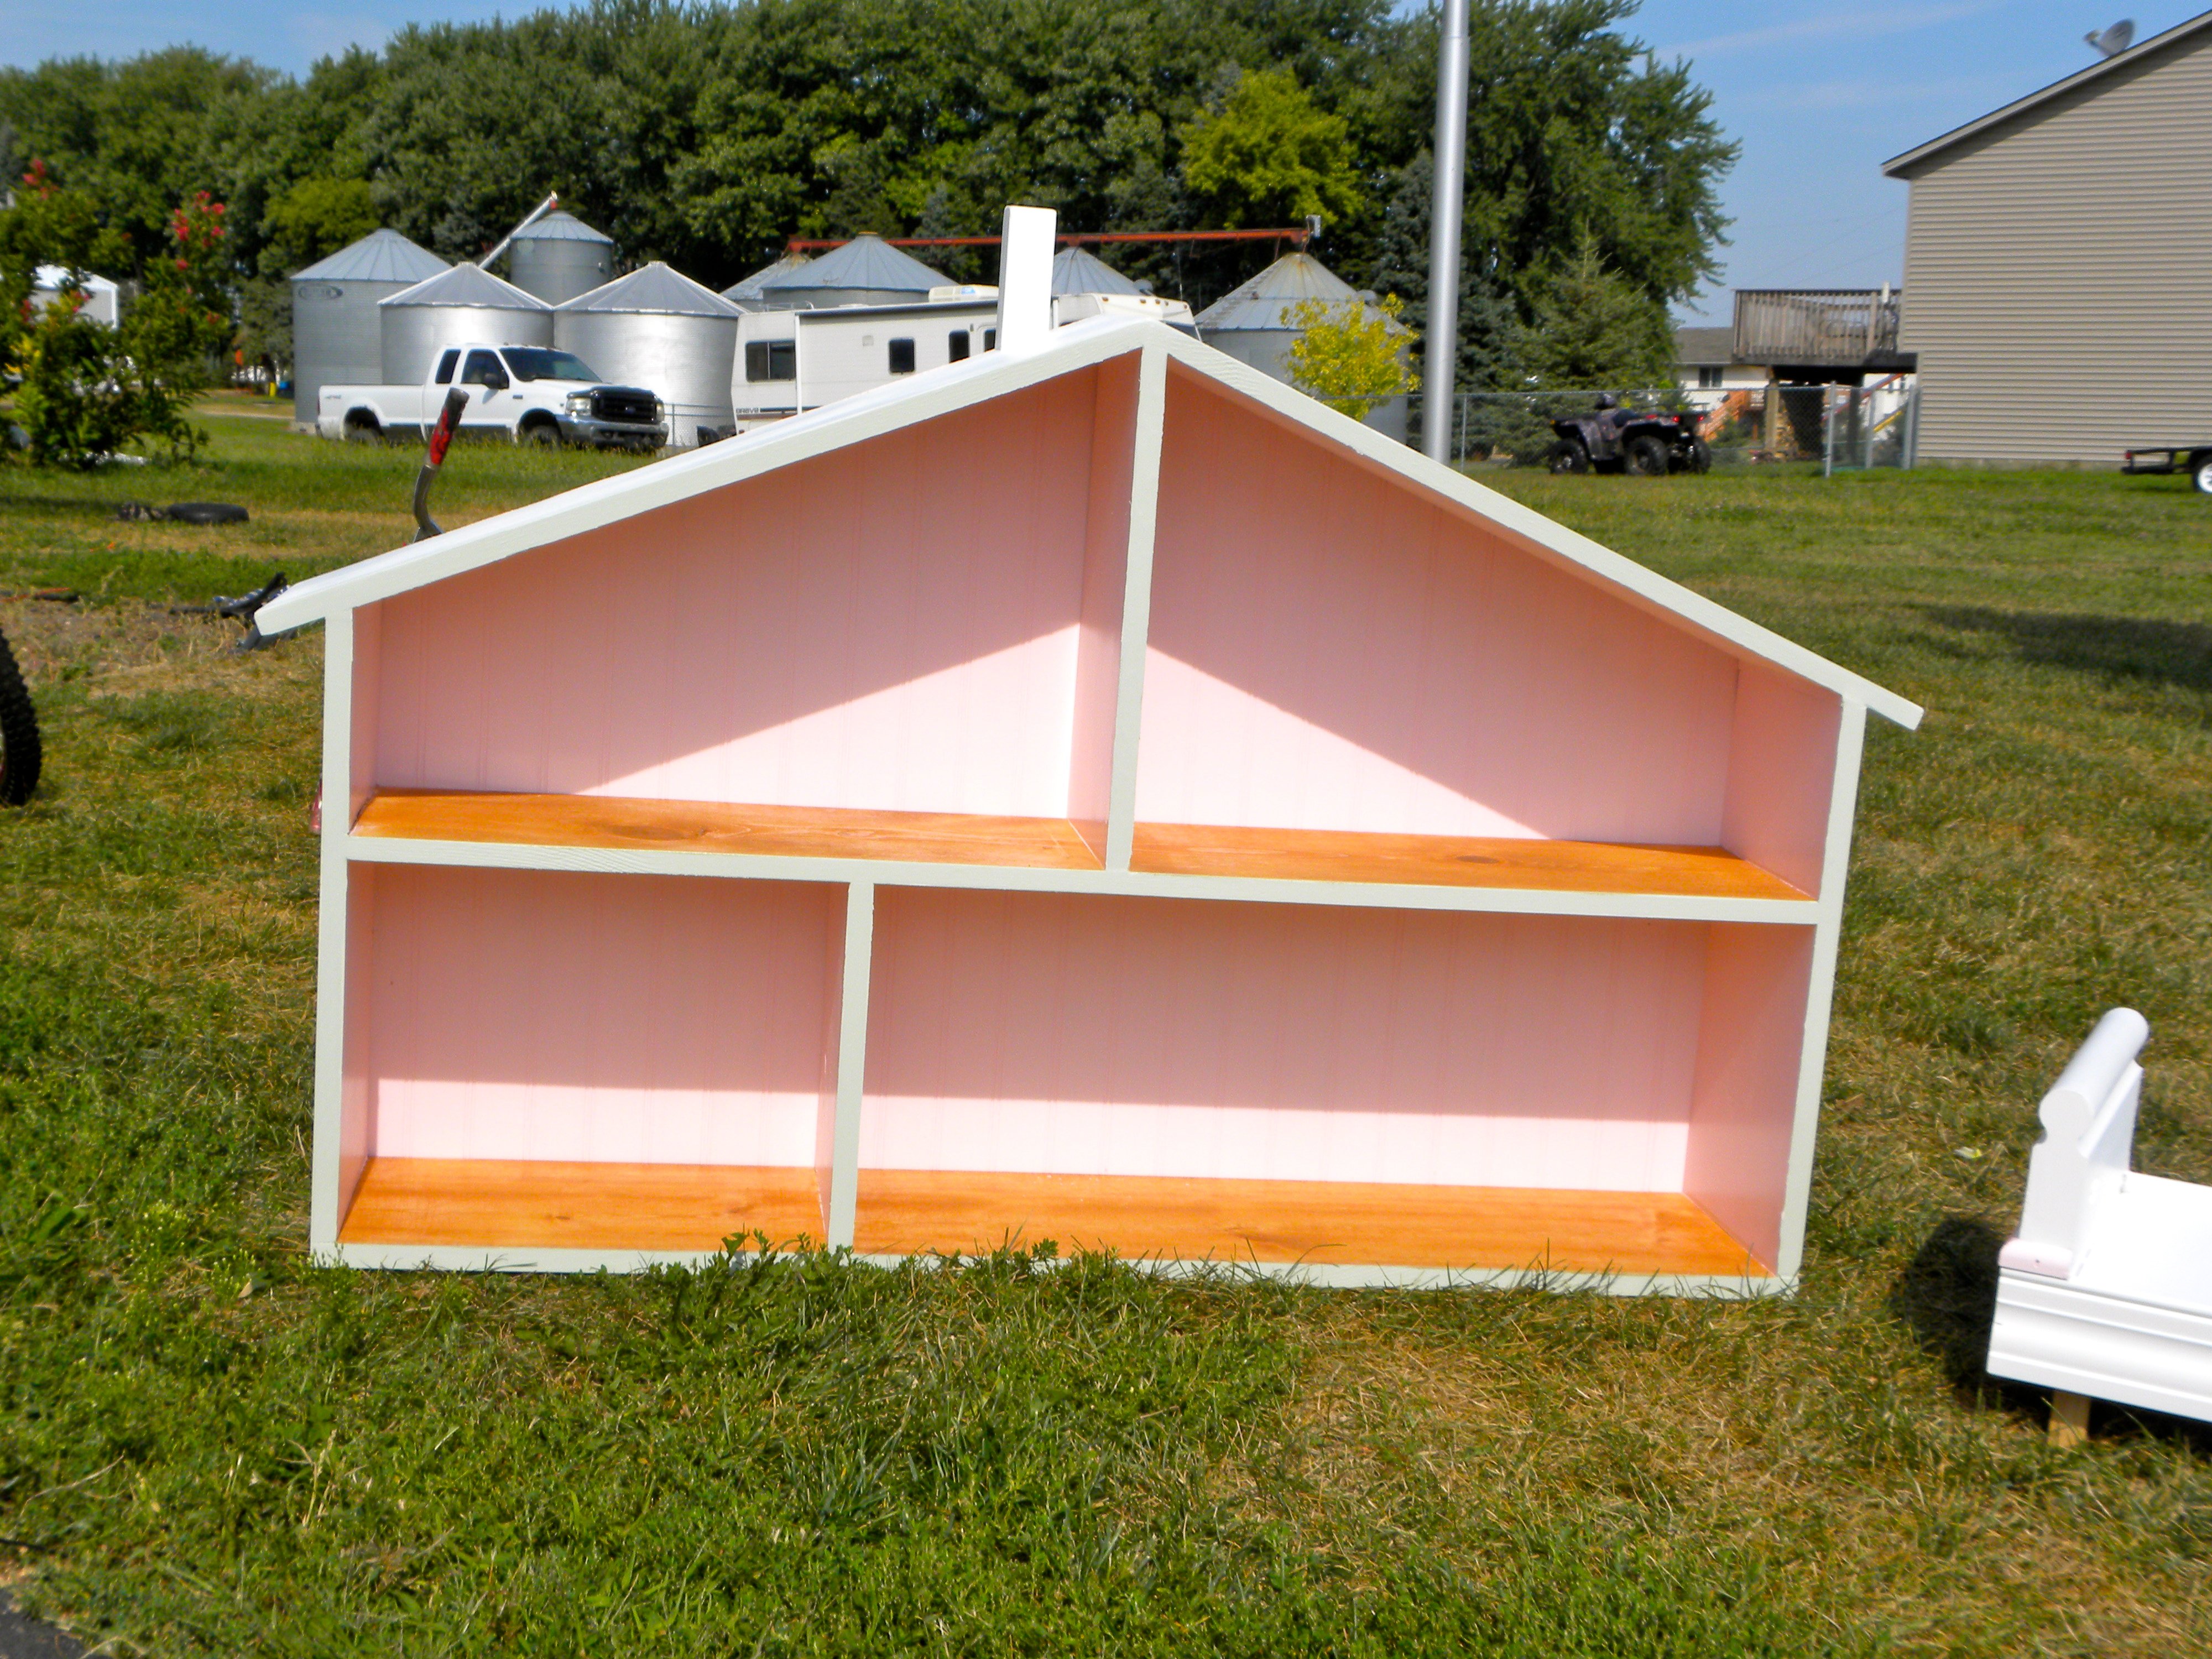
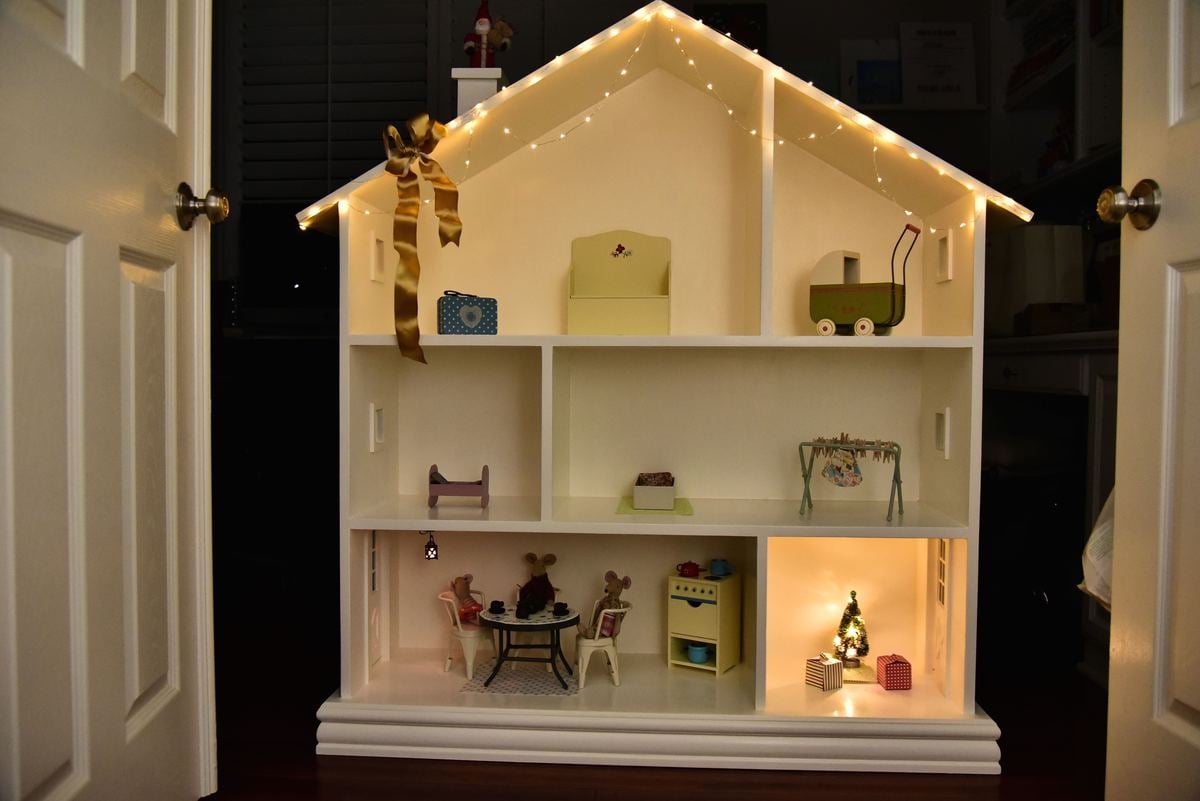
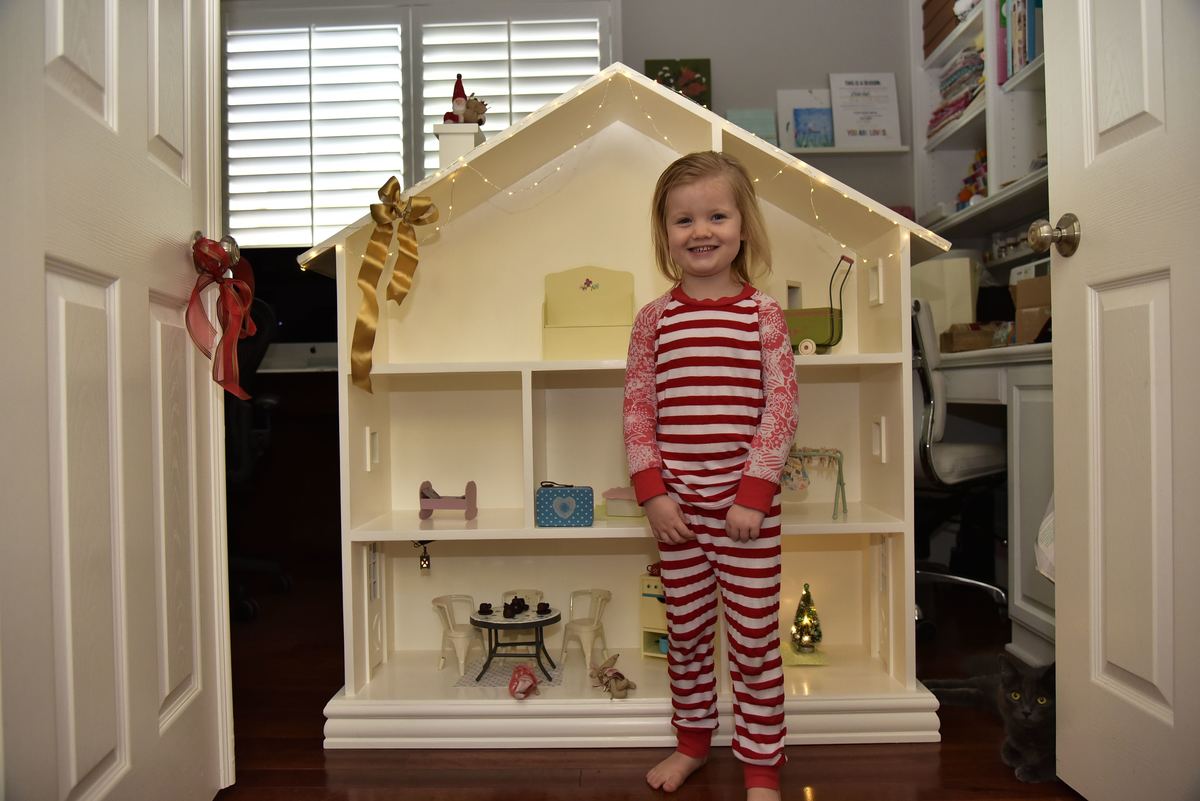
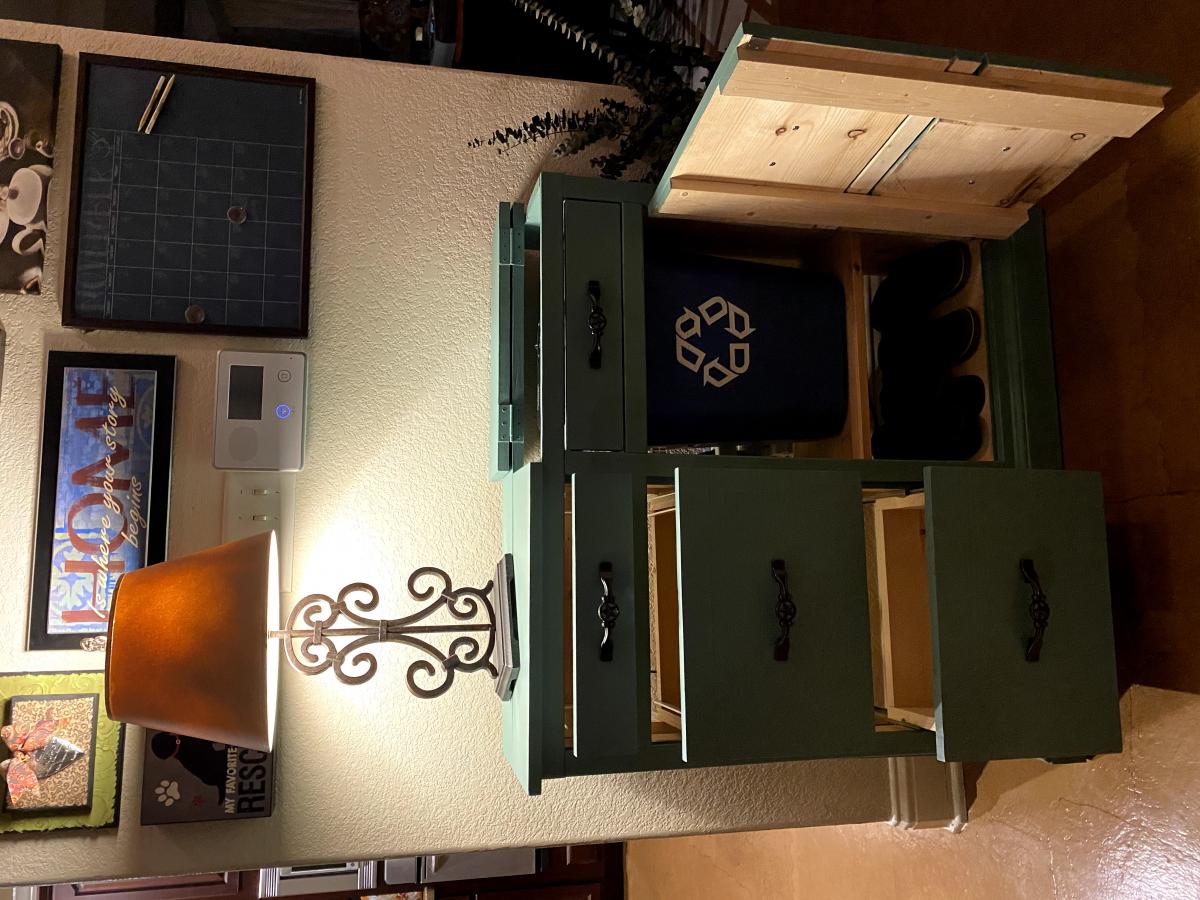
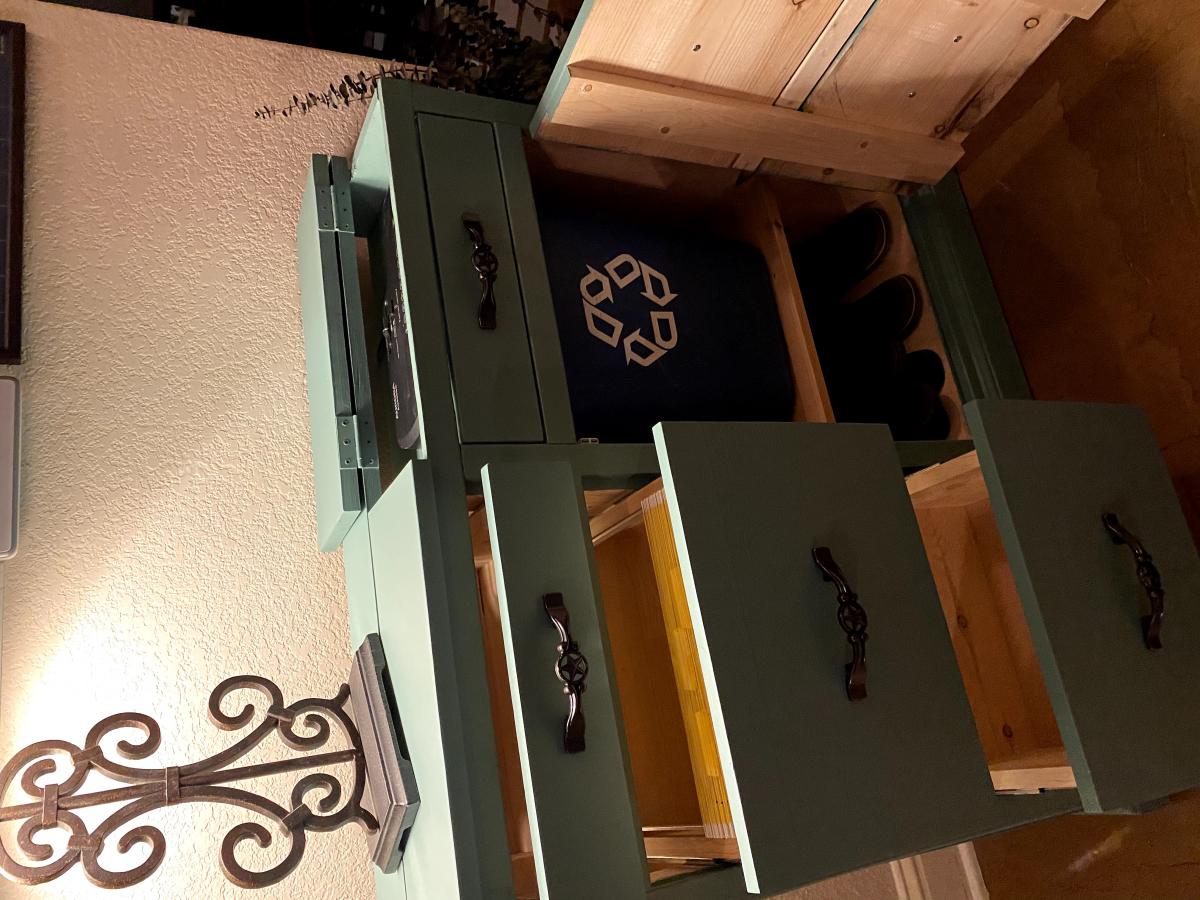
4 Cubby Shelf
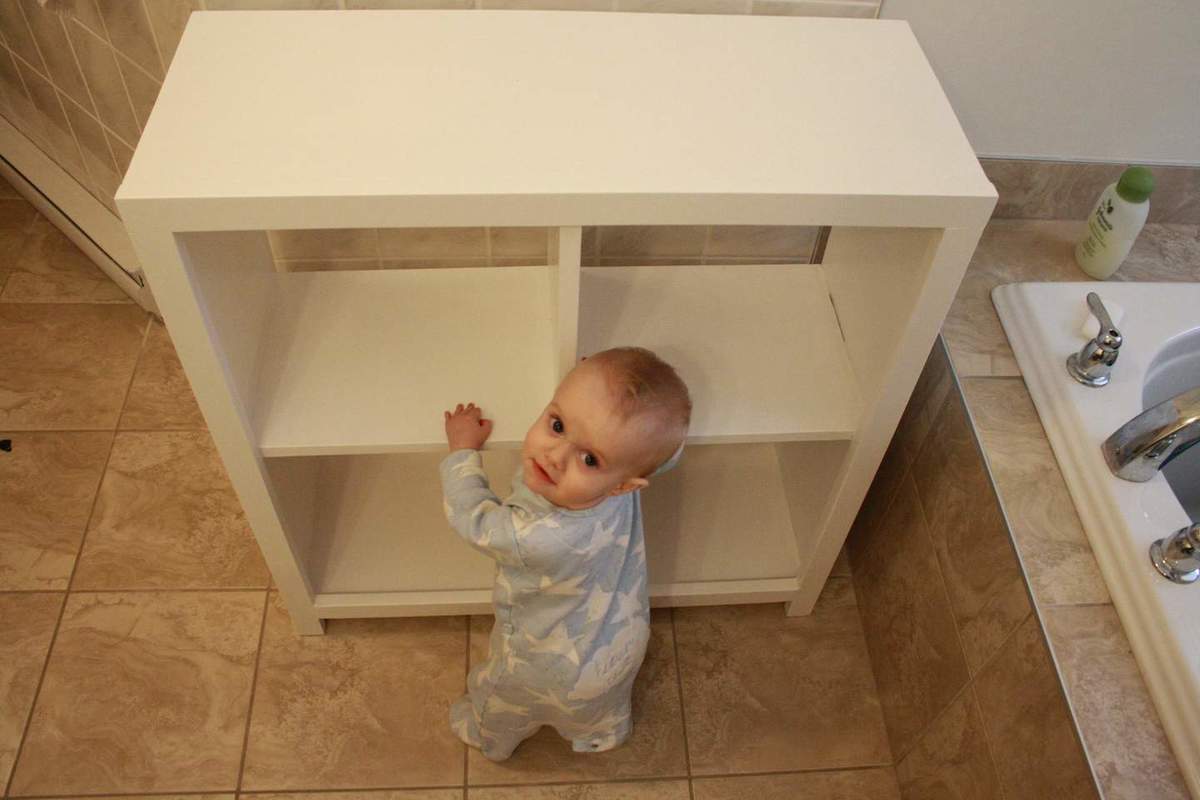
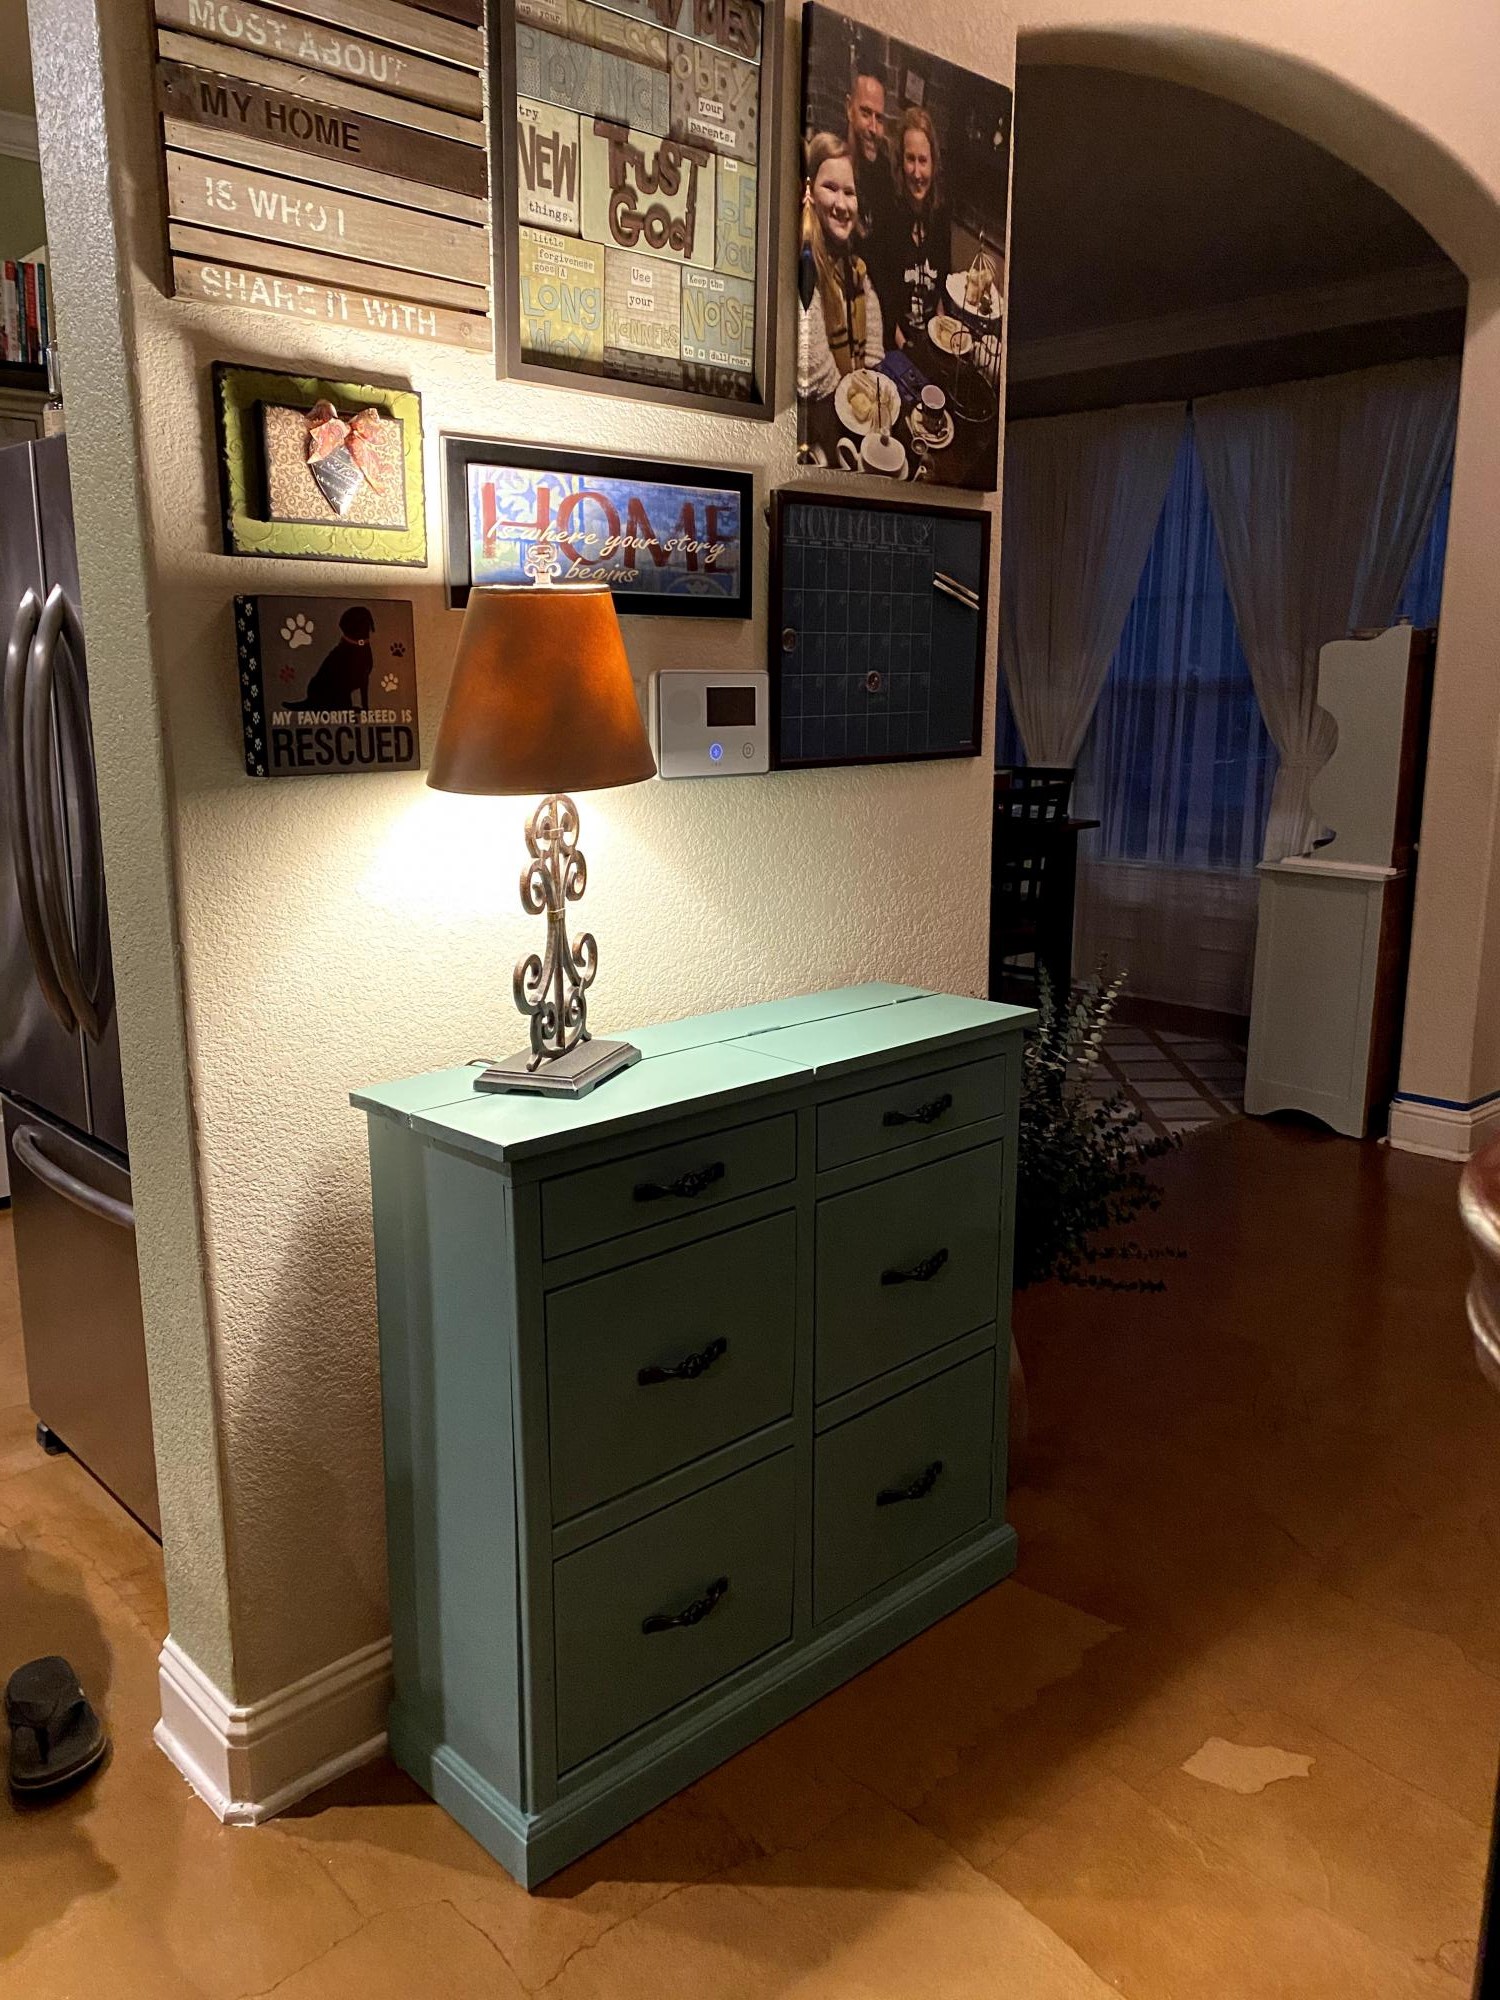
My first project!!! The house we live in has 4 closets in the entire house.. so we're quite in need of storage. I was really hoping the bookcase would work out, to relieve the jam-packed linen closet. I'm so happy with it, and with the learning experience. I didn't do the moulding option, more or less because I'm impatient and want to get the next project going. Thanks Ana for the inspiration and the plans!!

Built from Plan(s)
Estimated Cost
$75 (I think I could reduce that cost if I chose wood that wasn't nicely finished already)
Estimated Time Investment
Weekend Project (10-20 Hours)
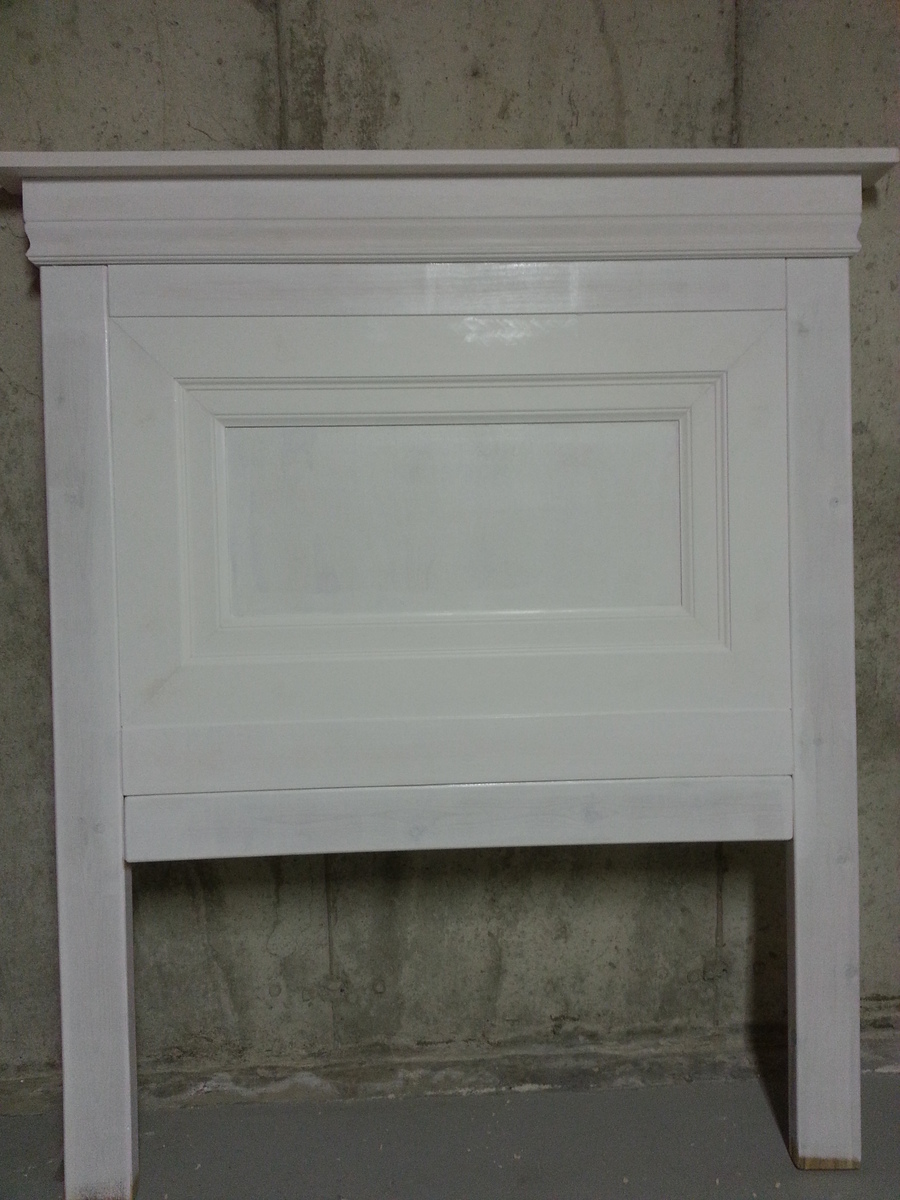
Finish Used
White paint
Recommended Skill Level
Beginner


Comments
Danielle R
Mon, 08/17/2015 - 08:12
What type of wood did you use
What type of wood did you use for the project? Looks great!