Modern Farmhouse Coffee Table
Made the coffee table for my new daughter-in-law. Looks great in their new apartment. Love the design and the plans were easy to follow. Thanks Ana!
I enjoyed following Ana's simple bunk plans. They turned out great and the girls love them!
I made this to match Ana's rustic x console, end and coffee table!
Tue, 10/04/2022 - 10:22
Awesome design and I love the 2 tone finish! Thanks for sharing.
This is my 2nd table built from plans on the site. I built the pocket hole farm table originally and our family used it for 2 years and then I sold it to another family to enjoy! I built this one a full foot longer and used a 2×10 in the center to widen it. We host large gatherings so I wanted the additional space. The dark walnut came out beautiful if darker than the plan table. We love it!
Sat, 08/28/2021 - 09:07
Thank you for sharing, it looks like a wonderful gathering place!
This was a simple build. You can probably tell from the pictures how it was cut, painted and decorated. The whiskers are just picture hanging wire. The wood was scrap from around my shop and all the other materials we had on hand.
Used your plans and modified with carriage bolts on the legs to attach the box to the frame. Thank you Ana, my son LOVES IT.
Sat, 09/11/2021 - 21:38
Thanks for sharing, that turned out totally awesome!
I started building a different bench, but I decided halfway through that I didn't like my design. I found this, and loved it, so I modified my partially built bench to incorporate the woven back design. I substituted in a few mortise and tenon joints for strength, and used either kreg or waterproof glue for the non-structural joints. The seat bottom is made from 2x4's I resawed in half. I also rounded over the edges of the 'Y' pieces, which I think makes it look a bit more like they're woven together. Thanks for the plans, this is a great addition to my front porch!
This is a modifed version. I made it with old pine boards that I had laying around. I used wine corks for the hangers. No stain or anything on it.
I love blanket ladders and decided to make one.
I have to admit this was trickier than I thought.
Getting the slightly tapered angle right was a pain in the butt. I do love the final result though.
I used screws and a hammer and random things to give the new wood an old look.
I used the vaseline technique for the paint distressing.
We wanted a round bar height dining table for our kitchen area and no one really had that. I used Ana’s wonderful plans and lengthened them with some additional support for the X-Base. My first project of this type and Ana’s site is a god send. Happy to share specifics if interested
My dad and I built these chairs by following Ana's Adirondack plan, and then adding our own curved back. We also routed all the edges to give the entire chair a rounded feel. We also built the simple little round side table to use with the chairs.
I followed the plans except I decided to do a chevron top instead of the 3 long boards. I used two coats of gunstock stain on the major partrs and 2 coats of semi-gloss clear on everything. Also I did not put caster wheels on (client did not need this thing rolling).
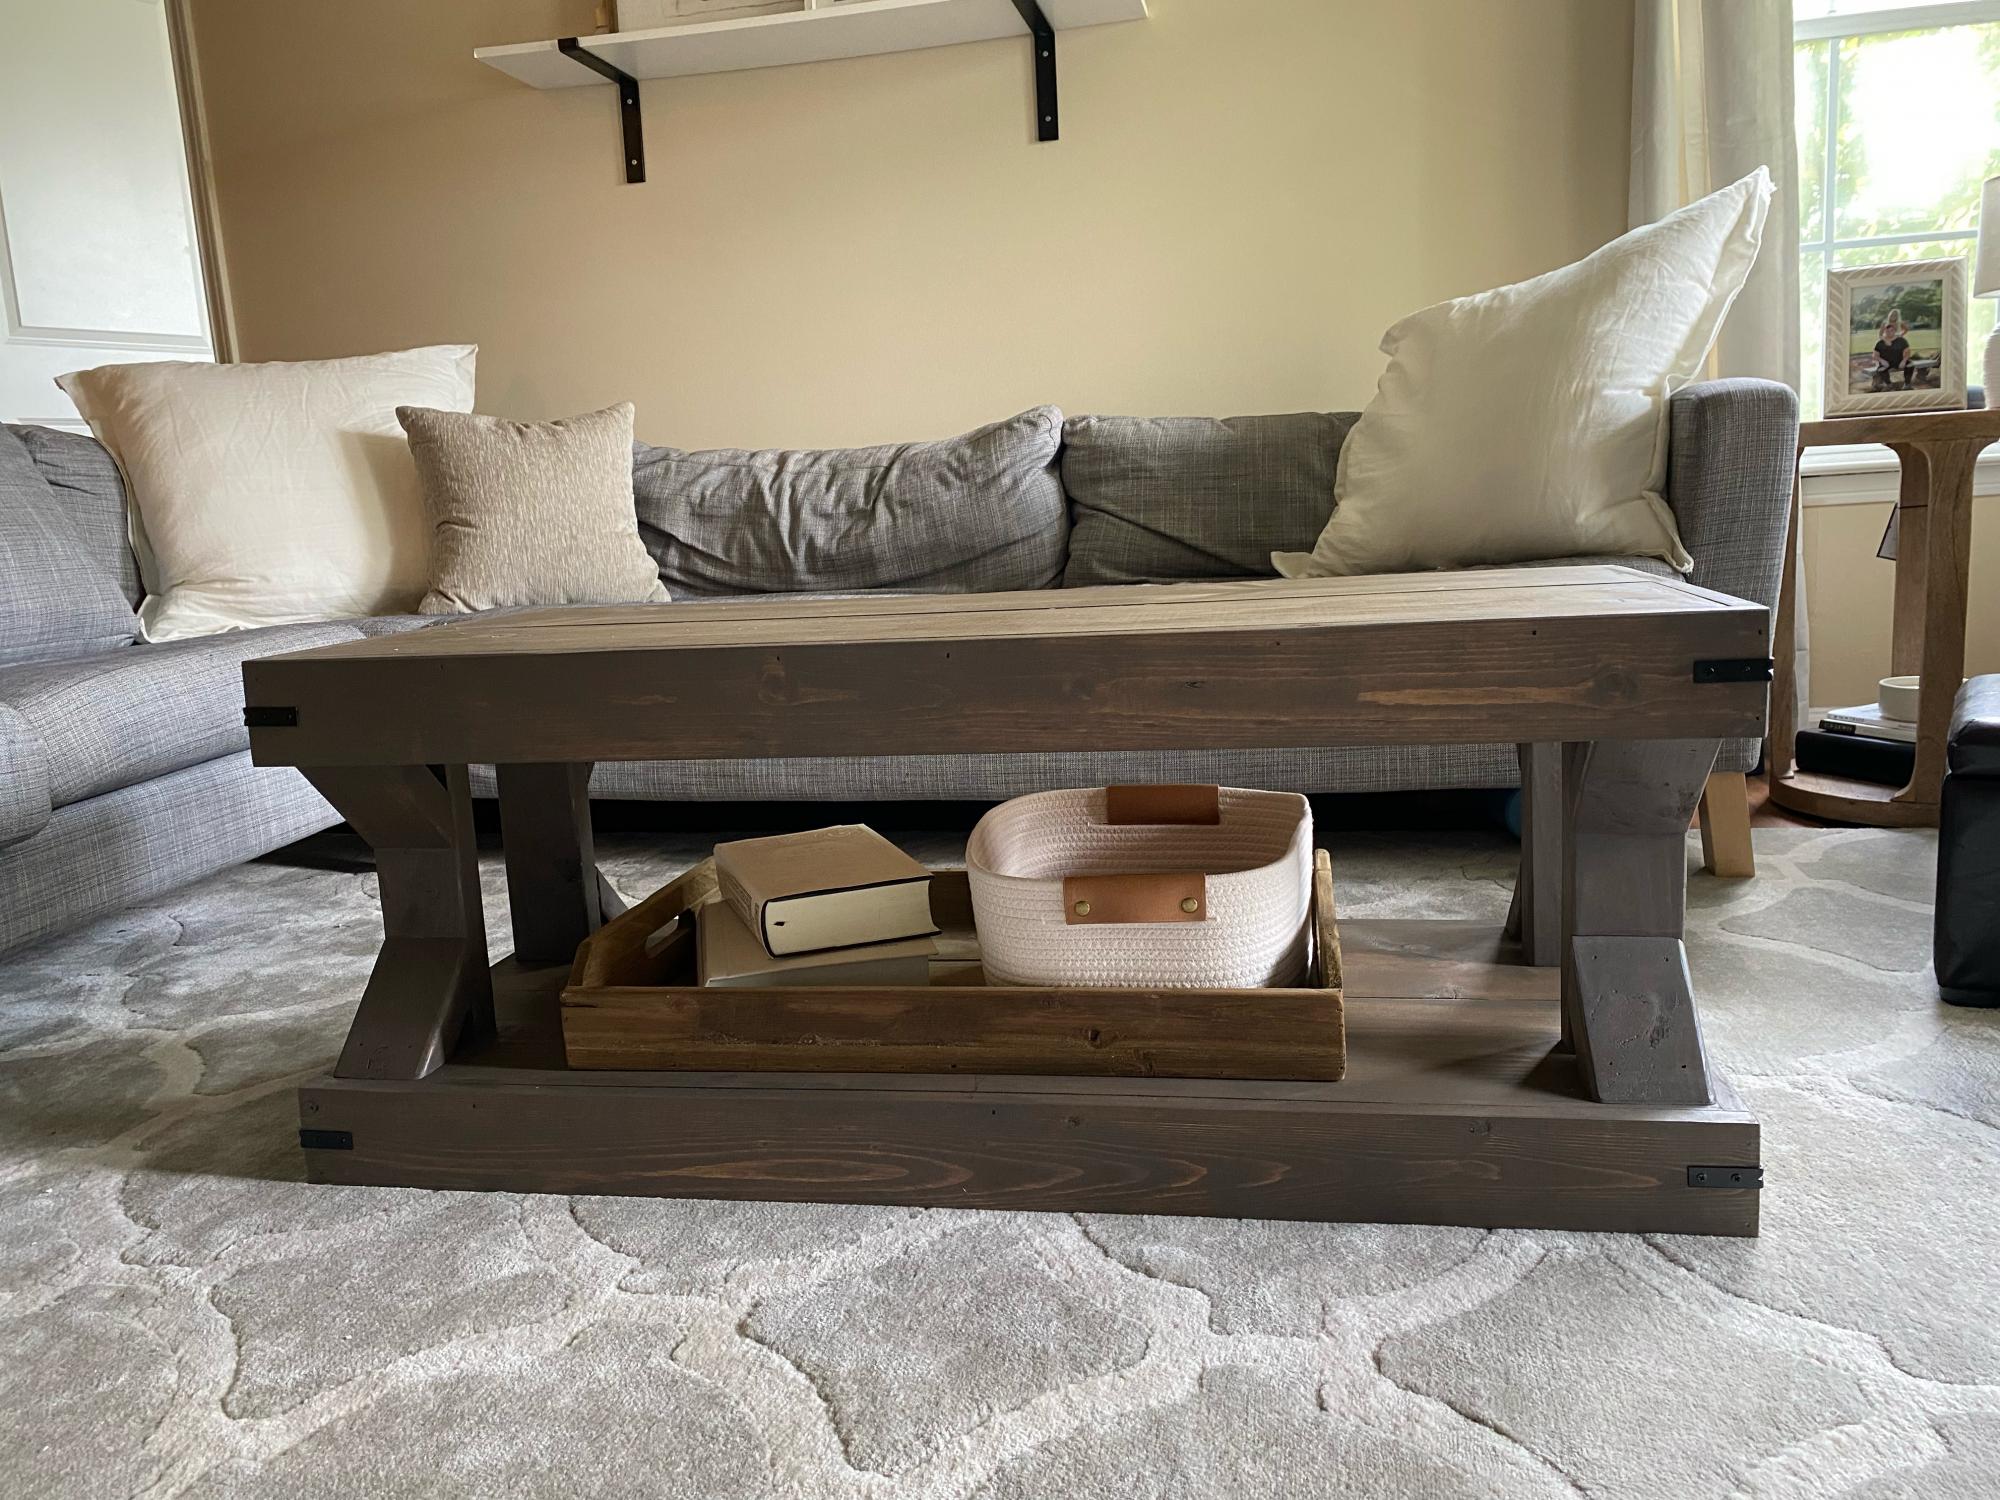
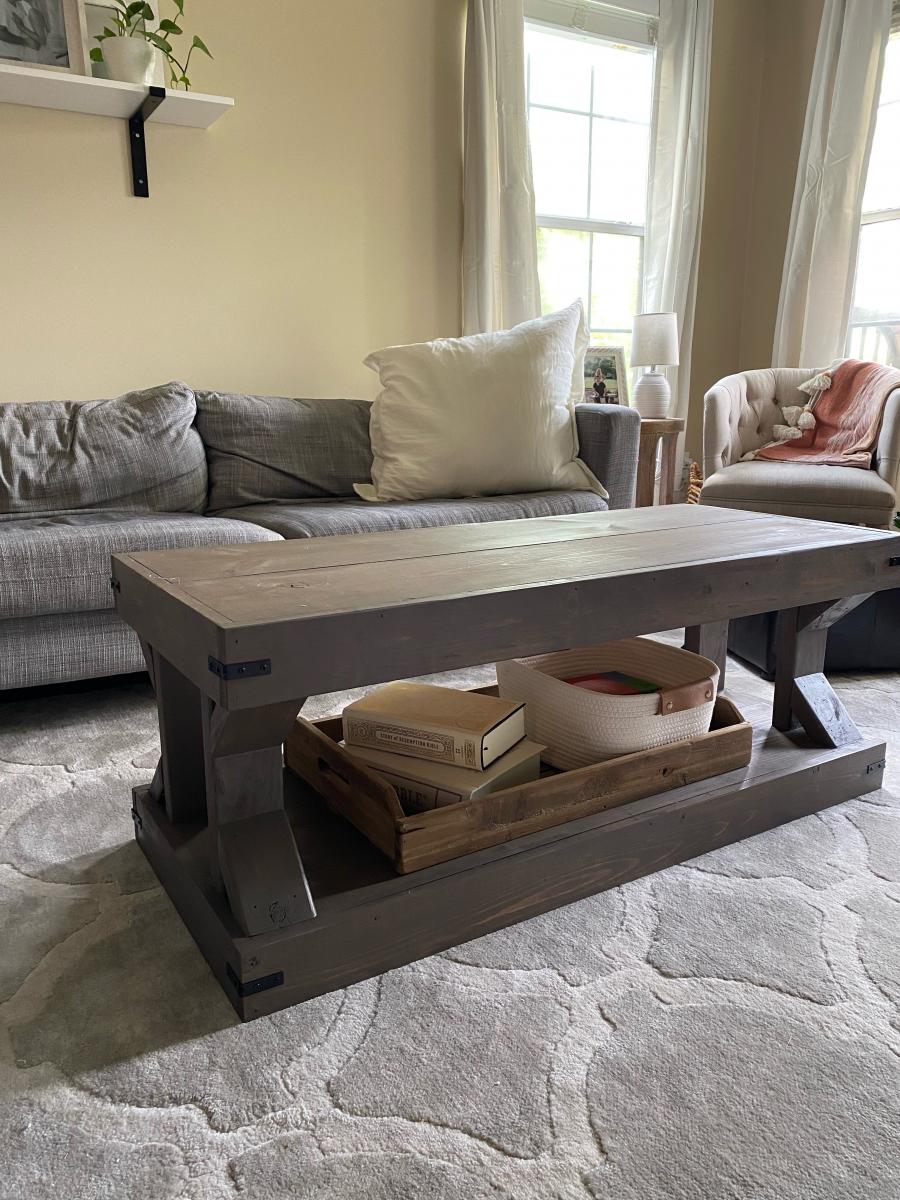
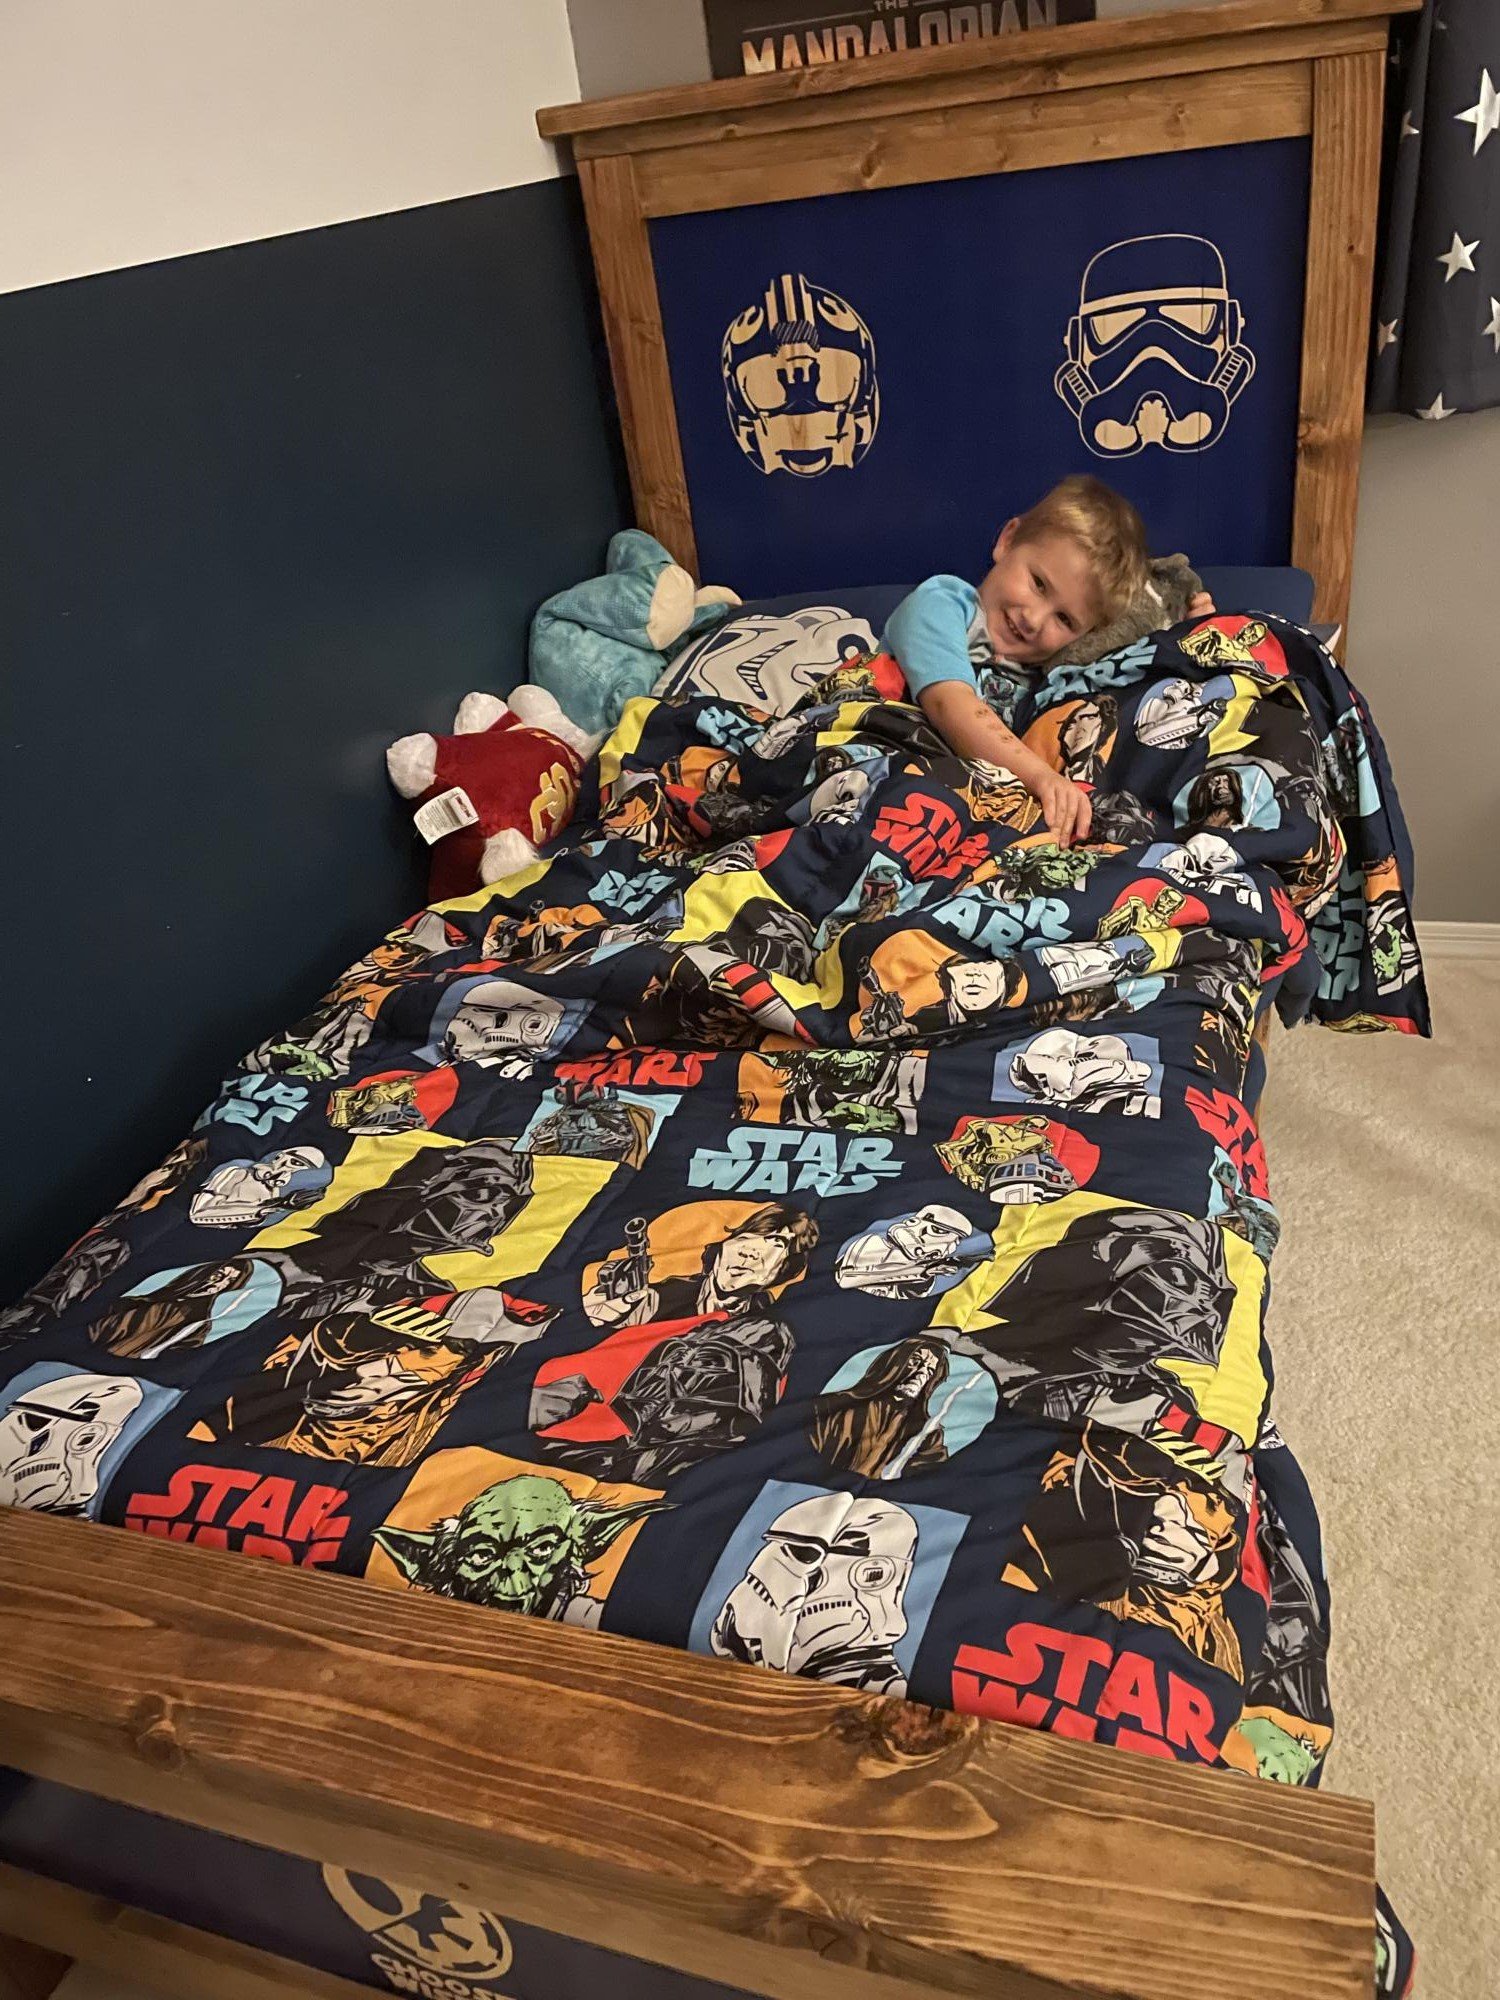
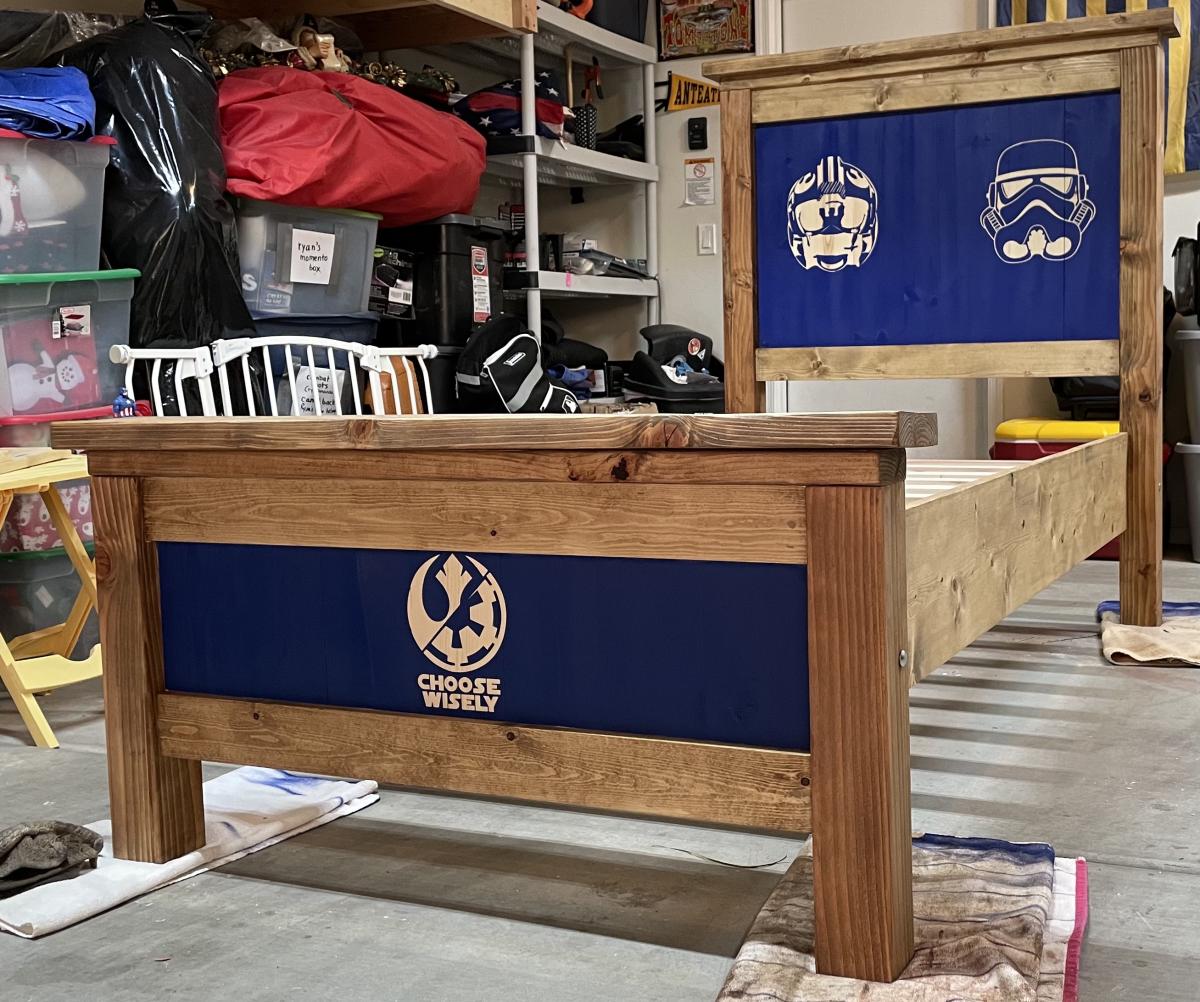
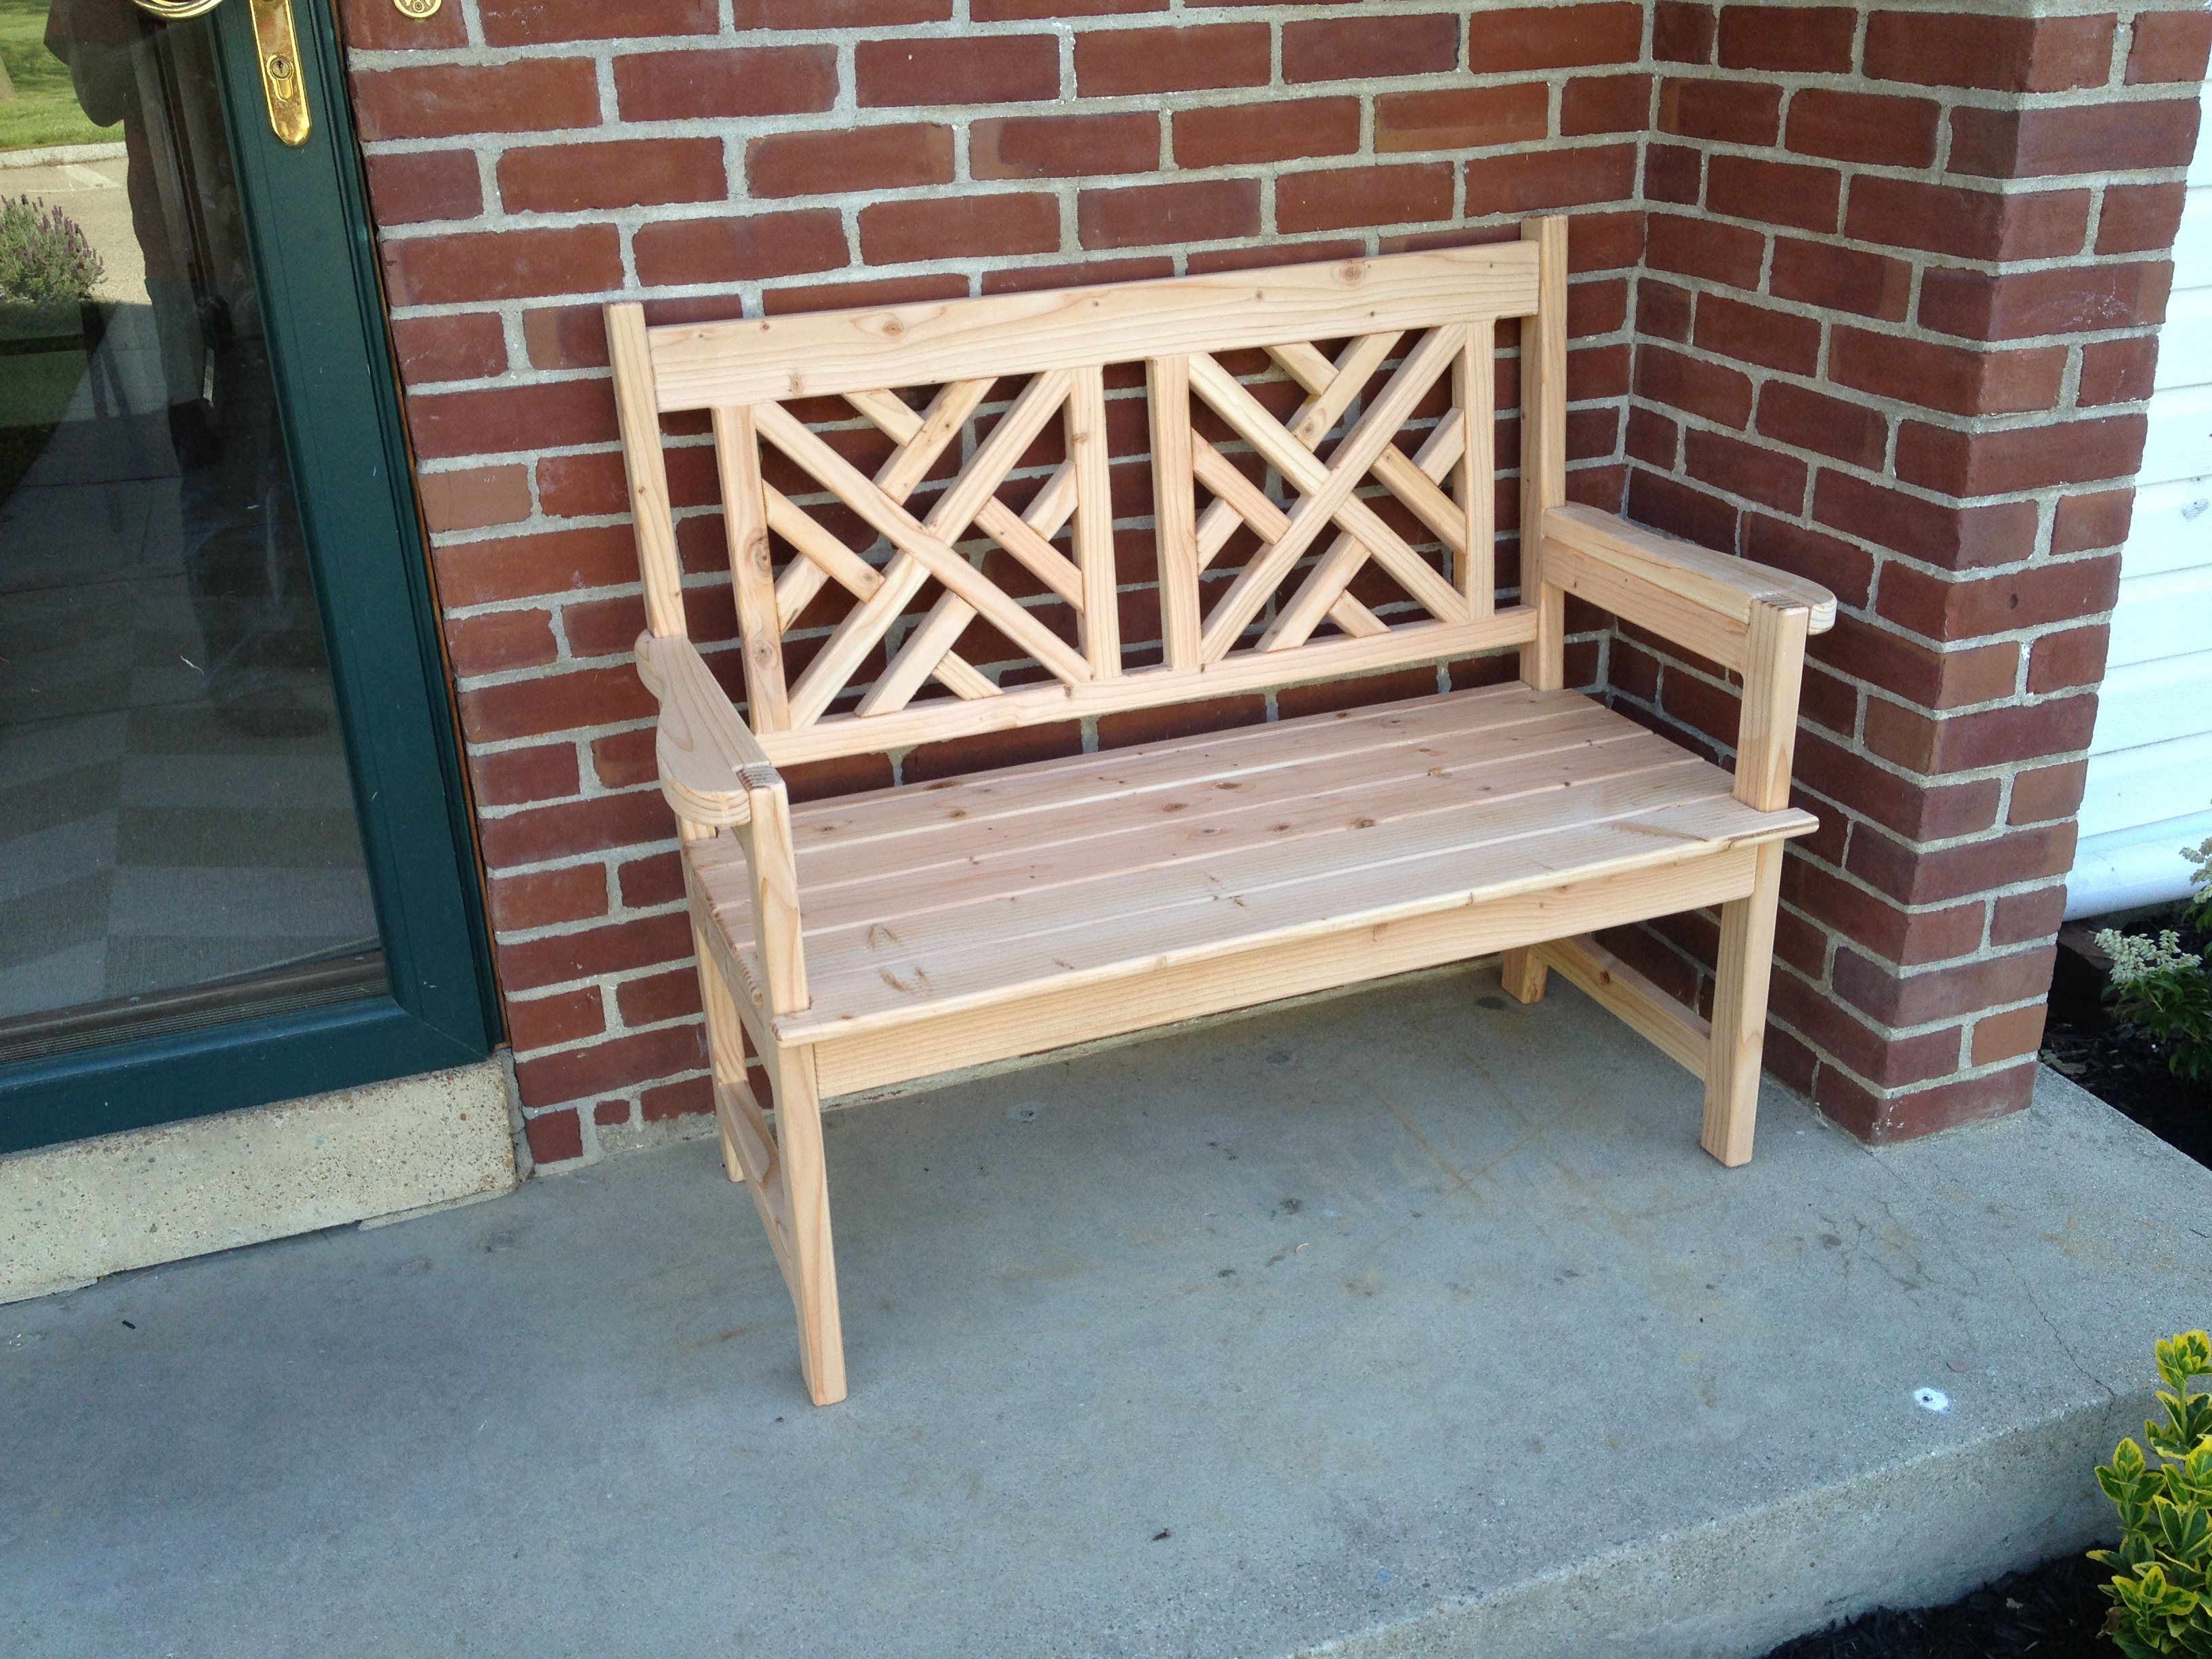
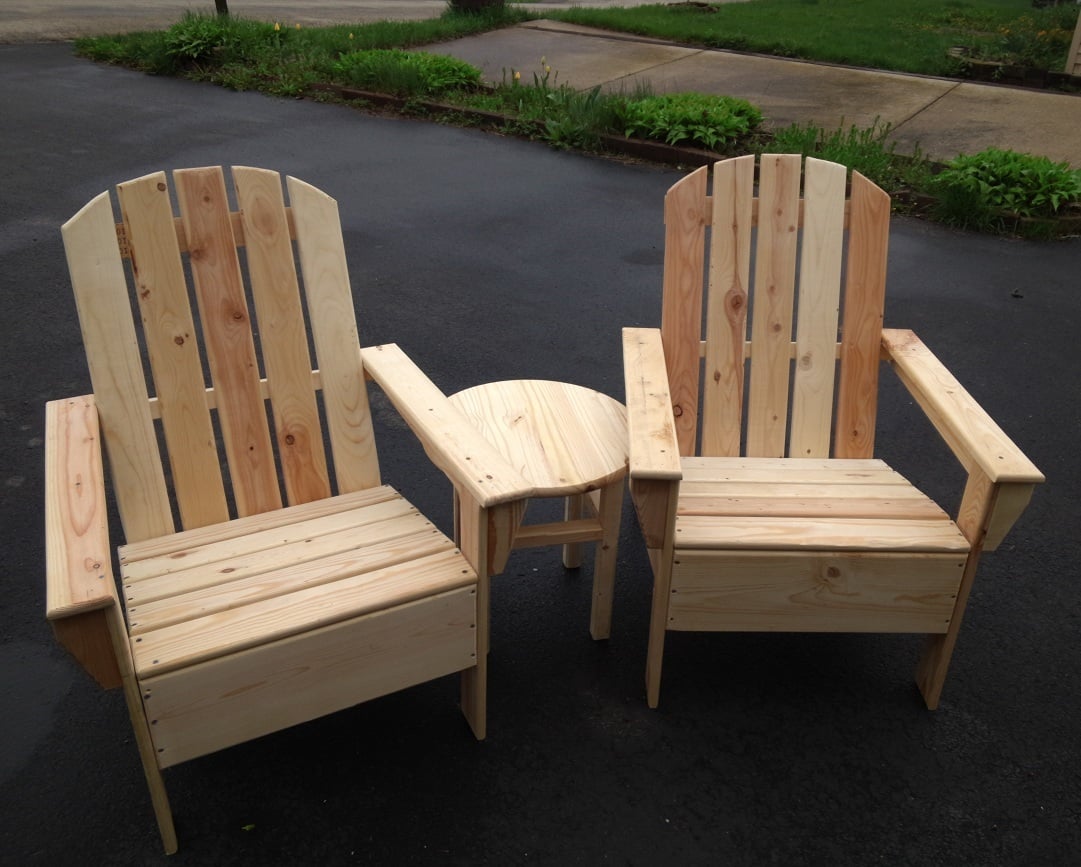
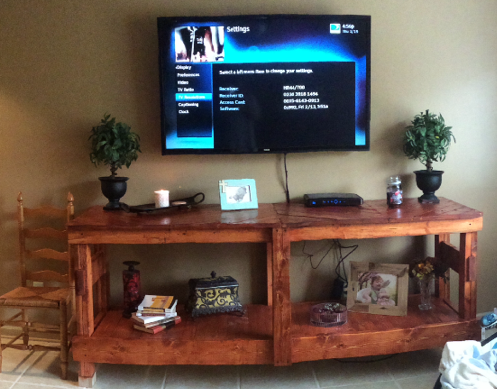
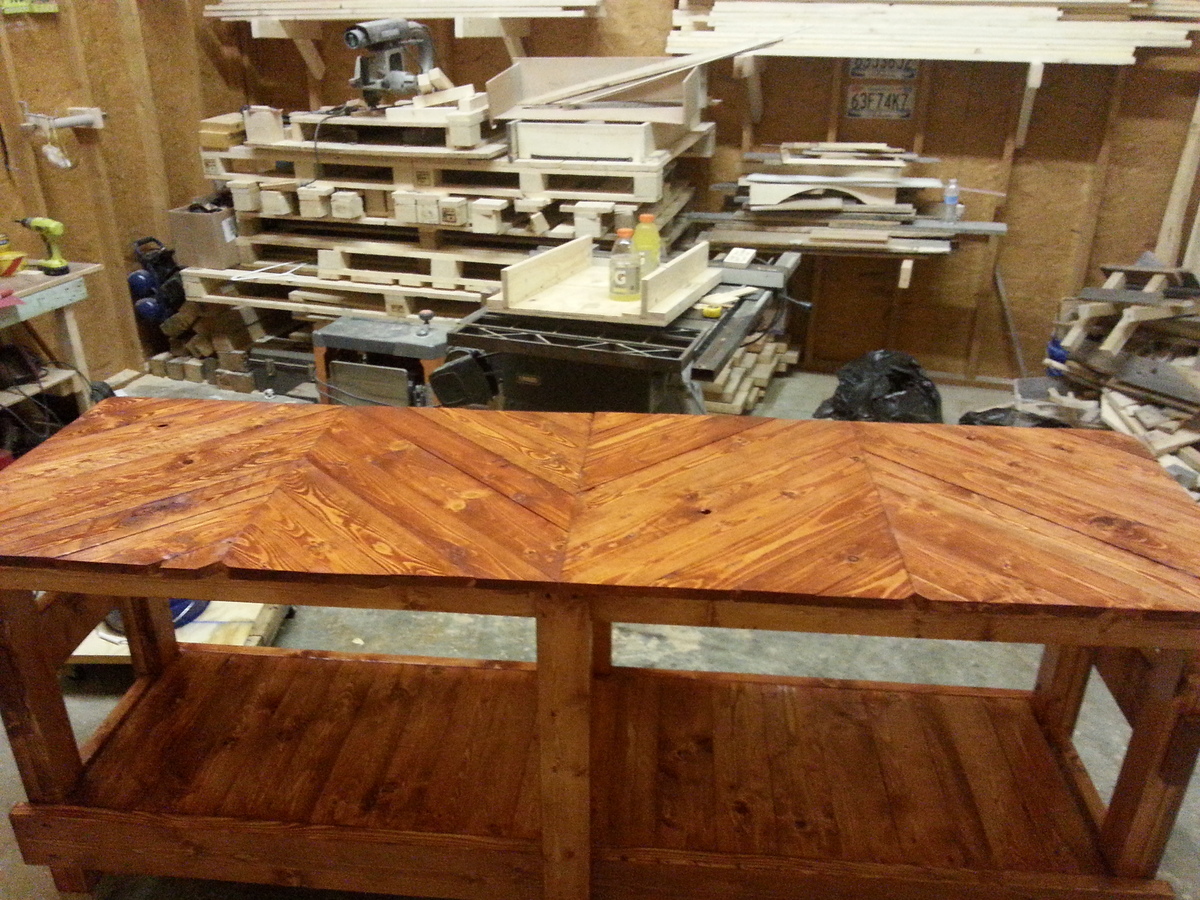
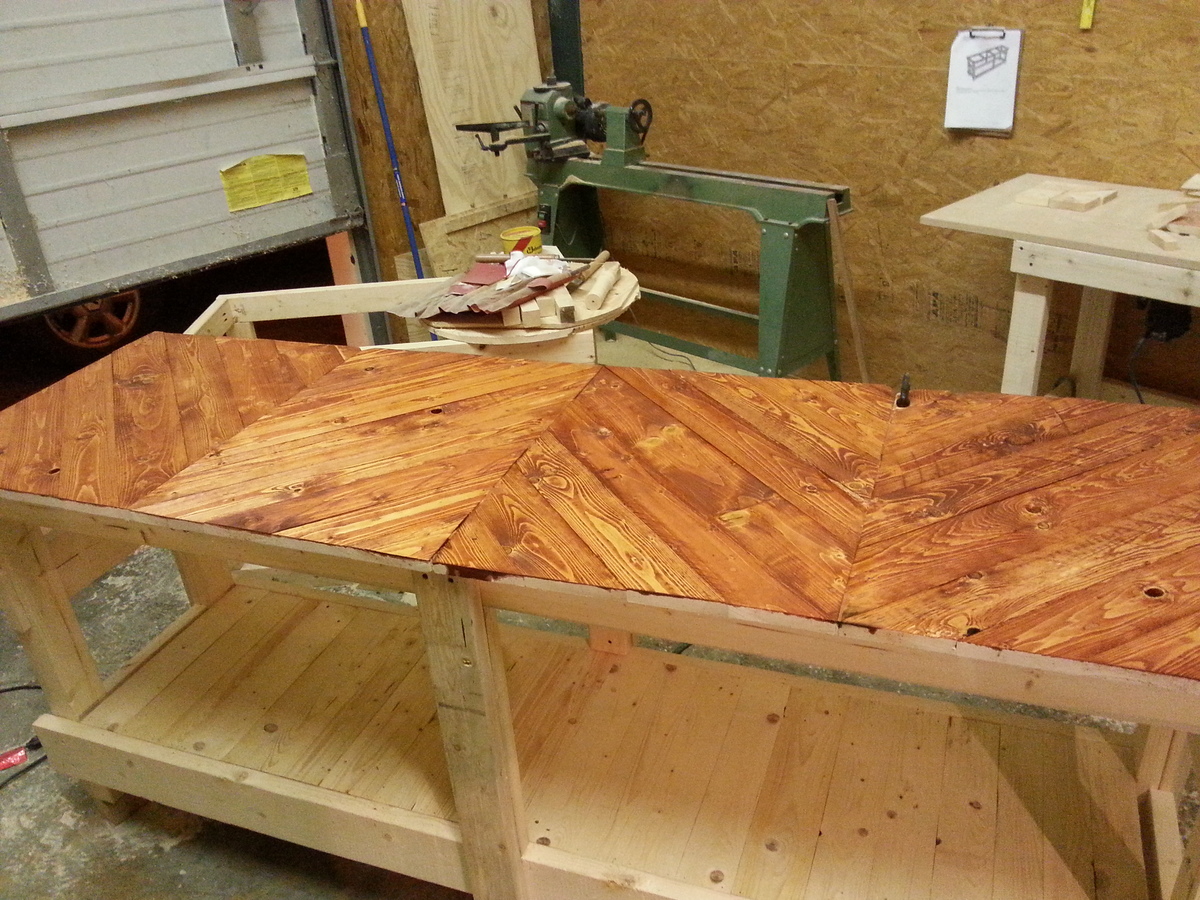
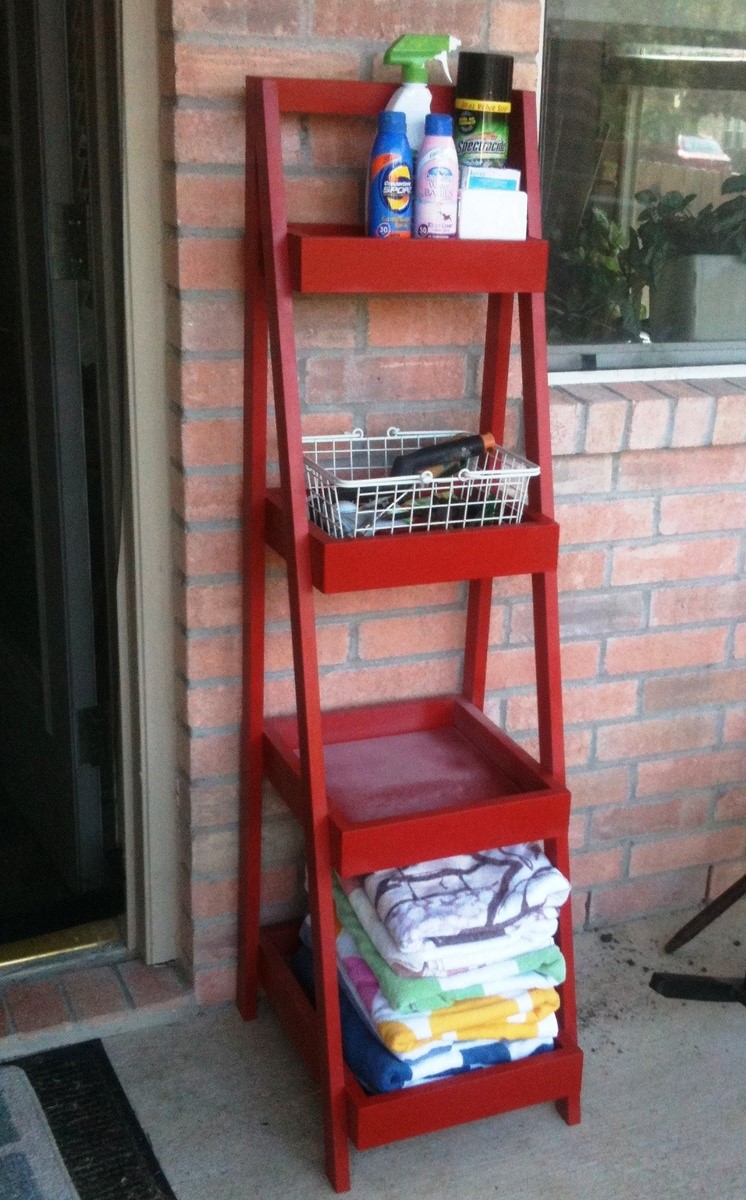
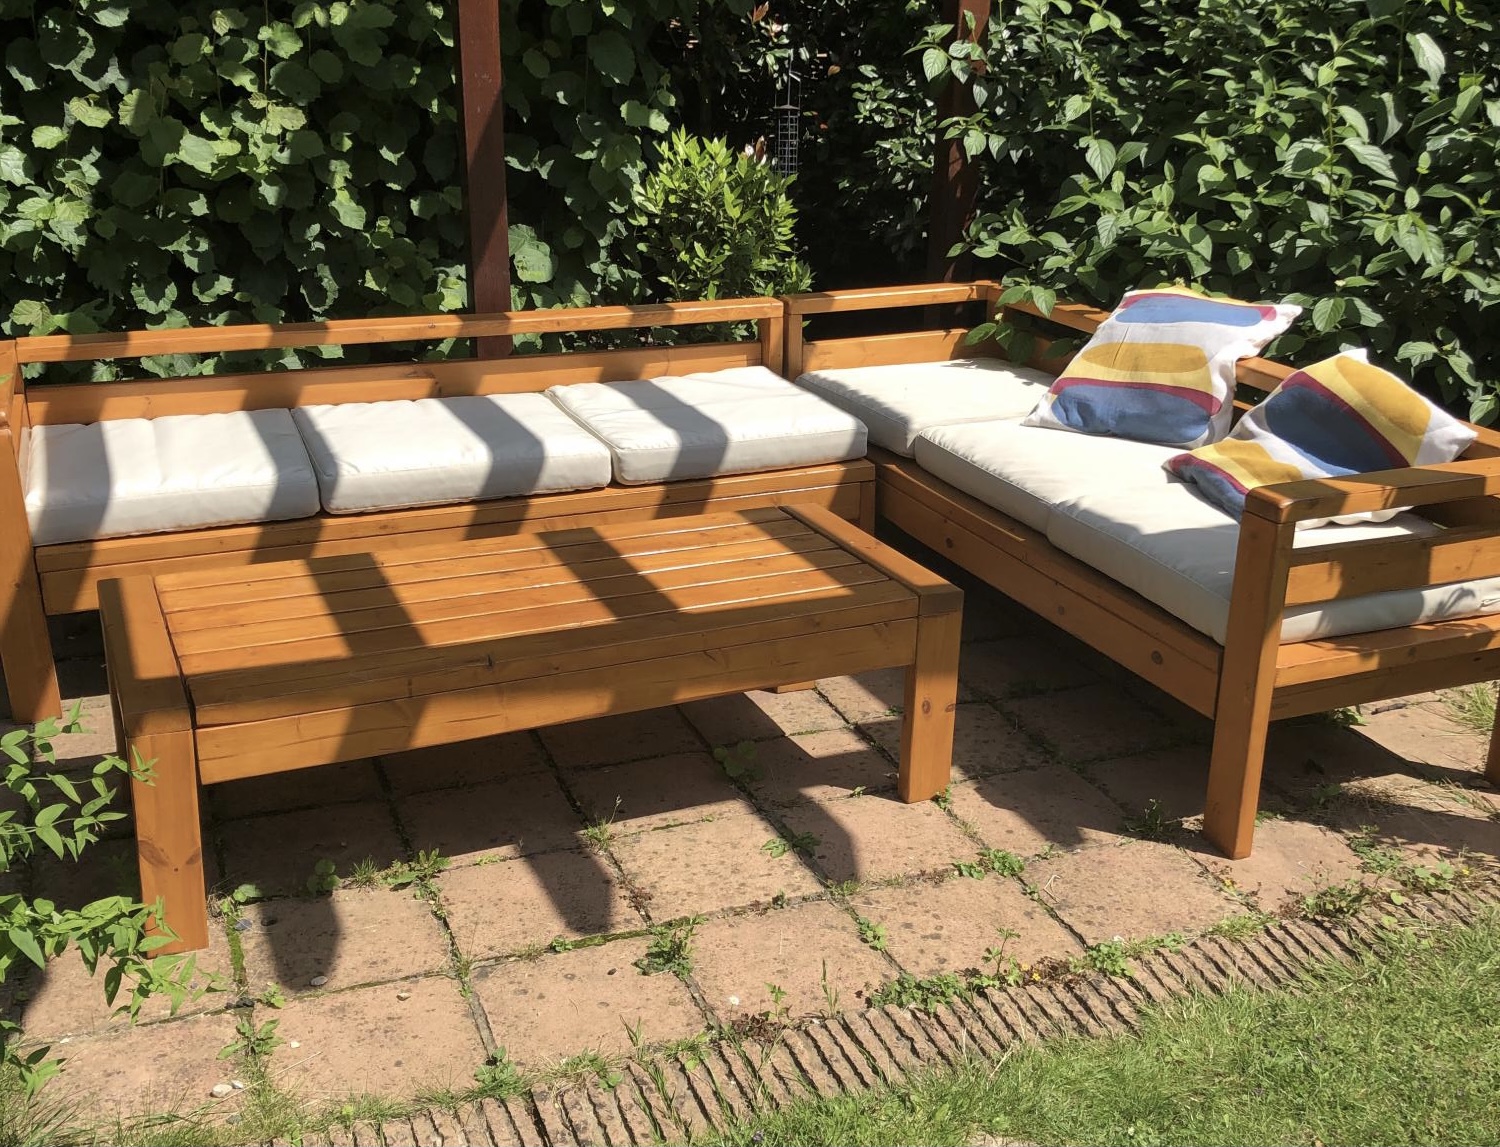
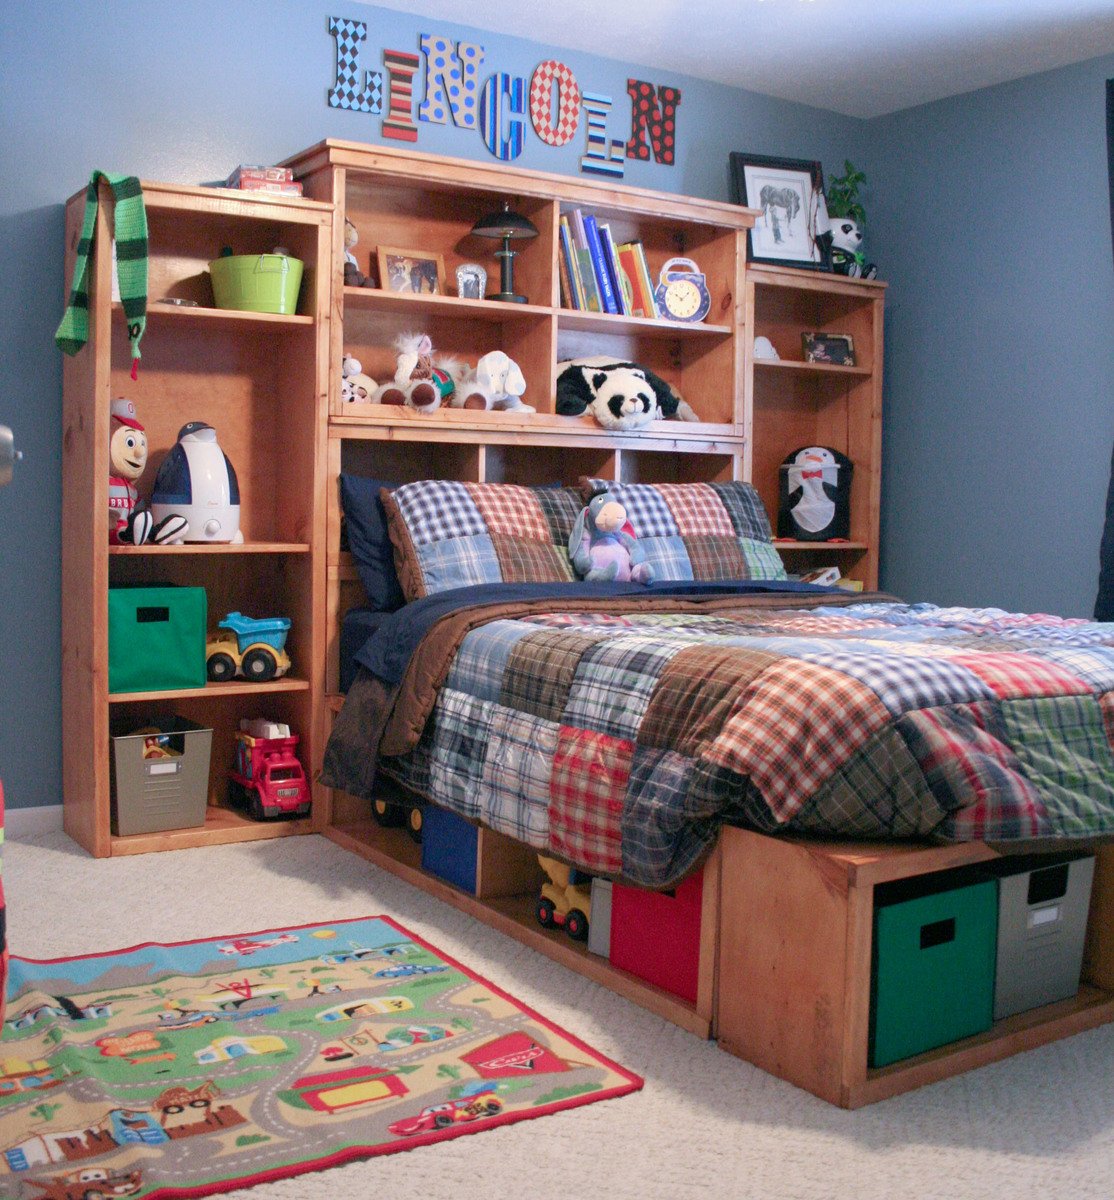
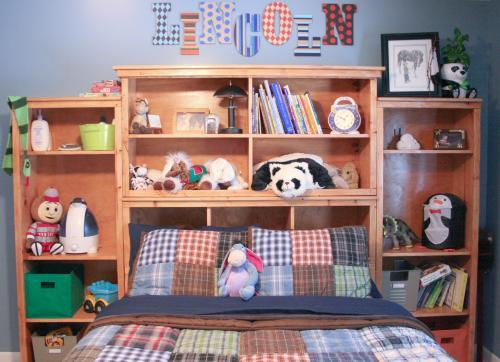
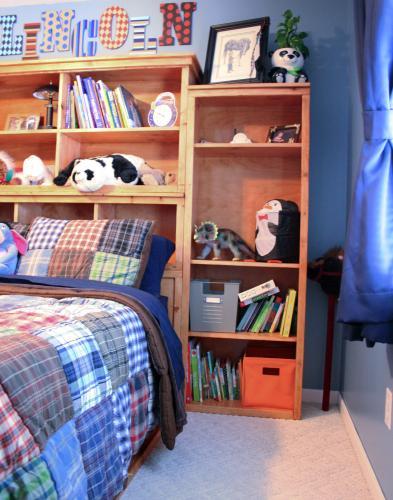
I came up with the idea of having something on my back porch to hold all my outdoor stuff.... things I wanted handy, like Pool Towels, Gardening tools and gloves, Sunscreen and Bug Spray. I started looking around for something to buy and finally decided to look for something to build. I was looking on the HGTV website when I found this and thought it was perfect. I'm not sure what exactly made me take it one-step further, but I found a small link embedded in the article and I clicked on it, and a love affair was born. I found the Ana-White website with tons and tons and tons of plans to make all the things I've dreamed about making. So, I signed up, printed the plans and got to work. First time I have built from plans and had to work slowly and not rush to complete it the same day. Snuck away in the evening, after dinner and cleanup, and spent about an hour a night in the garage with the heat and the mosquitos. BTW, tucking dryer sheets in your clothing does really keep the critters at bay. And here is the finished product .... doing exactly what I had planned and fitting perfectly in the location I wanted. On to the next project..... I have several printed out and haven't decided which to start on..... Is it the toy box for my son's toys that scatter around the living room.... or the queen-sized Farmhouse bed for my daughter who has been begging for more sleep room. Or the bookshelves for my room..... So may choices.... and I love that about this webiste.
Another fantastic project built! We used the Narrow Farmhouse Table plans to create a Sewing table.
I built this for our entry way at our cabin. I added a drawer at the top for sunglasses and keys.
I built this using the plans for the Perfect End Table. I made it a little taller and jazzed up the shelf a bit. The whole project cost me less than $35!
I wanted to make a quick spring decoration. I dug through my scrap wood pile for some inspiration. This past winter, I made some snowmen out of scrap 2x4s. I decided I would make a bunny out of some scrap wood.
For more details and pictures of this and my other projects, please check out my blog at JaimeOfAllTrades.blogspot.com
This was super easy to make and it didn't cost me anything at all! What makes it great is that it is completely customizable! This would also make a great spring craft for the kids!
6 foot sliding door console with barn door style doors. Dark walnut top. Handmade hardware for the sliding door.
Easy to do though some thought required for conversion into centimetres .
With a new baby on the way, my husband, Steve and I had to move our 2yr old son out of the nursery and into his big boy bedroom. After casually looking at storage beds and falling over in shock at the prices, I came across Ana’s plans for the storage bed. Knowing that Steve is extremely handy but had not attempted to build furniture before, I started talking him into building this bed. He was sold the moment I told him that we would save close to $2400 by building it ourselves. This was a longer than anticipated project mainly due to Steve’s full time work schedule, my inablility to handle stain fumes, allowing a toddler to “help” build his bed and working around said toddler’s nap schedule. We modified Ana’s plans by adding some trim to the cubby hutch, omitting the doors on the small hutch and sizing everything to a full size bed. We also omitted the shelves on the storage headboard since we weren’t going to use them with the side towers. I am absolutely in LOVE with the final result and have a long list of other projects that we will be building in the near future.
Comments
Ana White Admin
Wed, 08/11/2021 - 21:43
Gorgeous!
Thank you for sharing, this is so beautiful!