Community Brag Posts


Raised planter boxes
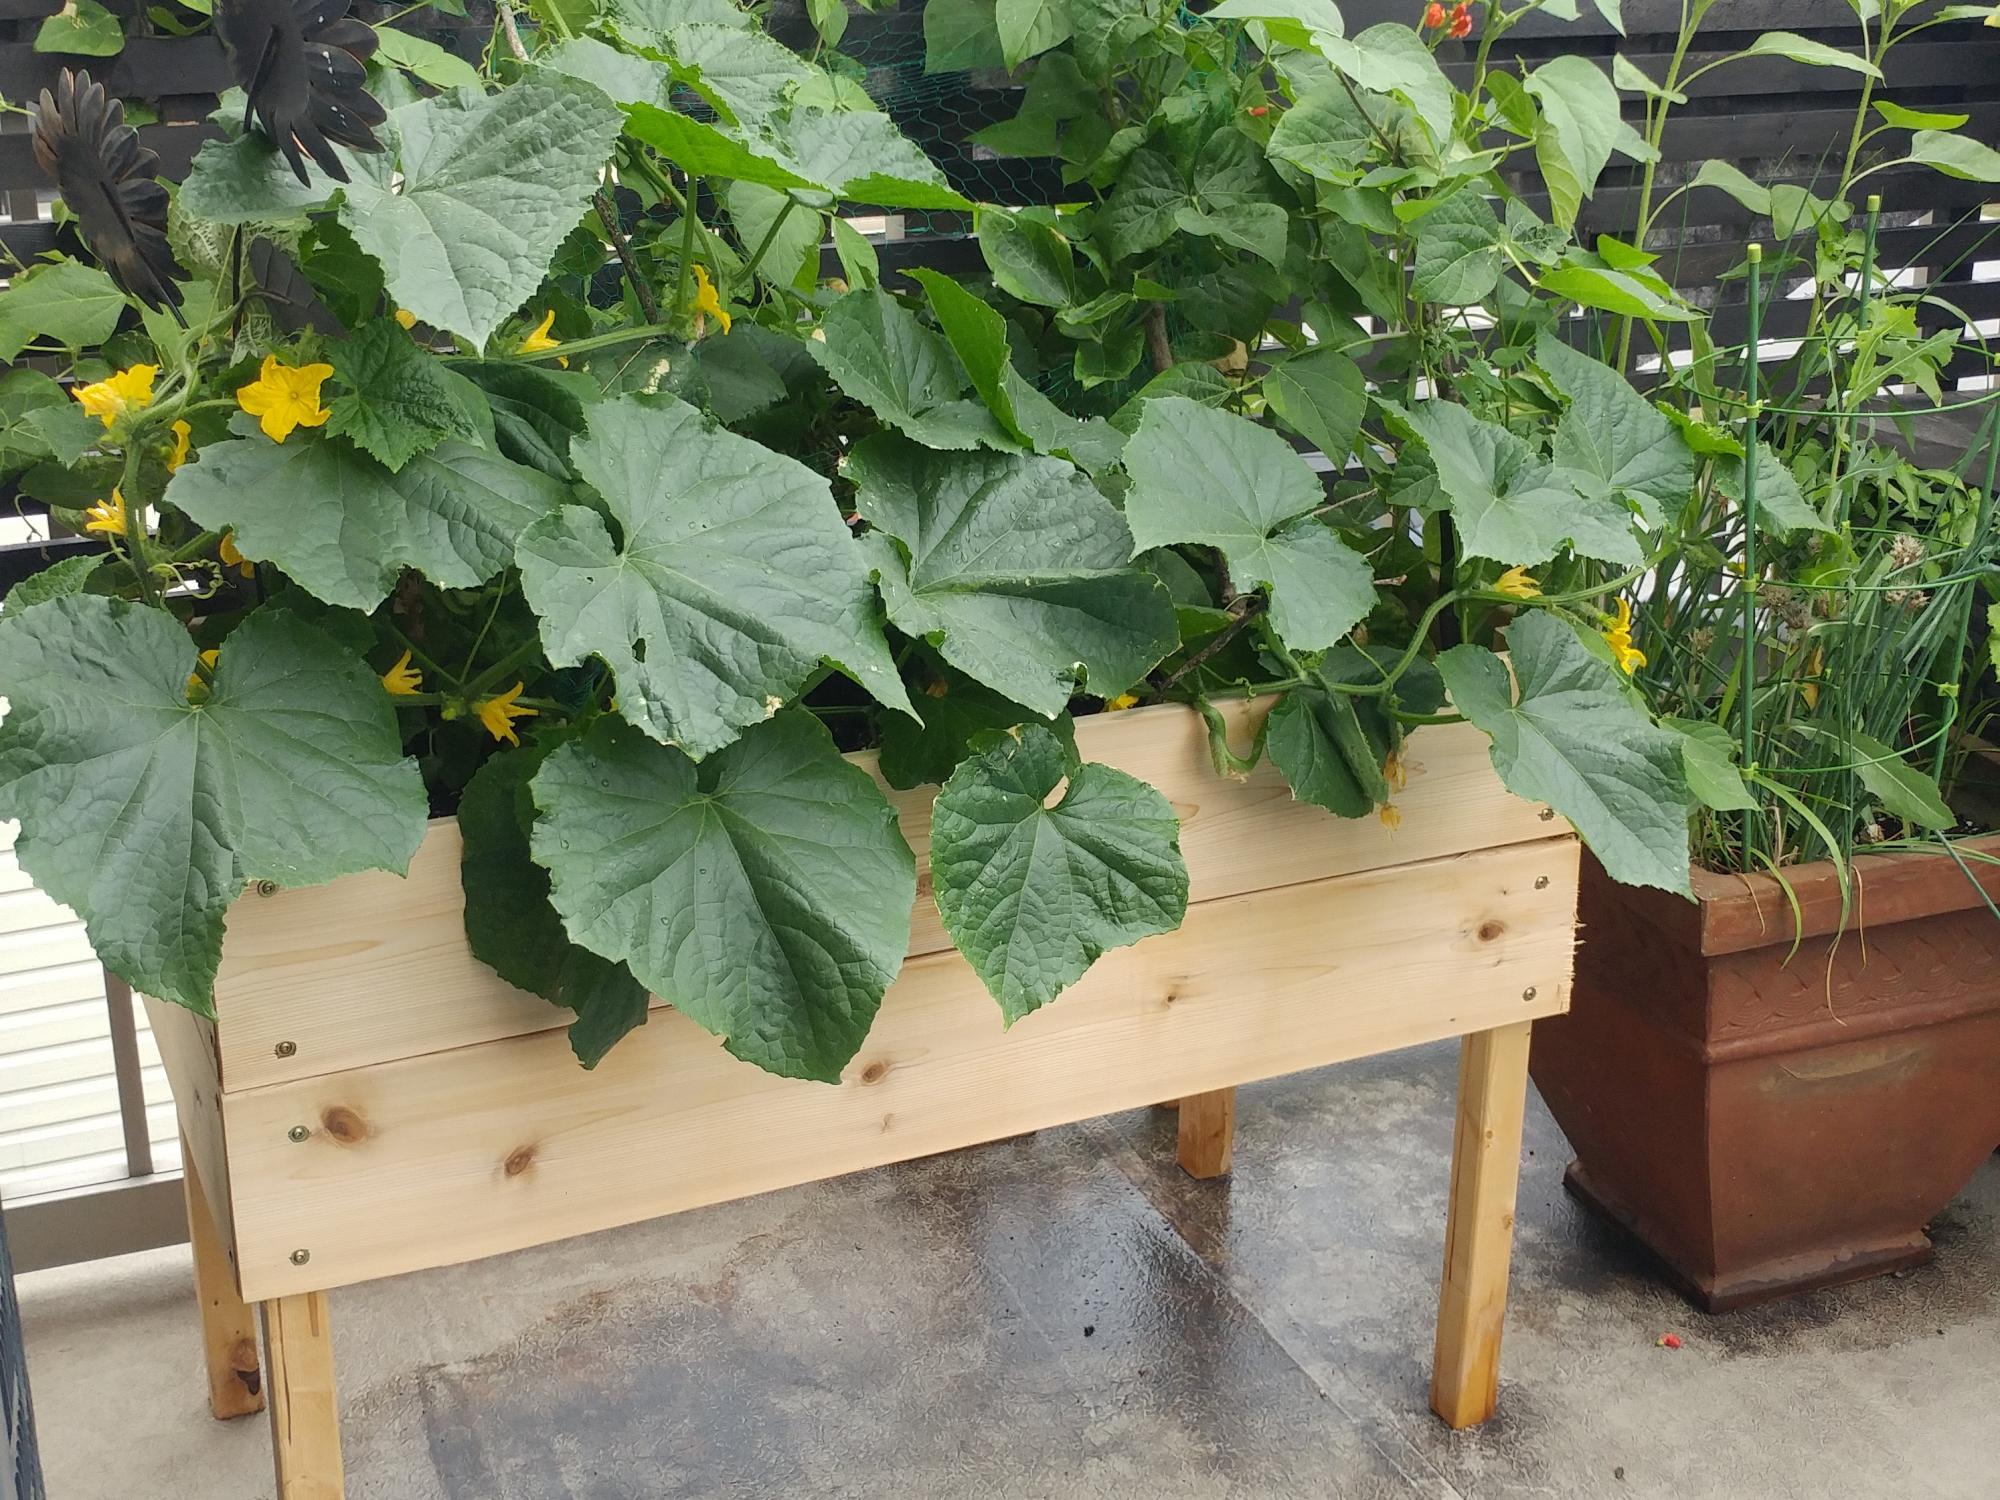
My first ever build! I made two of these planters for my deck. They were easy and the cucumbers and runner beans I grew from seed loved the deep soil in them! They make my little space feel like an oasis.
Built from Plan(s)
Octagon Picnic Table with Umbrella
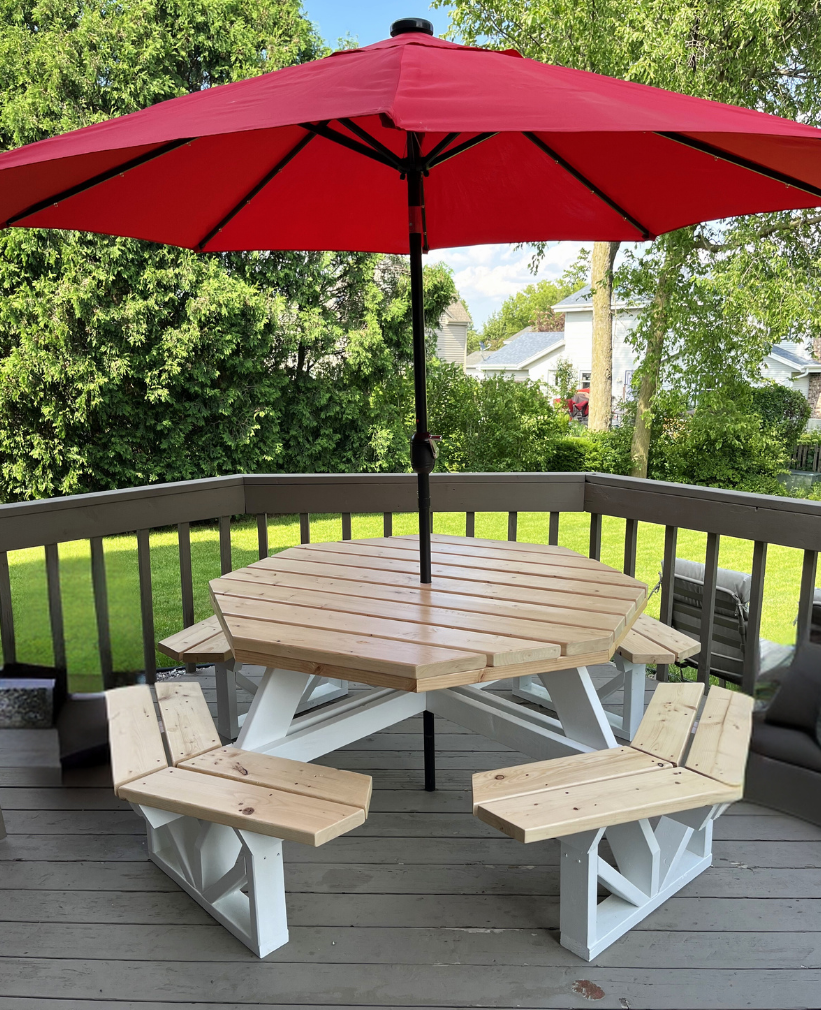
A new table for a new home for my son. Added hole and block for umbrella. Very satisfied with project and plans. Thanks Ana
Frank N.
Built from Plan(s)
Key Locker a.k.a. Small Jewelry Armoire

I built this key locker from a jewelry armoire plan I found on TheDesignconfidential and the link is http://www.thedesignconfidential.com/2012/09/key-locker-aka-small-jewel…
It is a wonderful and simple design. Easy to build. Cost me abut $17 since I went for the S4S poplar wood for the frame and door. I used scrap hardwood flooring for the door face. The key is from Hobby Lobby at $2. All the rest including the knob, hinges, hooks, etc were gathering dust in my garage.

Estimated Cost
$17
Estimated Time Investment
Day Project (6-9 Hours)
Finish Used
Minwax gunstock. Just apply, wait , wipe, 00 steel wool. And repeat as often as you like.
Recommended Skill Level
Beginner
Comments
Fri, 09/28/2012 - 08:07
The stool below the locker
Ana the stool the locker is sitting on is one of my very first projects I got from your site. It definitely is the most useful and used.
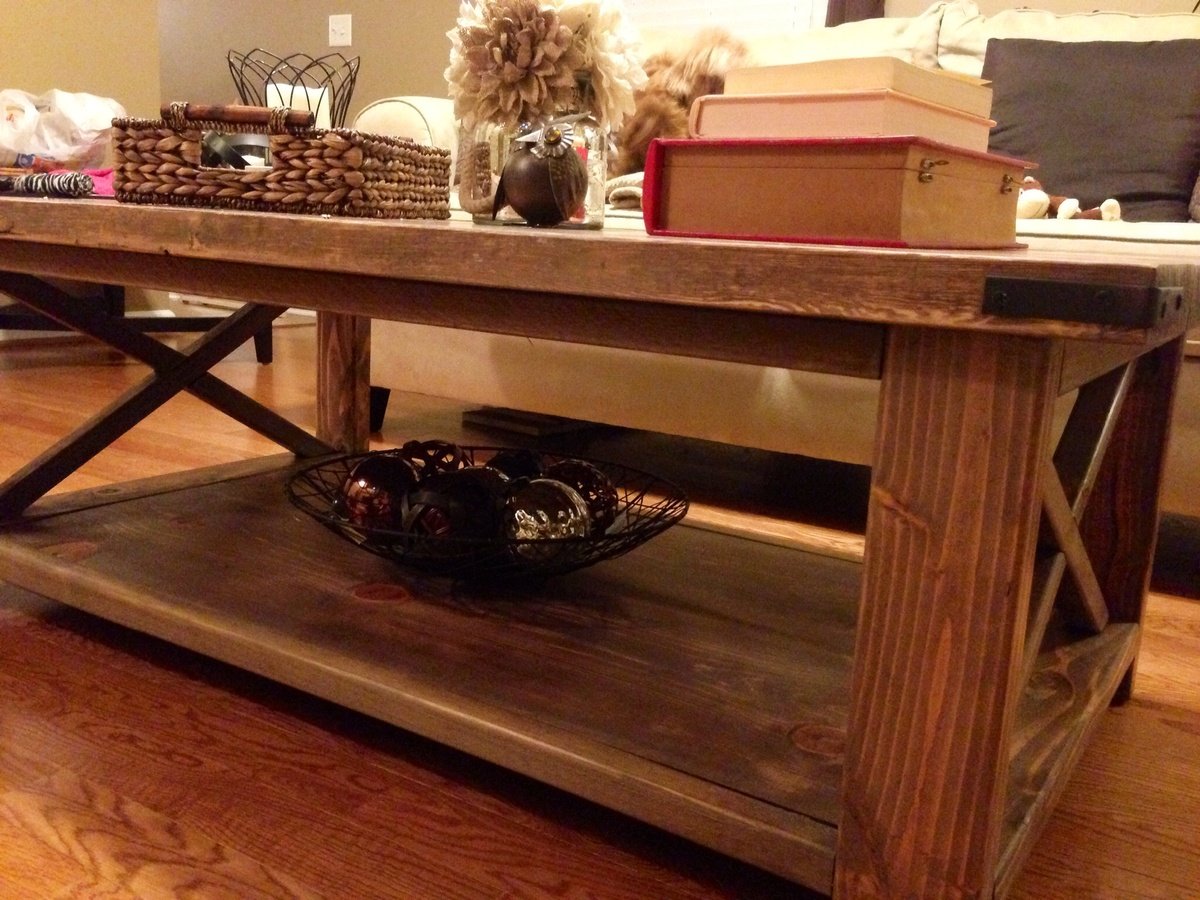
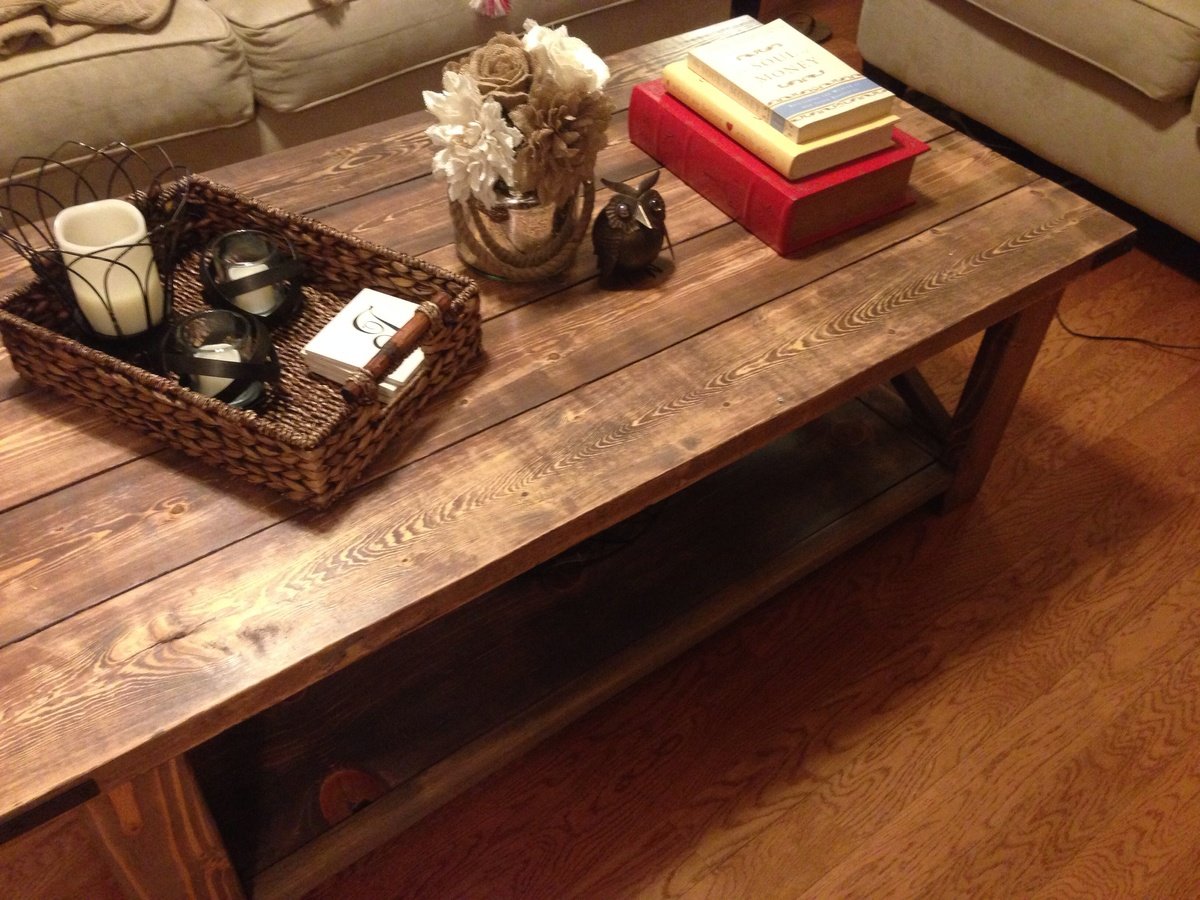
Rustic X Coffee Table
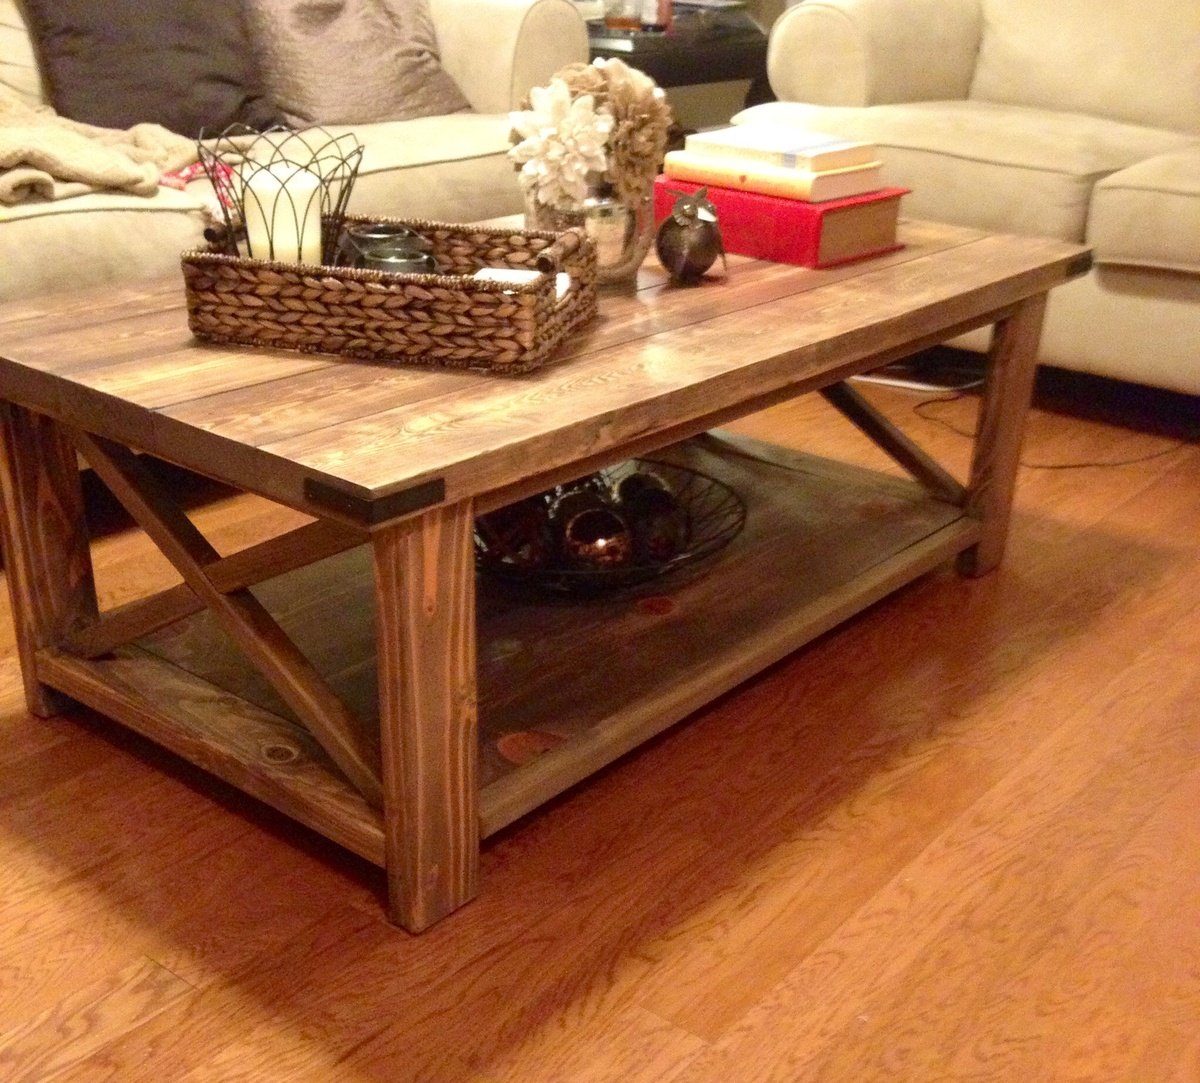
This was our first project and I love how it turned out!
Built from Plan(s)
Estimated Cost
$140
Estimated Time Investment
Weekend Project (10-20 Hours)
Finish Used
Carrington by rustoleum. Sanded down. Driftwood by rustoleum over the top.
Recommended Skill Level
Beginner
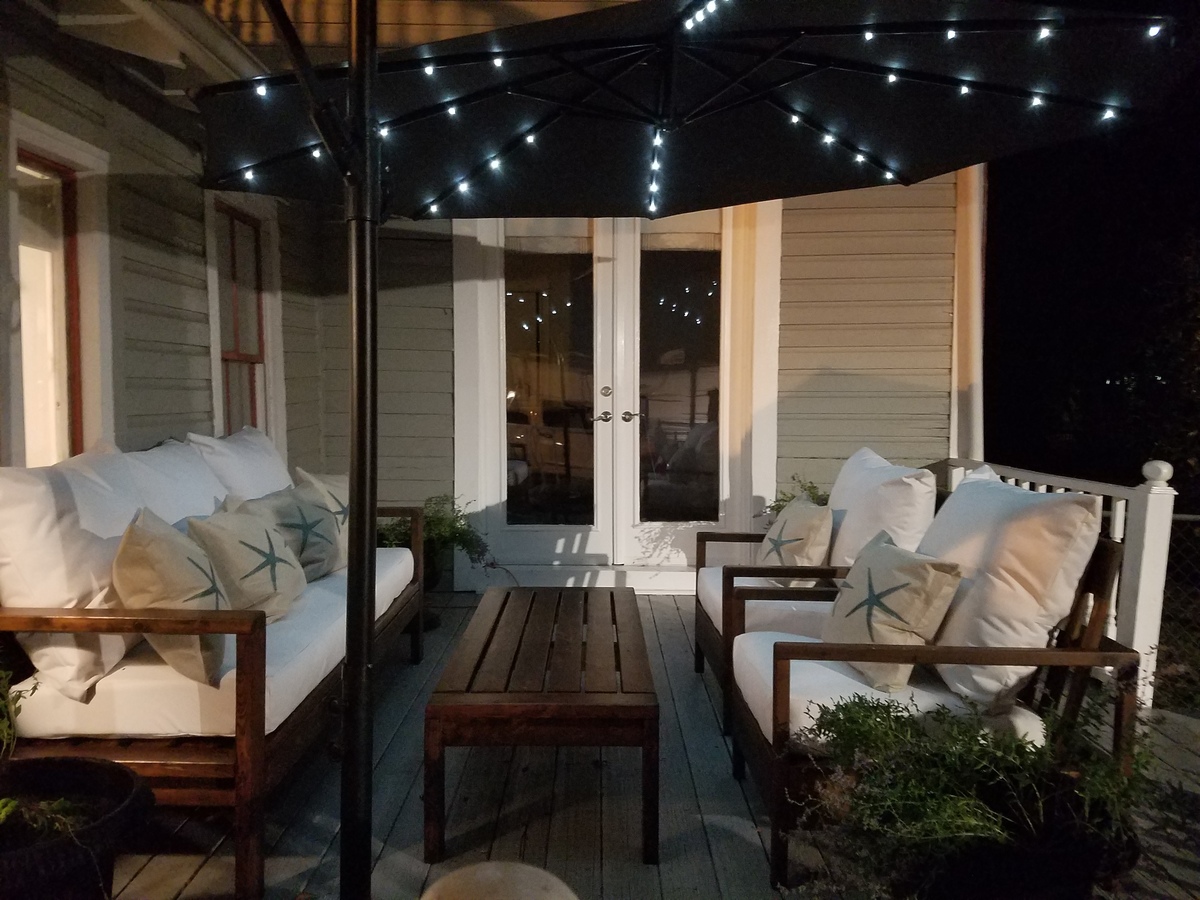
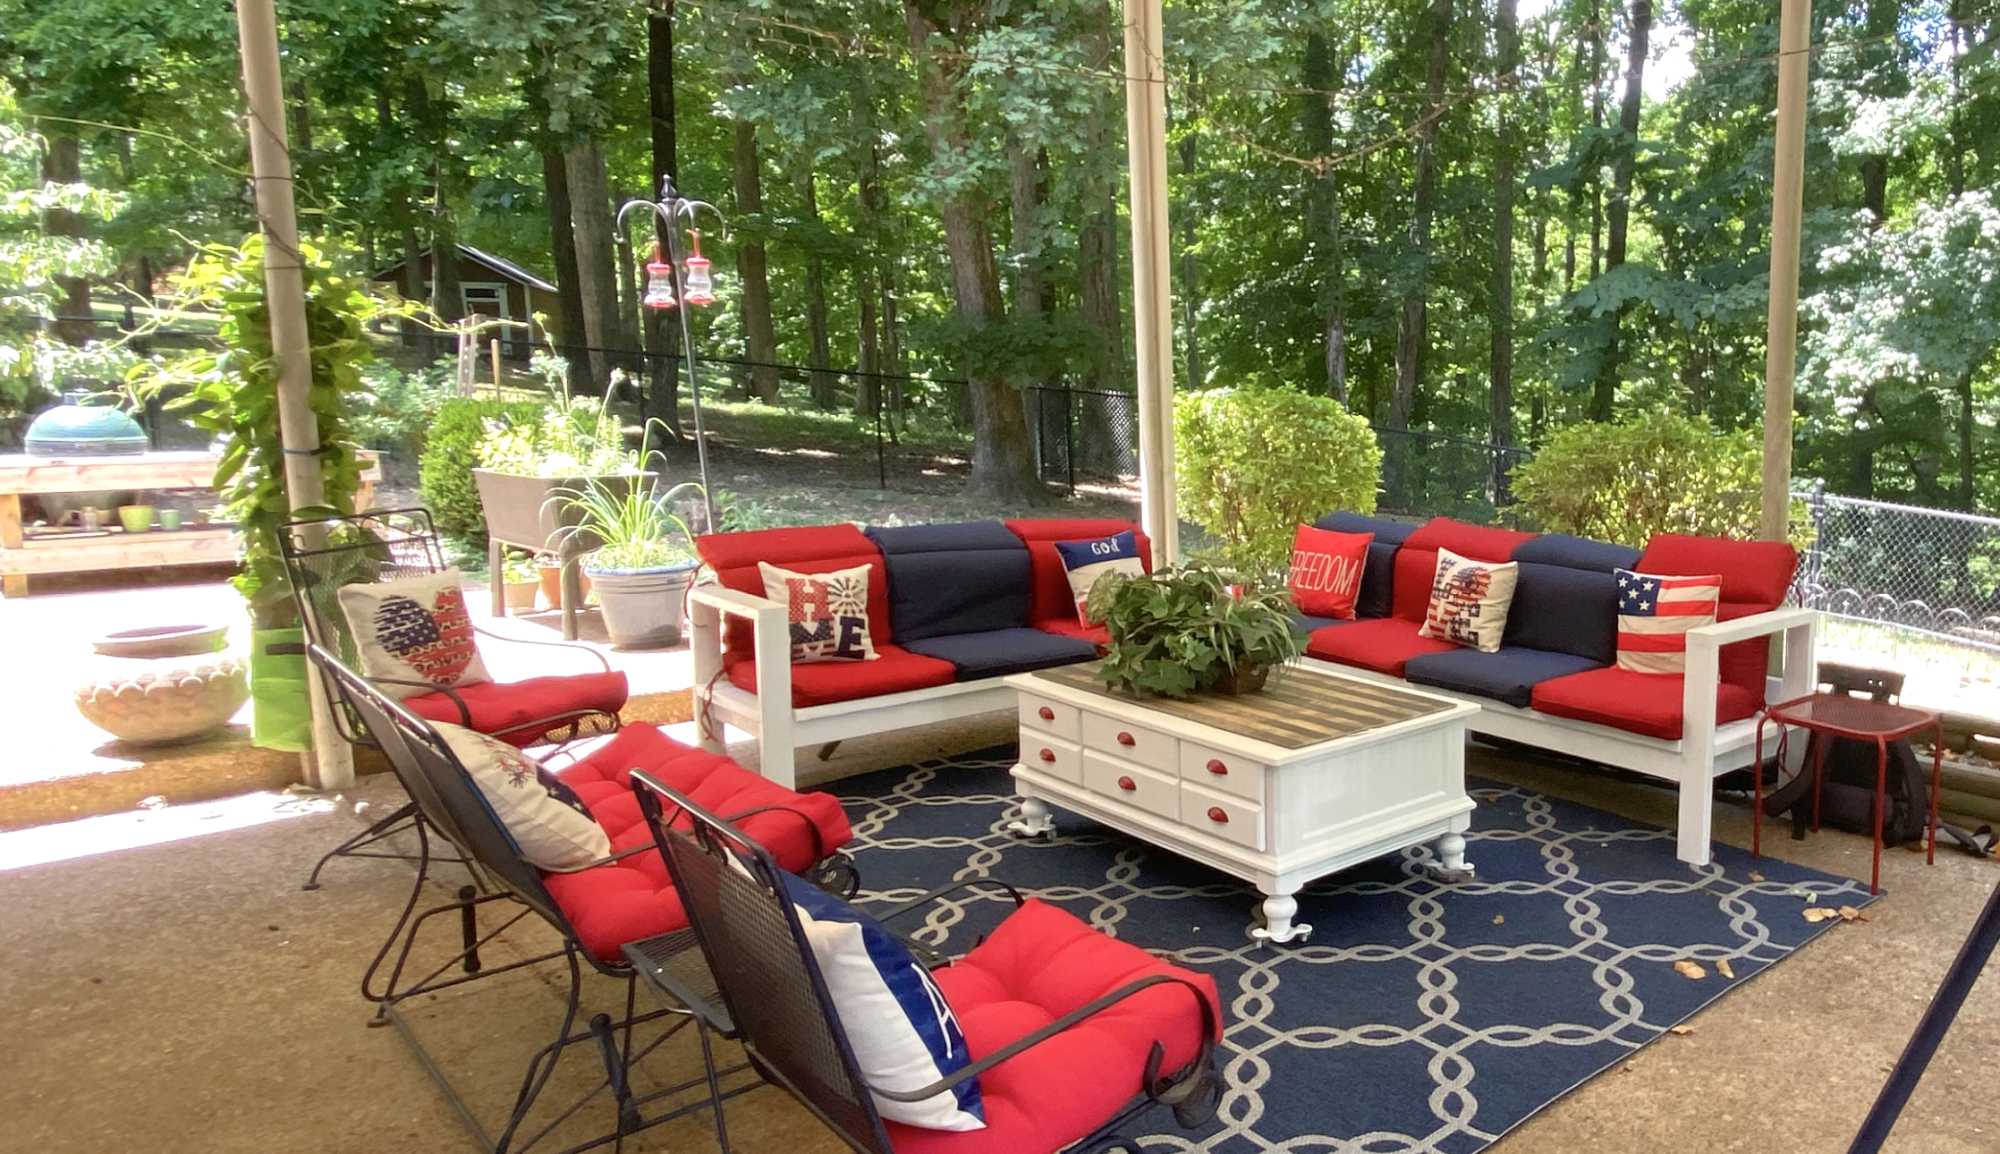
Needed a new Patio set after Hurricane Matthew destroyed mine.

Between my day job and daily chores I somehow managed to build this, make the stain with the vinegar/steel wool, and sew all the cushions in about a week and a half. The hardest part for me was lifting the sofa onto the deck by myself after I built it.
I also made the chairs from this site (simple white outdoor chair) and the coffee table.
Thanks Ana and everyone for contributing your plans and for everyone posting their projects. It helps me do it to.
Built from Plan(s)
Estimated Cost
for foam, wood, screws, sand paper pillow stuffing, waterproof fabric 400 bucks
Estimated Time Investment
Week Long Project (20 Hours or More)
Finish Used
steel wool/vinegar/coffee grounds and then UV flood protector
Recommended Skill Level
Beginner
Modern Adirondack and 2x4 Sofas
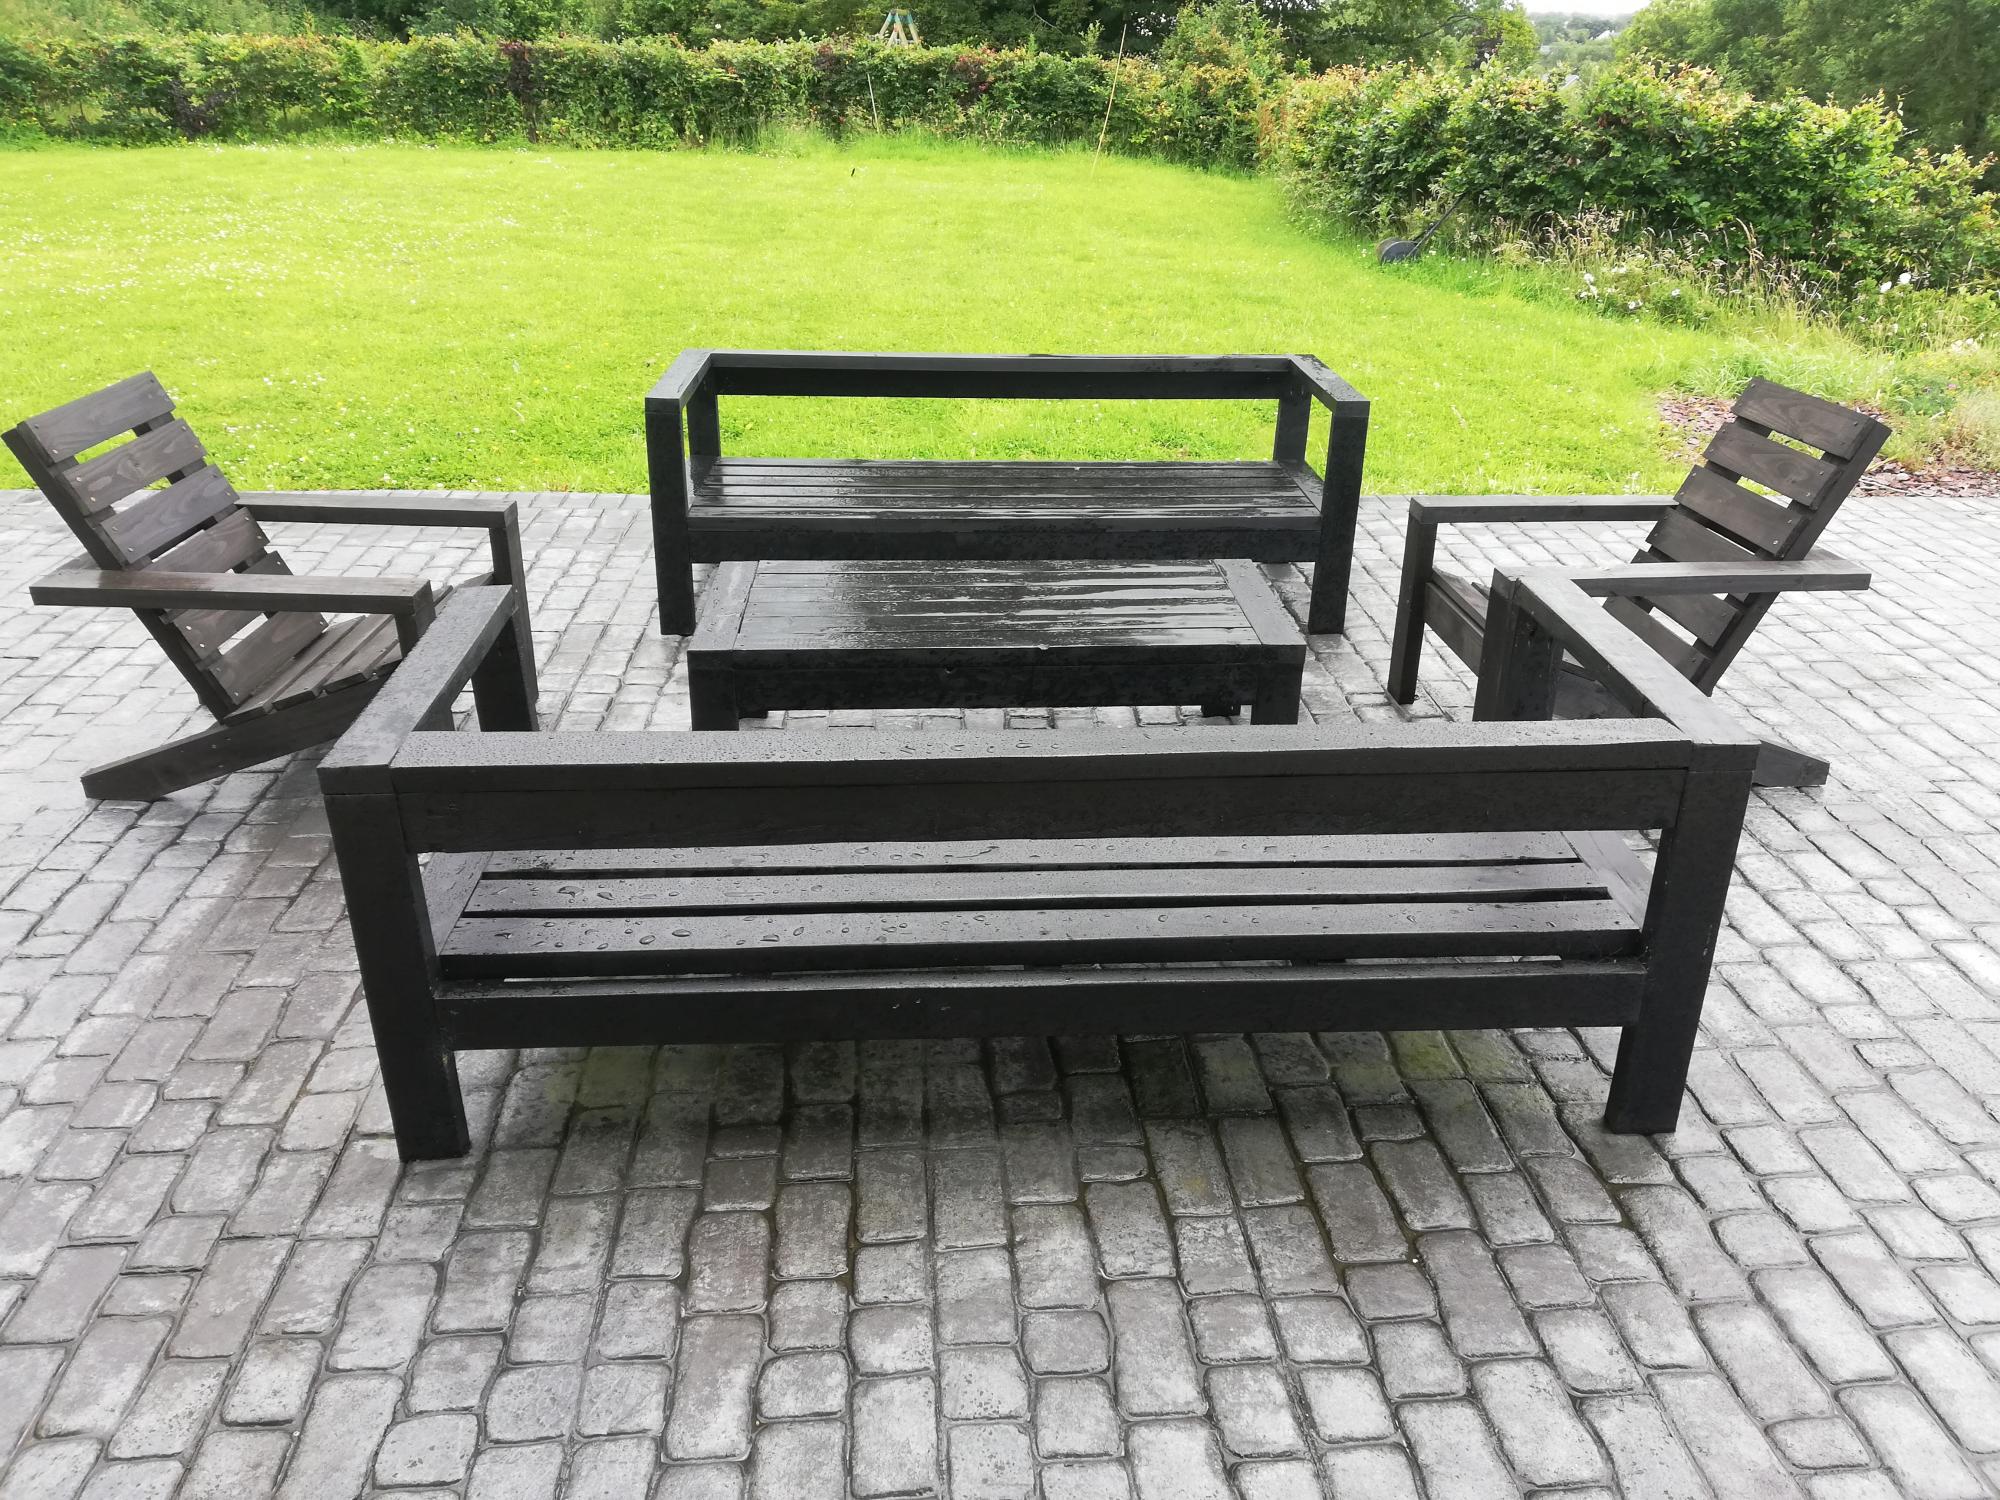
Thanks Ana for your easy to follow plans - I made the sofas and coffee table two years ago, and added the Adirondack chairs in June.

Built from Plan(s)
Estimated Cost
350 euro
Estimated Time Investment
Weekend Project (10-20 Hours)
Finish Used
Ronseal 10 year exterior wood stain
Homemade Garden Bench
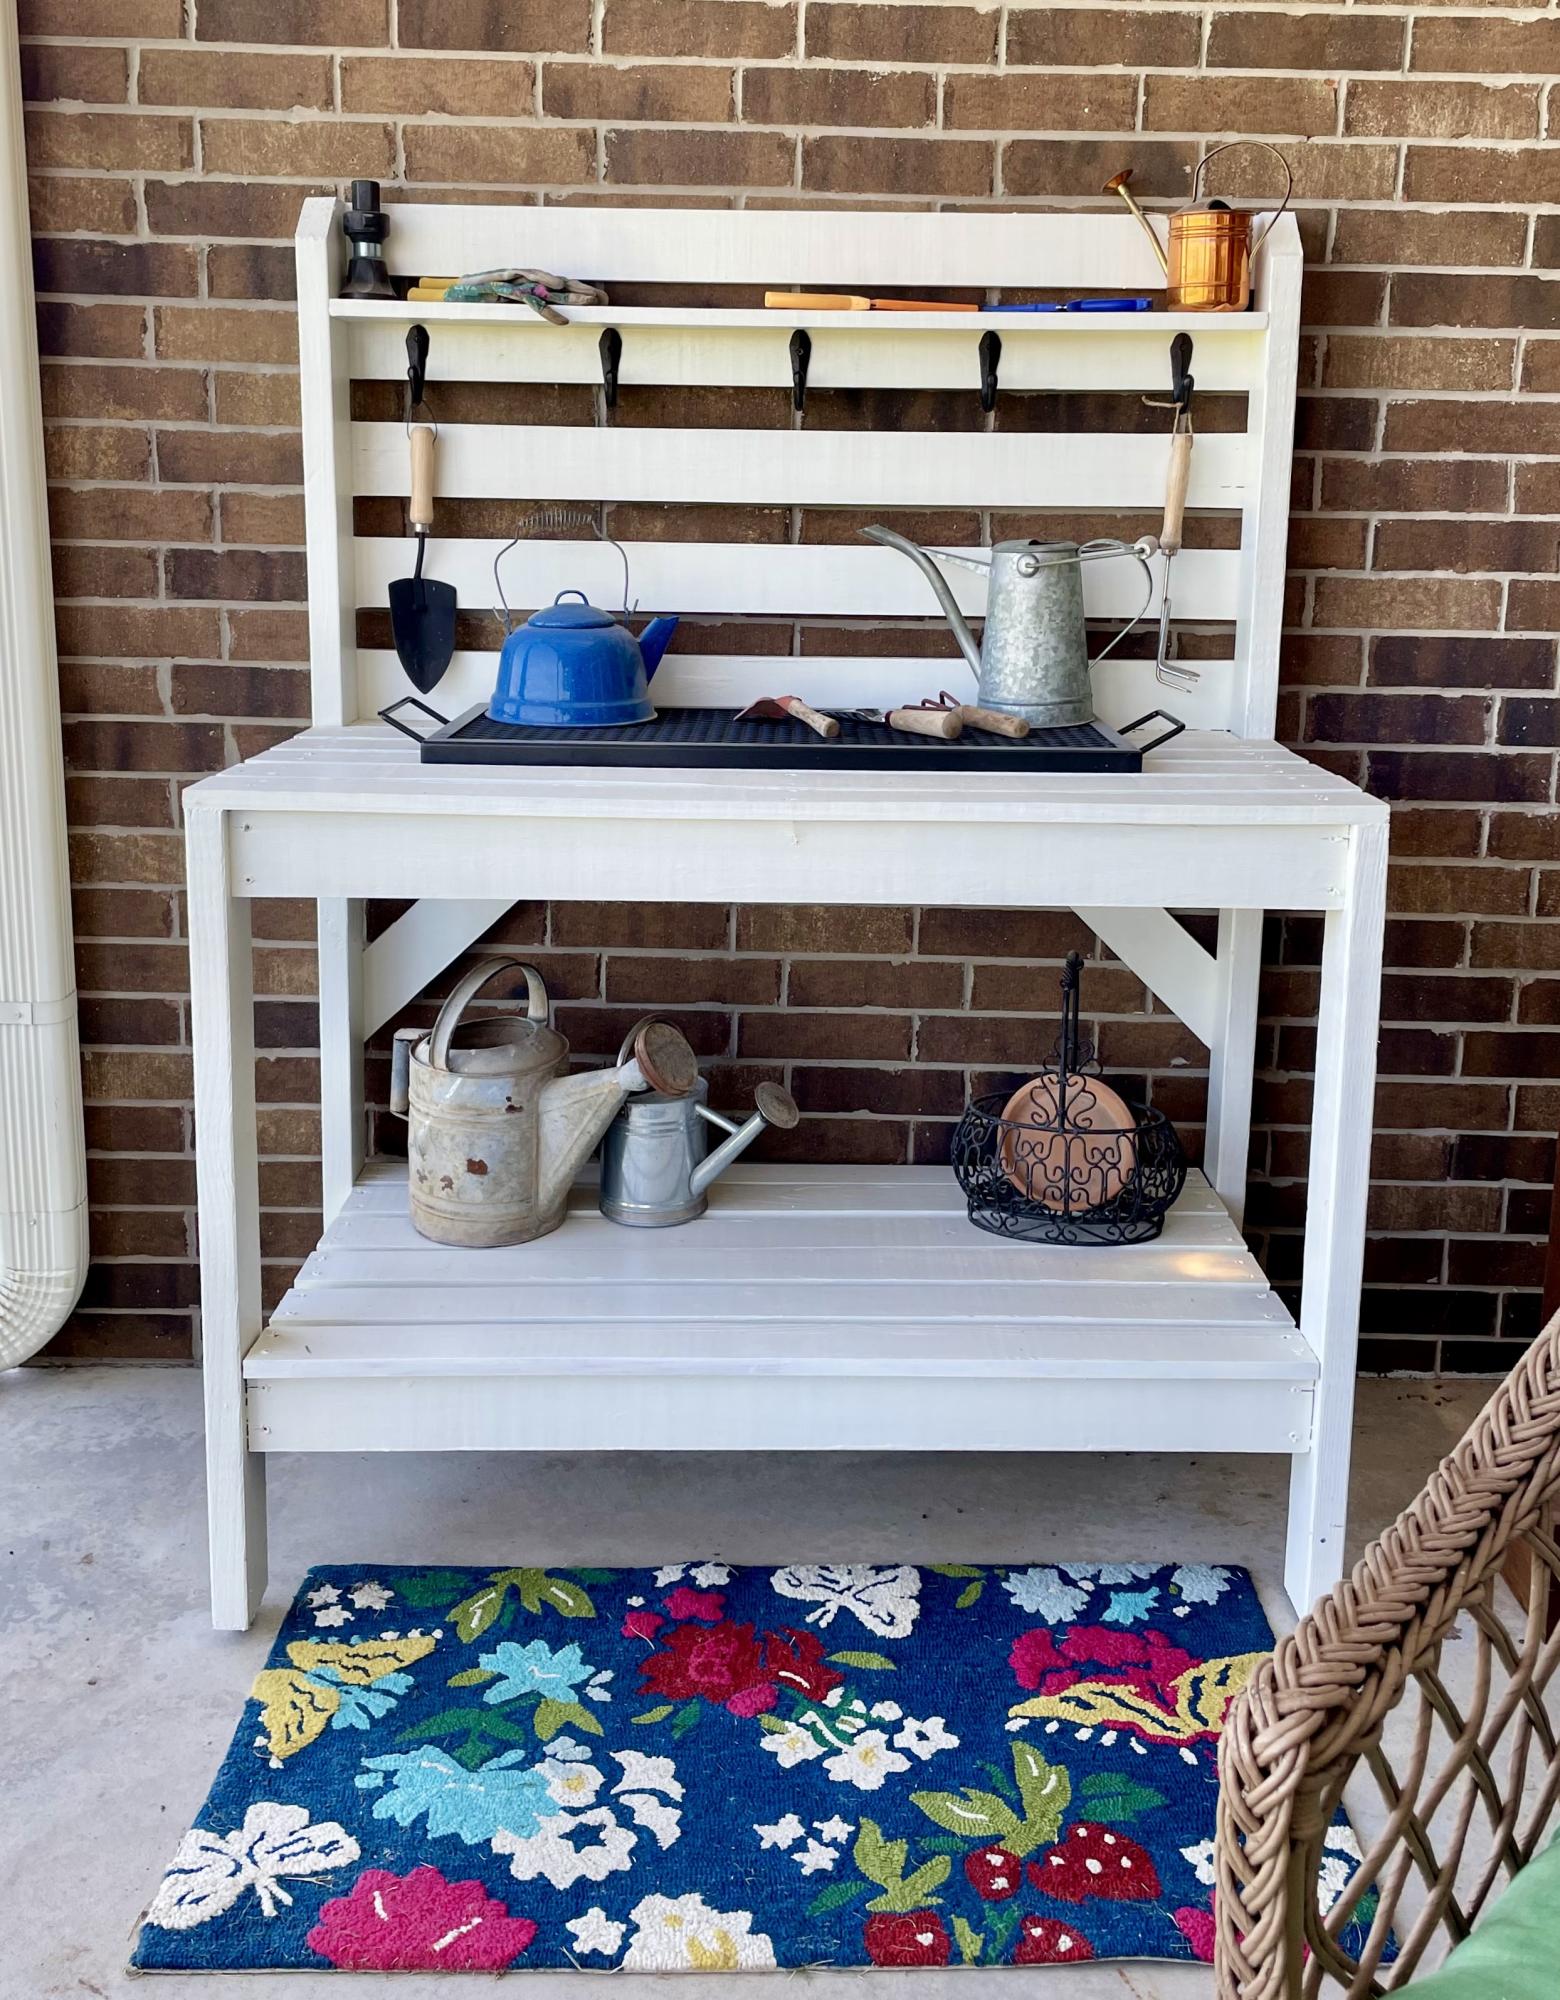
My husband built me a potting bench and I painted it with leftover house trim paint. We did make it several inches wider and added a middle 2x4” under the top surface slats to help with bowing boards. I added iron hooks for tools. Love it!
Built from Plan(s)
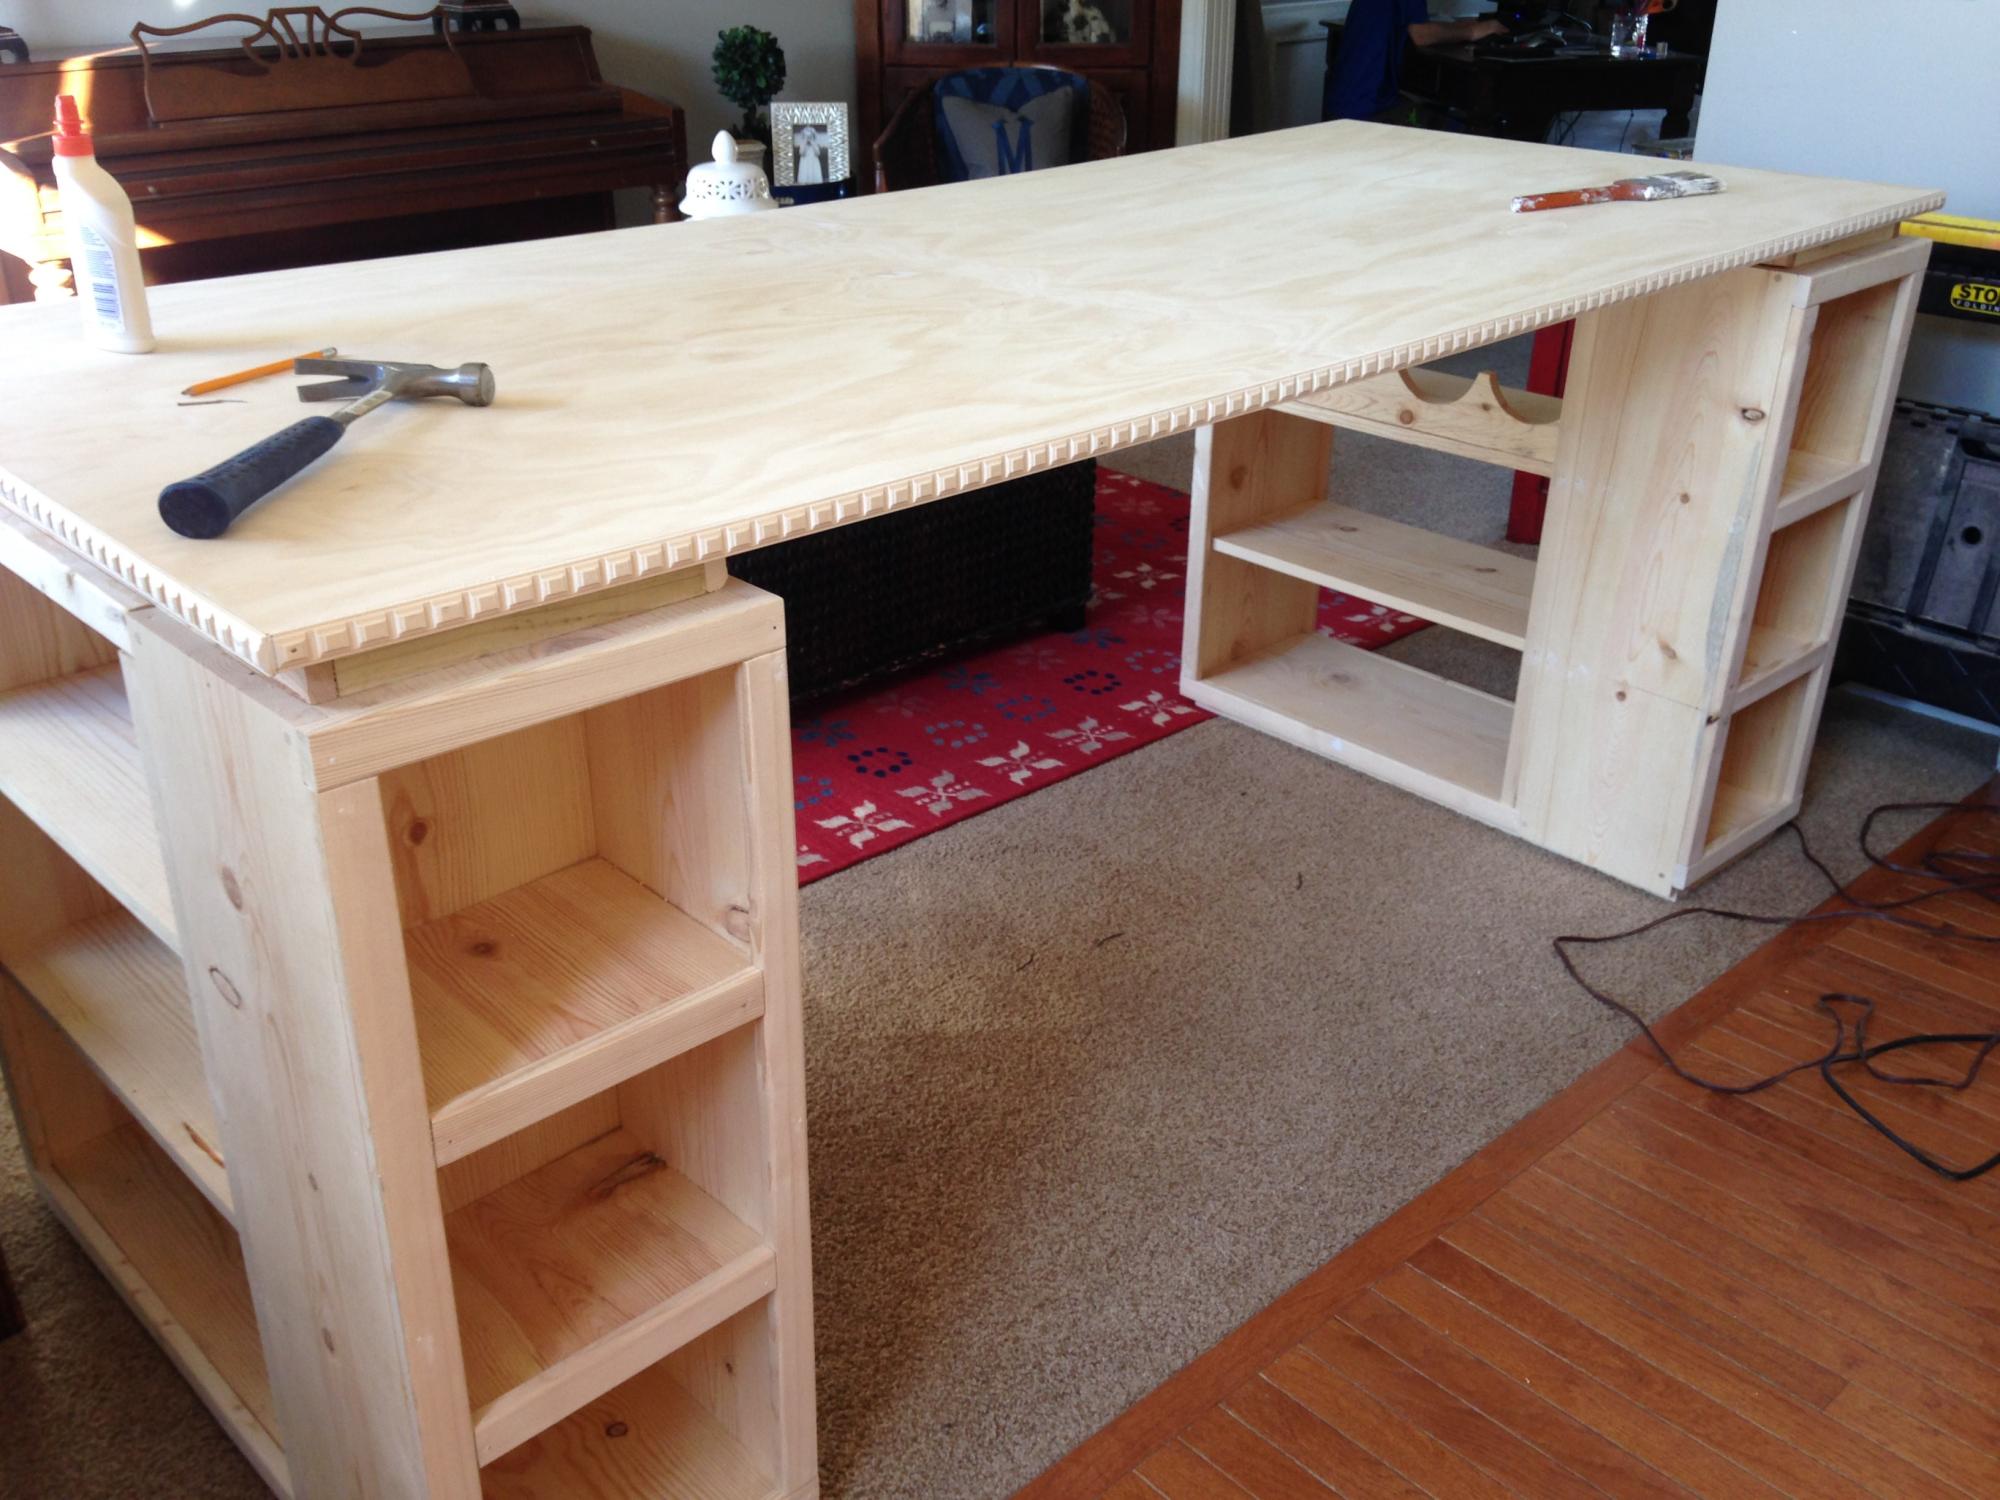
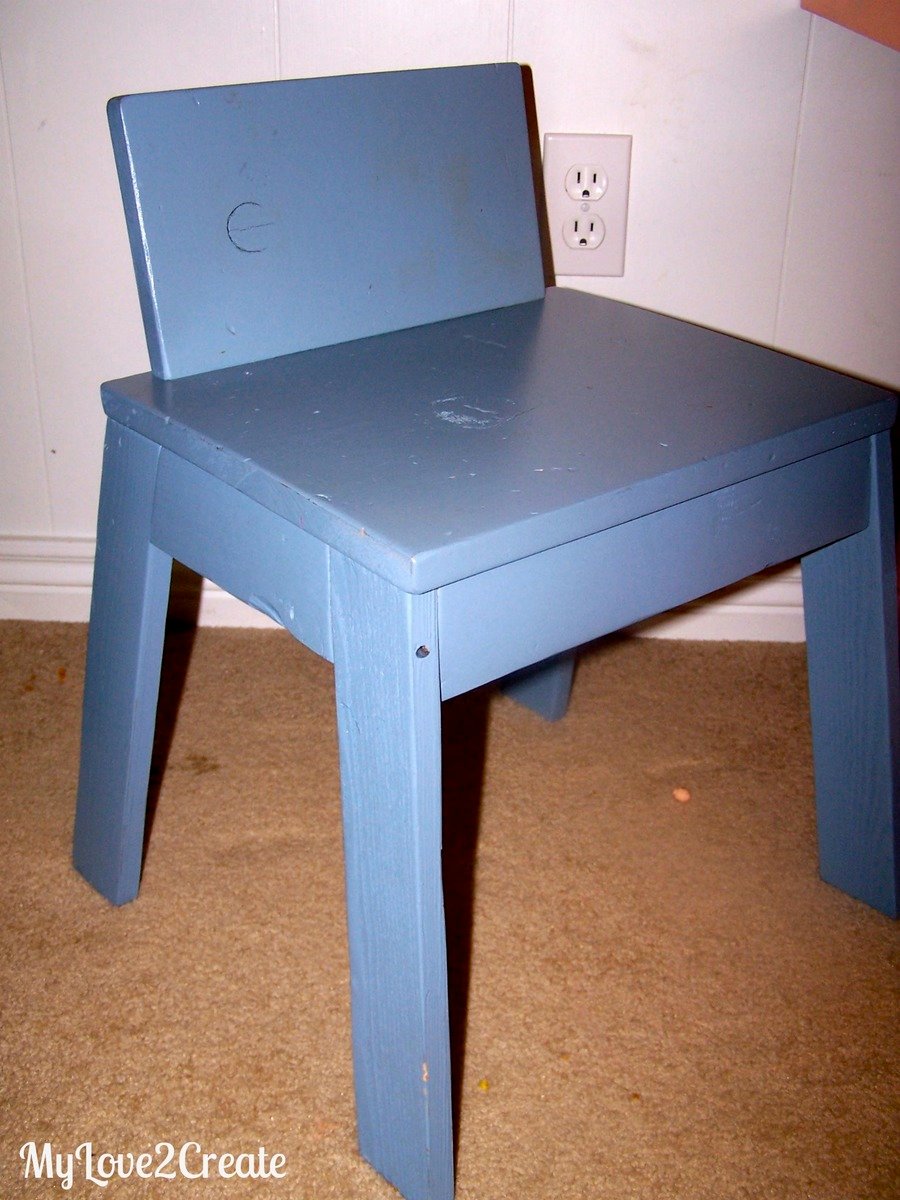
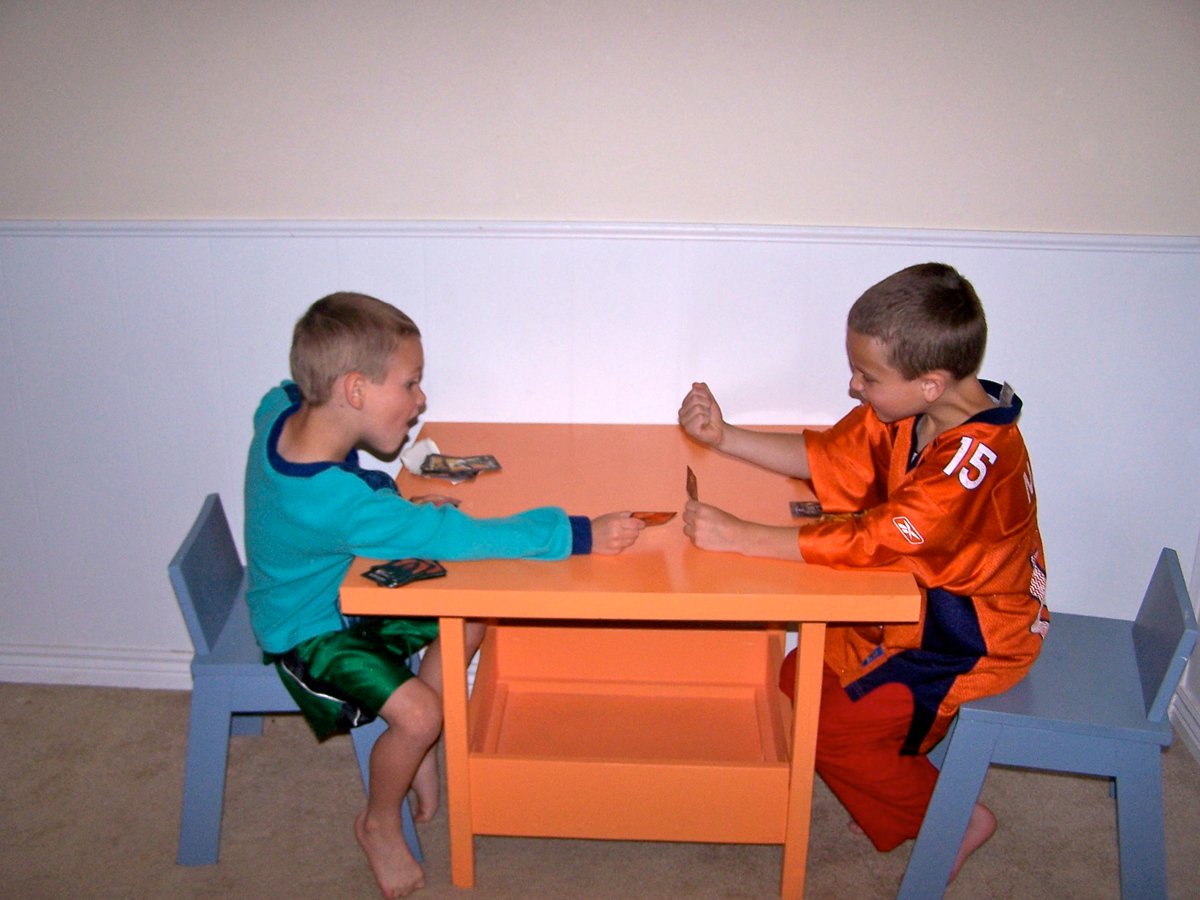
Kids storage table and thumb chairs
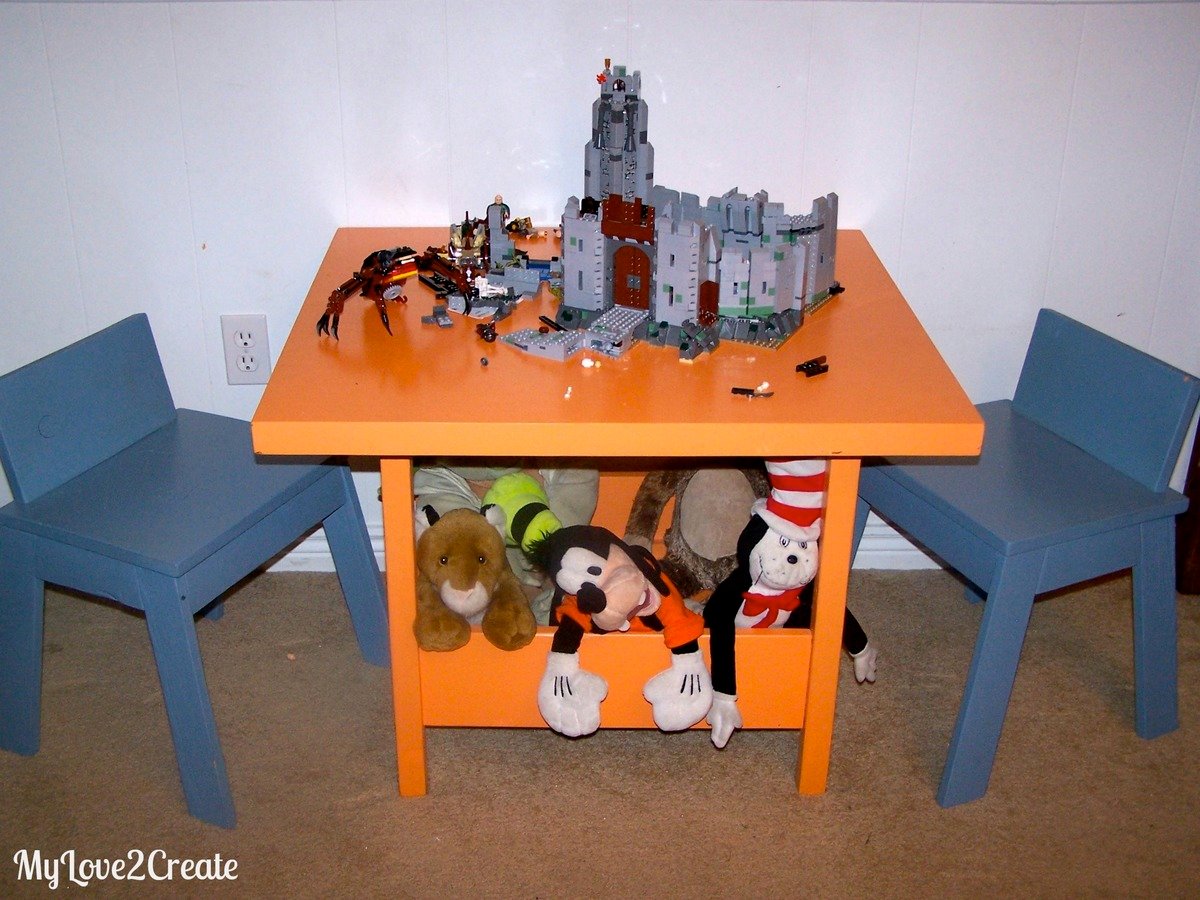
I made this for my boys and they LOVE it! I opted for a square top, since the flower would not have gone over well...Plus I found a square top for $1 at the Restore and who can pass that up, and the legs were free. The rest of the wood was from the Home Depot Cull bin or furring strips. The chairs didn't get rounded (no jig saw) and I didn't add a hole (not a big enough drill bit). But my boys love them and use them all the time!
Thanks Ana for such great plans!
Check out more at http://mylove2create.blogspot.com/2012/10/diy-kids-table-and-chairs.html
Built from Plan(s)
Estimated Cost
Less than $10
Estimated Time Investment
Afternoon Project (3-6 Hours)
Finish Used
Paint I had on hand.
Recommended Skill Level
Beginner
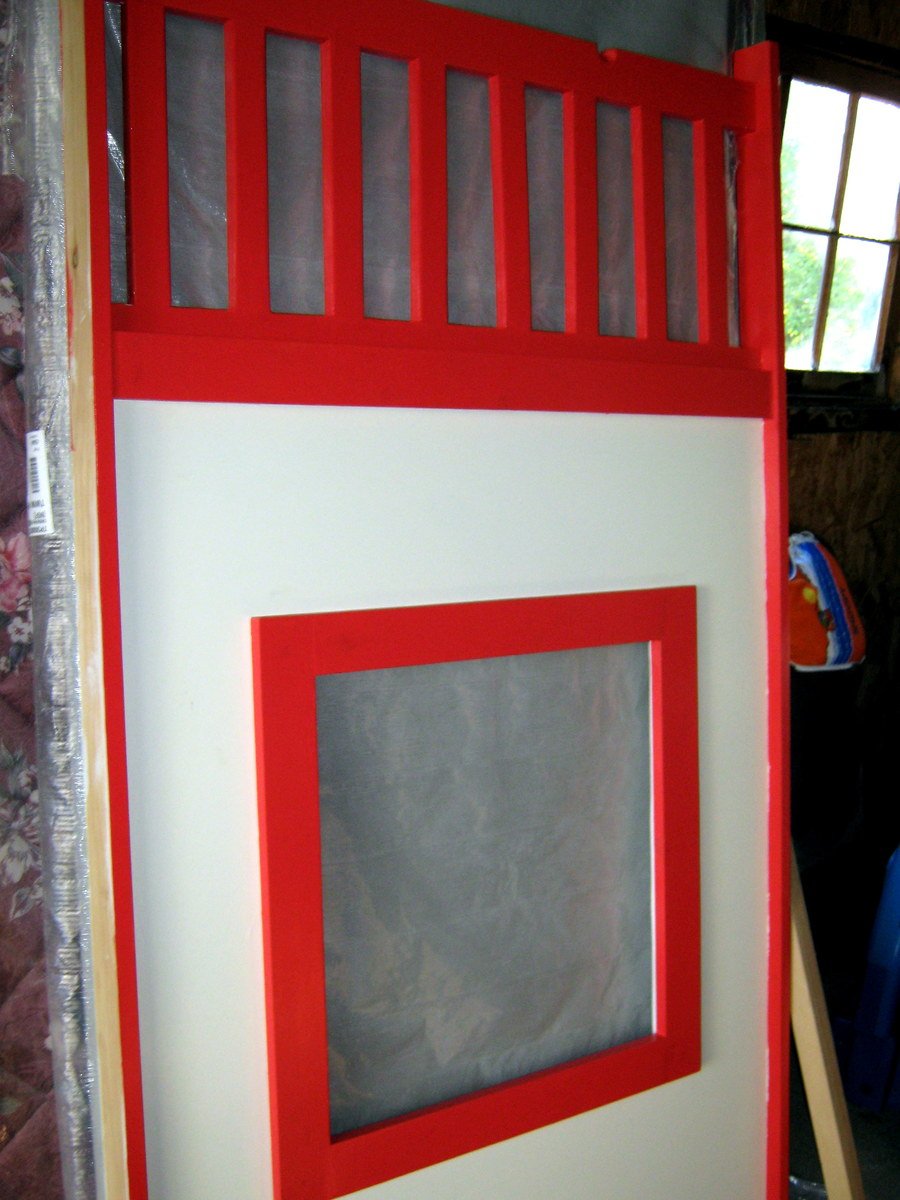
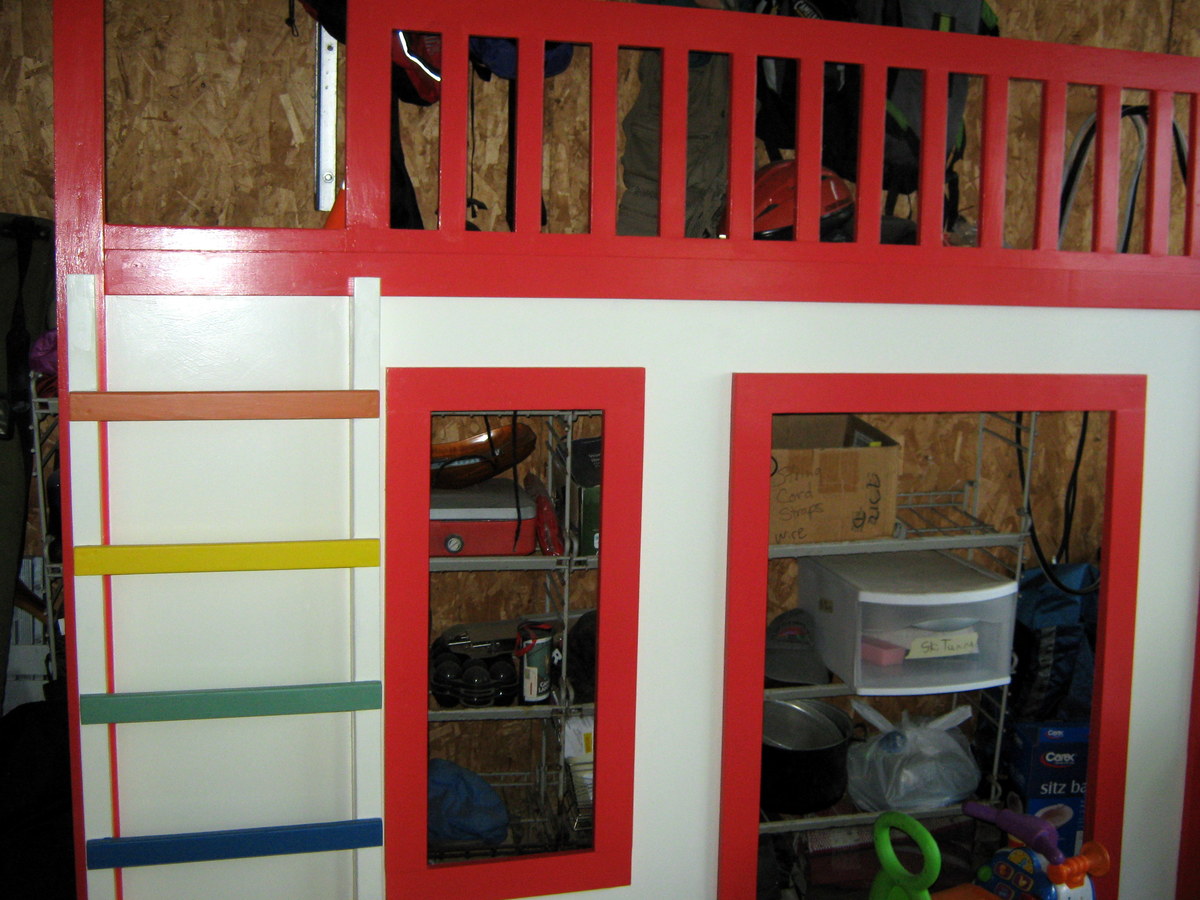
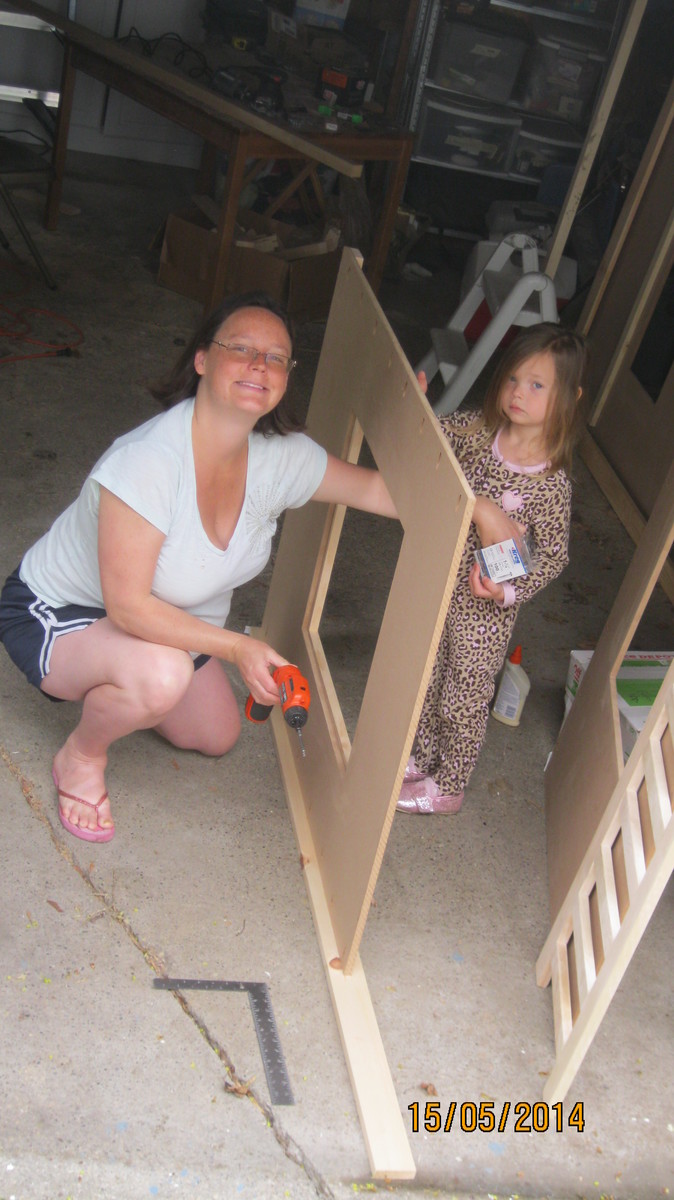
Playhouse Loft Bed
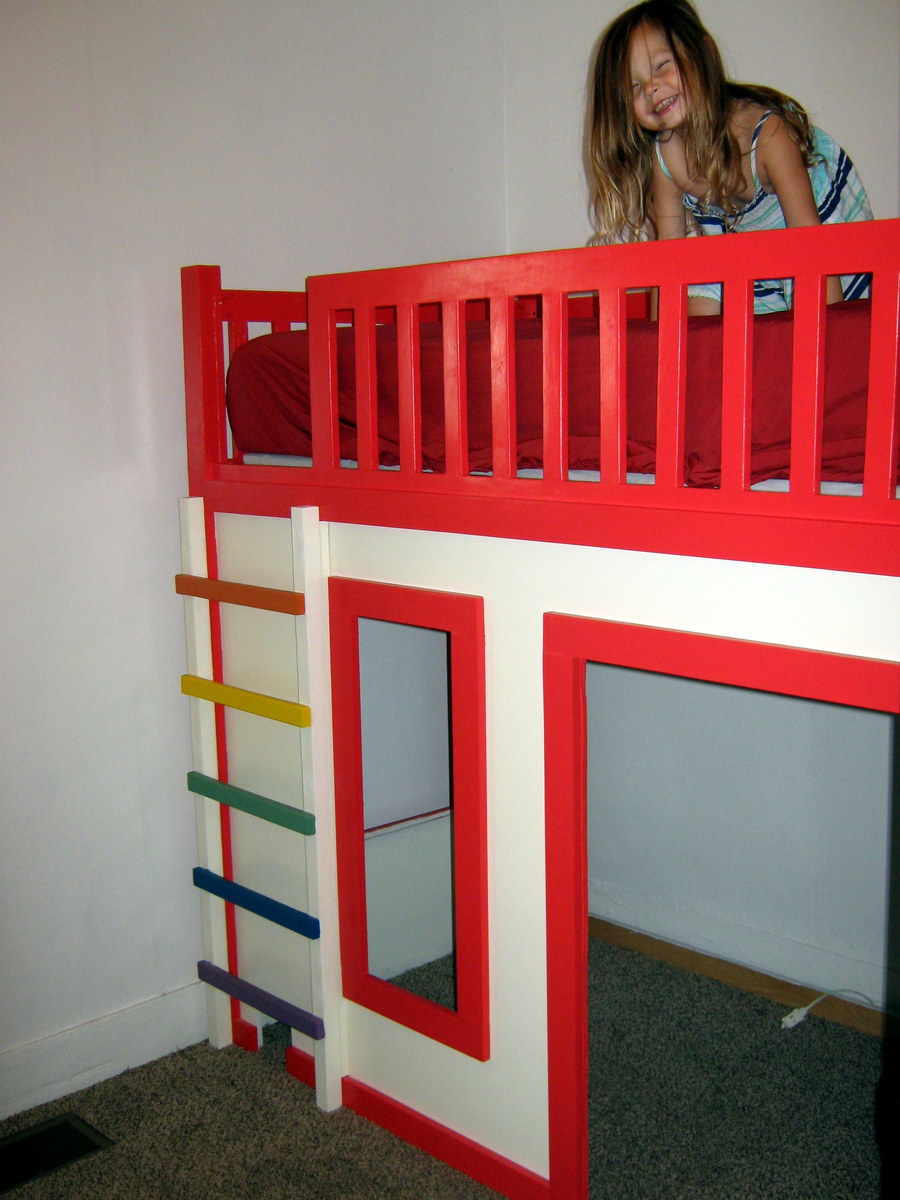
I had a good time with this project, and I learned a ton!
It took me a very long time (months!) because I had to work on it during nap time, and I had a baby before it was finished. There were times when I thought it would look terrible, but my husband assured me that after sanding and painting it would be fine - and he was right!
I had to modify the plans slightly (ladder in front) so the bed would fit in my daughter's tiny, tiny room. I also made the door and front window a bit larger. If I were to build it again, I'd make the railings higher as well - the mattress we bought is pretty tall, and there's only about 5" of railing above the mattress.
My daughter LOVES the bed! :)
Built from Plan(s)
Estimated Cost
1,000 (including cost of some tools)
Estimated Time Investment
Week Long Project (20 Hours or More)
Finish Used
Benjamin Moore Natura paint, tricycle red and white rock
Recommended Skill Level
Intermediate
Beautiful Table

We have been eyeing this table for years now...finally the military has brought us to the east coast where we have room to do some wood work hobbying! This table is sturdy and beautiful. Love that we can break it down into so many pieces for our moves. Thank you Ana White!!
Built from Plan(s)
Estimated Cost
140 for wood, hardware, stain and sealer
Estimated Time Investment
Weekend Project (10-20 Hours)
Finish Used
Minwax Early American, Varthane semi gloss poly
Recommended Skill Level
Intermediate
Comments
Wed, 05/08/2019 - 14:49
Link please
Can you please link the original design plans for this table? I really like it!
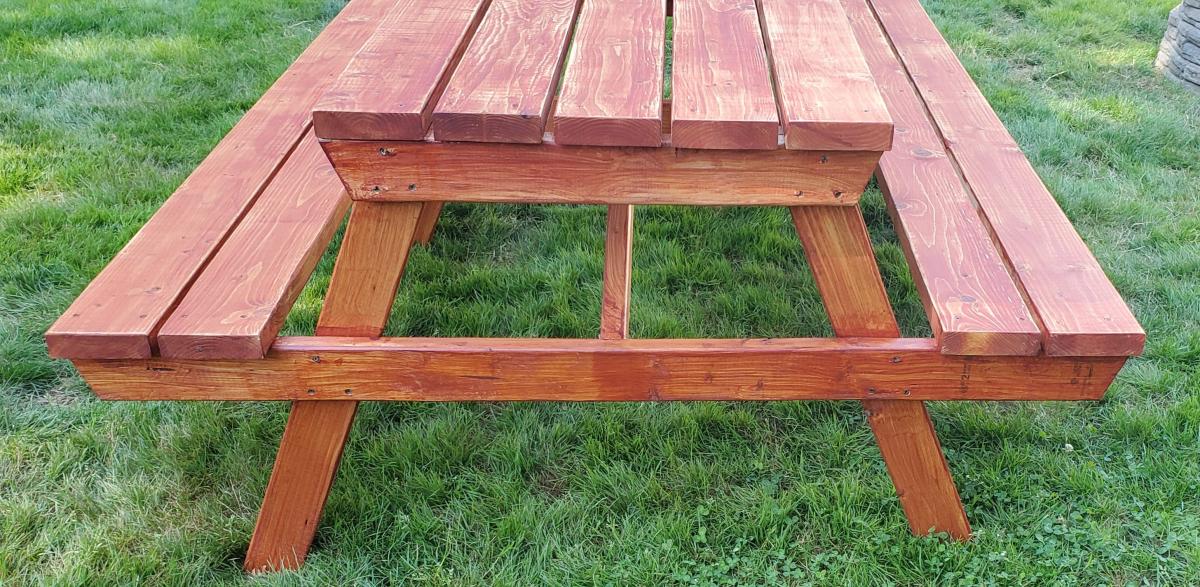
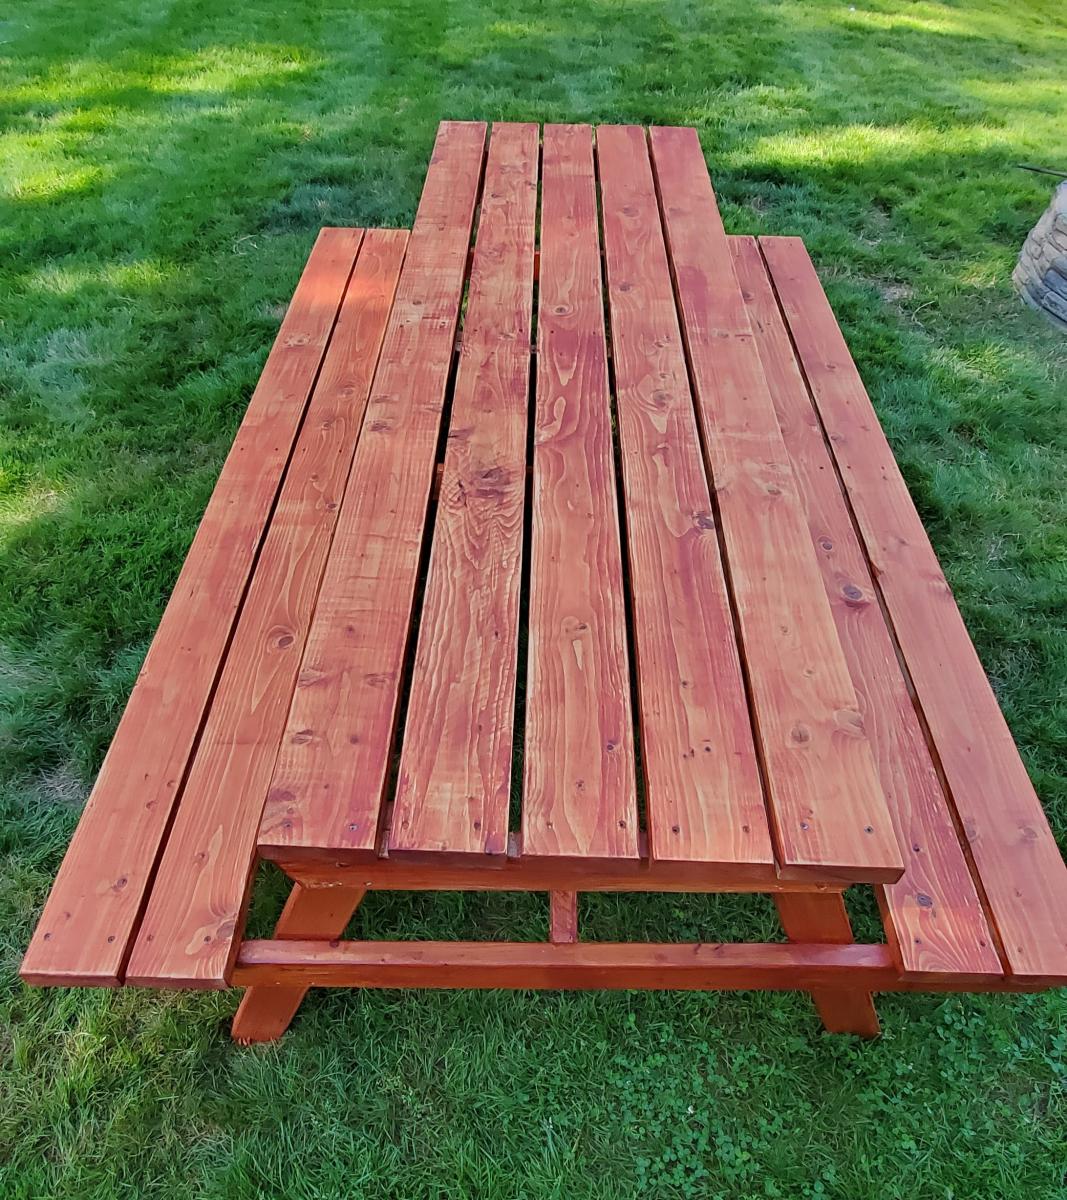
8 Foot Picnic Table
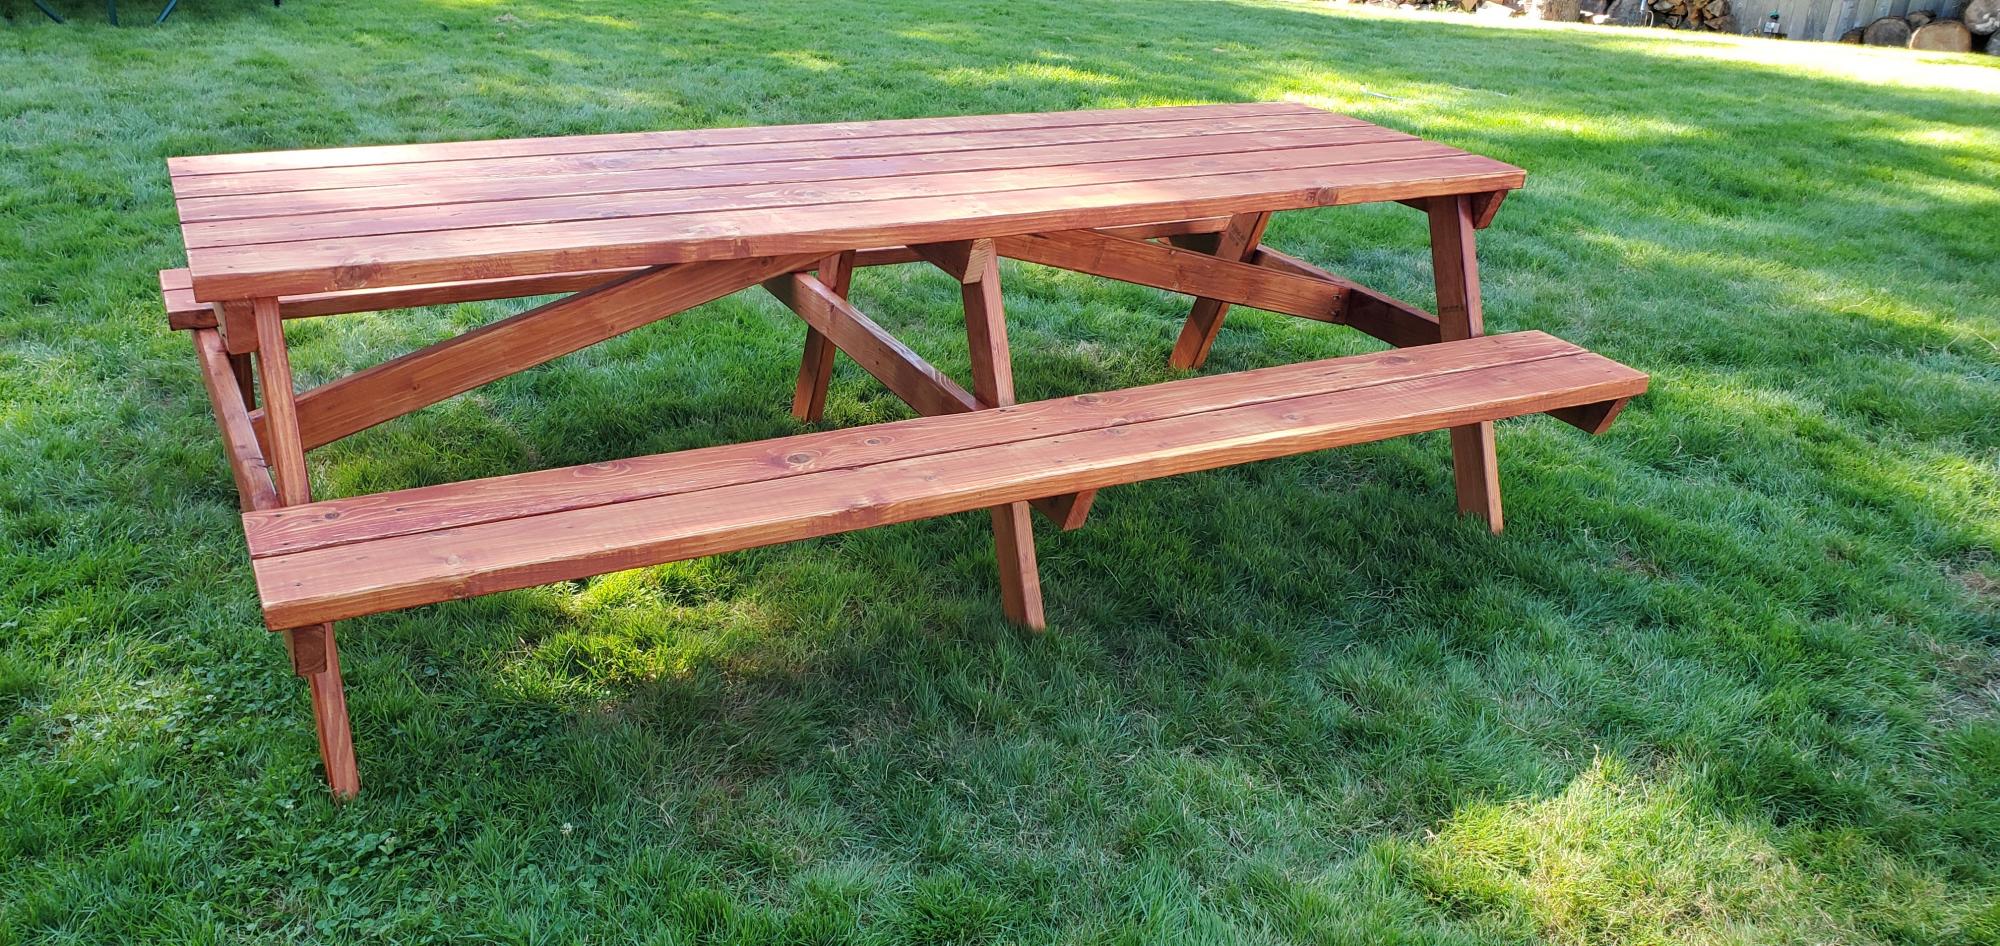
I built the 8 Foot Picnic table off of Ana's plans but didn't do the greatest job following the full directions. I was going a little too fast. The area I most regret moving too quickly on was the legs. I neglected to look at the sketch of the table legs with dimensions close enough to see that the spread for the bottom of the legs should be 47-1/4" and that the top 2x4 should extend beyond the top of the leg by 3". I only looked at the note "meets at corner" and built the legs off that. The legs were thus, not uniform. The next error I made was not measuring my 2x6 boards to make sure they were equal. All were longer than 8' and none were the same length. When I started attaching the unmeasured, uncut boards to the table legs, I attempted to attach them per plan but ended up with a table slightly out of square. Overall though, I am generally happy with the table and will be donating it to my church. If I build more in the future, I will make sure to space my legs correctly.
Built from Plan(s)
Estimated Cost
$150
Estimated Time Investment
Day Project (6-9 Hours)
Finish Used
Behr Redwood deck stain, distressed by sanding, Thompson's water seal
I began by brushing on the deck stain. The next day I sanded the top of the table and seats with 60 grit sandpaper and then smoothed it with 120 grit. This evened out the stain and hid any brush strokes. I then wiped it down to remove the dust and coated it with Thompson's clear water seal.
I began by brushing on the deck stain. The next day I sanded the top of the table and seats with 60 grit sandpaper and then smoothed it with 120 grit. This evened out the stain and hid any brush strokes. I then wiped it down to remove the dust and coated it with Thompson's clear water seal.
Recommended Skill Level
Beginner
Gray Sideboard Cabinet
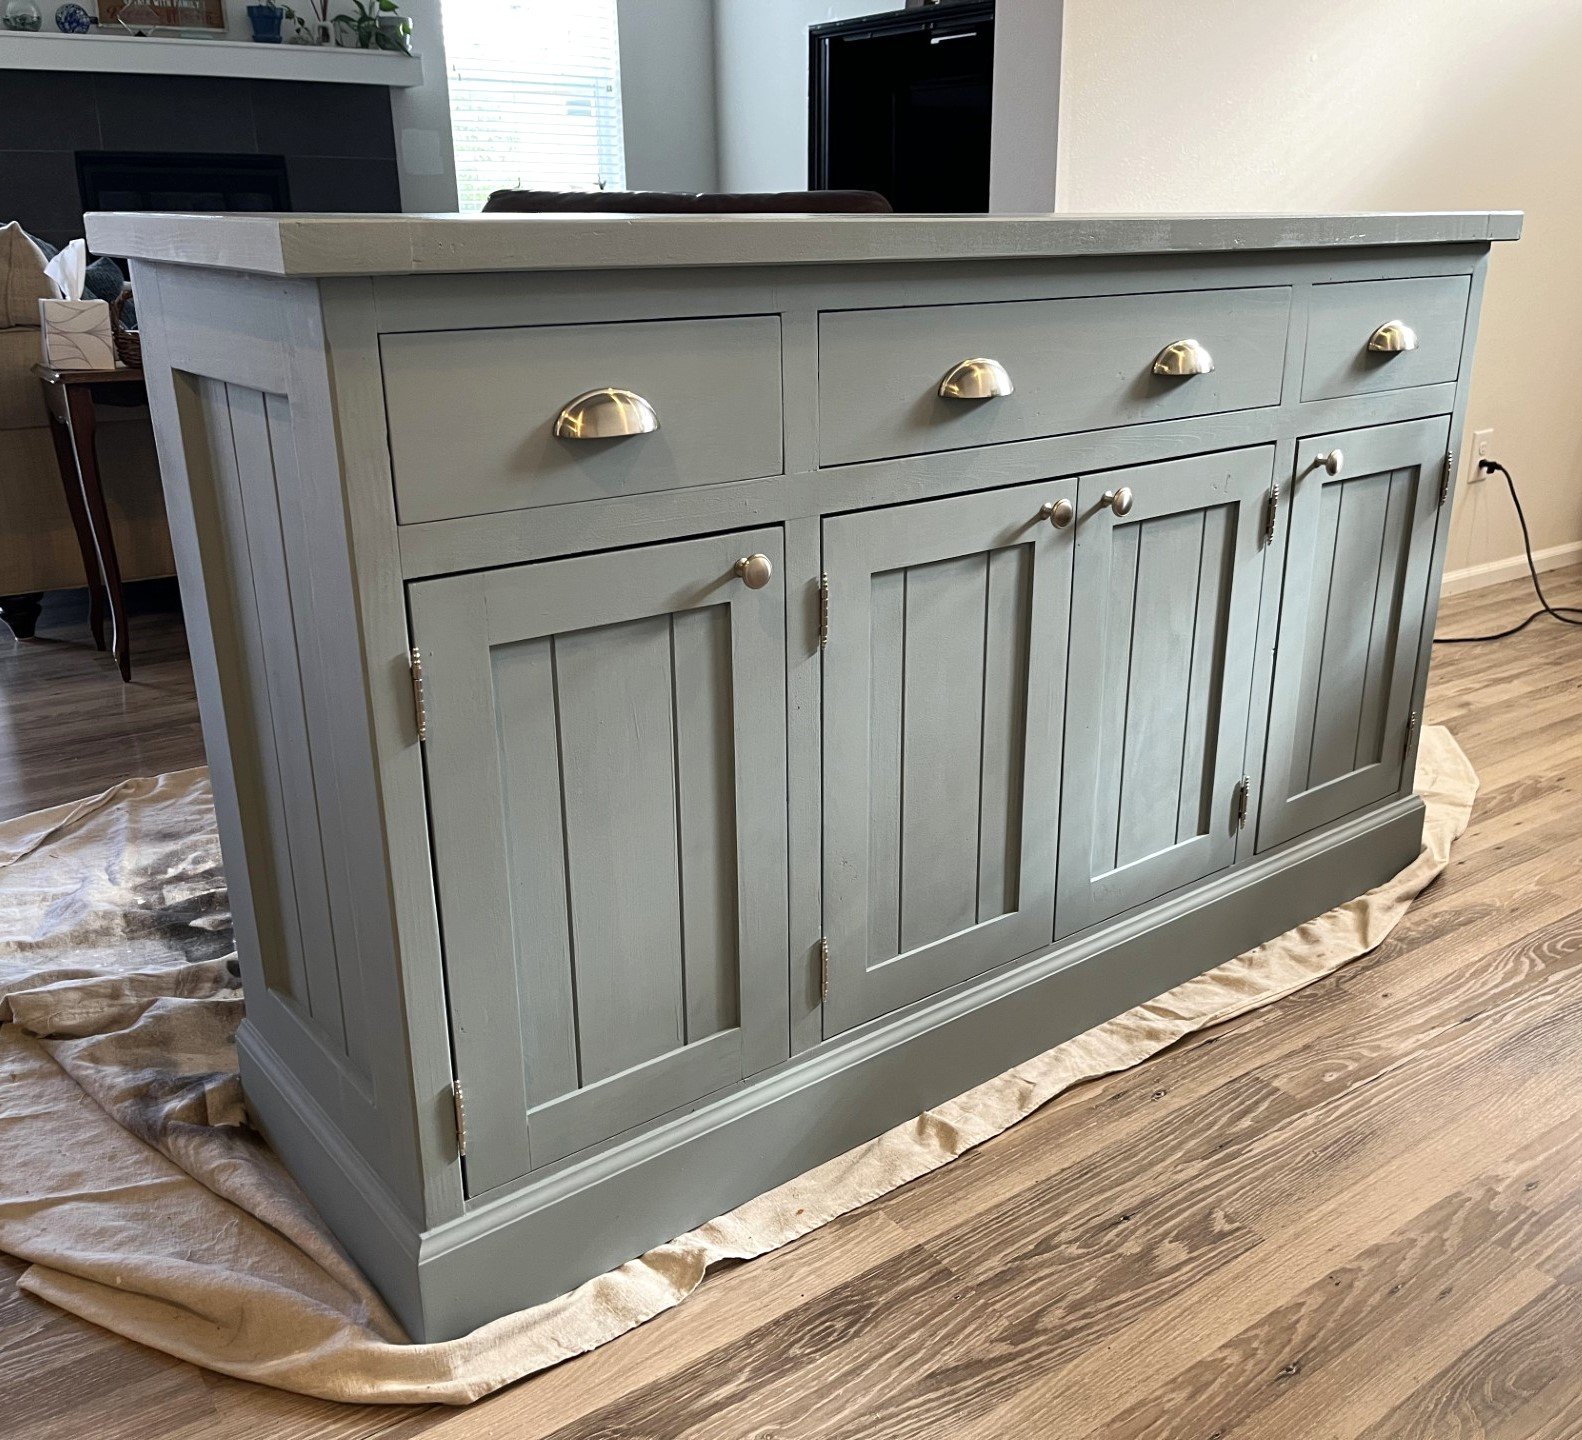
60 inch version. Sir Duke chalk Paint color from the blue box store.
Rich
Built from Plan(s)
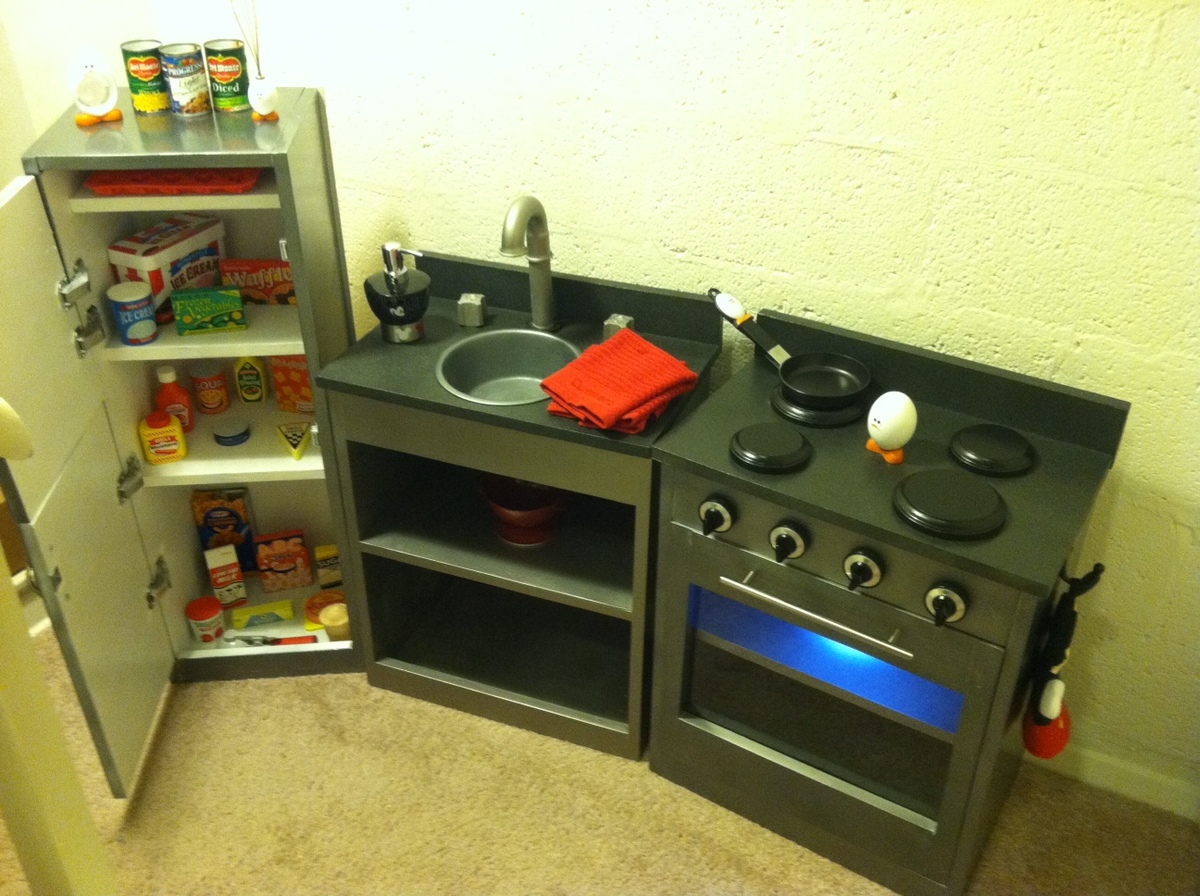
Simple Play Kitchen with Fridge

This was my first build! I made this kitchen for my 2 1/2 year old son, and he LOVES it! I used the Kreg Jig which made it super easy to build. It was the finishing that took the most time. That and I had to squeeze the work in during naptimes and bedtimes.
I followed the plans for the Simple Play Kitchen and also the Old School Fridge. I added 3 inches to the height and width of the sink and stove pieces after reading another post. The fridge I kept the same dimensions as in the plan.
For the accessories:
Fridge handles: under 3$ each at Lowe's, Stove handle about 4-5$
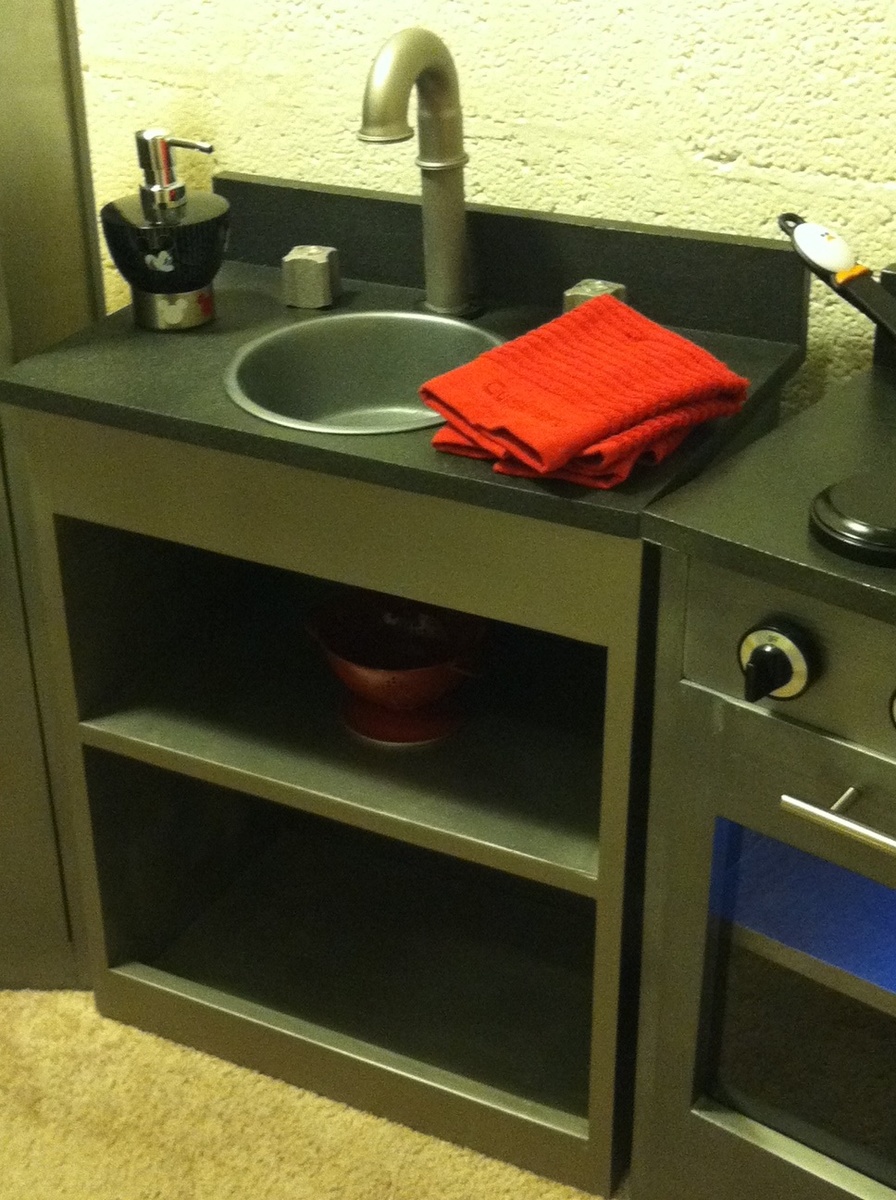
Sink faucet: random plumbing part from the plumbing aisle at Home Depot, glued together and then spray painted
Sink hot and cold knobs: clearance replacement knobs from Home Depot
SInk: pet food dish spray painted
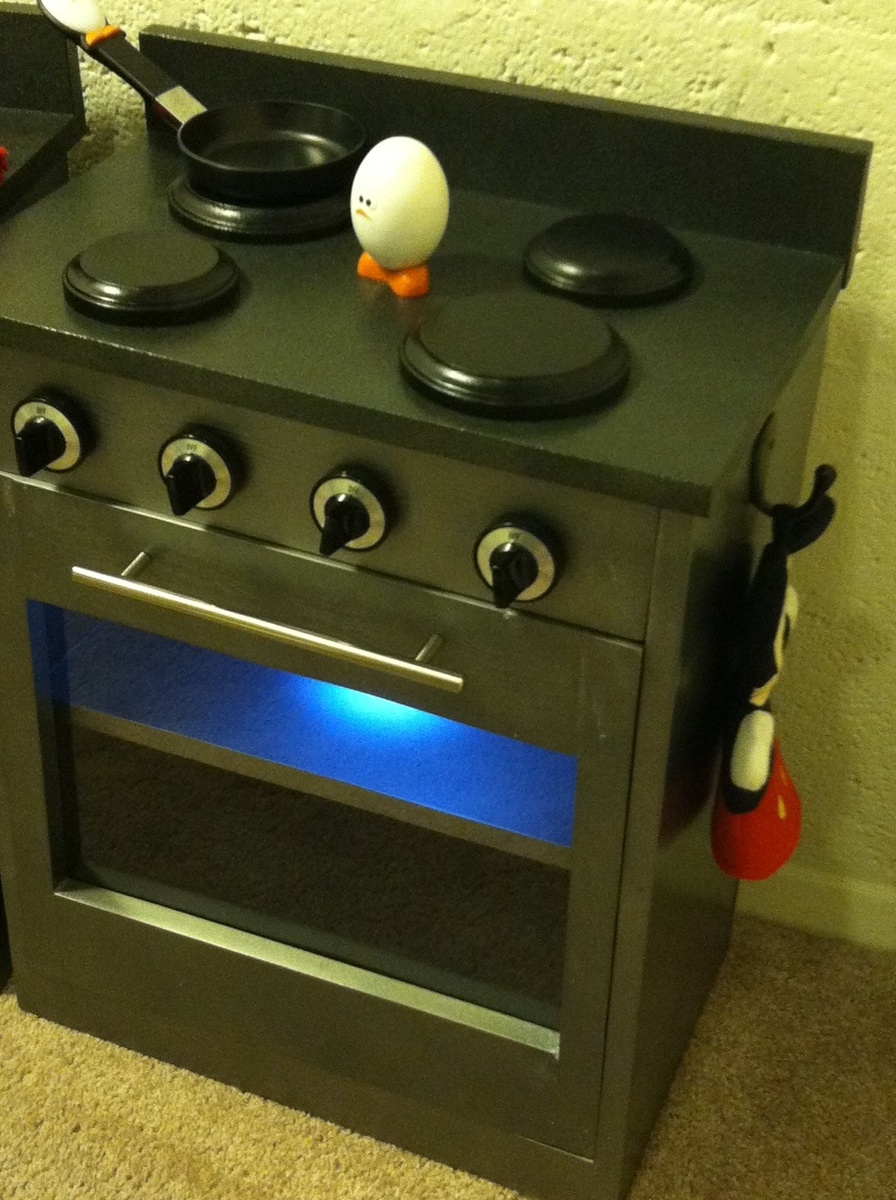
Stove burners: wooden discs from Michael's, spray painted black
Stove Knobs: replacement knobs also found at Home Depot
Stove Light: $5 at Home Depot, it's battery-powered push light, and happened to have a magnet on the back of it, so I screwed a magnet plate in the oven and now it stays in place, the velcro didn't work
Towels and other accessories found on clearance at Marshalls
The building part went quickly like I said, but the finish took forever! But it was worth it to see the look on my son's face when he finally saw it. He loves it!

Built from Plan(s)
Estimated Cost
$130
Estimated Time Investment
Week Long Project (20 Hours or More)
Finish Used
Sink and Stove "countertops":
Rustoleum Multicolor Textured Spray Paint in "Aged Iron", used 2-3 coats each, then used Rustoleum Fast-Drying Polyurethane finish, 2 coats each
Sink and Stove body pieces:
This was frustrating. I wanted a stainless steel finish, and thought the one that got the best reviews was Krylon Spray paint in Stainless Steel finish. It didn't work out well at all for me. First, it was difficult to find, I could only find it at Michaels and they only had a couple cans of it. It seemed to not coat well even with the primer on. It also had a glittery substance that didn't go on uniformly, so there were splotches of it here and there. Then oddly, some black glittery stuff would appear. I did shake it well before I used it. So I ended up sanding and using so much of the stuff and never got a good finish.
I ended up using Rustoleum Metallic Spray Paint in "Dark Steel", for the final coat, which was close in color, without the glitter, and covered pretty well.
Fridge: for the fridge, I tried to use the Rustoleum Magnetic Primer. This was a disaster for me! It was very thick and didn't mix very well at all. It used a foam brush to put it on, I wish I had used a small roller brush instead, I think that would have been better. It streaked and dried streaky. After a lot of sanding and re-priming with normal primer, I had a decent finish, with some defects from the magnetic primer I just couldn't get out. I used only the Rustoleum Metallic in Dark Steel on the Fridge.
Poly: Rustoleum soft finish in Matte.
Recommended Skill Level
Beginner
Comments
Fri, 05/06/2016 - 11:50
Finally!
I couldn't help but get a little excided when I found this play kitchen you have built. I am currently building a tiny house in my daughter’s bedroom and I am working on her kitchen. I have been having nothing but nightmares trying to get a realistic stainless steel appliance look. I have tried stainless steel contact paper and the exact same glittery stainless steel spray paint you tried before. I also ended up with a horrible outcome and had to sand everything back down and start over. I can wait to go to home depot and get the colors you used for your final coats and give them a try. You may have just saved my workshop from a father that might have went incredible hulk on it from one more failed attempt at creating stainless steel looking play furniture... Thank you!!!
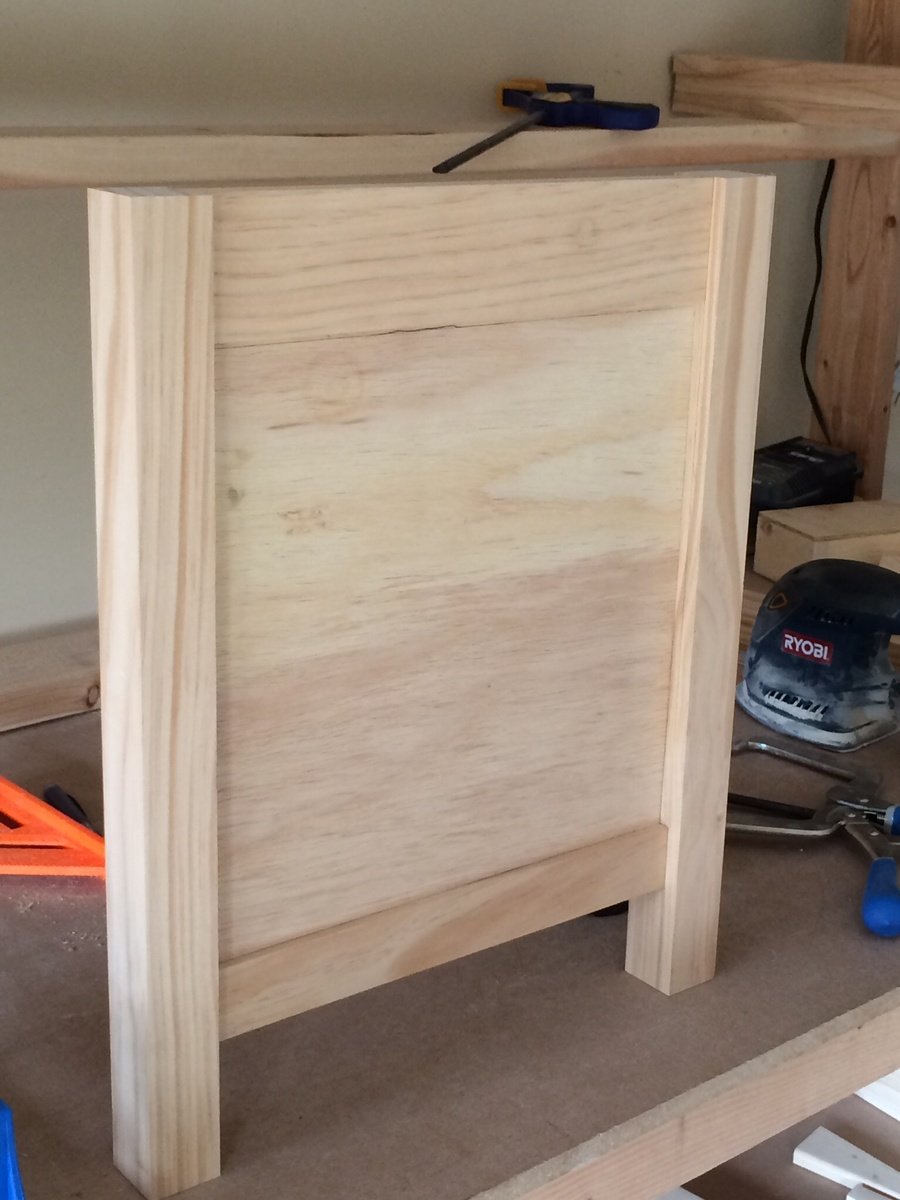
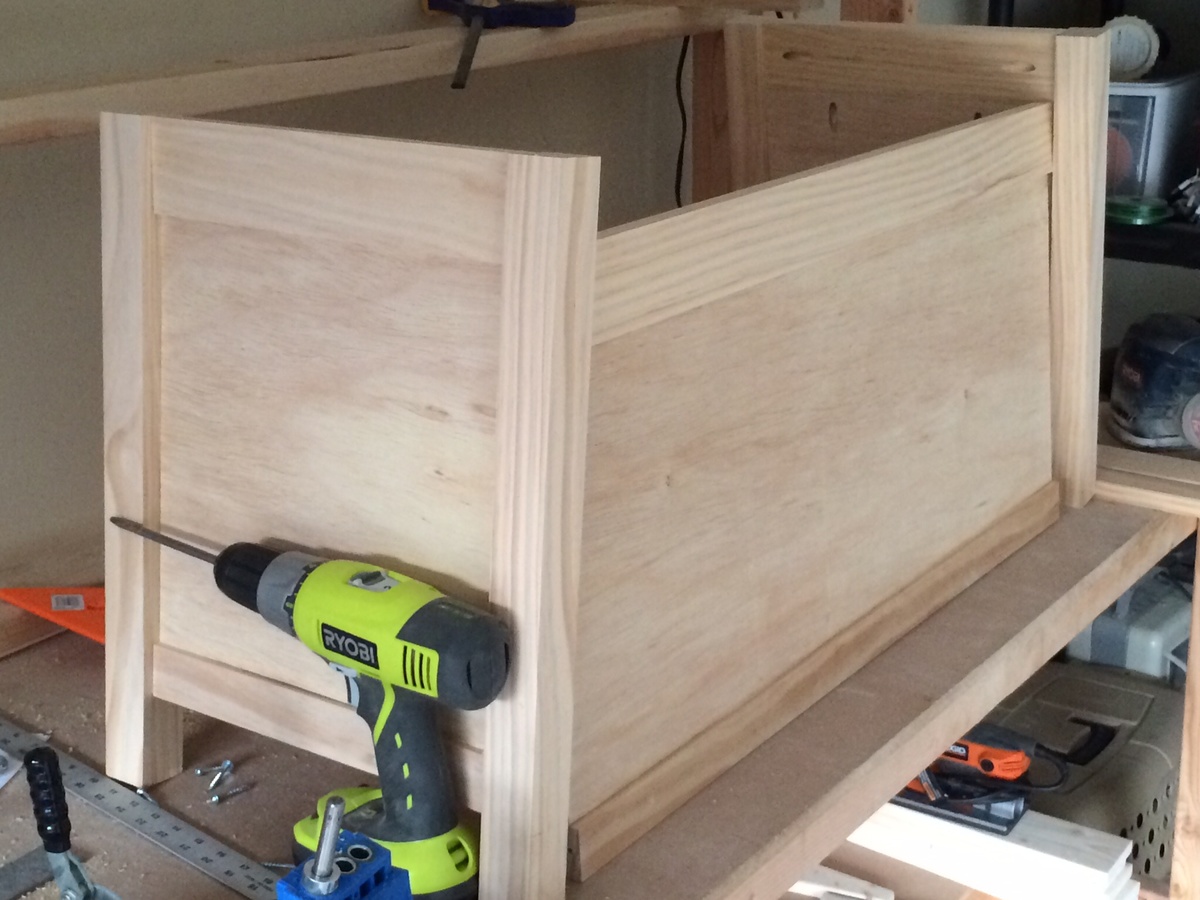
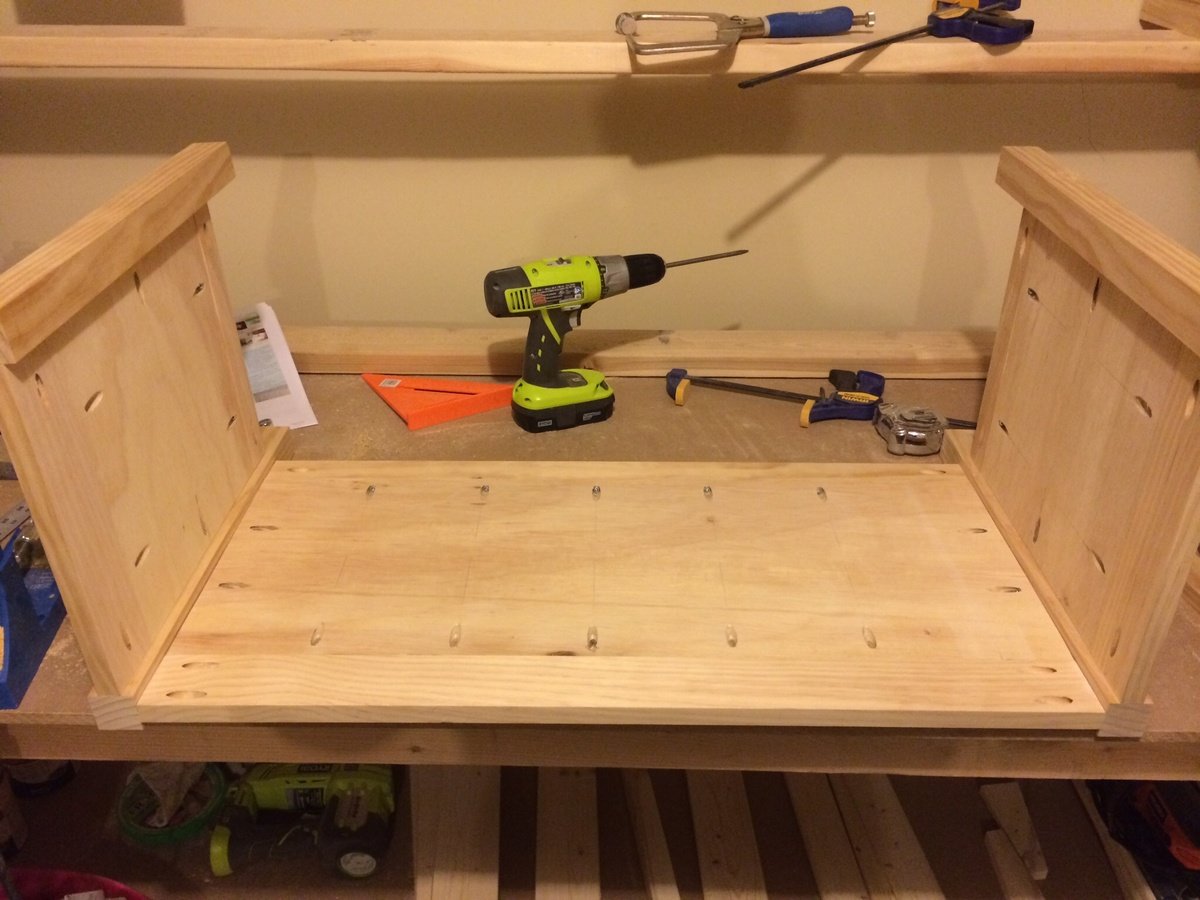
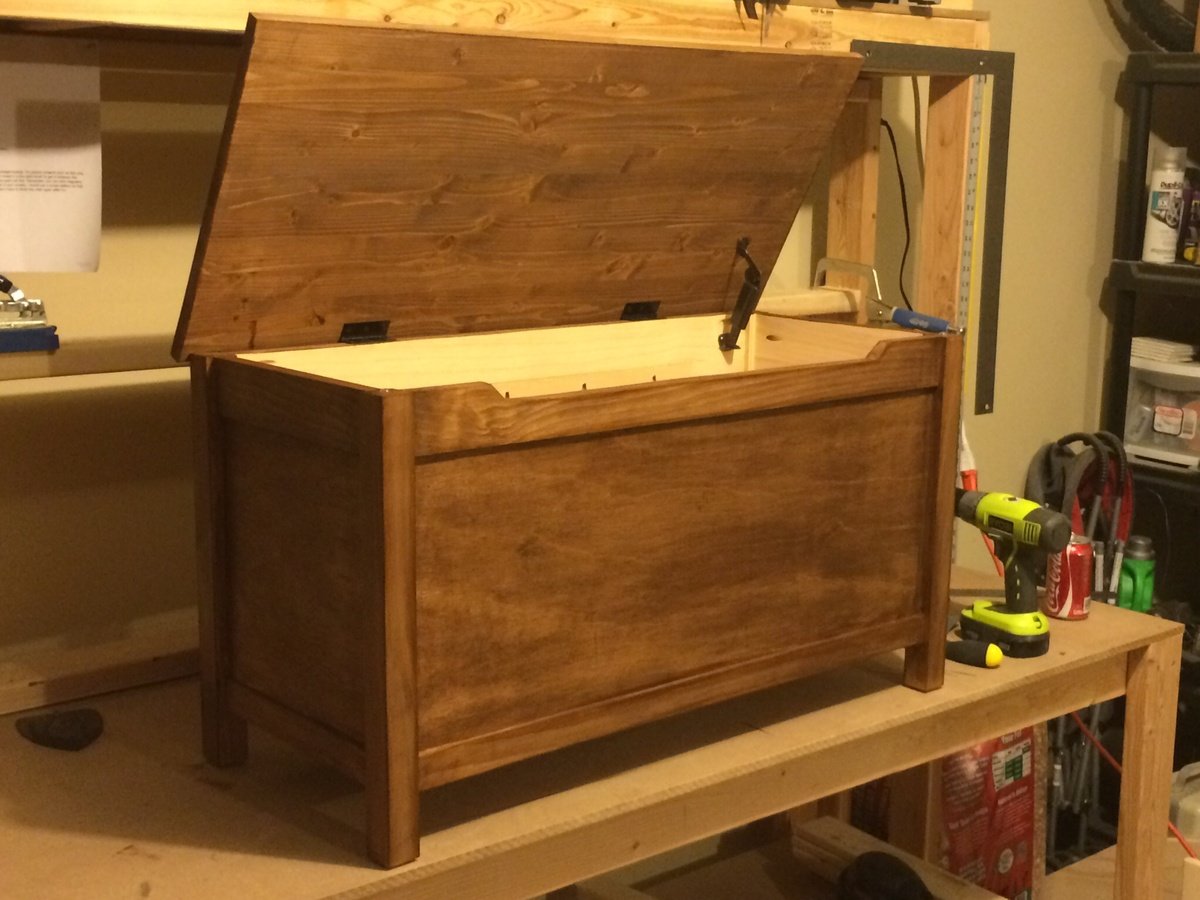
Simple toy box
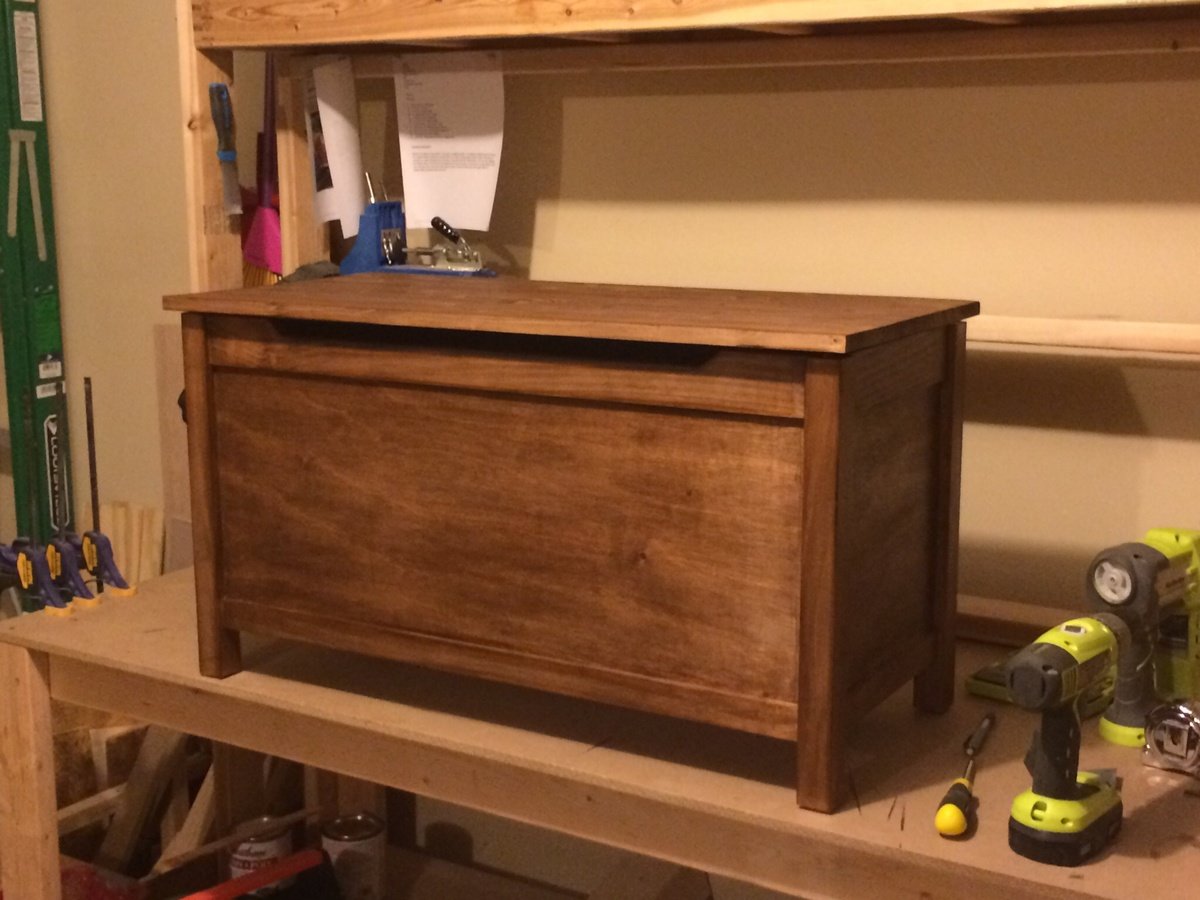
I followed the directions other than the hinges in the plans. Those hinges where $25 a piece so I went with a basic hinge and added the soft close attachment. Works just a as well! This was a mother day present and it turned out so nice I hated to give it up.

Built from Plan(s)
Estimated Cost
$100
Estimated Time Investment
Day Project (6-9 Hours)
Finish Used
I used a dark stain and sanded with 2000 grit sandpaper to smooth it out
Recommended Skill Level
Beginner
Comments
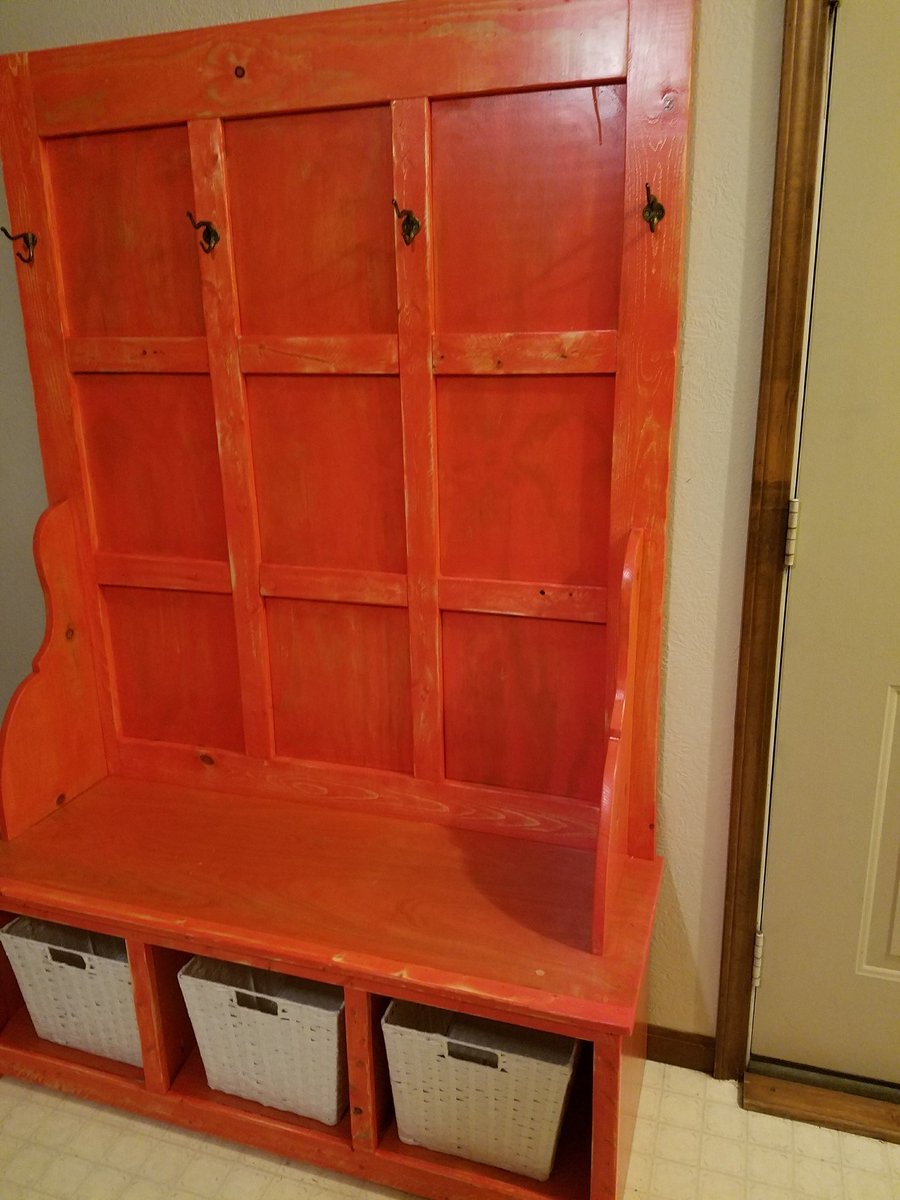
DIY Hall Tree Brag Post
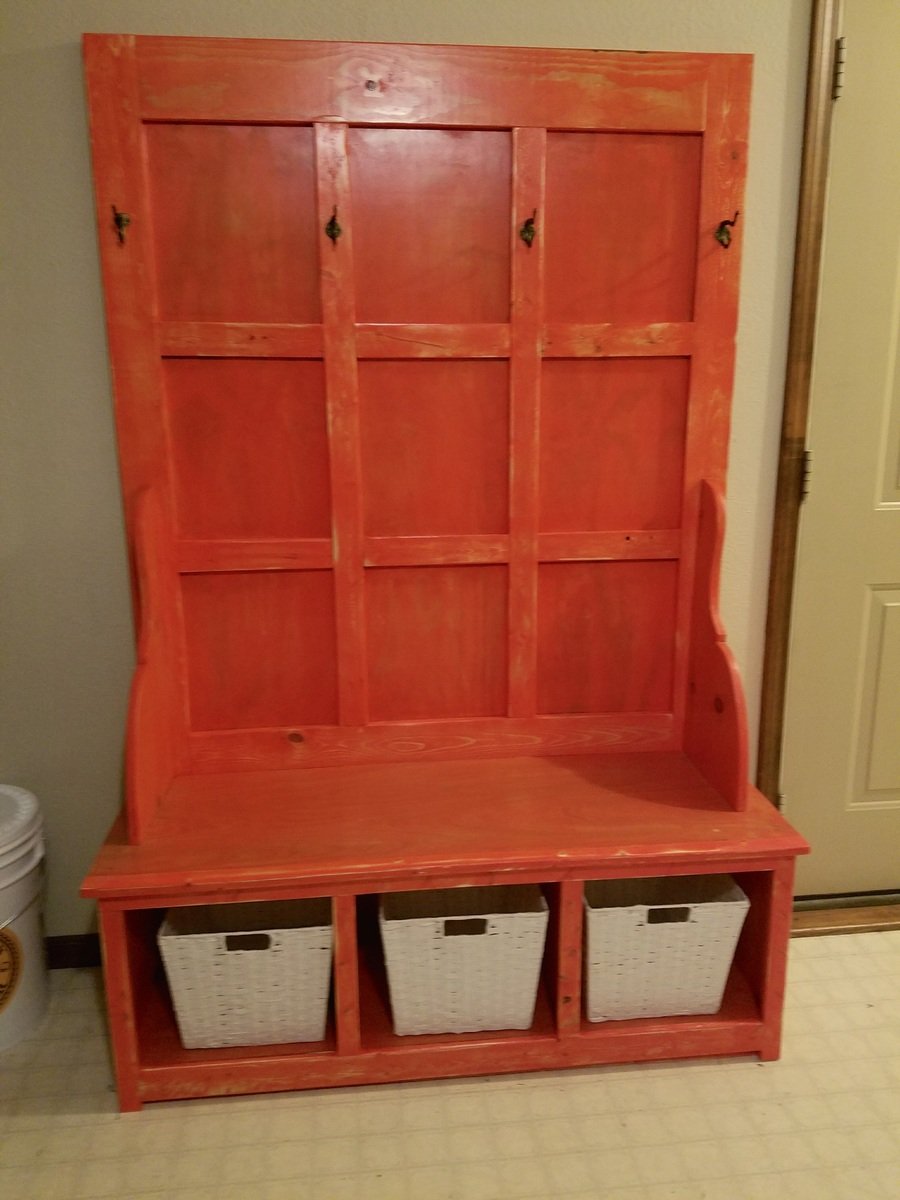
First project so I followed I plans pretty close. I took the Cut list to Menards lumber yard they got the wood together for me for around a hundred bucks .
I used a Minwax orange stain brushed on polyurethane.
The 1x4's are used for the back had very rough saw marks my sanded everything before I stainded it after I stand it I sanded it lightly to expose some wood and then I brushed on Minwax polyurethane I am happy with the results bright color yet you can still see the wood grain
Built from Plan(s)
Estimated Cost
$100 for wood $20 for finishing supplies $10 for brushes and sandpaper
Estimated Time Investment
Day Project (6-9 Hours)
Finish Used
Minwax polyurethane and Minwax stain
Recommended Skill Level
Intermediate
Wood Outdoor Seating Set
I wanted an outdoor lounge. My partner had to work so he helped me get started and I finished it alone. He surprised me a build a corner table to complete the look.
I love it !!
Donna H.
Built from Plan(s)
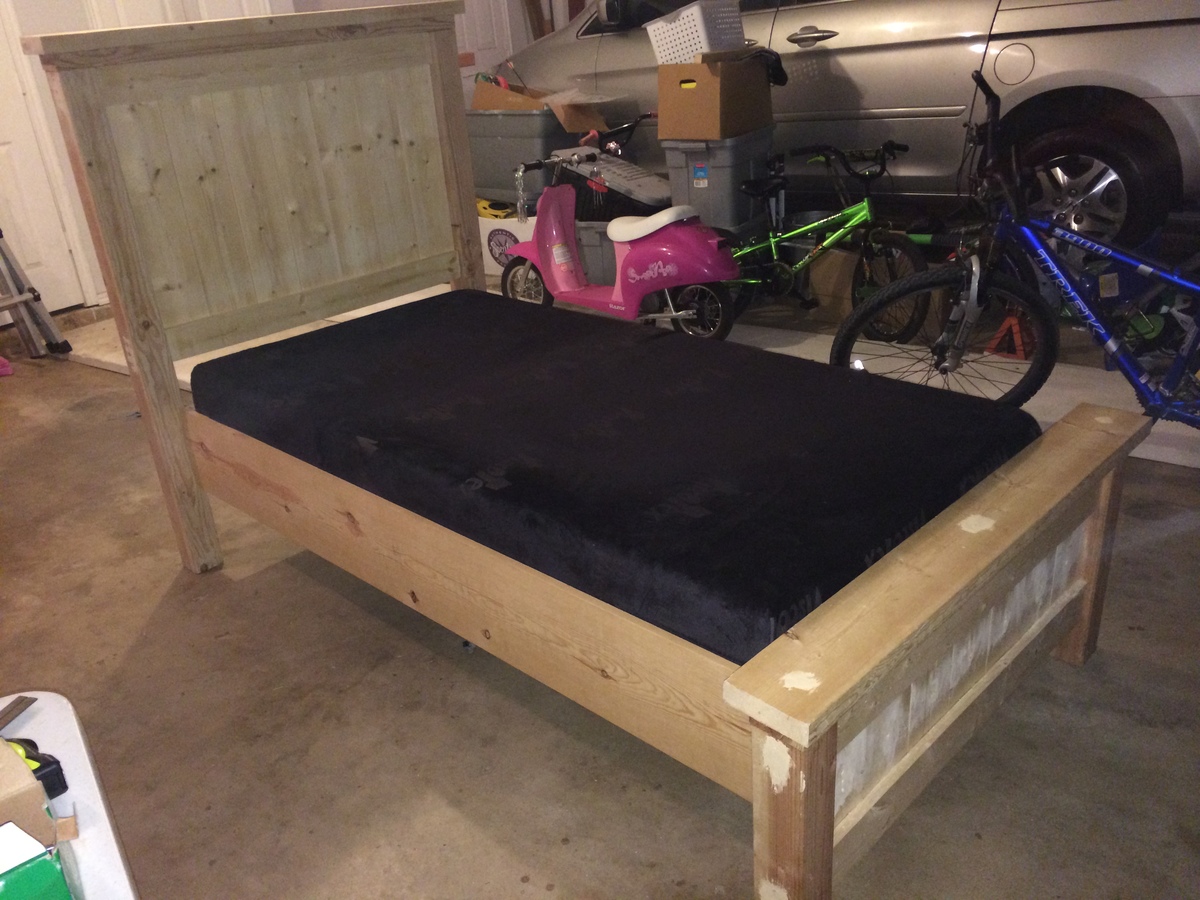
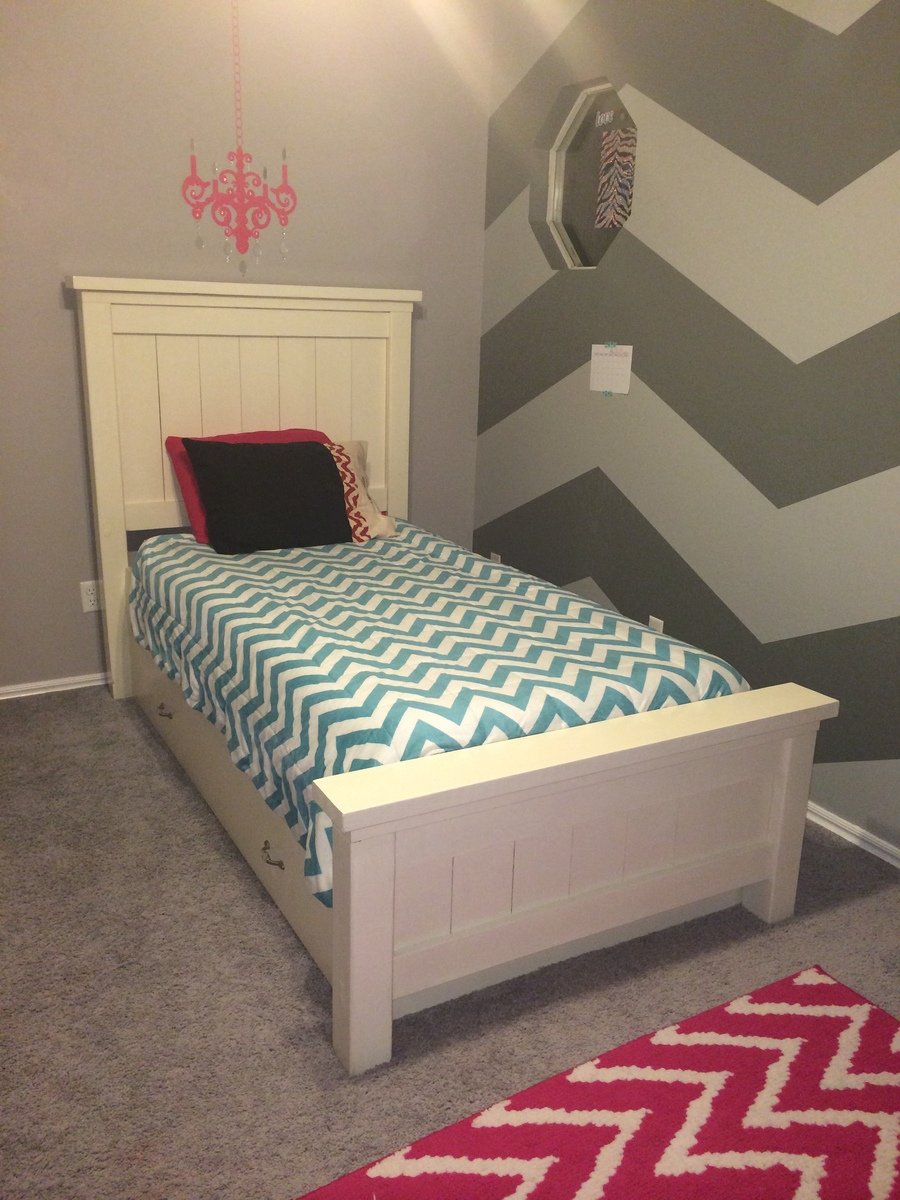
Twin Farmhouse Bed with Trundle
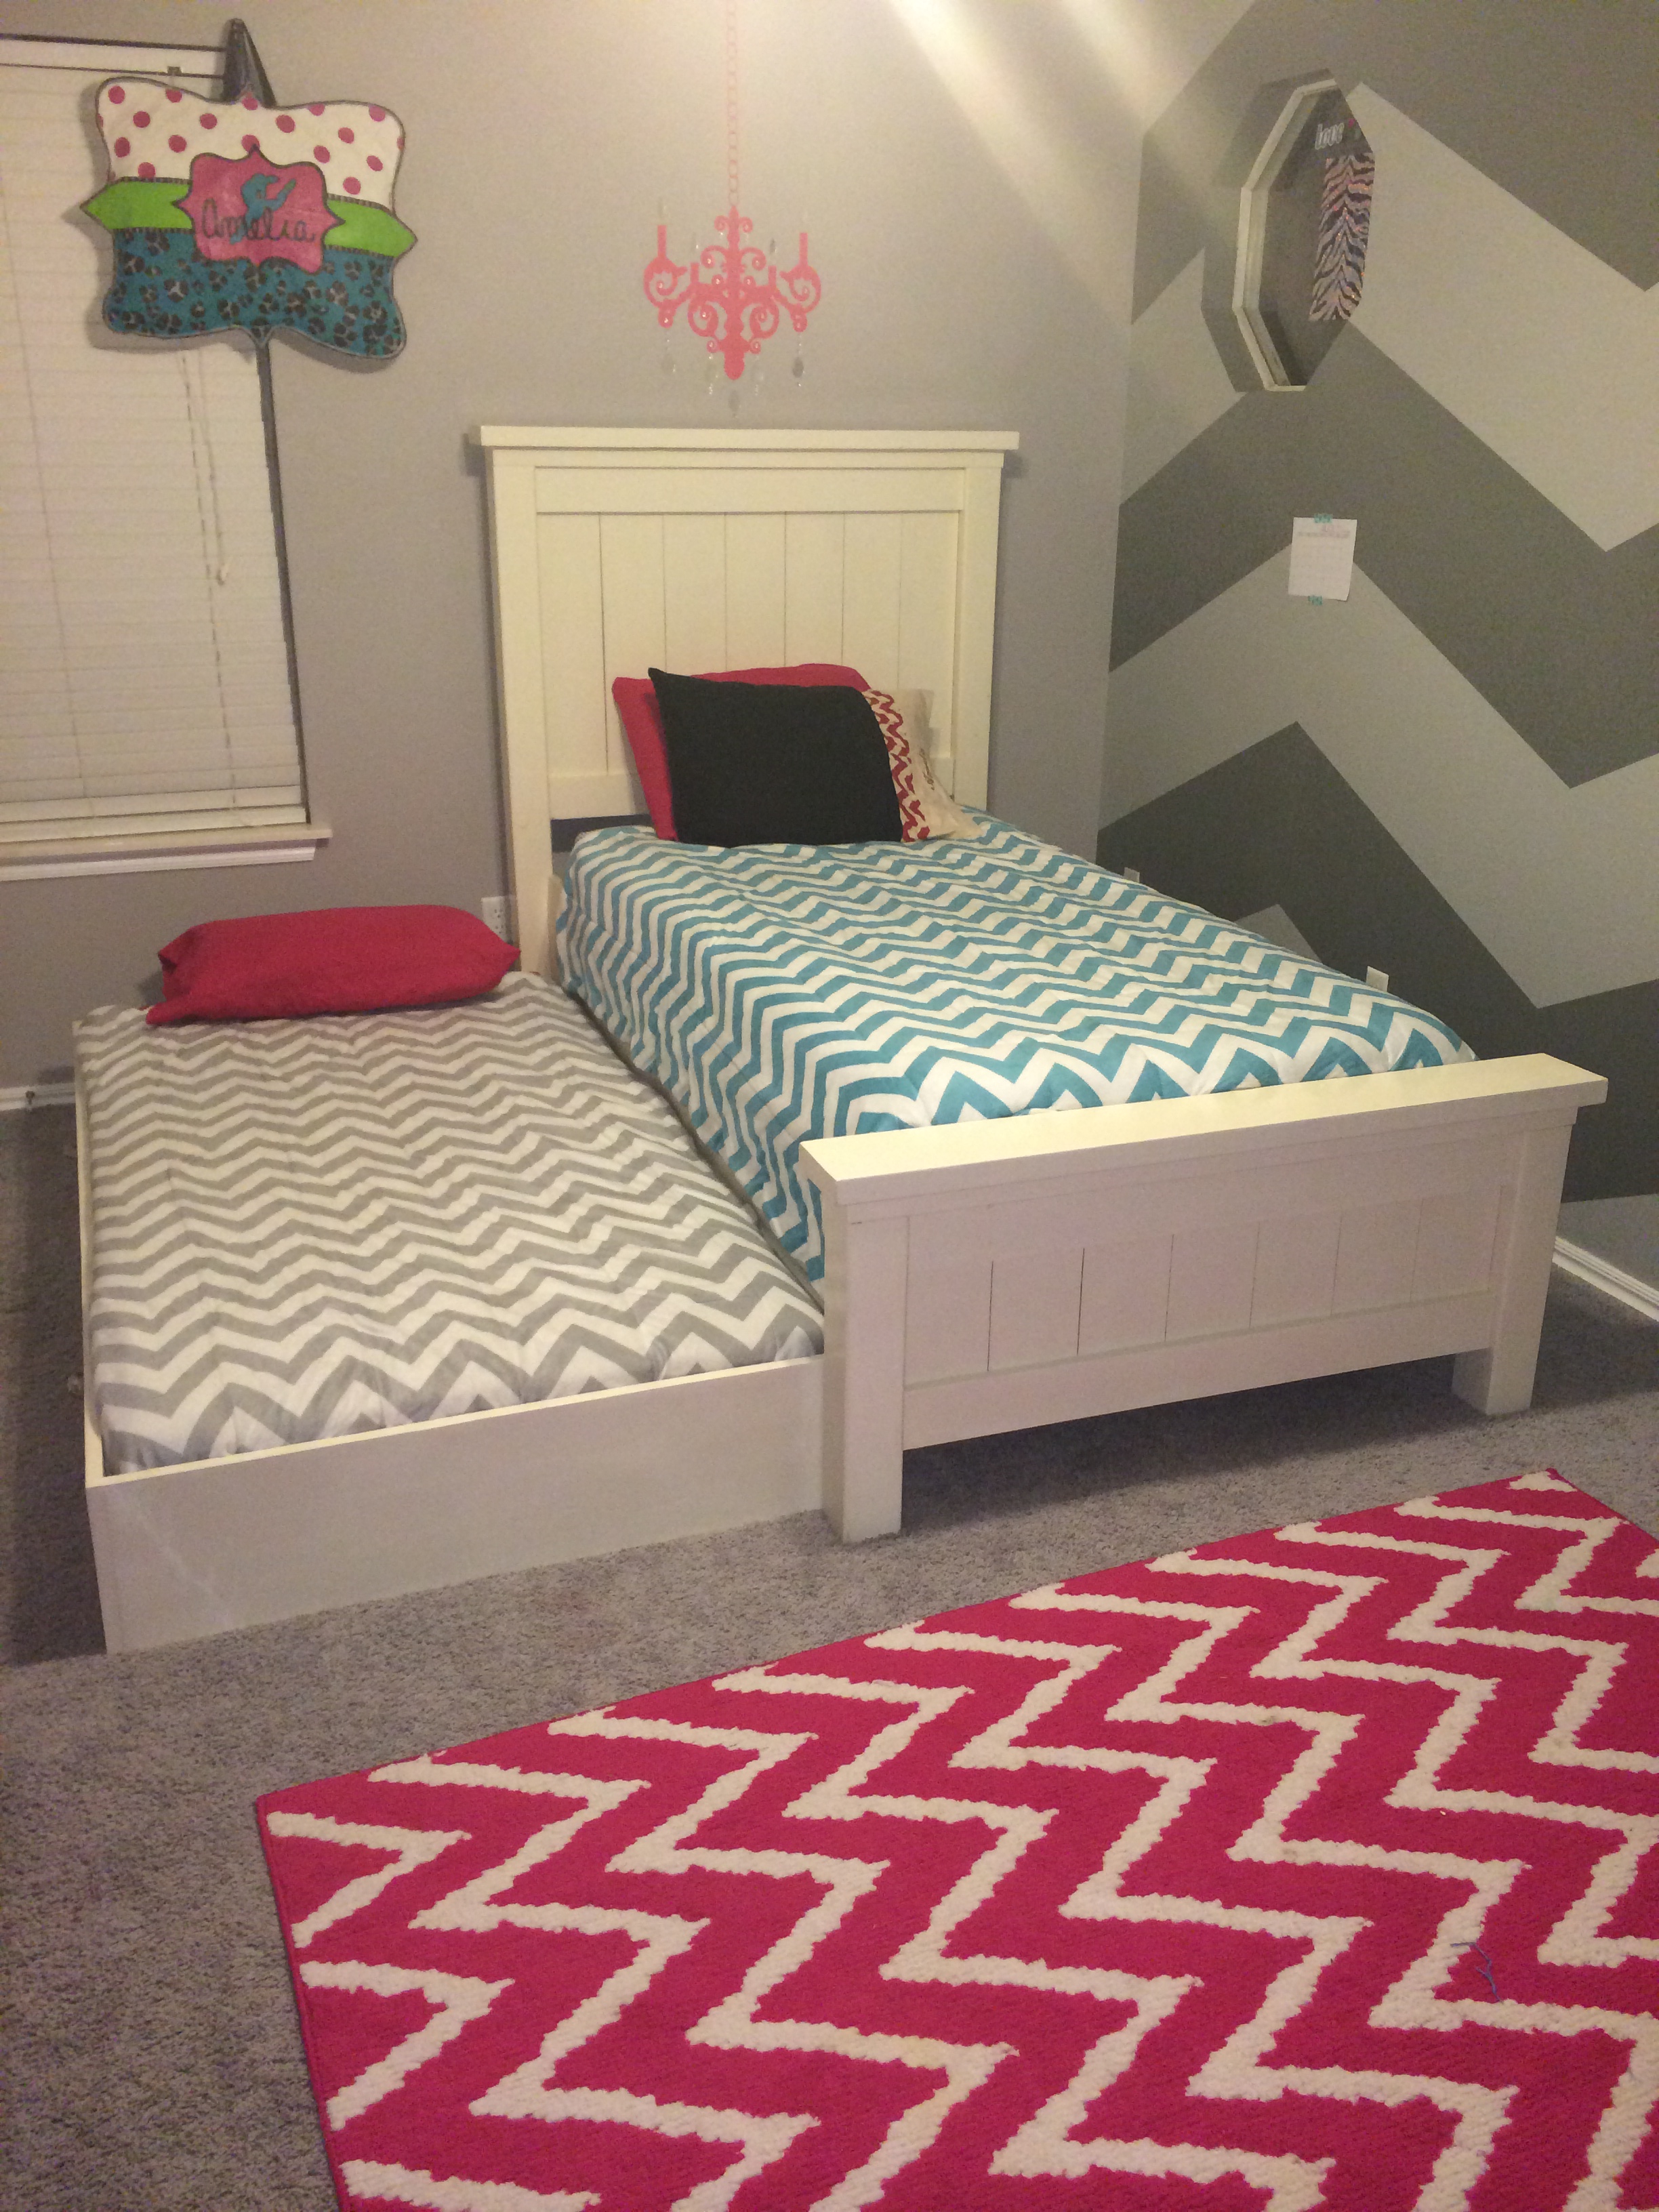
We made the traditional Twin Farmhouse bed using Ana's plans. We did modify the height of the headboard and foot board in case we decide to move the bed to under her window.
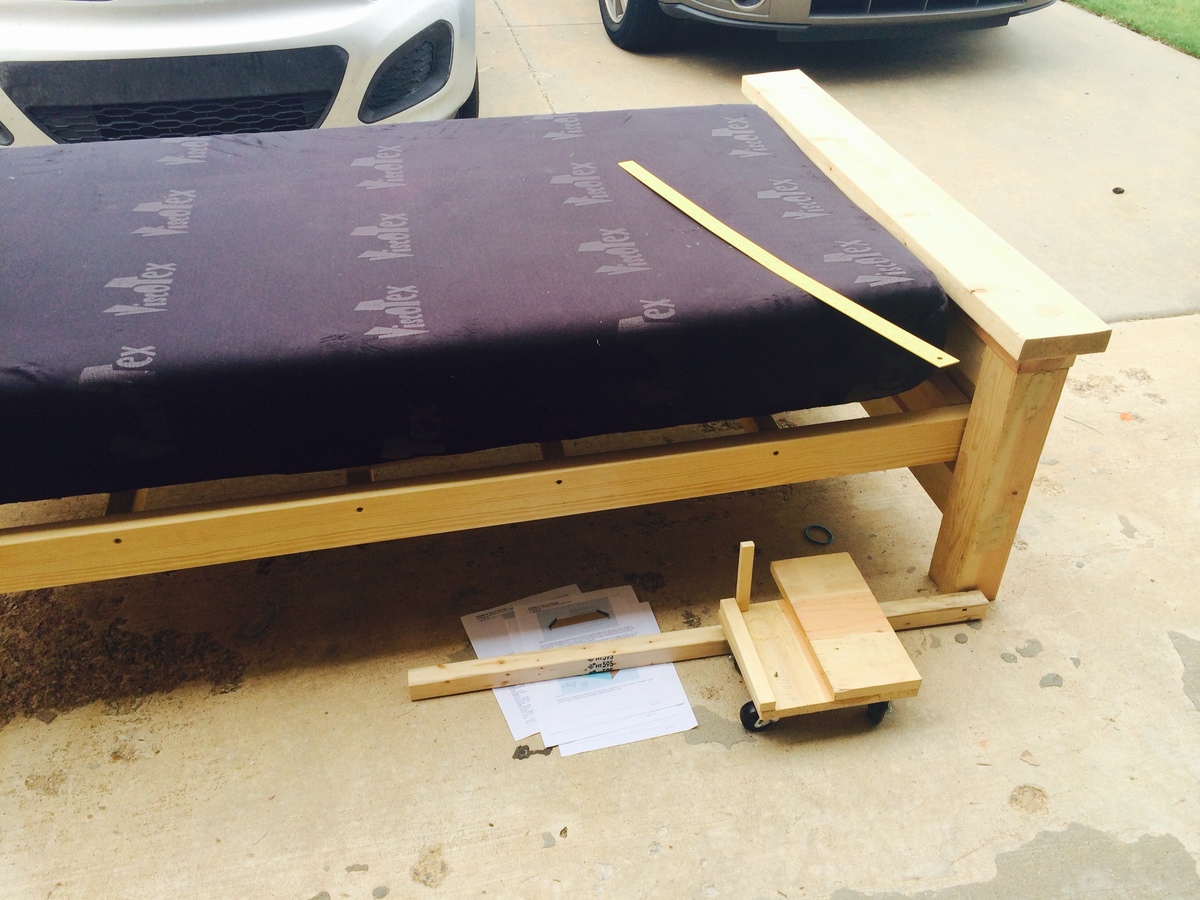
I was very particular about the sizing and placements of the sideboard/trundle. I did not want a big gap between the mattress and the trundle. Also, did not want the actual bed mattress to sit down too far into the 1X10 and look like a crib.
Very happy with the results. Thanks so much, Ana!!!
Built from Plan(s)
Estimated Time Investment
Week Long Project (20 Hours or More)
Finish Used
2 coats Valspar Antique White, semi gloss
2 coats Minwax Polycrylic
2 coats Minwax Polycrylic
Recommended Skill Level
Beginner
Comments
Mon, 08/18/2014 - 05:01
bottom of trundle?
This looks great! I see you have carpet (as do I) did you use caster wheels? It looks like it's resting on the floor. I want t build but, I'm concerned about the ease of sliding. Tips appreciated.
Thanks in advance.
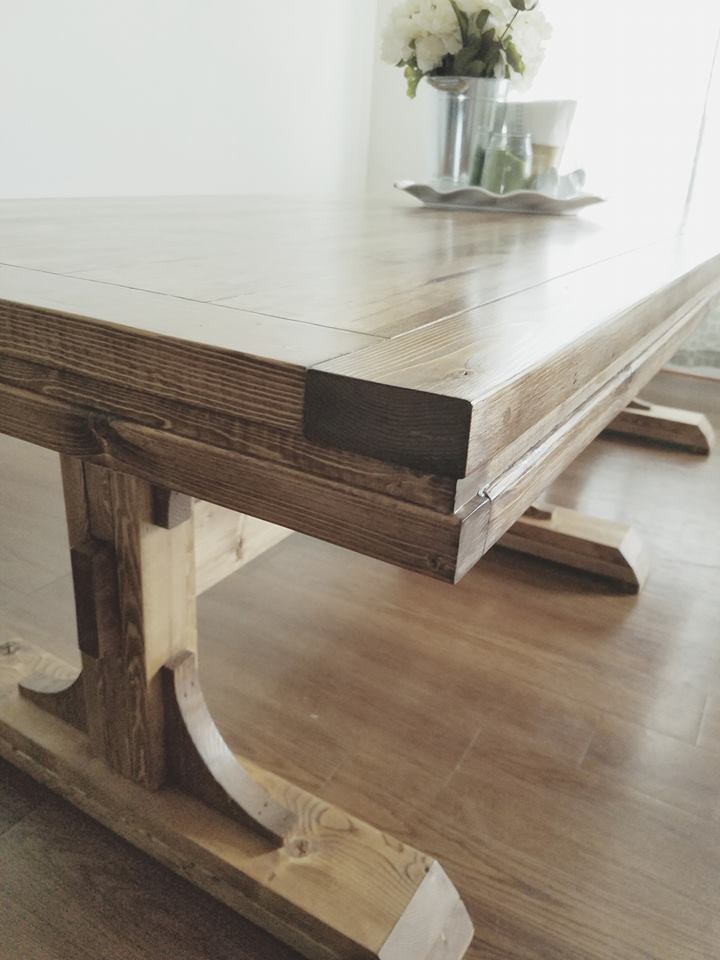
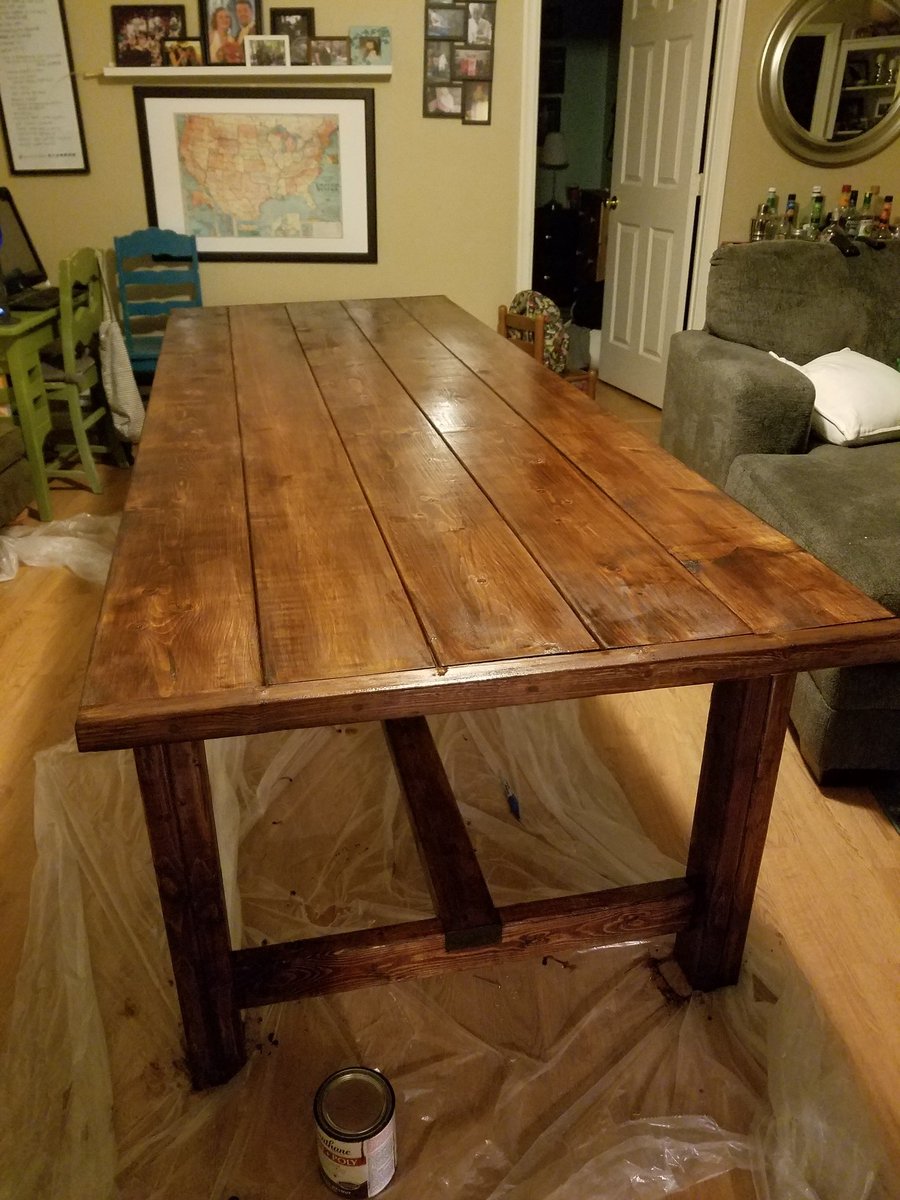
Farmhouse Table
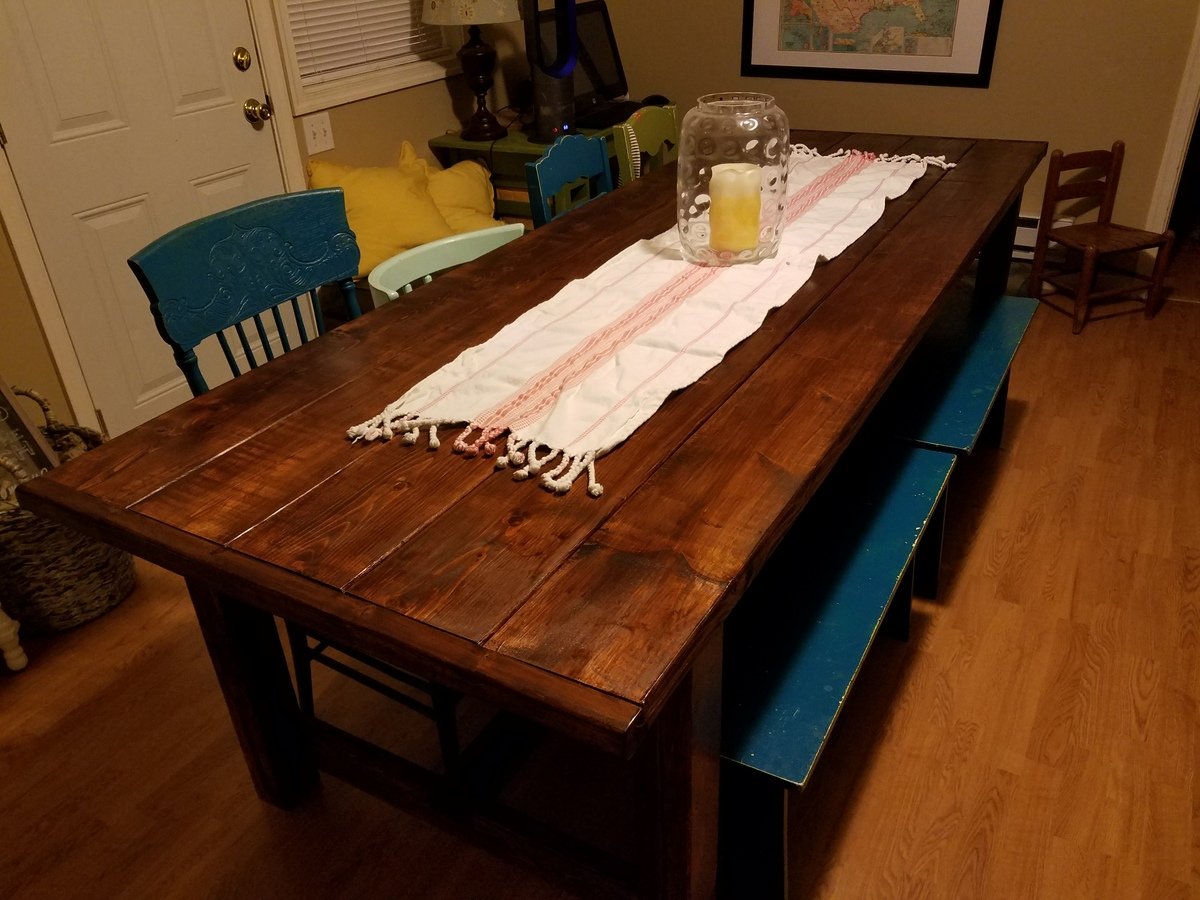
We used the same farmhouse table plans. We just used 2x6x8 for the top and capped the ends with 2x2s instead of the breadboard. Leaving the boards long gives use optional seating on the ends. From start to finish it took about a day and a half.
Built from Plan(s)
Estimated Cost
Lumber $75
Stain $14
Screws $14
Stain $14
Screws $14
Estimated Time Investment
Weekend Project (10-20 Hours)
Finish Used
Varathane Stain plus polyurethane in American walnut
Recommended Skill Level
Beginner
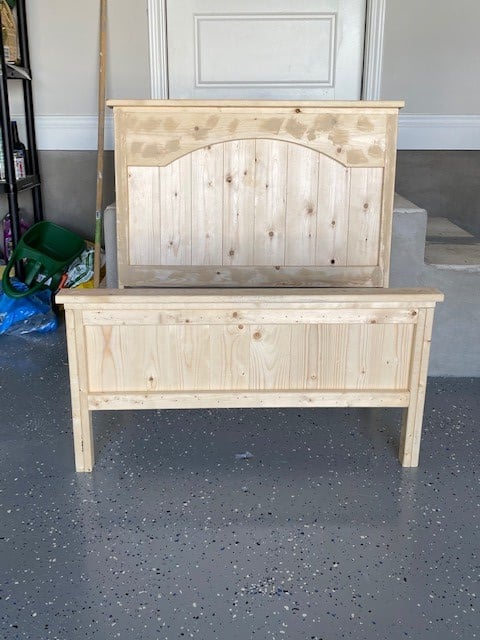
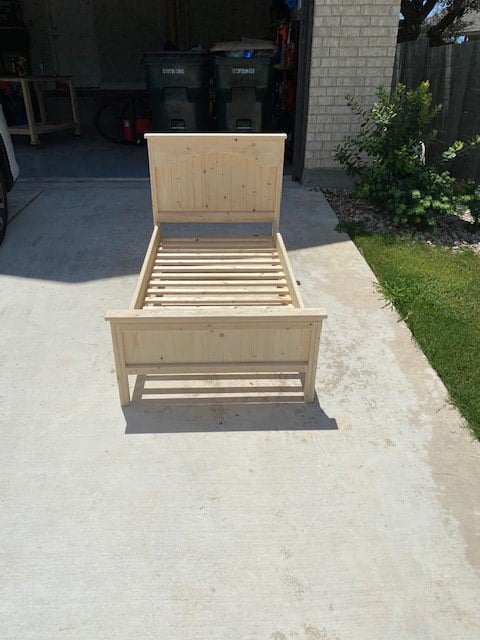
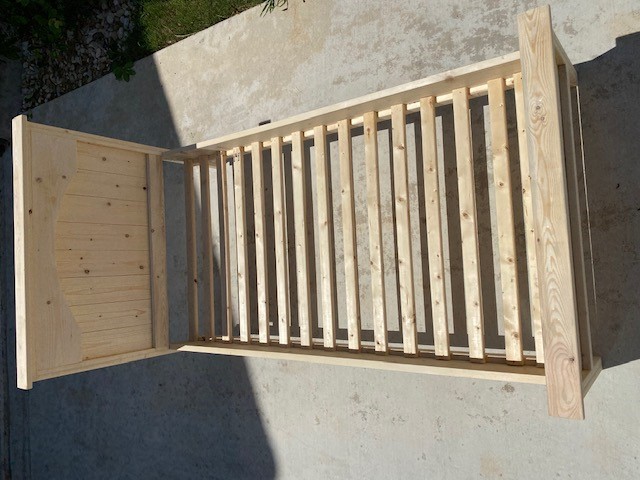
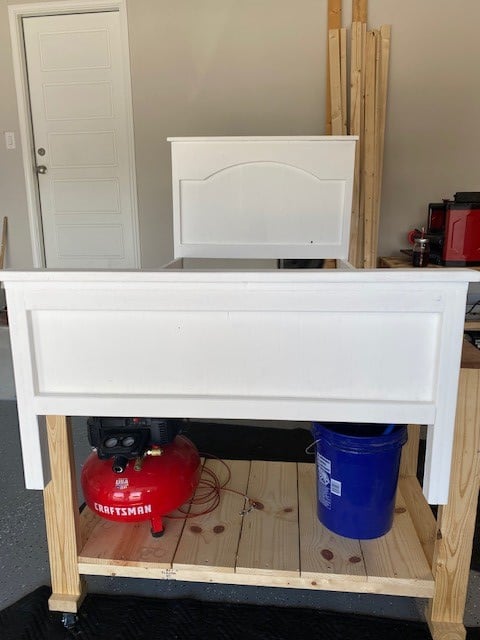
Farmhouse Toddler Bed
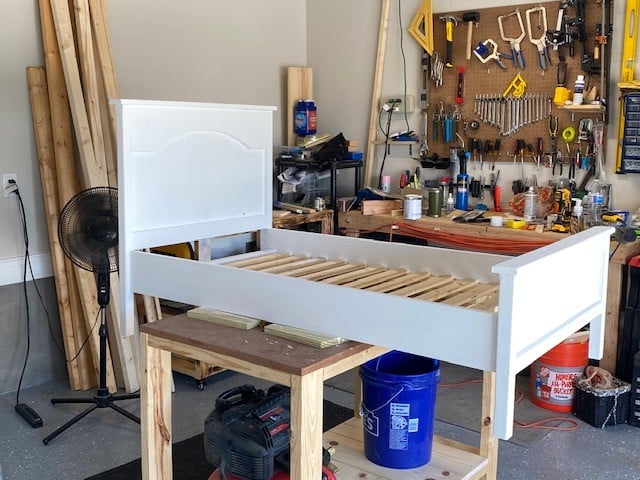
Great plan and an easy build. NOTE: The plans mention that not all toddler mattresses are the same dimensions. Make sure to measure your mattress and adjust the dimensions accordingly. Our mattress was 2" longer and 1 1/2" wider than the plans. I used all 1 X 4's for the headboard and footboard instead of the the 1 X 3's on the ends. I would recommend you make your cuts as you go to allow for the differences in dimension.
NOTE: The mattress is originally a Crib mattress. Crib company wanted almost $100 for the conversion piece to make the crib into a bed. I showed them. Lol
Built from Plan(s)
Estimated Cost
$50
Estimated Time Investment
Weekend Project (10-20 Hours)
Finish Used
Rust-Oleum White Chalk Paint and Rust-Oleum Matte-Clear Protective Top Coat
Recommended Skill Level
Beginner