Community Brag Posts

Mud Room Bench and Cabinets
Submitted by skmojo on Wed, 10/13/2021 - 12:45

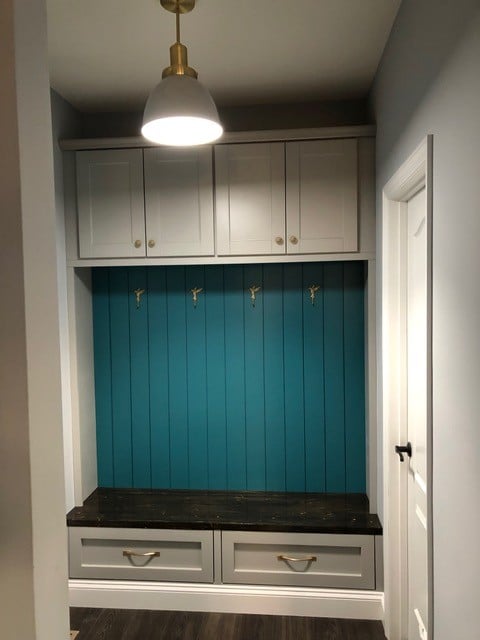
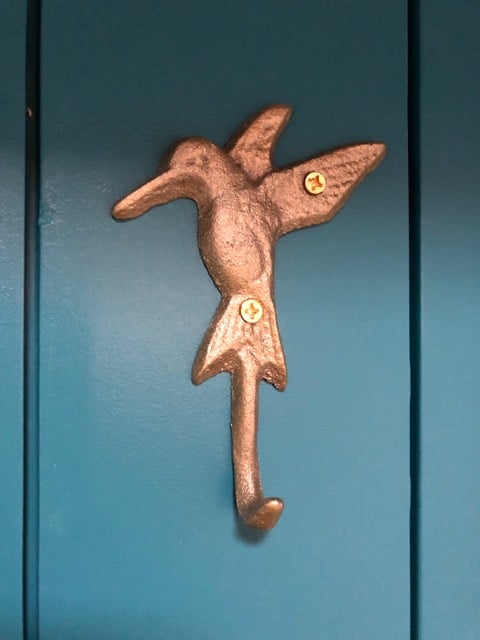
This is actually a mash up of Ana's "Mudroom Bench with Easy Drawers" design, and a "Mudroom Lockers" post by Infarrantly Creative. The end result is a 66" W x 98" H x 19 1/4" D built-in bench with 2 drawers and 4 cabinets. I did the cabinets first, to easily support them while installing on a temporary ledger board without the bench in the way. Unlike Infarrantly, I did not have existing cabinets to re-purpose, but I found 30W x 24H x 12D cabinets that practically matched the adjoining kitchen in both color and style. I also added matching pulls and handles to tie both rooms together. I almost went with taller cabinets to the ceiling, but this approach with Crown Molding "not-to-ceiling" matches the kitchen cabinets. I also bought matching trim pieces for the ends and across the bottom so anything touching the cabinets matched in color and texture. In hindsight, the color-matched paint was so close, though, I could have saved some cash by cutting and painting those pieces instead. Everything gray below this point is 1x material cut to spec and then painted. The bench is based on Ana's design (modified to two drawers) with Infarrantly's stained top. The top is a pine board from HD stained to closely match our LVP in that room, and the entire first floor. You will notice the top rail of the bench frame (attached to the top with Kreg pocket holes to minimize visible nails/screws) is also stained to give illusion of a thicker slab. The stain closely matches our LVP in that room, and the entire first floor. This was my first time building drawers, but thanks to Ana's "Easy" drawer design, it still worked out pretty well. The drawer frame technique (instead of faces) made everything a little more forgiving (which I definitely needed). After painting and reinstalling, I noticed that some of the reveal around the drawers did not line up evenly and straight around them. I simply adjusted the rails (drawer side), and the middle upright between them, without needing to remove or rebuild the drawers or the frames - WHEW! Between the cabinets and bench, I used 1x12's and 1x2's, down the sides - although you could leverage the existing wall finish. I also added vertical shiplap to the back, but again you could leave the existing wall finish or use beadboard. It is painted teal to coordinate with the adjoining kitchen's tile and backsplash. I added the Hummingbird coat hooks, since we love those feathered visitors around our deck in the summer. Thanks to both Ana White and Infarrantly Creative for inspiring this addition to our new home.
Built from Plan(s)

Comments

Junior Bunk Bed with curtains and dress area

Submitted by carnini on Thu, 06/06/2013 - 05:38

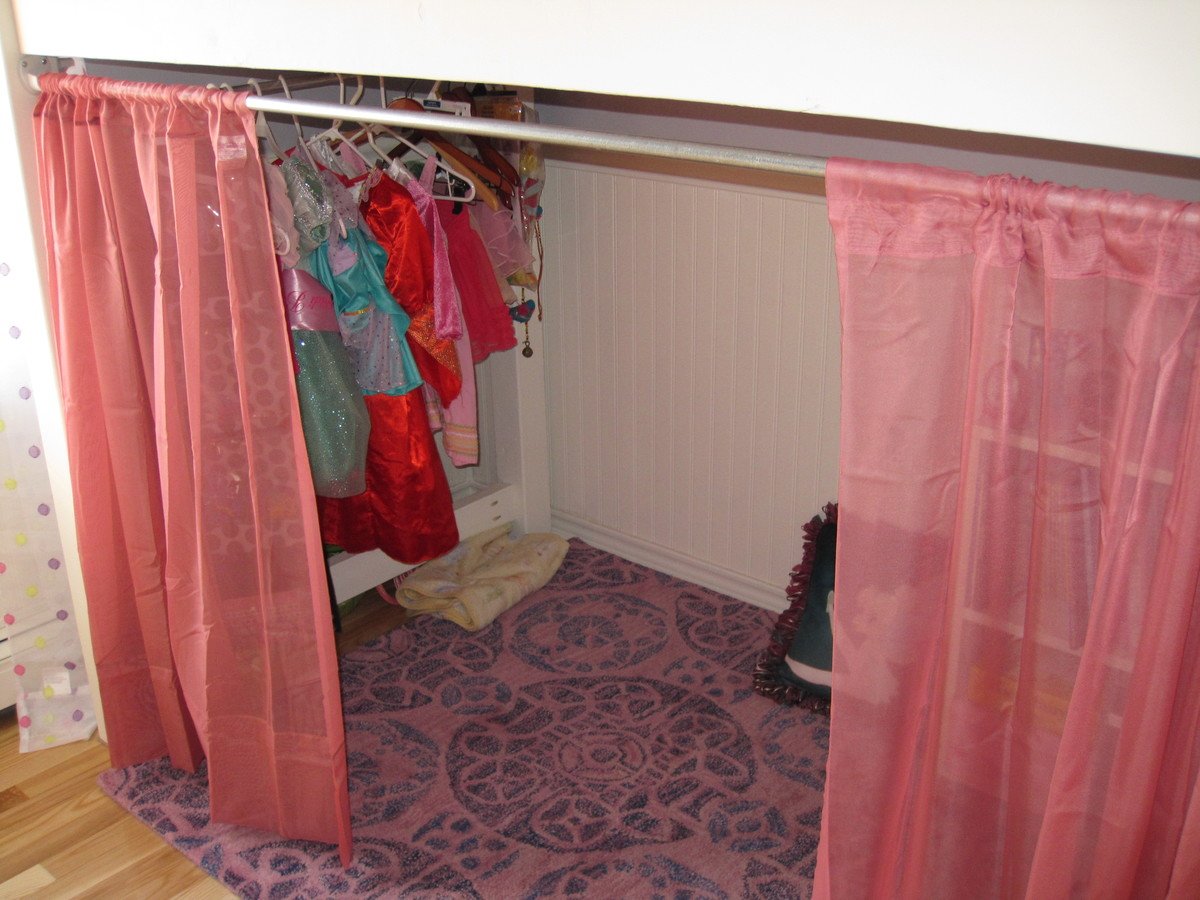
This is a modified version of the camp bed. I added several curtains using some metal conduct and one at the end for a place to hang up dresses. I plan on building some storage under the platform and might replace the entire stair area platform with a storage unit.

Project wise:
Instead of 2x4 for the corners, I used 4x4 fir posts in each of the corners, for about $50 dollars more it is a much stronger bed.
The bottom of the bed uses 2x4 as rails along the length and plywood across the distance under the mattress. I am looking for an old twin bed metal rails which I will be much strong to replace the 2x4 and a cleaner look.
Also I did not add stairs from the platform to the floor.
Not pictured is a single step the width of the end of the landing. The dimensions are about 10 inches deep 15 inches off the floor bolted onto a 4x4 corner post and the end of the platform with heavy duty corner brackets. Takes up must less room then stairs which I did not have the room for.

Estimated Time Investment
Weekend Project (10-20 Hours)
Finish Used
Sherwood Williams Emerald
Recommended Skill Level
Beginner

Farmhouse twin bed

Submitted by jleigh333 on Fri, 05/08/2015 - 11:35

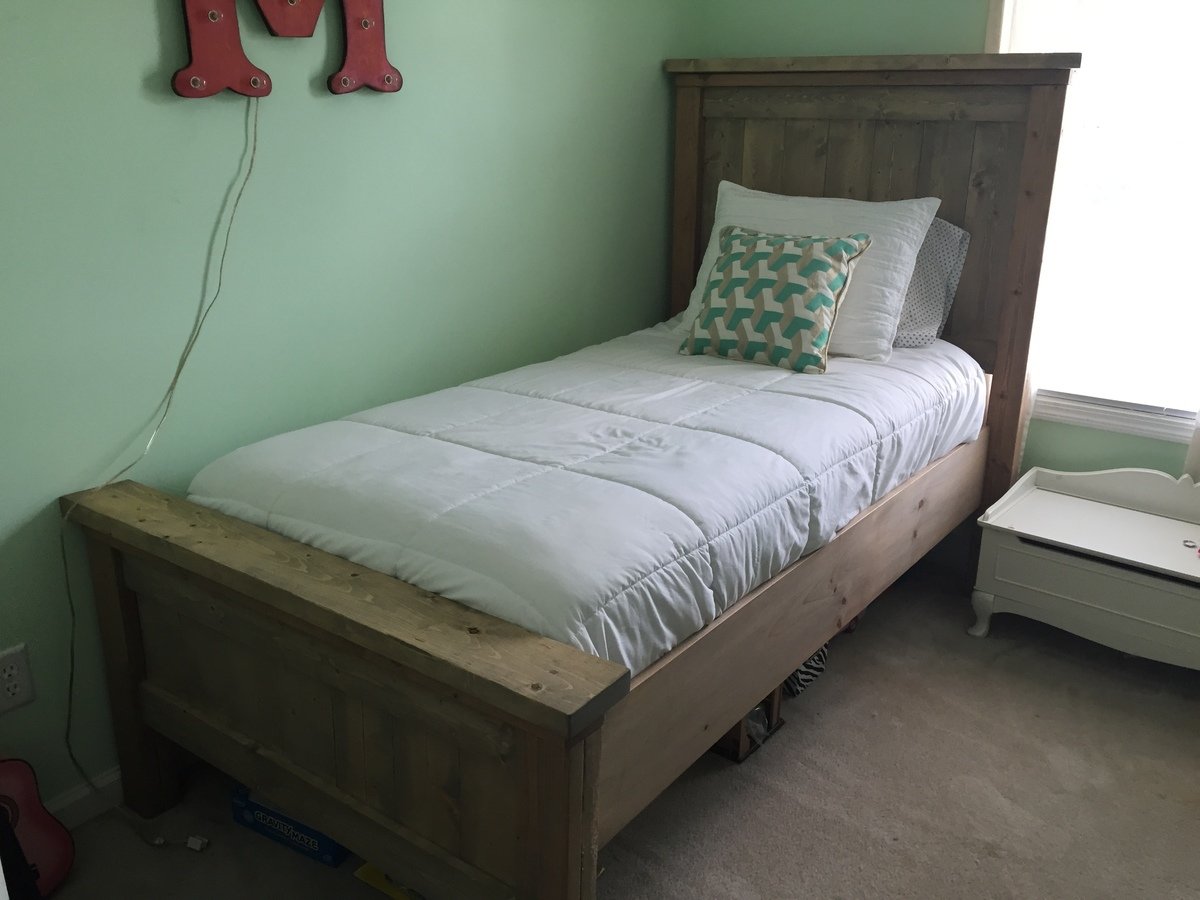
I built this bed for my daughter about 9 months ago and am just now getting around to posting it. I followed the plans exactly with the exception of adding a few more inches to the legs. I wanted LOTS of space under the bed for storage. I stained it with minwax weathered oak and gave it a coat of satin poly. I wanted a very natural look as my daughter is a no-frills kinda girl. We just love it! I actually want to build me and my husband a queen size version of this bed. Thanks for the great plans!

Built from Plan(s)
Estimated Cost
$125.00
Estimated Time Investment
Weekend Project (10-20 Hours)
Finish Used
minwax weathered oak
minwax rub on satin poly
Recommended Skill Level
Beginner

Cute Vegetable Cupboard

Submitted by kristyzed on Sun, 10/01/2017 - 15:33

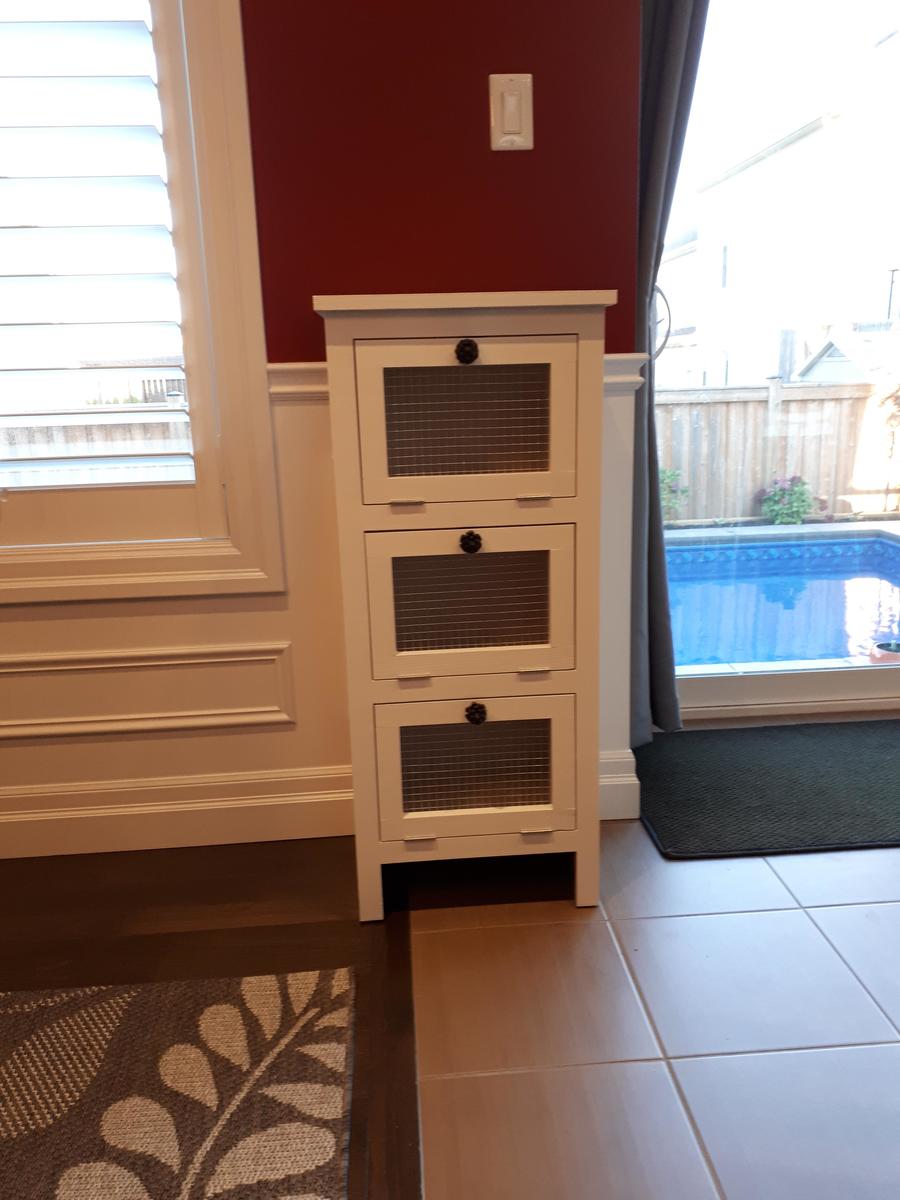
I made this cupboard to hold all of my onions, squash, and potatoes that were previously sitting in piles on the laundry room floor.  This little tower has the perfect amount of storage.


Built from Plan(s)
Estimated Cost
$75 CAD
Estimated Time Investment
Day Project (6-9 Hours)
Finish Used
I finished this off with 2 coats of primer, 2 coats of Trim White by Sherwin Williams, and 2 coats of clear coat. All coats were done with disposable foam brushes.
Recommended Skill Level
Beginner

Corn Hole Game

Submitted by vkaylee on Tue, 10/19/2021 - 21:40

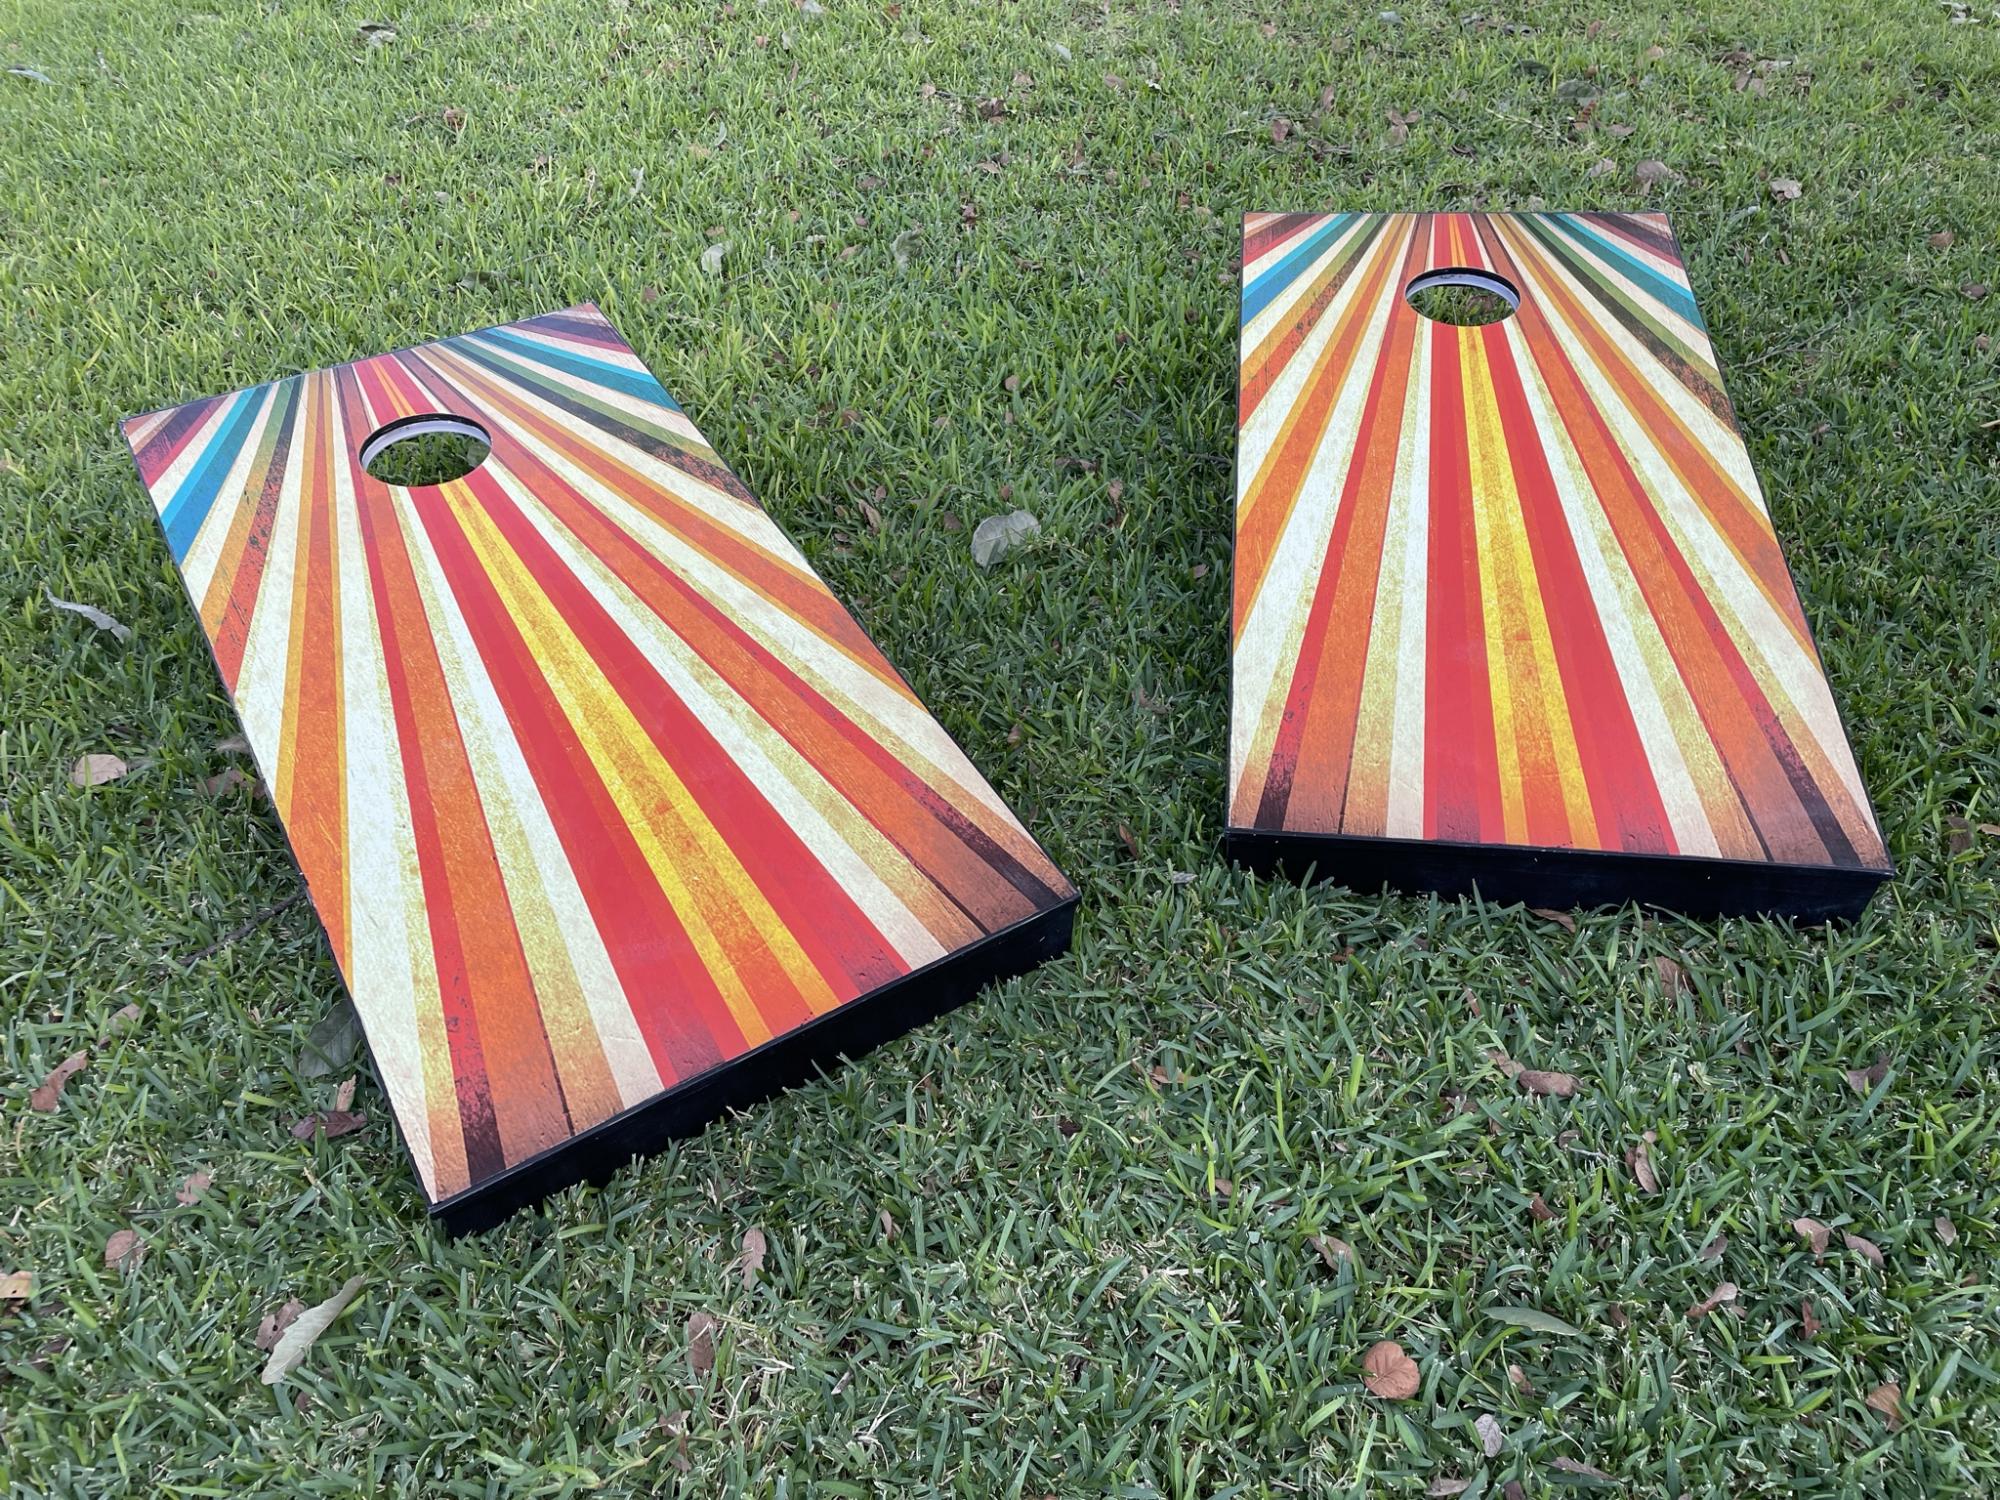
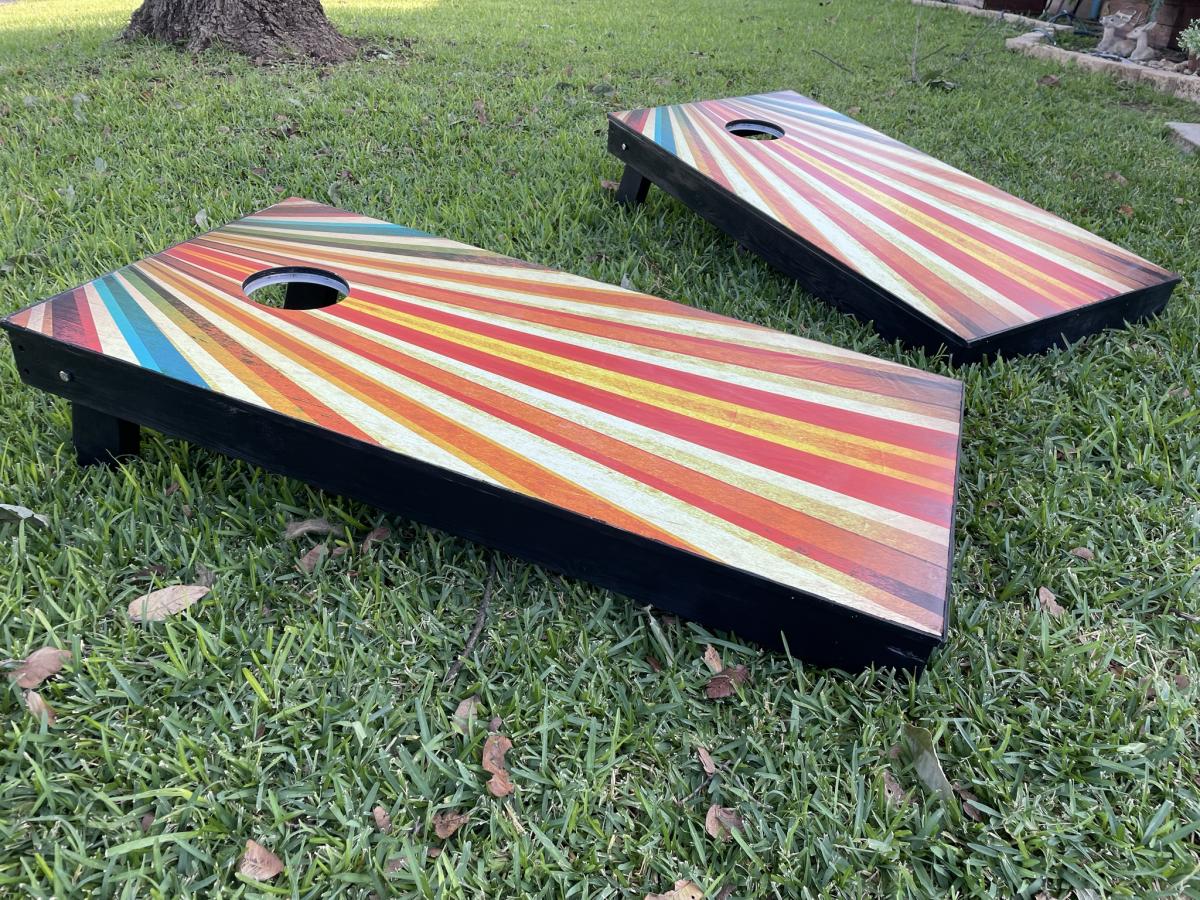
Made these as a wedding gift for my niece and her husband. I found the peel and stick skins on Amazon for about $30 for a set of two. Makes a really cool looking top although I will say it also makes it much more delicate to scratches and scuffs. I decided to add 1/8" trim pieces all around the edge of the stock 2x4 plywood since it's not a perfect 2 feet by 4 feet measurement. That also allowed me to fold the edge of the peel and stick skins to where they were then underneath the trim board that was glued and nailed in. I think it gave it a perfect looking edge. I also mounted led corn hole lights (also purchased on Amazon) that make it fun to play in the dark. Another great plan Ana! My niece is going to be stoked!

Total cost for all materials used was around $116 but keep in mind I added extra things not mentioned in the plans. Without those additions it would have been about $50 so very inexpensive.

Comments

Ellie's cute pink play kitchen

Submitted by beingbrook on Fri, 03/25/2011 - 13:10

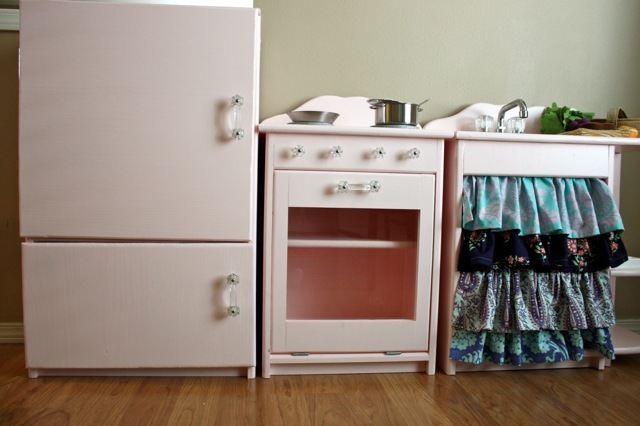
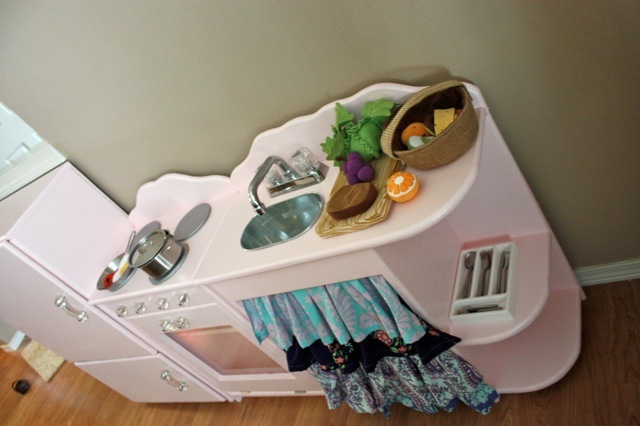
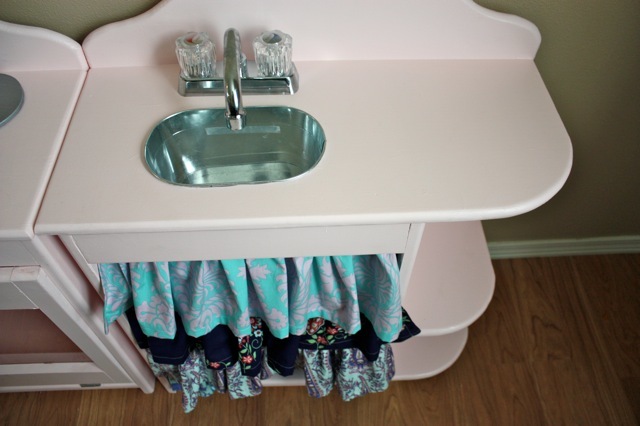
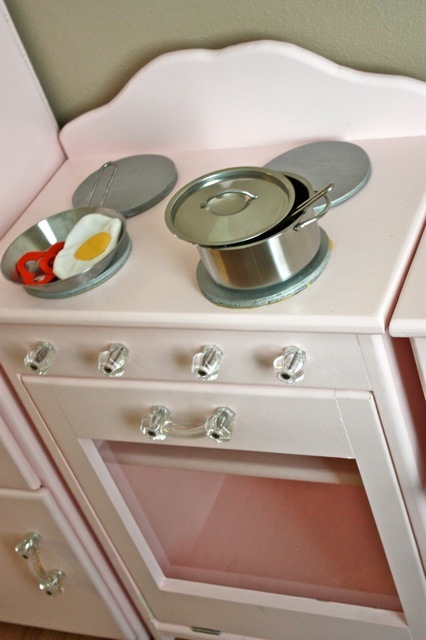
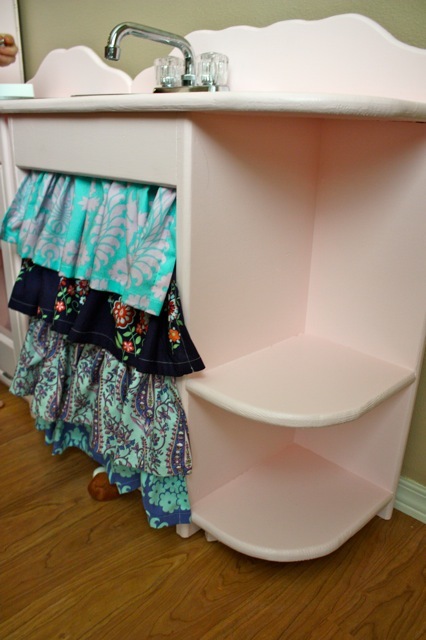
The kitchen took most of a Saturday afternoon to build and then another few hours of painting.  We built it for our daughter's second birthday last fall before Ana had any fridge plans posted, so my husband came up with the fridge plans.  He also changed the sink a little by adding the little shelves to the side.  

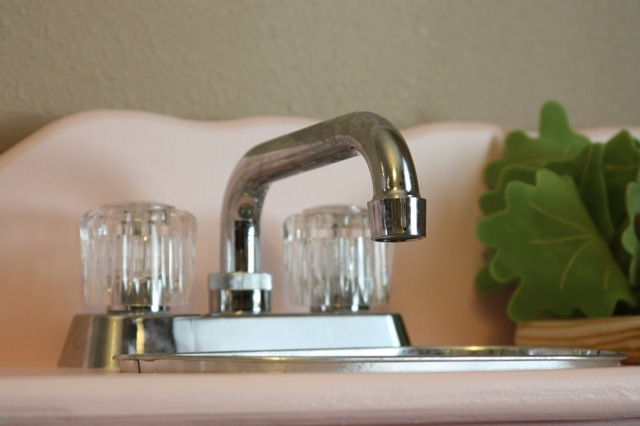
Ellie's kitchen is made all in pine with all the edges rounded with a router so she wouldn't get bumped.  The back is beadboard for added cuteness.  The little faucet was purchased for a few dollars off of ebay and is a laundry faucet and the sink is a flower tin.  The burners are wood basketball's from Michael's craft turned over and painted silver.  All the glass pulls are from ebay.
The total cost for the wood, paint, glue, nails, accessories, knobs, fabric, and little play food was about $200.  It would have been easy to keep the kitchen a little cheaper by using different wood.  We wanted the kitchen to be really high quality and be able to be passed to our nieces or Grandkids someday.
Estimated Cost
$200
Estimated Time Investment
Weekend Project (10-20 Hours)
Finish Used
Filled nail holes, sanded. Then primed and painted with 2 coats of Behr's Powdered blush in Satin
Recommended Skill Level
Intermediate

Outdoor Sectional

Submitted by cbijl on Sat, 06/08/2013 - 21:25

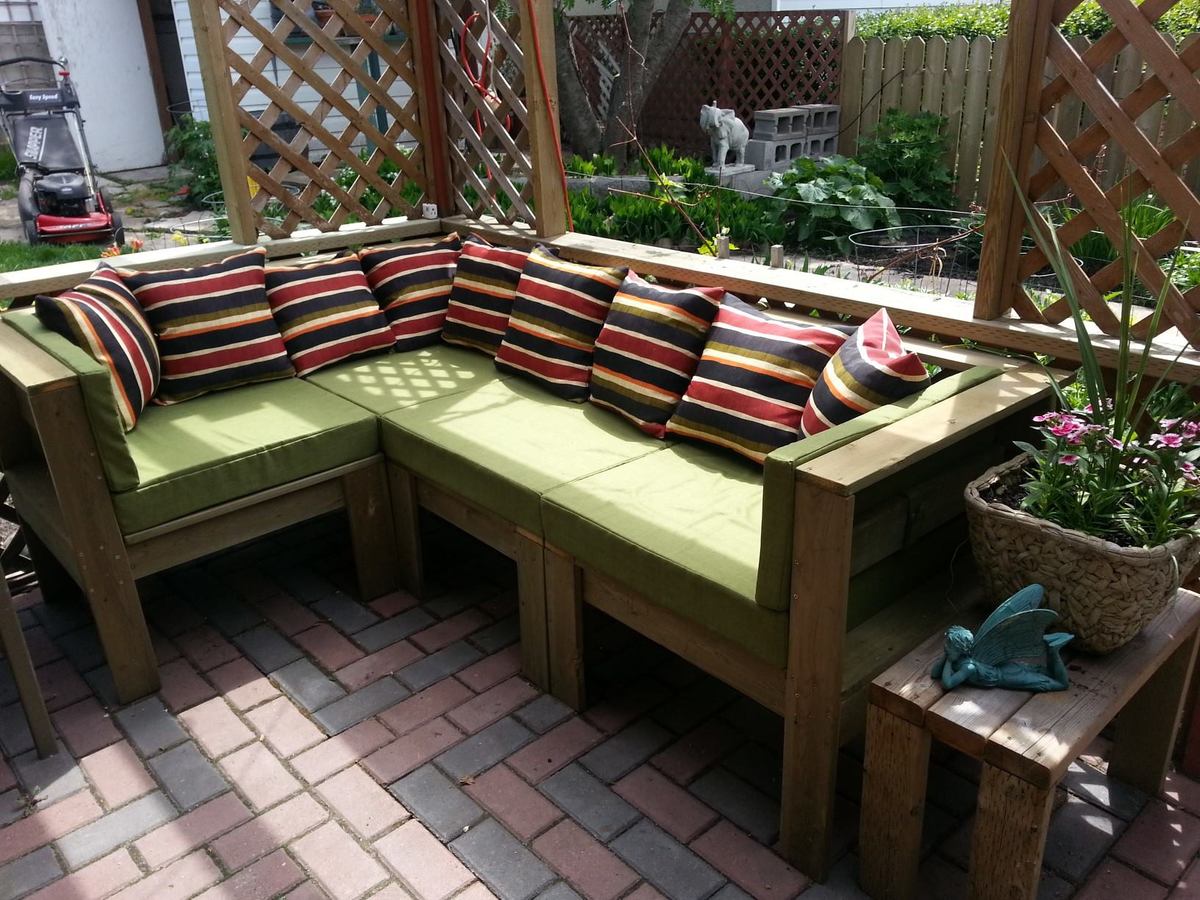
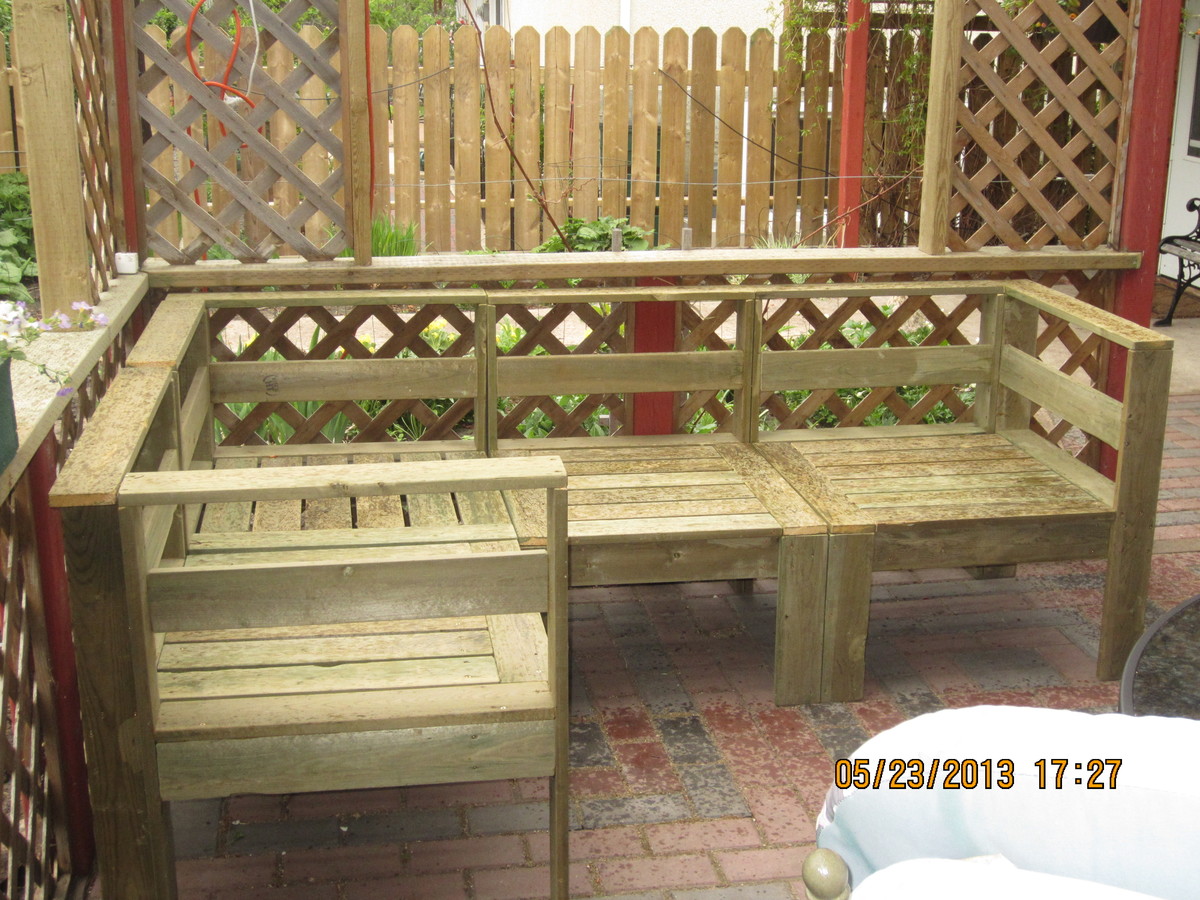
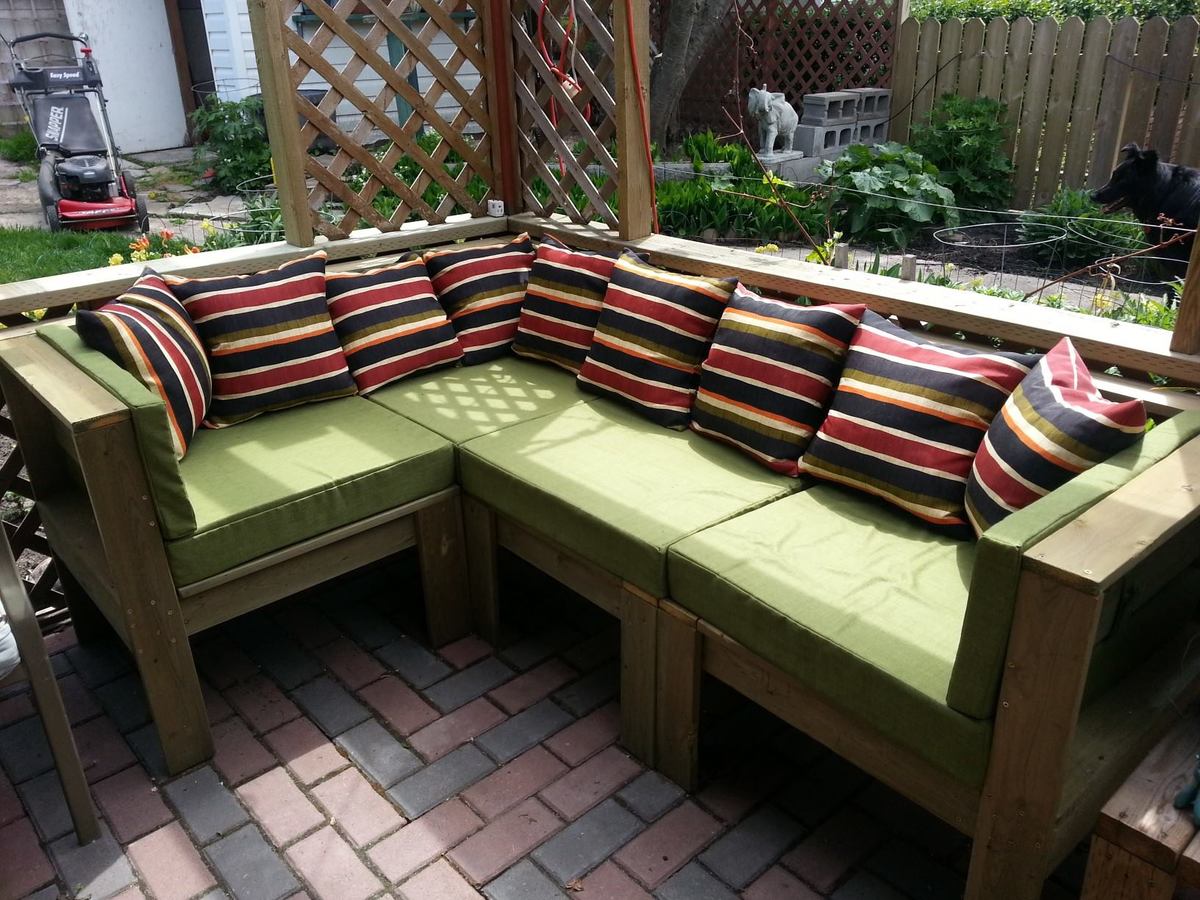
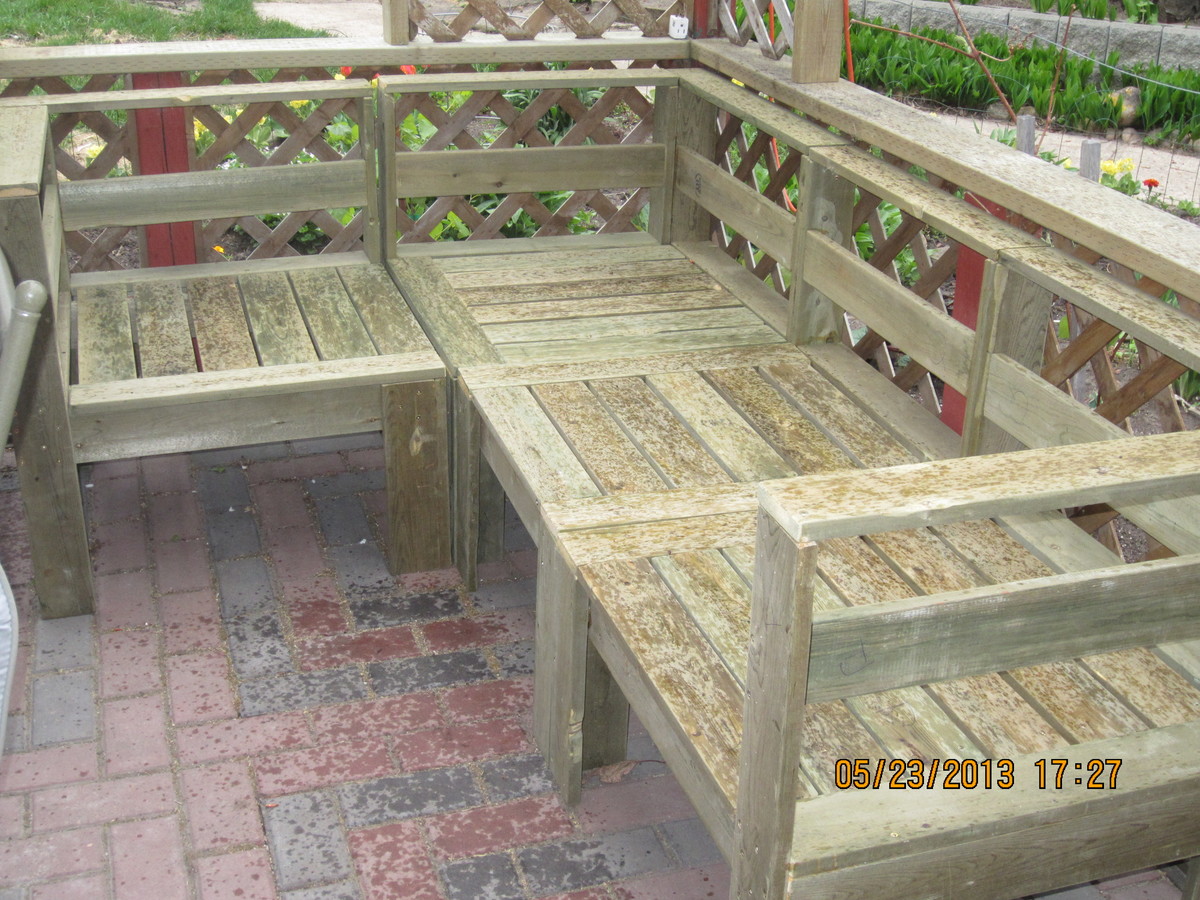
I could not find ready made cushions for this project so I purchased outdoor fabric in the green and 2" high density foam at Fabricland which we doubled to make 4" thick cushions. The throw pillows I bought at Walmart. I will probably buy more foam and fabric and make cushions for the back as well. I find the throw pillows aren't quite large enough to protect your back from the wood.

Estimated Cost
$500.00 including wood.
Estimated Time Investment
Weekend Project (10-20 Hours)
Finish Used
No finish yet, with pressure treated wood you are supposed to wait a season before finishing.
Recommended Skill Level
Beginner

Wedding tables and benches

Submitted by JoanneS on Tue, 10/17/2017 - 14:59

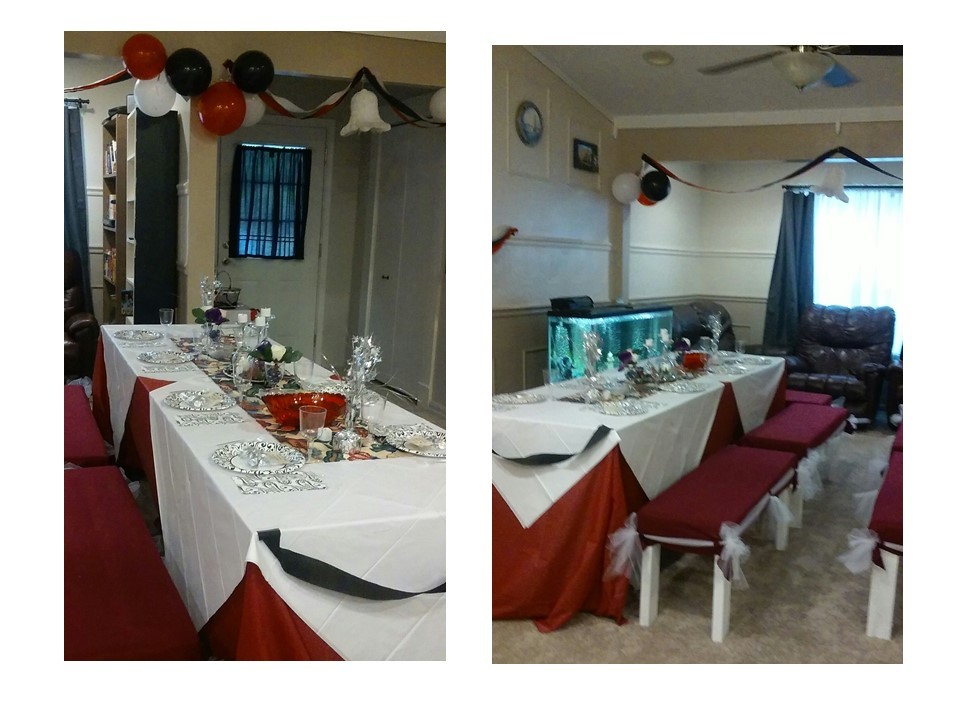
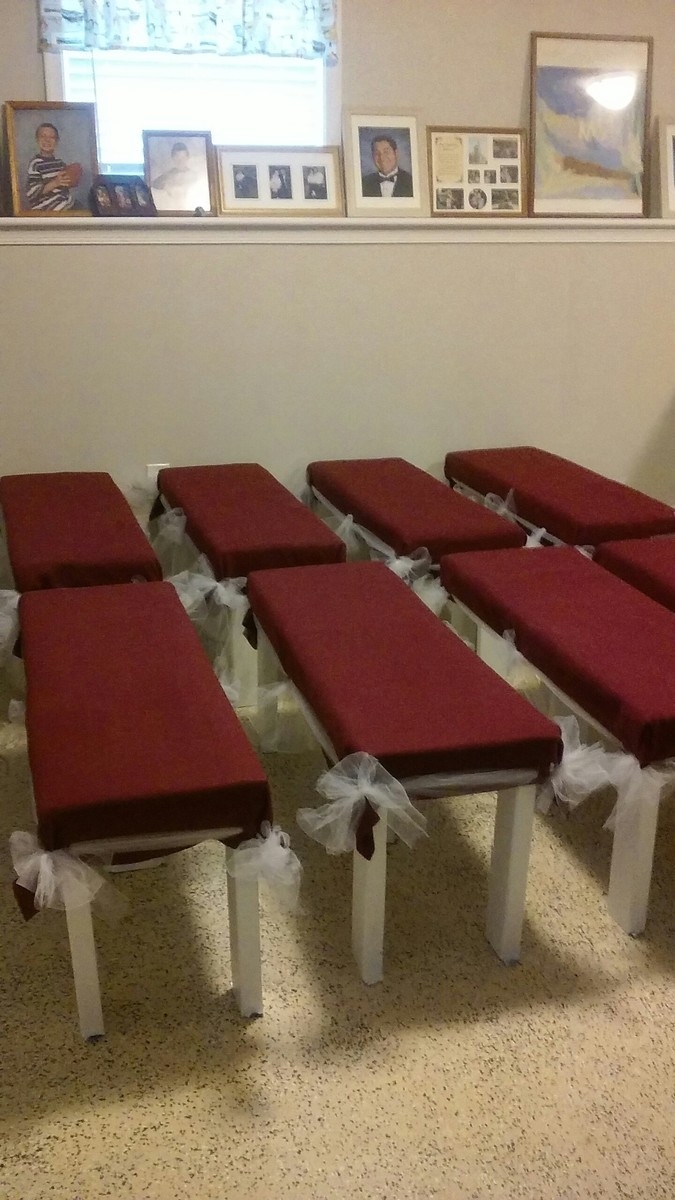
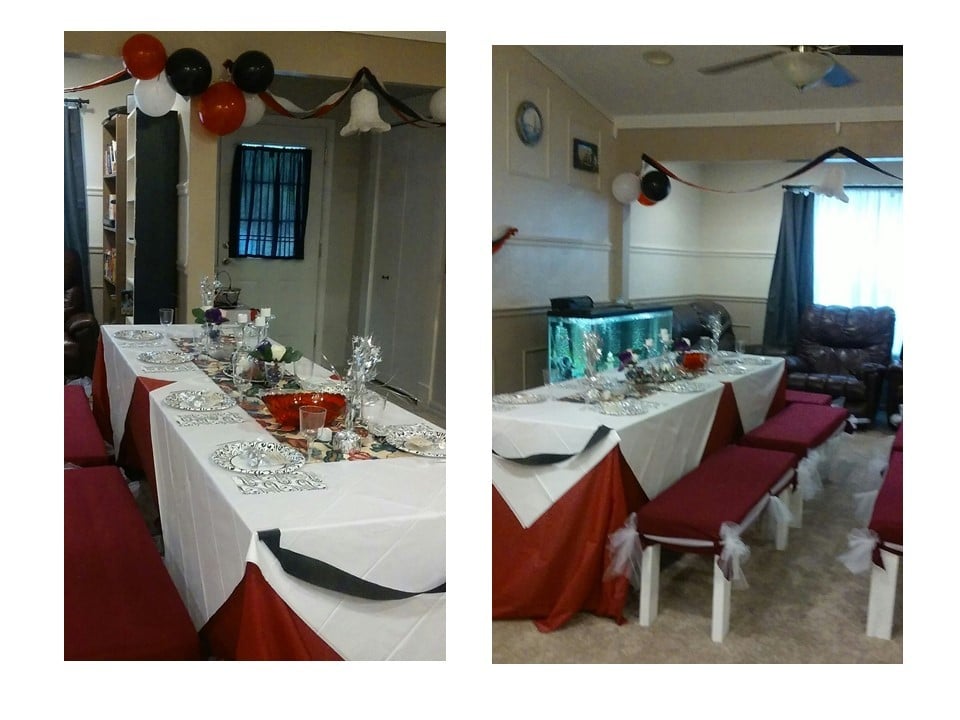
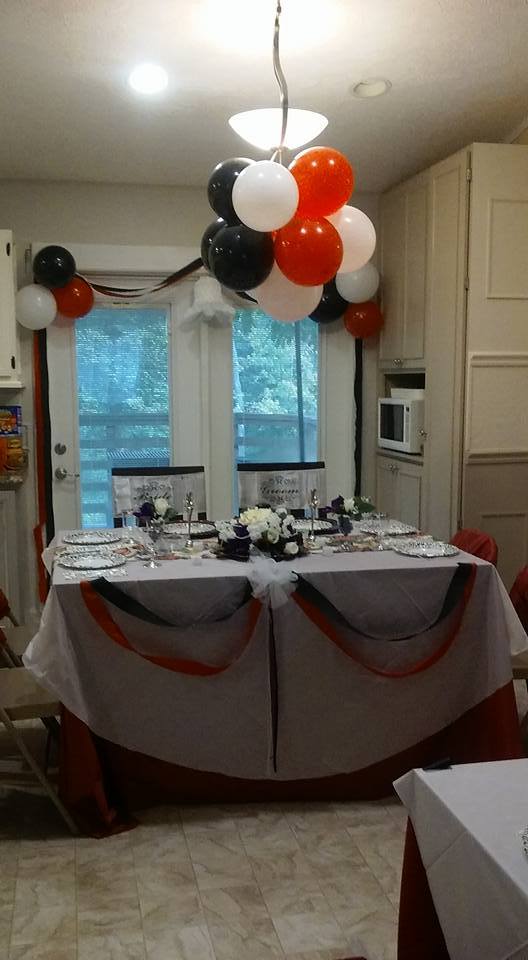
Last week we hosted a reception for our son’s wedding.  We built 8 benches and 2 banquet tables over the course of 3 weekends.


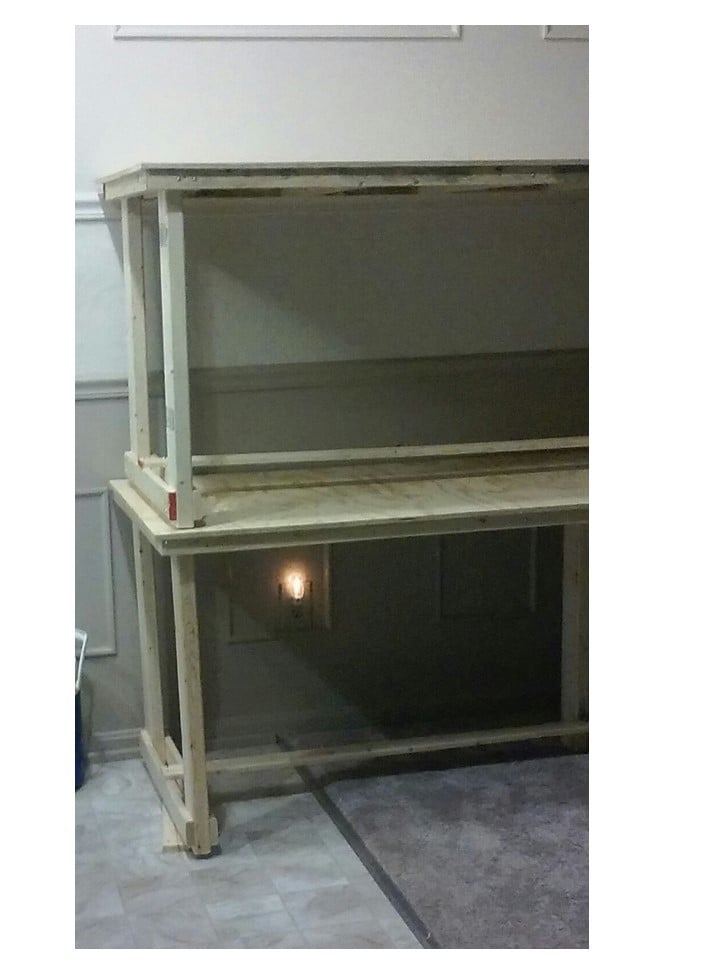
The banquet tables are 30” x 8’ and are constructed from 2x4, 2x2 and ½” plywood, with some angle brackets at each leg for extra strength.  We used the 2x2 for the tabletop apron/frame, attached leg assemblies made from 2x4 with some 1x3 furring strips for stringers, and topped the tables with ½” plywood.  Hubby and I put these together in an afternoon.  The tables were left unfinished because they were covered completely with tablecloths. 

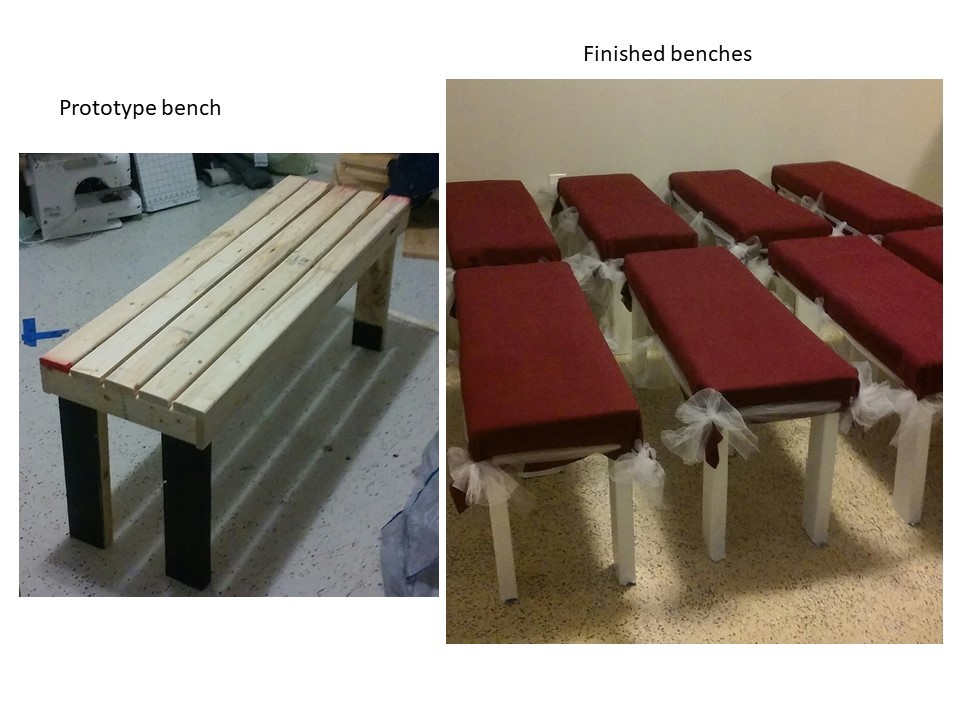
The benches are 42” long, 14” wide and 18” high.  These were built from 1x3 furring strips for the bench top/frames and 2x4 for the legs.  The bench tops were assembled first, then we attached the 2x4 legs to the frames at the corners, with a 5th leg in the center for stability.   This was a fun “mom & daughter” project for me and the bride, and we got the 8 benches built in one weekend and the finishing done the next.


The bench legs are painted (1 coat primer and 1 coat paint + primer).  The seats are topped with a clever combination of batting, fleece fabric and tulle ribbon ties, to create an upholstered look.  The fleece fabric will be re-purposed into some pillows and a memory quilt.


The head table is our ‘almost farmhouse’ table with 2 of the modified Harriet chairs for the bride and groom.


The newlyweds plan on re-using some of the benches for the dining set in their new place.  We’ll also be disassembling the banquet tables and re-using the wood to make them some more furniture, including a dining table to go with.


The wedding and reception was small and intimate and turned out beautifully.  We were thrilled to put this together for our son and his wonderful bride!

Estimated Time Investment
Week Long Project (20 Hours or More)
Finish Used
Tables - unfinished. Benches - 1 coat primer, 1 coat paint + primer on legs. Bench tops: fabric, batting, tulle ribbon
Recommended Skill Level
Beginner

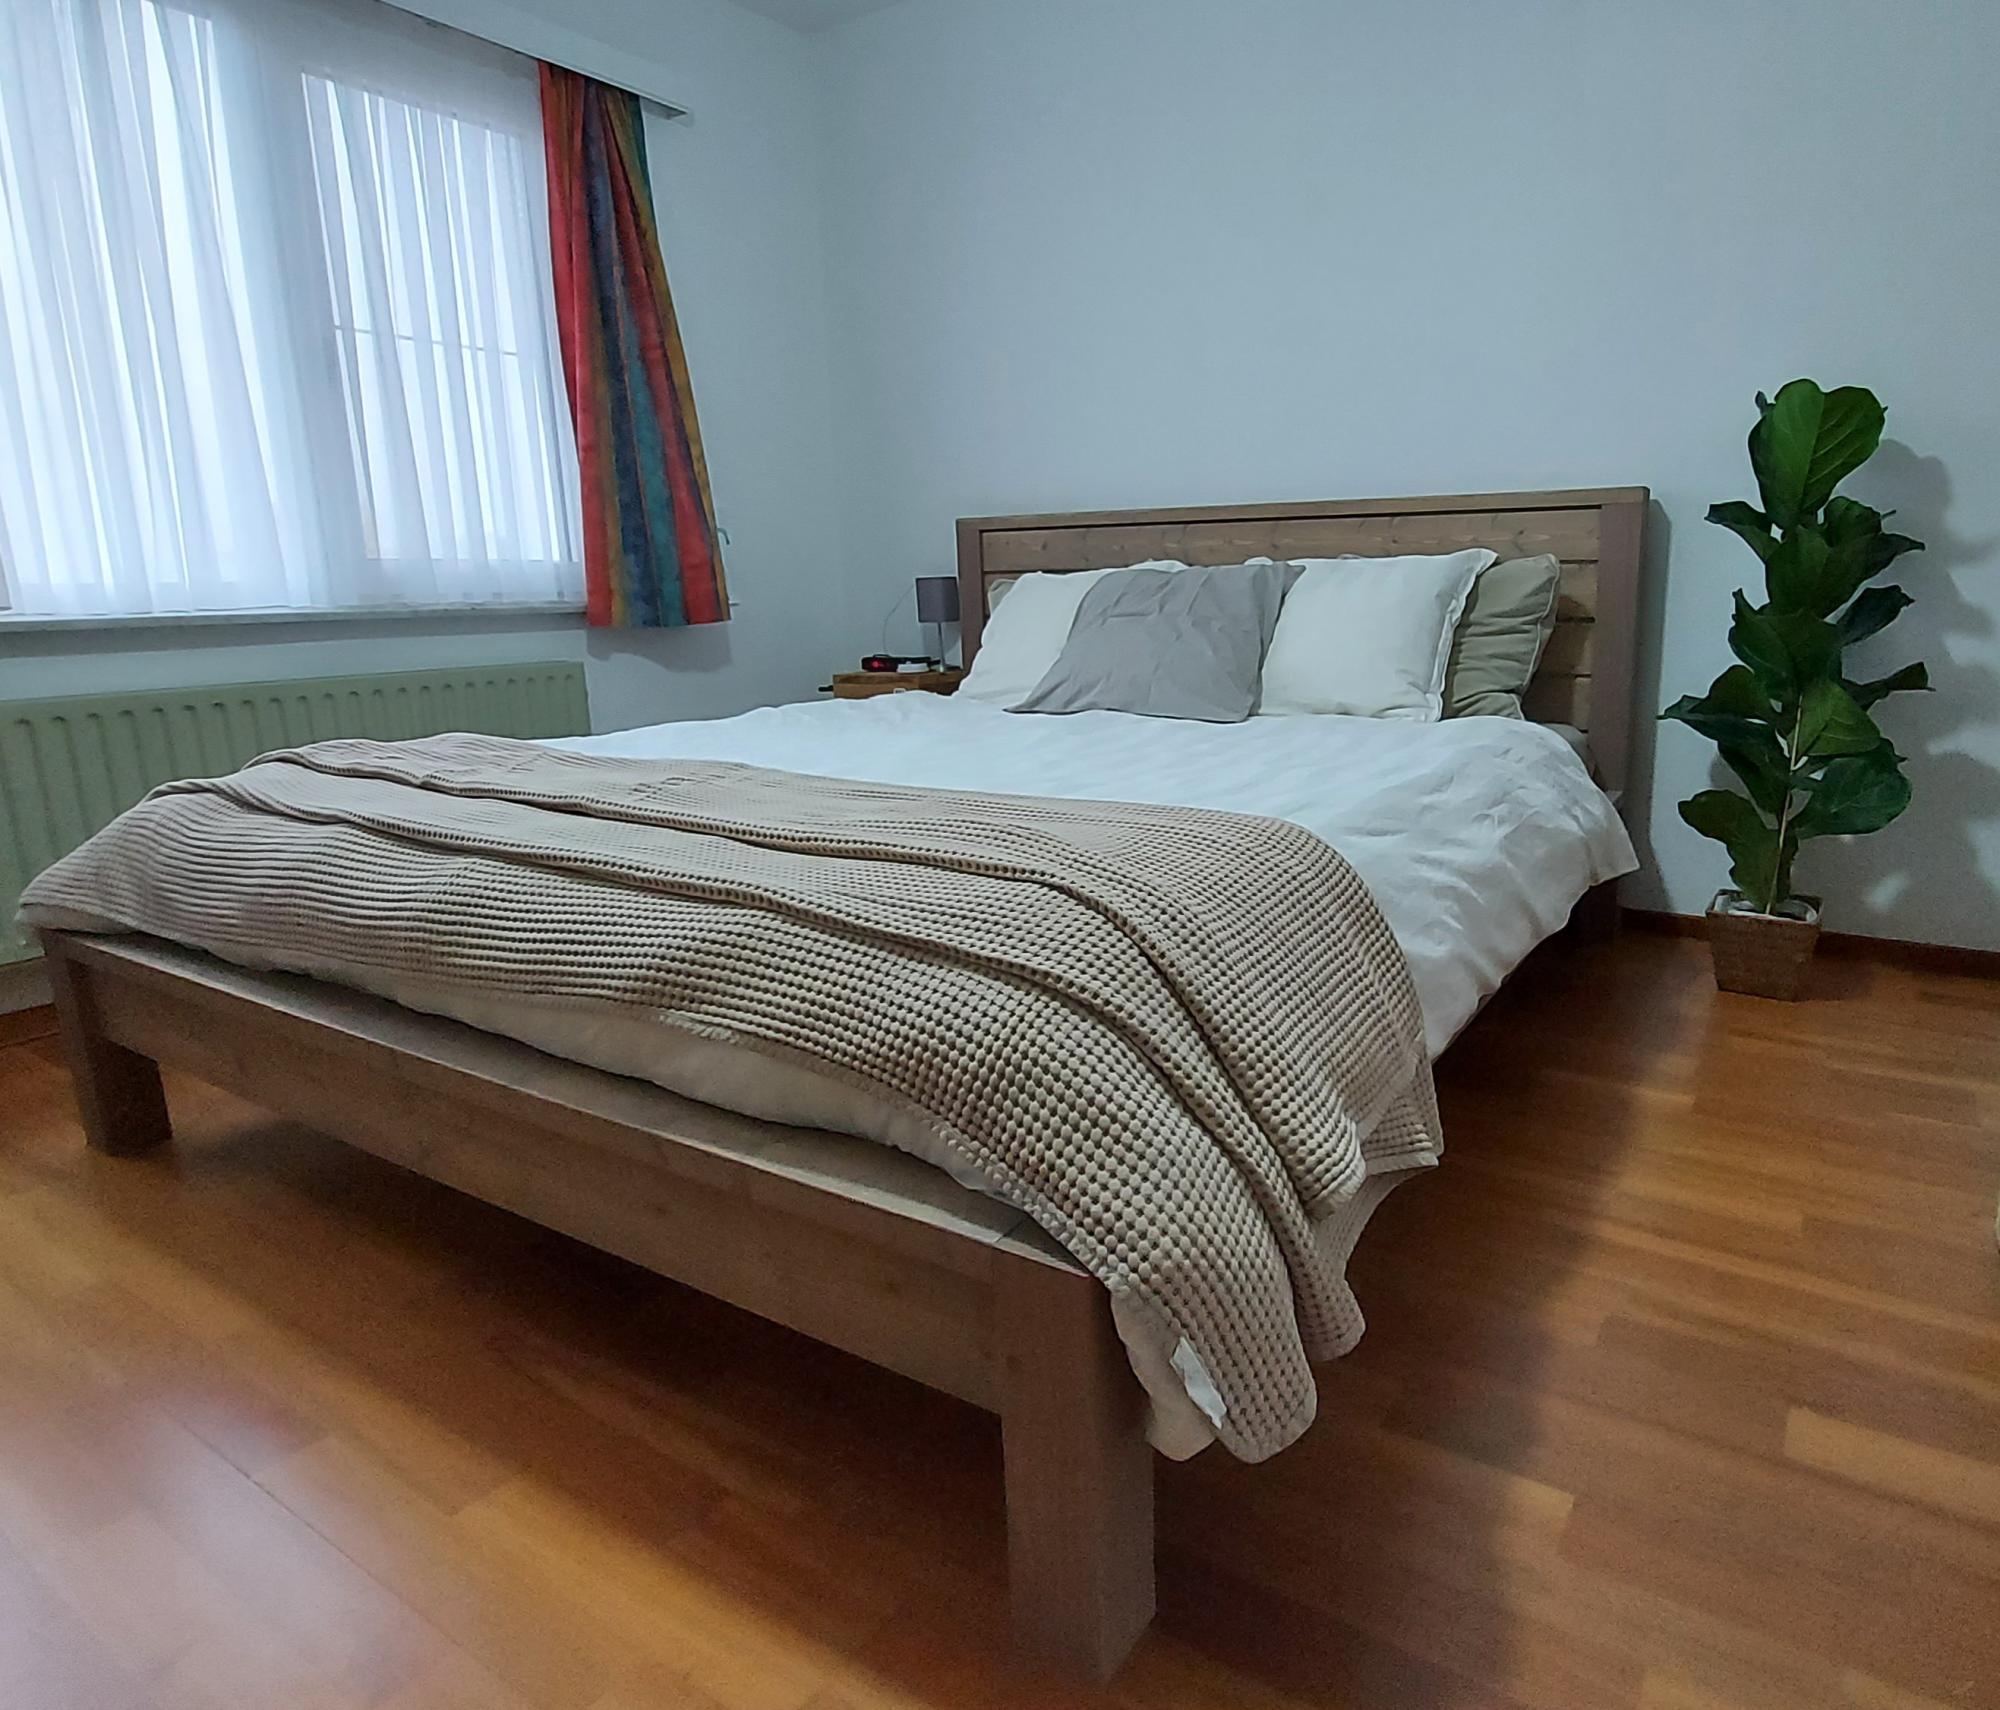
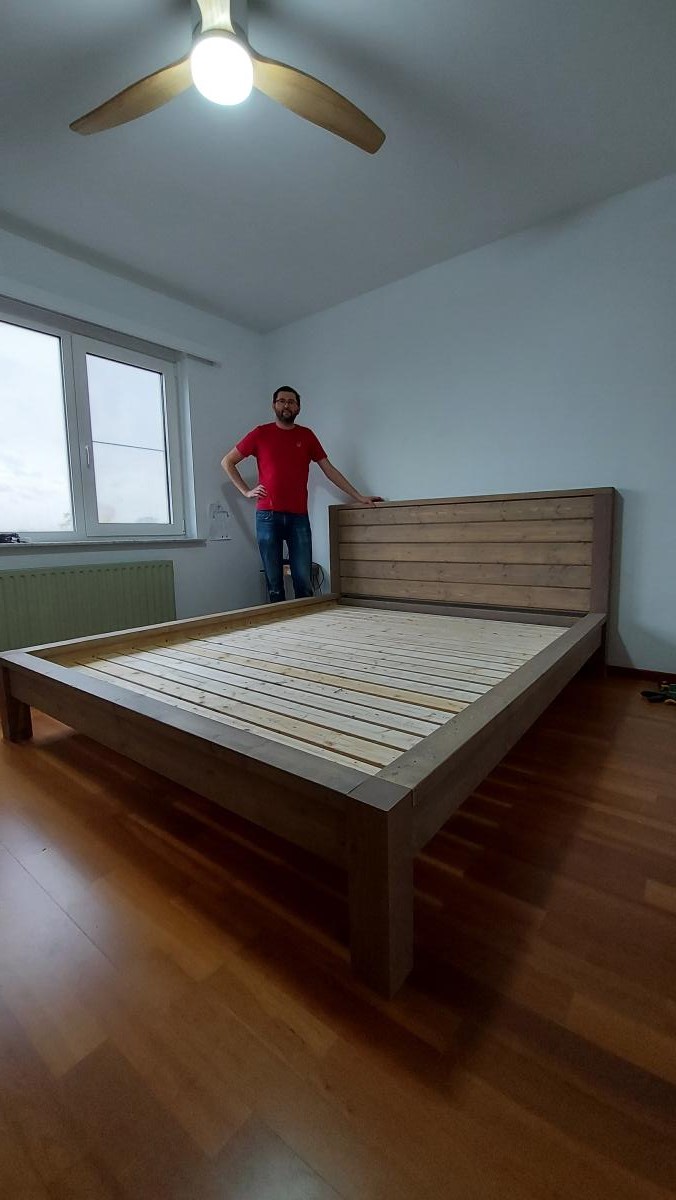
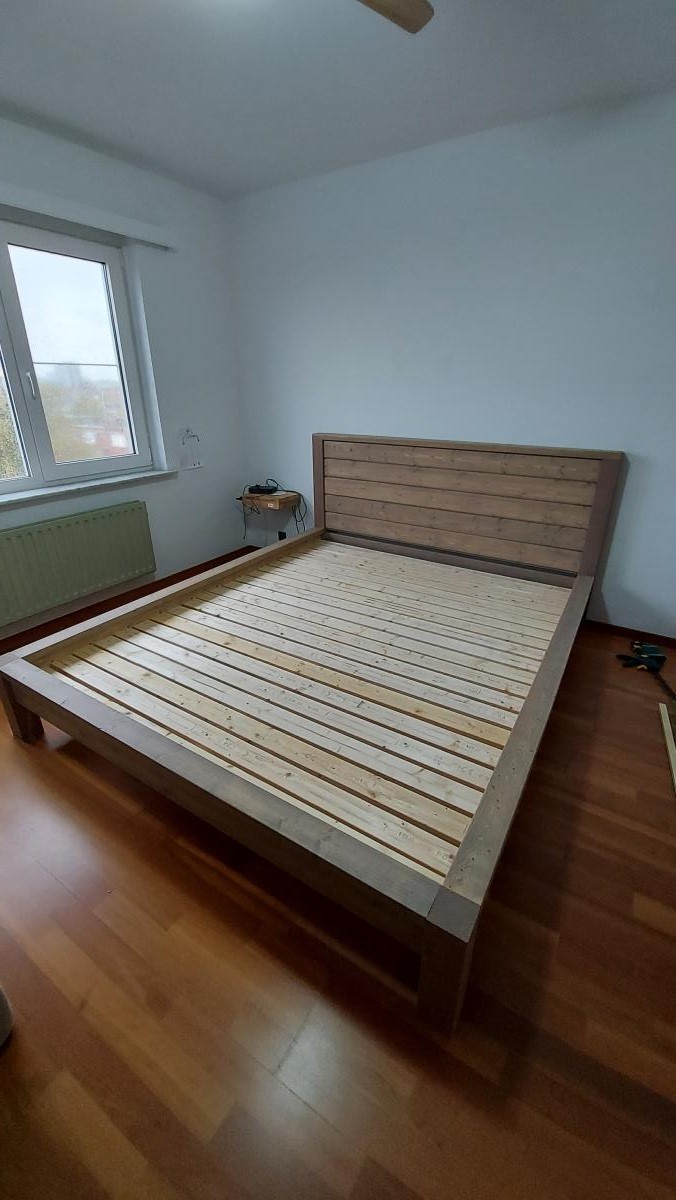
Modern farmhouse style bed

Submitted by rikkiesix on Sun, 10/31/2021 - 08:32

We are so happy with our new bed. Made the headboard a foot lower. Like it a bit better this way. Thanks Ana for the awesome plans Greetings from Belgium Marrah and Erik

Built from Plan(s)

Comments

Free Barn Beam Ledge

Submitted by AlexWS on Tue, 03/29/2011 - 14:43

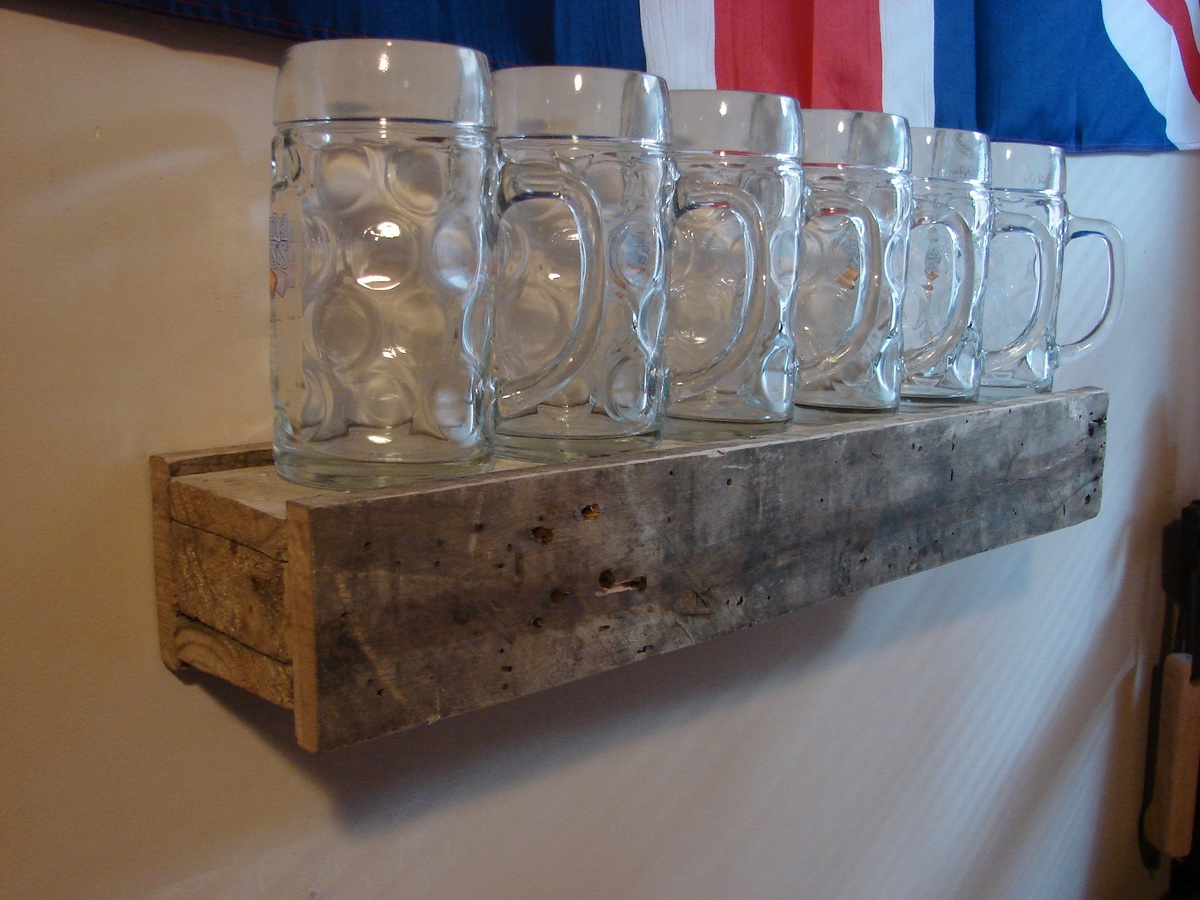
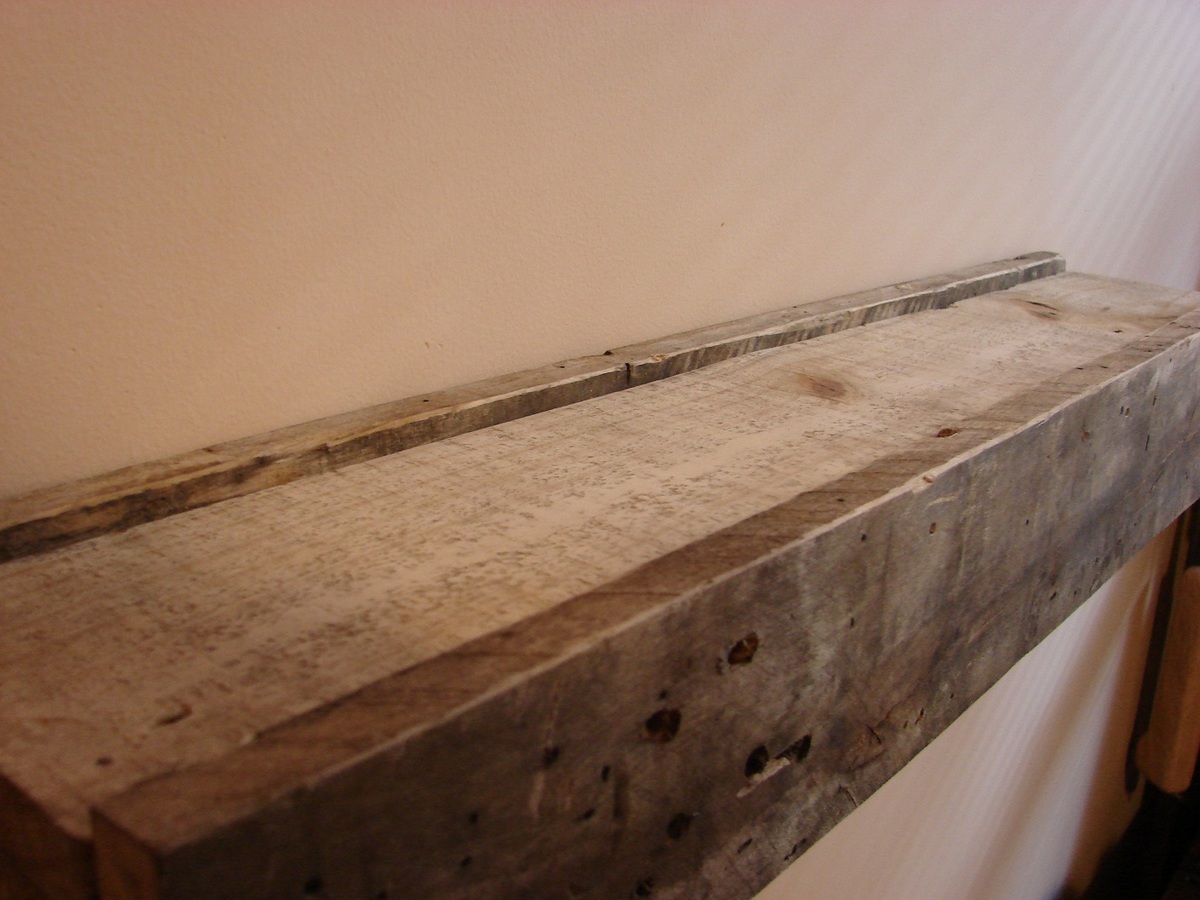
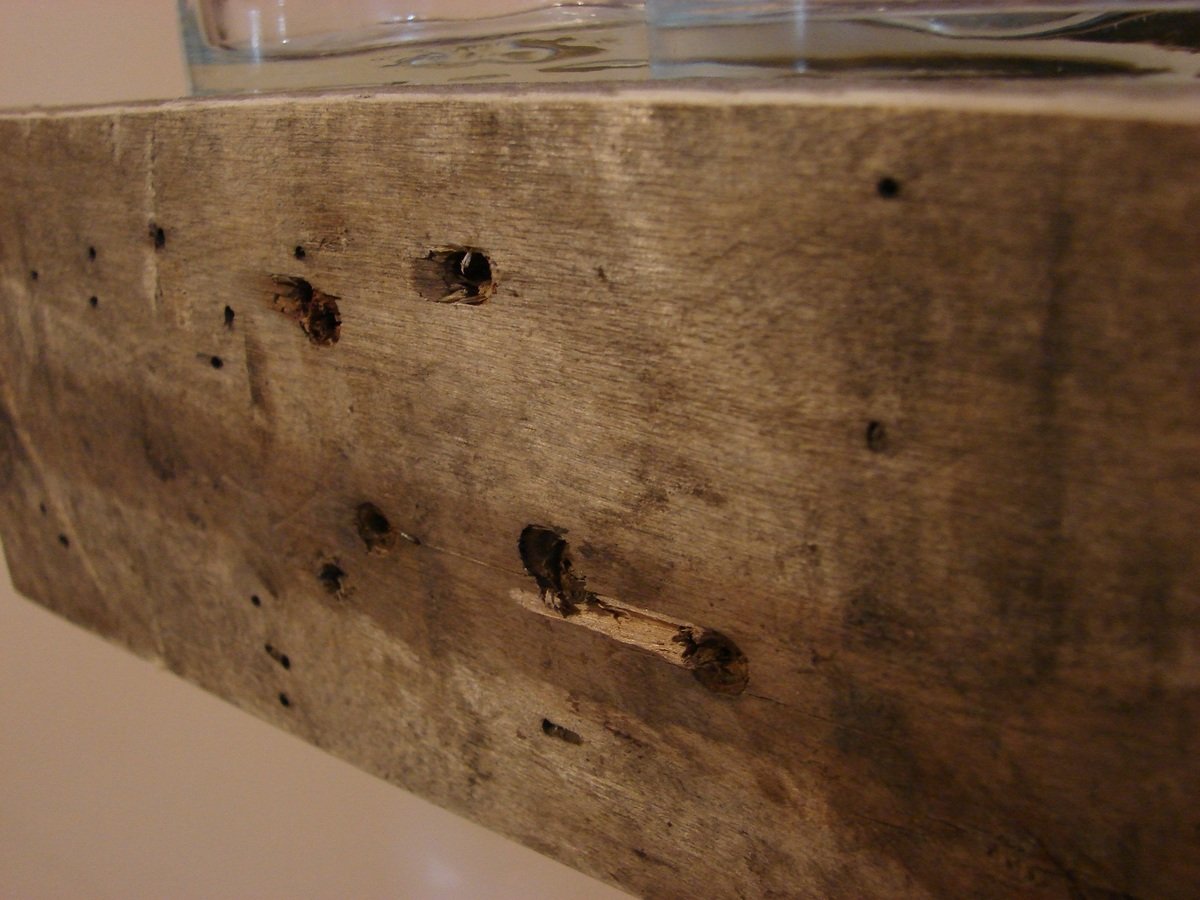
Well, my Kreg Jig arrived today so I had to play with it. However, I only had about an hour and a half before my friend came over to watch the hockey game. Having just put the drink station in I decided a shelf for mugs next to it was needed.

I know the barn beam doesn't really call for any Kreg joints, but I found a way.

There's no way I'm going to stain it with a patina like this. I just took the sander to it briefly because the top and bottom pieces were so rough cut they were fuzzy. The front and back are oak and have become quite smooth.

Built from Plan(s)
Estimated Time Investment
An Hour or Two (0-2 Hours)
Finish Used
Mother nature.
Recommended Skill Level
Starter Project

Patio Loveseat

Submitted by saroge3 on Mon, 06/10/2013 - 00:34

i was having a BBQ for my boyfriend's 27th birthday and we didn't have anything to sit on outside other than those fold up chairs that you take to tailgates. We went to look at buying some furniture from Lowes and we were pretty shocked at the prices. Since I had my mind set on having something other than a lawn chair for people to sit on when they came over, I figured I would give this blog a once over to see what it had. I am so glad that I did! I was able to make this loveseat in three days, and it is bigger, more comfortable, sturdier, and $500 cheaper than the same piece of furniture that I had picked out at Lowes. ( I realize this project could totally be done faster but I am a full time student along with a full time job,,, I did what I could. Plus a storm rolled through and knocked my power out ) I love my new patio bench and can't wait to build the matching chairs and perhaps a small table.
Estimated Cost
With cushions....$200ish
Estimated Time Investment
Weekend Project (10-20 Hours)
Finish Used
Black paint
Recommended Skill Level
Intermediate

Comments

Sideboard (now I know what that is!)

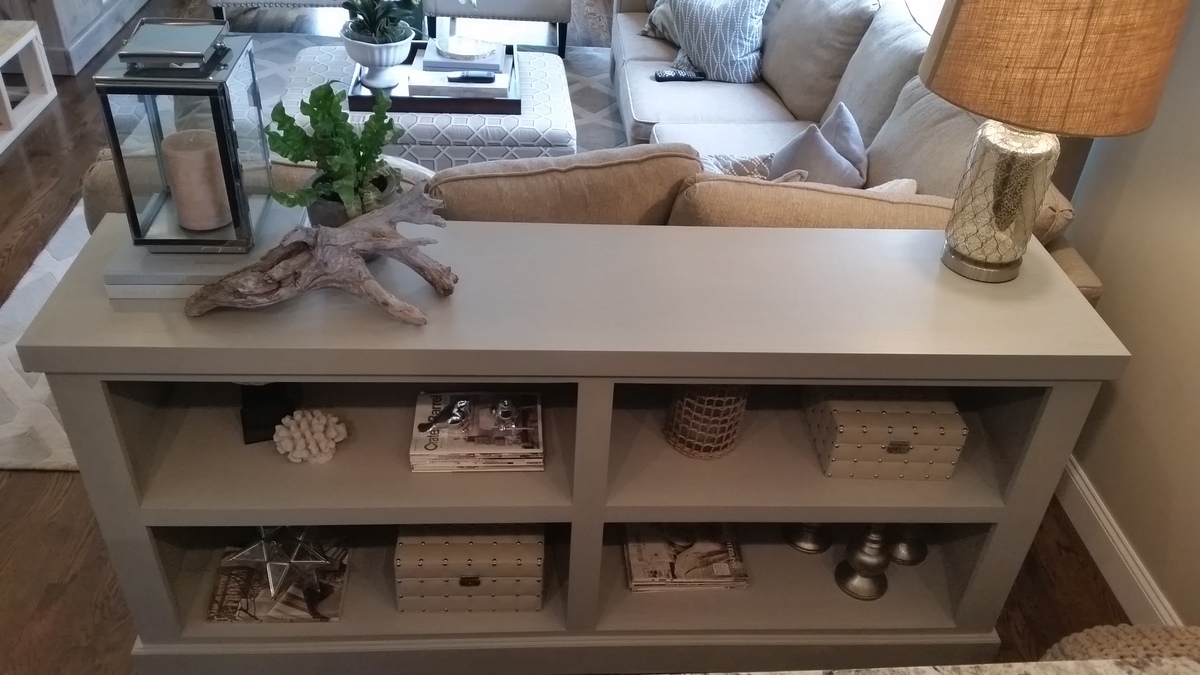
Submitted by nemiller55 on Wed, 05/13/2015 - 06:07

This is the first major piece I have built and the first thing from plans from the site. Want to thank everyone that contributes plans, brags, suggestions, etc. Amazing resource. My wife thought it looked good without the doors (thank goodness!), I think she did a great job finishing and decorating. She has three more projects lined up already! Looking forward to it.

Built from Plan(s)
Estimated Time Investment
Weekend Project (10-20 Hours)
Finish Used
Solid color stain from Home Depot. Matte varnish.
Recommended Skill Level
Beginner

Comments

Providence Bench - Heavy Timber Version

Submitted by sawduster on Sat, 10/28/2017 - 15:37

My wife saw the examples of the Providence Bench on this website and thought we could use one on our front porch.  We had some heavy lumber from a huge pin oak tree that we had taken out of our yard, and that was used in the construction.  In one of the attached photos, you can see the cross-section dimensions of the two top boards are 6-3/4" x 3-1/4".   The legs, main beam, and angle braces are rough cut, full dimension 2 x 4's.  Due to the lumber dimensions not being the same as standard commercial lumber, I had to vary the dimensions slightly.  Because of the dense, thicker lumber, construction took longer than it would of had I used pine or other softer wood.  I used a Kreg jig attachment to drill the holes for the screws.  We painted it with Sherwin-Williams 1021 Hi-Tech Black exterior grade acrylic paint.  The final weight is about 105 pounds.

Built from Plan(s)
Estimated Cost
Less than $100; I used lumber from a tree that was removed from my yard, and a friend with a sawmill milled the lumber at minimal cost.
Estimated Time Investment
Week Long Project (20 Hours or More)
Finish Used
Sherwin-Williams 1021 Hi-Tech Black exterior grade acrylic paint.
Recommended Skill Level
Intermediate
Seasonal And Holiday

Cabin style bed

Submitted by Anonymous (not verified) on Fri, 11/05/2021 - 19:27

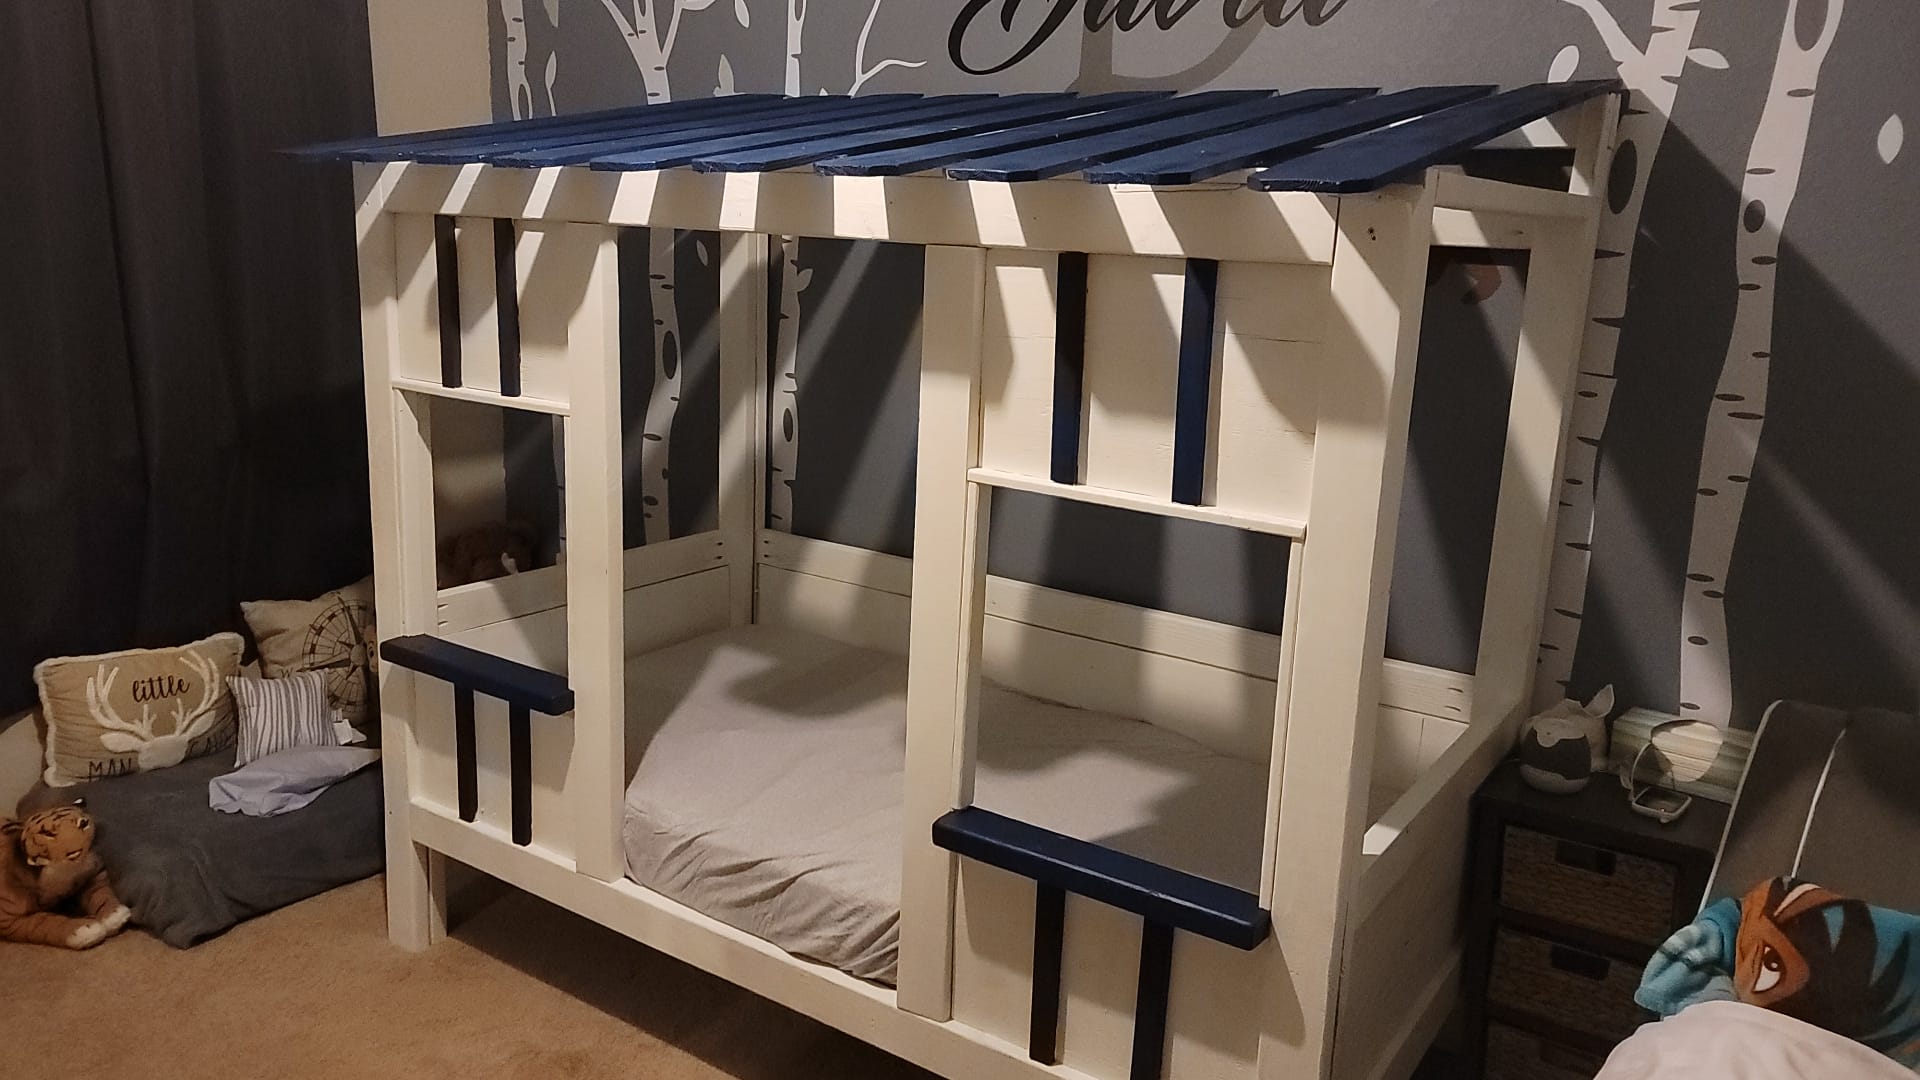
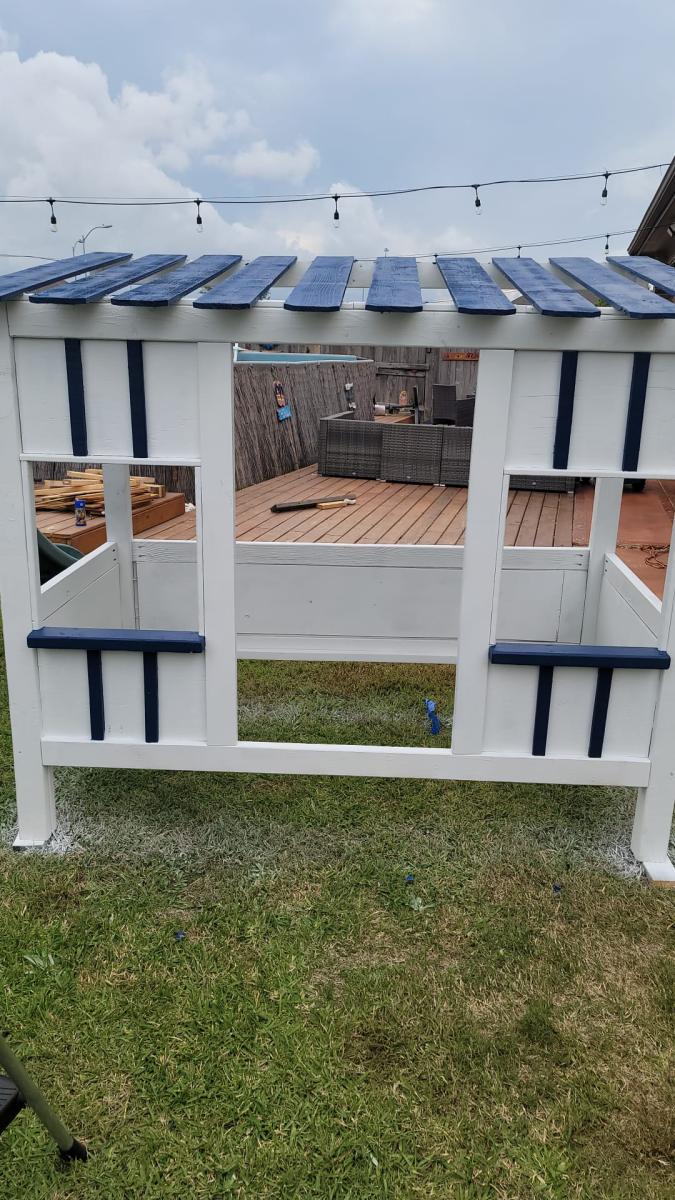
This was my version of the cabin bed plans on this site.
My son loves it and of course my wife does too..

Built from Plan(s)

Comments

Modified Easy Bench

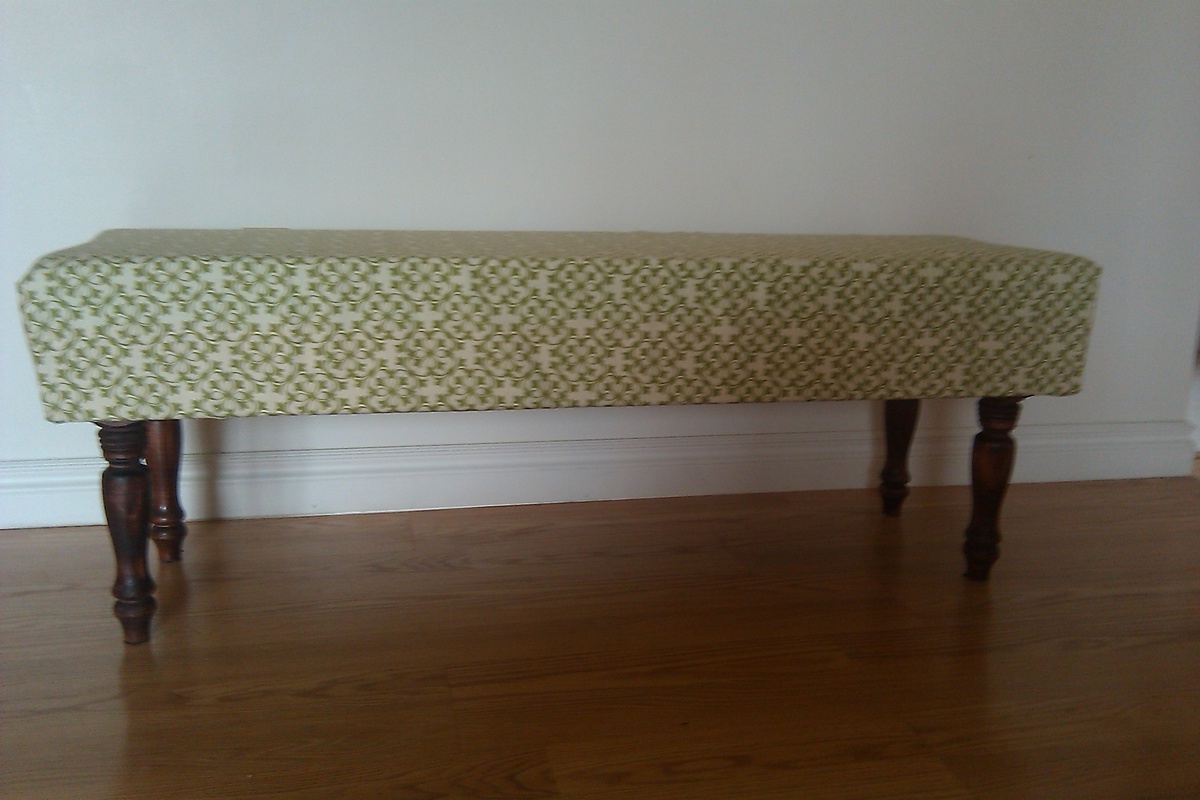
Submitted by wkilmer23 on Sat, 04/02/2011 - 08:03

Sorry for the poor photo.  I will take a better one when I find my camera.  We made this bench for our little shih tzu but it soon became a bench for everyone to test out.  If I had to repeat this project, I would probably keep the legs from the original plan.  These store bought legs don't seem sturdy enough.

Built from Plan(s)
Estimated Time Investment
An Hour or Two (0-2 Hours)
Finish Used
My wife bought the fabric at Jo-Jos and the legs are from big blue.
Recommended Skill Level
Beginner

Cabin dresser with shelf

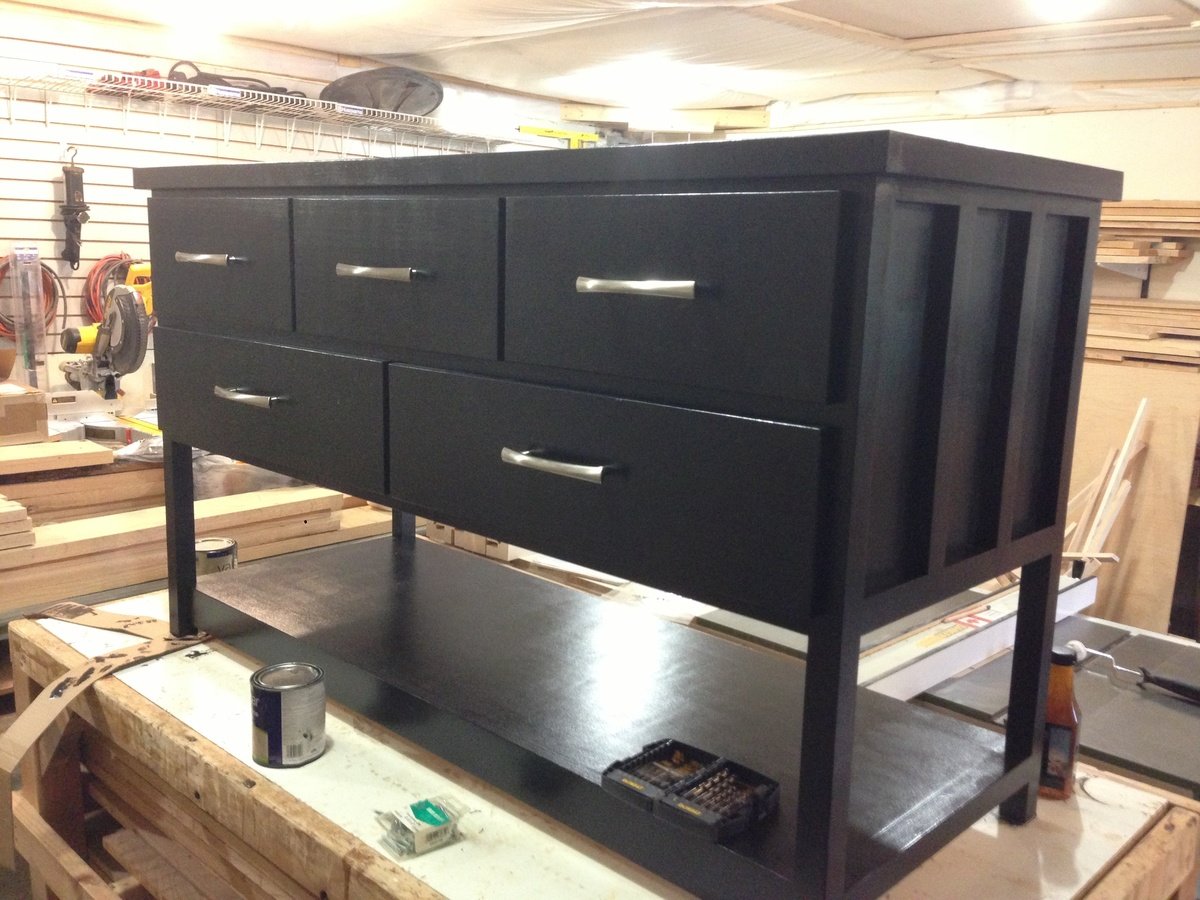
Submitted by Budd0413 on Tue, 06/11/2013 - 13:54

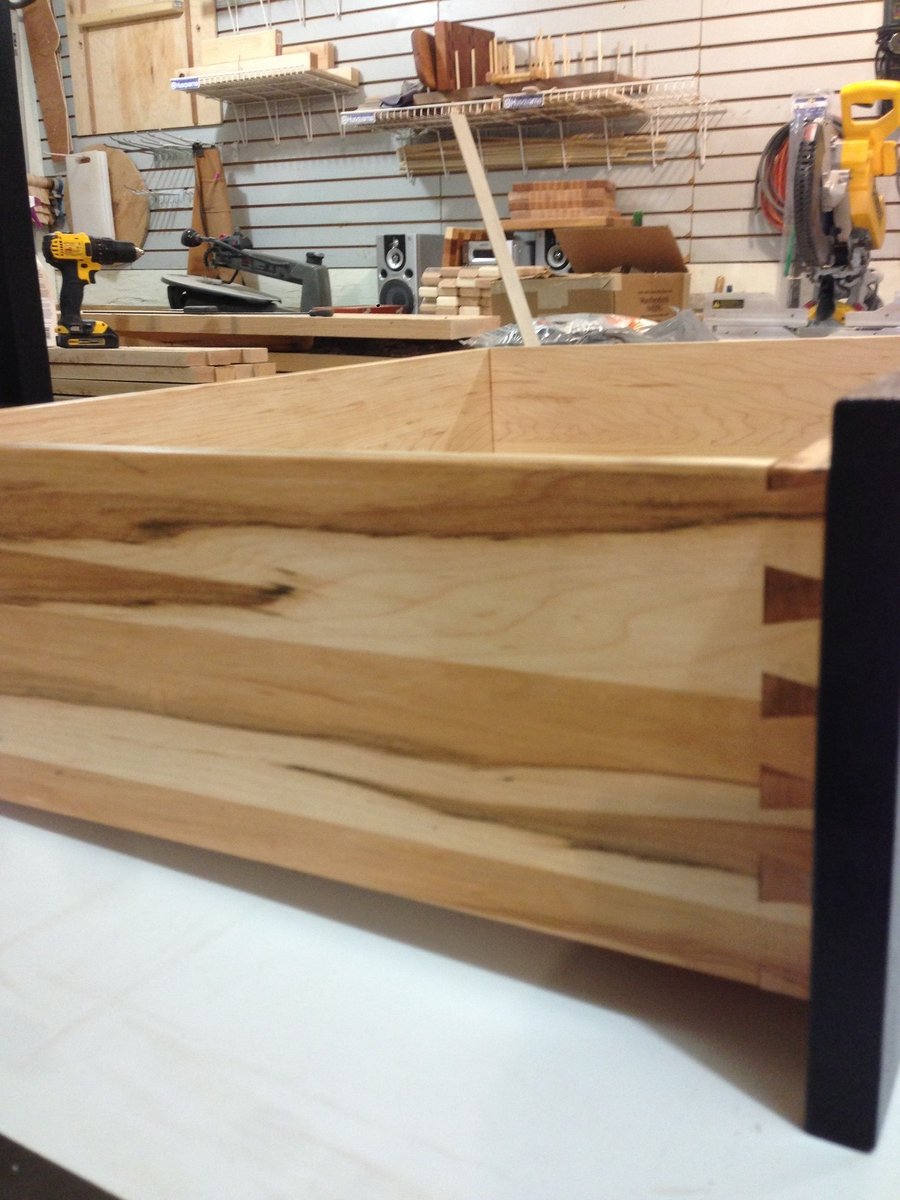
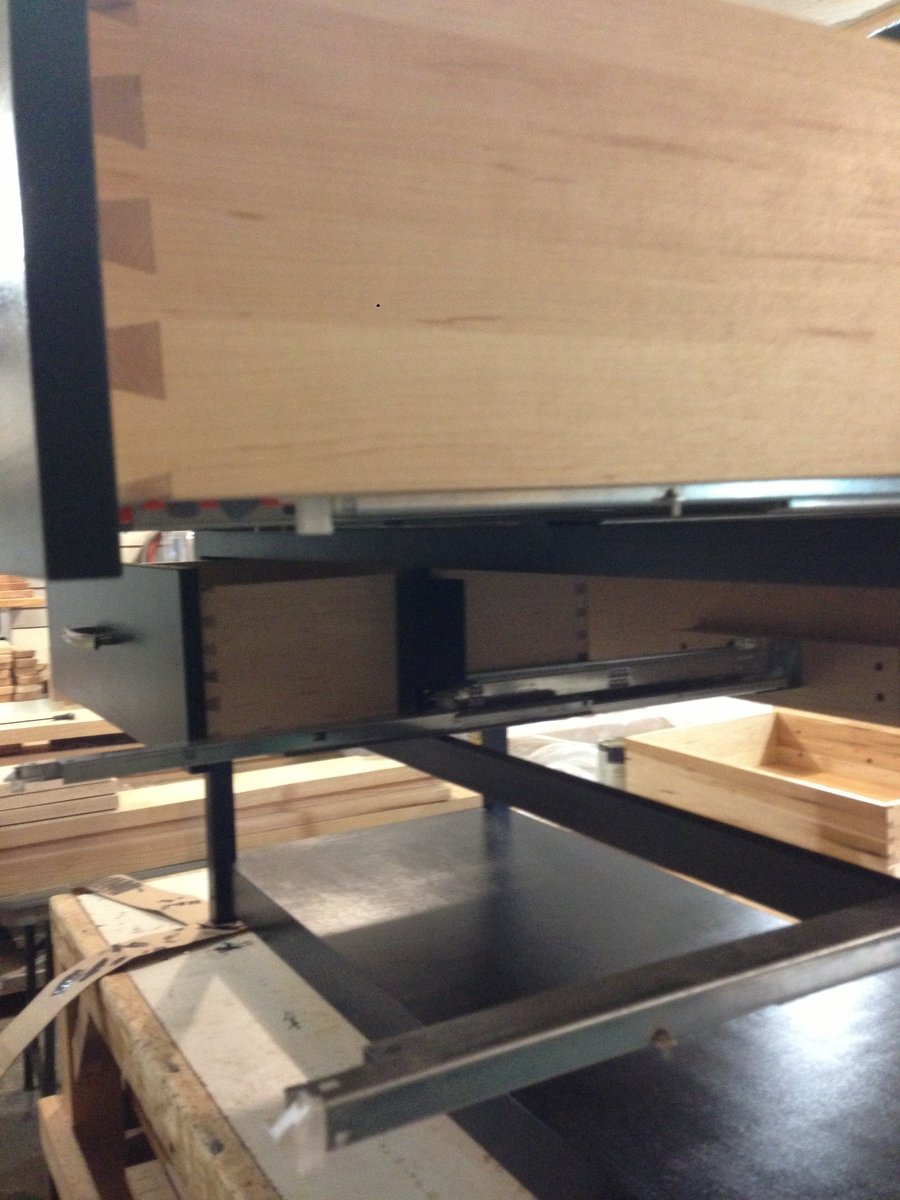
I liked this dresser. I modified the plan to suit my needs and added some features to bring it up to my tastes. I dovetailed the drawers and used Blum soft close 18" under mount slides. The drawers were costly and time consuming but I am very happy with the form and function. I added some height and depth.

I also used some different construction methods. I built the legs first then three individual face frames that were attached individually, instead of adding one piece at a time.

This was a great project, I wish I haven't painted it but using brown maple is really best suited for paint.

Estimated Cost
300
Estimated Time Investment
Week Long Project (20 Hours or More)
Finish Used
Black enamel, lacquer on inside of drawers.
Recommended Skill Level
Intermediate

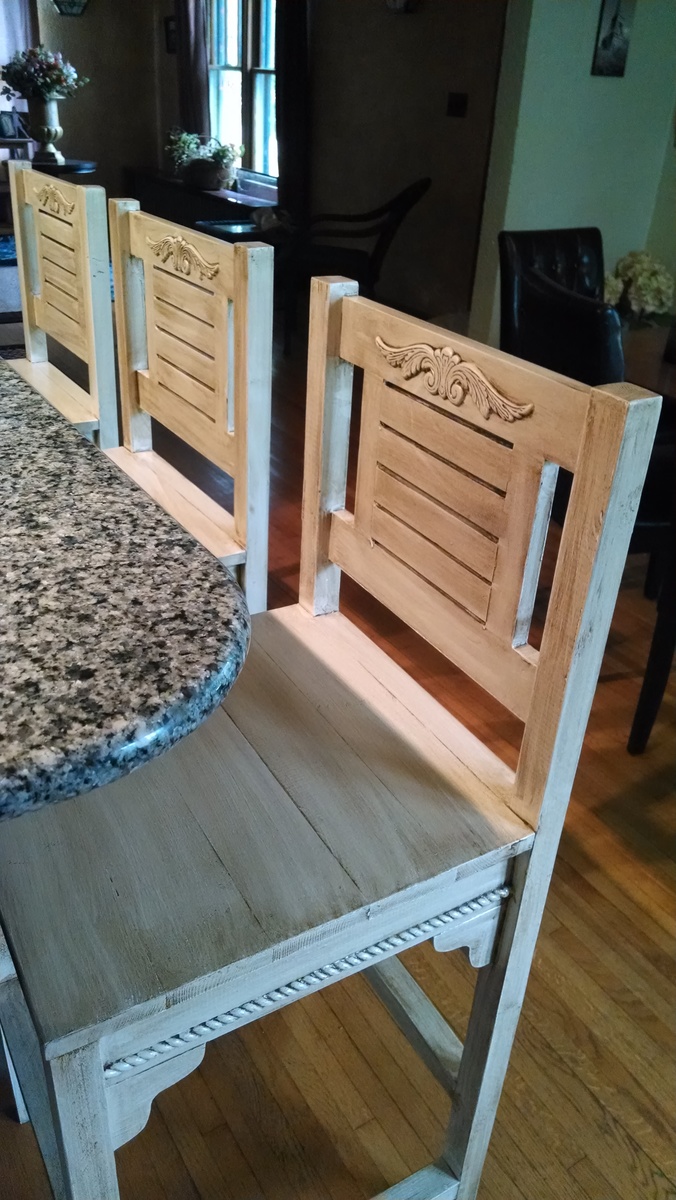
Upscale - vintage bar stools

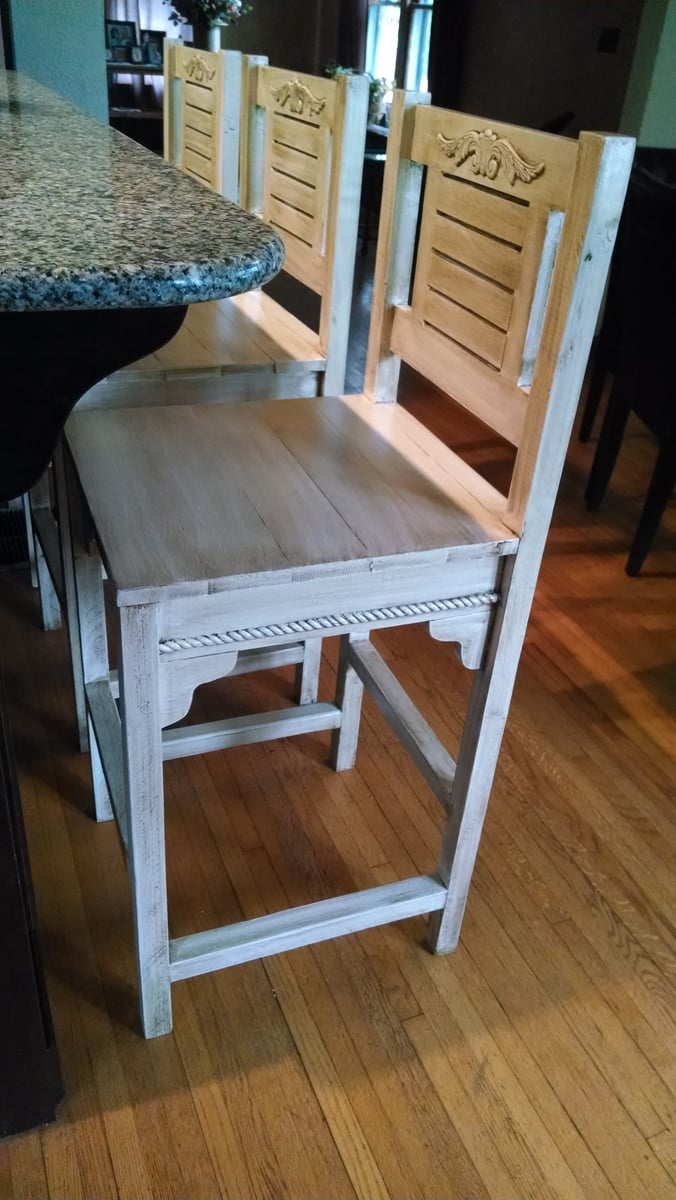
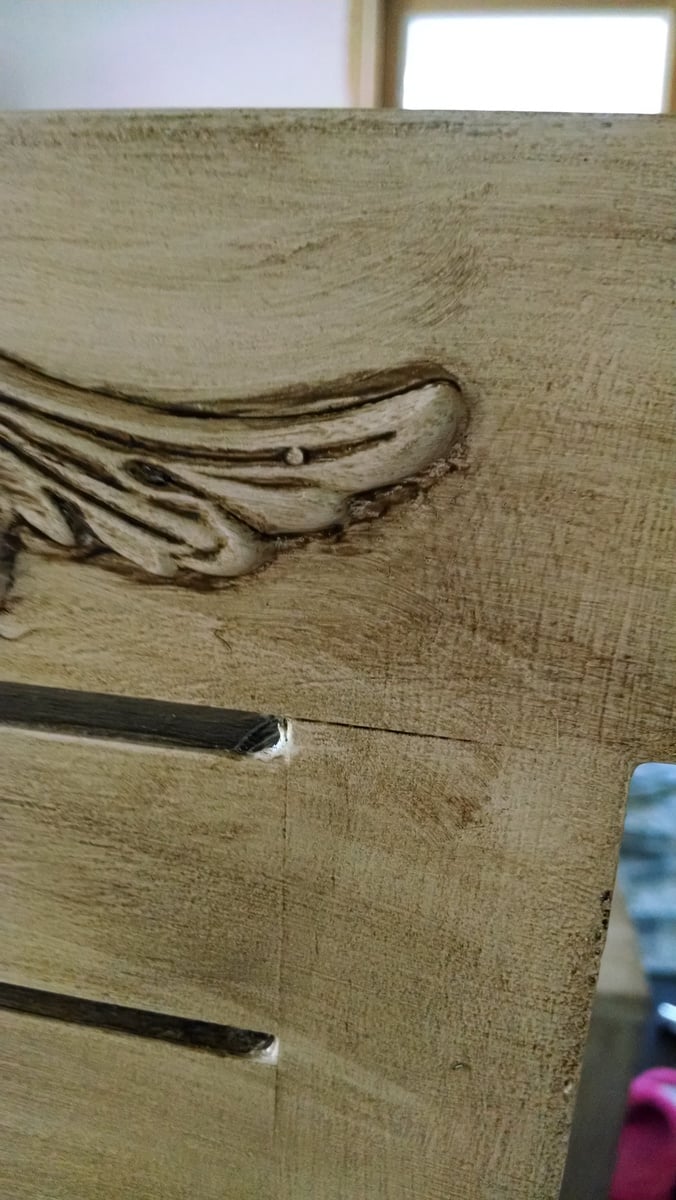
Added some decorative detail with roping and accents to apron pieces and back. Then painted and glazed the whole piece. Adjusted seat height but not overall height. Built it for our awesome neighbors.

Built from Plan(s)
Estimated Cost
For three, altogether about $140.
Estimated Time Investment
Weekend Project (10-20 Hours)
Finish Used
Paint, Glaze, and water based varnish.My blog has more details. Valspar paint, Rustoleum glaze, and Minwax varnish.
Recommended Skill Level
Intermediate

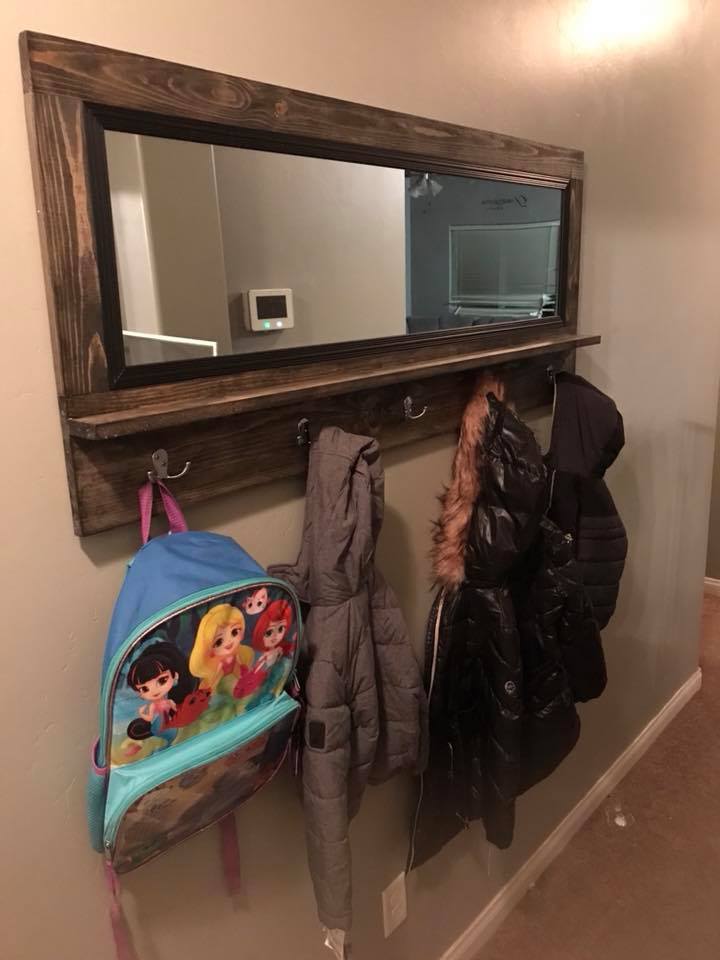
Mirror With Hooks

This is my favorite build so far! It took me a little longer than it should because I’m still learning and I second guess myself more than I should. I also made the mirror flush with the frame and glued it in the back.

Built from Plan(s)
Estimated Time Investment
Afternoon Project (3-6 Hours)
Finish Used
Minwax Ebony Stain
Recommended Skill Level
Beginner

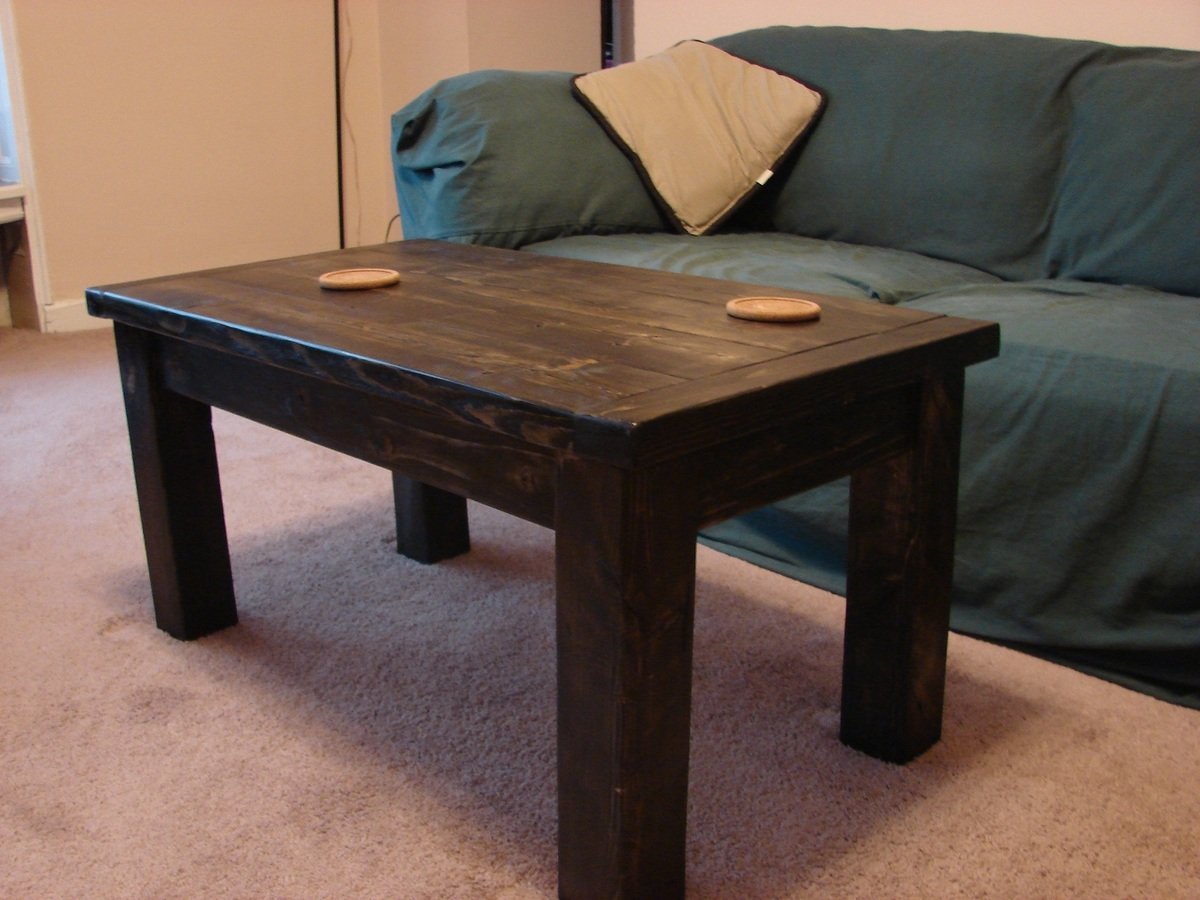
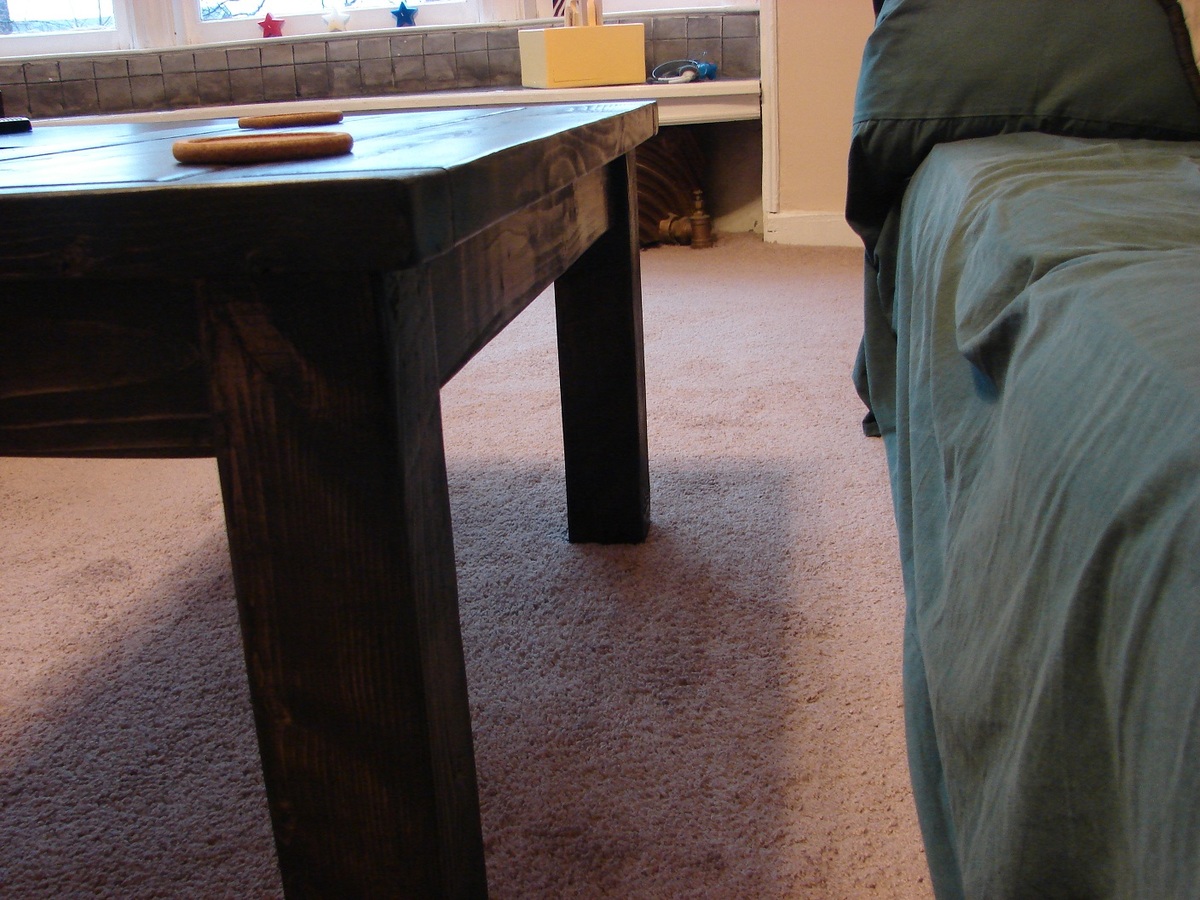
Pallet Wood Coffee Table

Submitted by AlexWS on Mon, 04/04/2011 - 14:51

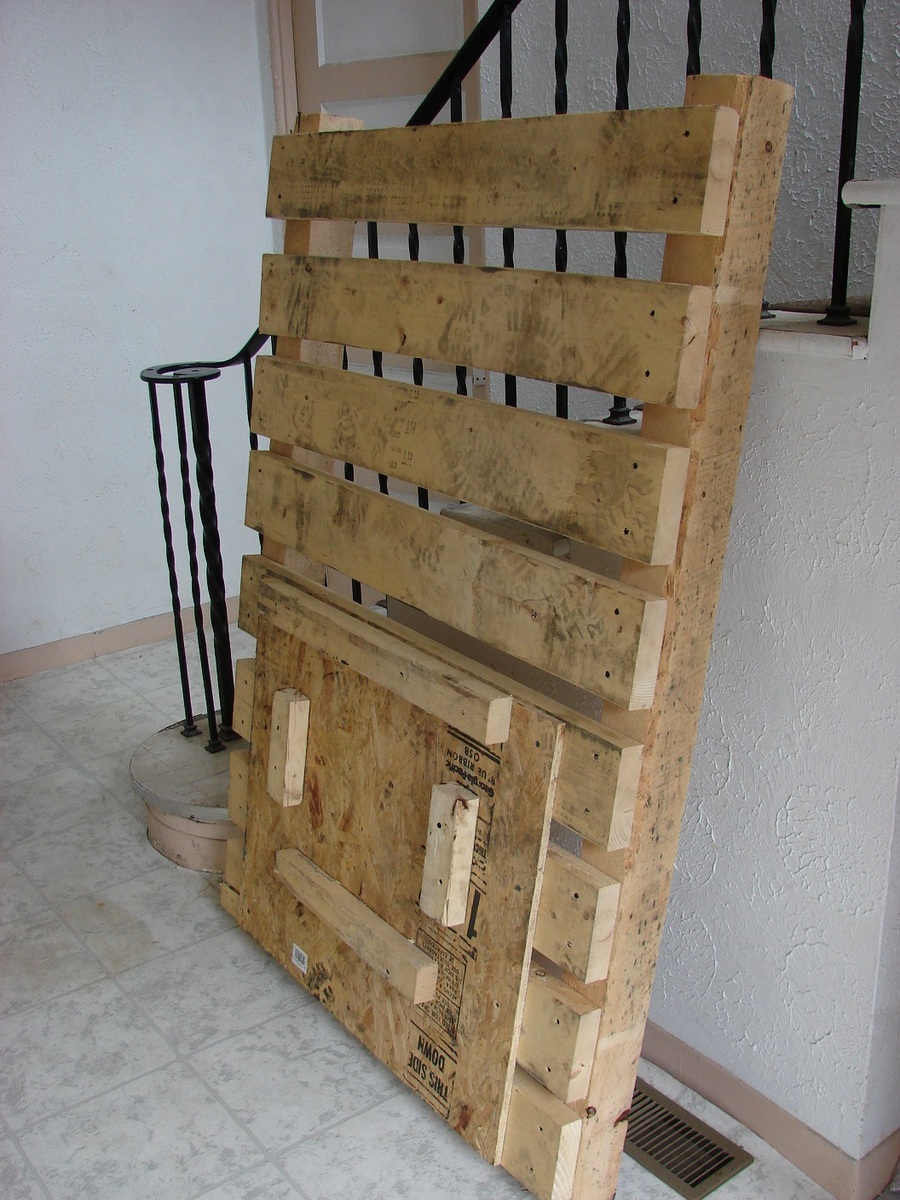
After my free drink station project I was going to swear off pallet wood for larger pieces, then I came across what may be a holy grail of pallets. 4 feet by 5 feet made with 4X4's and 2X6's held together with screws rather than nails. Yup, something had to be done with this.

so the sort of free comes from the lumber being free while I paid for the stain and poly. Of course, you could say we always pay for those, in this instance though they weren't leftovers from another project.

I say sort of Tryde because it shares the basics of the table, 2 by top pieces, breadboards, chunky 4X4 legs. However, given my wood choices the lumber sizes are all mixed around. Also because I was originally going to make the modern X leg kids picnic table but didn't have any good wood for the legs.

So instead of the breadboards being the wide pieces those are now 2X3's with 2X6's for the table top pieces. Another difference is that instead of 1X4's for the aprons boxed out I used 2X4's. This really wasn't a big deal because I had a Kreg Jig. By the way, got the master system and it rocks my socks off.

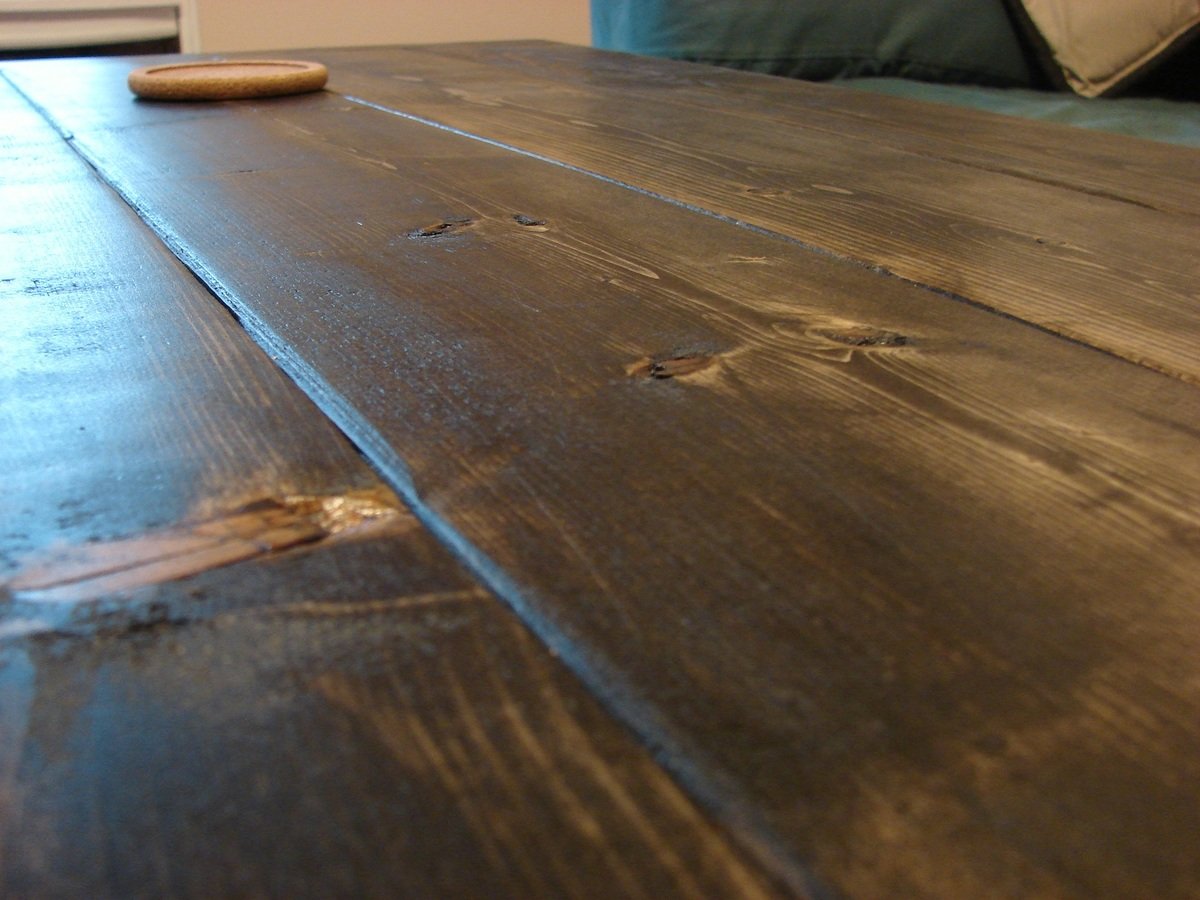
Compared to my last pallet wood projects these boards pretty much look store bought, I wish I had remembered to take a picture before I stained it. They're definitely a bit knotty but that's OK because even when I don't want an overly distressed look I still don't think wood should be perfect, if I wanted that I would use MDF.

Built from Plan(s)
Estimated Cost
$15
Estimated Time Investment
Afternoon Project (3-6 Hours)
Finish Used
Simple Minwax Ebony stain with a gloss spray poly.
Recommended Skill Level
Beginner

Tryde Coffee Table

Submitted by bishop2001 on Fri, 06/14/2013 - 07:00

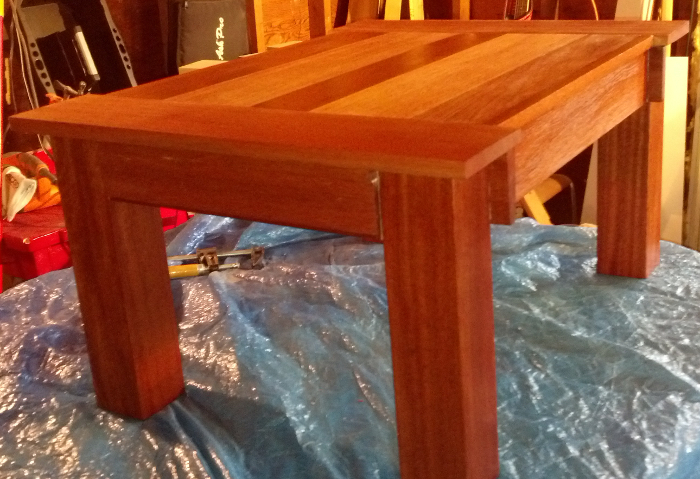
Tryde Coffee Table made of mahogany and stained used several layers of boiled linseed oil and a few top coat layers of wipe on satin polyurethane. It came out really nice. This is my first project.

Estimated Time Investment
Week Long Project (20 Hours or More)
Finish Used
boiled linseed oil
Recommended Skill Level
Beginner

Comments