Community Brag Posts
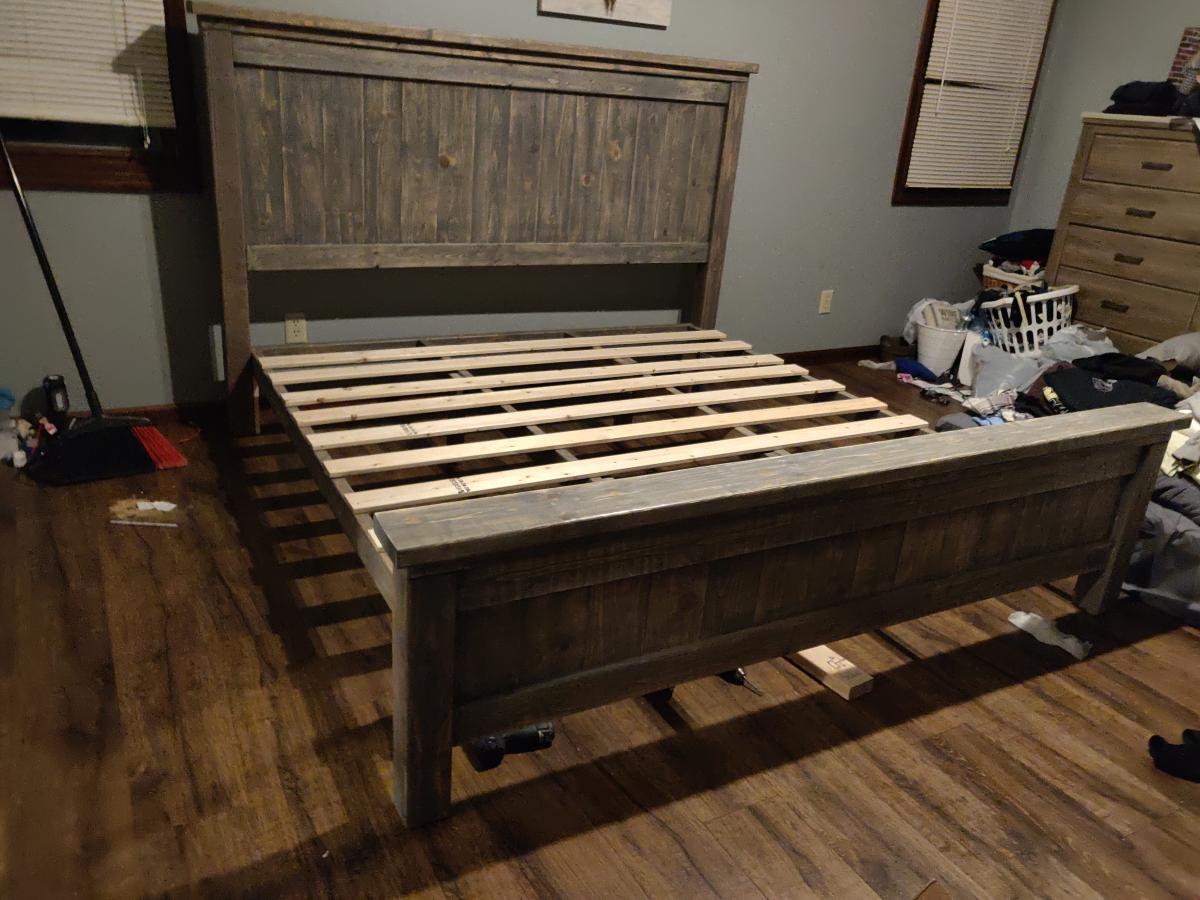
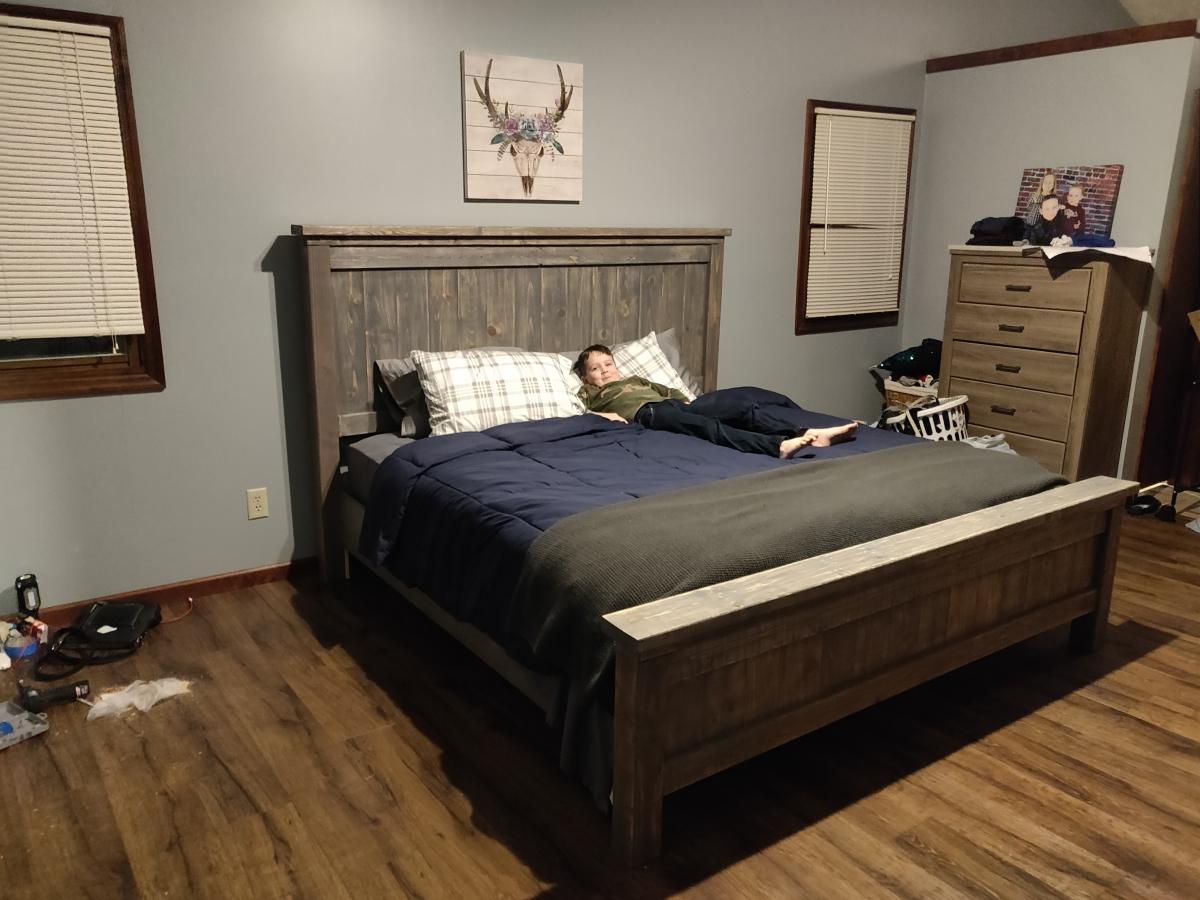
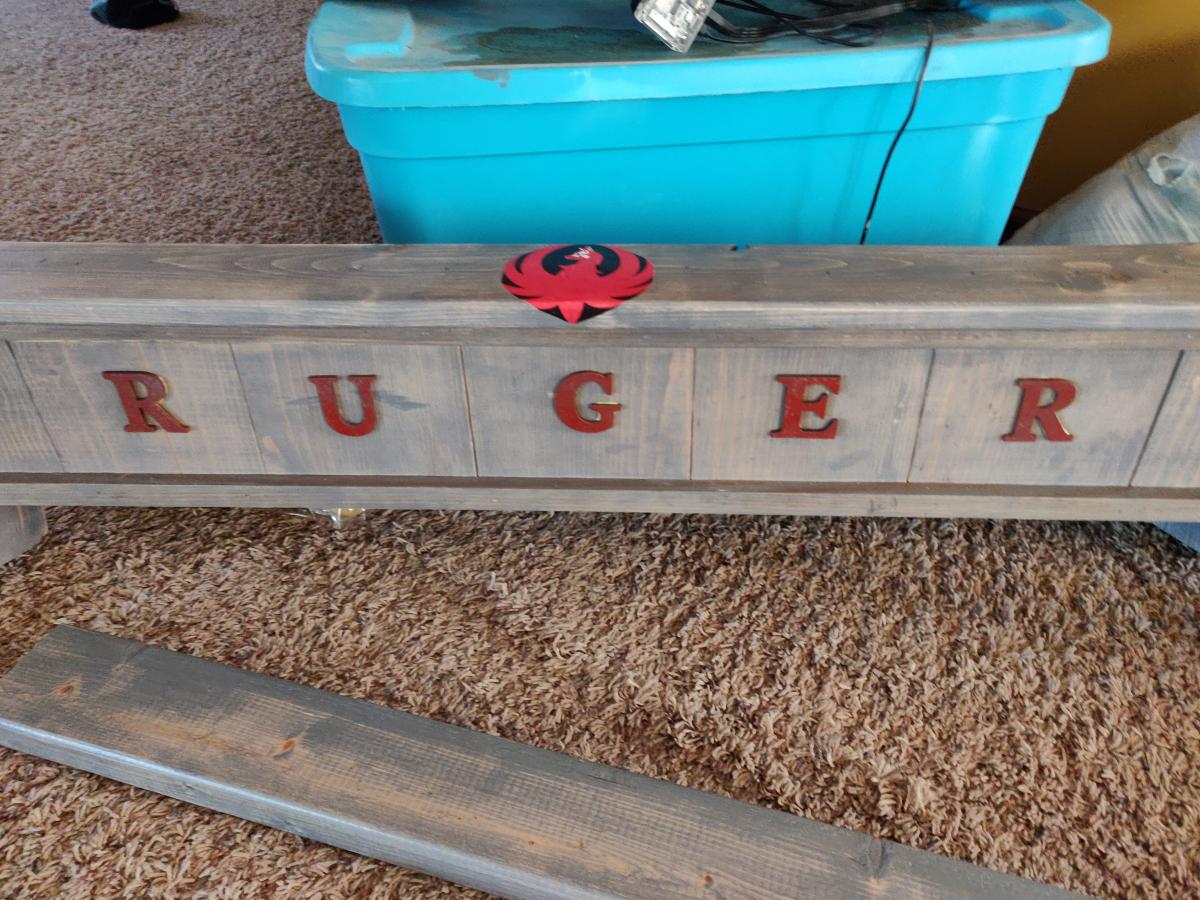
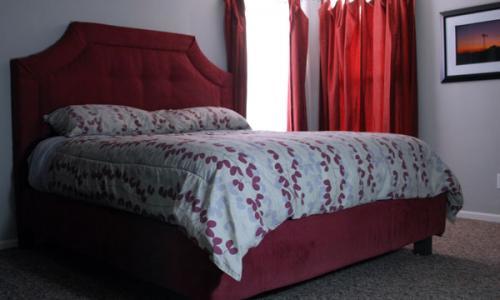
King size Farmhouse bed and a additional bed for Ruger the dog

We got to move into our new house and commited to a mattress straight on the floor until we got our bedframe built. Exactly one month later and we are feeling human again in our sleeping arrangements, lol.
The sofa table desk and end tables is next. I am hoping to get a good floating media center plan soon too using a cleat system. * Hint, Hint
Built from Plan(s)
Estimated Time Investment
Week Long Project (20 Hours or More)
Finish Used
Classic gray
Recommended Skill Level
Intermediate
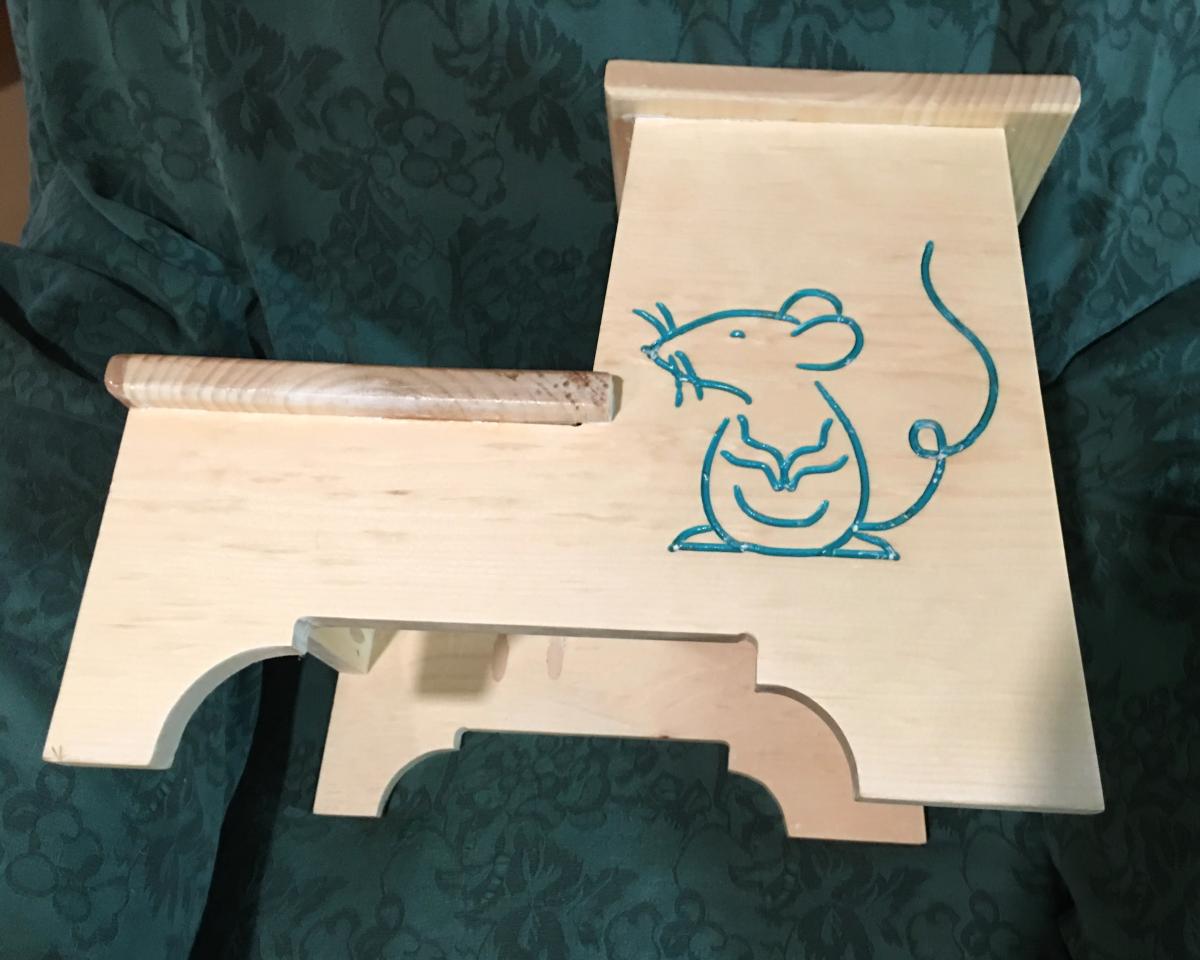
Customized Step Stool
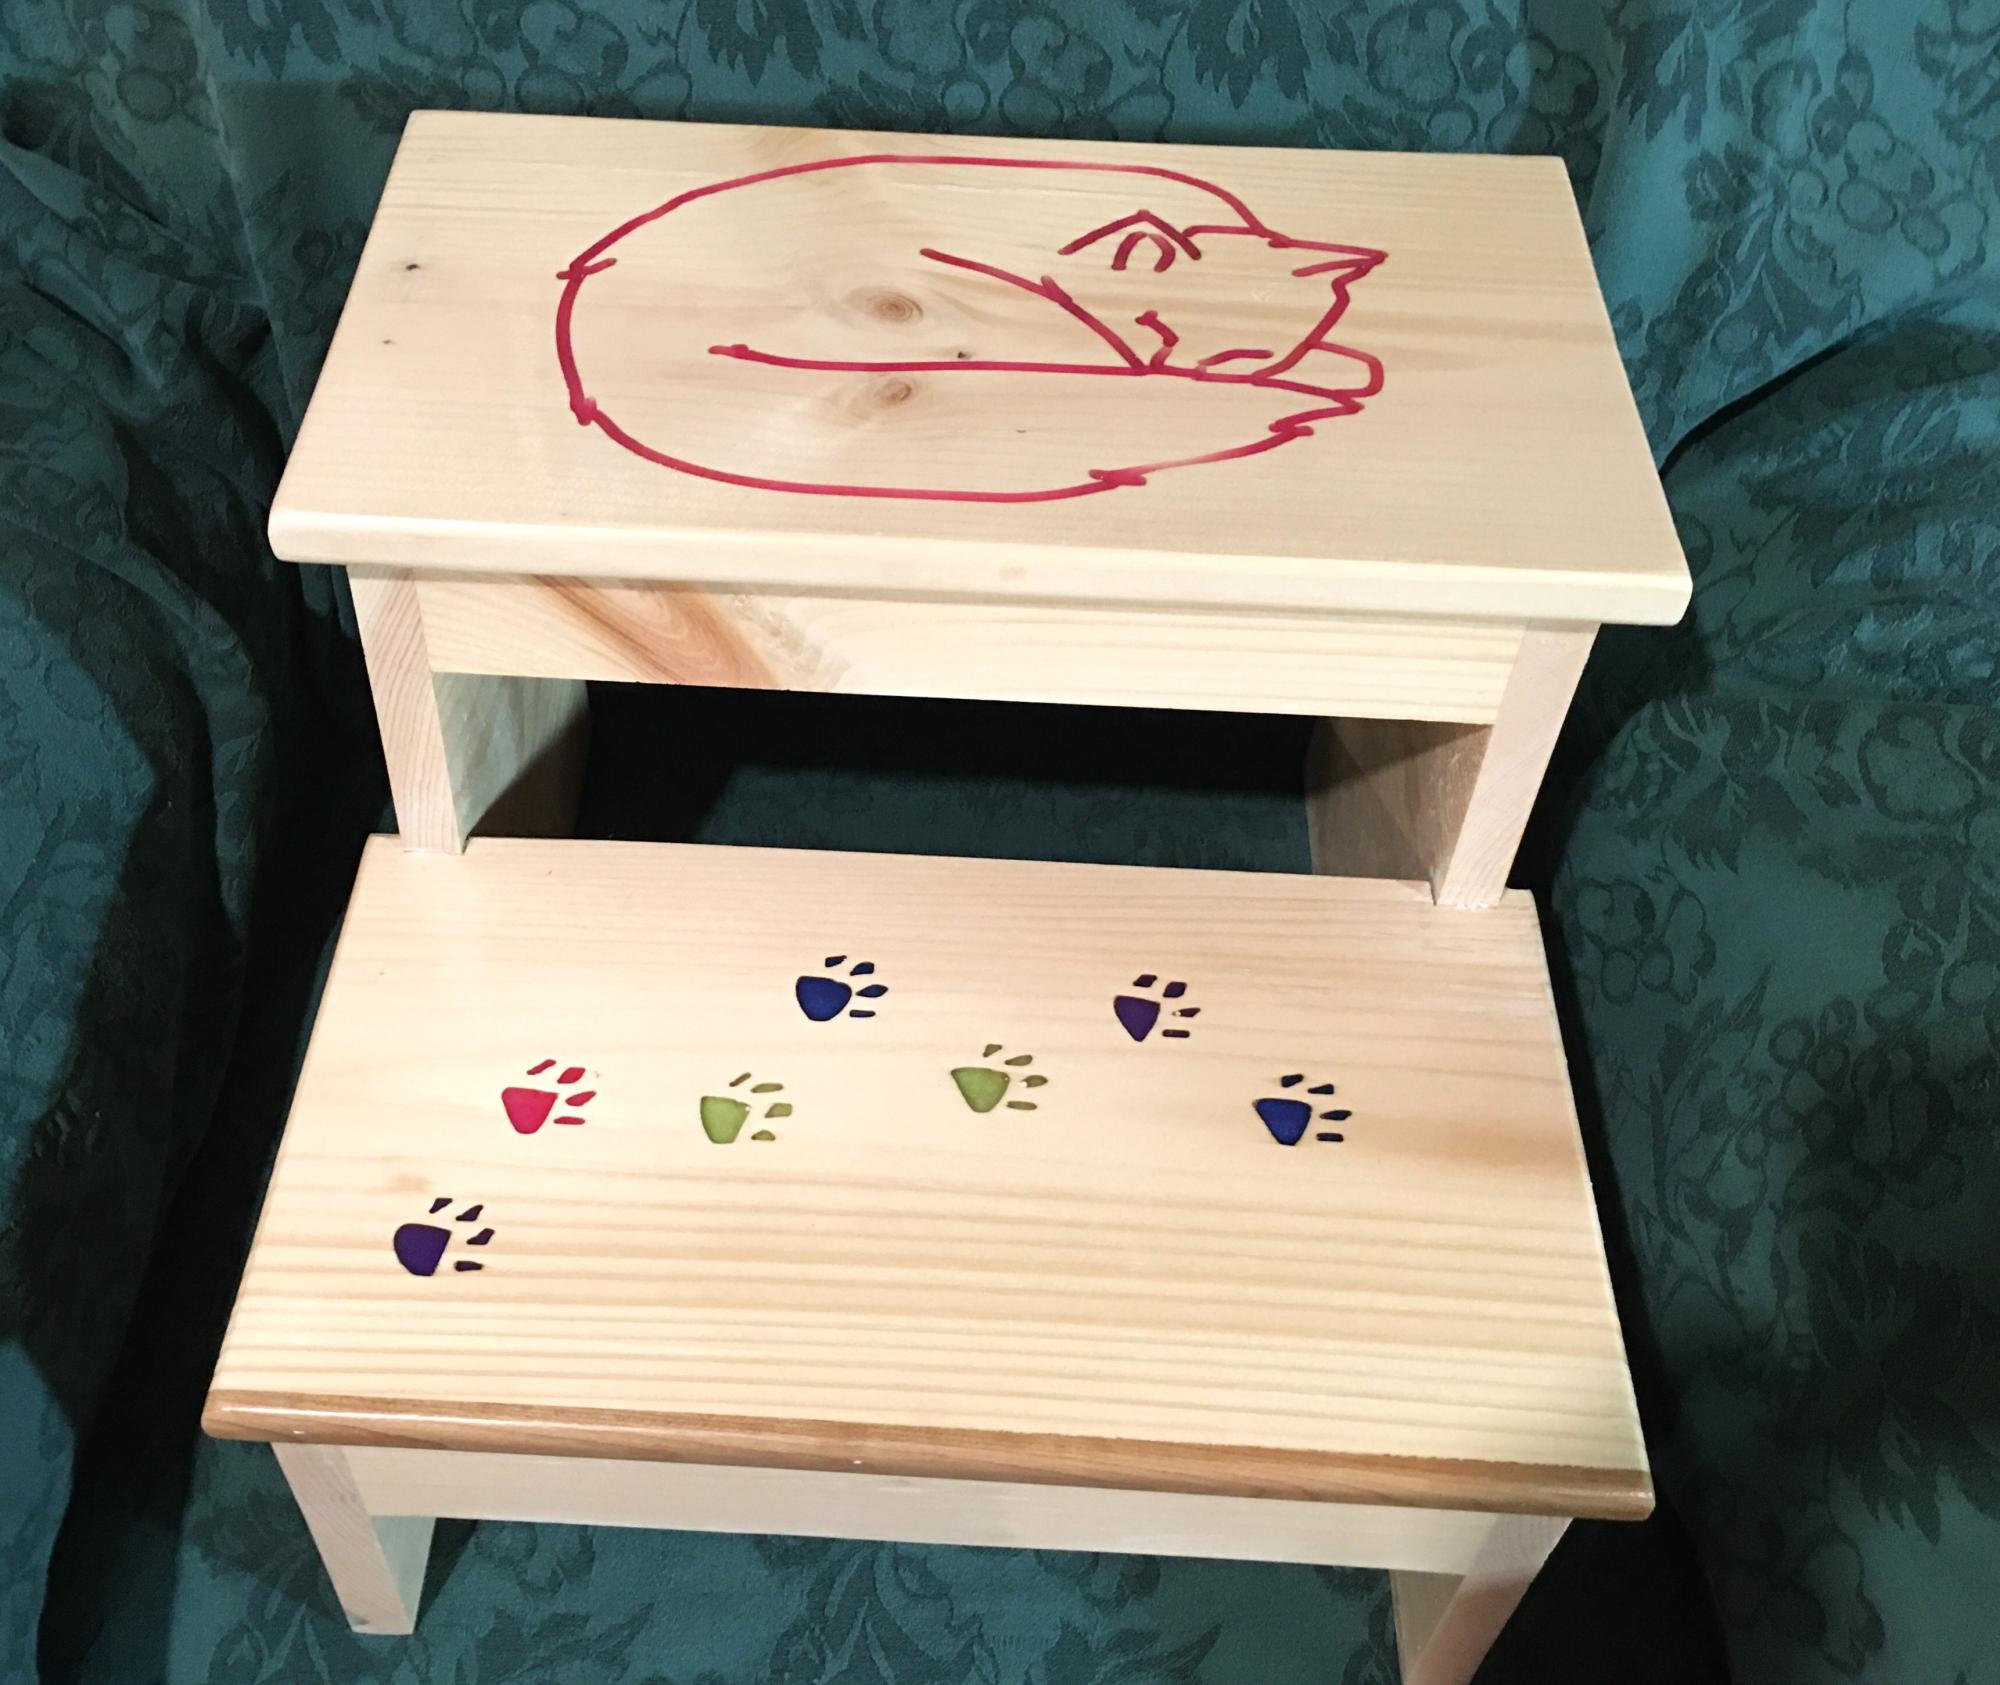
i took the step stool plans and using imagination and a CNC router put themin a new "catagory". John Ogren
Built from Plan(s)
Farmhouse Bench

This was our first build. I have always wanted a rustic table and bench set, but they are so expensive. We already had a miter saw and jig saw, so I thought why not. We did not use a pocket jig when we built this, so we had to brainstorm for the bread boards. I found these really long screws at Lowe's and they worked great. I actually love the way they look. We are going to use the screws on the next bench even though we have a Kreg Jig now. Soon I will have my dream table without spending $2,000!


Built from Plan(s)
Estimated Cost
$20
Estimated Time Investment
Afternoon Project (3-6 Hours)
Finish Used
I distressed the bench using a sock with two bolts in it. I also used a hammer, but was very careful to not hit it so it looked like a hammer imprint. I used: Minwax Pre-Stain wood conditioner, followed by Minwax Red Mahogany #225, and finished with Minwax Fast-Drying Polyurethane Clear Gloss. I put I think 3 coats of stain and 3 coats of Poly.
Recommended Skill Level
Beginner
Comments
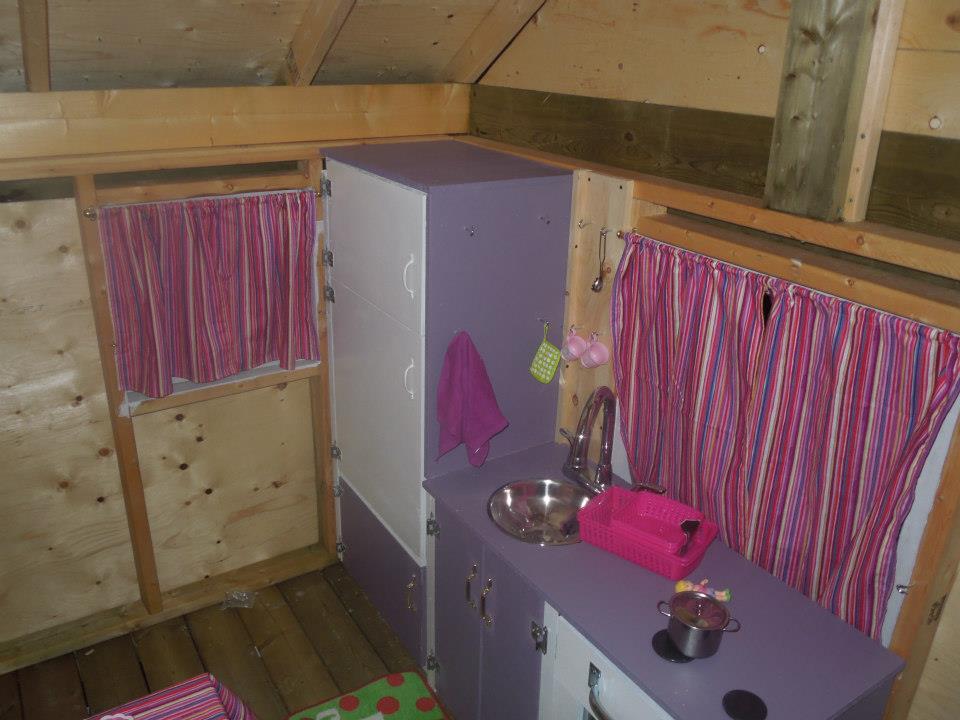
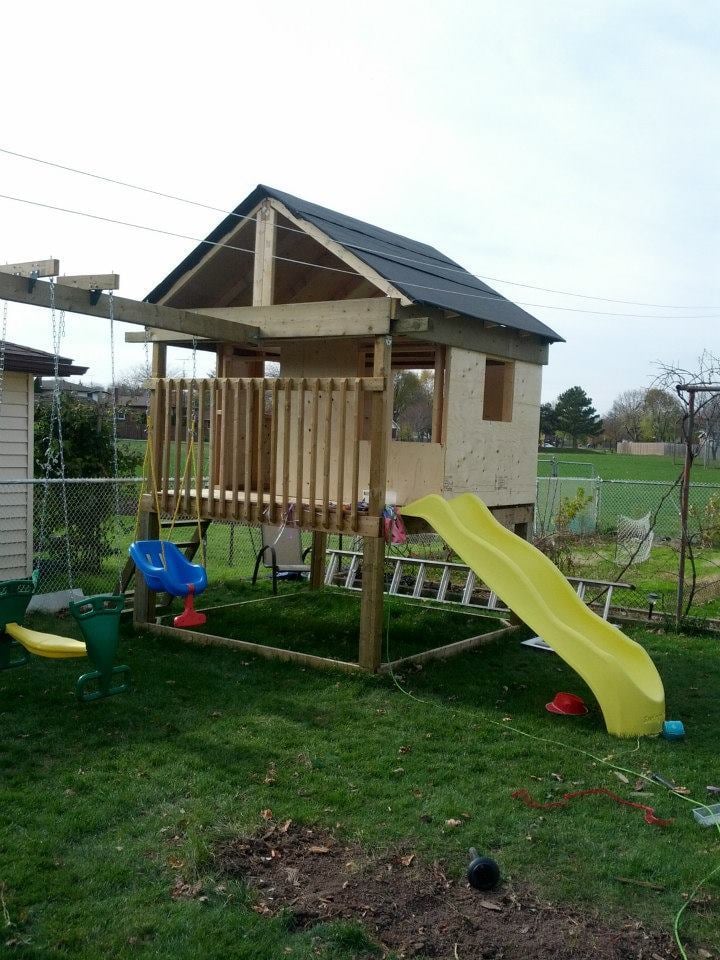
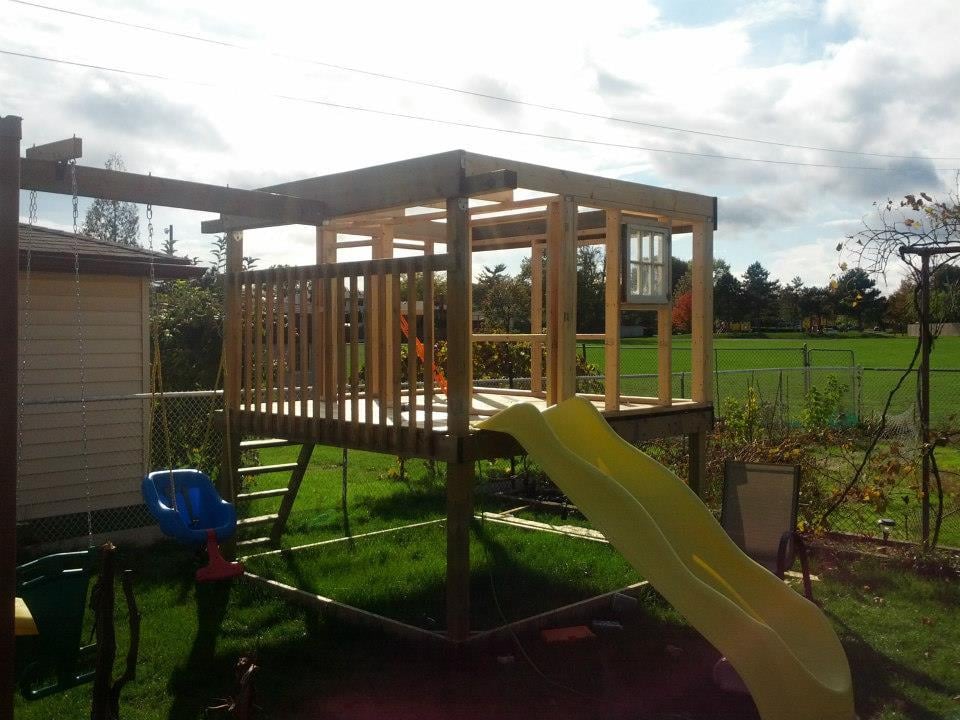
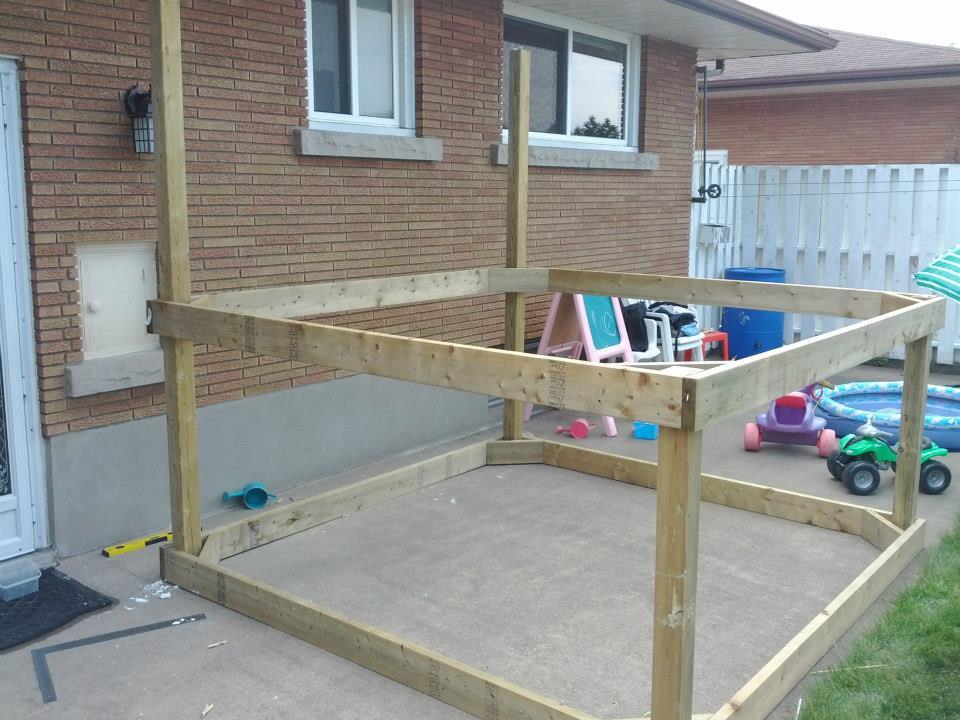
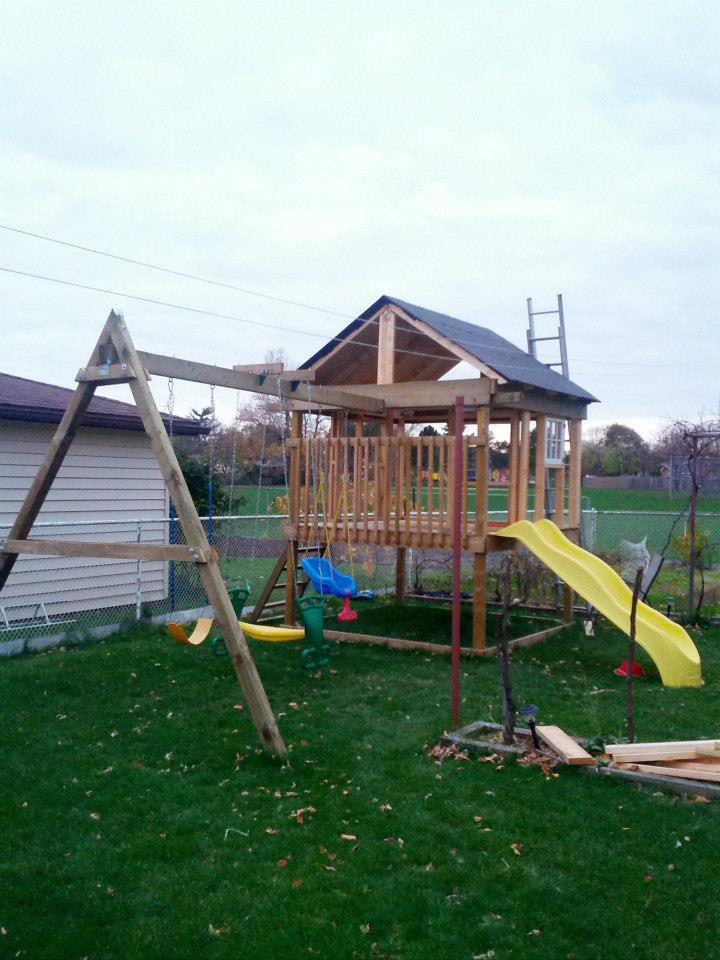
Playhouse with swingset
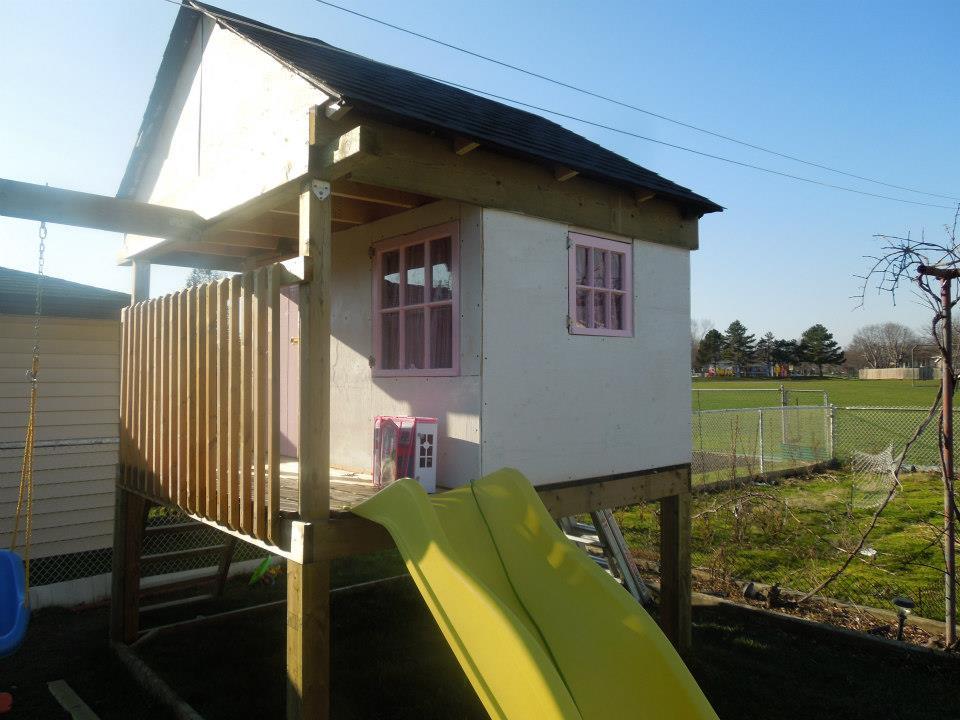
I combined a few different plans here, mostly the Playhouse deck, swingset.
I haven't finished it yet, this spring I want to finish the exterior as it's just primed plywood right now. Still going to add a window above the balcony (there is a loft up there).
I insulated the roof/ceiling and will insulate the walls when we finish it. In the bottom we'll be putting in a sandbox with a cover that folds up into benches.
It was a fun project and should give our girls many years of fun.
Built from Plan(s)
Estimated Cost
$1000
Estimated Time Investment
Week Long Project (20 Hours or More)
Finish Used
Right now the plywood is just primed, we'll be putting some sort of siding or other exterior sheets to finish it.
Recommended Skill Level
Advanced
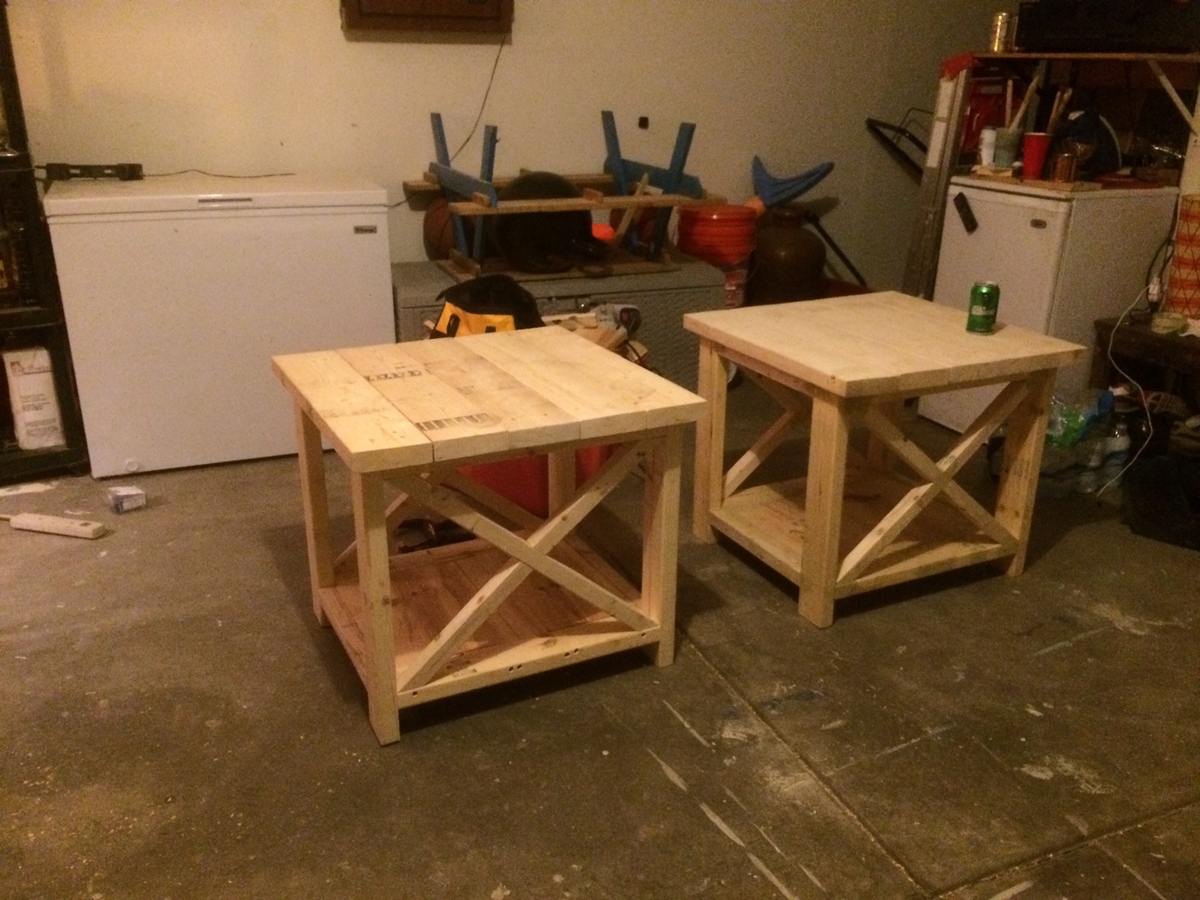
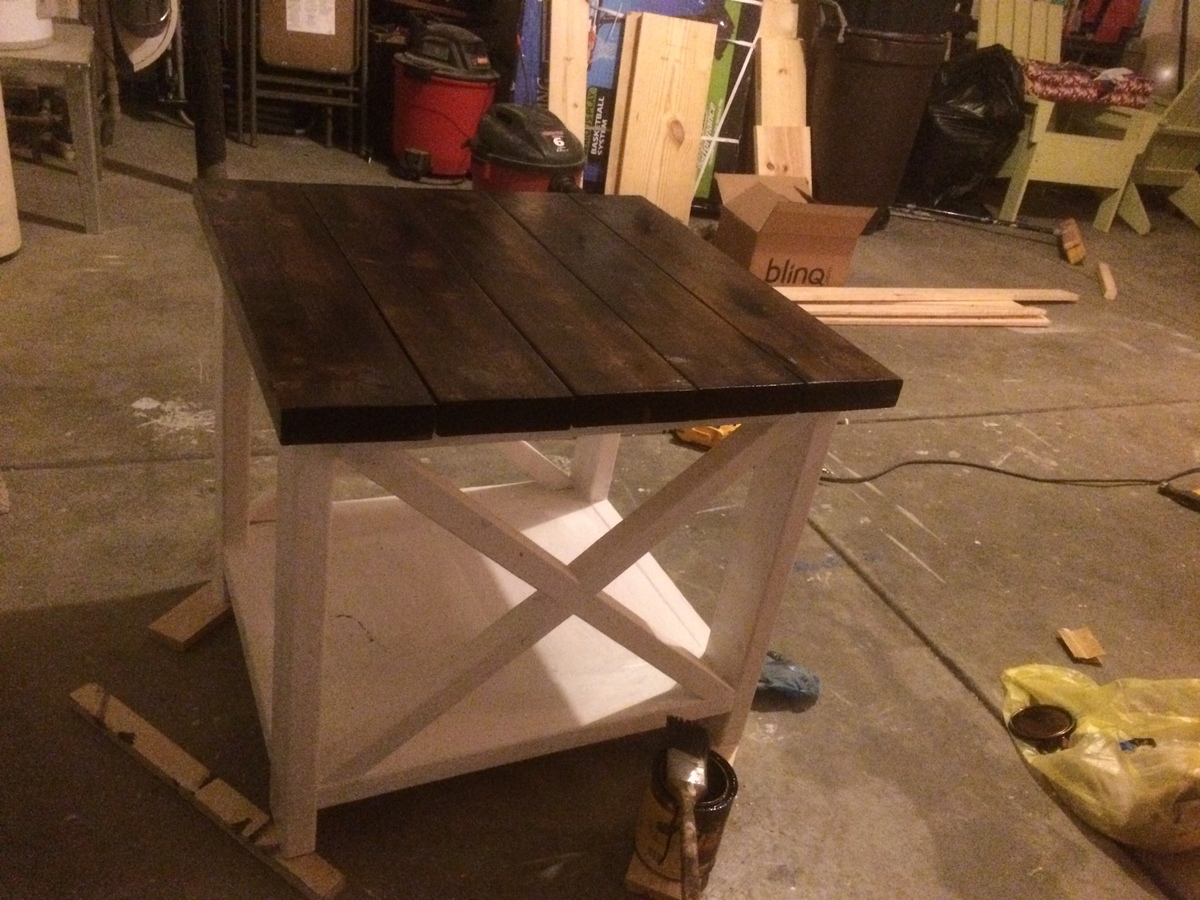
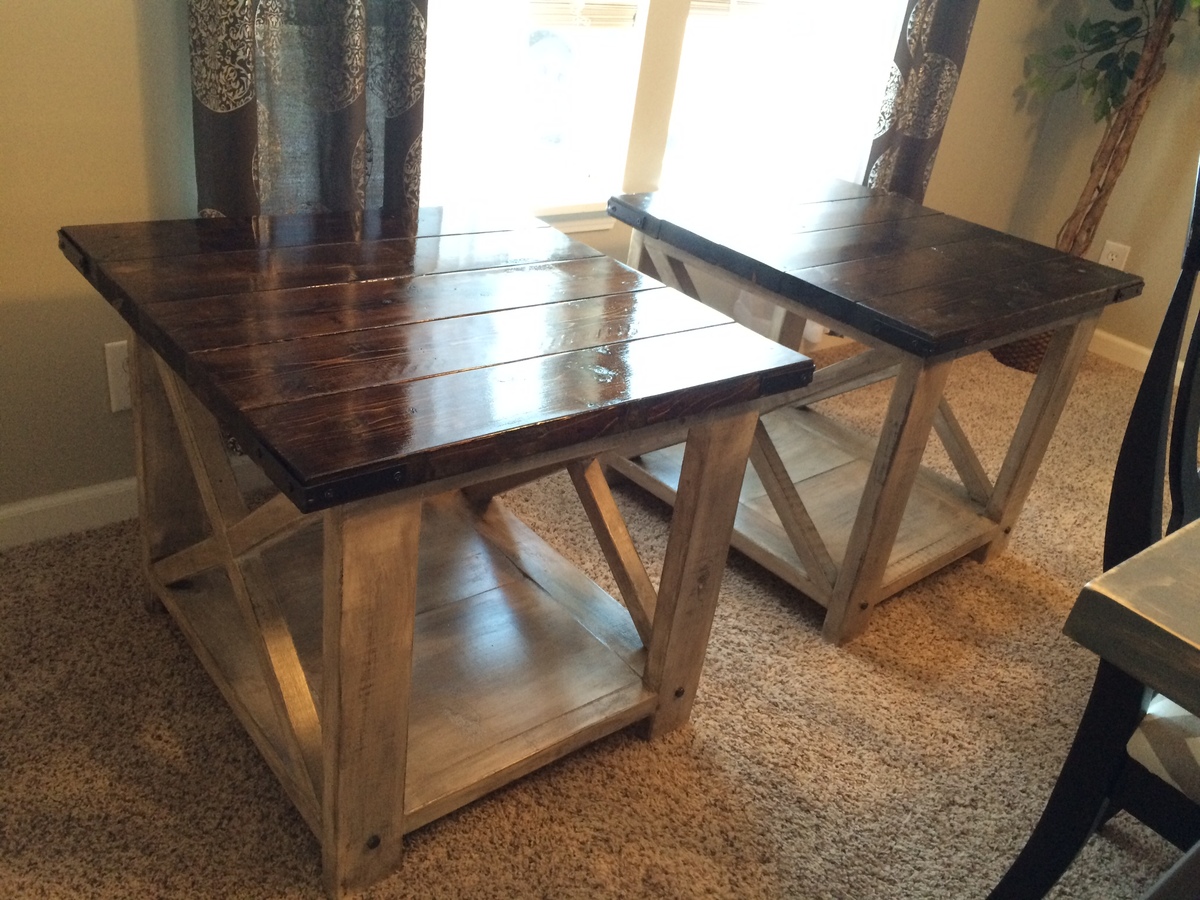
X console
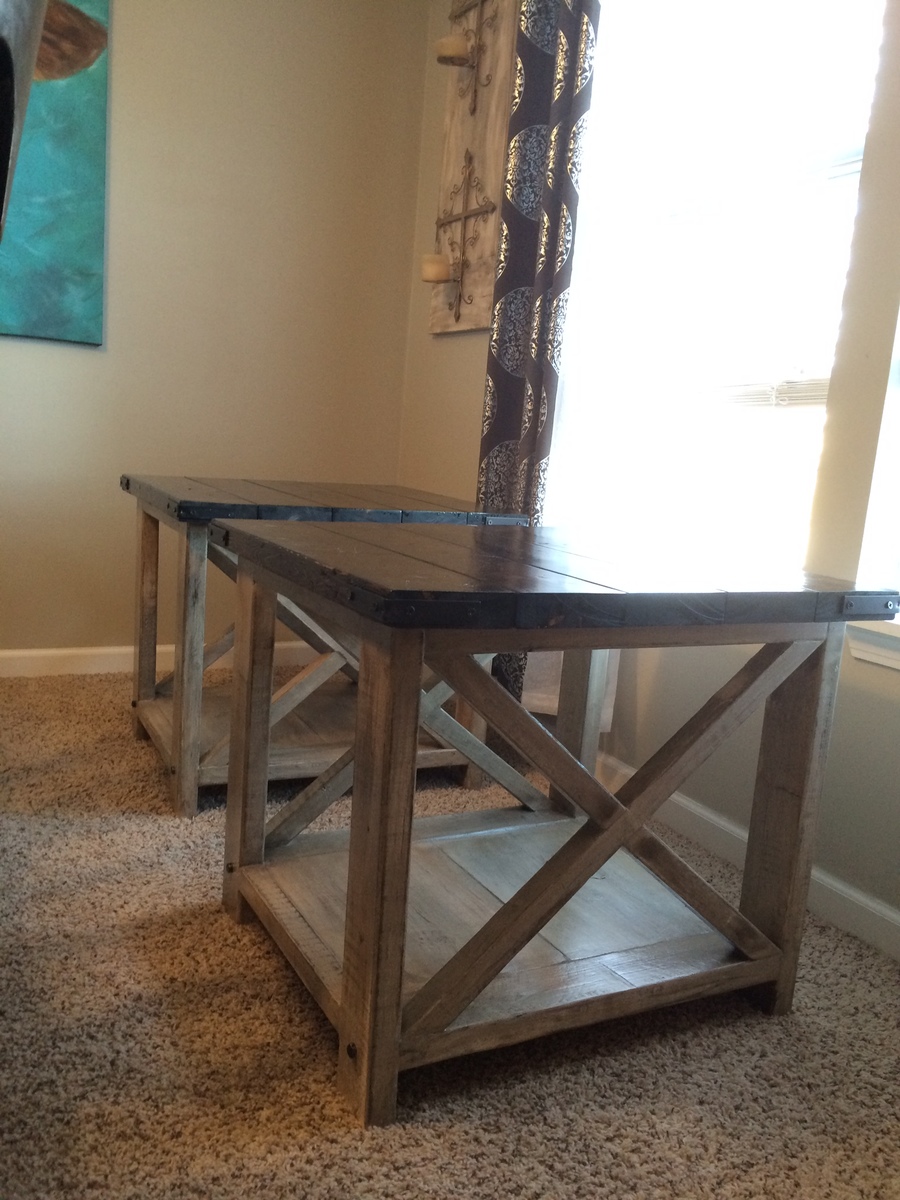
I built these tables for a friend in need. I enjoyed building these. Need these for my house now.
Built from Plan(s)
Estimated Cost
$100
Estimated Time Investment
Weekend Project (10-20 Hours)
Finish Used
Dark walnut stain
Recommended Skill Level
Intermediate
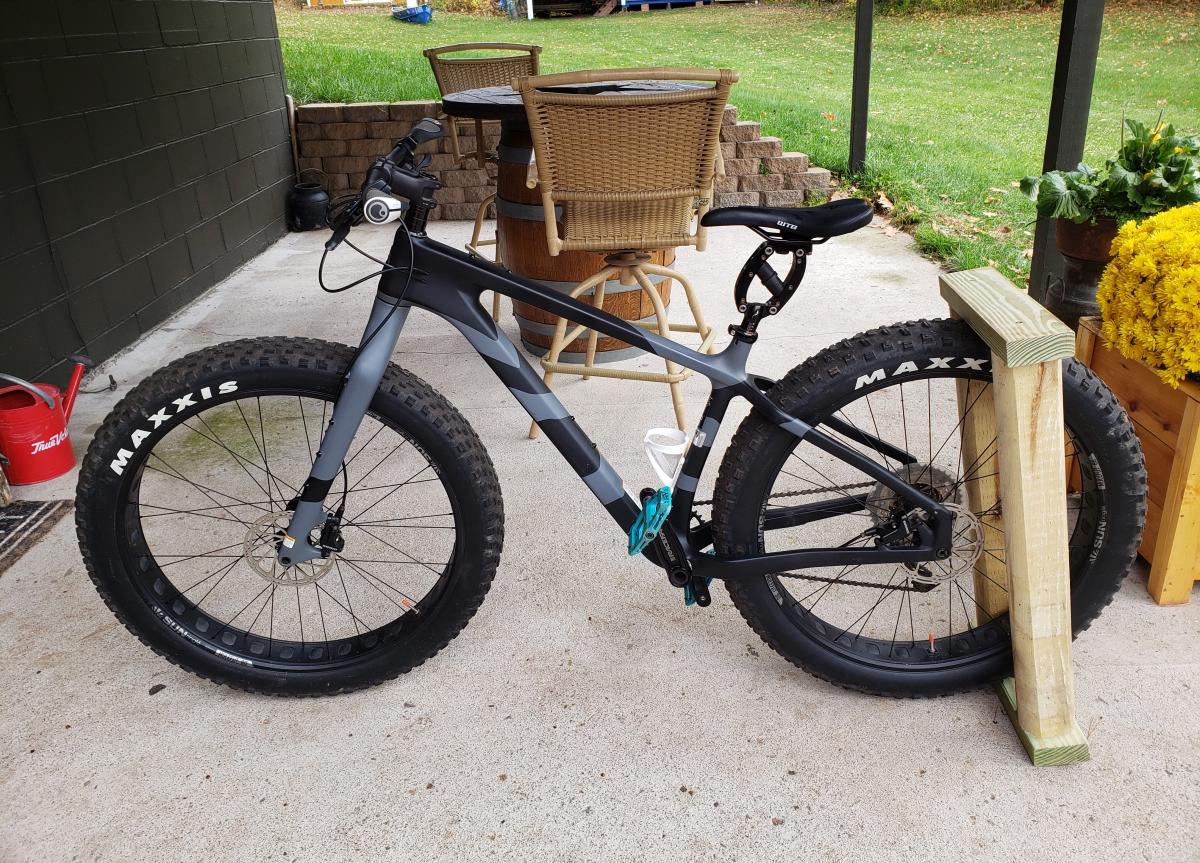
Fat Tire Bike Stand
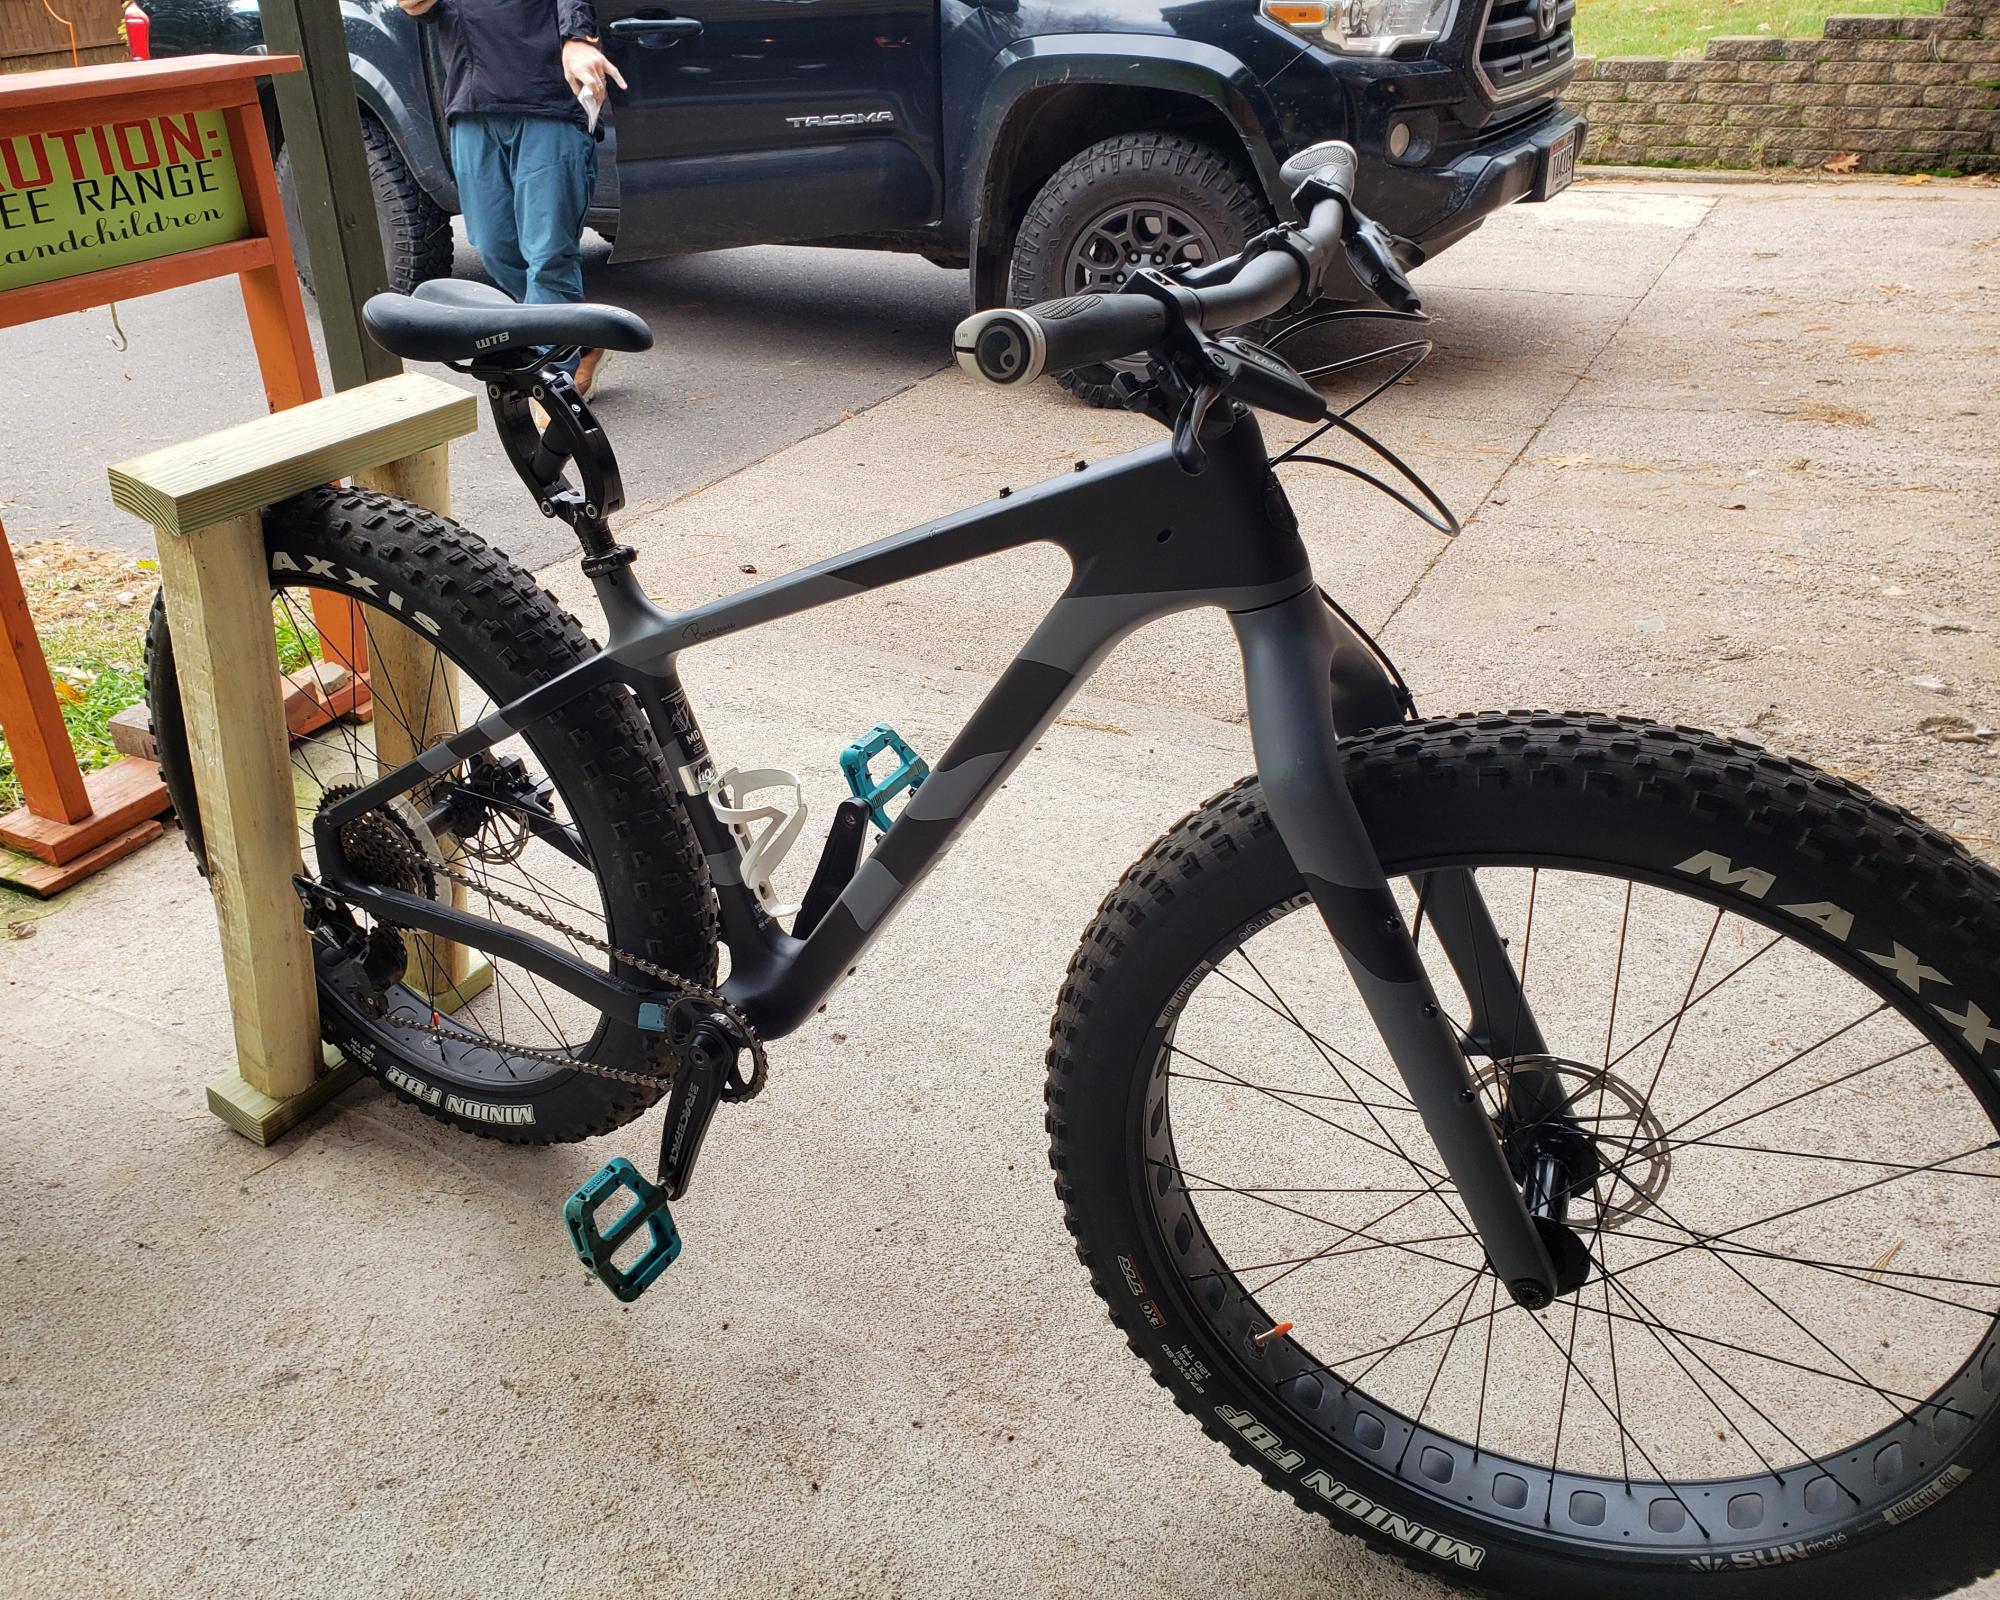
Fatbike rack! Ten minute project for the beginner. Heavy enough to keep your bike standing upright even in windy conditions. Great if you are short on space.
(2) 14" treated 2x4
(2) 28" fence posts
(8) 3 1/2" outdoor screws
6" space between the fence posts
Alter width, if needed, for your bike tire.
No part of the bike hits the wood except the tire.'
Deanna Peterson
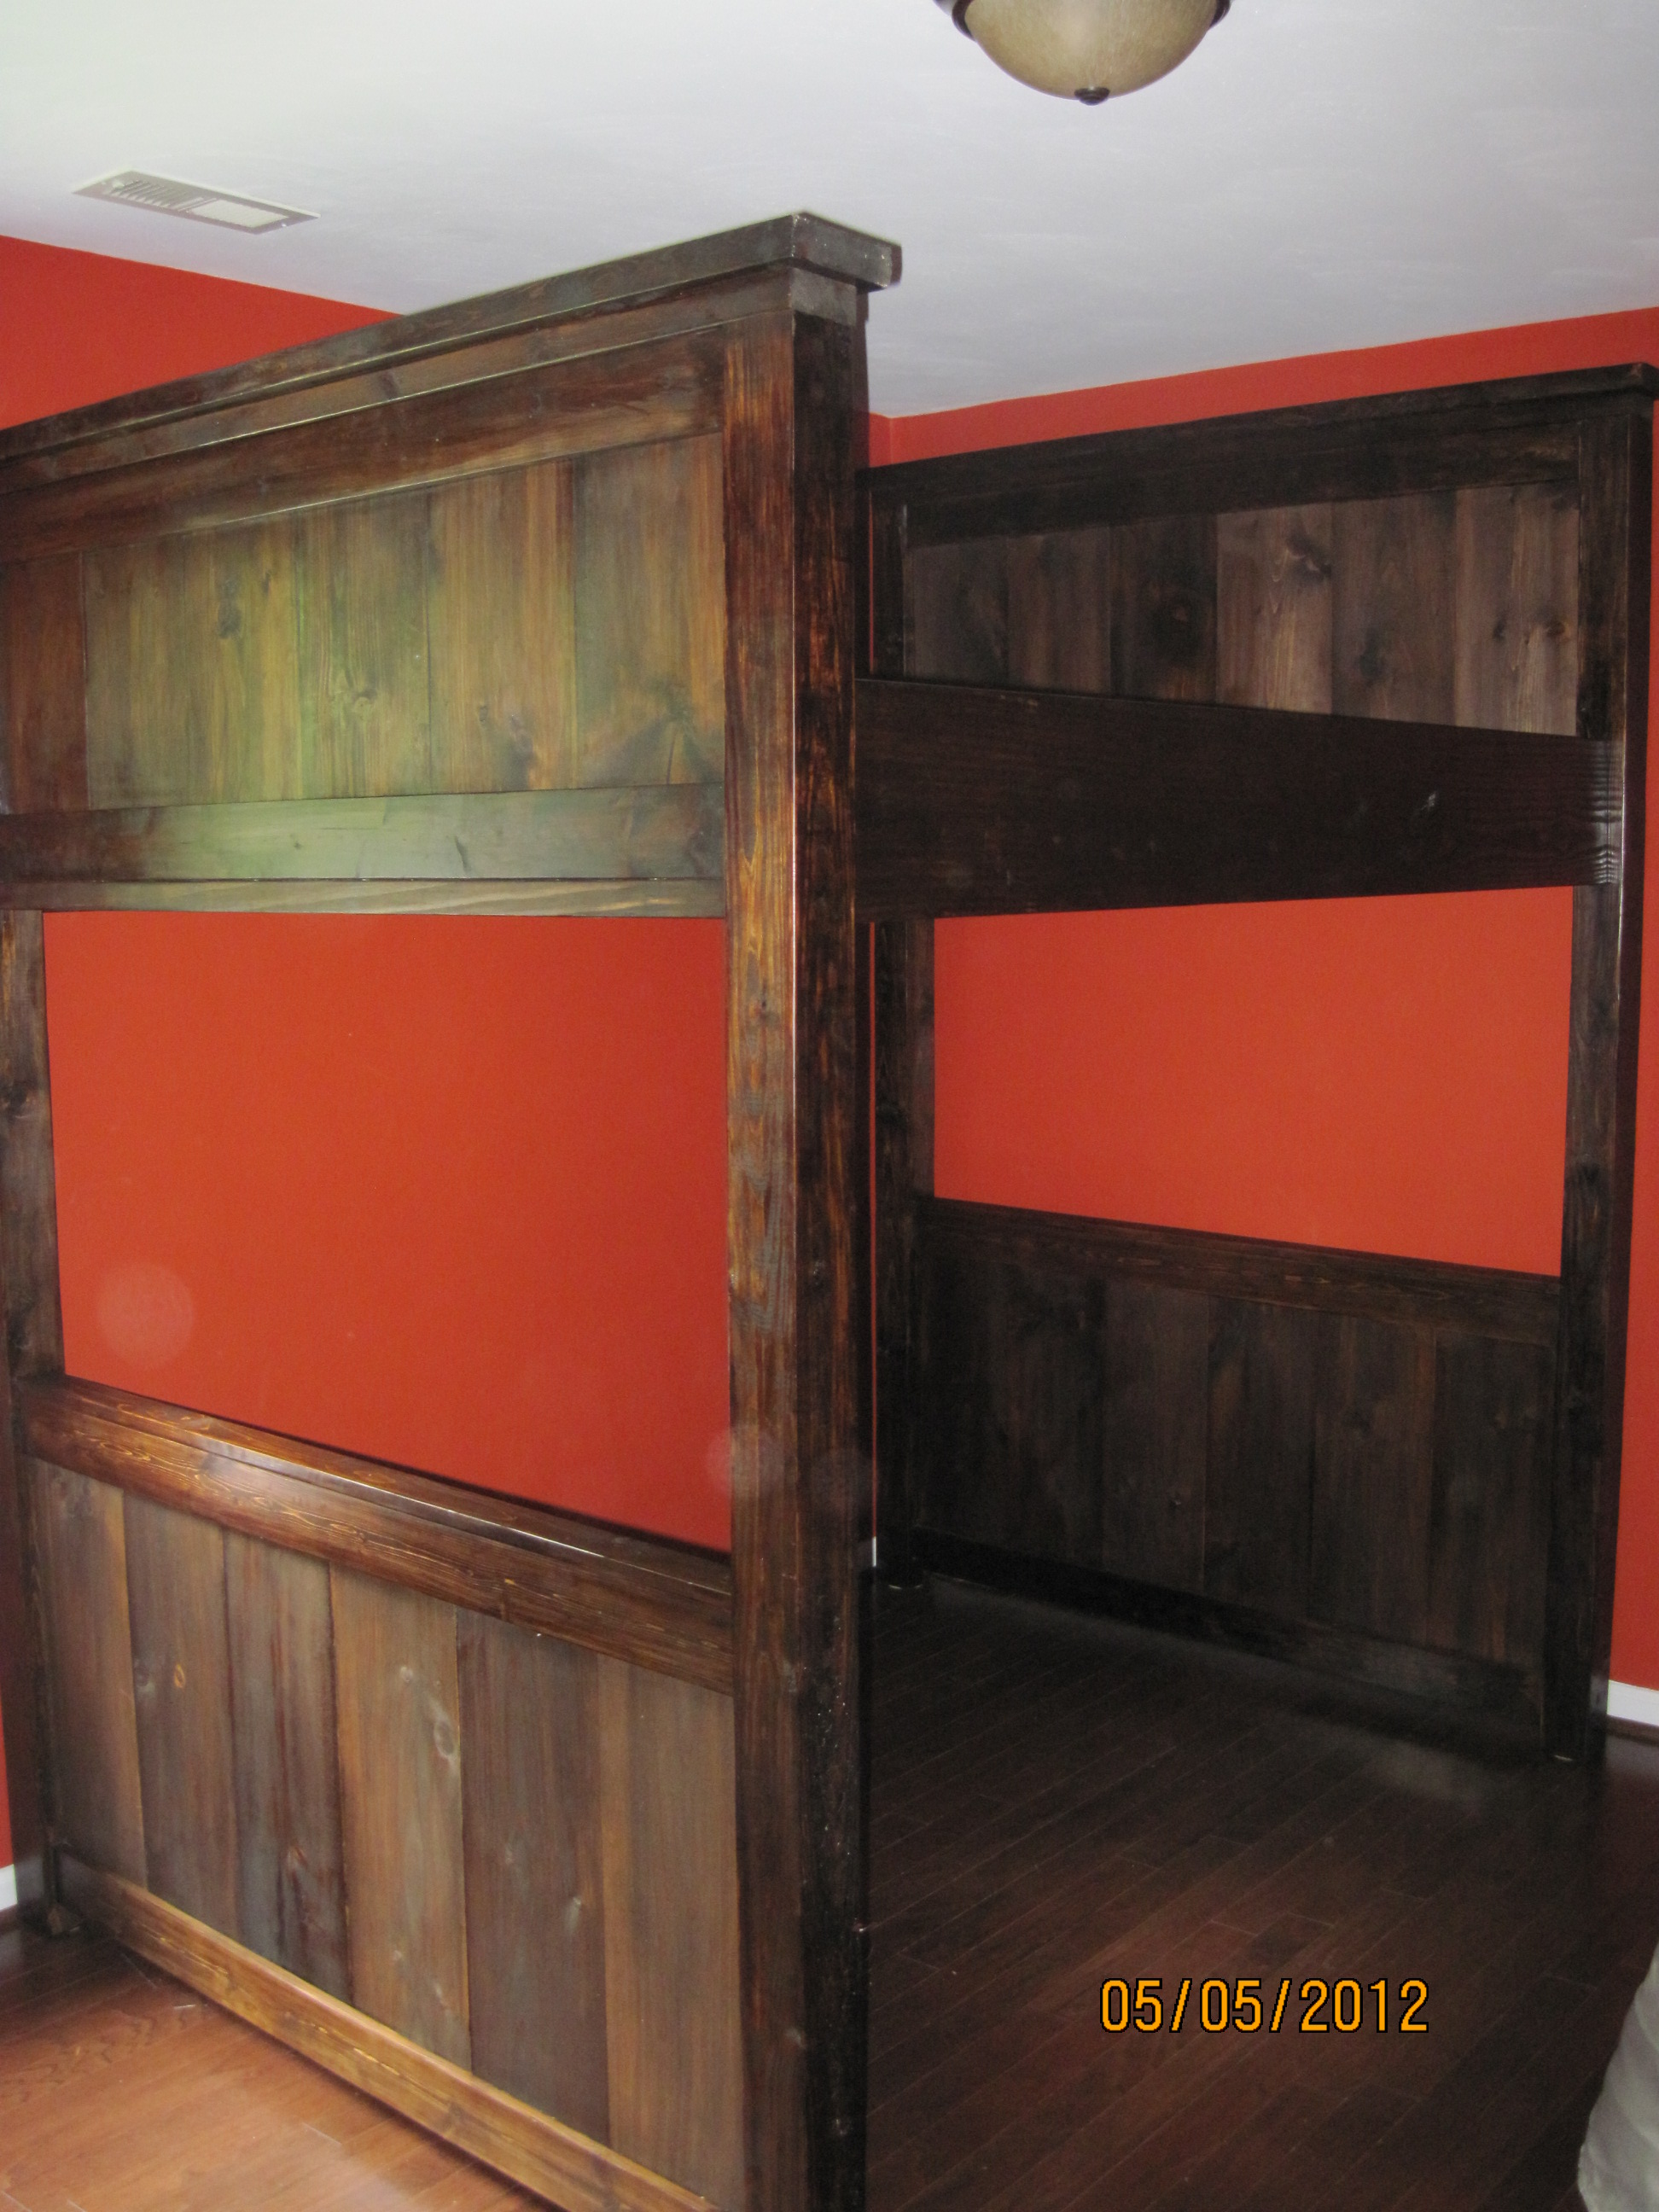
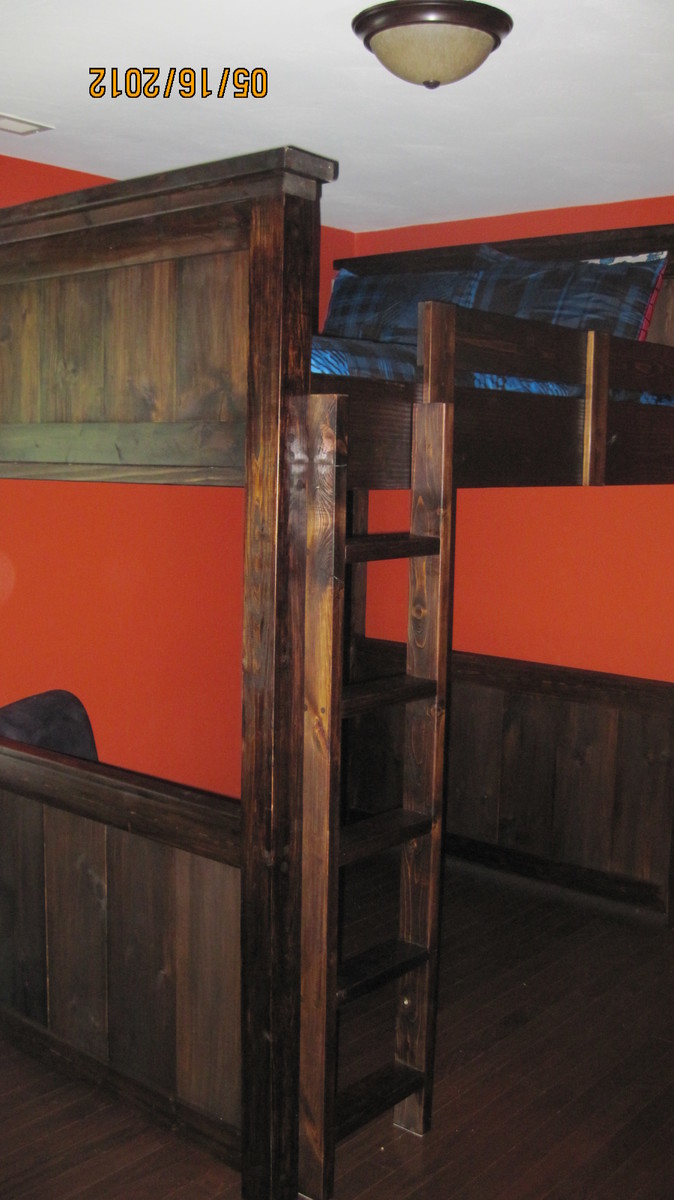
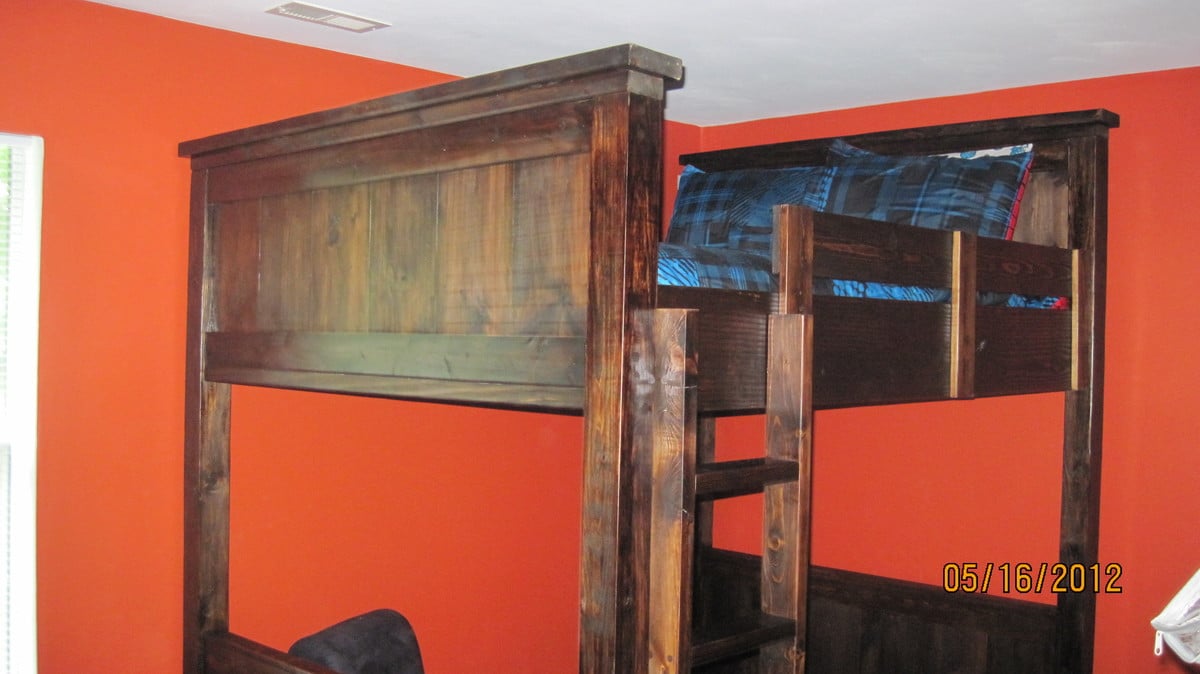
Farmhouse Loft Bed (Full)
HI all!
This is my first project and brag post. I really like this website and reading all the blogs and brag posts. The information is very informative and inspiring.
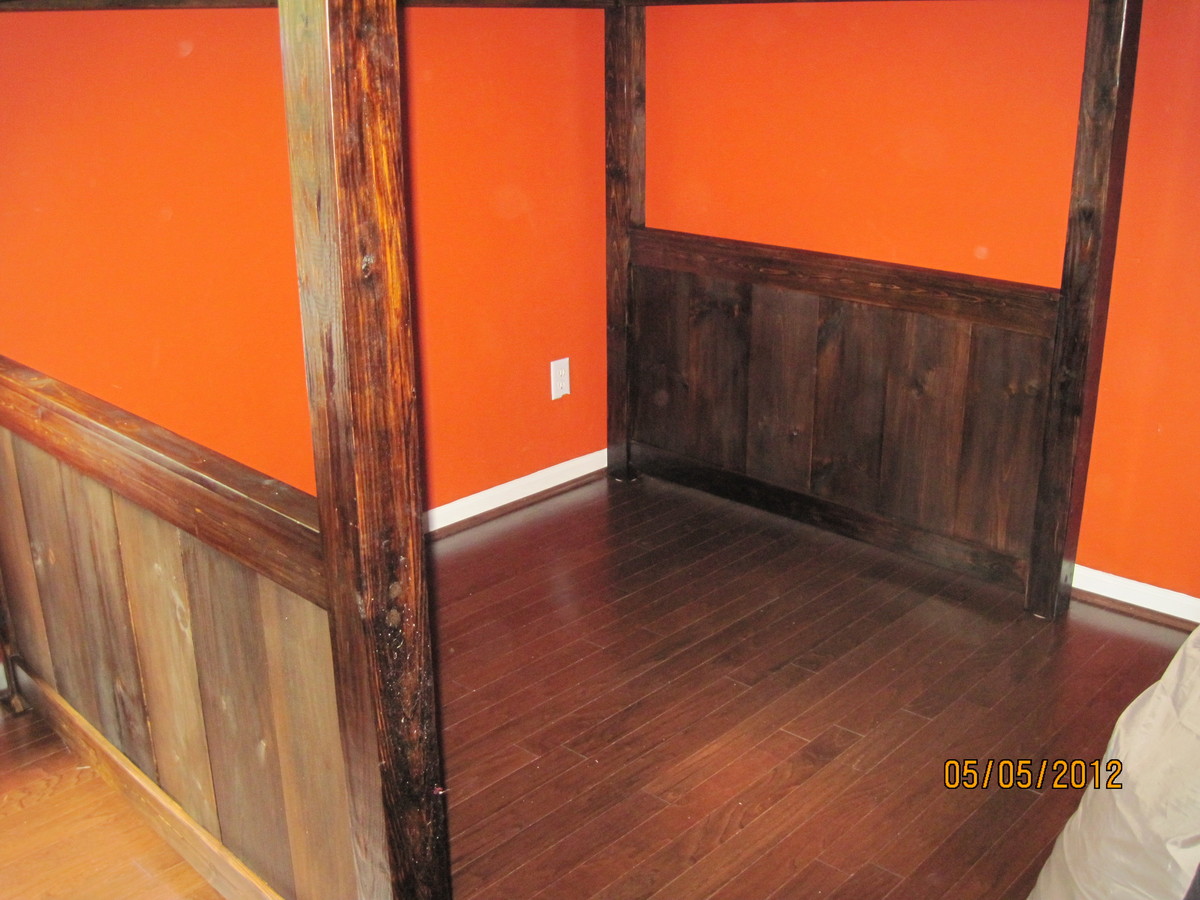
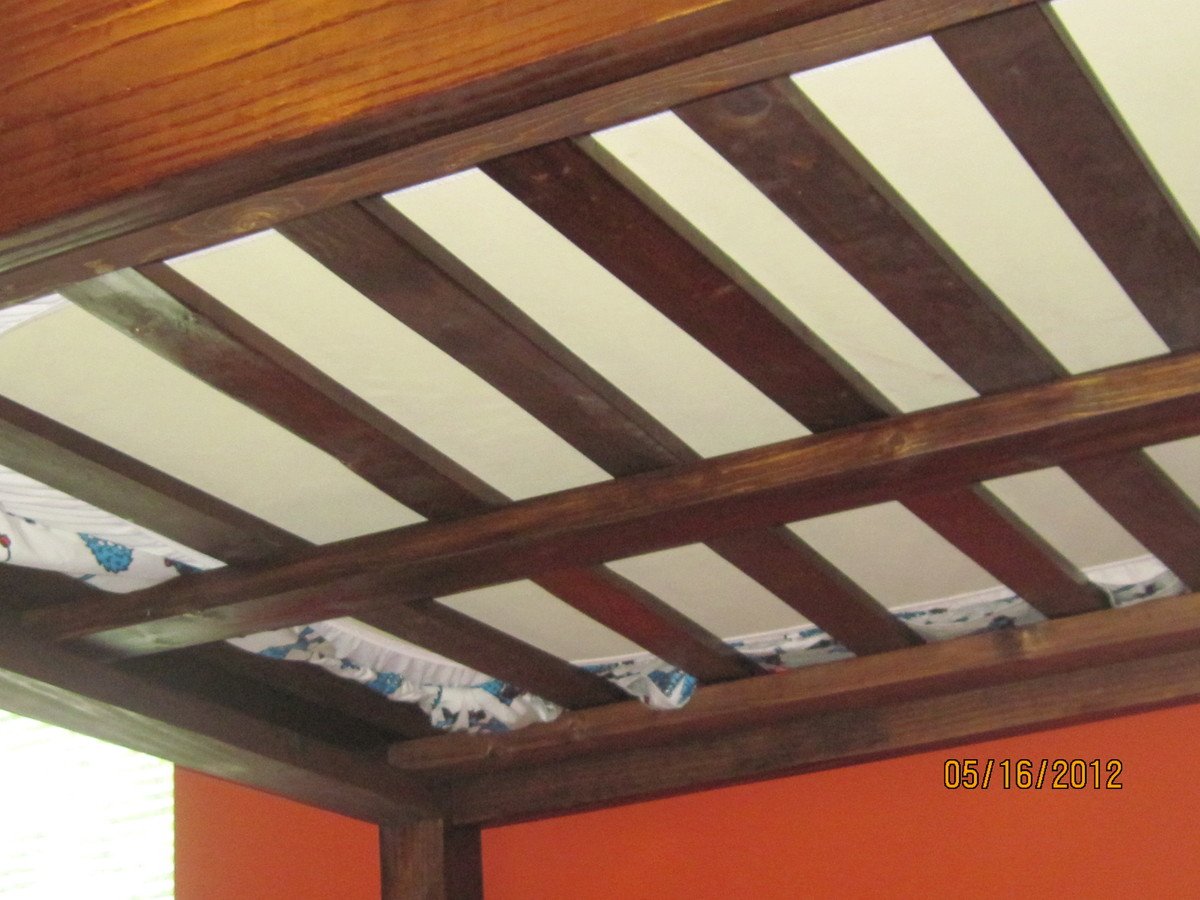
I really liked DirtSquirt's Loft Bed (Double Mattress), so I decided to give it a try! I contacted DirtSquirt to get a copy of the plans (Full size Farmhouse Bed and How to Build a Loft Bed) and the Google Sketch up. I pretty much followed the plans except I made the area underneath the bed taller (approx 58 inches), I chose to stain, and I did not secure the slats to the side rail as they are pretty were pretty snug. I'll probably go back and secure in the near future for uniformity in the spacing.
To be honest, I think the staining was the hardest part...LOL. I had never stained before so in hindsight I probably should started off with a way smaller project. Eventually, I got the hang of how to putty the holes with wood filler and then stain to get a consistent look and feel without the blotches!
My future plans are to build a desk to create a study area underneath.
Sugarpig1
Built from Plan(s)
Estimated Cost
$550-600
Finish Used
Minwax- Dark Walnut
Polyurethane
Polyurethane
Recommended Skill Level
Beginner
Comments
Thu, 06/21/2012 - 20:02
Perfect!
This bed is amazing! It looks so sturdy. I am in love with the farmhouse bed, but I have been looking to build a full size loft bed for my daughter. I just haven't found a design that I'm 100% in love with. This is the perfect melding of a farmhouse bed with another loft design that I really like. Love, love, love it! I'm definitely going to have to design this for her now. Thanks for sharing your work!
Tue, 08/07/2012 - 08:05
I couldn't really tell from
I couldn't really tell from the pics, but did you use mortise cuts?
Thu, 09/26/2013 - 08:17
farmhouse loft bed
I have contacted dirtsquirt several times to get the plans for this bed. Did they get back with you right away or did it take them awhile? If you have the plans would you mind emailing them to me? Lplus10 at yahoo dot com
thanks!
Sat, 05/17/2014 - 08:40
Could you share your plans?
I've also contacted dirtsquirt and haven't had luck getting the plans yet- could you share them with me? or does anyone else have a copy they can share? my e-mail is [email protected] - thanks!
Sat, 05/17/2014 - 08:40
Could you share your plans?
I've also contacted dirtsquirt and haven't had luck getting the plans yet- could you share them with me? or does anyone else have a copy they can share? my e-mail is [email protected] - thanks!
Fri, 07/04/2014 - 23:36
Farmhouse Loft bed
I would love a copy of the plans as well.
Thank you! [email protected]
Tue, 11/04/2014 - 20:26
Plans
I too would like a copy of the plans if you can send them to me at [email protected].
Thanks,
Mon, 01/26/2015 - 09:03
can you send me the plans??

Tue, 05/19/2015 - 02:00
plans
Not sure if anyone checks this blog post. But I have contacted dirt squirt too and have never been able to get the plans.
Please send me the plans you used to build this bed... I am dying to build it. Similar to yours with the bottom wood there, as it is for boys. But this is my first time building anything and I need plans....
Mon, 08/26/2019 - 19:25
Plans PLEASE
Has anyone ever been able to get dirtsquirt’s original plans for the loft house full sized bed? I’m in desperate search of them!!! Please, PLEASE, please message me and I’ll provide you with my email! PLEASE and thanks. :)
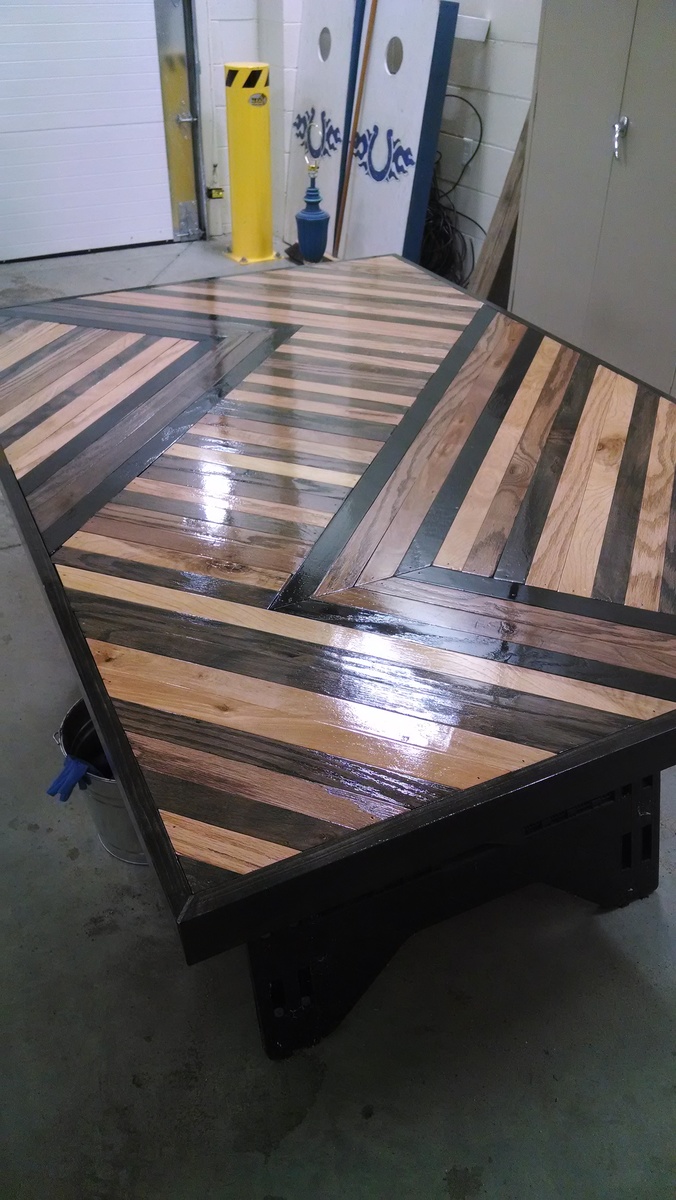
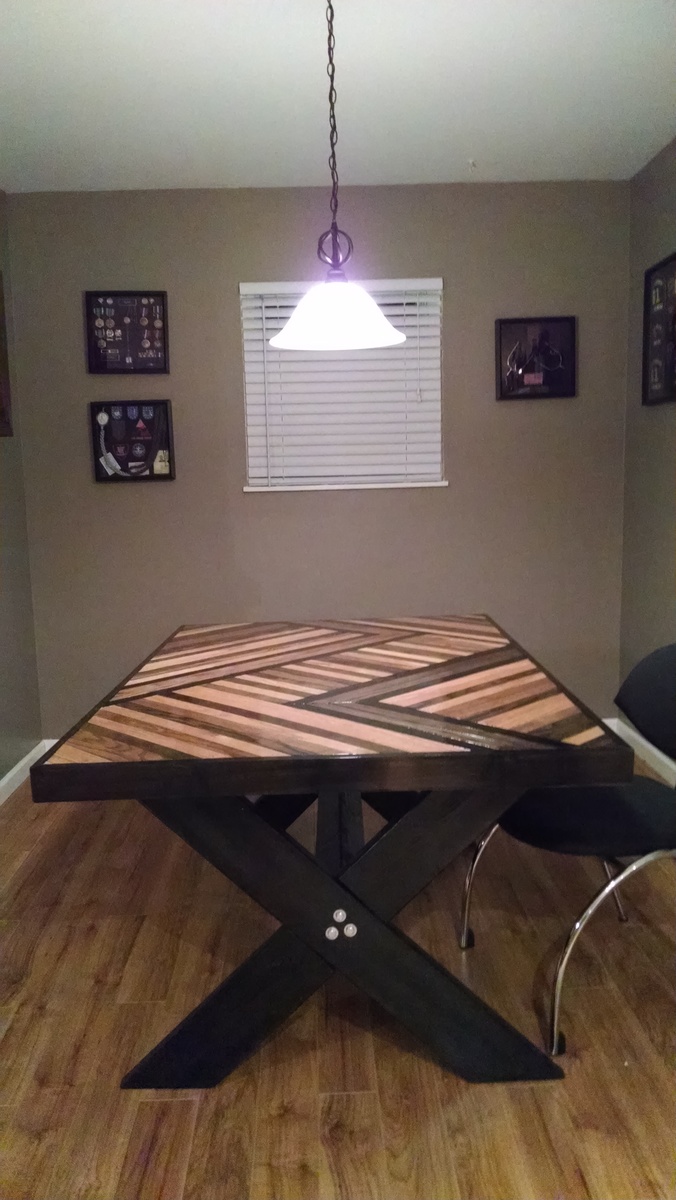
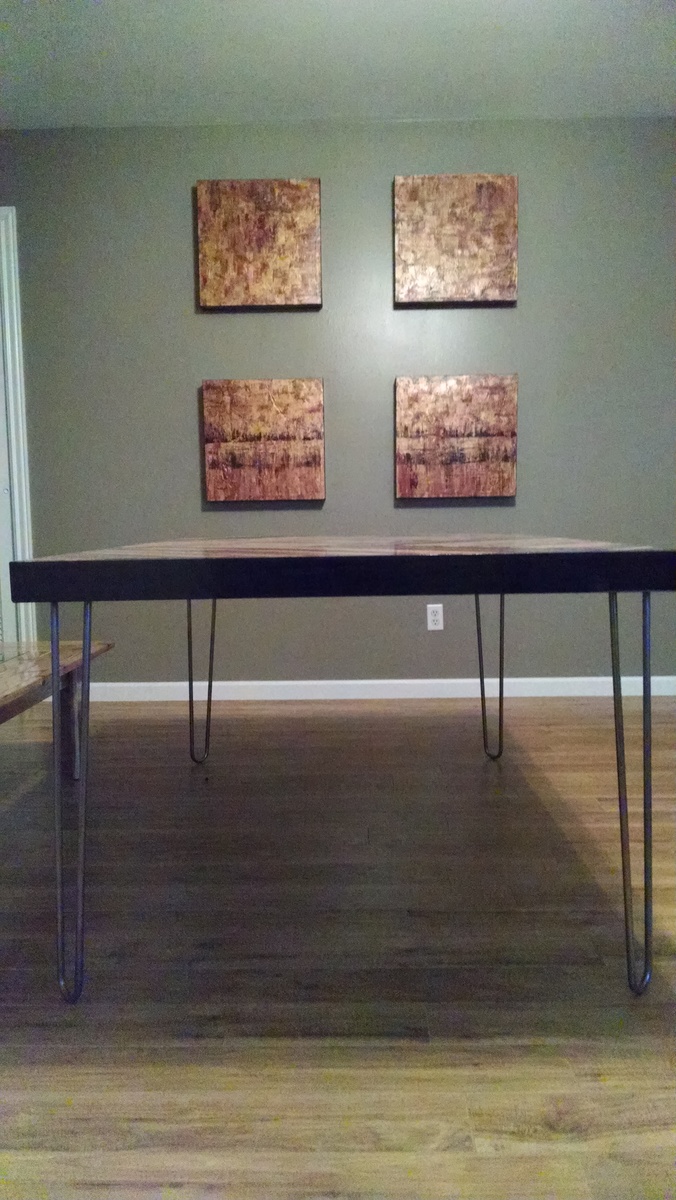
Dining table
I found this table idea on:
http://diy-my-homes.com/stunning-purebond-plywood-dining-table/
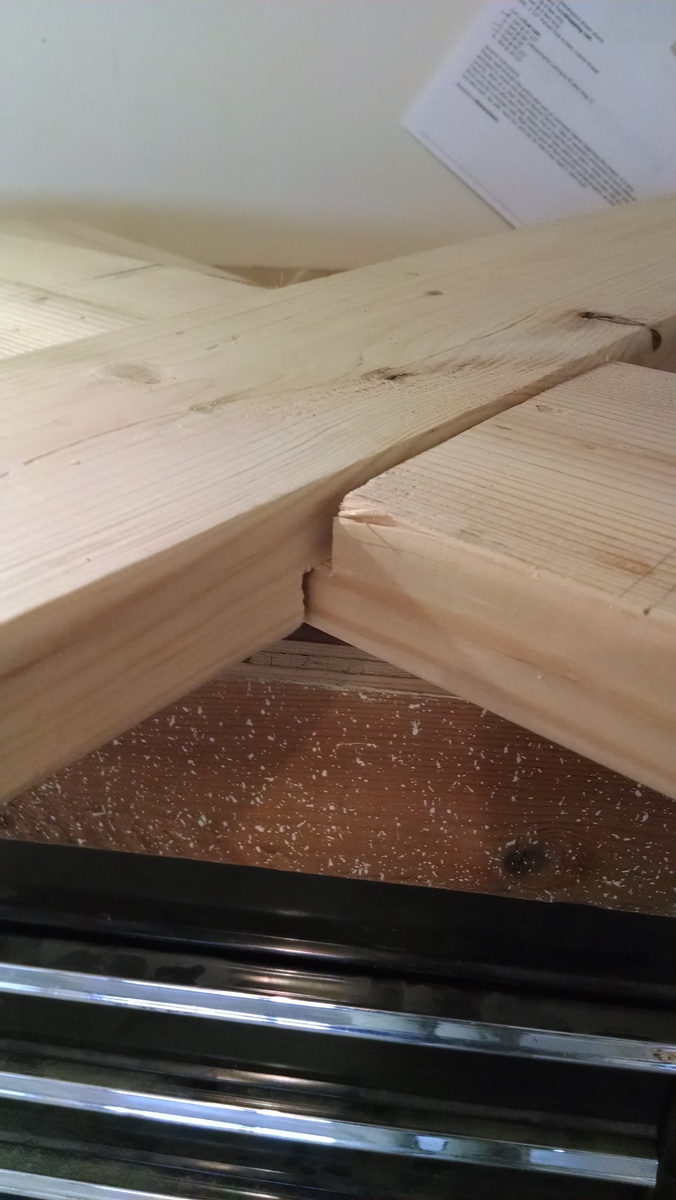
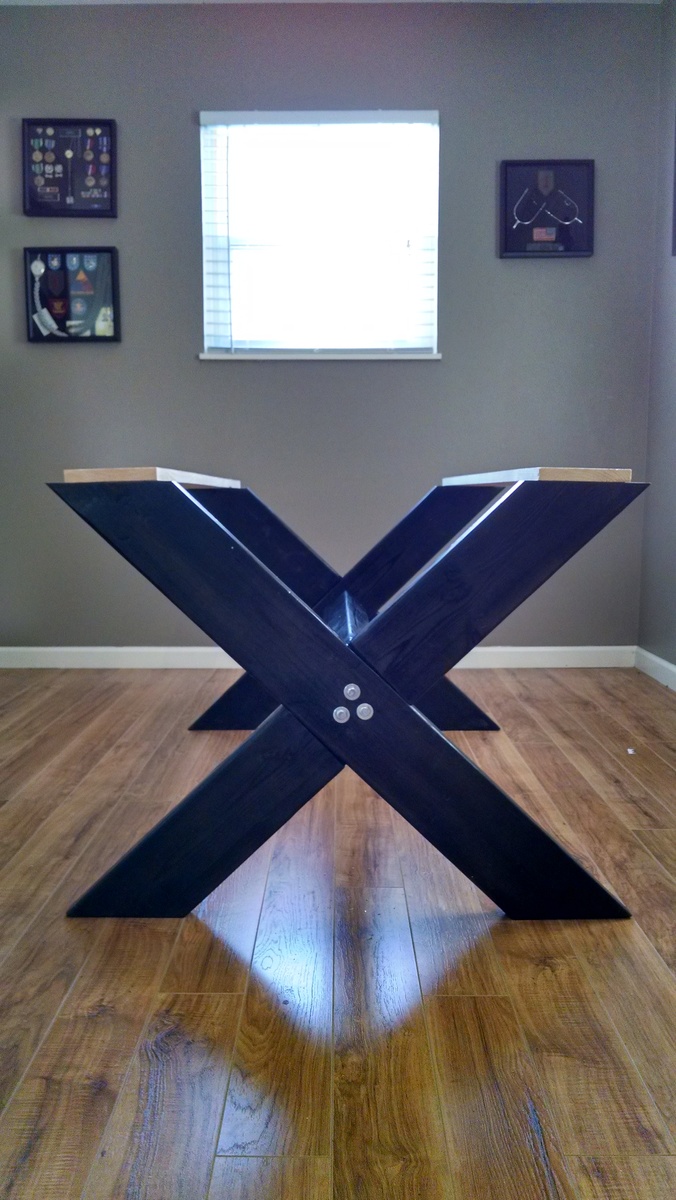
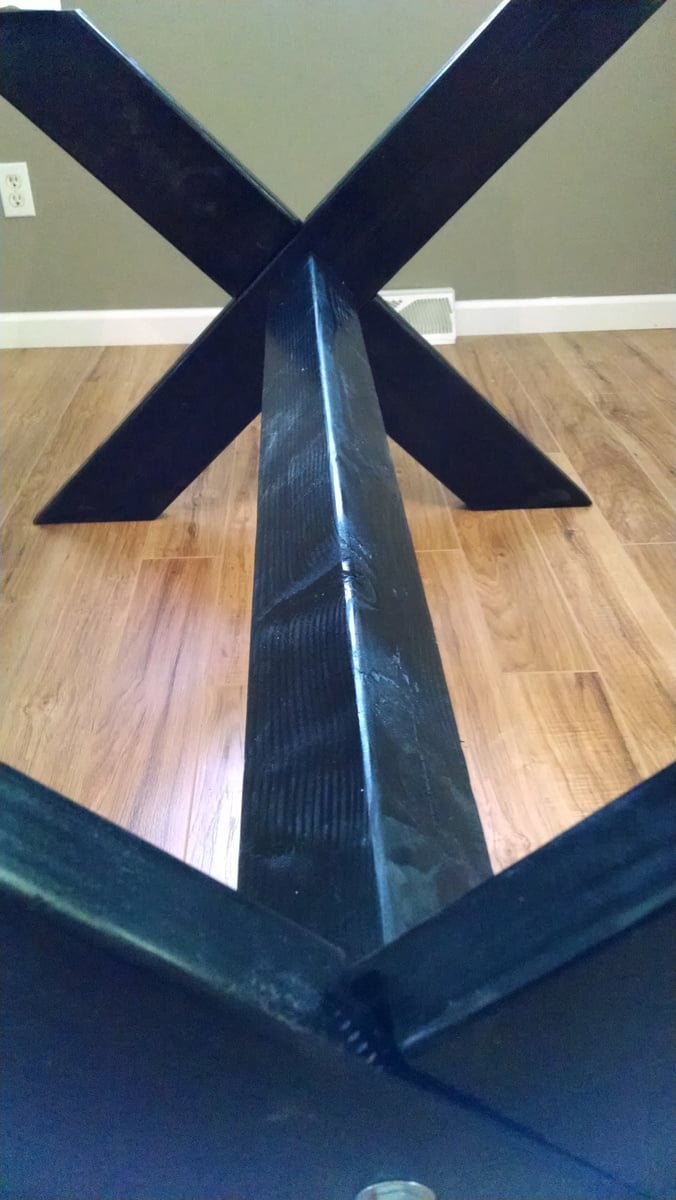
...then went for it. This is only the third thing I have built so it was one of those "Sure, I can do that" projects. At first I tried the hairpin metal legs, but they just didn't look right so I went with another design which I feel came out much better. Did a mix of 1 1/2" Birch and Oak strips on top of 3/4" MDF for the top. 2x6 routed out X for the legs bound together with 3 1/2" lag bolts and a 4x4. The chairs you see I picked up for $10 each from IU's surplus warehouse and the before/after are in the picture. All in all I am happy!
Thanks to Ana, Kelly and Dave for sharing their plans.
Estimated Cost
Table and Chairs - $250
Estimated Time Investment
Weekend Project (10-20 Hours)
Finish Used
Minwax Express - Black, Walnut, Oak, Black/Walnut mixed to make espresso, Minwax poly oil based seal.
Legs - Black gloss spray paint and clear coat.
Legs - Black gloss spray paint and clear coat.
Recommended Skill Level
Intermediate
Comments
Thu, 03/20/2014 - 04:00
Impressive for a first
Impressive for a first project. I love how you used the different stains.
Thu, 03/20/2014 - 04:00
Impressive for a first
Impressive for a first project. I love how you used the different stains.
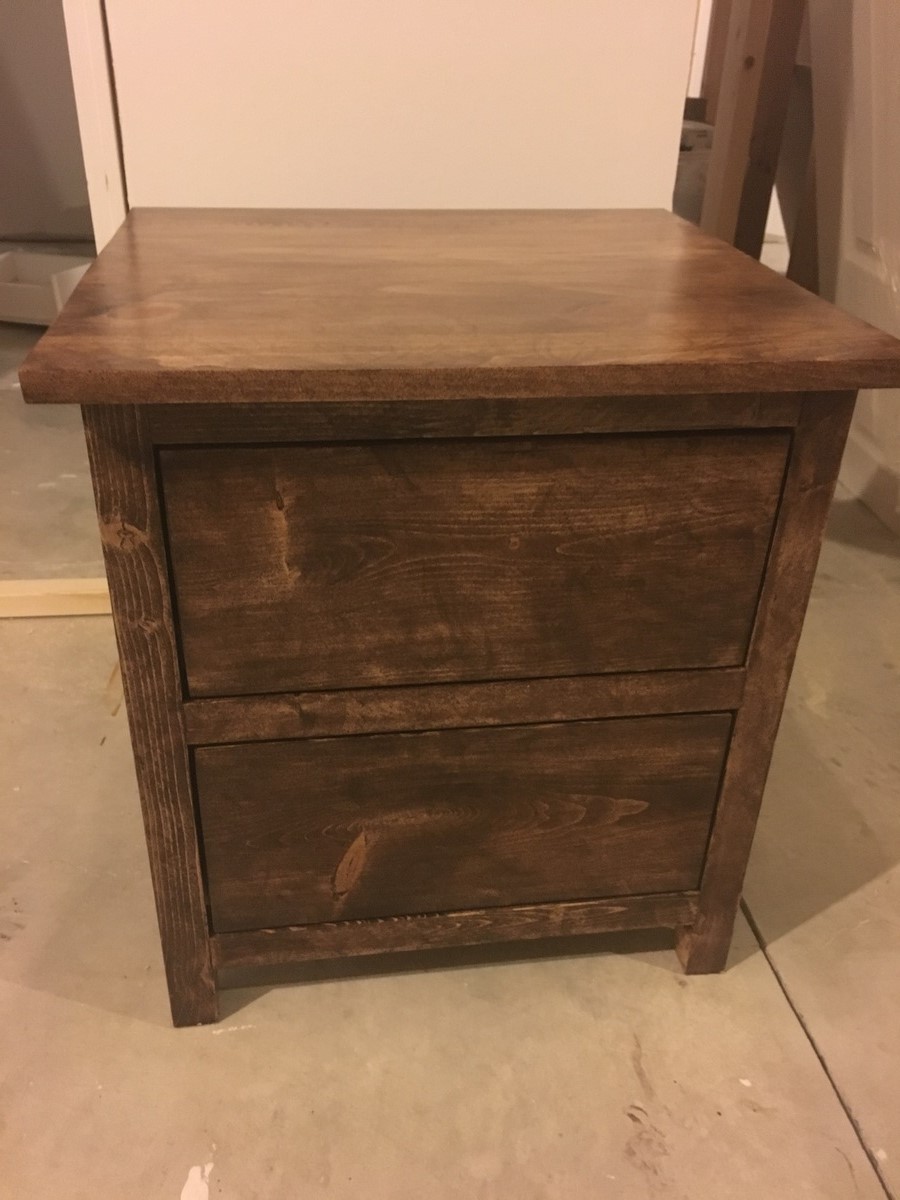
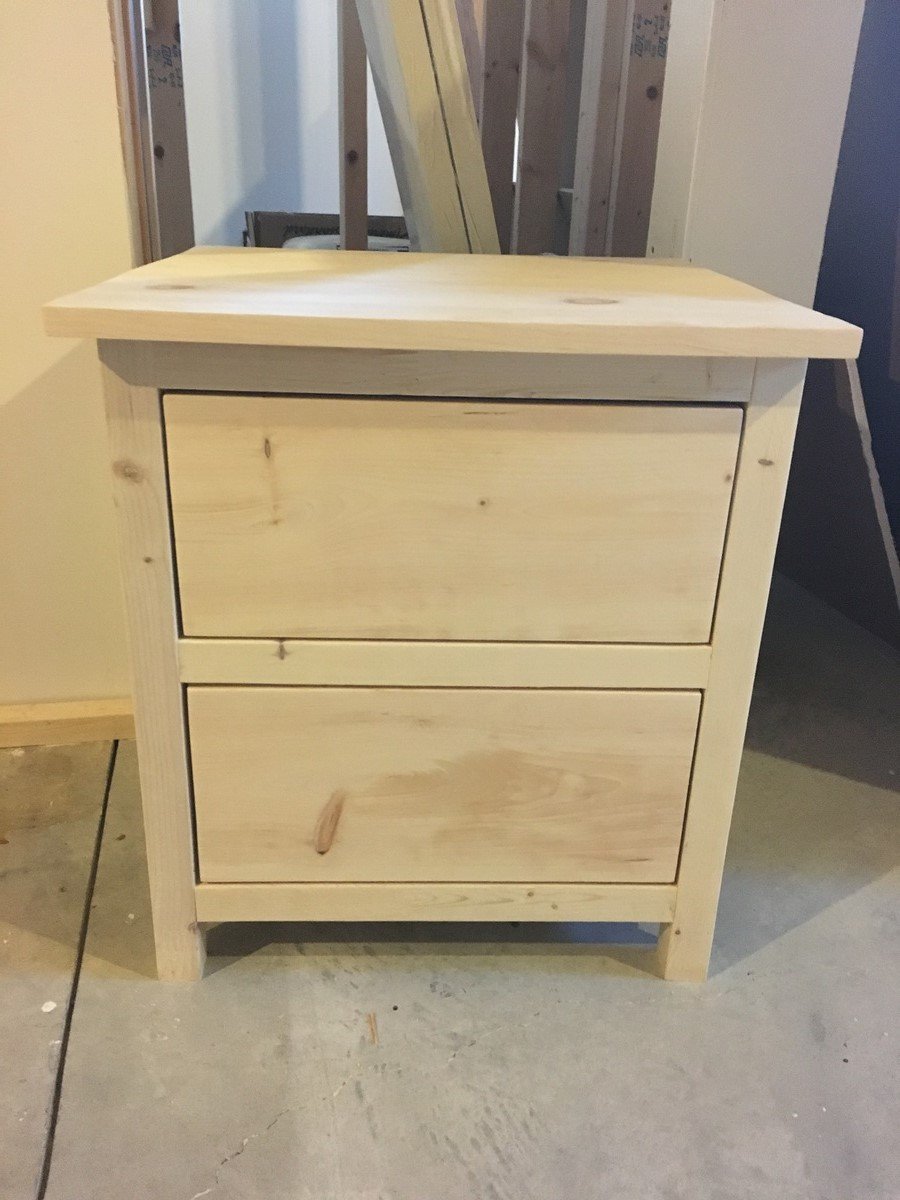
Nightstand

I built this mostly with scraps I had from other projects so I didn't follow the plans exactly.
Built from Plan(s)
Estimated Cost
$40
Estimated Time Investment
Weekend Project (10-20 Hours)
Finish Used
Miniwax walnut gel stain
3 coats Miniwax polycyclic semi gloss
3 coats Miniwax polycyclic semi gloss
Recommended Skill Level
Intermediate
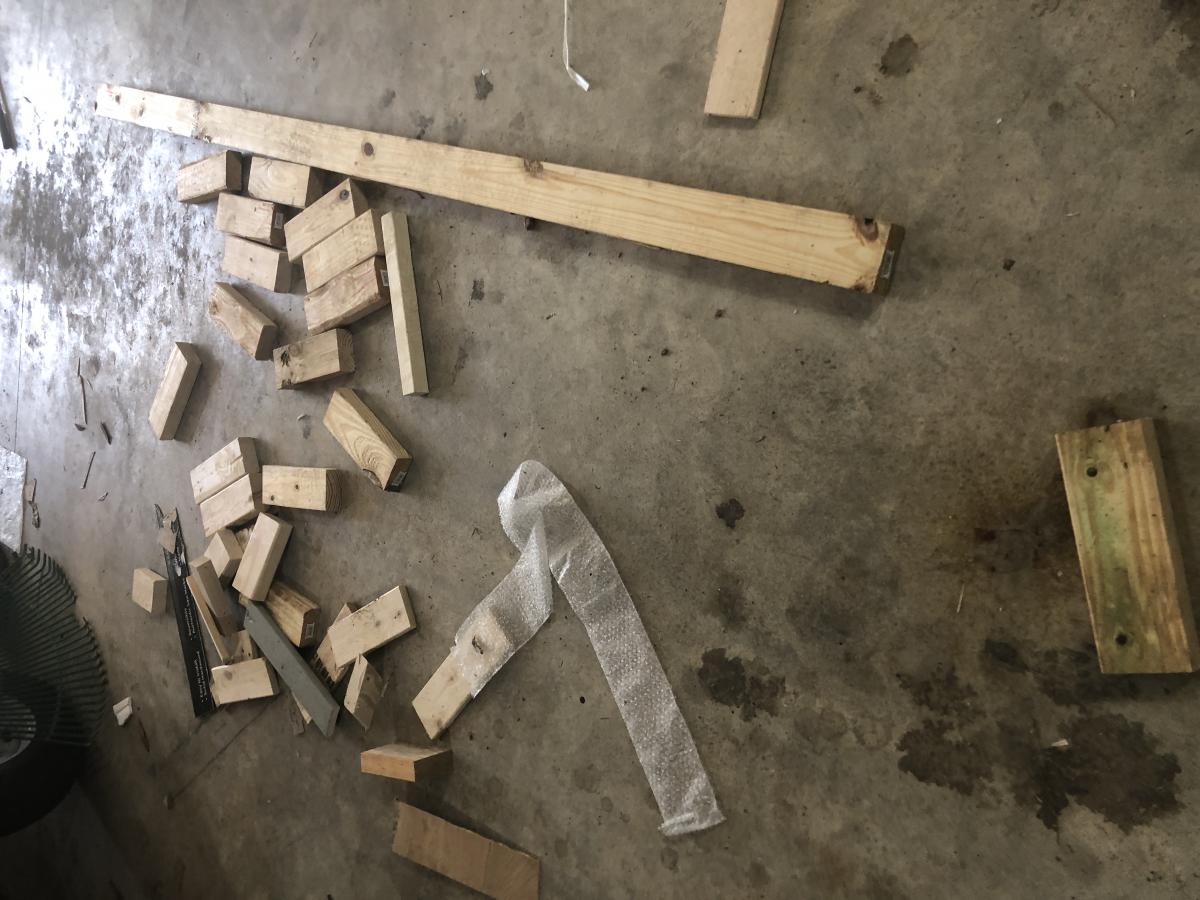
Scrapwood Potting Bench
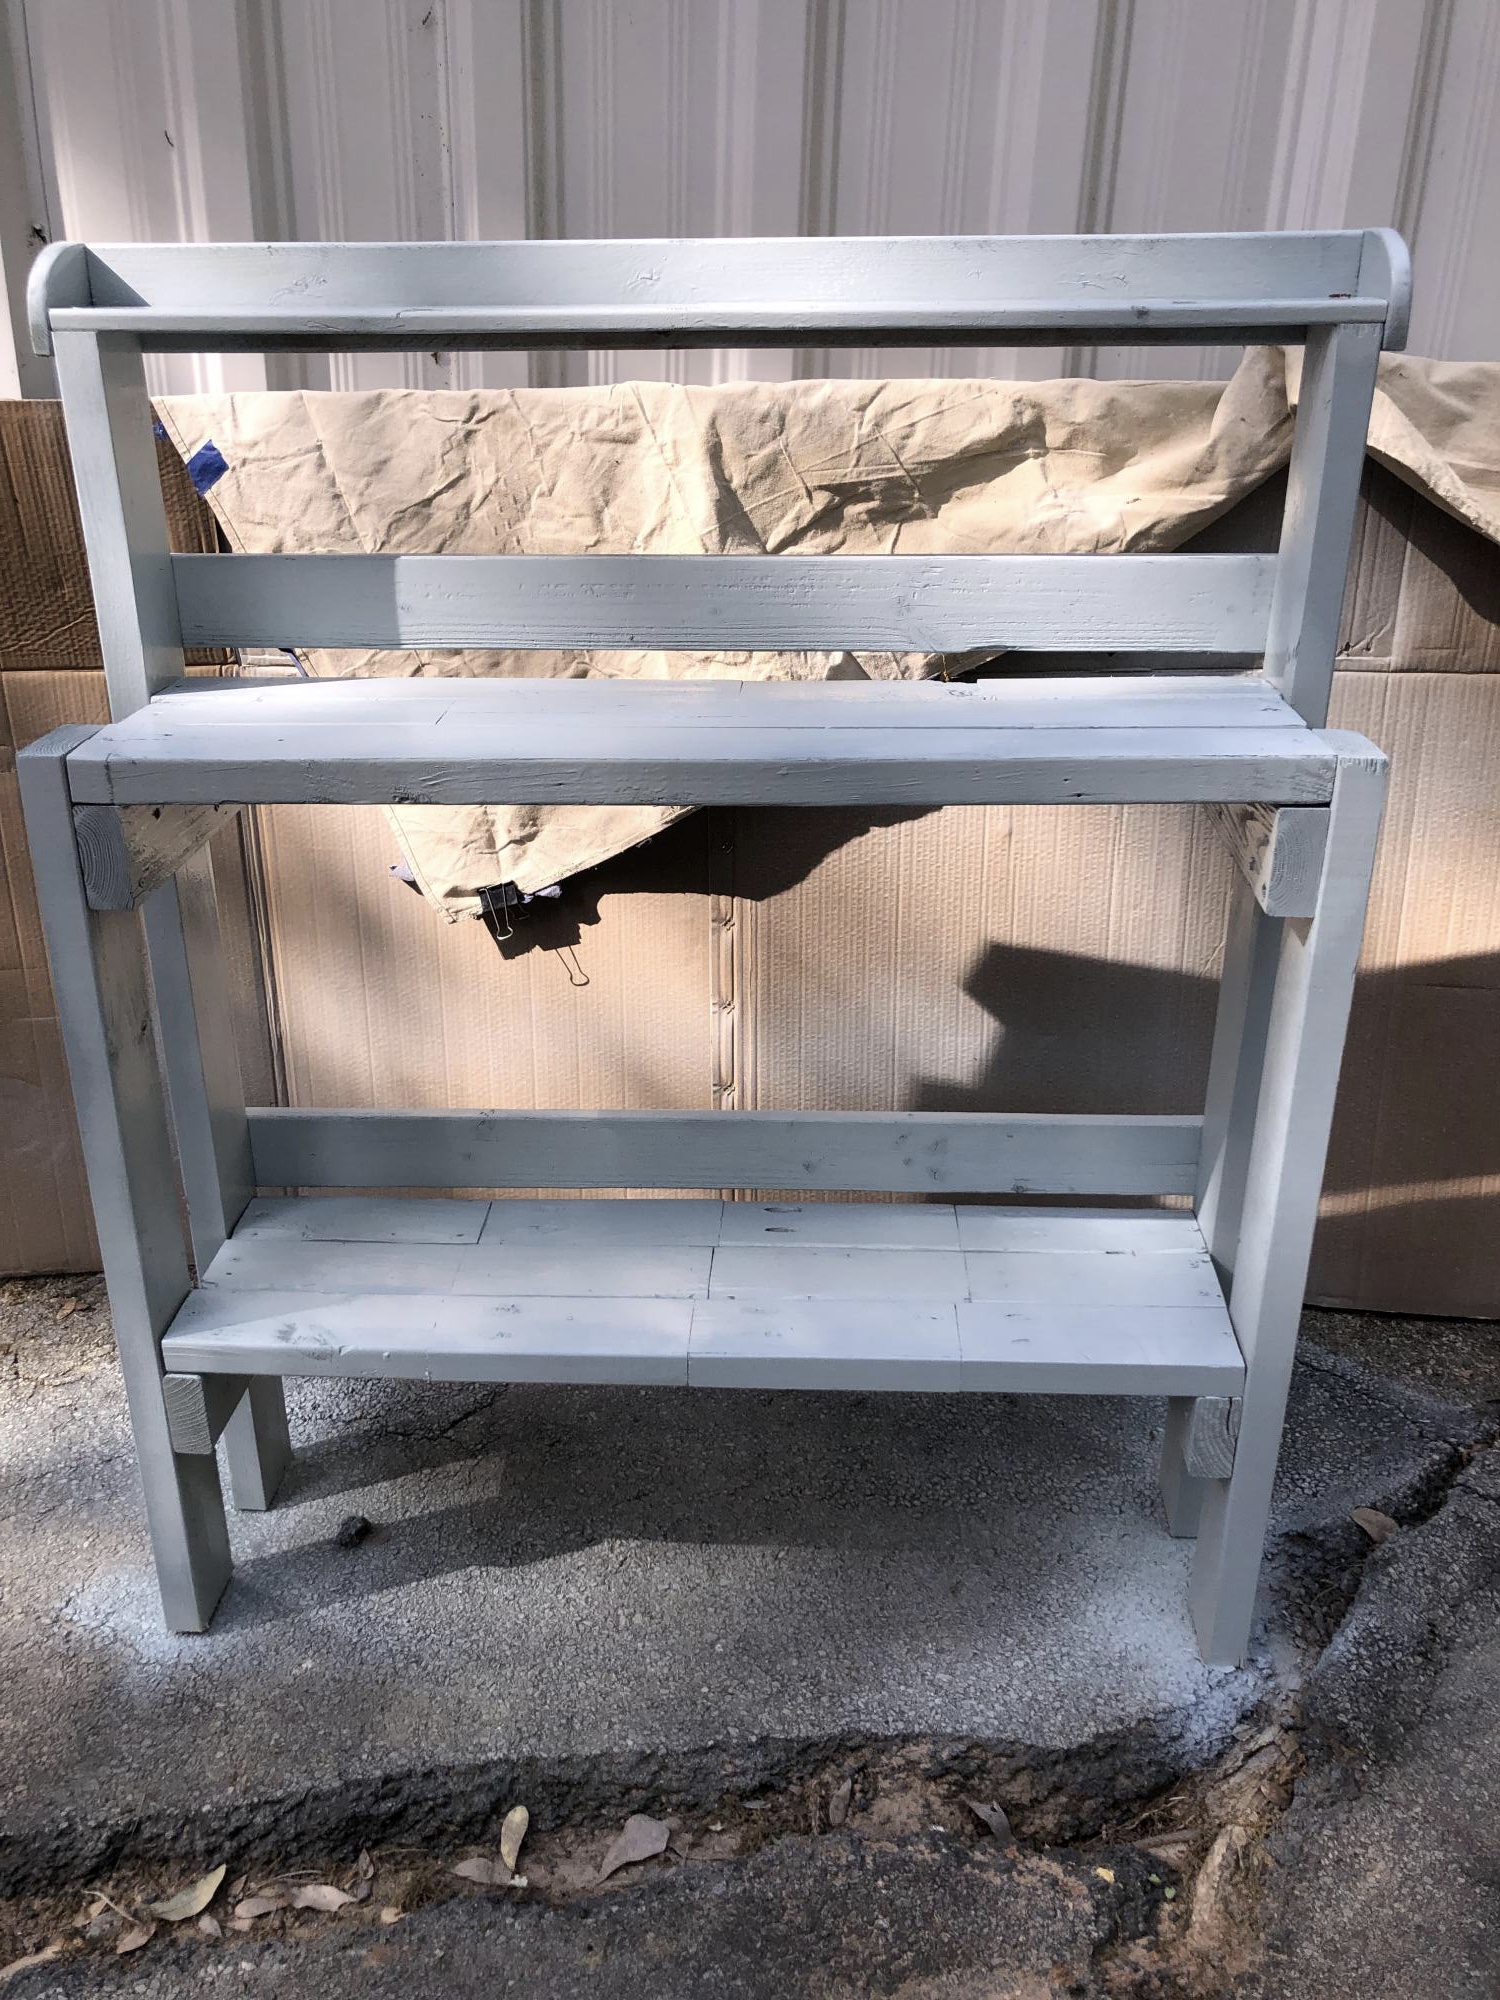
I wanted to plant some herbs and have them easily accessible from my kitchen, plus I had a ton of scrap wood lying around the garage. Hence, my scrap-wood planting bench. No cost to build and only a couple of days. It's not as deep as the original post due to where it will be located. The size is 39 in.x10.5 in.x48 in.
Built from Plan(s)
Estimated Cost
$0
Estimated Time Investment
Week Long Project (20 Hours or More)
Recommended Skill Level
Starter Project
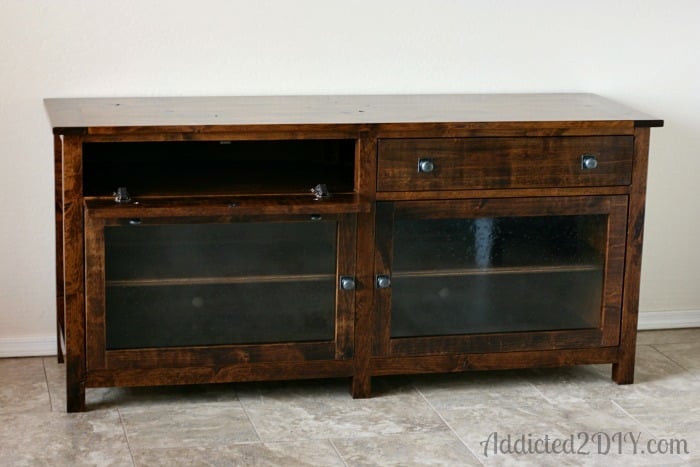
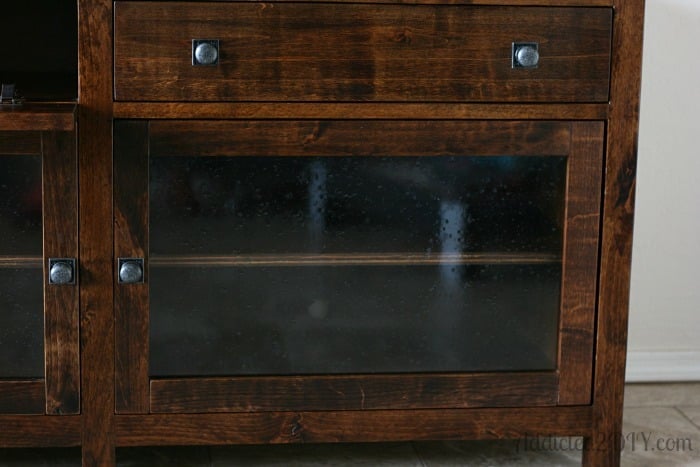
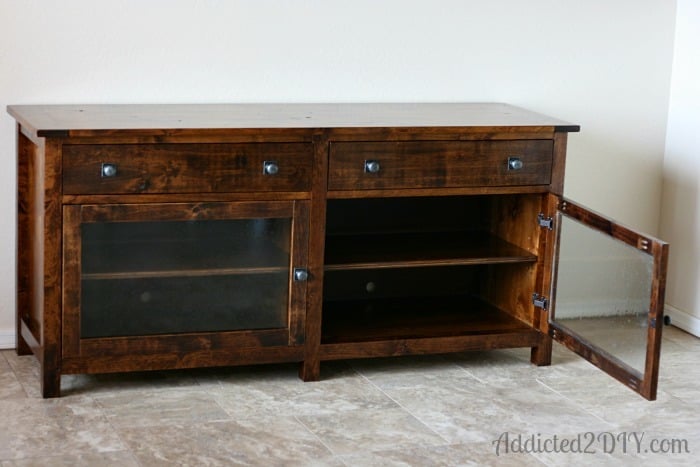
Pottery Barn Inspired Media Console
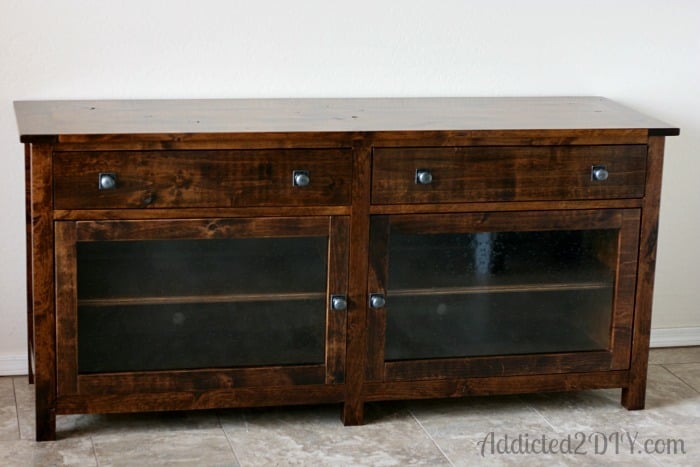
This project has been a long time coming and I'm so excited that it is finally finished. We modified the plans to better fit our media center opening, so it is about the same dimensions as the original Pottery Barn Benchwright TV Stand. We also used true dimension lumber, so we adjusted the measurements based on that. This is definitely my favorite project to date!
Built from Plan(s)
Estimated Time Investment
Week Long Project (20 Hours or More)
Finish Used
Minwax Stain in Provincial
Minwax Polycrylic in Satin
Minwax Polycrylic in Satin
Recommended Skill Level
Intermediate
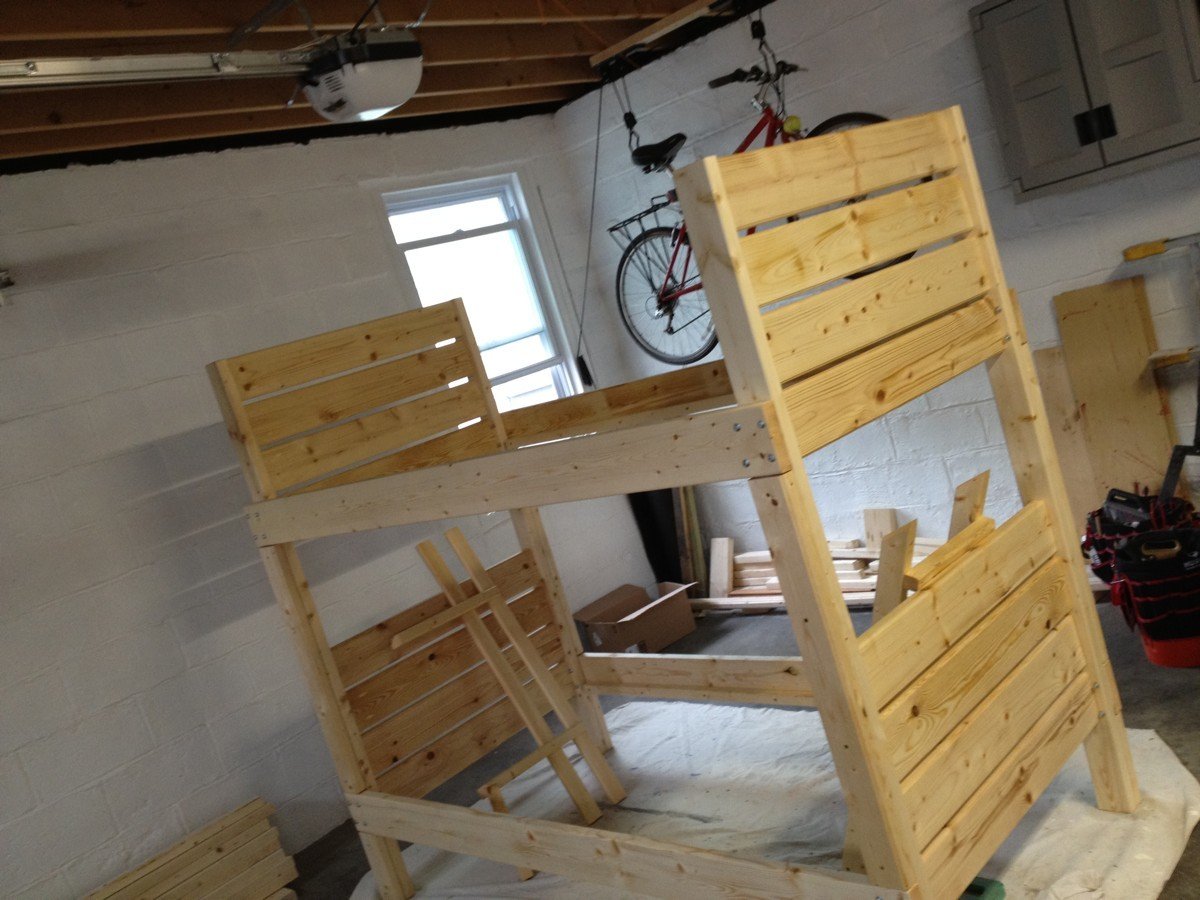
Sturdy Bunk Beds
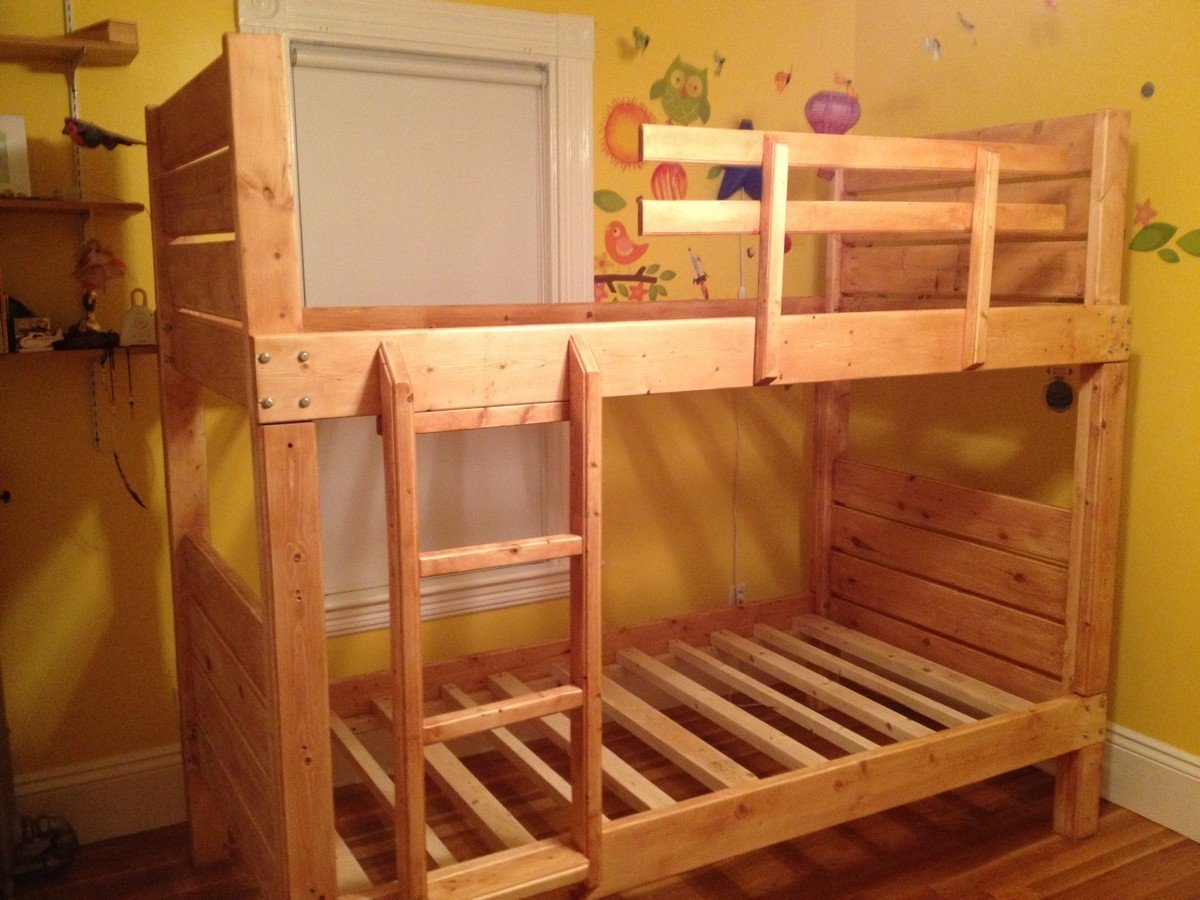
We were shopping for bunk beds for our 5 and 3-year-old kids, and everything I saw was overpriced, mass produced junk. I'm not kidding - we were looking at $800-$2000 for anything that appeared to be remotely stable, let alone well-designed.
Naturally, I started searching for plans (it's the right thing to do), and naturally, I found my way to Ana White. This project began in earnest when I found the Side Street Bunk Bed plans here:
http://ana-white.com/2012/03/plans/side-street-bunk-beds
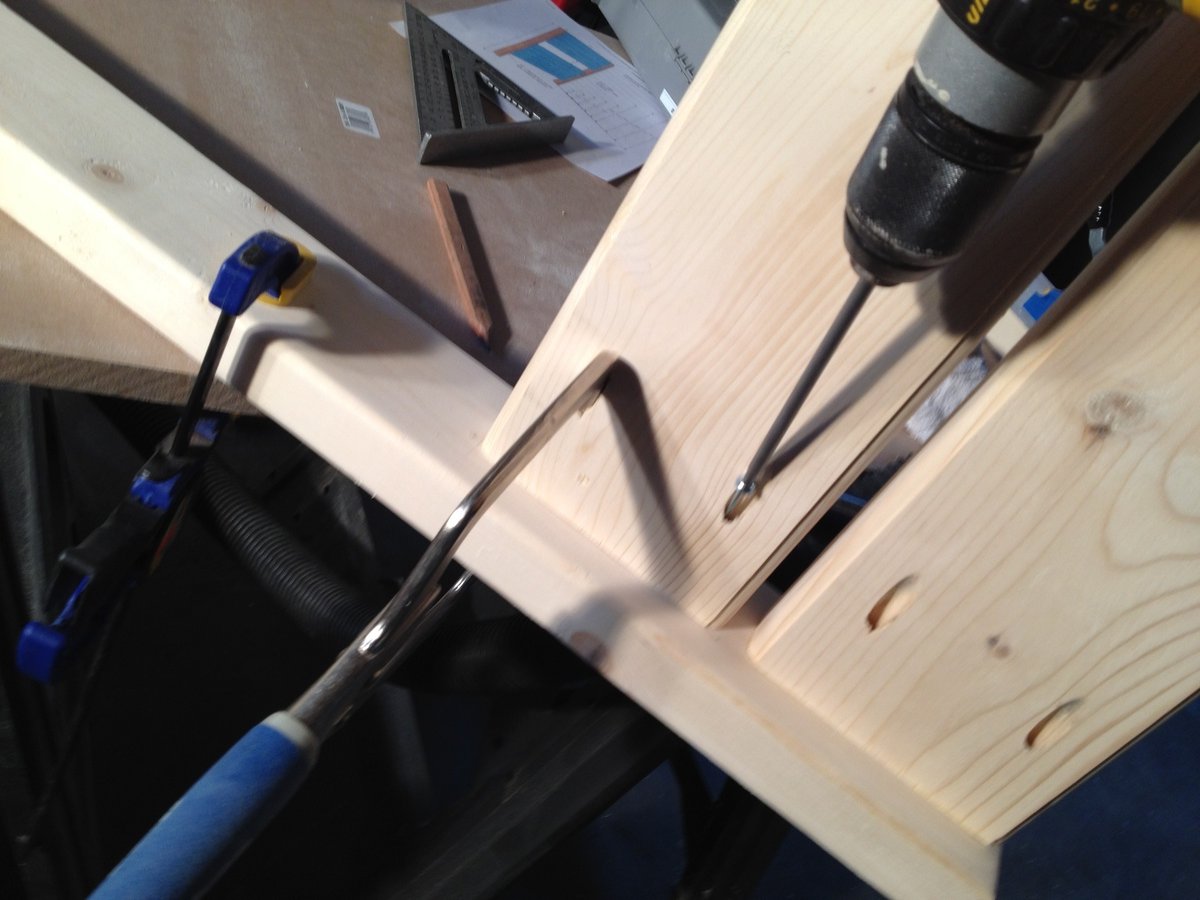
I figured I'd give it my own twist. I needed to practice using my DeWalt compact router (and the new trim router table my wife had given me months before), and any excuse to bust out my Kreg Jig is fine by me. I also had different ideas for the ladder and guard rails...so I printed out the plans, sketched out my variations, and proceeded to suffer through the indignity of lumber shopping at Home Depot.
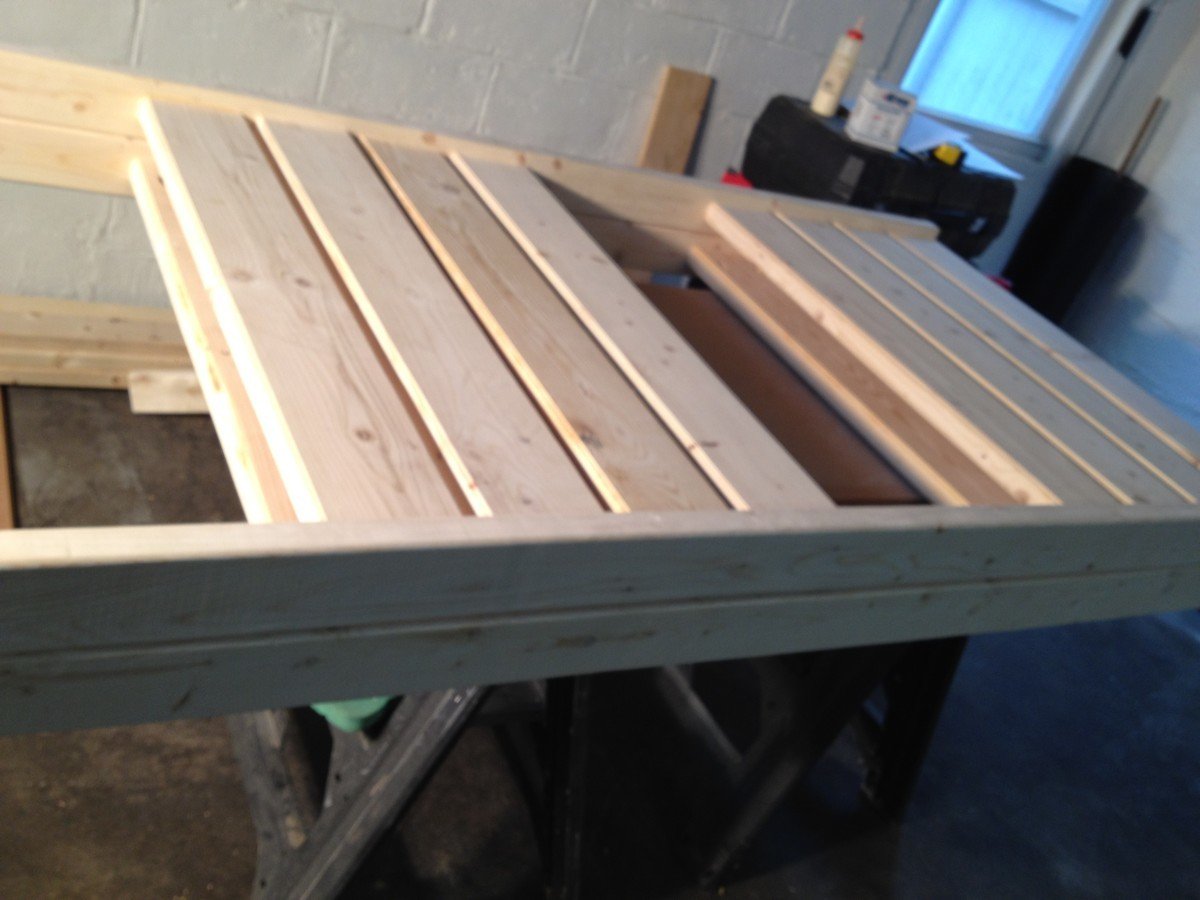
I know what you're thinking - WHY would anyone even bother trying to find a straight board in THAT place? Well believe me, I suffered for the convenience of driving to the HD two miles from my house. I had to work each and every board like crazy, but eventually I got em all into fine shape. Wood wants to be good, even the crap they sell at HD.
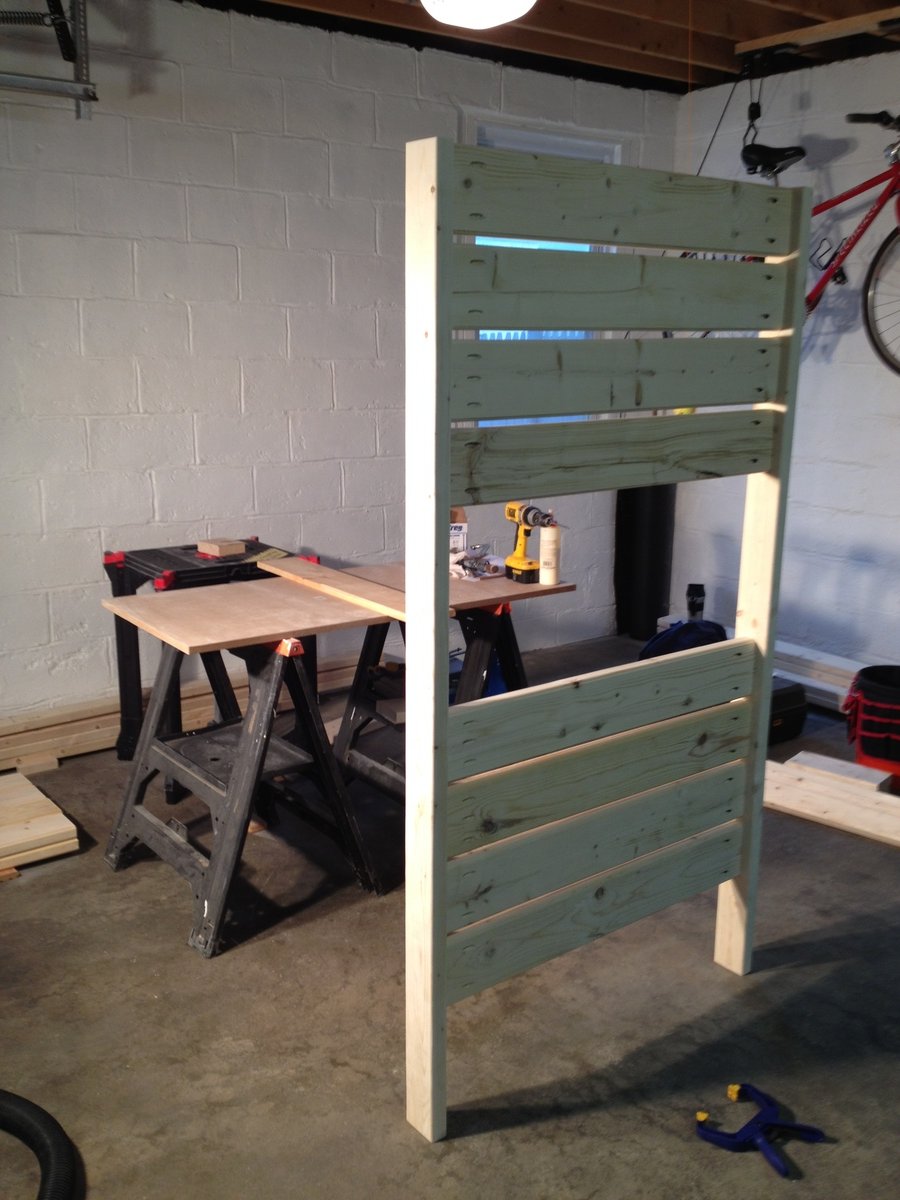
About halfway through the build, I started to worry that what i was building was TOO sturdy - total overkill. But now that it's in use, I can tell you I'm glad I built with these plans. I can still climb up on top of the bed with both my kids if I want to and this thing doesn't budge. Not an inch. Not a creak. SOLID. Exactly what any parent wants.
Not a lot of complex tools involved here; my trusty Delta chop saw, my DeWalt 18v cordless drill, a DeWalt palm sander ( I spent hours with this), the Kreg Jig and a couple of clamps (of course), and the DeWalt Compact Router and table. The router really made a difference in the overall design – and I wasn't afraid of screwing up the lousy lumber I was working with. In the end, it all finished rather nicely.
I treated every piece with Minwax wood conditioner, then a single coat of Minway Polyshade in Pecan. Nothing fancy, but after sanding it down and giving it a polish, I gotta say it looks just as good as your average IKEA finish. Not bad at all.
This is the largest piece of functional furniture I've ever built, and my kids LOVE it. They talked about it for days after, and you can't buy that on Amazon. It was a real confidence builder, and I'm PSYCHED to move on to some nicer lumber and more complex projects!

Built from Plan(s)
Estimated Cost
$300
Estimated Time Investment
Week Long Project (20 Hours or More)
Finish Used
Minwax Polyshade
Recommended Skill Level
Intermediate
Comments
Thu, 05/24/2012 - 09:42
Beautiful!
That is really lovely. You should be proud and how wonderful that you created this experience for your boys instead. No doubt you have inspired and impressed them. Way to go.
Sat, 07/14/2012 - 16:01
Great job. We just bought the
Great job. We just bought the wood to make the same bunk bed. Would you mind sharing your dimensions/cut list for the ladder on your bunk bed? We would like to build the same ladder instead of the one that goes out to the floor.
Thanks.
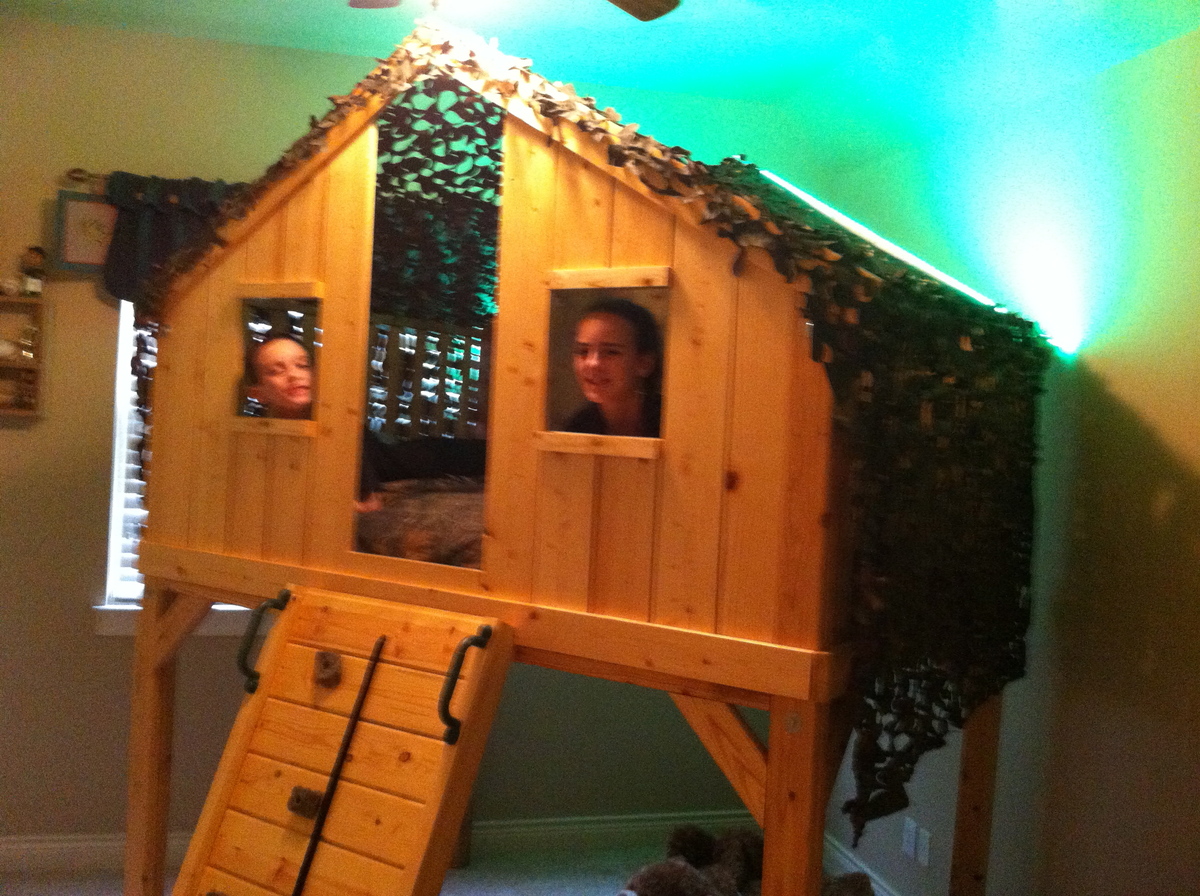
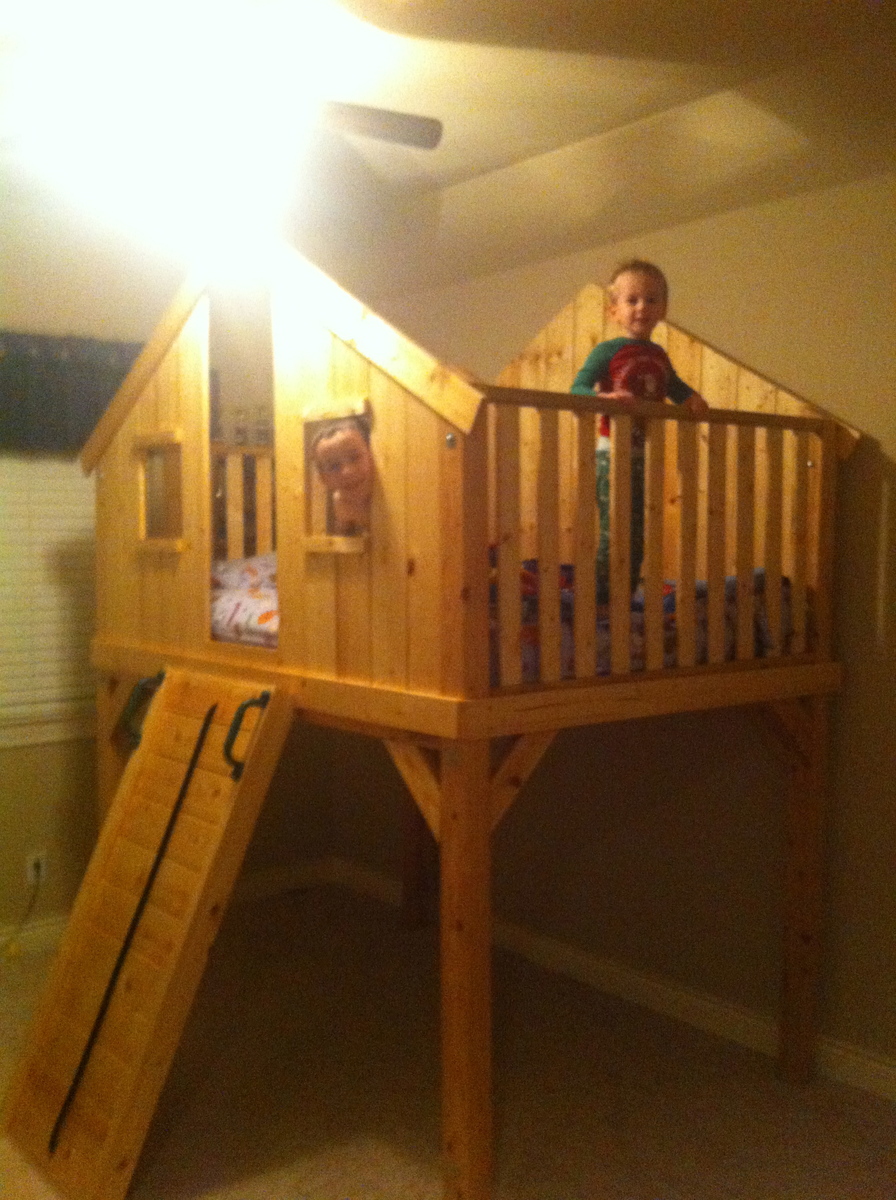
Doing things big down in Texas
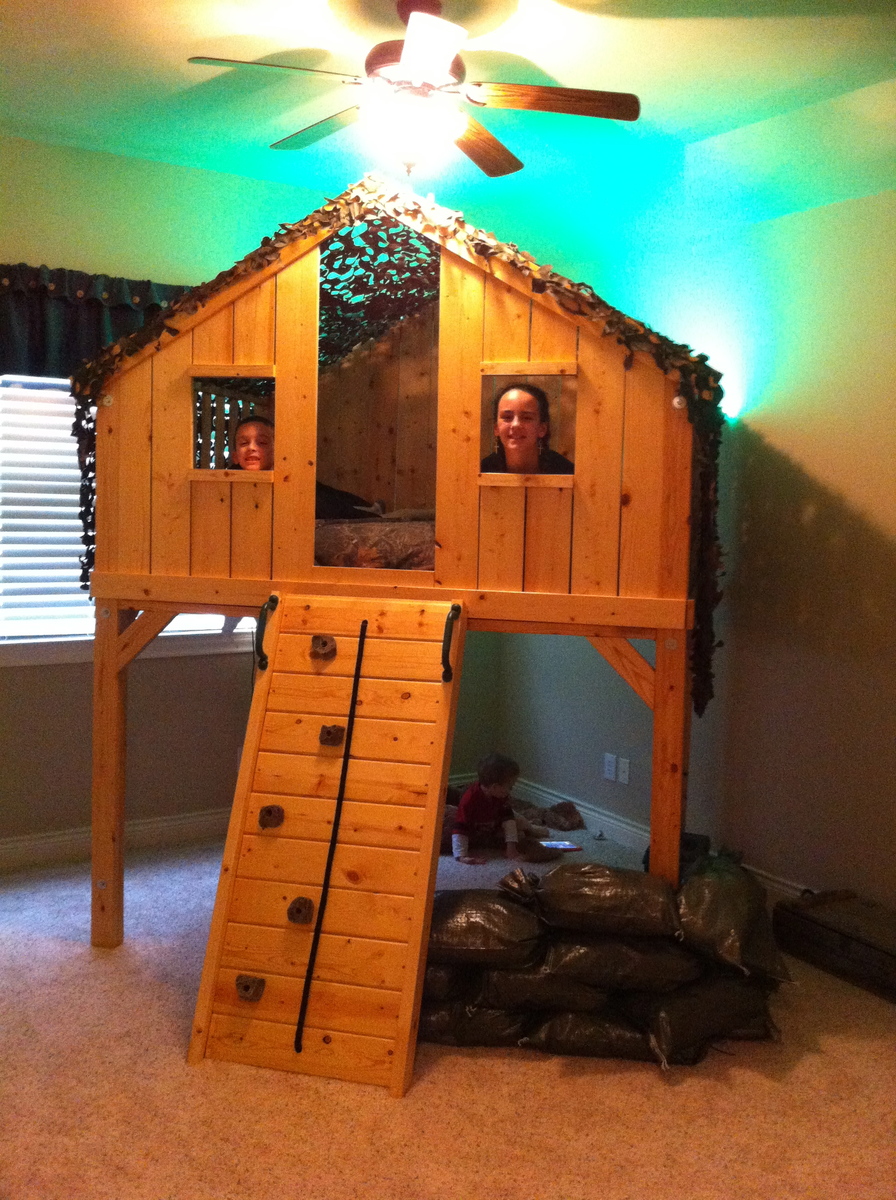
We decided to build this a bit bigger and taller. I will caution you to be careful as we came inches to not making it through our doorways. We expanded the depth 15" to make it a full bed and we extended the length of the legs to allow for 48" clearance underneath.
We also went with a rock wall instead of a ladder. I 1st built the angle too steep; recommend at least a 30 degree angle on a wall. Kid's love it; mom not so much when attempting to make the bed! :)
We went with military theme - green rope lights, camo netting for a roof, and sandbags filled with old clothes from my high school years for a bunker underneath.
Still working on a sign for top of the door.
Great project! Thanks for the idea!

Estimated Cost
materials $350; tools needed that I did not have $250
Estimated Time Investment
Week Long Project (20 Hours or More)
Finish Used
Natural Color MinWax stain then Clear Satin Poly.
Recommended Skill Level
Beginner
Shoe Dresser
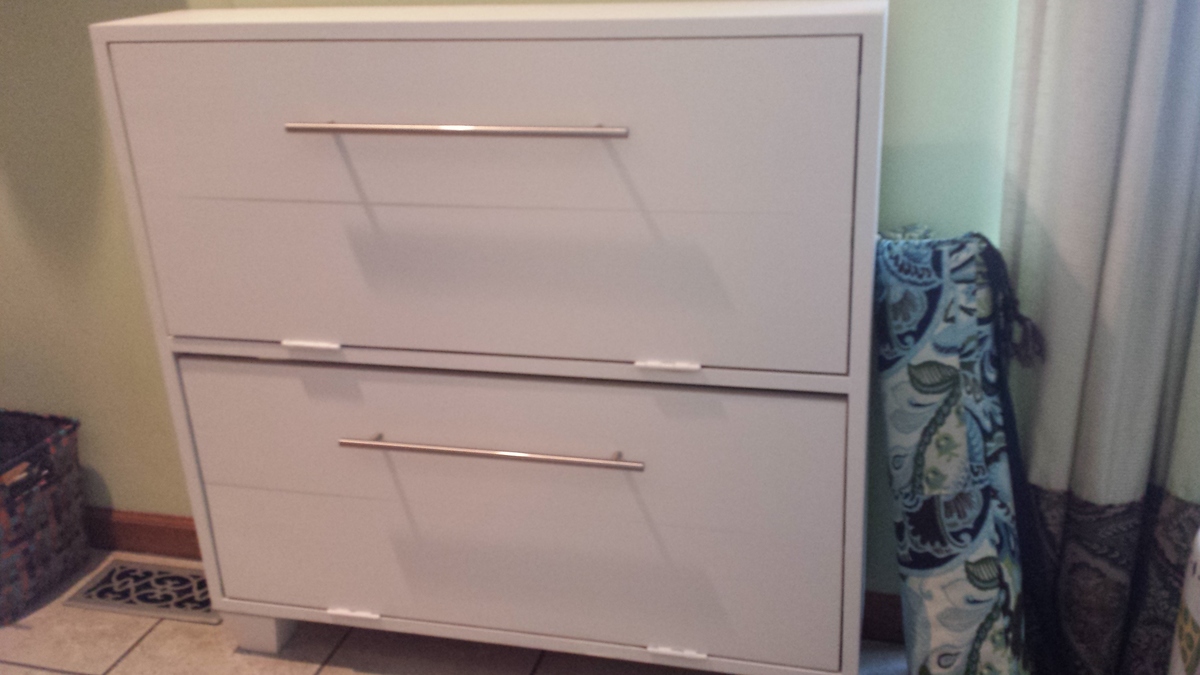
Made tis twice. First one was a mess, Bought more wood and started over aware of problem areas and built more carefully second time.
Built from Plan(s)
Estimated Time Investment
Week Long Project (20 Hours or More)
Finish Used
Paint
Recommended Skill Level
Beginner
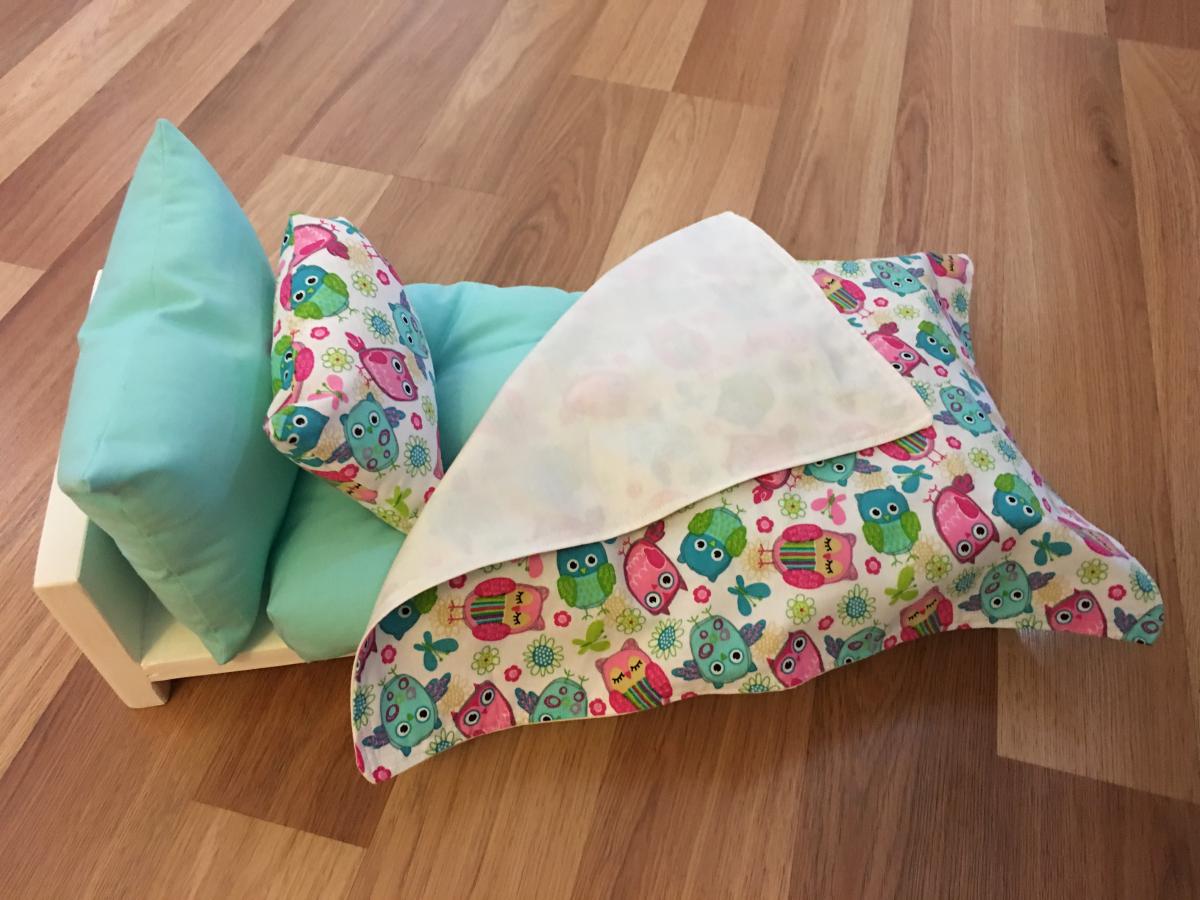
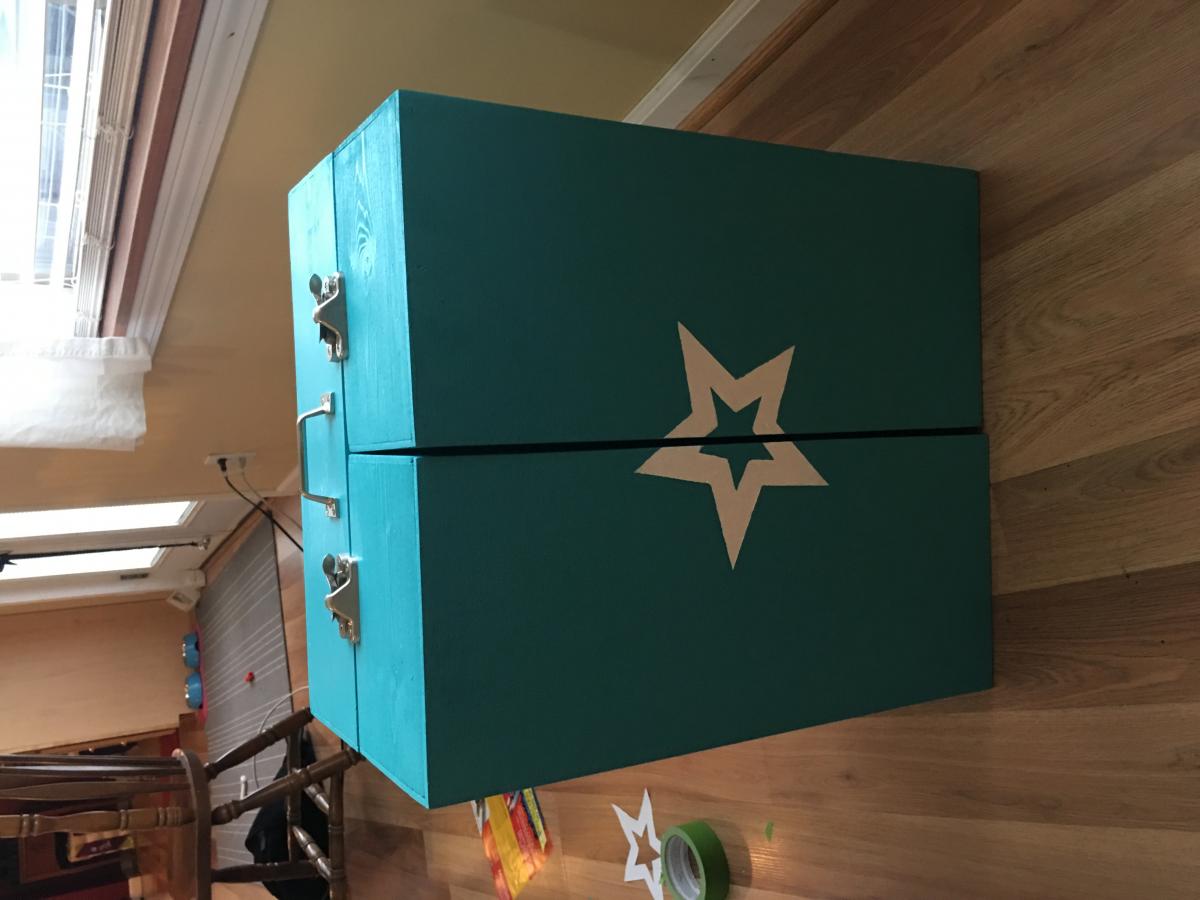
American Girl Doll Storage and Bed
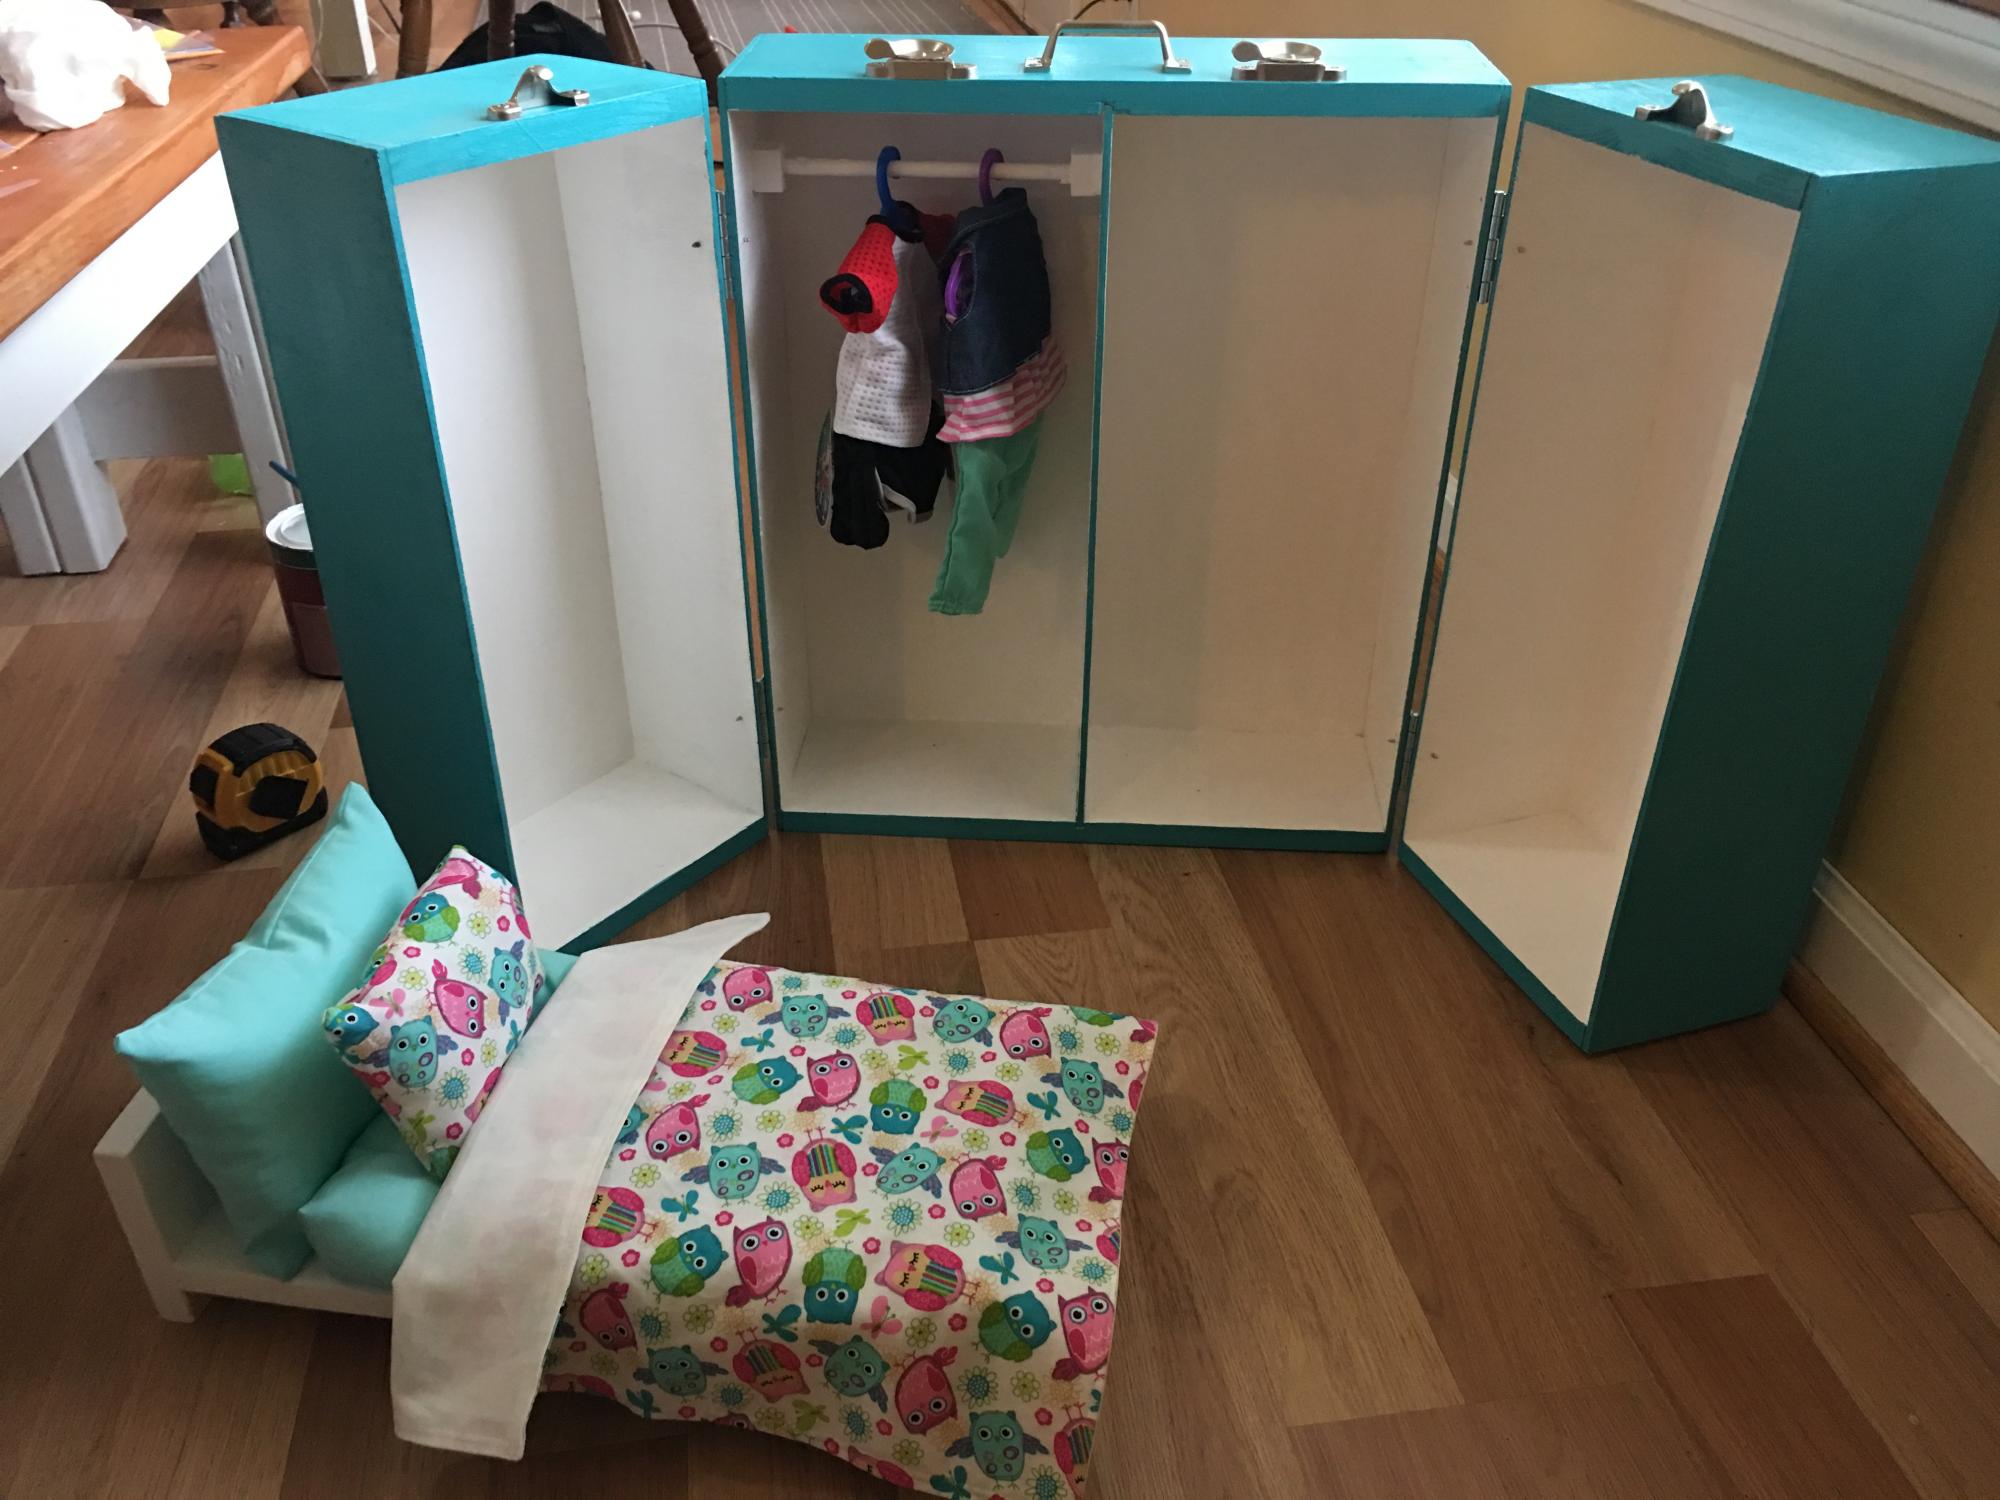
For my niece's birthday, I built her this awesome storage solution. Mom was super happy that everything could fit together in one spot and my niece takes this with her wherever she goes. I was so happy to find plans to build this as I was not sure what to make her for her birthday!
Built from Plan(s)
Estimated Time Investment
Afternoon Project (3-6 Hours)
Comments
DIY Wood Stocking Stand

Wood Stocking Stand built by Nico
Built from Plan(s)
Seasonal And Holiday
See-Saw

Built this for our Daughters 4th birthday. Both our girls love it! If we had not painted it with outdoor paint we would have been done in a few hours. It took awhile for the paint to dry and we did multiple coats.
Built from Plan(s)
Estimated Cost
$50
Estimated Time Investment
Weekend Project (10-20 Hours)
Recommended Skill Level
Beginner
Comments

Sun, 05/27/2012 - 11:39
So awesome!!!!!!! I love the
So awesome!!!!!!! I love the paint too! But nothing beats those smiles!
Firewood holder
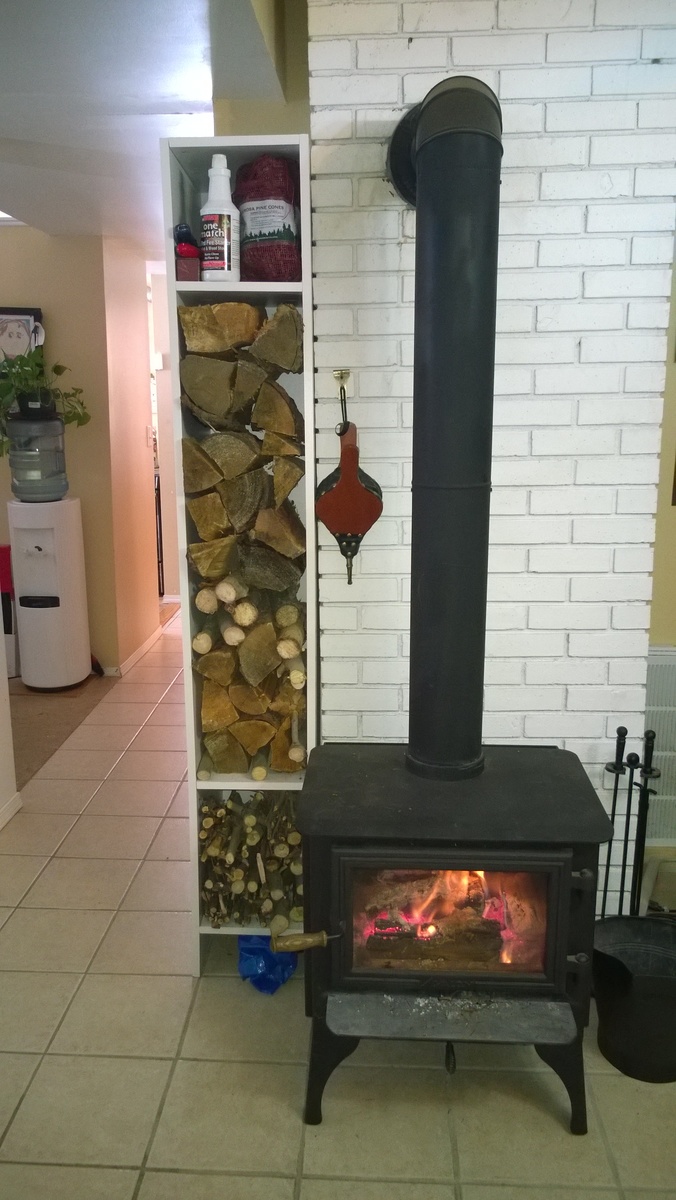
I needed a better way to store my fire wood. The rack that we had only held enough wood for to load the fire place and add 2 or 3 as needed before the wood was gone. I wanted something that I could hold more wood.
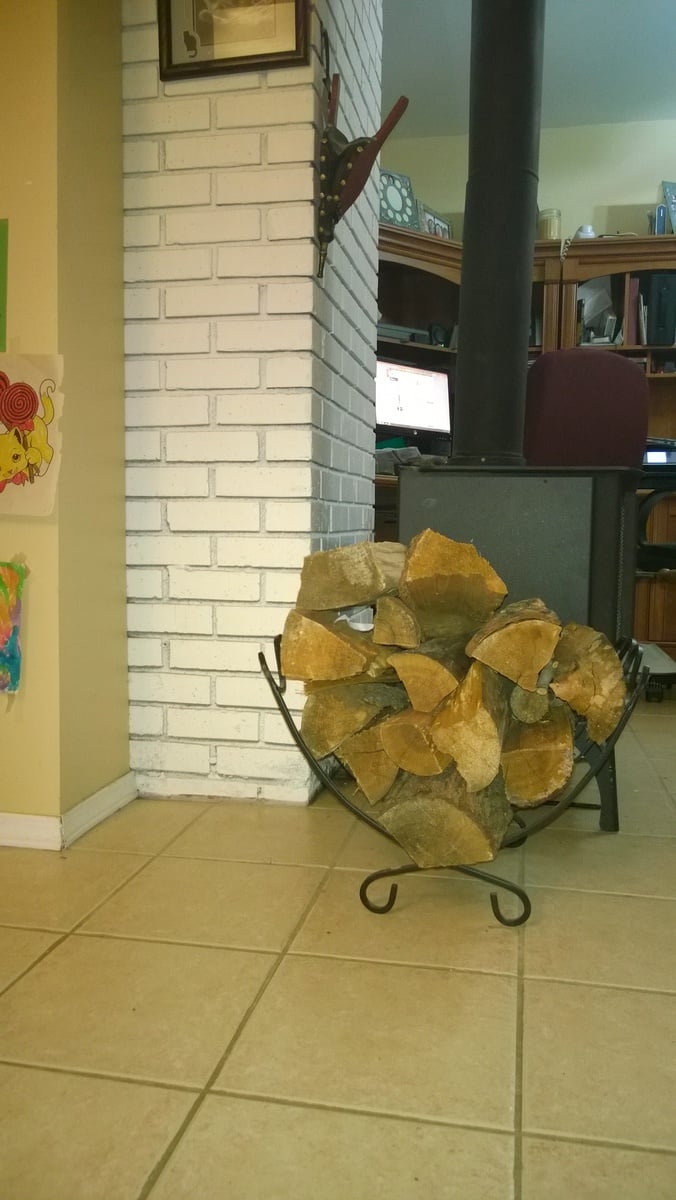
I was looking online at different racks and came across something that looked like a bookcase with no shelves filled with wood. I then looked at where I had my wood and saw that I had a nook to put something like that in. The photo of the shelves with only a little wood is all the wood that was in the metal holder. I had a lot of space left.
After looking at various store for bookcases and shelving, hoping in vain that I could find something cheep that would fit the size I needed, I came to see what plans I could use from Ana's site. I looked at the cube tower and the locker cabinet and finally used the pdf from the locker cab resized to fit my needs.
My wife remembered seeing something about banding on here,( http://ana-white.com/2013/11/momplex/finishing-plywood-edges-edge-bandi… ) So we found some white to match the wood. I think the banding turned out good.
I did have a hard time getting the drill in to the pocket holes for the second side of shelf. I started to look on line and found 3" bits at Lowes and HD, but it was 10:30 at night. After looking some more I found a great post on Kreg's site for using a ratchet with a 1/4" socket to hold the bit. http://kregjig.ning.com/photo/ratchetasrtangledriver-1?context=user
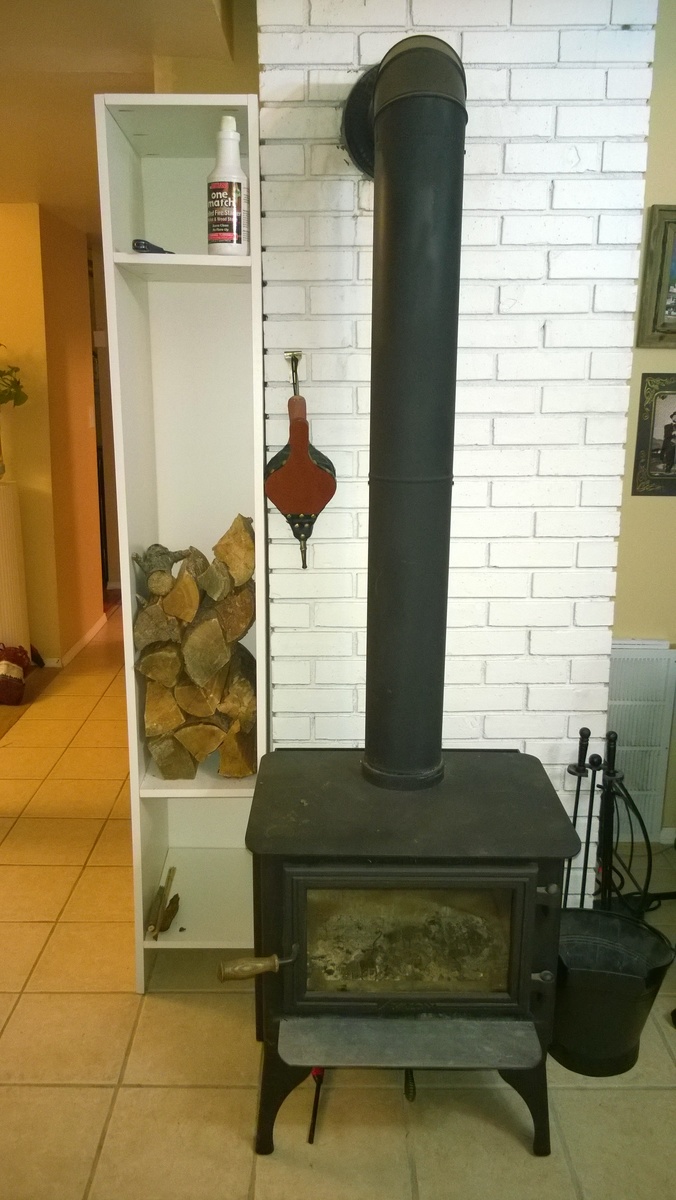
My wife also said I should add one more shelf for keeping the wood stable. I told her that I would be fine. Now that I have filled it up all the way I think another shelf would be good to keep the wood rotated. Have one stack of room temp wood, and one of just from outside trying to warm up. So she was right that I should put in another shelf. ;)
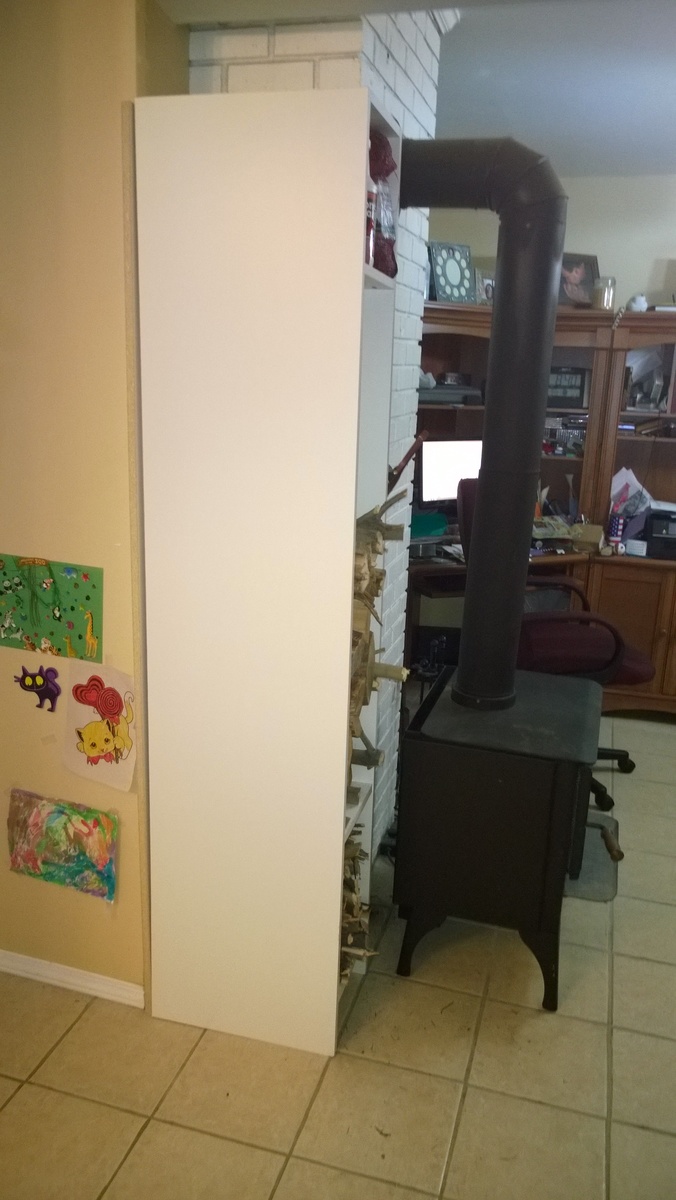
I think it has opened the space by the fire place and should help my daughter not to stub her toes like she did with the rack.
The wood was $30 and HD cut if for no charge. It only took one sheet. The banding was around $5 and I had to buy some more Kreg screws.
The Size is 12 1/2"W 18"D and 79" high.
The blue bag under the shelving is an Ikea bag. It is just the right size and strength to carry the wood in.
Mike
Built from Plan(s)
Estimated Cost
$45
Estimated Time Investment
Day Project (6-9 Hours)
Finish Used
White MDF with White banding
Recommended Skill Level
Starter Project
Woven back bench

Built for my parents 50th anniversary
Built from Plan(s)
Estimated Cost
£60
Estimated Time Investment
Week Long Project (20 Hours or More)
Finish Used
Cupronel outdoor furniture stain (teak)
Recommended Skill Level
Intermediate