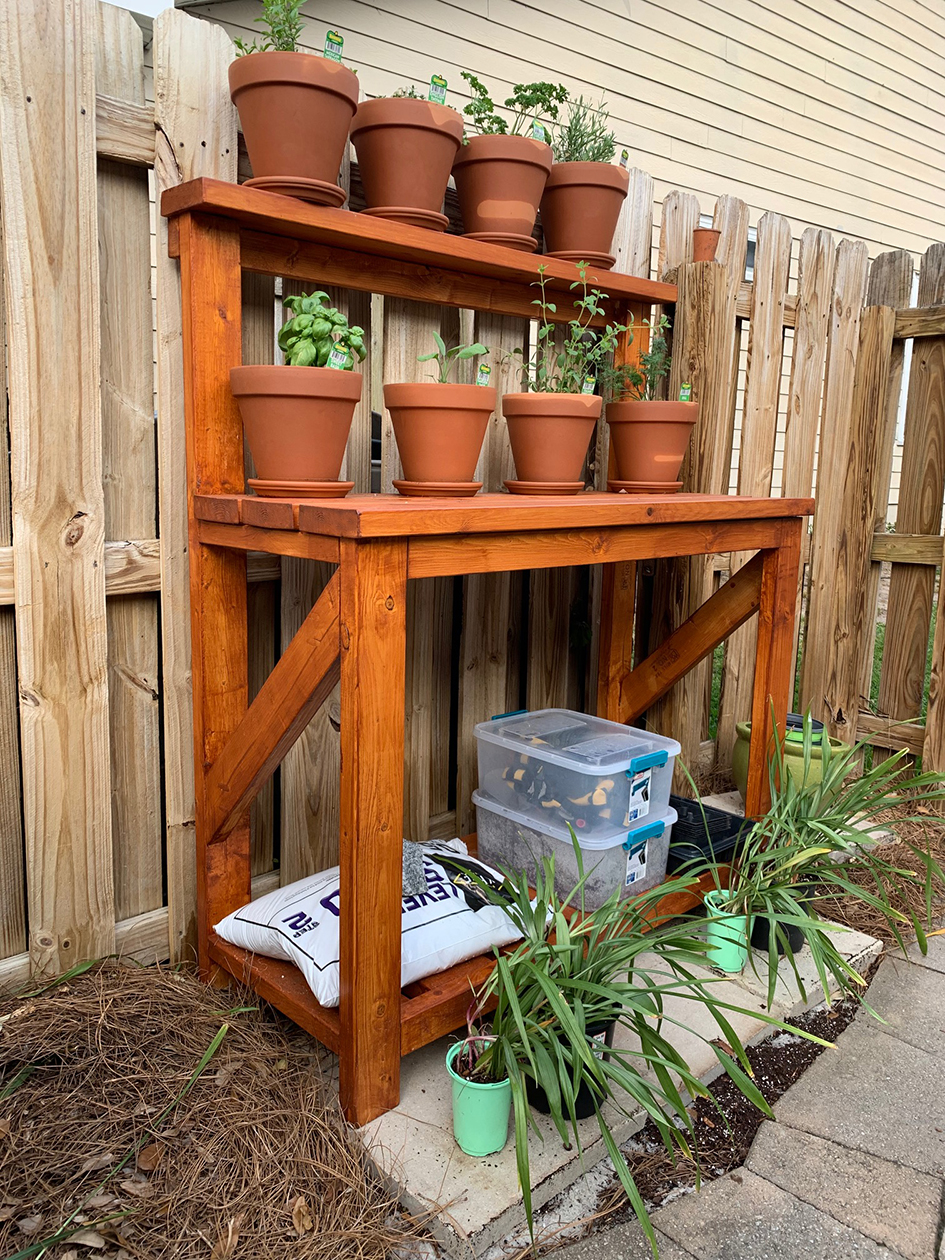
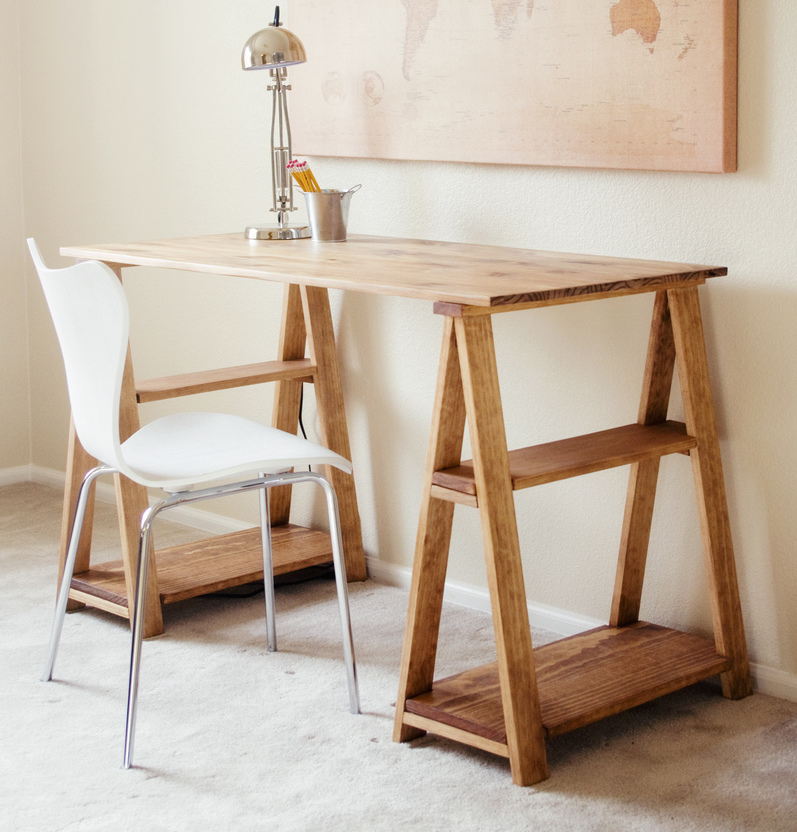
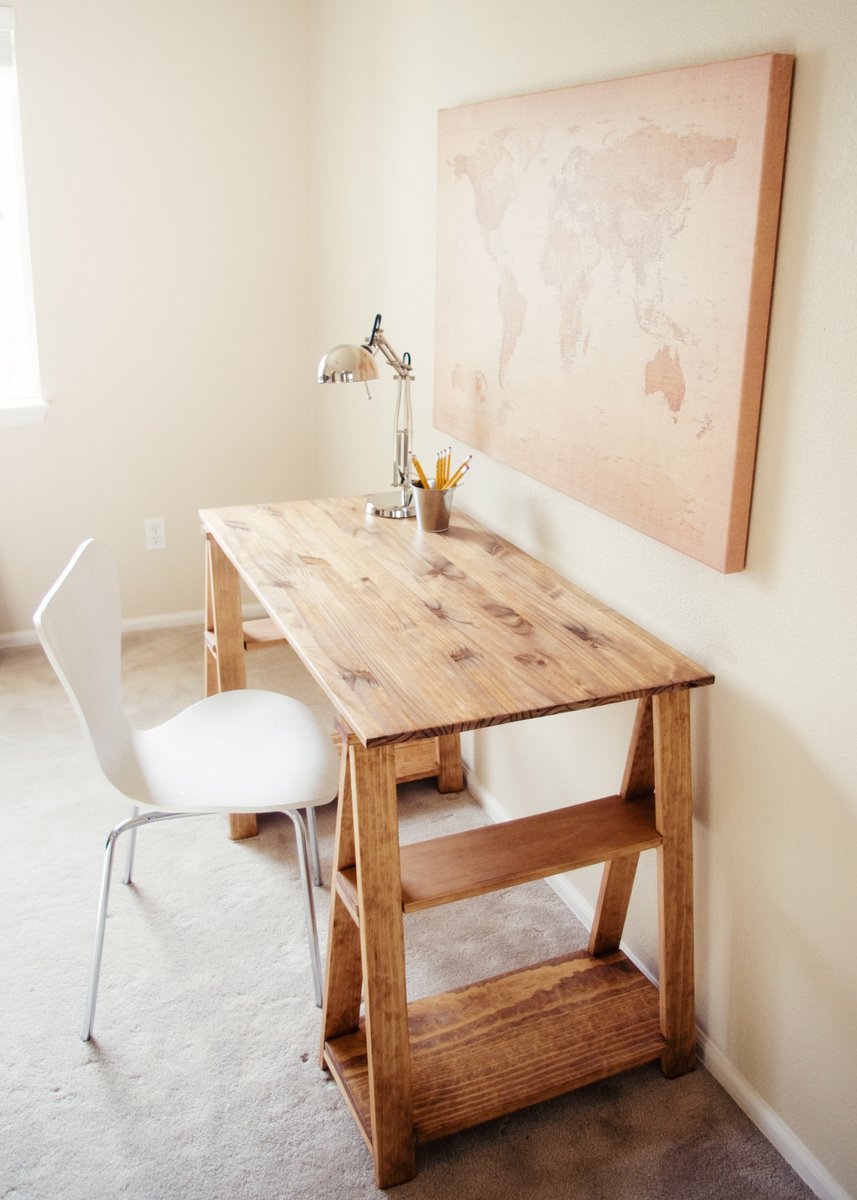
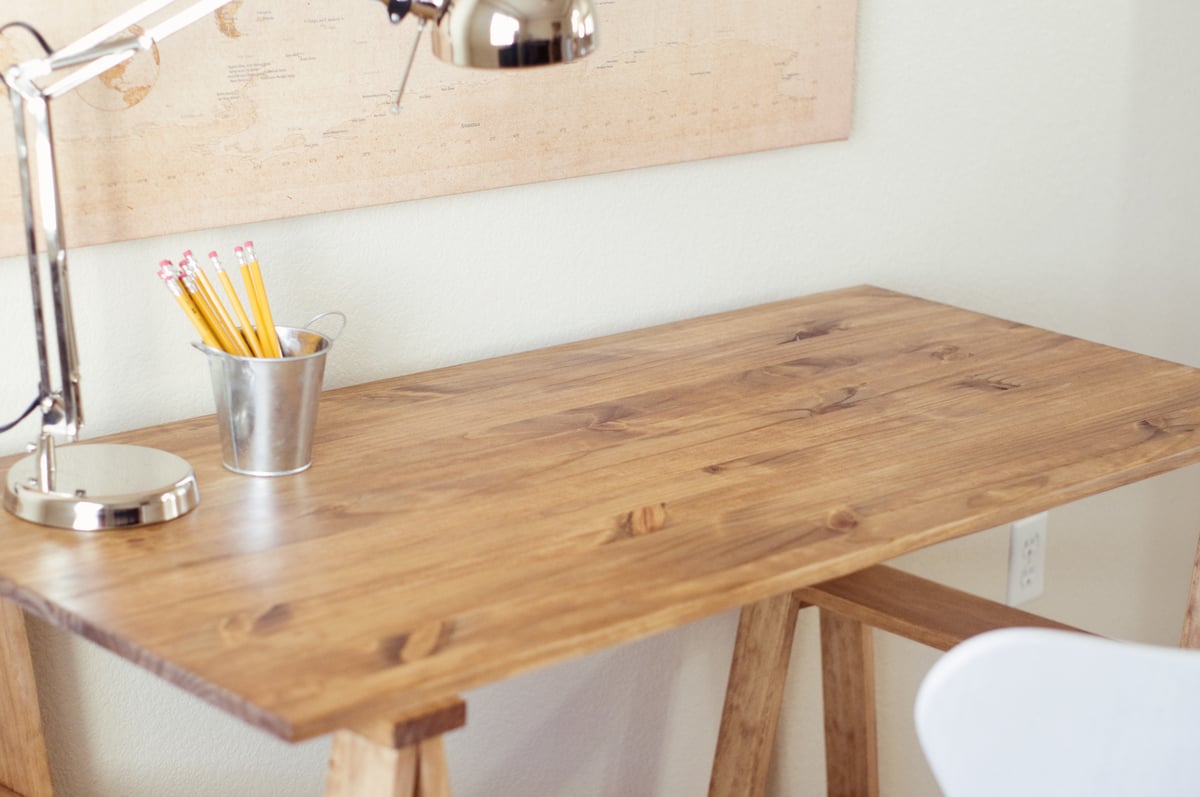
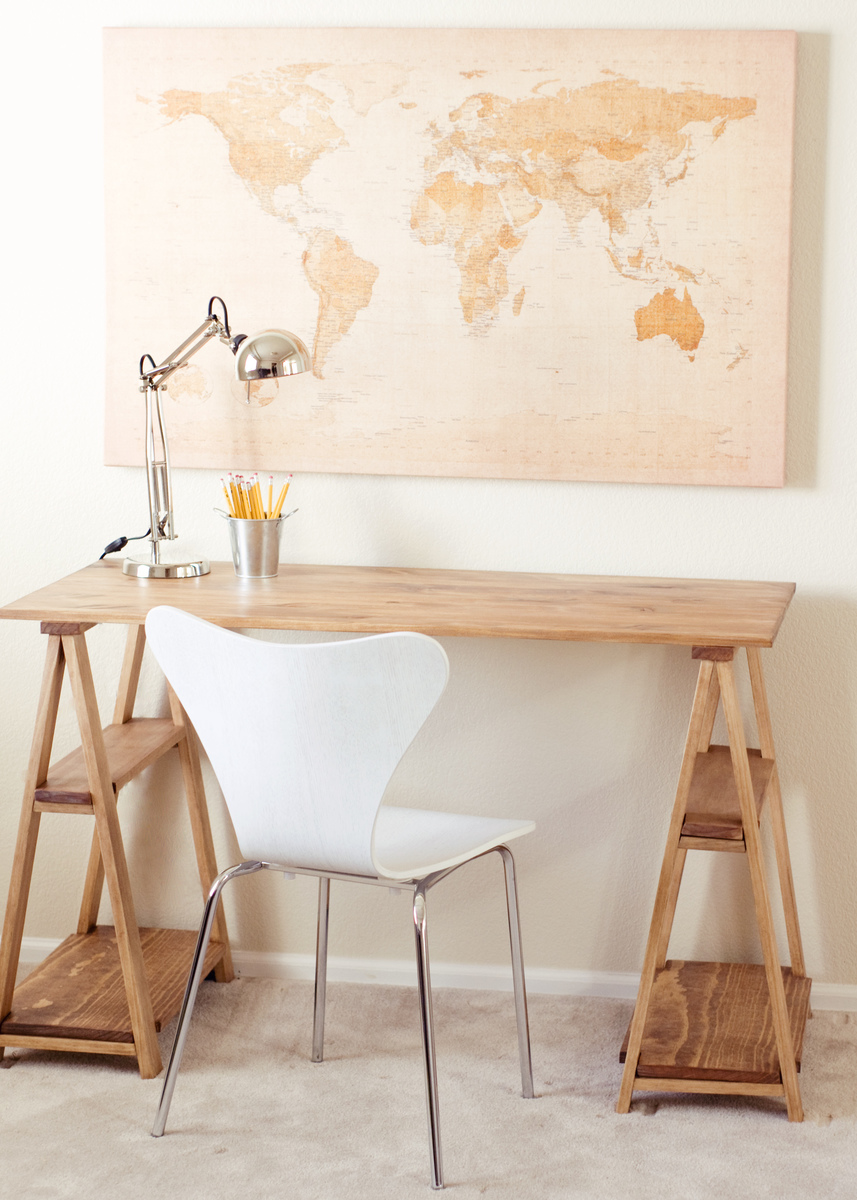
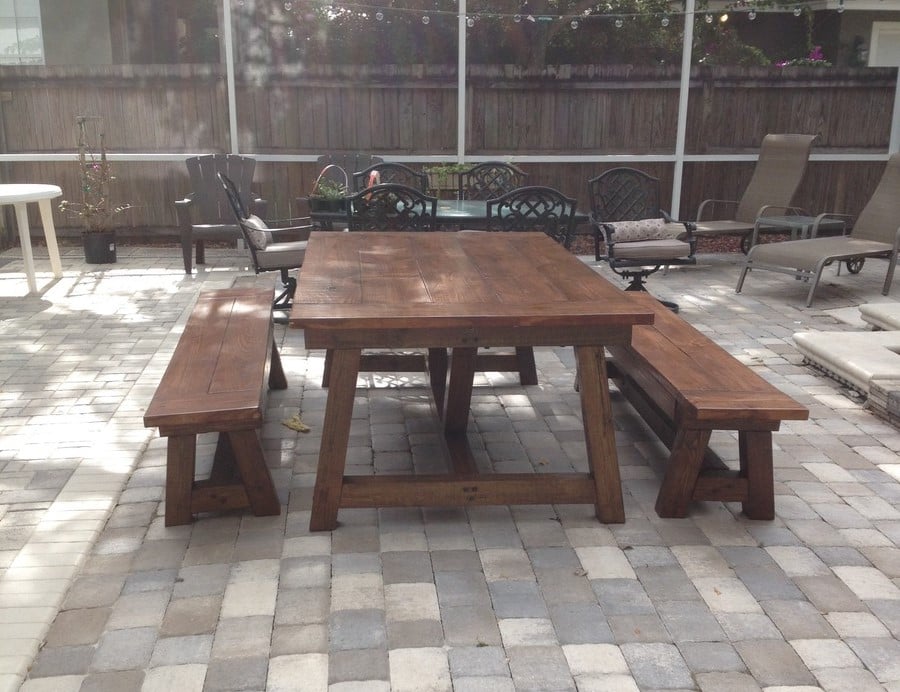
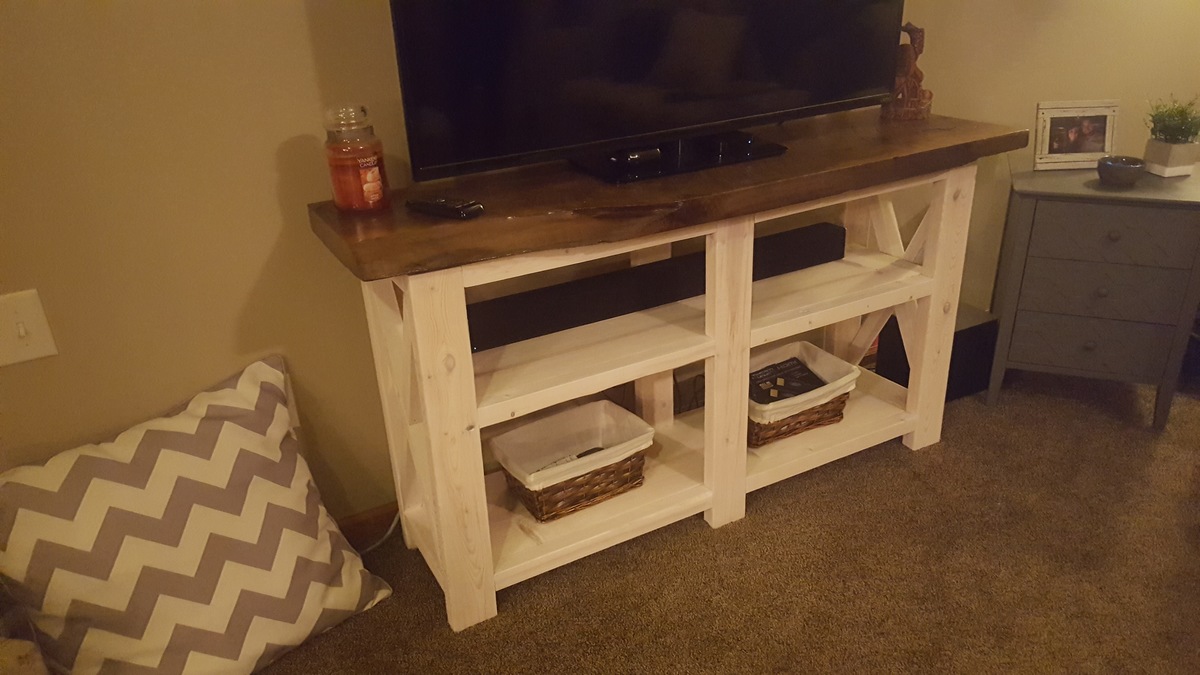
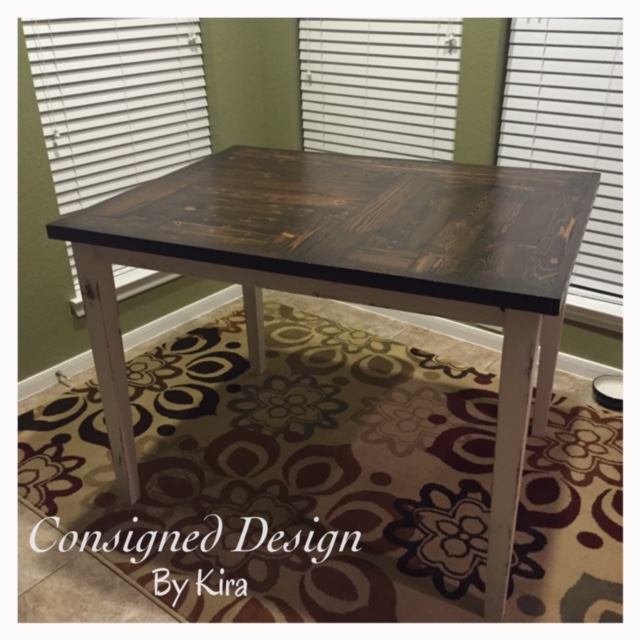
Concrete 4x4 Truss table
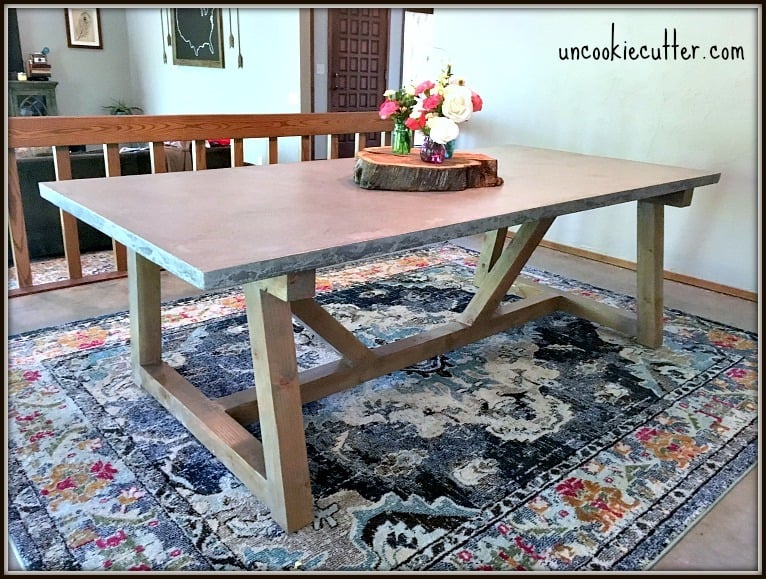
I used the plans for the 4x4 truss beam table to make this version with a concrete top.
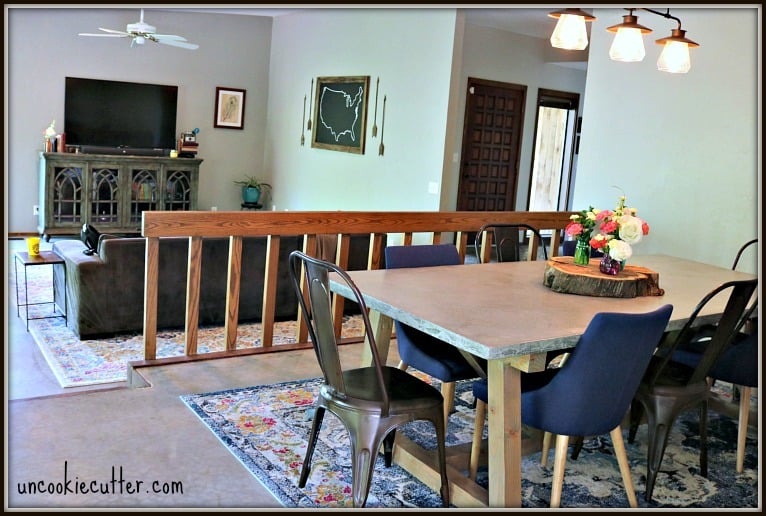
Built from Plan(s)
Estimated Cost
$250-$300
Estimated Time Investment
Week Long Project (20 Hours or More)
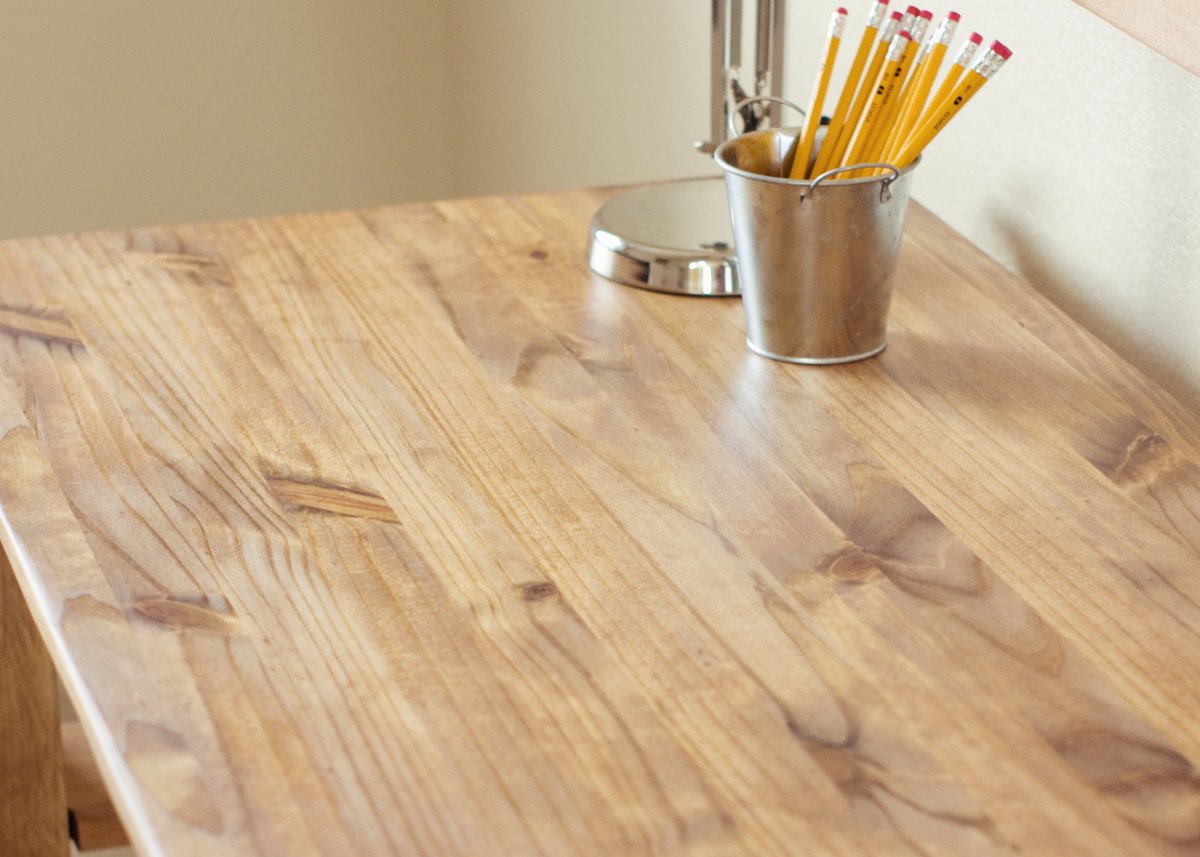
Finish Used
Minwax Weathered Gray with polyurethane
Recommended Skill Level
Intermediate