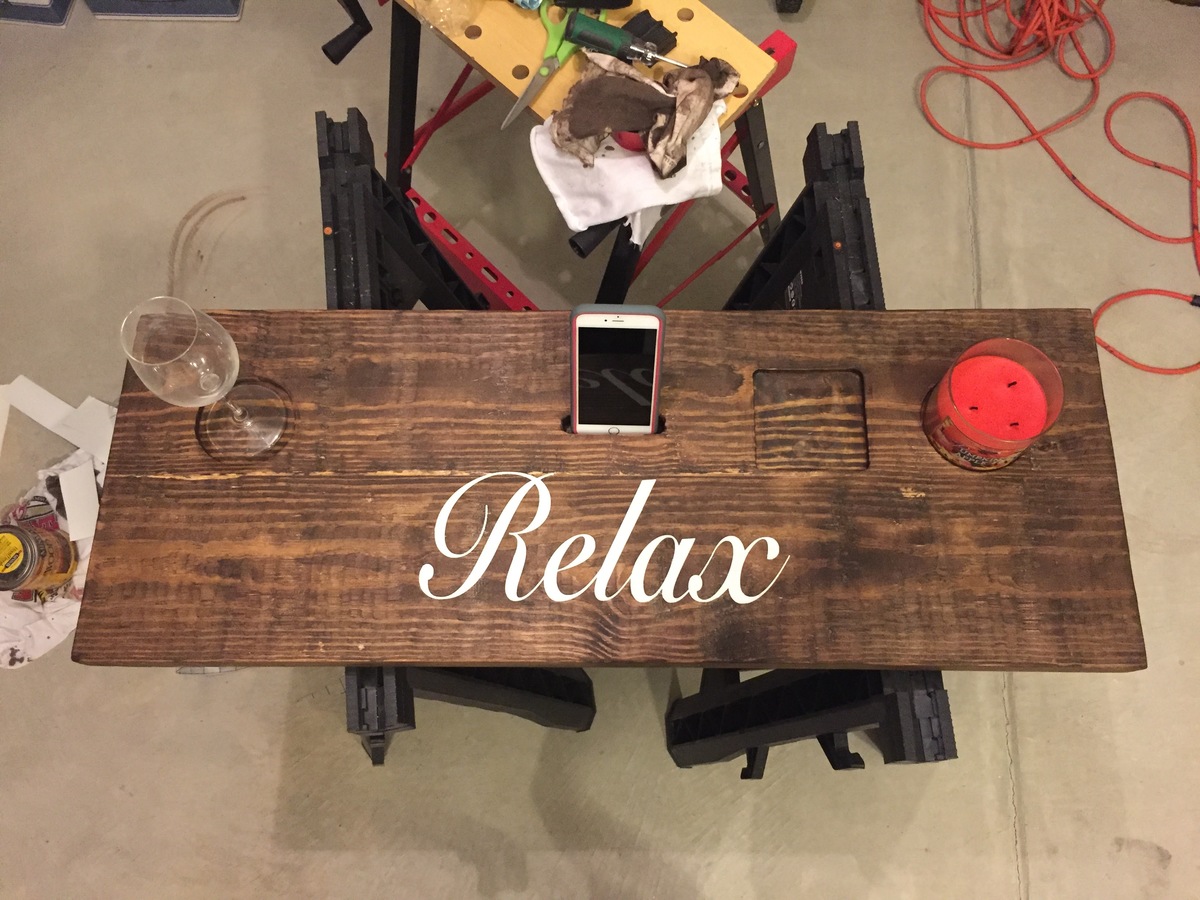
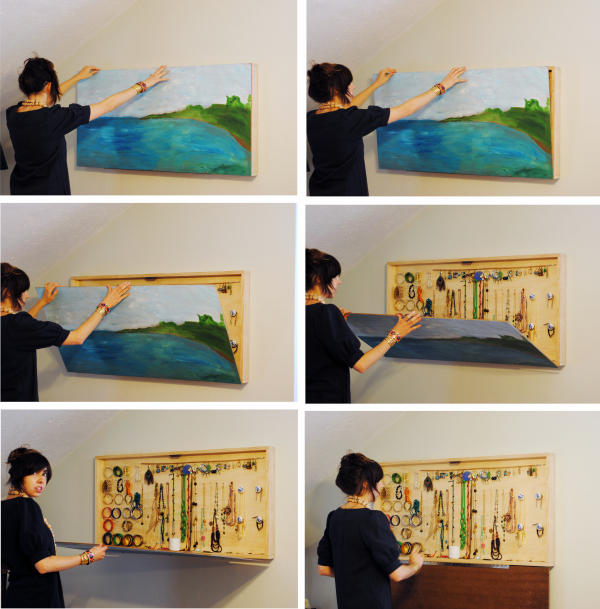
The idea for this project (and the final image that you see) came from the Whiskey Drink Studio ! Cheers to them for the original design.
So, this is a really fun project that has to solve the following problems:
- Be a handy place to store jewellery
- Feature a custom layout / organization system
- Be concealed, meaning it shouldn't be directly obvious it's a container, or if so that it contains jewellery
- Be mounted on the wall (just because where else would you really put it)
- The cover should be a painting on a canvas or another form of artwork. I mean not really SHOULD, but this was the original idea, you can modify it for your purposes
- Should be styled to match the decor and interior design
Great, lets start with the:
Materials

The sizes are entirely up to you, but if you're going to be using a canvas as a cover, you should first pick the size of your artwork and then scale everything else to size.
They go as follow:
1 x A3 Canvas Painting (420mm x 100mm)
1 x Same size hardboard cover (420mm x 100mm)
2 x Wooden Boards (420mm x 100mm x 50mm)
2 x Wooden Boards (287mm x 100mm x 50mm)
1 x Bundle of nails
1 x Bundle of screws
1 x Bundle of screw hooks
1 x Magnetic catch set
3 x Standard cabinet hinges or 1 x Piano Hinge
This a very very beginner level build, so we're using the easiest techniques possible. Advanced users, who want to make the strongest box possible, can use alternative materials and methods.
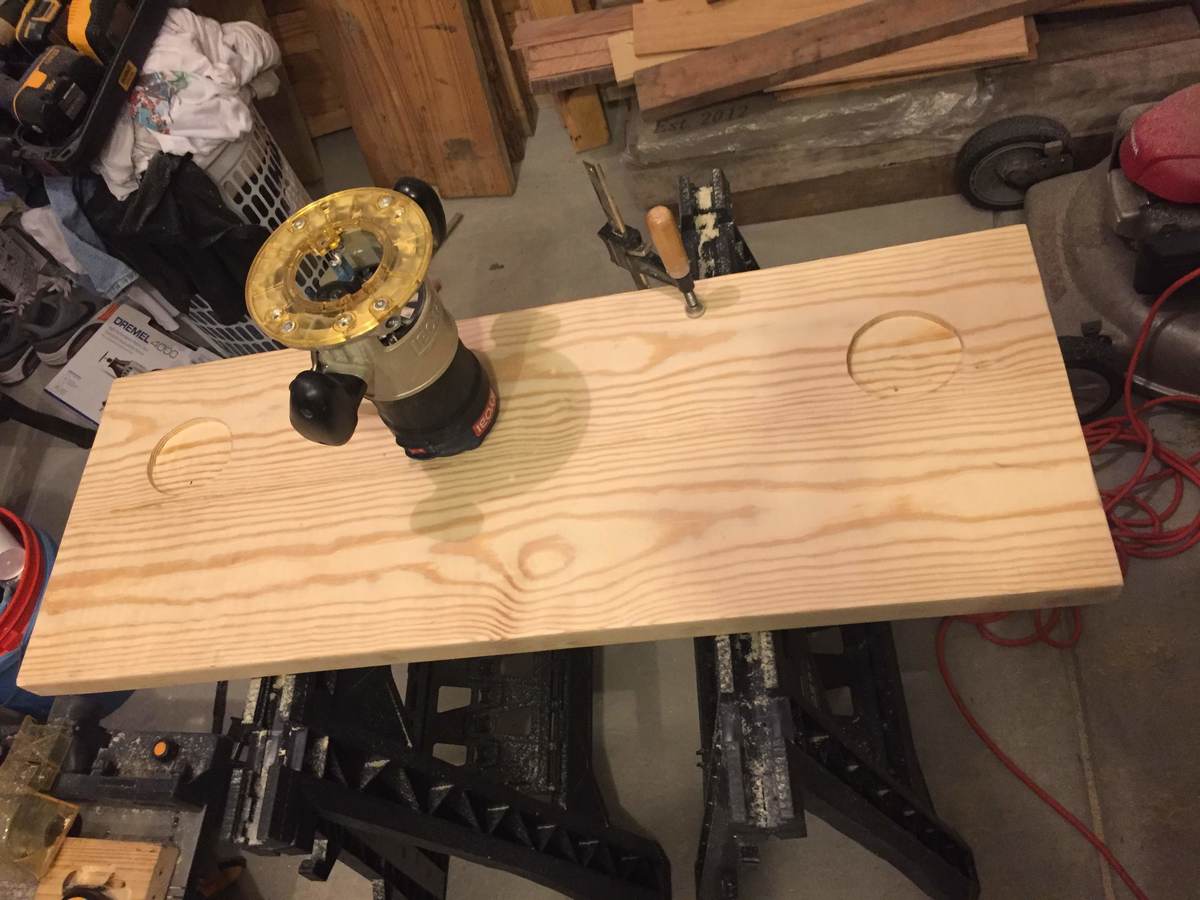
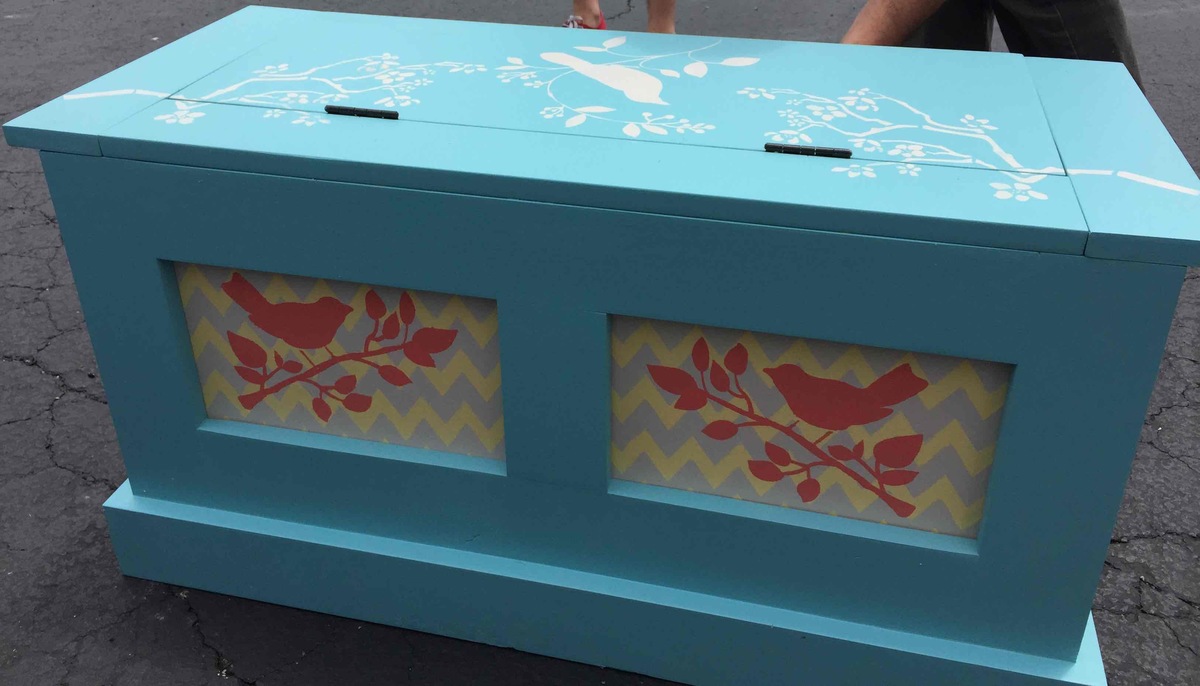
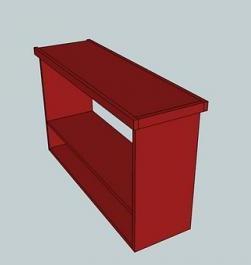
Step 1: Assemble the box
So, very straightforward, just start building the box, starting from the frame. In the GIF above you see how we put the shorter boards in between the longer ones and just nailed them together.
If you want this to be extra strong, you can use corner braces on the inside.
After the frame is ready, flip it on it's face and nail in the hardboard. The hardboard should be thick enough so it holds the screw hooks and your jewellery. It should also be pretty sturdy and well attached to the frame so use plenty of nails (well, don't go overboard).
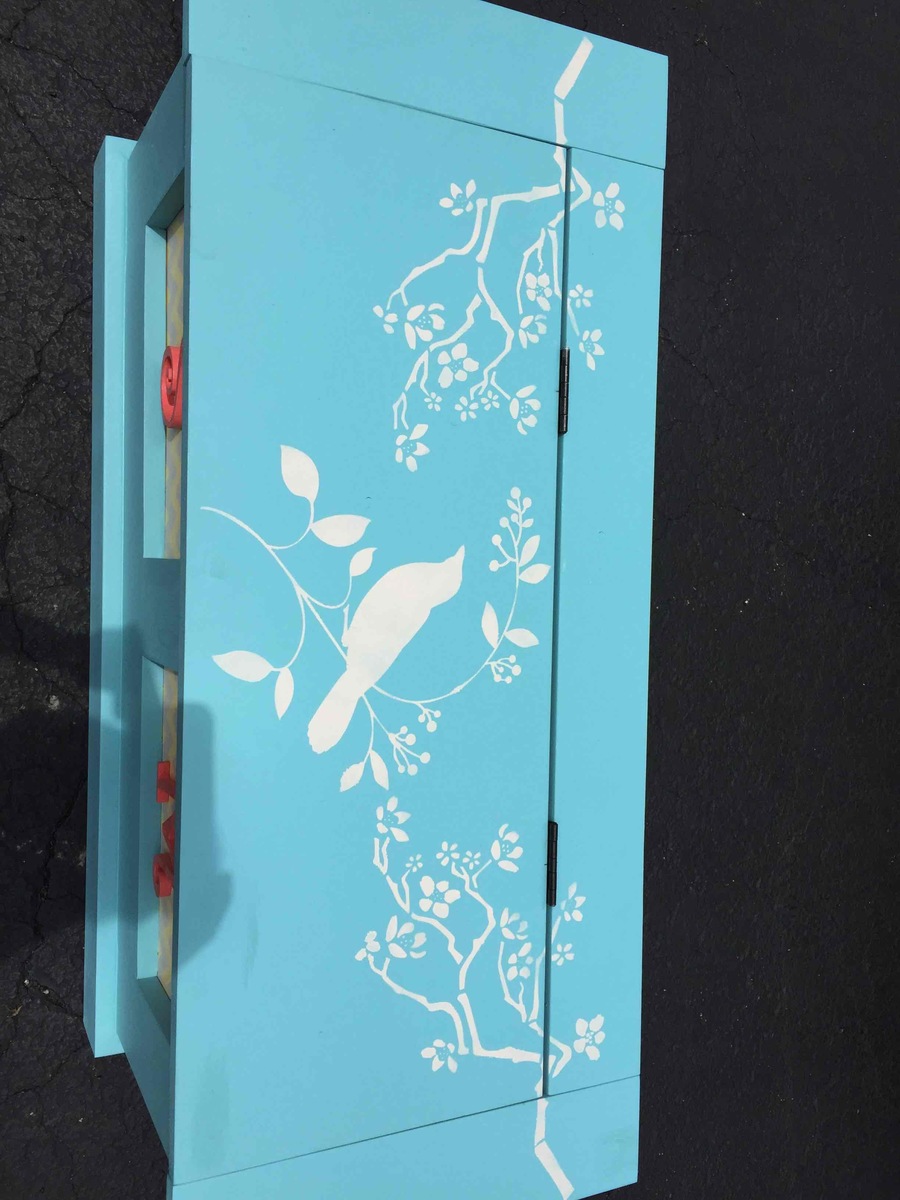
Step 2: Attach the cover

Take your canvas (or whatever other cover you picked) and mark equidistant locations on the lower back side. Take your measurements and mark the same locations on the bottom of the frame. Put the two together and see if they match.
Now screw the hinges in the cover and then, into the frame.
At this point the door should open and close, lining up perfectly.
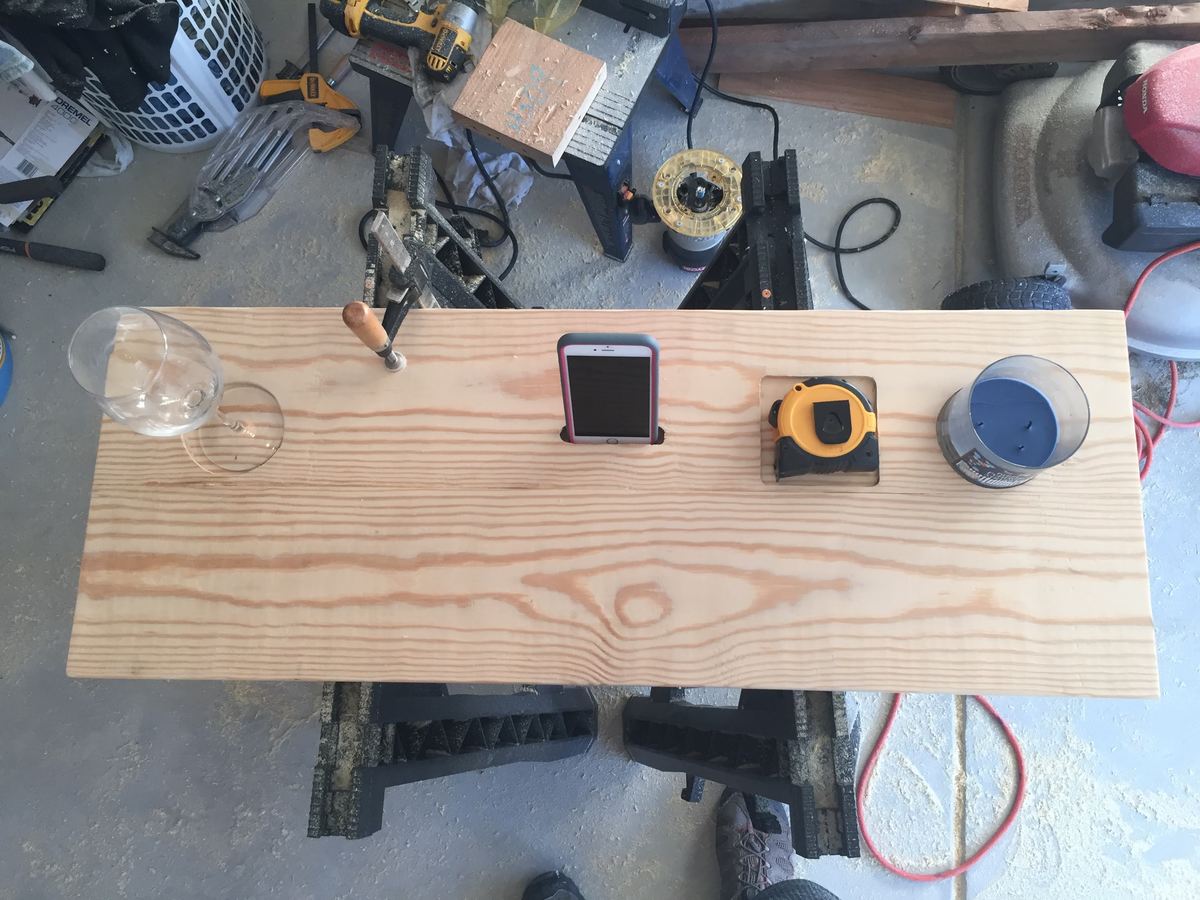
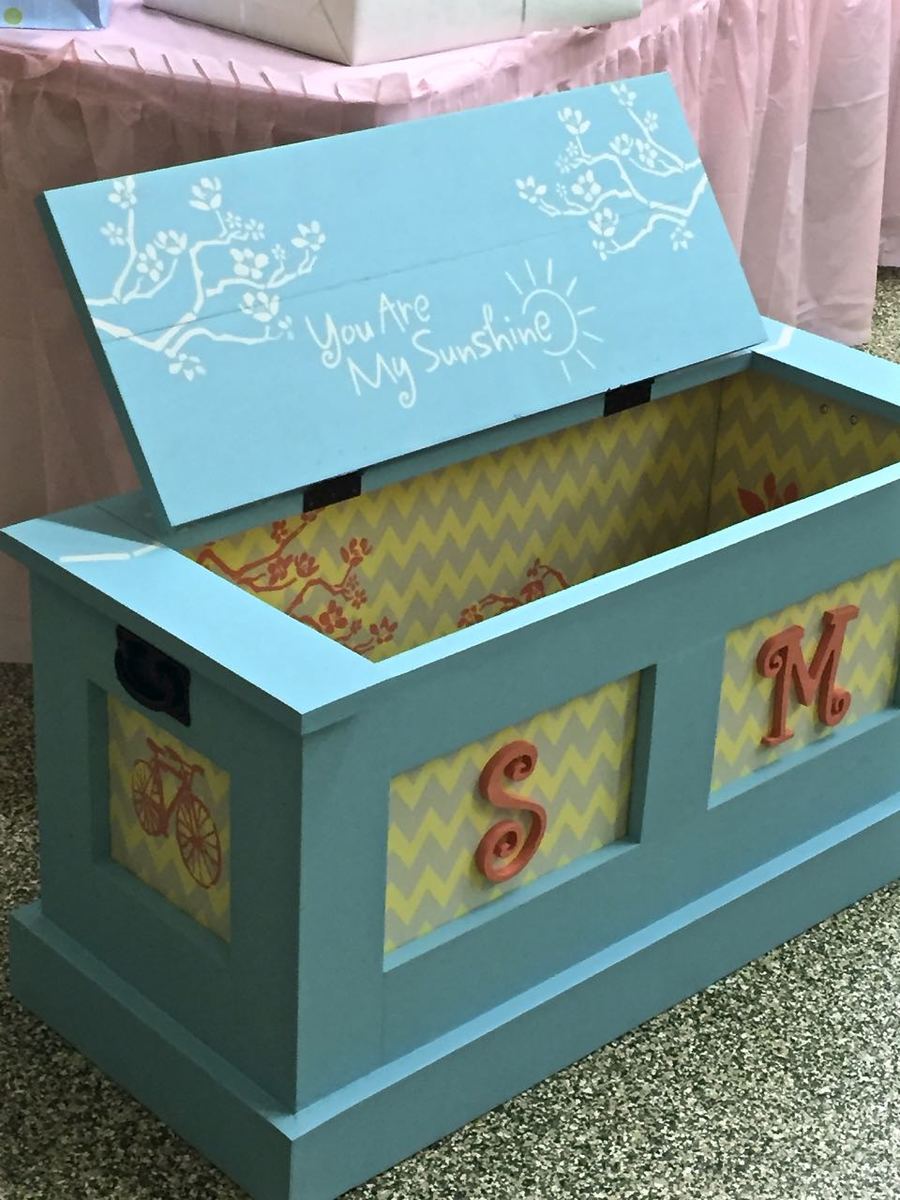
Step 3: Screw the hooks

The next step is to think about the internal layout. Using a pencil plan and divide your space to represent your needs for storage. Then simply screw the hooks in.
Step 4: Attach the magnet catches

The last part is attaching the magnet catches. They will hold the cover tighly close, with no accidental falls and issues. This can be substituted for a hydraulic arm, but we chose the simplest options.
Special thanks to Rachel at Whiskey Drink Studio for the inspiration !
Check out the full tutorial over at my blog - DIY Wall Mounted Jewellery Organiser


Comments
spiceylg
Mon, 08/01/2011 - 08:36
Resourceful!
What a great idea. Would love to see a photo of all the projects combined for the full effect!
luis cano
Tue, 08/02/2011 - 16:12
Could you add some close ups
could you add some close ups and different angles please i really would like to see how this was done.
Bama Gurl (not verified)
Wed, 10/17/2012 - 14:35
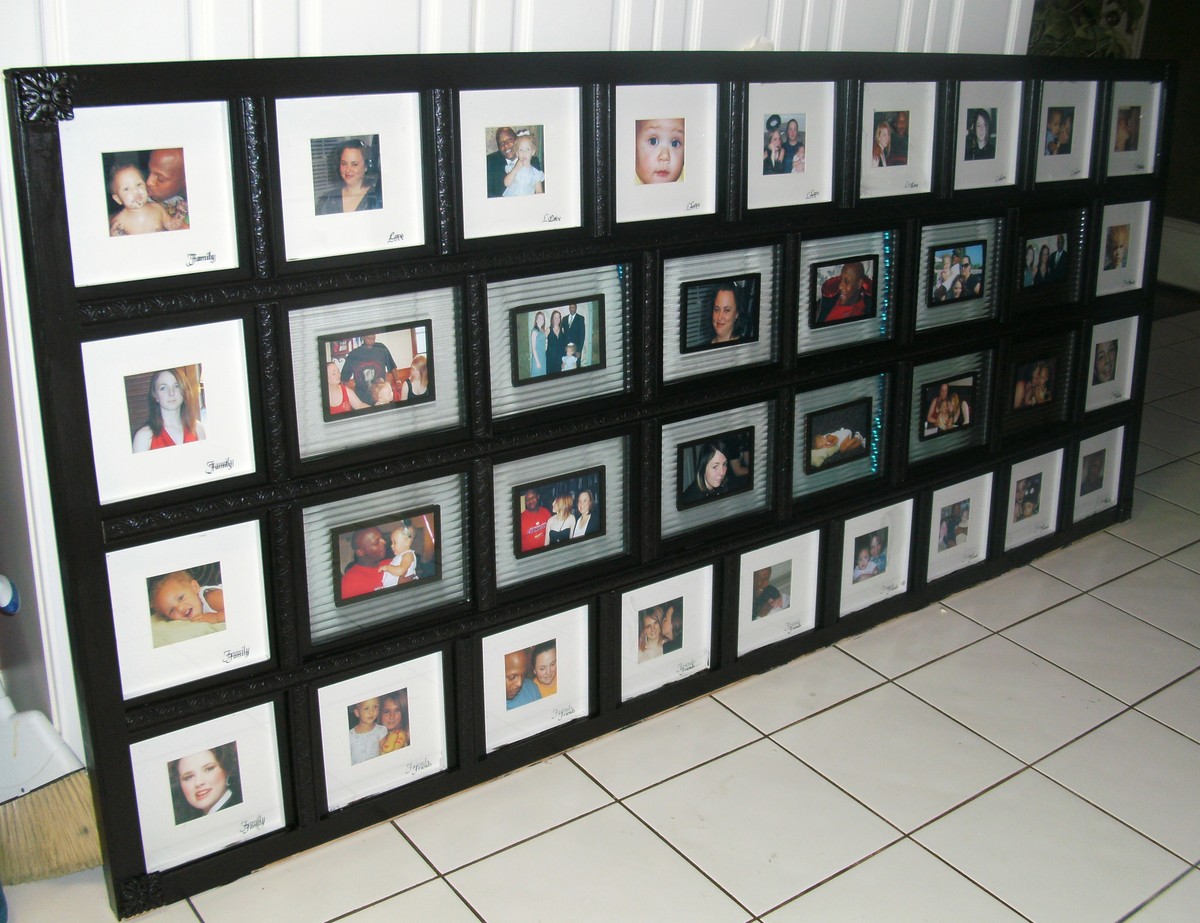
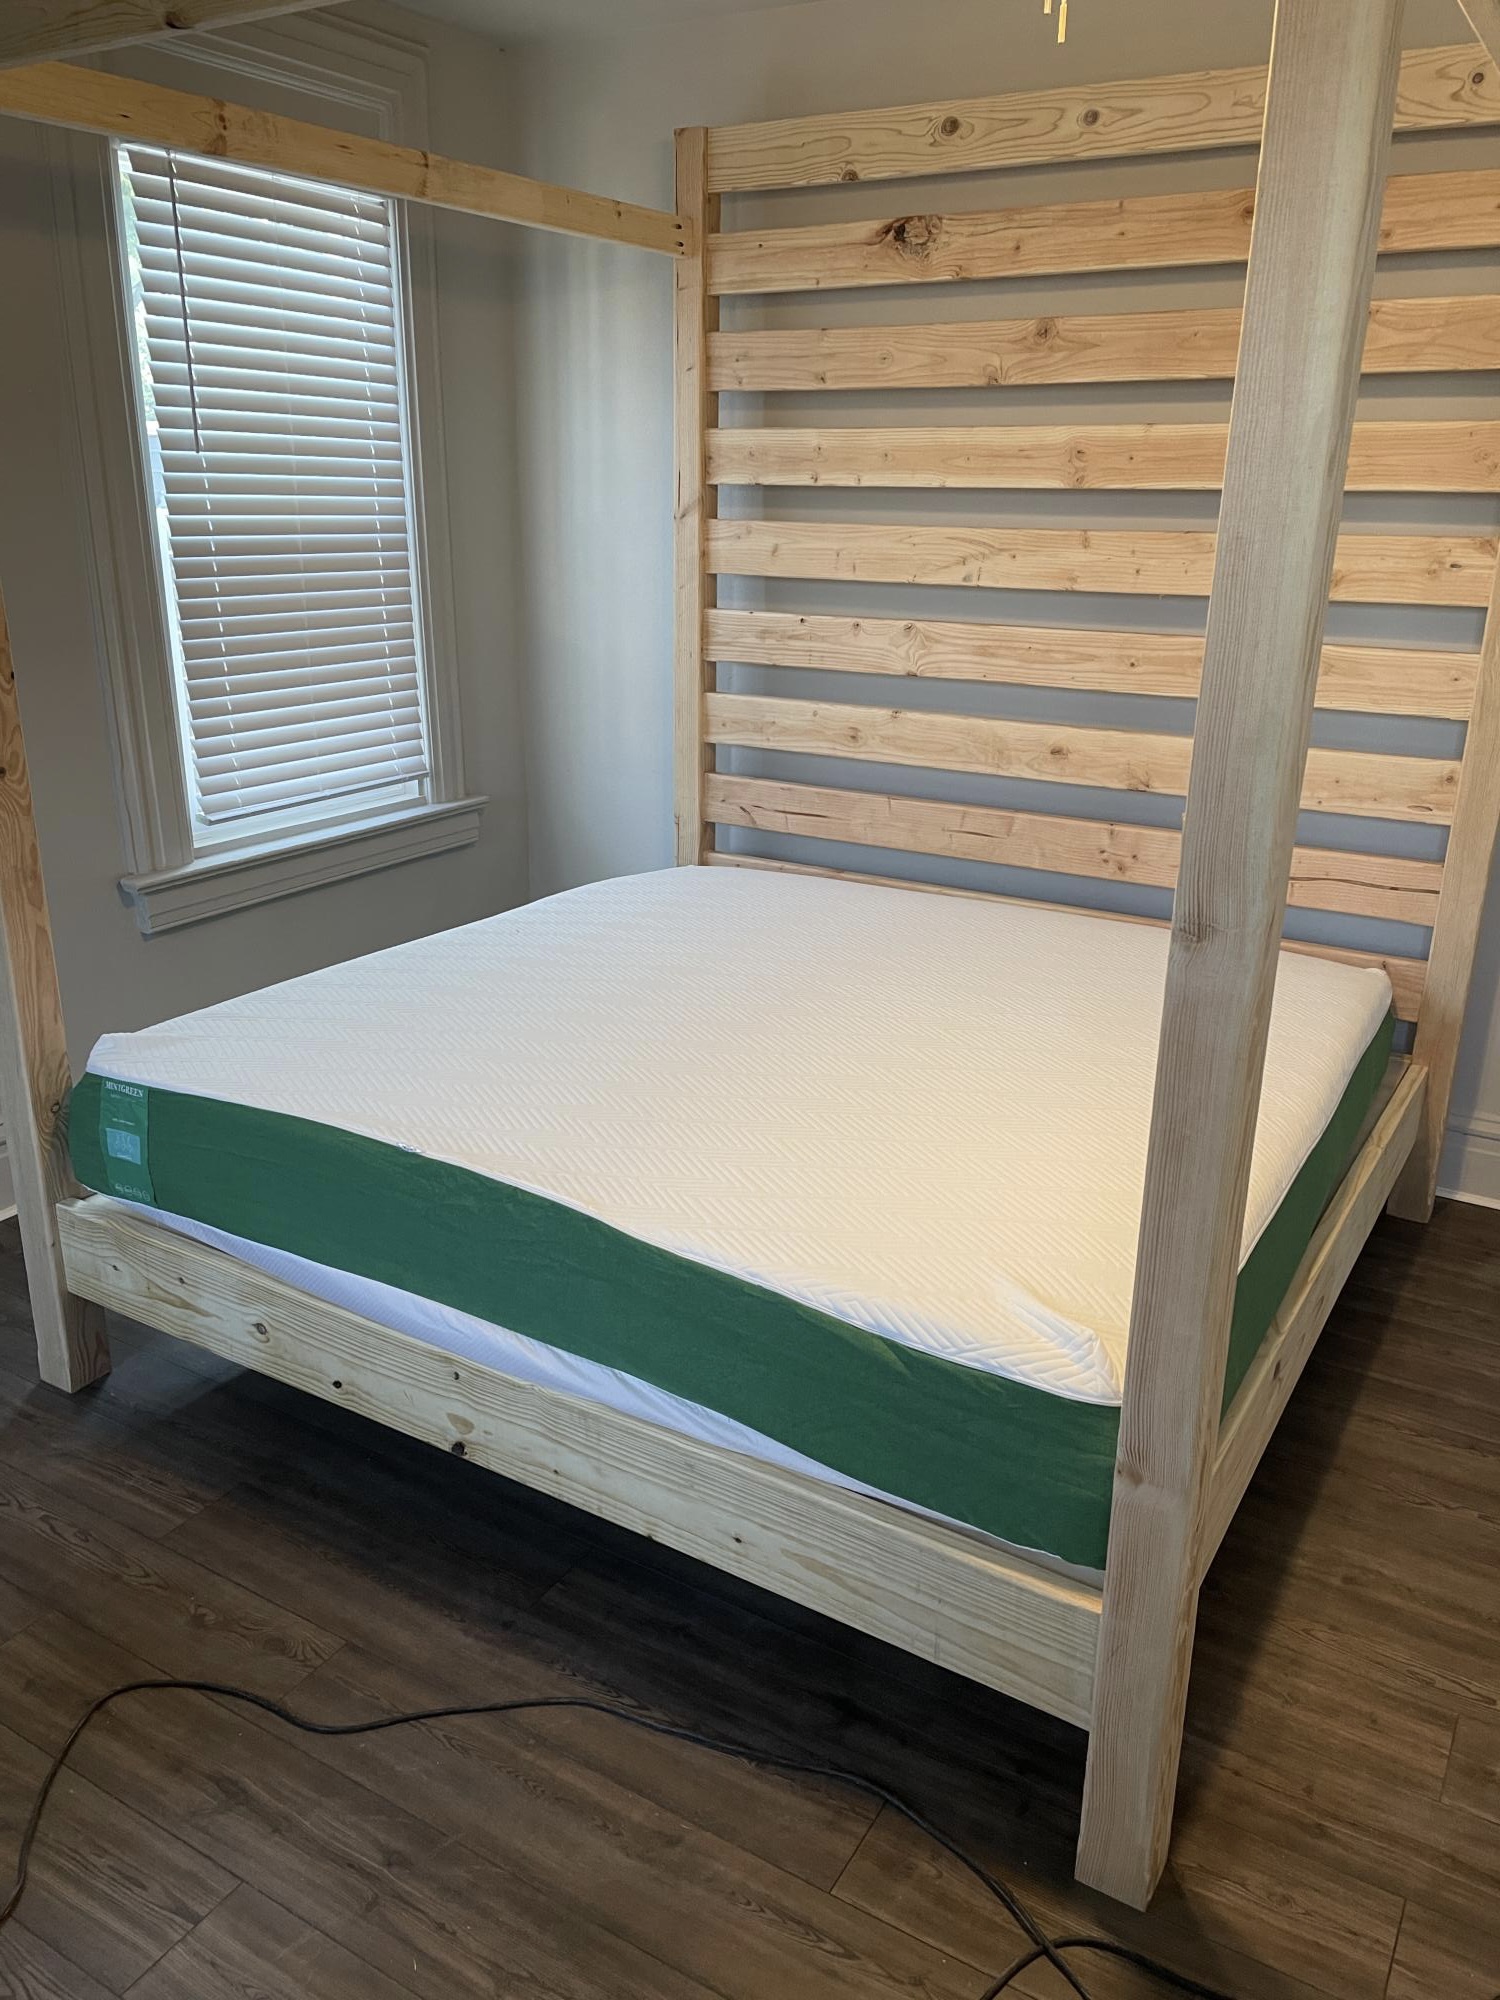
Sweet Dreams King Size Headboard
Unfortunately Luis, I do not have other photos of the headboard...none of the "construction process" nor other angles of the finished piece. The basic process was first knowing the average width of a king sized headbard, then acquiring the inexpensive photo frames and laying out the configuration you like best. Then I took 1"x1" 8 or 10 ft long pieces of unfinished wood and built a "frame" of horizontal pieces..first laying the wood on the floor, then putting the frames in their planned final arrangement by using cut pieces of 1x1 to put vertically between the individual frames to get the spacing correct. Then I put the end 1x1 pieces on to complete the 4 sided "frame". NOTE: I worked with the framing wood "face down" so that once the entire configuration was determined and all wood pieces were cut and in place, they could be joined together. I used glue and small metal plates that spanned the tiny joints and screws that made the joints more "permanent". Once all joints were finished, I used tiny wood screen moulding and glued it in place on two of the four sides of each opening (toward the back, precisely placed so that each photo frame fit flush with the face of the front of the frame). Then I painted the wood frame black (front, back, sides, top, bottom, etc). Once dry, I glued each frame in place in each opening. NOTE: Each frame, accessible from the back,allows for photos to be inserted and changed out. Finally I glued tiny wood medallion wood embellishments in each of the four corners and applied narrow wood trim that appears "carved" and three dimentional (using glue and tiny finishing nails) to the primary vertical and horizontal frame pieces. Then I carefully applied a final 2 coats of black paint. Lastly, on the back side, I took rope lighting "holders" that screw in place and mapped the hidden rope lighting and installed the rope lighting...out of view of the front view but where the soft light could illuminate the headboard. The final puzzle was how to put the headboard in place. First I built a wood rectangle the width of the headboard and the heigth I wanted the overall headboard to be and glued and screwed the base together...and painted it too. Then I made a "french cleat" that is simply a 2x4 cut at an angle so that when one piece is permanently attached to the back of the headboard with screws. Attach the other half to the wall, screwing it into the wall. Then 2 people can lift the heavy headboard onto the wall cleat. The base should rest on the floor and the cleat holds it to the wall. NOTE: You can google "french cleat" an look at photos and note instructions to see how to do this part. Hope all this helps. I will be glad to answer any other questions. Good luck.