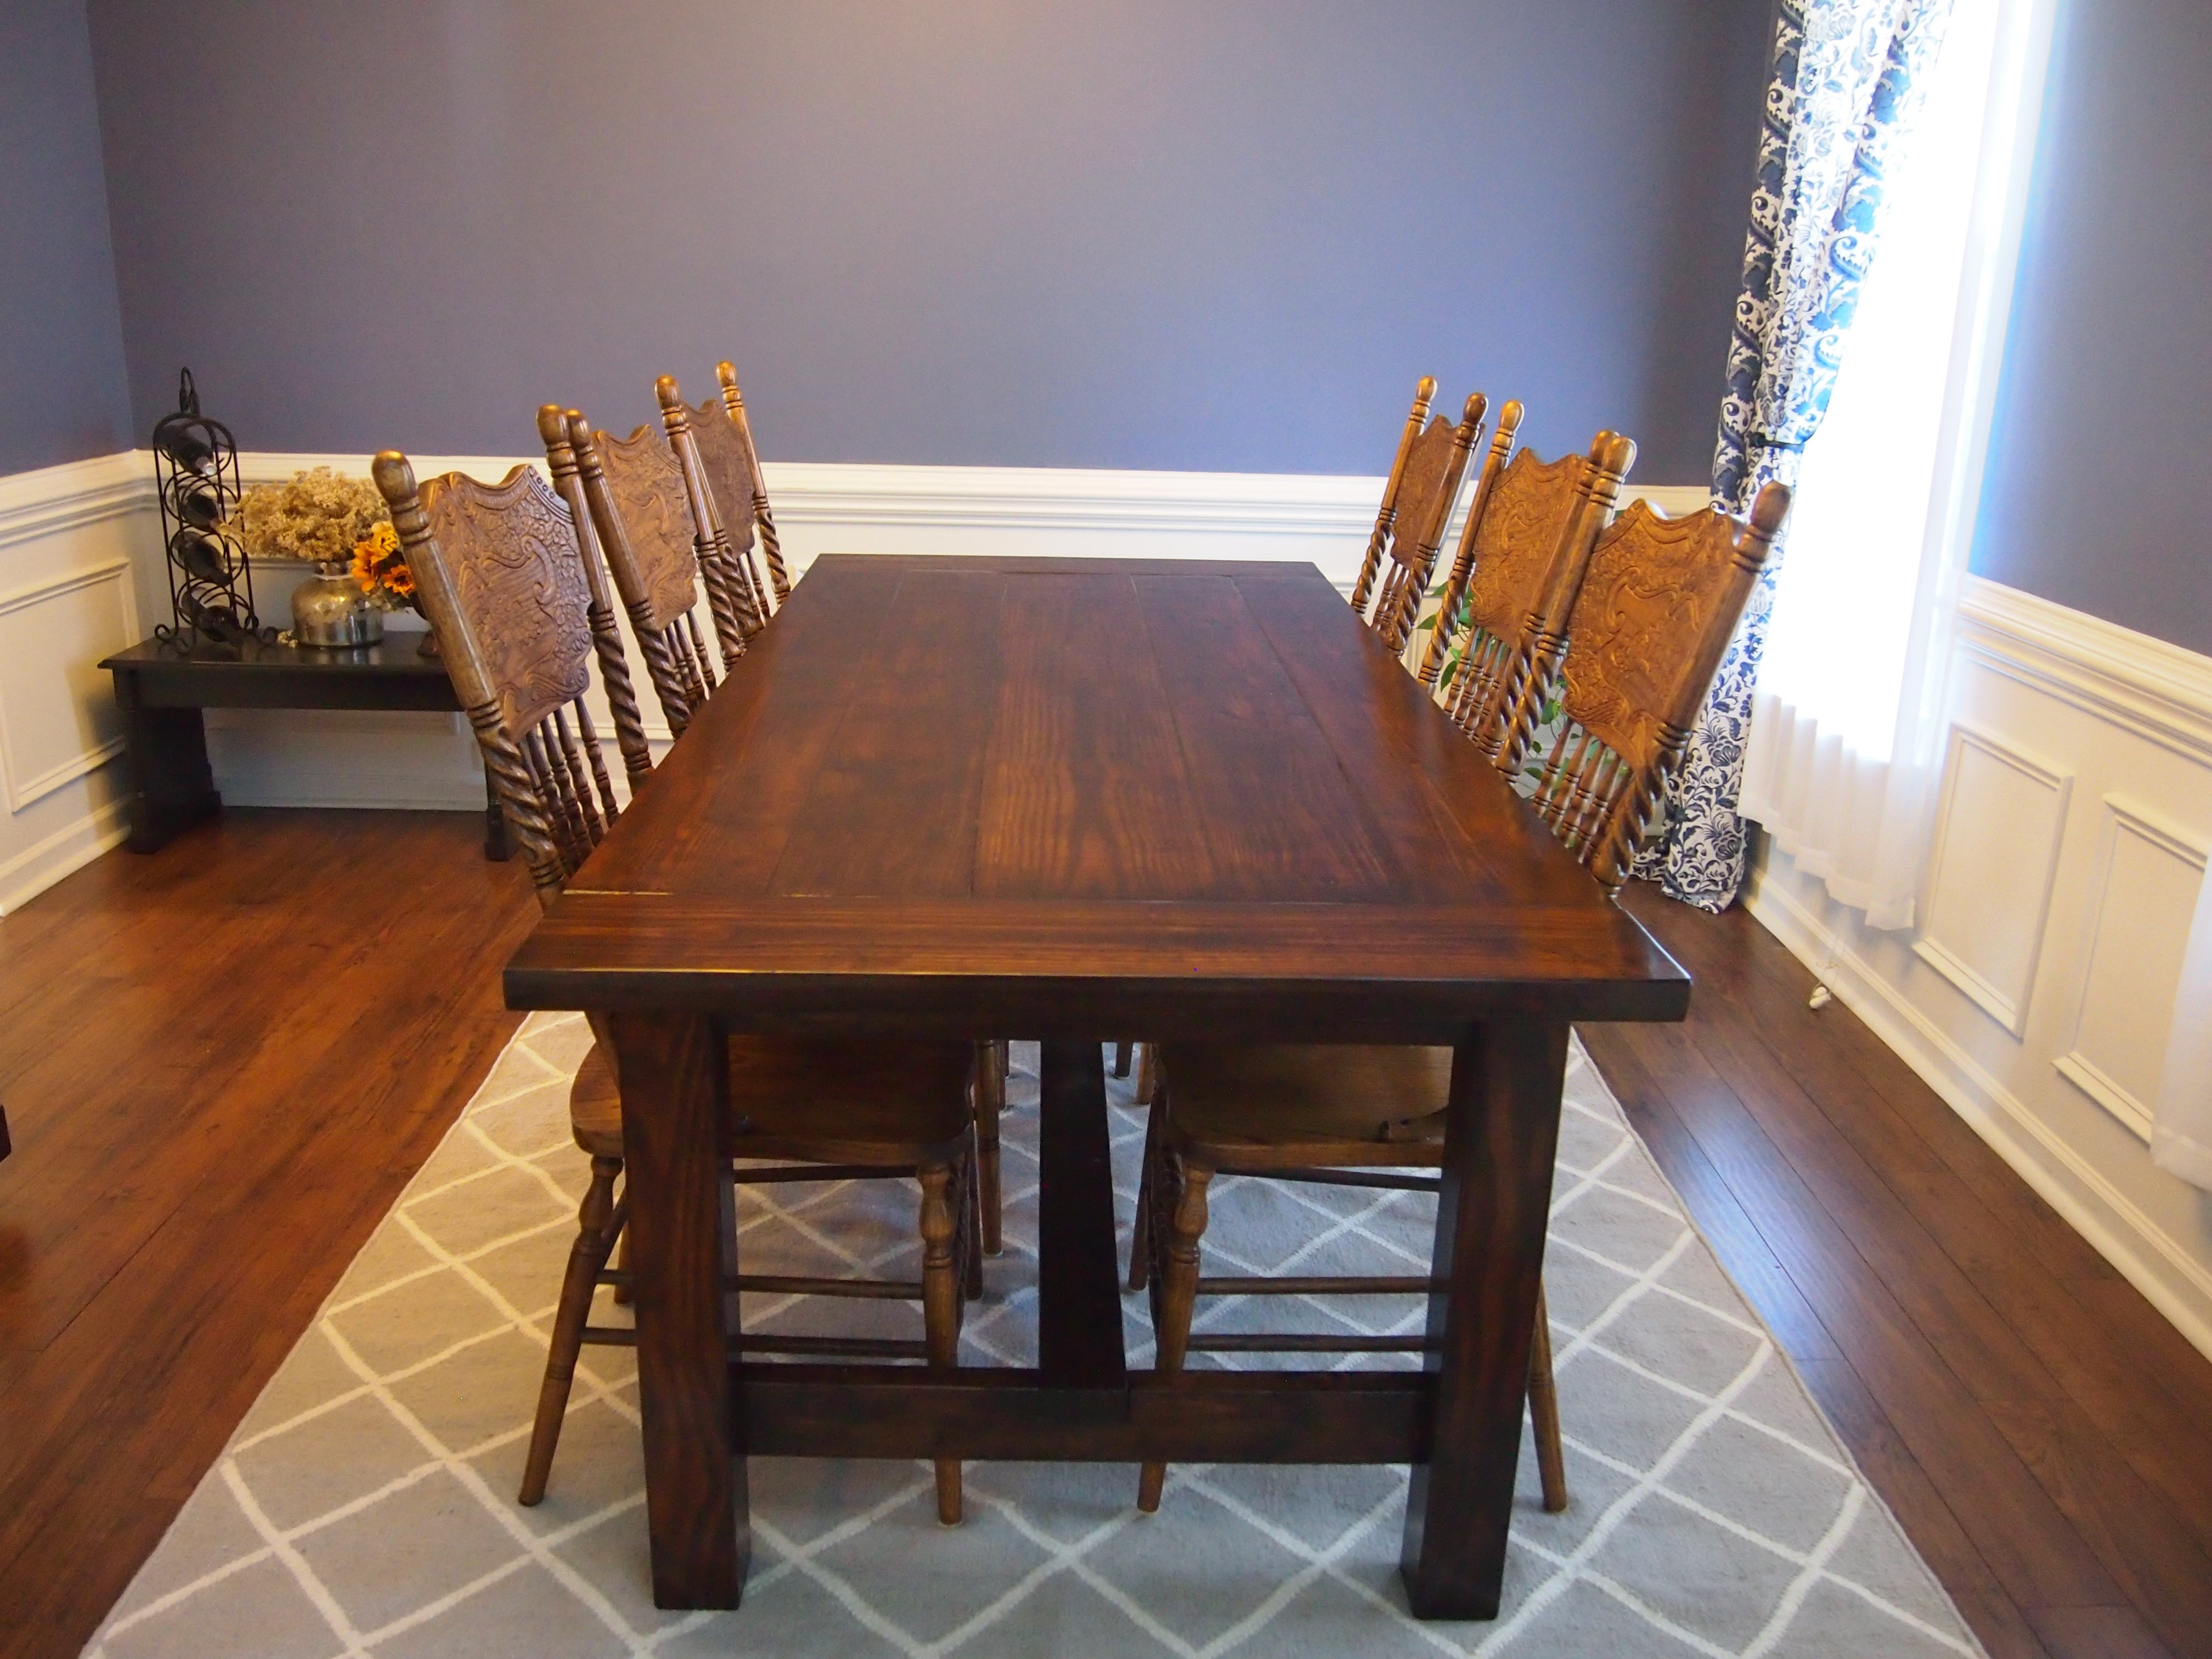
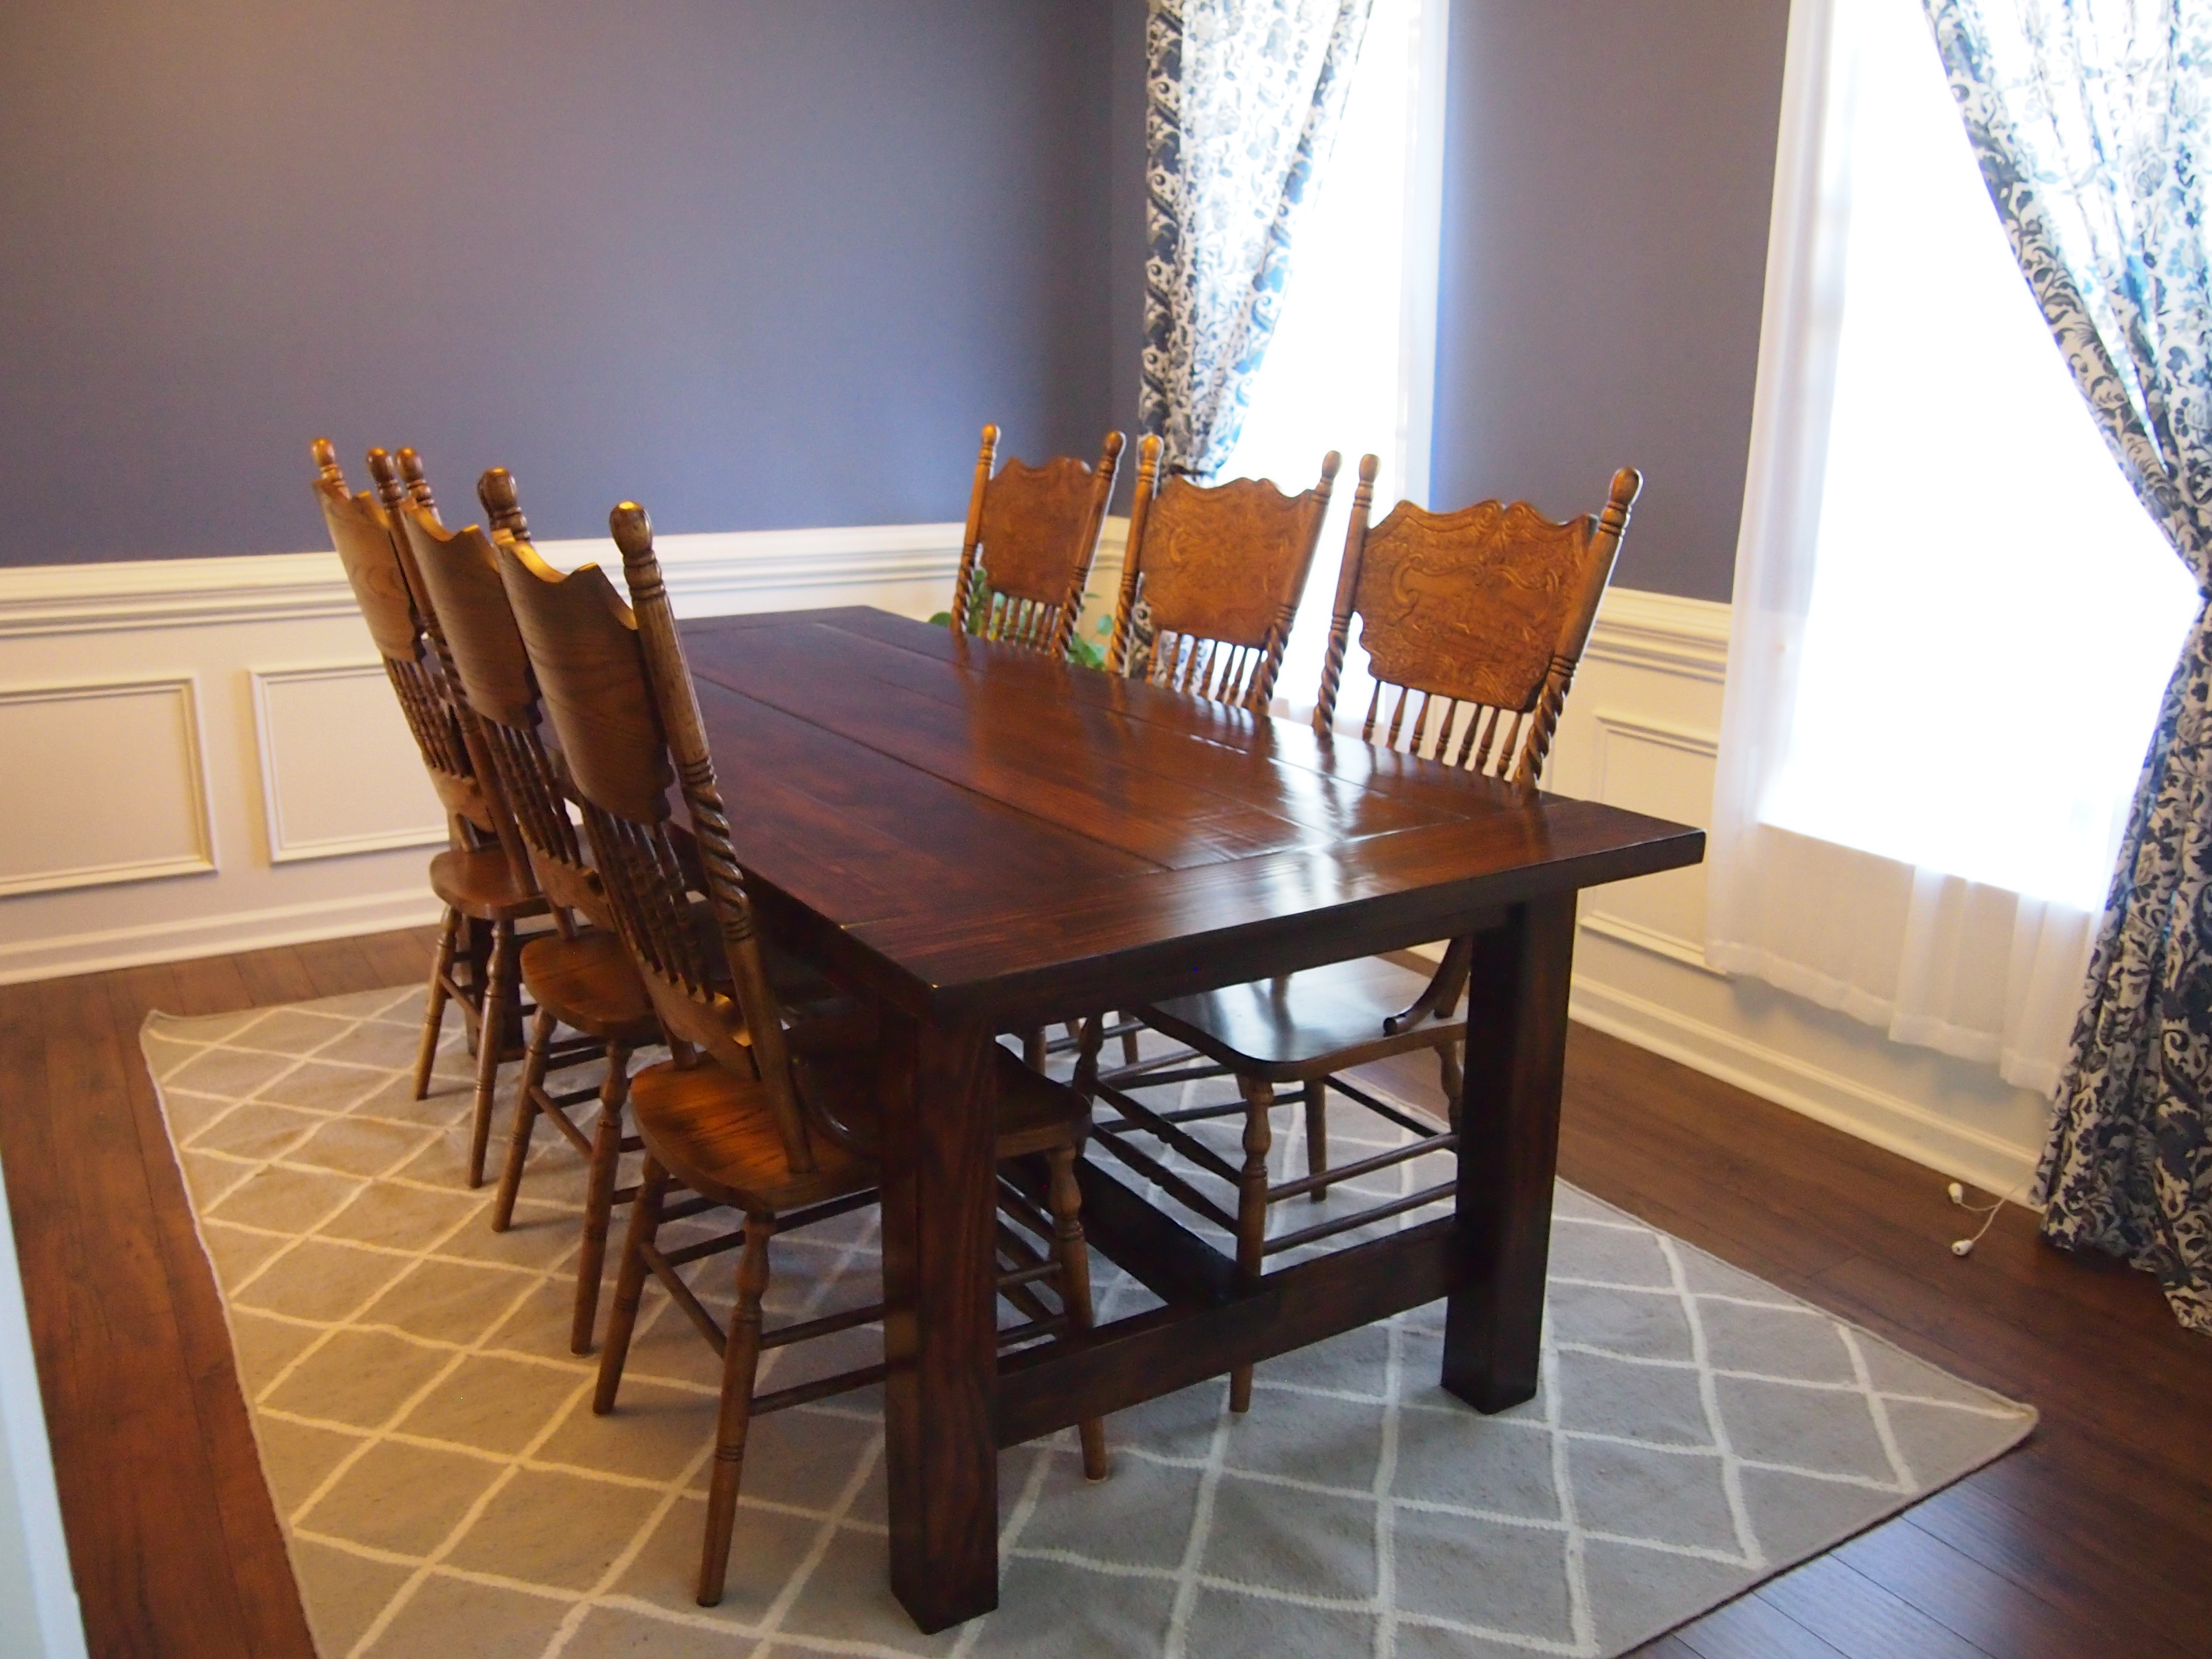
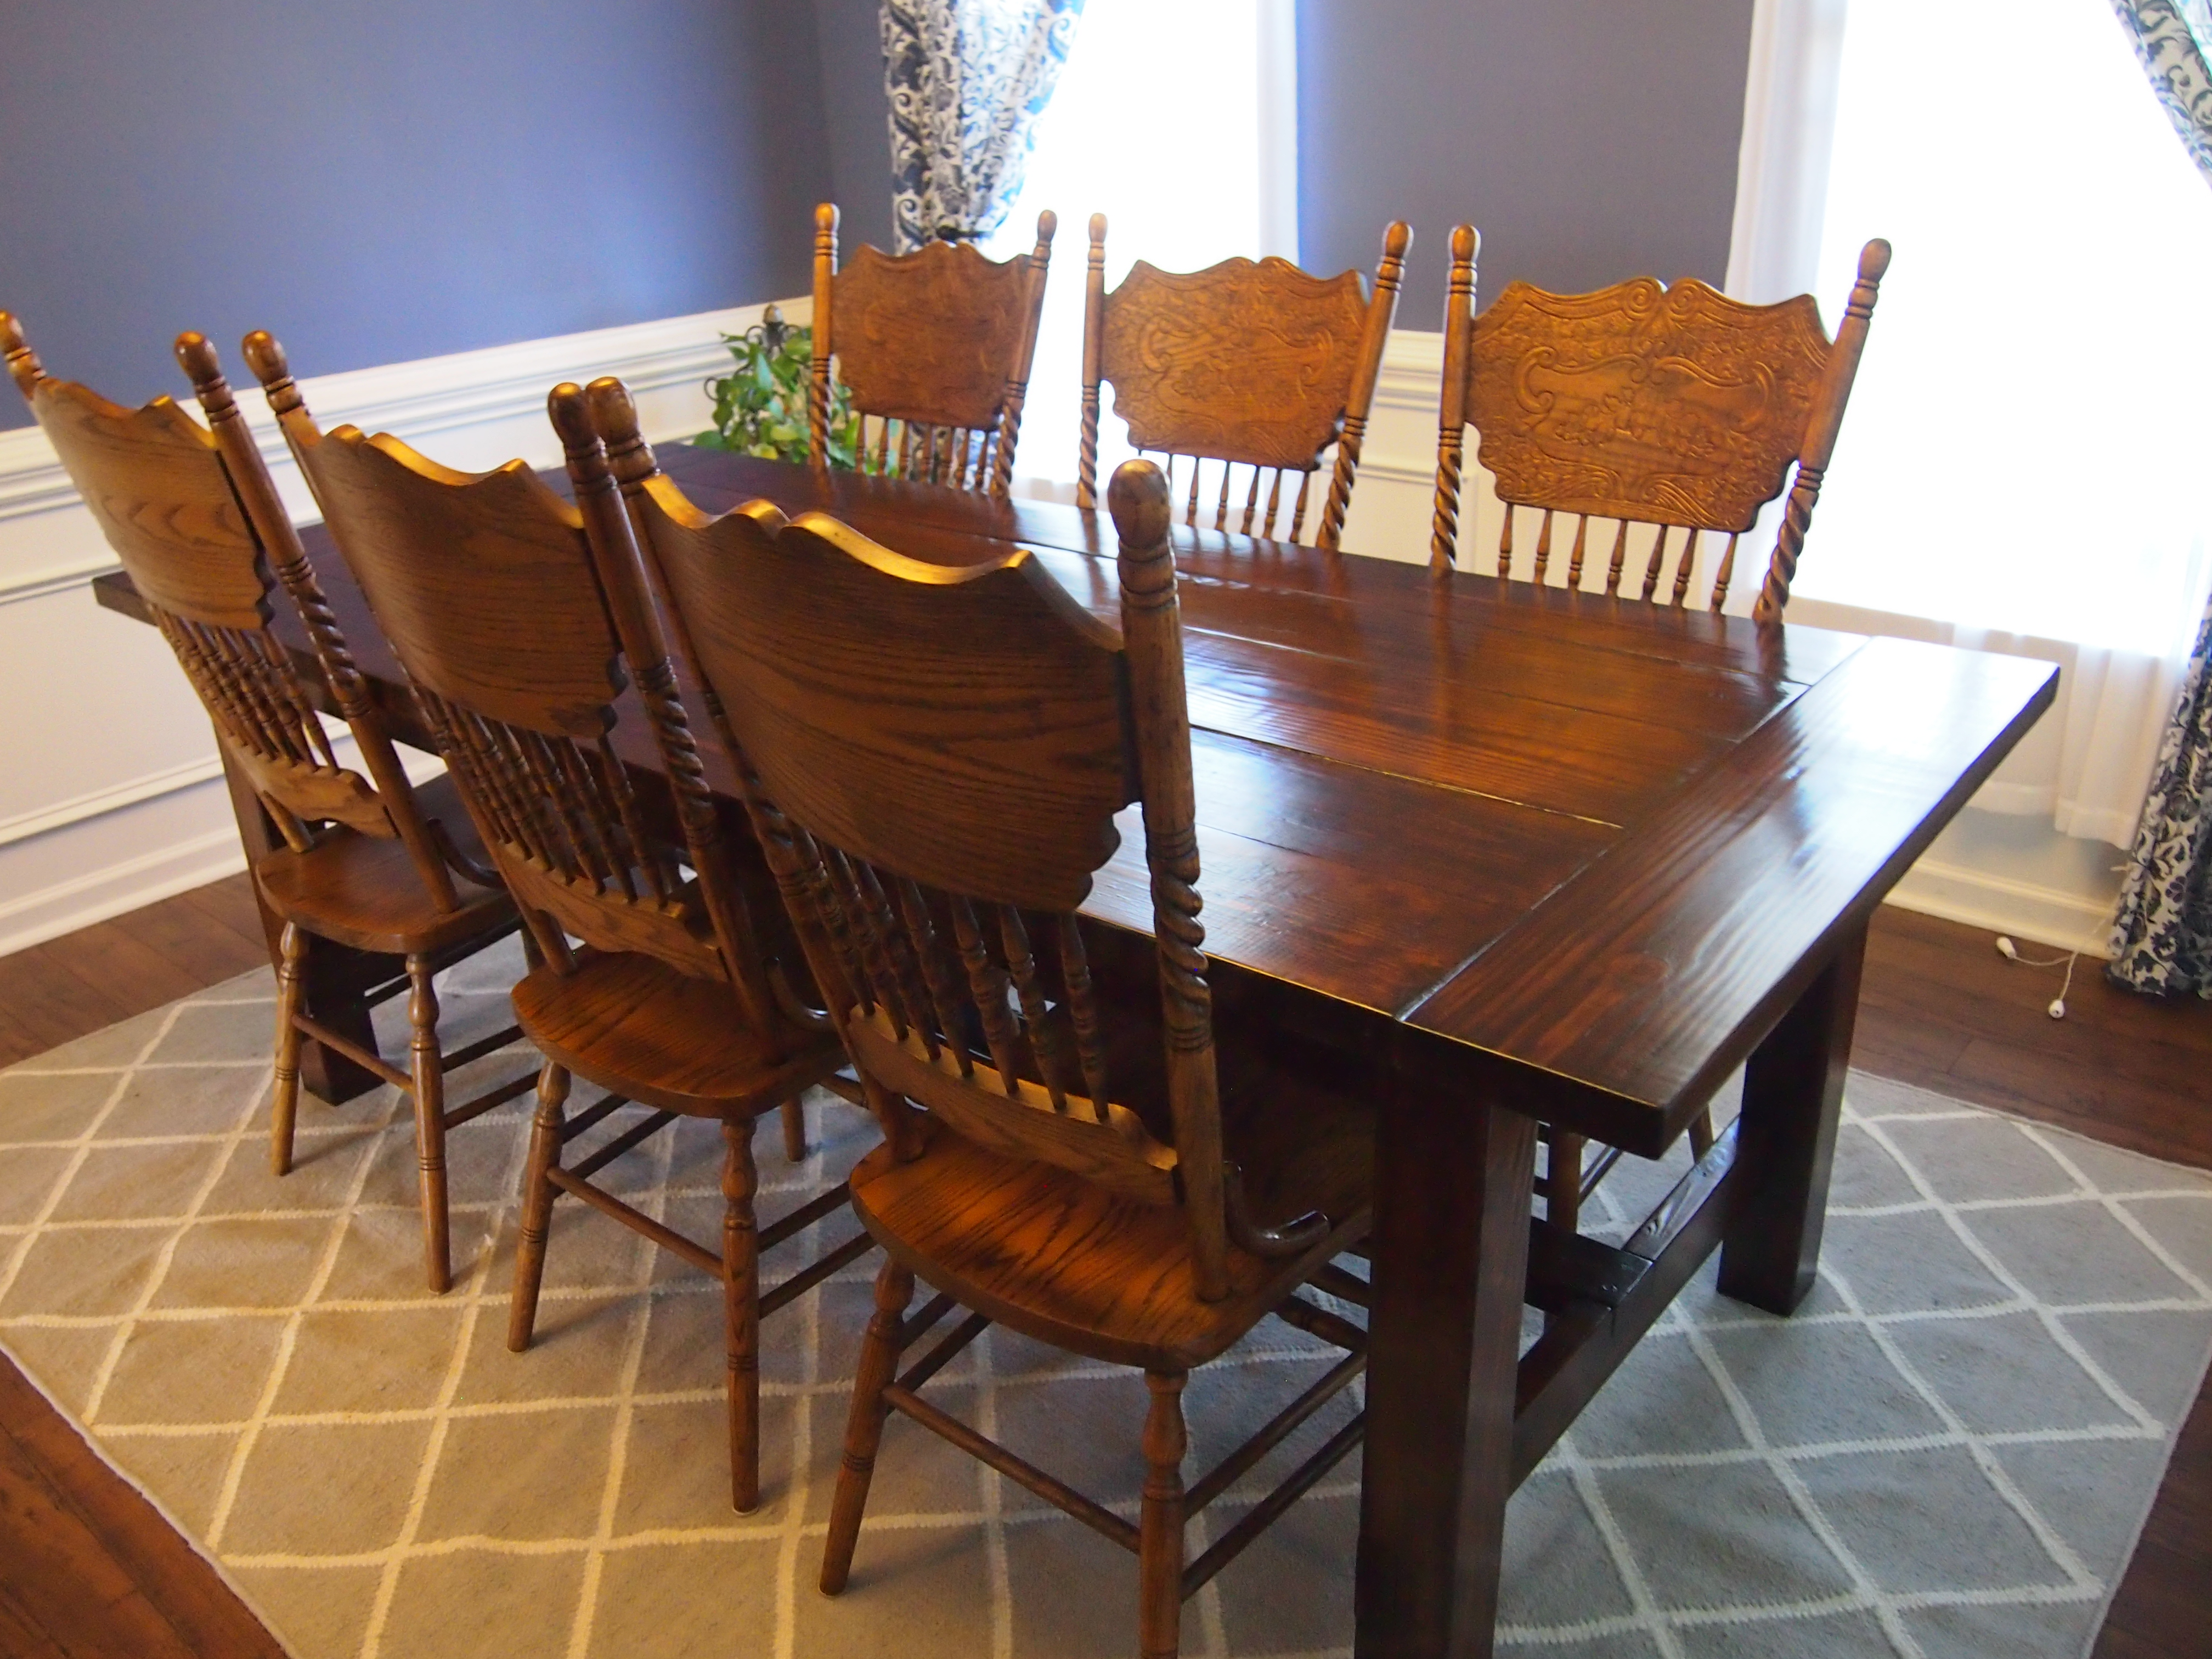
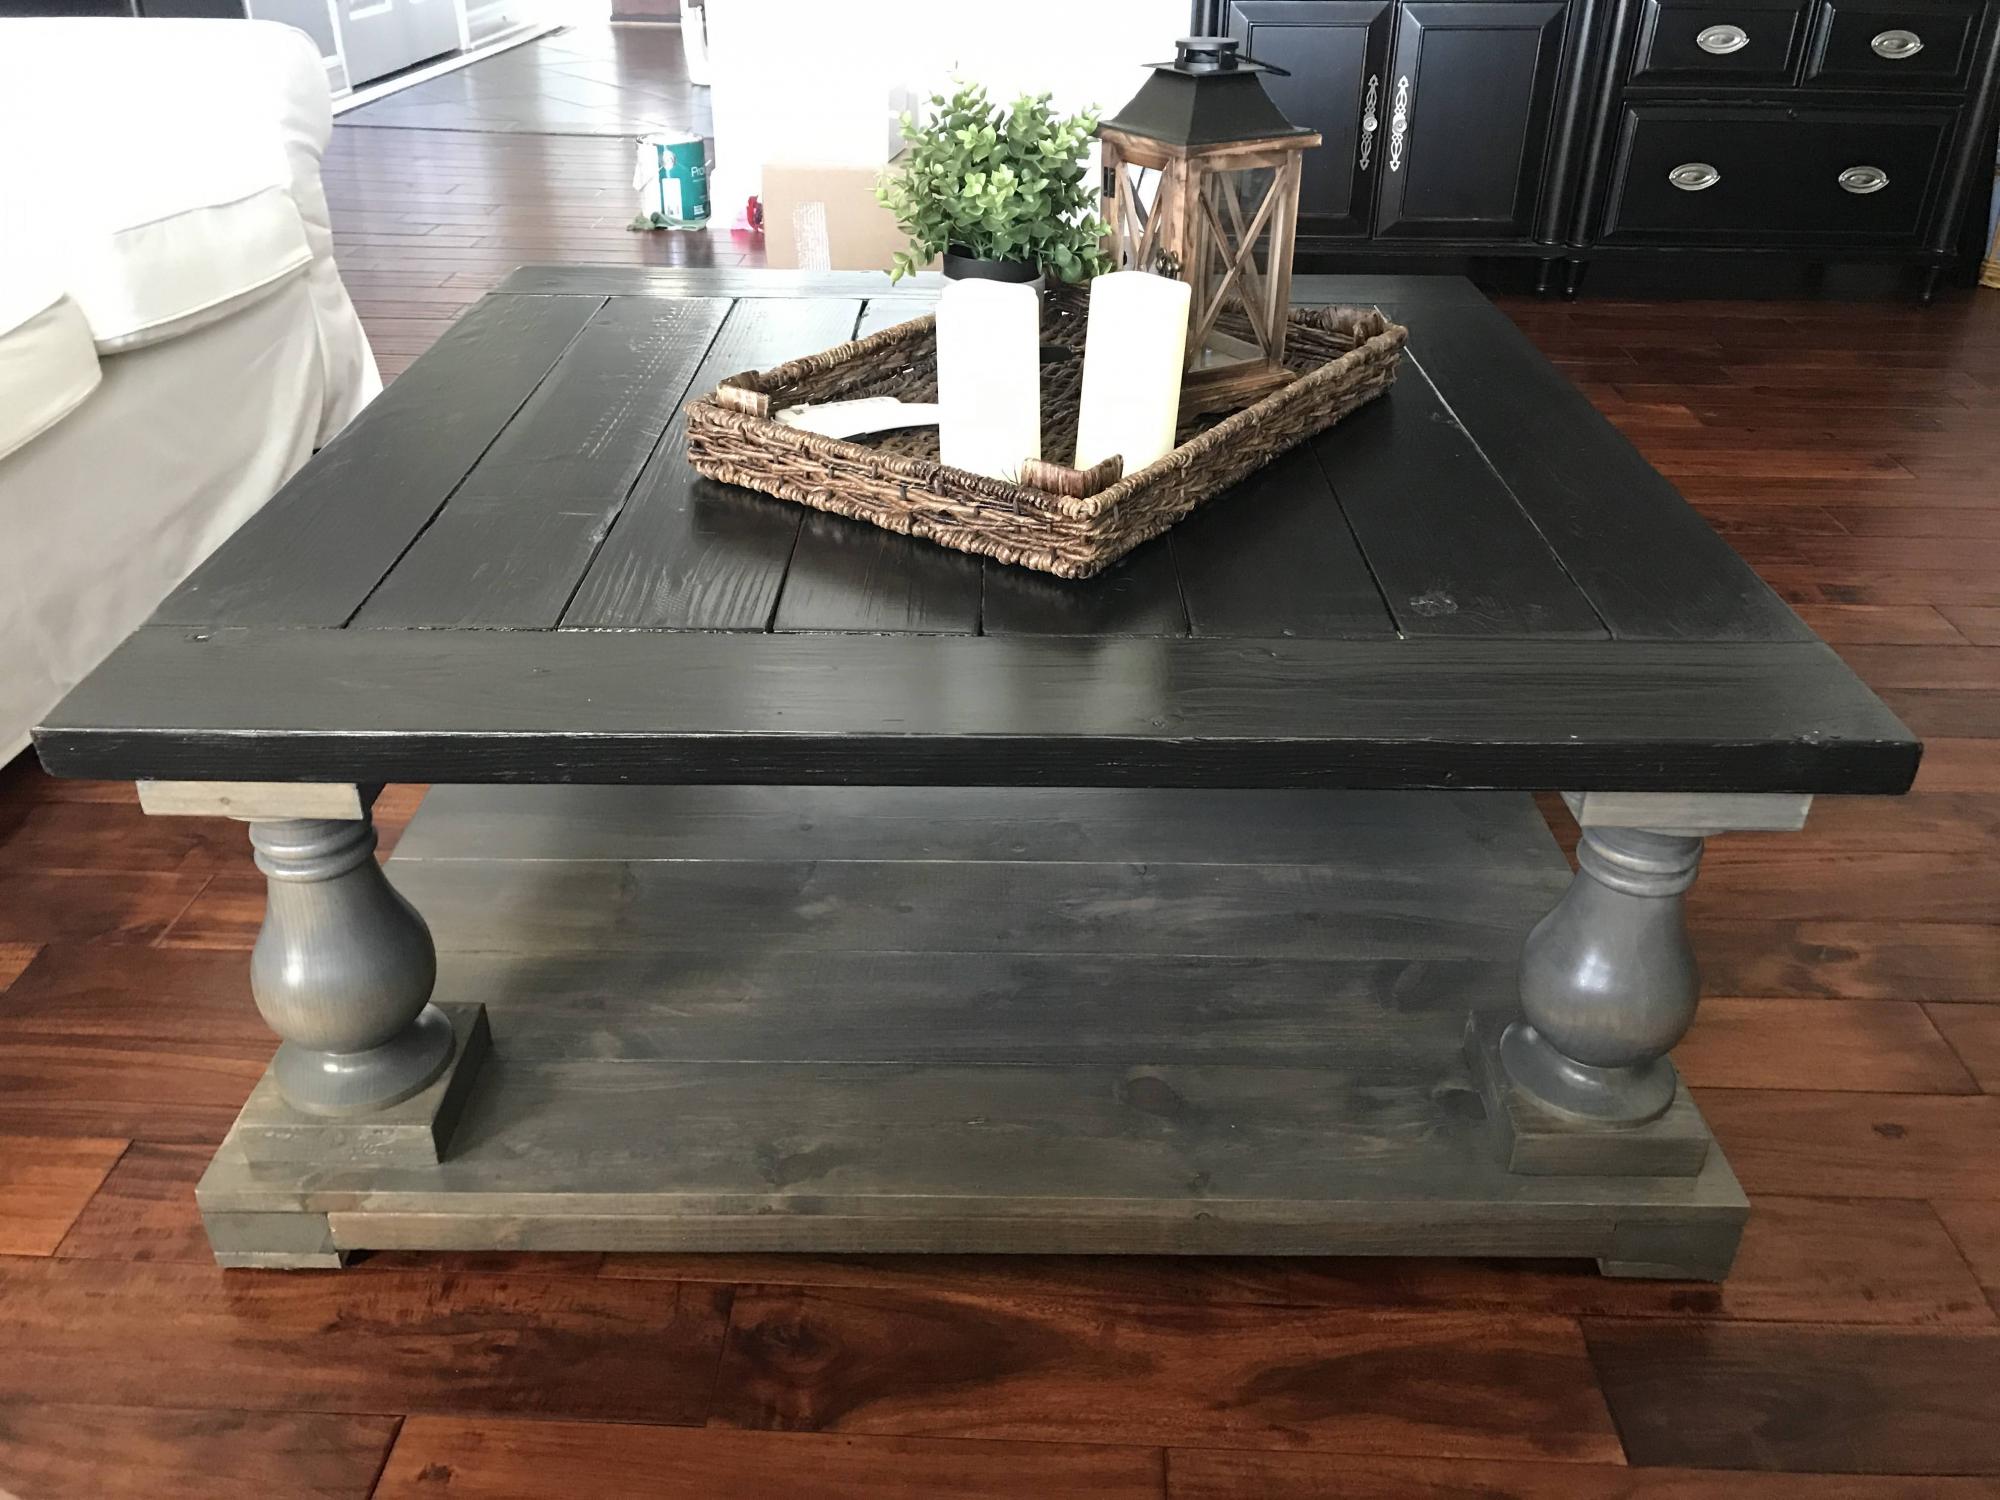
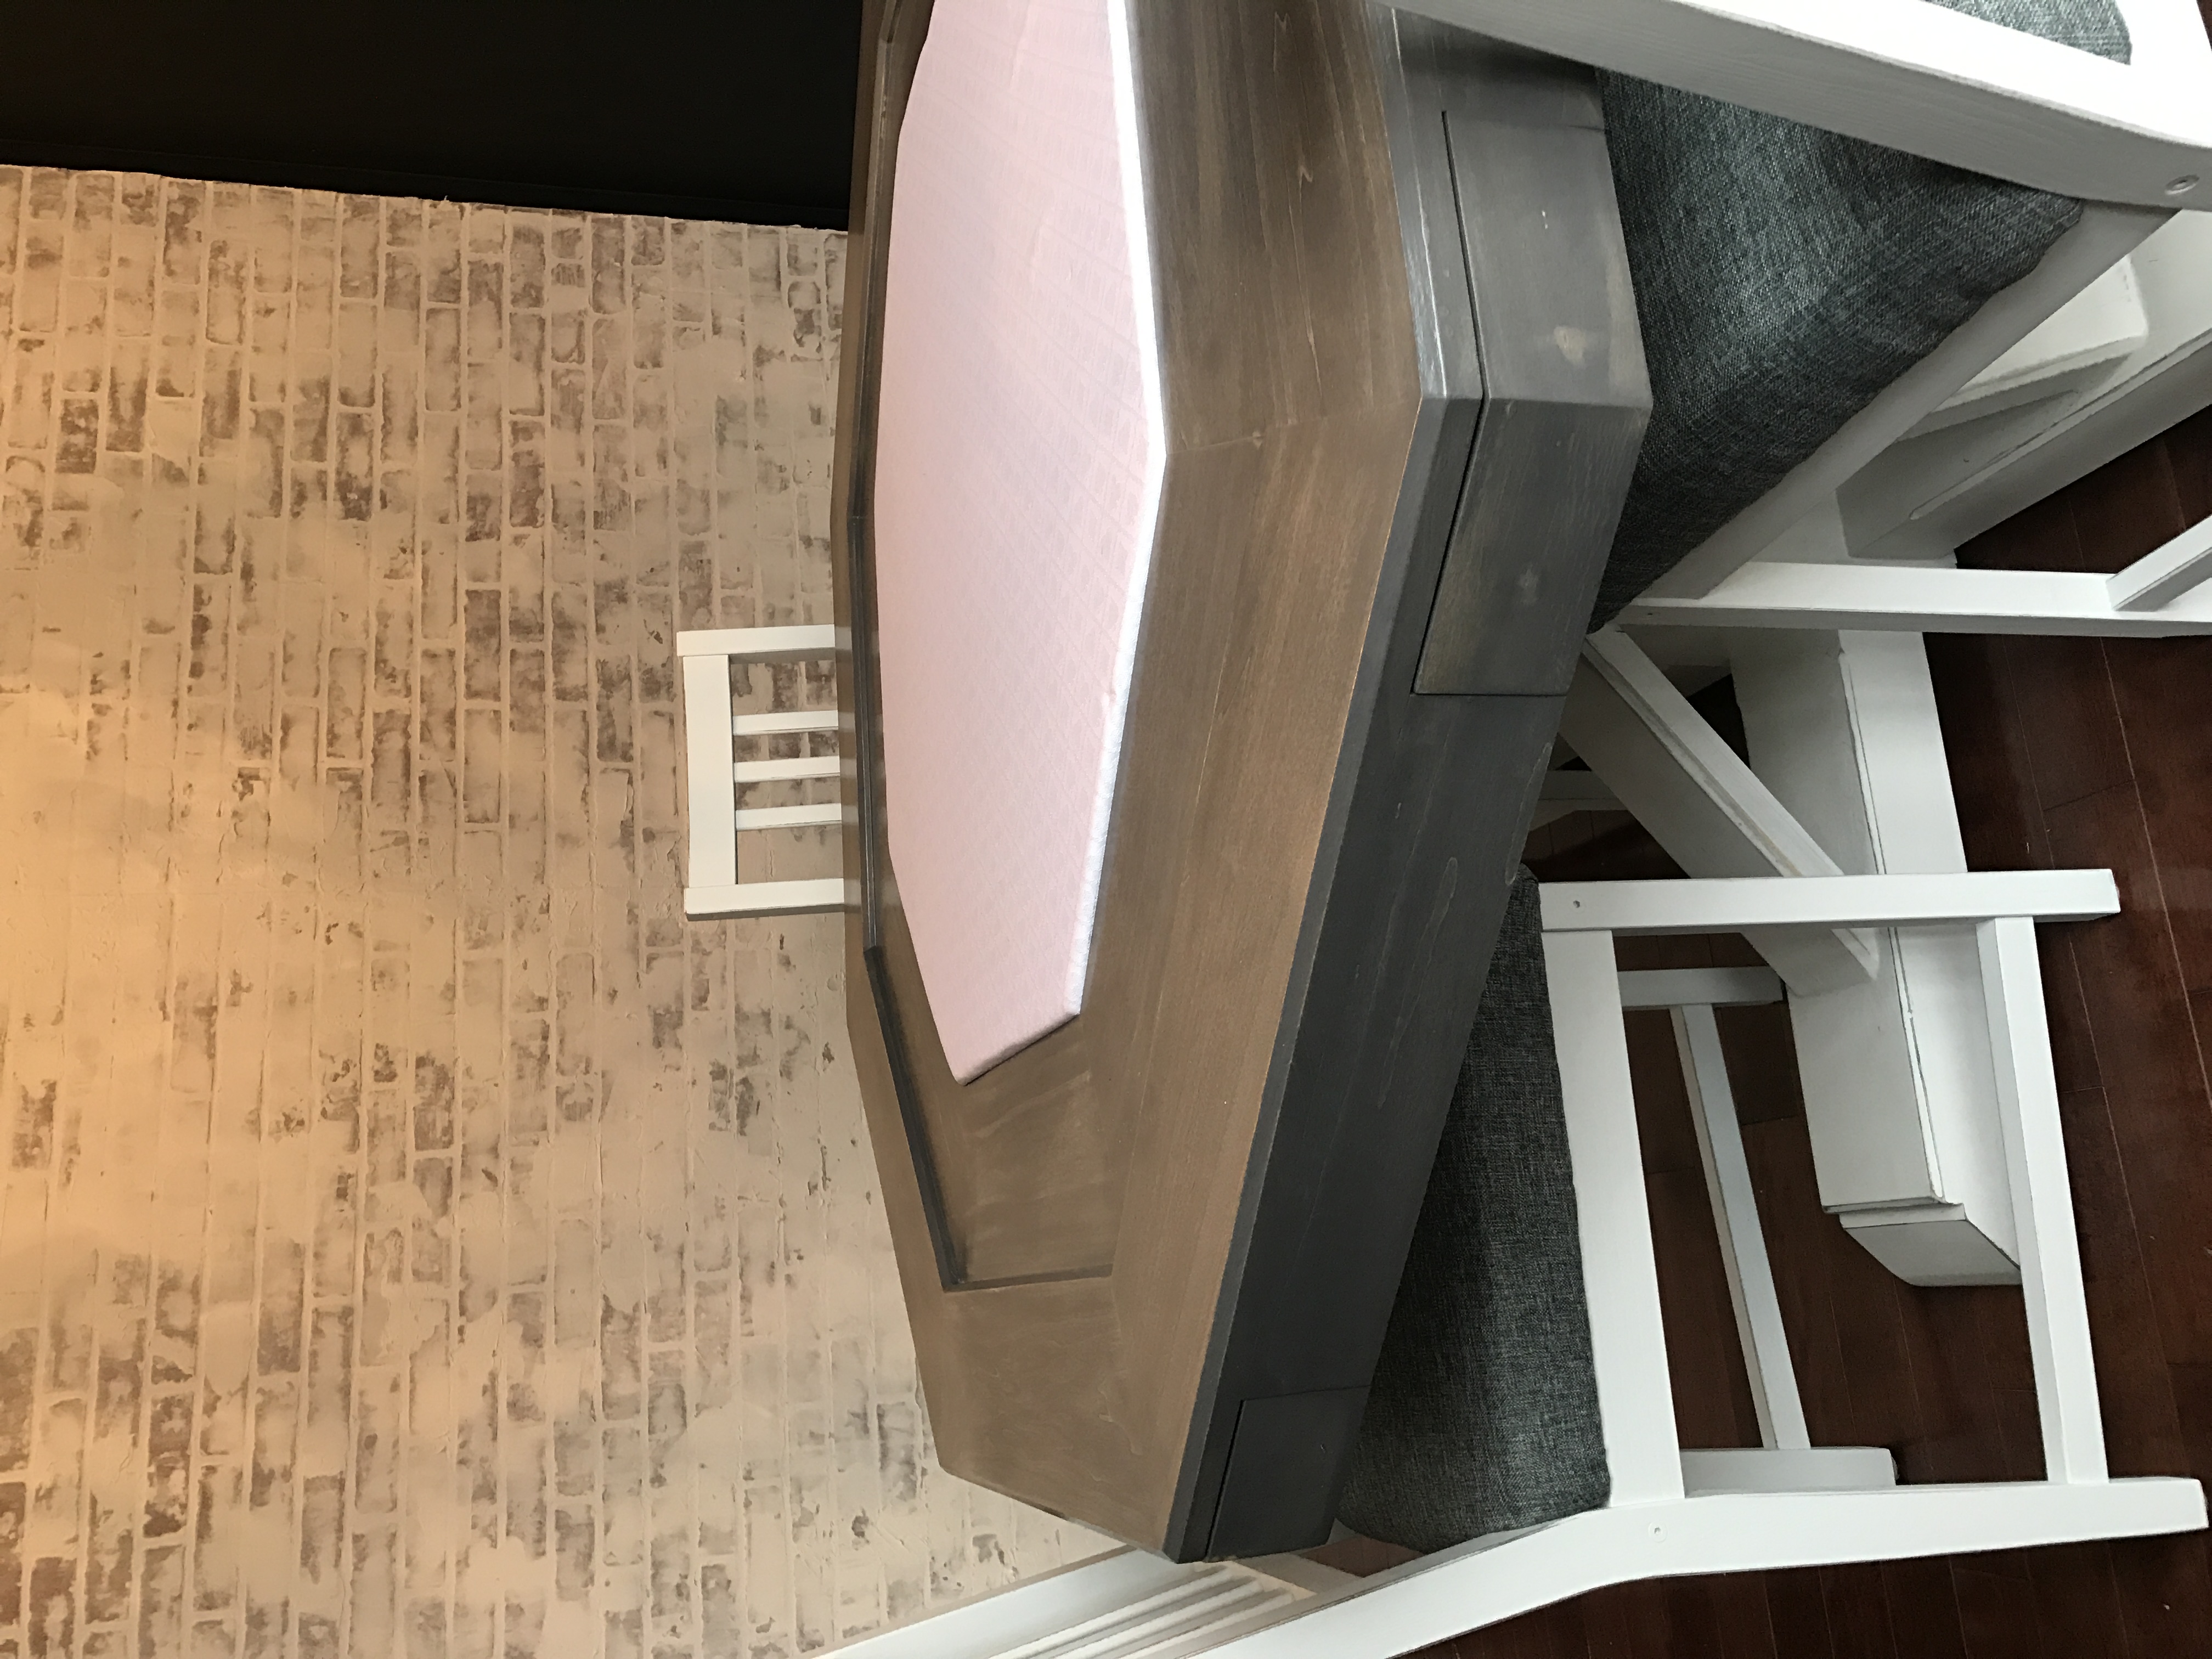
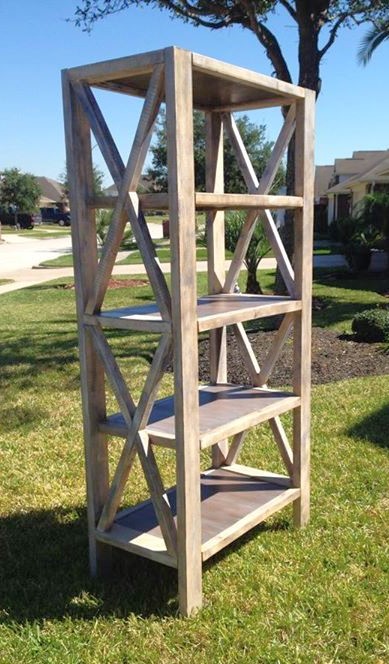
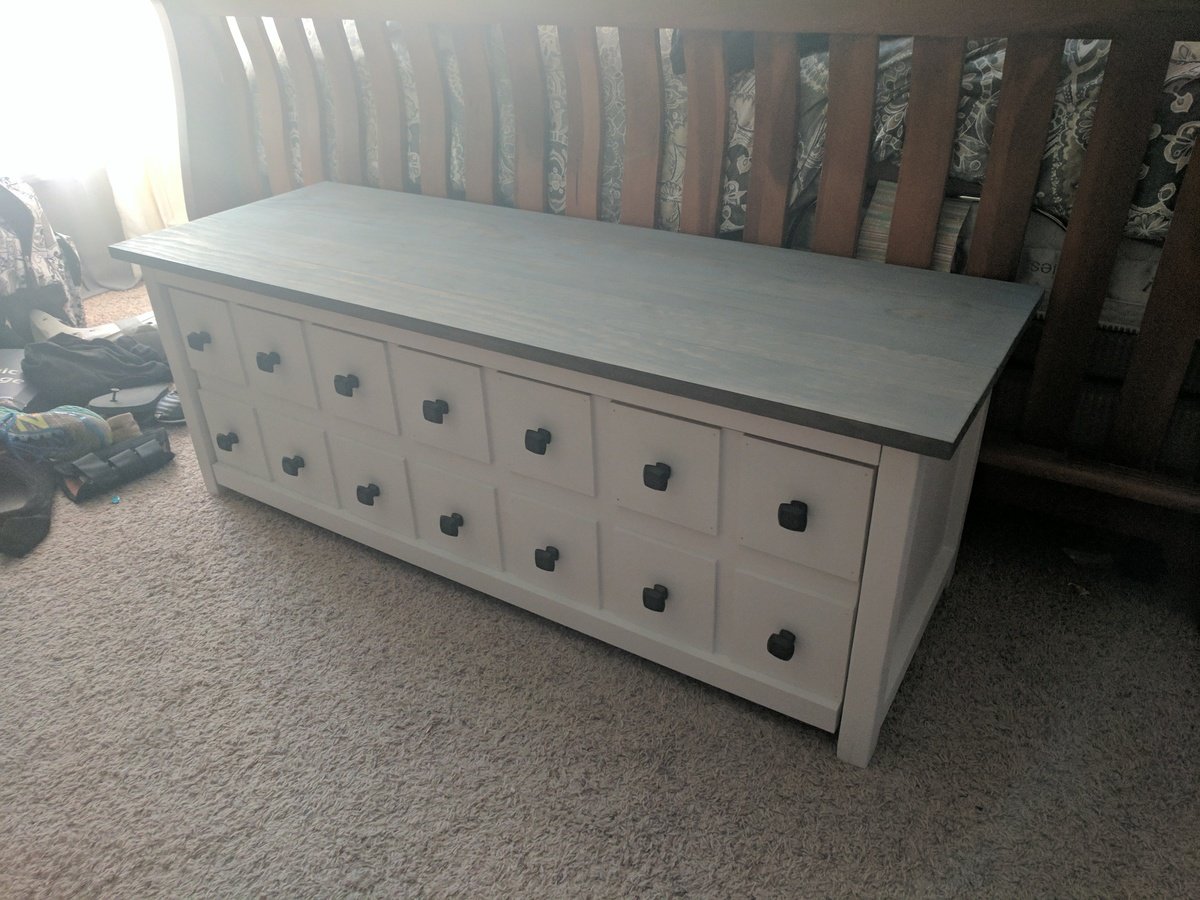
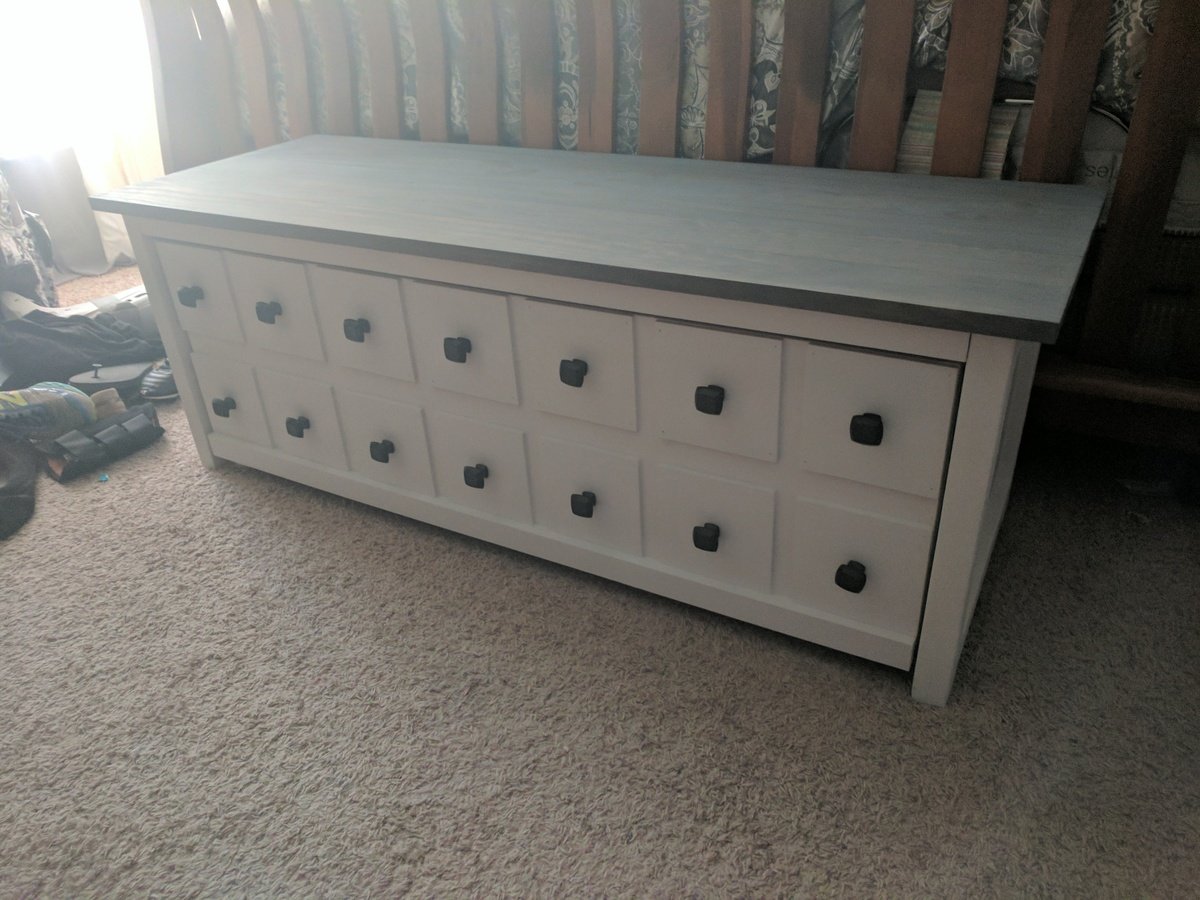
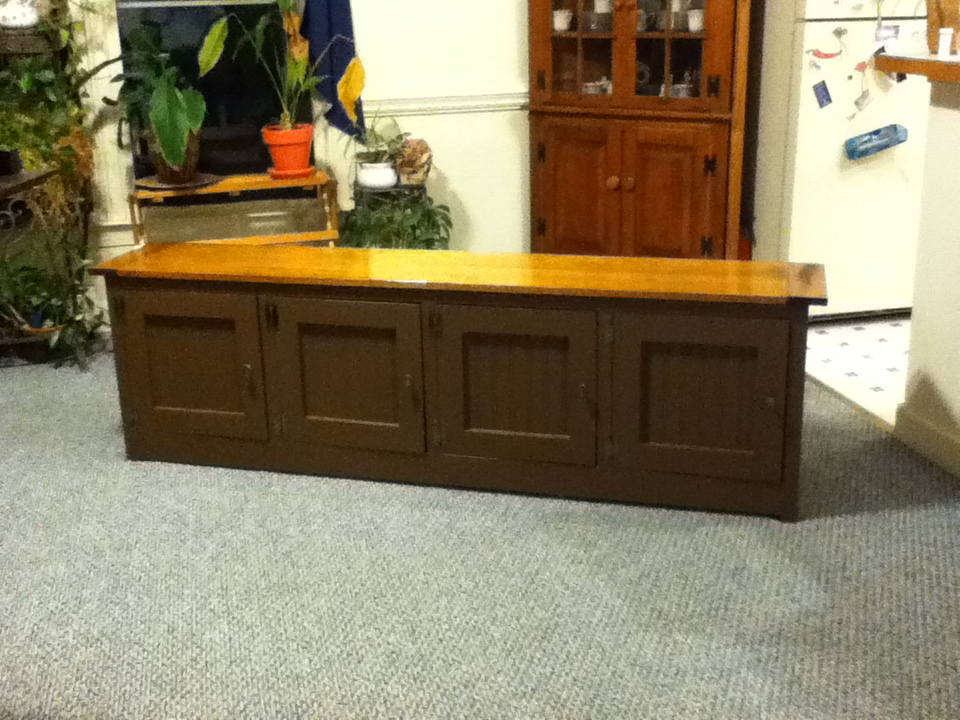
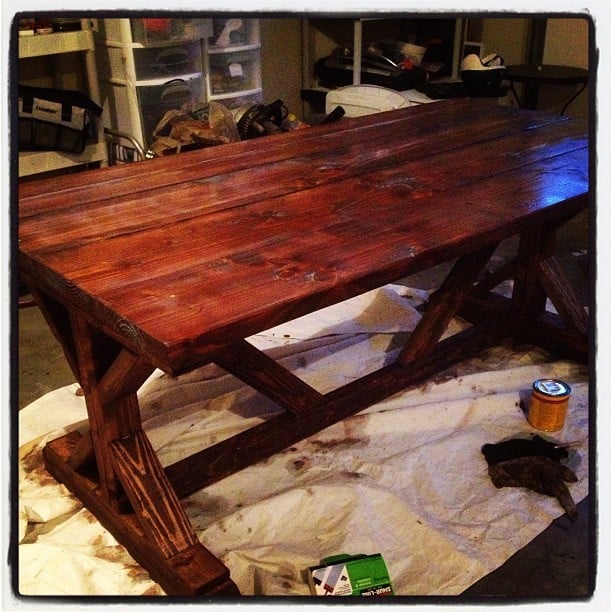
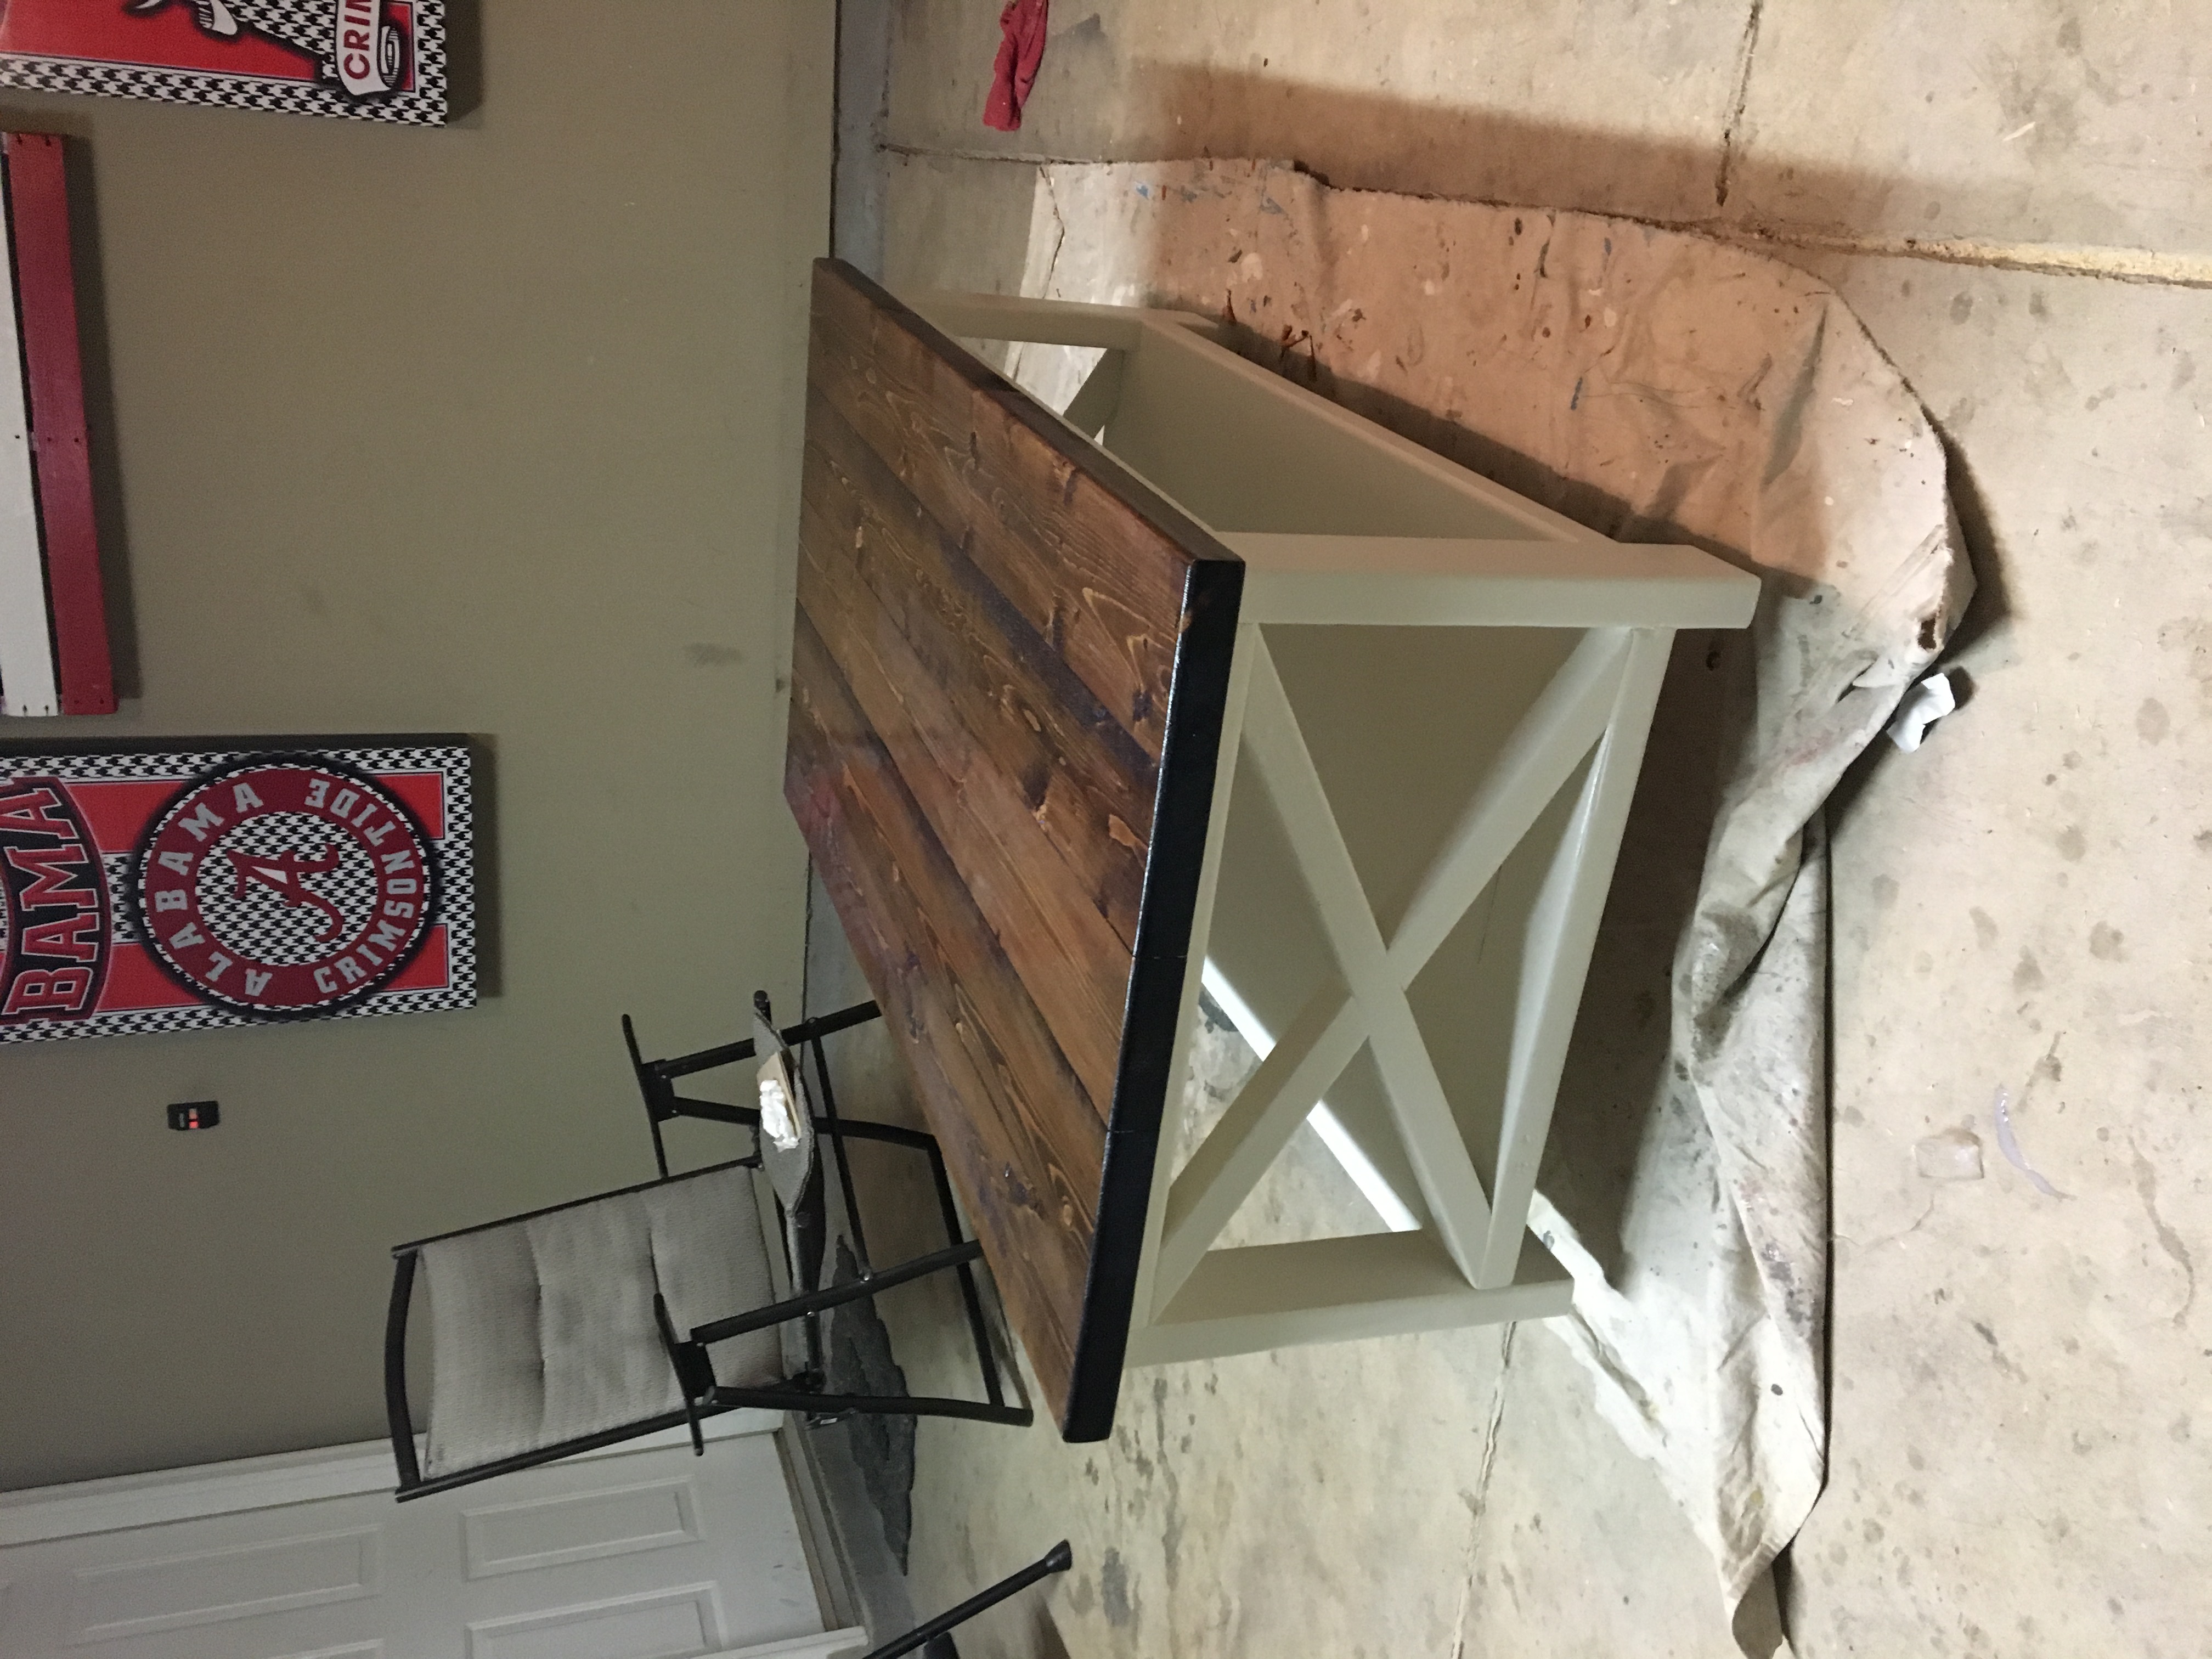
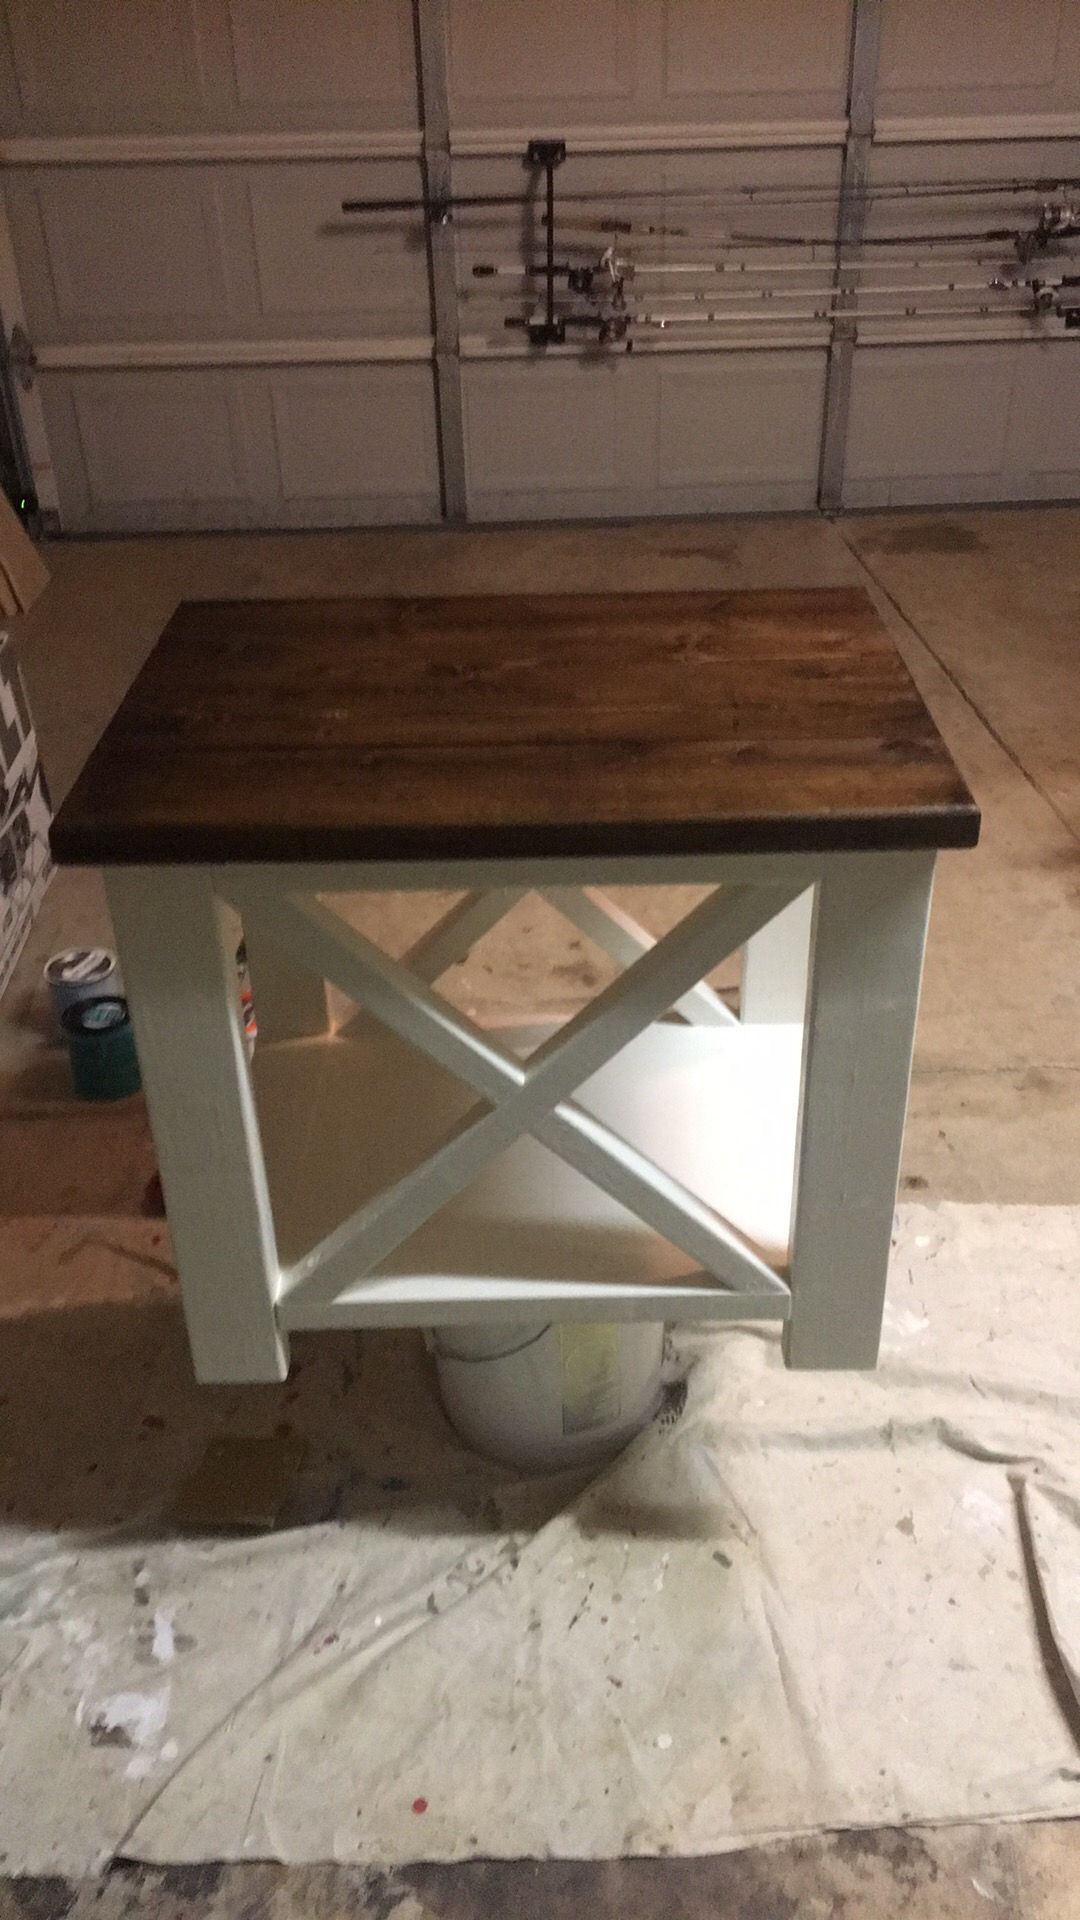
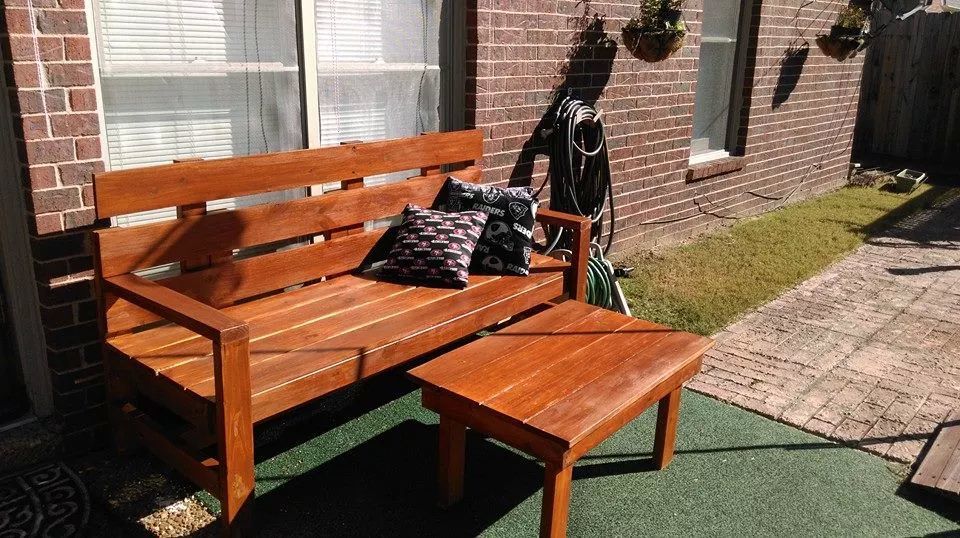
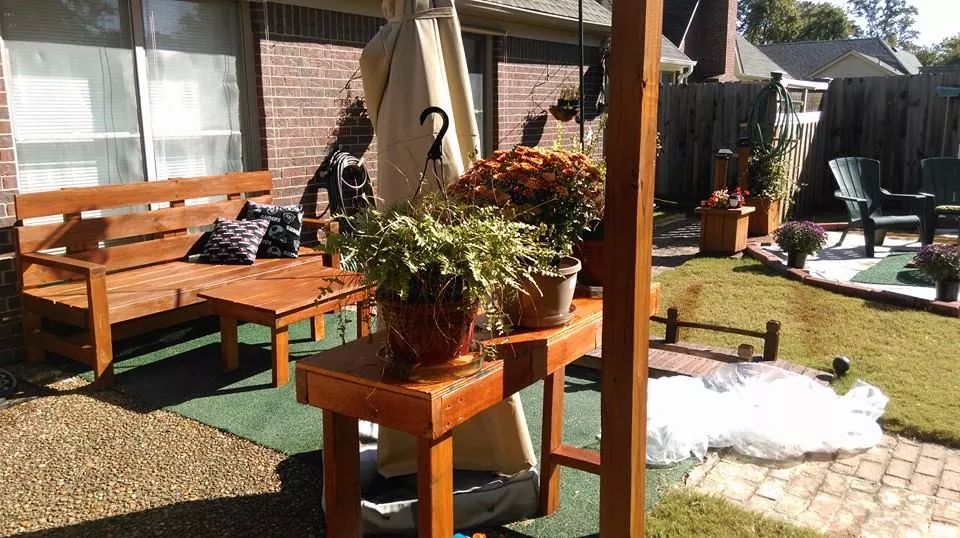
DIY Farmhouse Table
Based on Ana White's Instructions and Cut List, here was our purchase list:
(figures are rounded)
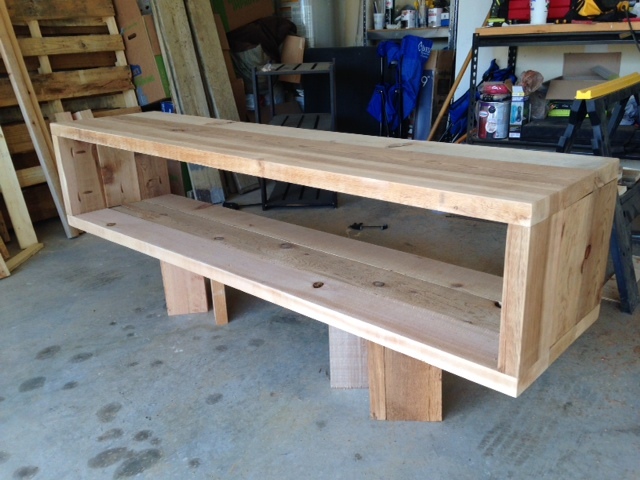
Heat Treated Wood:
$12 (4) 2x4@ 8 feet
$9 (2) 2x8 @ 12 feet
$6 (1) 2x8 @ 8 feet
$8 (1) 2x10 @ 8 feet
$55 | (1) 4x4 @ 10 feet **
**This was difficult to find. We couldn't get it at Lowe's or Home Depot,
but found a small local wood yard.
but found a small local wood yard.
Other Materials:
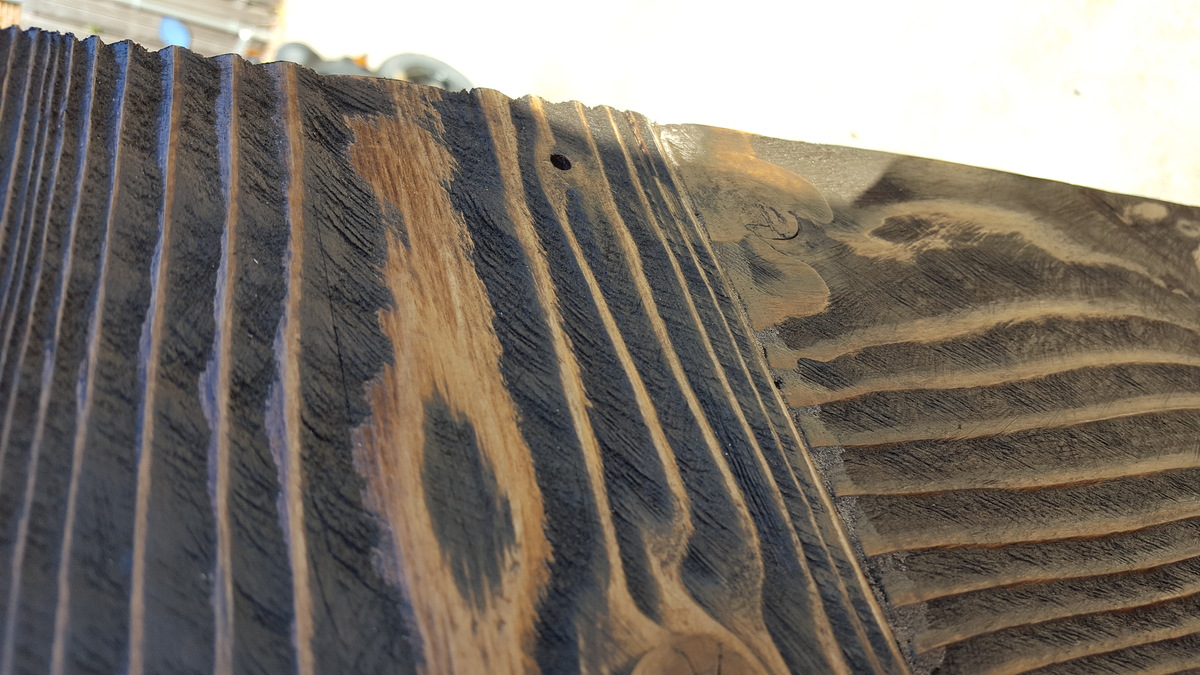
$9 | Rust-oleum Kona Wood Stain
$18 | Minwax Polycrylic
$10 | (2) Pocket Hole Plugs
$4 | 3" Foam Trim Roller
$8 | (2) 2.5" Pocket Hole Screws
$6 | 3" Wood Screws
Total Cost - $145
Built from Plan(s)
Estimated Cost
$145
Estimated Time Investment
Weekend Project (10-20 Hours)
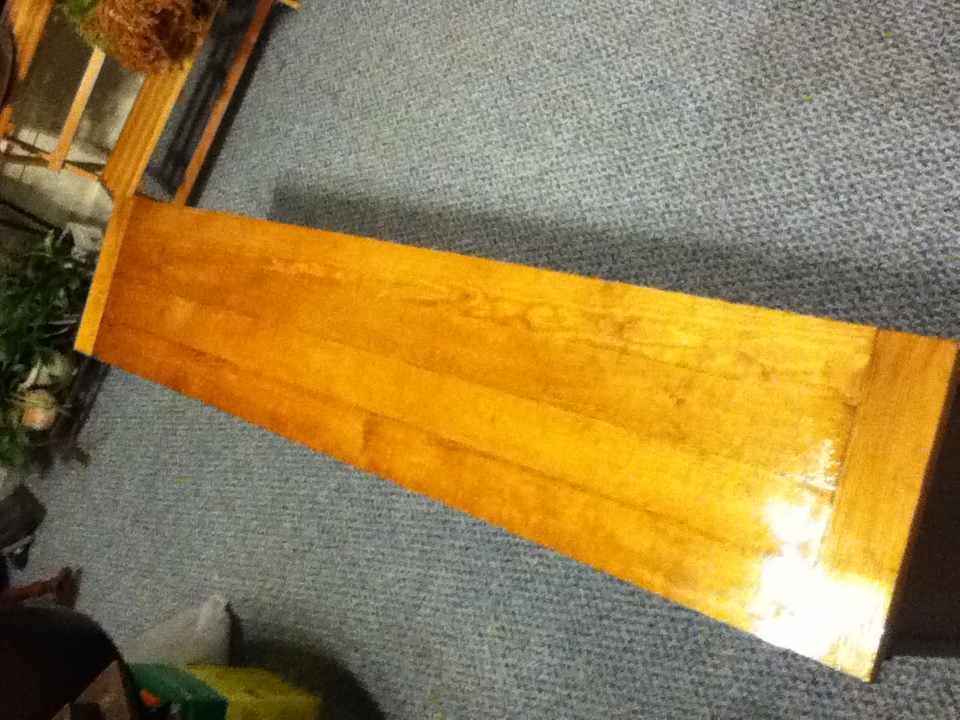
Finish Used
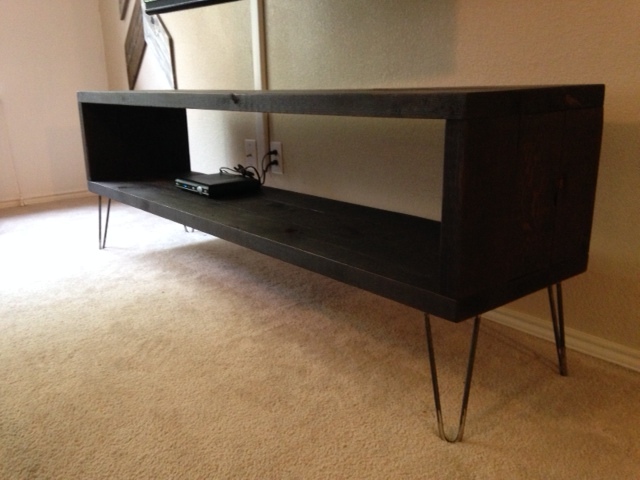
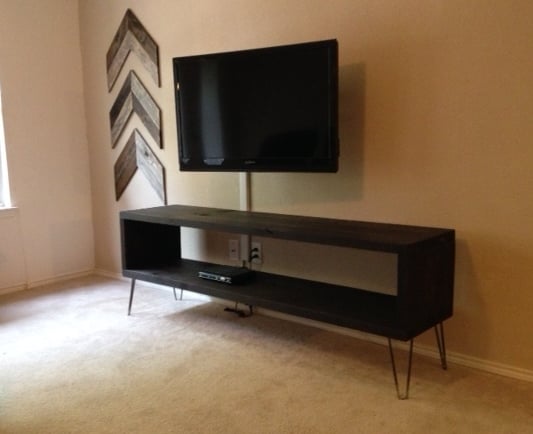
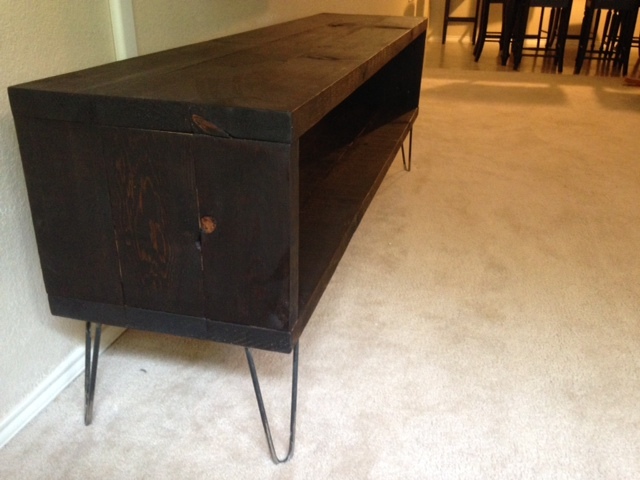
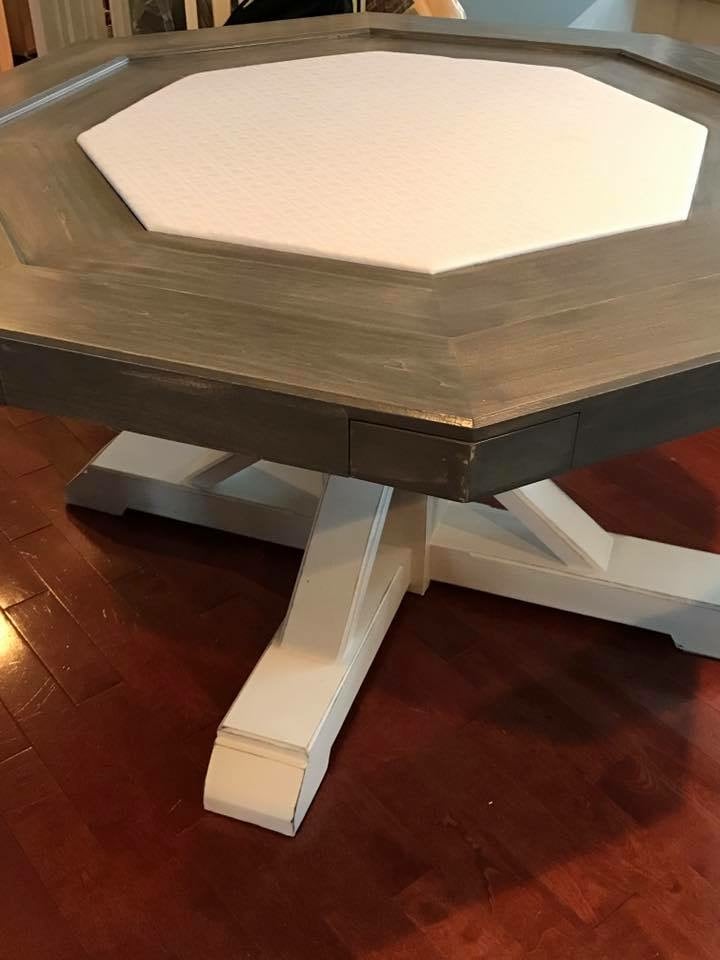
MinWax Polycrylic 3 coats - Semi Gloss, but will be finishing it again in Satin (Maybe).
Rust-oleum Kona stain.
Rust-oleum Kona stain.
Recommended Skill Level
Beginner


Comments
LorLor
Sun, 11/02/2014 - 16:16
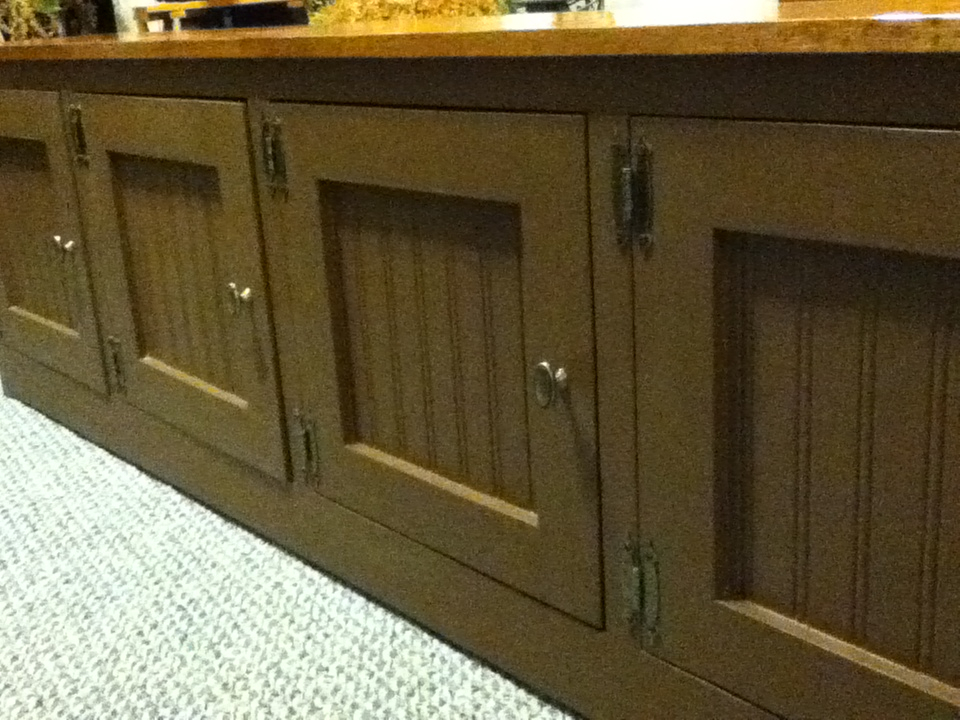
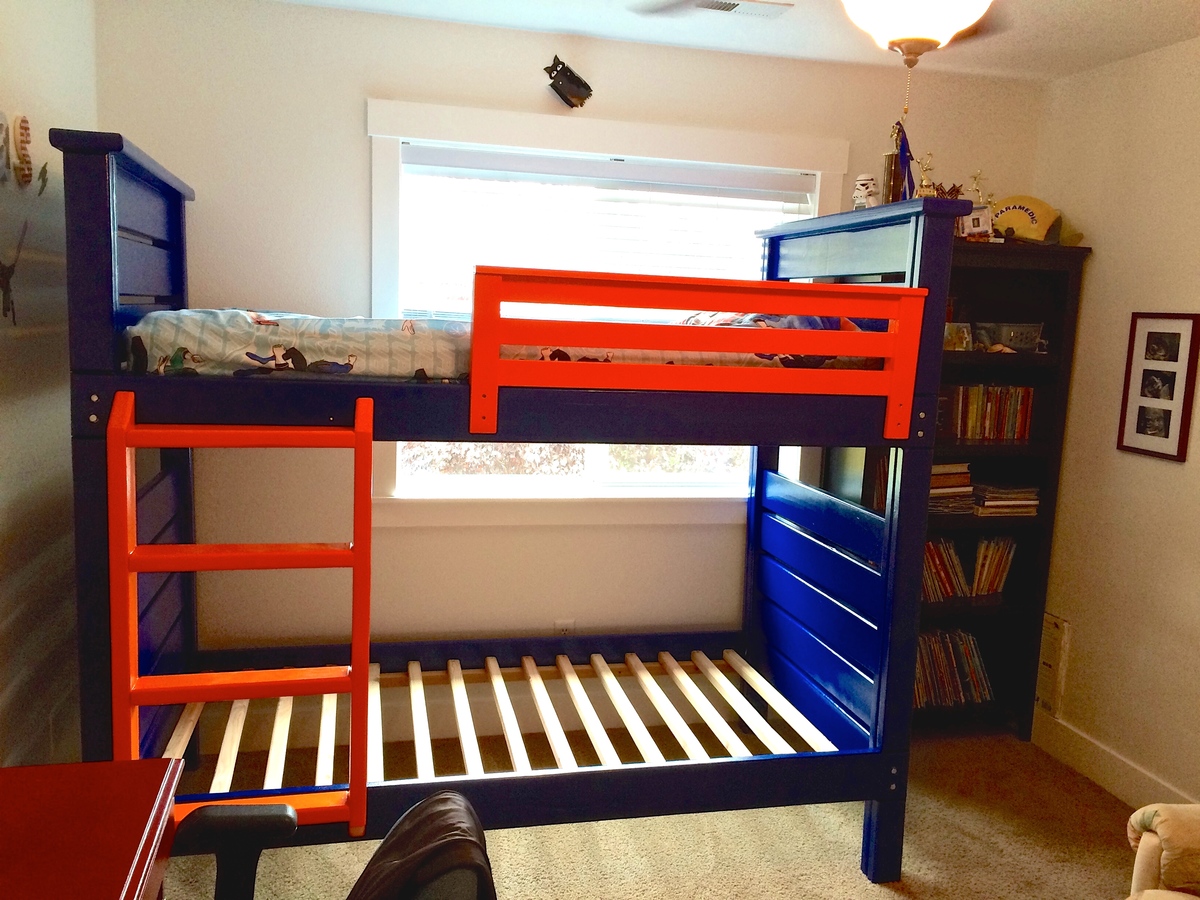
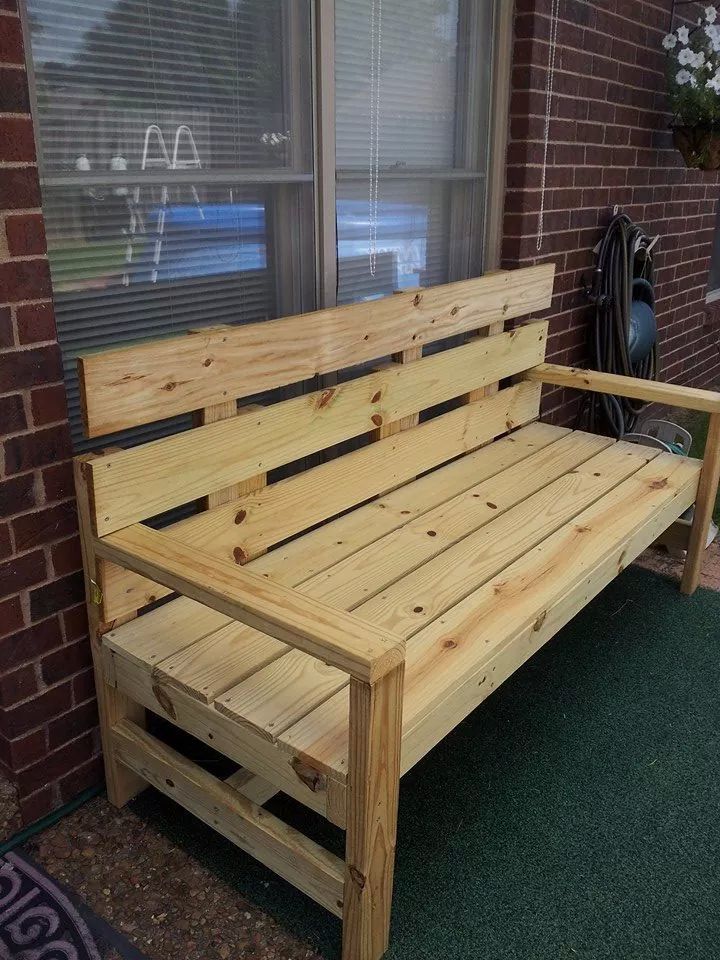
Farm Table
This is the color I want for my table.