Community Brag Posts
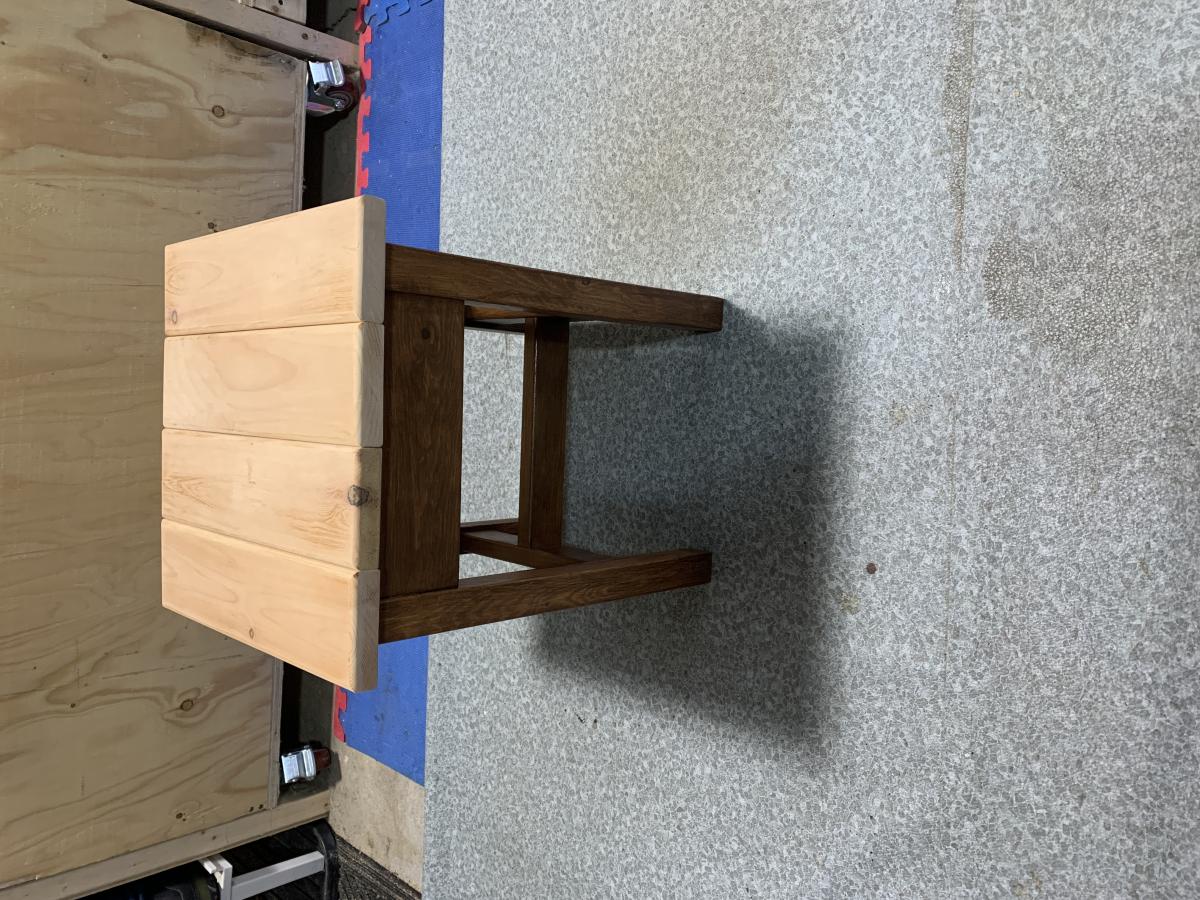
Farmhouse Style Bar Table - San Diego
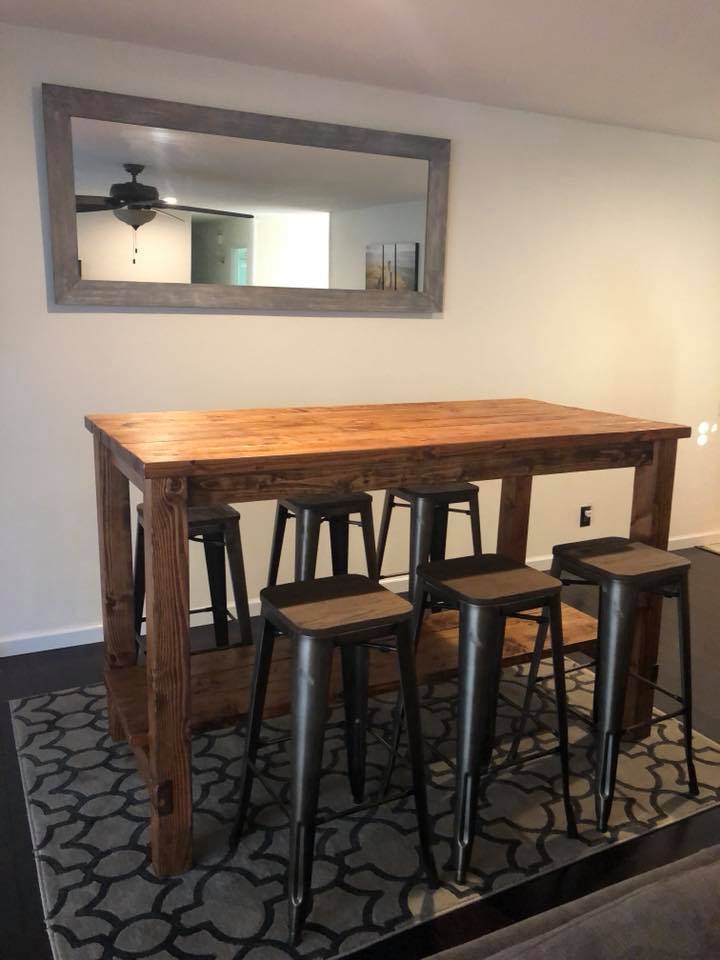
My husband modified these plans by making it a 42" tall bar high table. He built it and I stained it with Dark Walnut Danish oil and it came out better than we imagined. Thank you for these awesomely cool DIY plans.
Built from Plan(s)
Estimated Time Investment
Weekend Project (10-20 Hours)
Recommended Skill Level
Beginner
Comments

TV Stand
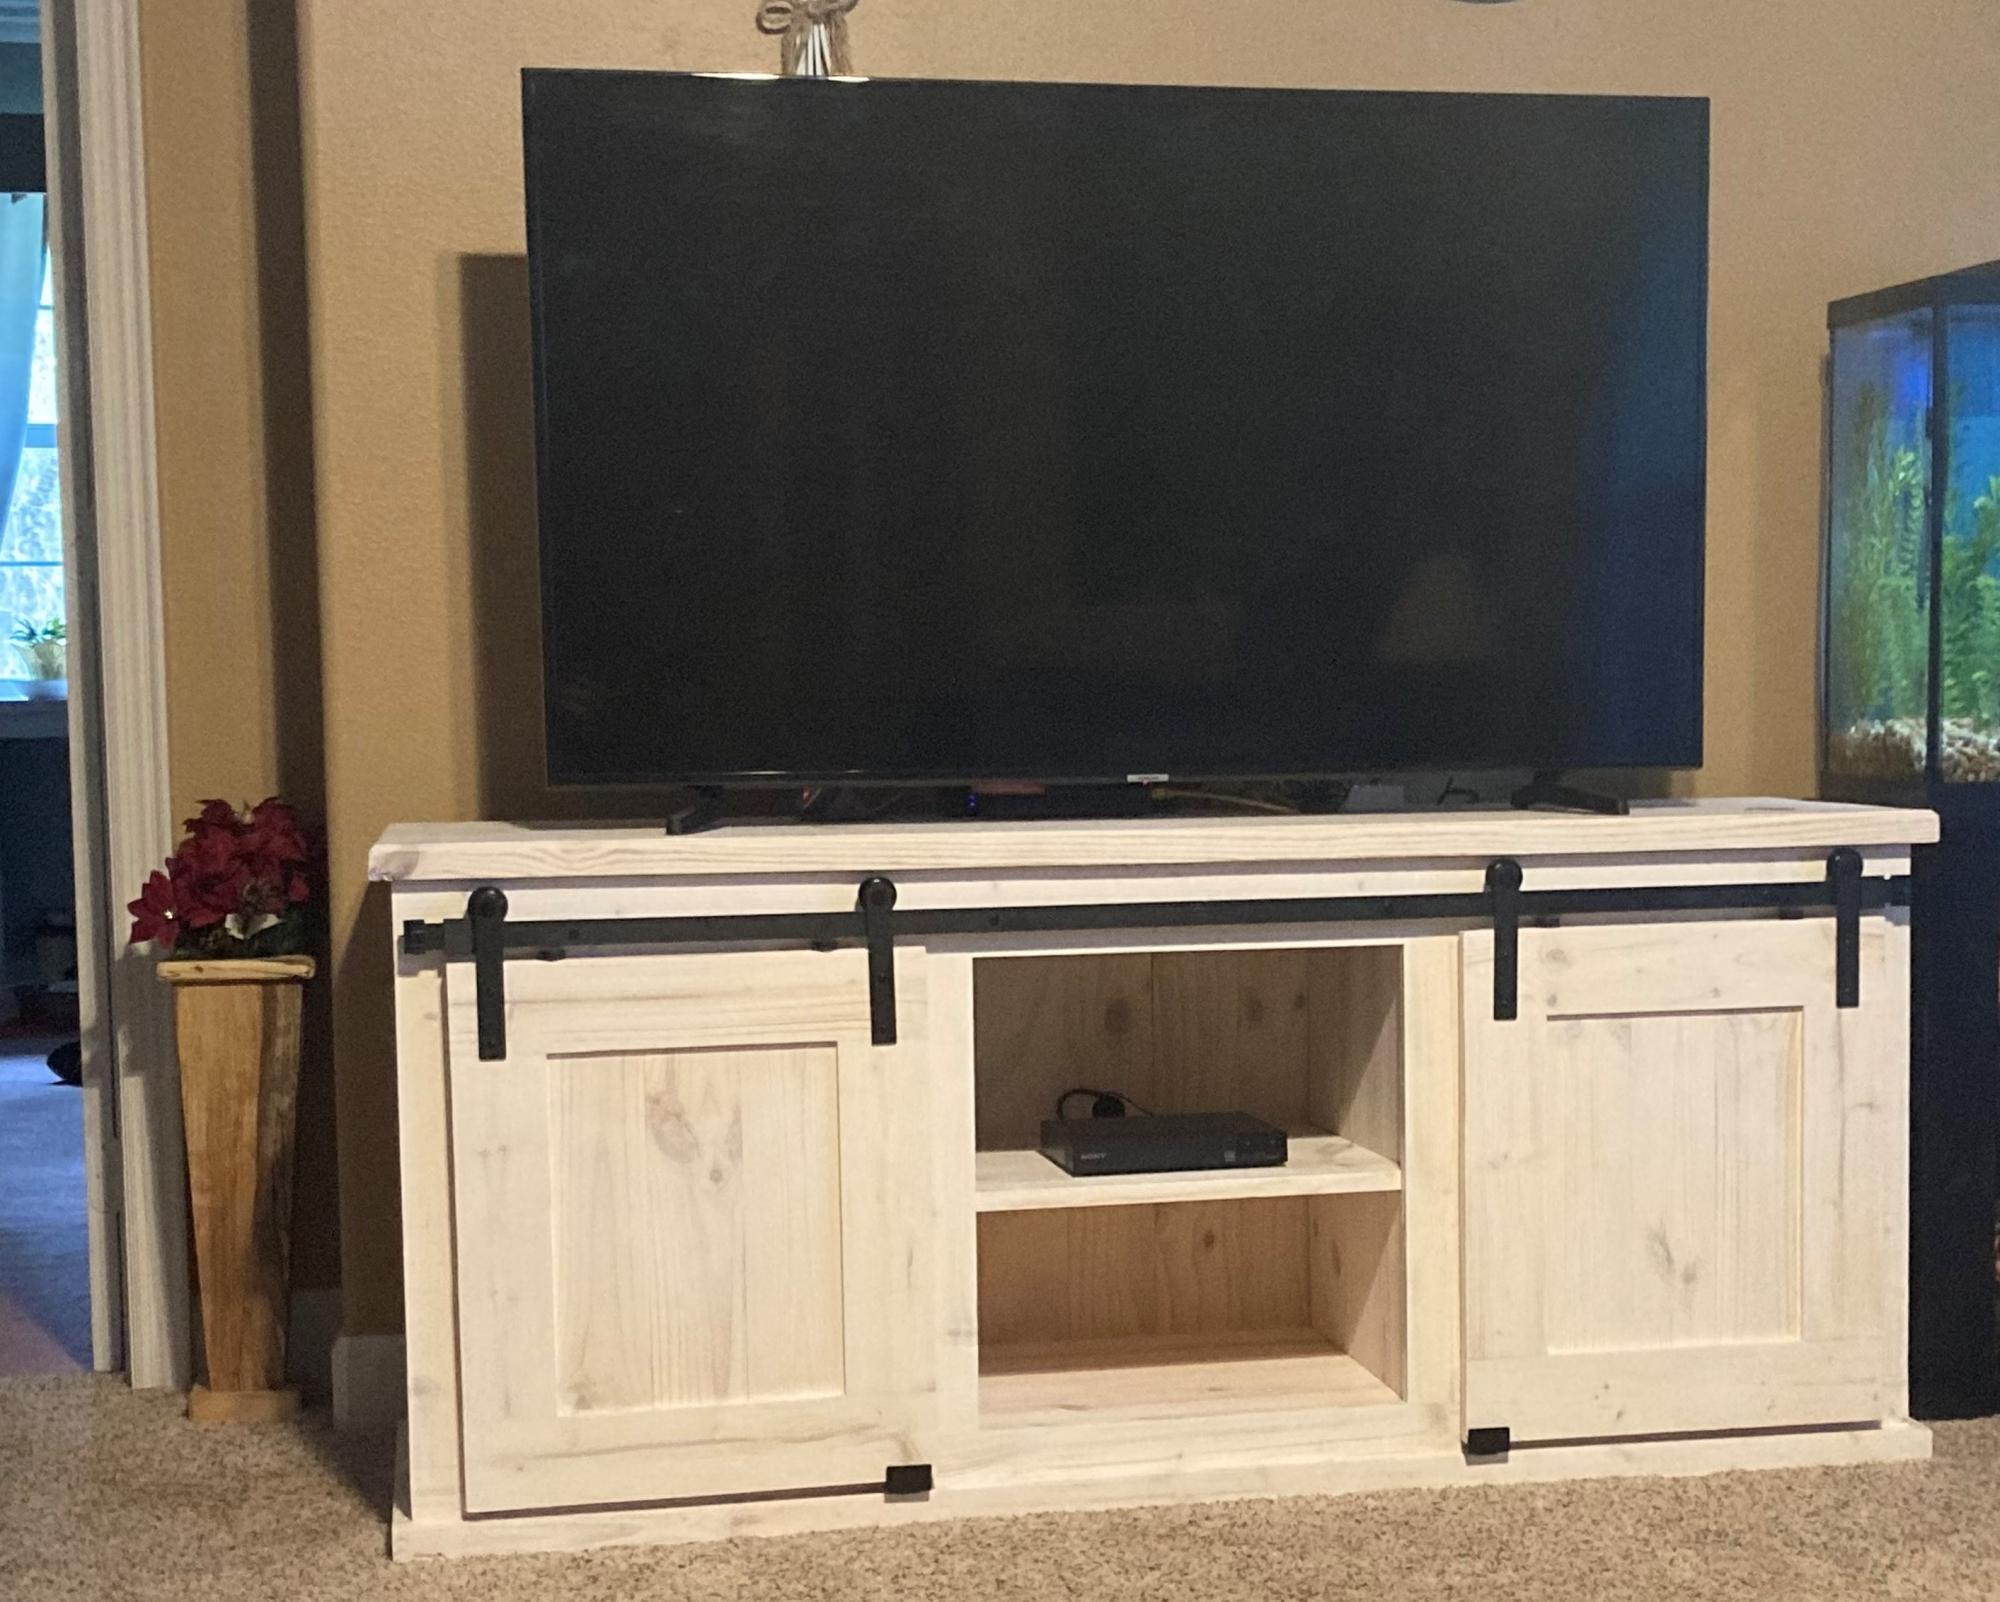
My wife wanted a new TV stand. I found some plans online but ended up using the basic plan then added my own ideas to it. Used all pine boards. Then finished with Minwax Simply White.
Comments
Beach Cottage Night Stand
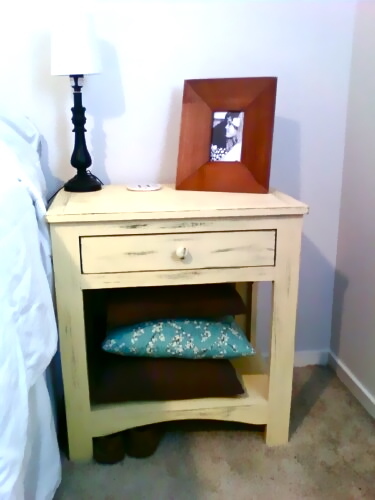
This night stand was very easy to make. I really want you guys to see this video. These inexpensive drawer slide mounting tools make everything so much easier. http://youtu.be/vI3jgkhxxPE
Estimated Cost
$40-50
Estimated Time Investment
Afternoon Project (3-6 Hours)
Finish Used
Martha Stewart Semi Gloss Interior
Recommended Skill Level
Intermediate
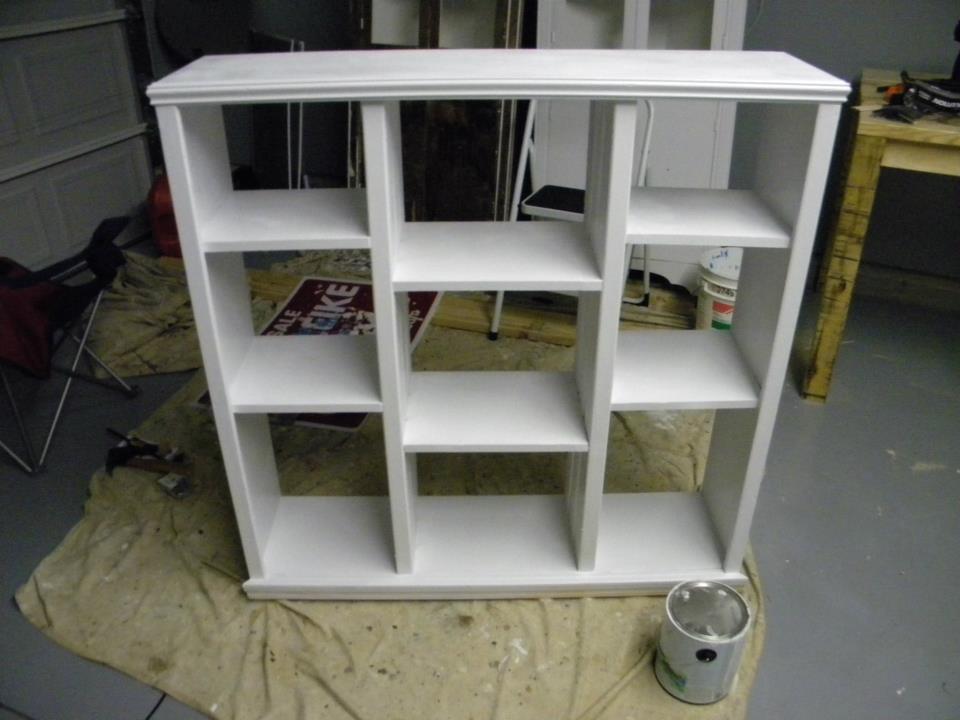
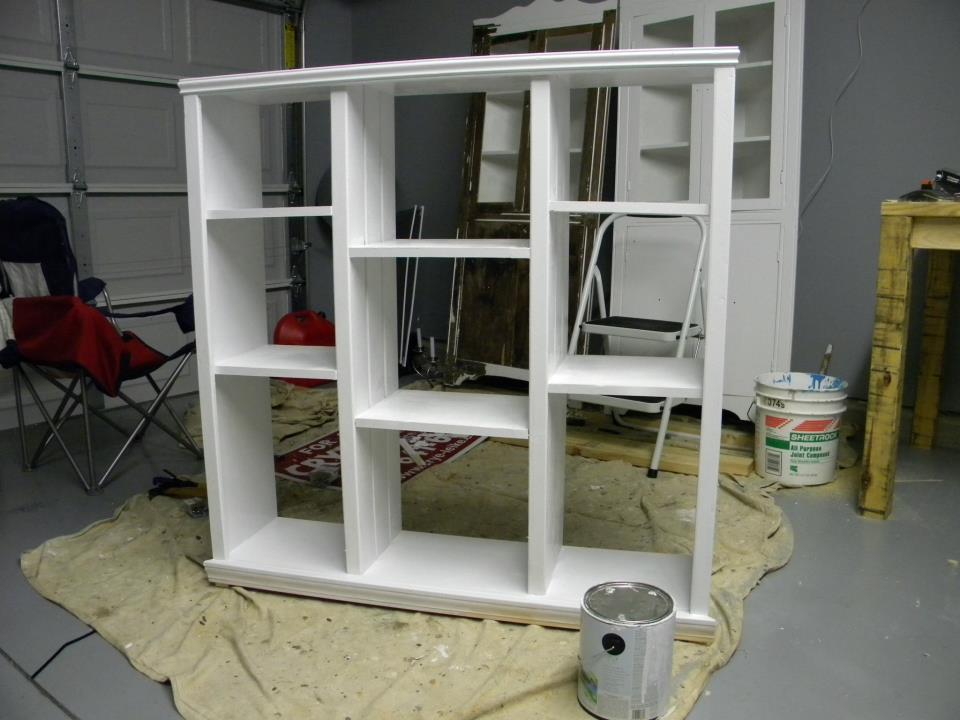
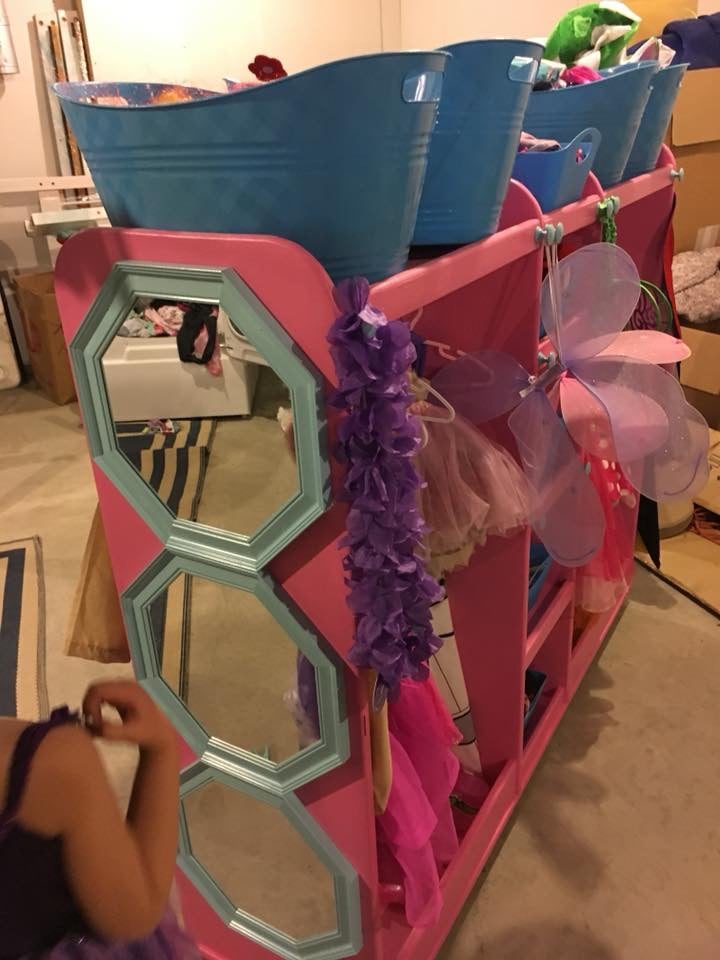
9 cubby Shelf
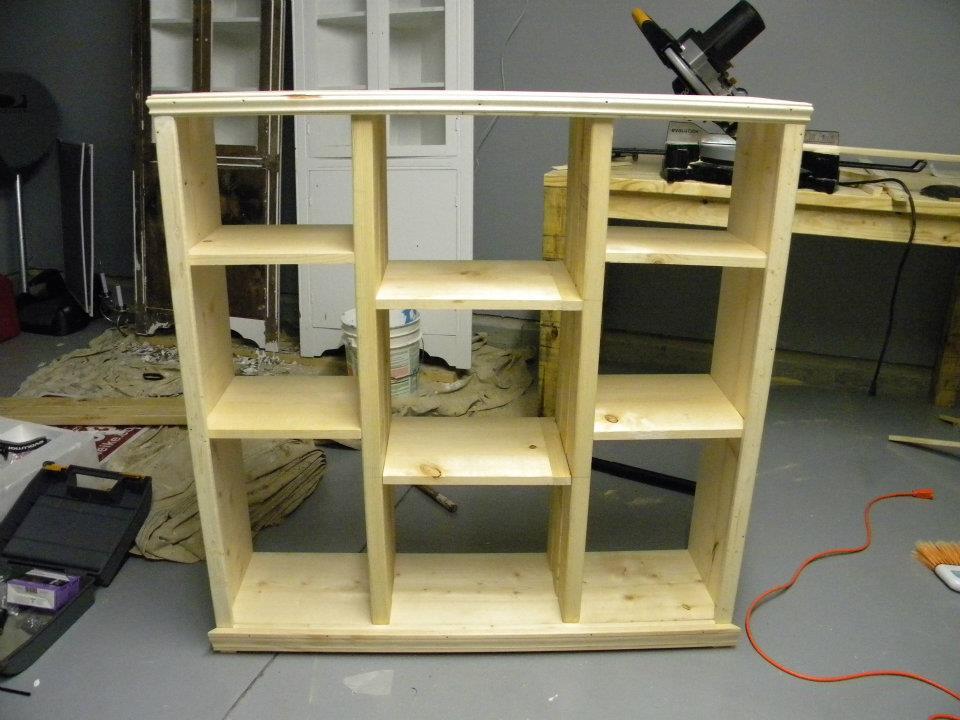
I off set the shelves because my wife wanted to be able to fit some of my sons bigger toys. I also add trim pieces to make it more decorative and painted it white. Enjoy...
Built from Plan(s)
Estimated Cost
50
Estimated Time Investment
Afternoon Project (3-6 Hours)
Finish Used
Paint
Recommended Skill Level
Beginner
Comments
Sun, 07/14/2013 - 08:25
Cubby Shelf storage
My next project! I love the way this came out. Great job.
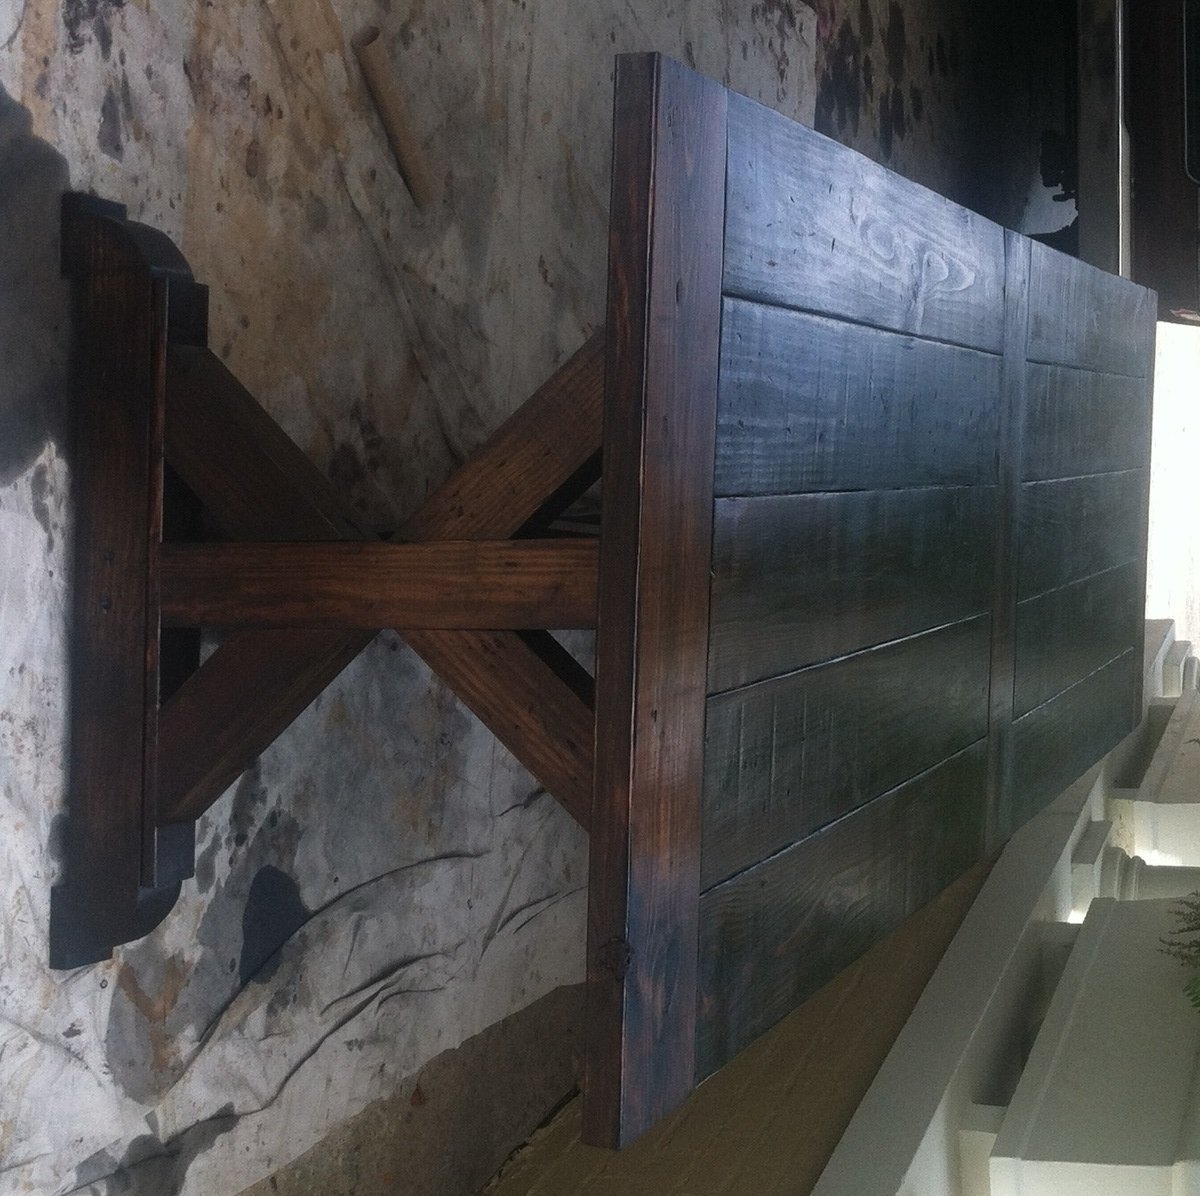
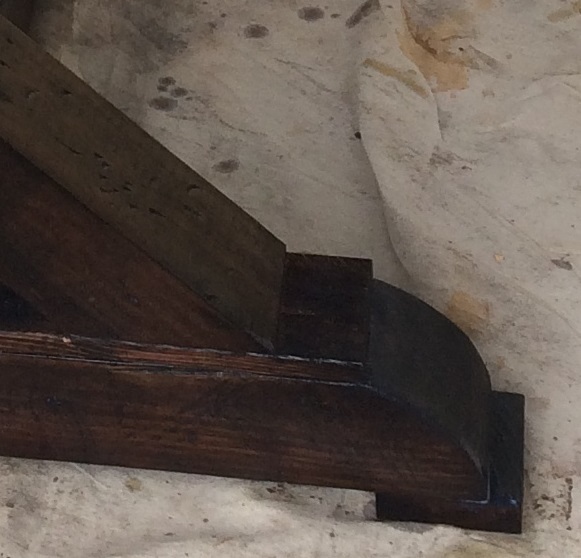
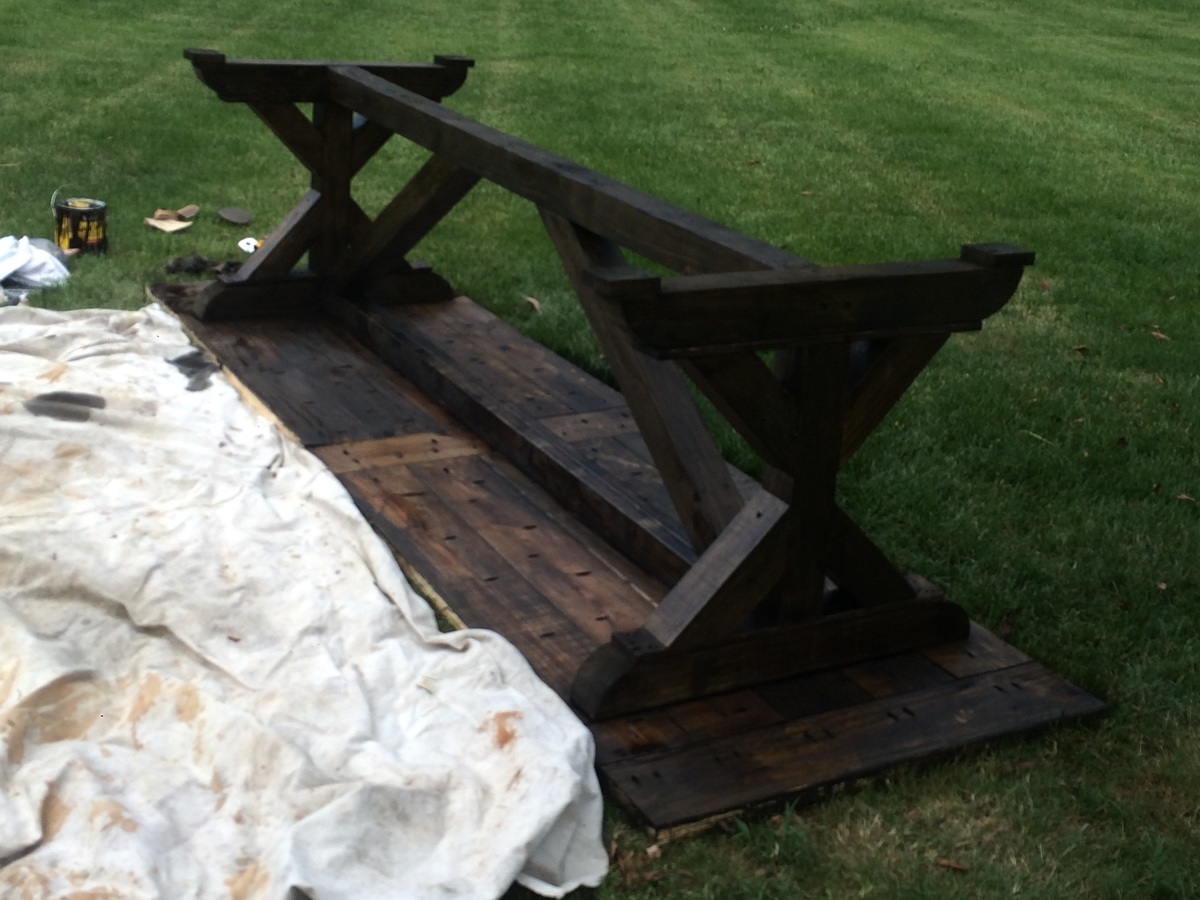
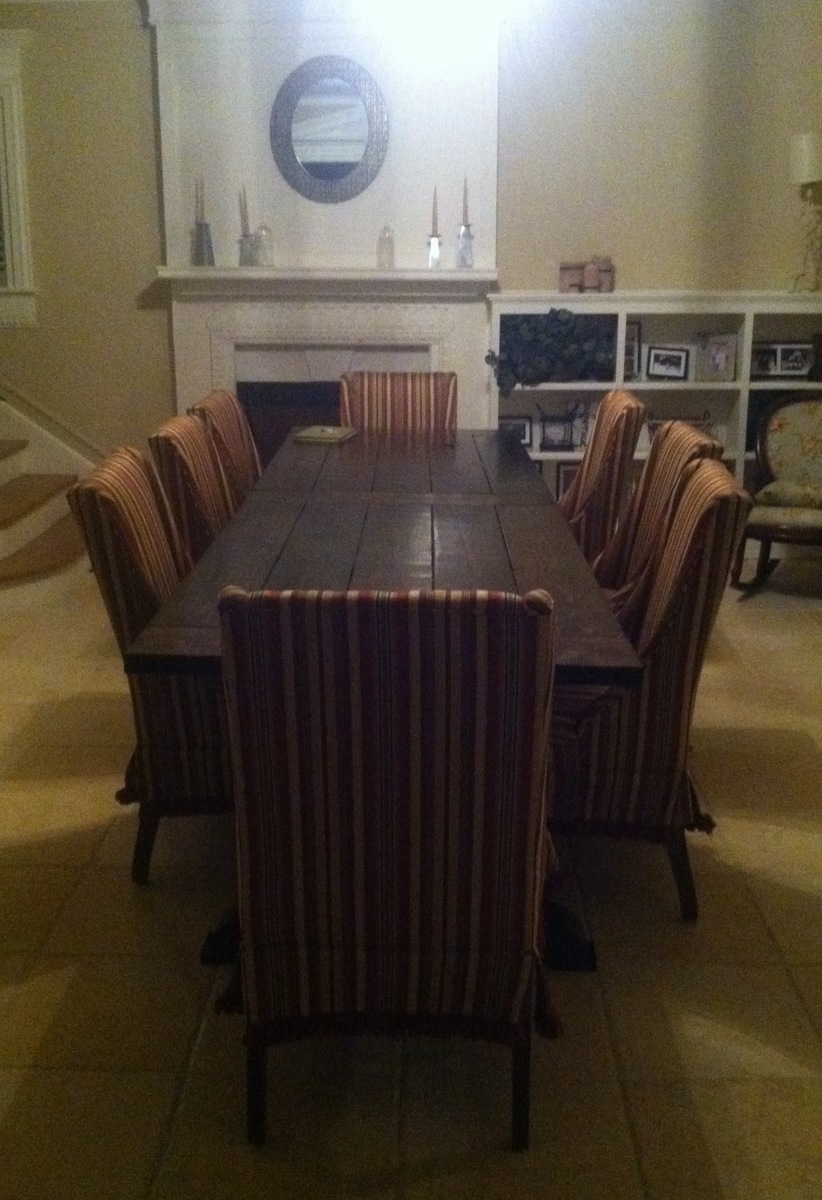
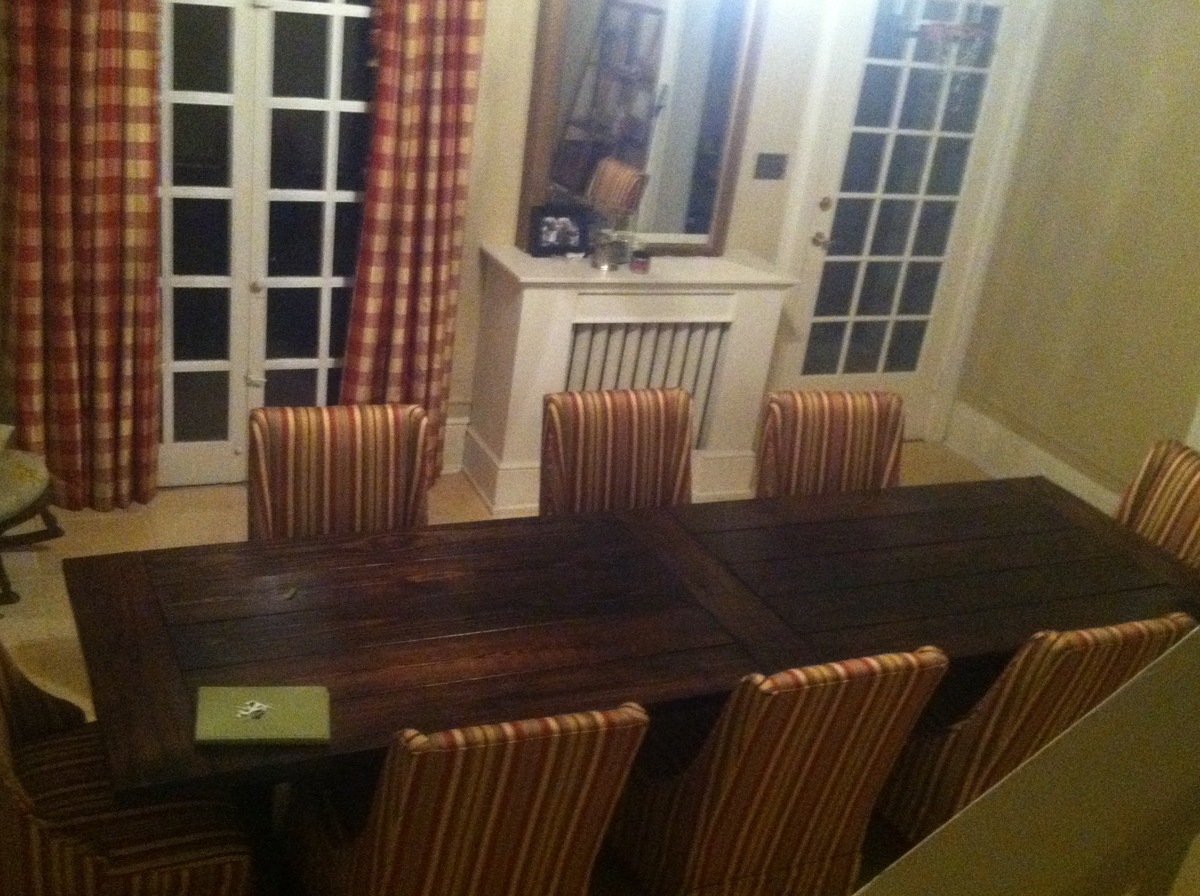
10.5' Farmhouse Dining Table
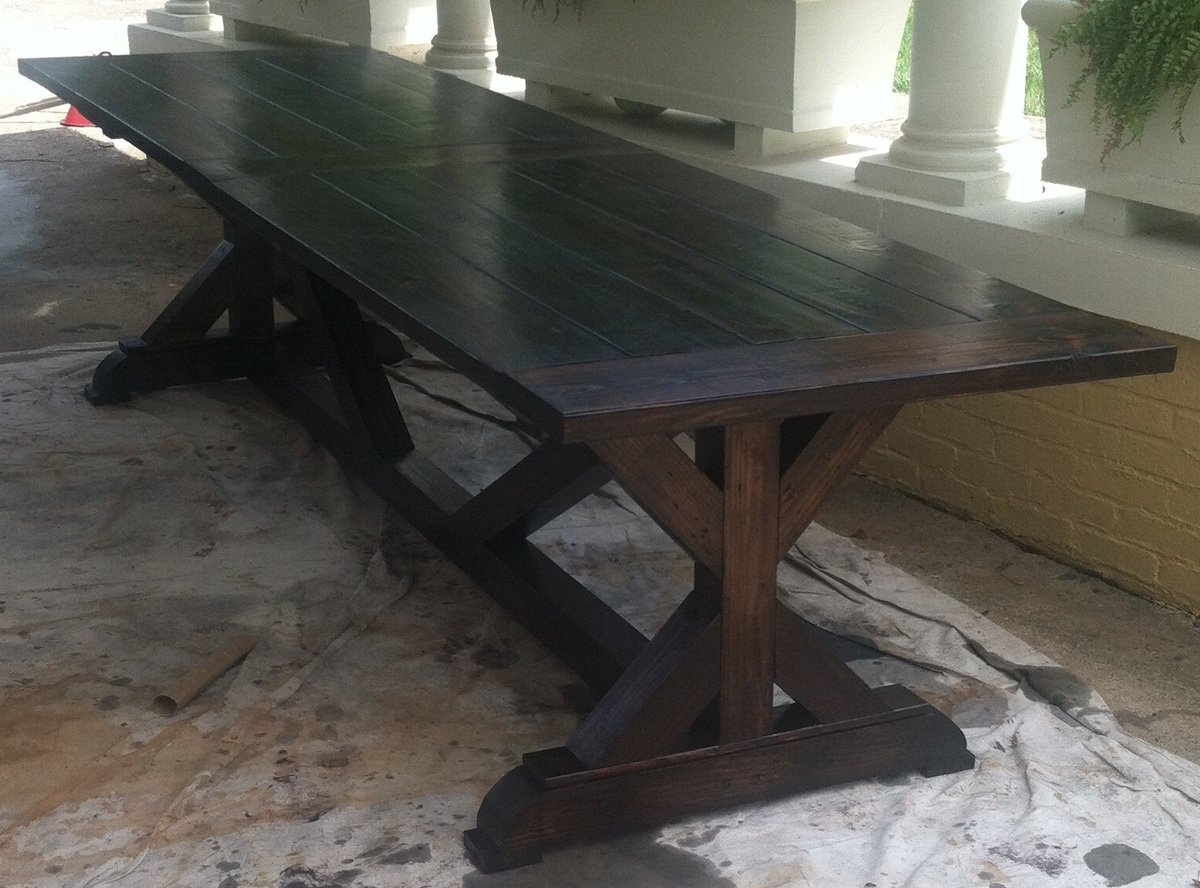
I built this 10.5' farmhouse table for my aunt and uncle's dining room. I modified the plans slightly to try and look more like the Restoration Hardware version, using 4x4's for the beams and side supports and rounding the sides of the side supports. I also modified the top by adding an extra sideways board in the middle. The rationale for this was that I was worried about finding boards at the length I wanted that were perfectly straight from end to end, so by adding the center sideways board I only had to find boards that were perfectly straight for about half the full length. Also, we liked the look of the extra board in the middle. My little cousins had fun helping me distress the wood with hammers and other tools laying around. We love the way it came out, thank you Ana!
Built from Plan(s)
Estimated Cost
300-350 including staining materials and hardware. I bought twice the wood for the table top boards due to the modified tabletop/ and length.
Estimated Time Investment
Week Long Project (20 Hours or More)
Finish Used
Minwax dark walnut with Minwax red mahogany on top of that. On the 2x8 boards, the dark walnut made a lot of contrast with the grain of the wood, and I was trying for a more evened-out color. The dark spots were almost black after one coat. Additional coats and the red mahogany helped even out the contrast and added color. We ended up really liking the final result, but in the future I think I will go back to using the black tea/ steel wool and vinegar method which is what I had been using in the past.
I used polywhey on top and applied several coats.
I used polywhey on top and applied several coats.
Recommended Skill Level
Intermediate
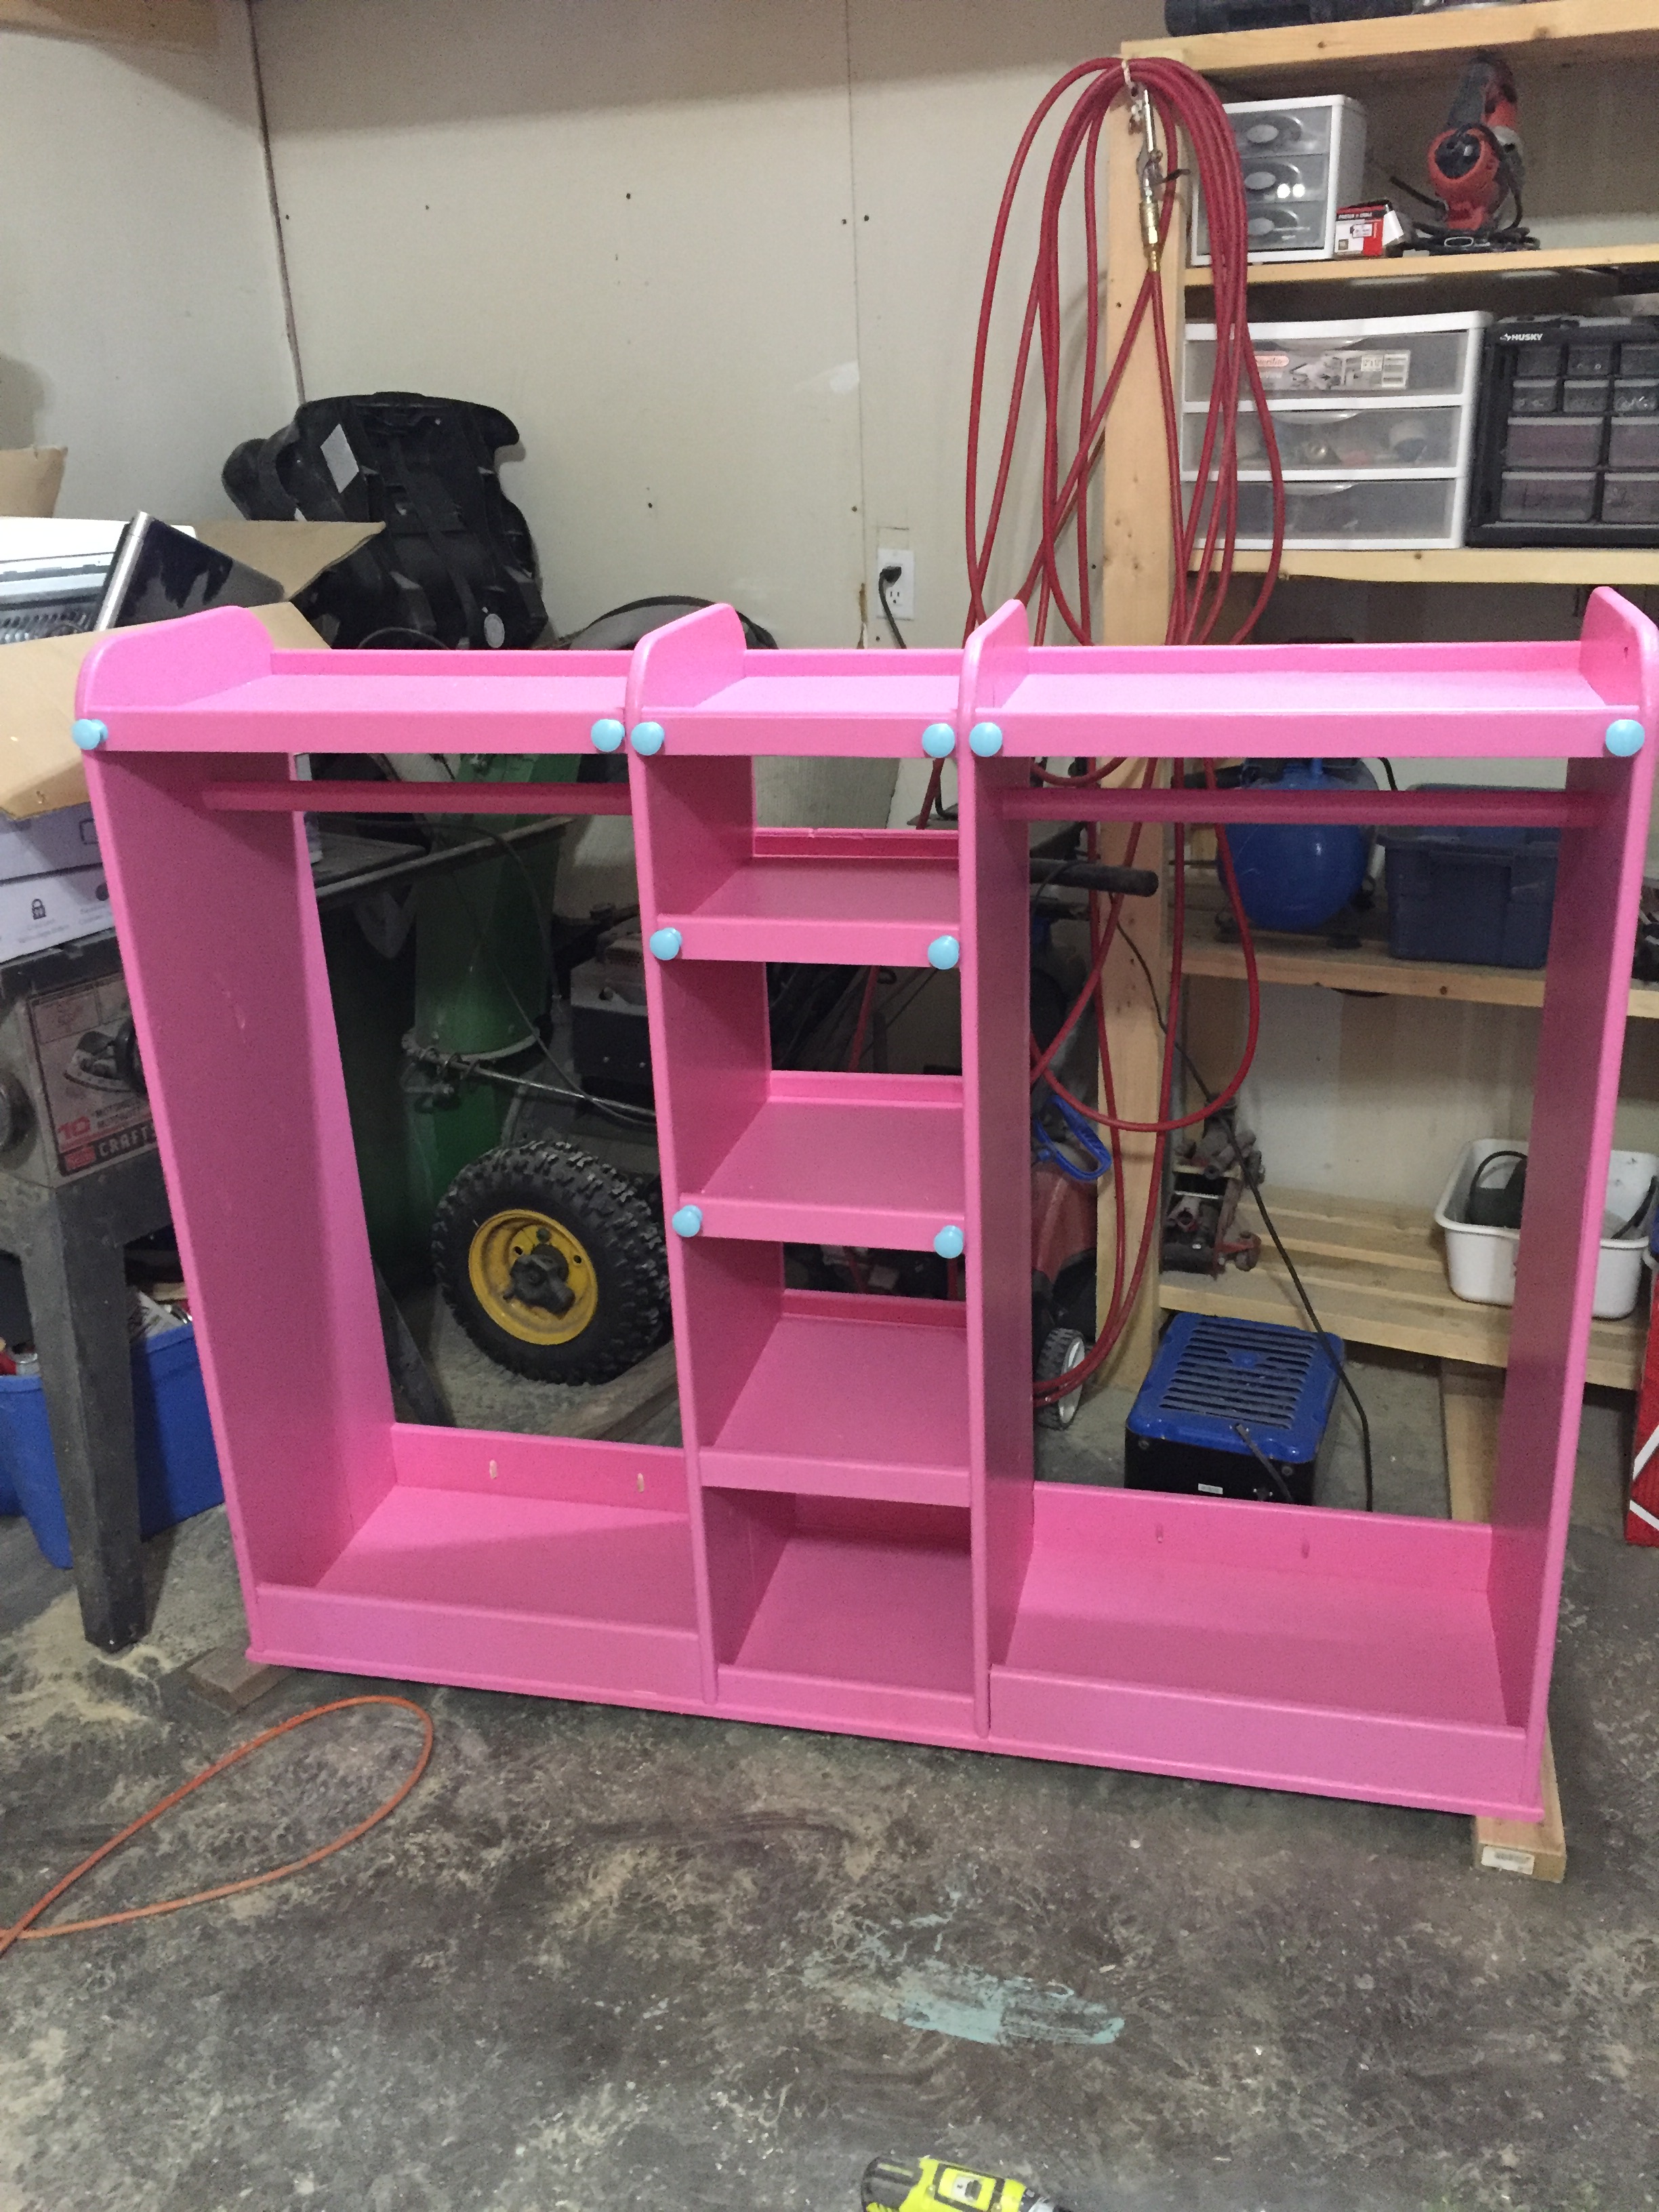
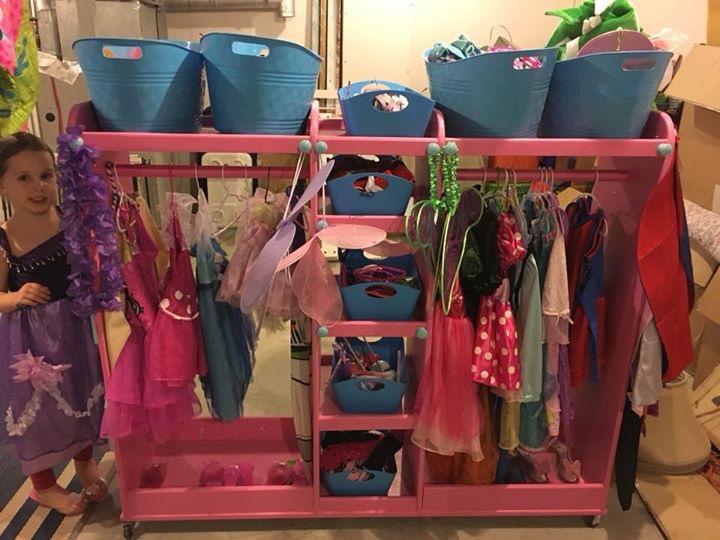
Stuffed Animal Storage - The Zoo
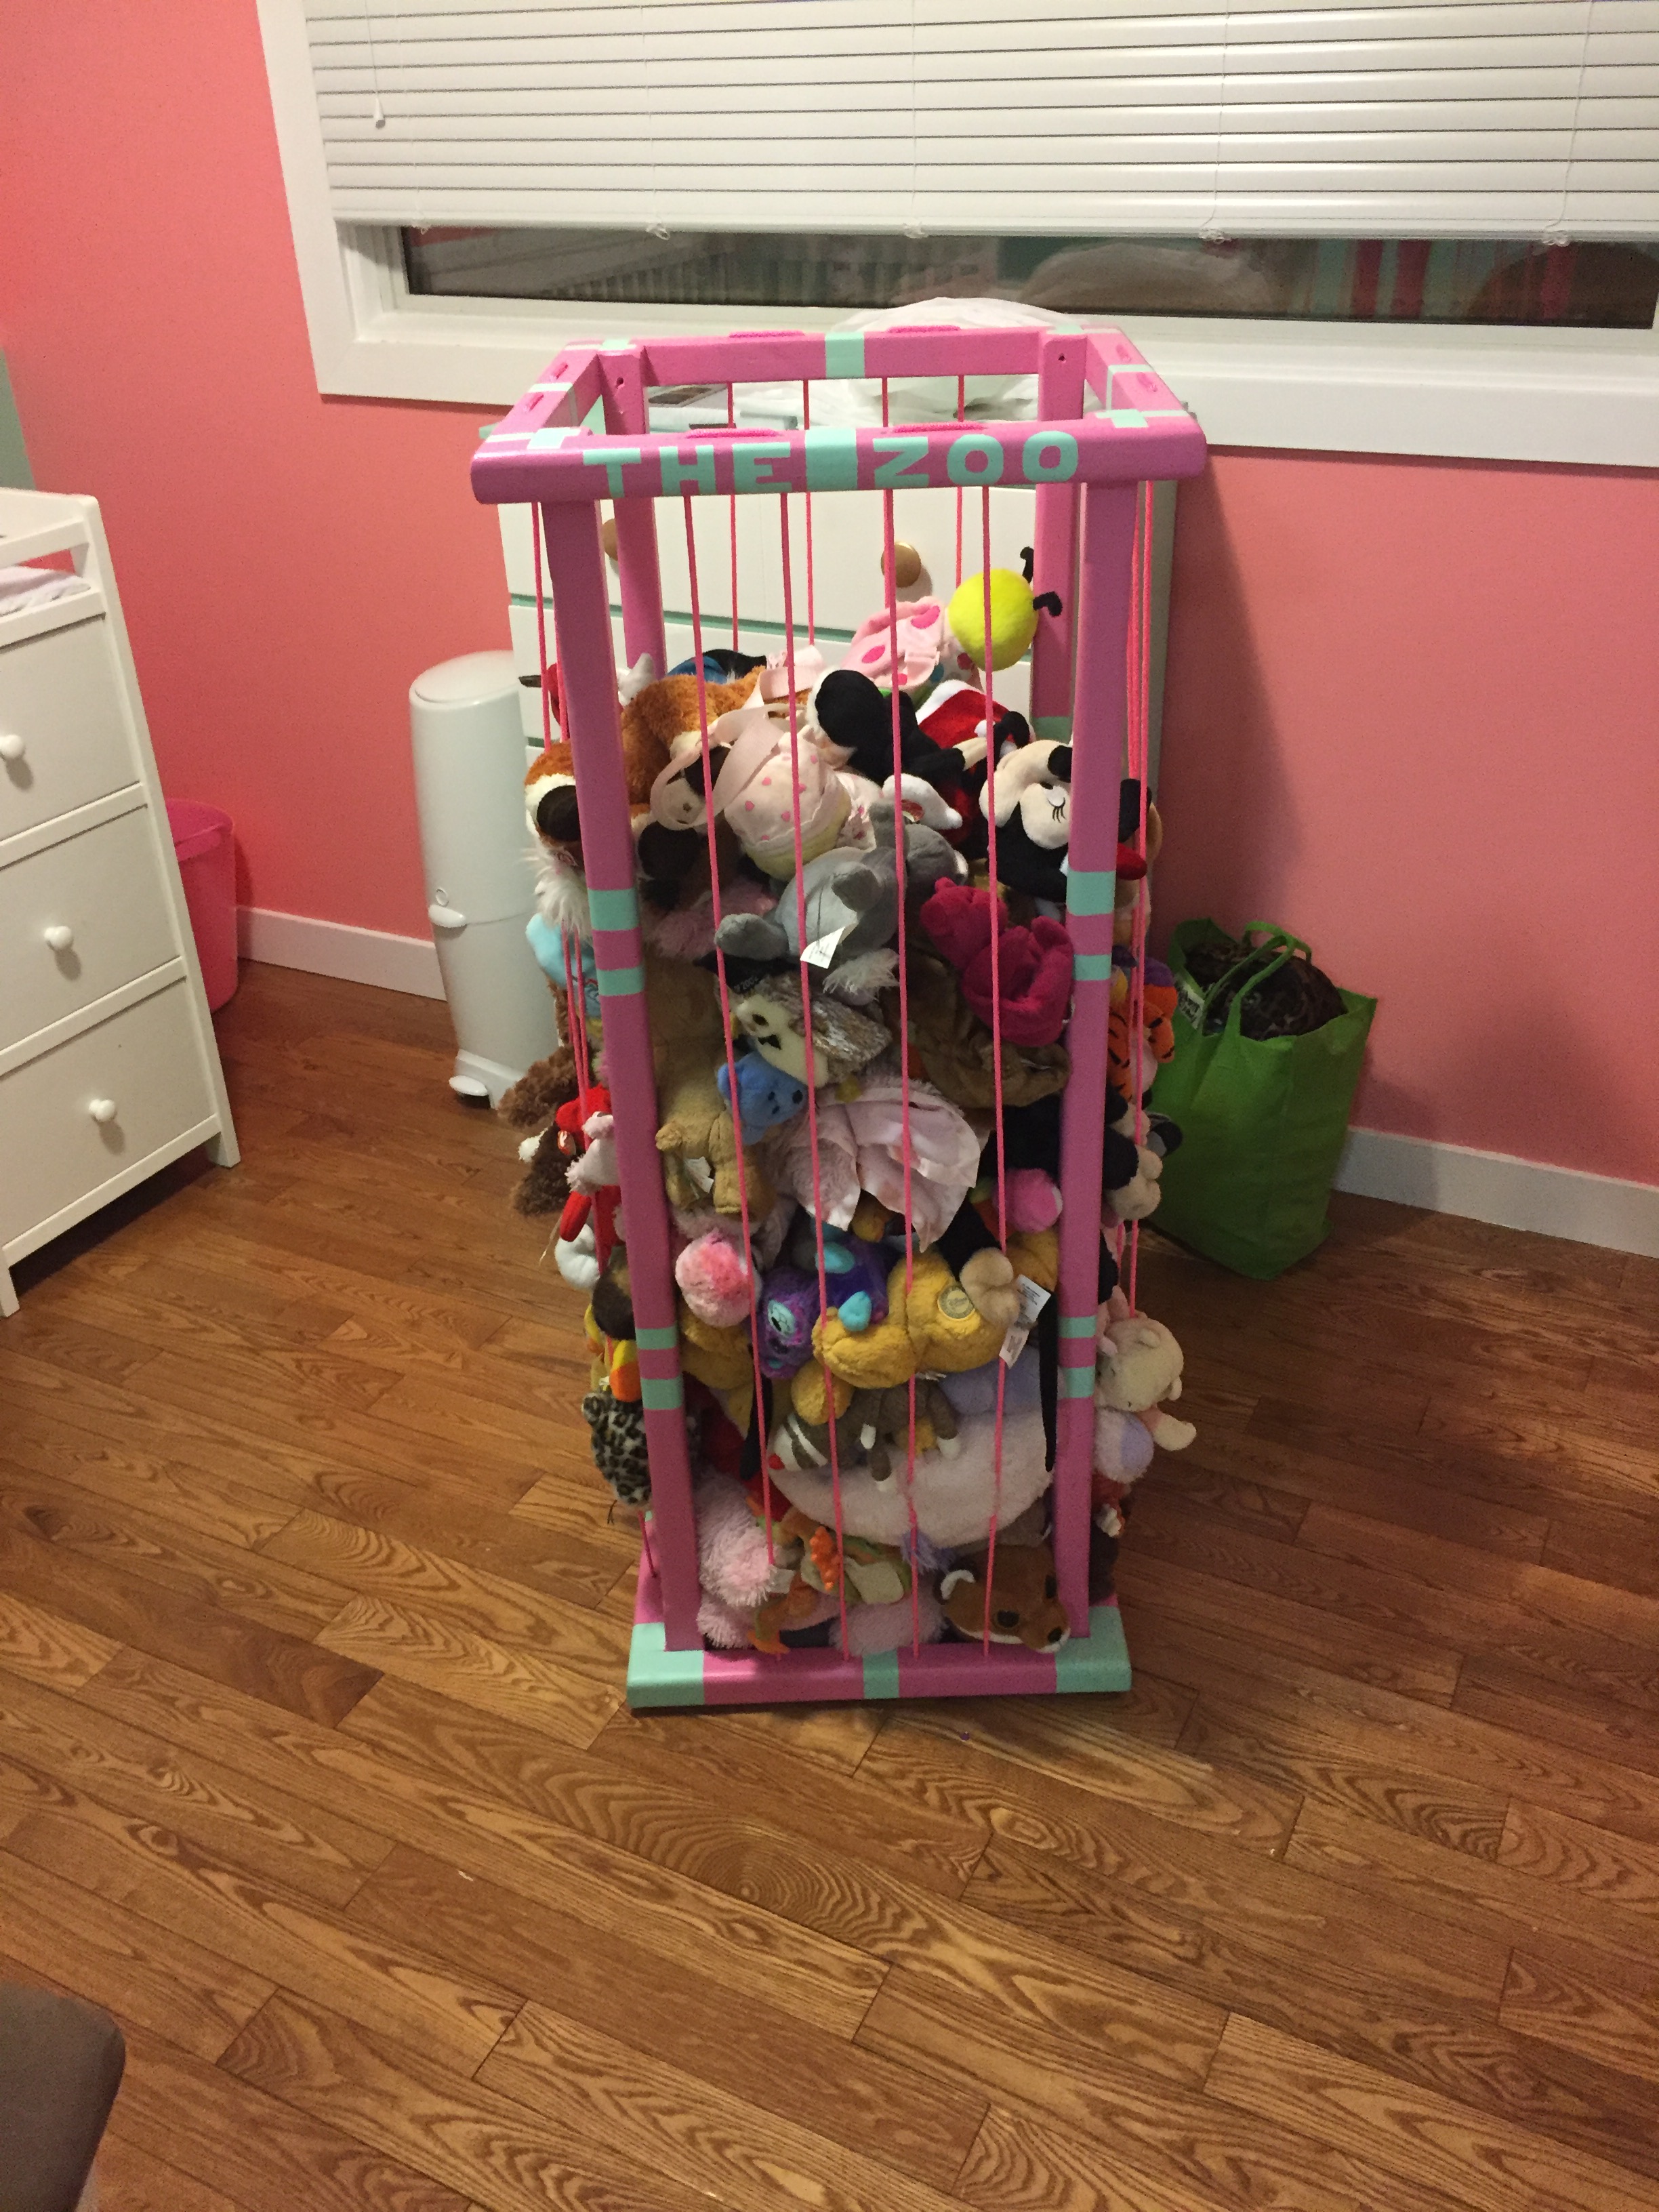
With a third baby on the way, they may not be enough room in this one for much longer, never realized how many they had till be put them all together.
Estimated Cost
$20
Estimated Time Investment
Day Project (6-9 Hours)
Finish Used
Latex Paint
Recommended Skill Level
Beginner
Completed Projects
Great plans


Comments
Tryde Coffee Table - First Build

My friend and I made this table. It took about 8 hours, mostly because we were trying to figure out the drill & we cut one of the wood pieces wrong and had to go get another one. We also cut all the wood with a jigsaw. Crazy yes, but it worked out ok.
Built from Plan(s)
Estimated Cost
$30
Estimated Time Investment
Day Project (6-9 Hours)
Finish Used
Minwax Provincial Stain.
Recommended Skill Level
Beginner
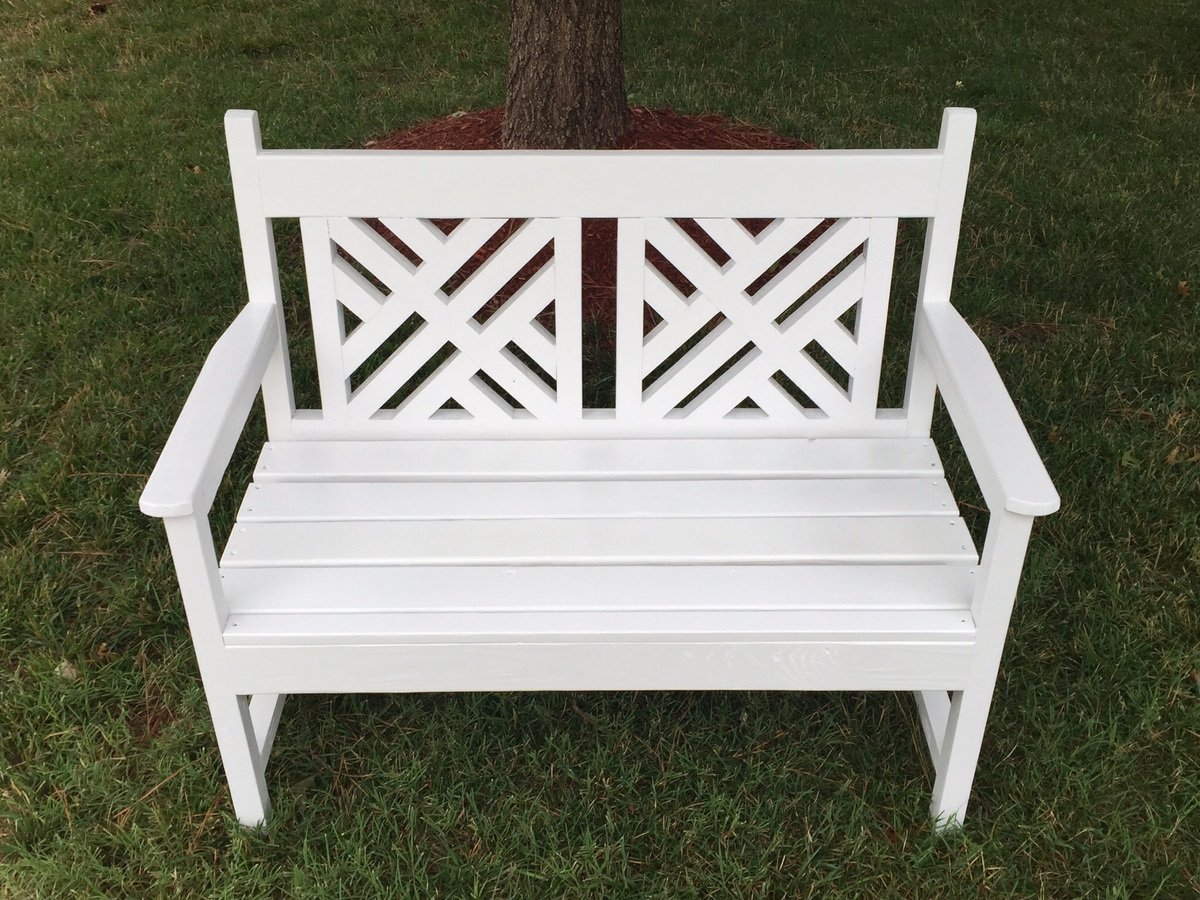
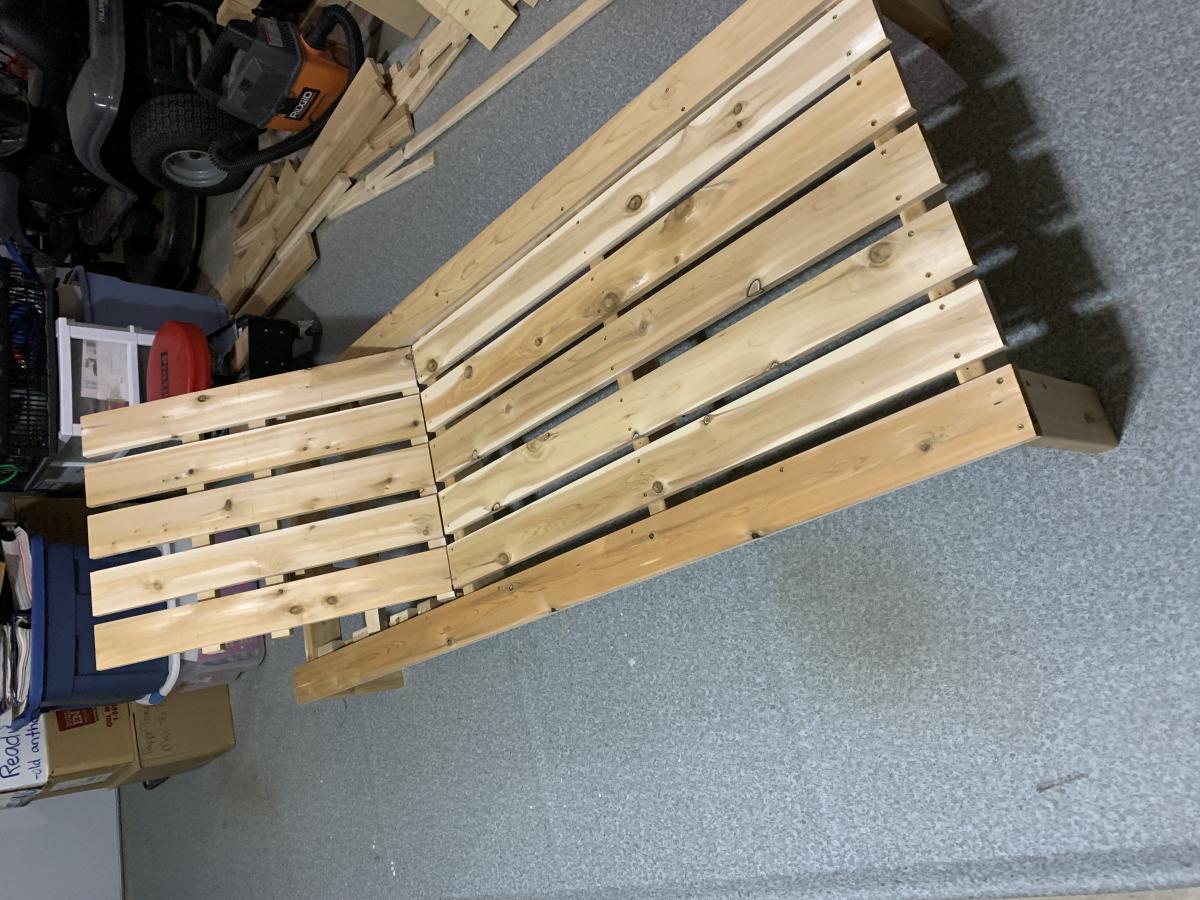
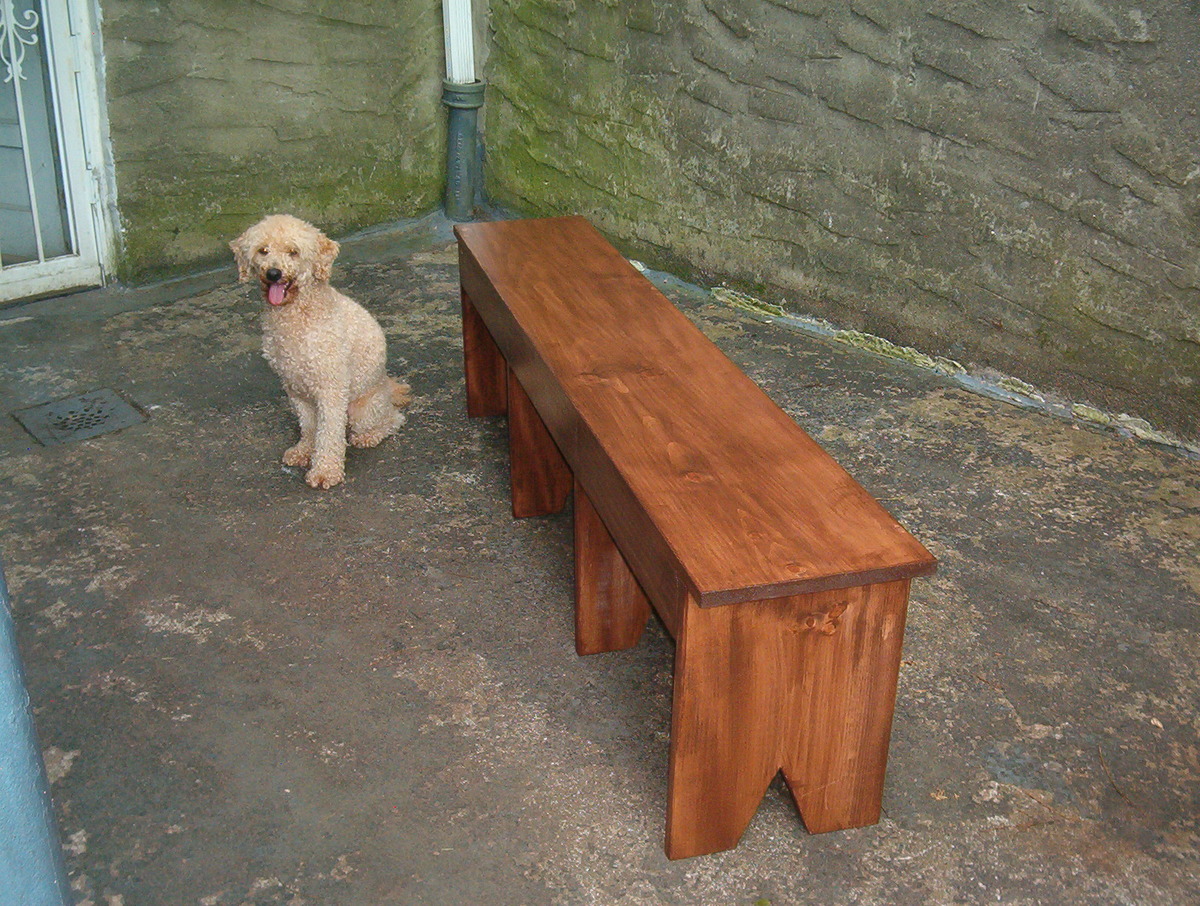
My second project
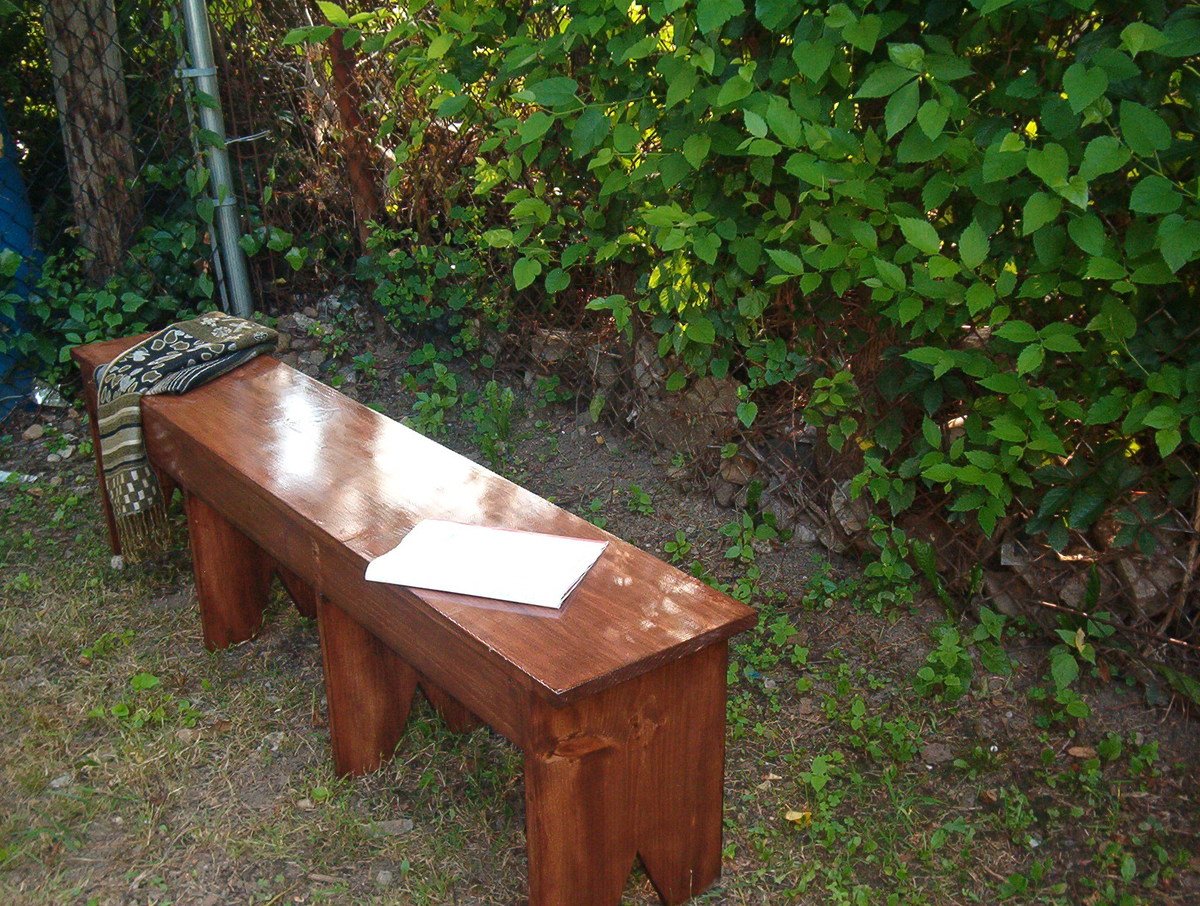
This is the second project I've completed and I'm very proud of it. The design was changed just by adding four legs instead of three. It took me awhile to get the color even. Sanding between coats of the clear coat semi-gloss finish would leave white marks/residue that was difficult to clean away. I would have to restain those sections with a swift wipe on/wipe off action. This made the color deeper but also richer. During the summer months, the bench will be outside but will serve as indoor seating in the winter.
Built from Plan(s)
Estimated Cost
$34 for wood
Finish Used
Miniwax water based stain in toffee. Two coats on the seat. More coats added to the legs (as needed) to match color. Three coats of mini-waxed water based semi-gloss clear coat.
Recommended Skill Level
Beginner
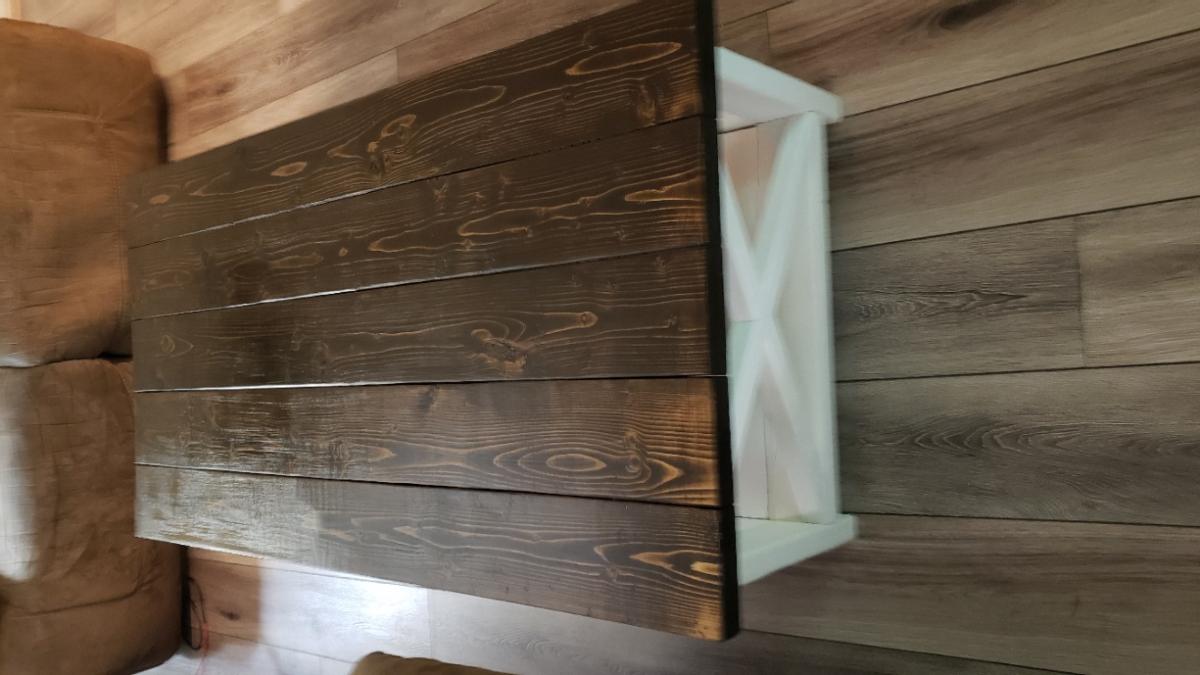
Rustic X End Table
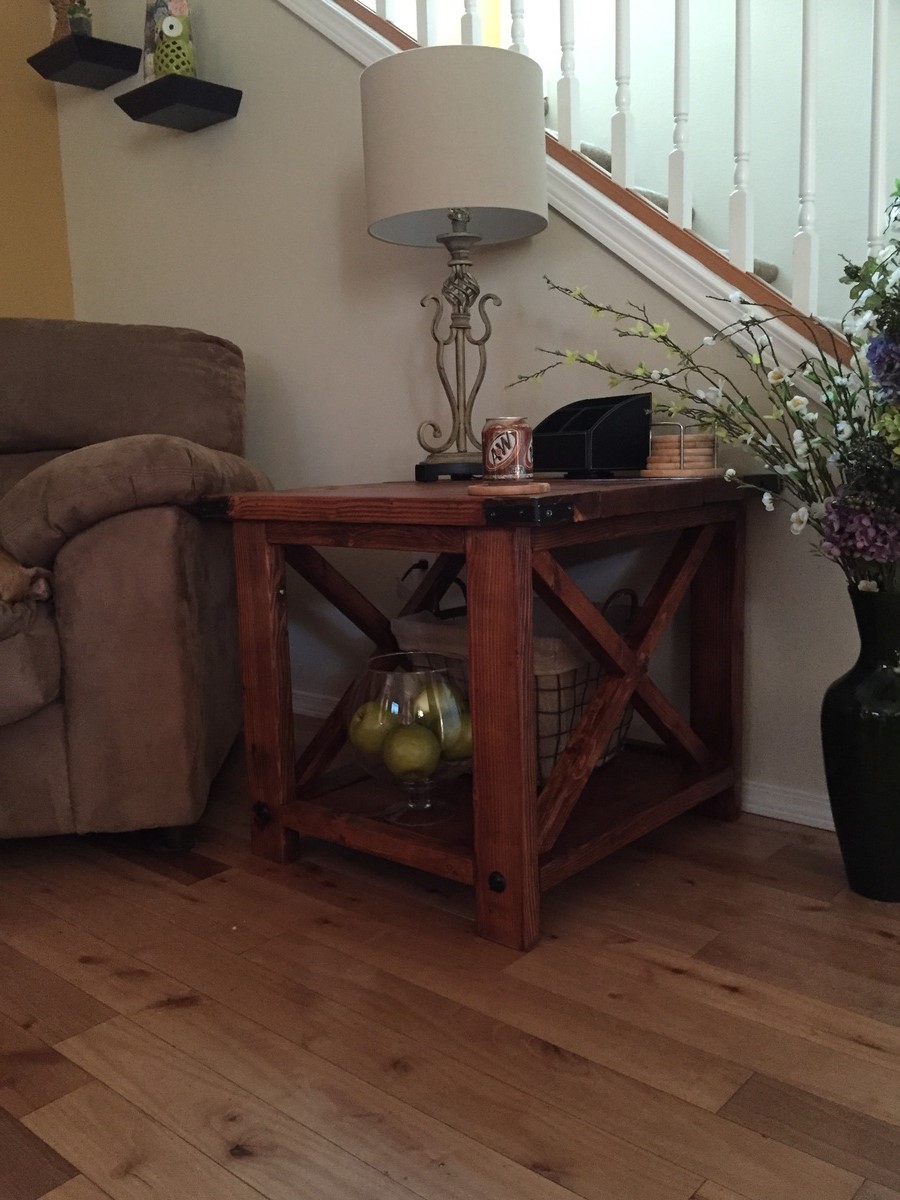
Rustic X end table
Built from Plan(s)
Estimated Cost
$50
Estimated Time Investment
Day Project (6-9 Hours)
Finish Used
Min wax English Chesnut
Recommended Skill Level
Beginner
Mini farmhouse coffee table
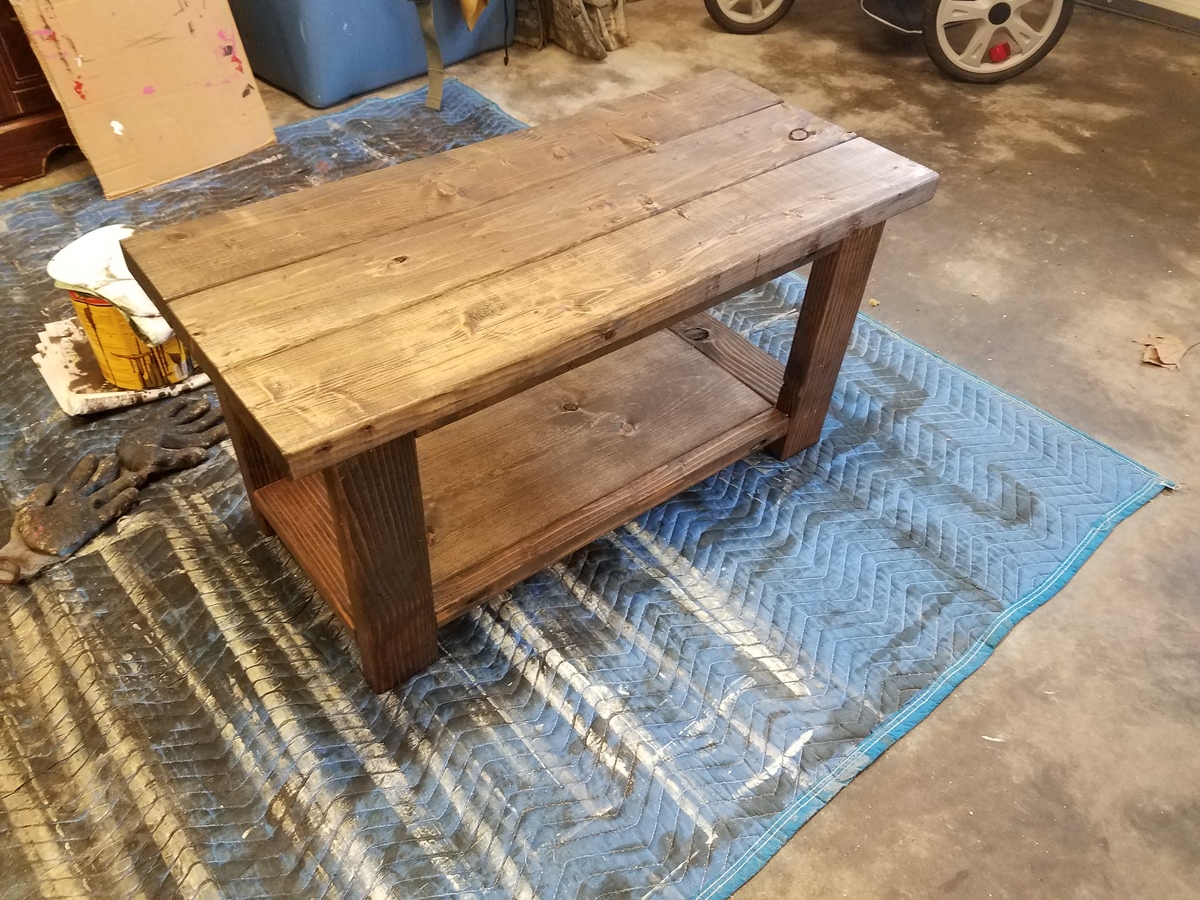
The original plans make a pretty big coffee table (52" wide). I made this one (32") with the left over pieces of 2x6 from the bigger one. It was fun to make and is great for someone with a smaller living room
Built from Plan(s)
Estimated Cost
$40 (using left over 2x6)
Estimated Time Investment
Afternoon Project (3-6 Hours)
Finish Used
Jacobean stain
Recommended Skill Level
Beginner
Double dog kennel
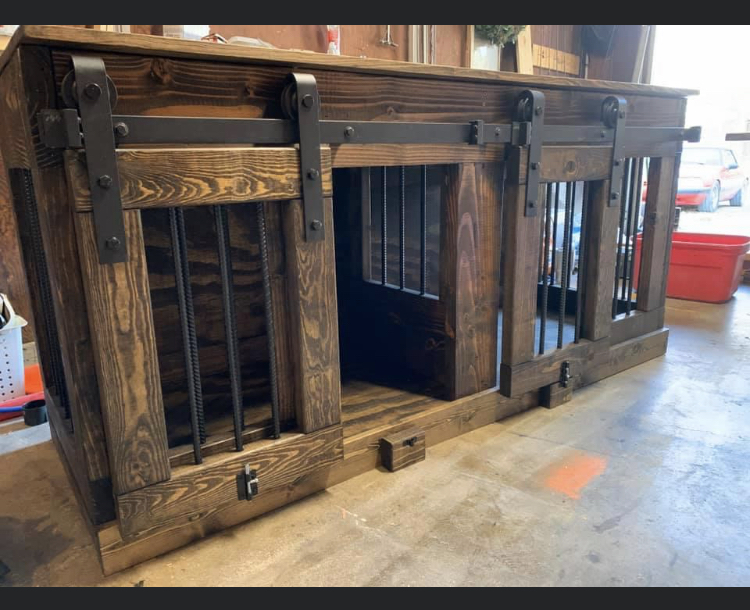
Absolutely love how this double dog kennel turned out!!!
Comments
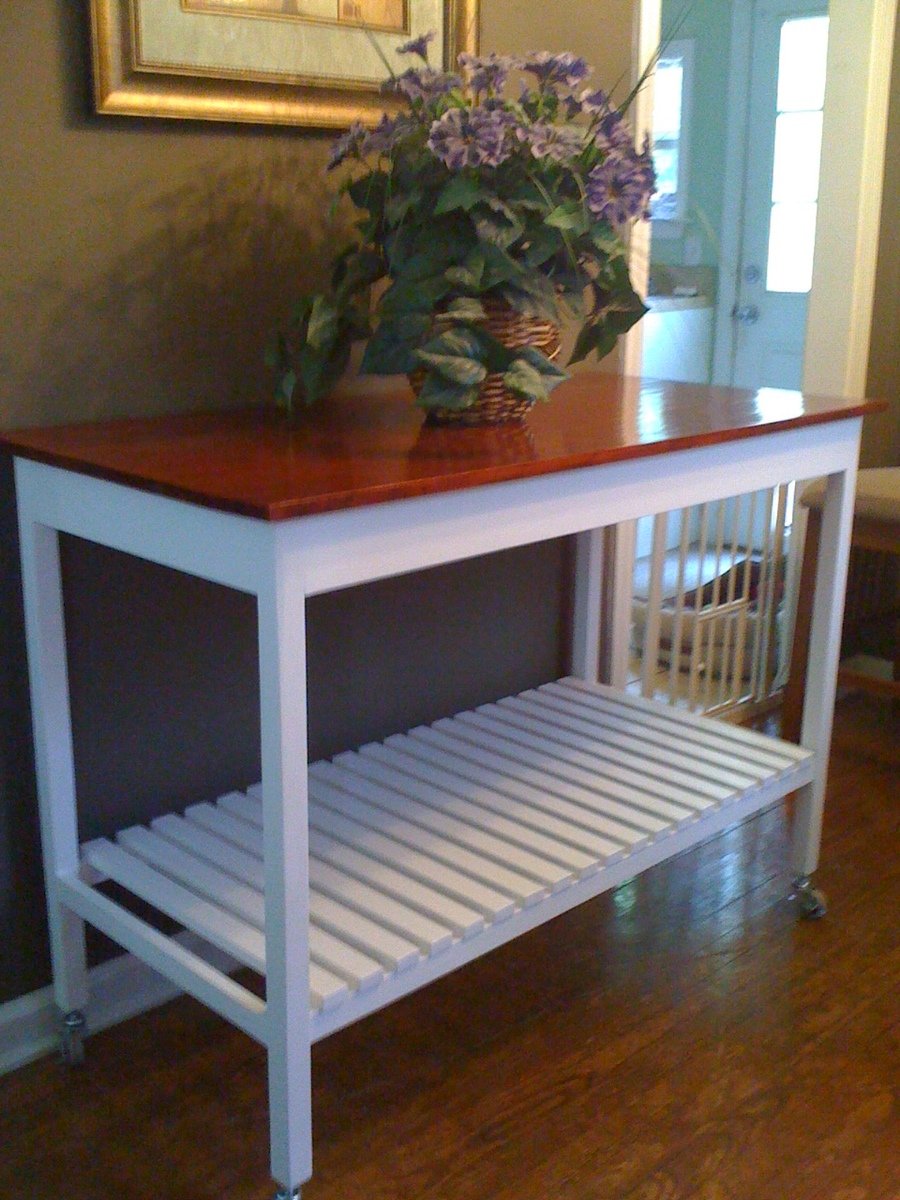
My FIRST project!!!
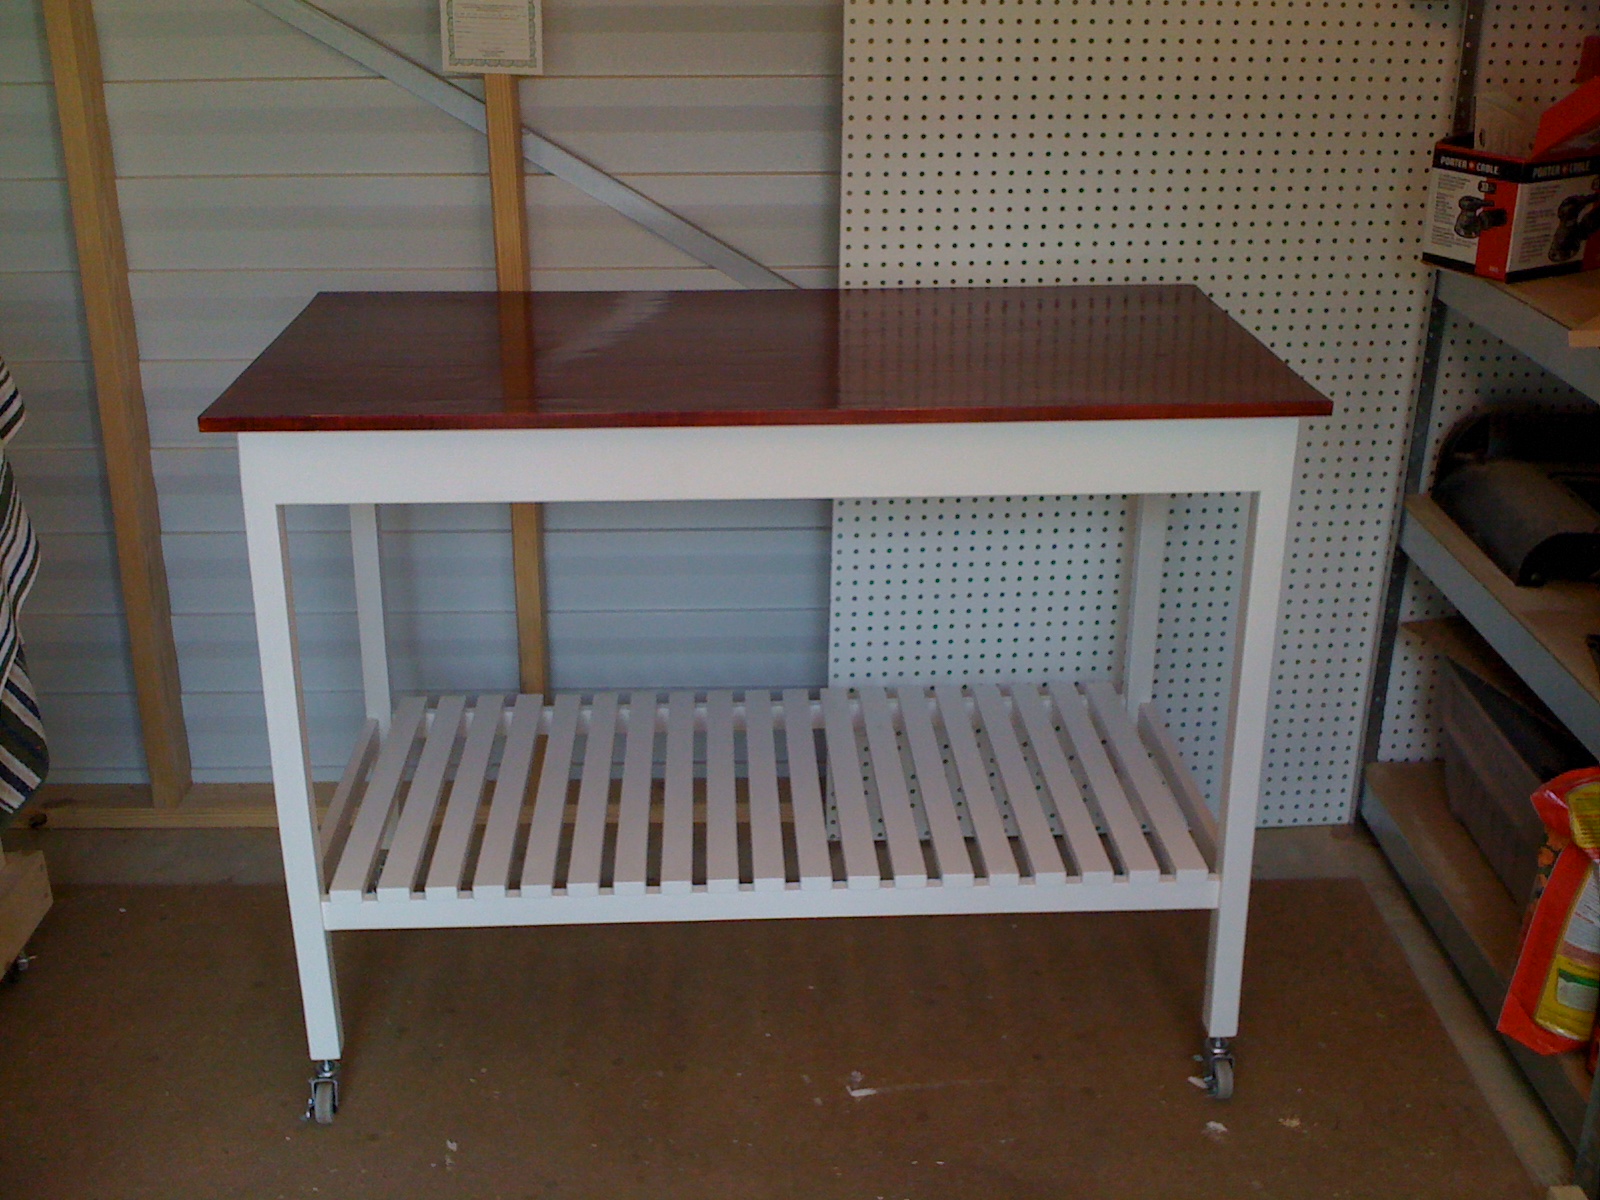
I've recently started woodworking and have gathered a few tool out in my little shed (10x12) and started playing around. After finding this site and browsing the plans I came across this one and decided I'd give it a try. The leg lengths were a little shorter than what I had expected so I added casters to each leg to raise the height a little and to give it mobility. It took me longer to complete since I was doing it in my spare time and had to figure out a few things. I bought the Kreg pocket hole kit and had to play around a while with it. I also had to practice my staining since I hadn't done that before either. Also, if possible- I'd recommend finishing the slats before putting them on.. they're a pain to try and paint after assembled. Any questions or comments email [email protected] **update 4/26/12 - 2nd picture is where the island sat since I made it- finally had to say goodbye since my house is tiny-- Quick $125. First day it was posted on CL I had 5 responses- within a week and a half it was gone**
Built from Plan(s)
Estimated Cost
$70
Estimated Time Investment
Week Long Project (20 Hours or More)
Finish Used
Minwax's Gunstock stain on the top and a semi gloss white on the base
Recommended Skill Level
Intermediate
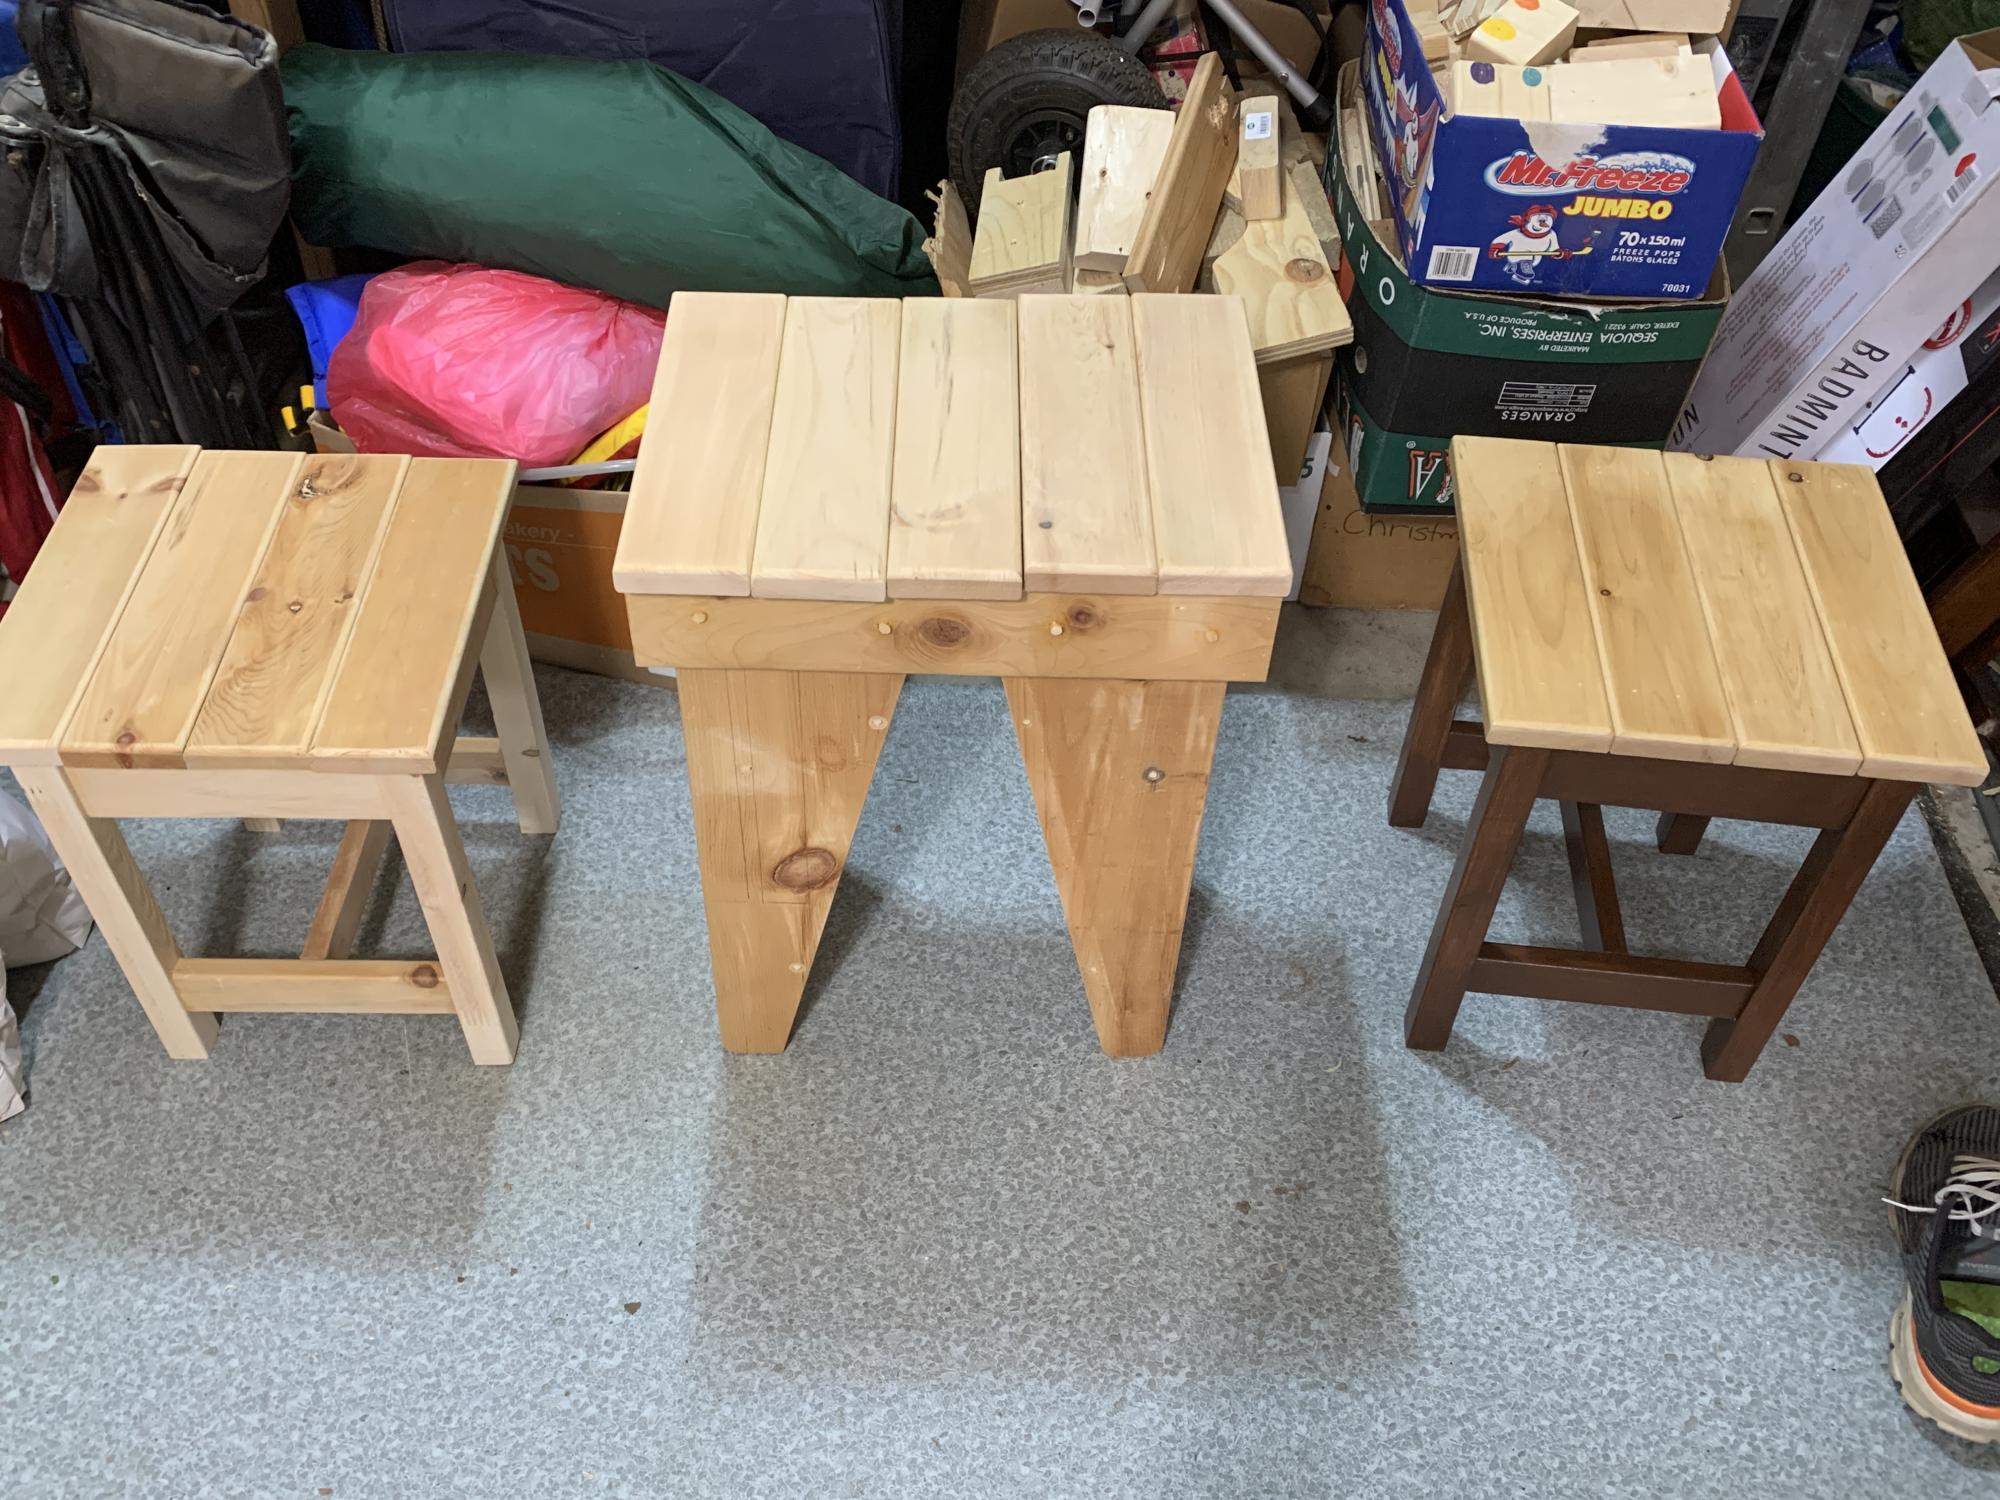
a miniature version for a one year old
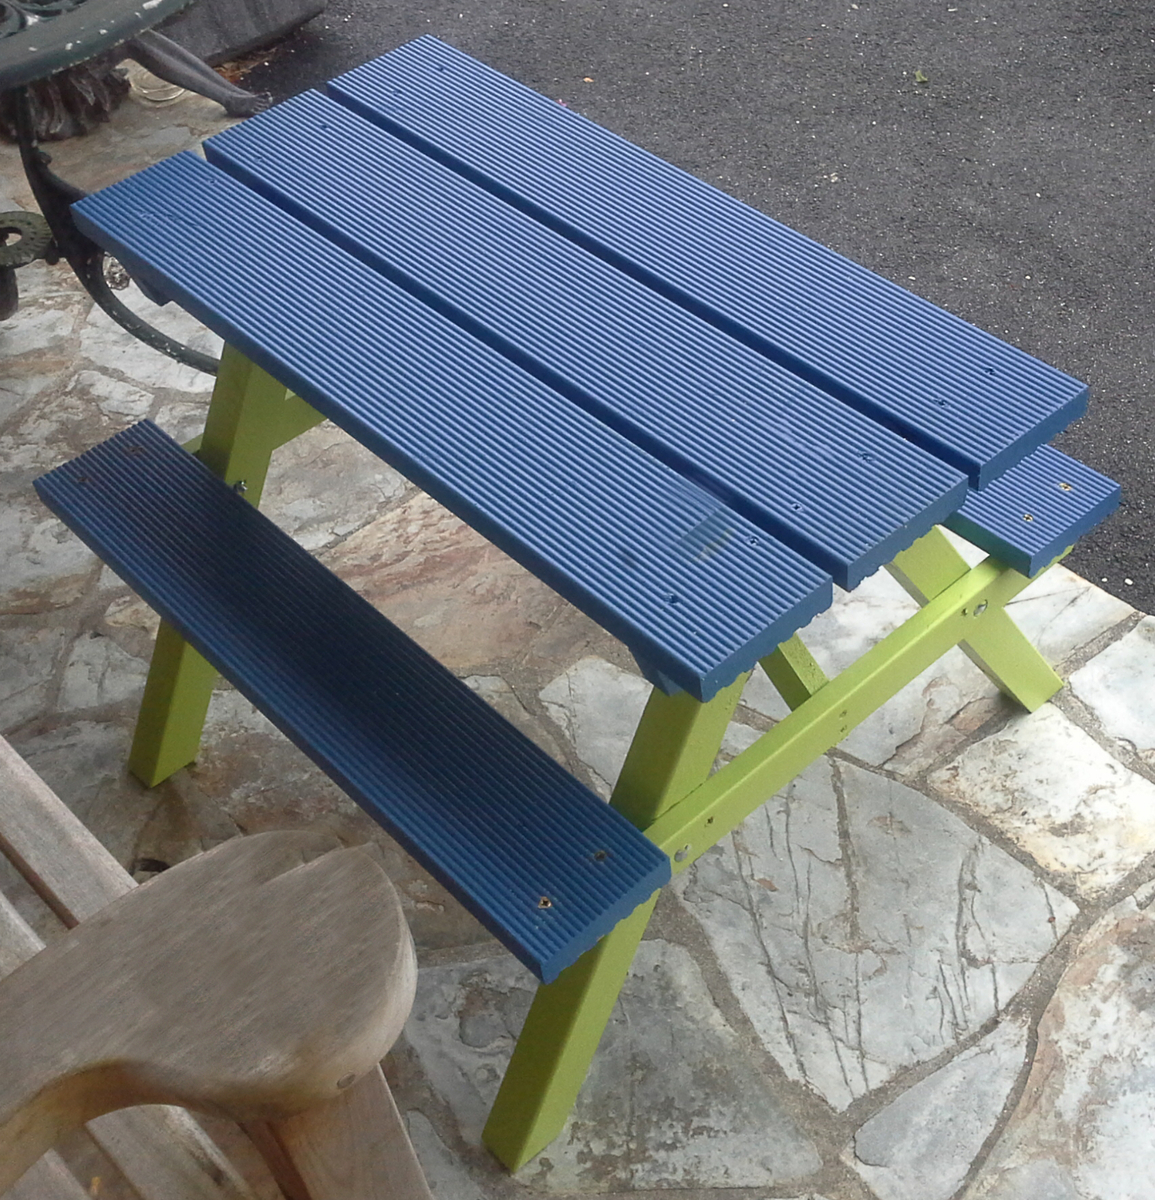
I was looking for inspiration for the grandchildren when
I came across the full size version. I have now made 3 of the 1\3 sized as pictured, in different colours. It takes longer to paint them than make them.
Estimated Time Investment
Weekend Project (10-20 Hours)
Finish Used
Ronseal exterior wood treatment
Recommended Skill Level
Beginner
Console Table

First table I've built. The Rustic X Console Table was fun and fairly simple. A little complicated since we live in Hawaii and decent cheap wood is difficult to come by. Makes my entrance way very inviting.
Built from Plan(s)
Estimated Time Investment
Week Long Project (20 Hours or More)
Recommended Skill Level
Beginner
X Farmhouse Coffie Table
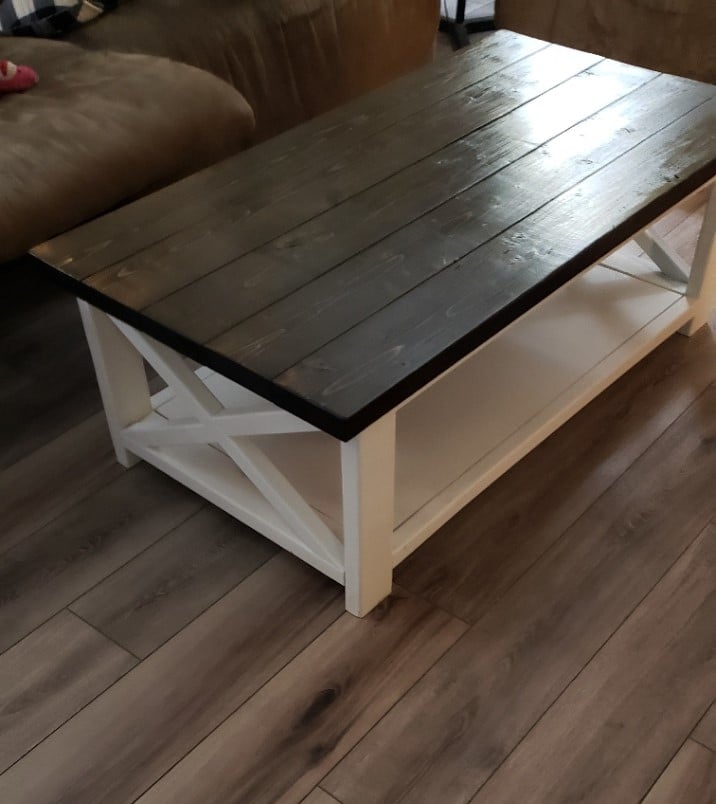
I built this over the weekend for my wife. Used white caulk paint for the bottom and walnut stain and polyurethane on the top.
Built from Plan(s)
Comments
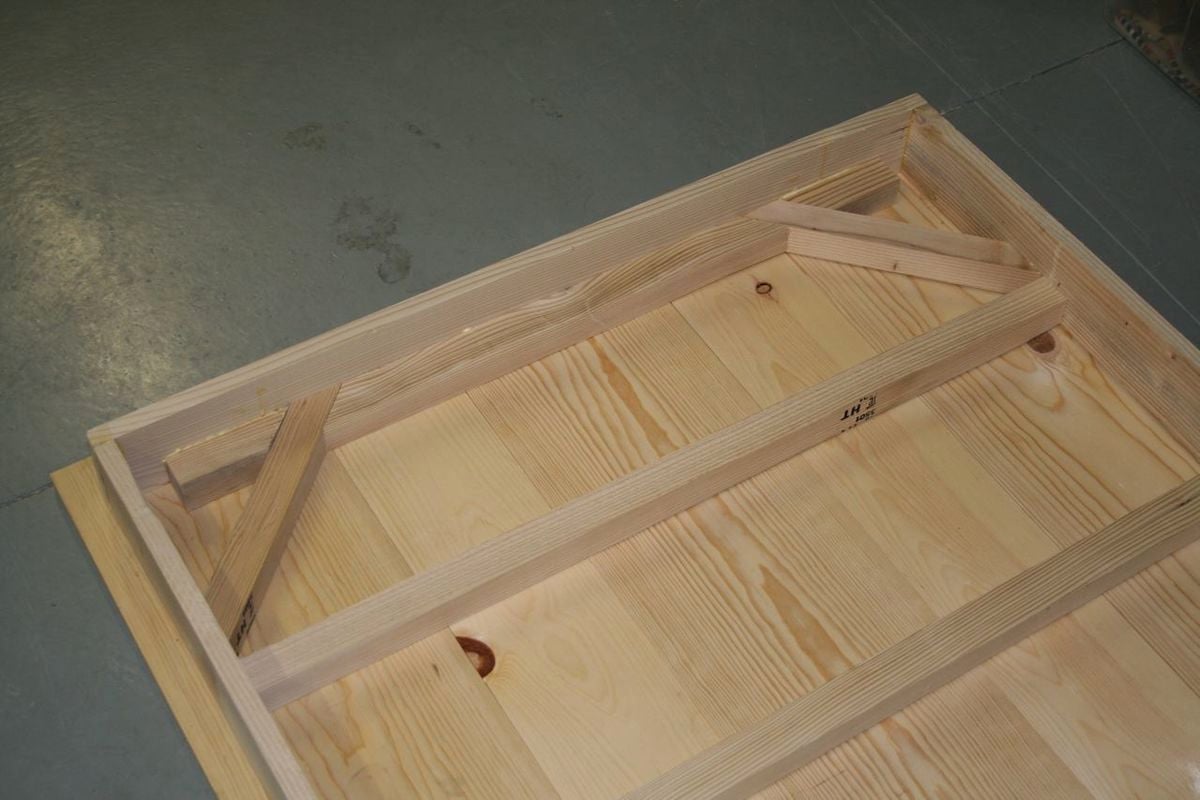
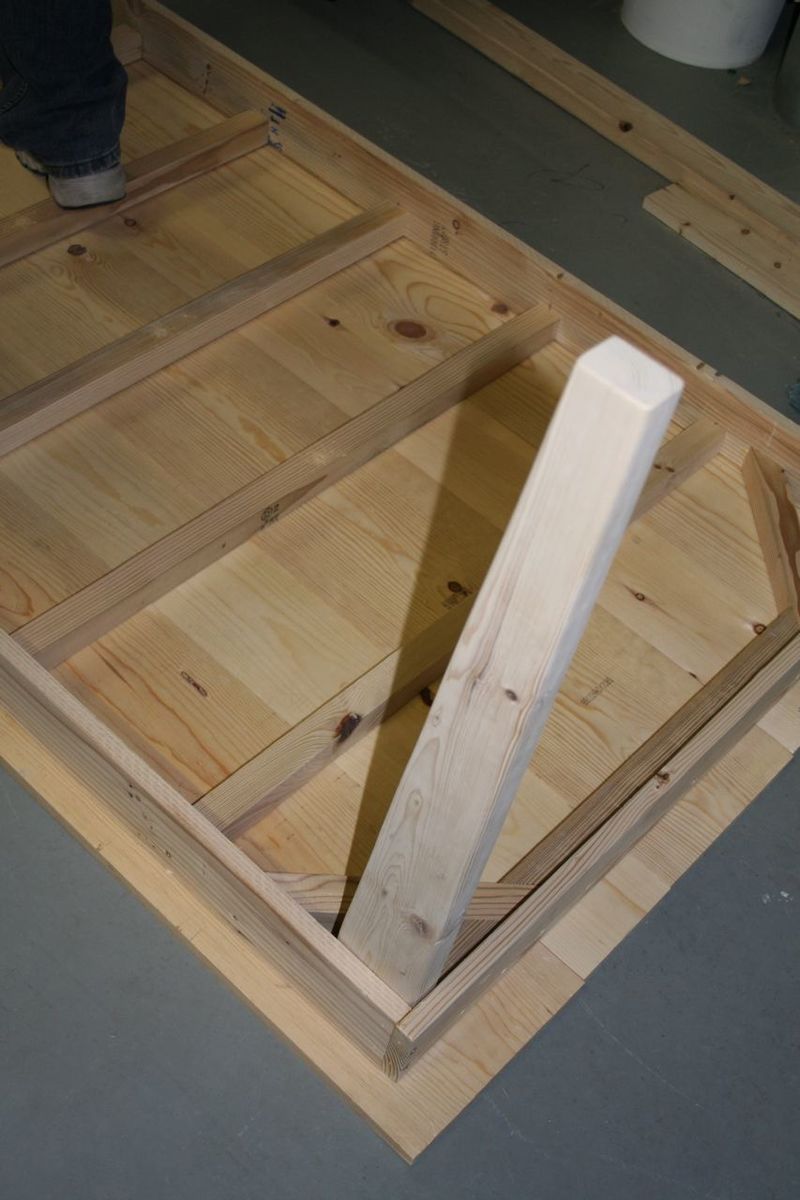
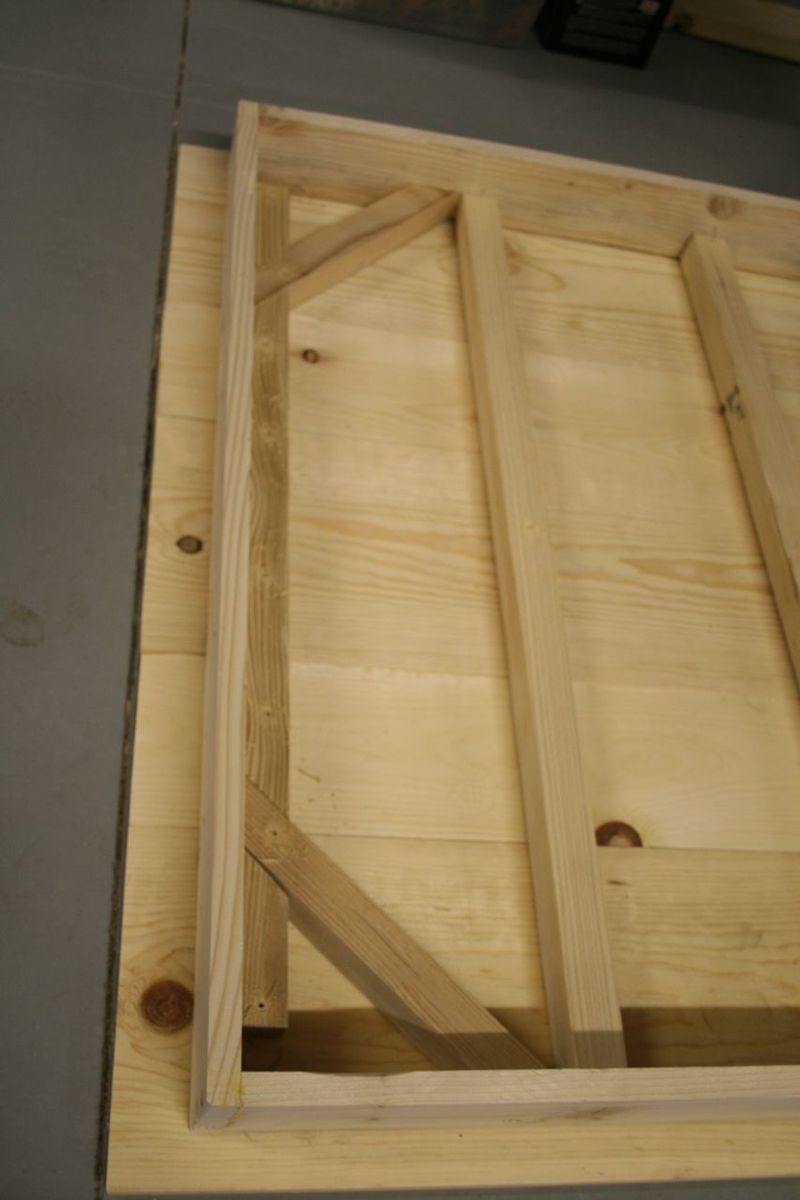
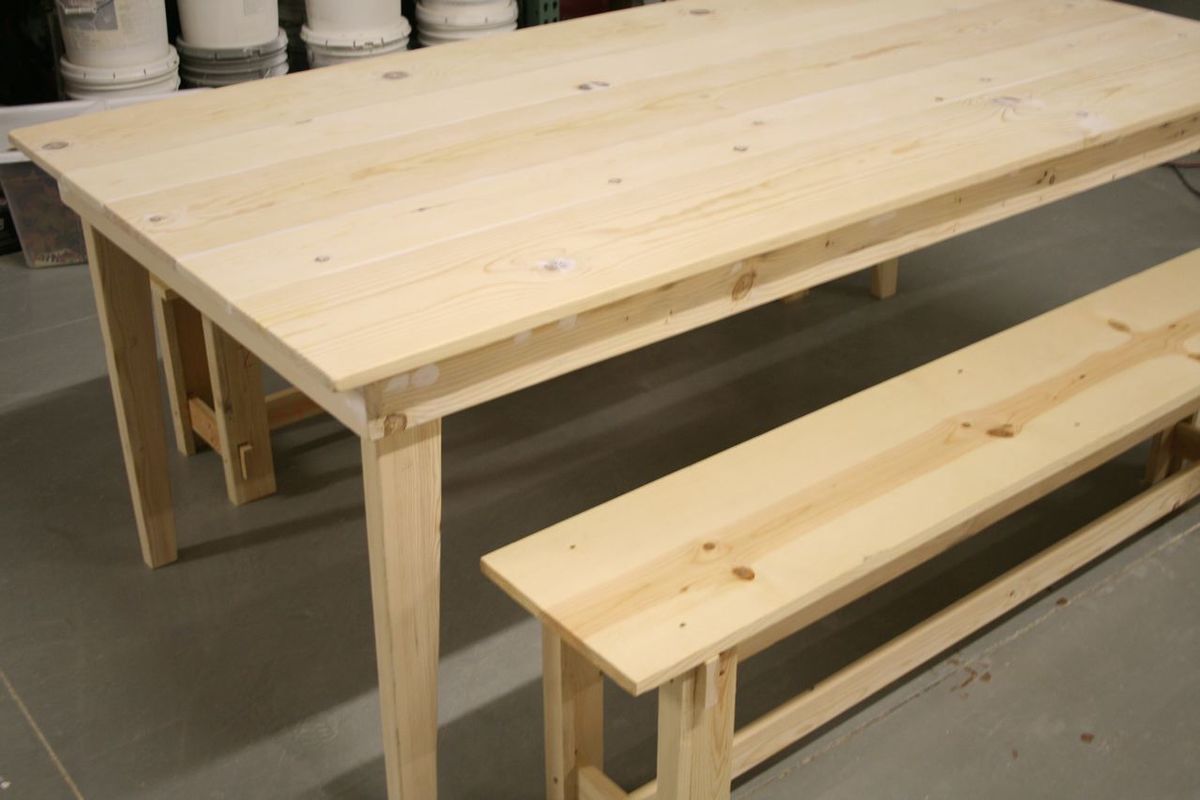
Rustic Farm Table and Benches
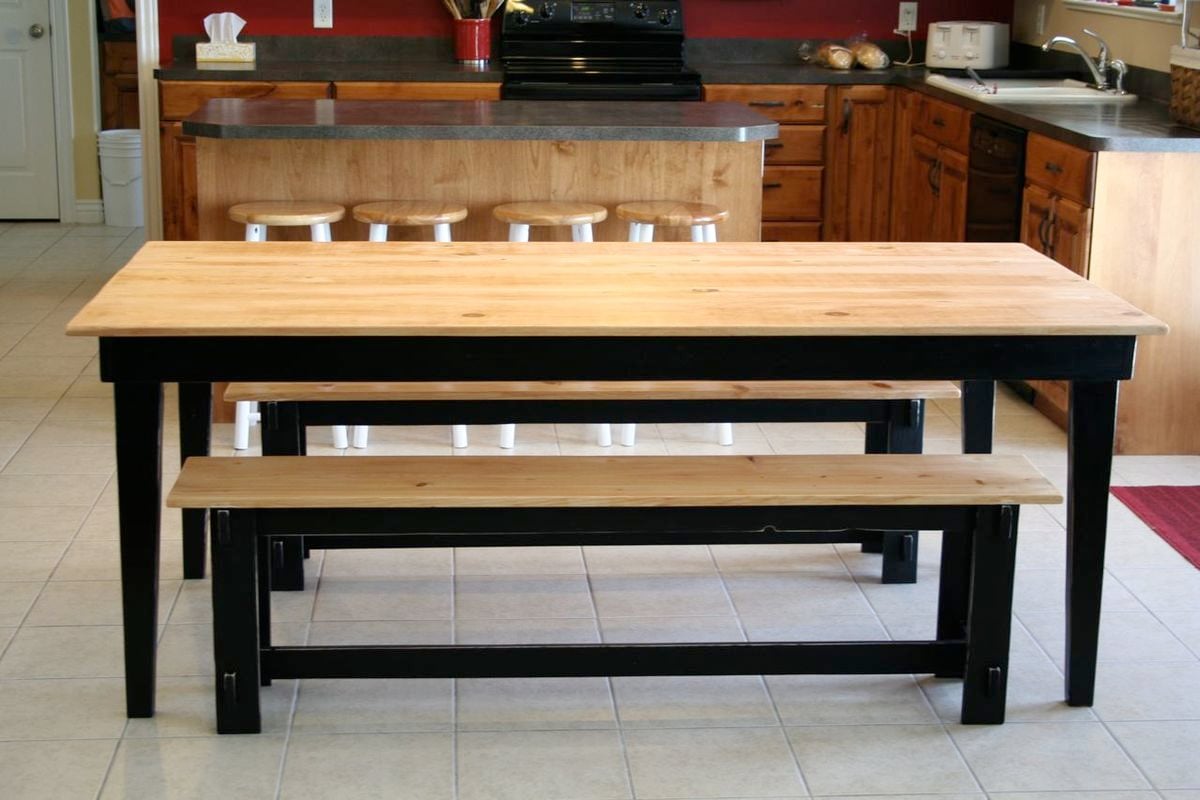
We shortened the table and lengthened the benches - you can see all our details and changes in the blog link.

Built from Plan(s)
Estimated Cost
120
Estimated Time Investment
Afternoon Project (3-6 Hours)
Finish Used
Paint & Minwax stain (finish took way longer than building!)
Recommended Skill Level
Intermediate
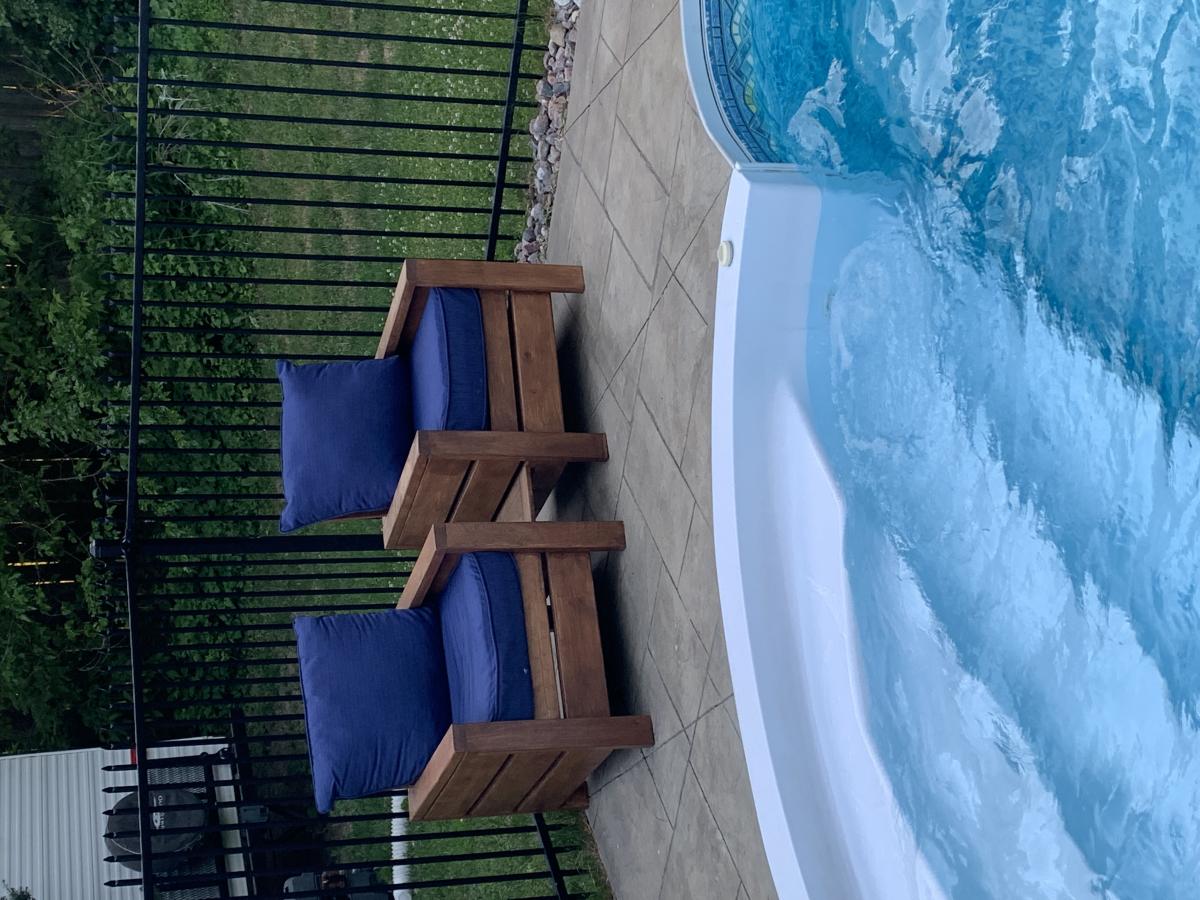
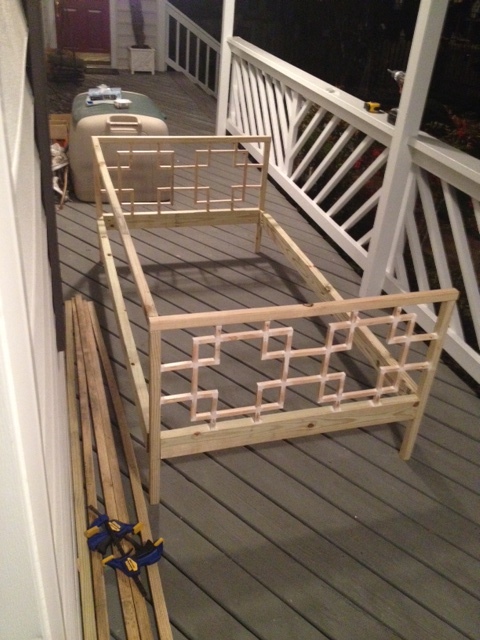
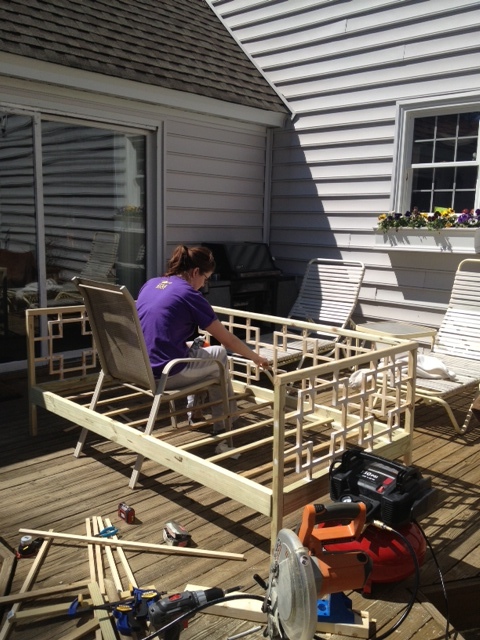
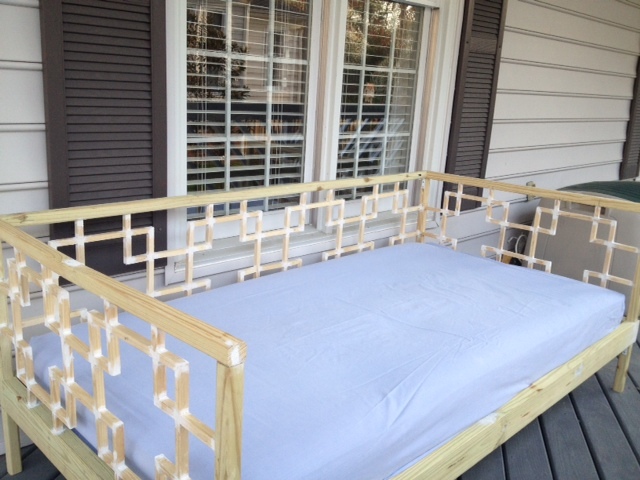
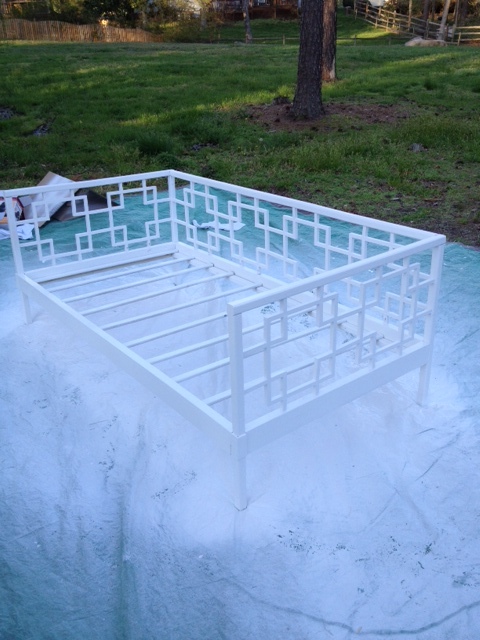
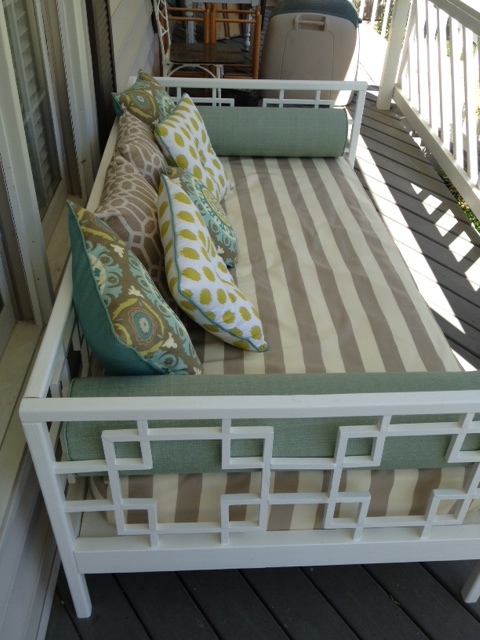
JRSMRS's $50 Daybed Brag Post
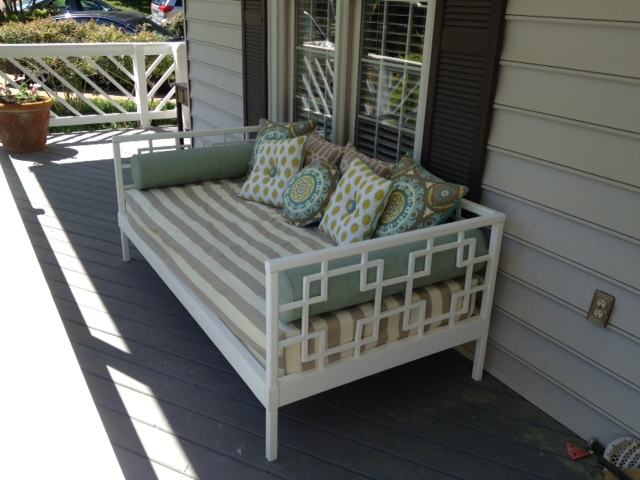
The daybed took about 4 weekends, and started with a lot of trial-and-error. Around the 3rd weekend, and a lot of "redo-ing", it started taking shape! This daybed will go on our screen porch, along with the homemade outdoor pillows and mattress cover. This project was definitely frustrating at times, but has been well worth the effort.
Estimated Time Investment
Week Long Project (20 Hours or More)
Finish Used
Pressure treated lumber for the frame, and 5/8" wooden dowels for the design.
Recommended Skill Level
Intermediate
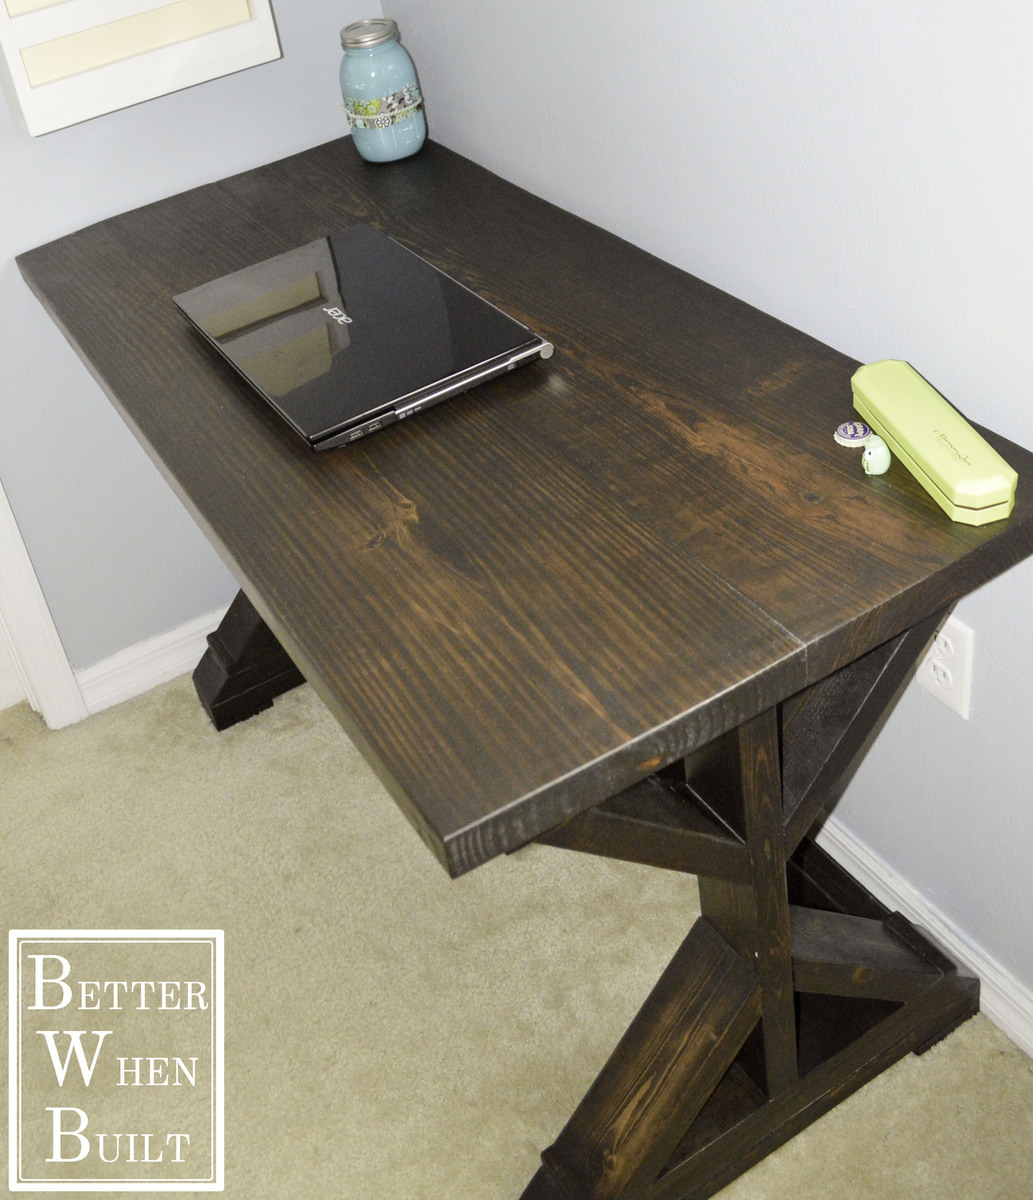
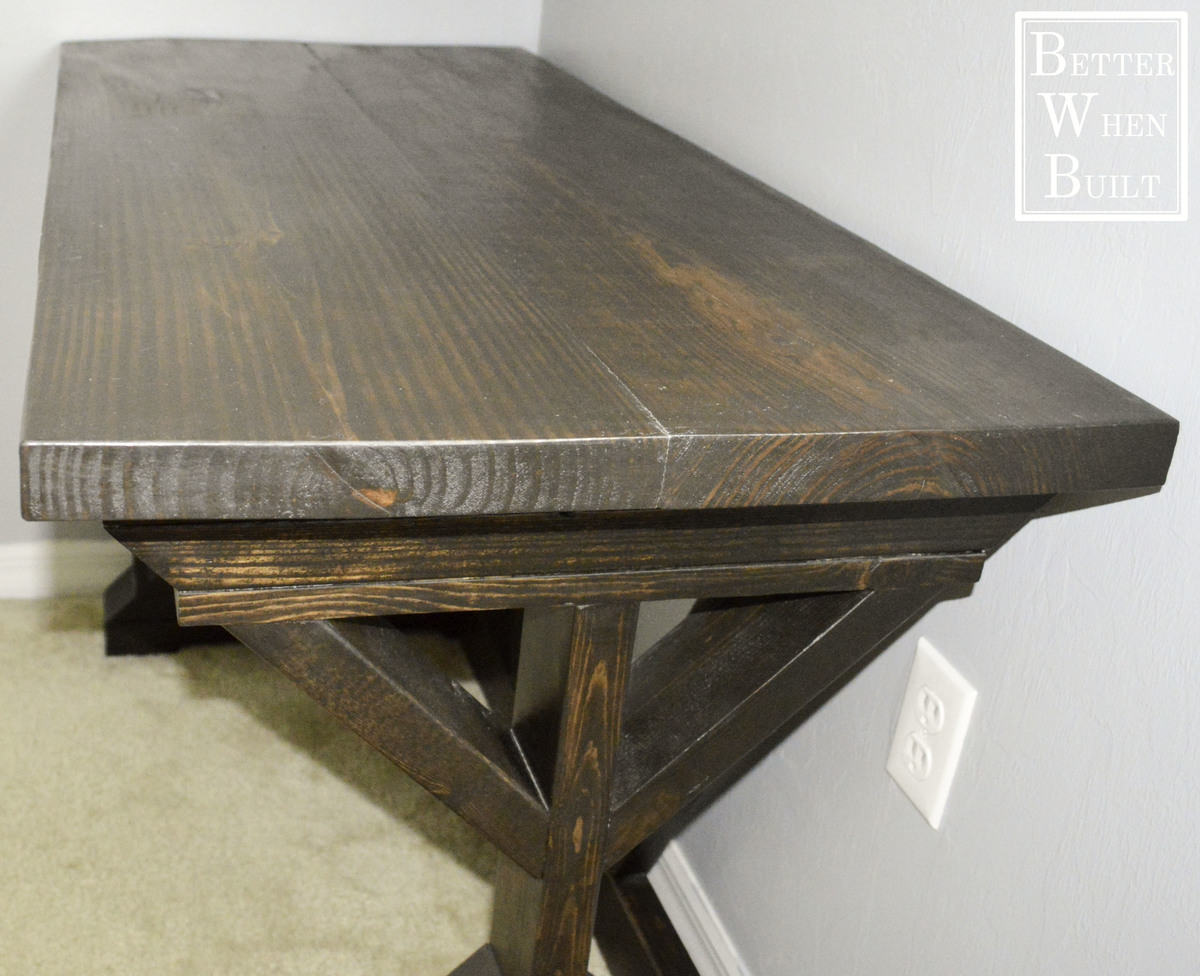
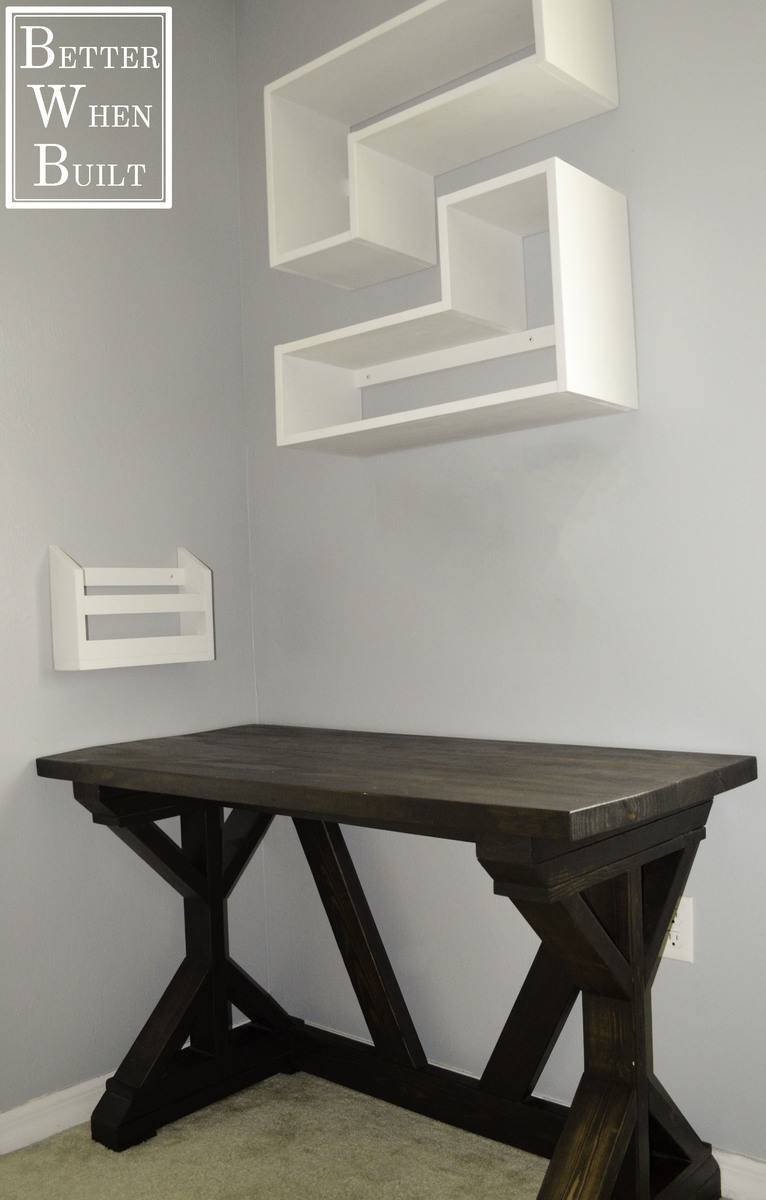
Fancy X Desk
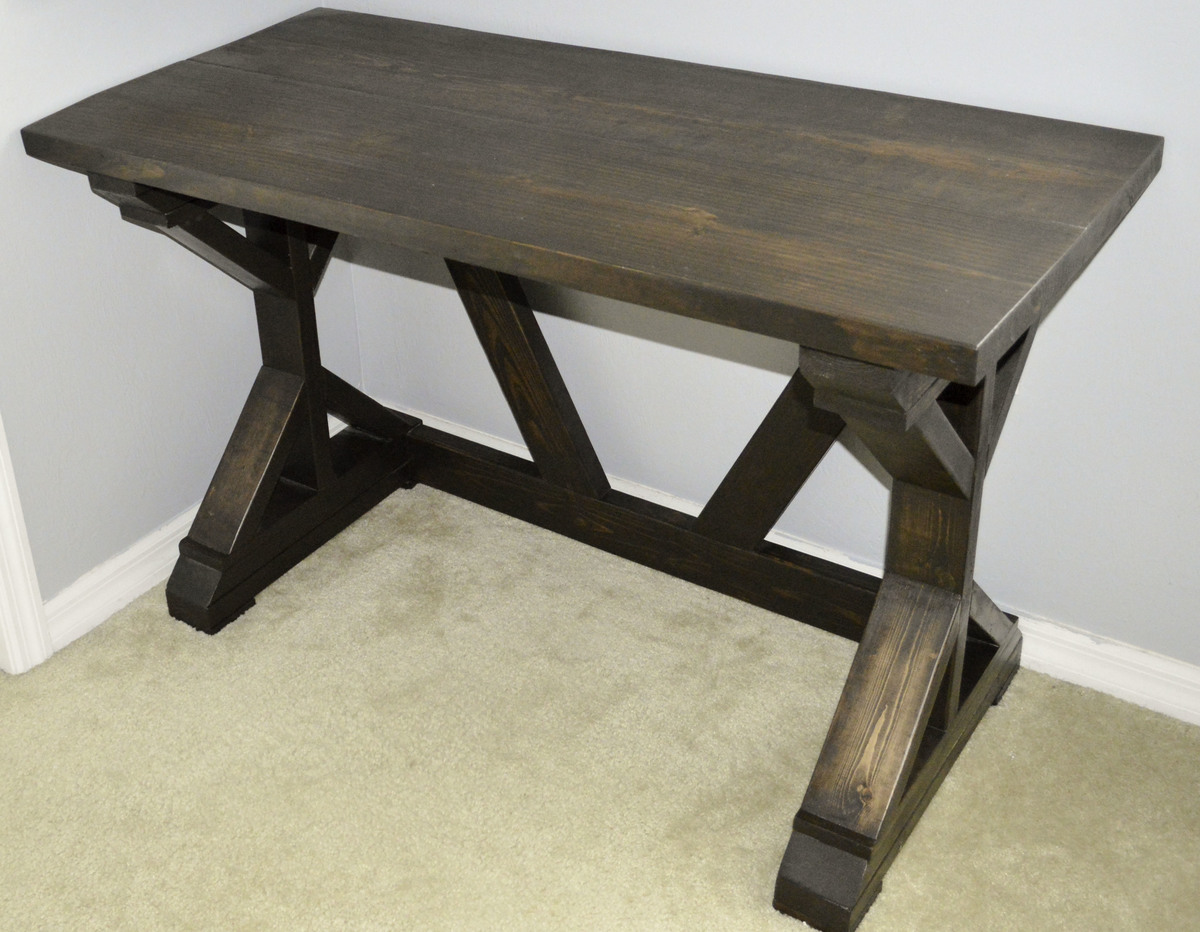
I made this desk for my wife's office space. The plans for this desk are great and easy to follow. The only change I made was I shortened the size of the desk top to fit in our space.
Built from Plan(s)
Estimated Cost
$55.
Estimated Time Investment
Day Project (6-9 Hours)
Finish Used
Kona stain
Recommended Skill Level
Intermediate