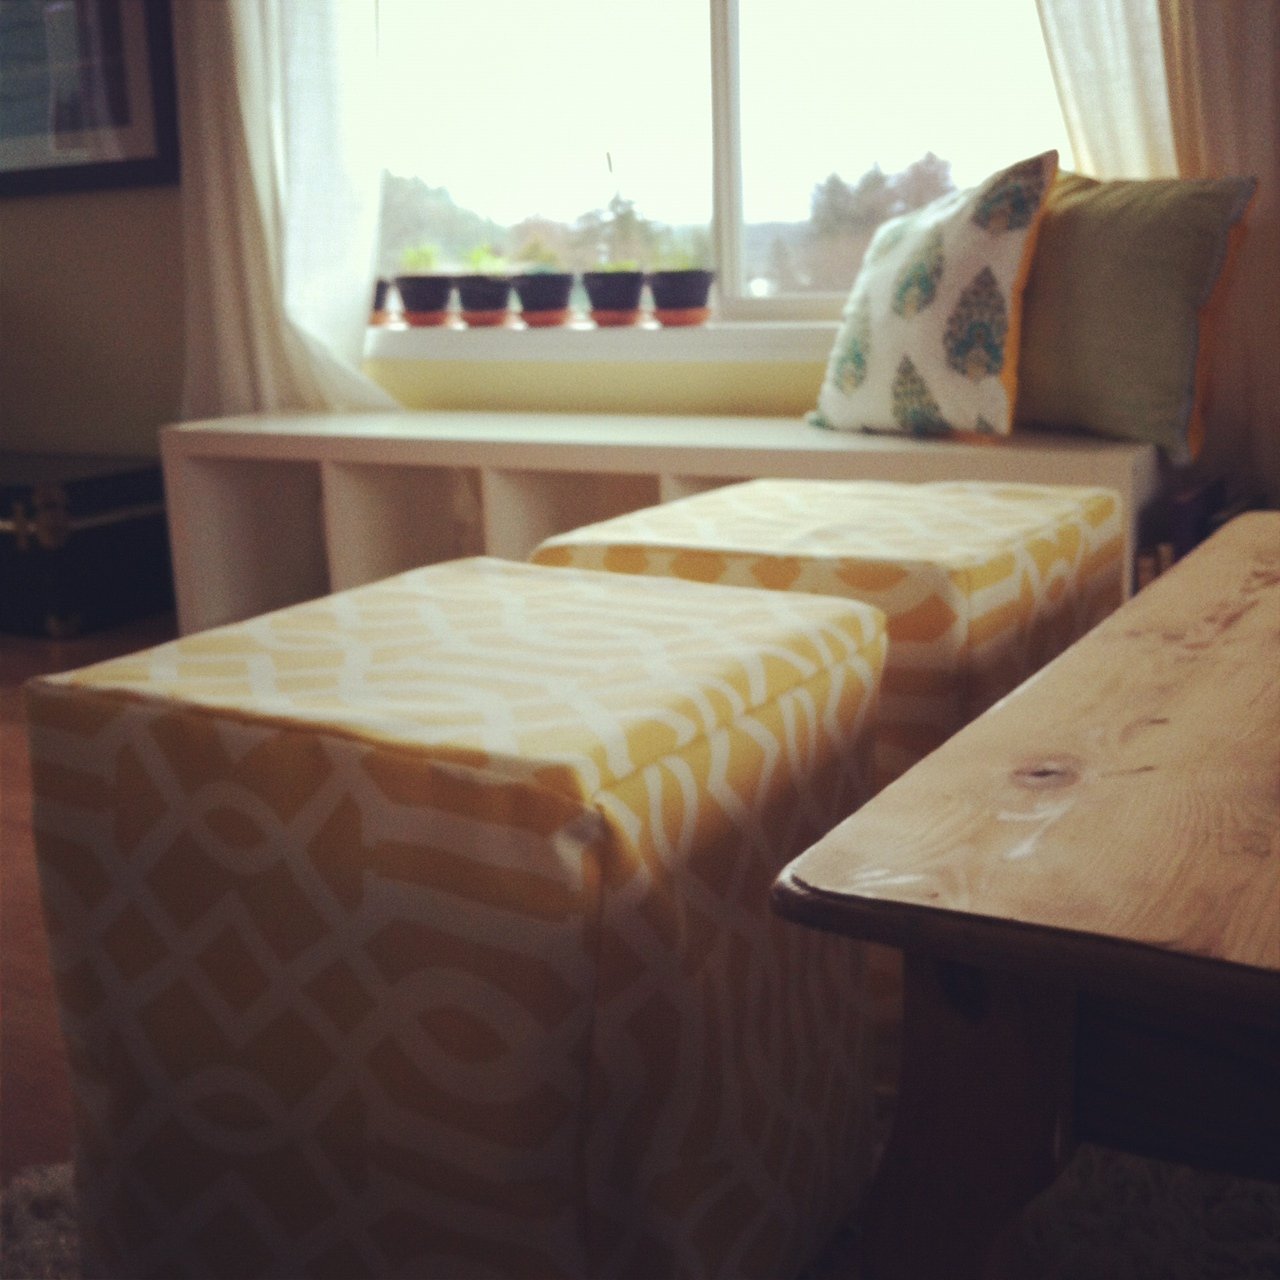
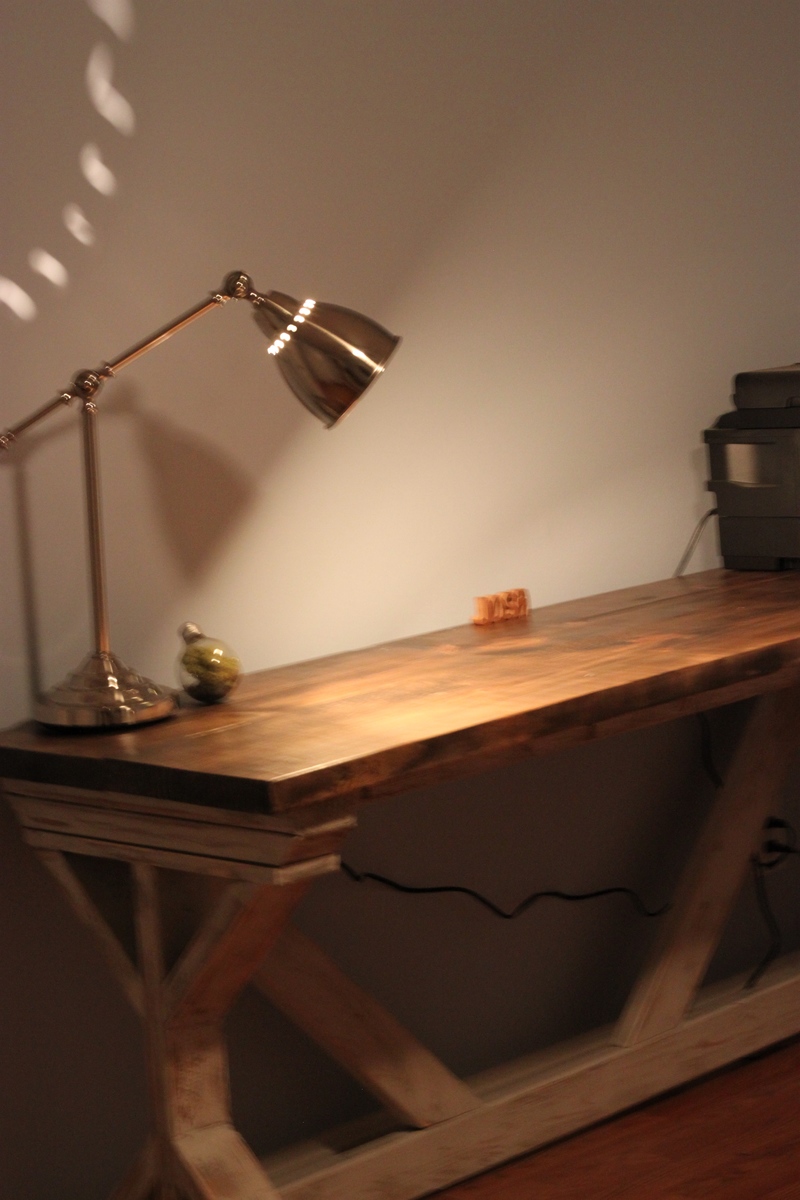
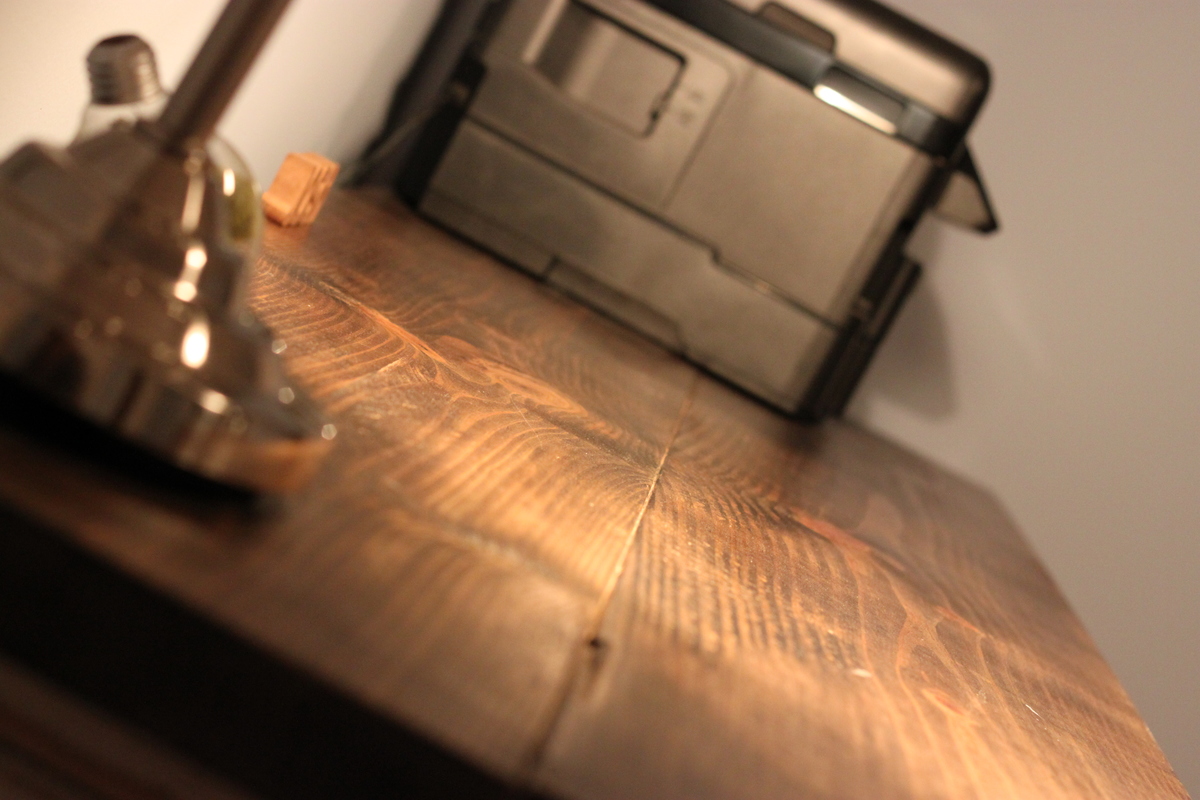
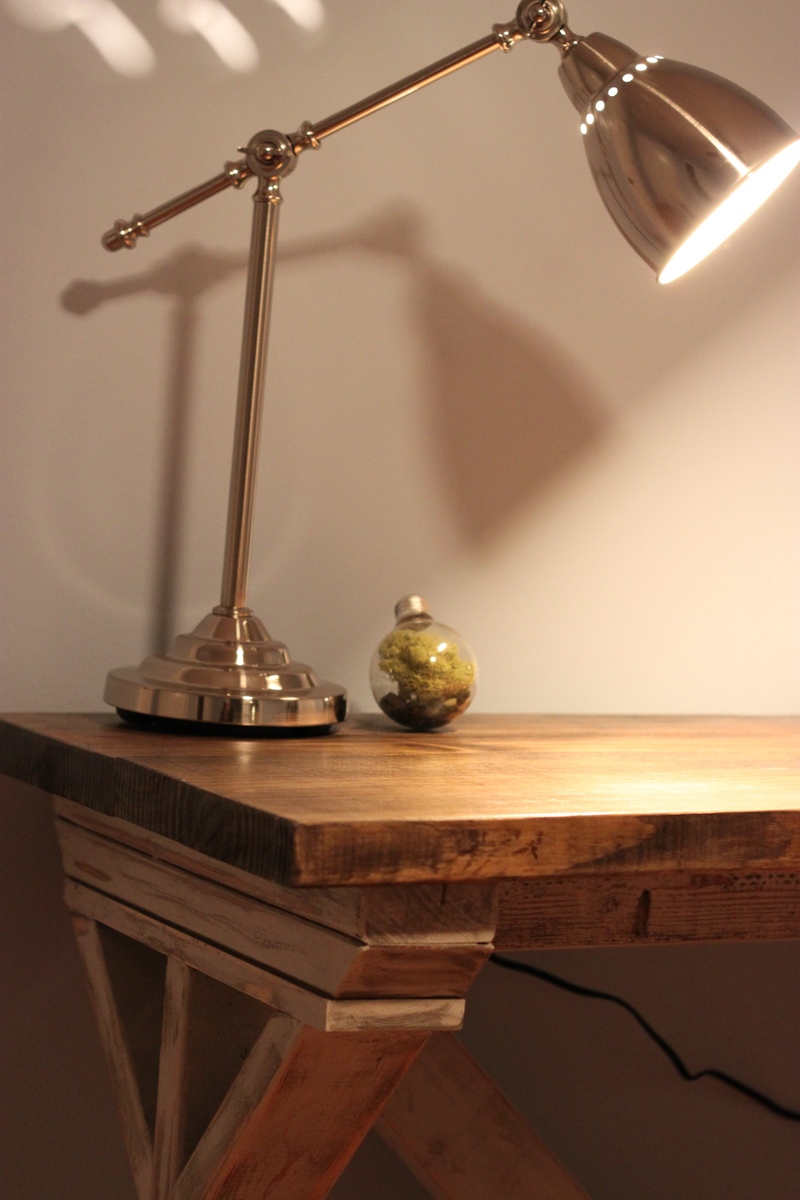
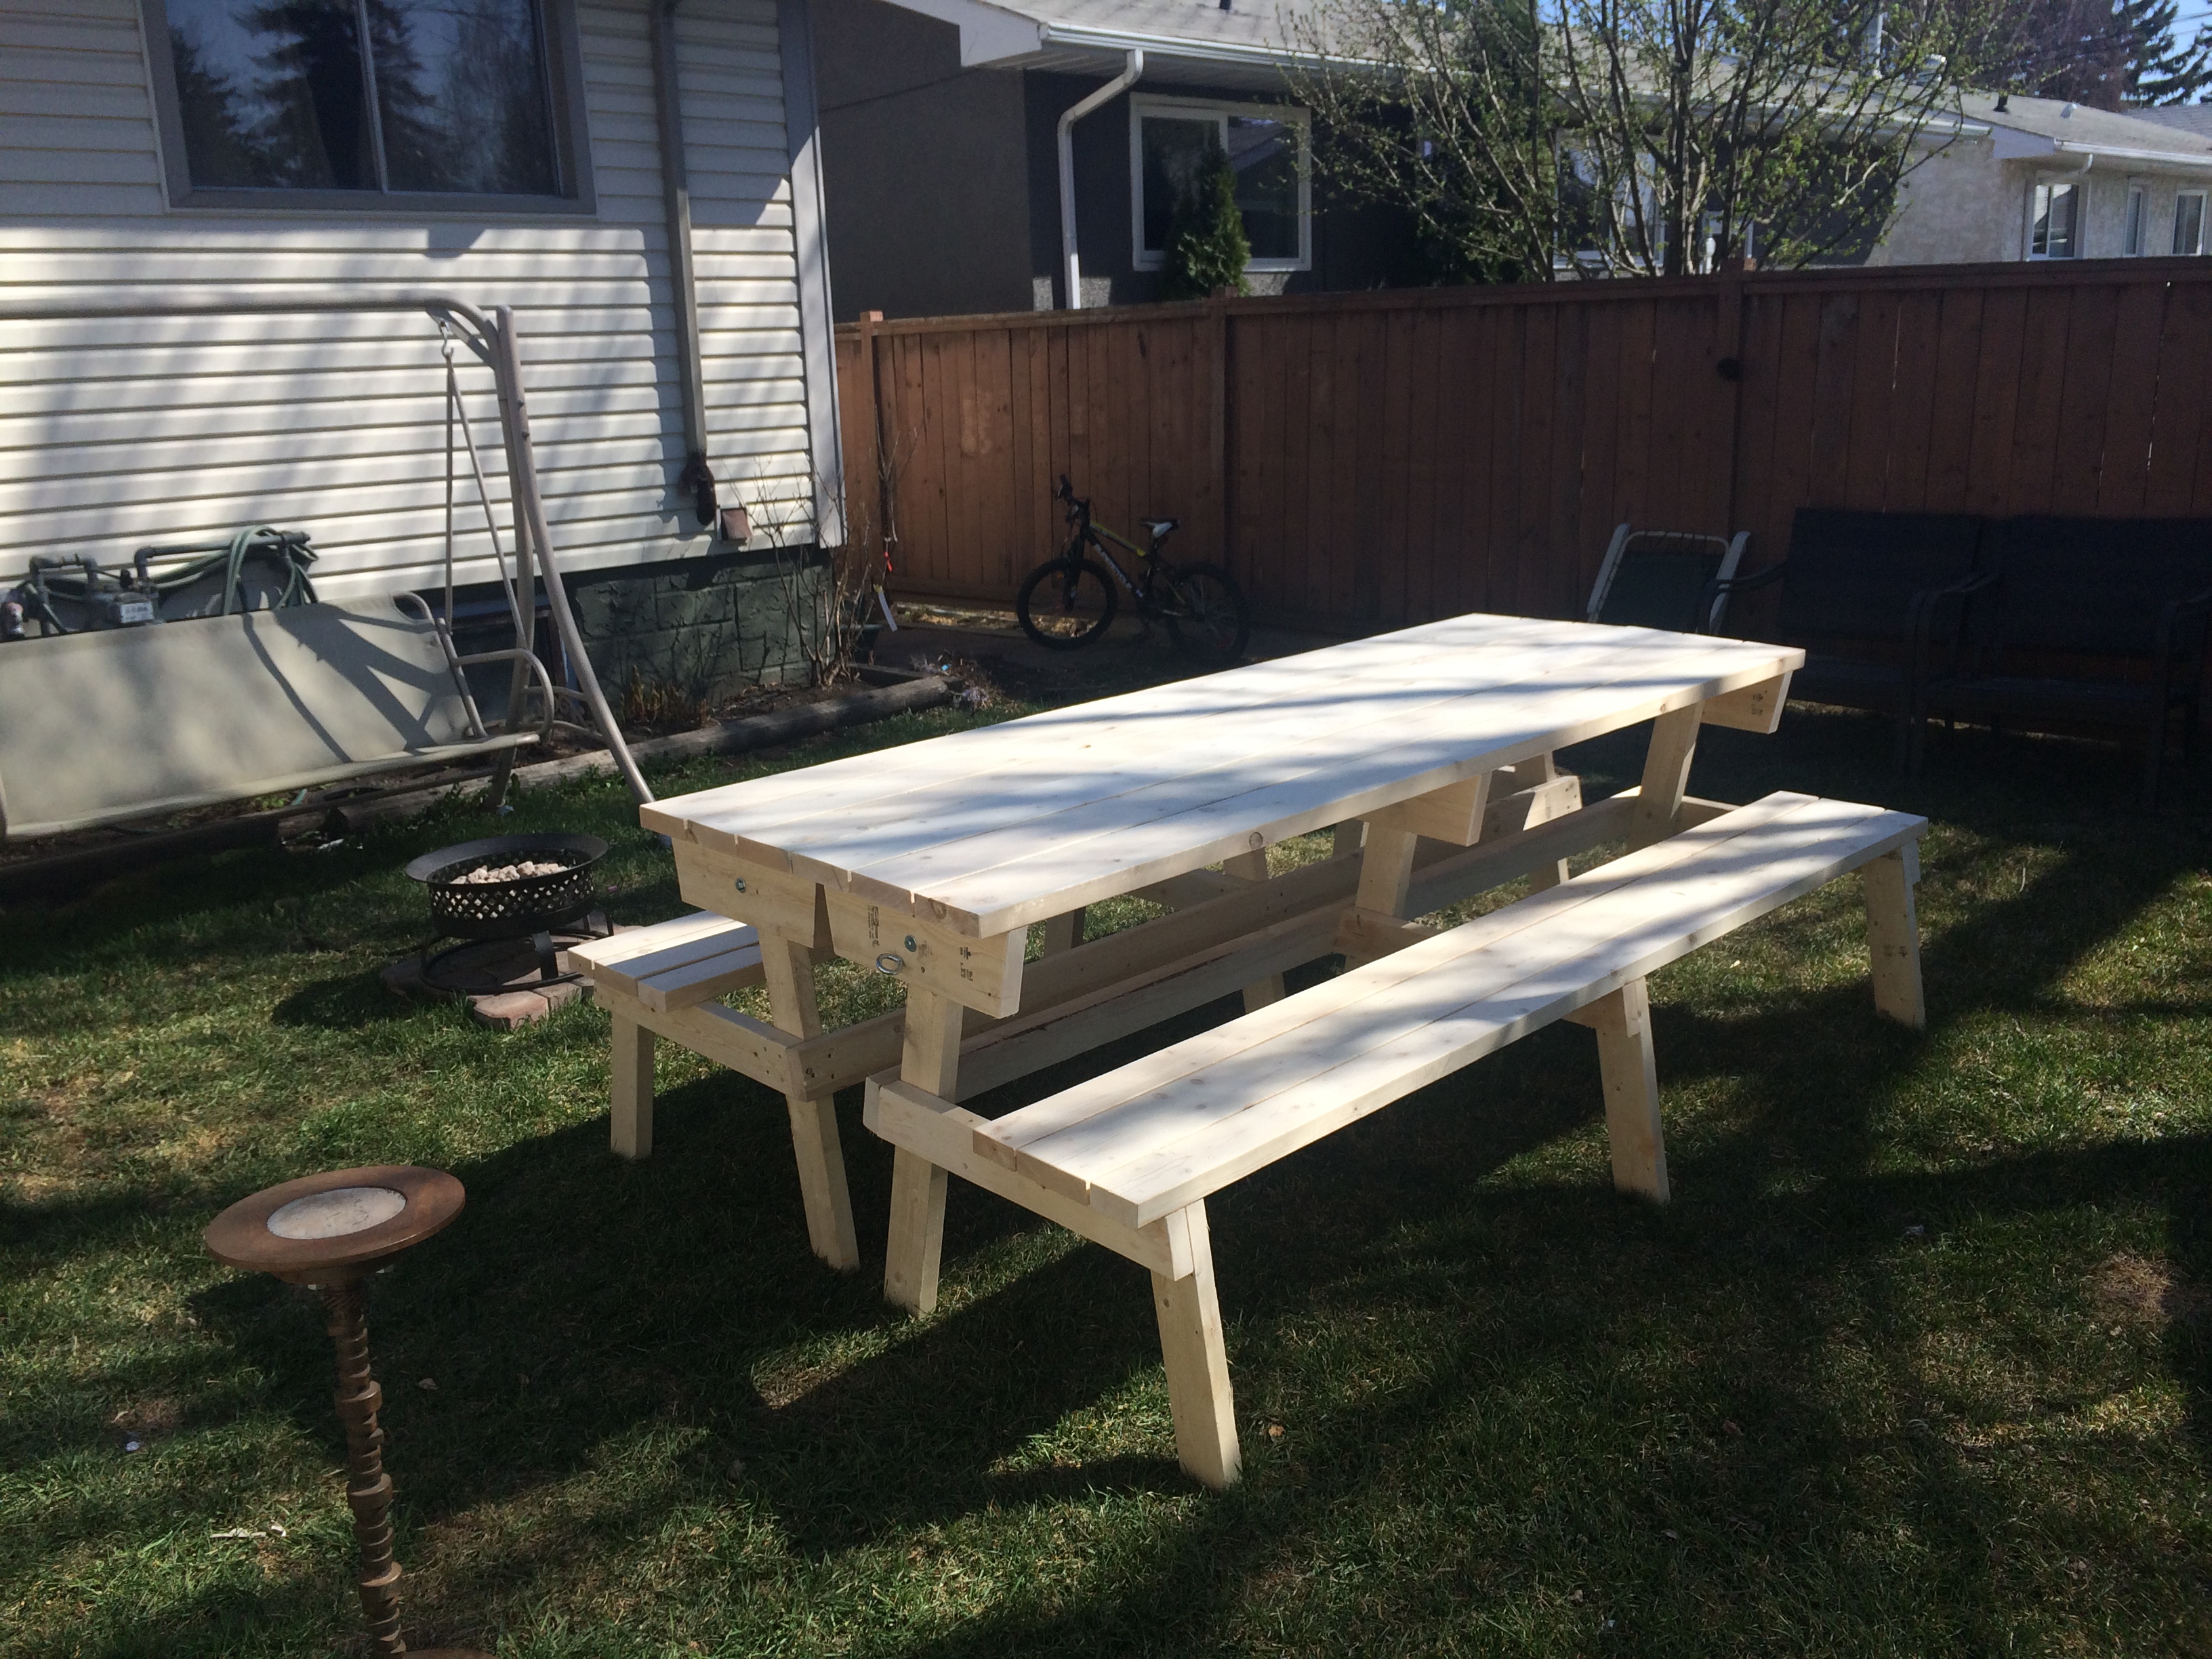
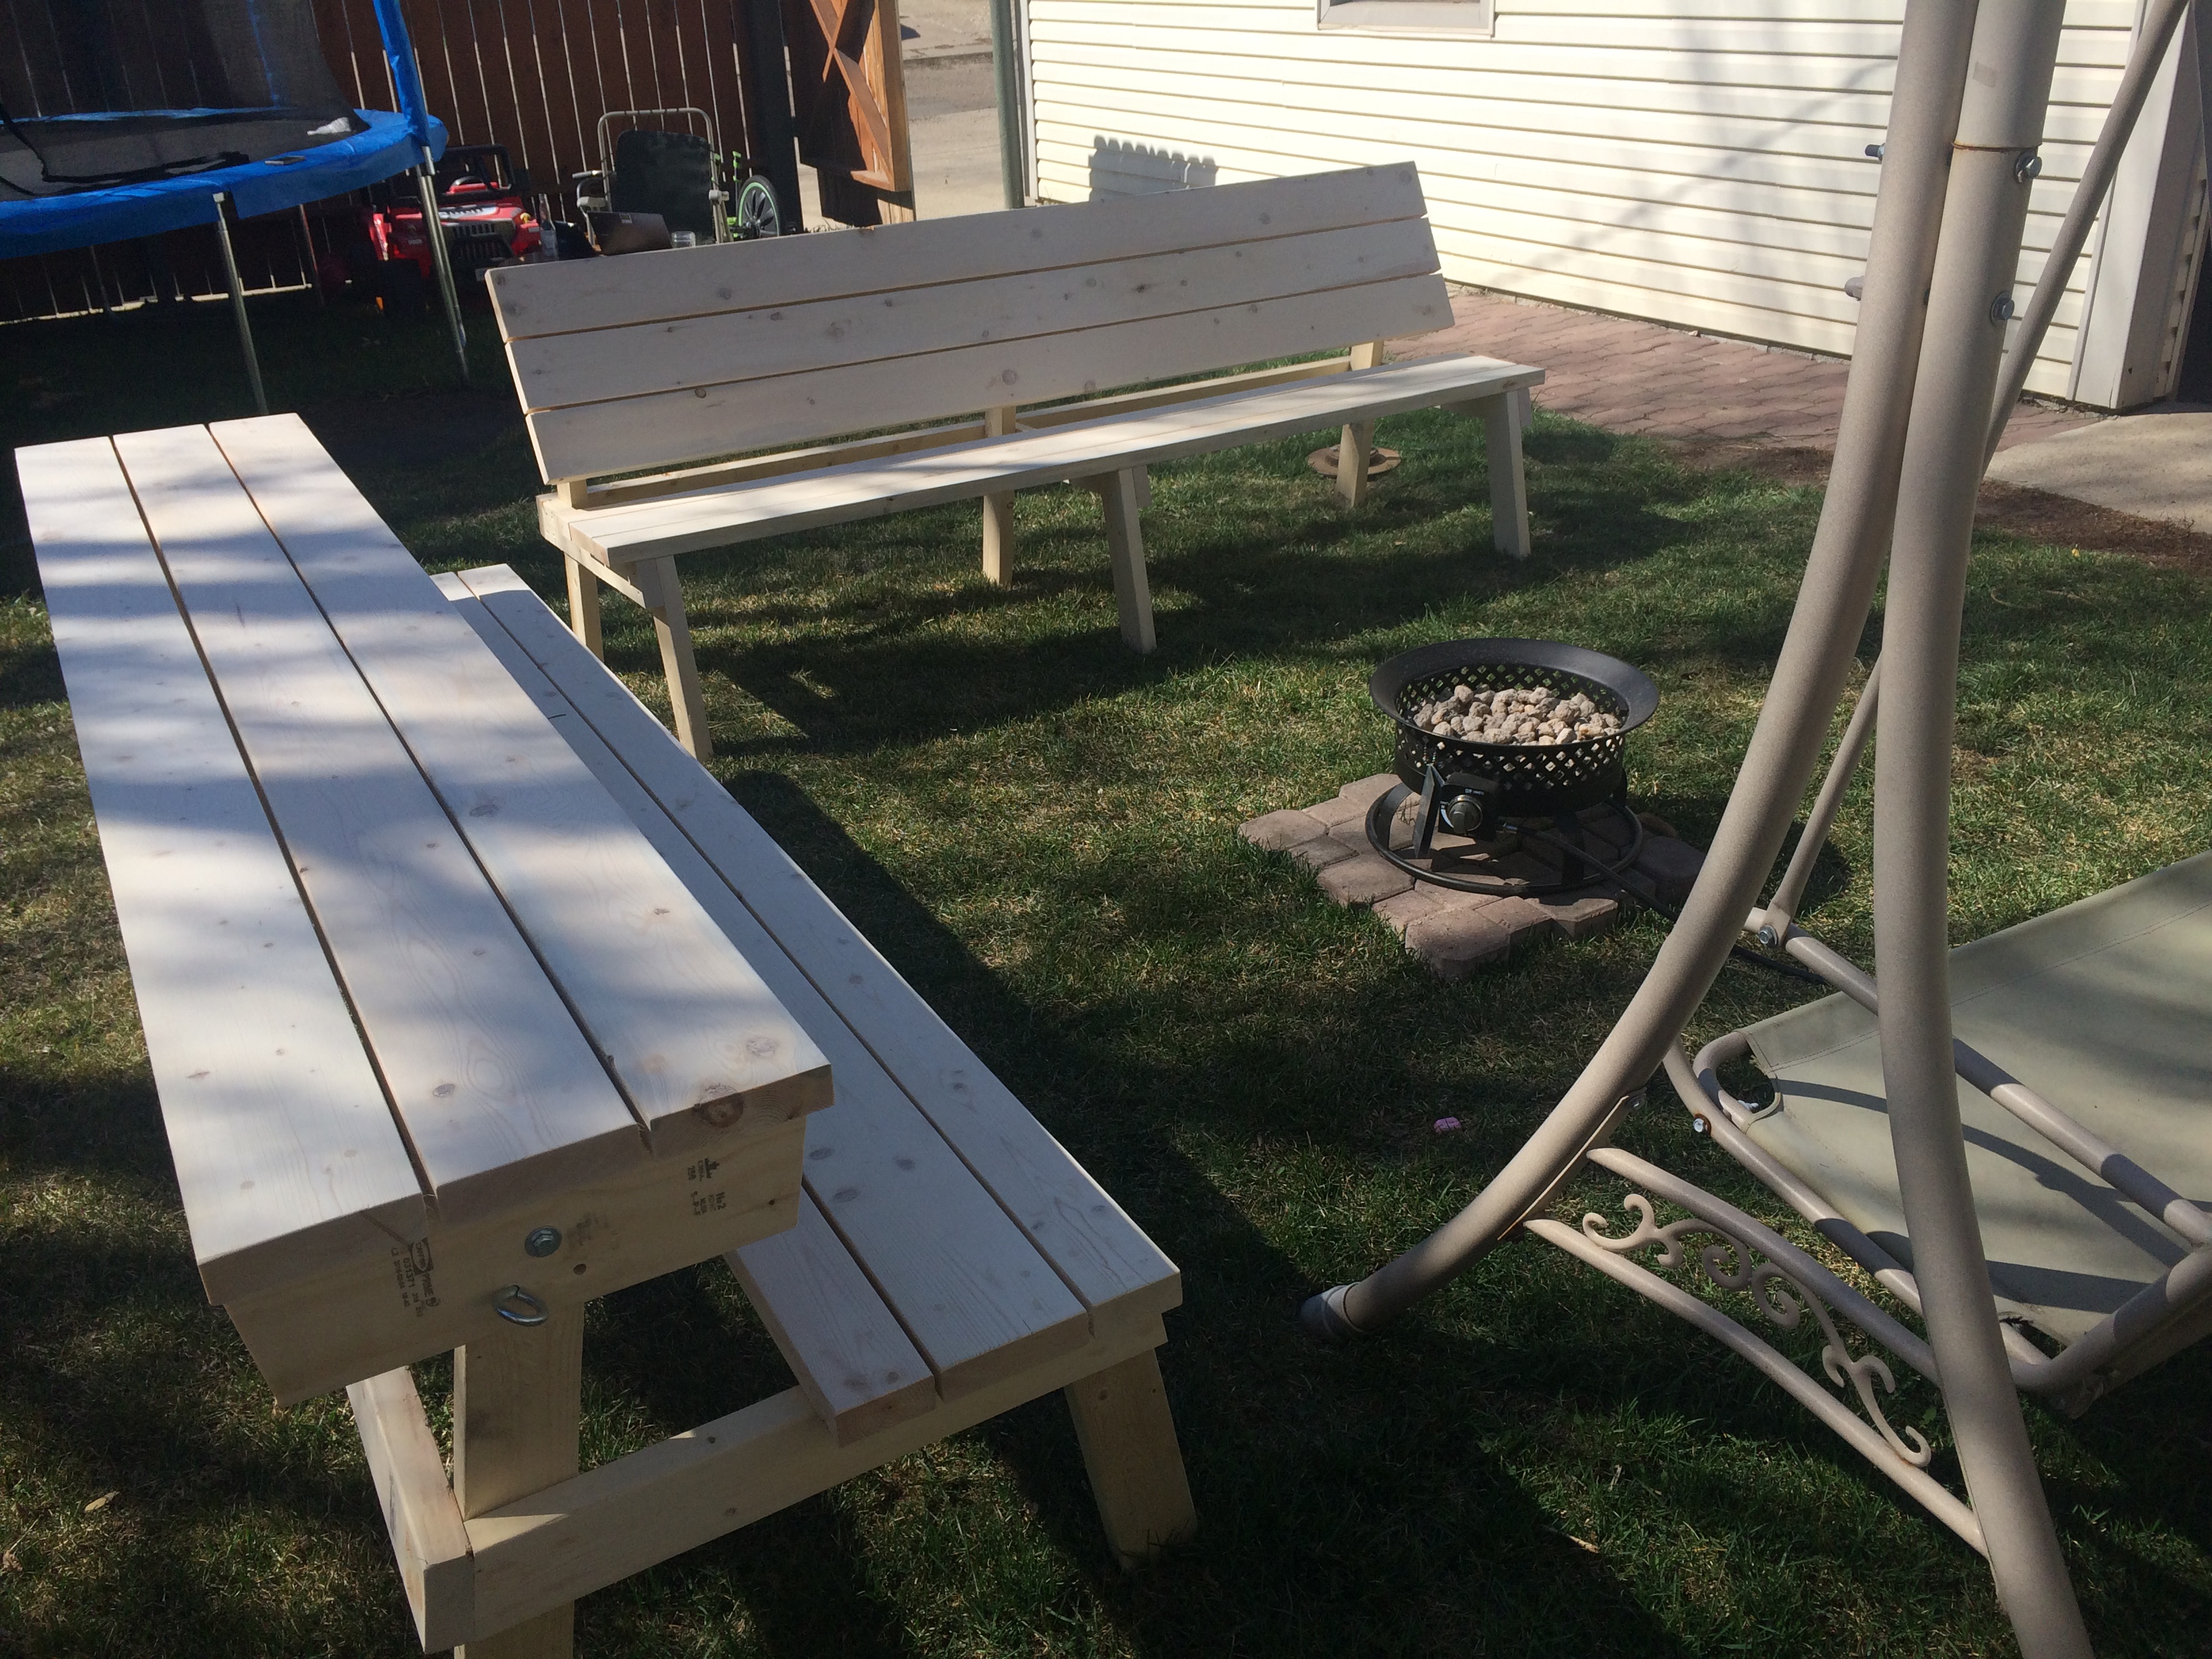
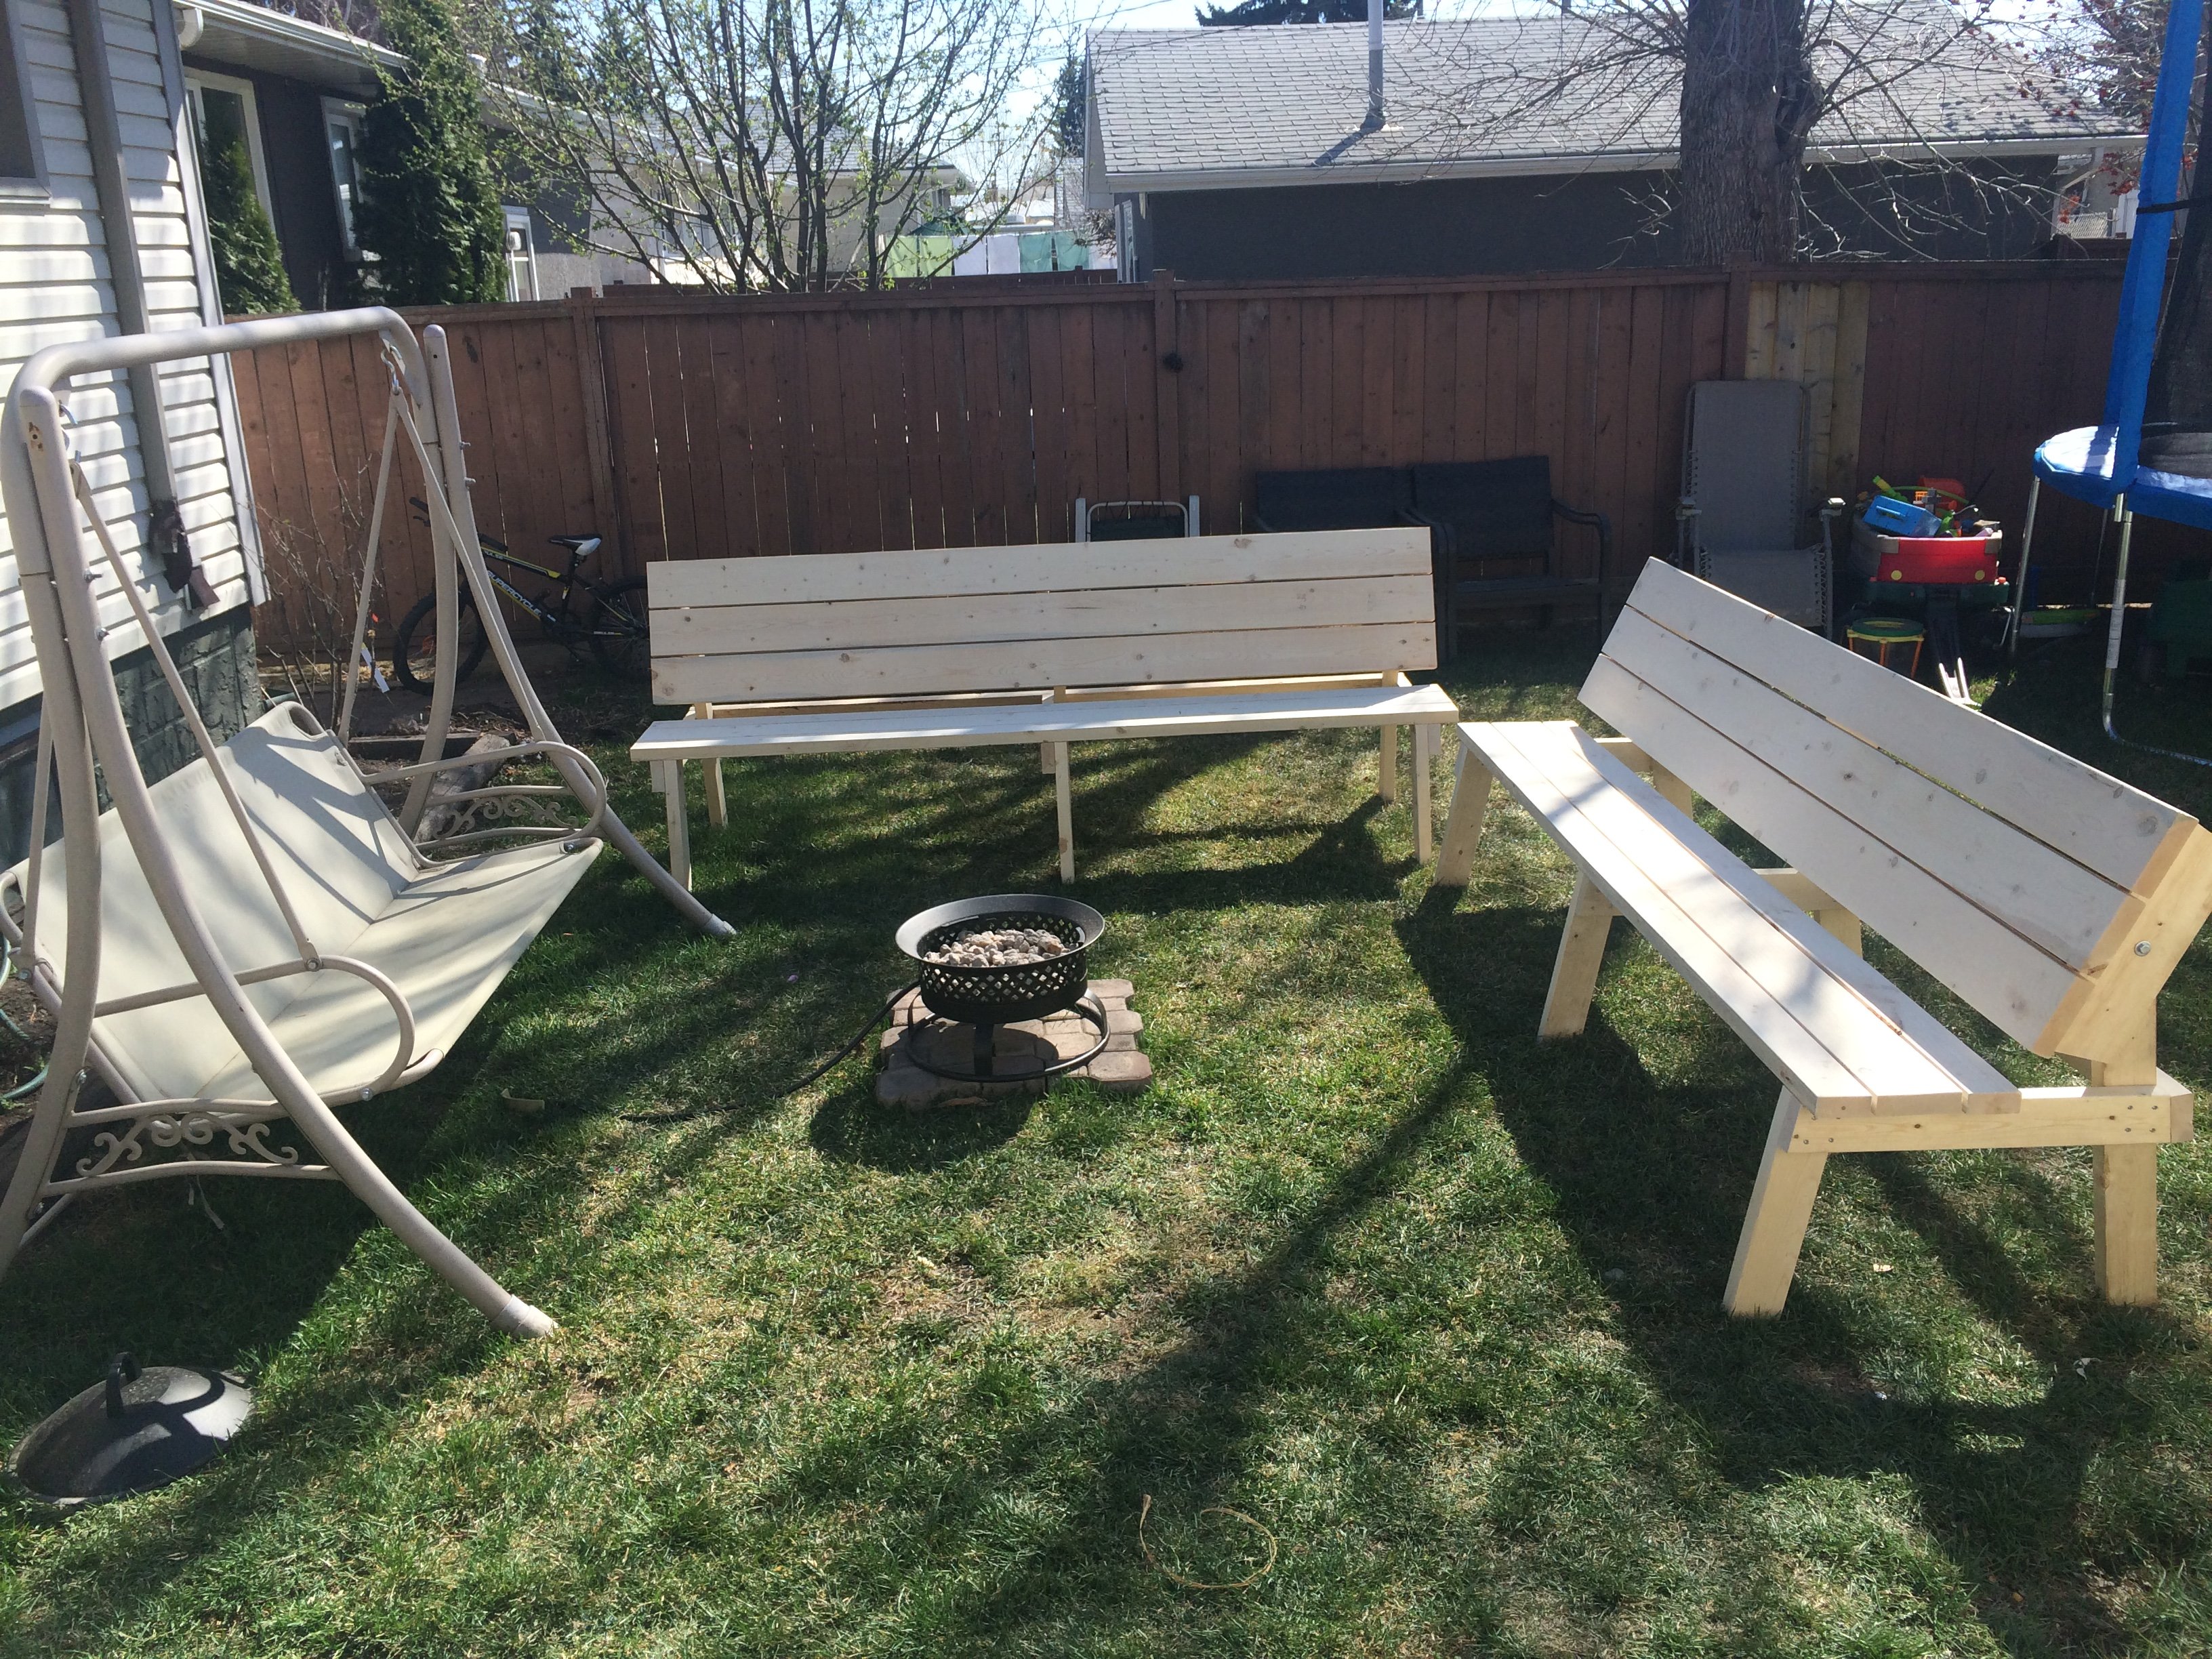
Dining Room Table
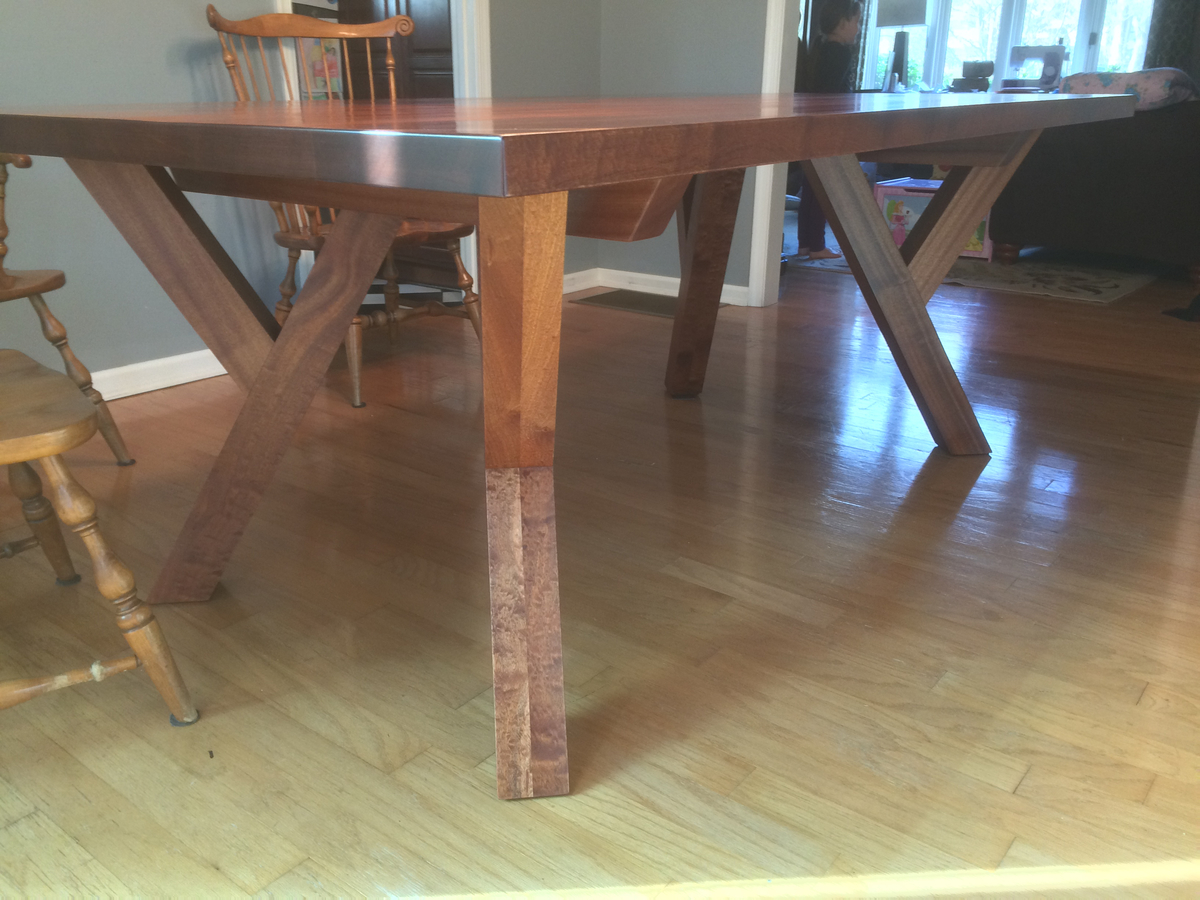
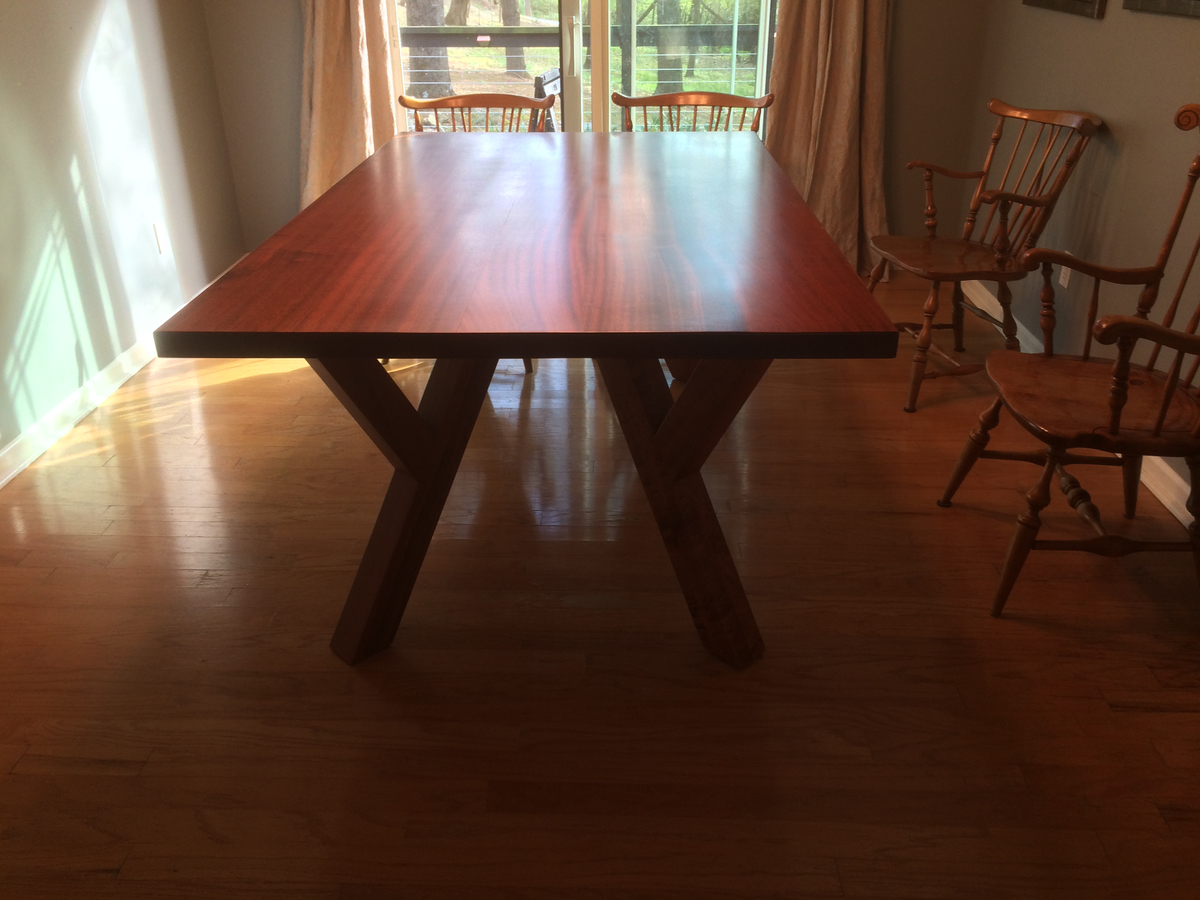
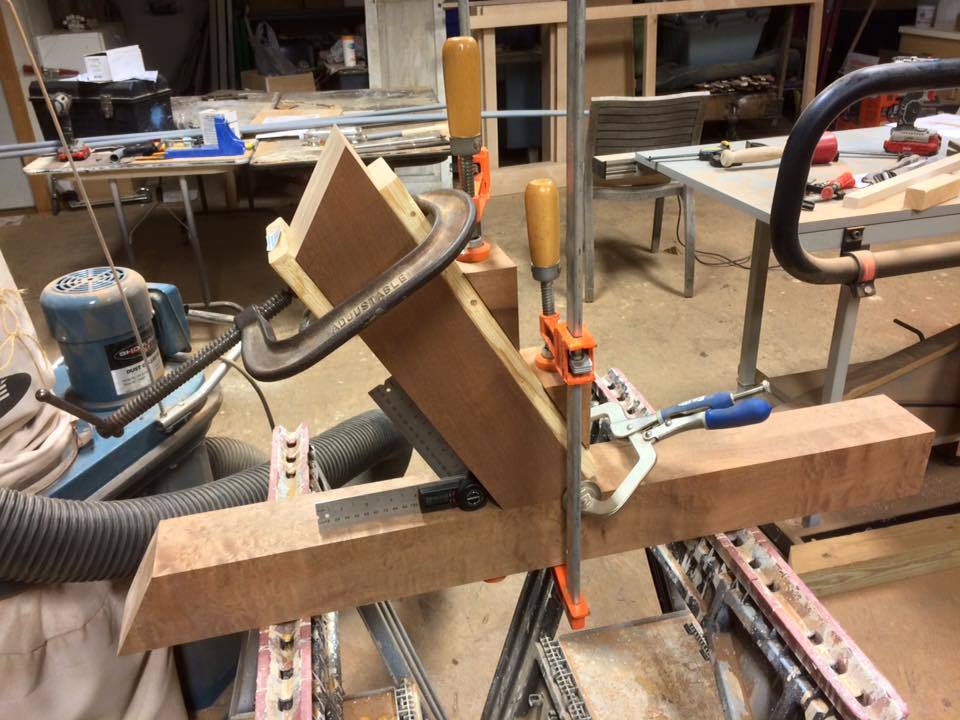
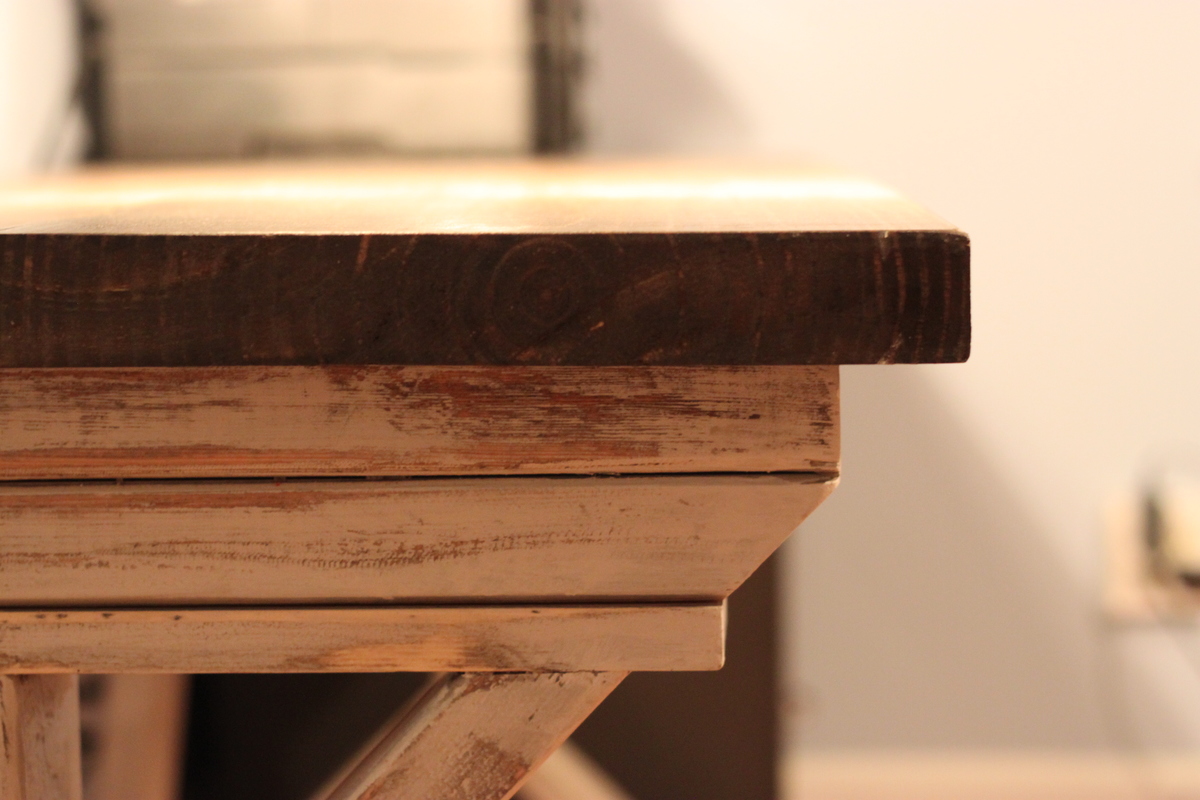
This is our first real furniture project. We wanted a large enough table to be able to sit 10 people comfortably around without the table legs getting in the way of the people on the corners. We are really happy with the way this turned out. Each leg was joined with a double floating mortise & tennon. The overall dimensions are 47" wide by 80" long by 31.5" tall.
Estimated Time Investment
Week Long Project (20 Hours or More)
Finish Used
Danish oil and Polyurethane.
Recommended Skill Level
Intermediate


Comments
Brandiville
Sun, 04/10/2016 - 04:26
Plans
I would be very interested in the plan for this table. Do you mind sharing? It is beautiful!
RetroFit
Mon, 04/11/2016 - 12:48
RE: plans
Sure. I'd be happy to. I drew it up on Sketchup. Would that work or would you prefer just a pdf? Feel free to email me: [email protected]
RetroFit
Mon, 04/11/2016 - 12:51
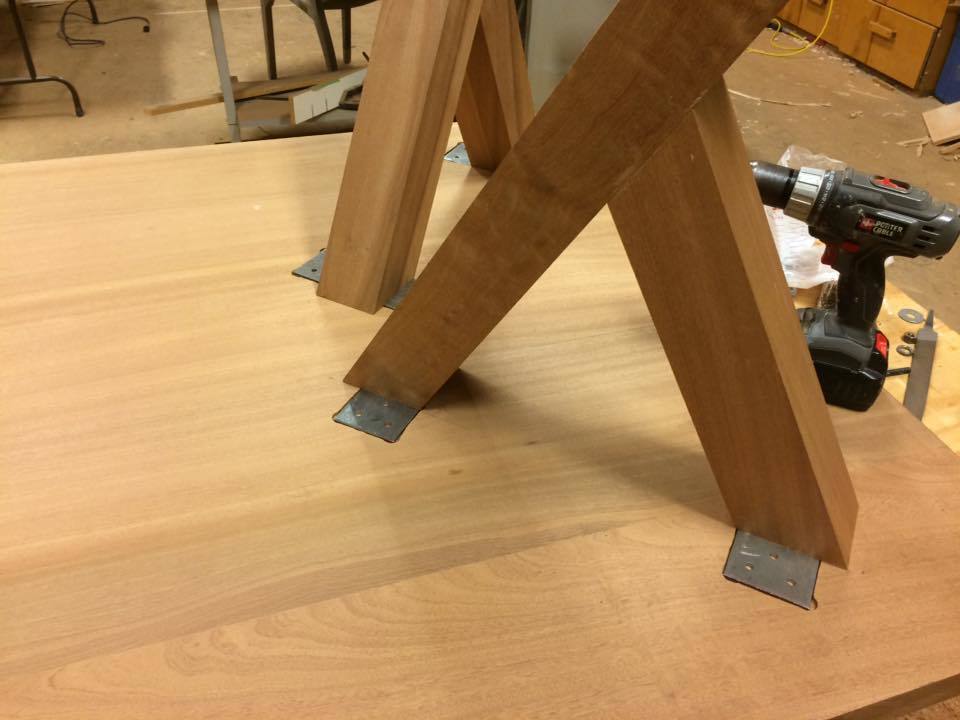
Table legs are mounted using
Table legs are mounted using steel plates routed flush with the bottom of the table.