Easy Workbench Build
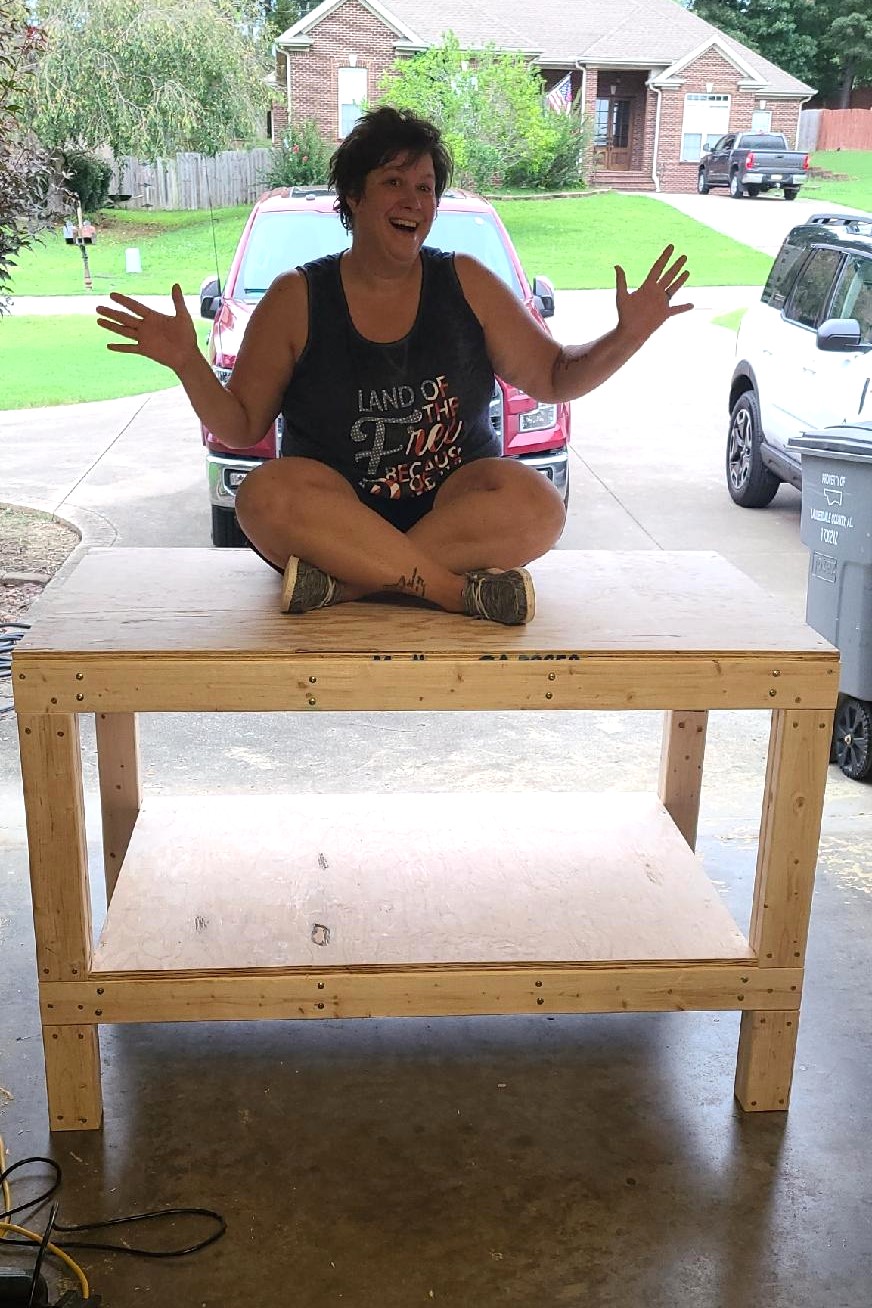
This plan was so easy to follow. I love my new workbench!
Built from Plan(s)
This plan was so easy to follow. I love my new workbench!

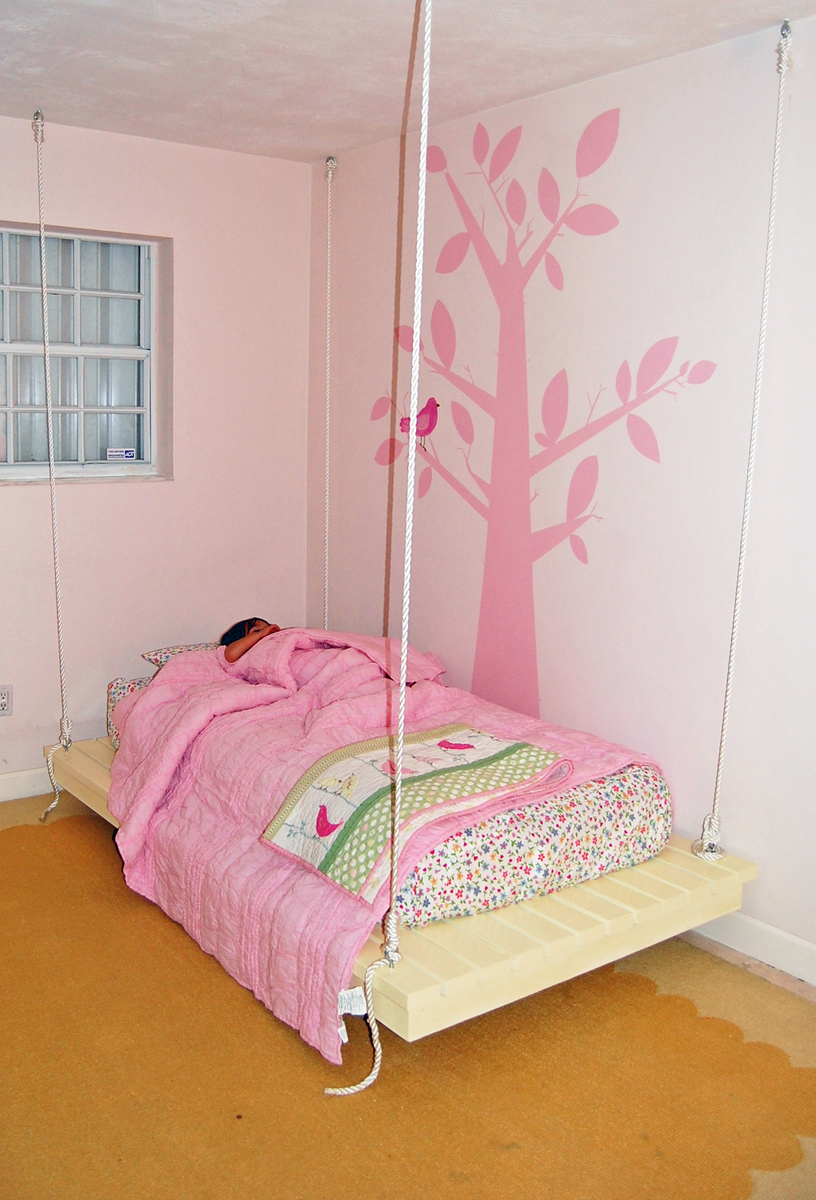
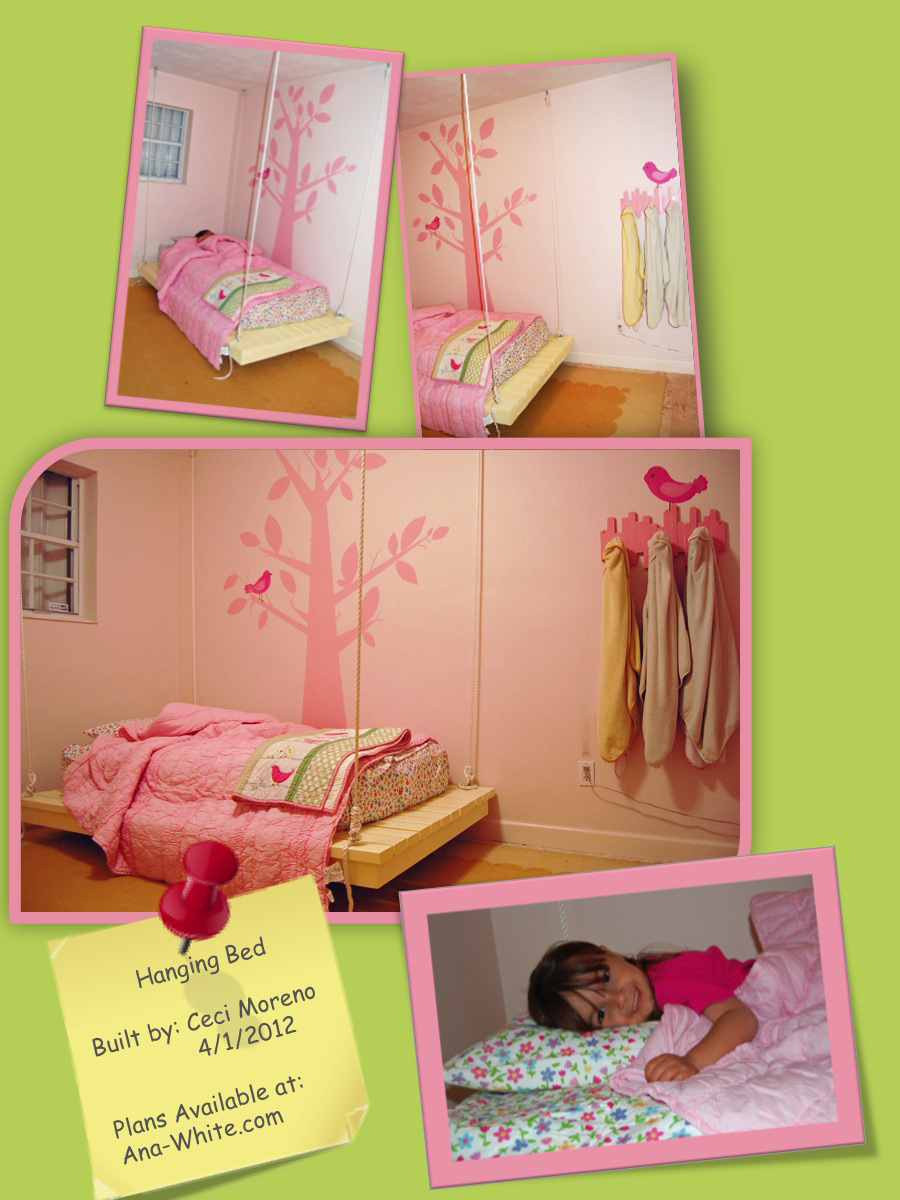
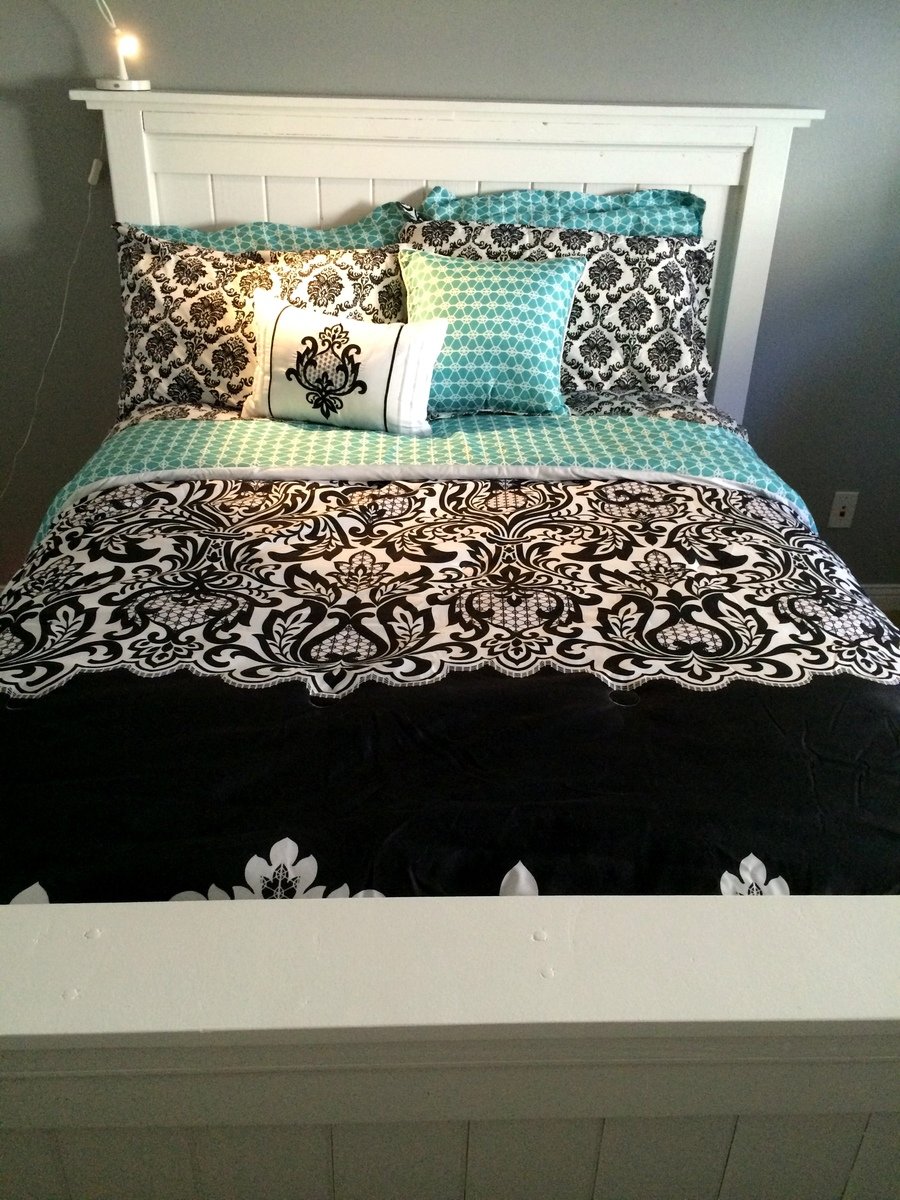
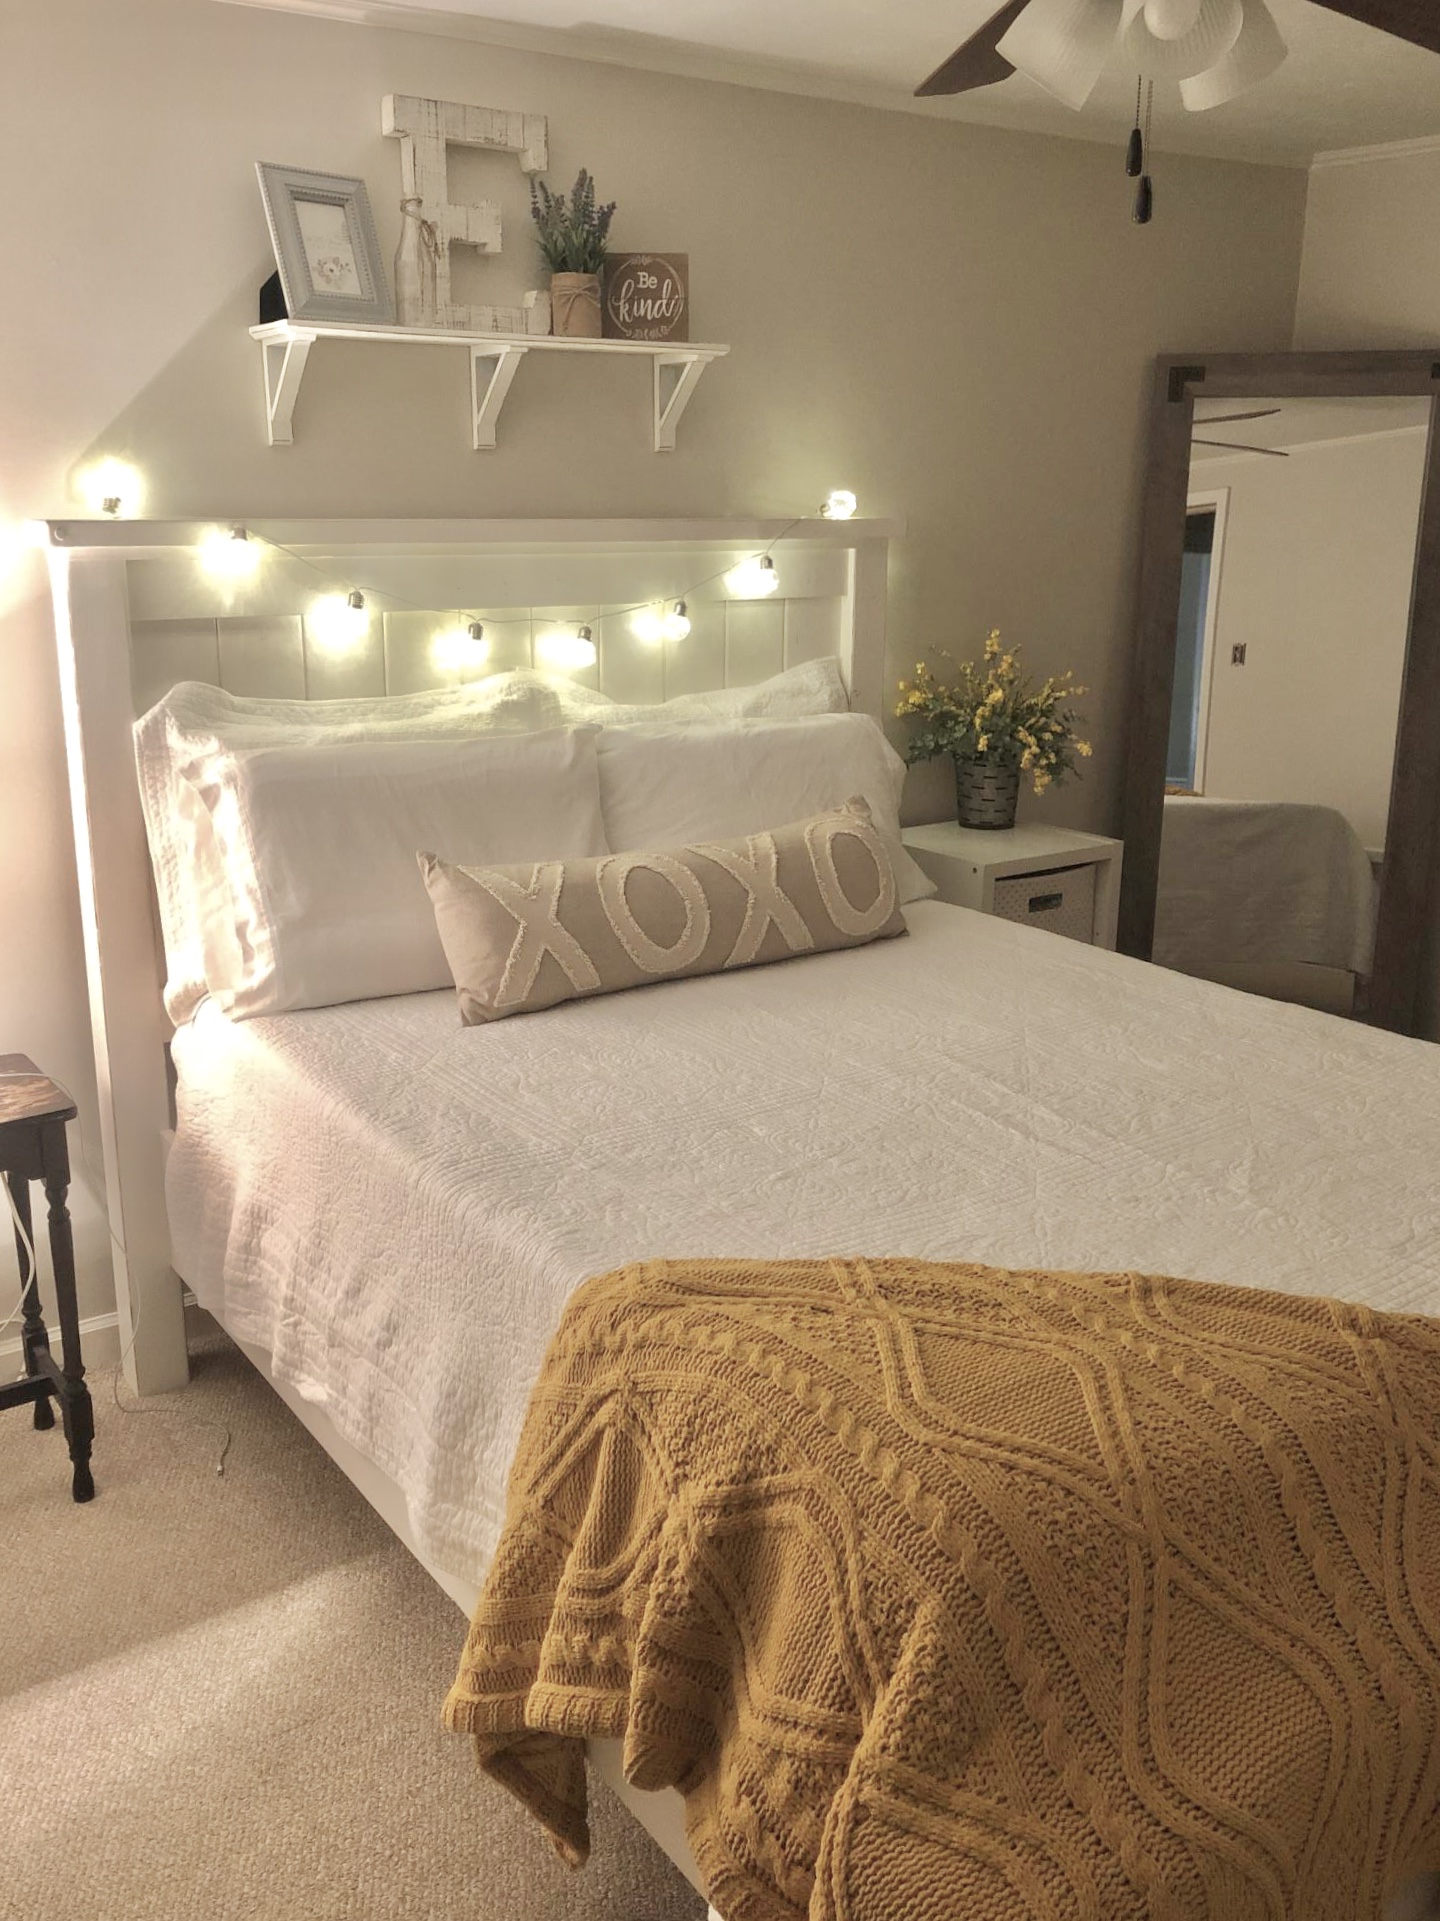
Hanging bed for my daughter built from the "Easiest Hanging Daybed Plans". Super easy to do and looks and feels great!


Sun, 04/01/2012 - 11:20
This is a cool idea of making a kid's bed. I'm sure your child always look forward to going to bed every night :)

Mon, 04/02/2012 - 07:54
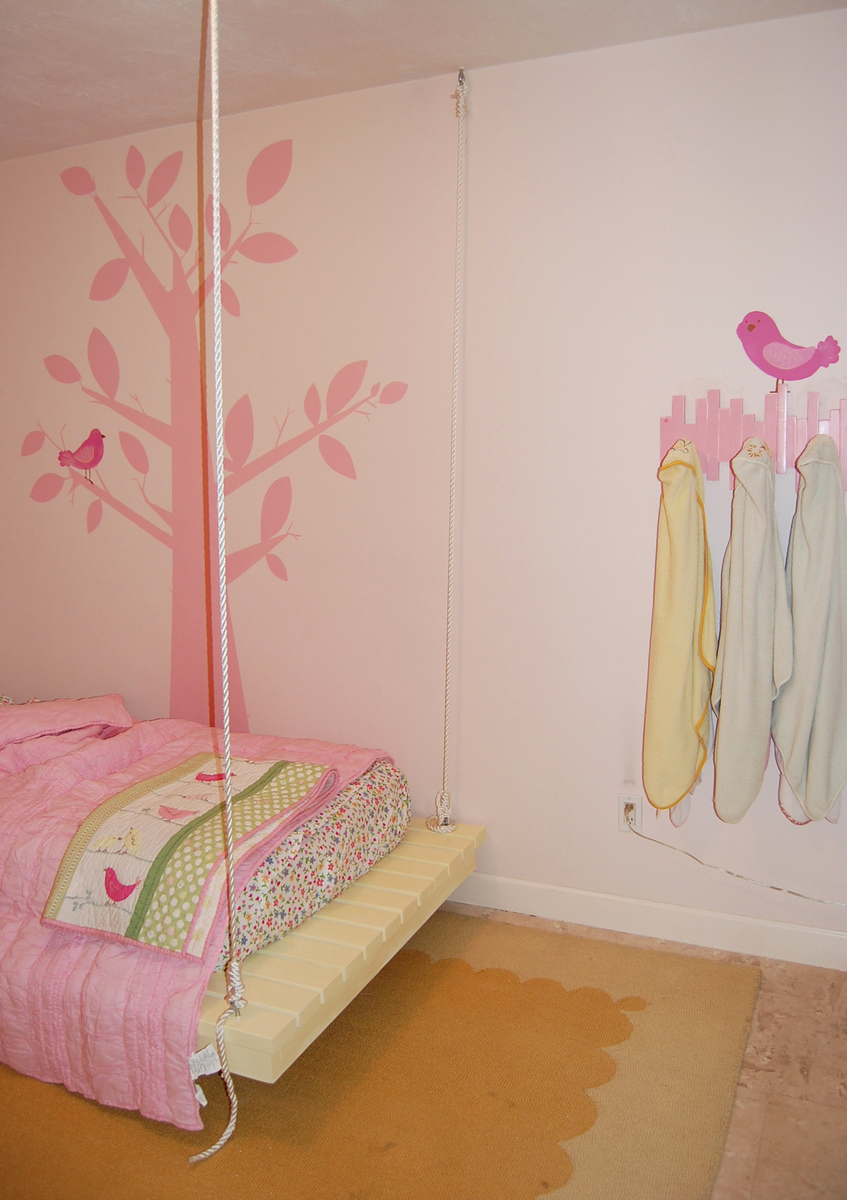
A beautiful room! I love everything you did in this room! The hooks are so cute too! Thanks for sharing plans!
In reply to A beautiful room! I love by Ana White
Mon, 04/02/2012 - 08:37
Thanks Ana! Glad you like it....LOVE your site (I think Im addicted to it at this point), and thanks for sharing so many useful tips in addition to your plans!
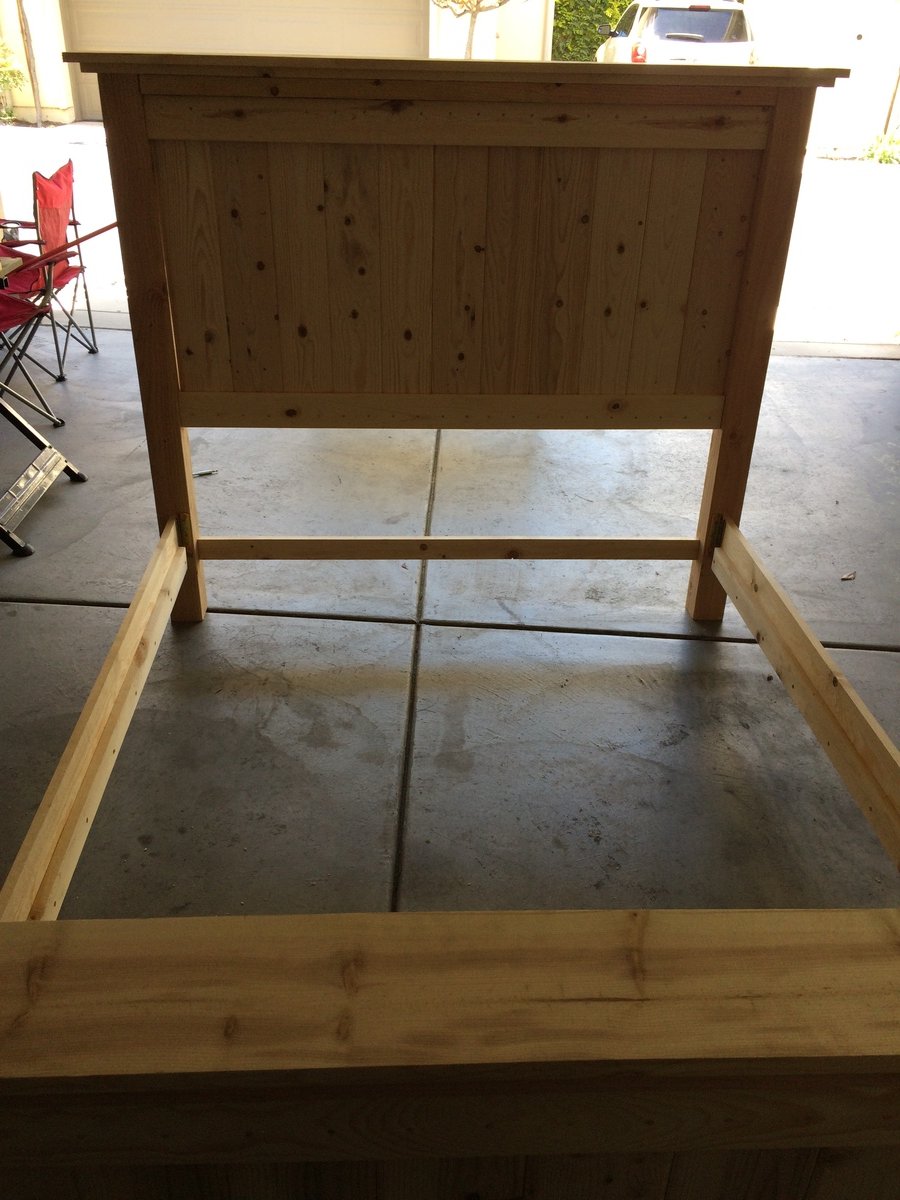
Thank you for the plan, this is the result.
Farmhouse / cottage style bed based on your plans.
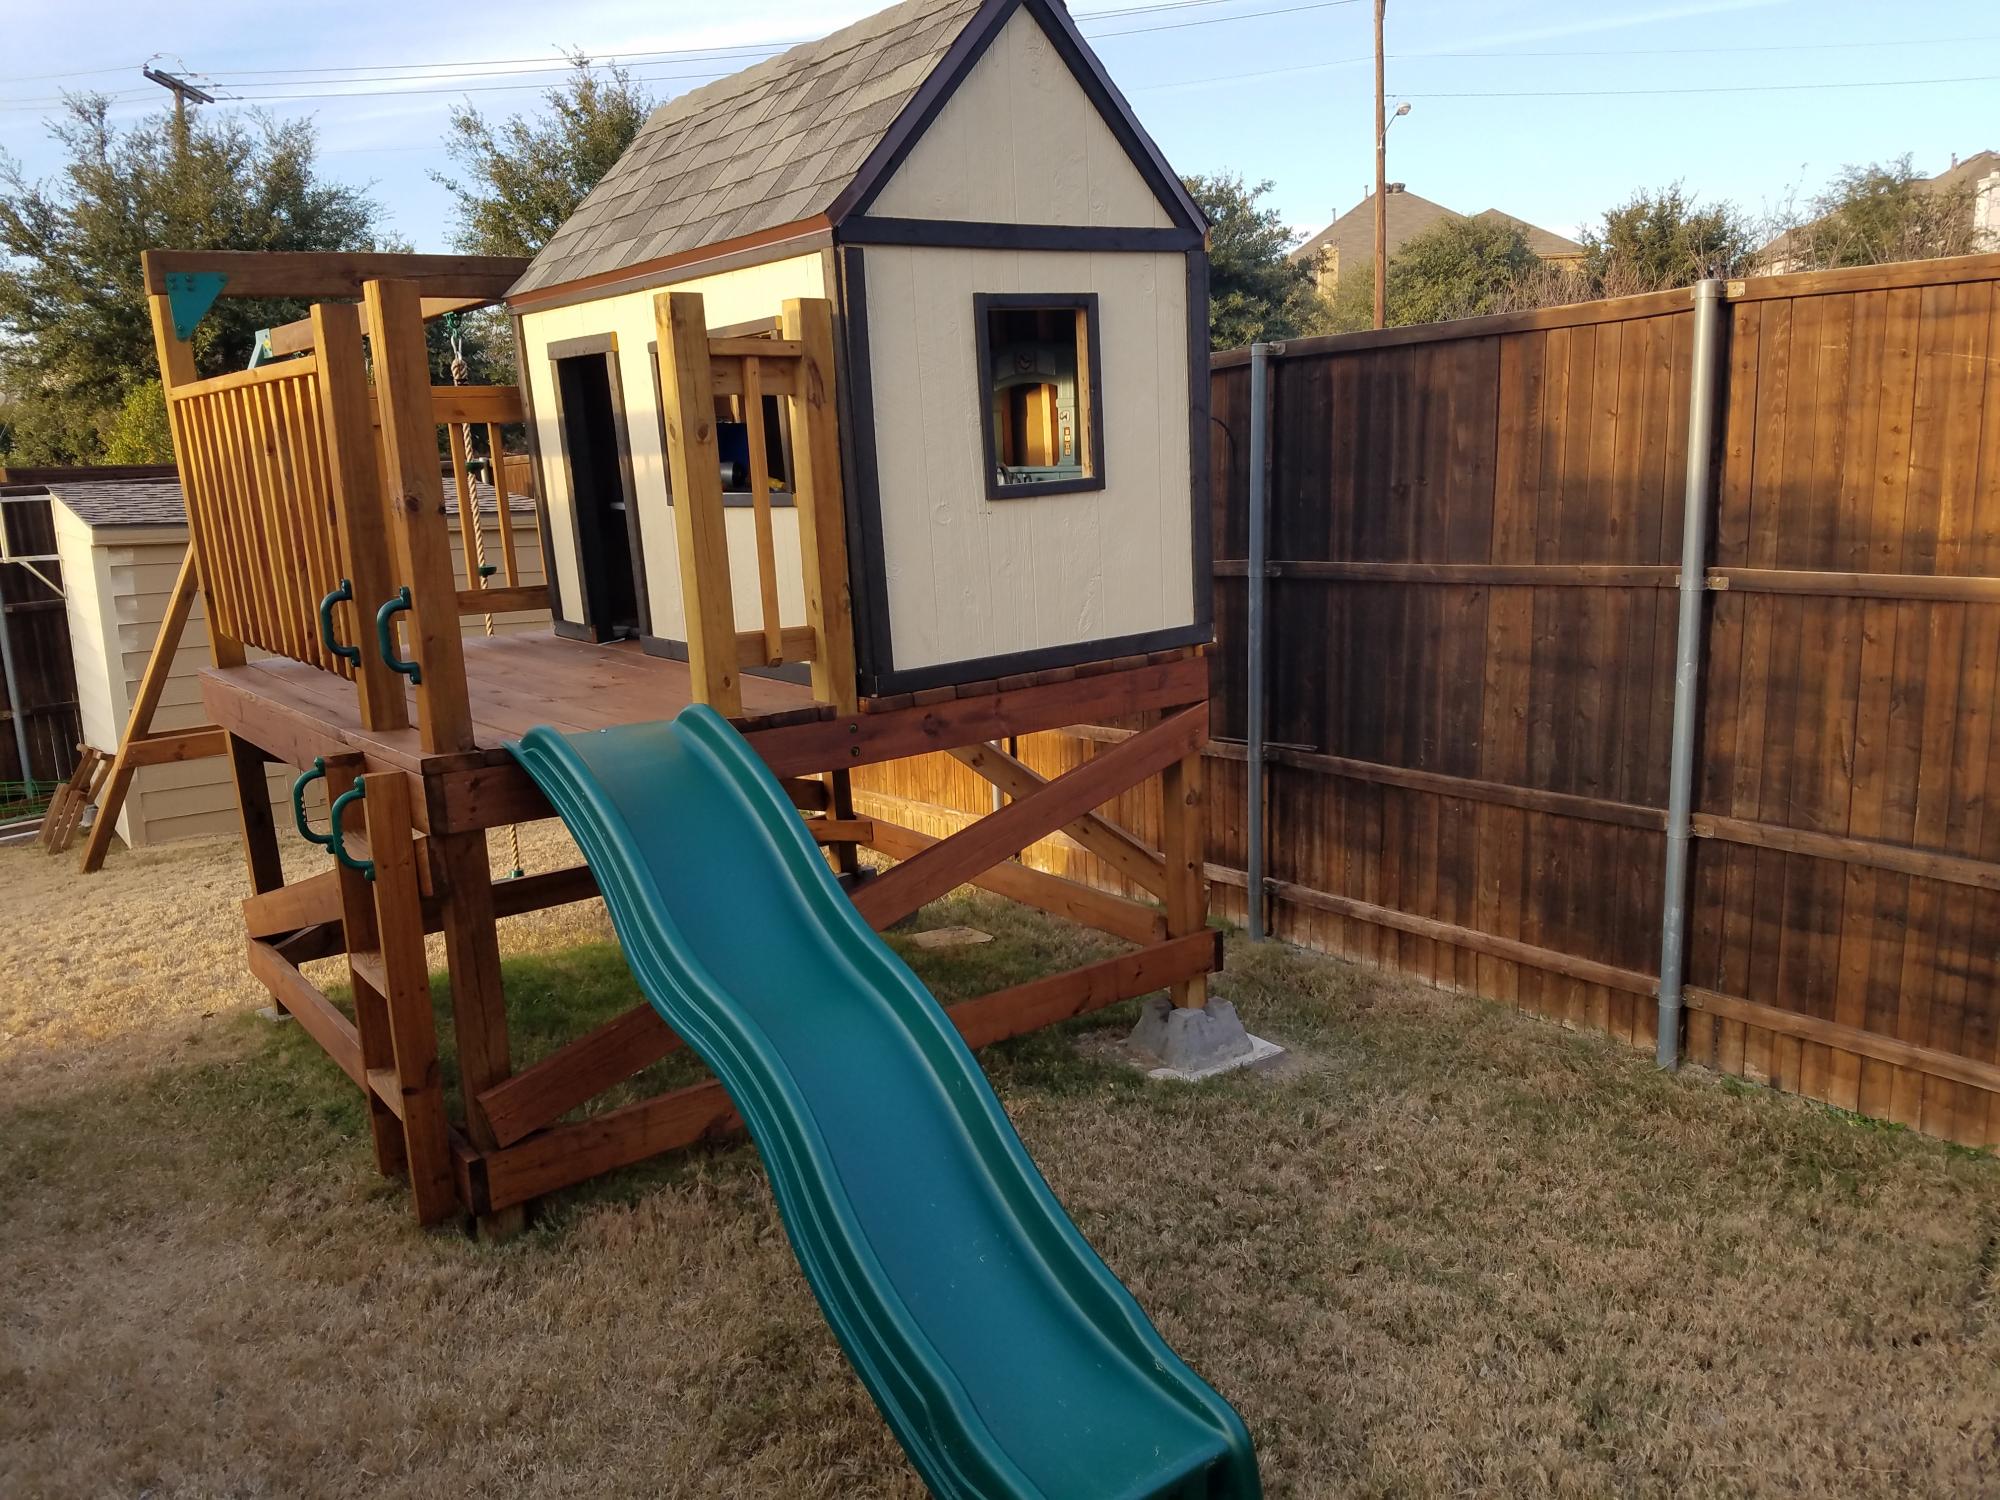
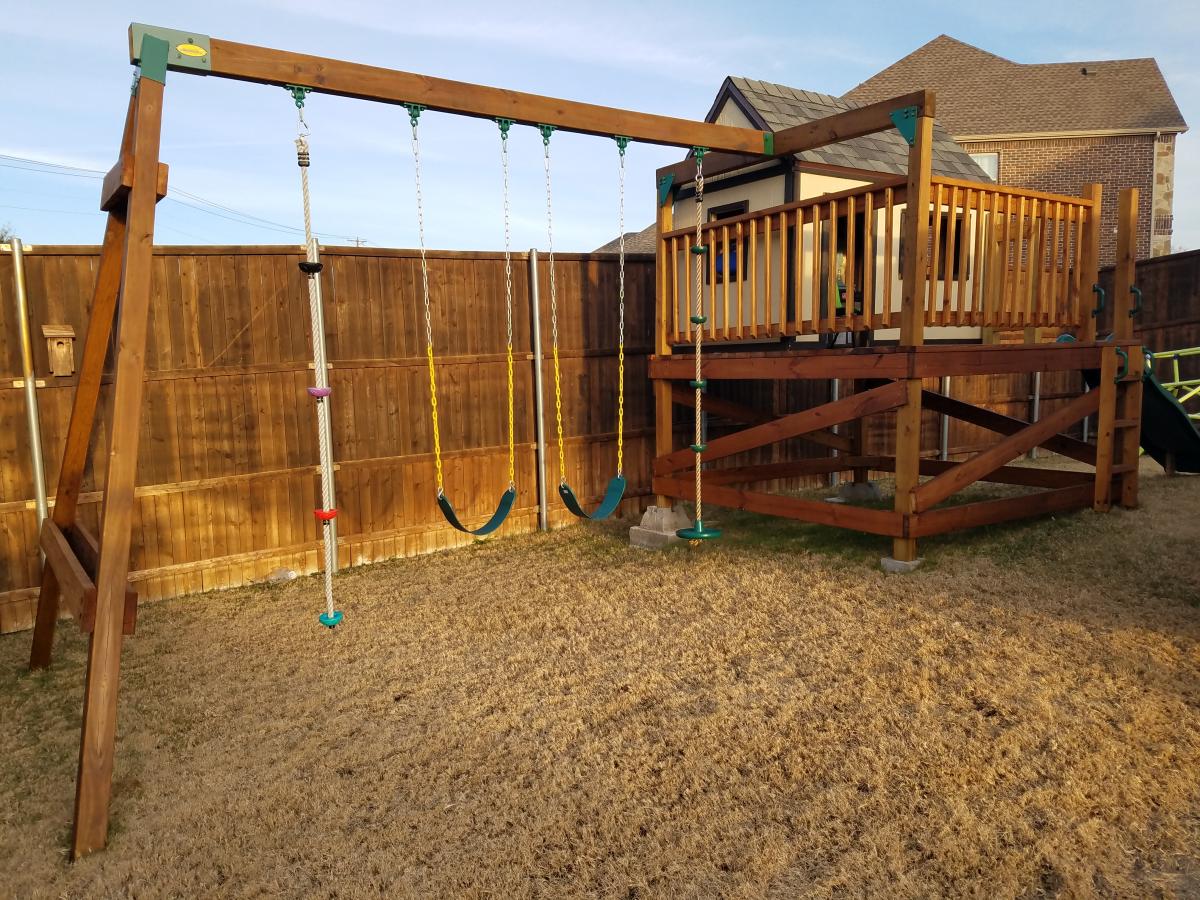
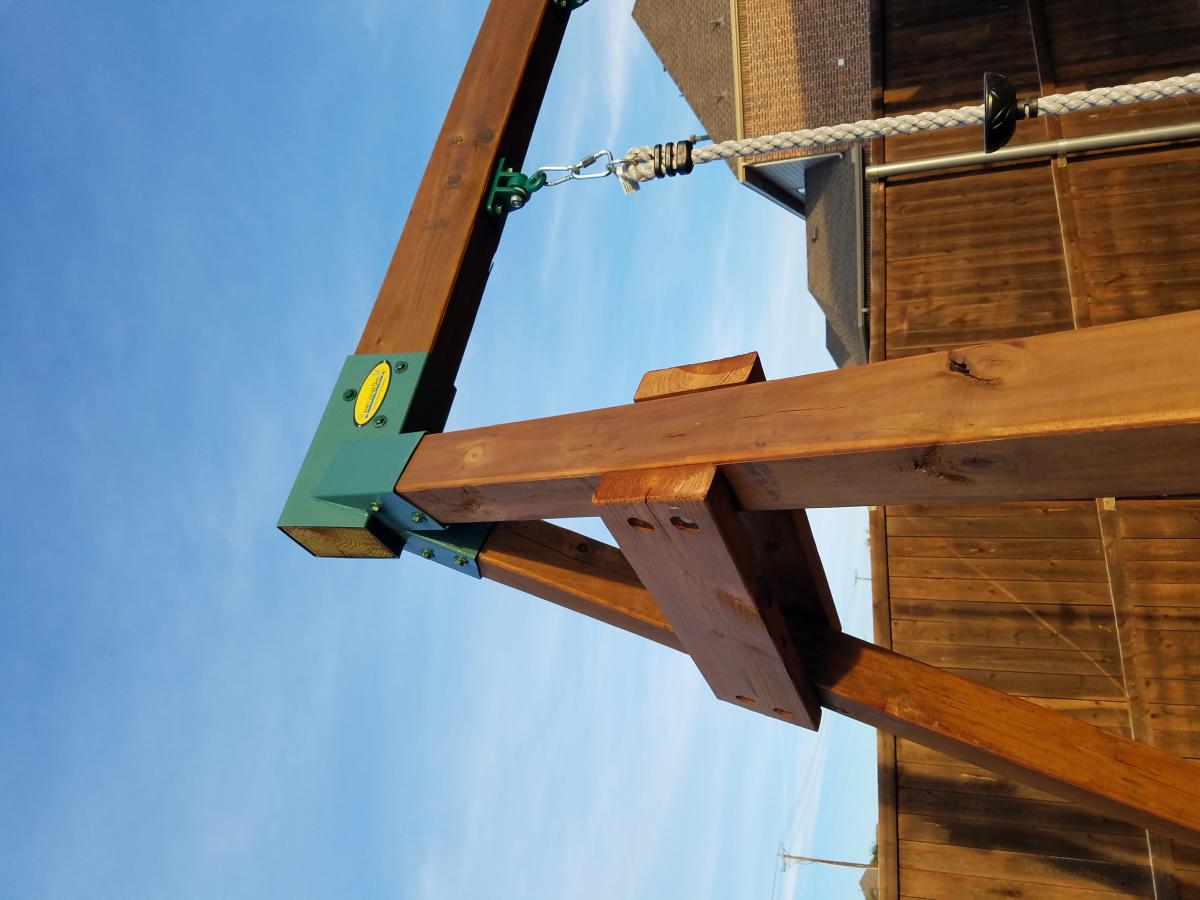
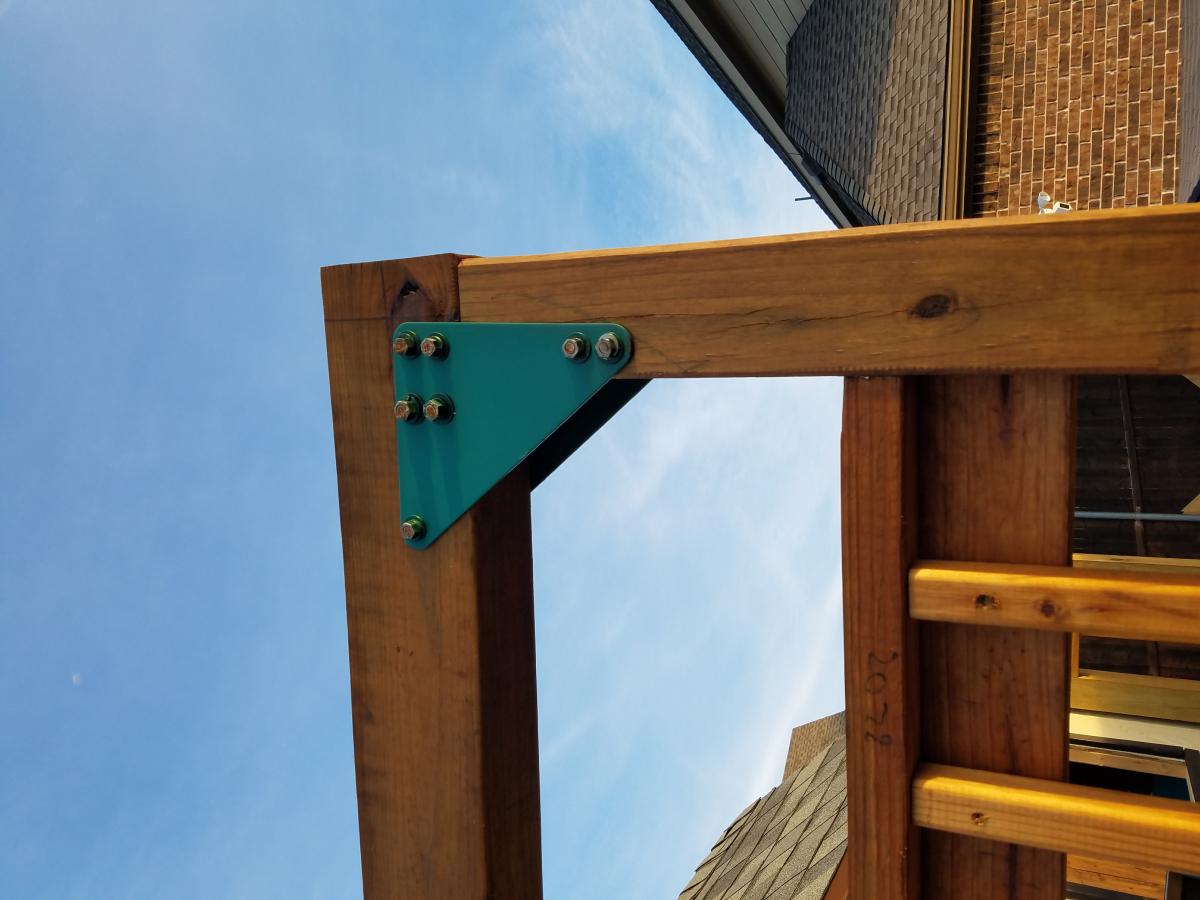
I deviated quite a bit from the plans. Mostly, I used readily available swingset hardware to beef up the design. This stuff can be found on big online sites or specialty sites.
I bought all of the swings, and ninja rope online along with the 4ft slide and safety handles.

Mon, 04/12/2021 - 15:48
did you put your pillars into concrete? It looks like you have a few different bases.
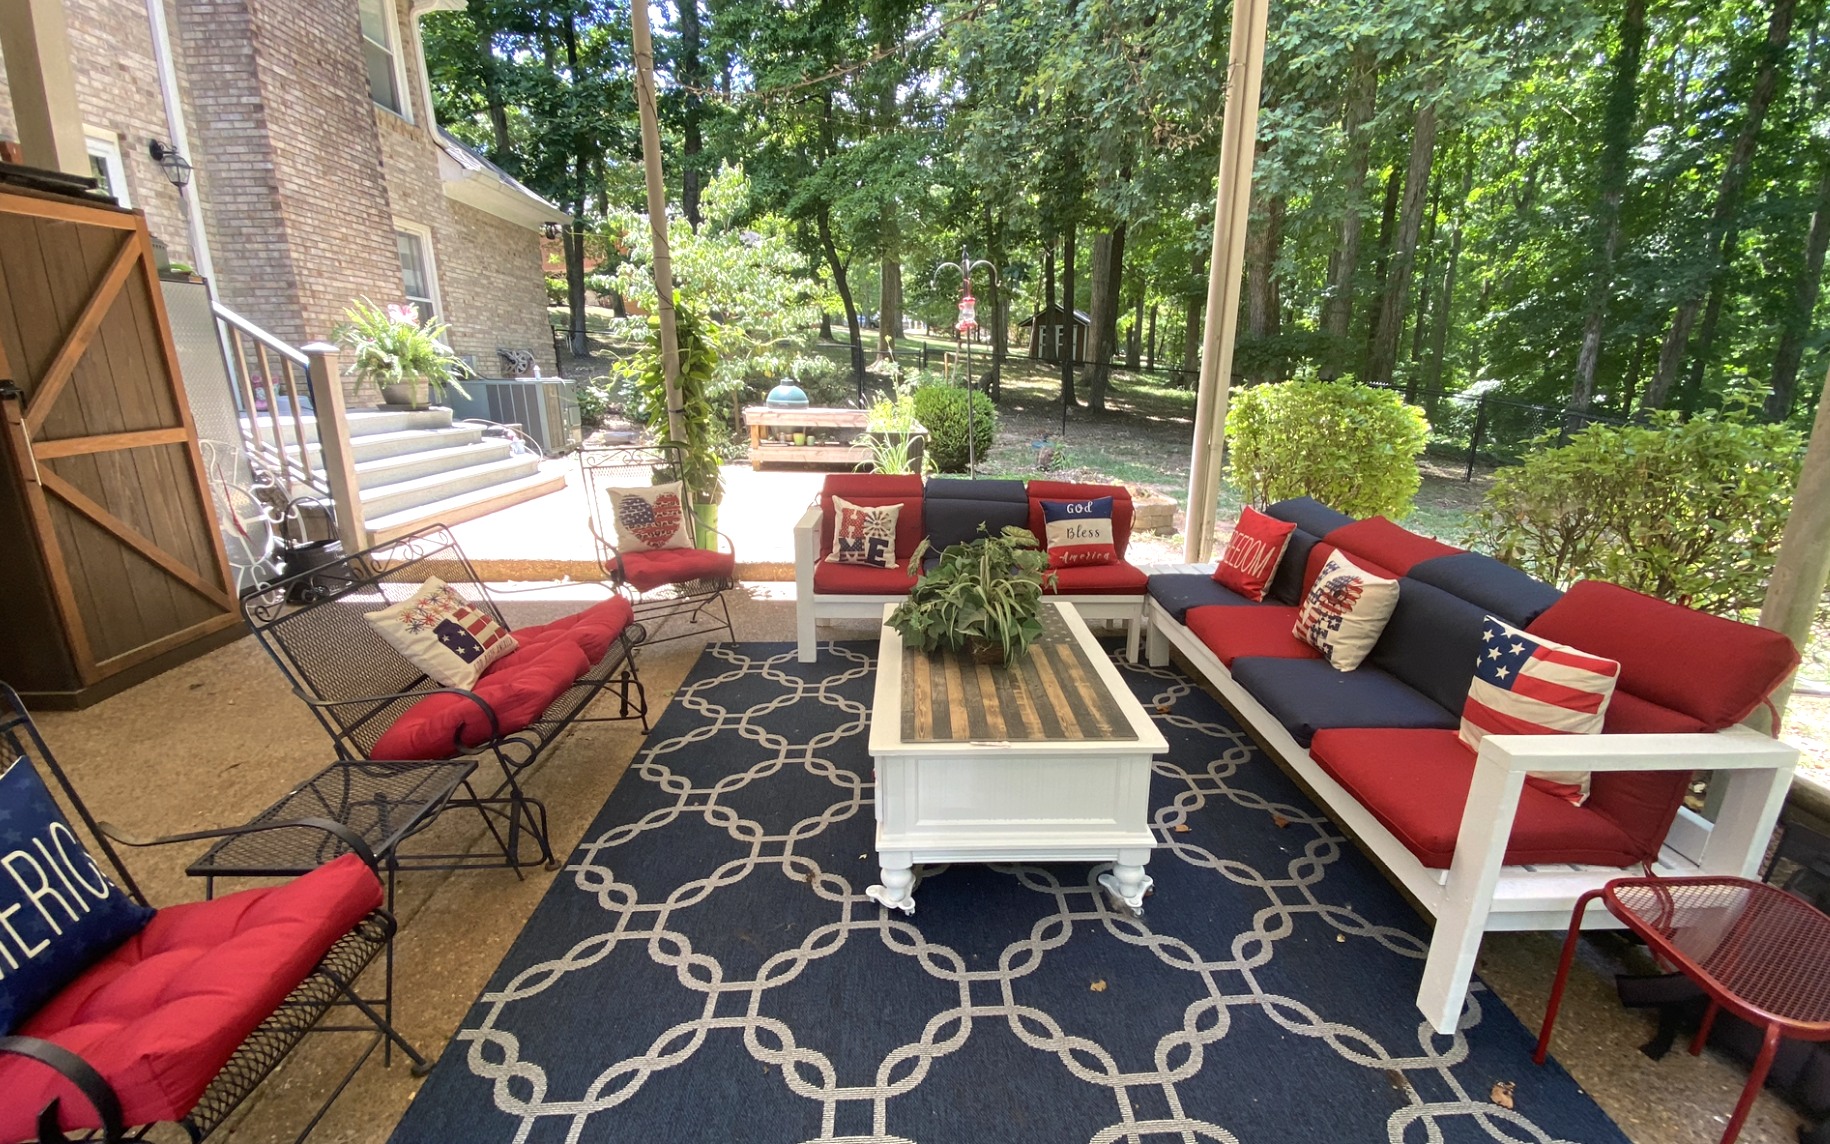
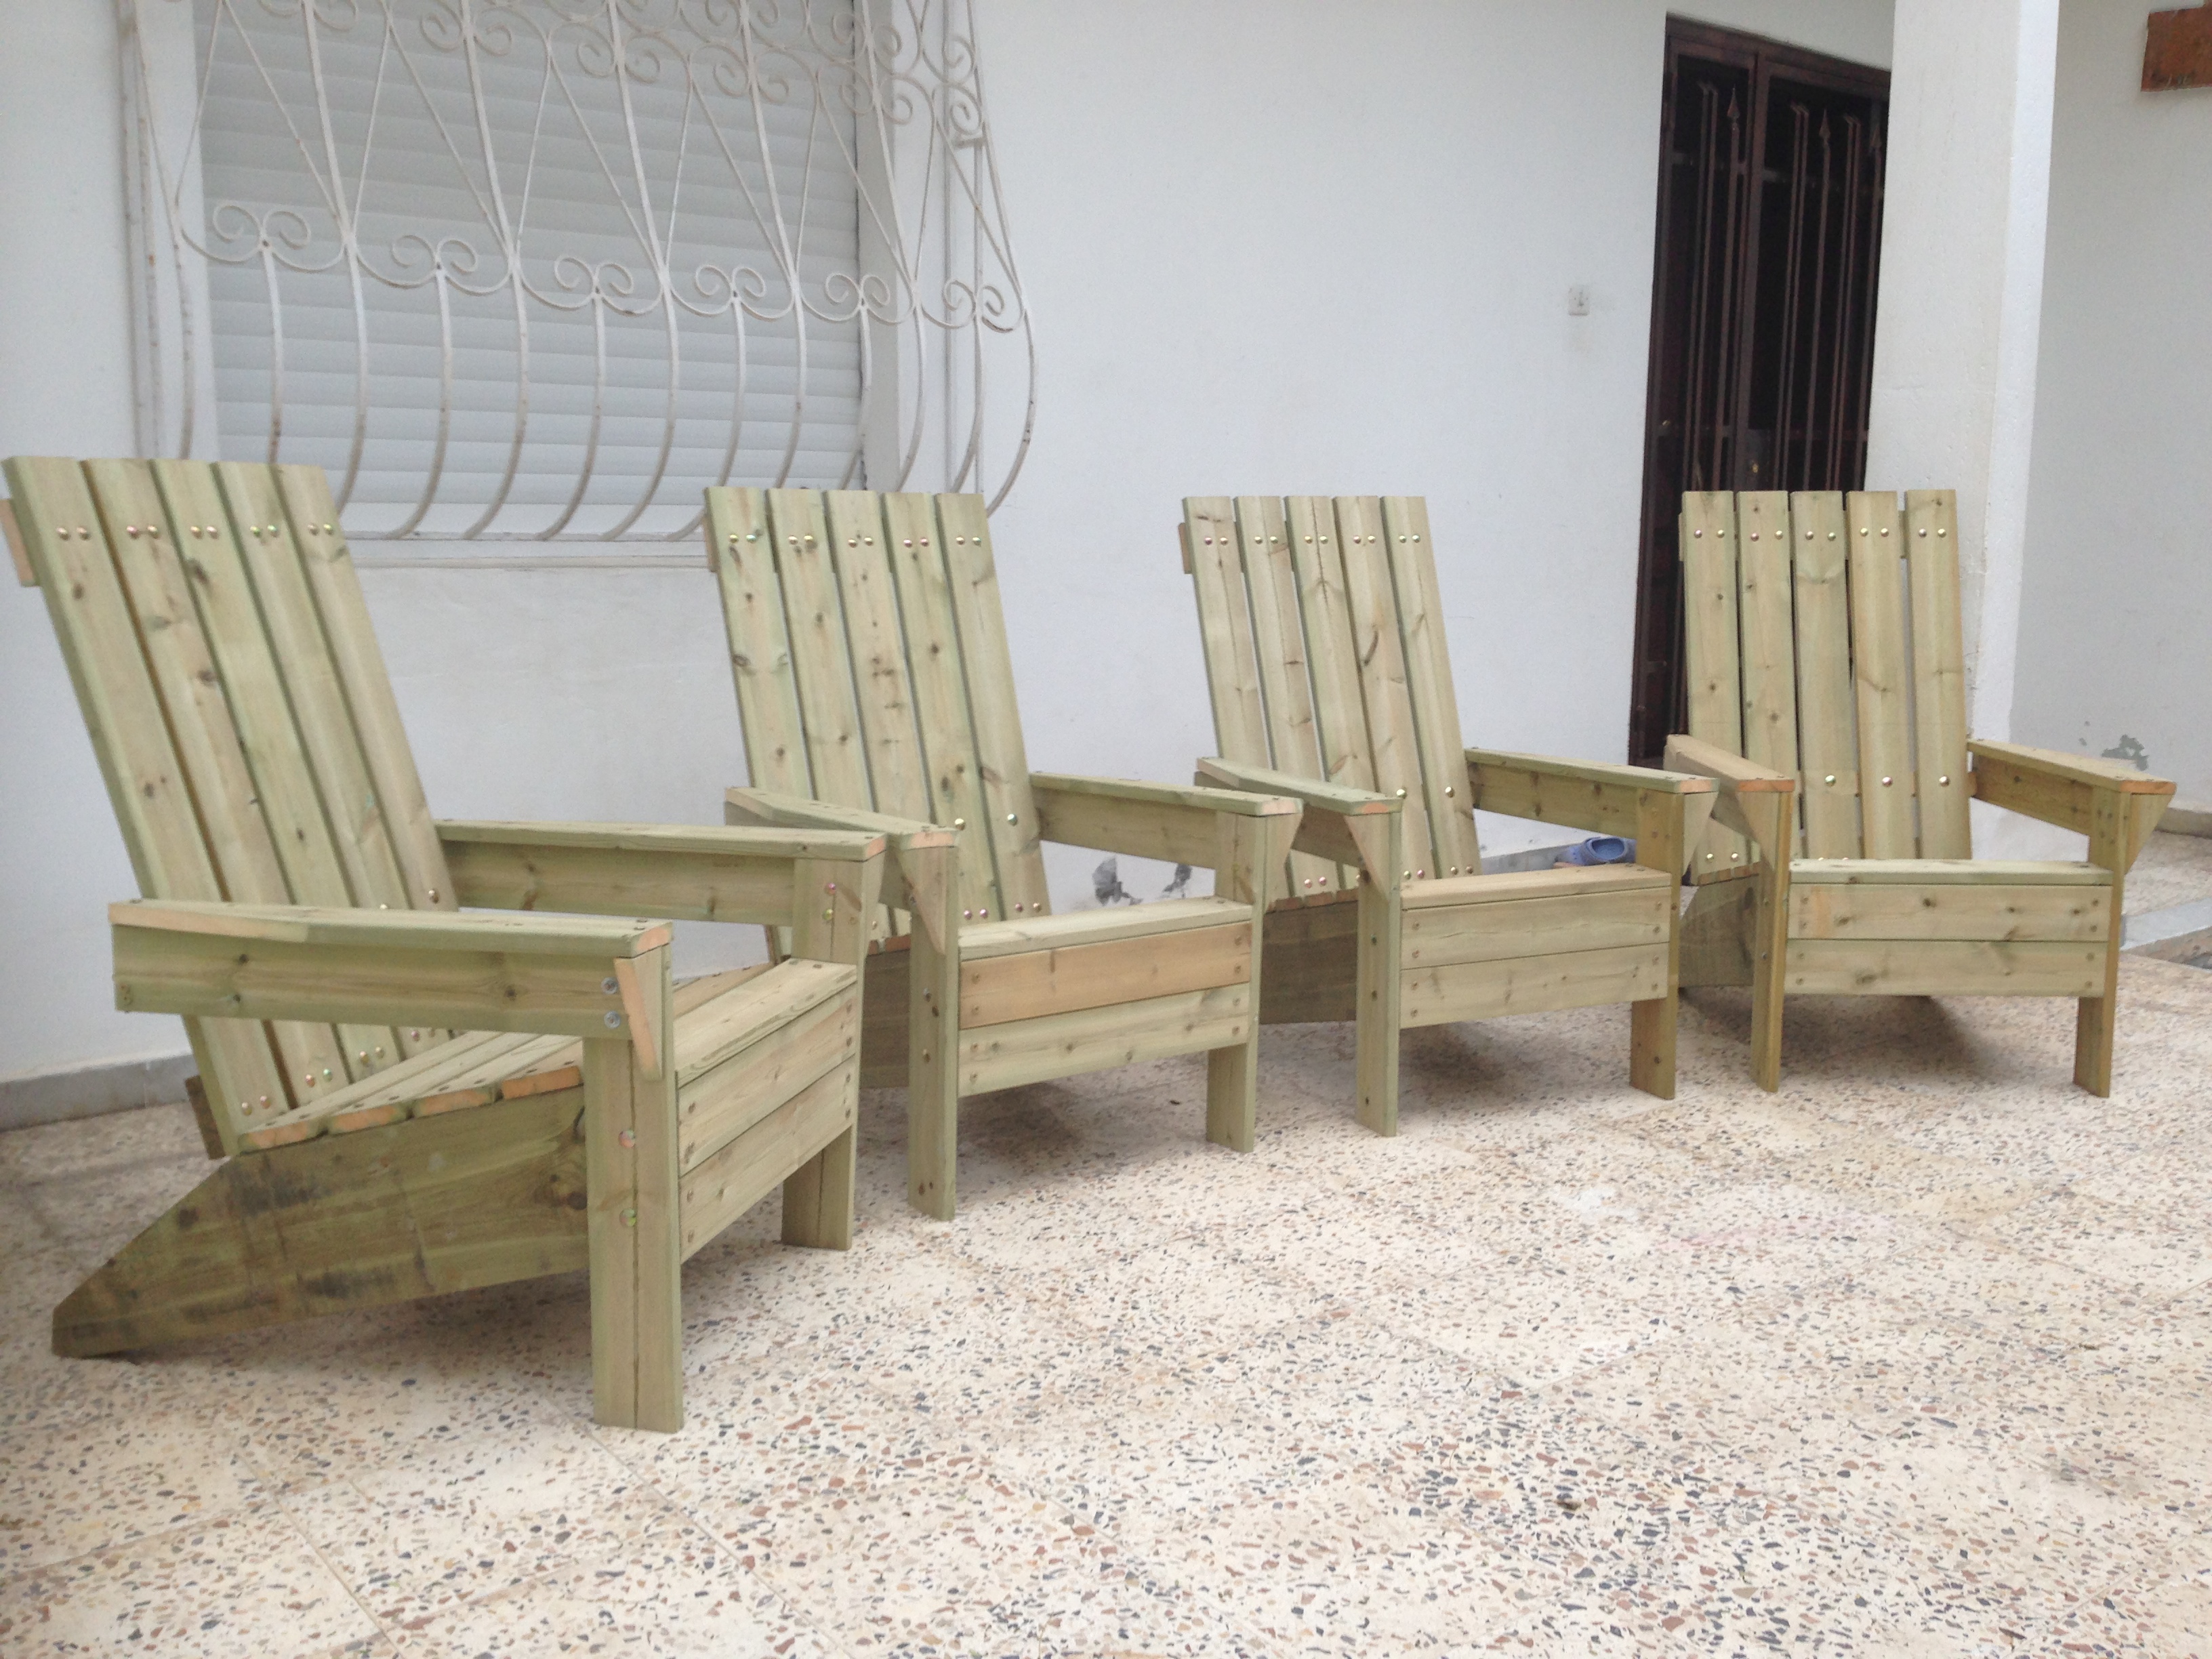
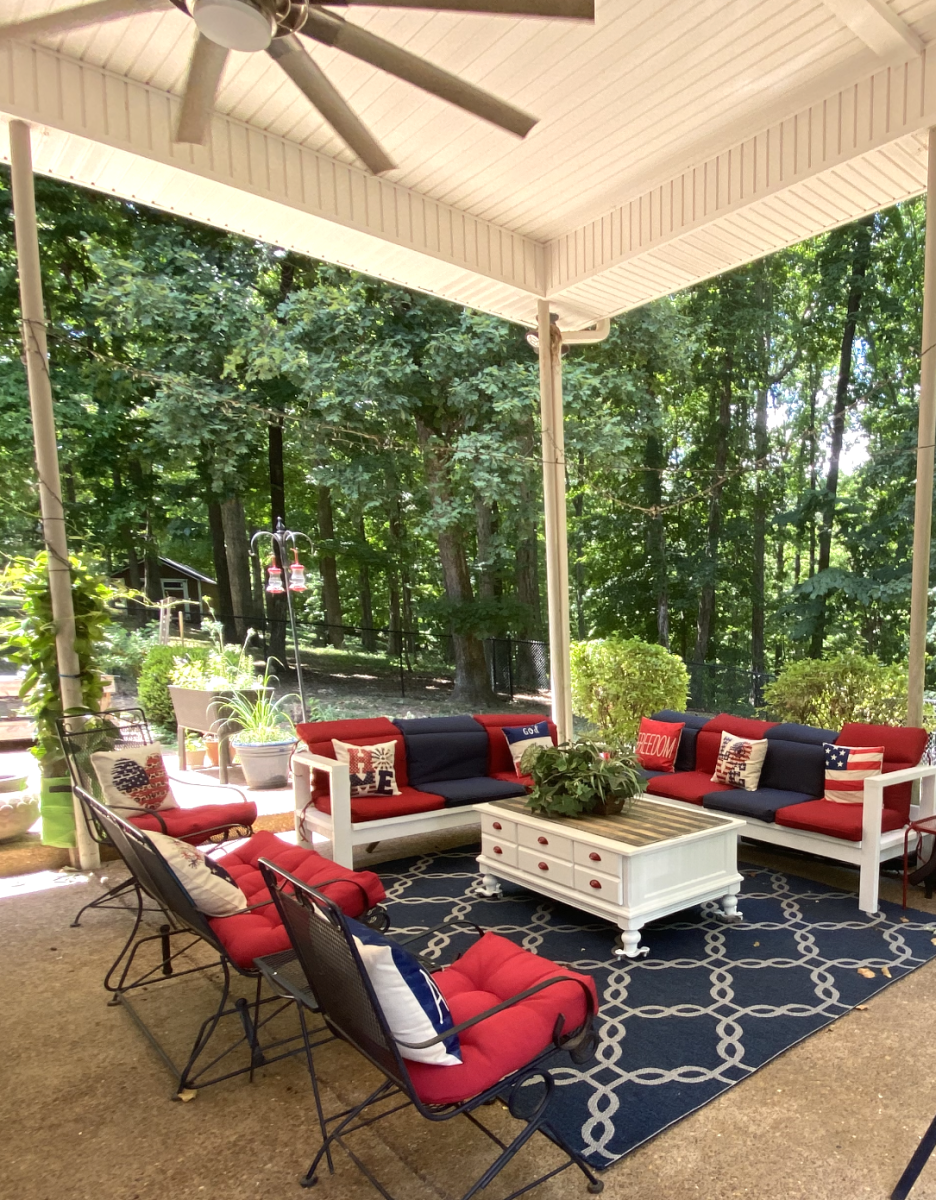
I wanted a bar lounge on my patio so I built it from your plans. We had a July 4th party for the my family. It was so nice.
Everyone was surprised I had done it myself.
I also made a corner table but unfortunately it doesn’t show in pictures.
Thank you! Your plans are amazingly easy.
Donna-Tennessee
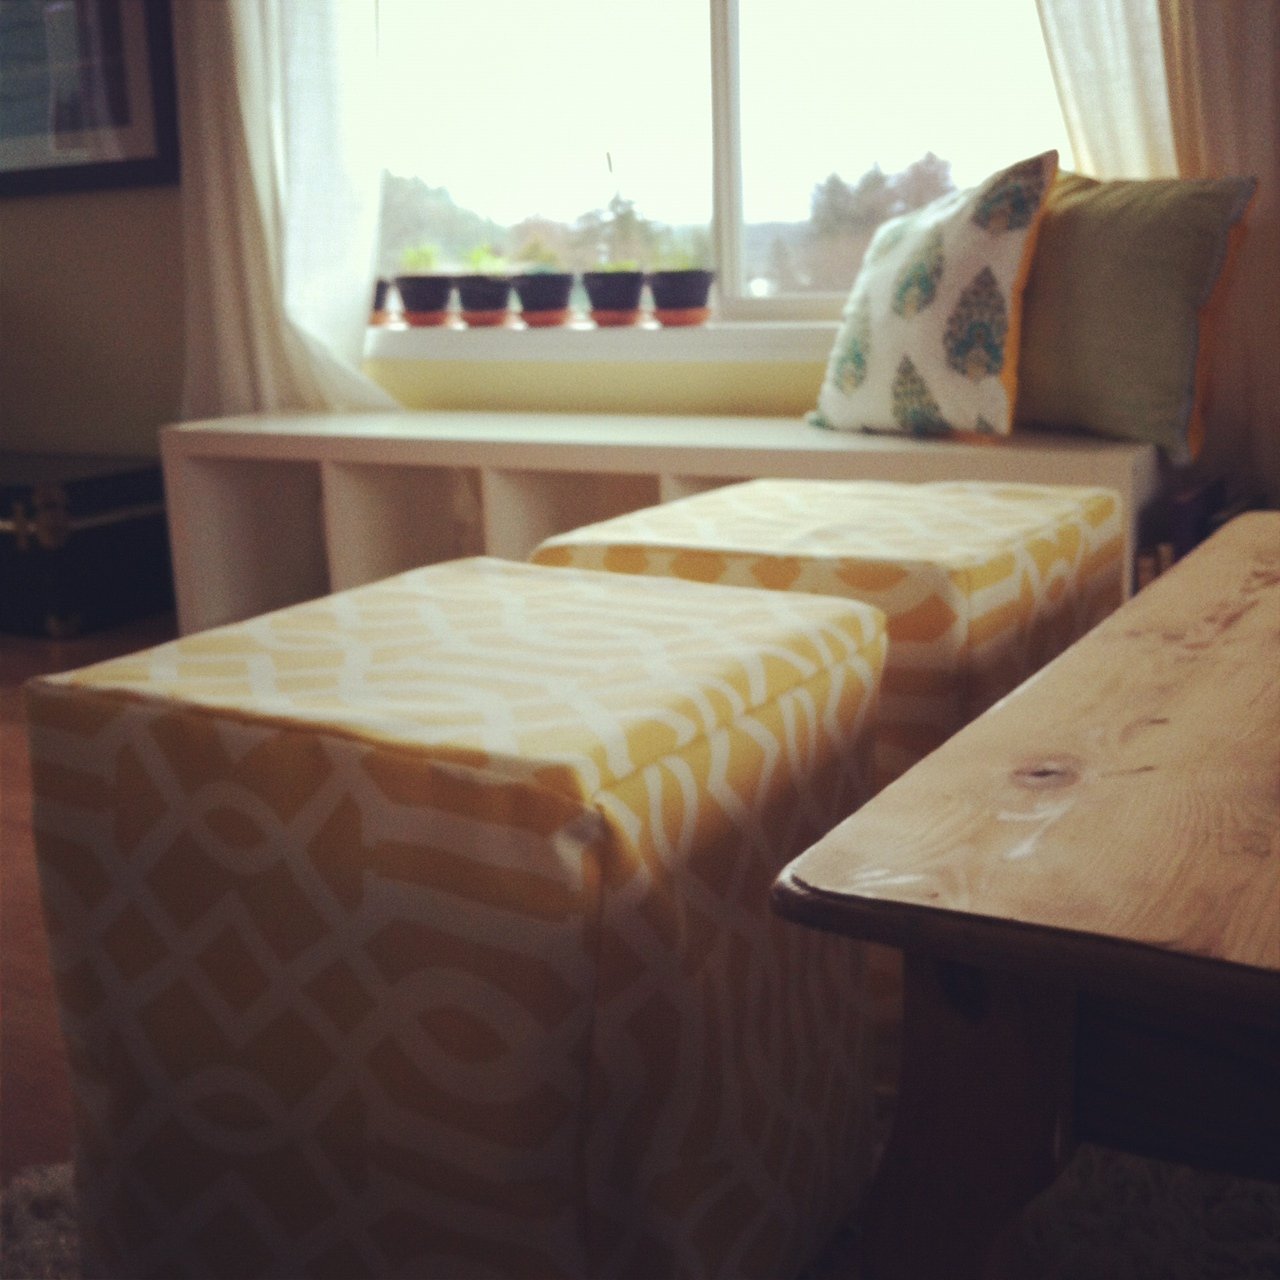
I decided to make these awesome ottomans that were featured on Shanty to Chic. I love them so much. I am new to the DIY world but loving it. You can catch my adventures trying to make this bad boy at my blog at ifshecandoitsocani.blogspot.com
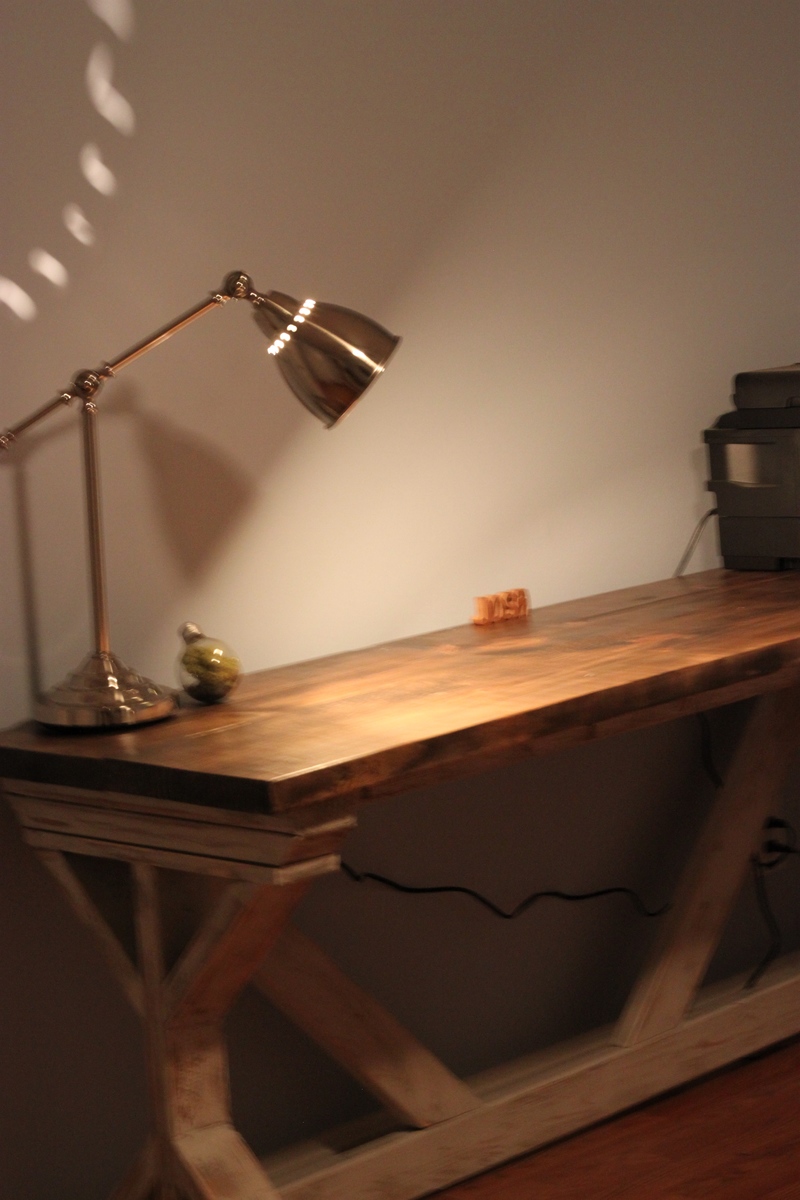
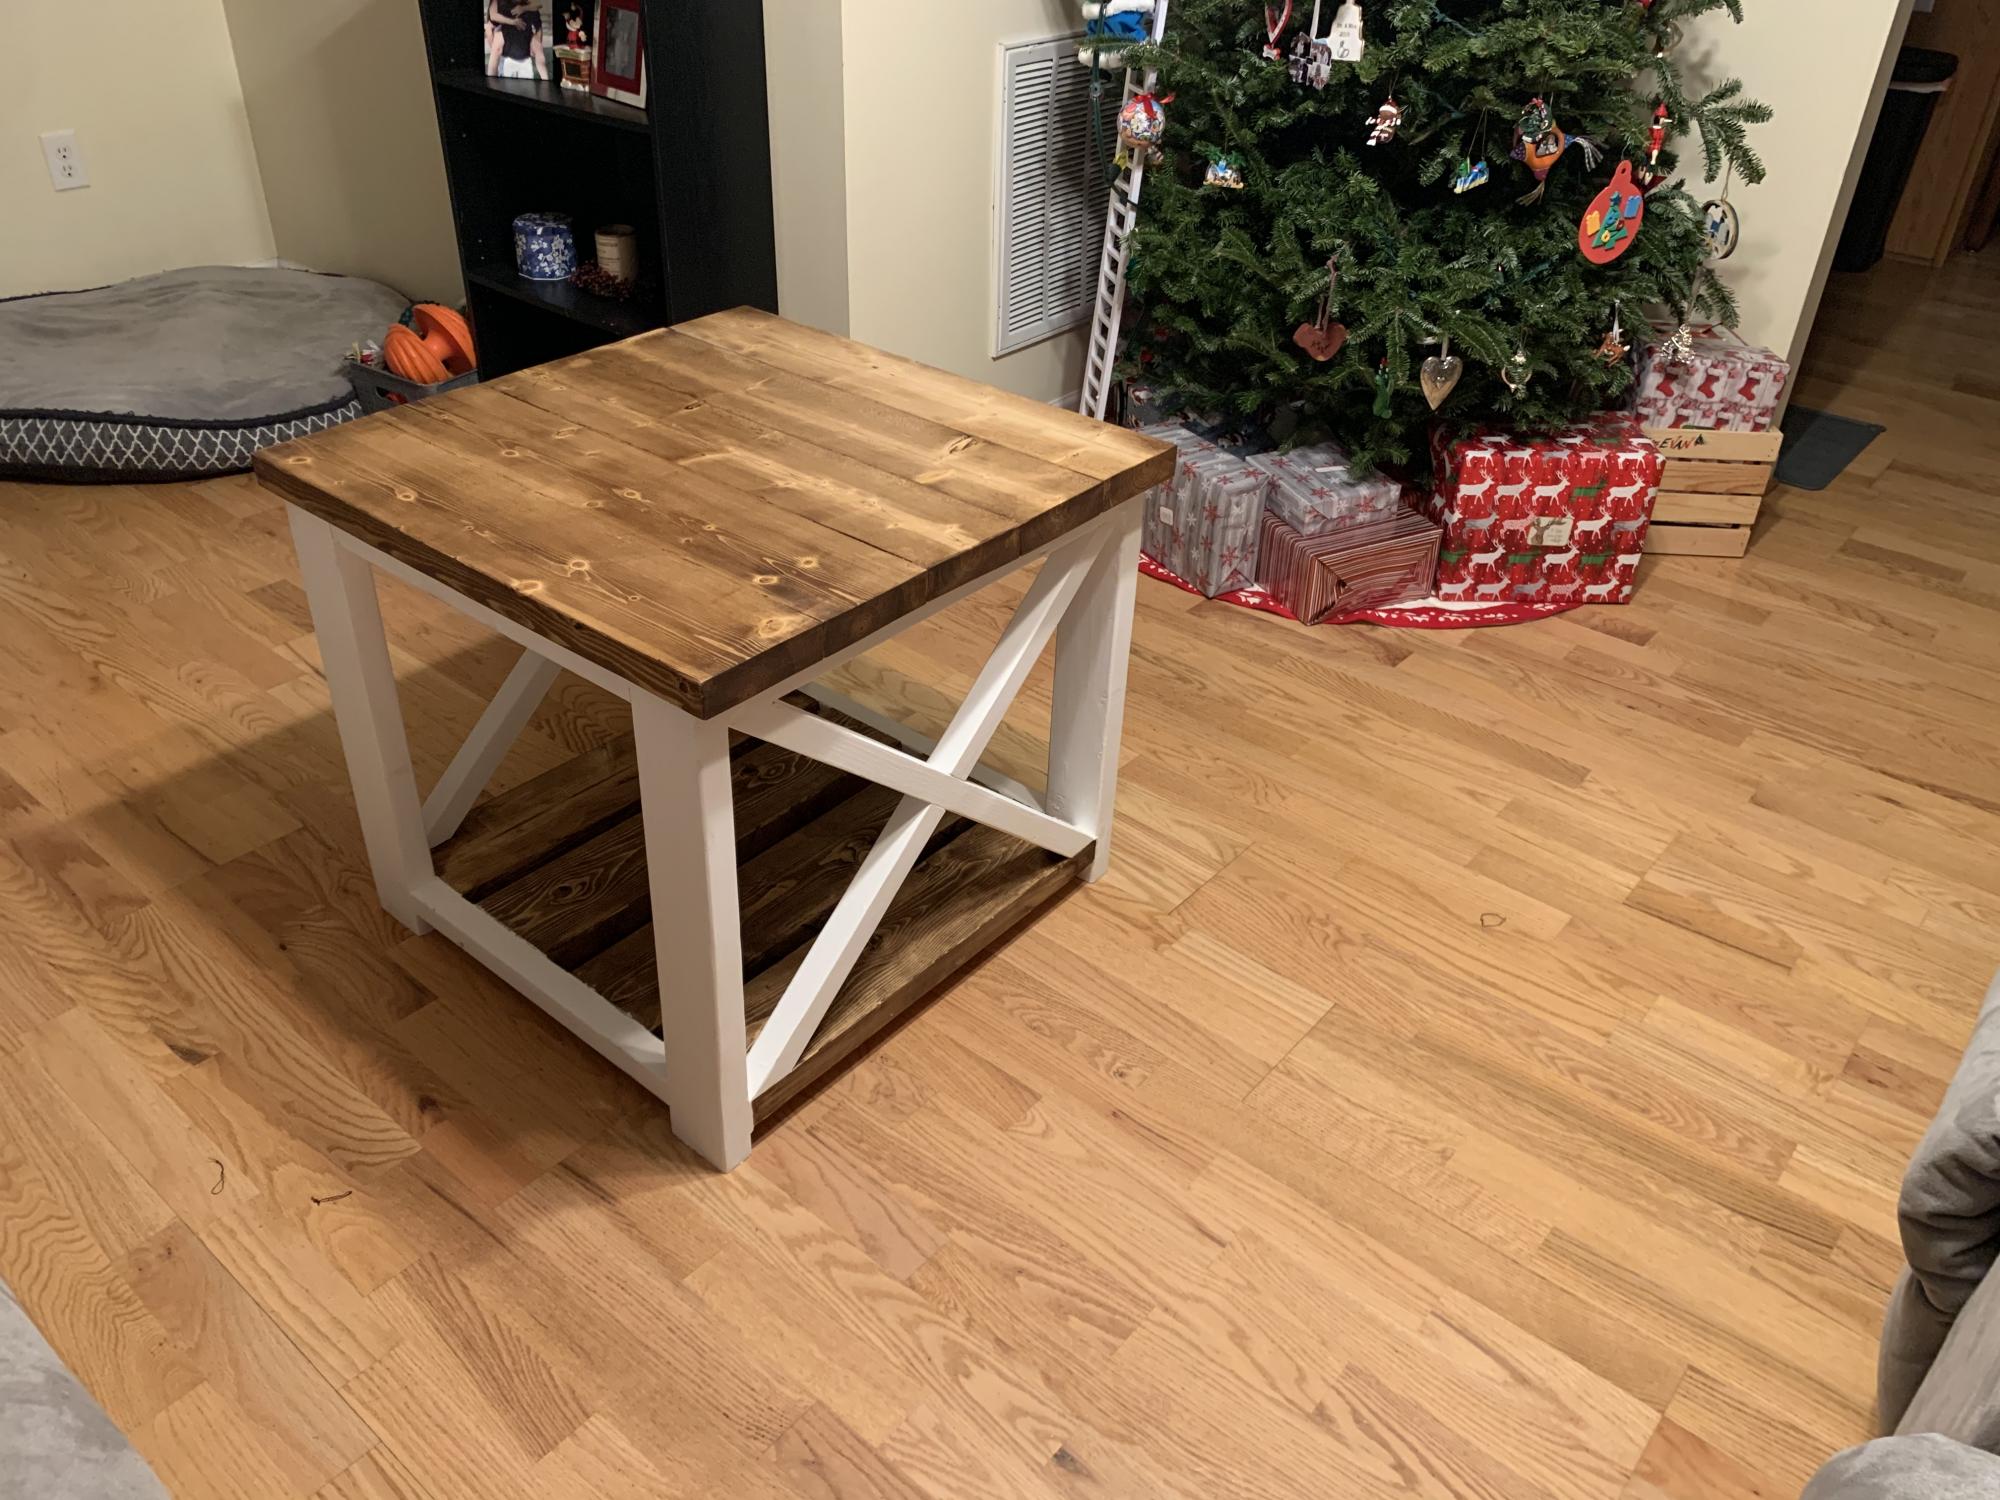
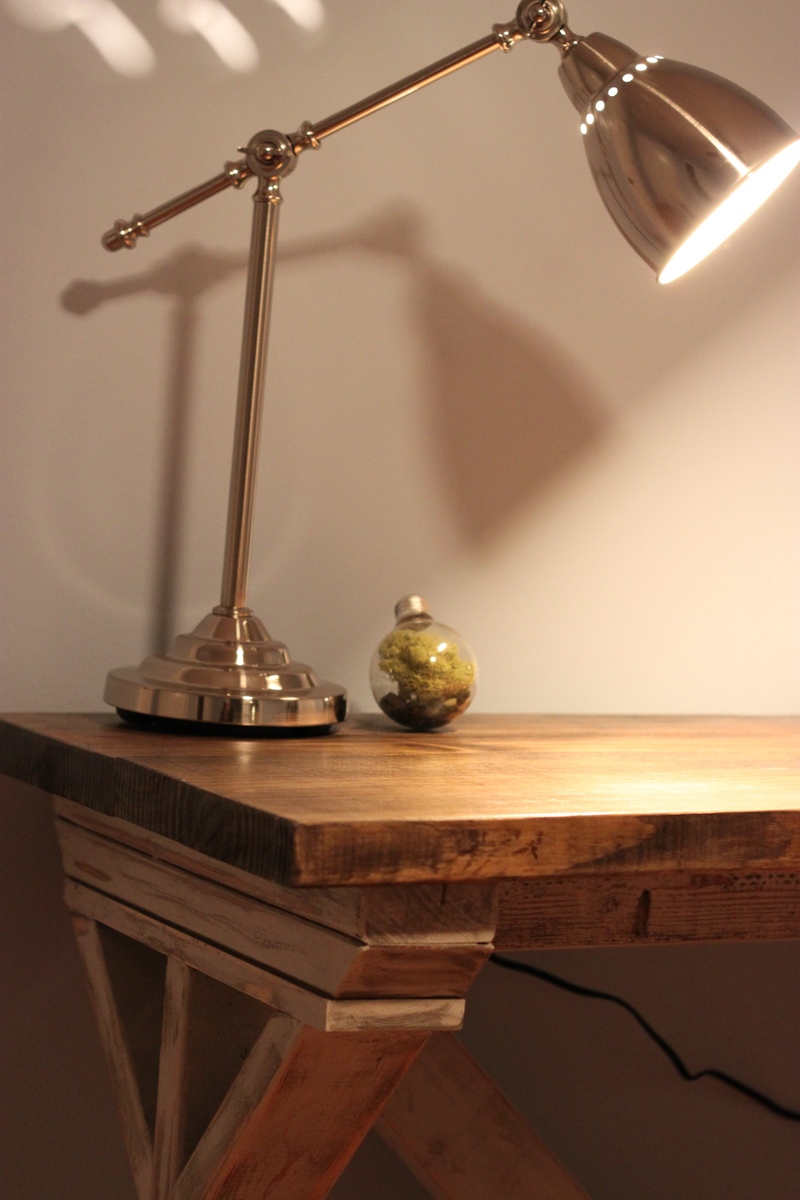
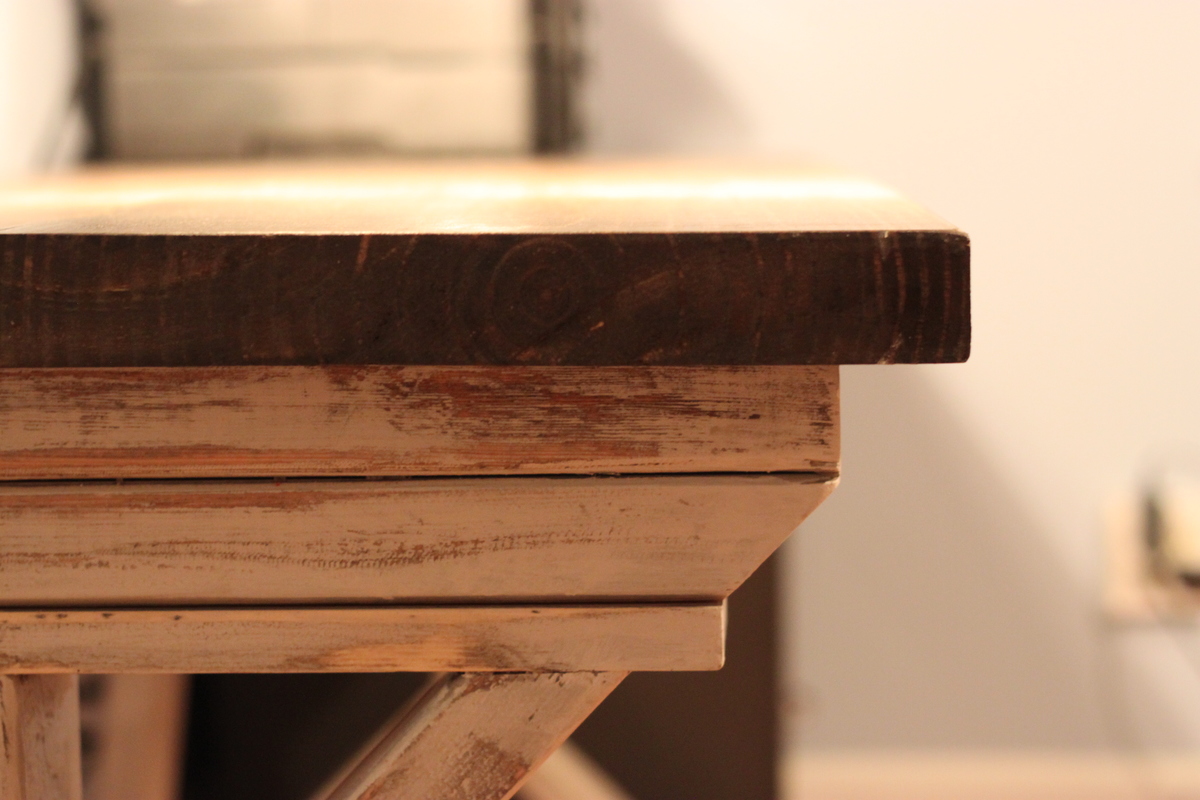
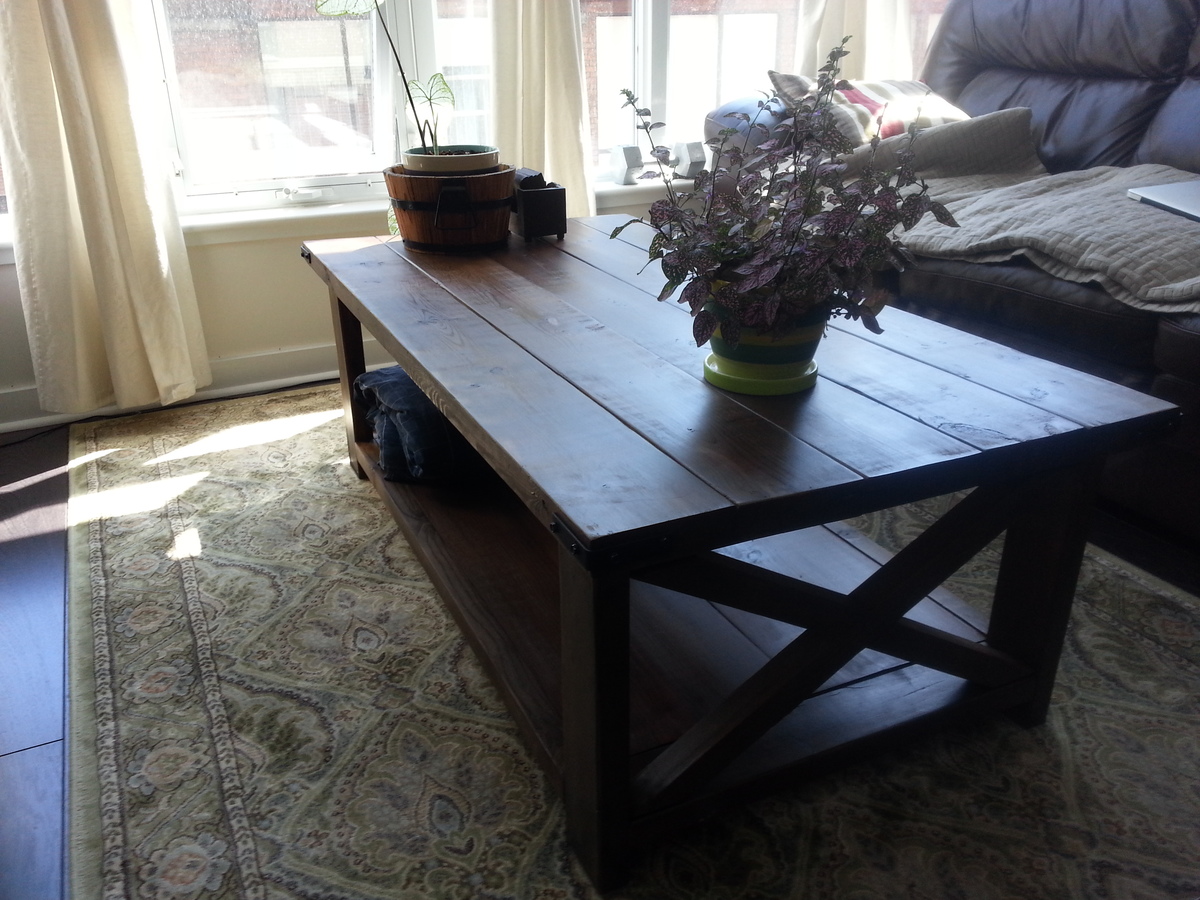
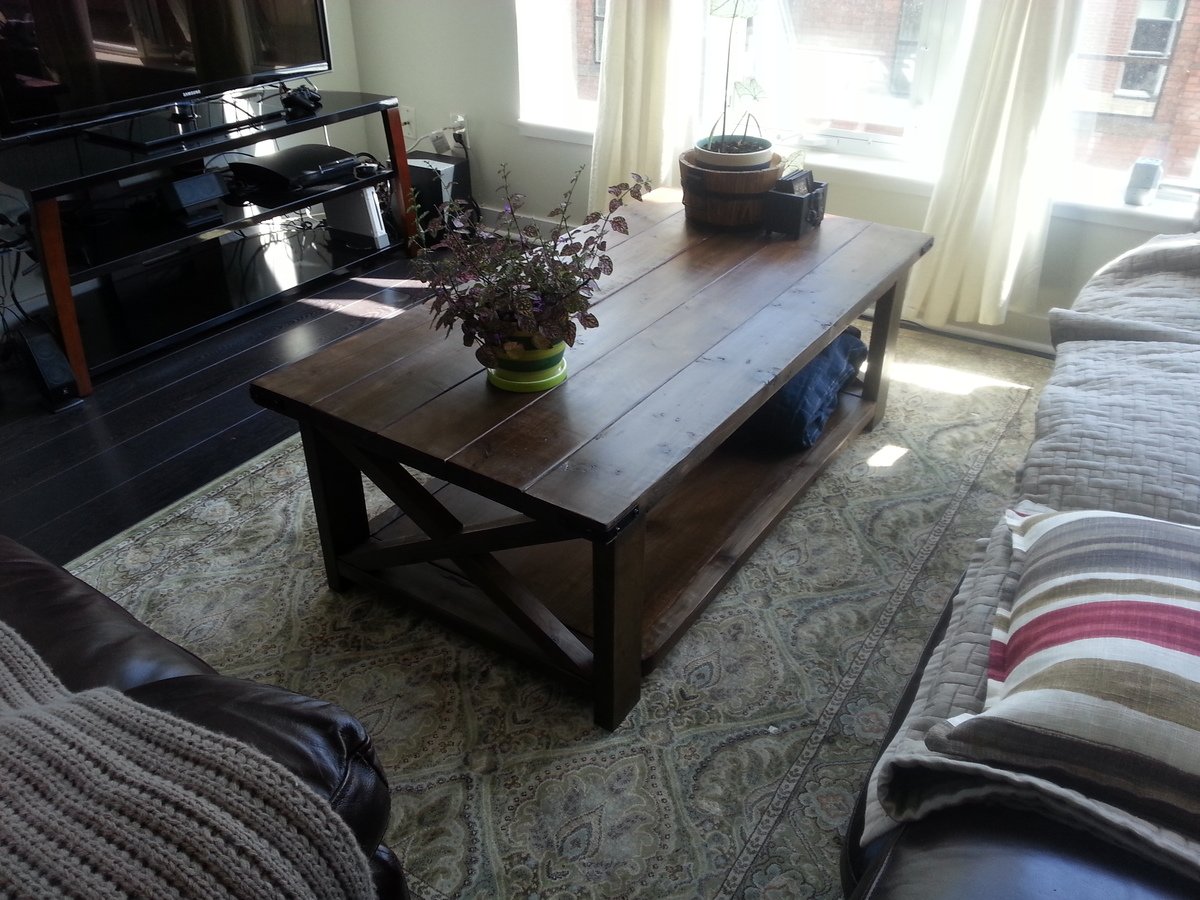
This was a great project. I had some trouble with getting the X's perfectly connected (due to off square boards) and had to use some wood filler here and there. Beyond that, everything came together really well. The longest part was getting the finish just right.

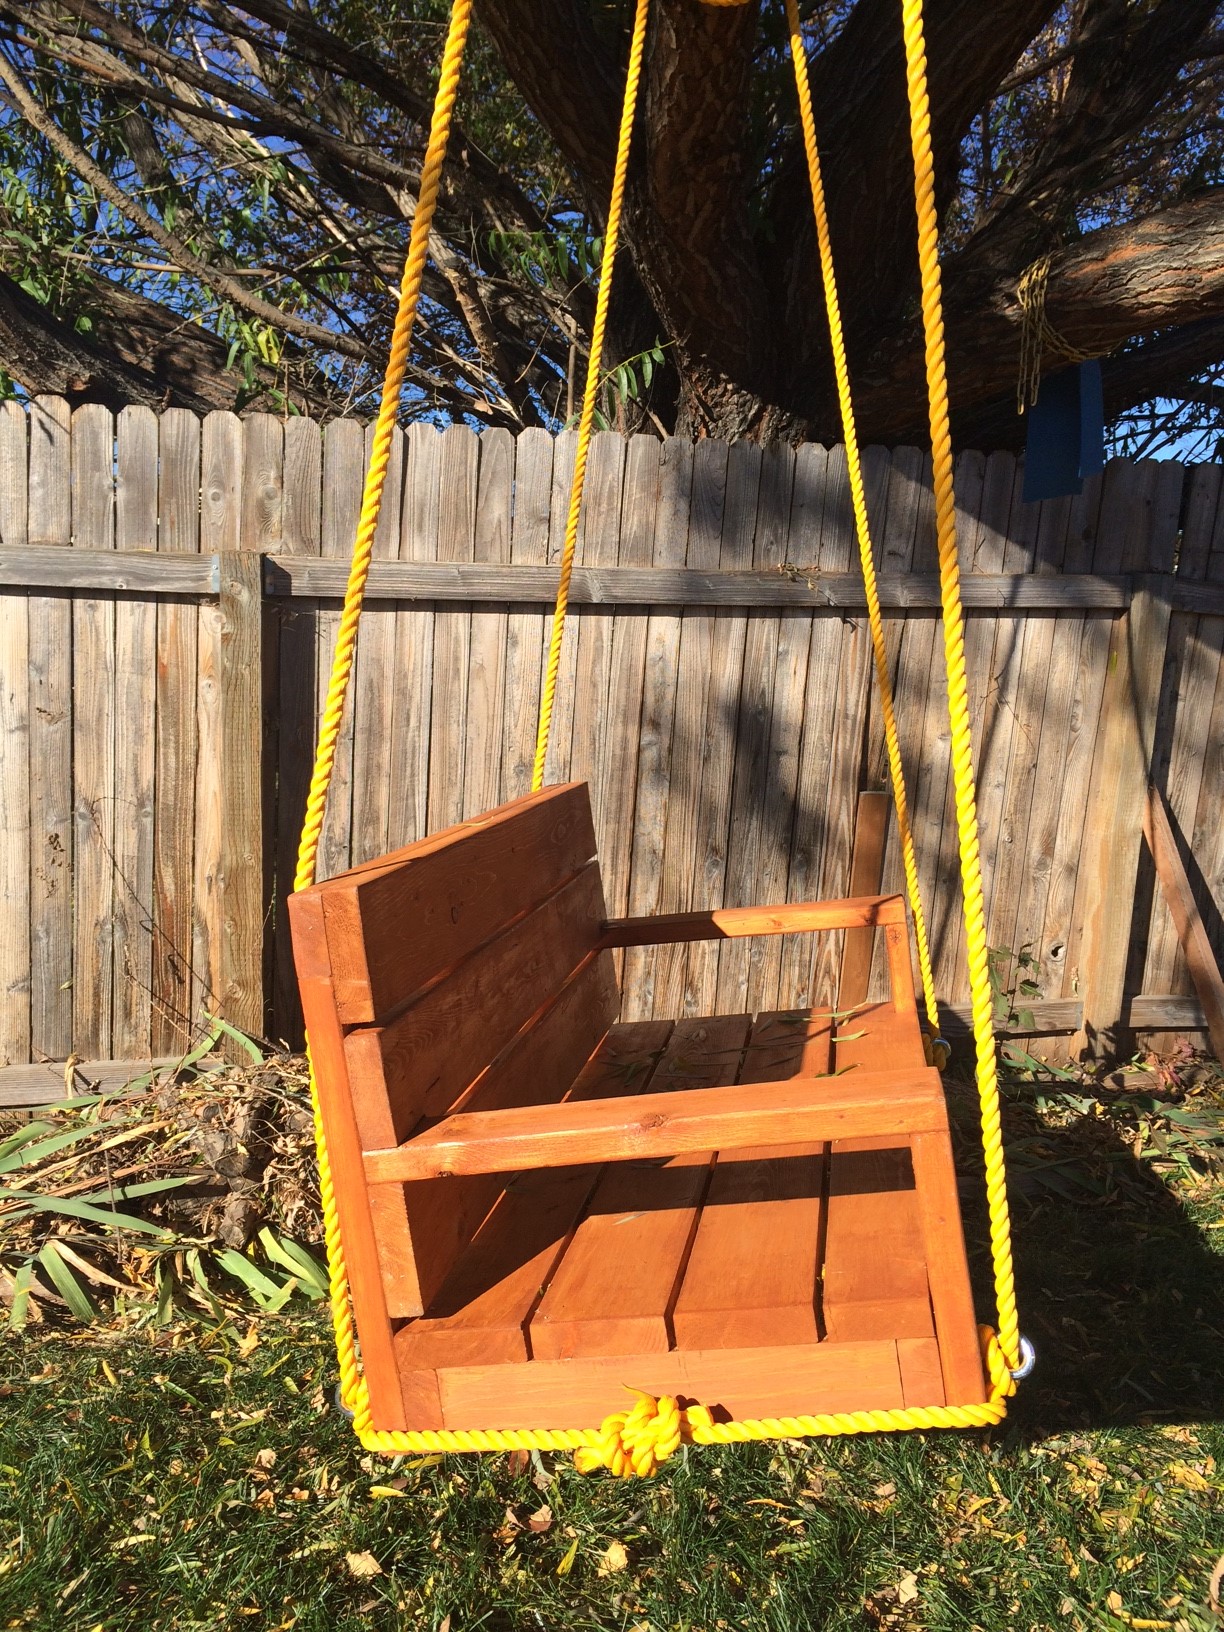
I work for a large manufacturing company that frequently has 'desirable trash'. Found 3 beautiful, heavy-duty pallets with beautiful wood on them. Took them home, took them apart, and got to work. The wife had been wanting a swing out near our children's playset so she could sit and watch them. Used Kreg pocket holes for everything that I could so as to hide as much hardware as possible.
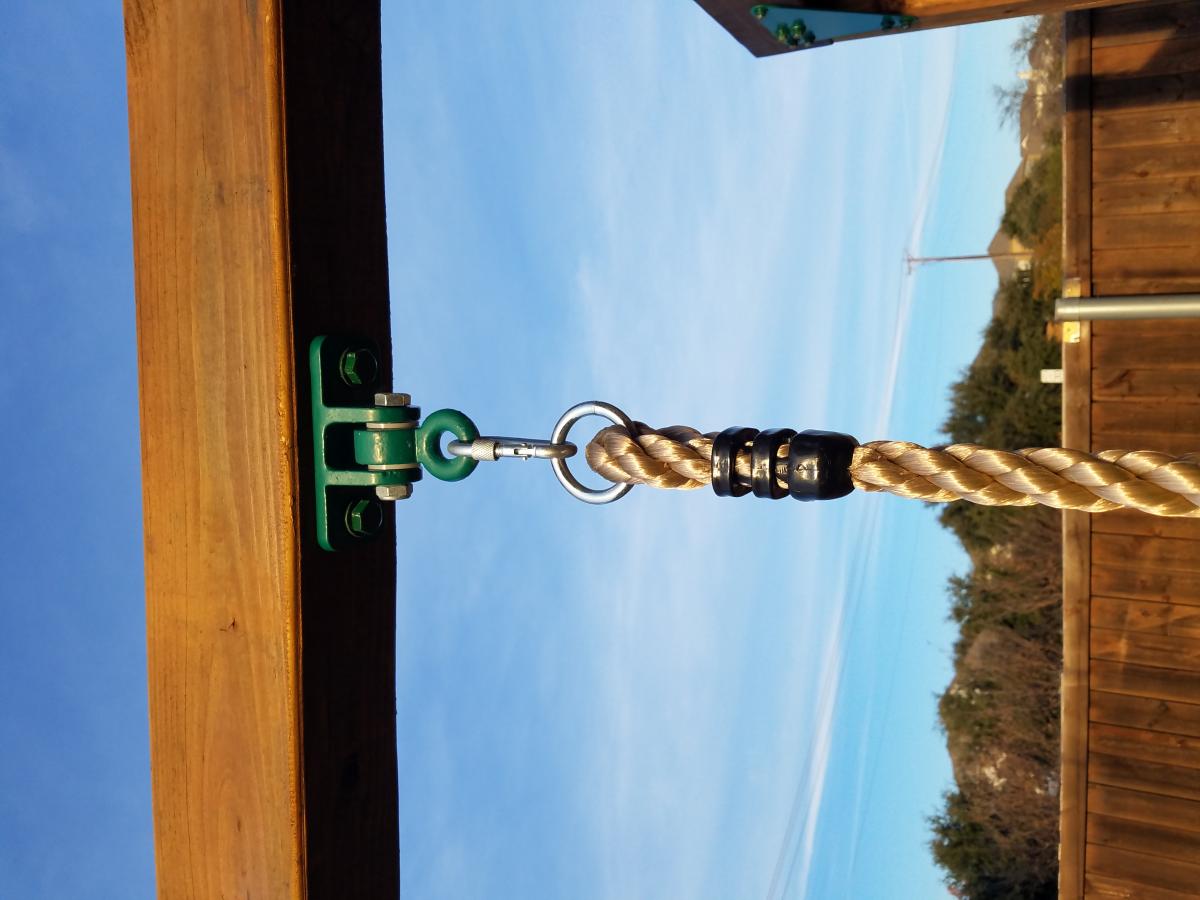
*Side note regarding why I did the rope the way I did - the original post had mentions of it being a bit tipsy (particularly with little ones!). With this design, there's no flip front or back and the rope only gets tighter the more weight that is applied.

I made this coop twice as wide like Ana suggested since I have 4 chickens and wanted to make sure there was some extra wiggle room in case “chicken math” got the best of us. I made a nesting box to mount on the outside. I also used plywood for the sides like Ana did in the video. I installed a Run Chicken automatic door that opens at sunrise and closes at sunset. I added some hasps and clasps to make sure all my doors would close tightly. I put hardware cloth across the top before installing the roof panels. I stapled and buried hardware cloth around the perimeter for predator protection. I also spray painted the hardware cloth flat black so that it would be easier for us to see inside the coop. I stained the rest of the wood with Varathane Semi-Transparent stain, color “Carbon Gray.” I also added some roosts and cedar shingle siding for some extra protection during our New England winters at to match our house. Working 2-4 hours a day, off and on, with a bum shoulder and weak hands, this took me about a week! Thanks for the great plan, Ana!


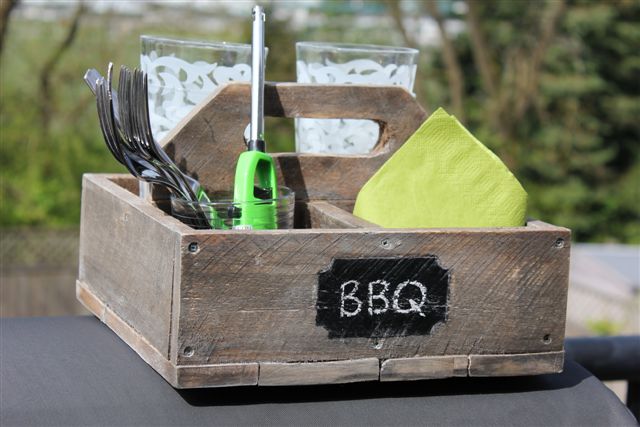
I had some pallet wood laying around and felt like taking on a small project. The boards were warped, but after fighting with them a bit, it turned out well. I was going for the reclaimed, rustic look anyhow :) I find it a little heavy to actually use as a caddy, so it's more for decoration. I think I might plant a few herbs in it, for a little portable herb garden.

- made directly from the plans
- decorative hardware was spray painted "flat black"
- there are decorative bolts in the legs, they were installed after these pictures were taken.

I am so ridiculously proud of myself... This was my first wood building project and now I think I'm addicted !!!! Next project a bookshelf!!

Such a great sturdy bed! Daughter loves it.

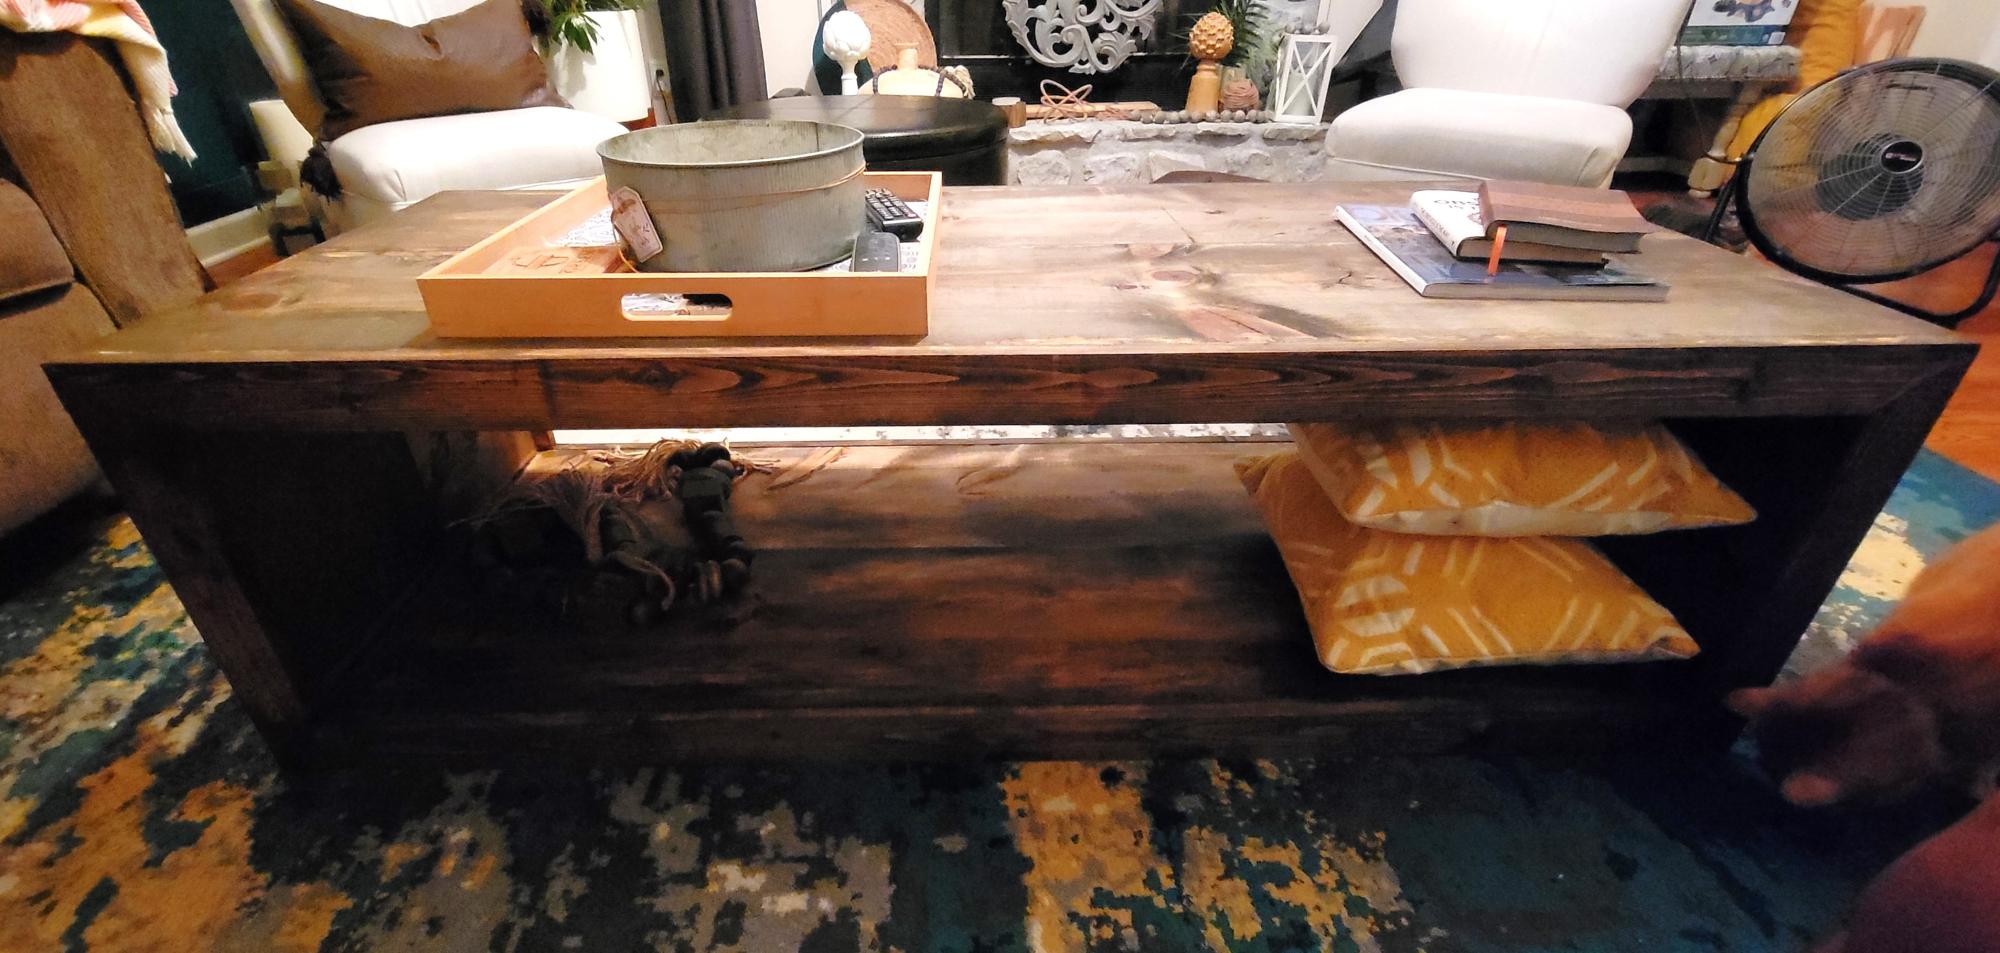
Ana White Coffee table.
Vallerie Brown
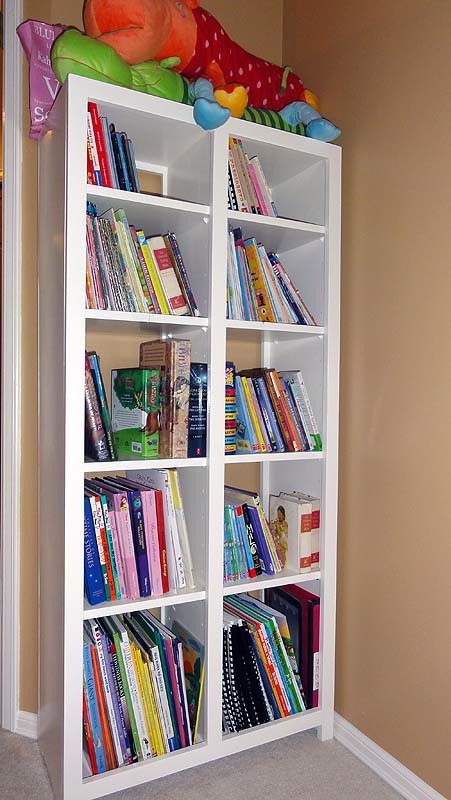
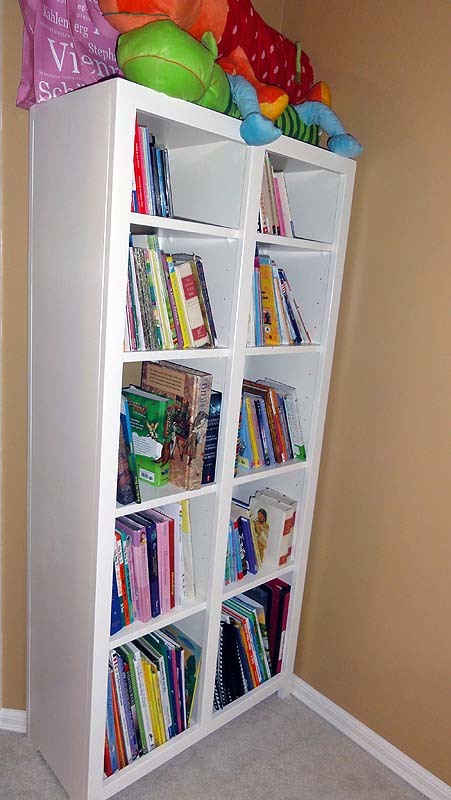
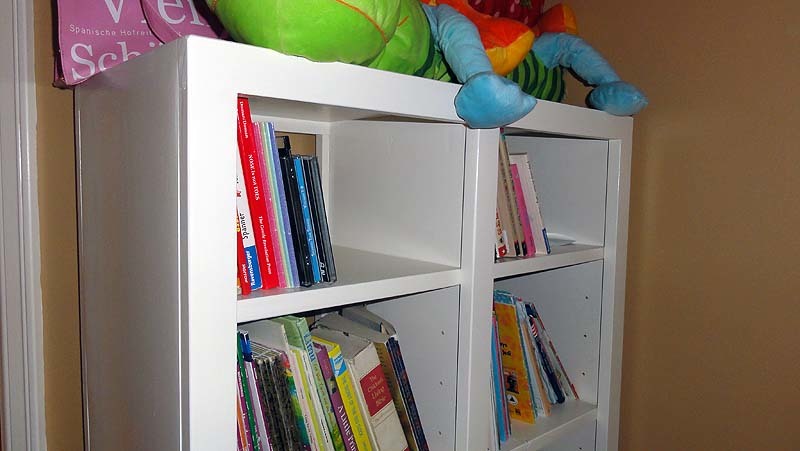
My youngest needed a new bookcase so bad! All she had was an old baby bookcase that hardly fit her books anymore. I was so excited to see Ana's plans for the simple cubby bookcase. Yay! I made it a smidge narrower to fit the space and taller so she could have more adjustable cubbies. :)
I used pine 1x12 boards for the box and pine 1x2's for the trim. I used my Jig-It Adjustable Shelving Jig and drilled every other hole. Didn't feel like I needed quite as much "adjustability" for books. :-)
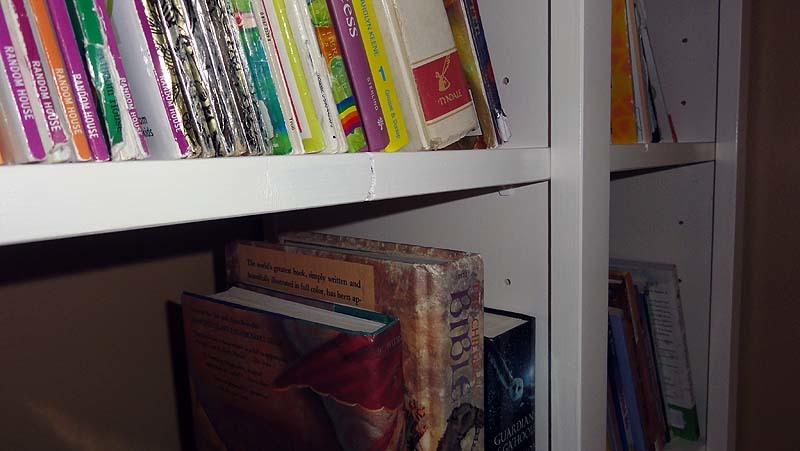
I wanted a more rustic look, so I left a lot of brush strokes on purpose and didn't fill any obvious knots in the wood. I really like how it turned out. :) When we were putting all of the shelves in, my daughter was so cute - she made sure all of the knots were facing OUTWARD so she could see them. She thought it looked neat that way.
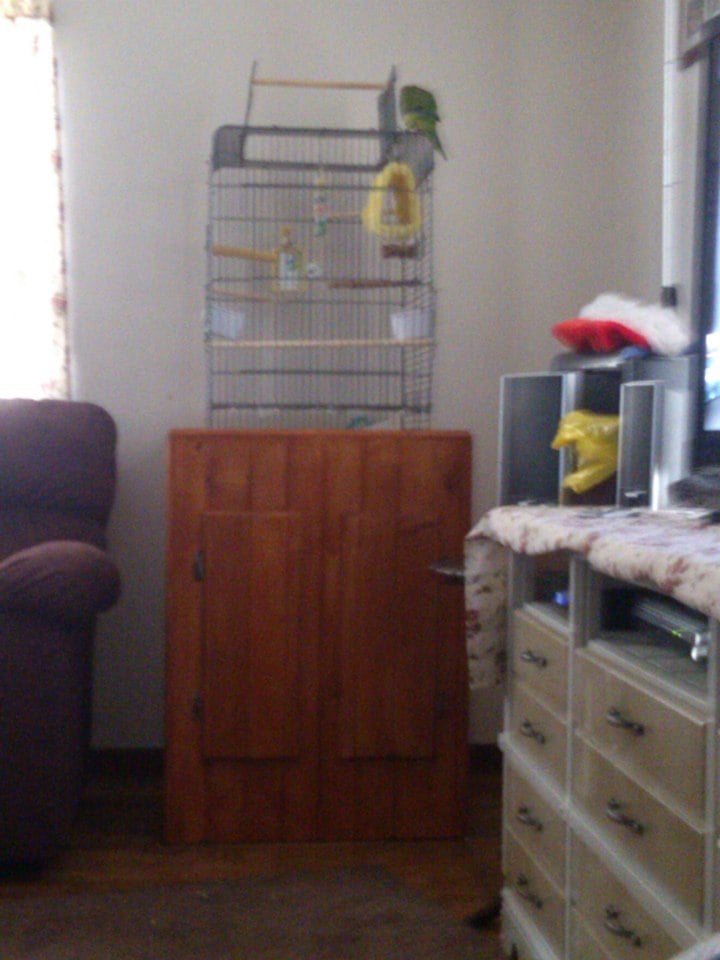
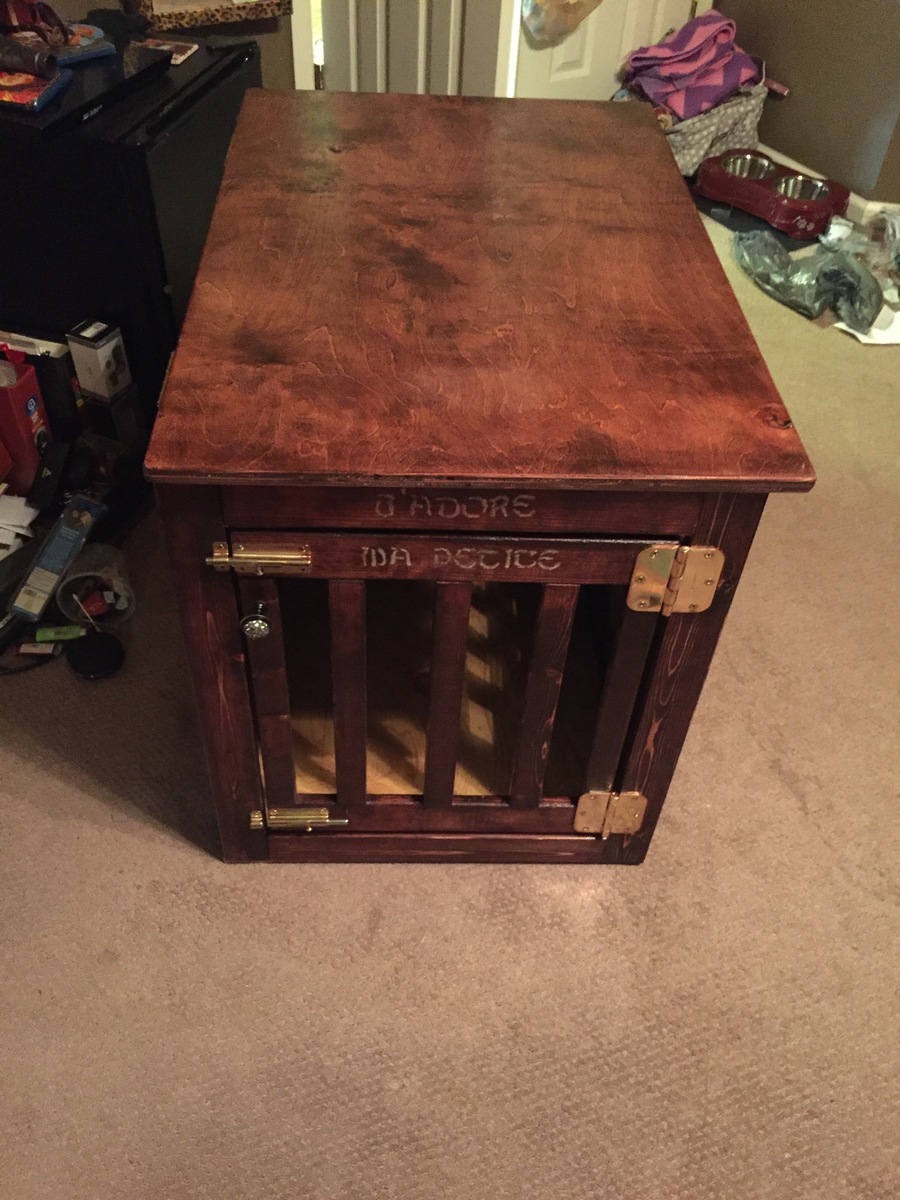
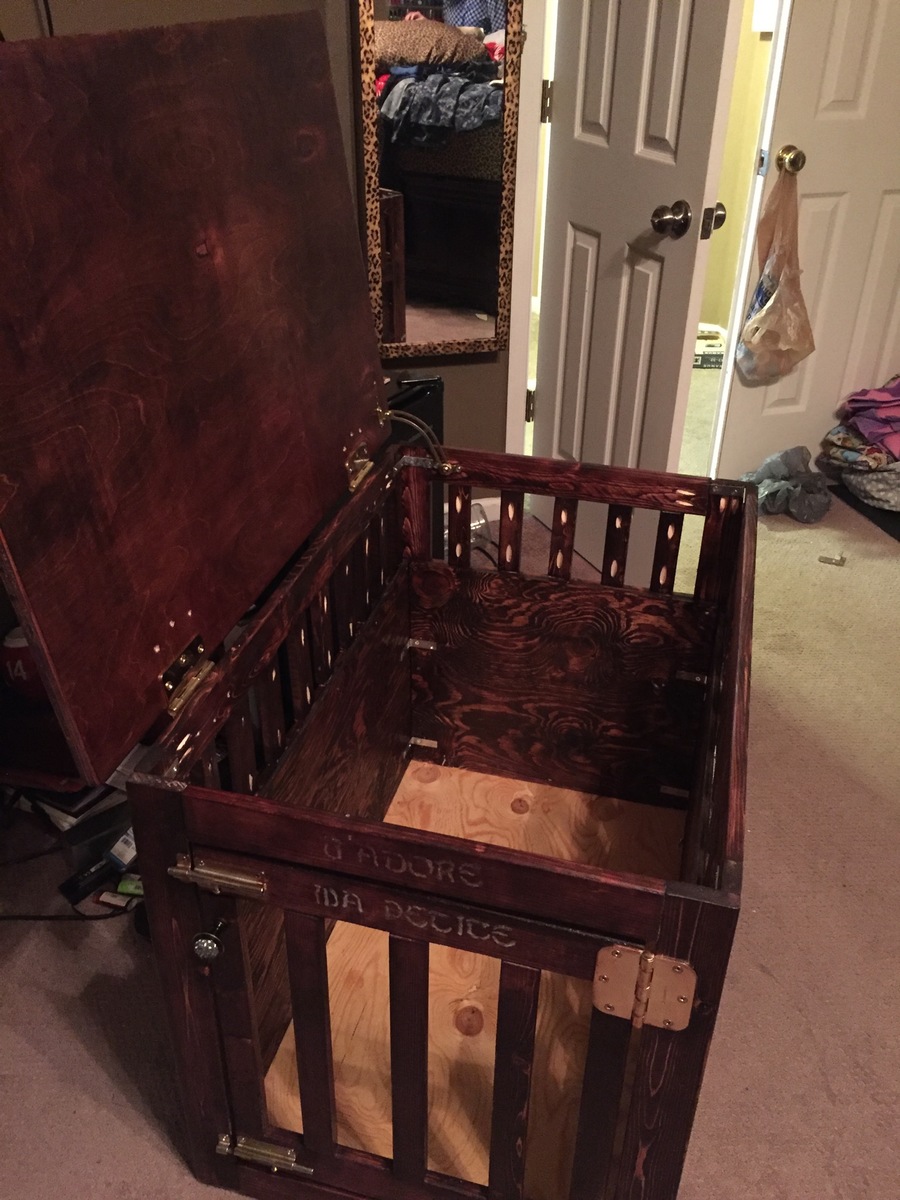
I wanted our bird's cage up higher and on something that the kids wouldn't be able to tip over. So my Husband came up with this. Its car siding. and stained. it has 2 hinged doors and a shelf.

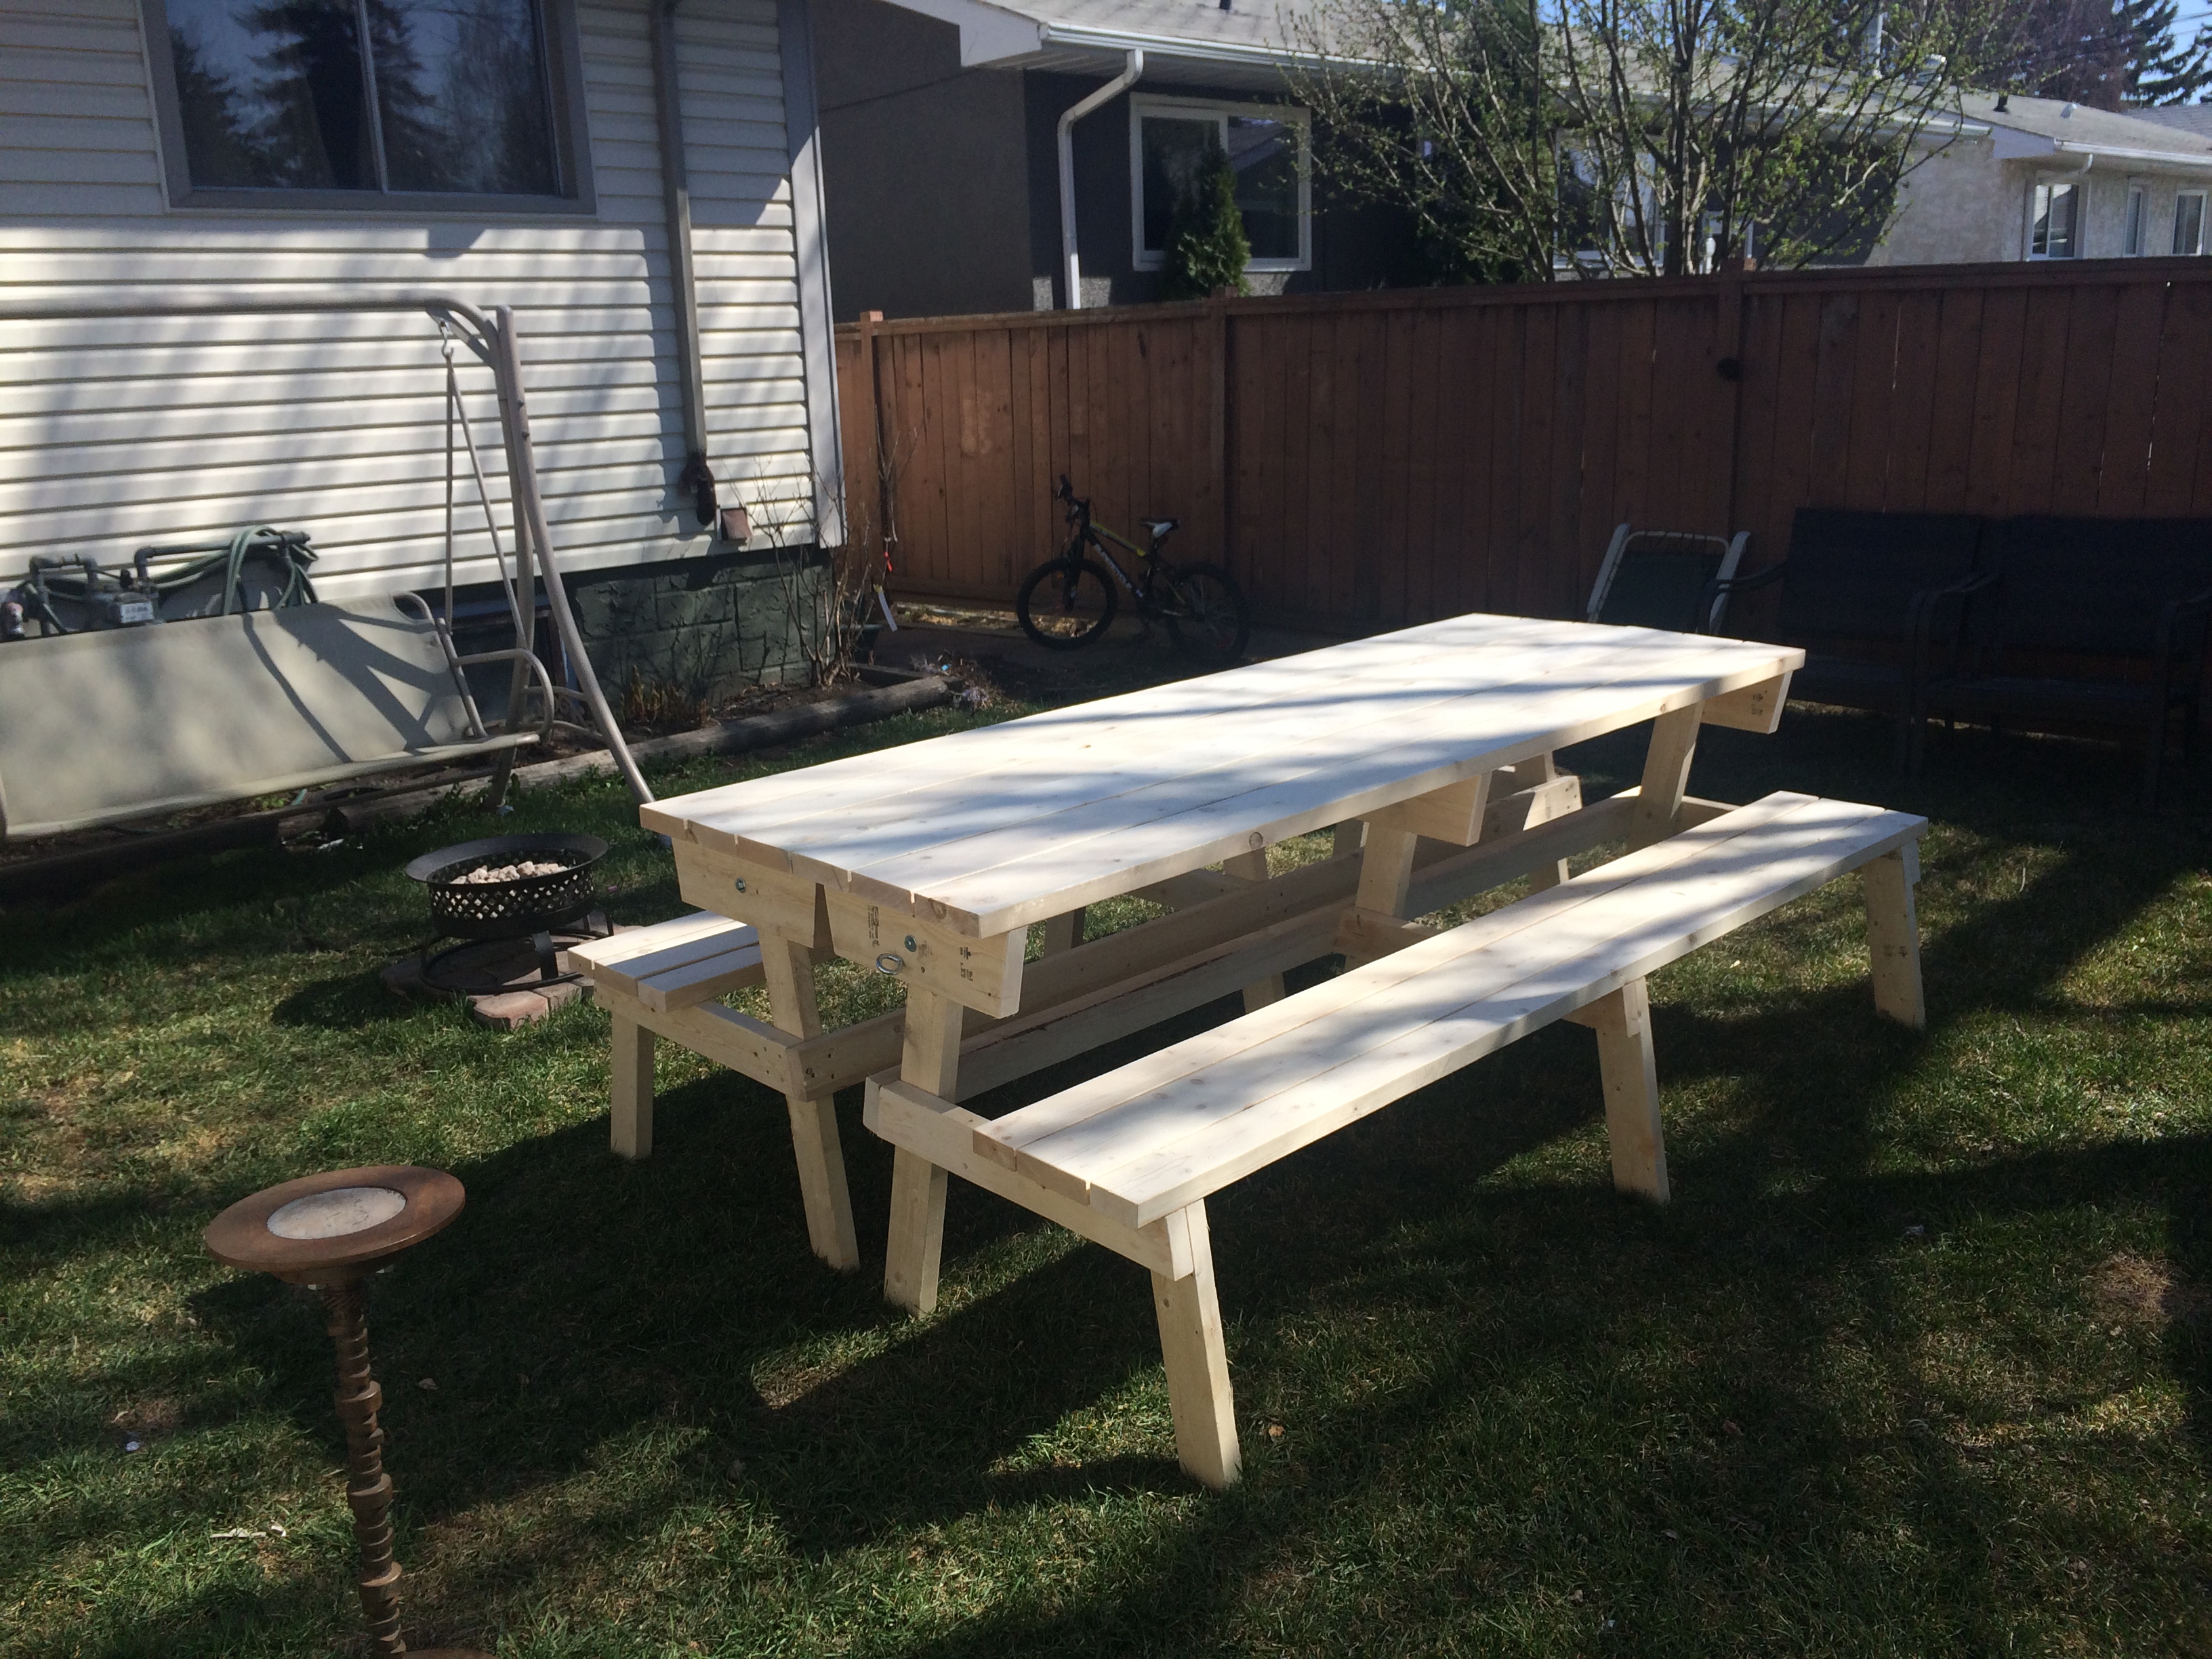
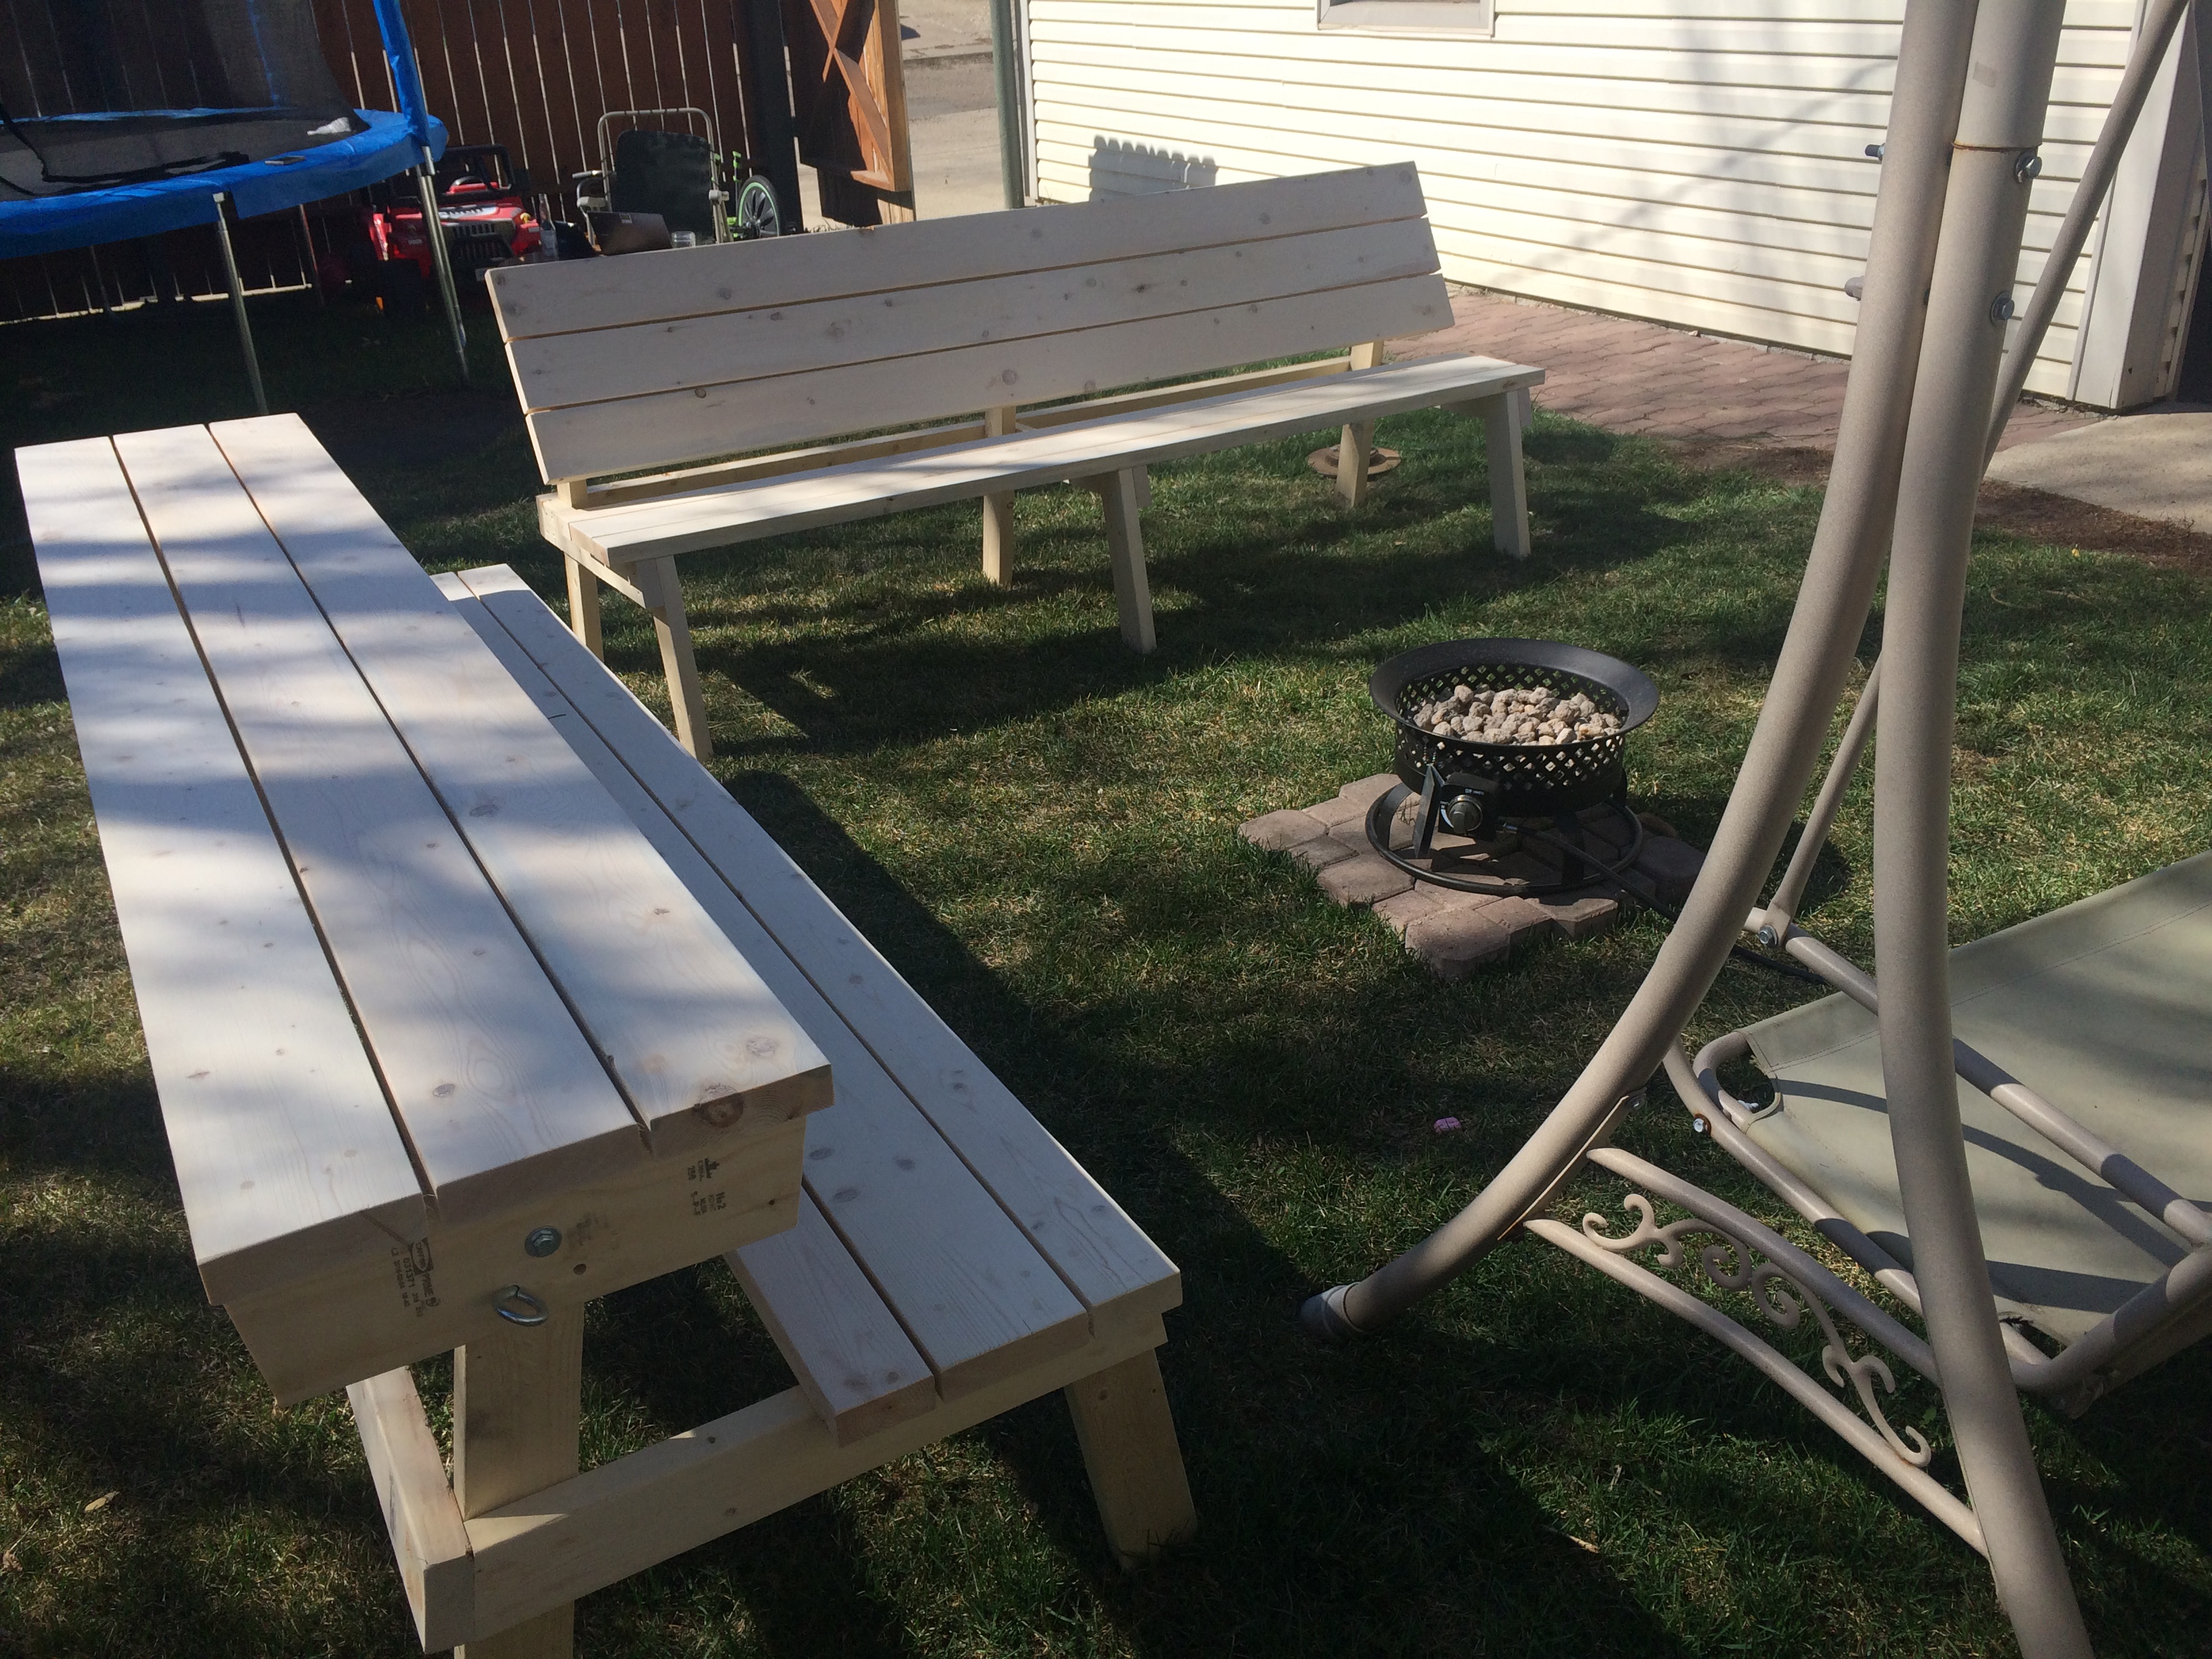
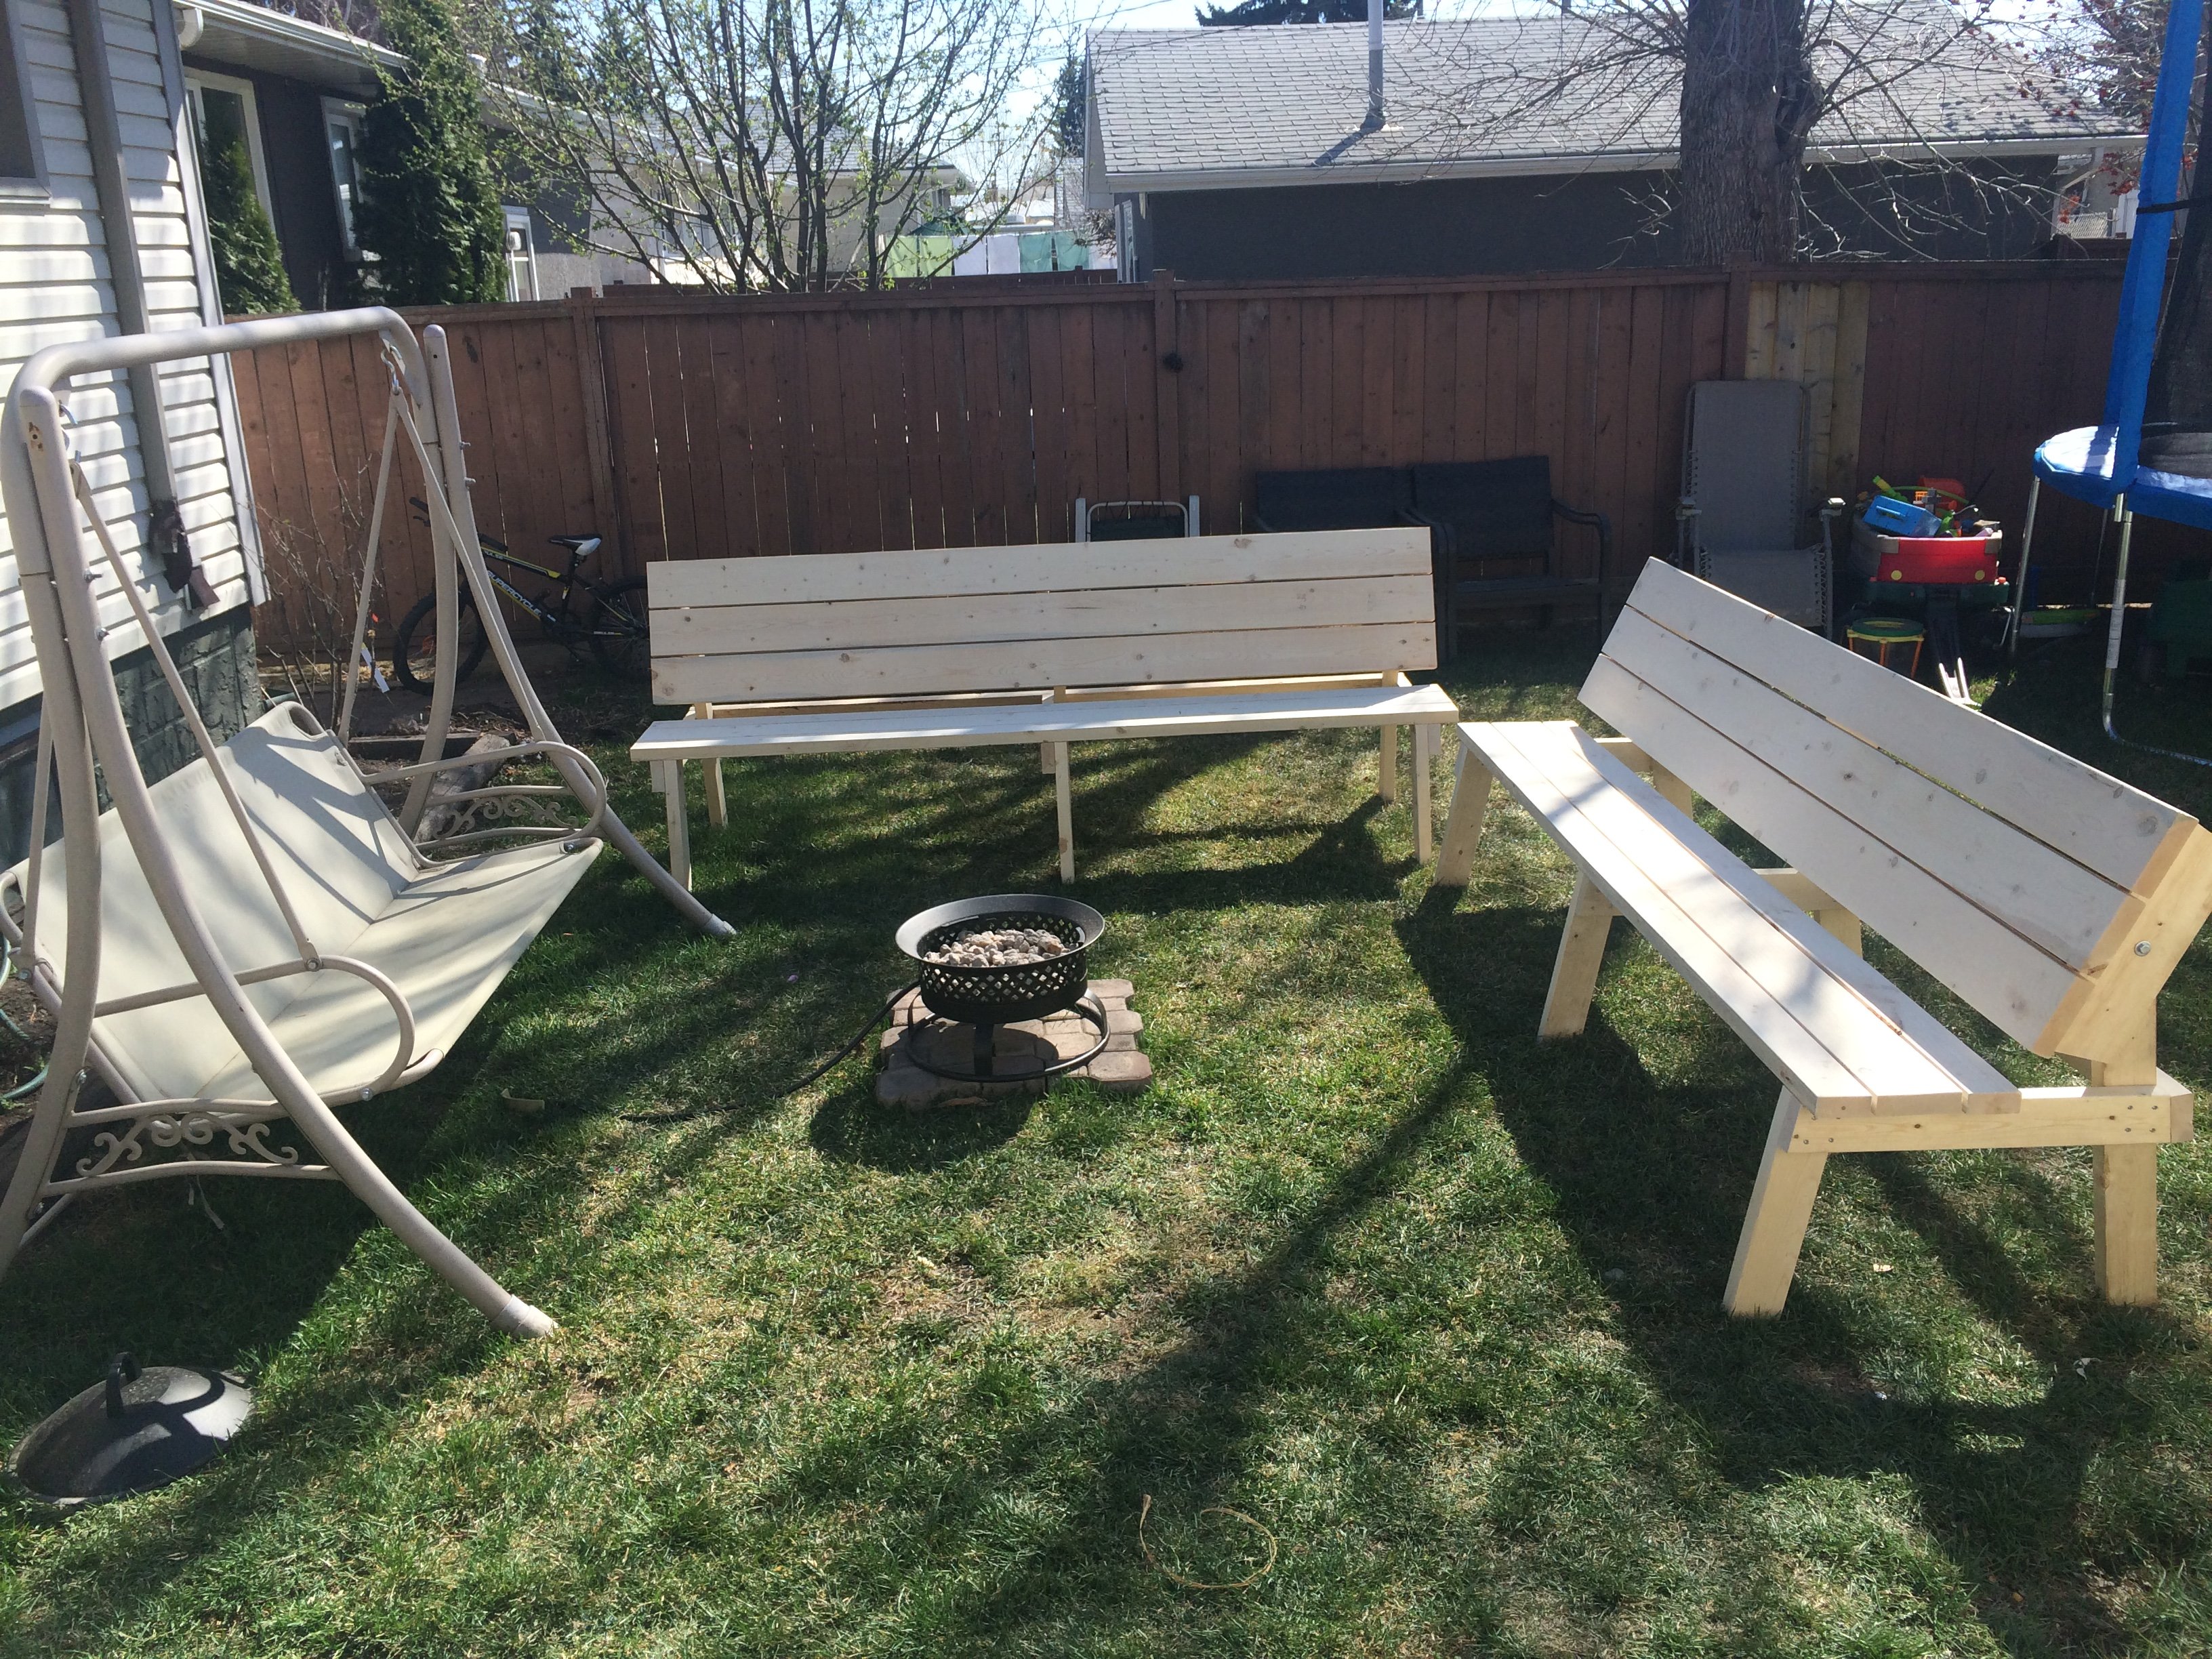
Loved doing this build, I have been thinking of making these for a while.
Based off of a few of the comments I read, I modified the plans a little bit. Instead of using three 2 x 6s for the benches, I used two 2x4s with one 2 x 6 in the centre. Shortened up the bench support length by 3" to make up for the difference. This allowed for a smaller seat, which is easier to get in and out of when in table mode, but still plenty to sit on when used as a bench.
I am trying to come up with an alternate system for pinning the table in each position. I have found that after only a few uses, the table has some wiggle in the top, most likely from the bolts going in and out repeatedly. I would love some ideas on how to get these to hold nice and snug when in each position!
I posted a few pictures of these on my Facebook page, where I now have been asked how much I am selling them for and have about 3 orders already placed! Looks like the spring will be busier than expected!
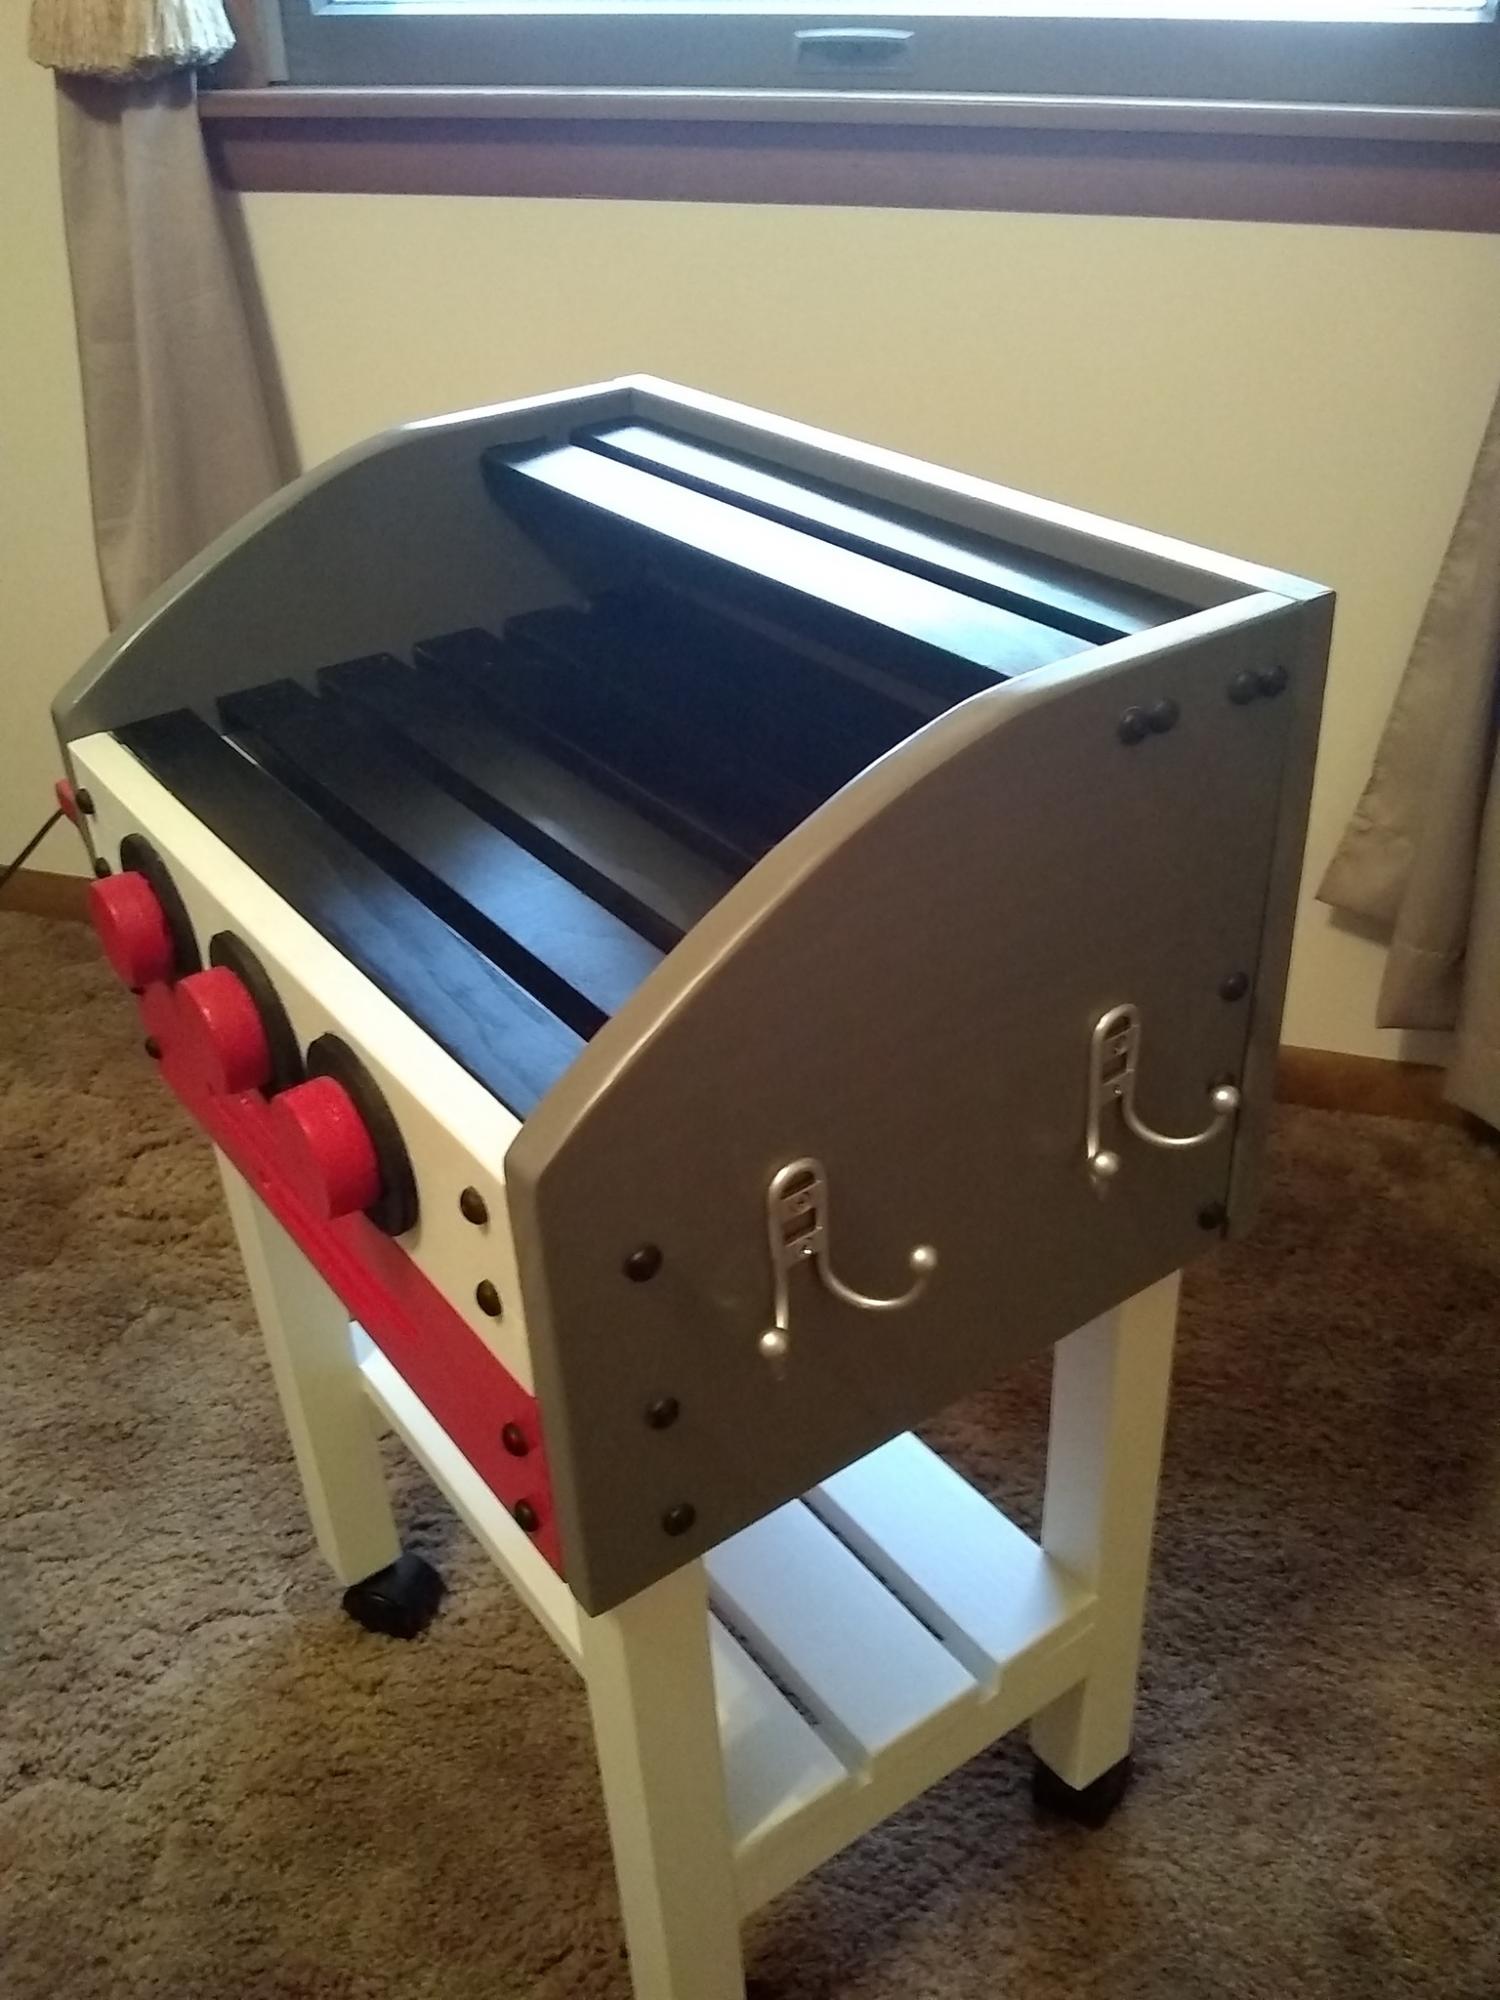
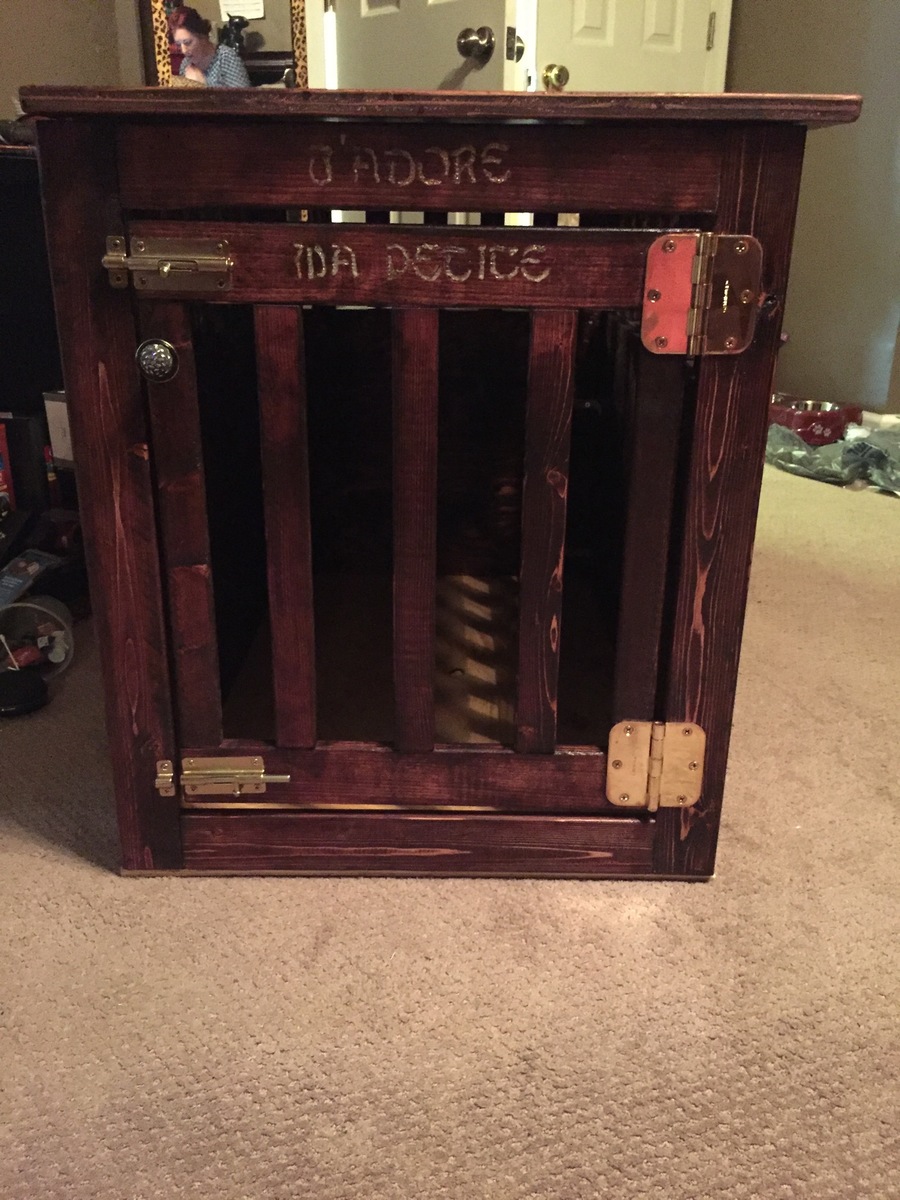
As in a lot of plans I made them to fit my needs. This one was no different. I love Anna and her site. Sometimes things are not always clear. With simple knowledge you can solve most of the problems. I made this version for my 5 year old niece for Christmas. I decided to use 1x12 in place of the plywood . It was easier to work with and made it much stronger With the solid wood I think I lost 1/4 inch in height. I also had extra 1x3 boards I used them for bottom shelf. For the dials I used what I had. I used my hole saw and filled in center with filler. It was cheaper than buying a dowel. I think it is easier to mount the shelf before you put the sides on. Top grill I stayed with 1x2 I thought it looked much vetter that 1x4 board. I finished it off with castors I think that put the icing on the cate and made it even better. She loved it.

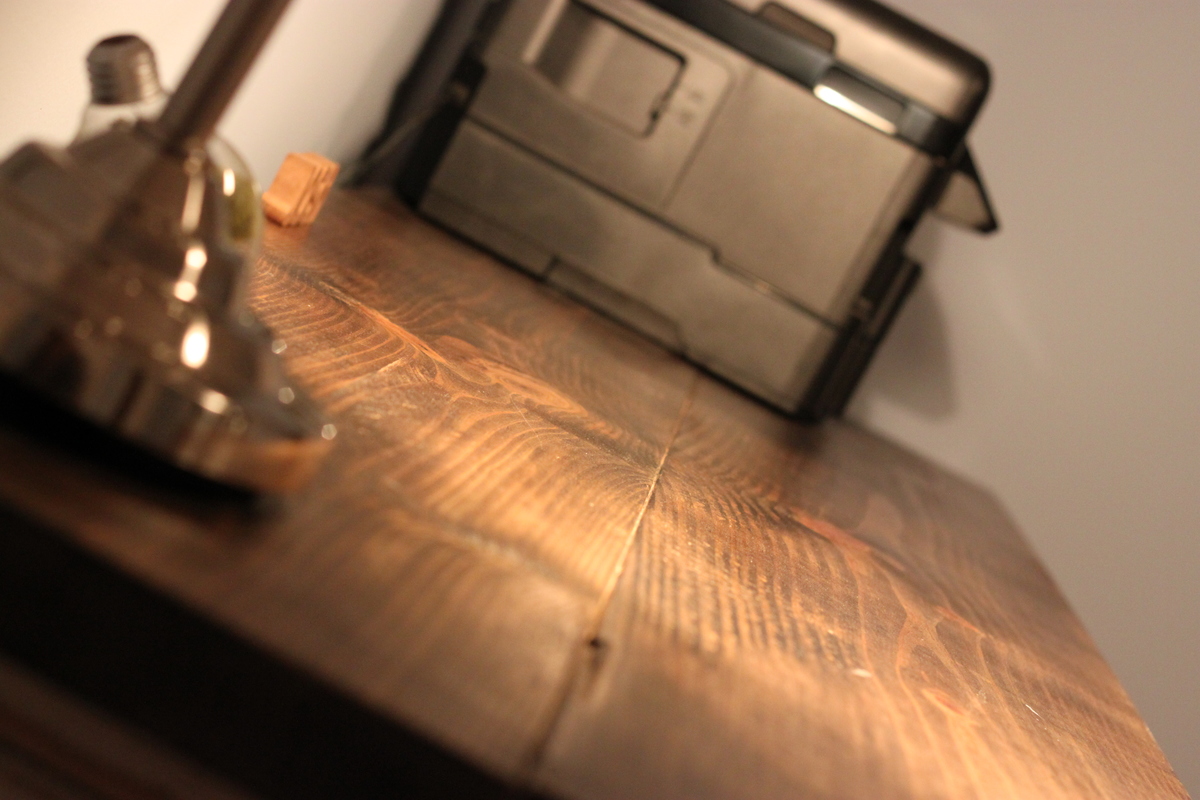
Exercise/Yoga nook. Built using the base plans from Ana's Shoe Bench Front with Hidden Storage and Easy to Build Floating Shelves.