American Girl doll house with stable and carport
Really good plans helped make these.
I used cedar deck boards and rails to make this chair - A little more costly, but definitely worth it!
The seat and back rest were made using 5/4 x 6" boards. I cut them 1/2" to 3/4" longer so that they would overhang the supports - for a more finished look. The 2x2 rails came with an angled cut, so I decided to use that to my advantage on the back supports - I made them a bit longer so they would sit higher on the back rest, and I think the angled cut looks a little more "friendly". All screws were left exposed, since this is an outdoor cedar chair.
The table in the photo is an original picnic table from the 1920's, complete with the original paint. It folds flat for storage. I hope to measure it someday and make a plan to build a reproduction - If that ever happens, I will post it on Ana's site.
Thanks Ana for the great plans!
In reply to Just beautiful! by dananryan
Wed, 03/06/2013 - 11:48
Thanks So Much! :)
In reply to Thanks So Much! :) by Tea Granny
Wed, 03/06/2013 - 11:50
Thanks So Much! :)
Fri, 03/08/2013 - 19:43
The chair looks beautiful! You did a great job! I love the contrast of the outdoor table and this chair! Thanks for your post!
In reply to The chair looks beautiful! by Ana White
Sun, 03/10/2013 - 14:48
Oh My Goodness!! Thank you, Ana!! I'm sure you're very busy and I'm honoured by the fact that you took the time to comment on my chair! You've made my day!
Fri, 05/17/2013 - 00:48
Hey,Wow the chair structure is so cool .Really good work done .
unique wedding favors
In reply to Hey,Wow the chair structure by EdmonsonWilliam
Mon, 05/20/2013 - 10:06
Ana has the greatest plans, doesn't she?
my first project, the second went a lot easier. We are still waiting on the doors to dry to hang them but the girls are excited for their horses to have a place to sleep.
Sun, 01/11/2015 - 01:49
That's so cool! I love it, and thanks for sharing!
Mudroom bench and organizer.
I love your plans and love making things for my family this is for my sister's flea market store!
This was our first time using the kreg jig. We bought the recommended $99 one and boy was it worth it. Can see a lot of kreg jigging in my future! :) We cut the legs at 35" and omitted the arches so it can be stored under the kitchen counter. The crawl-in space is definitely a little tight, but he's getting the hang of it after just one day of practice. We built the tip resisters, but haven't added them yet. It seems sturdy enough without them for our cautious 17-month-old, but I suspect we'll have to attach them when he gets bigger and more rambunctious. We sanded the edges liberally, and notched the top four corners to avoid taking eyes out. We also added felt pads to the bottom of each leg so it doesn't damage our wood floors.
Tue, 06/18/2013 - 20:07
The tower gets constant daily use. My son is now 20 months and pushes the tower around the kitchen to access counters and light switches. Definitely the #1 most used baby item in our home!
Great Plans for this project from Ana-White. Took about 1 day to fabricate, 1 day to sand/prep, and 1 day for stain. I used Espresso Stain finish (two coats), and knobs from Home Depot. Kreg Jig used for most all joints, including the breadboard top.
Thanks Ana for the plans, we love our new outdoor sectional. I was able to find Redwood for my project I think it gives it a lot of character. I have an idea to make a chair similar to this.
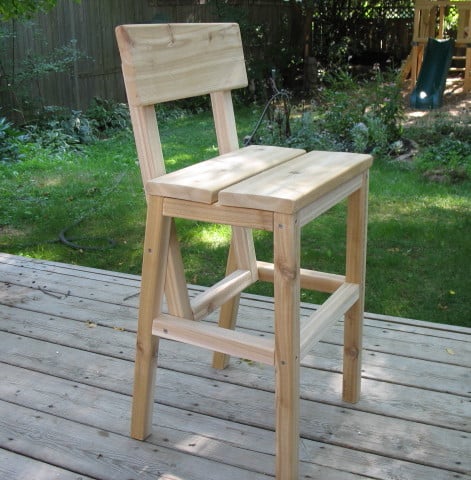
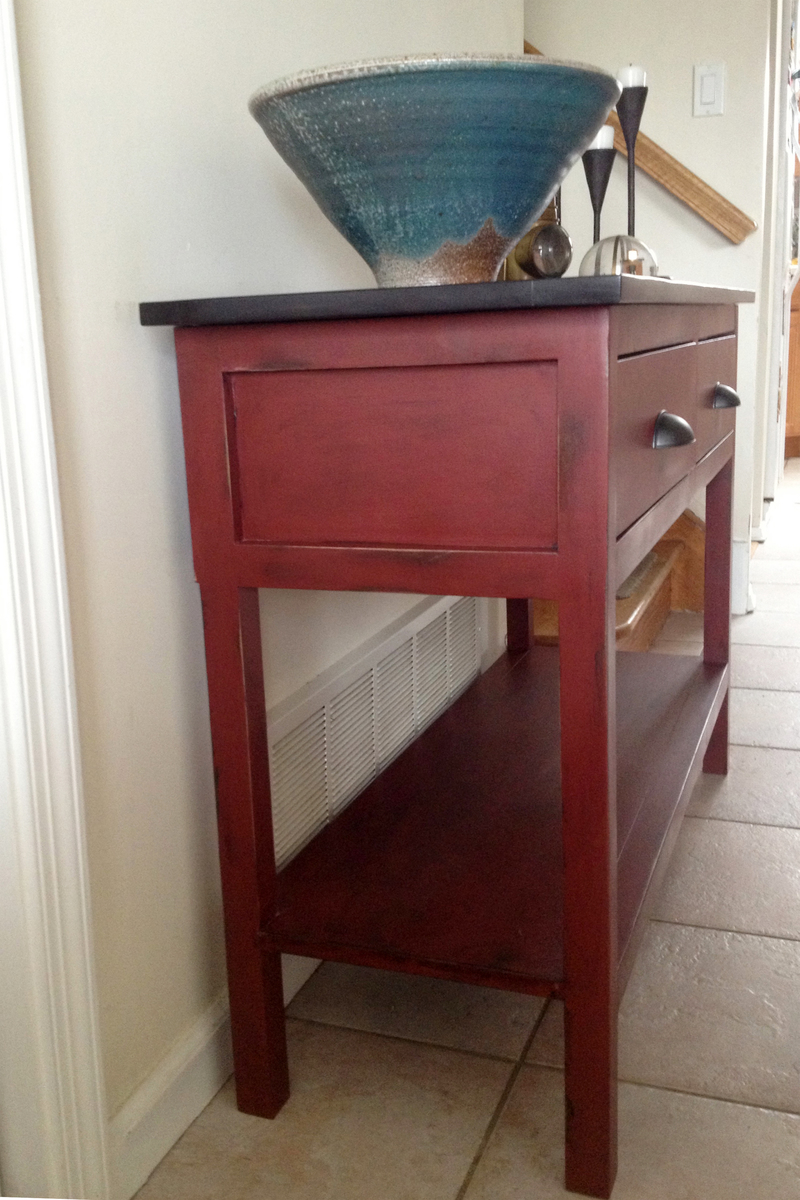
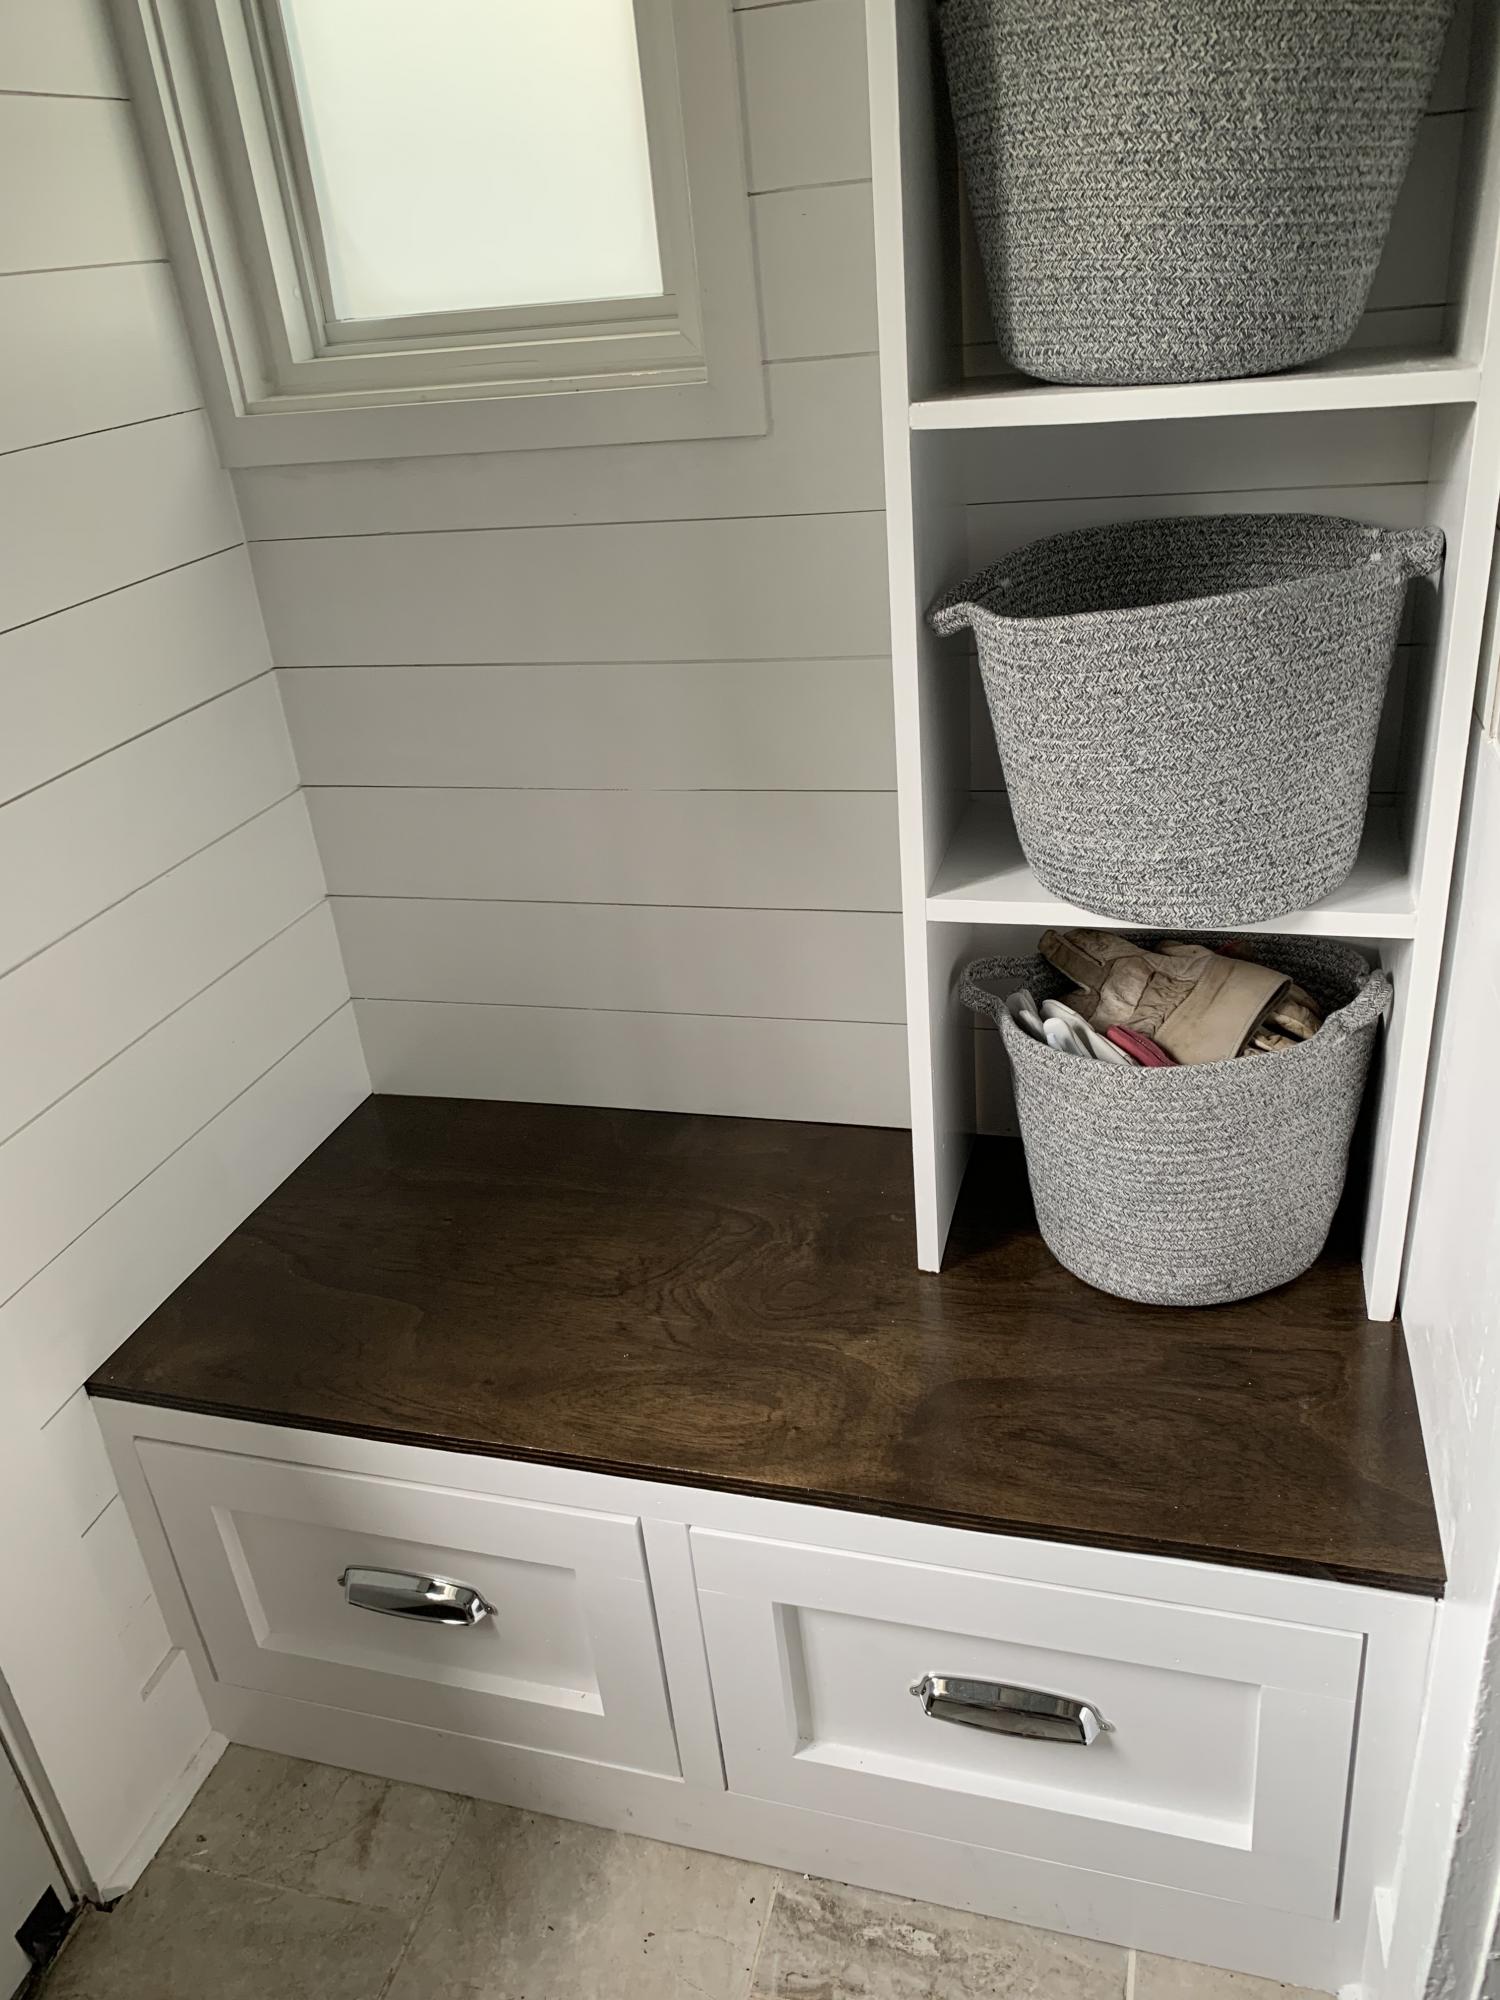
Not only was this my first furniture project from an Ana White plan, it was my first ever furniture project. I discovered this website and Ana's site through Pinterest and was inspired to build a table for my wife's craft room.
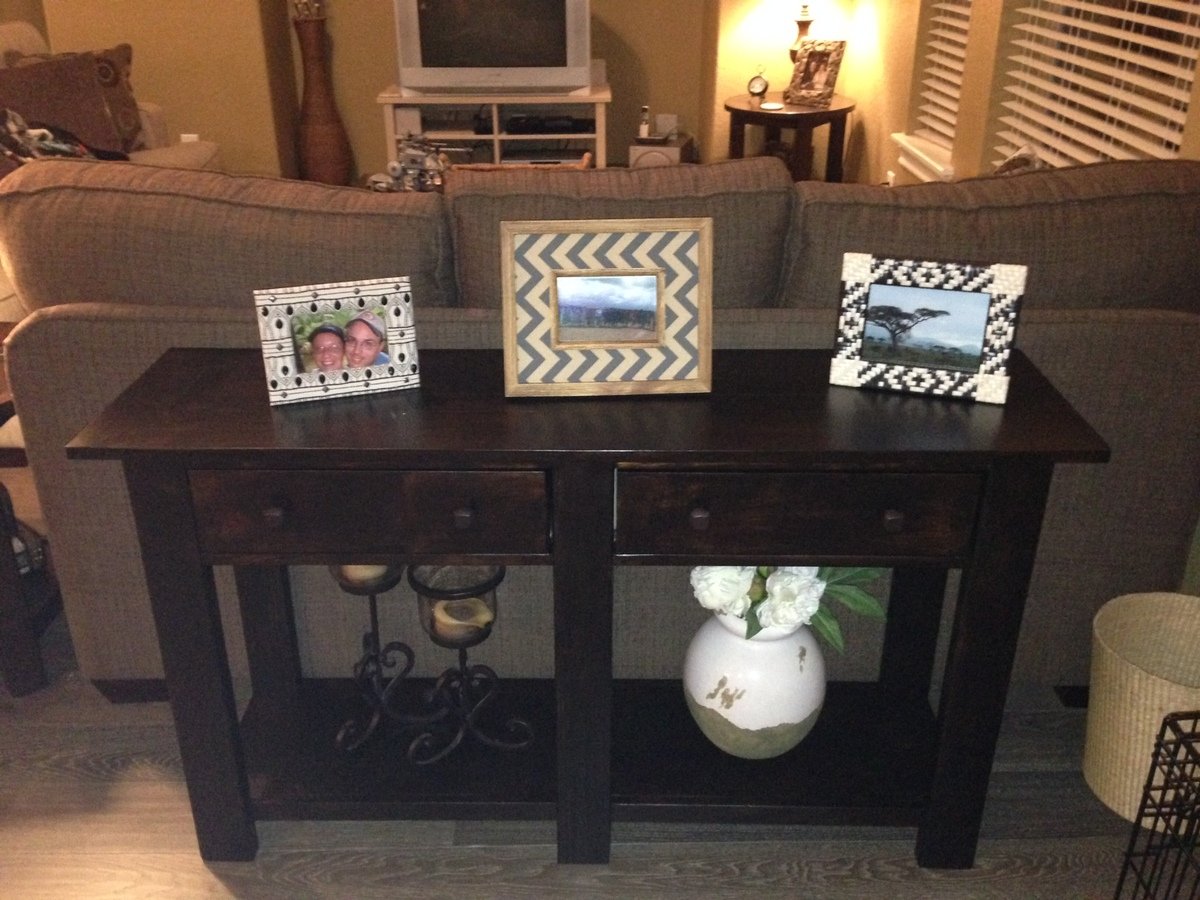
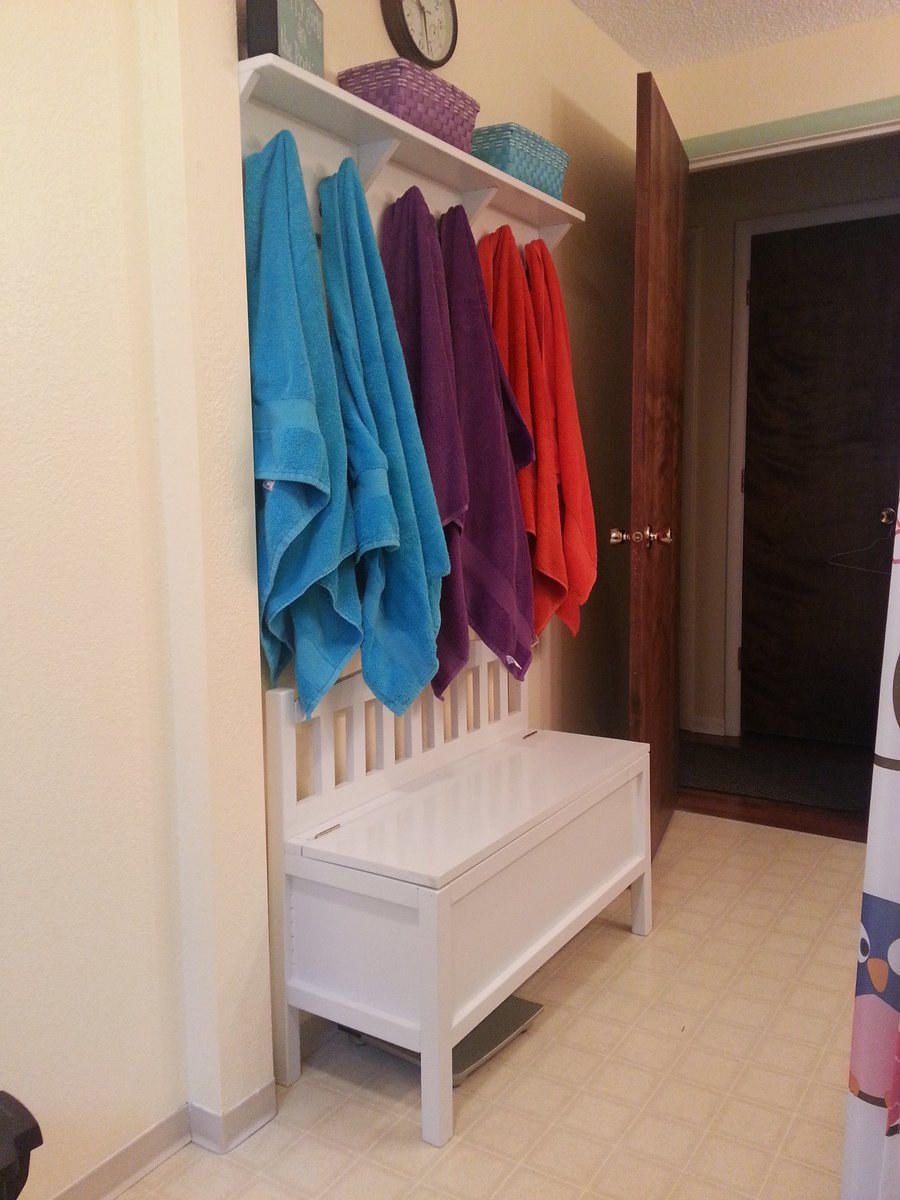
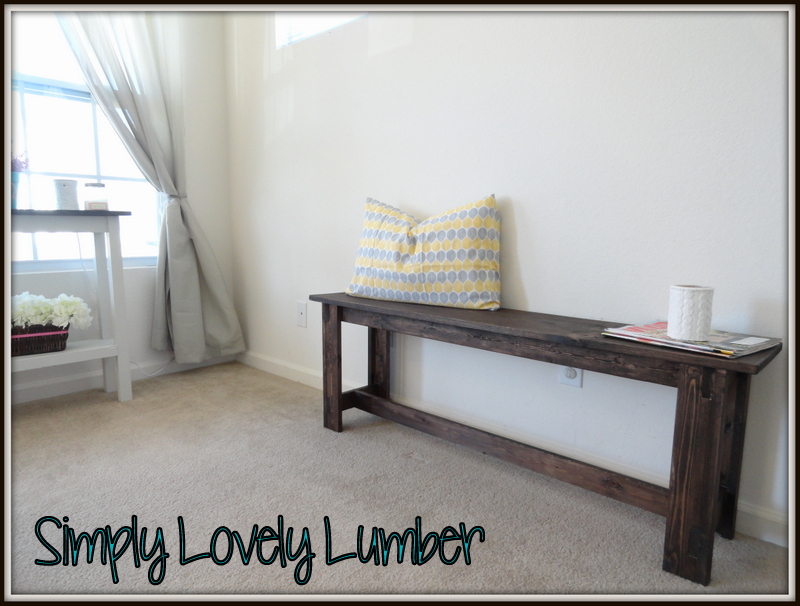
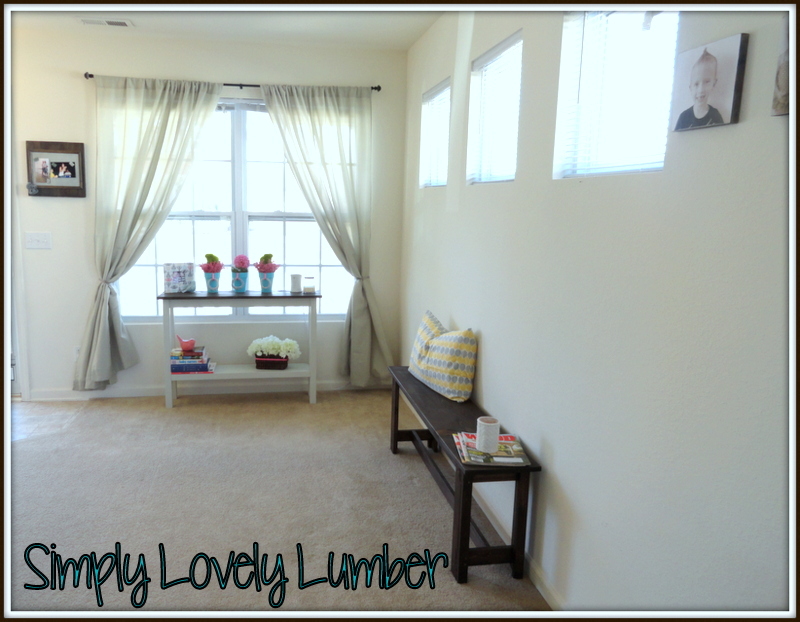
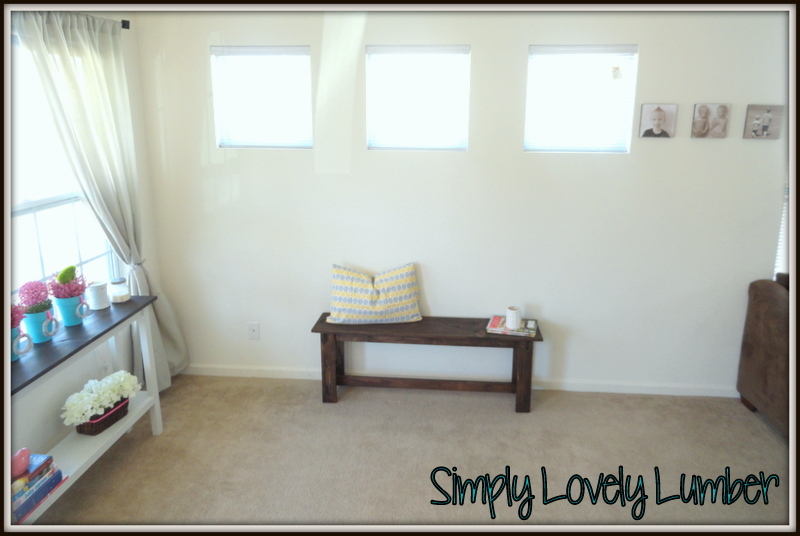
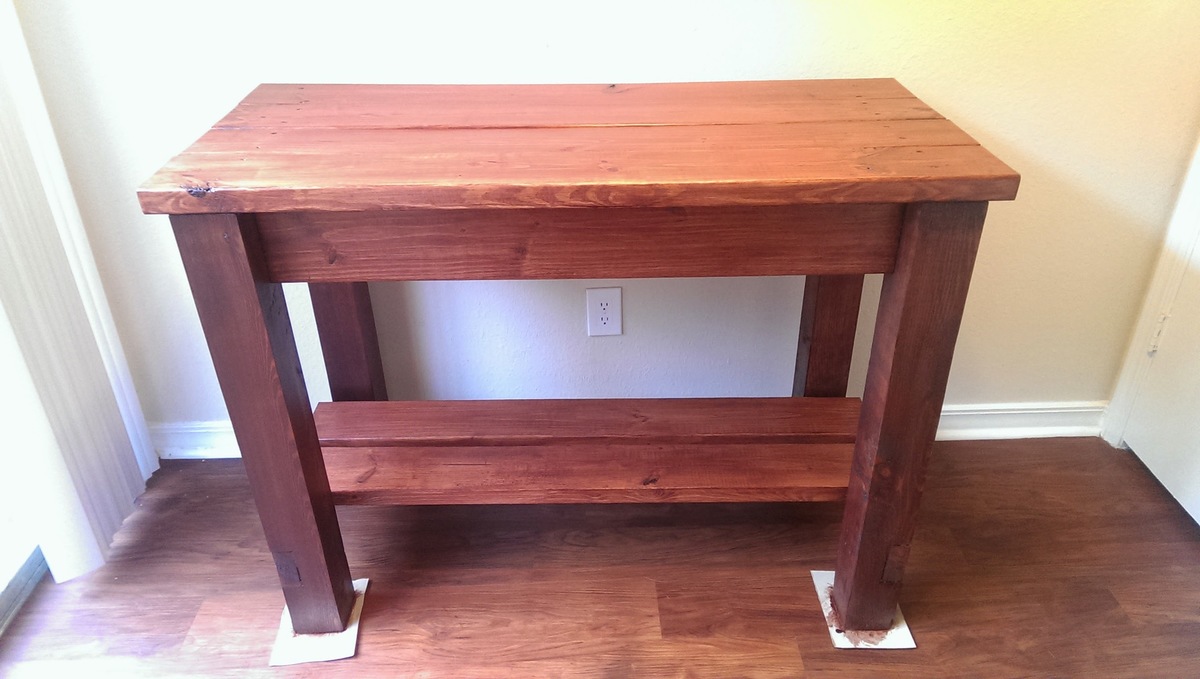
Leafing through "The Handbuilt Home," I found plans for a modern craft table, but decided I'd better get my feet wet first with a "smaller" project. Our front hall console table was a cheap, particle board piece from Target which seemed like the perfect candidate for replacement.
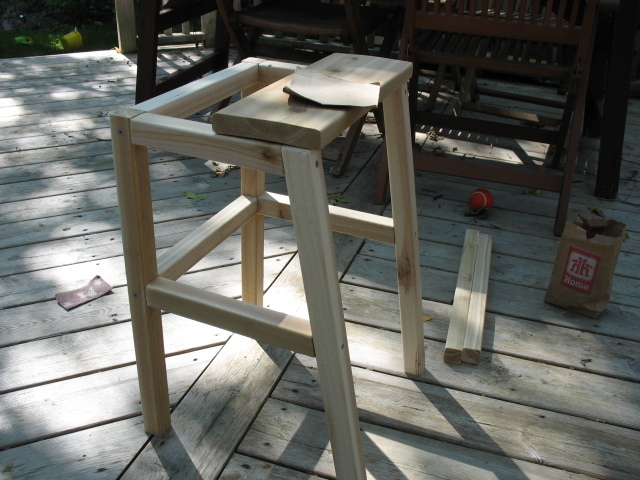
In retrospect, with drawer slides and hardware to contend with the craft table may in fact be an easier project than the console, but I found the plans straightforward and easy to read. Expecting to be intimidated by my own lack of experience, as the table came together I was, instead, continually inspired by my ability to actually build beautiful furniture for my home.
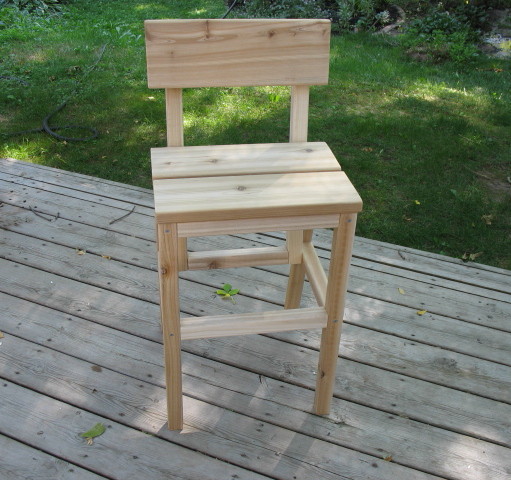
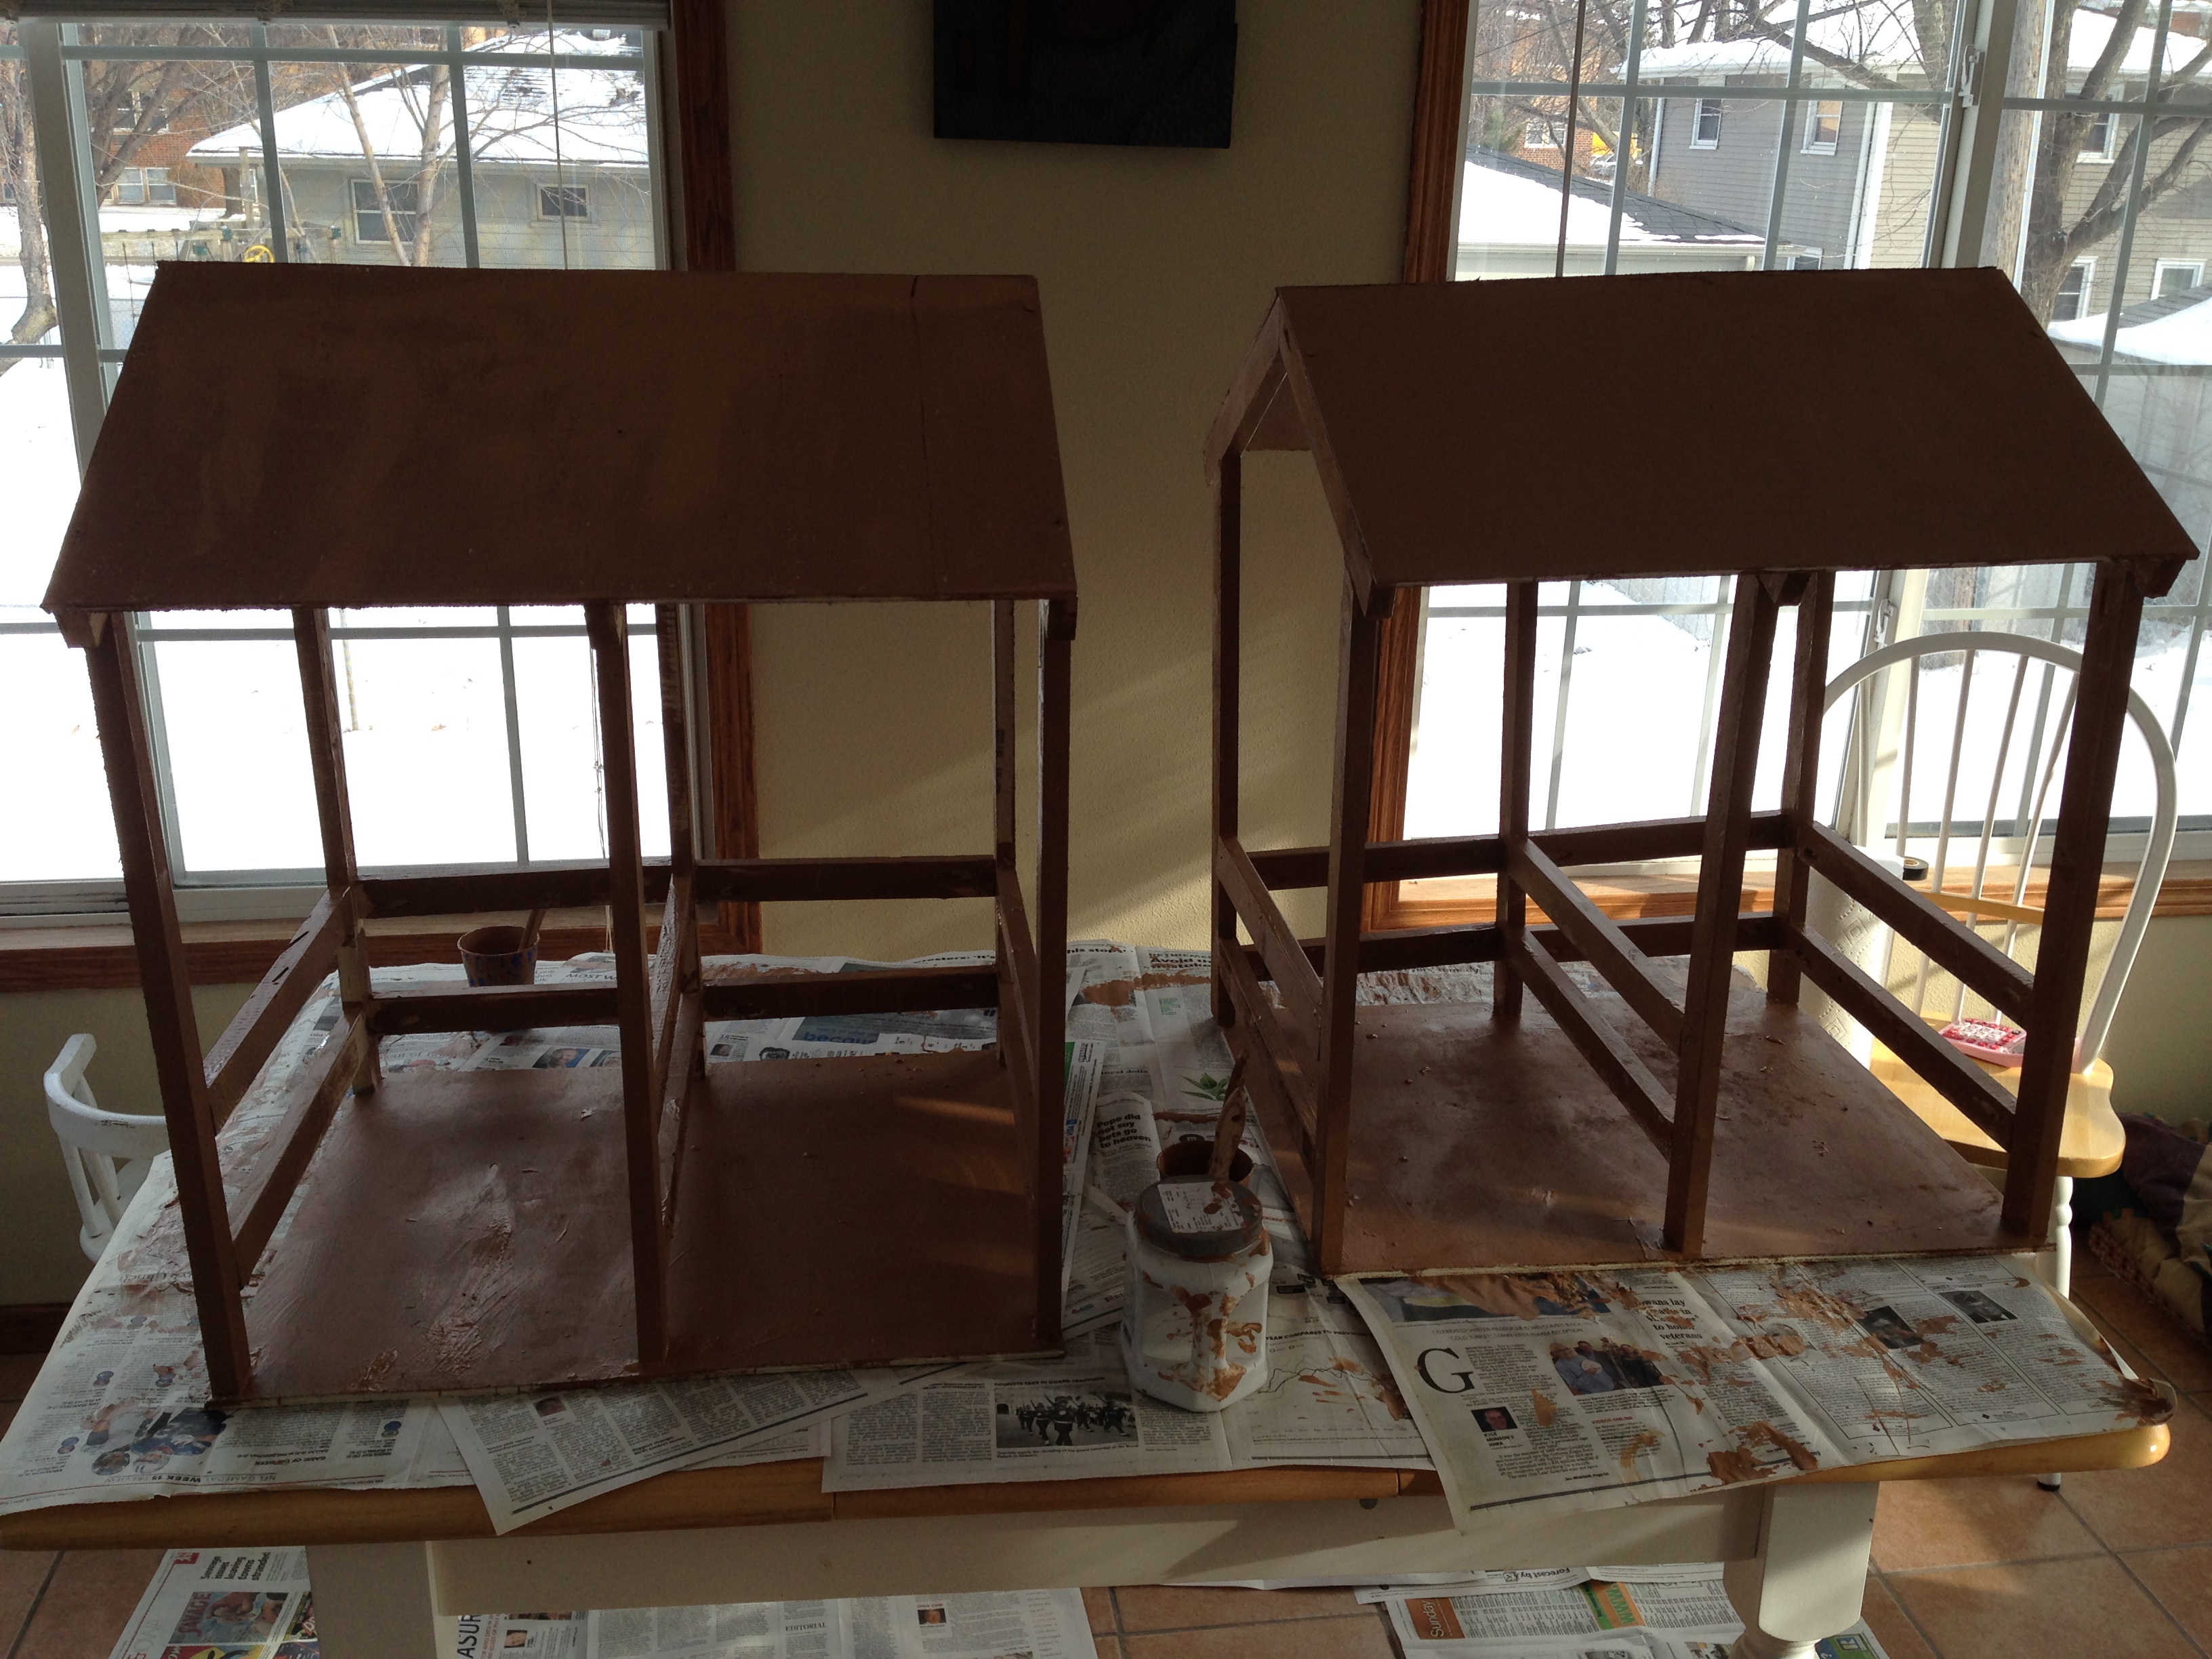
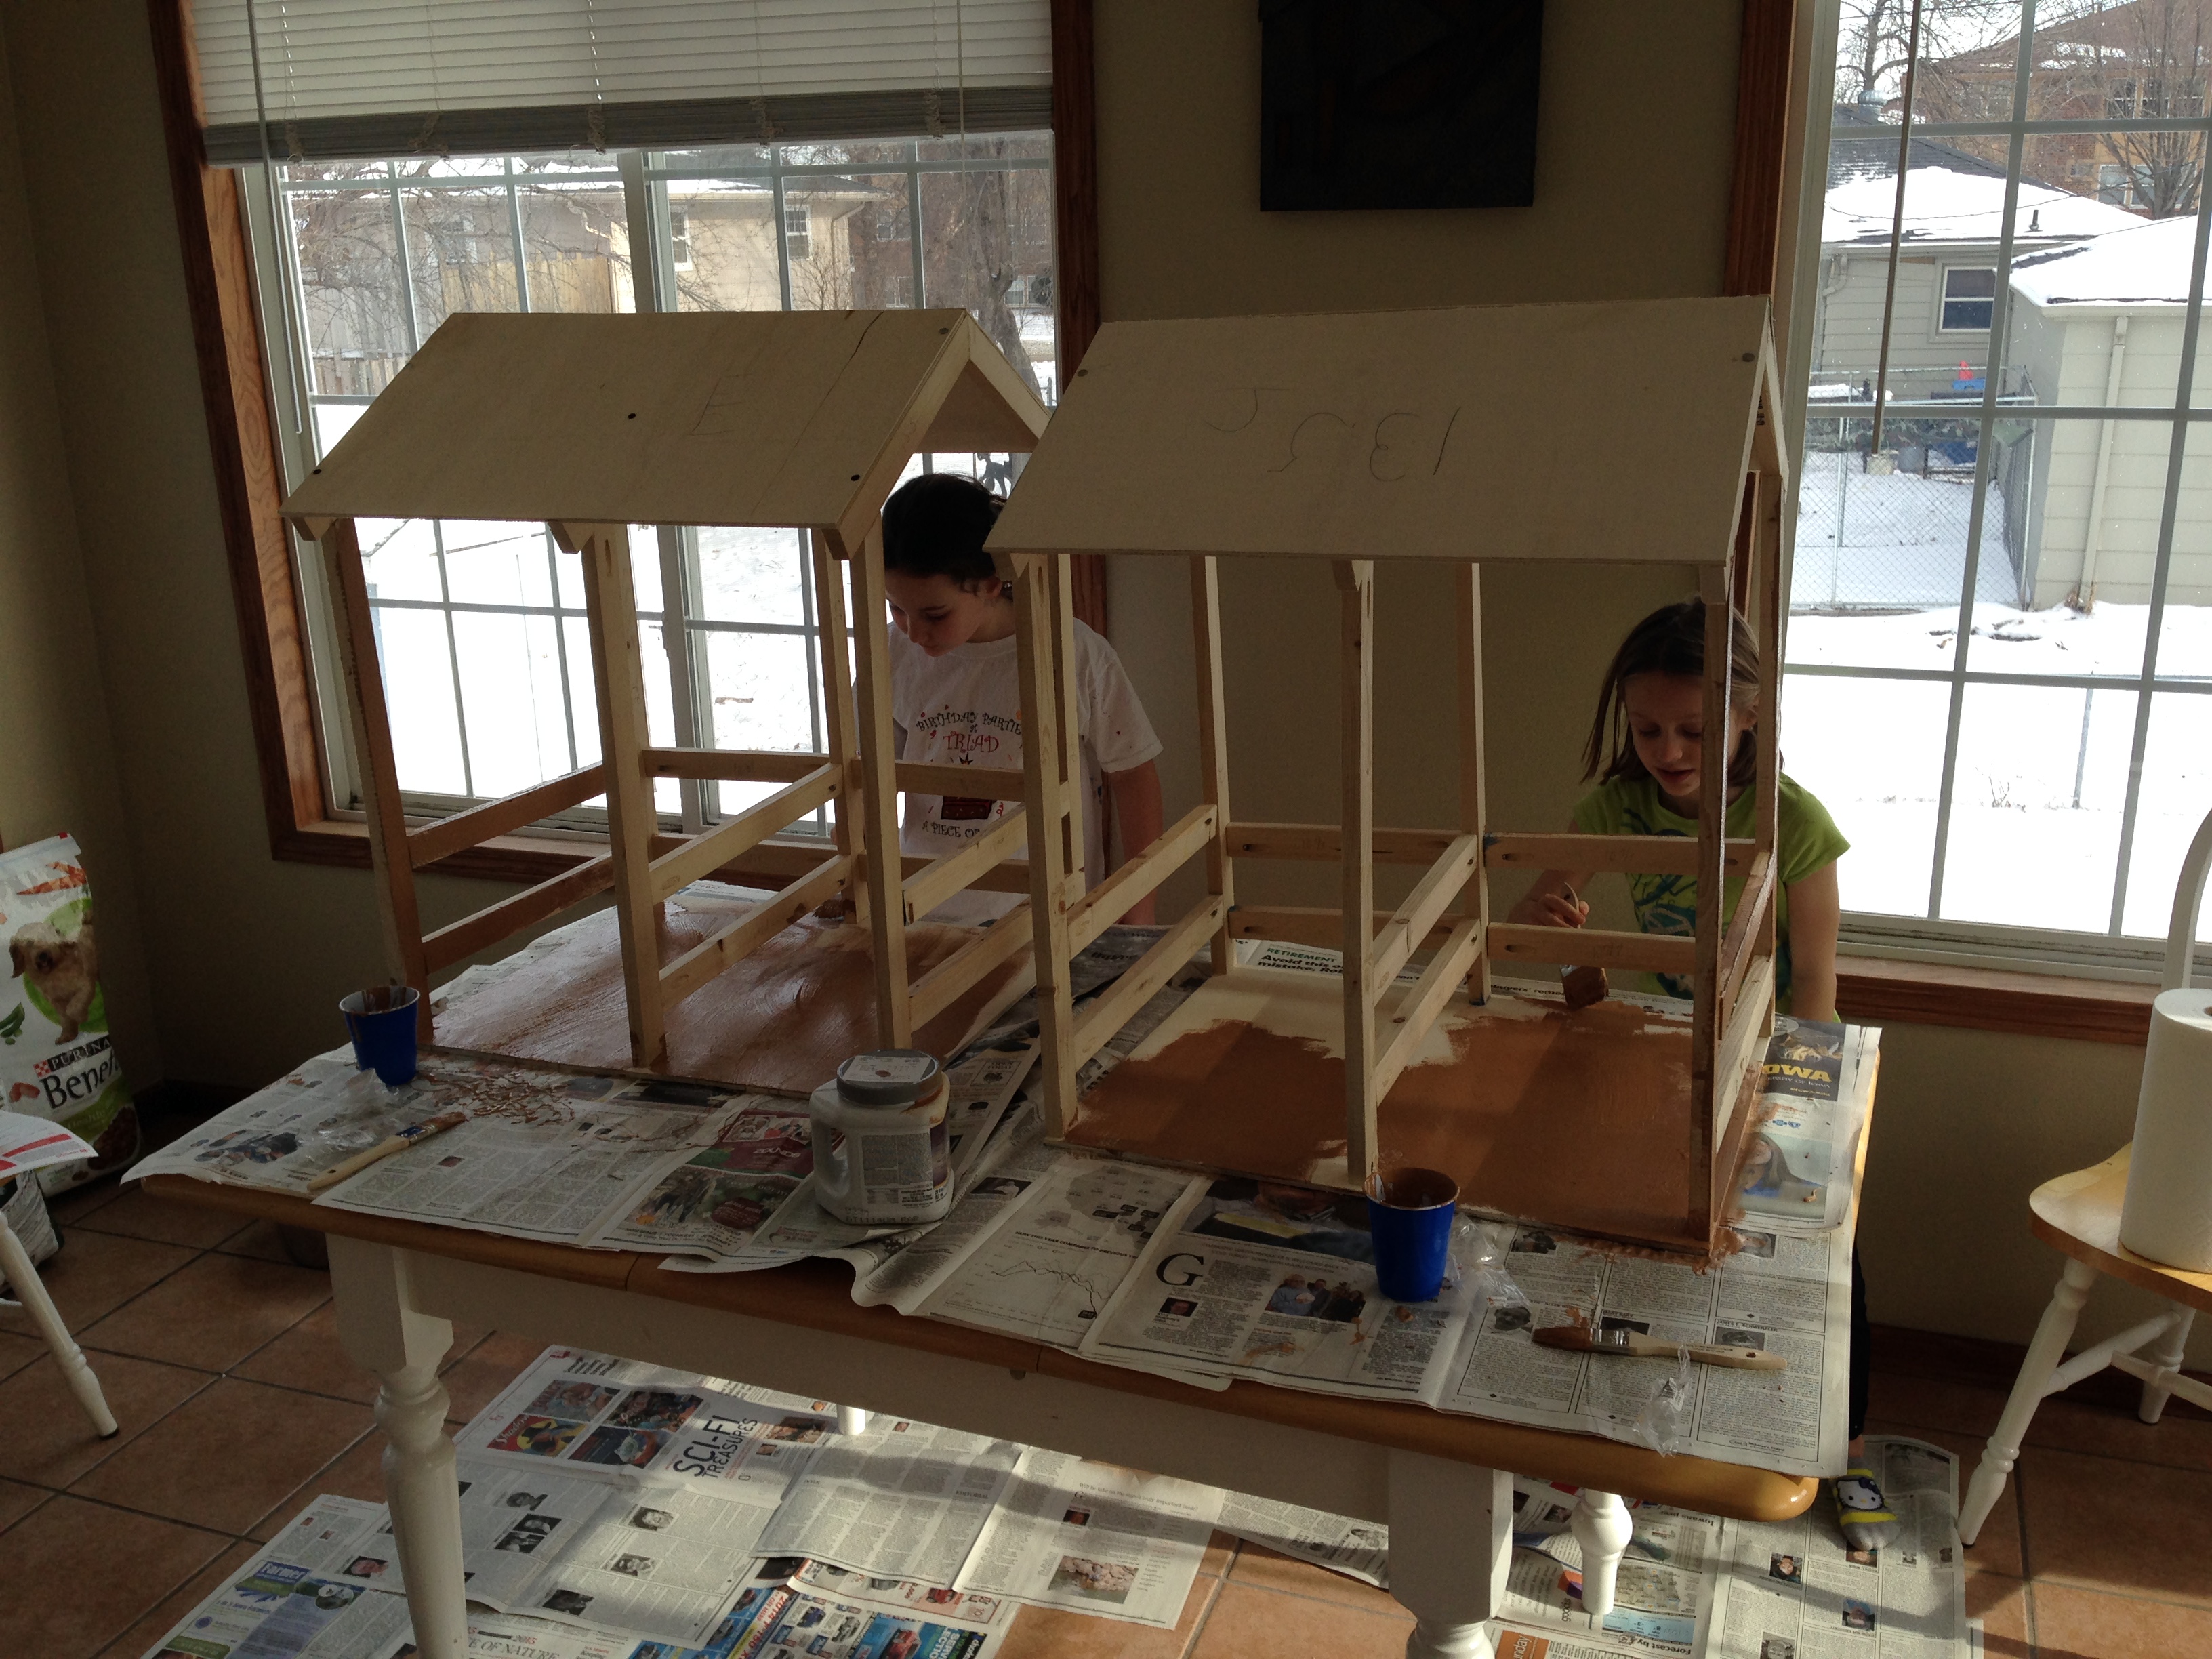
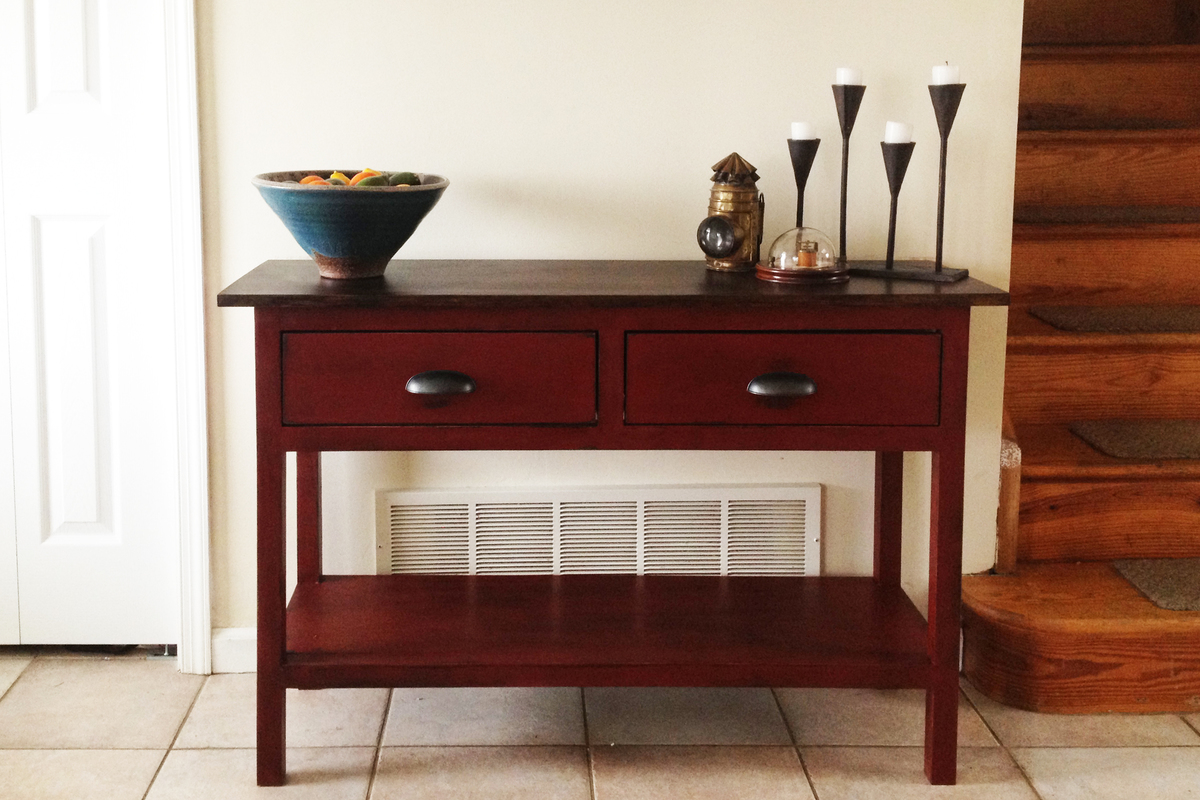
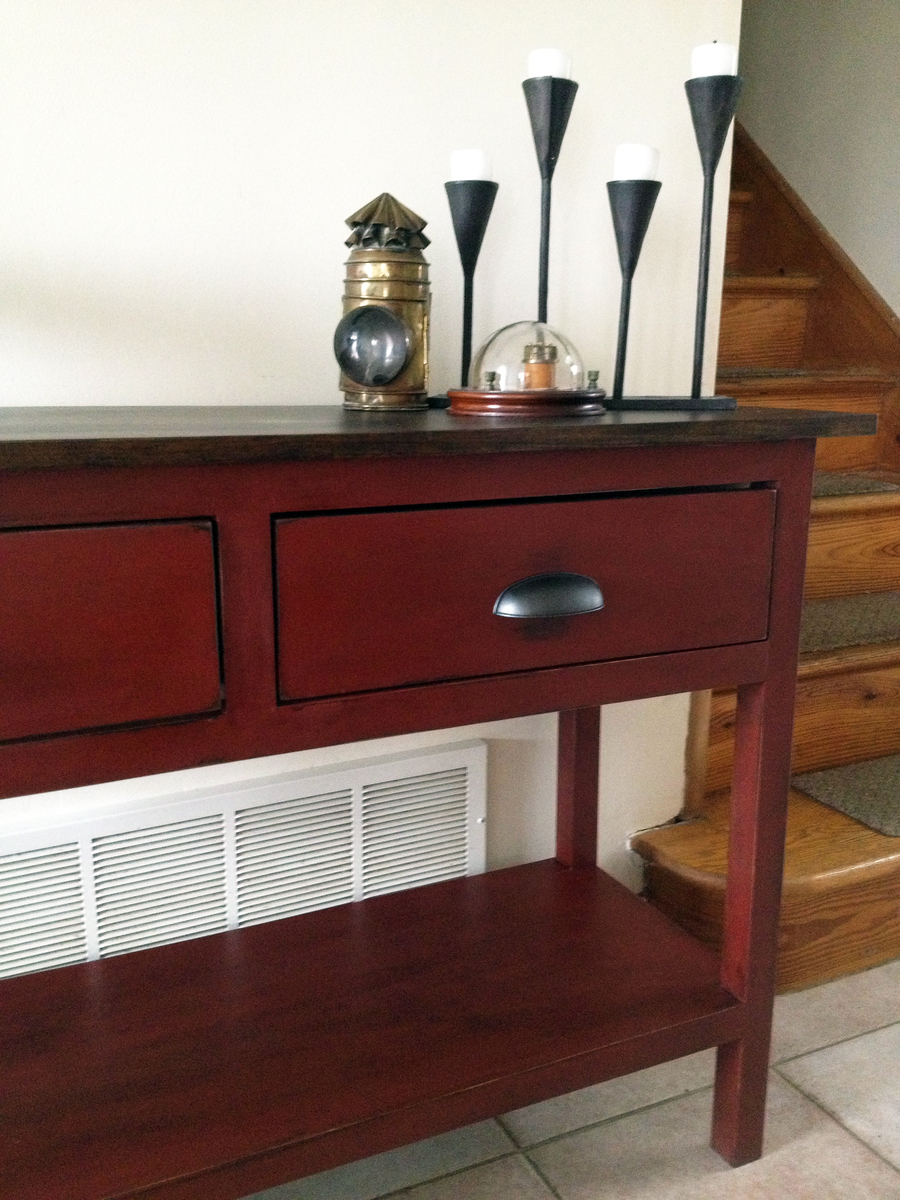
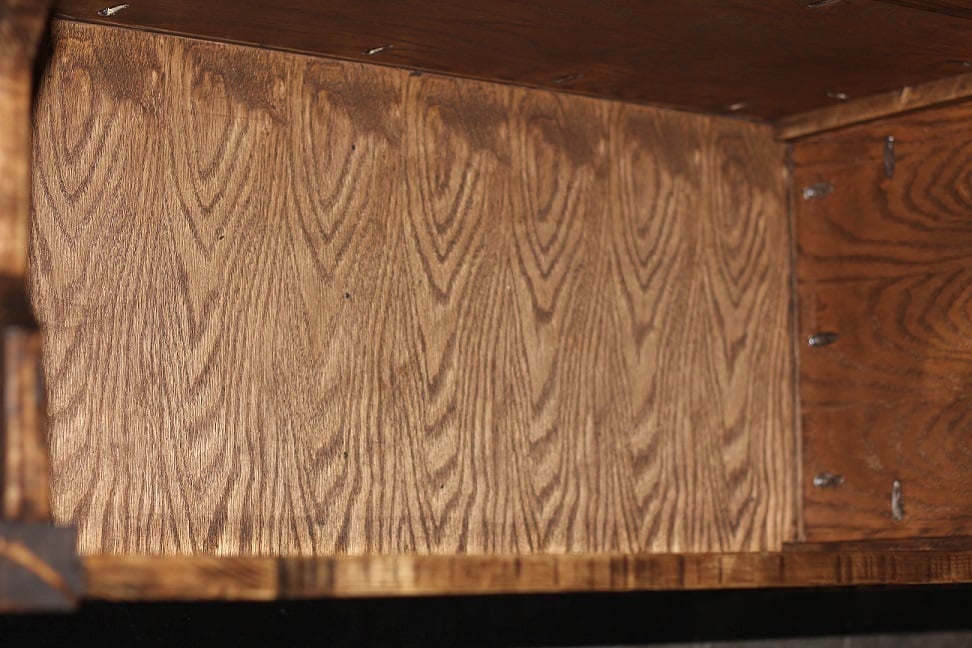
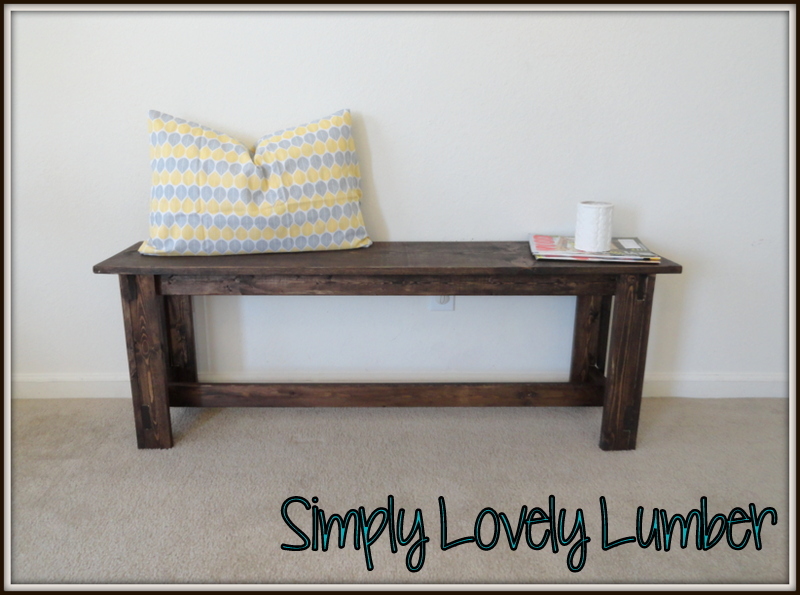
The most challenging part of building the console table was finding lumber, particularly straight lumber. Here in New Jersey, the local Home Depot and Lowes stores did not have a large selection of wood, virtually nothing beyond pine and most of that was visibly warped.
I eventually found boards that were relatively straight, though not perfect. As a result, getting the table perfectly square was an impossible task. For future builds I have already discovered some local lumber suppliers that offer a broader quality of materials than the big box stores.
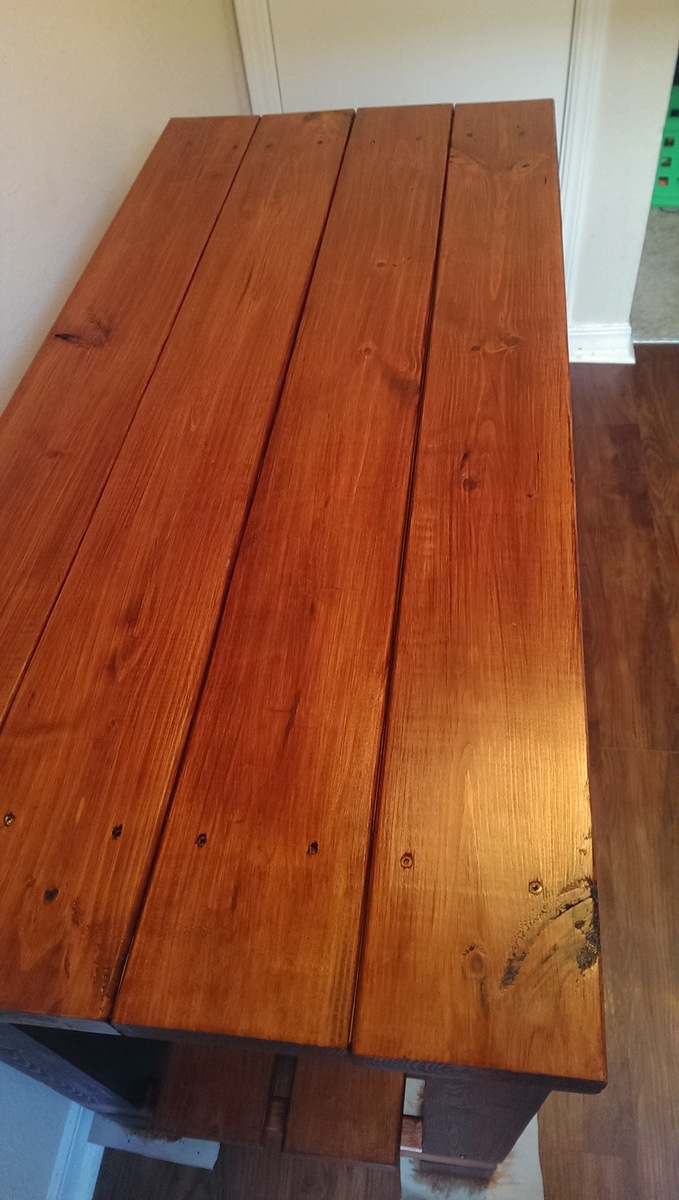
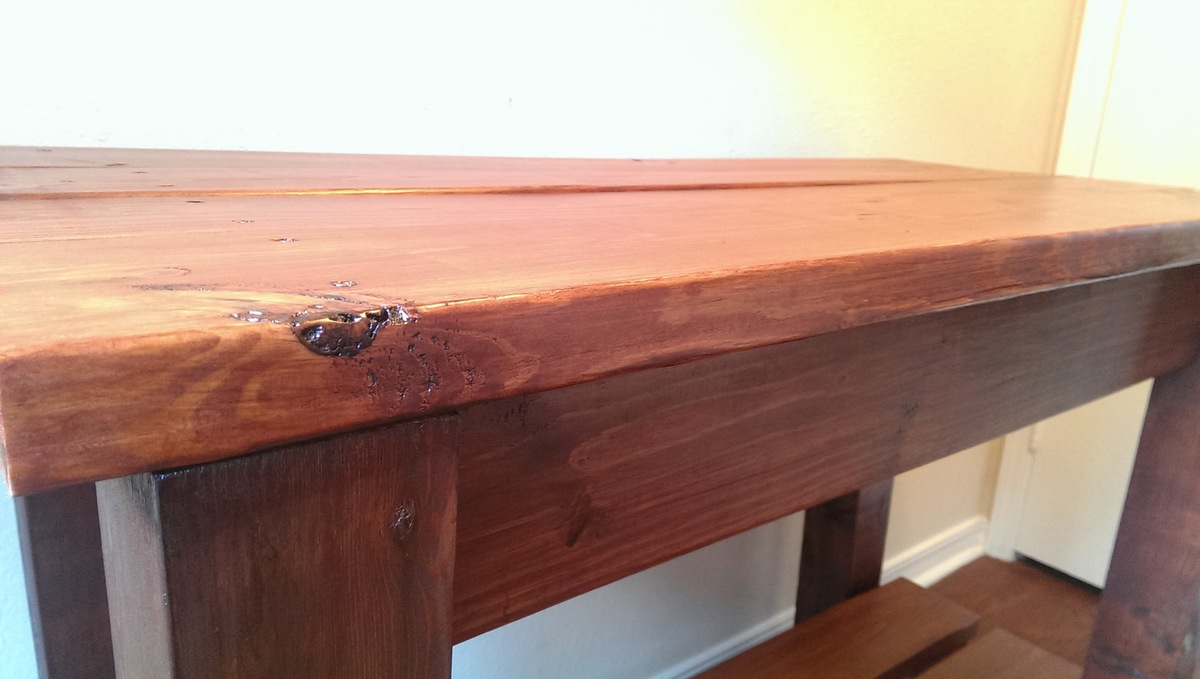
The other part of this project that was really challenging was applying spray-on polycrylic. I never got a protective coat I was particularly happy with and decided to stop fussing because I feel like I was making things worse trying to correct my application mistakes.
In a few weeks I plan to add a layer of wax, which I hope will give the table a finish a more satisfying finish.
All things considered, especially as this was my first furniture project of any kind, I look at the beautiful console that now graces my front entry, dumbfounded that it's something I built from a small pile of wood. Many thanks to Ana White and her website and book for the inspiration!
Fri, 05/10/2013 - 10:52
Hi!
Amazing job! Would you please direct me to where you found these plans. I've searched all throughout this website and can't seem to locate them...
Thanks :)
My brother saw me making a bunch of stuff at my house and begged me To do something with his basement TV room. So after talking with him and seeing what Ana had to offer i settled on the smith media wall collection. I loved he way it turned out and I have happy brother to boot. I modified the plans to fit his bigger TV.
Mon, 01/19/2015 - 17:18
Wow! You're a great brother! This is an awesome project and I just love the way his came out! Thanks so much for sharing!
Here are some frames I made for my sons dirt bike themed room. I love DIY because I'm able to match everything up. The bed, frames, and mini media wall under the bed are all painted to match a dirt bike jersey that I will be make a frame for soon.
Made this toy chest for my niece this Christmas. Pretty easy build. Used some leftover wood and plywood for the top to cut down on cost. Instead of edge banding, I used some screen moulding. The wooden owls were purchased from Hobby Lobby and glued on to match her room, as well as the "C" on top. Cutouts routered on both front and sides to better protect fingers, and for looks.
I have been working on using my cad skills to make somthing using a CNC router so this is what I came up with. I designed it a a flat pack with minimal assembly. Very comfortable.
I cannot thank you enough for the great plans for this mudroom bench! Being my very first woodworking project, I couldn't be happier with the result. Having a home built in 1927 means I have to use every inch of space for multiple things. I attempted to store tools and shoes in an Ikea cabinet which meant I never saw the cute little window. After weeks of planning, I finally got up the nerve to start building and wow!
In fact, having successfully built my mudroom out, I proceeded to rip out my pantry to the studs and redo it, too. Keep the great plans coming!
This project was actually completed last year, but I am late getting it posted. I had been asking for a board and batten bathroom, and then luckily Ana posted pictures of one, giving the handy hubby a better idea of what I was wanting.
The cabinets, built-in medicine cabinets, mirror frame, and toilet paper niche are all custom designed and built by the hubby. The counter top and sink were custom ordered through Home Depot to fit the space.
The bathroom didn't originally have a shower head, so after removing the 70s gold flecked tiles covering the walls up to chair rail height and repairing/replacing drywall we purchased shower walls and then he tiled around and above.
This was a major, months-long undertaking that included gutting the entire room, and then the building began. Everything in the room from the popcorn ceiling down to the yellow linoleum flooring save for the toilet and tub had to be replaced,the toilet we had bought since we moved in and the tub is metal and was in great condition.
This bench was the perfect size for a long wall in our bathroom! My husband added a solid front panel and used peg board to create a vented back panel. Then he made the seat hinged. Now we have a great bench that doubles as a laundry hamper with two compartments. I absolutely love it!
Tue, 01/27/2015 - 15:27
Wow! I love how creative you are and the modifications! Fabulous!
Modifed slightly to make a sectional. Used extra cushion for an Ottoman. Added an additional board behind/beside cushions to hold them firmly in place. (2x2)
Purchased 9' boards instead from our lumberyard. Cushions from Lowe's, throw pillows from WalMart/Canadian Tire.
I love this bench. It is so solid. I have now built three of them for around our yard/porch. If you have the necessary tools and skills (intermediate level) you can build it in an afternoon. I built it in 4 hours with lots of breaks. My cost estimate includes paint and screws.
Built this mostly out of scraps I had in my garage. I had to get a few pieces but it was an easy build. I left out the x but I will probably be adding it soon and putting it out on my front porch once it warms up. For now it's filling a big empty wall in my living room!
Found this plans for the Gaby kitchen island and fell in love. So, I decided to try my handy work at it one weekend.
Comments
Ana White Admin
Mon, 03/08/2021 - 09:36
Fun!
I can see hours of laughing and play happening, wonderful builds!