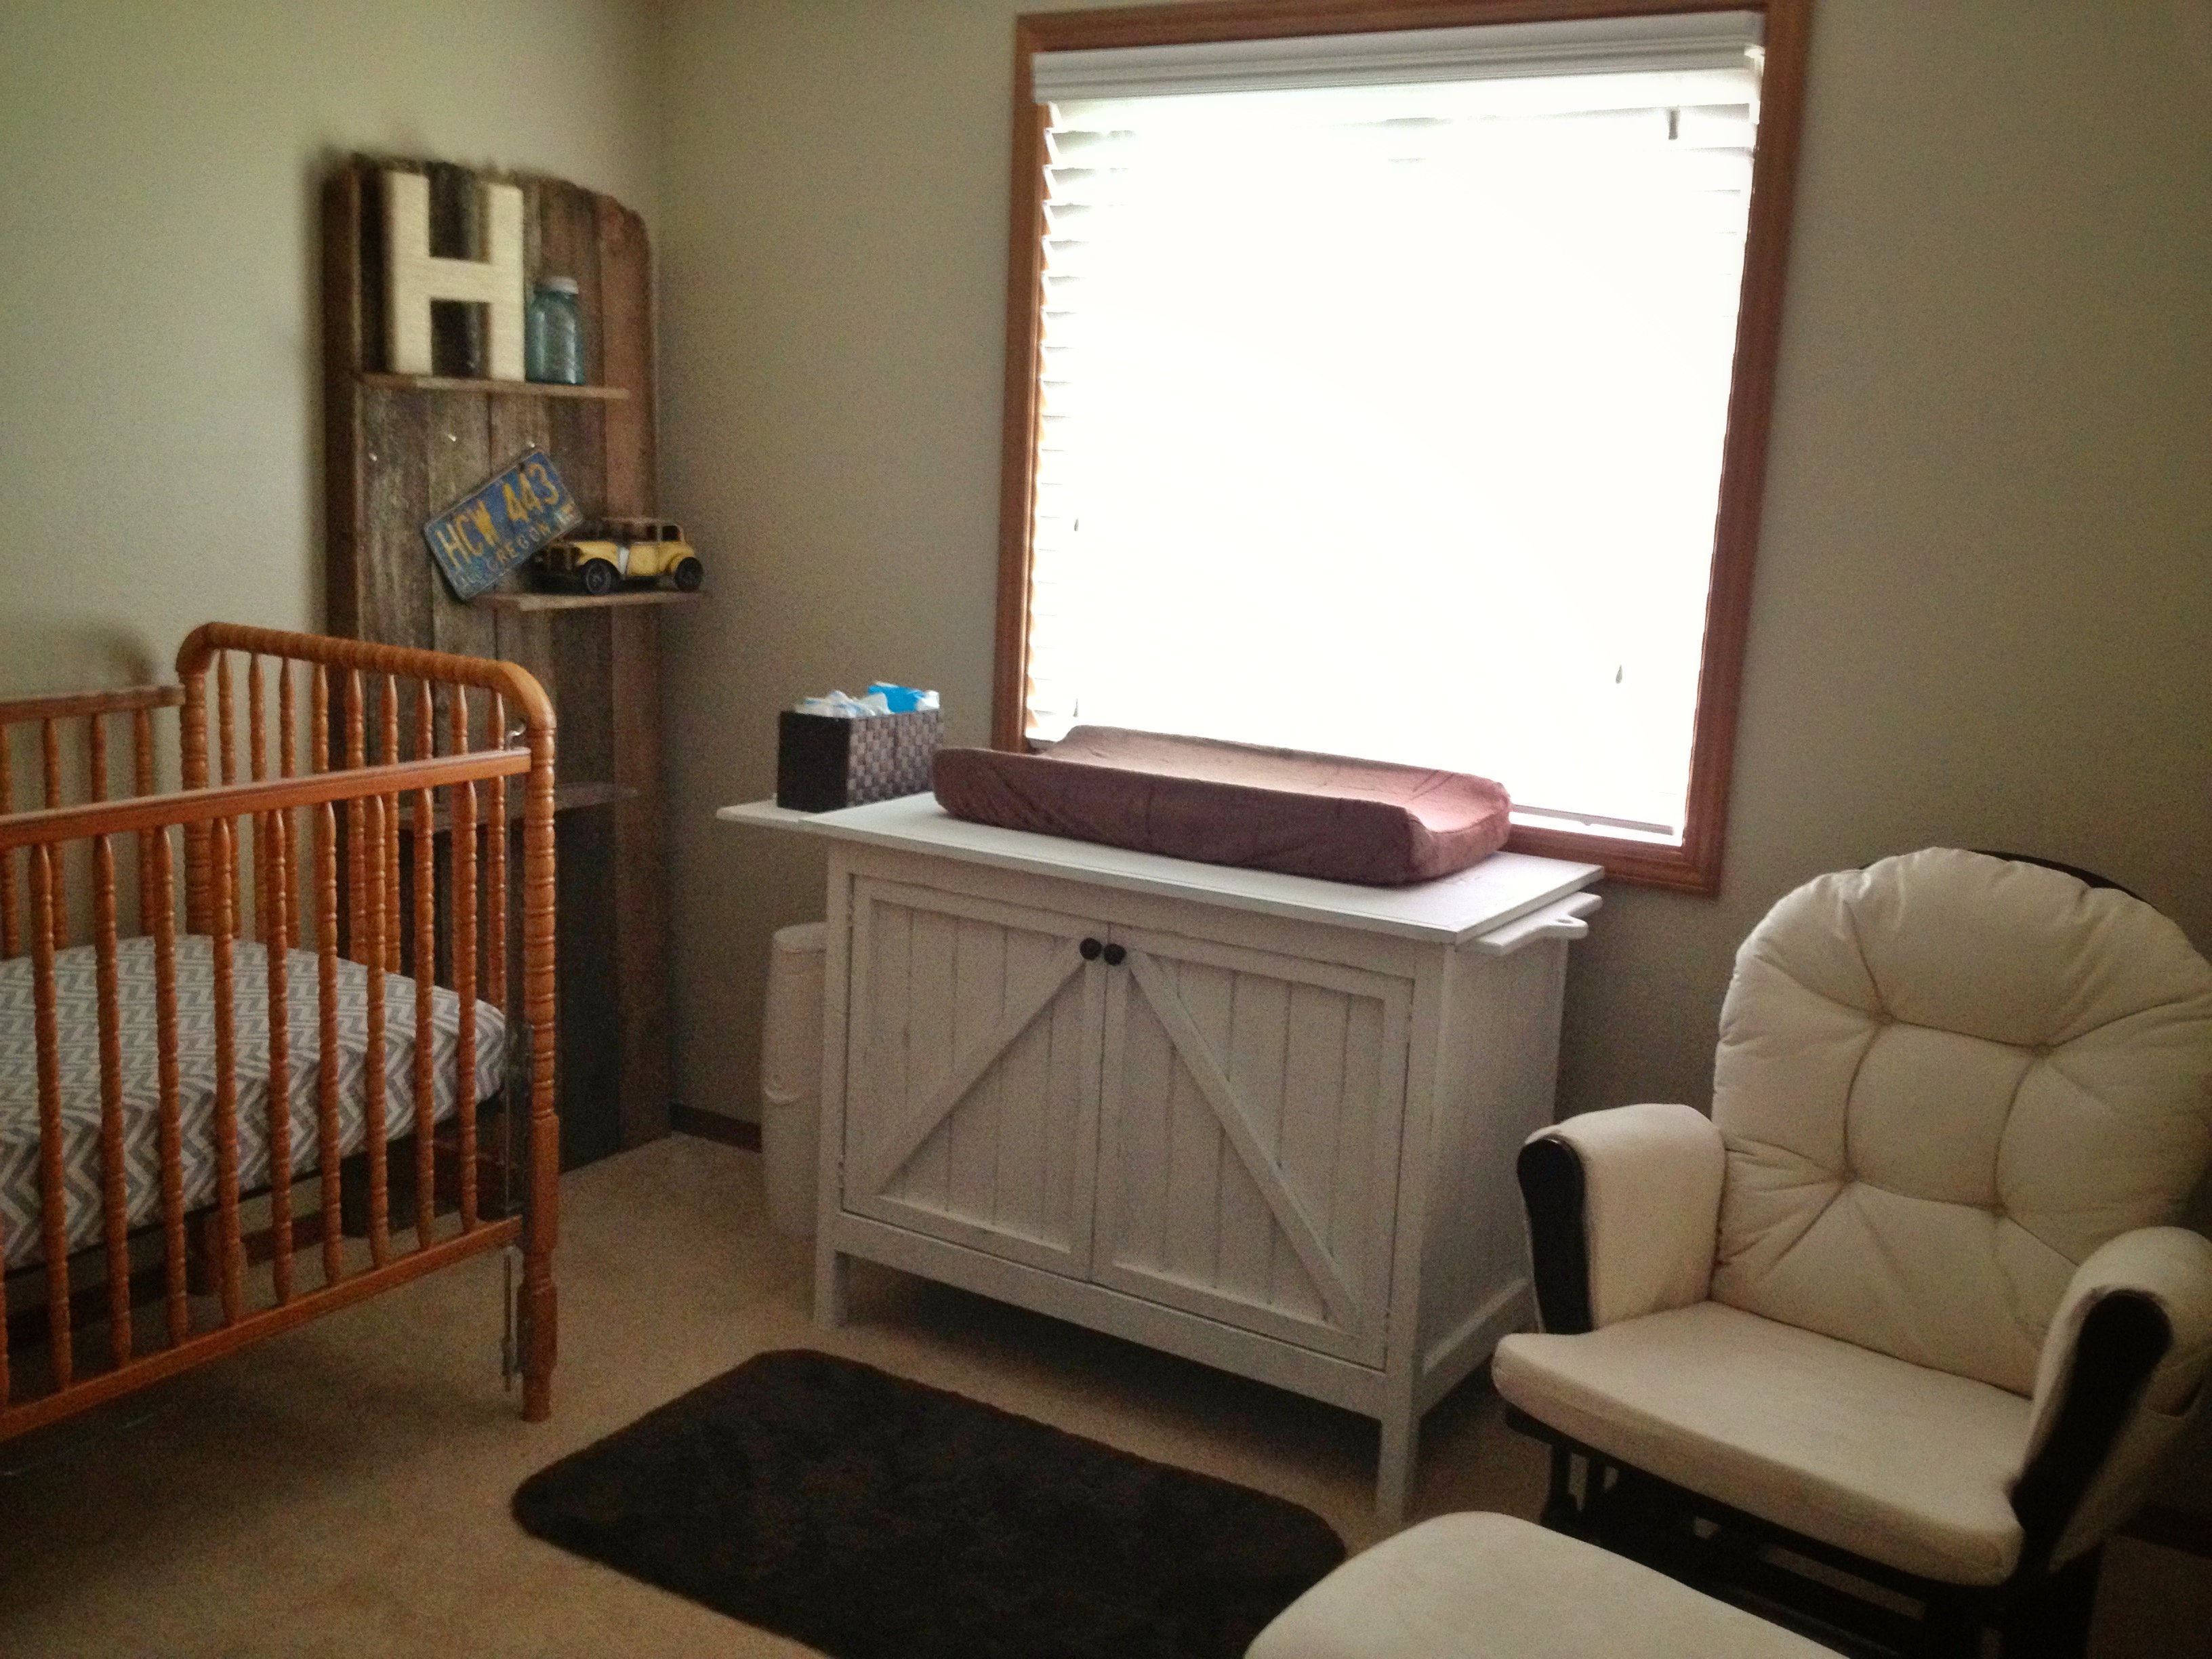
I wanted to share my most recent build with you.
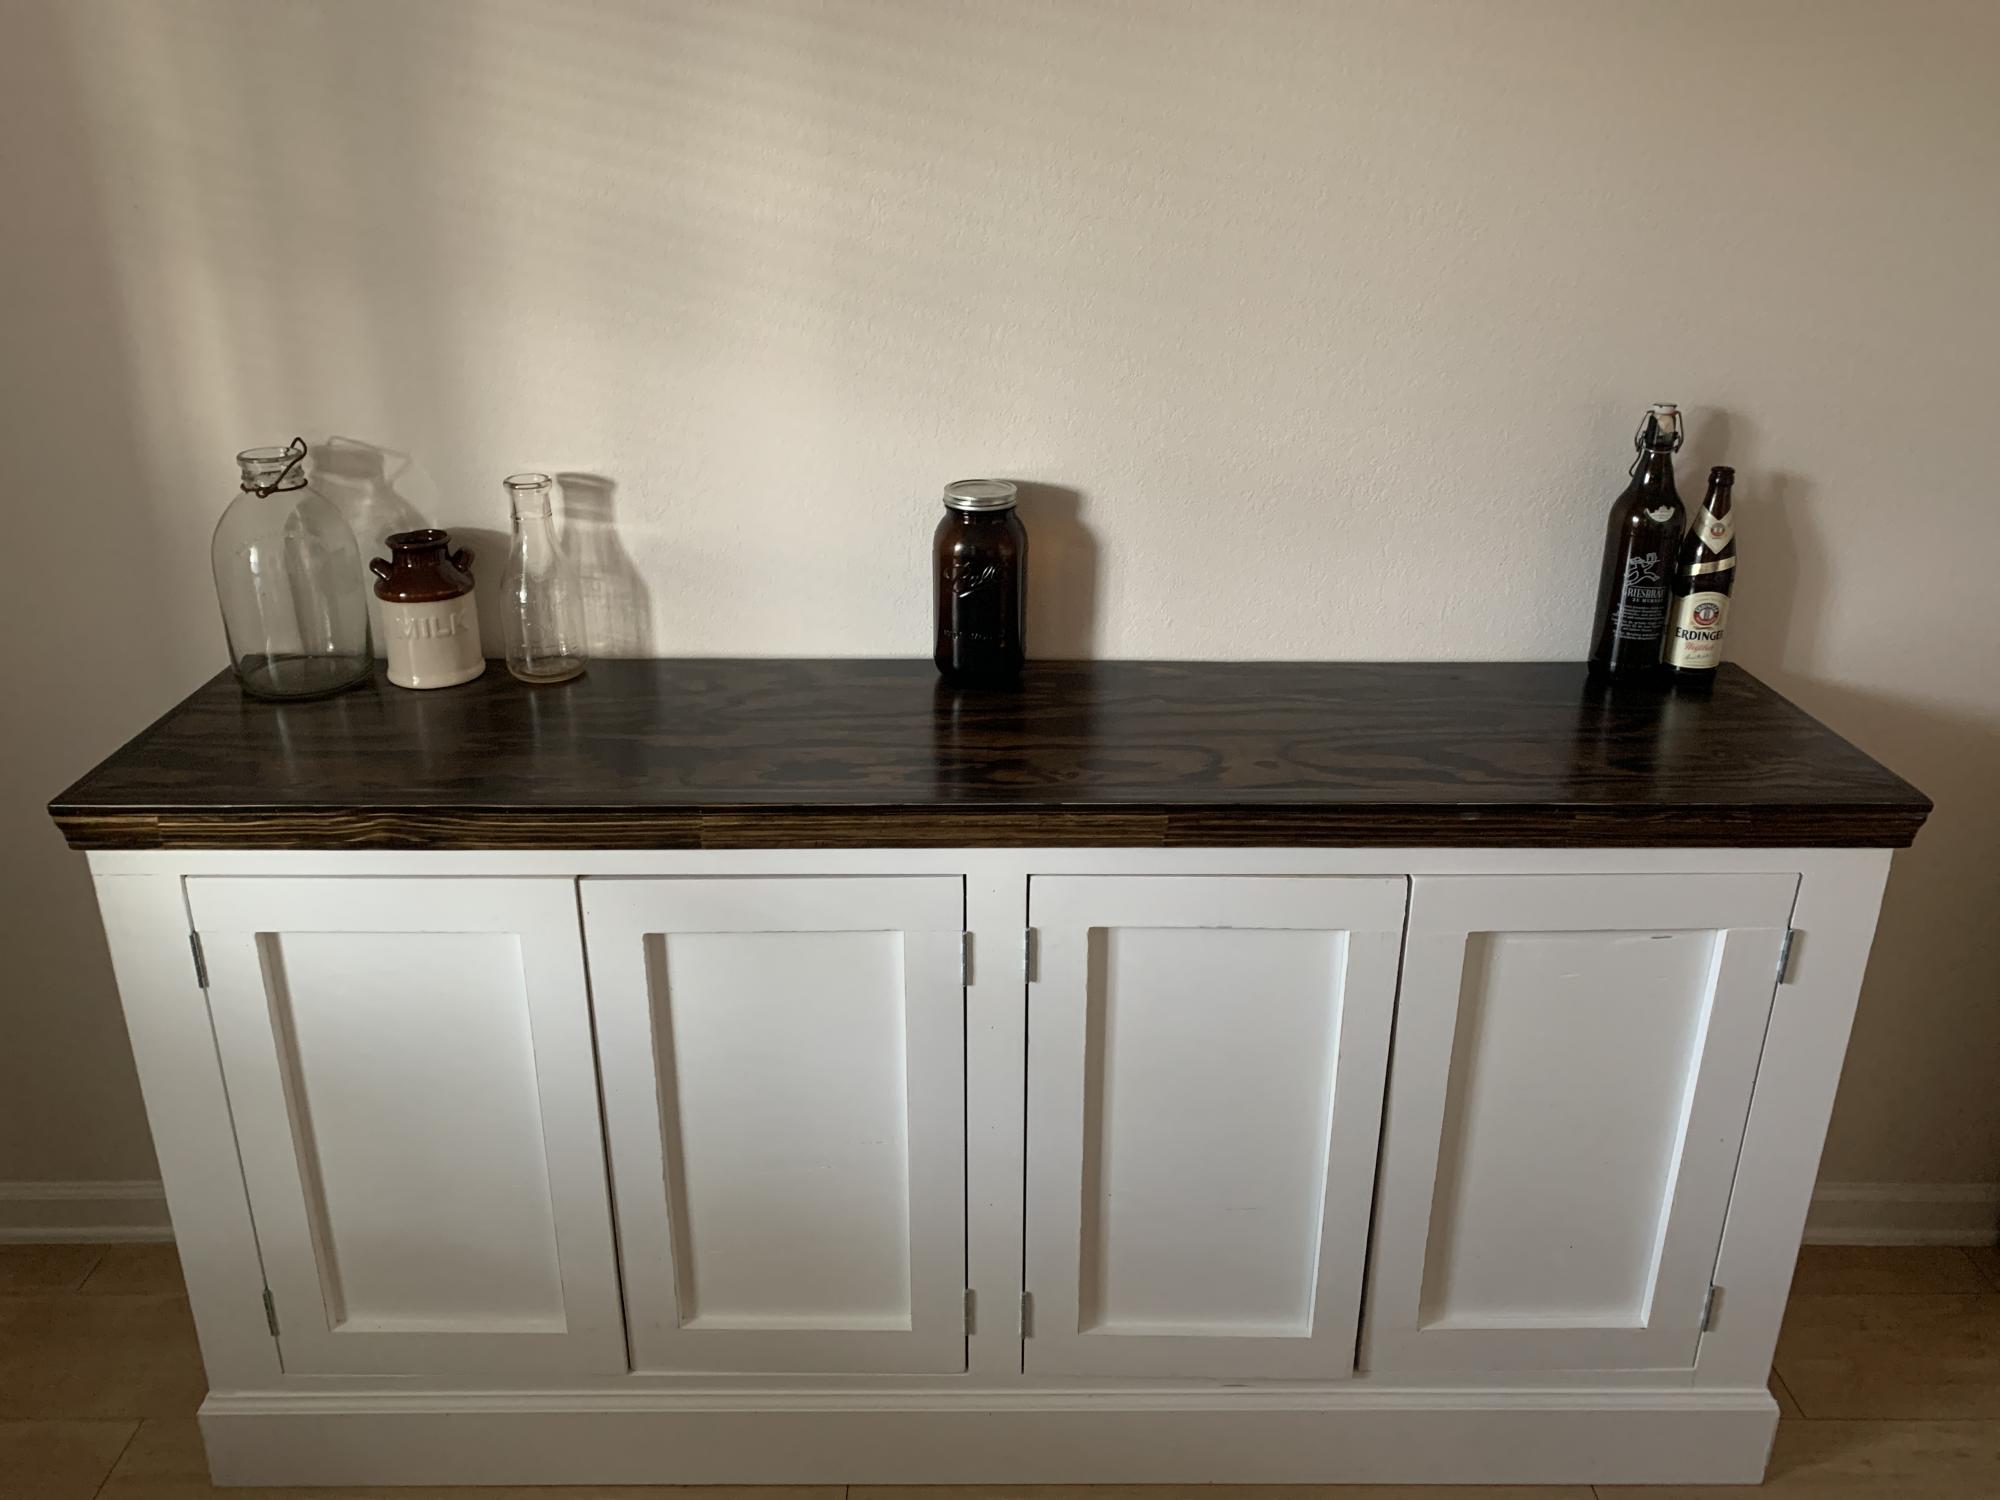
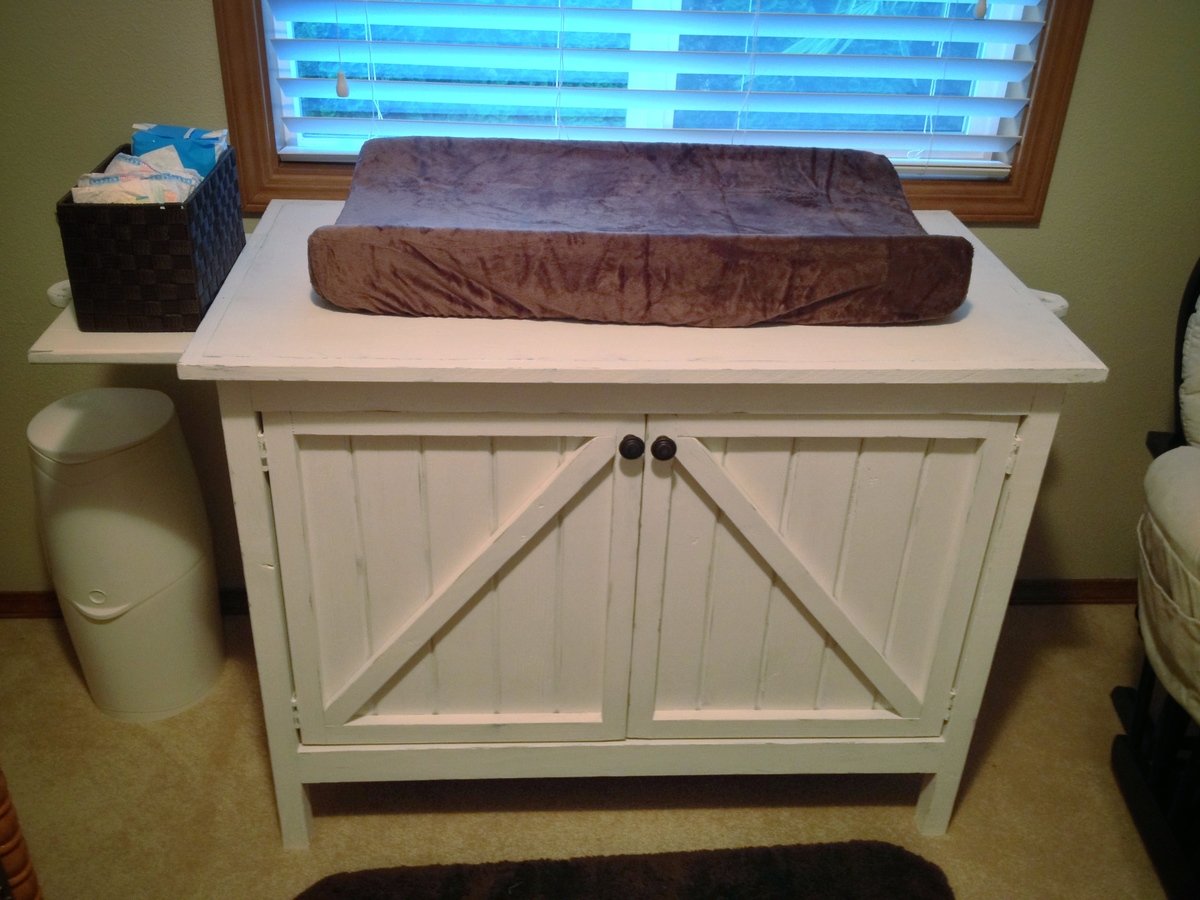
With only weeks before my son is due I finished his changing table/dresser.
I am still new to this whole woodworking adventure and this was my largest project yet. (Completed project was around $95)
This dresser had a ton of ‘firsts’ for me and along with that I probably made nearly every mistake you can.
My firsts on this thing were:
-pocket holes
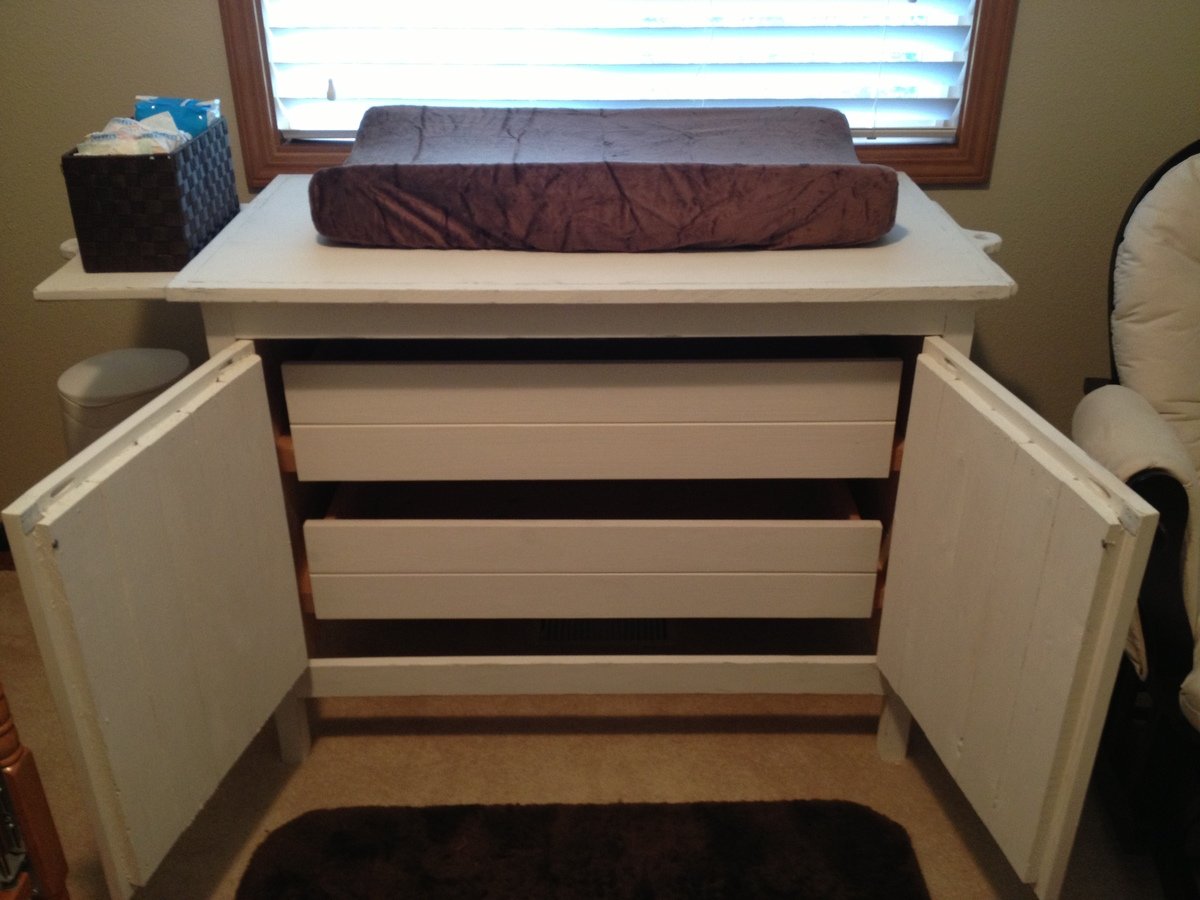
-sliding dovetails (to attach the drawer fronts)
-hand-cut dovetails (rear corners of the drawers)
-drawers with glides
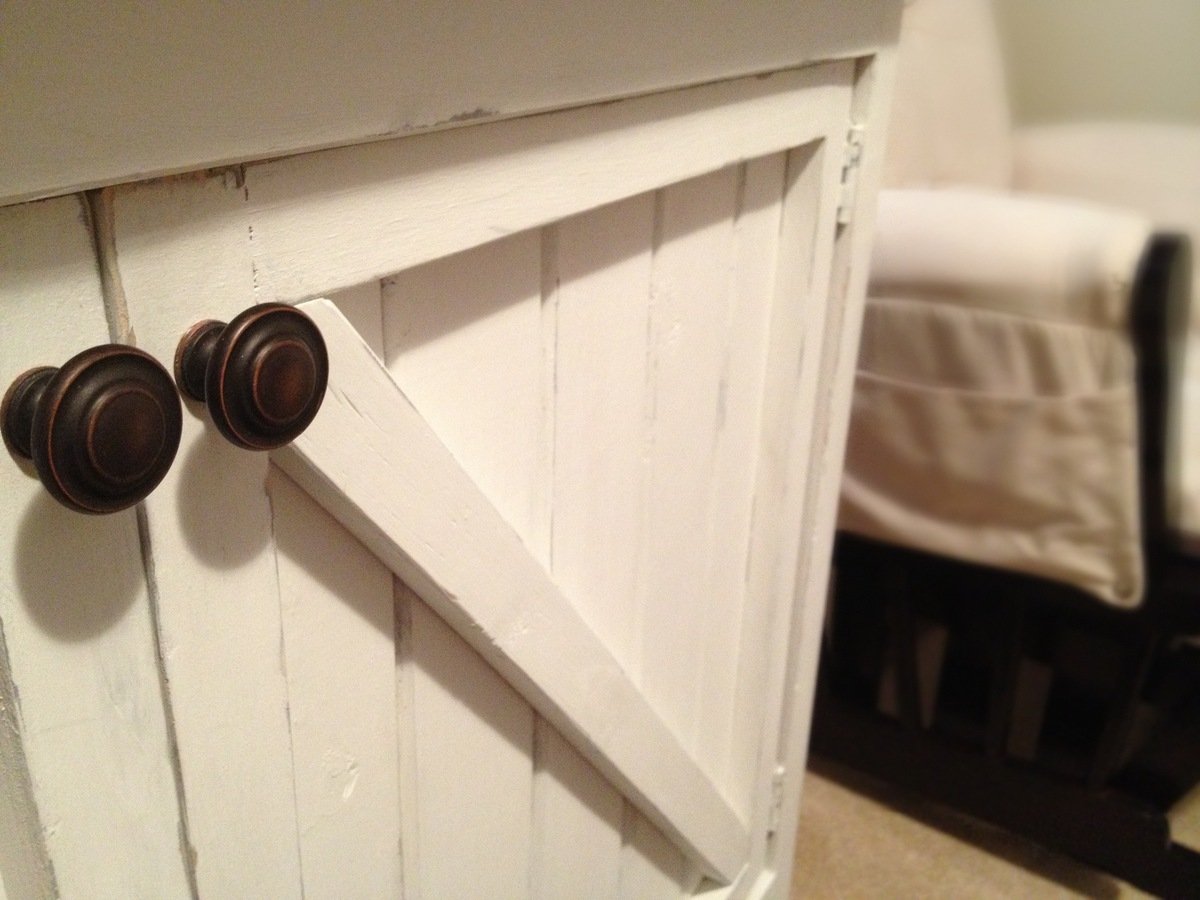
-hinged doors
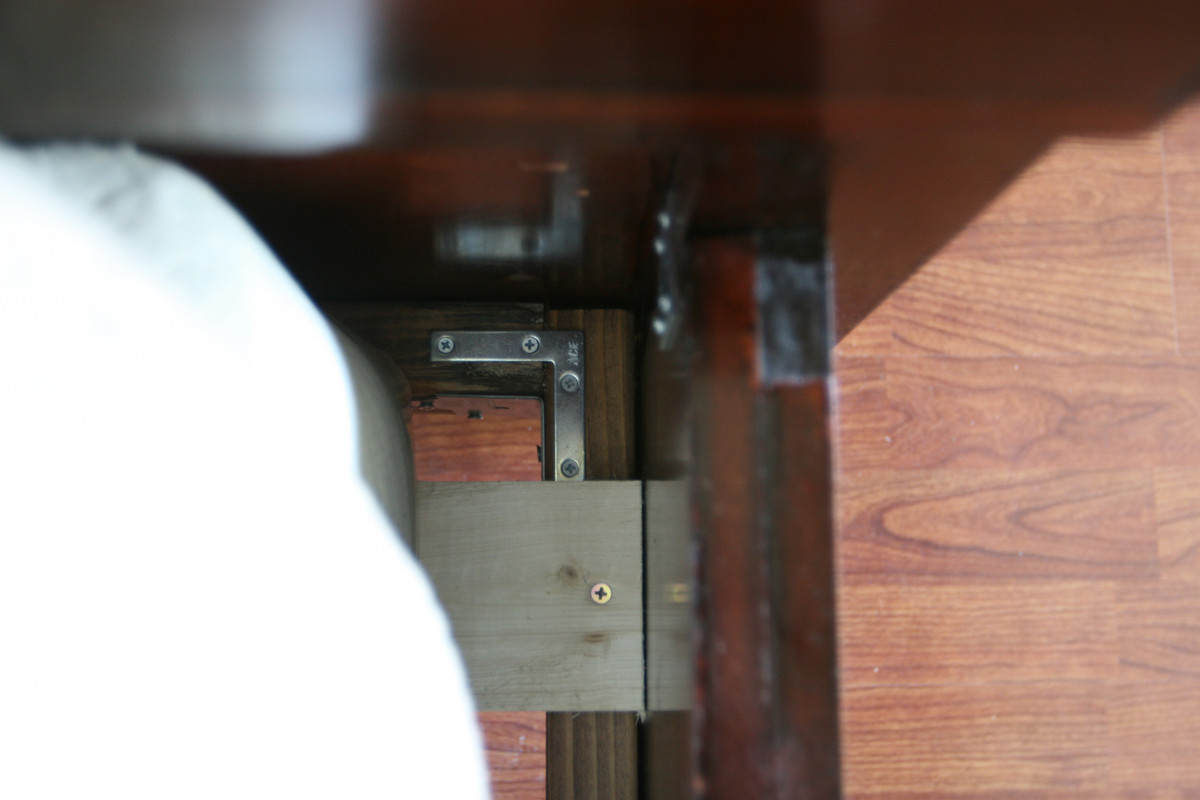
-table top fasteners
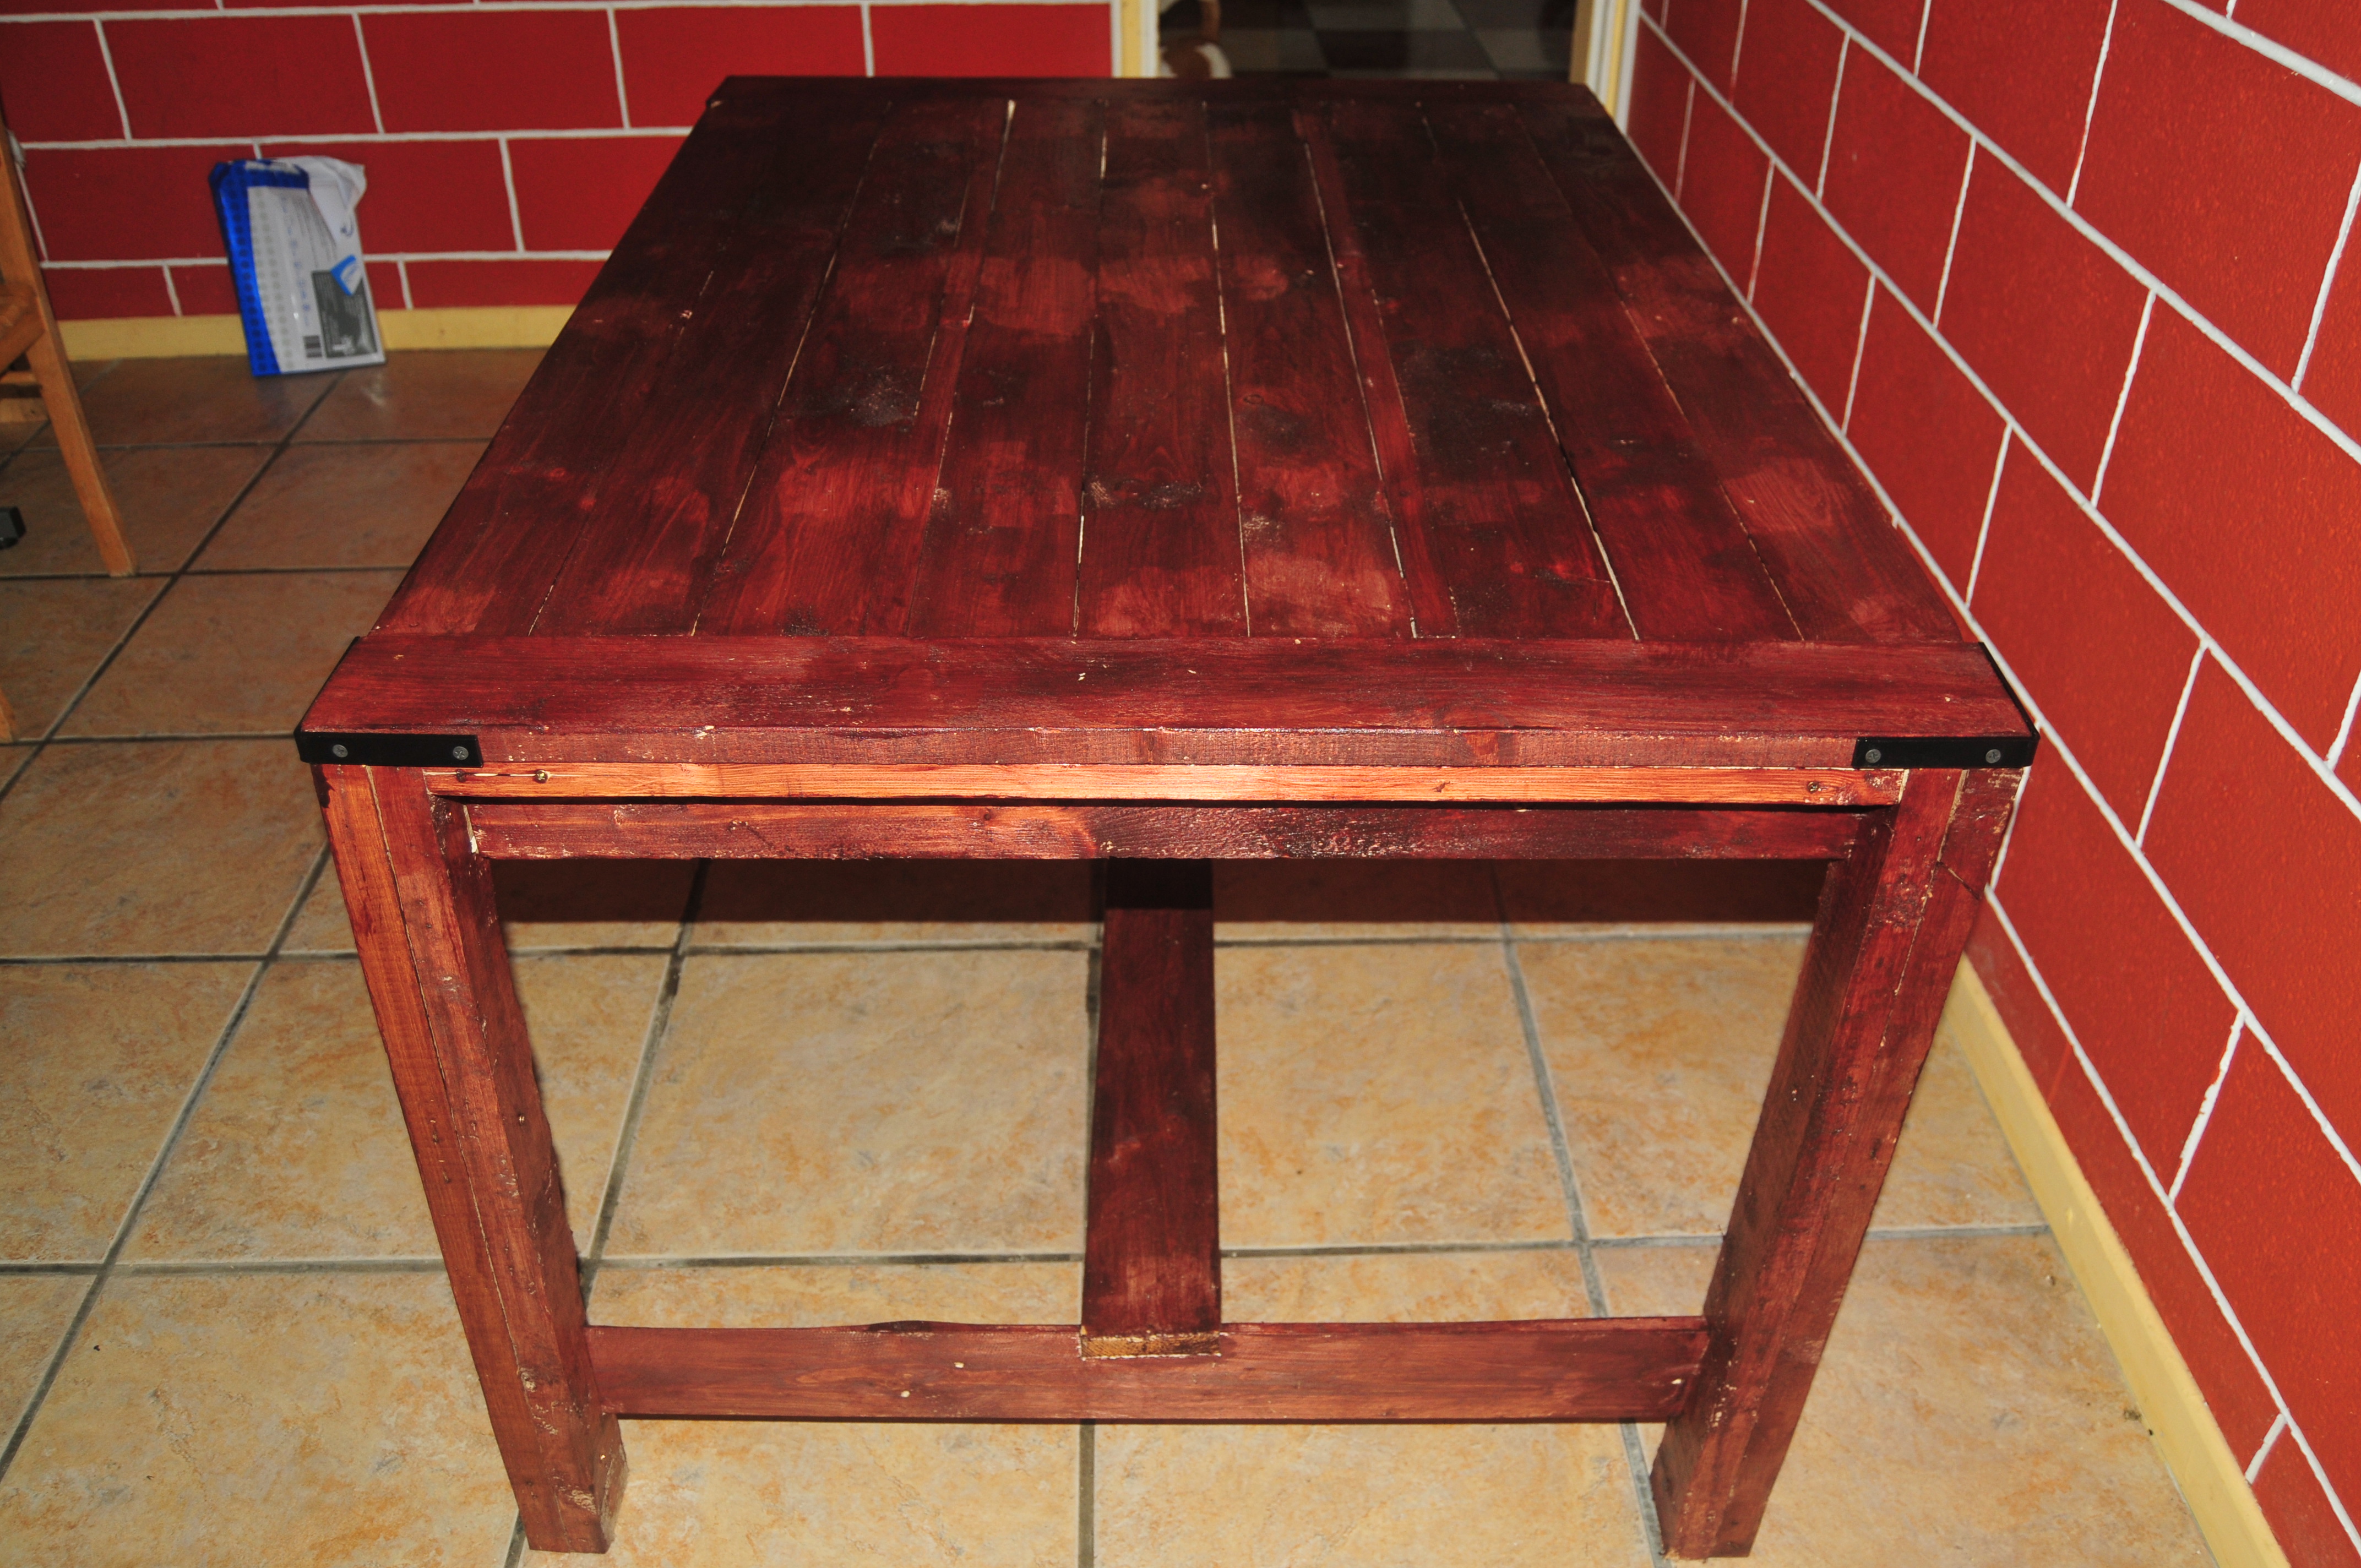
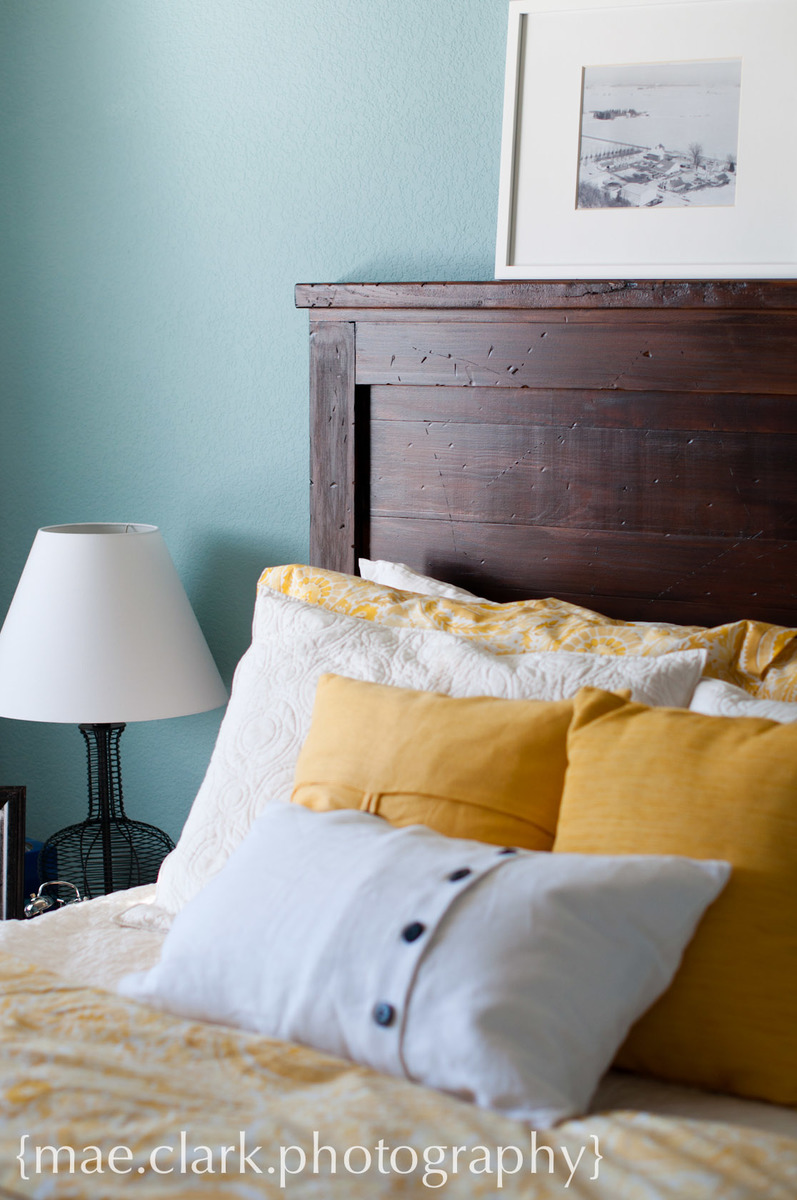
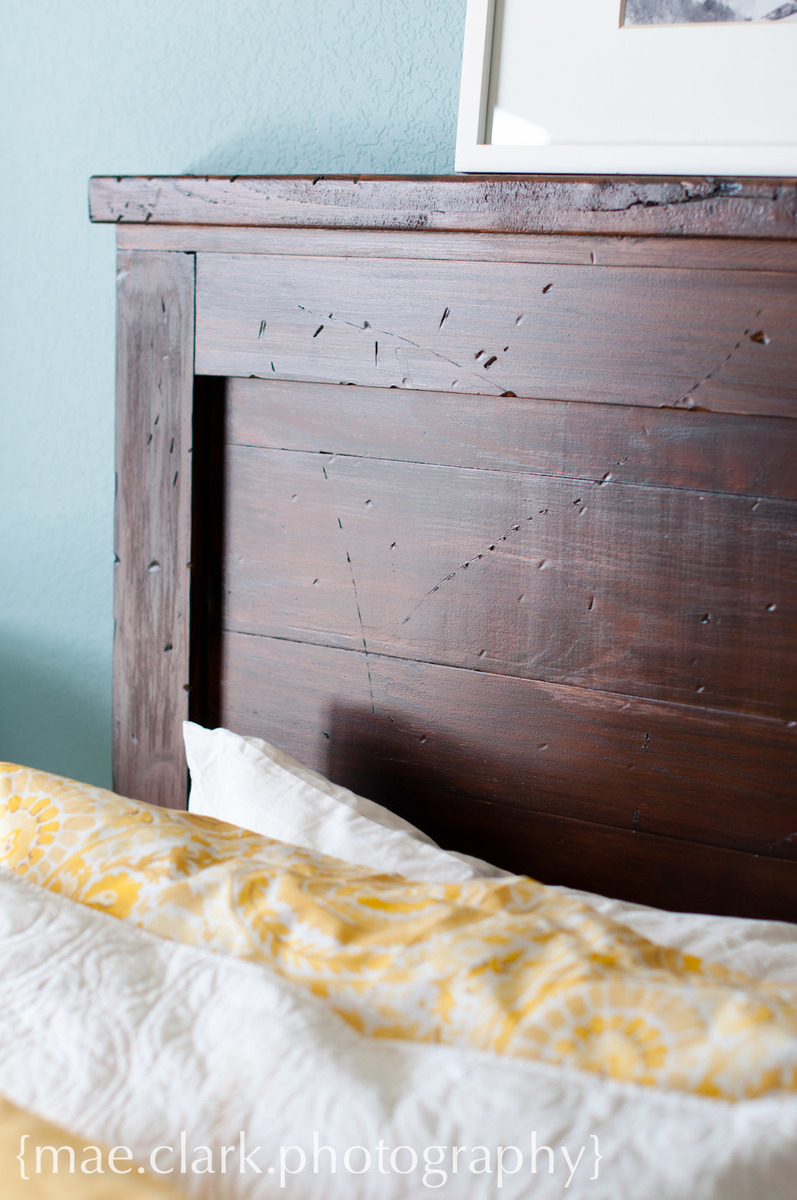
-distressing a paintjob
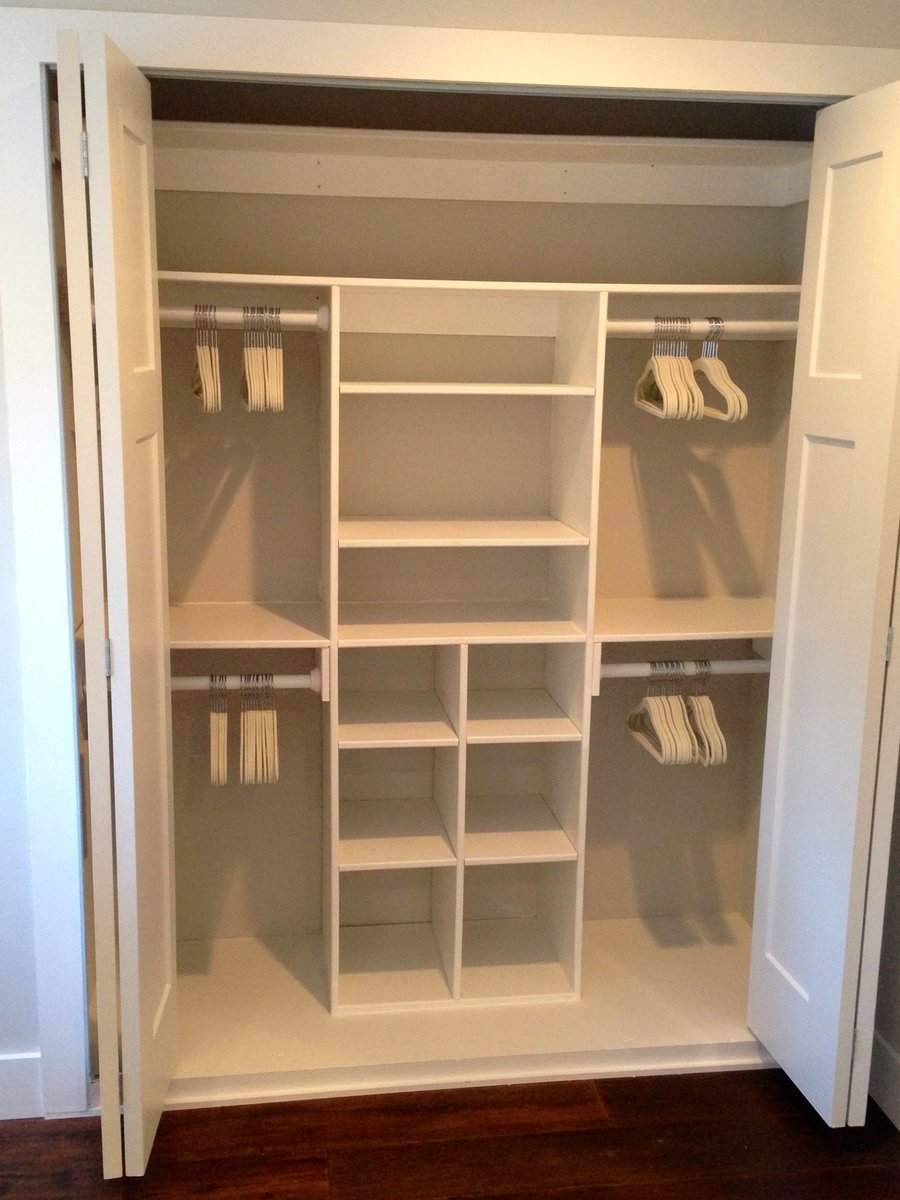
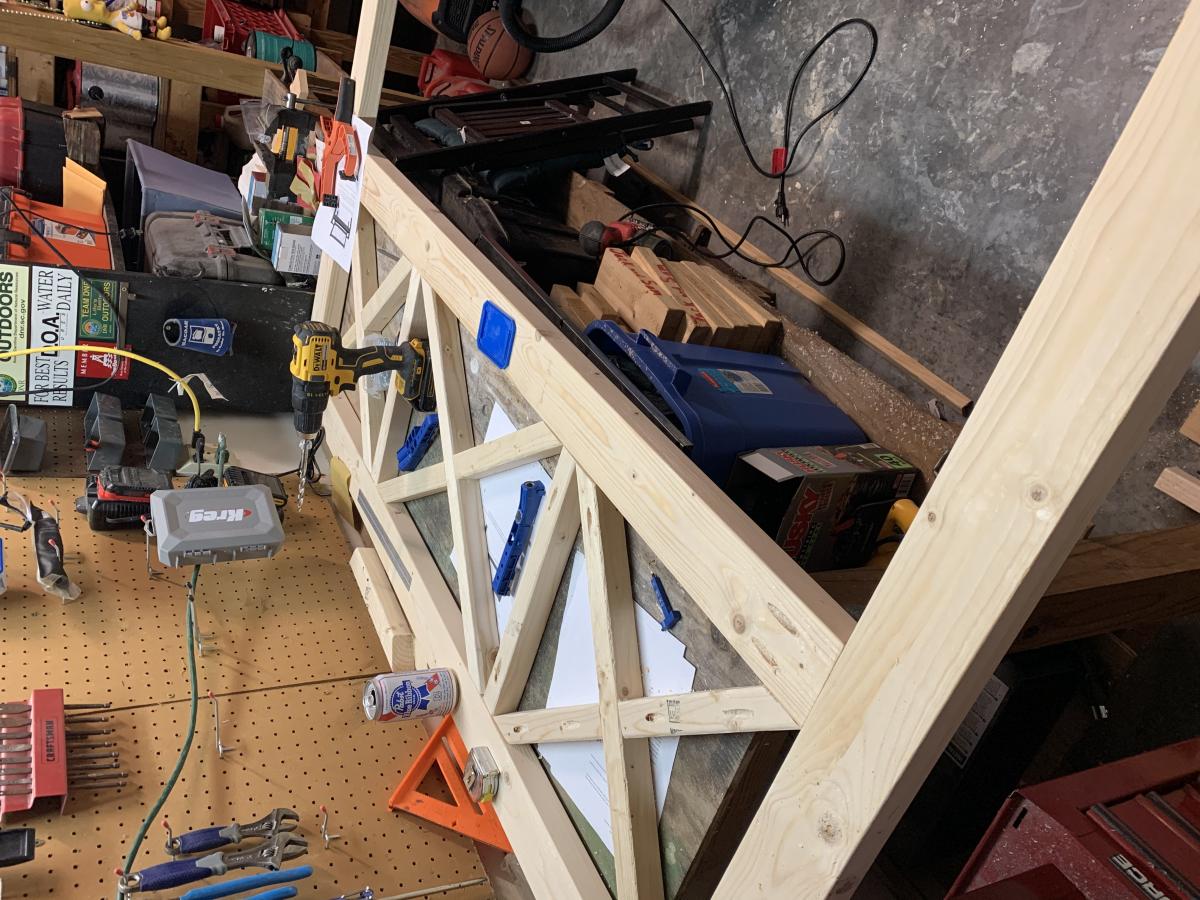
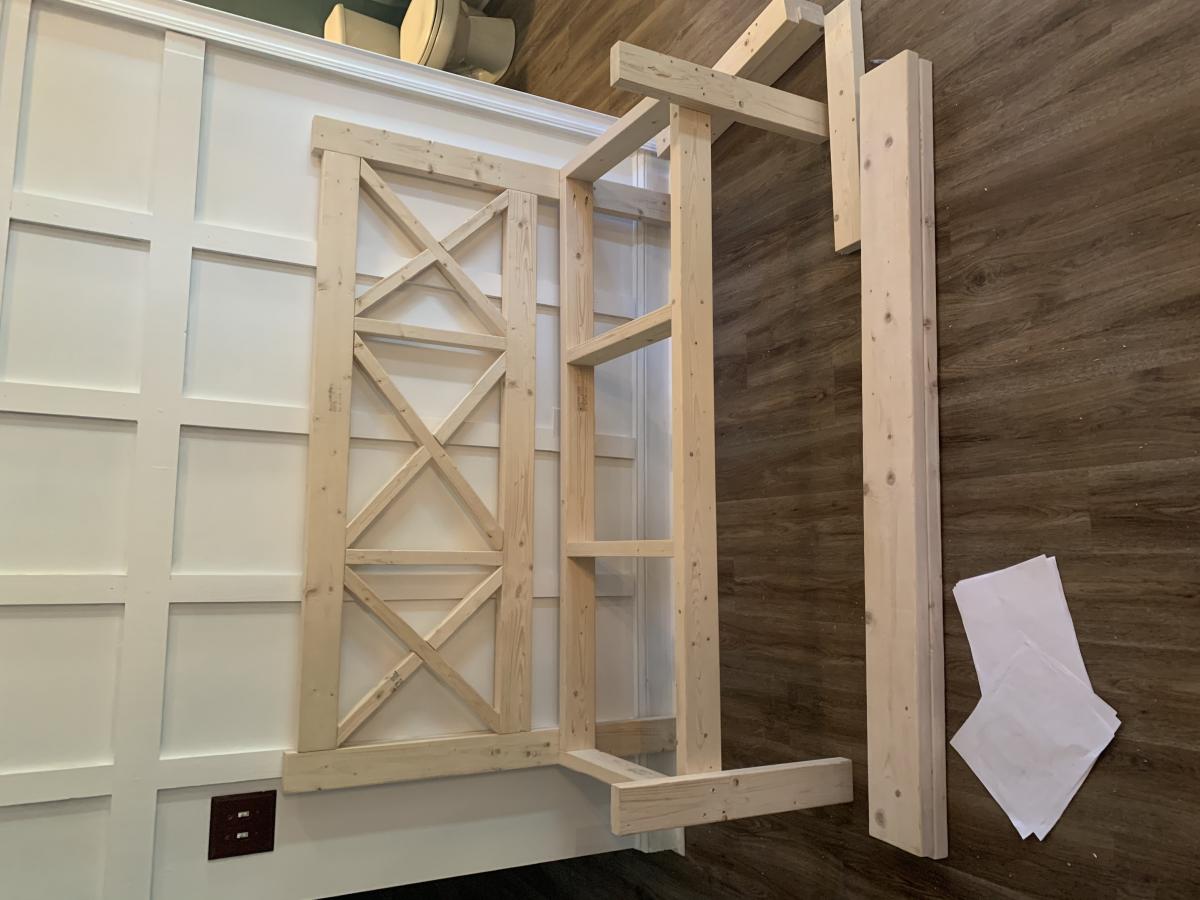
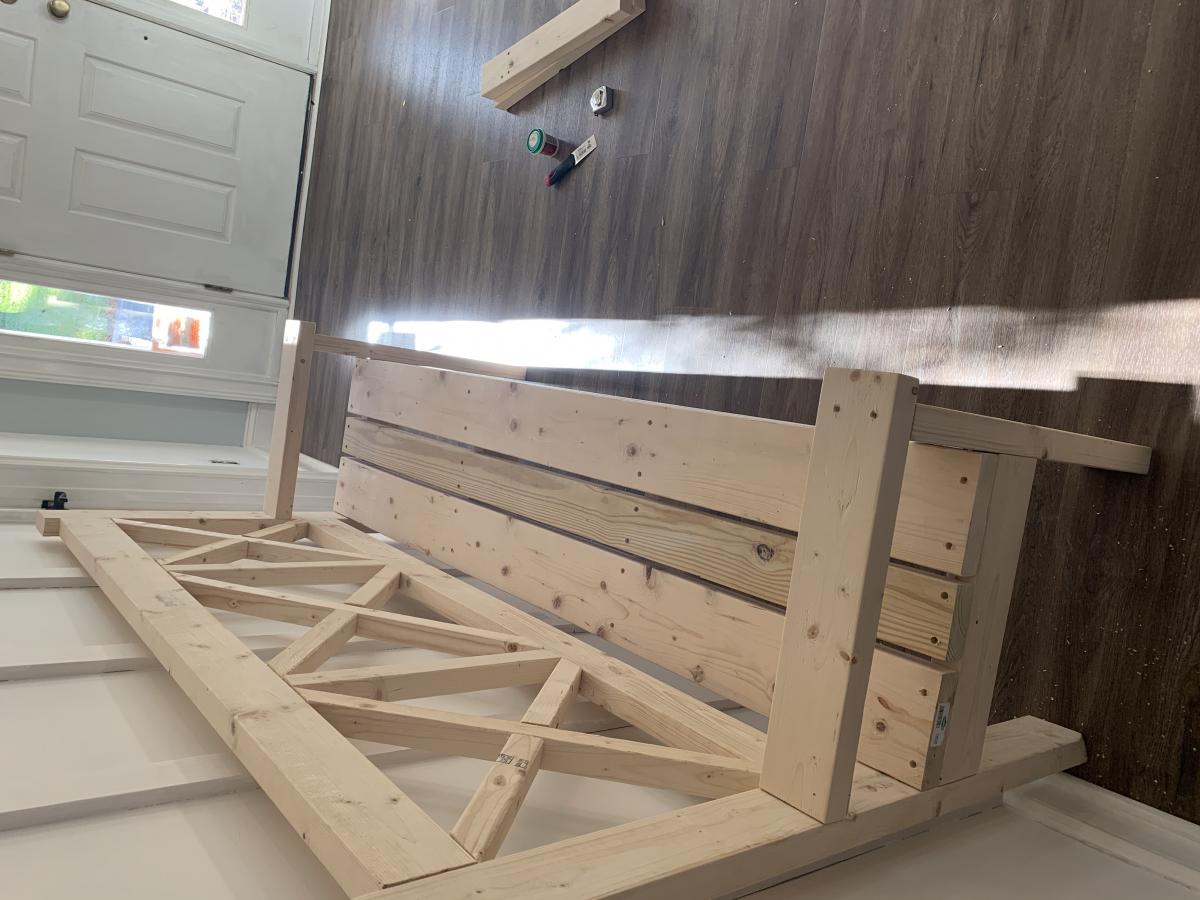
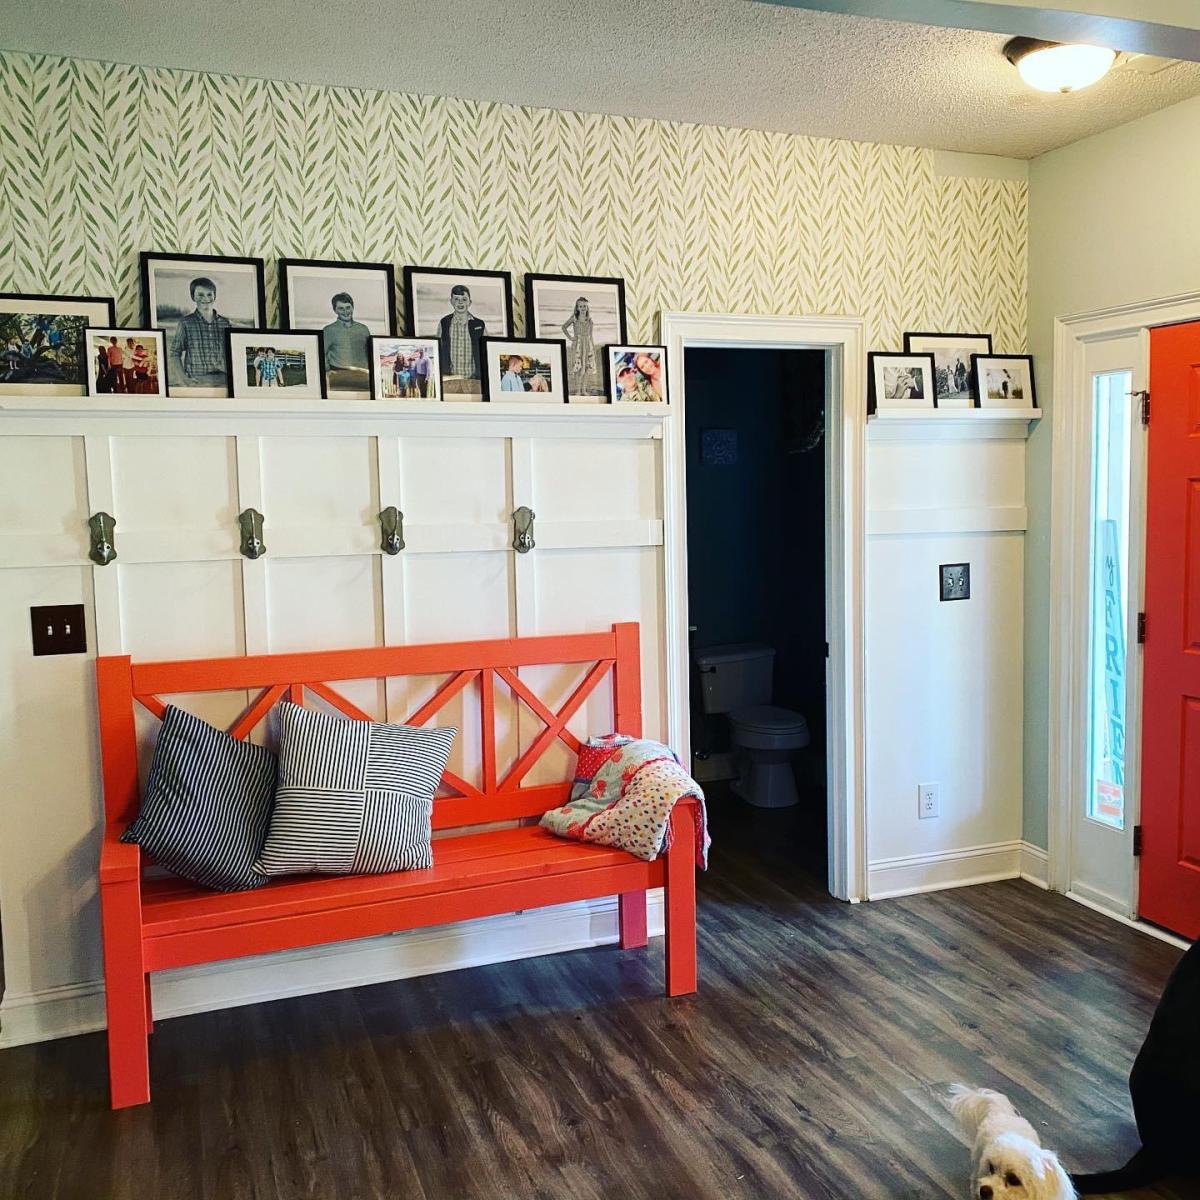
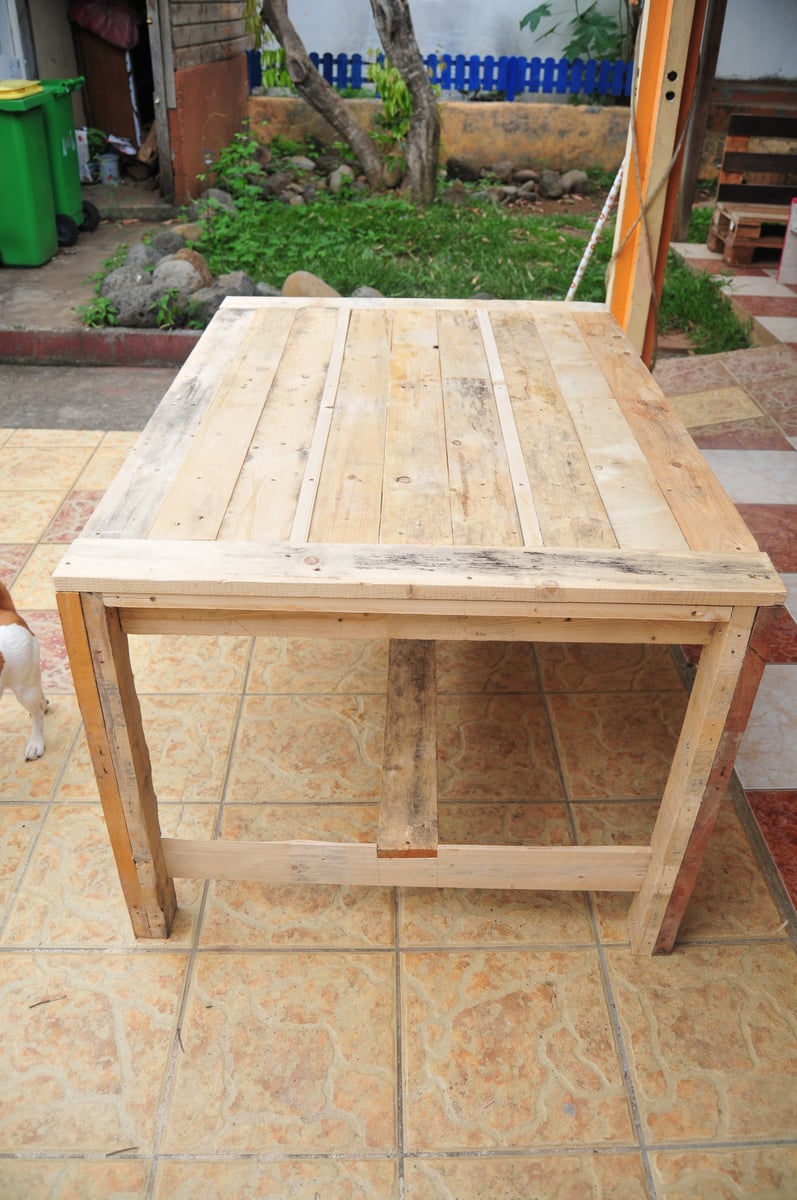
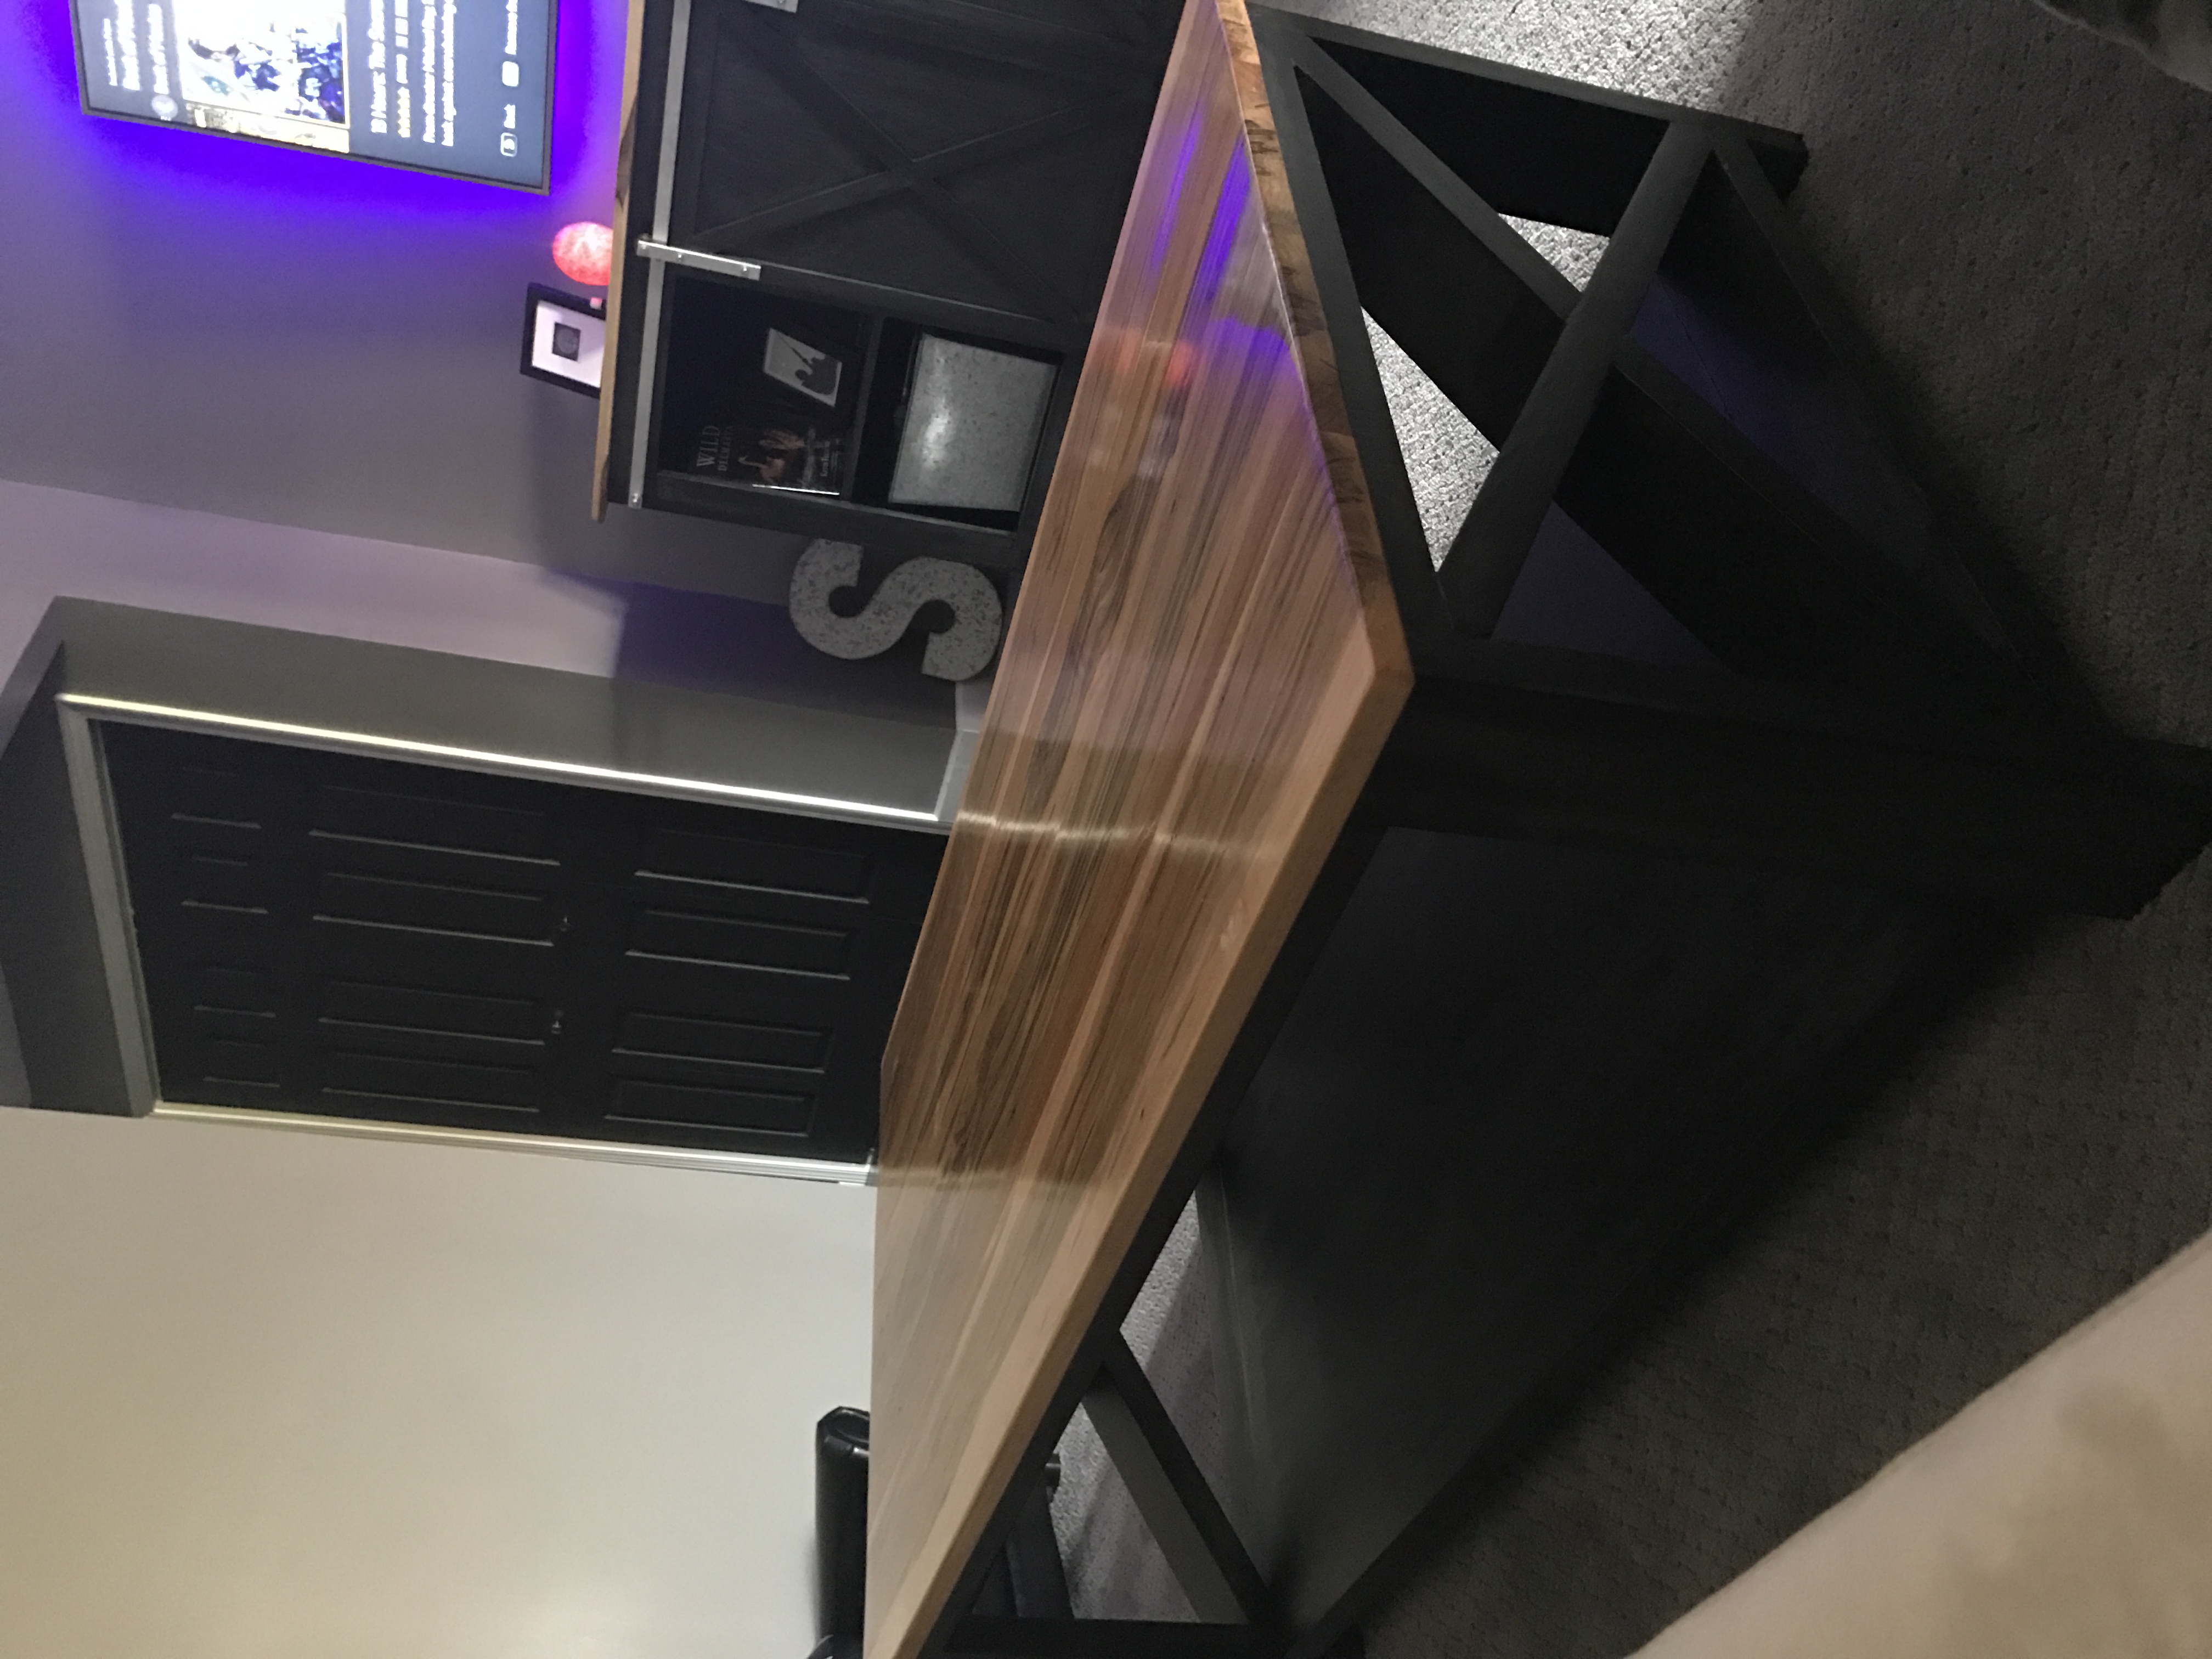
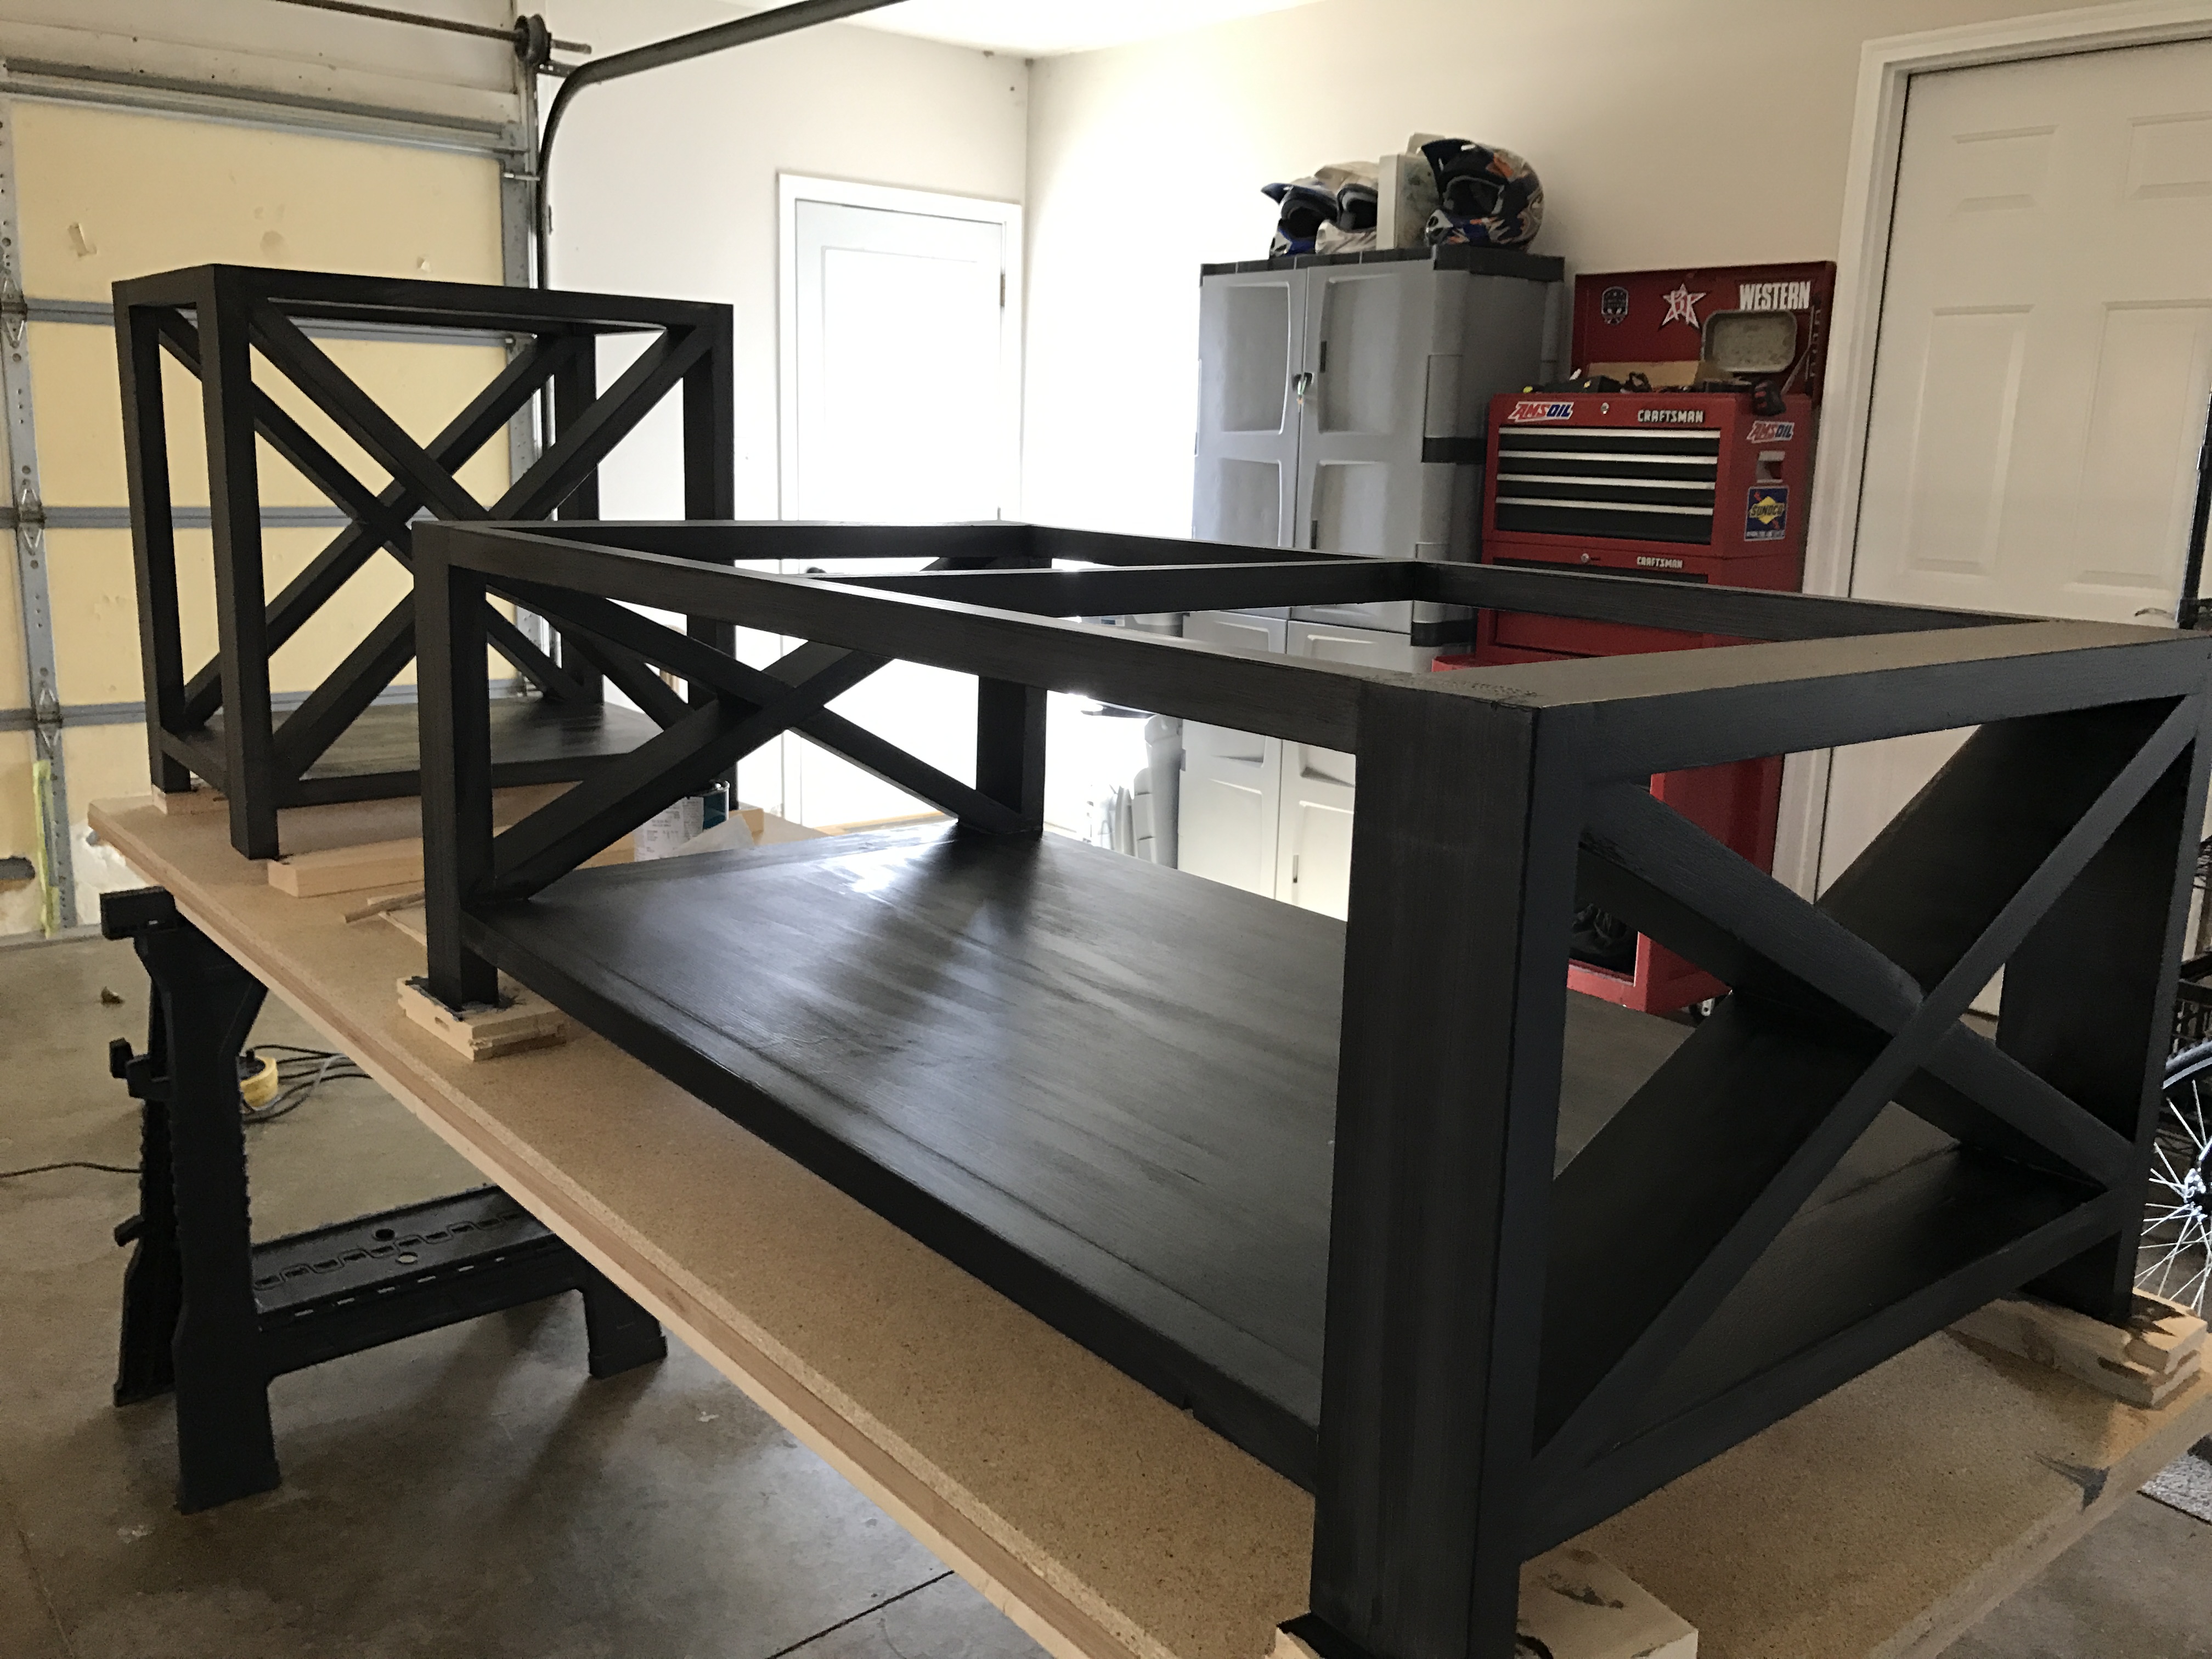
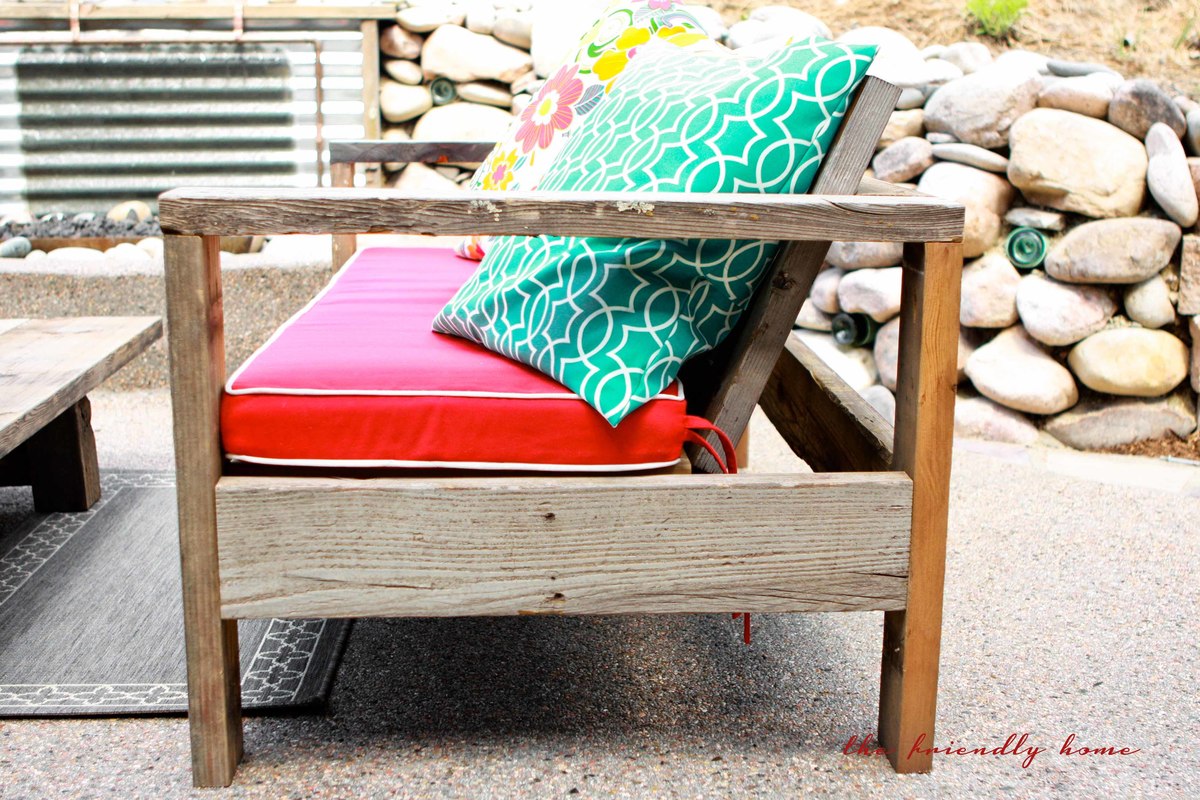
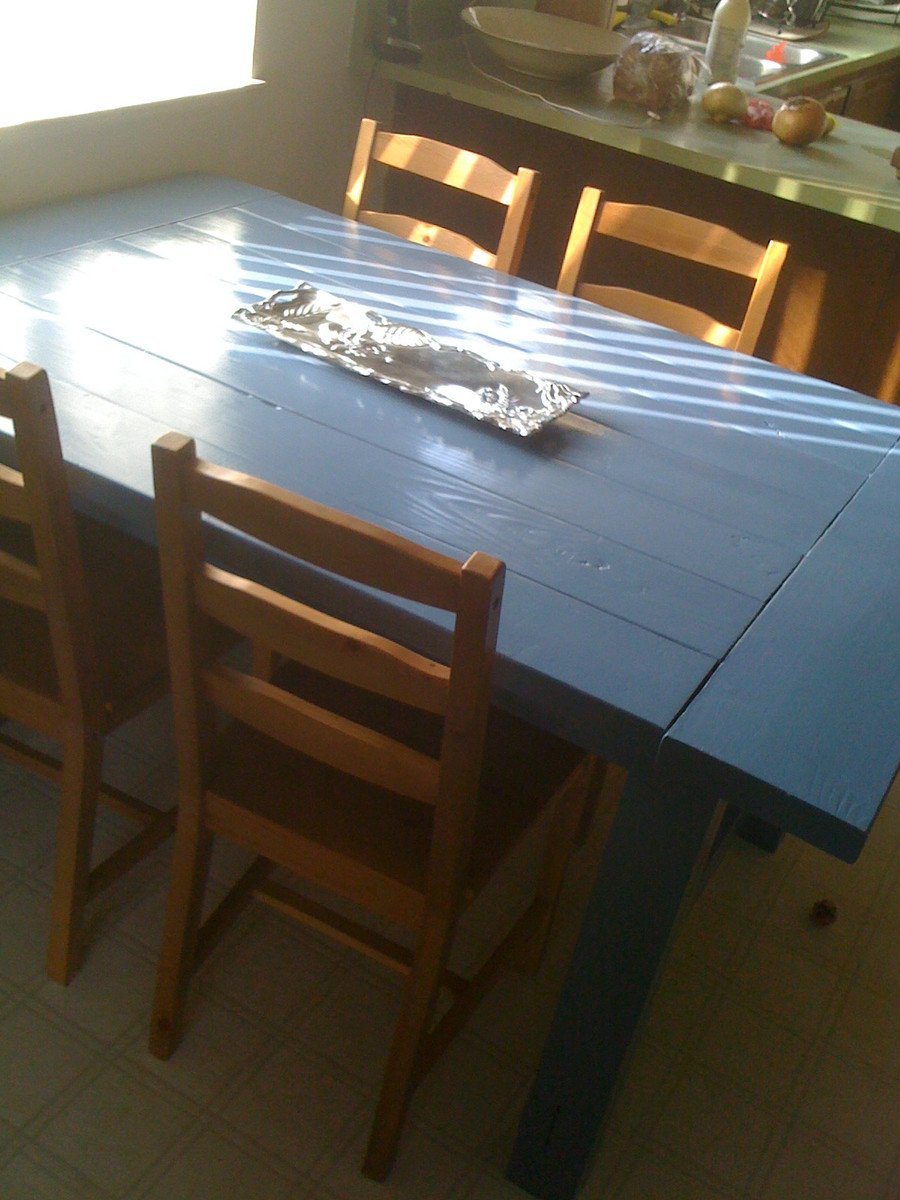
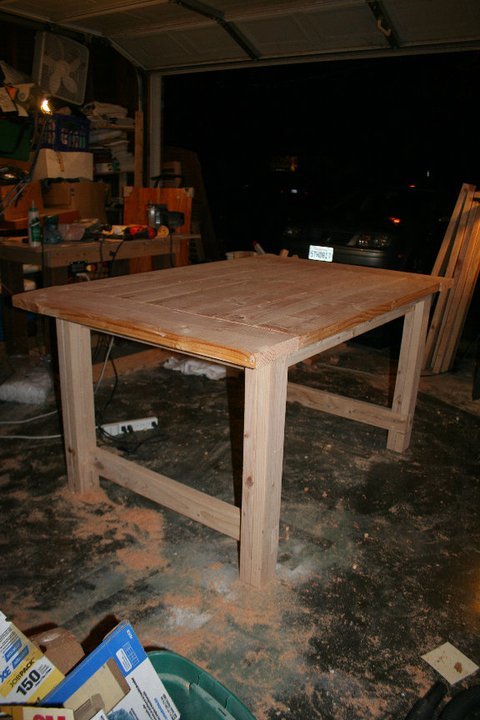
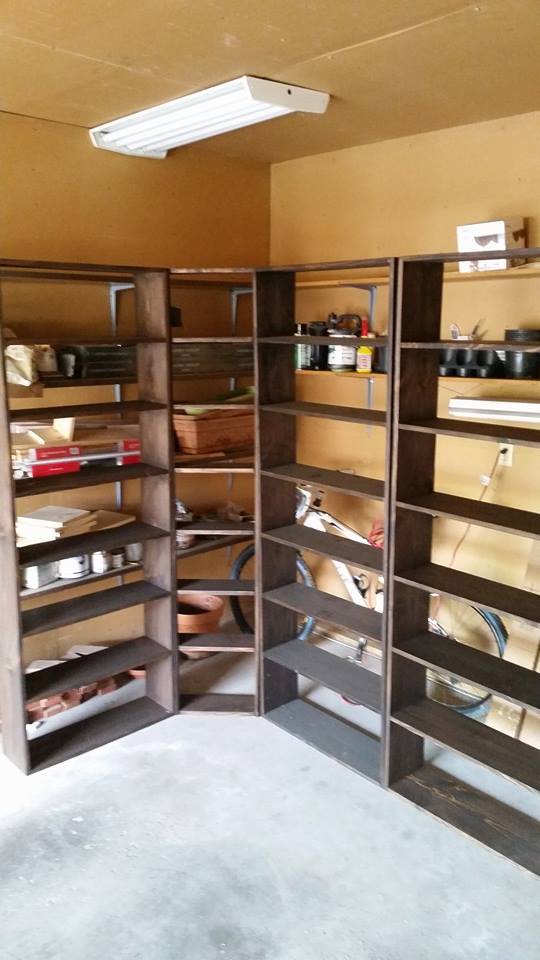
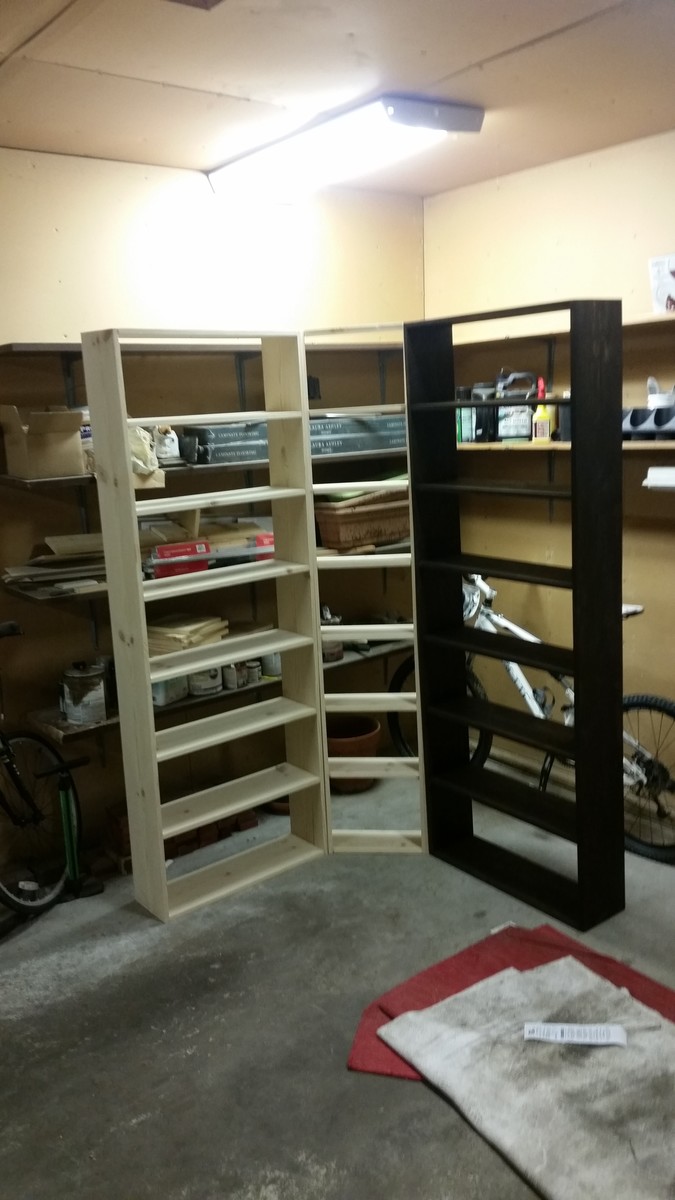
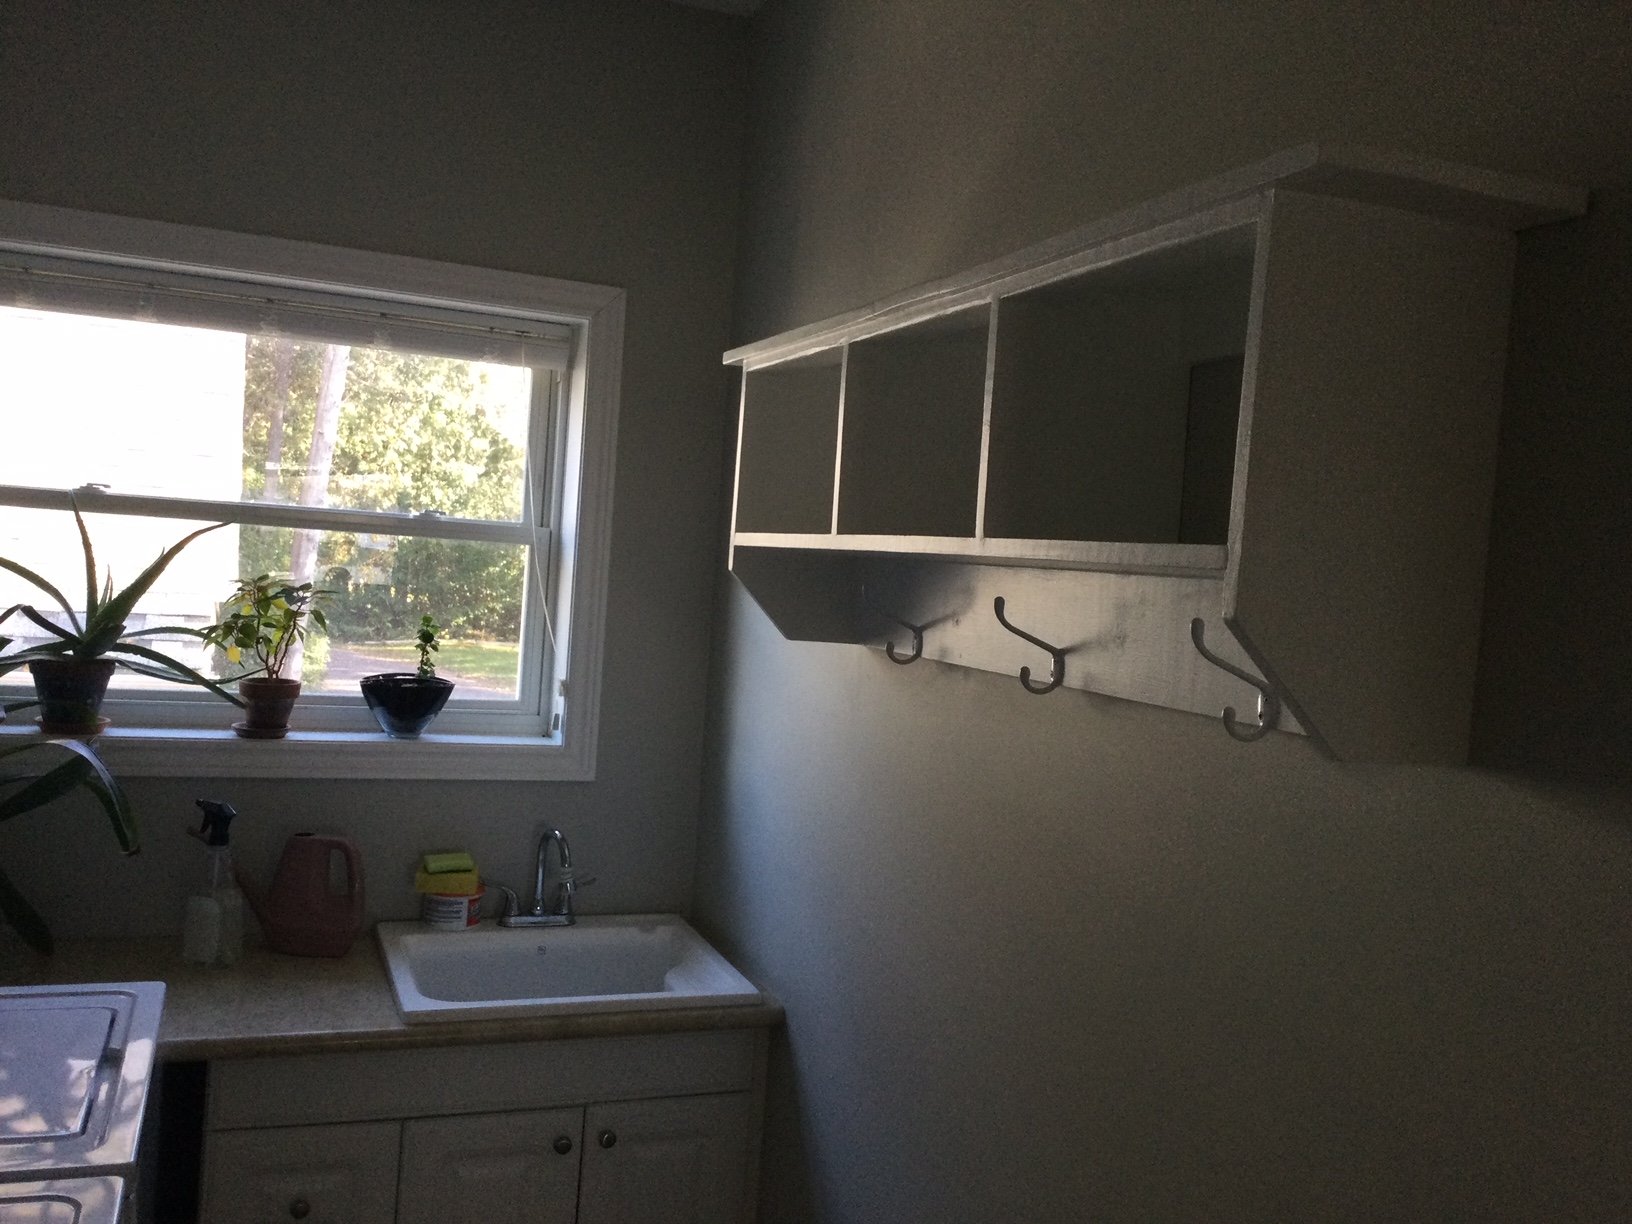
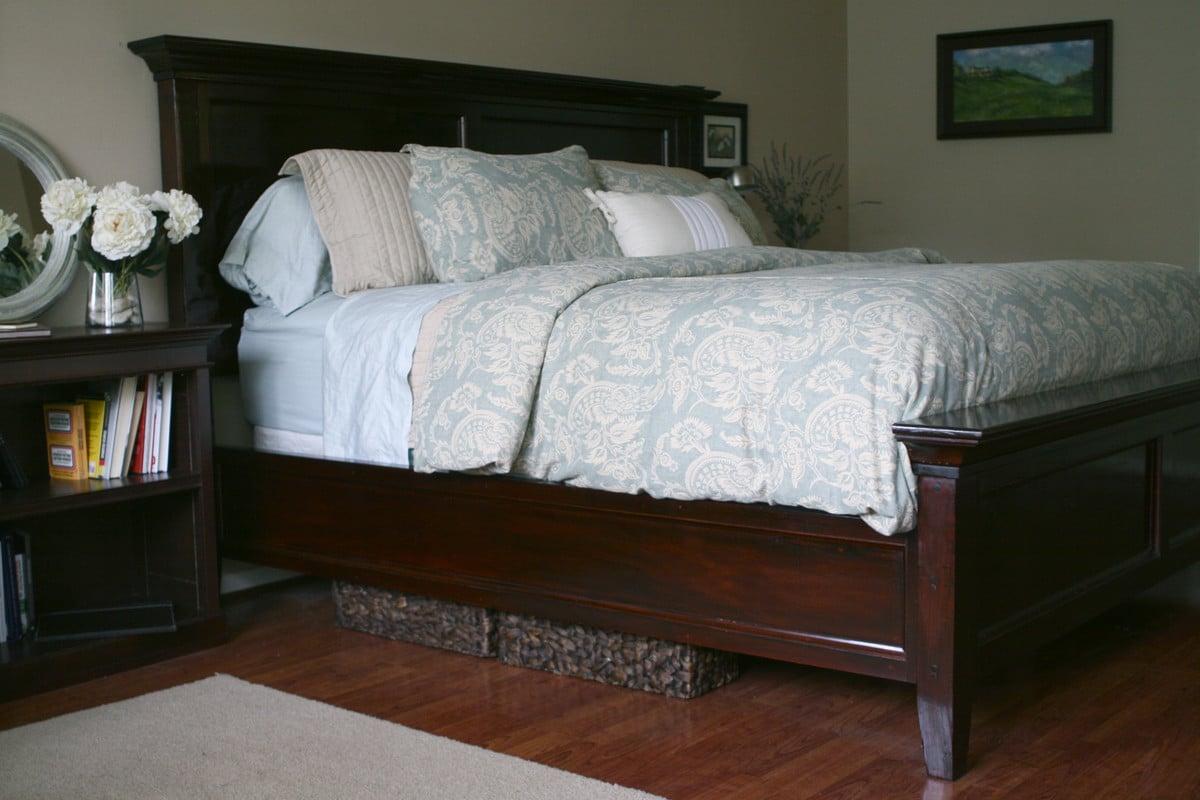
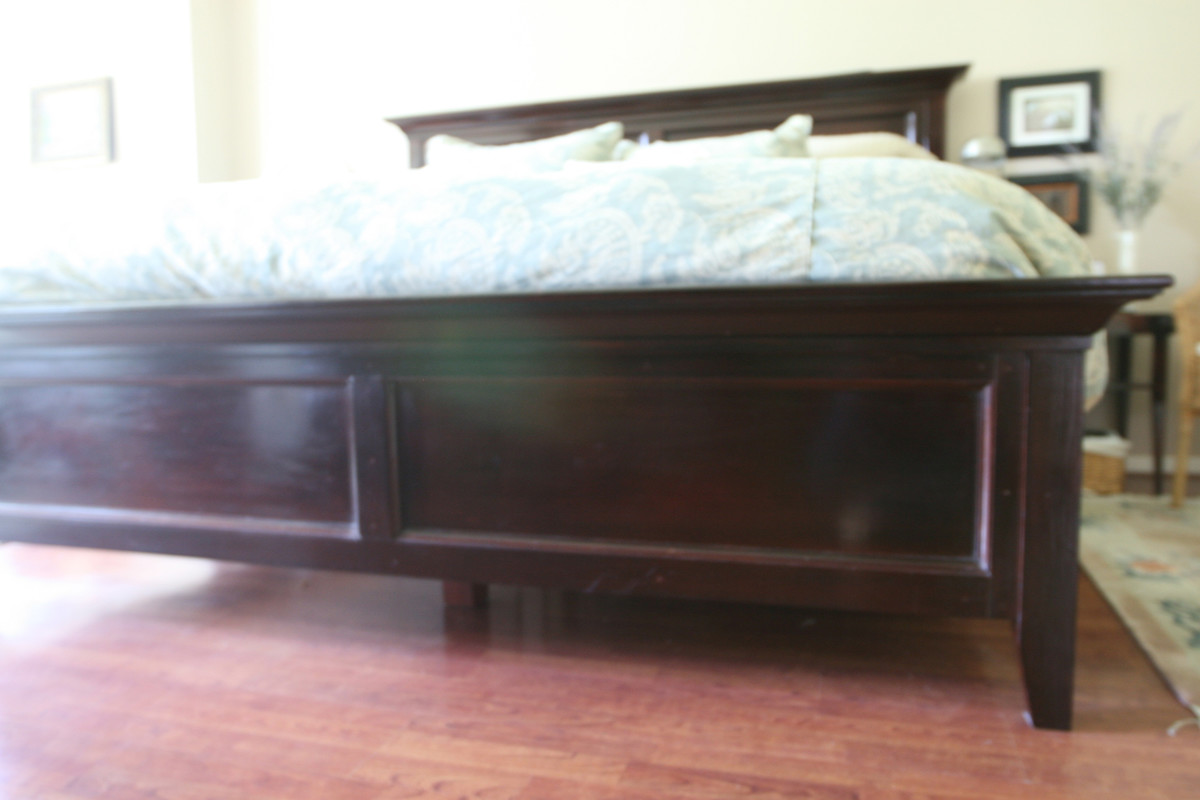
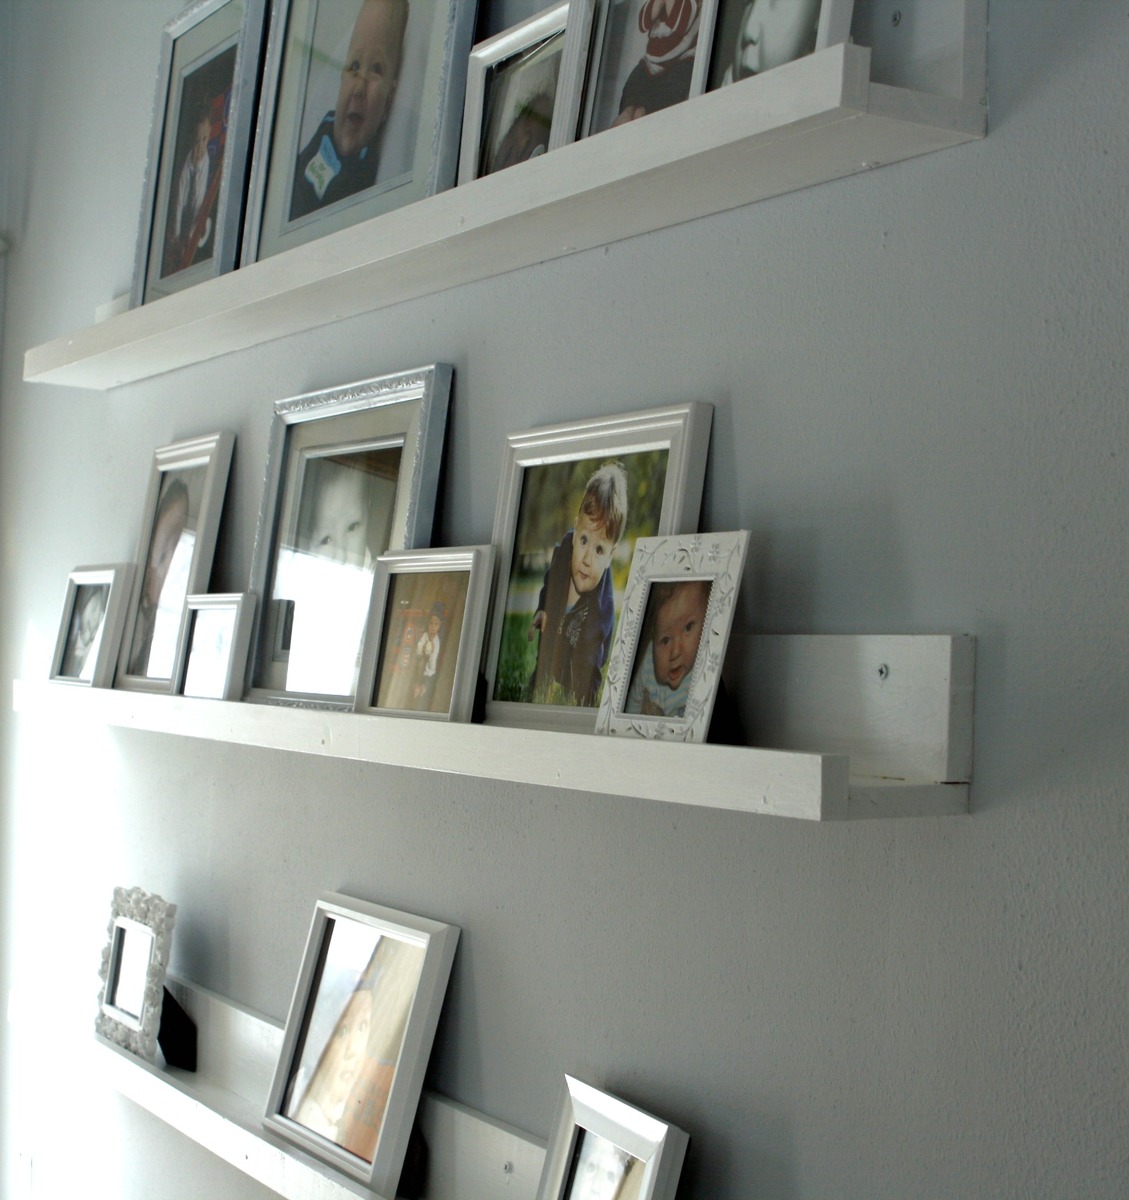
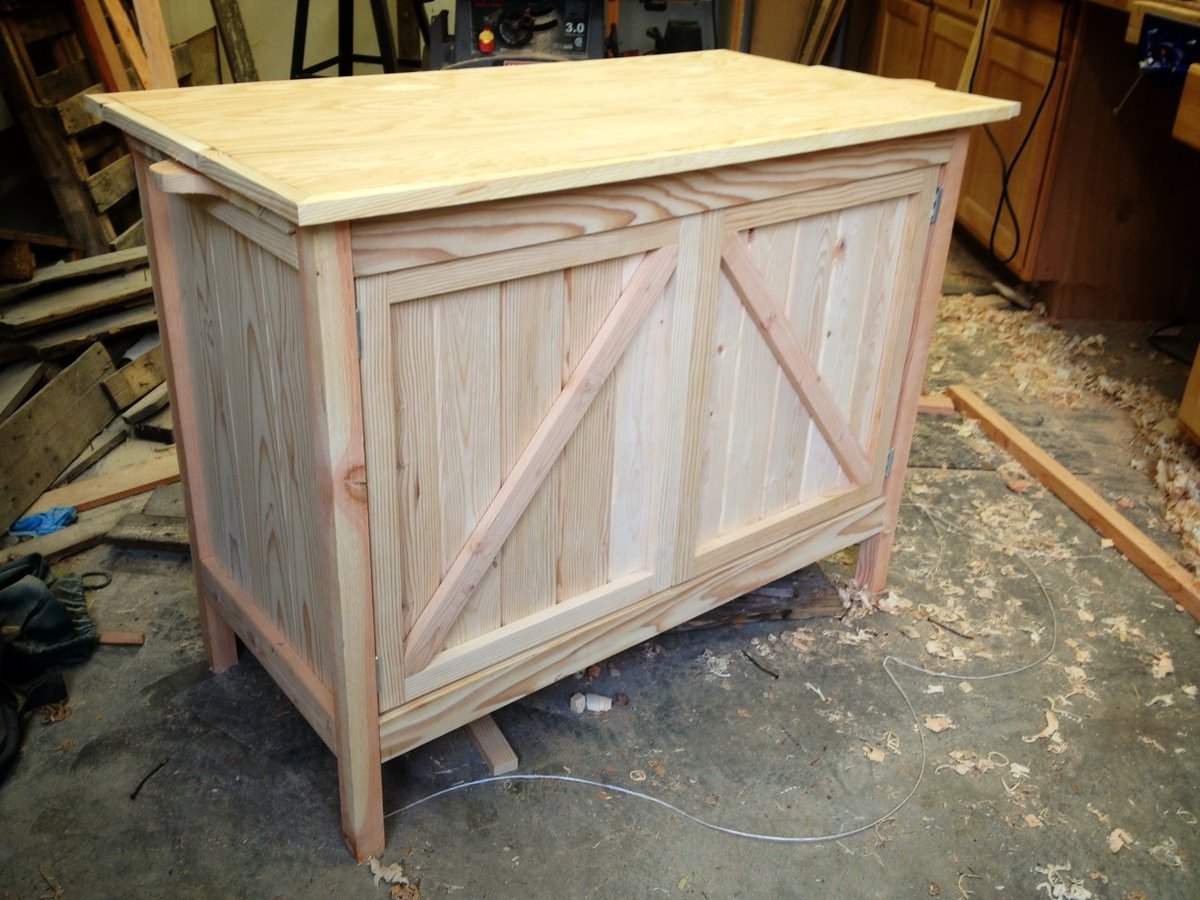
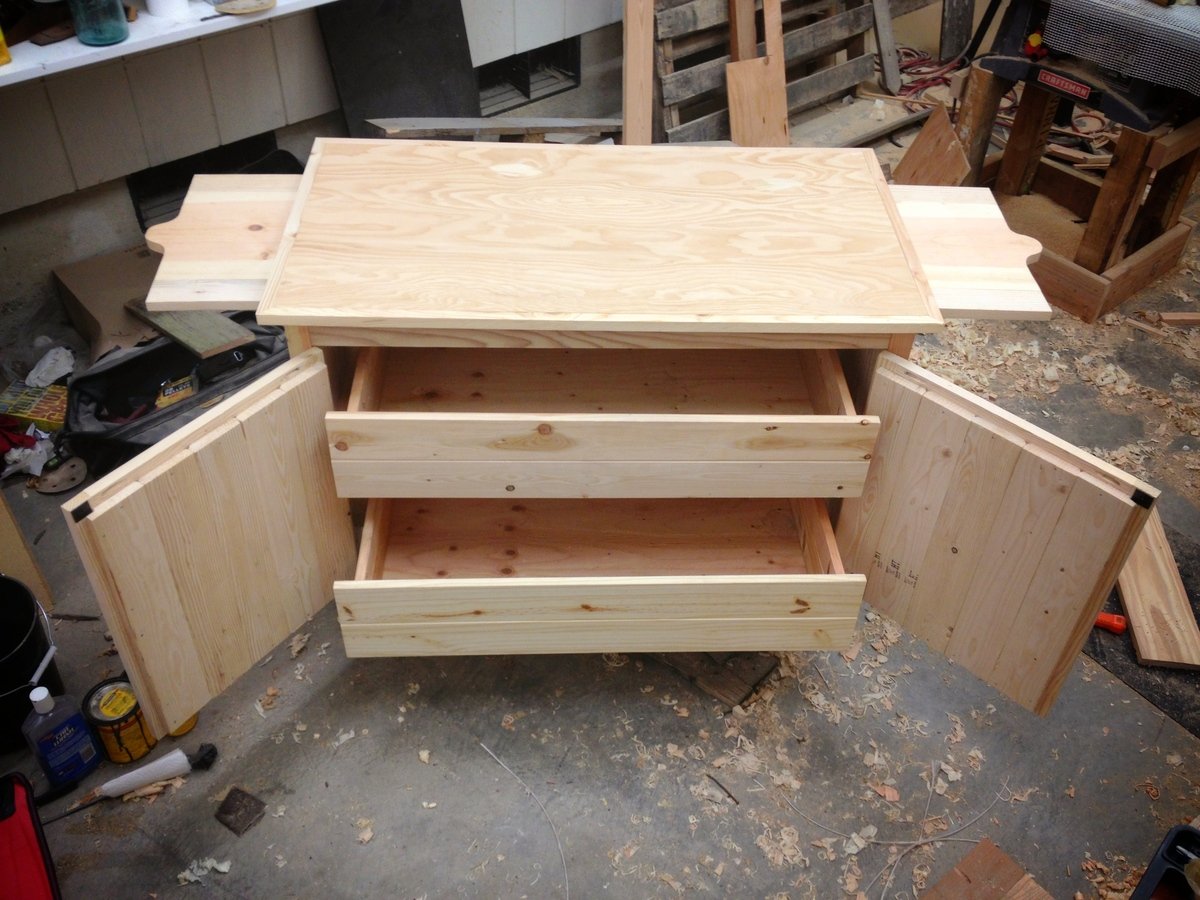
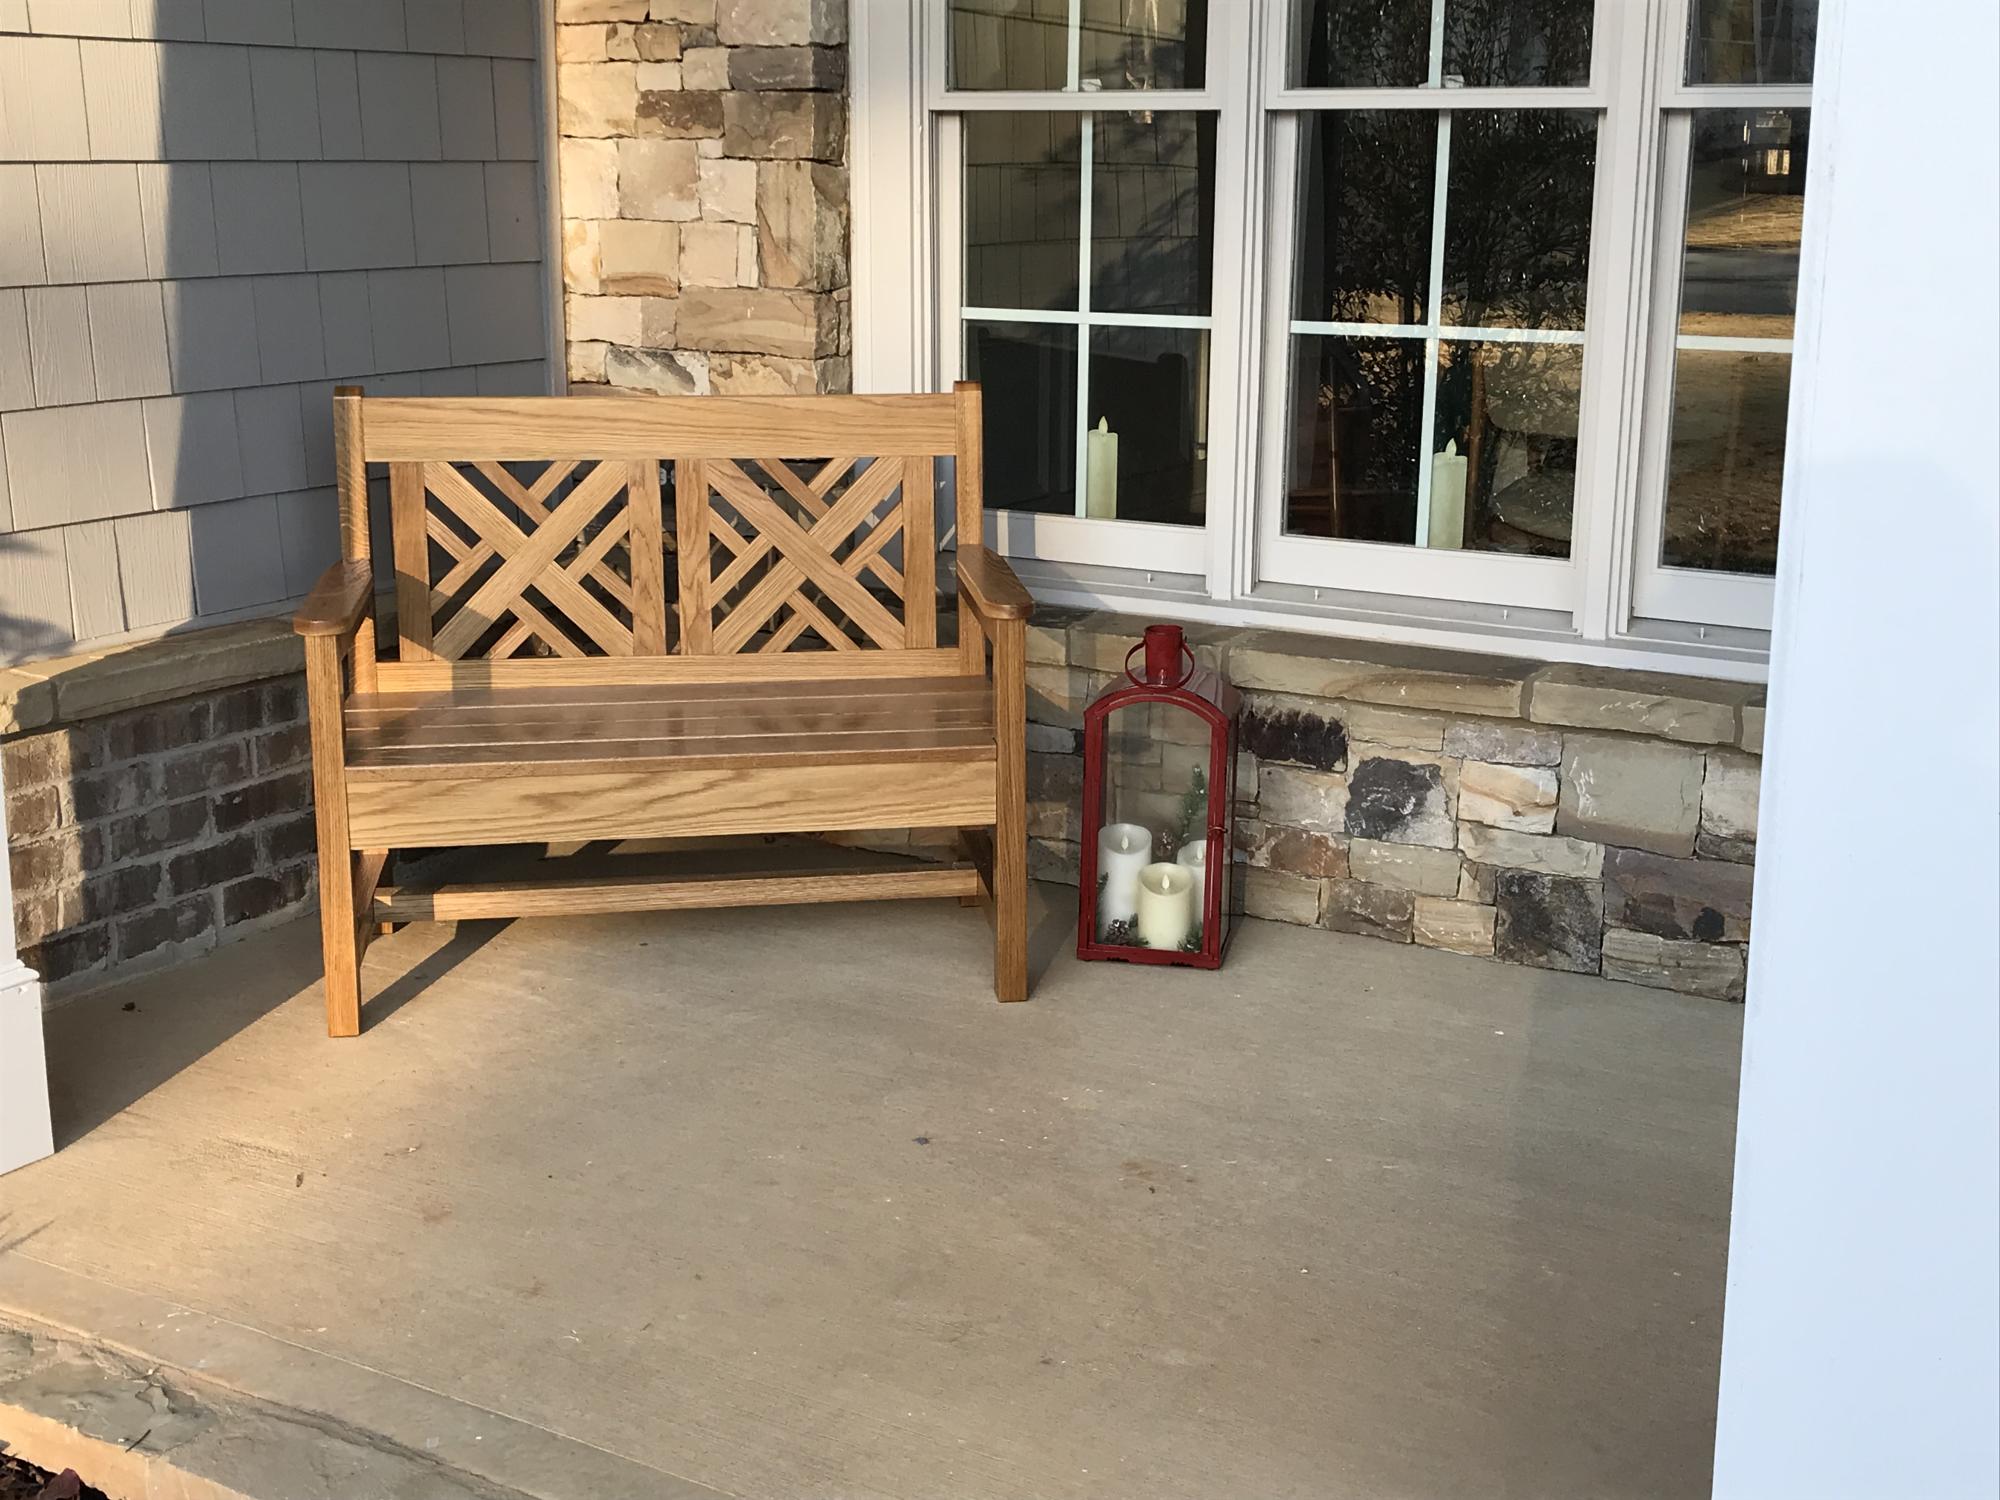
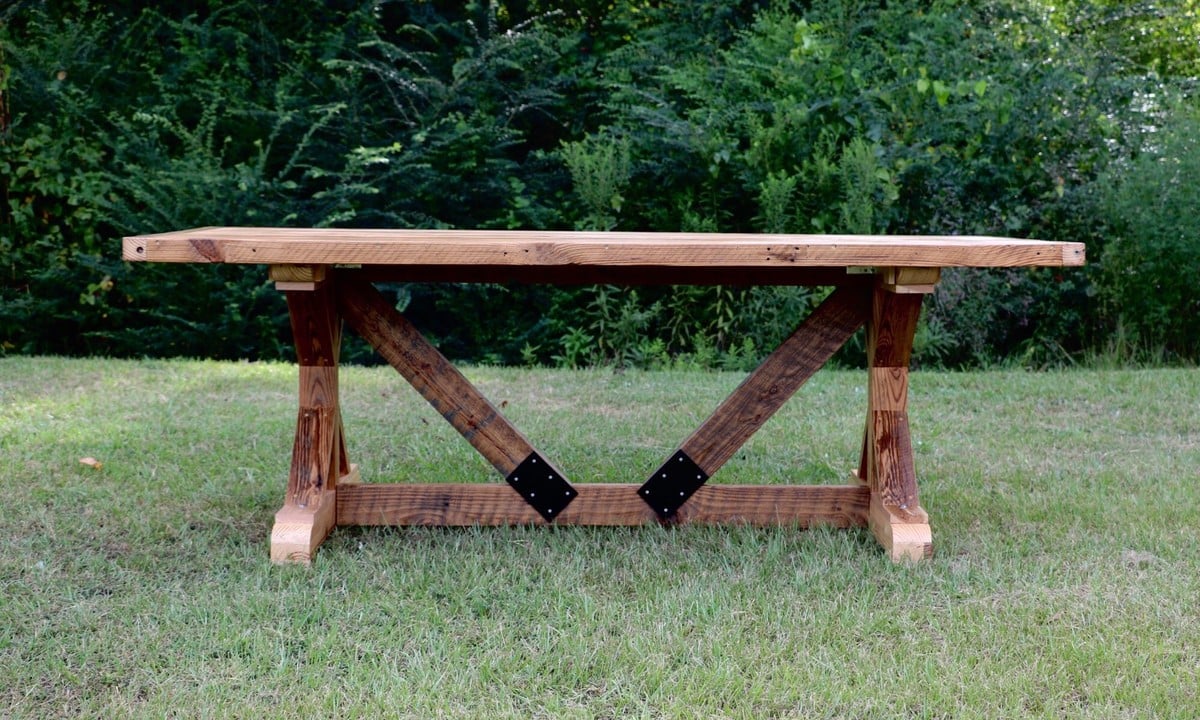
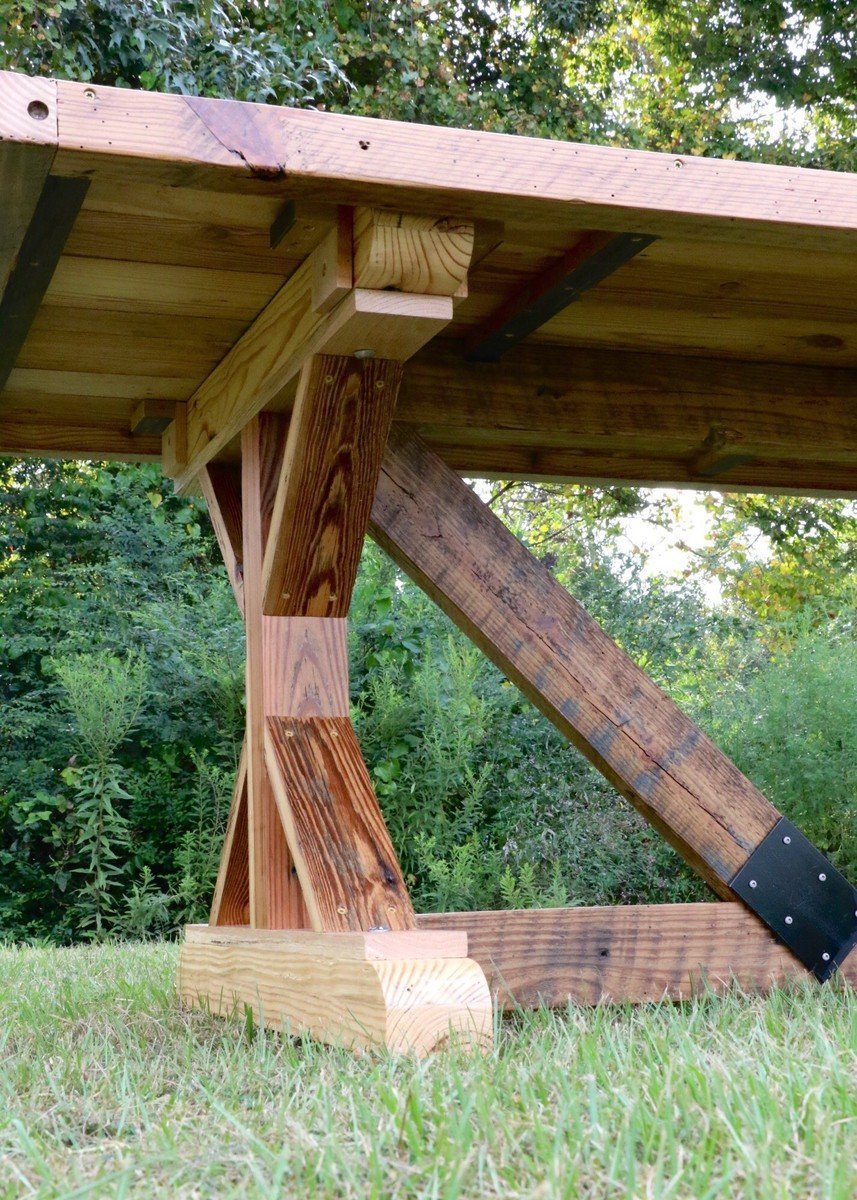
It was built knowing that my wife wanted it painted , hence the mismatched wood used(see pre-paint pics below). The nursery is designed around a rustic theme (see wall shelf unit in the first pic).
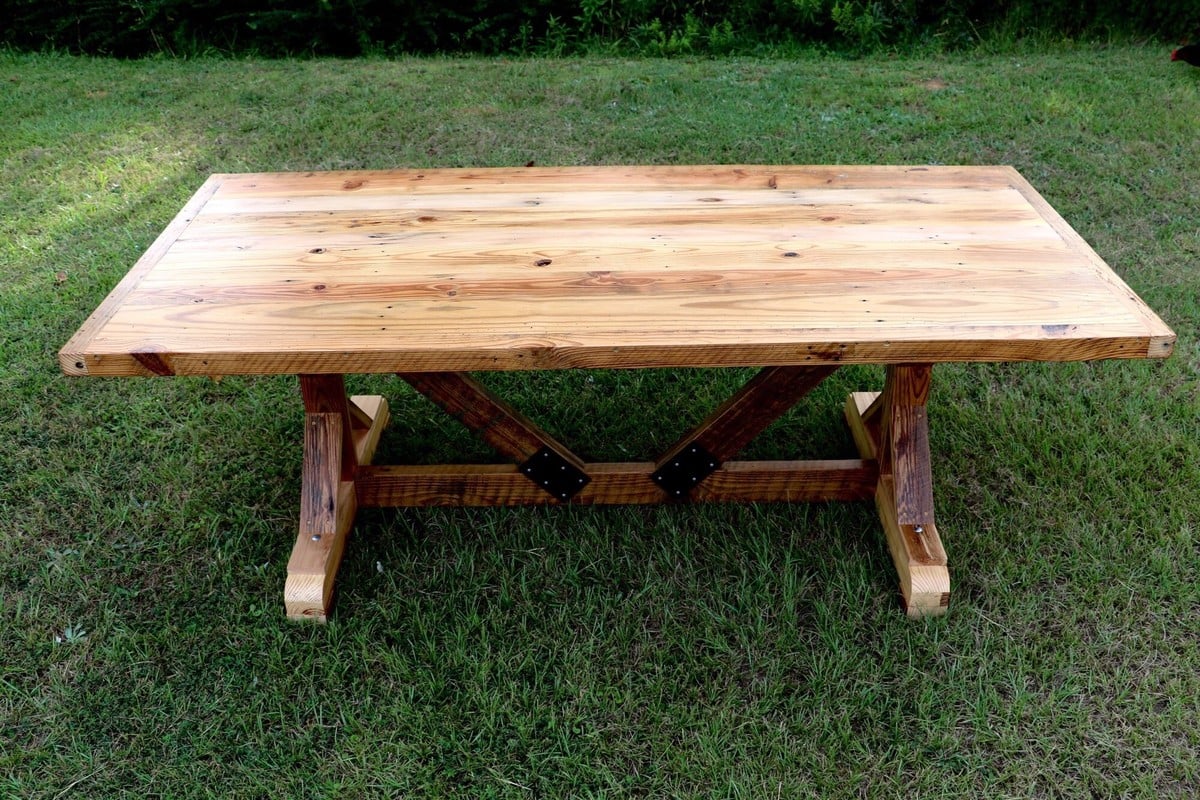
I will also be adding a hanging wall clock made from weathered pallet wood in the coming weeks.
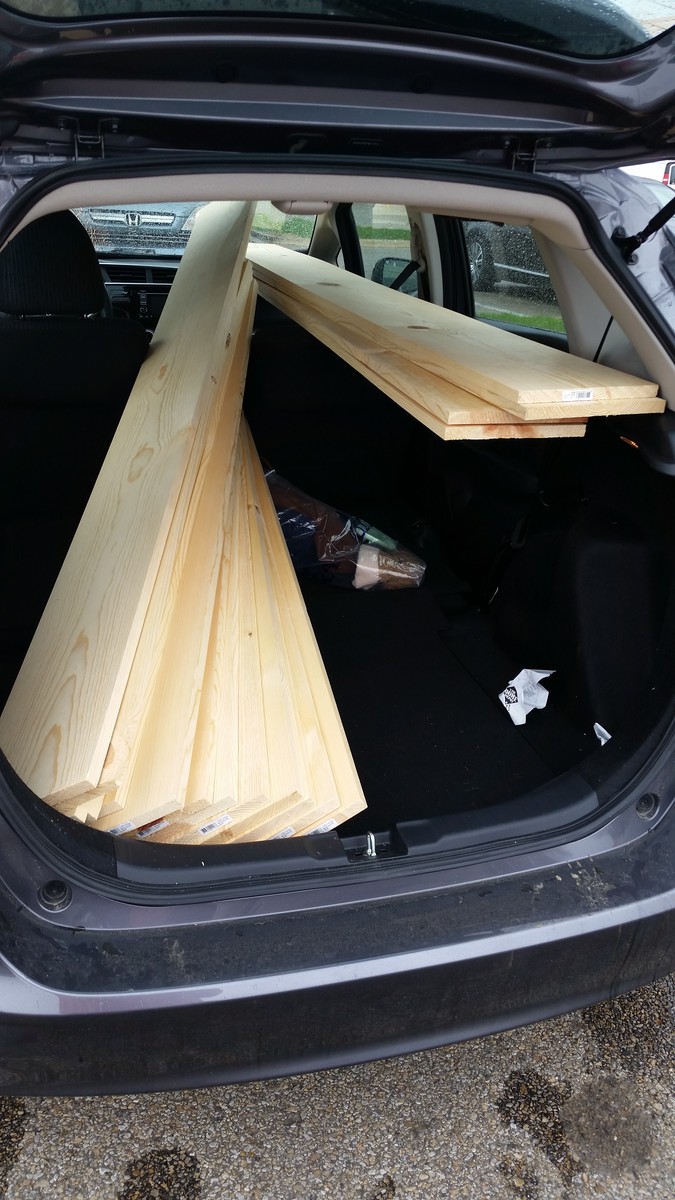
I think one of the most challenging things for this project might have been the use of Home Depot lumber.
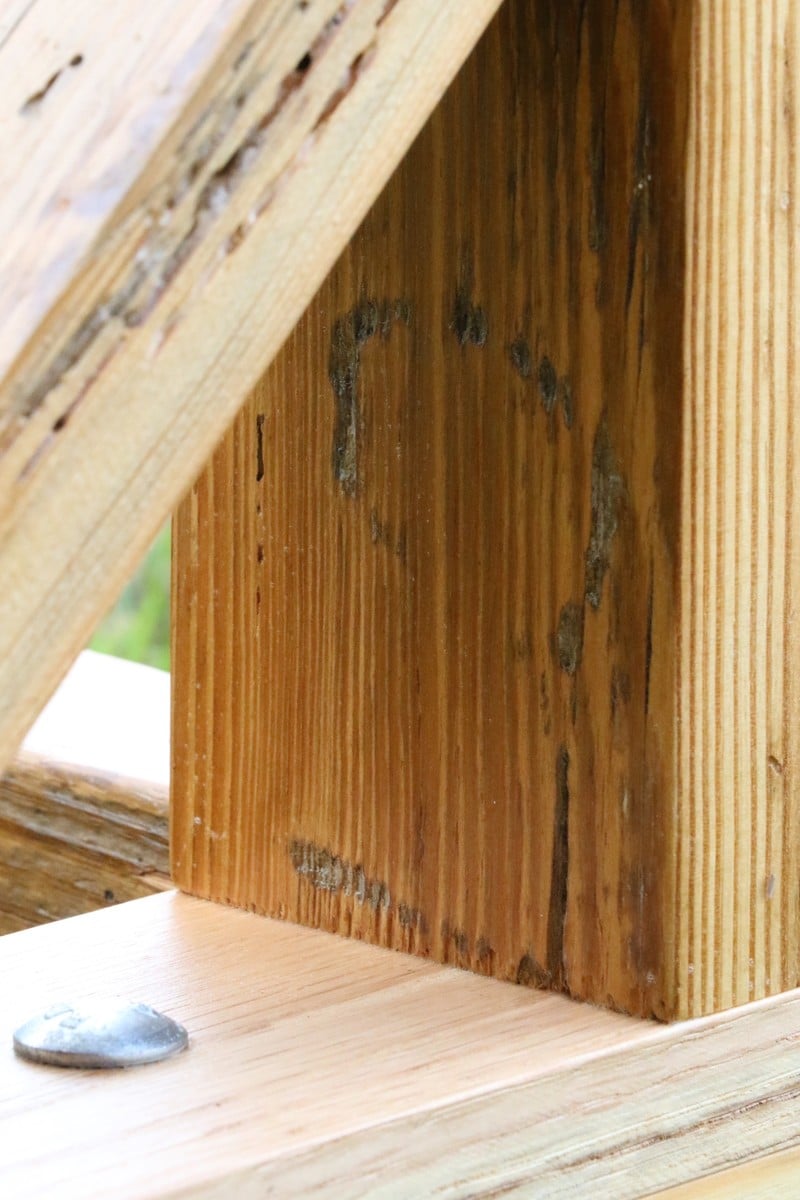
We were on a major budget so I purchased the cheapest wood in the sizes I needed. This meant combing throught the stacks to find acceptable pieces.
I do not own a jointer or planer, so in order to flatten and correct thickness issues with the wood I resorted to good ‘ol hand planes.
Time consuming, yes. But also very satisfying.