Community Brag Posts

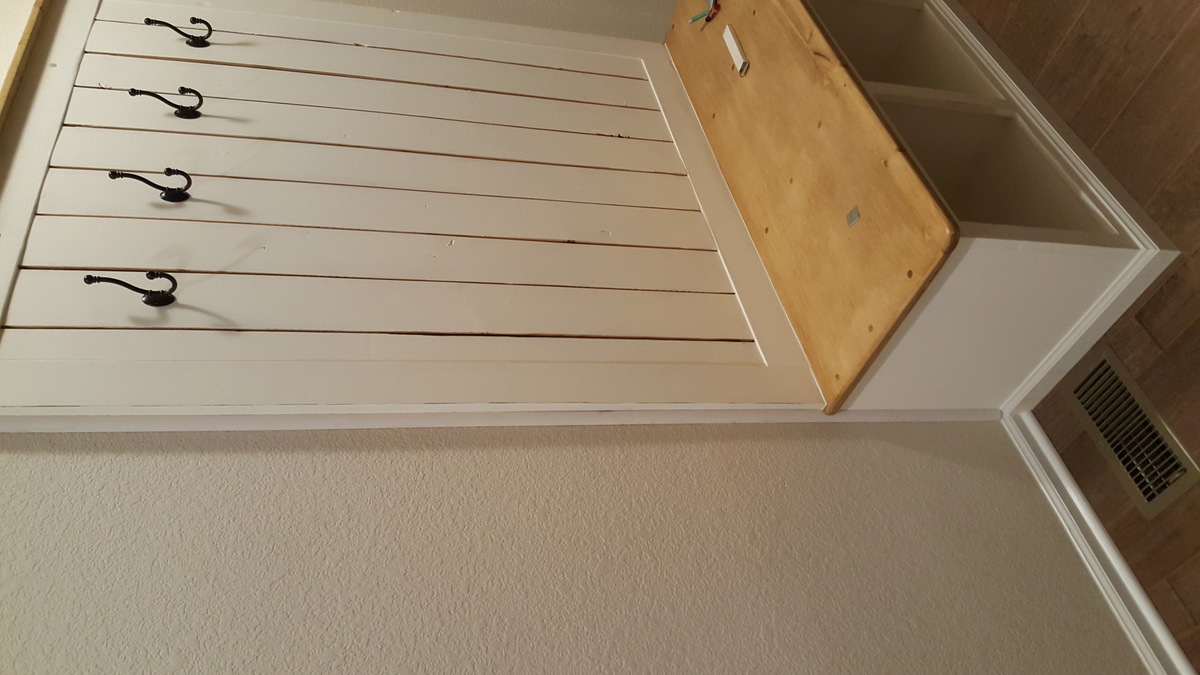
Pottery Barn Bench Knockoff

Submitted by worrow on Mon, 07/20/2015 - 11:54

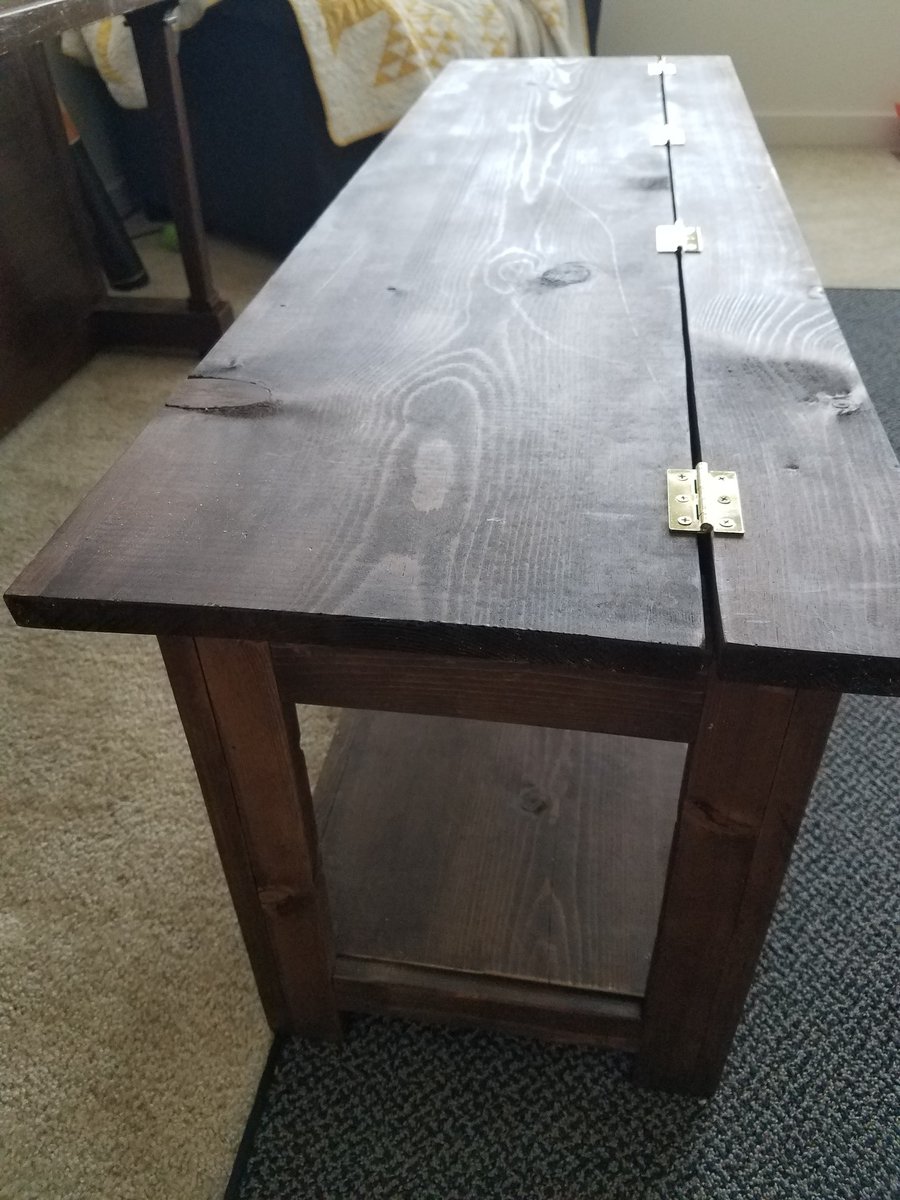
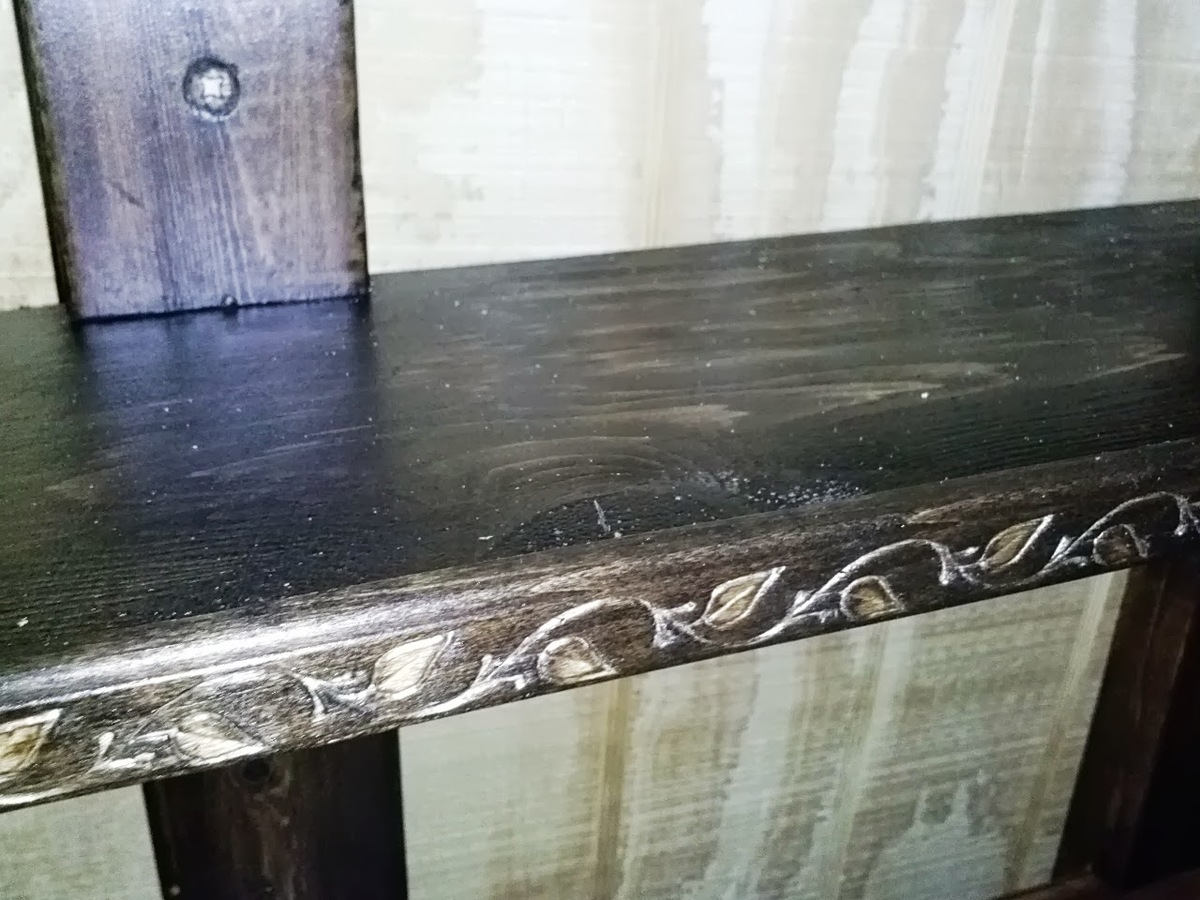
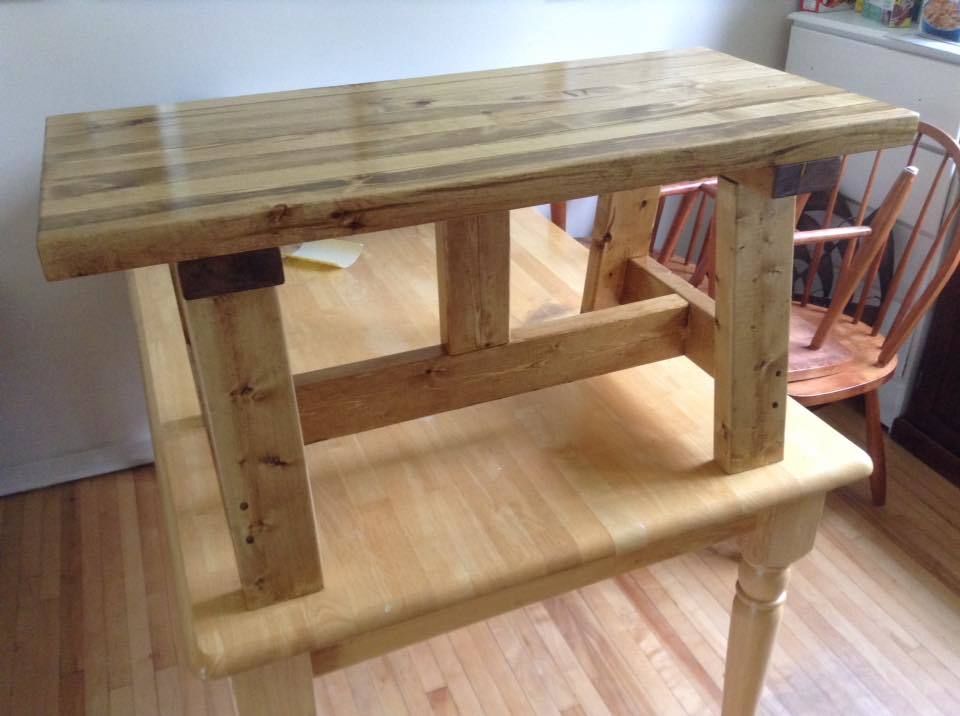
My neighbours had noticed the things I build and asked if I could build them a nice bench. I had some very nice pieces laying around that I thought would be amazing to laminate for the top. After completing the top which was alot of elbow grease, I needed to build the base. I cannot for the life of me find the link, but I know it was from Shanty Chic. It is absolutely beautiful, one of my best pieces of work.

Estimated Time Investment
Day Project (6-9 Hours)
Finish Used
Minwax (Walnut)
Recommended Skill Level
Beginner

Comments

worrow

Mon, 02/20/2017 - 08:12

I don't remember which plan I got the base from, but the top is of my own design, and I spend awhile figuring out what kind of base I wanted, but it is suppose to be representative of an old design from Pottery Barn, was built for some friends that needed something heavy duty.

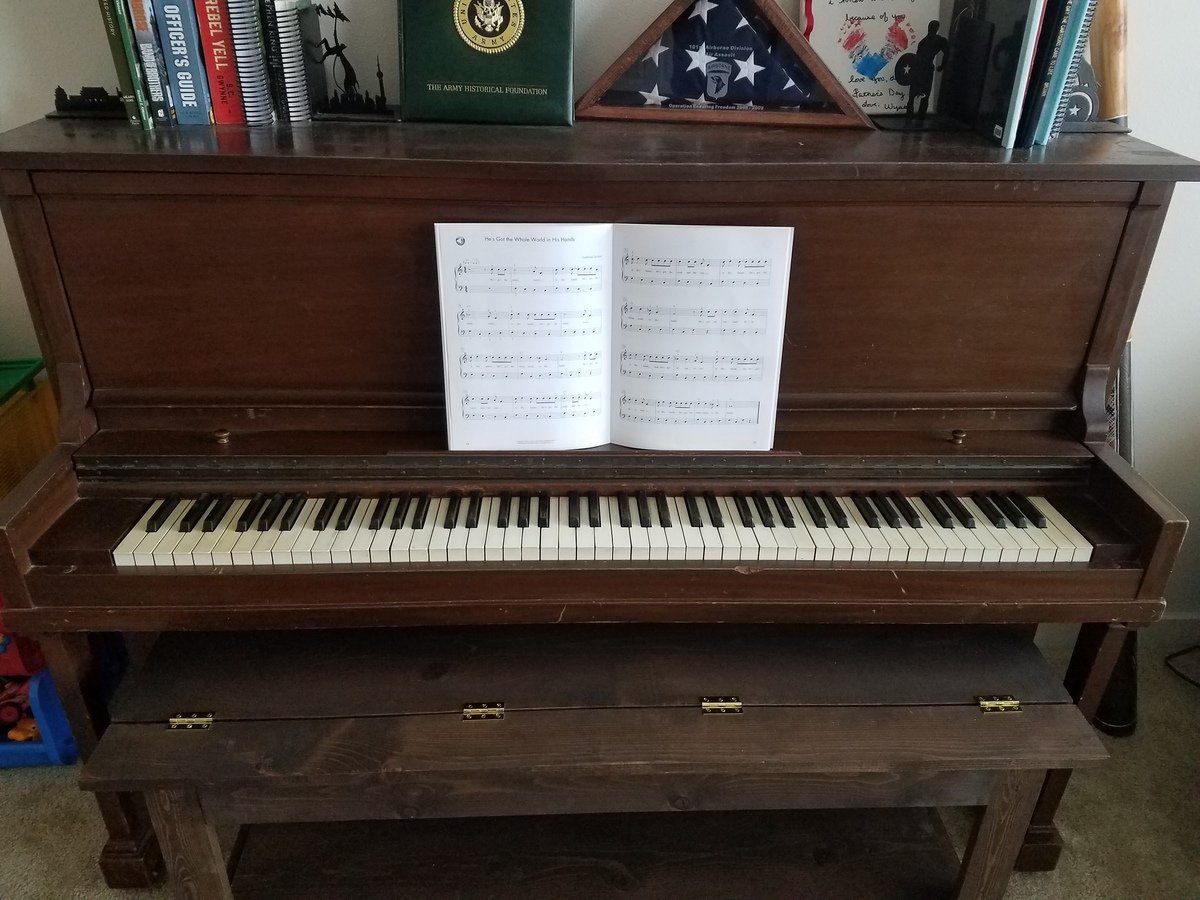
Extended piano bench

Submitted by Lukilla on Thu, 02/15/2018 - 12:13

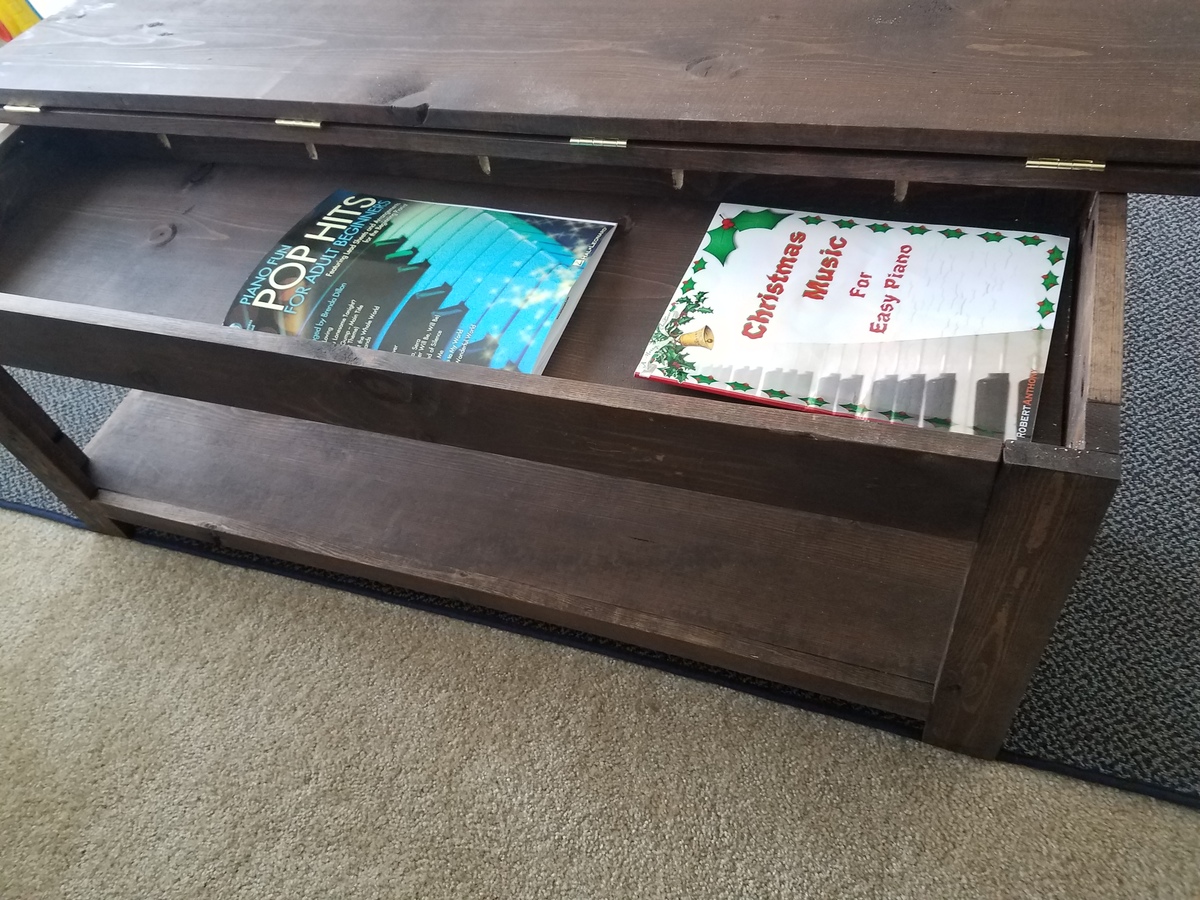
Got a piano for free that has no bench with it. When I started looking up dimensions, I realized traditional benches are a little short if you want to sit and play with someone else. The size of this plan works perfectly and can store music. Best part is that if we ever get rid of the piano, we will have a nice entryway bench.

Estimated Cost
$50
Estimated Time Investment
An Hour or Two (0-2 Hours)
Finish Used
Kona stain
Recommended Skill Level
Beginner

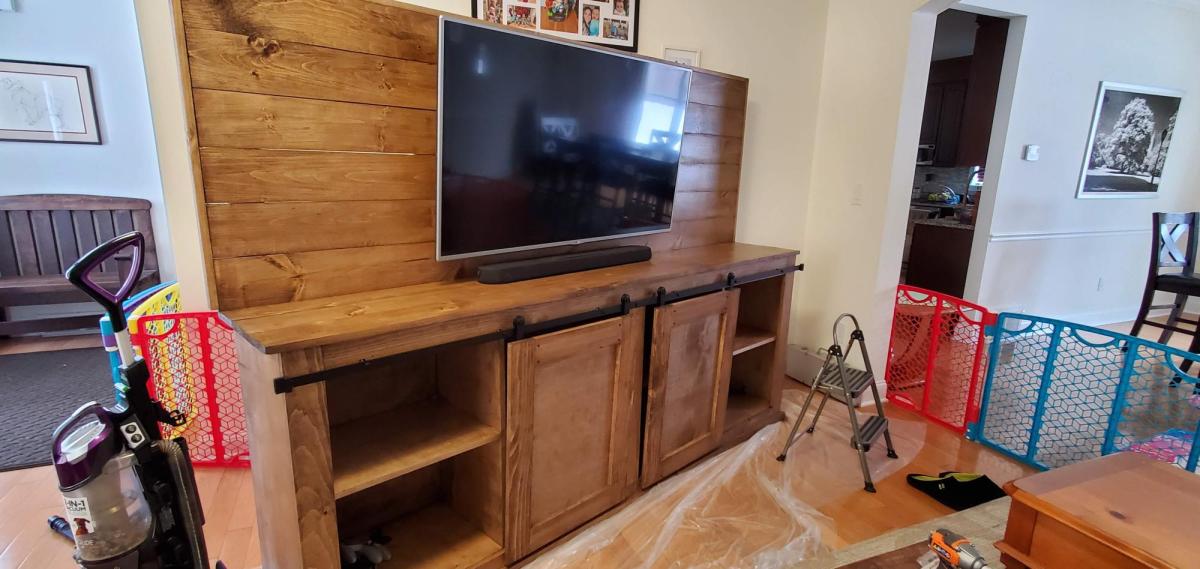
Added a wall for mounting the tv

Submitted by Anonymous (not verified) on Wed, 03/16/2022 - 10:28

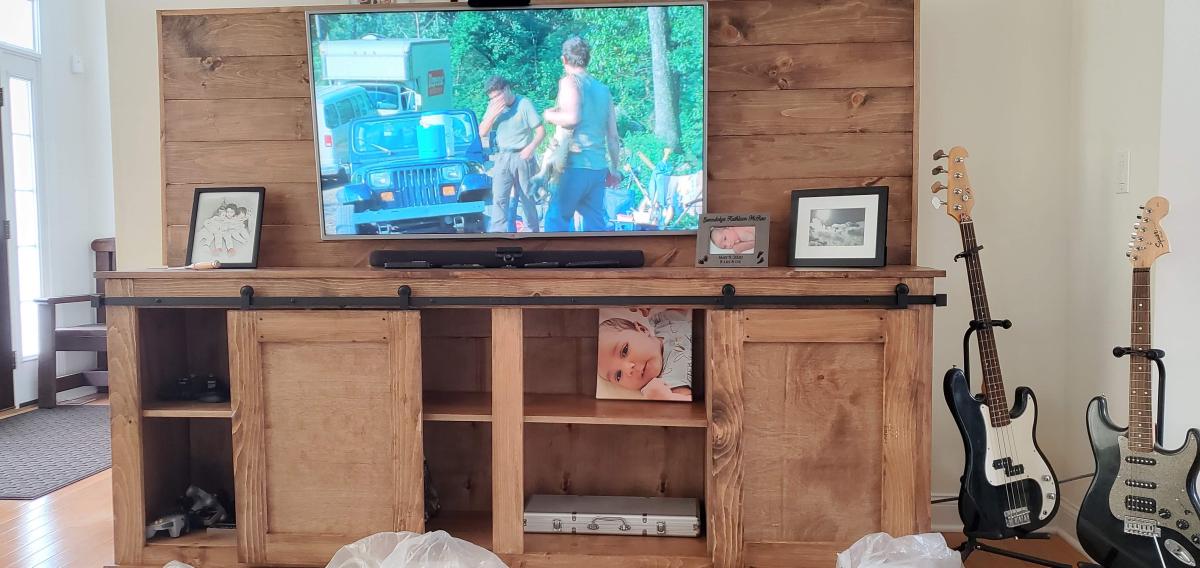
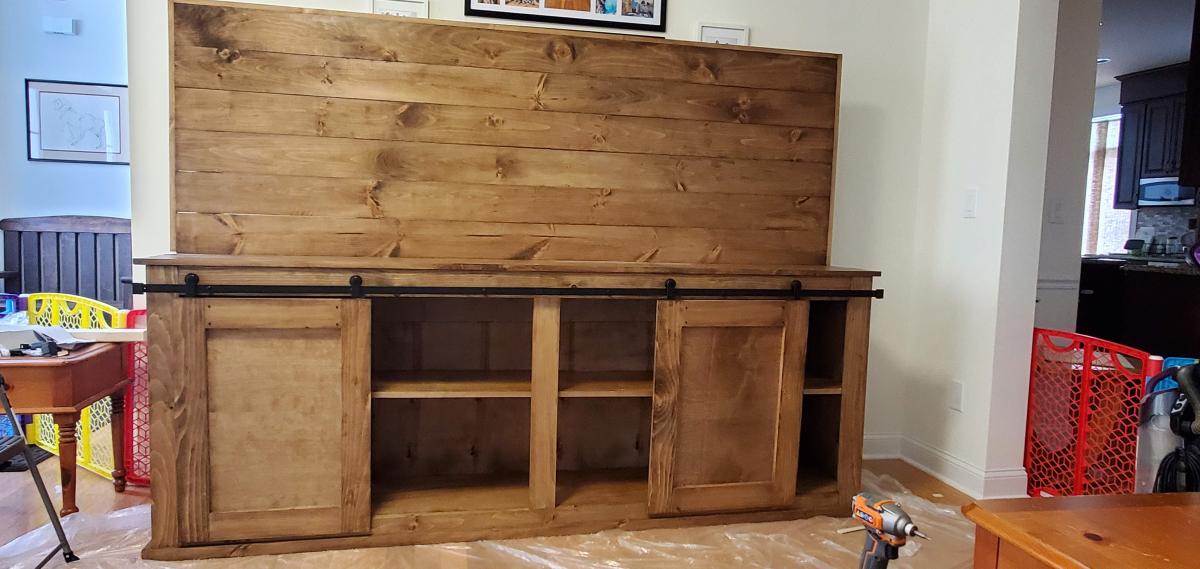
I've gotten tons of comments from friends and family already on this build. I liked the original white but it wouldn't have matched my other furniture in the room already built/stained this color.

Comments

HBWineWoman

Fri, 03/18/2022 - 09:28

Oh my gosh, this looks fantastic! I love that you did the simple framing on the "headboard" portion. Might have to give this a try!

Makings of an Herb Garden

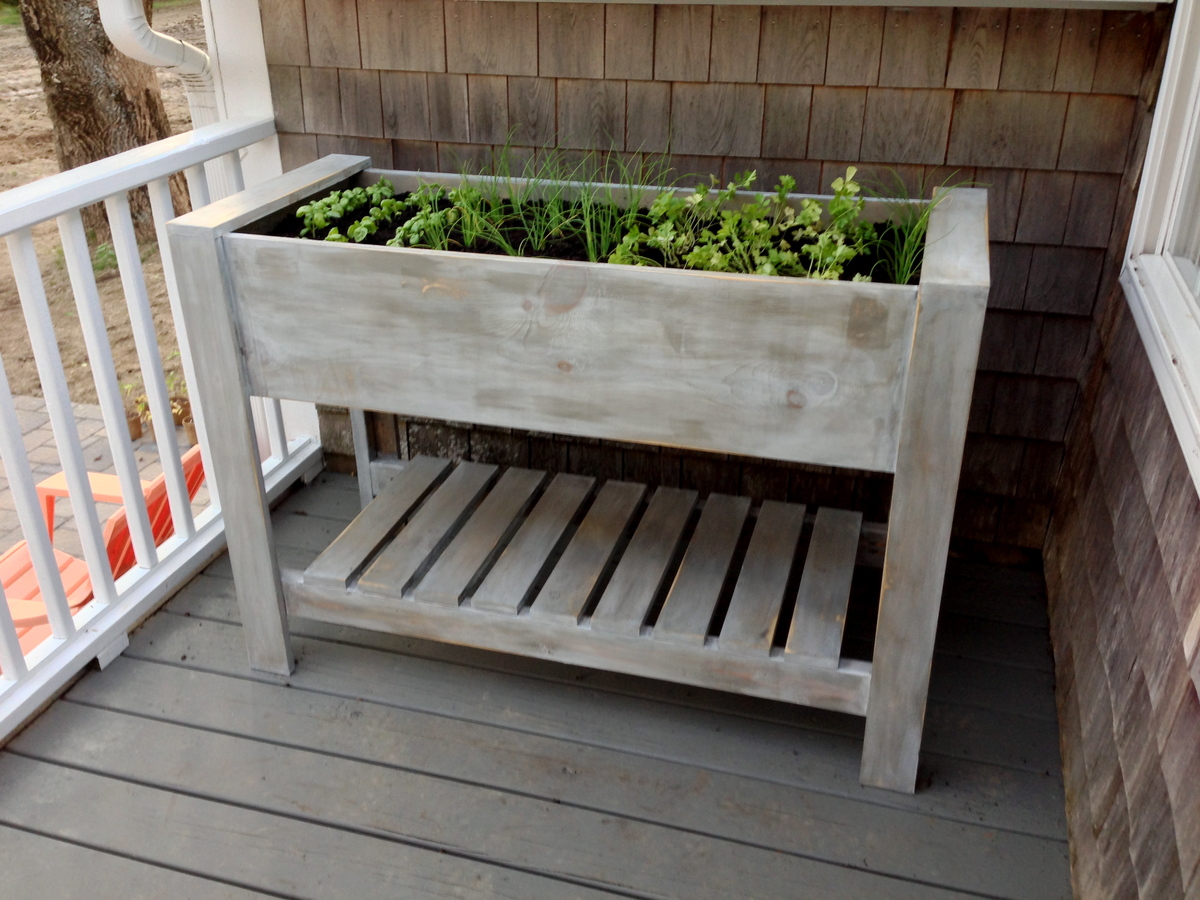
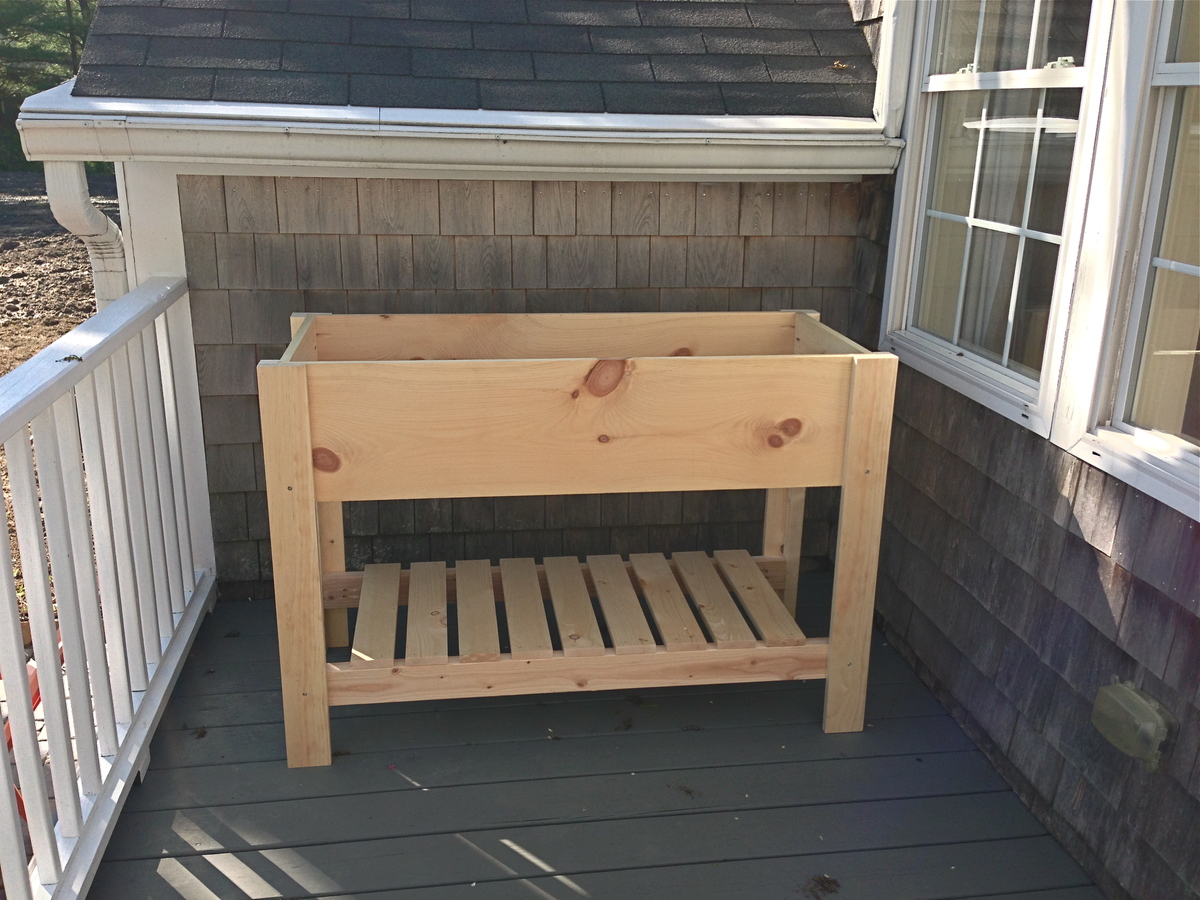
I followed Ana's Raised Planter Box plan exactly. We did purchase a Kreg Jig Jr. recently, which came in handy on this project for sure. It is a very sturdy piece and it only took a couple of hours to assemble.

Estimated Cost
$120
Estimated Time Investment
Afternoon Project (3-6 Hours)
Finish Used
Sherwin Williams Deckscapes in Flagstone with Minwax Whitewash pickling over the stain. Poly over the whitewash
Recommended Skill Level
Beginner

Comments

Dressed up Mini Farmhouse Bedside Table

Submitted by kcragun on Fri, 07/24/2015 - 10:25

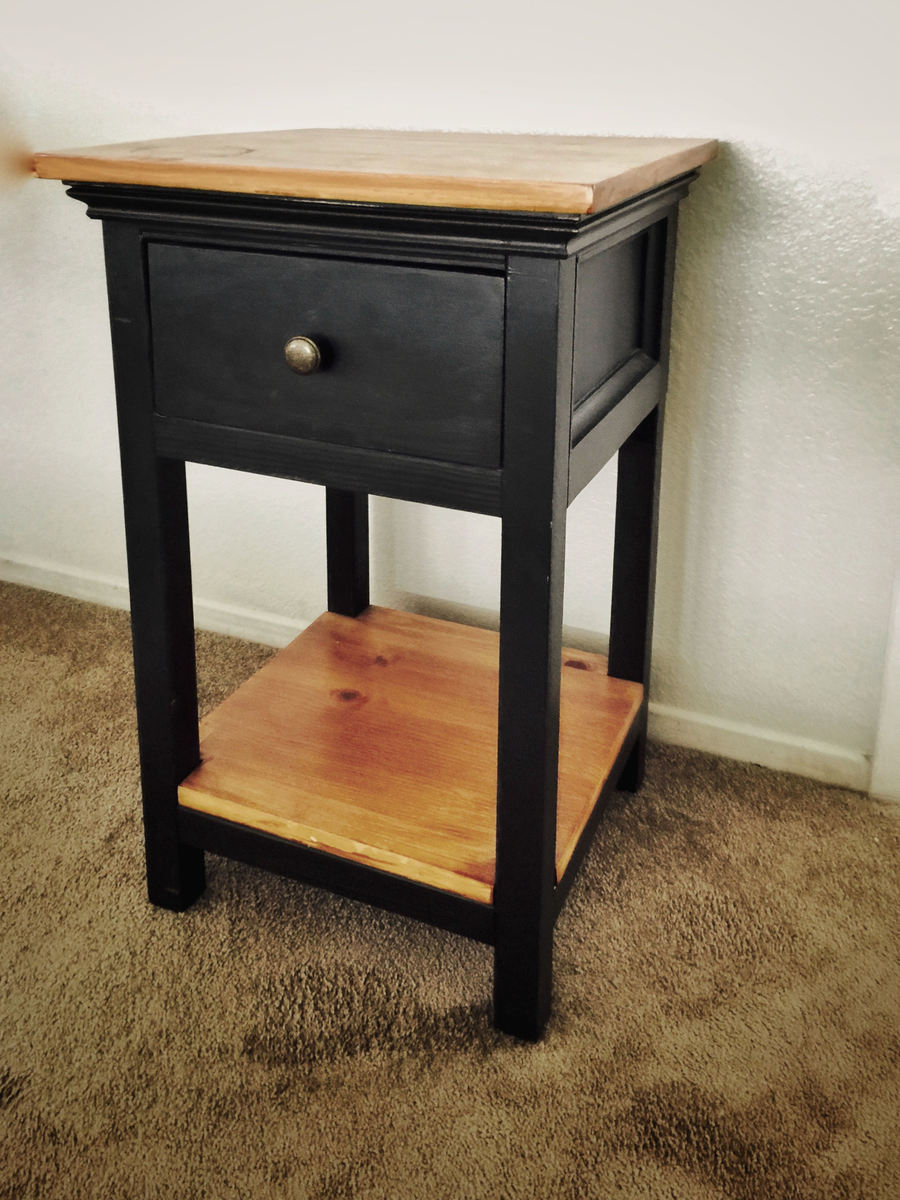
I added some decorative trim to the top of the table and also to the sides of the table.

Estimated Time Investment
Weekend Project (10-20 Hours)
Finish Used
Black paint and pecan stain
Recommended Skill Level
Intermediate

Comments

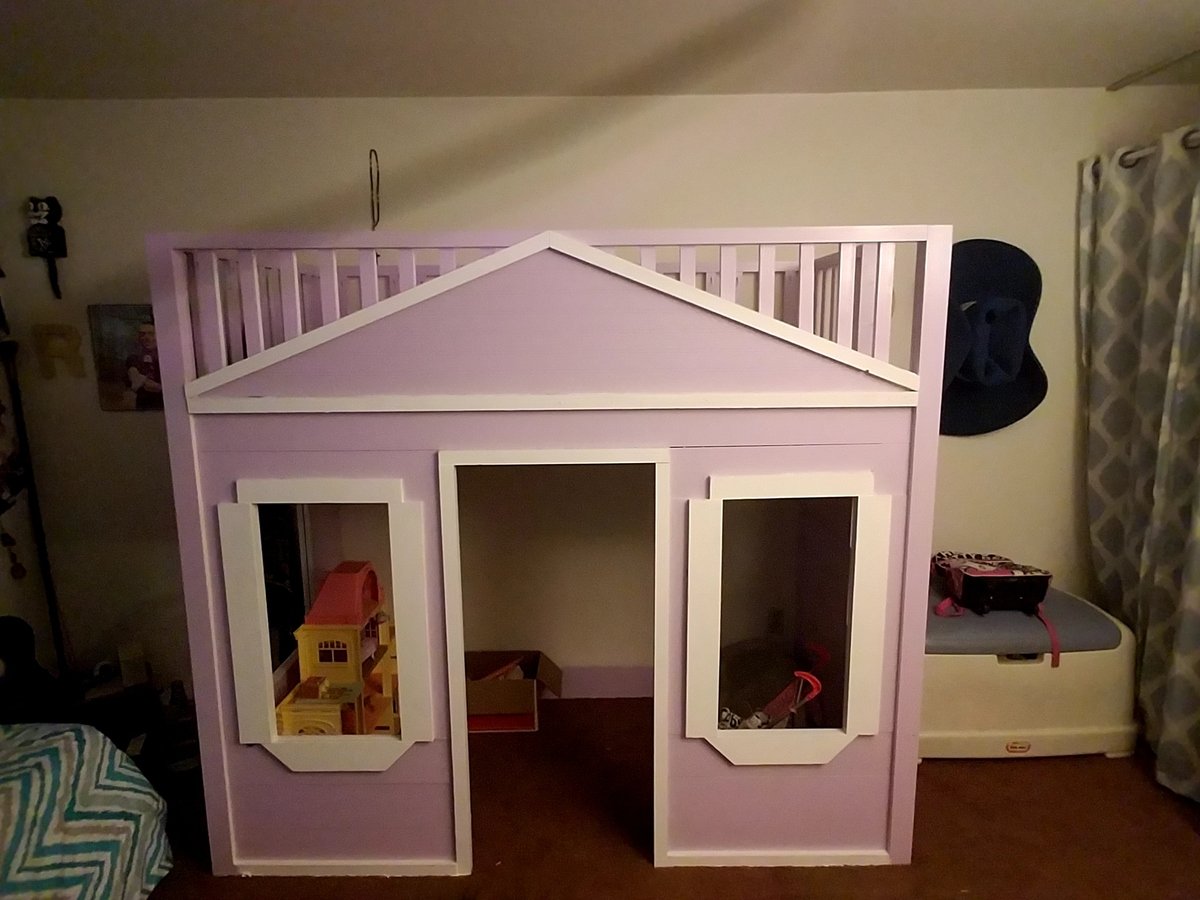
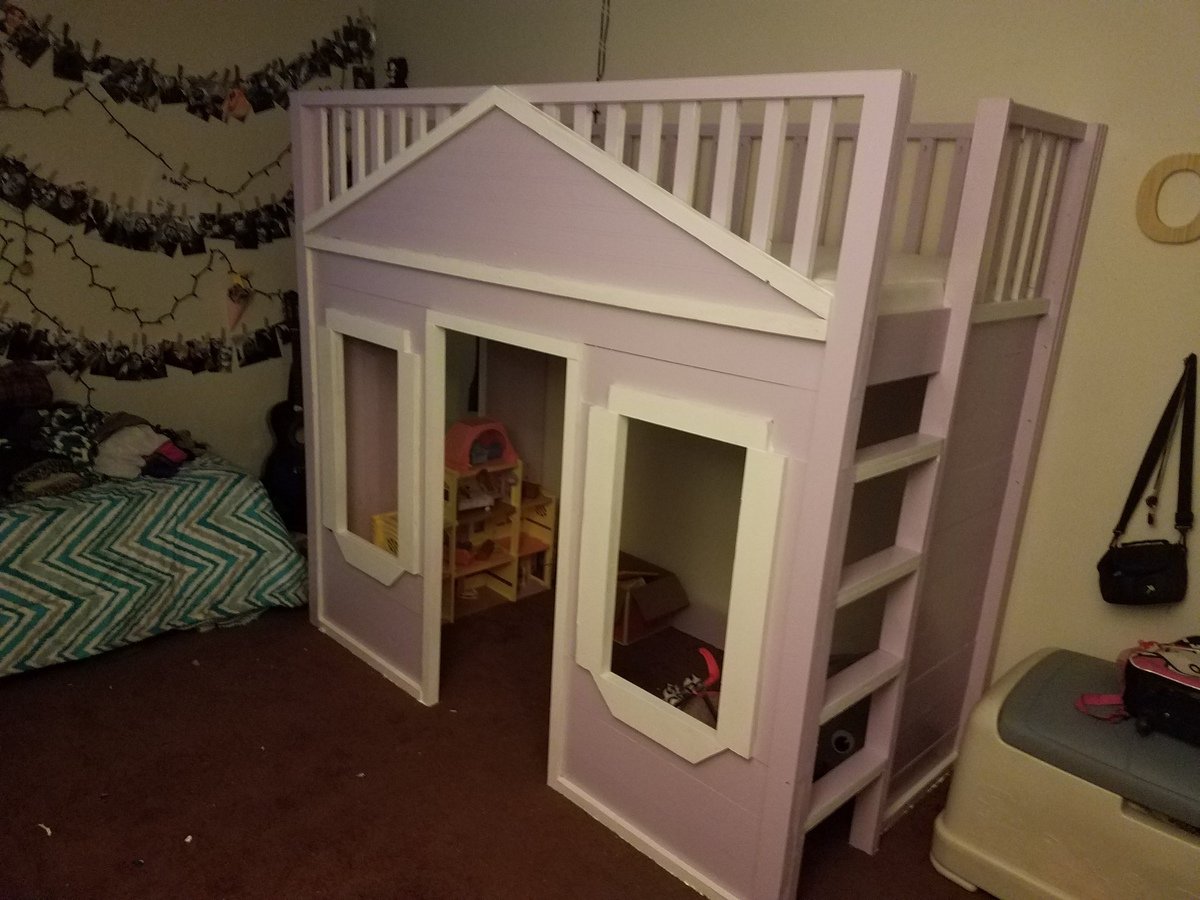
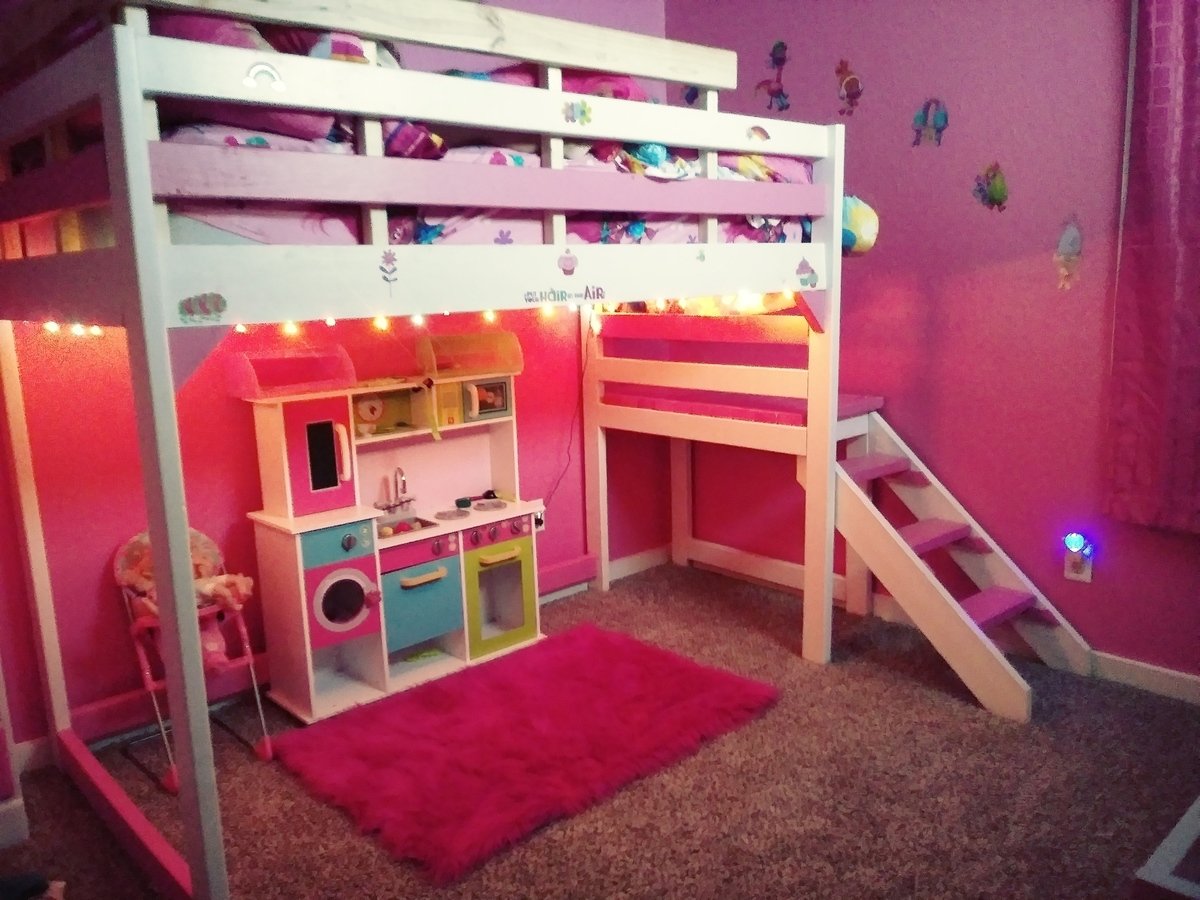
Loft Playhouse Bed

Submitted by kyounghome on Tue, 02/20/2018 - 06:16

I saw this and new I had to make it for my eight year old daughter.  Followed Ana's plans as directed.  The total cost to include wood, screws and paint brought this to about $315.00.  I am going to make stairs next for this but my other daughter wants a new bed now too, so, the stairs will have to wait.  

Built from Plan(s)
Estimated Cost
$315.00
Estimated Time Investment
Weekend Project (10-20 Hours)
Recommended Skill Level
Intermediate

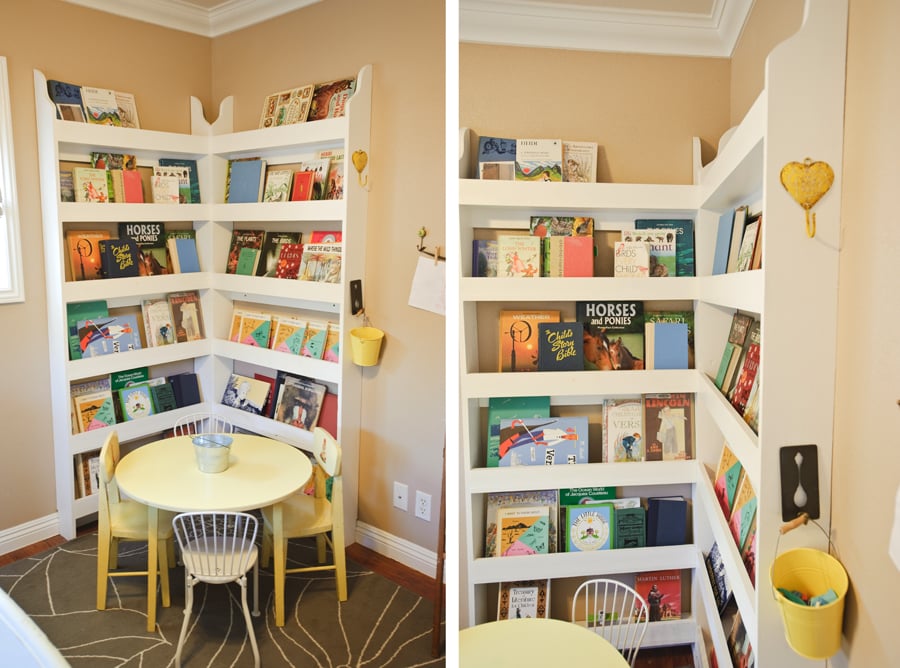
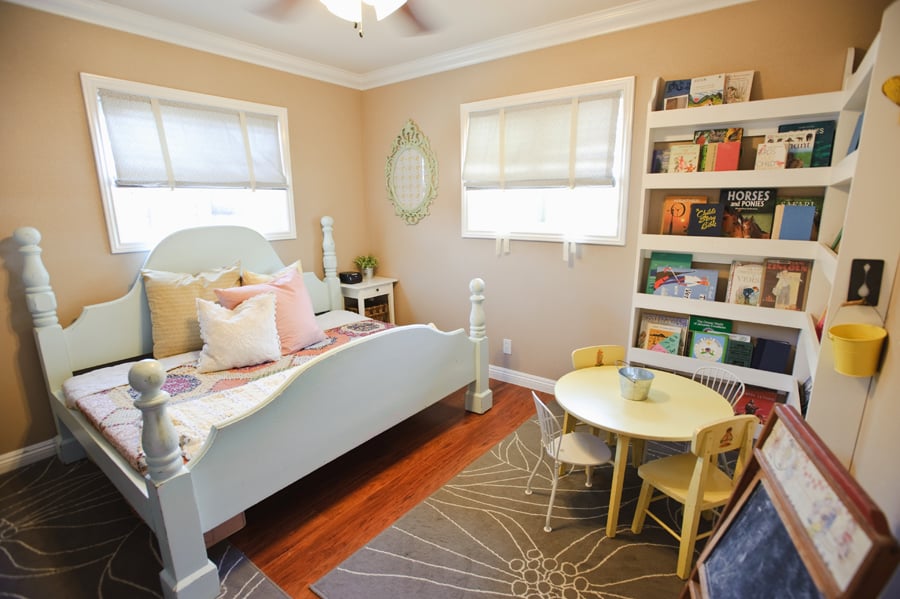
Perfect Bookshelves

Submitted by BreBuskey on Thu, 06/02/2011 - 08:56

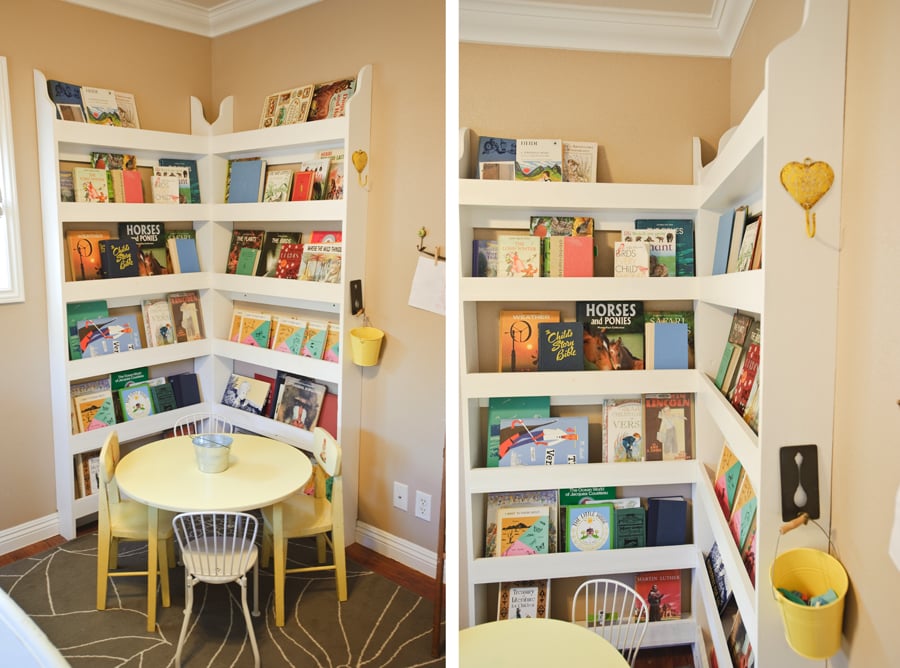
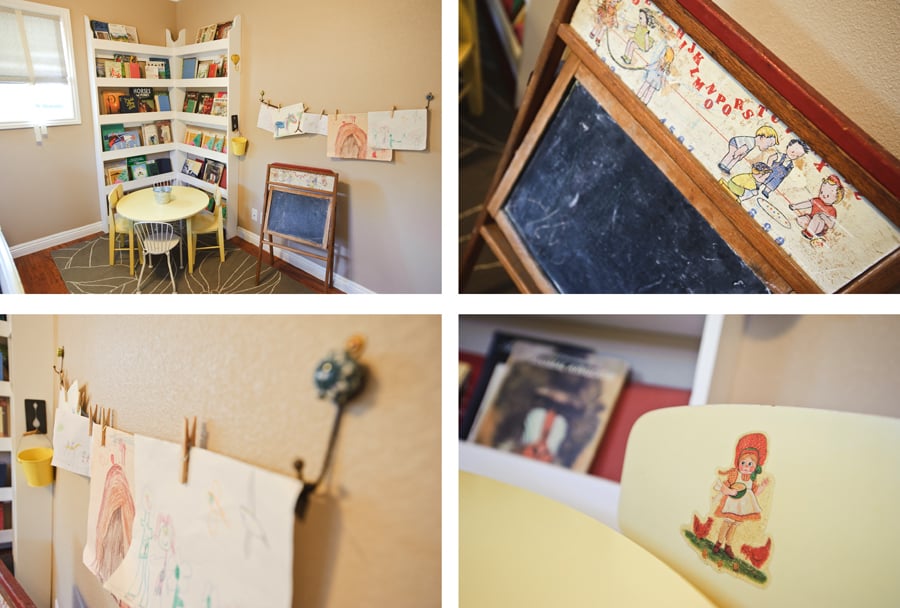
We were searching for the perfect bookshelves for our girls' room. We came across these bookshelves and decided to build them ourselves. In the end it worked out perfect! The book are easy enough for our 6 & 3 year old daughters to put away, they look amazing, and it was special building them with my husband as a gift to our daughters. You can find more info on the room and bookshelves on my blog www.brebuskey.blogspot.com

Built from Plan(s)
Estimated Cost
$100.00
Estimated Time Investment
Day Project (6-9 Hours)
Recommended Skill Level
Beginner

Comments

mamas shelves

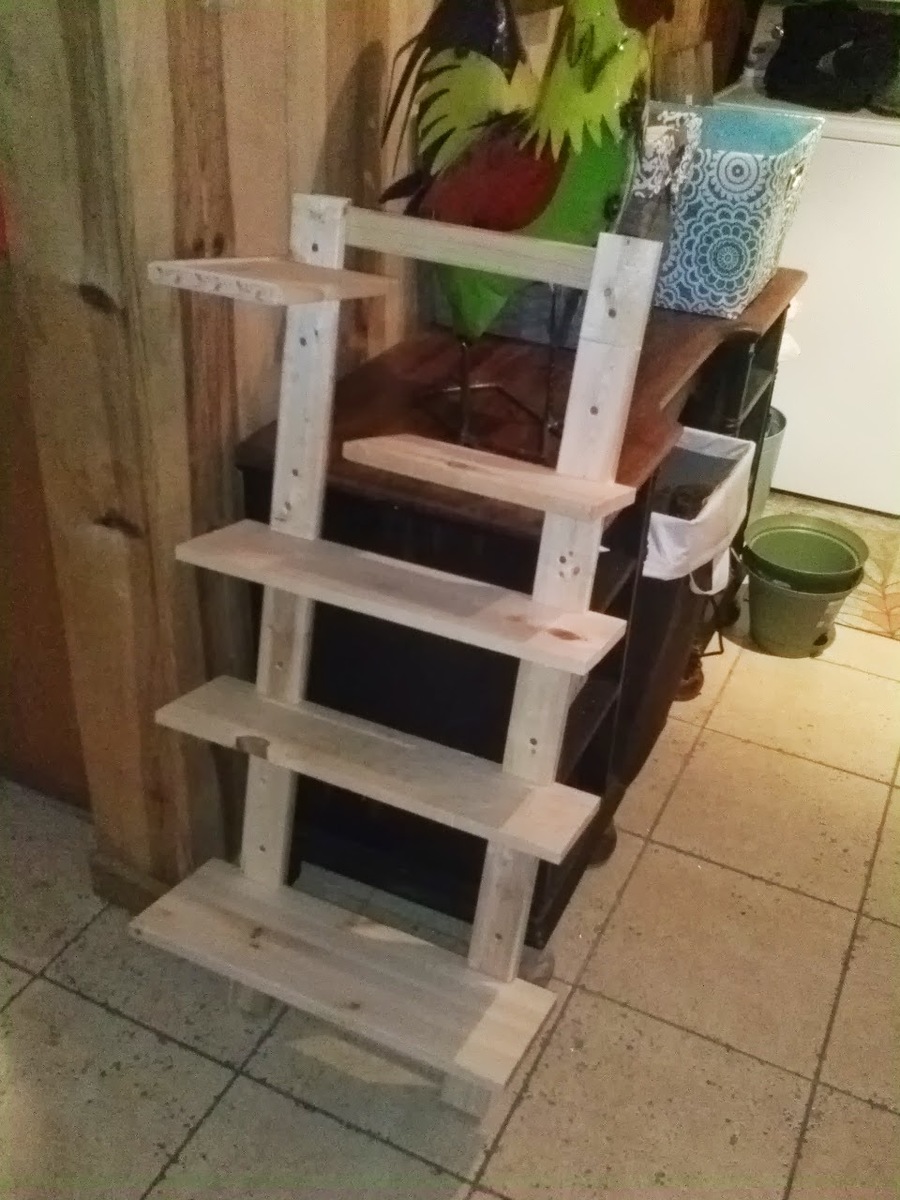
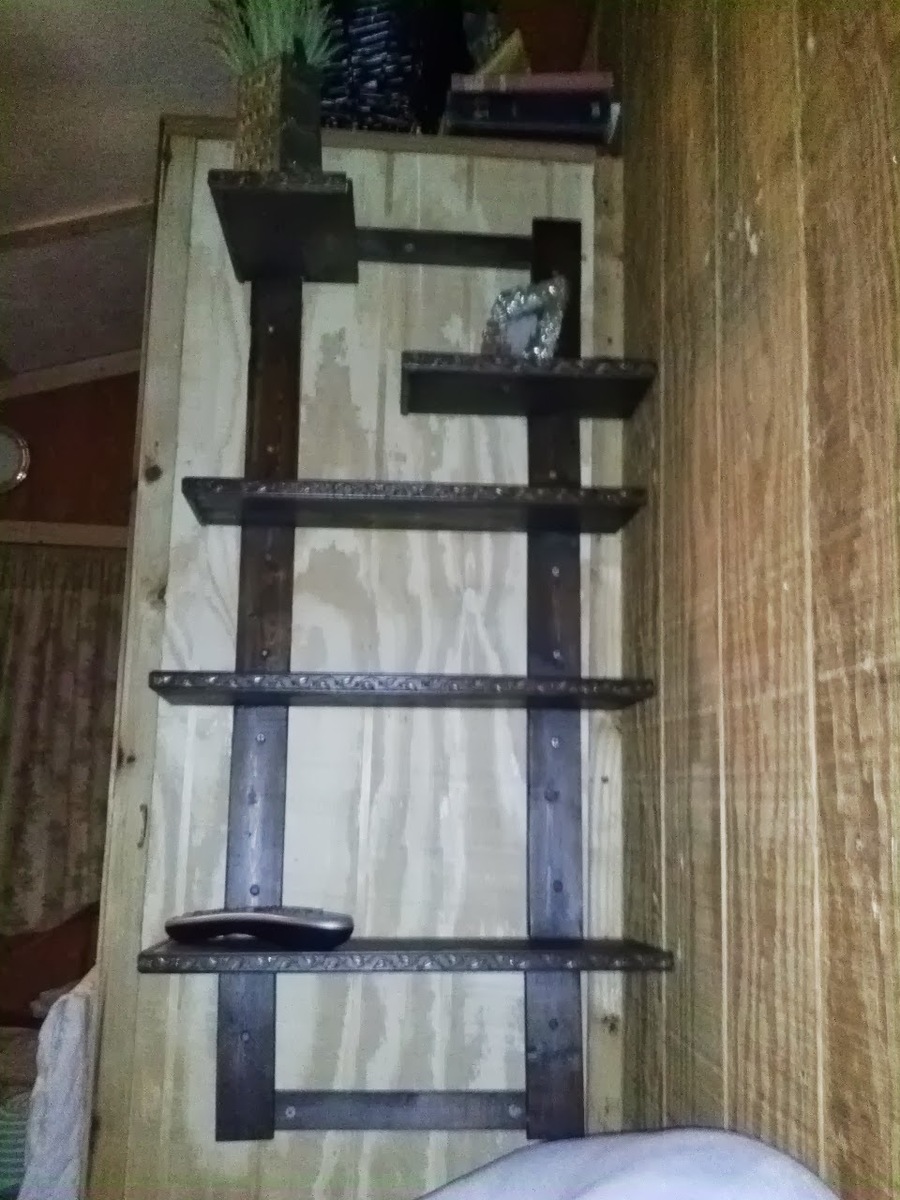
Made these shelves for my mom.

Estimated Cost
FREE. I used scrap wood but it would prob cost around $10 for the wood
Estimated Time Investment
An Hour or Two (0-2 Hours)
Finish Used
Minwax espresso stain and semi gloss polyurathane spray
Recommended Skill Level
Starter Project

Rustic Kentwood Bookshelf

Submitted by wthalin on Mon, 07/27/2015 - 13:09

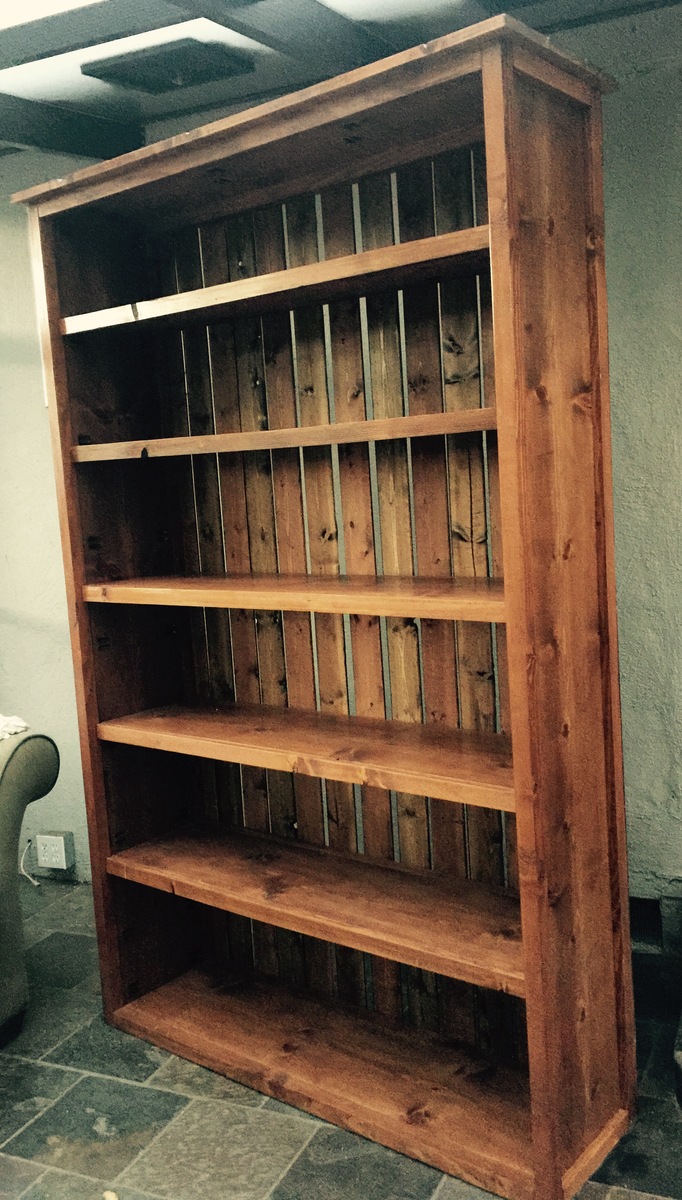
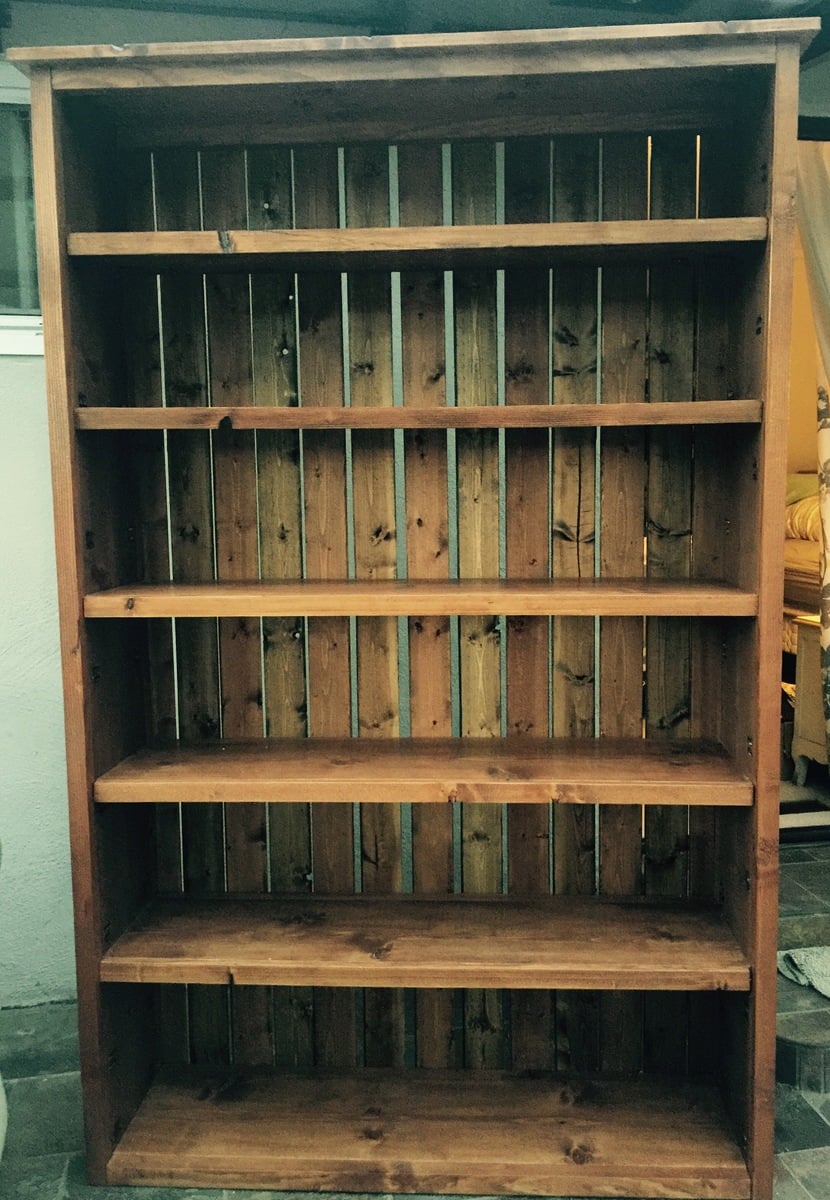
I wanted to build as big of a booshelf as I feasibly could so I altered the sizings in width and height to create this monster. The planks in the back did not fit perfectly in the new sizing so I spaced them a little bit and I think it turned out nice. The spacing gives it more of barn-like look to it. I also alternated stains on the planking between American Walnut and Dark Walnut because this thing took more than a can of stain and I thought the look was neat. The majority of the piece is in American walnut which turned out a little redder than I hoped, but overall I am happy how this turned out.

As always, thanks for the plans!

Estimated Cost
$150
Estimated Time Investment
Week Long Project (20 Hours or More)
Finish Used
Varathane American Walnut stain, Minwax Dark Walnut stain, Vermont Natural Coatings PolyWhey Satin clear coat
Recommended Skill Level
Intermediate

Comments

JoanneS

Mon, 07/27/2015 - 17:09

You did a great job on this bookshelf!  Love the plank back and the barn-like look it gives, and the alternating colors for the back.  Looks beautiful!

itsnikkilyn

Wed, 11/02/2016 - 00:14

Hello, would you be able to provide the exact measurements you used to build this beautiful piece? It would make my life a whole lot easier lol Thank you :)

wthalin

Thu, 01/19/2017 - 10:29

Final dimmensions of the bookshelf ended up being 51"W x 16.5"D x 81.5"H. I would suggest measuring out the space where you would like to put the shelf and see how much room you have.

Fancy Hall Tree

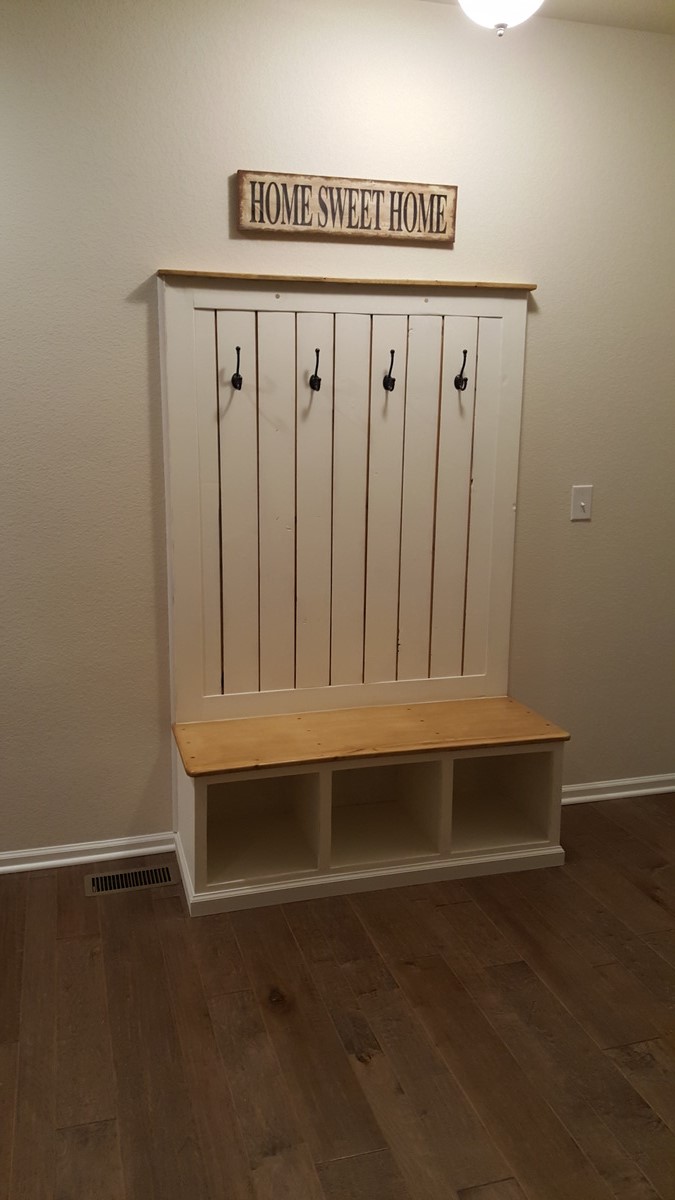
Love this site!  I've made the Facny X Farm Table, and now this piece.  I changed the back to ship lap.  Also cut out the baseboard so it sits up against the drywall then coped the baseboard around the base to look built in.  Thanks!!!

Edit - sorry for the pics being sideways, they're not like that on my phone or computer :(

Built from Plan(s)
Estimated Cost
$50
Estimated Time Investment
Weekend Project (10-20 Hours)
Recommended Skill Level
Beginner

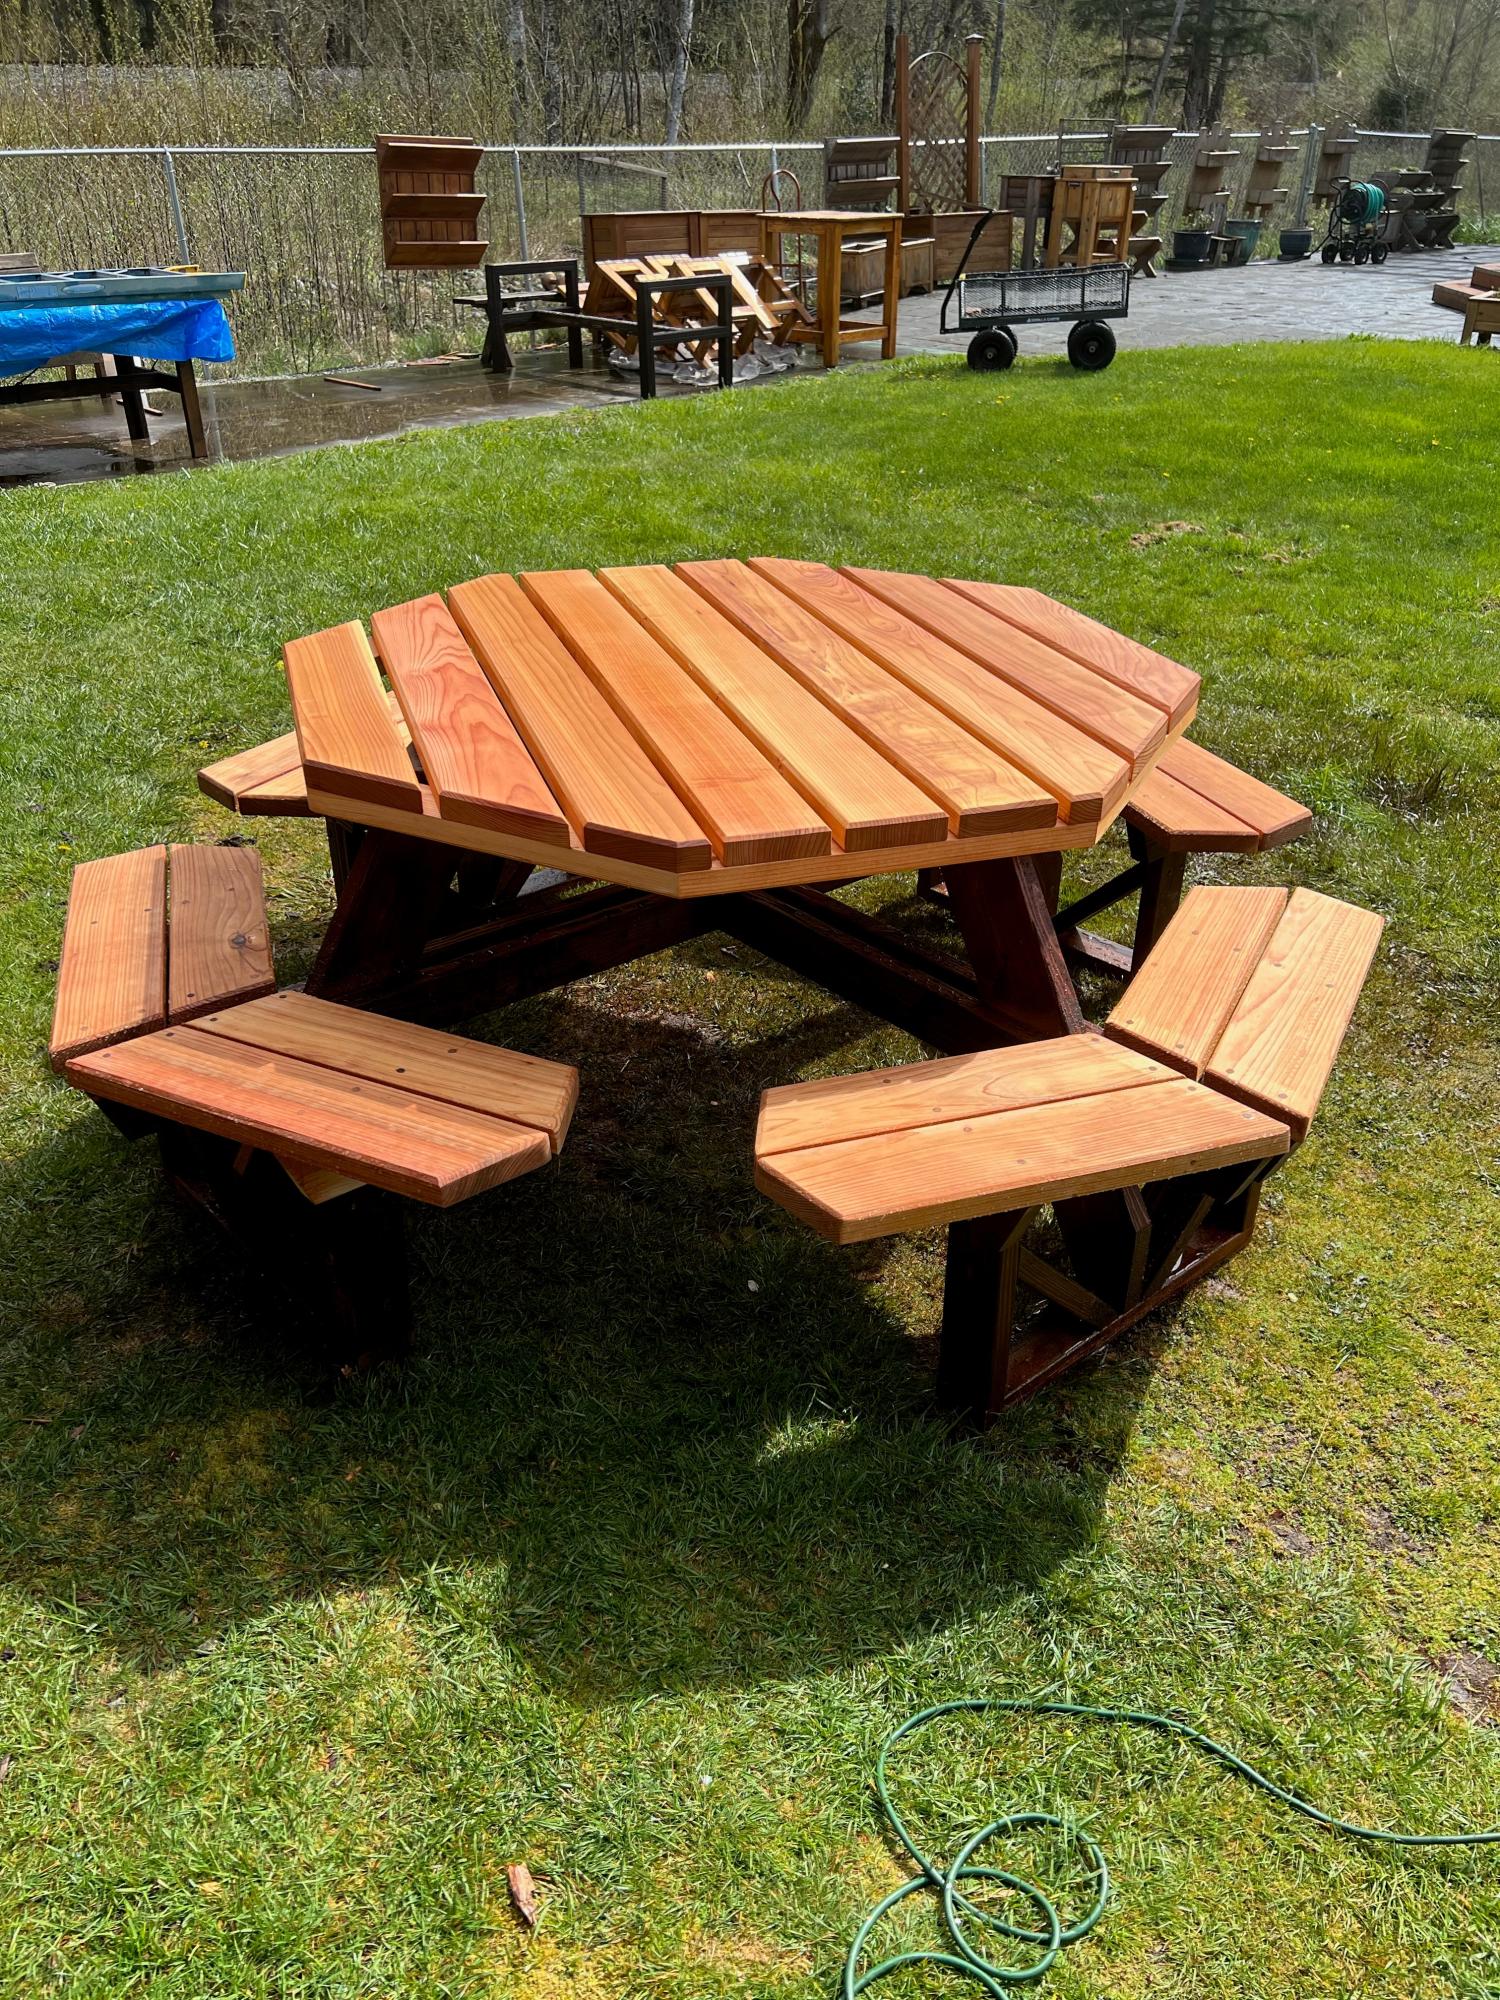
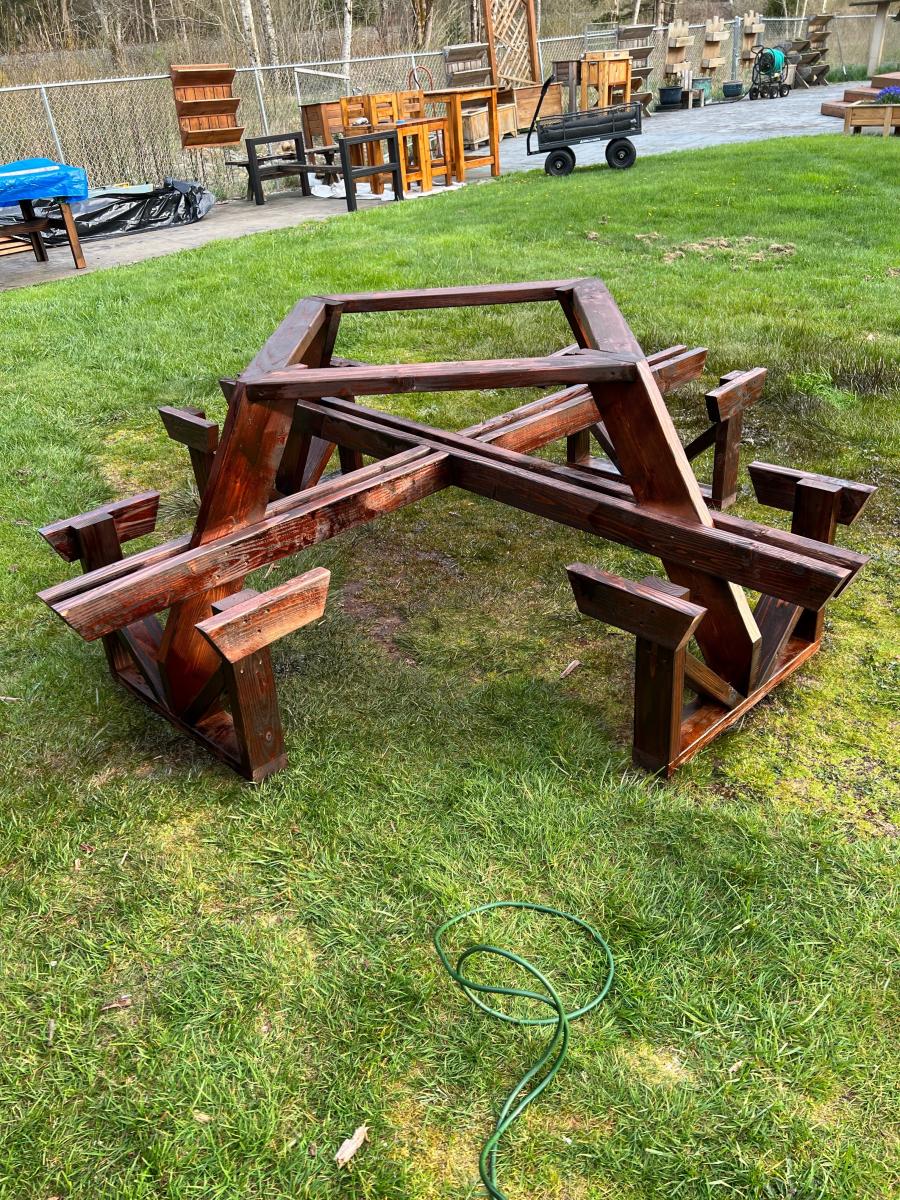
Octagon Picnic Table

Submitted by Anonymous (not verified) on Sat, 04/09/2022 - 10:23

I just finished this octagon picnic table as per your plans
the 2x6 are all clear Western Red Cedar and the skeleton is
Douglas Fir. I think it turned out astonishingly excellent.

Thanks for the inspiration Ana.

Seasonal And Holiday

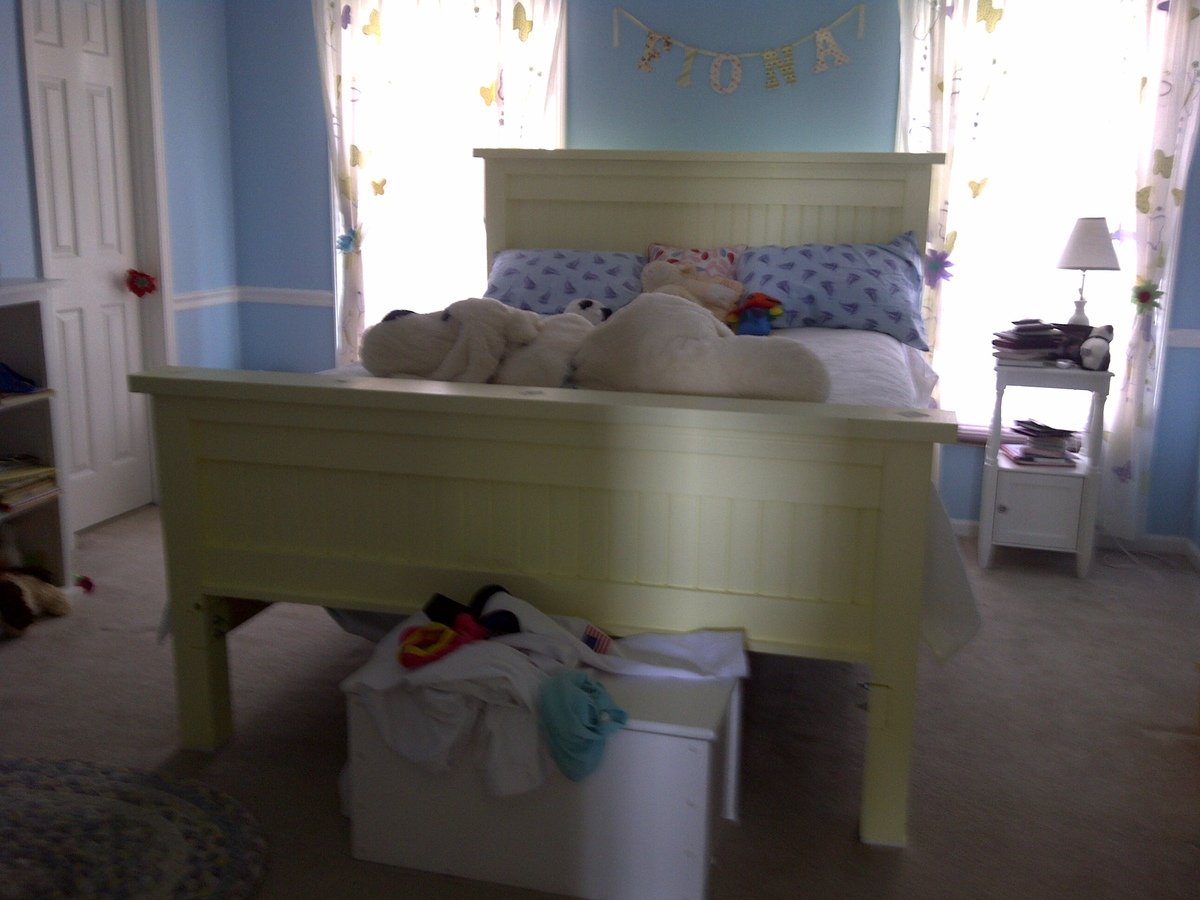
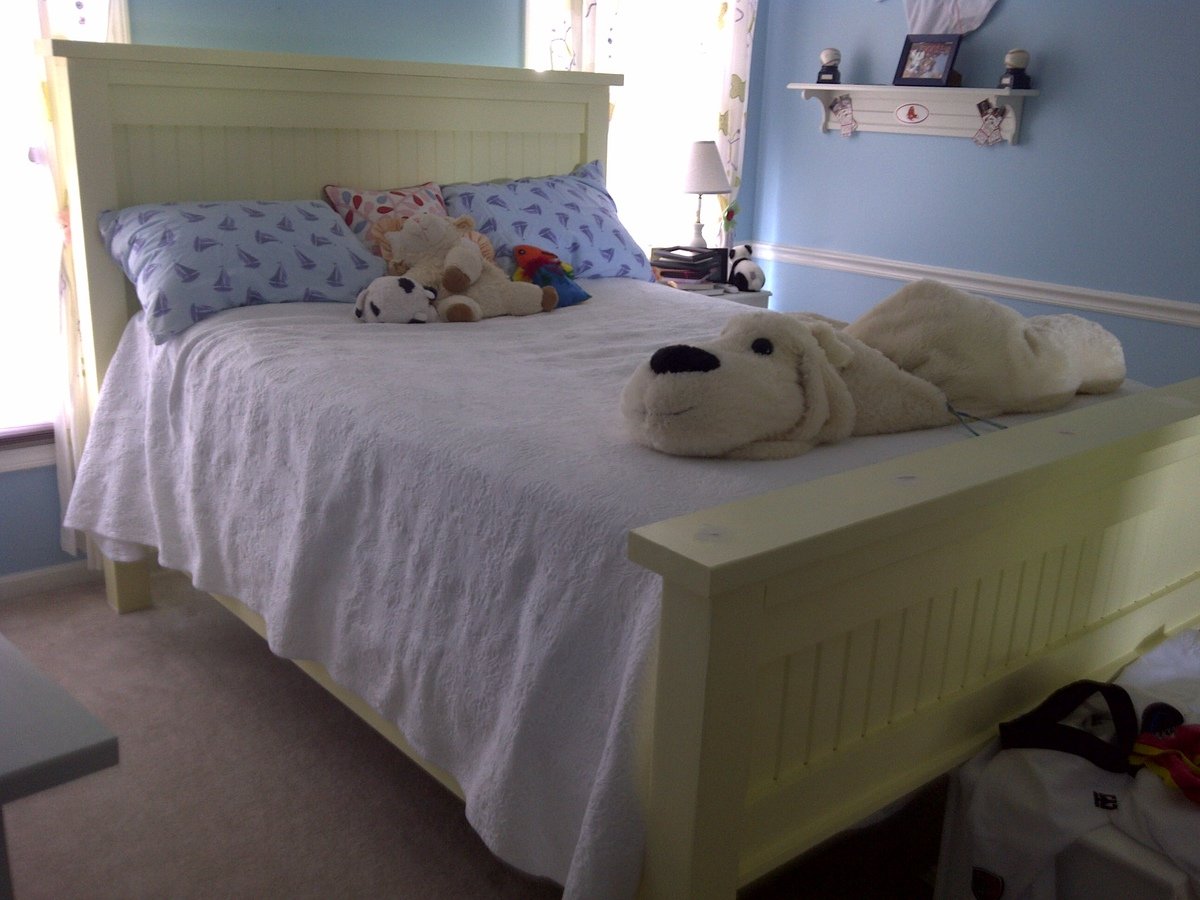
Queen Size Farm Bed

Submitted by msts on Sun, 06/05/2011 - 12:54

This took about 10 hours, including prime and paint. I raised the side rails 3 1/2 inches to dado the posts to accept a 2x4 siderail on the inside of the post, with 1x8 covering it at the center of the post. The siderails are bolted with 4x5/16" bolts, washers and nuts. We chose to leave it more rustic, showing the siderails at the ends and the bolt holes. It is all pine, bought new and along with a 1" forstner bit to recess the bolts, cost $198. It can be repainted at any time. Tools I used were a compound saw for ease of cutting straight cuts, a cordless and corded drill, 1/2" socket and box wrench, easy square and a circular saw for the 1x8's. We painted it with left over paint. Because its pine, we primed with BIN,

Built from Plan(s)
Estimated Cost
$200
Estimated Time Investment
Weekend Project (10-20 Hours)
Finish Used
BIN Primer Sealer, one coat on knots then another full coat.
Benjamin Moore Pearl Luster "
Butter" Finish Coat, two coats.
I sand all wood with an orbital sander prior to assembly. Then I use a block sander after the primer dries and between the first and final coat of paint. I only sand after the primer and paint to knock off anything that might be sticking up off the surface. I don't go crazy.
Recommended Skill Level
Intermediate

Comments

marlaandwilliam

Sun, 06/05/2011 - 18:27

Looks great! What did you use for the panels in the headboard and footboard? it almost looks like beadboard ?

Mark Shortt (not verified)

Sun, 06/05/2011 - 20:23

It is 1x5 bead board (pine). Some places call it match board. It is v-groove, tongue and groove and has a smooth (flat) side and a two inch flat, bead, two inch flat side. The plans called for a 61" wide panel but I made it 58" with the dadoed posts (1 1/2 inch each cut).
If you want to do the panel using the T&G bead board, make sure to lay your 1x4's out the distance of what ever height you want your panels and center the first piece of T&G bead board on both the top and bottom panel. Then you work your way out fitting the T&G and screwing in each piece. When you come to the two end pieces, they are going to ned to be ripped but by starting at center, they will be even at the end when ripped.
Another tip is when screwing the panel, you will want to get at least halfway into the 3 1/2" post. measure the distance you want to cut on the drill bit and put a piece of tape on the bit. Then drill until you get to the tape.

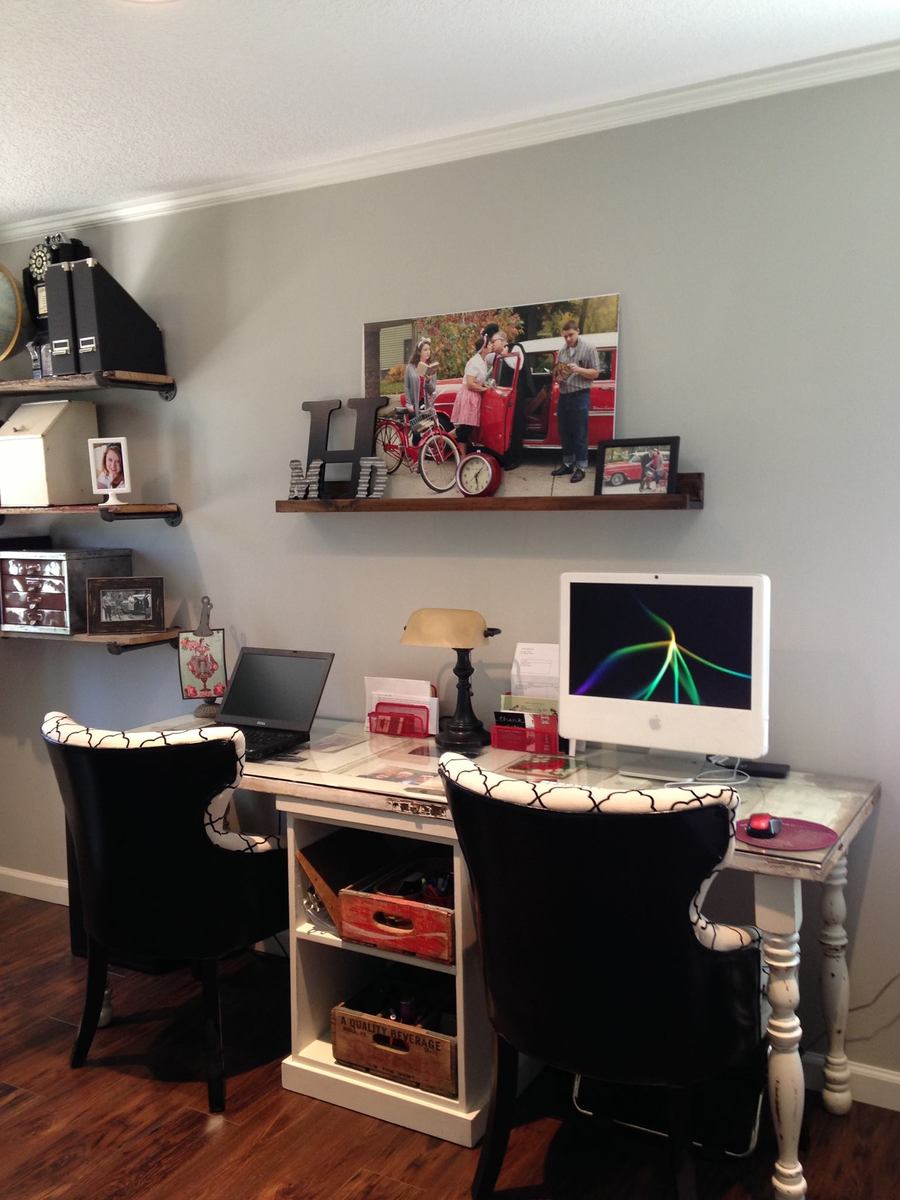
Ledge Shelves & Modular cabinet

I love this site!  I used the Modular Office- Narrow Open File Base under an old 5 panel door added some old table legs and voila new desk for two!

I thought the perfect thing to go above the desk was the $10 ledge shelf. I actually had the wood and the stain already...so this project was basically free...just my time.


Estimated Time Investment
Day Project (6-9 Hours)
Finish Used
DIY chalk paint on desk. Old Masters Dark Maple on ledge shelf.
Recommended Skill Level
Beginner

Camp loft bed with stairs

Submitted by Kaymich13 on Wed, 02/28/2018 - 19:06

Super easy build, had to make a few adjusments because of the size of the room.  My daughter absolutely loves it. Thanks Ana White for these awesome plans!!

Estimated Cost
$120
Estimated Time Investment
Afternoon Project (3-6 Hours)
Recommended Skill Level
Starter Project

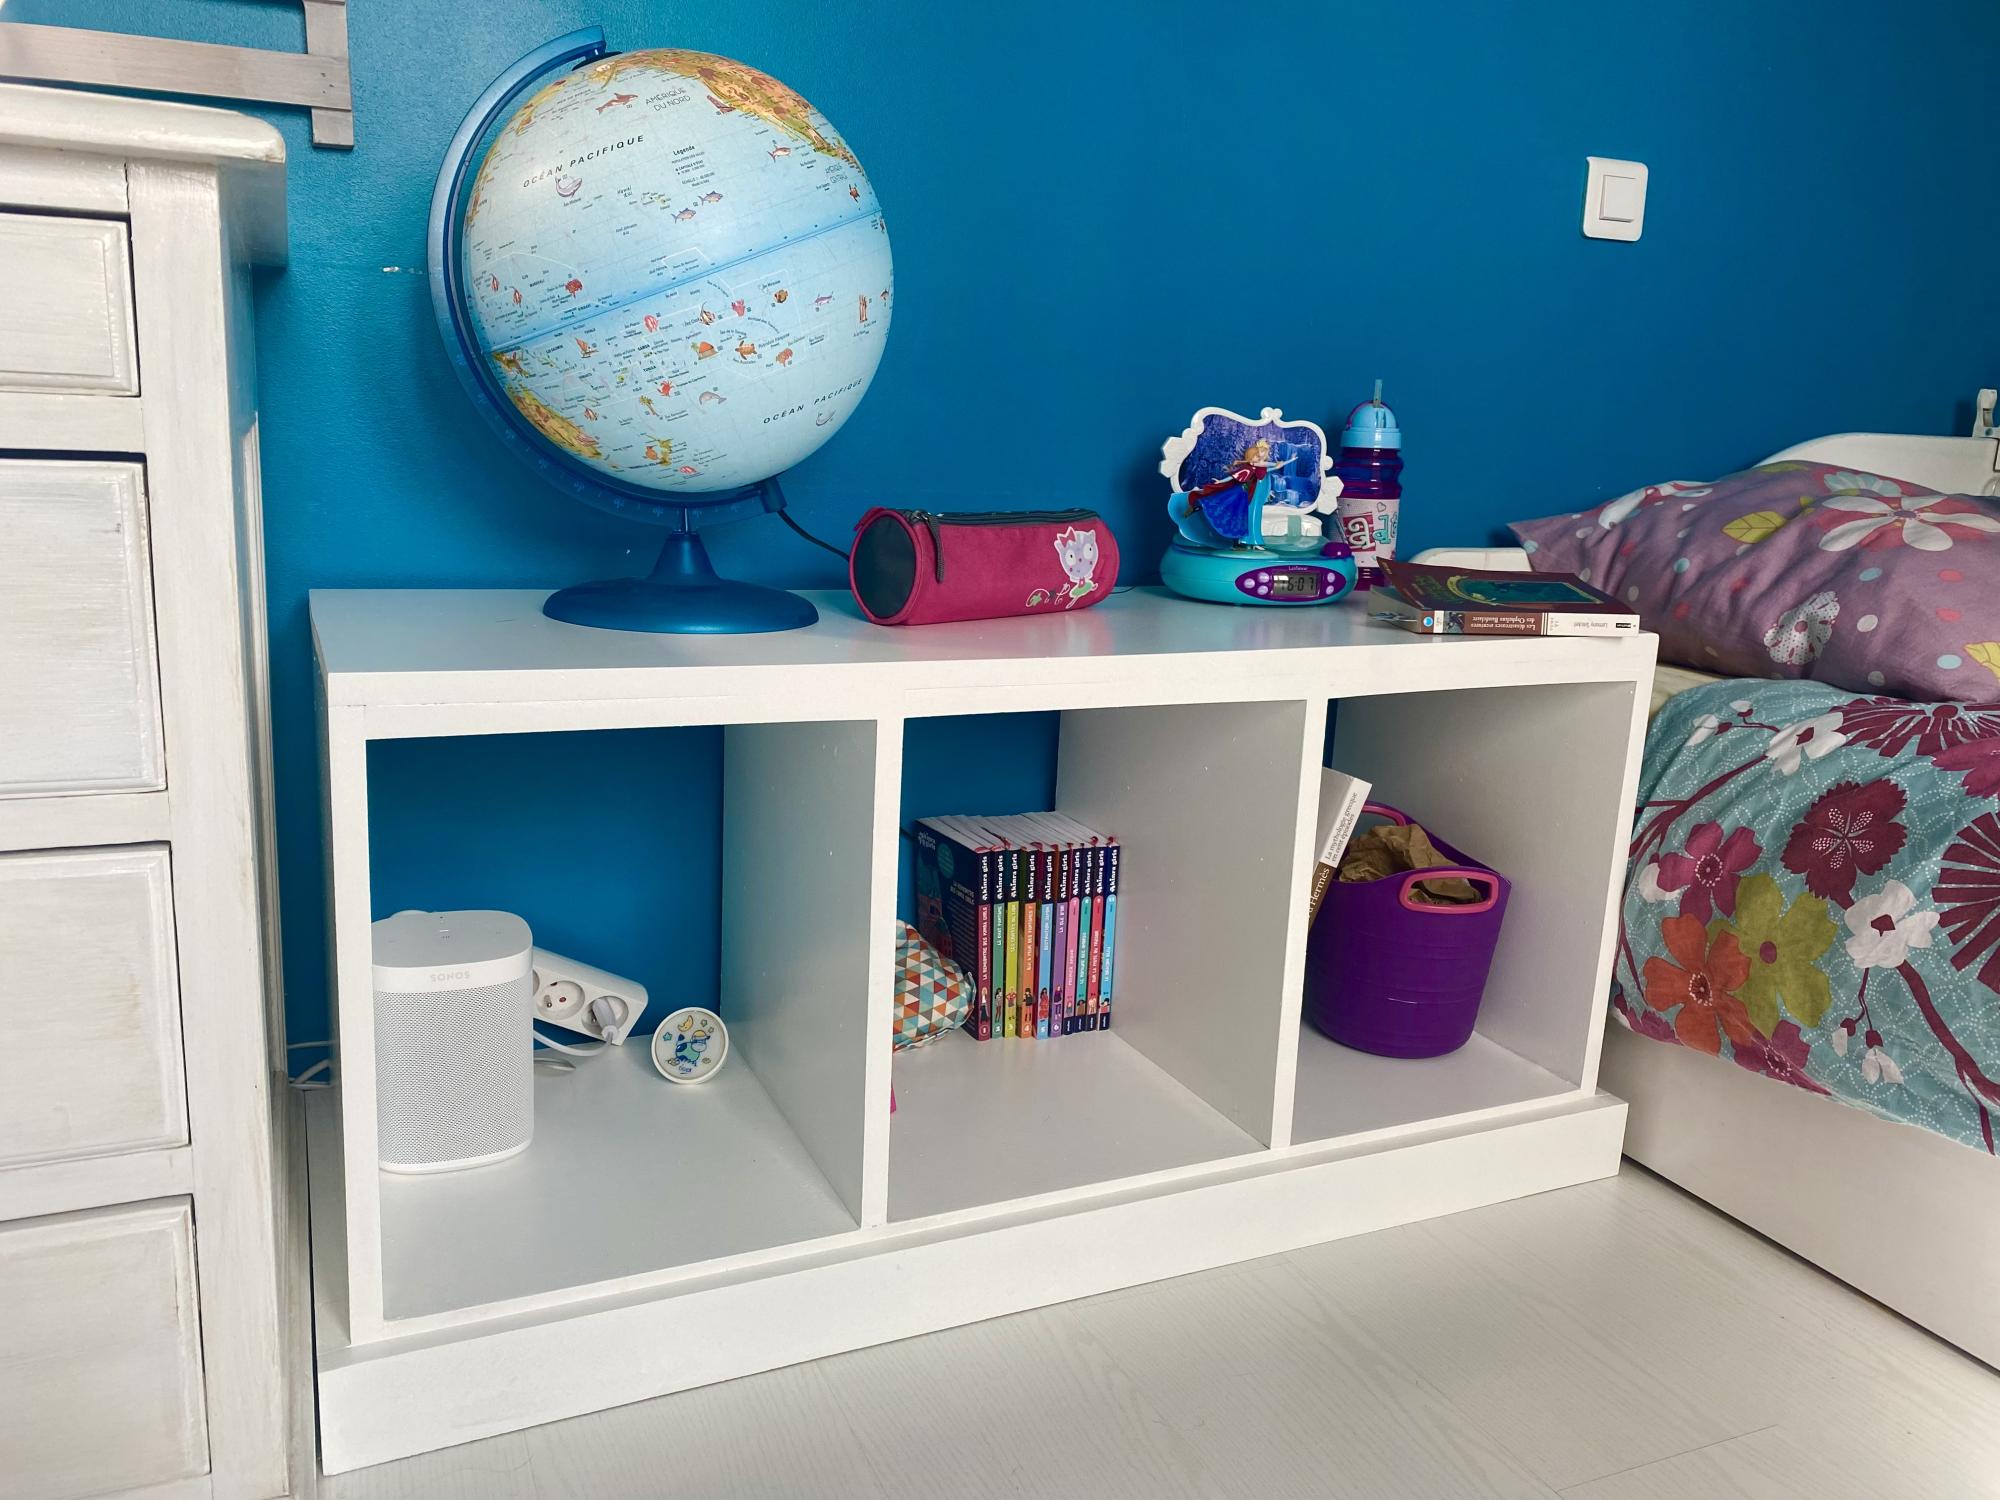
DIY Wooden bench

Submitted by Julisib on Tue, 04/19/2022 - 10:13

Thanks Ana for the plans. A new bench / bookshelves for our daughter's bedroom.

Built from Plan(s)

Comments

Exactly what I wanted

Submitted by rhamil12 on Thu, 07/25/2013 - 08:07

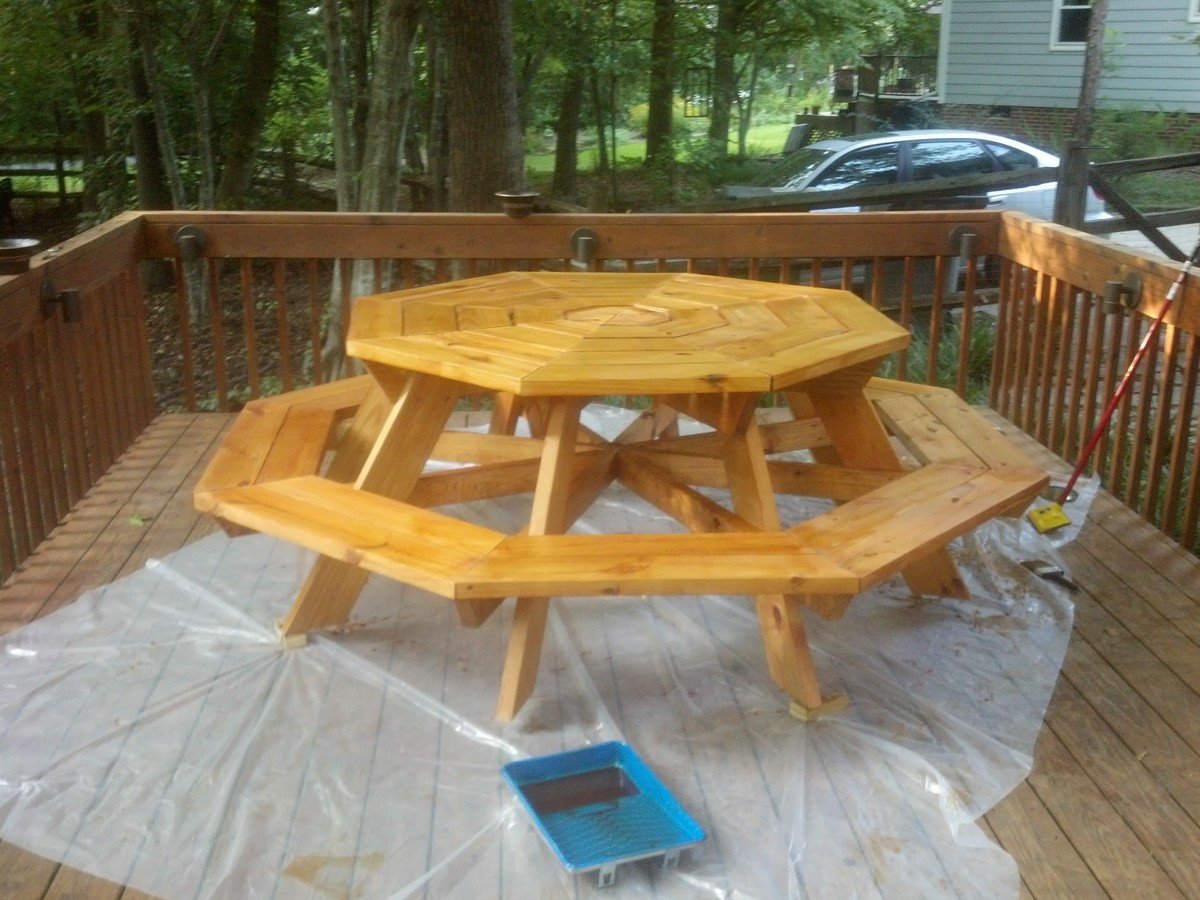
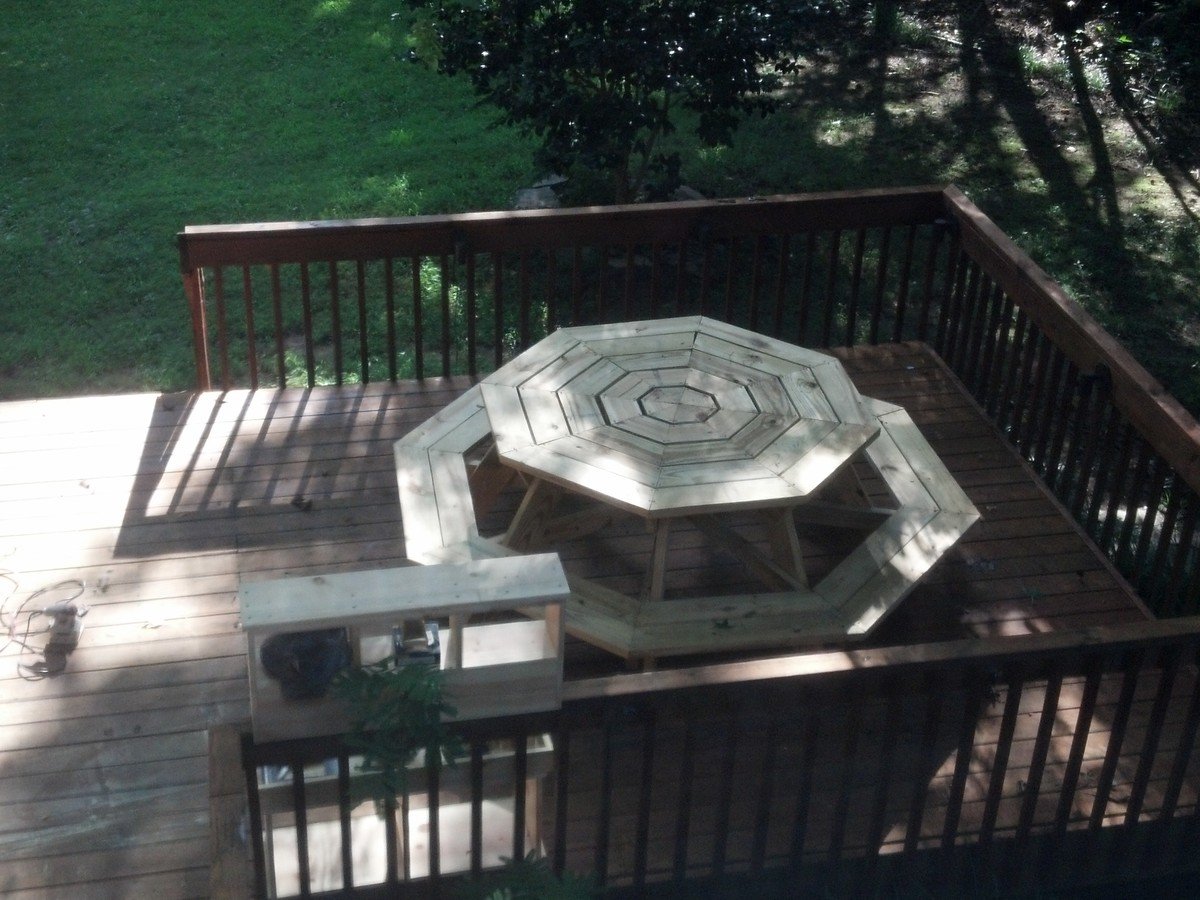
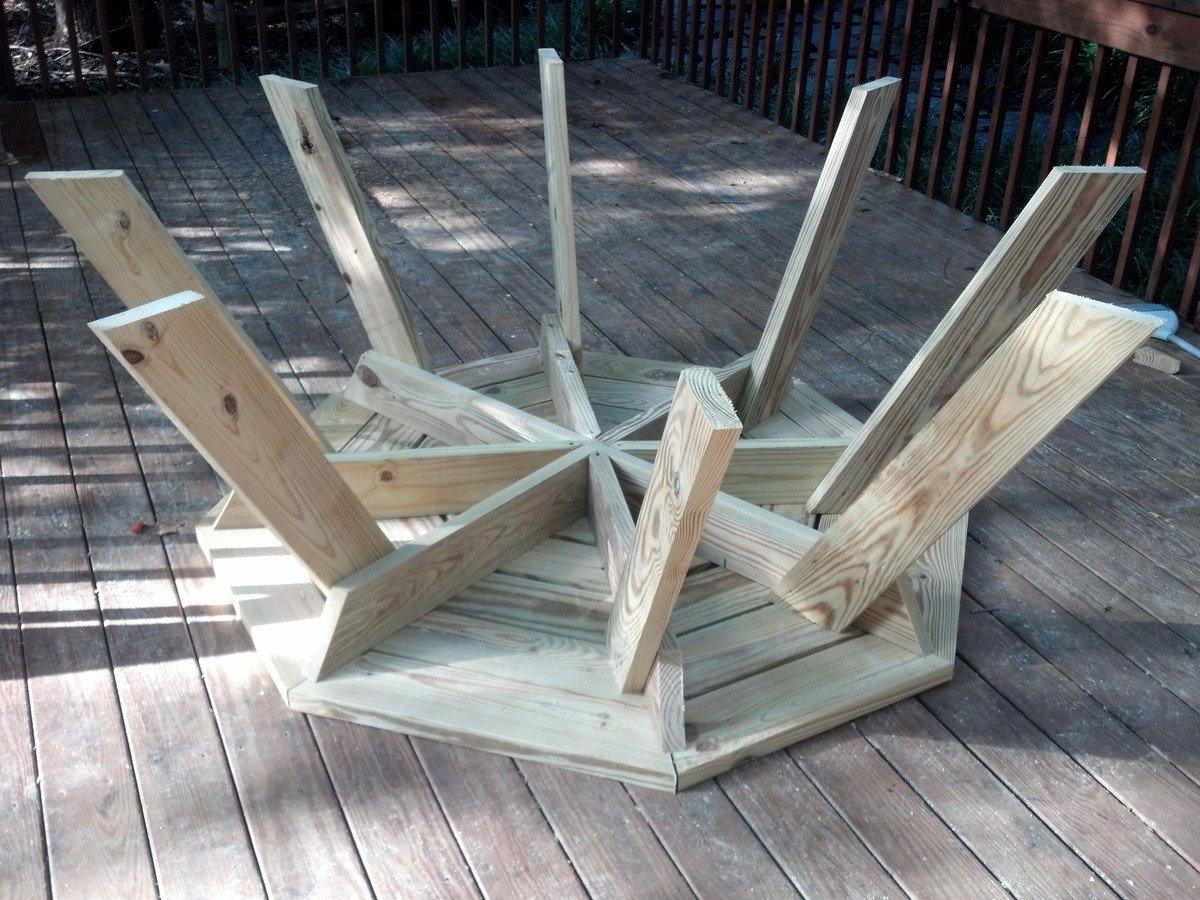
I stumbled upon the octagon picinic table almost by mistake. I set out to just find a blueprint for a standard picnic table to know how much materials I needed and this came up in the top of the Google search. As soon as I saw it I knew it would be perfect for my backyard. It looks great and the neighbors are quiet jealous!

In the first additional photo you will also see the entry way bench and storage shelf (http://ana-white.com/2009/11/plans-for-entry-storage-benchshelf_2314.ht…) that I worked on when I wanted a break from the table.

Estimated Time Investment
Weekend Project (10-20 Hours)
Finish Used
Olympic Redwood Naturaltone Semi-transparent Deck stain/seal
Recommended Skill Level
Intermediate

Comments

jlbarahona

Thu, 07/25/2013 - 16:56

This is gorgeous, i'd love this for my backyard! Do you know how much it cost you? thanks!

Modified Reclaimed wood Look Bedside -- Dresser

Submitted by pmgriffith on Wed, 08/05/2015 - 11:28

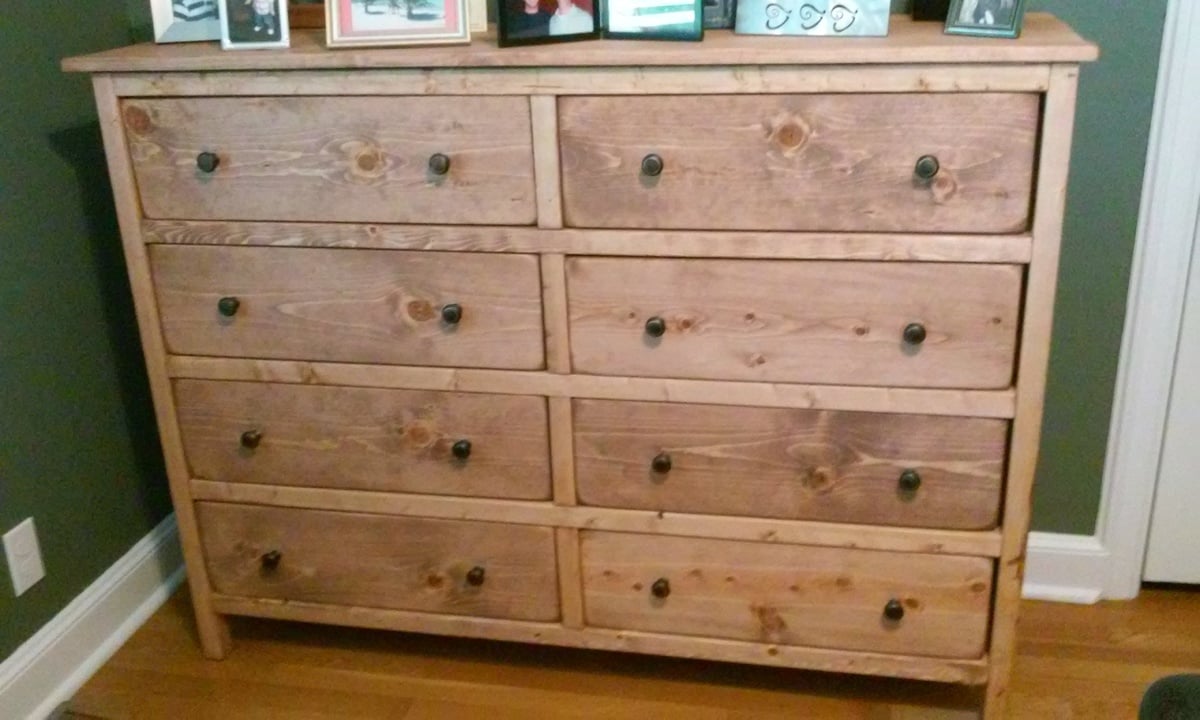
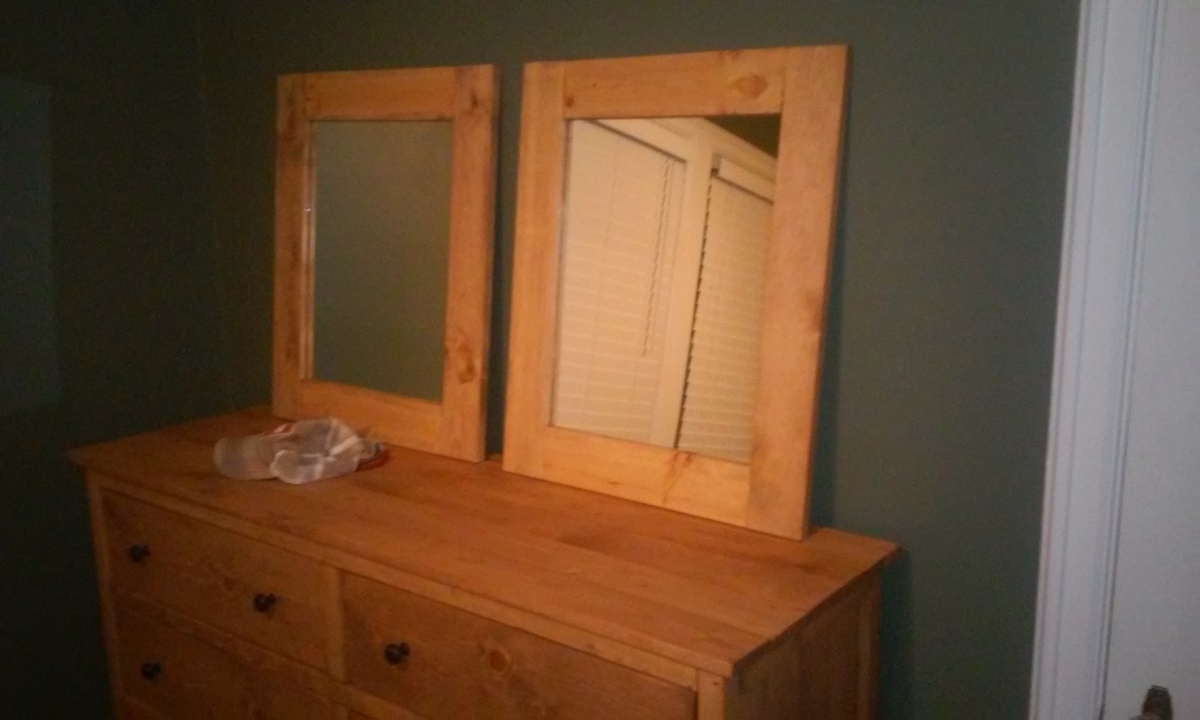
I loved the Reclaimed Wood Night Stand so much that I needed a dresser to match.  Virtually the same just added a single drawer height and widened. 


Estimated Cost
Cost about 75 bucks for wood and 20 for the hardware.
Estimated Time Investment
Day Project (6-9 Hours)
Finish Used
Cherry Minwax finish
Recommended Skill Level
Intermediate

Comments

nickkarim

Fri, 08/07/2015 - 11:12

I am looking to build something exactly like this, can you share plans or any suggestions, thanks!

Garden bench - Adirondack style

Hi Ana!  Thank you so much for creating all these wonderful woodworking plans.  My wife and I wanted a garden bench, and I thought it would be so much more fun to make one than to buy one, so voila!   Couldn't have done it without your plans.  I made a couple modifications to make it more "Adirondack" style, with the paisley-shaped armrests and curved backpiece.  Great plans, thrilled with how easy they were to follow and how well the bench came out! 

Thanks - 
Bruce 

Built from Plan(s)
Estimated Cost
$100
Estimated Time Investment
Weekend Project (10-20 Hours)
Finish Used
Spar urethane
Recommended Skill Level
Intermediate

Comments

Your tall planter

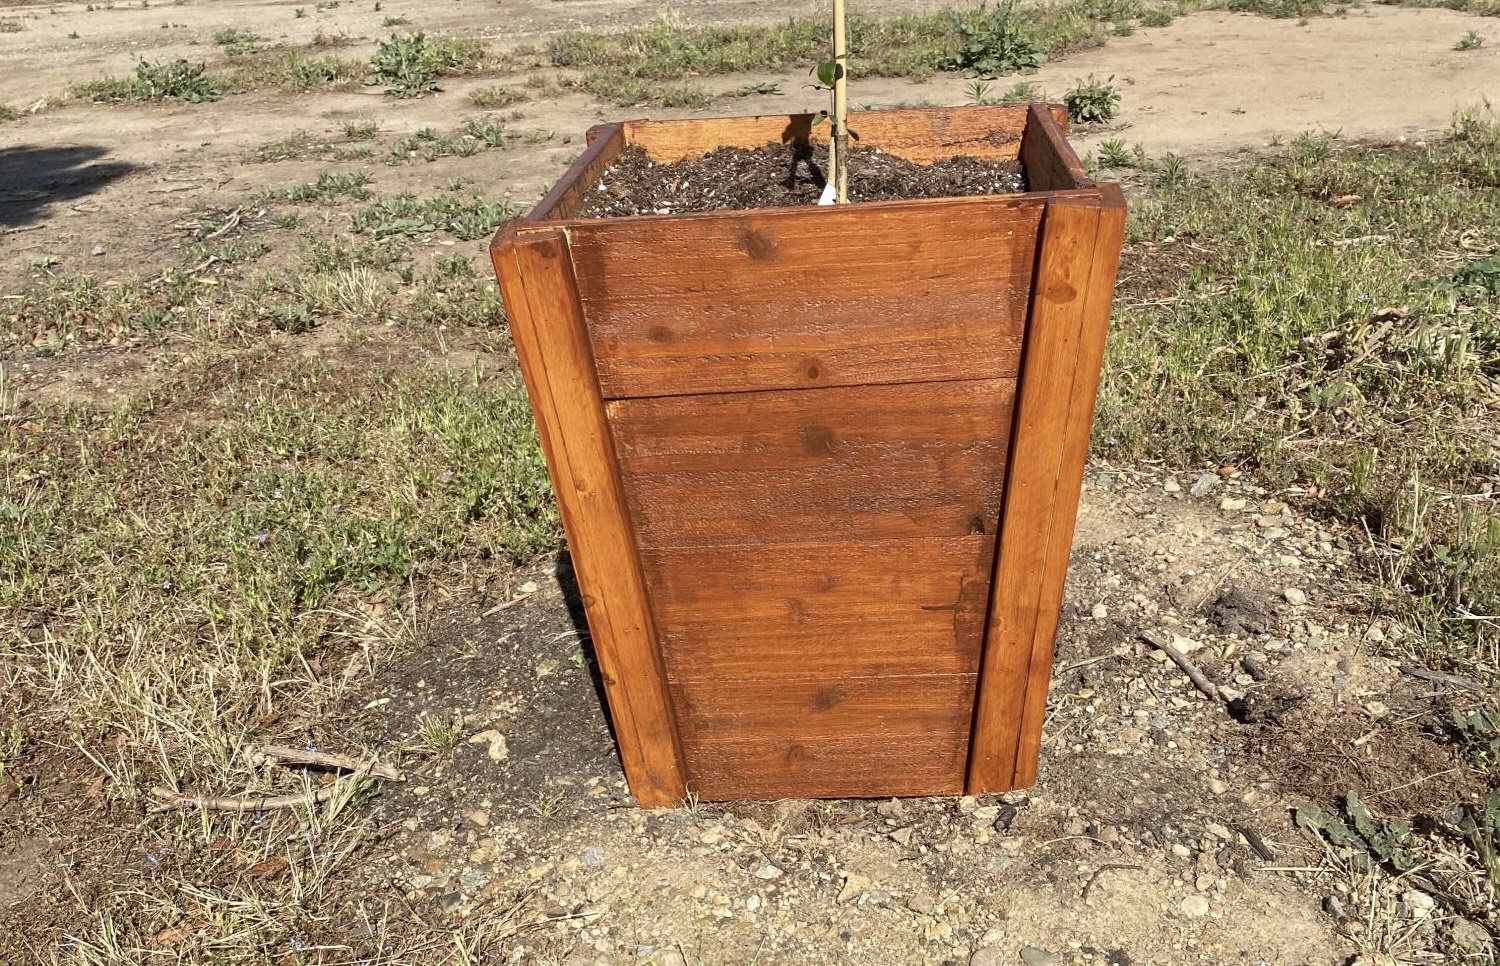
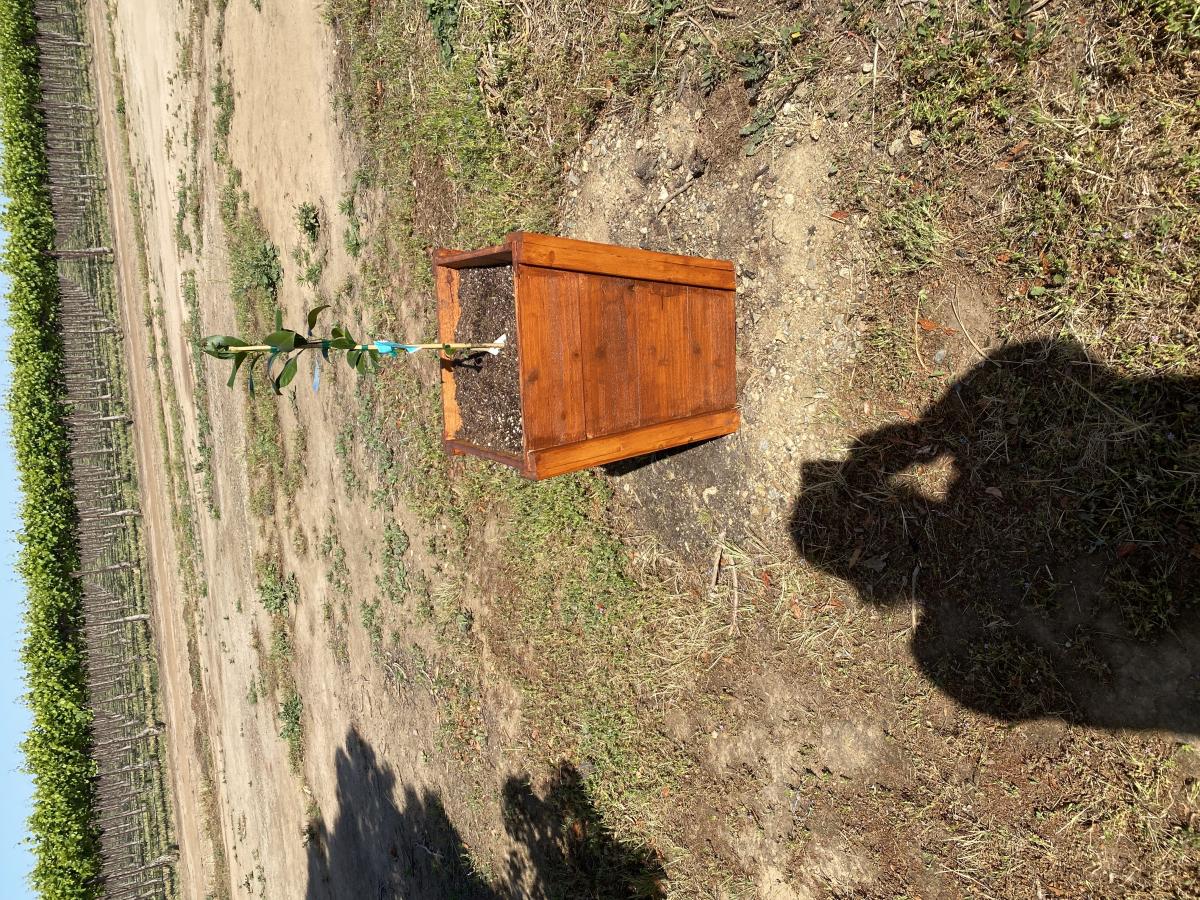
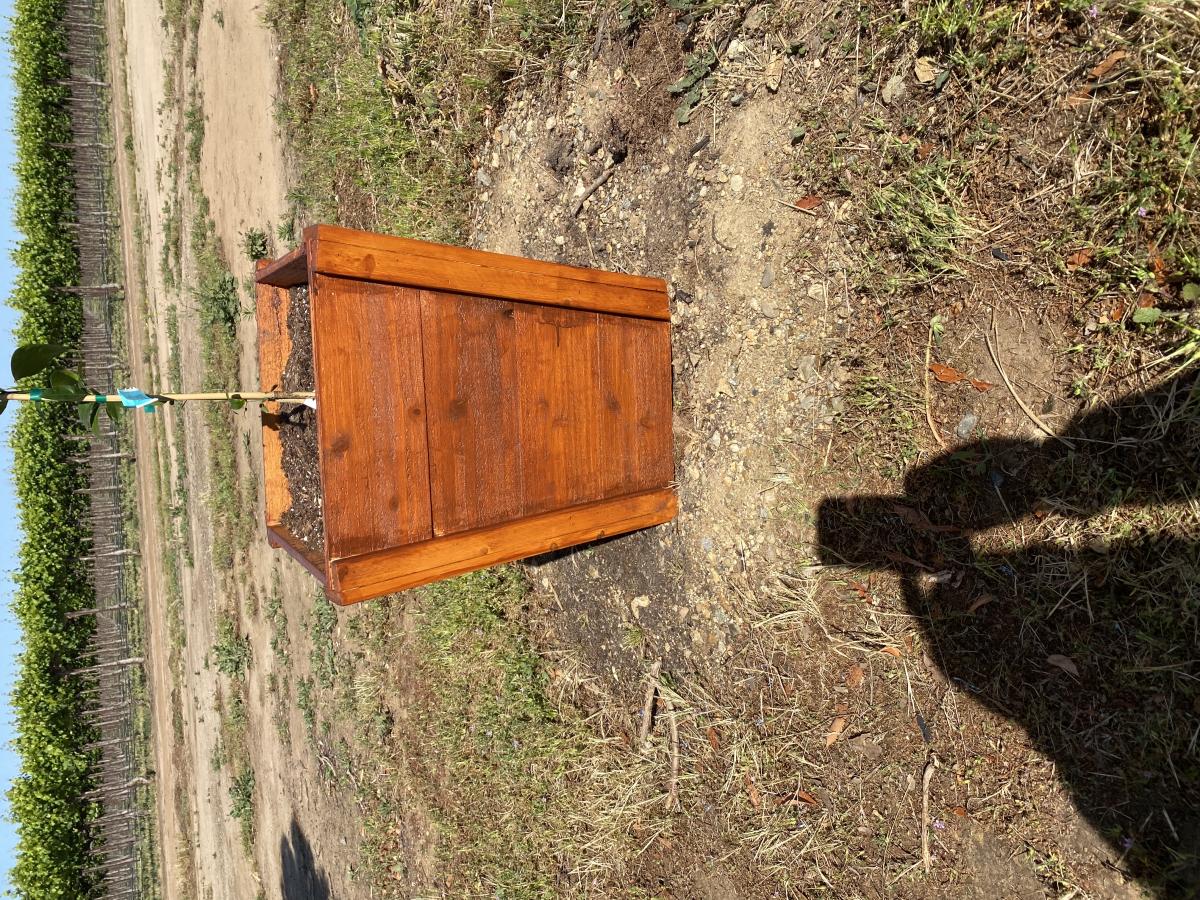
Submitted by Anonymous (not verified) on Thu, 04/21/2022 - 14:02

Made your tall planter. Love all your builds

Built from Plan(s)

Comments

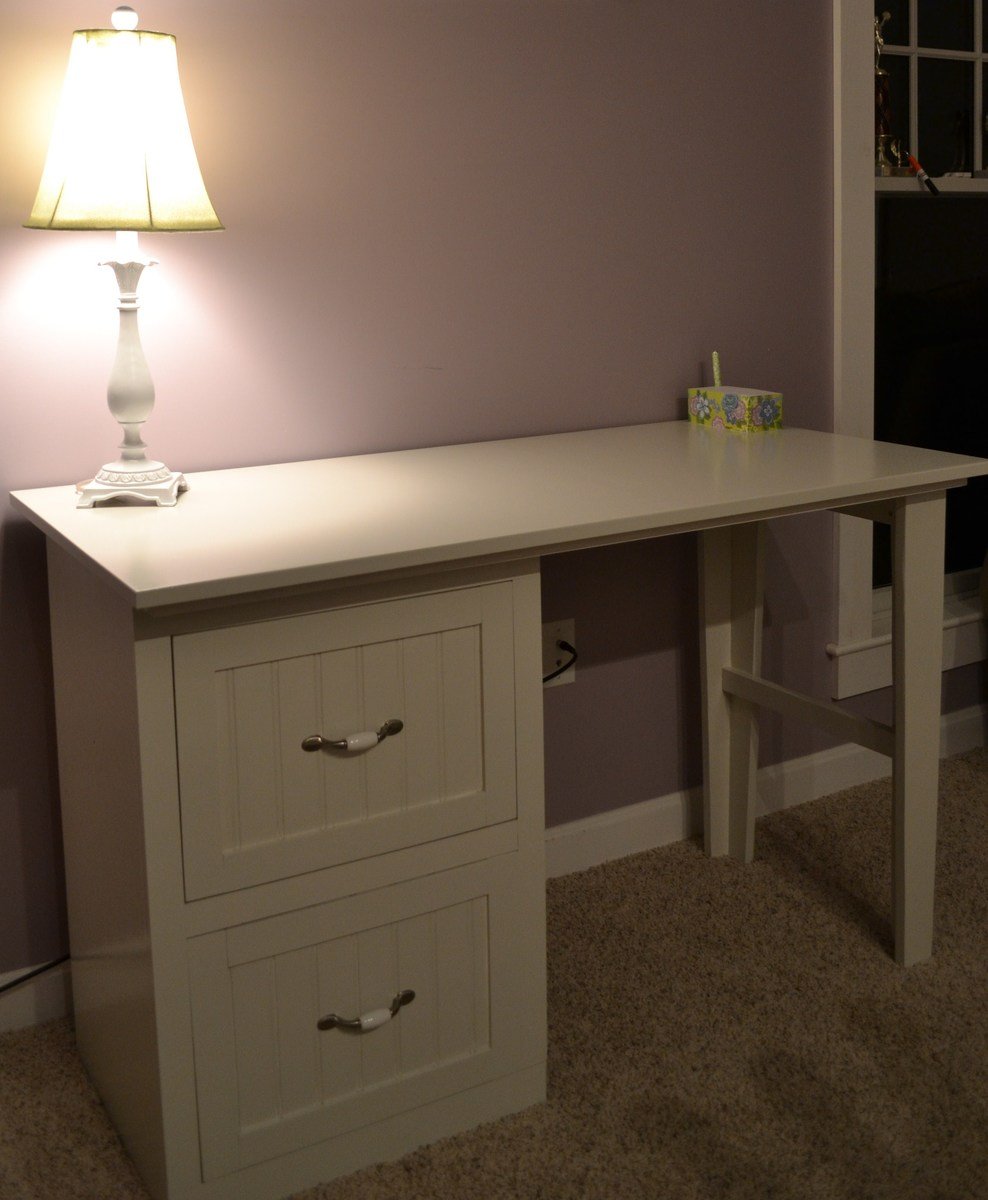
Modular office small desktop/Narrow file drawer base unit

Submitted by gmamurphy on Sun, 06/12/2011 - 14:00

Combined the modular office small desktop with the Narrow file drawer base unit to suit my needs/space requirements. Used the legs from the narrow farmhouse table because I just loved them! Added beadboard for the drawer faces because it matches the rest of our house.

Estimated Time Investment
Week Long Project (20 Hours or More)
Finish Used
painters touch and minwax polycrylic
Recommended Skill Level
Intermediate

Comments

bundaboy

Mon, 04/28/2014 - 22:18

I am about to start on a very similar 4 draw version of this, do you have any more information? In particular I was wondering how the drawer slides were fitted - are the side or bottom fitting? Cheers and well done!

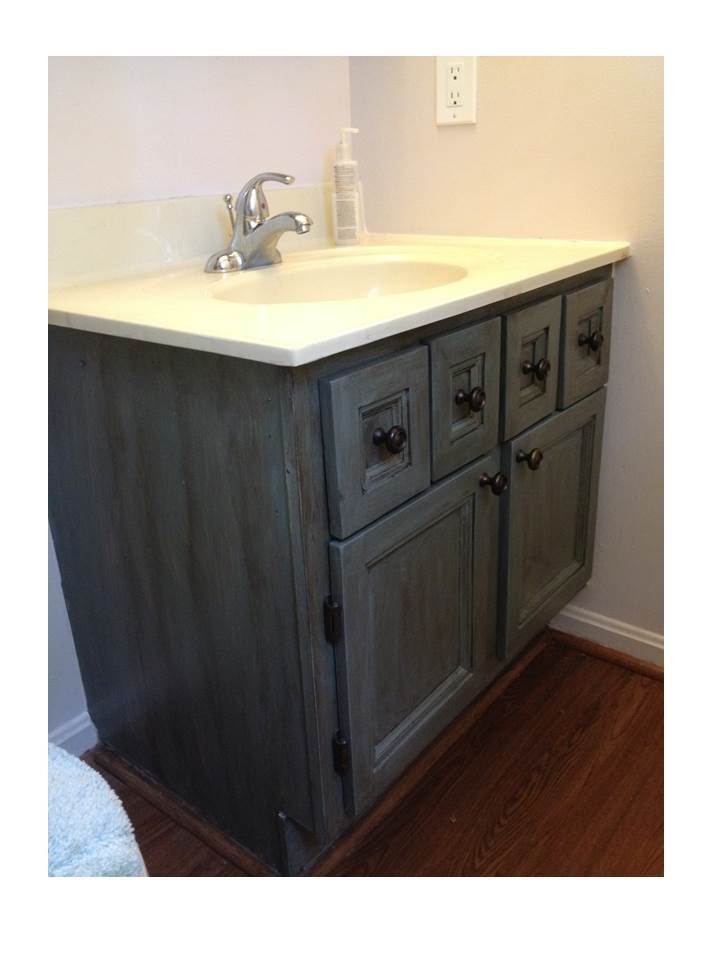
Bathroom Vanity - This one's Josephine!

Submitted by JoanneS on Sun, 07/28/2013 - 09:08

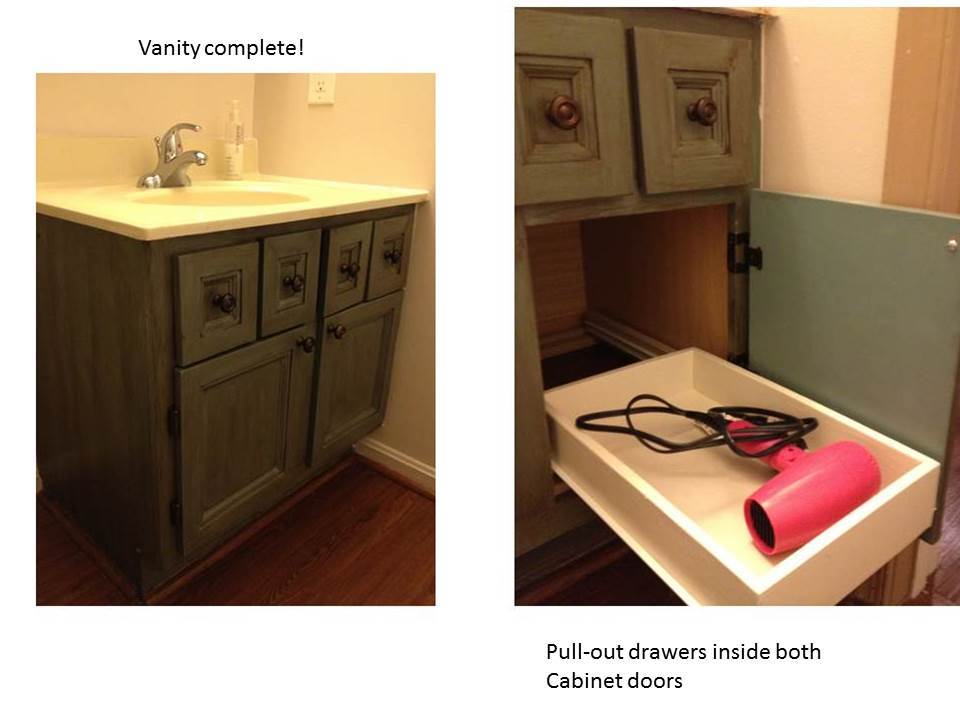
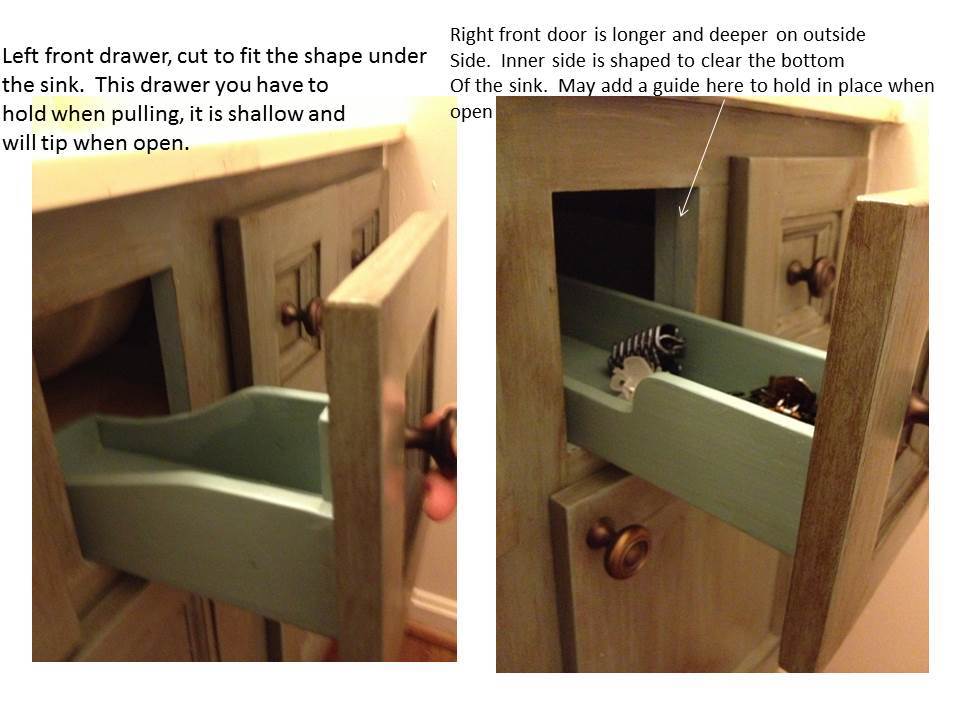
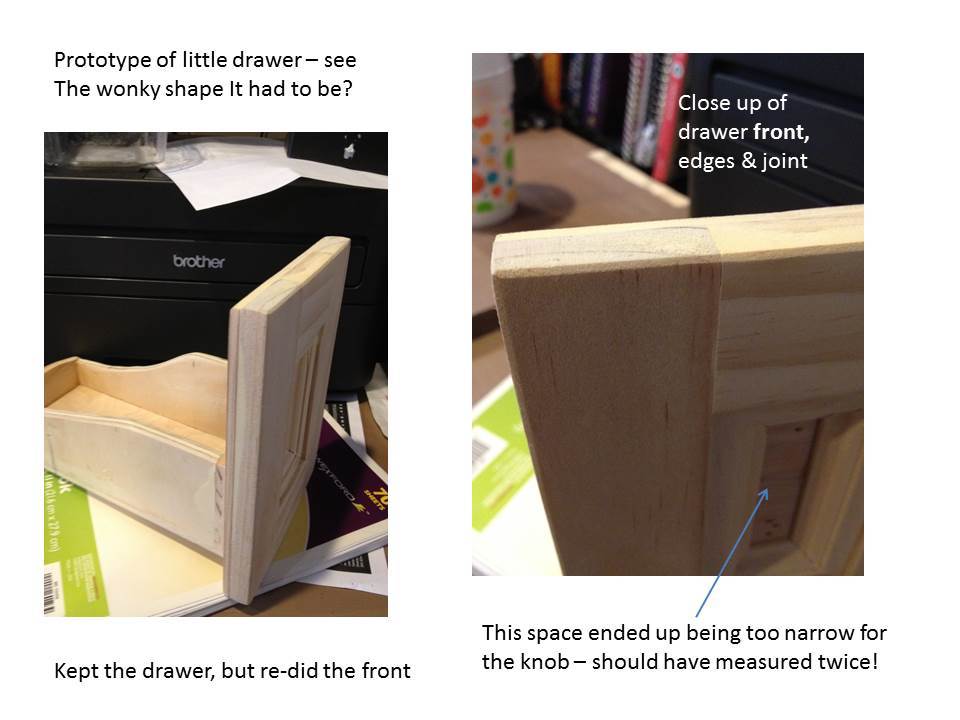
Converted an ordinary bathroom vanity into a Napoleon sink console/vanity. This is the second one I’ve completed, the first was in the hall bathroom which Hubby calls “his” bathroom. Since this one for the master bath is more feminine, I’m calling her Josephine! This was approximately a day and a half project, but spread out over several weekends. I had originally planned to put a faux drawer in front of the sink, and had the drawer front made, but then decided I’d like to try to make some custom drawers in front of the sink to utilize that space. I ended up doing the center drawer fronts twice – on the first try the space in the center was a little too narrow for the knob once the trim was in place. Since the vanity is in a corner, the sink doesn’t fall exactly in the center of the vanity cabinet, leaving it left of center by about an inch. This required different middle drawer sizes with interesting shapes.

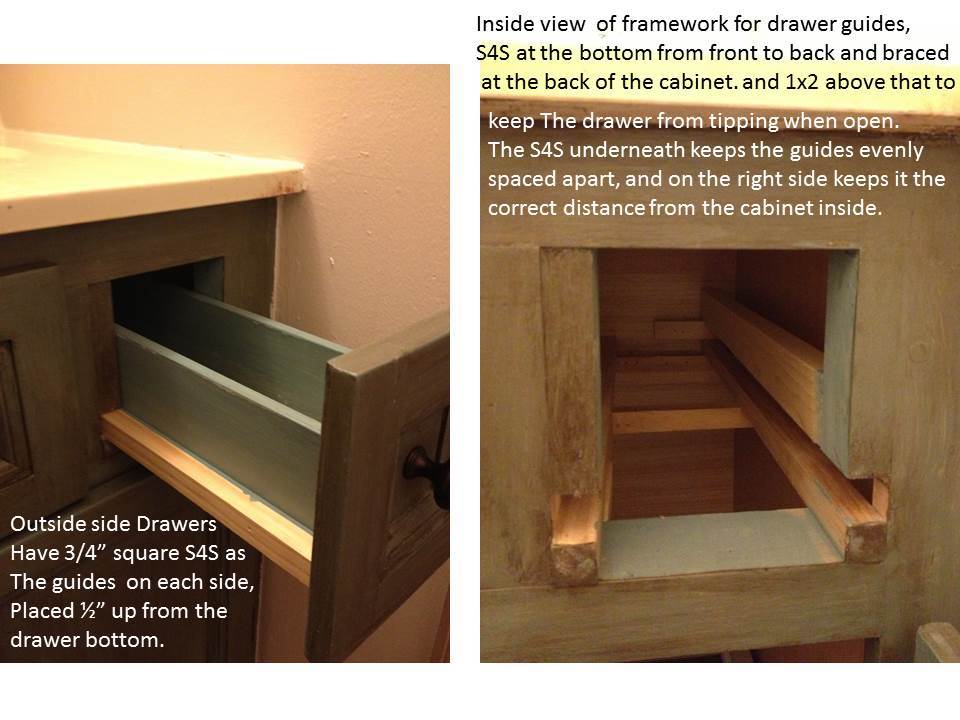
The drawers are made from a combination of 3/8” craft boards and 3/8” plywood, ½” craft board, and some ¼” plywood for the bottoms (all of them except the one right of center – that has ¾” plywood for the bottom). The 2 outer drawers also have ¾” S4S as guides.

The doors and drawer fronts are ¼” birch plywood cut to size, with ½” x 1 ½” craft boards glued to the fronts for rails and stiles (I added a few pin nails from the back side also). Inside these, mitered pieces of mini-stop moulding were glued in place. The whole thing received some putty on the edges and joints, and thorough sanding with 80-grit, then 220-grit.

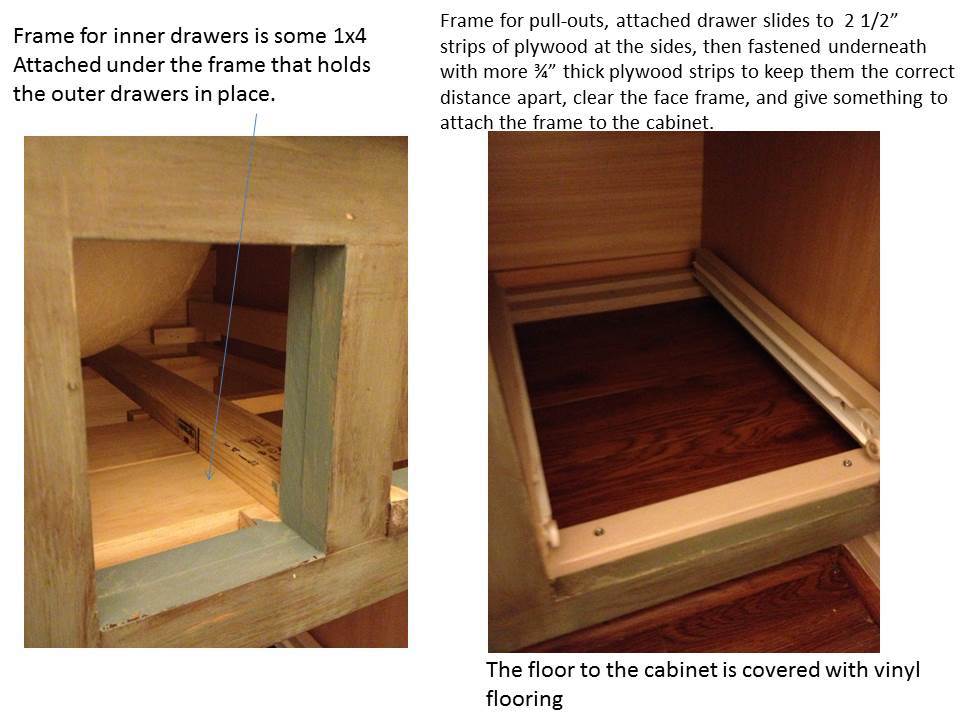
The inside frames are made from S4S, 1x2, and some scraps of 1x4 cut to size. If I were doing this in a newly constructed vanity without the sink already in place, the setup for the drawers would have been much simpler. But, we weren’t ready to buy new yet, so necessity was the mother of invention and we have this. I re-used the hinges and 2 of the knobs from the original, and I bought 4 more and the hardware for the drawers.

The pull-outs in the bottom are made from plywood scraps, thoroughly sanded and painted. These are based on Ana’s wood pull out cabinet drawer organizer, with added supports across the bottom to make the drawer clear the lip of the face frame, keeping them the correct distance apart, and giving something to attach to the cabinet floor.

For the inside floor of the cabinet, I got this Idea from Yvonne at Sunnyside Up-Stairs in this post:
http://sunnysideup-stairs.blogspot.com/2013/06/progress-installed-dishw…
Left over flooring was placed on the cabinet floor to give it a fresh new look and protect the cabinet bottom. Our house is 21 years old, so you can imagine the floor of the vanity cabinet had seen some wear and tear. Now it looks new!
Estimated Cost
$45 (hardware, craft boards, trim, already had the finishing materials and the rest was scrap on hand)
Estimated Time Investment
Weekend Project (10-20 Hours)
Finish Used
This was my first try at home made chalk paint (2 coats). I got a free quart of Clark & Kensington flat paint at Ace, and had them tint it to Benjamin Moore’s Blue Echo color. I made the chalk paint by mixing the paint with some water and plaster of paris. I love how it dries so quickly and covers well, but I missed the sheen of a satin or semi gloss. The glaze is some Minwax Express Color in Walnut. Once everything was dry, it received a top coat of Minwax water based poly. I ran out of that right as I was doing the center drawers, so those have some Oil-modified water based poly. Pull-out drawers are some left over cream paint, and the frames are Ace Royal semigloss in Wishbone. Overall I’m very happy with the finish.
Recommended Skill Level
Intermediate

Comments

yurra-bazain

Sun, 07/28/2013 - 12:25

I love your vanity. Something about it helps me imagine a British nobleman's home, or since she is Josephine, I suppose it would be in the home of a French duchess. =D I really do like the idea of having that pull out drawer on the bottom of the vanity.

I am definitely going to give glazing and distressing a try sometime. I just have to find the right project for the look. Lest I forget, thank you for sharing the link to my site. :)

JoanneS

Sun, 07/28/2013 - 15:57

Thank you so much for the nice comments! I love the idea of a Duchess, I think I'll nickname this finish Duchess Blue! :) I was happy to share your blog link, the idea about the vinyl flooring in the vanity worked like a charm, I'm going to do that in my kitchen and the other bathrooms too.