Community Brag Posts

DIY Outdoor Sectional

Submitted by Anonymous (not verified) on Mon, 05/06/2024 - 13:25

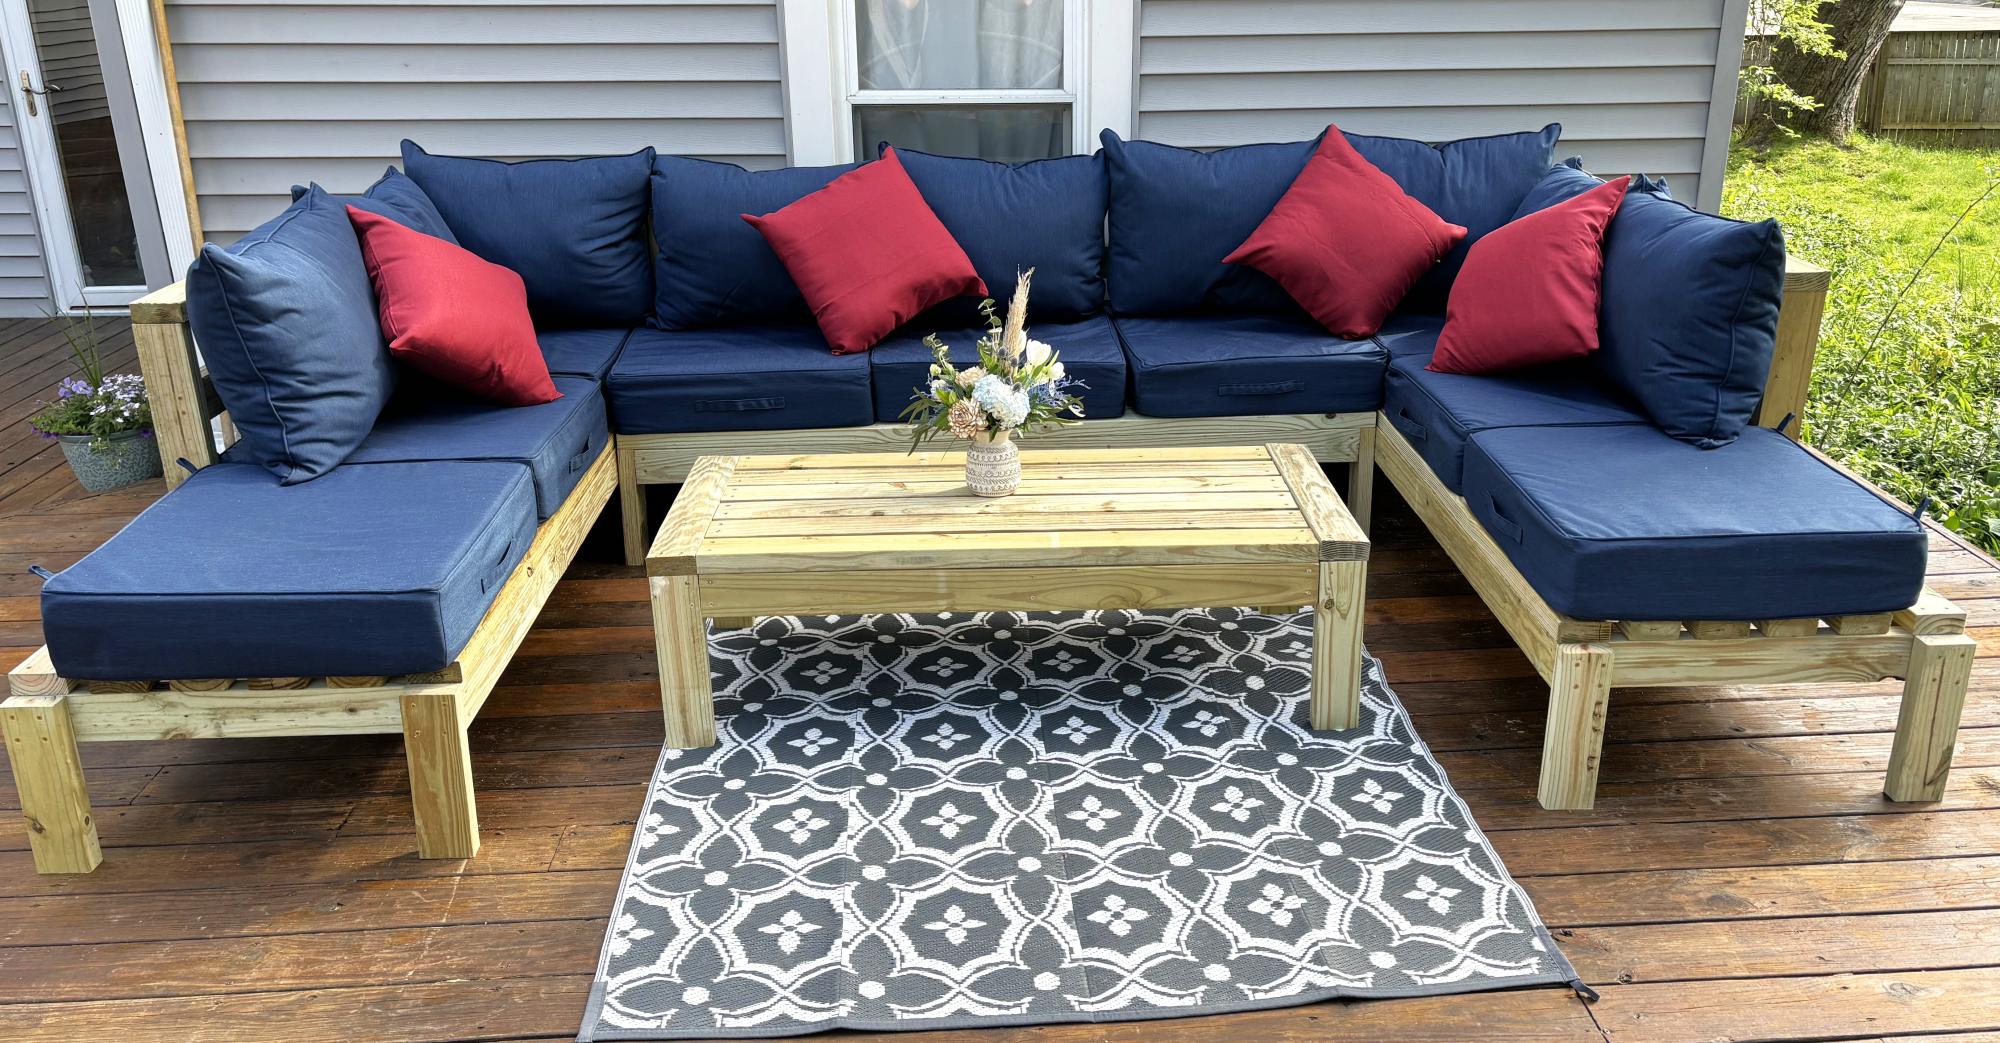
I used the armless chair plan, and altered the one armed plans to make two chaises. Then I increased the size slightly to accommodate the 25x25 pillows I bought. This took about 12 hours with one person working. I am super proud of it! Finished today, and will eventually stain after the wood has dried out a little. Thank you, Ana, for making straightforward plans that gave me the confidence to do my first woodworking project!

Andrea in Michigan

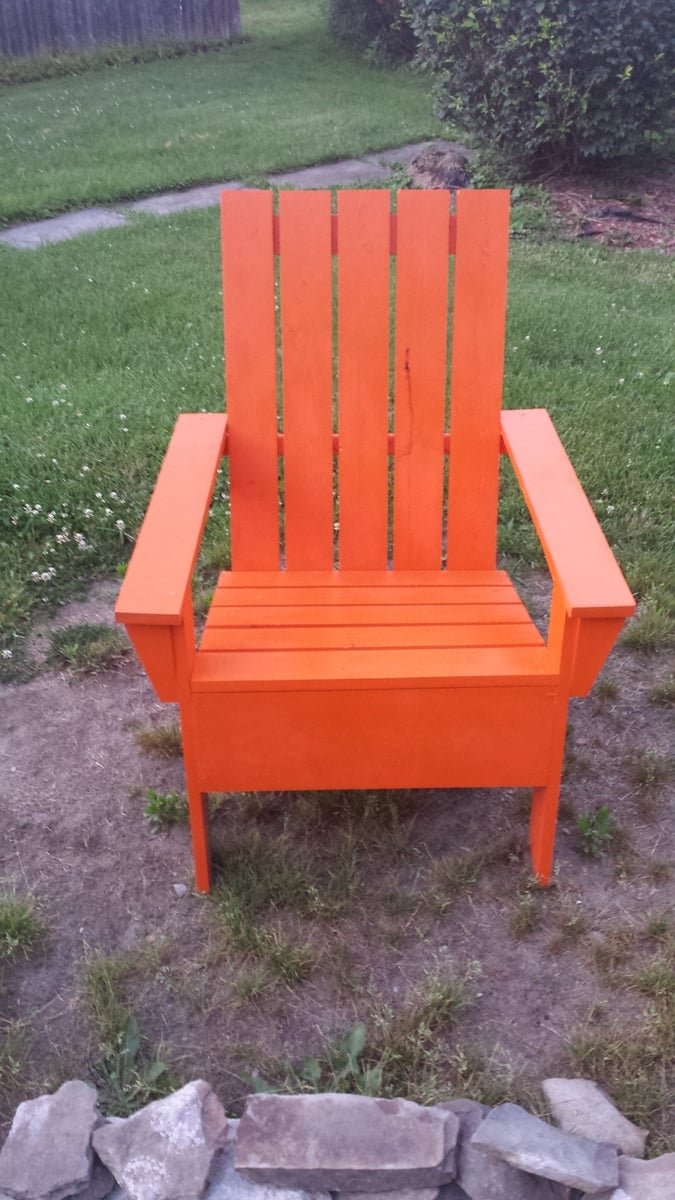
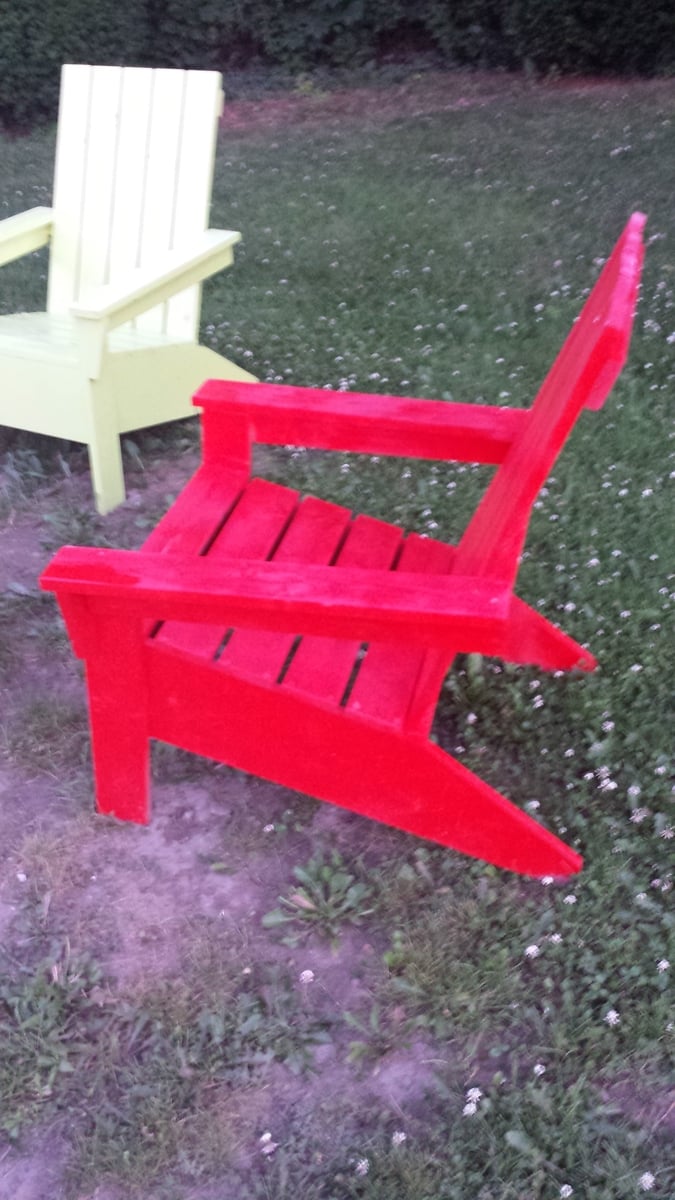
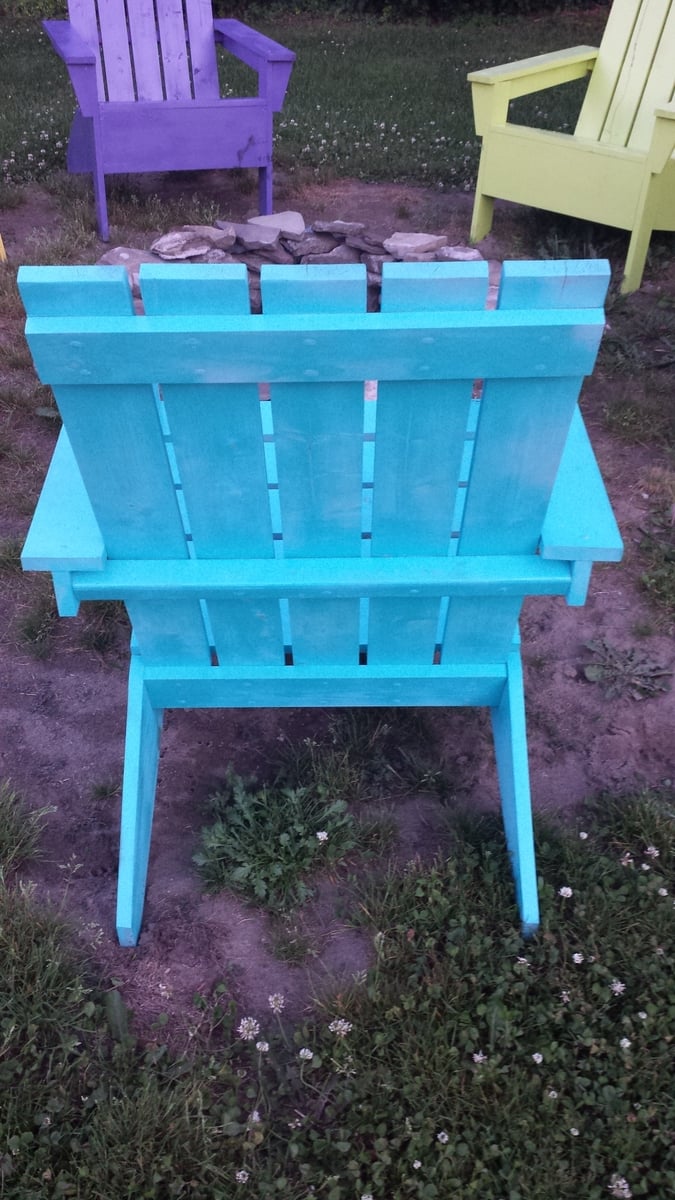
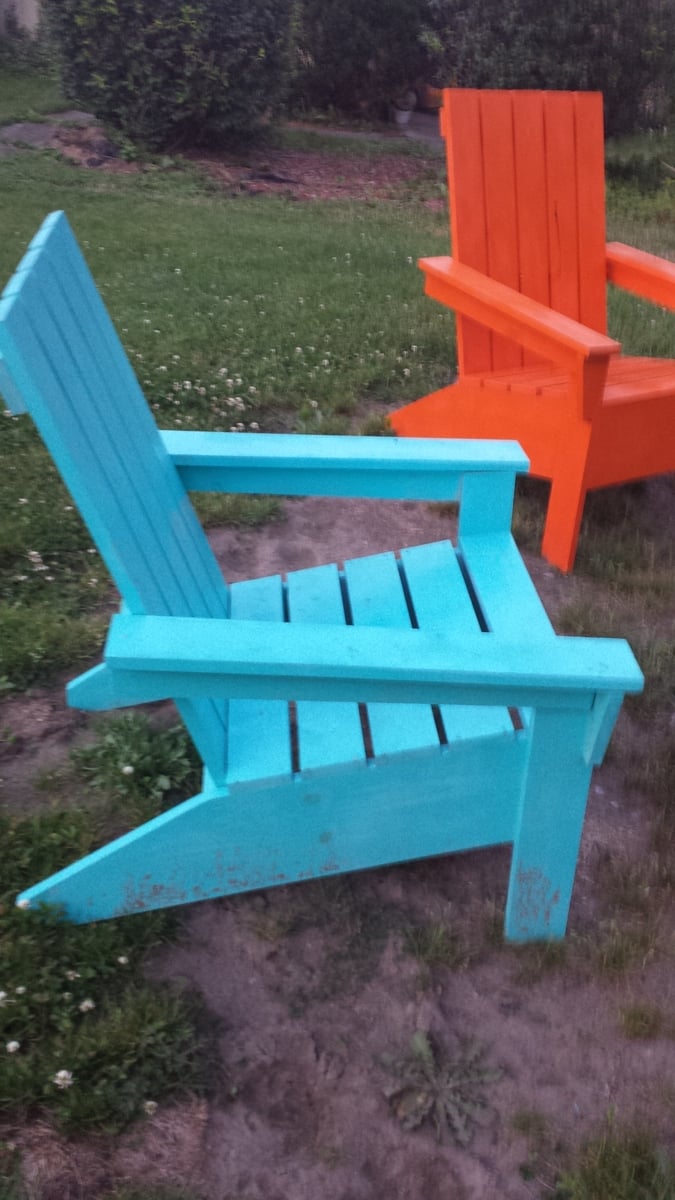
Ana's Adirondack Chairs

Submitted by Tbecker on Fri, 07/11/2014 - 20:12

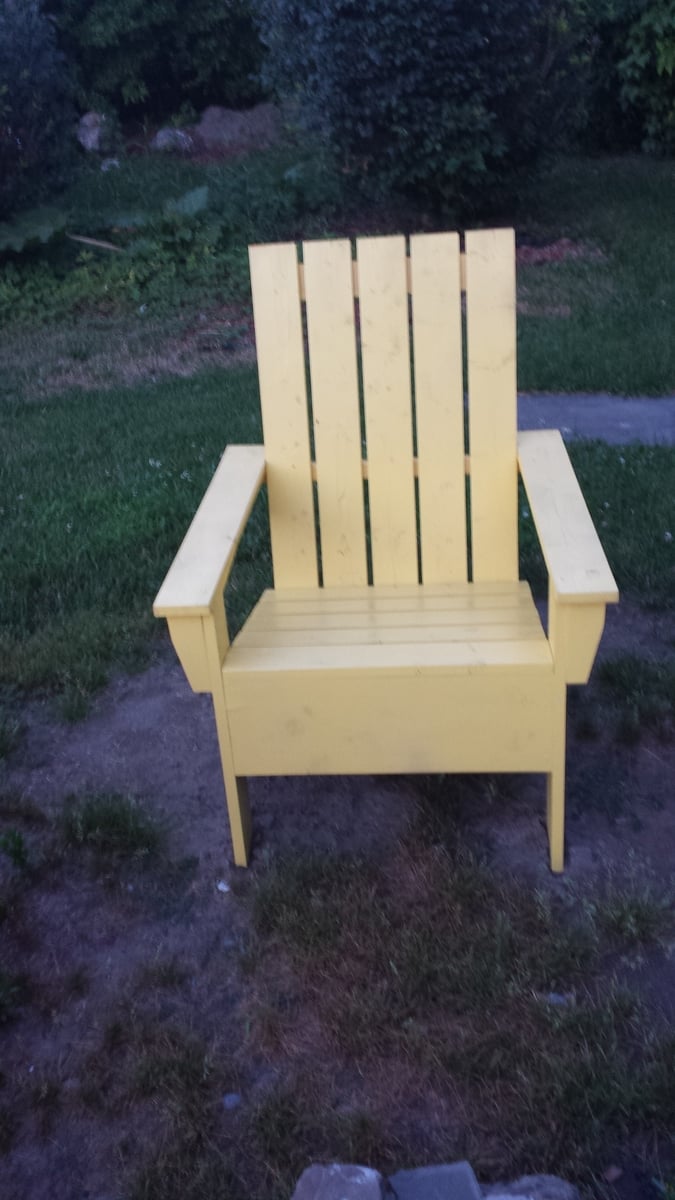
I built these chairs last summer, they came out amazing! Everybody loves them! Thank you Ana. I also built the sofa for my sun room. Pictures to come.

Estimated Time Investment
Week Long Project (20 Hours or More)
Recommended Skill Level
Beginner

Comments

elfi

Sat, 05/04/2019 - 08:18

My husband made 4 of these with some slight modifications like rounded arms and back.
However the best function he added were 2 wooden wheels he attached to the back legs, we now can move these chairs easily on our deck.
Our goal was to make them look like well worn beach chairs, we used milk paint for that effect. It still lets the grain show through.

Homemade Garden Bench

Submitted by Anonymous (not verified) on Sat, 06/22/2024 - 16:24

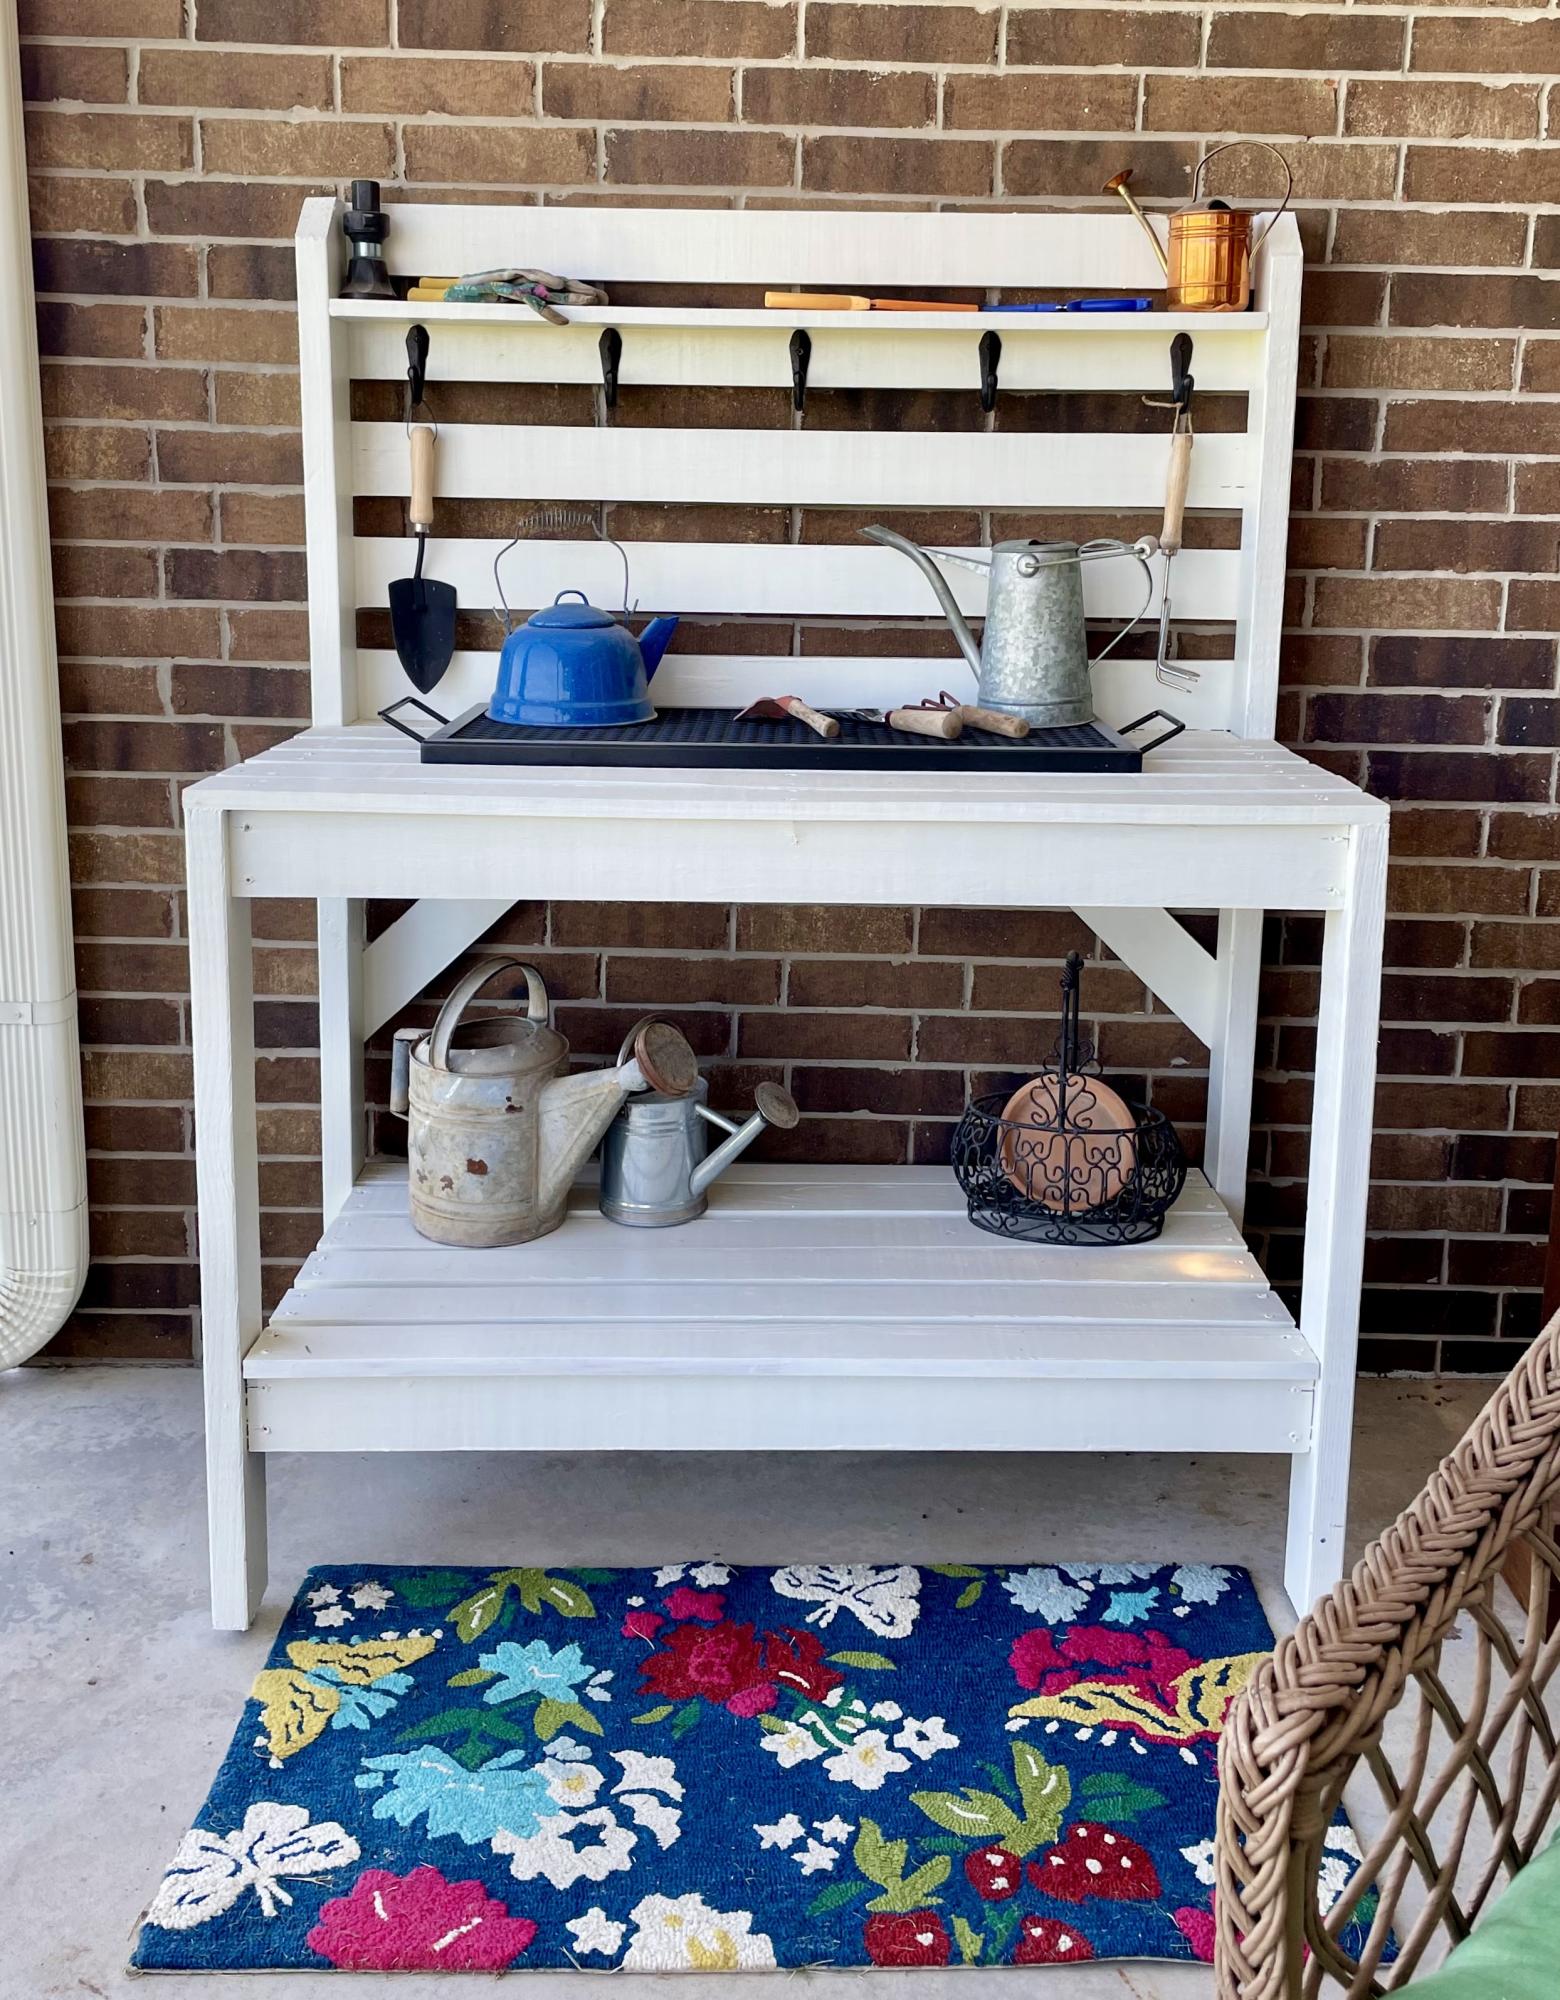
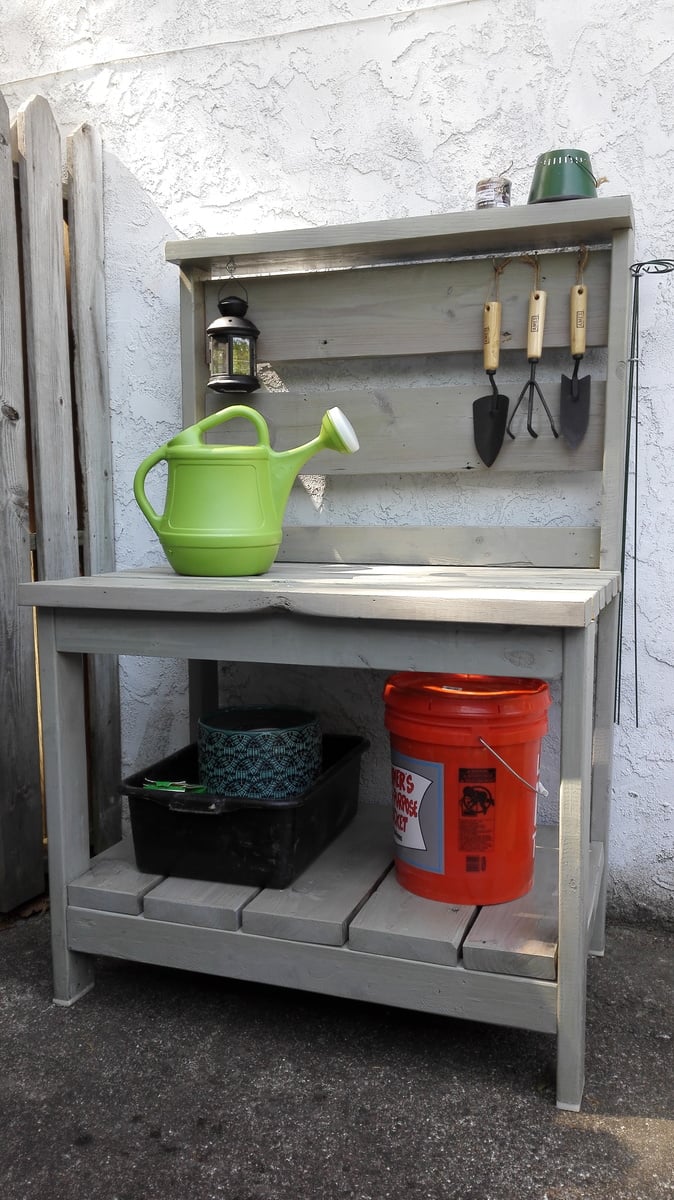
My husband built me a potting bench and I painted it with leftover house trim paint. We did make it several inches wider and added a middle 2x4” under the top surface slats to help with bowing boards. I added iron hooks for tools. Love it!


Seasonal And Holiday

Classroom Couch

Submitted by Anonymous (not verified) on Mon, 07/15/2024 - 13:27

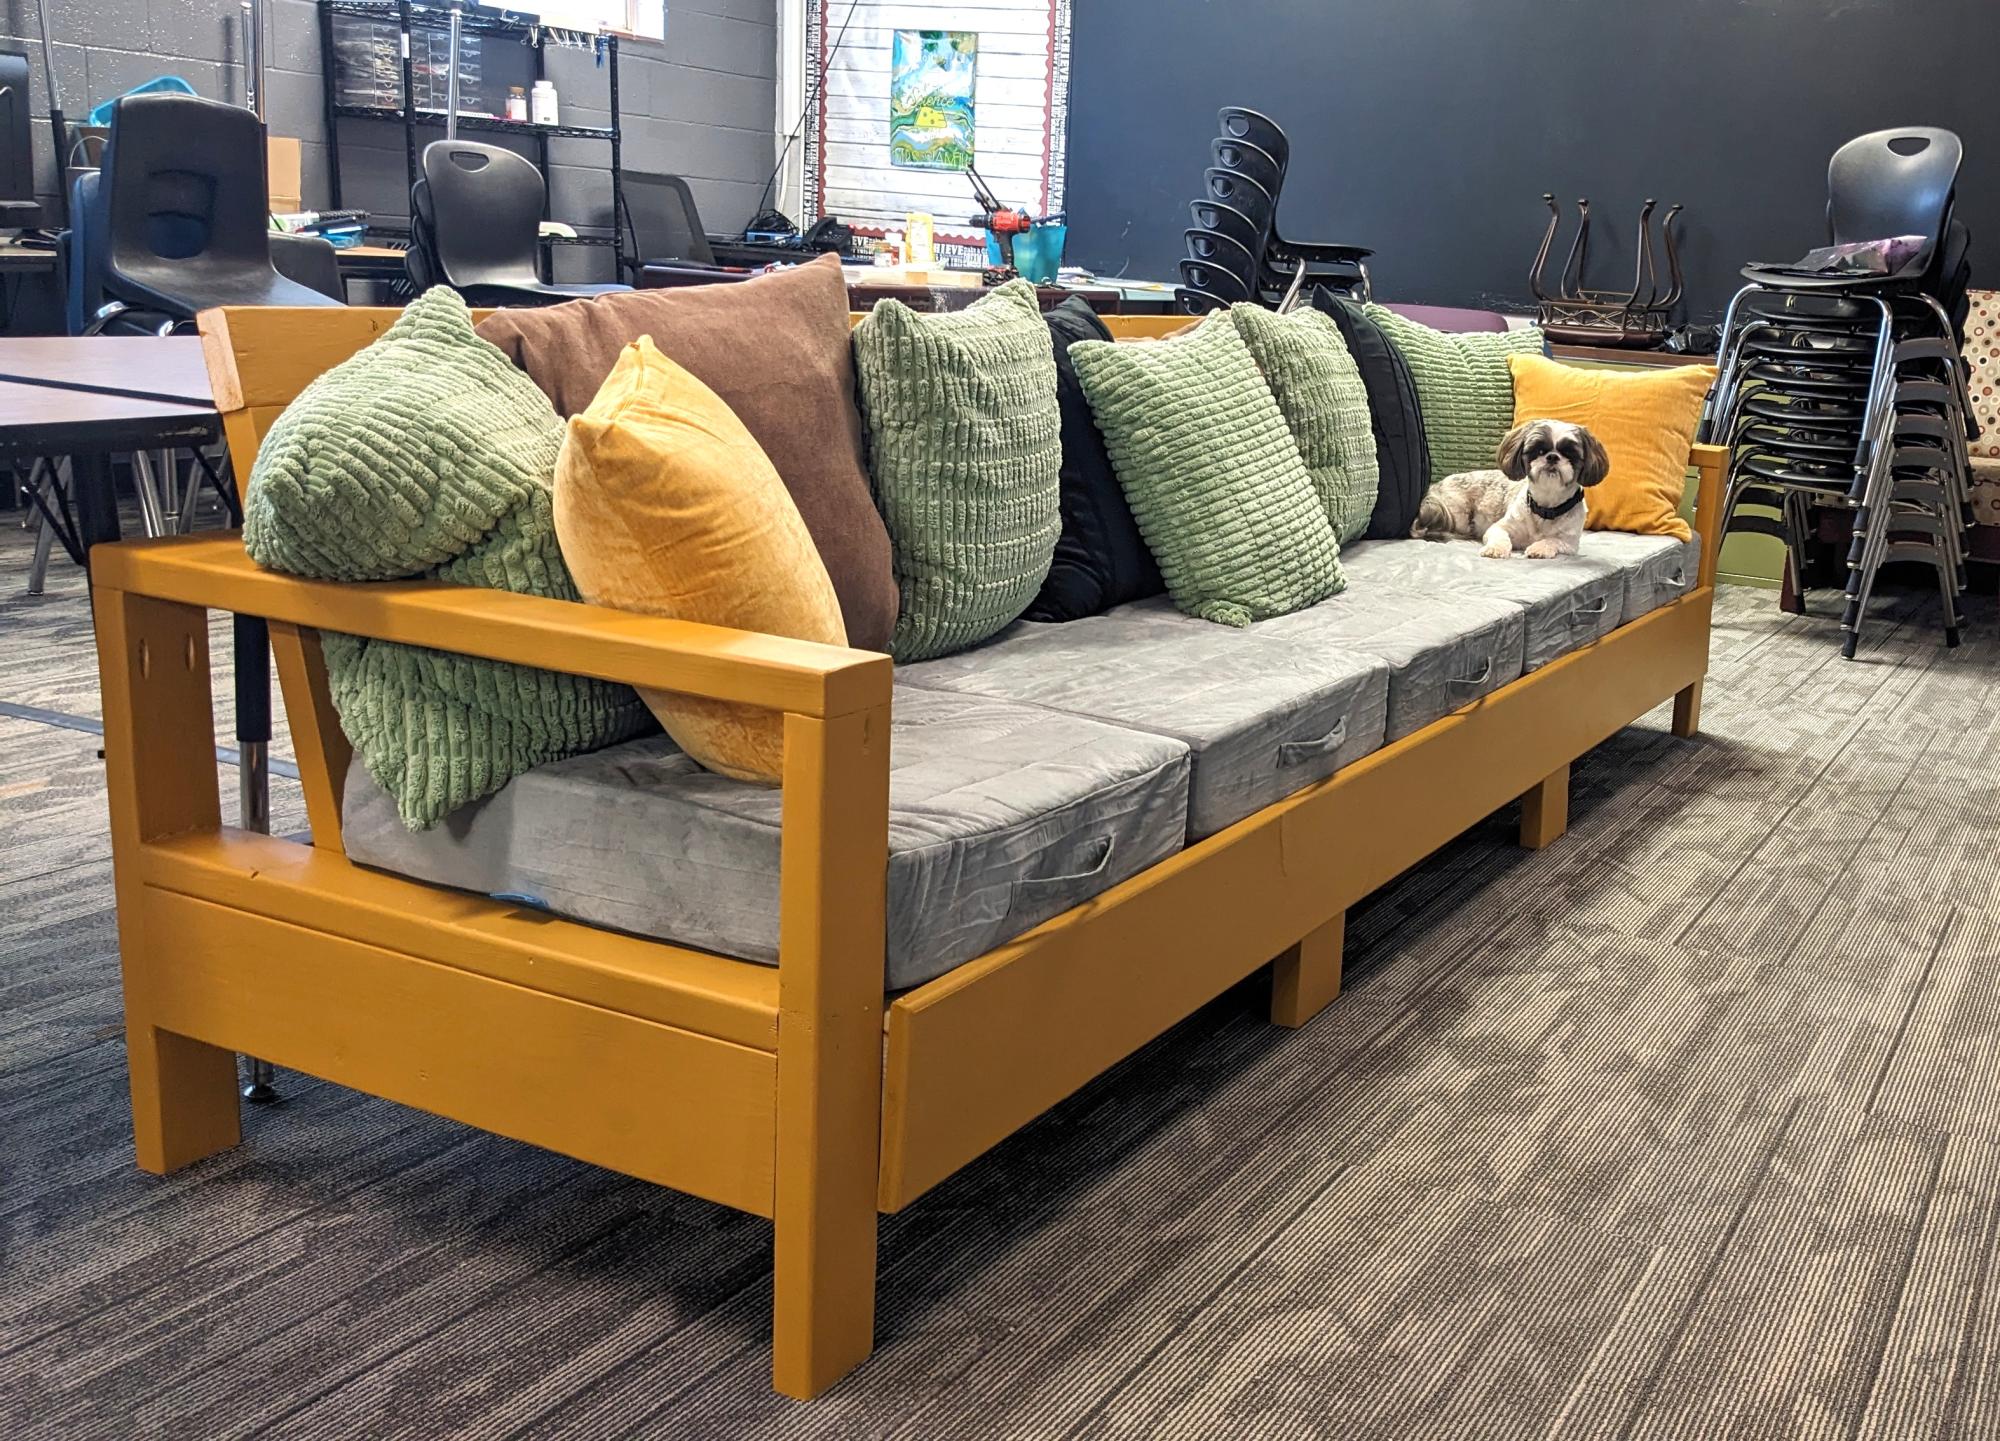
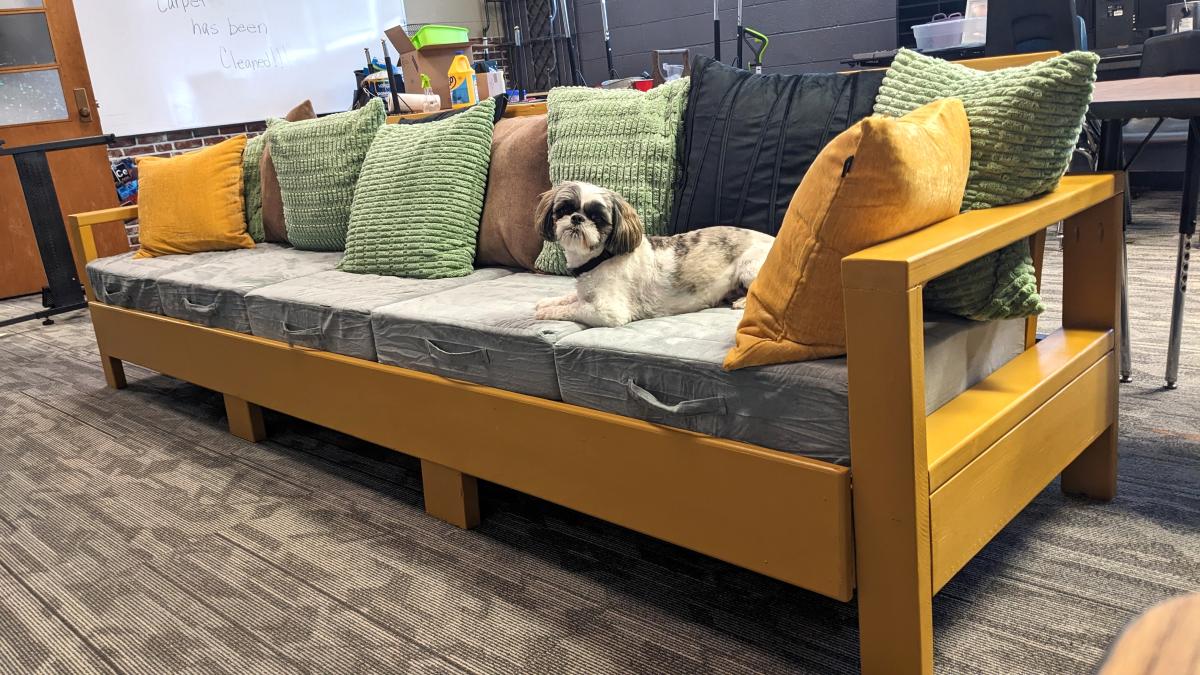
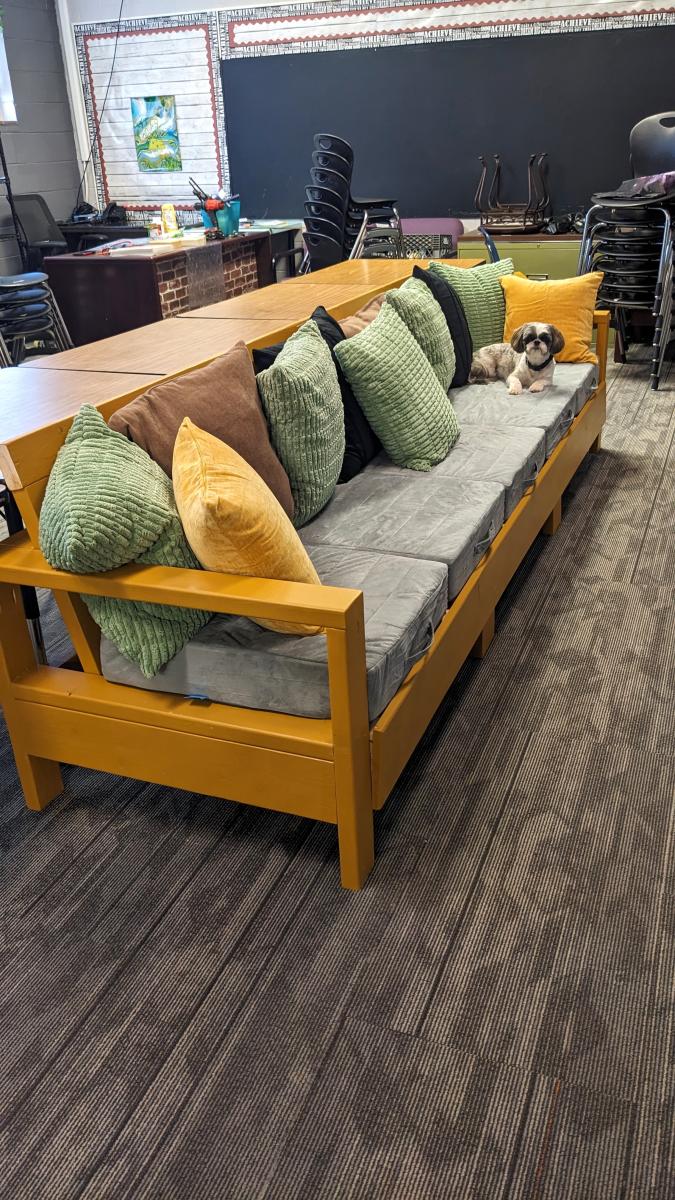
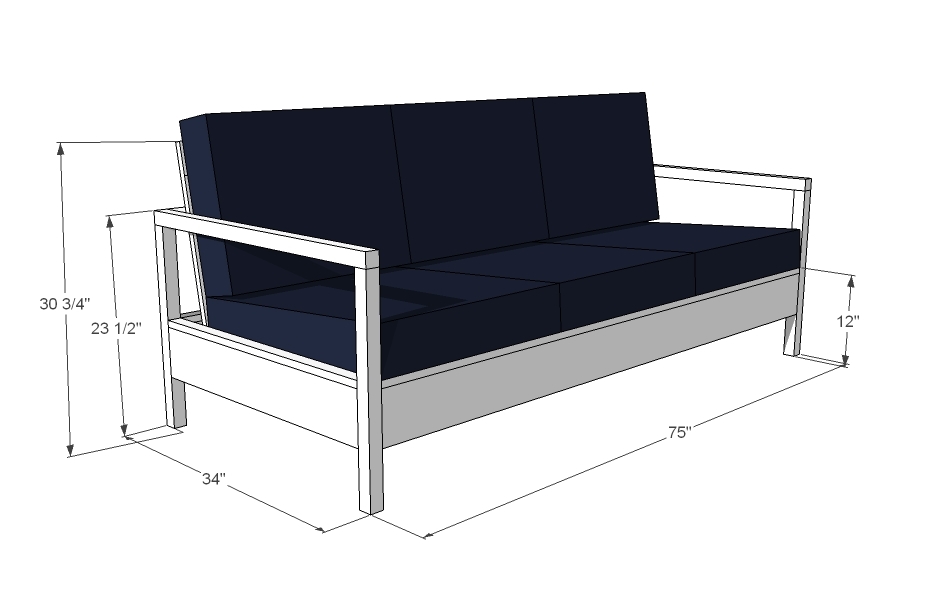
I'm a high school teacher and like flexible seating. I needed something that is very sturdy and can take a beating from teenagers. I used Ana's "2x4 Outdoor Sofa" plan, made it longer, added some extra braces, and here it is! My new classroom couch.

Julie Stanfill

Built from Plan(s)

Camp Loft Bed twin XL w/ shelf

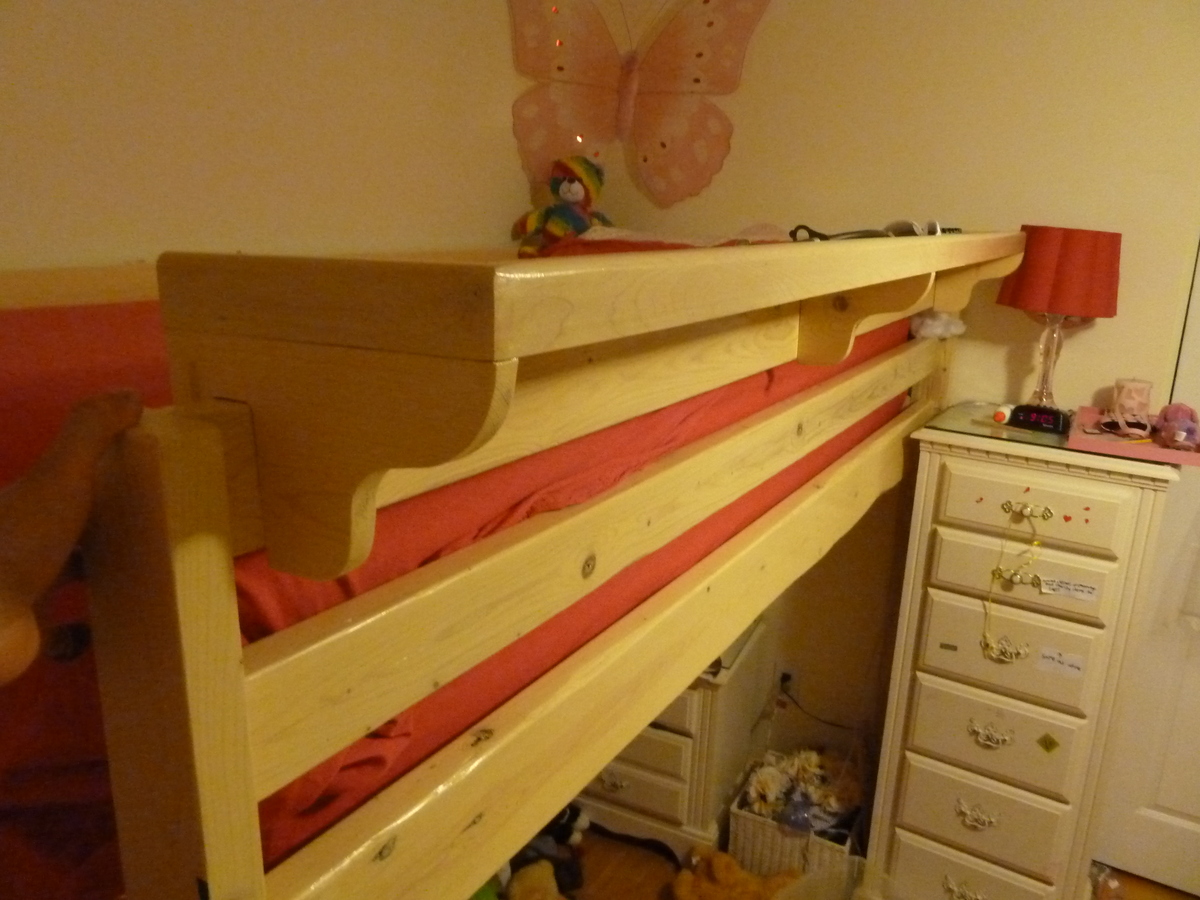
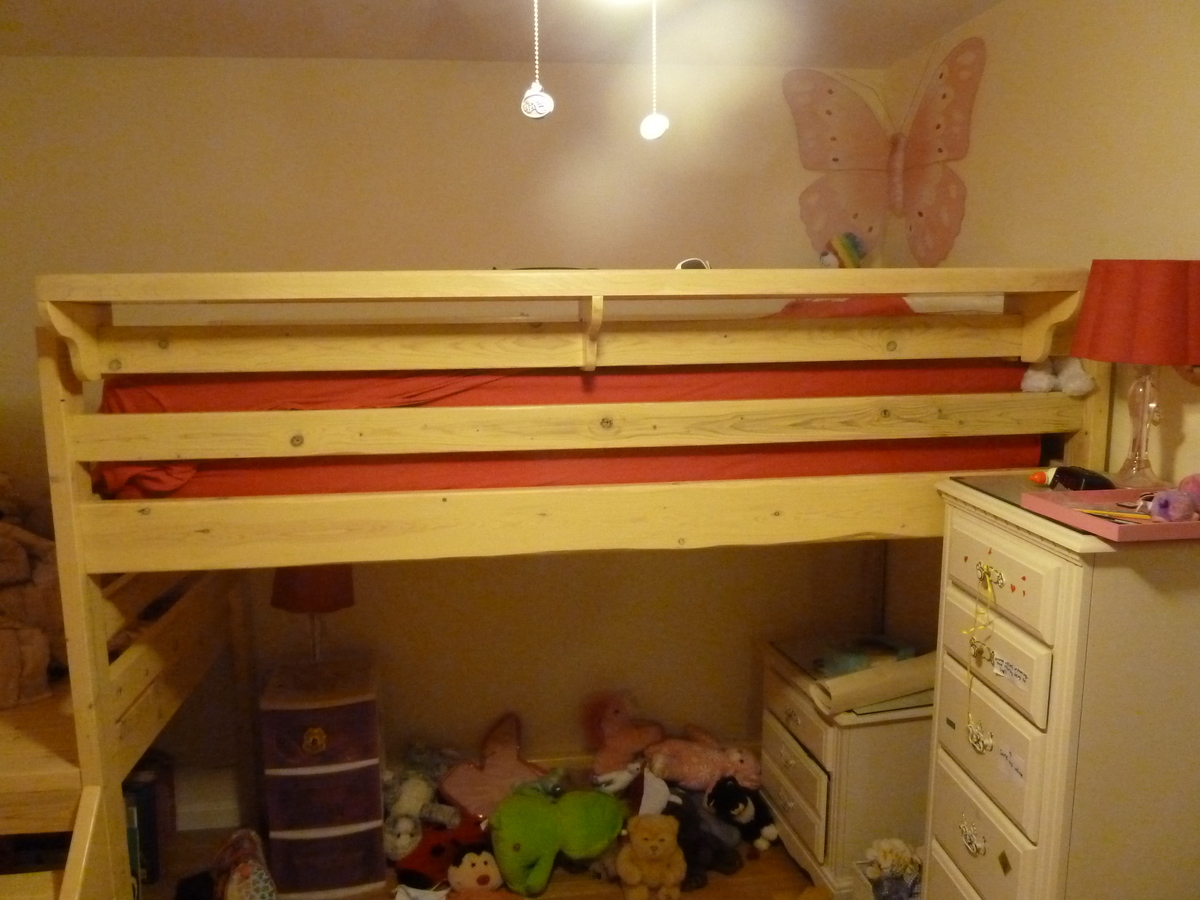
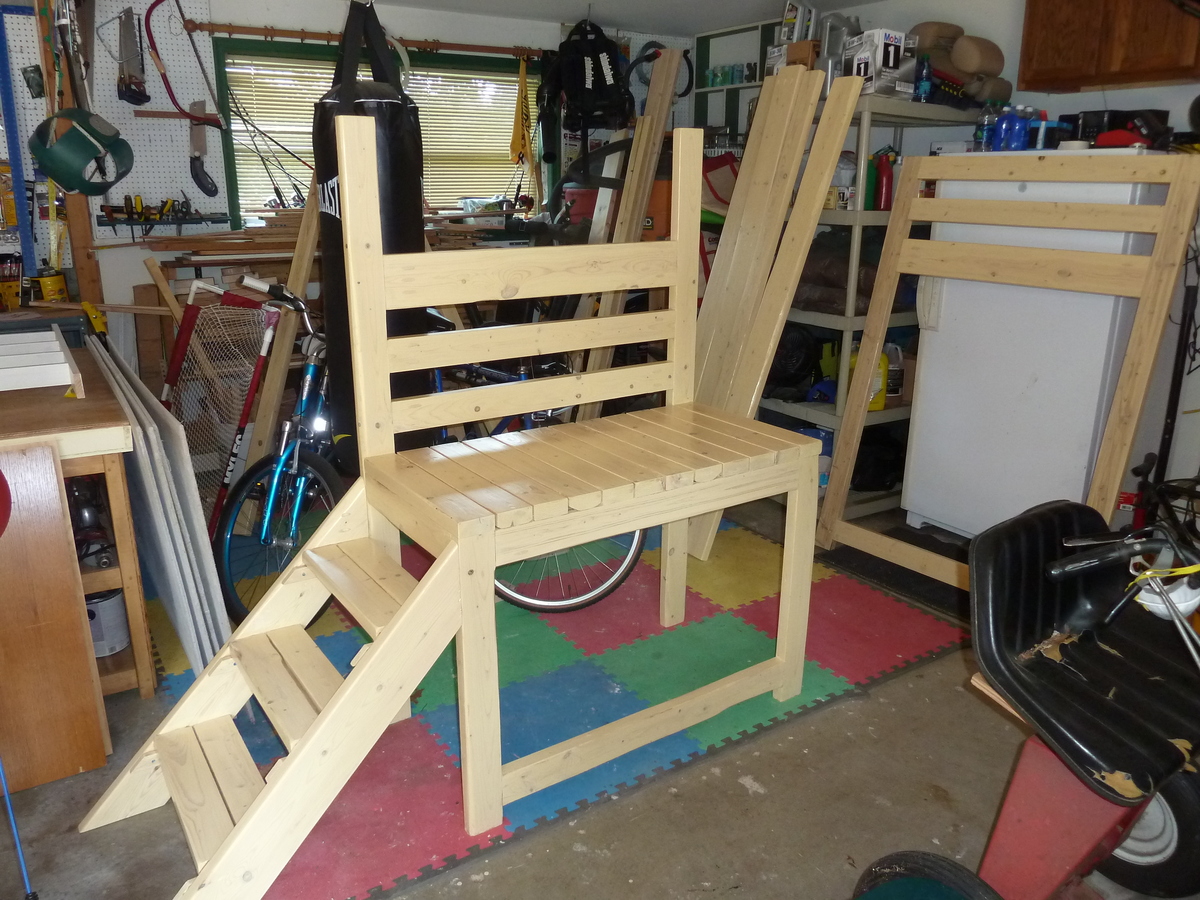
My daughter needed a loft bed to give her more floor and storage space in her bedroom. I modified the original plans to fit her twin XL bed, which is 5 inches longer than a regular bed. I also added an extra 2x6 across the back two posts for extra support.

Cutting and assembly was relatively easy; I glued every joint and used pocket holes per the instructions. I sanded using 80, 120 and 220 grit. The finish is a Minwax "parchment" water-based stain, with 3 coats of Polycrylic. All pocket holes were pre-drilled prior to finishing.

I assembled the platform and footboard in the garage and brought it into the house as a single unit; same with the headboard. I brought in the rails separately. To assemble, I marked 1 1/4 inches from the outside post edges, and used wood scraps/clamps to align and hold the rails while securing them with pocket hole screws.

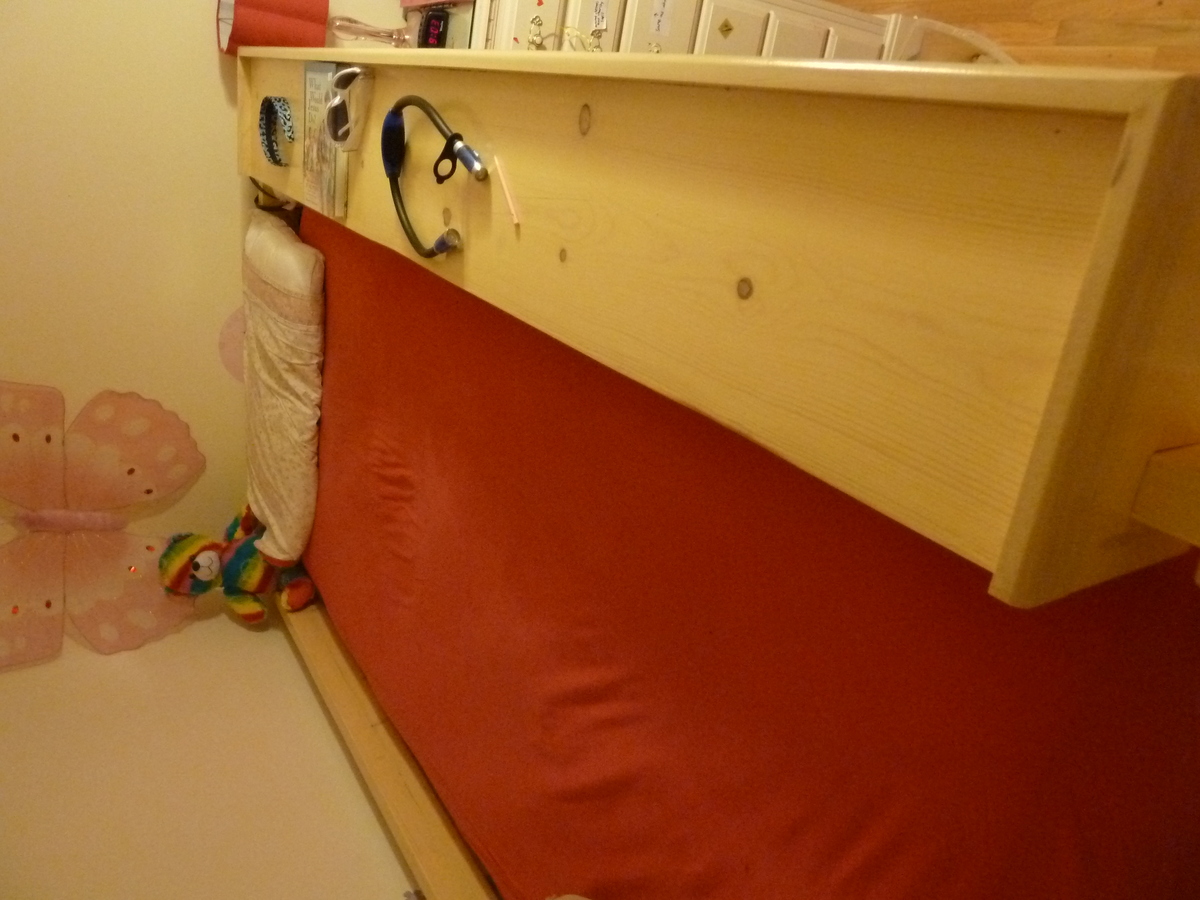
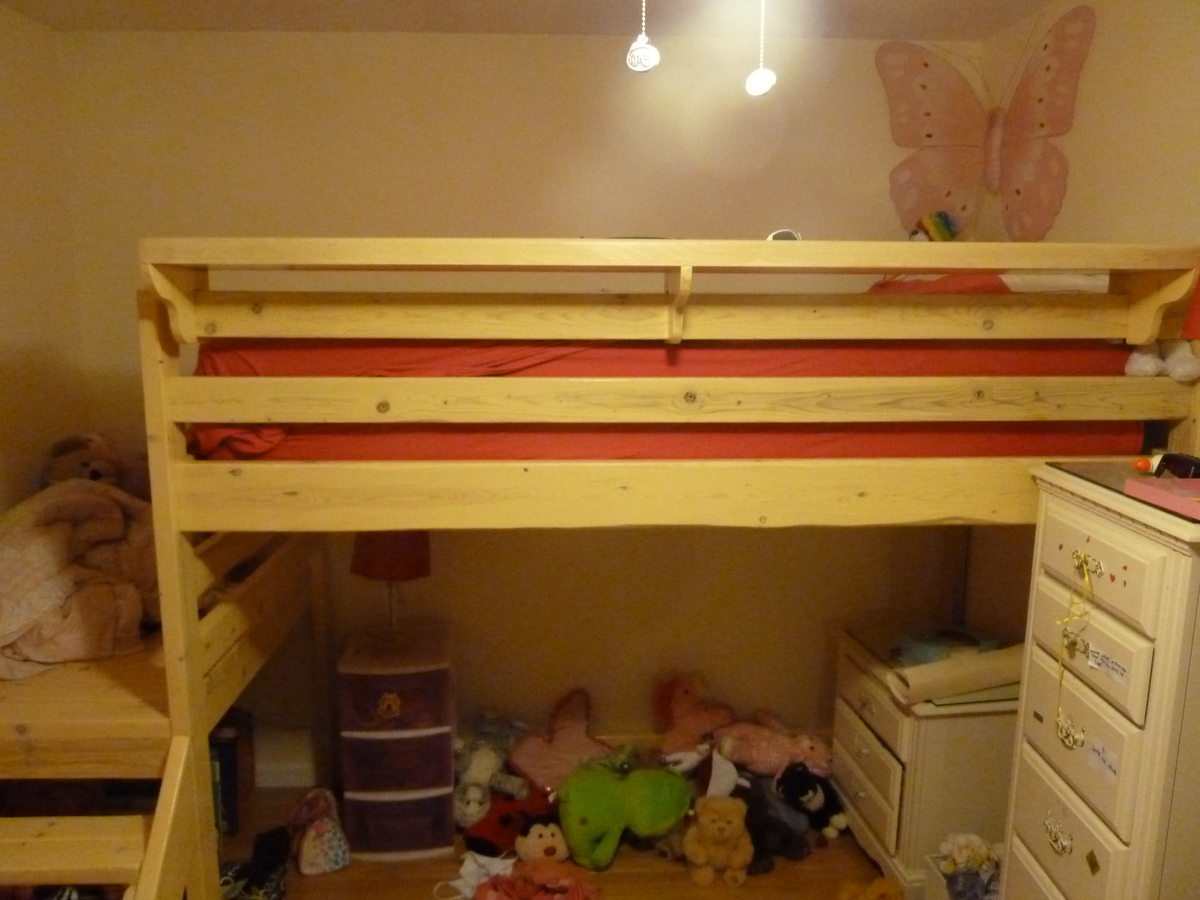
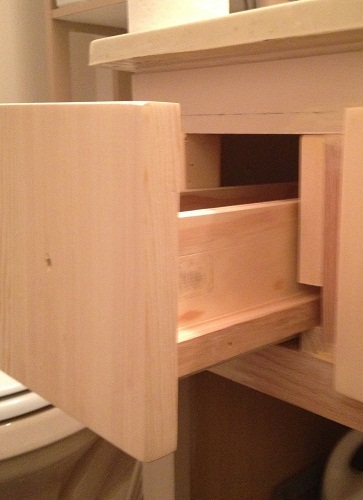
My daughter's mattress is very high; it rises only about an inch below the top of the top rail. So I build a bed-length shelf which also had the added benefit of providing a little more height/protection against her rolling out of bed in the middle of the night (see pics).

In all, I was surprised at how long this took me. Probably because I'm a novice and this was only my 2nd project. The totals are:
- Cut and assembly: 14 hours
- Sanding: 25 hours
- Finishing: 2 days

After finishing, I left all pieces in the garage for 5 days to air-out before bringing into the house.

Total cost the lumber was $125, 1 qt stain @ $13, 1/2 gal Polycrylic @ $50 per gal, and $20 hardware for a total of just over $200.
Estimated Cost
$210
Estimated Time Investment
Week Long Project (20 Hours or More)
Finish Used
Minwax water-based stain, "parchment" (single coat)
Minwax Polycrylic (three coates)
Recommended Skill Level
Beginner

Comments

mariad444

Tue, 03/15/2016 - 22:17

I am curious what your mattress size was here, please educate me as I think I will have a similar issue. I liked the shelf idea you did! 
Captain America for Grandson #2

A fun project to make ending with a functional product to boot!  I went all out making sure that each truck/shelf would coordinate with each grandson's theme/decor in their bedrooms.  Chase, who will turn one next month, has a super heroes/comics theme for his room.  Therefore, I selected Captain America as the star of the big rig shelf.  Red, white & blue paints, some wooden shapes and some creativity and Captain America was ready for Mr. Smiles.

Built from Plan(s)
Estimated Cost
$75 ~ supplies on Ana's suggested list plus the extras I purchased to create my 'star'
Estimated Time Investment
Weekend Project (10-20 Hours)
Finish Used
Rustoleum apple red and navy blue and crafter's choice snowfall (white)
Recommended Skill Level
Beginner

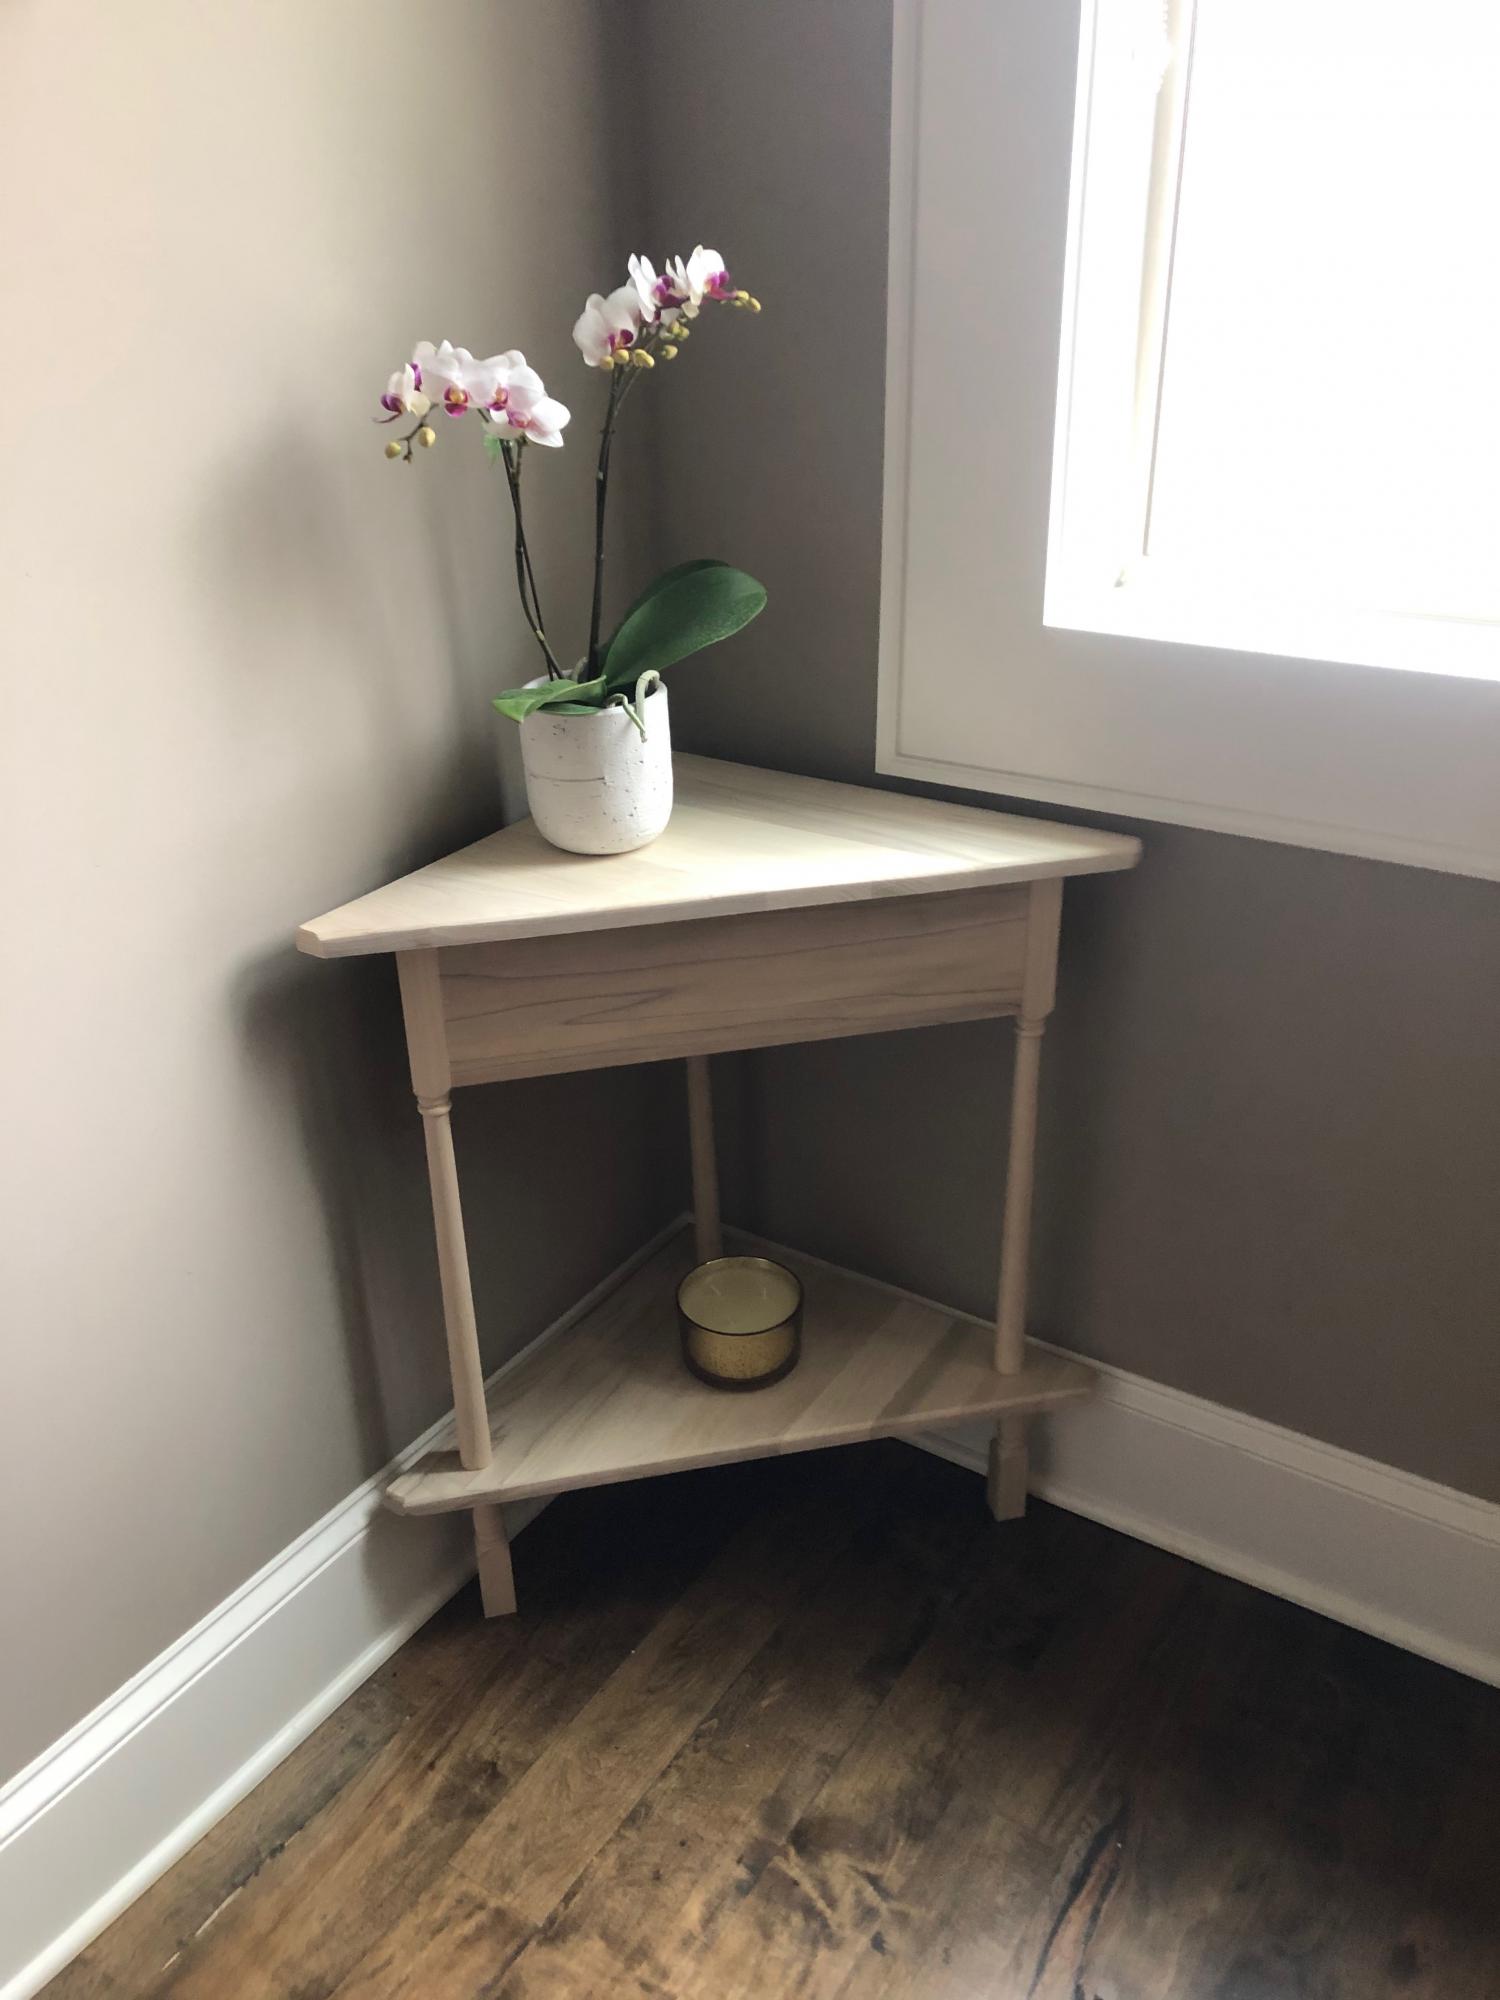
Corner Table for stair landing

Project for corner of stair landing at my house. Made in an afternoon using poplar wood -- no finish, only water based matte finish polycrylic. No plan used, please let me know if you would like plan supplied.

Estimated Cost
$30
Estimated Time Investment
Afternoon Project (3-6 Hours)
Finish Used
Topcoat only - water based polycrylic
Recommended Skill Level
Intermediate

Comments

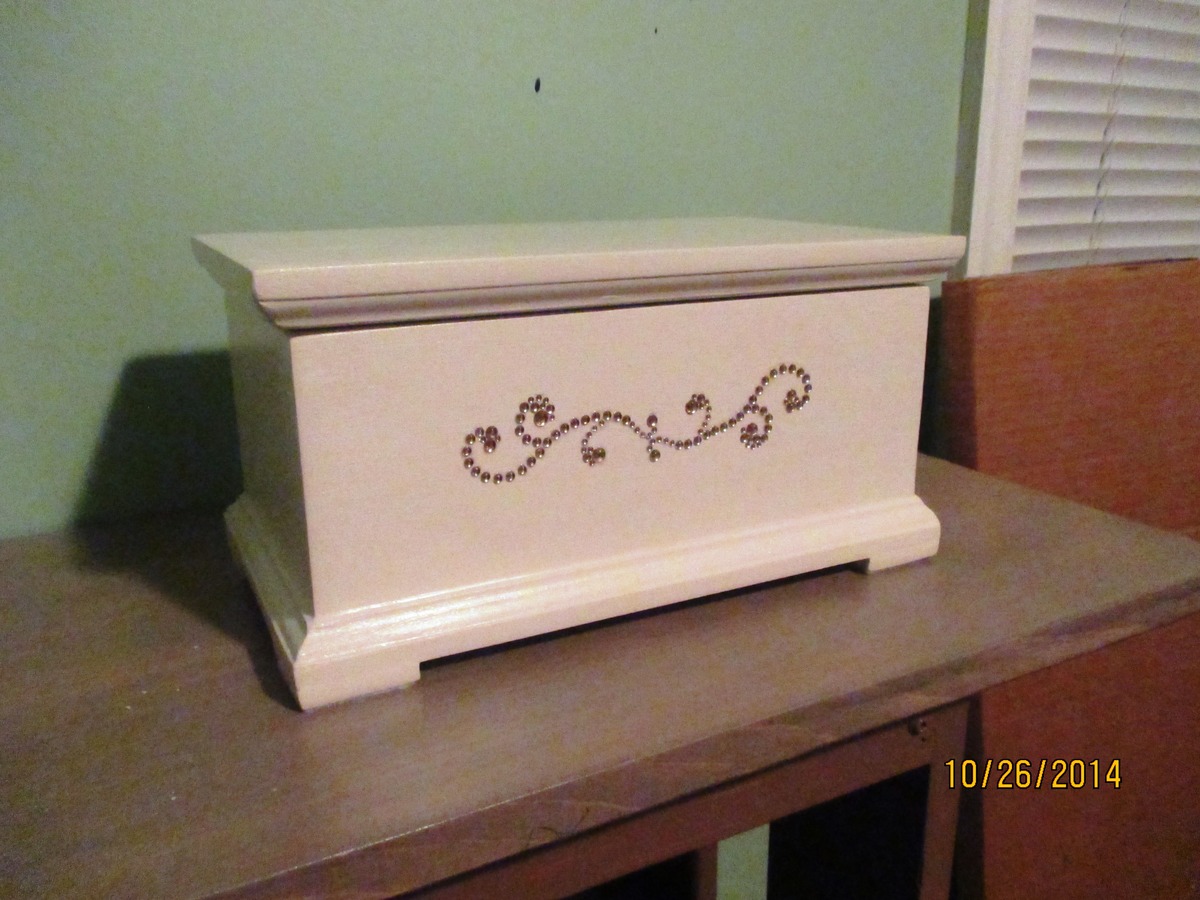
Miniature Hope Chest

Submitted by JoanneS on Tue, 10/28/2014 - 18:59

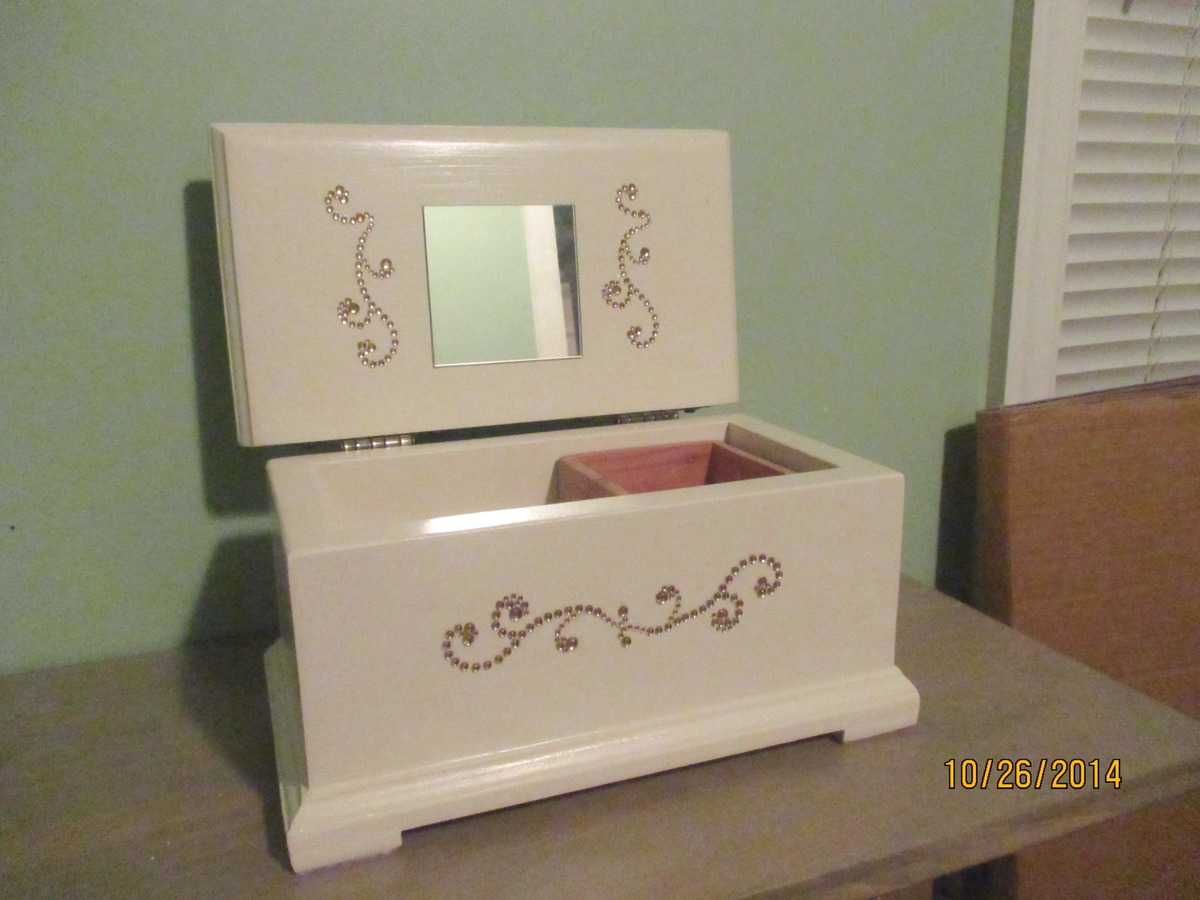
This build is a gift for a friend who is retiring.  It is made from scrap wood and left over finishes, so the only things I had to purchase were the moulding, hinges and “bling”.

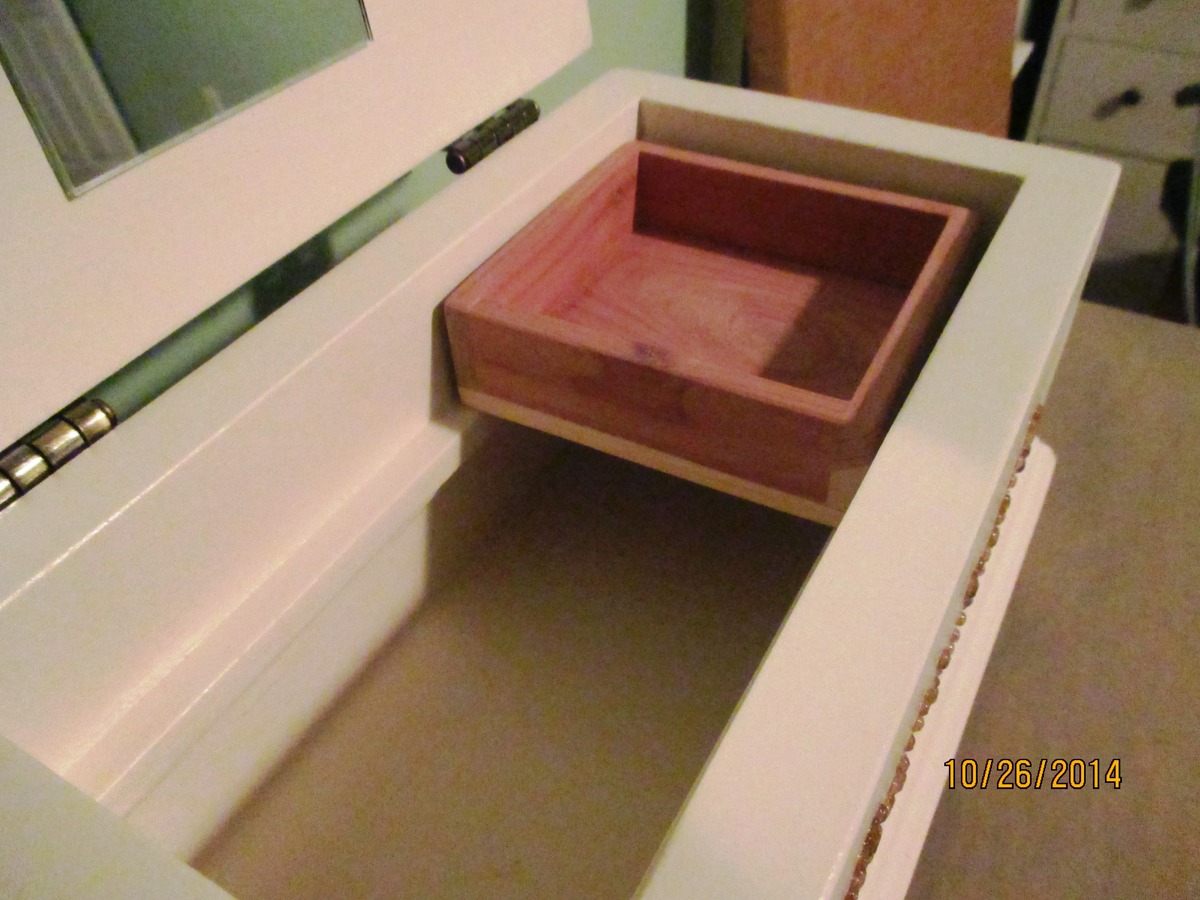
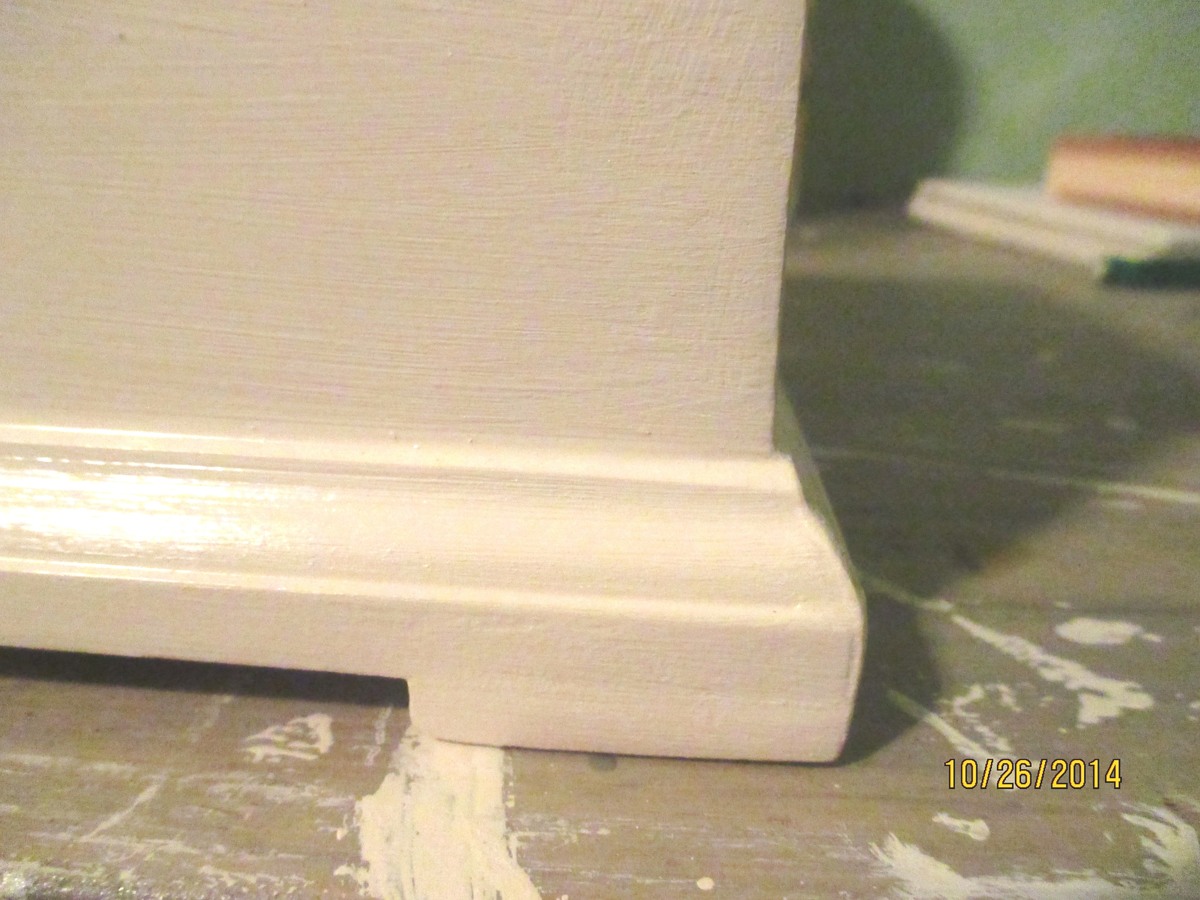
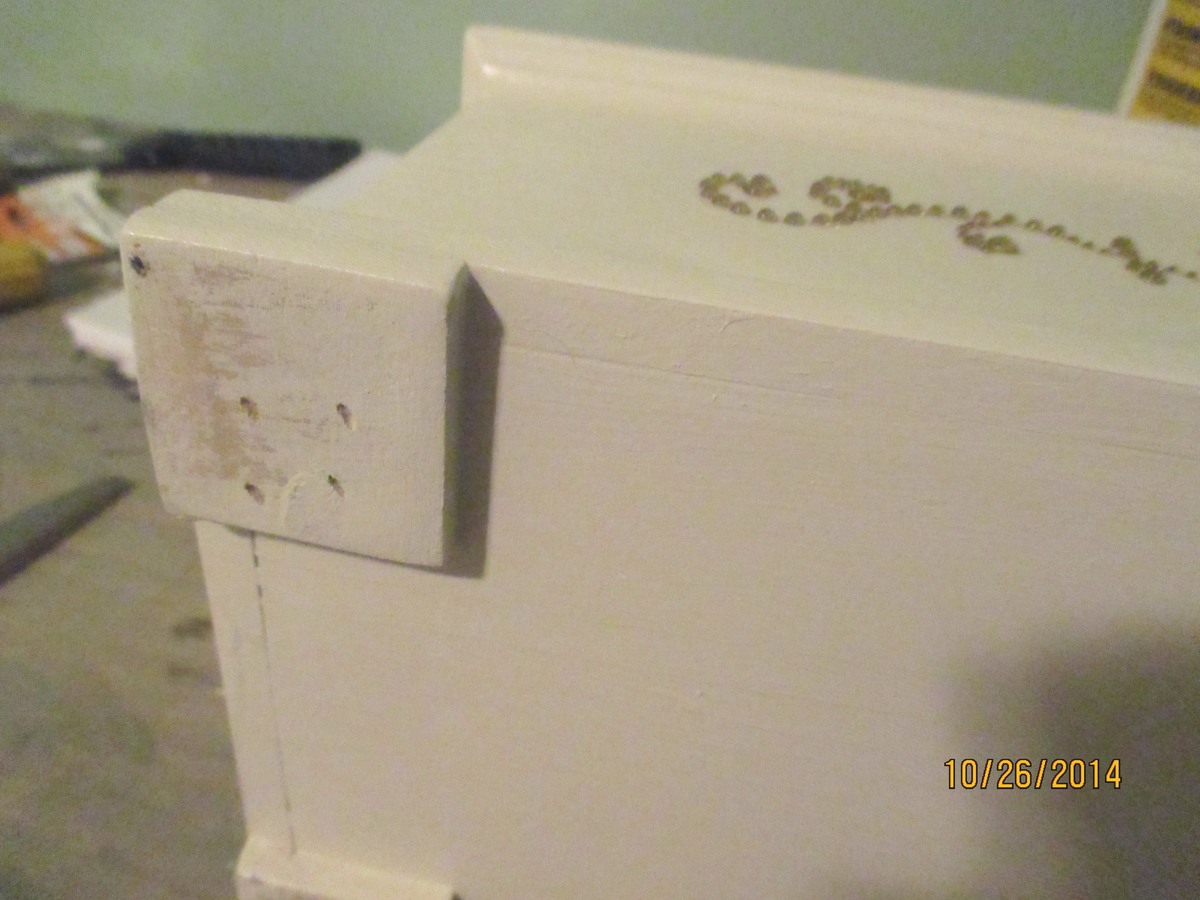
Used Georgia’s Jewelry Box plan, with these mods:  made it a little longer with no overhangs; added stop moulding trim around the top and bottom; added some lattice squares for “feet;” added a small sliding tray in aromatic cedar (1/4” cedar closet lining for the tray, stop moulding for the rails), and some self-adhesive rhinestone flourishes (found these at Michaels). 

This would be an afternoon build.  The finish took longer than the build - probably 2 or 3 hrs  (filling, sanding, painting, and attaching the hinges and  “bling”).   It took me much longer to decide how to decorate it, than it did to actually build it ;)

Some squares of sticky-back felt were also added to the bottoms of the feet.

I’m very pleased to say that this gift was a big hit!

Built from Plan(s)
Estimated Cost
$15
Estimated Time Investment
Afternoon Project (3-6 Hours)
Finish Used
Finish is 3 coats of Ace Royal semi-gloss in Crushed Peanut, sanded between coats, and the rhinestones are a champagne gold color. Also added some crystal clear super glue (I used Loctite) around the rhinestones with a tiny artist brush, to make sure the stones stay in place.
Recommended Skill Level
Beginner

Comments

JoanneS

Fri, 10/31/2014 - 15:24

Thank you for the nice comment!  :)  I might build some more of these for Christmas gifts.

:)

Recycling center

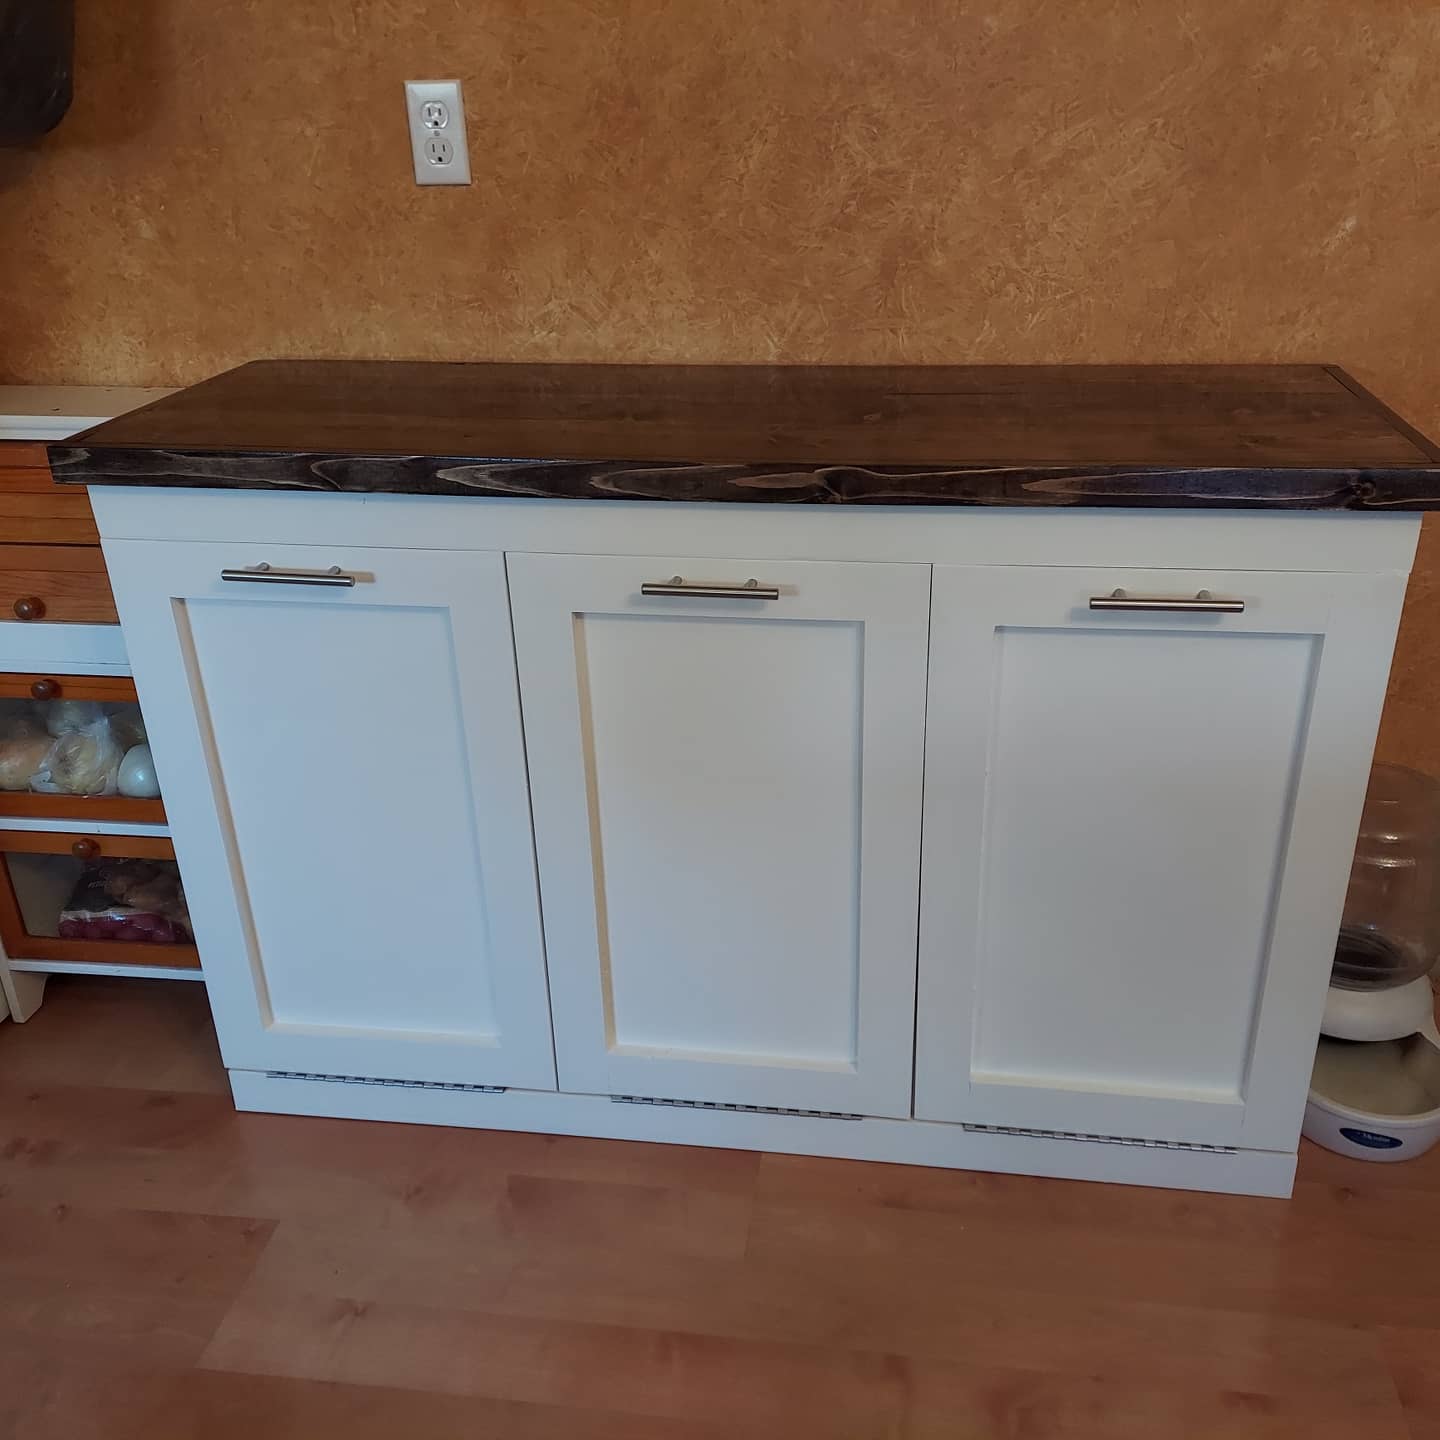
Loved building this recycling center. Basically made three cabinets from the plans and then attached them together. Now the dog can't get in the trash and the recycling and empty cans don't gather in the counter and it looks great! I used piano hinges for the doors which makes them feel much more stable.

Estimated Cost
$200 (including 3 garbage cans)
Estimated Time Investment
Weekend Project (10-20 Hours)
Recommended Skill Level
Intermediate

Comments

Murphy Bed

Submitted by Anonymous (not verified) on Mon, 02/13/2017 - 19:21

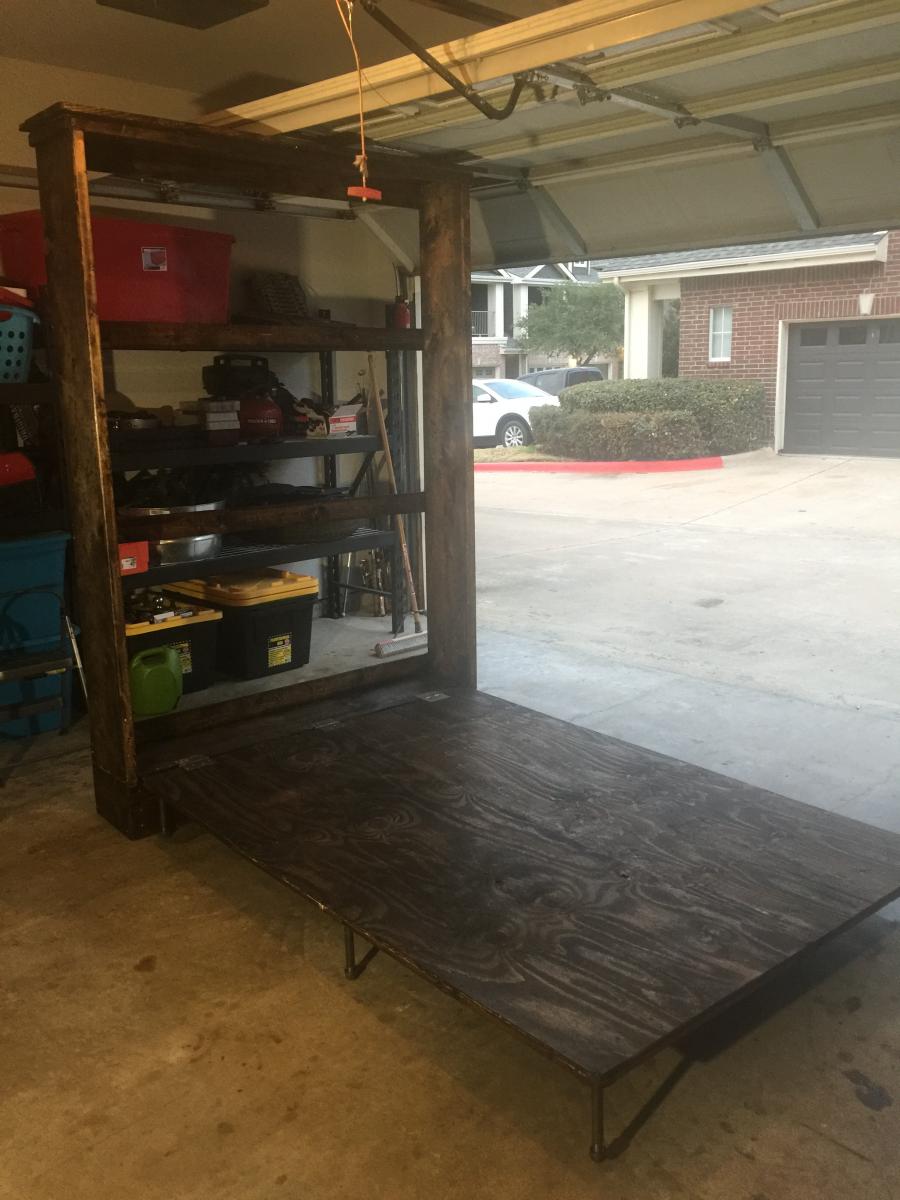
More difficult build then I'm used too. Modified it to fit a full mattress but I think it turned out great! It's a lot cheaper to build than most Murphy beds to purchase out there on the market. Enjoyed these plans. Thank you Ana!

Estimated Cost
$250
Estimated Time Investment
Weekend Project (10-20 Hours)
Finish Used
Dark walnut
Recommended Skill Level
Intermediate

2x4 Modern Adirondack Chair and Loveseat

Submitted by SofiaTaz on Sun, 12/06/2020 - 12:51

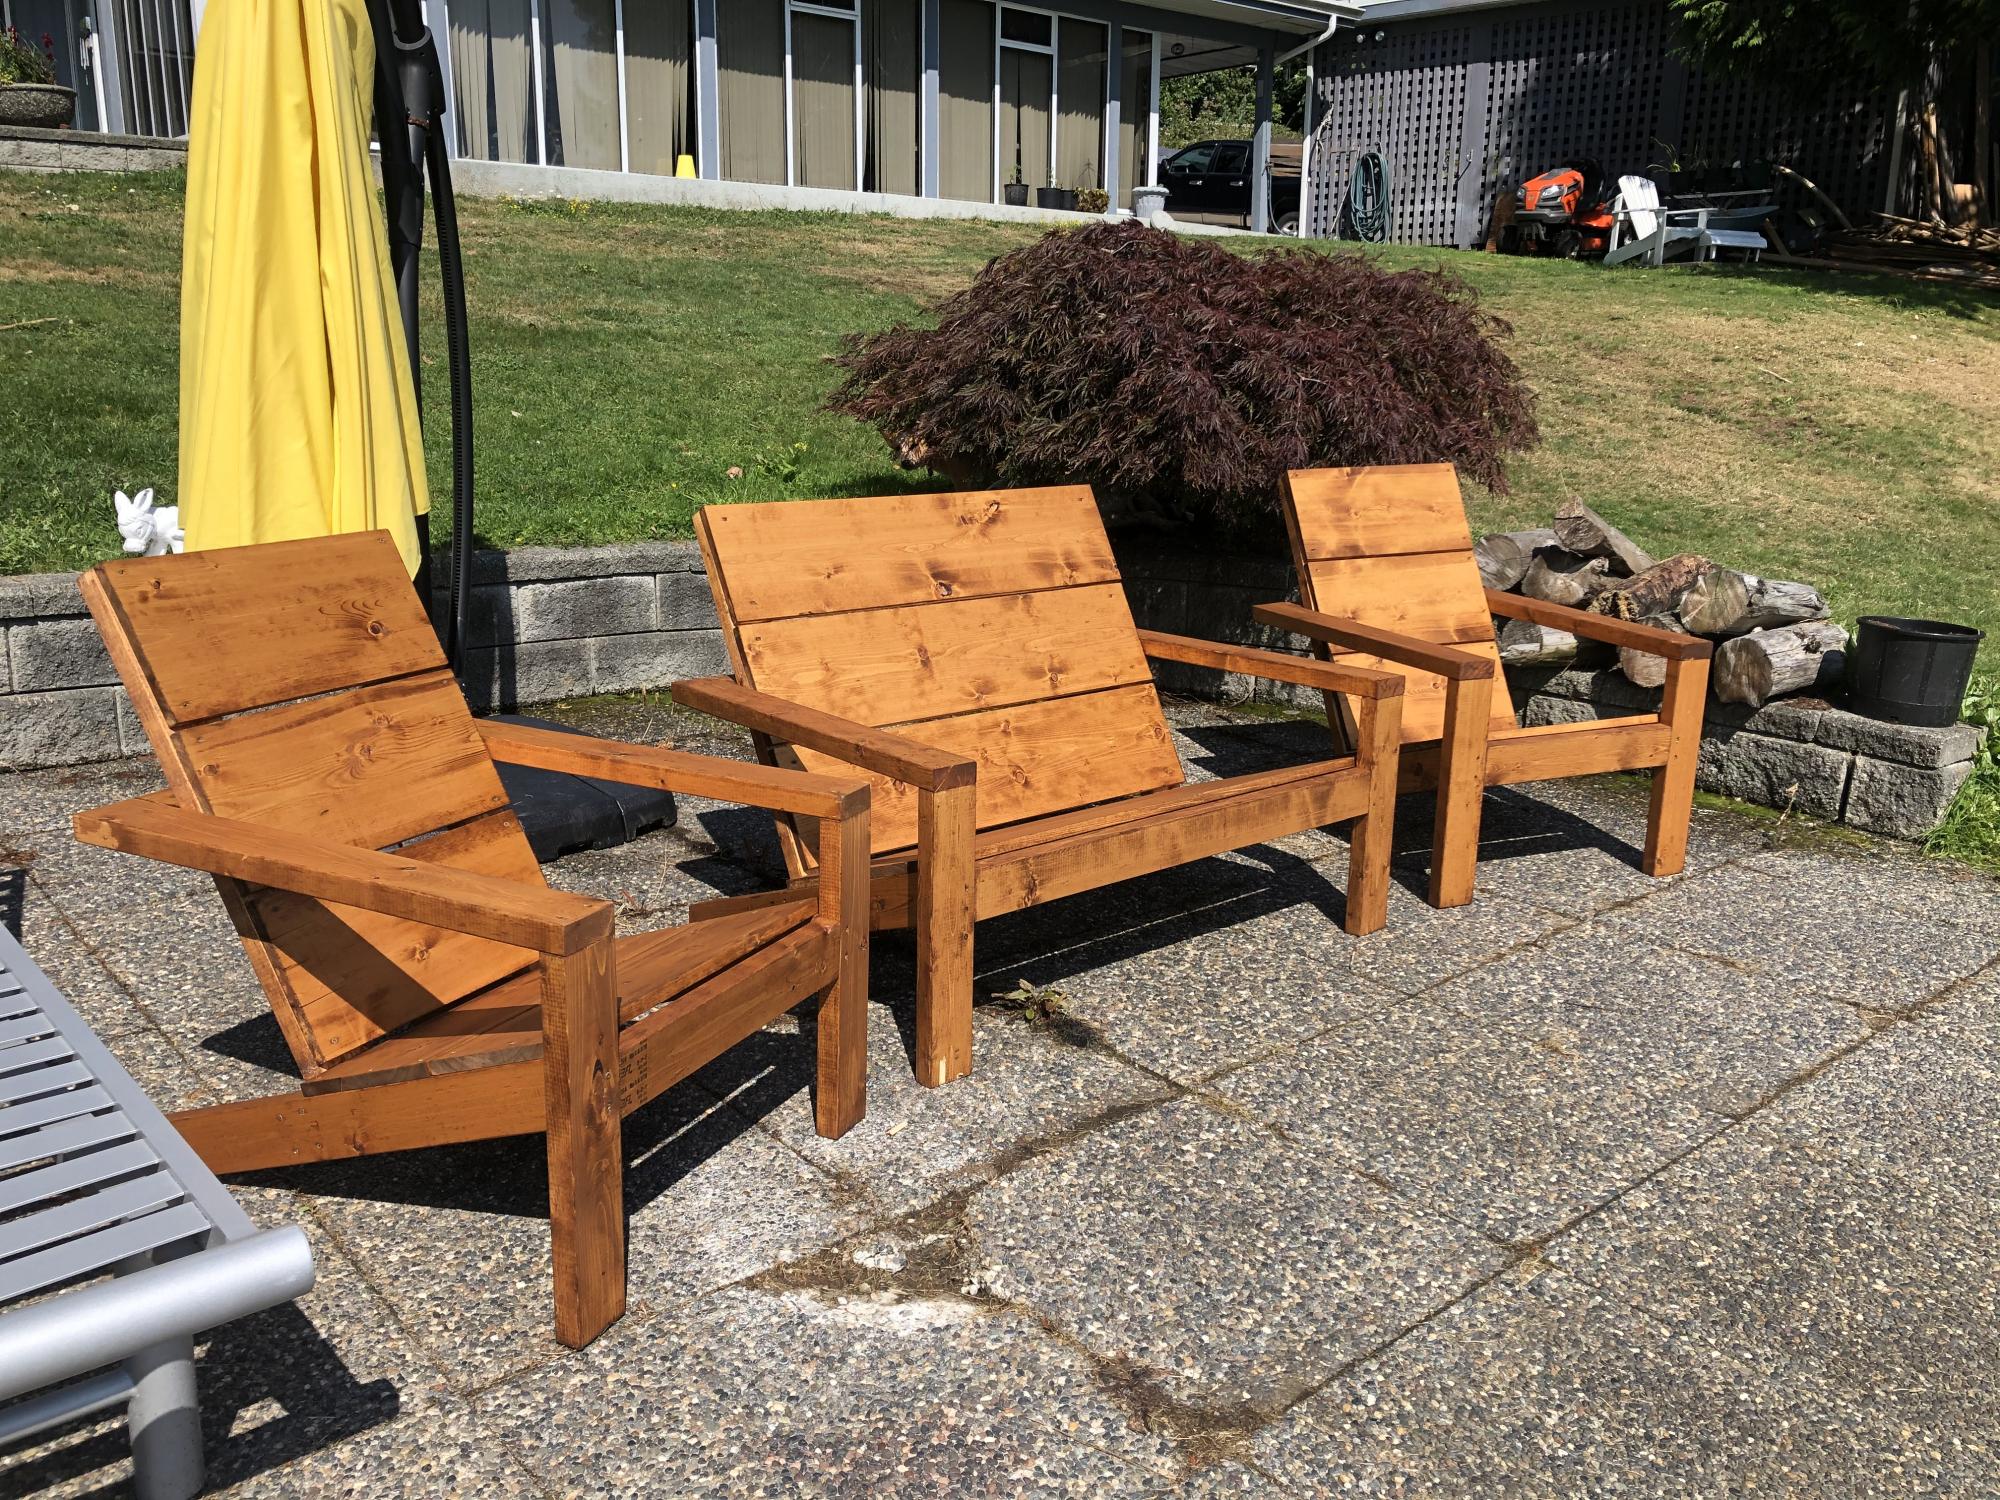
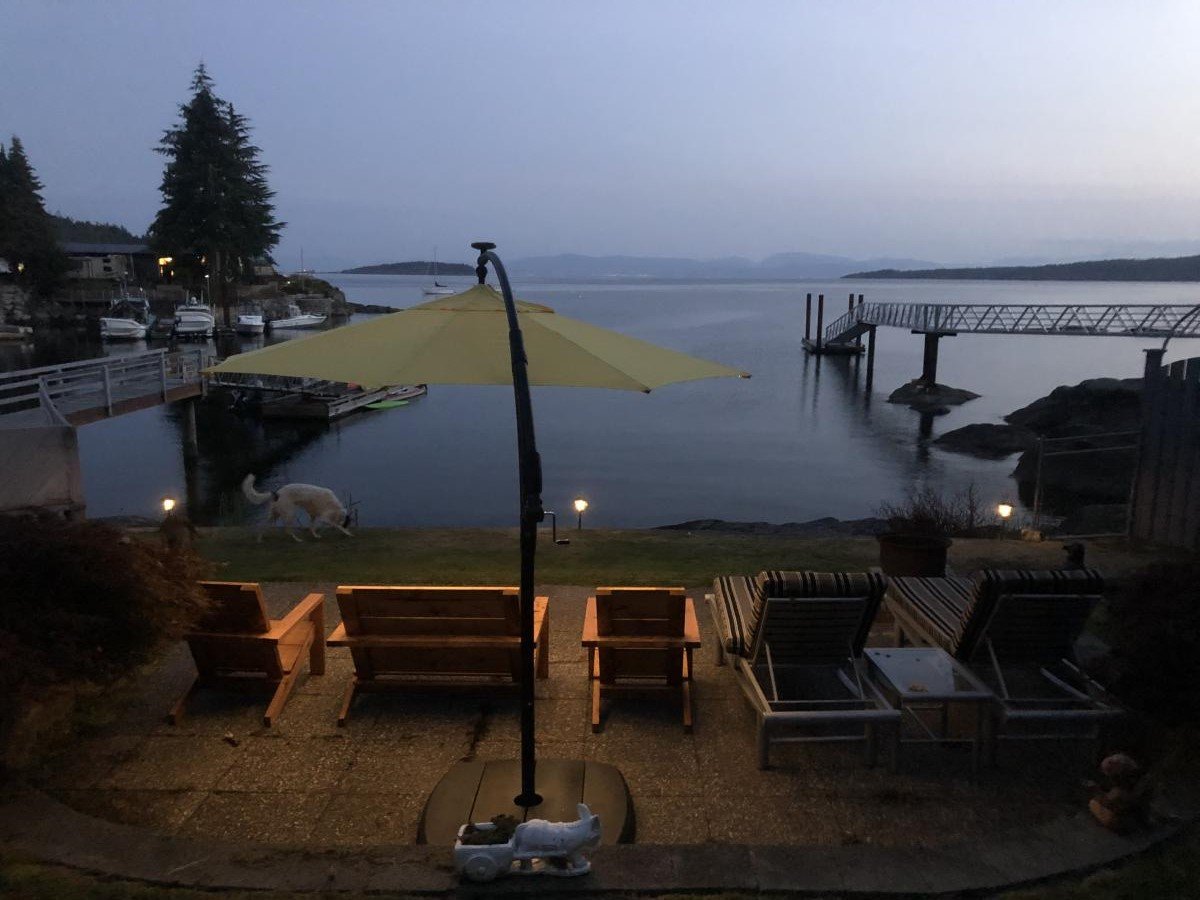
We loved the Modern Adirondack Chair pattern so much that we adapted it to have a matching love seat. It turned out beautifully!

Estimated Cost
$200 CAD
Finish Used
Dark walnut stain
Recommended Skill Level
Starter Project

Comments

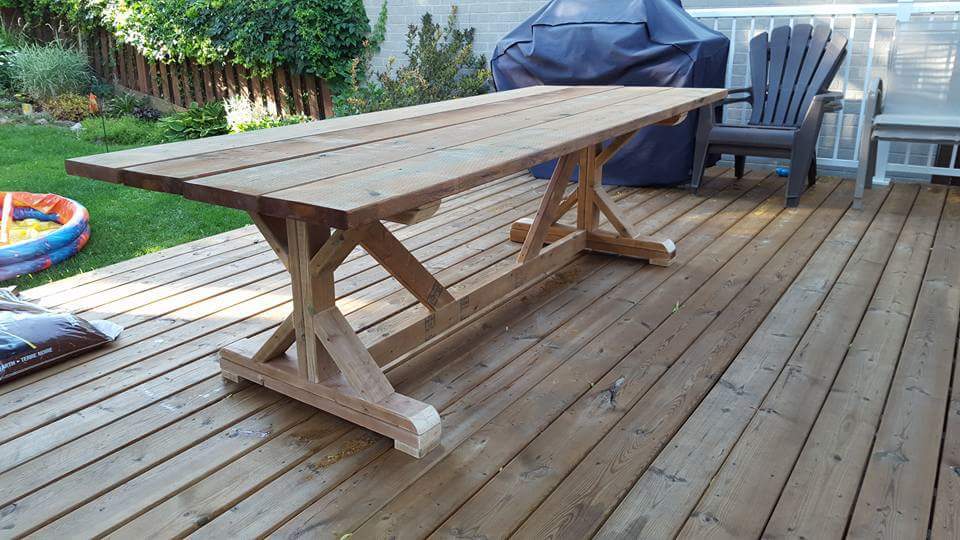
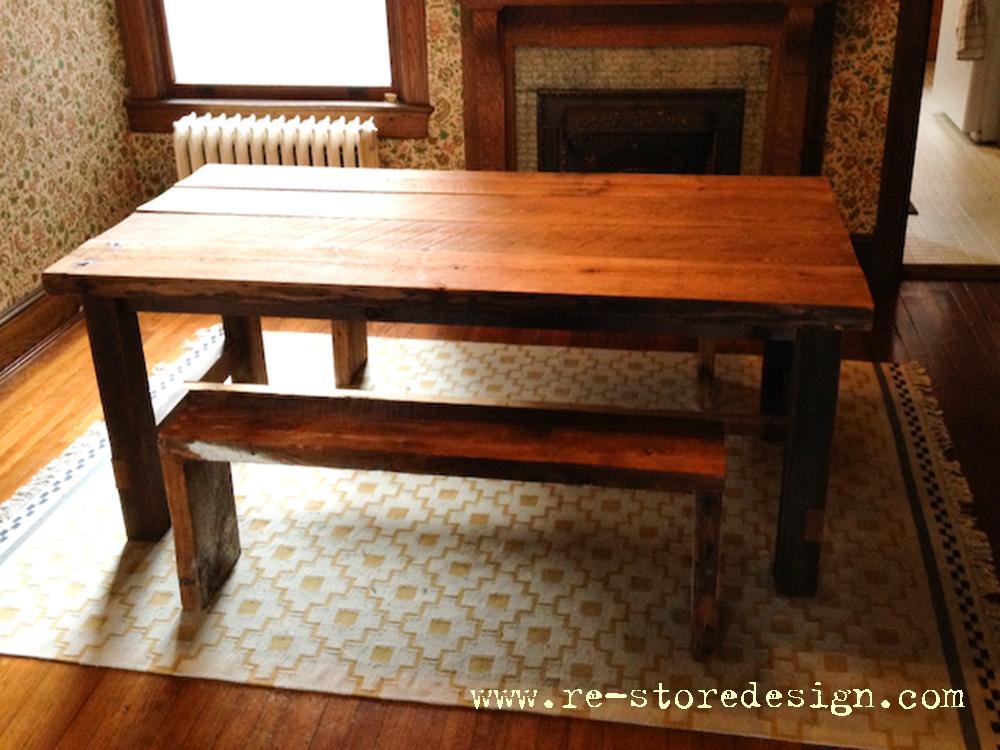
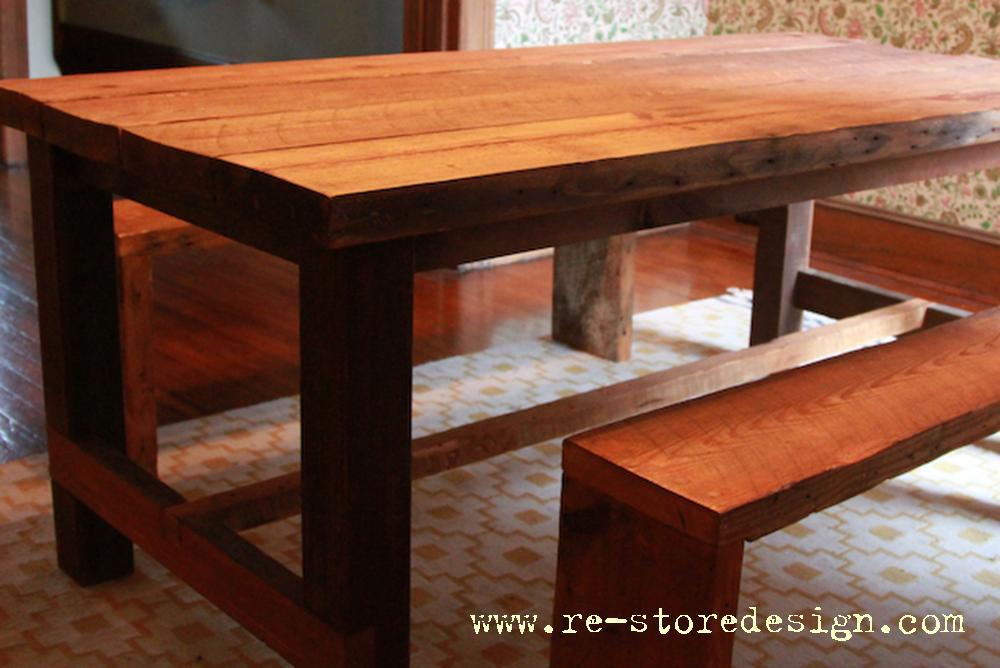
Farmhouse X Table

Submitted by Shugh on Tue, 02/28/2017 - 10:38

I really enjoyed making this plan.  Only disappointment was the red stain finish I chose, live and learn.

The plans were helpful and accurate!! 

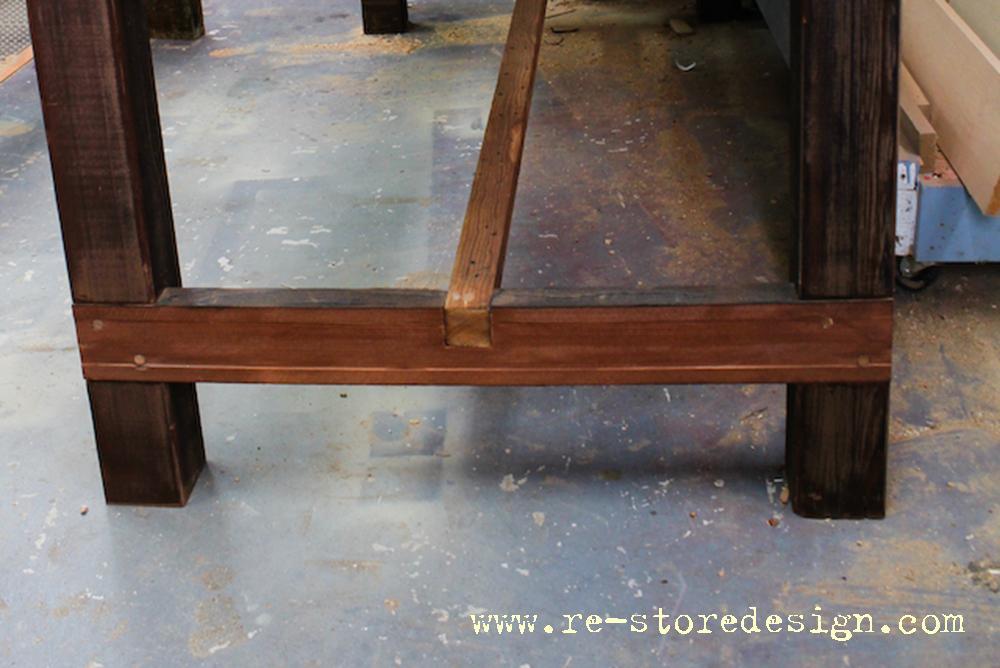
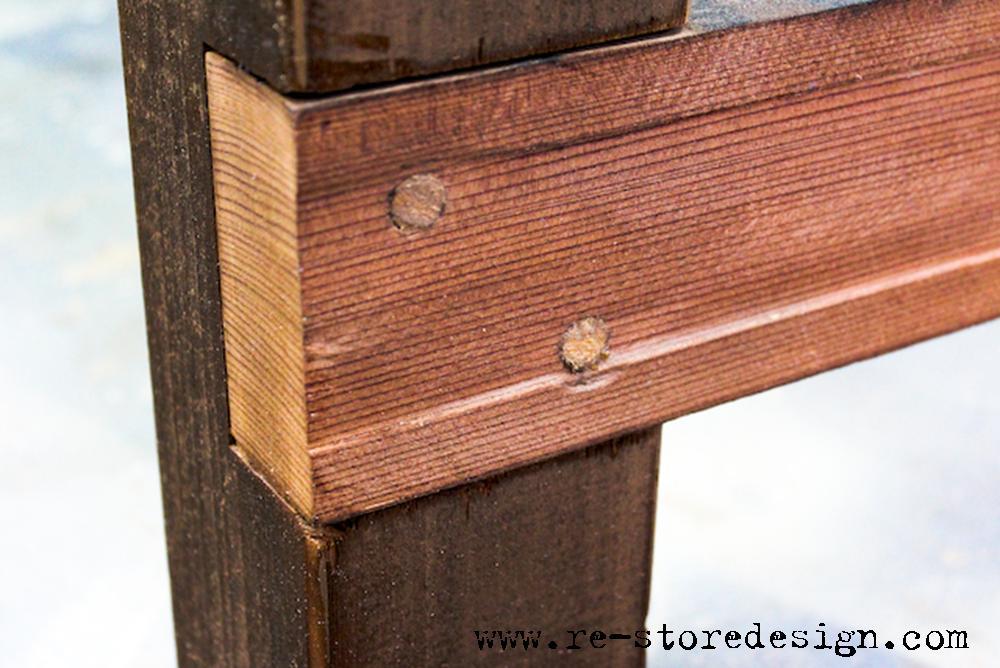
Another thing I goofed up on and learned was on the 45's on the legs, I cut along the length instead of the width at first, wasted a 2x4 lol That was a good lesson to learn though.  Shouldn't happen again any time soon...

Built from Plan(s)
Estimated Cost
A lot of cost was in the stain and poly not shown here... wood cost was pretty low, around $100 if I remember rightly.
I'm working on the matching bench next, got the wood last night for $35 (Cdn)
Estimated Time Investment
Day Project (6-9 Hours)
Recommended Skill Level
Beginner

Napoleon Vanity retrofit

Submitted by JoanneS on Sun, 02/17/2013 - 14:35

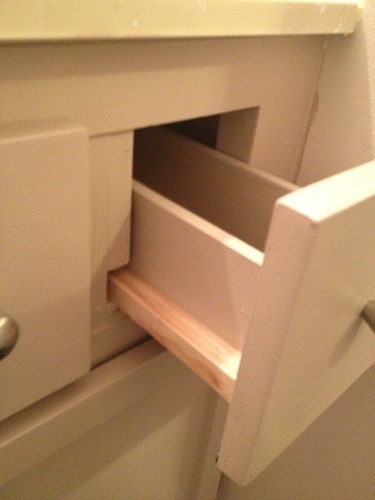
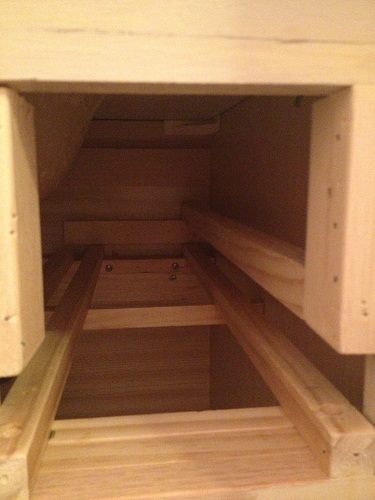
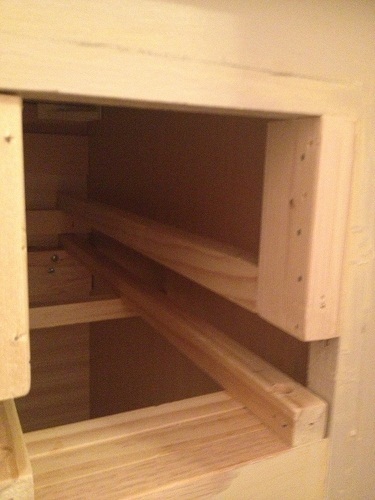
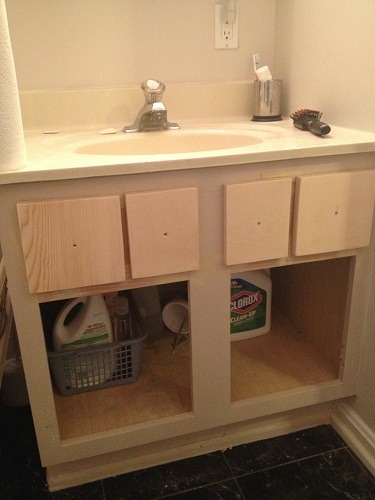
This is our 20-year-old bathroom vanity, retrofitted to resemble the Napoleon Sink Console. This old cabinet is the standard builder size from the 90’s -- 30” wide x 29 ½” tall x 21” deep – fits a 31” x 22” sink top. The 2 outside drawers are working drawers, and the 2 inside are faux (just fronts). It was a weekend project. Since the sink stayed in place, I had to figure out something for the drawers to slide on. I had 3 sticks of ¾” x ¾” S4S in the garage, so I used these and fashioned a frame to hold the drawers, and also used it on the sides of the drawers as slides (figured the frame out as I went along). I used up some scrap 1x12 to cut the drawer faces and supports at the inside back of the cabinet. Since the space was so tight, I used some scrap 1x2 as bracing attached to the original frame, and attached the added face frame to that. The doors are ½” x 1 ½” craft board and ¼” birch plywood. The drawers are 3/8” x 3 ½” craft board with some ¼” plywood on the bottoms. I re-used the existing hinges and used some knobs from a multi-pack (available from Target) and some left over paint that was on hand. I bought about $30 of materials in addition to my scraps.
Now that I’ve got this one under my belt, it’ll be easier to do this in the other 2 bathrooms. I’ll probably use some 1x2’s instead of the s4s if I have to go out and buy the materials for the next one, it’ll just have slightly different measurements.

Built from Plan(s)
Estimated Cost
$30
Estimated Time Investment
Weekend Project (10-20 Hours)
Finish Used
Ace Royal semi-gloss paint, in Wishbone
Recommended Skill Level
Intermediate

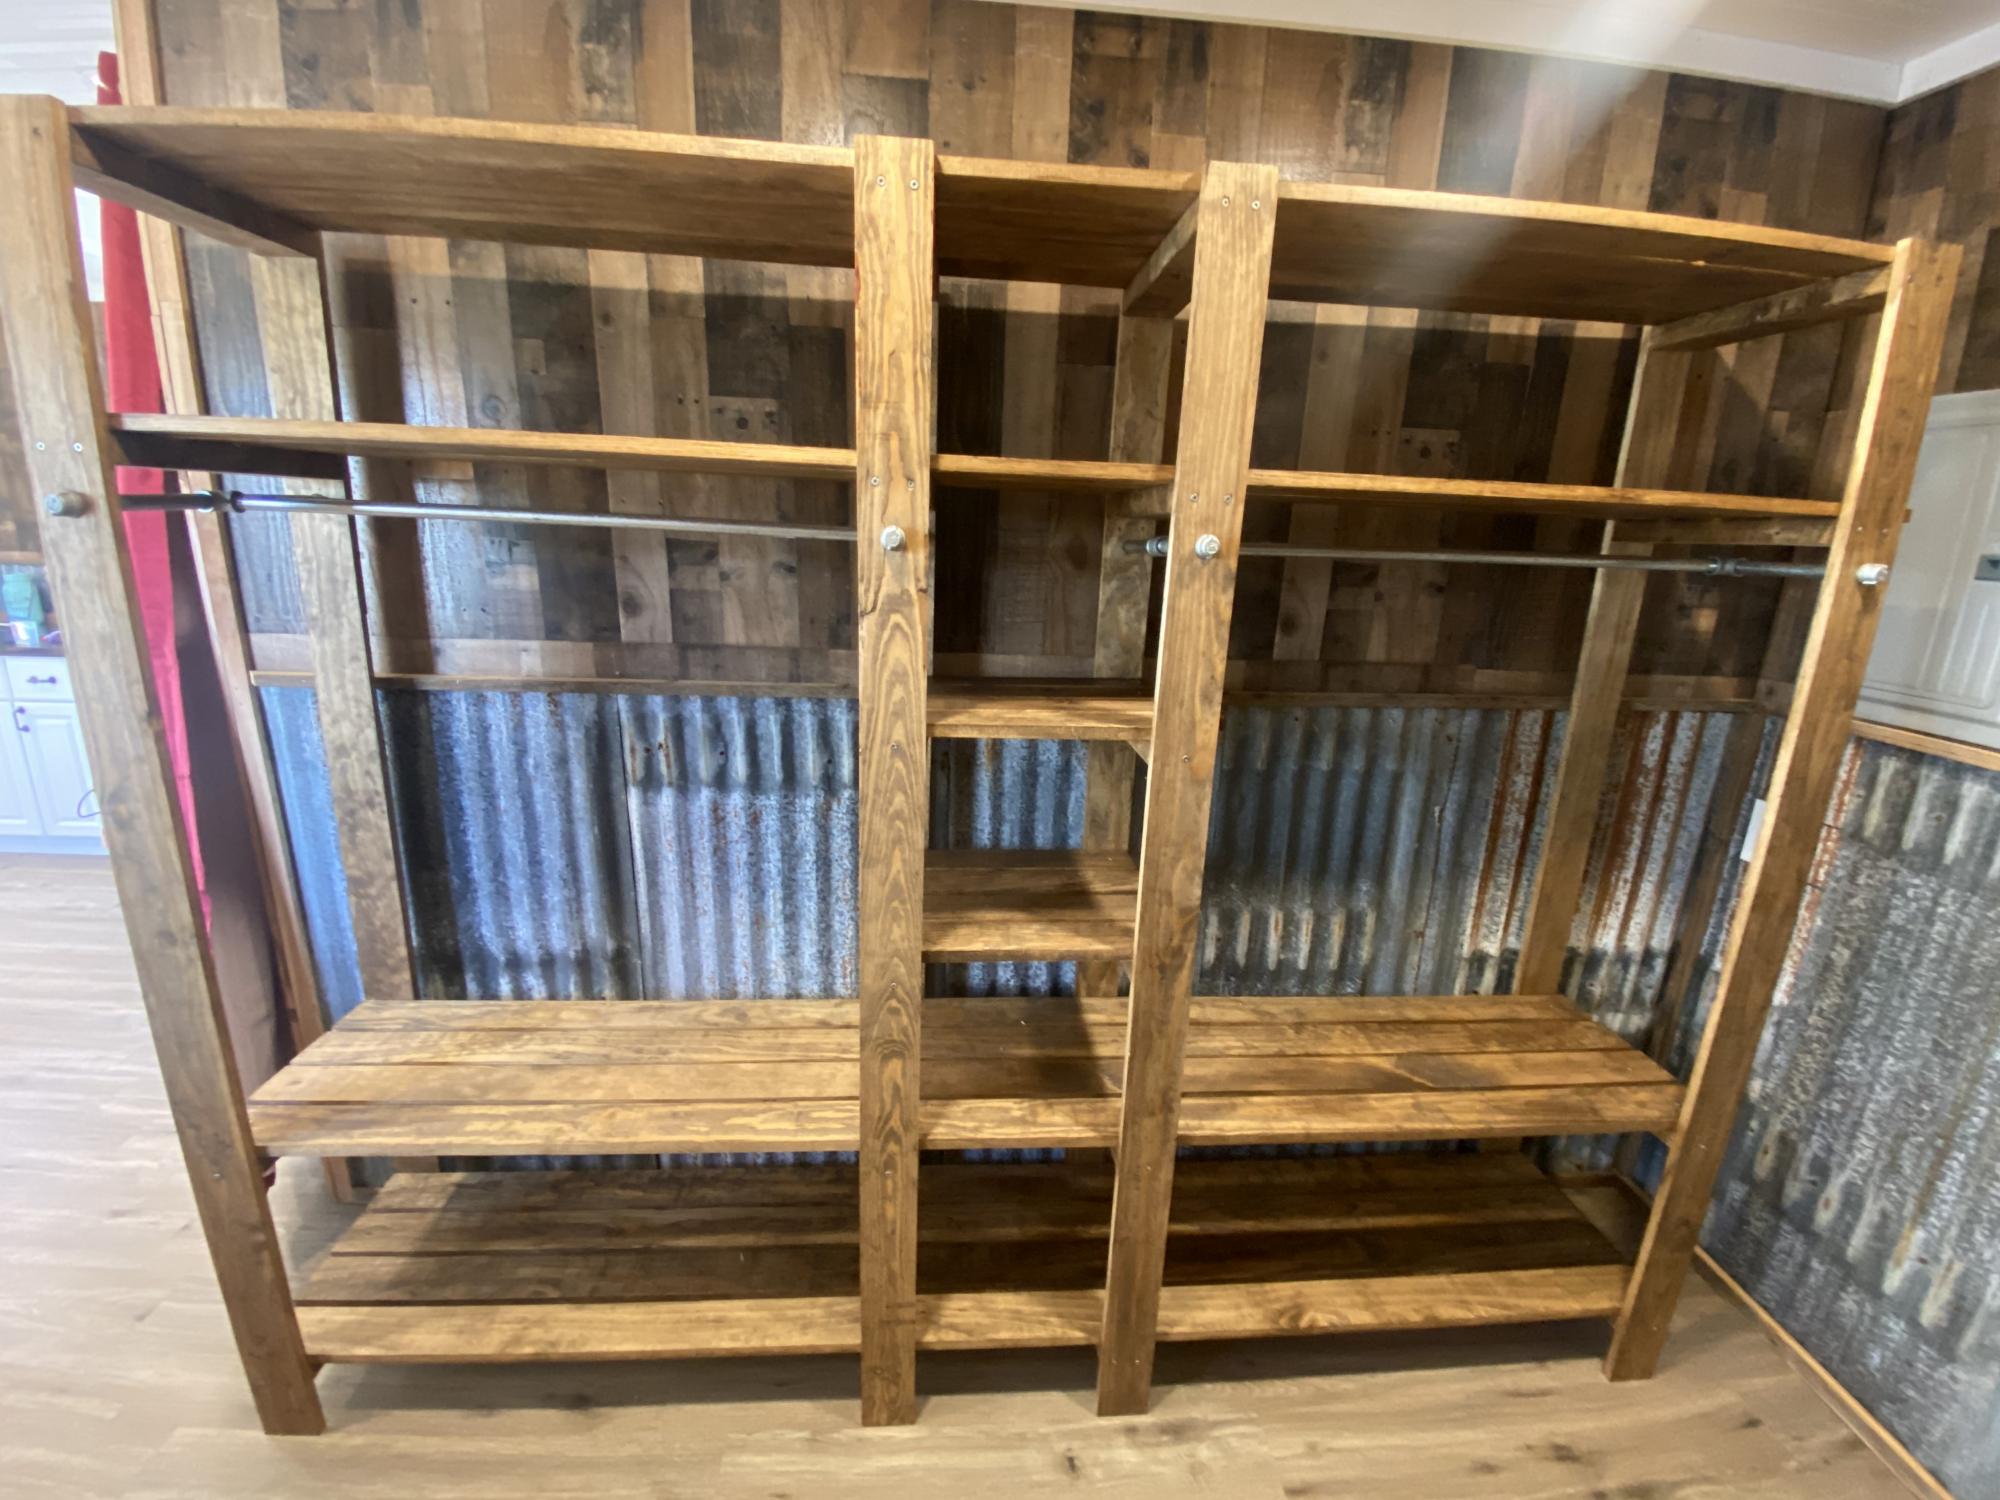
Wood Closet Shelving

Submitted by Anonymous (not verified) on Tue, 02/09/2021 - 06:38

This plan turned out perfect!! Such a great idea, thank you for the inspiration!

Built from Plan(s)
Estimated Time Investment
Day Project (6-9 Hours)
Finish Used
Minwax Golden Oak
Recommended Skill Level
Beginner

Comments

Lydia Daybed

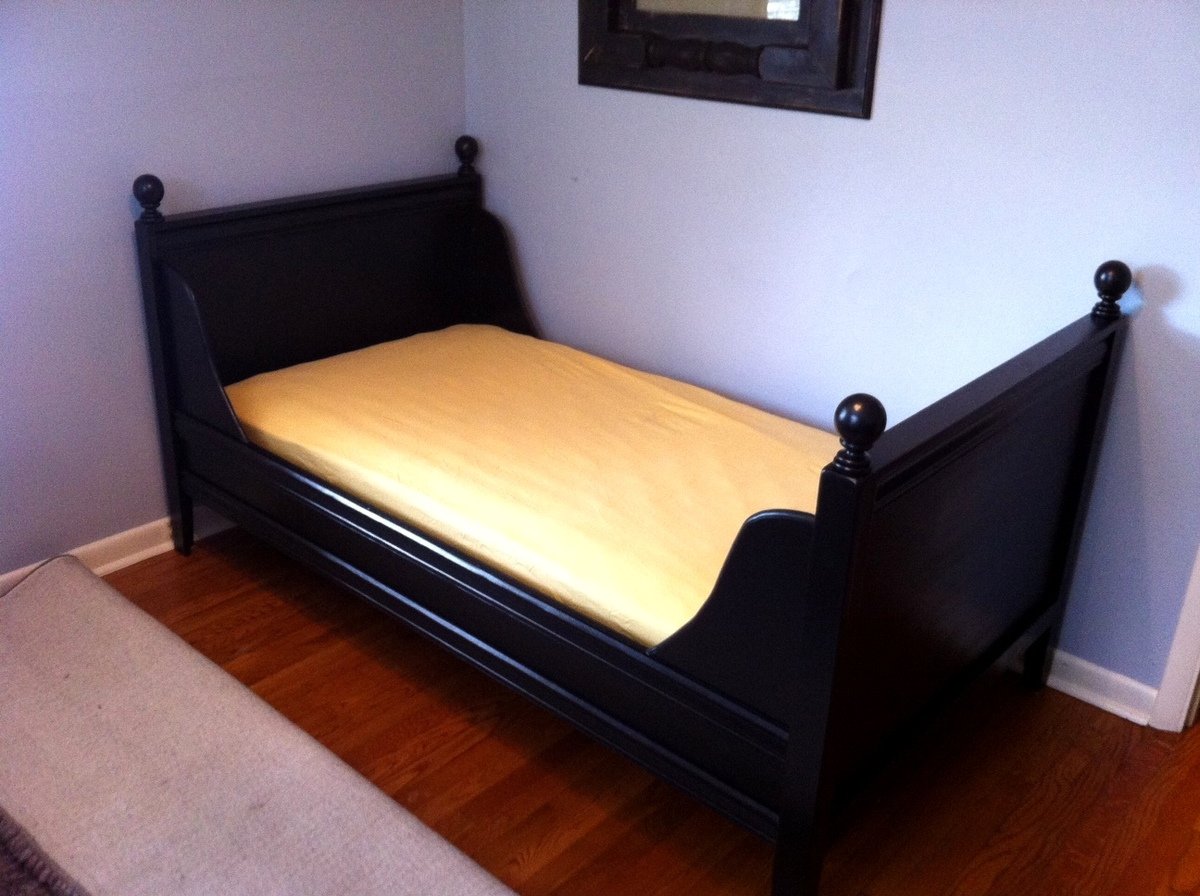
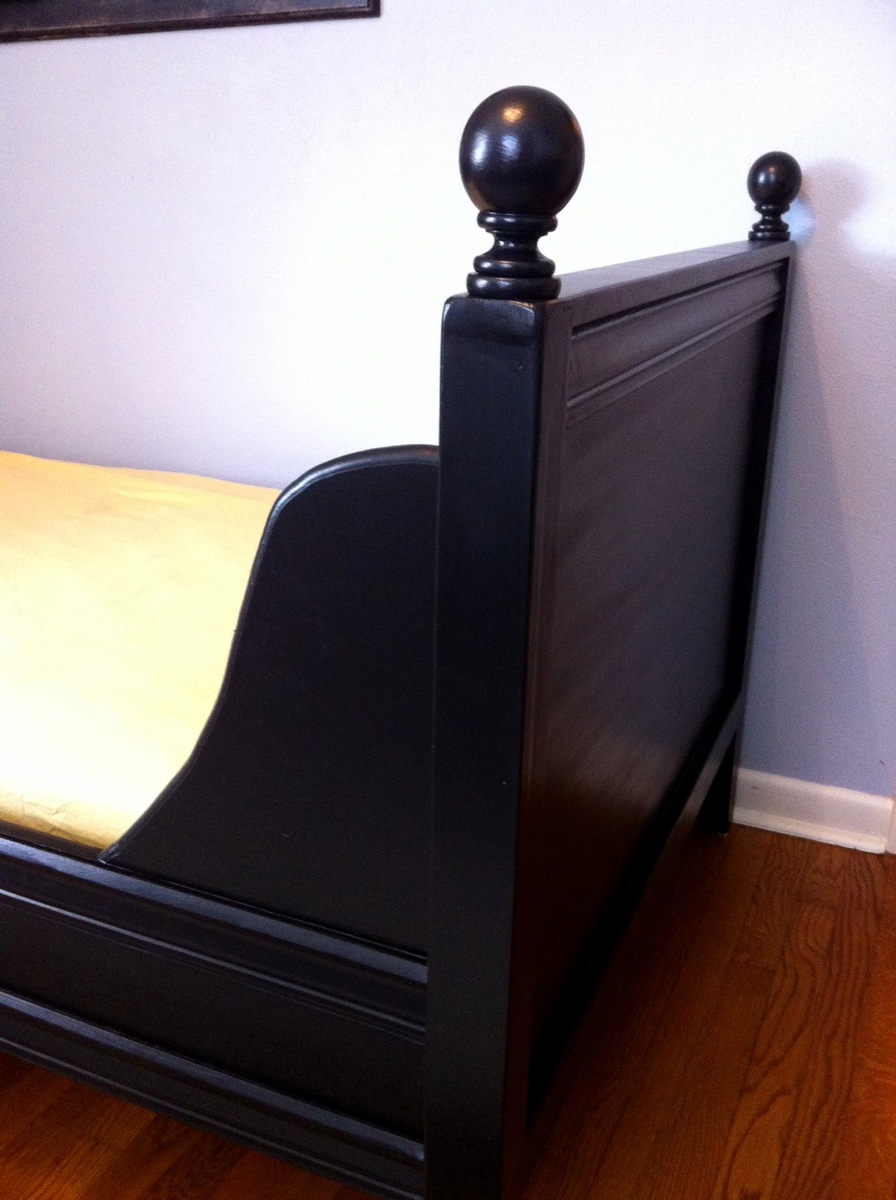
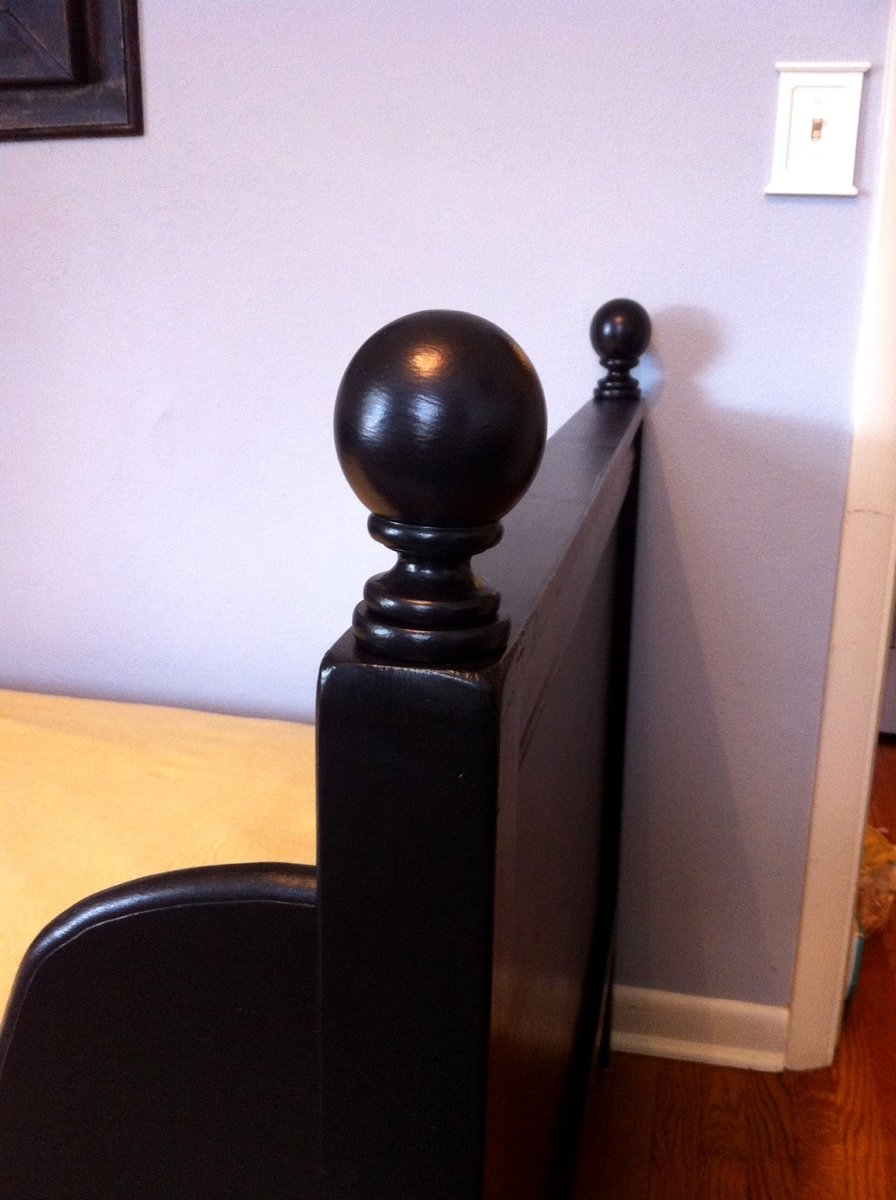
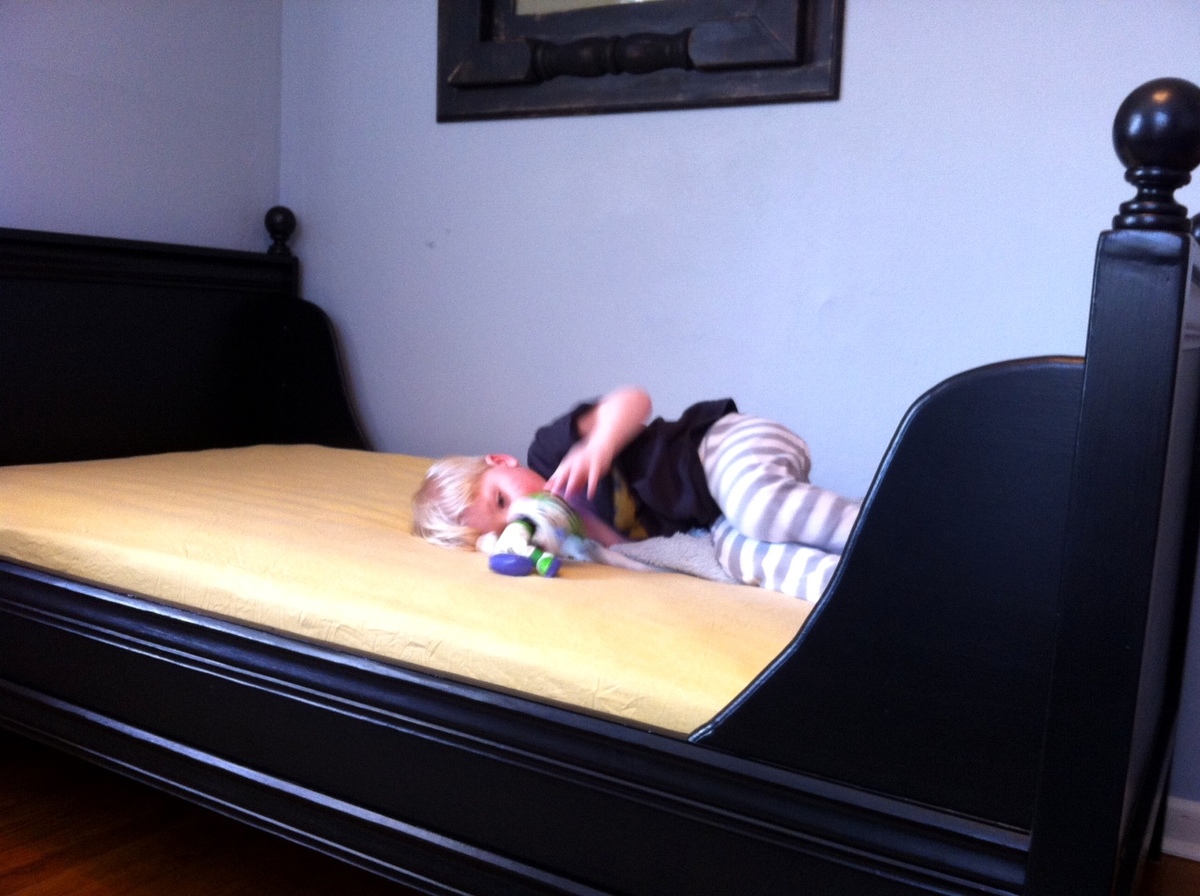
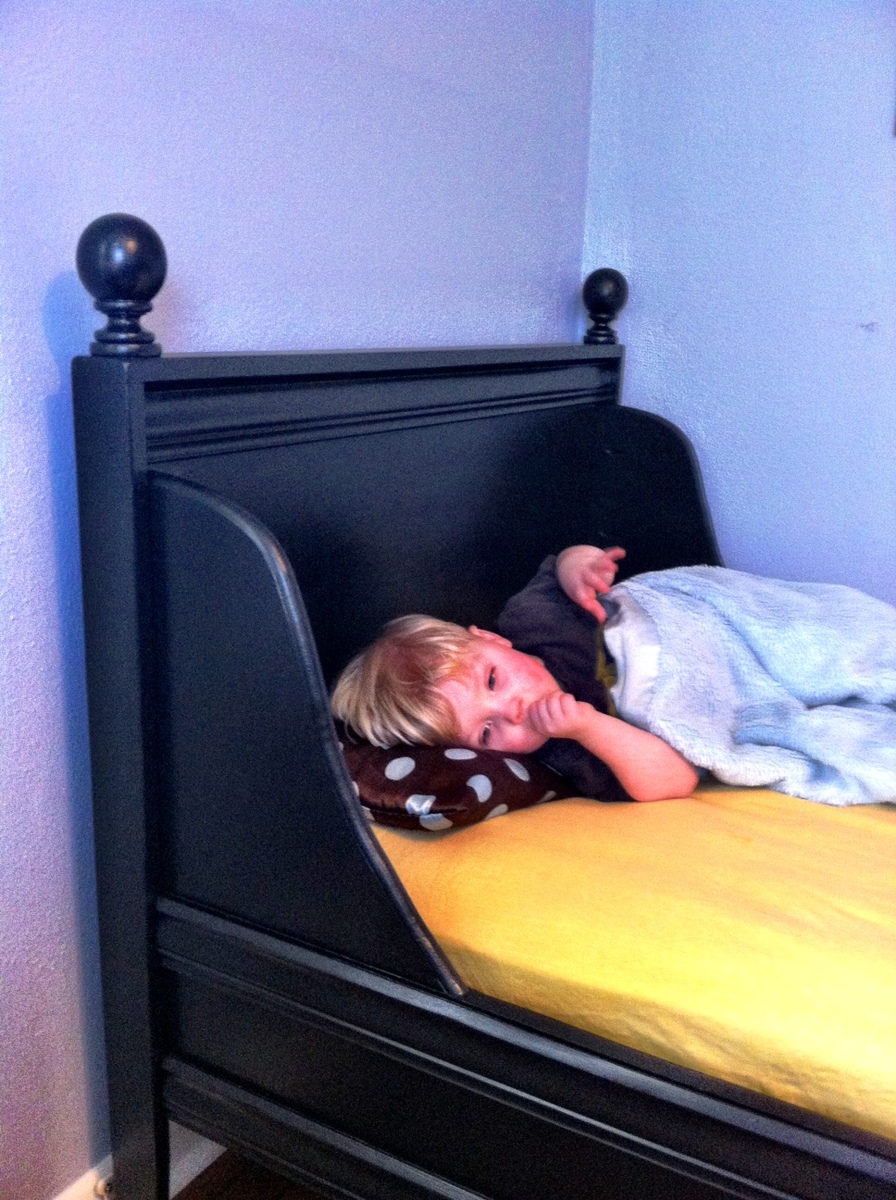
I built the Lydia Daybed for my nephew's new big boy bed. Was a little worried about doing the fancy decorative corner pieces, but just adapted the design a little so it was not such an intricate cut. Everything turned out great and there are a few more pictures on the blog, www.atouchofarkansas.com. Thanks! JM

Built from Plan(s)
Estimated Cost
160.00
Estimated Time Investment
Weekend Project (10-20 Hours)
Finish Used
Painted it black
Recommended Skill Level
Intermediate

Comments

Her wedding anniversary gift

Submitted by Anonymous (not verified) on Thu, 04/20/2017 - 21:57

Thanks for your video, Ana!

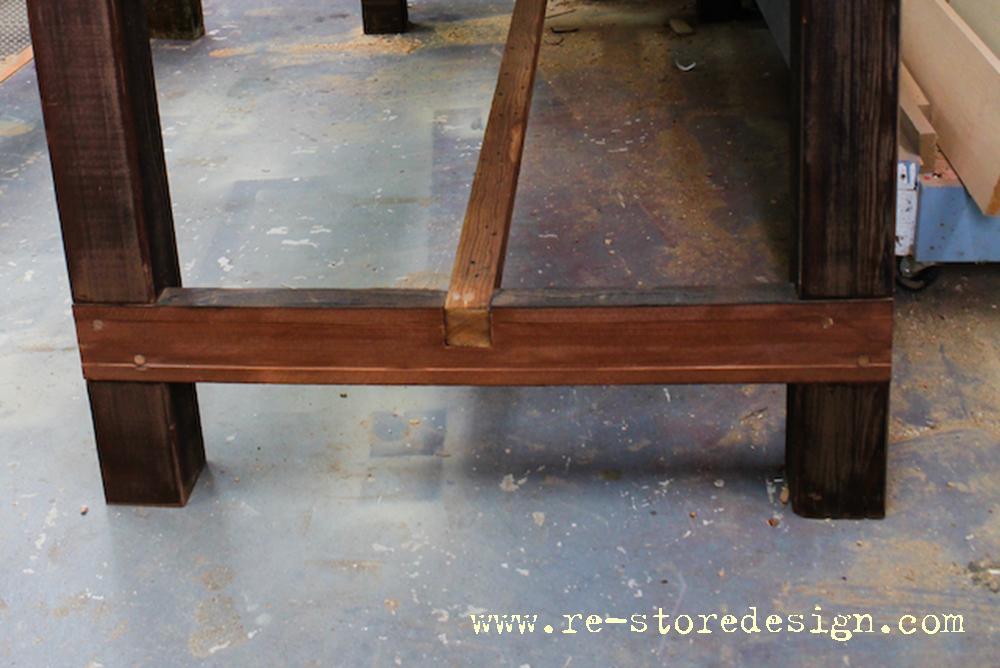
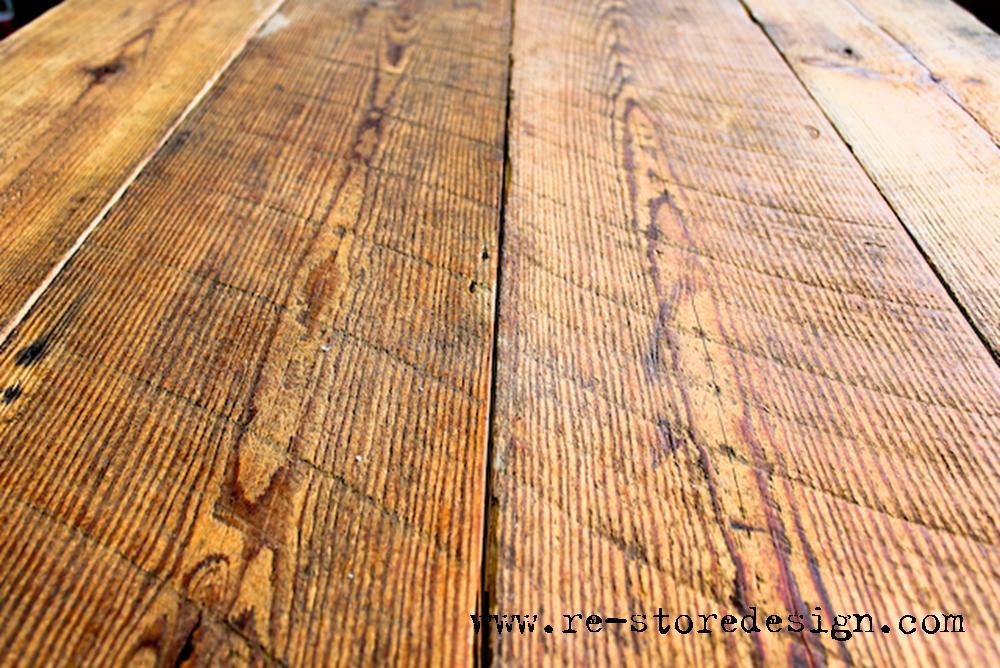
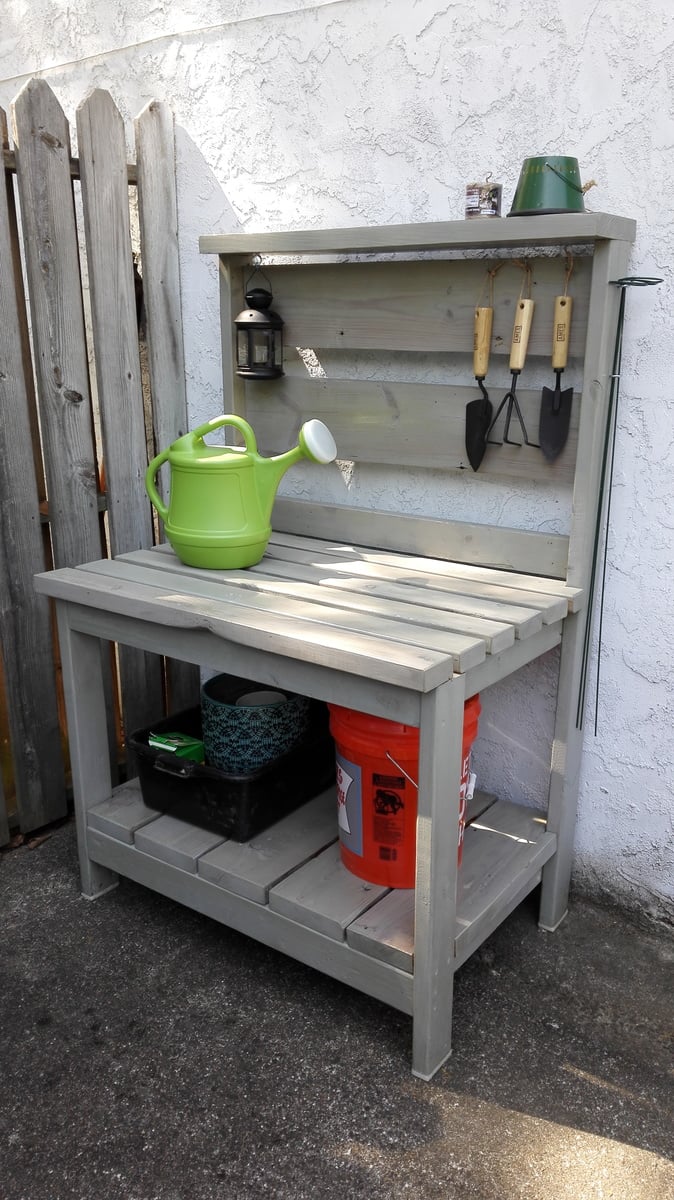
I had a bunch of salvage wood boards and wanted to offer my wife the space she'd always wanted for gardening for our wedding anniversary.

Your plans inspired me to build her this bench, adapting the design to the materials I had.

She loved it!!

Elodie :-)

Estimated Cost
$15
Estimated Time Investment
Weekend Project (10-20 Hours)
Finish Used
Polyurethane
Recommended Skill Level
Beginner

Comments

Chevron headboard

Submitted by Anonymous (not verified) on Sun, 04/23/2017 - 15:02

A friend asked me to make a headboard for him as he couldn't find anything online or in store that he really liked. 

I was up for the challenge and always love working with wood to make new and exciting things so, challenge accepted. 

This was my first attempt at a headboard and I think it turned out pretty nice. 

Knotty pine face with a cedar frame. 

Looking forward to my next project! 

Estimated Cost
CA 225.00
Estimated Time Investment
Weekend Project (10-20 Hours)
Finish Used
Minwax Dark Walnut stain
Recommended Skill Level
Beginner
Back