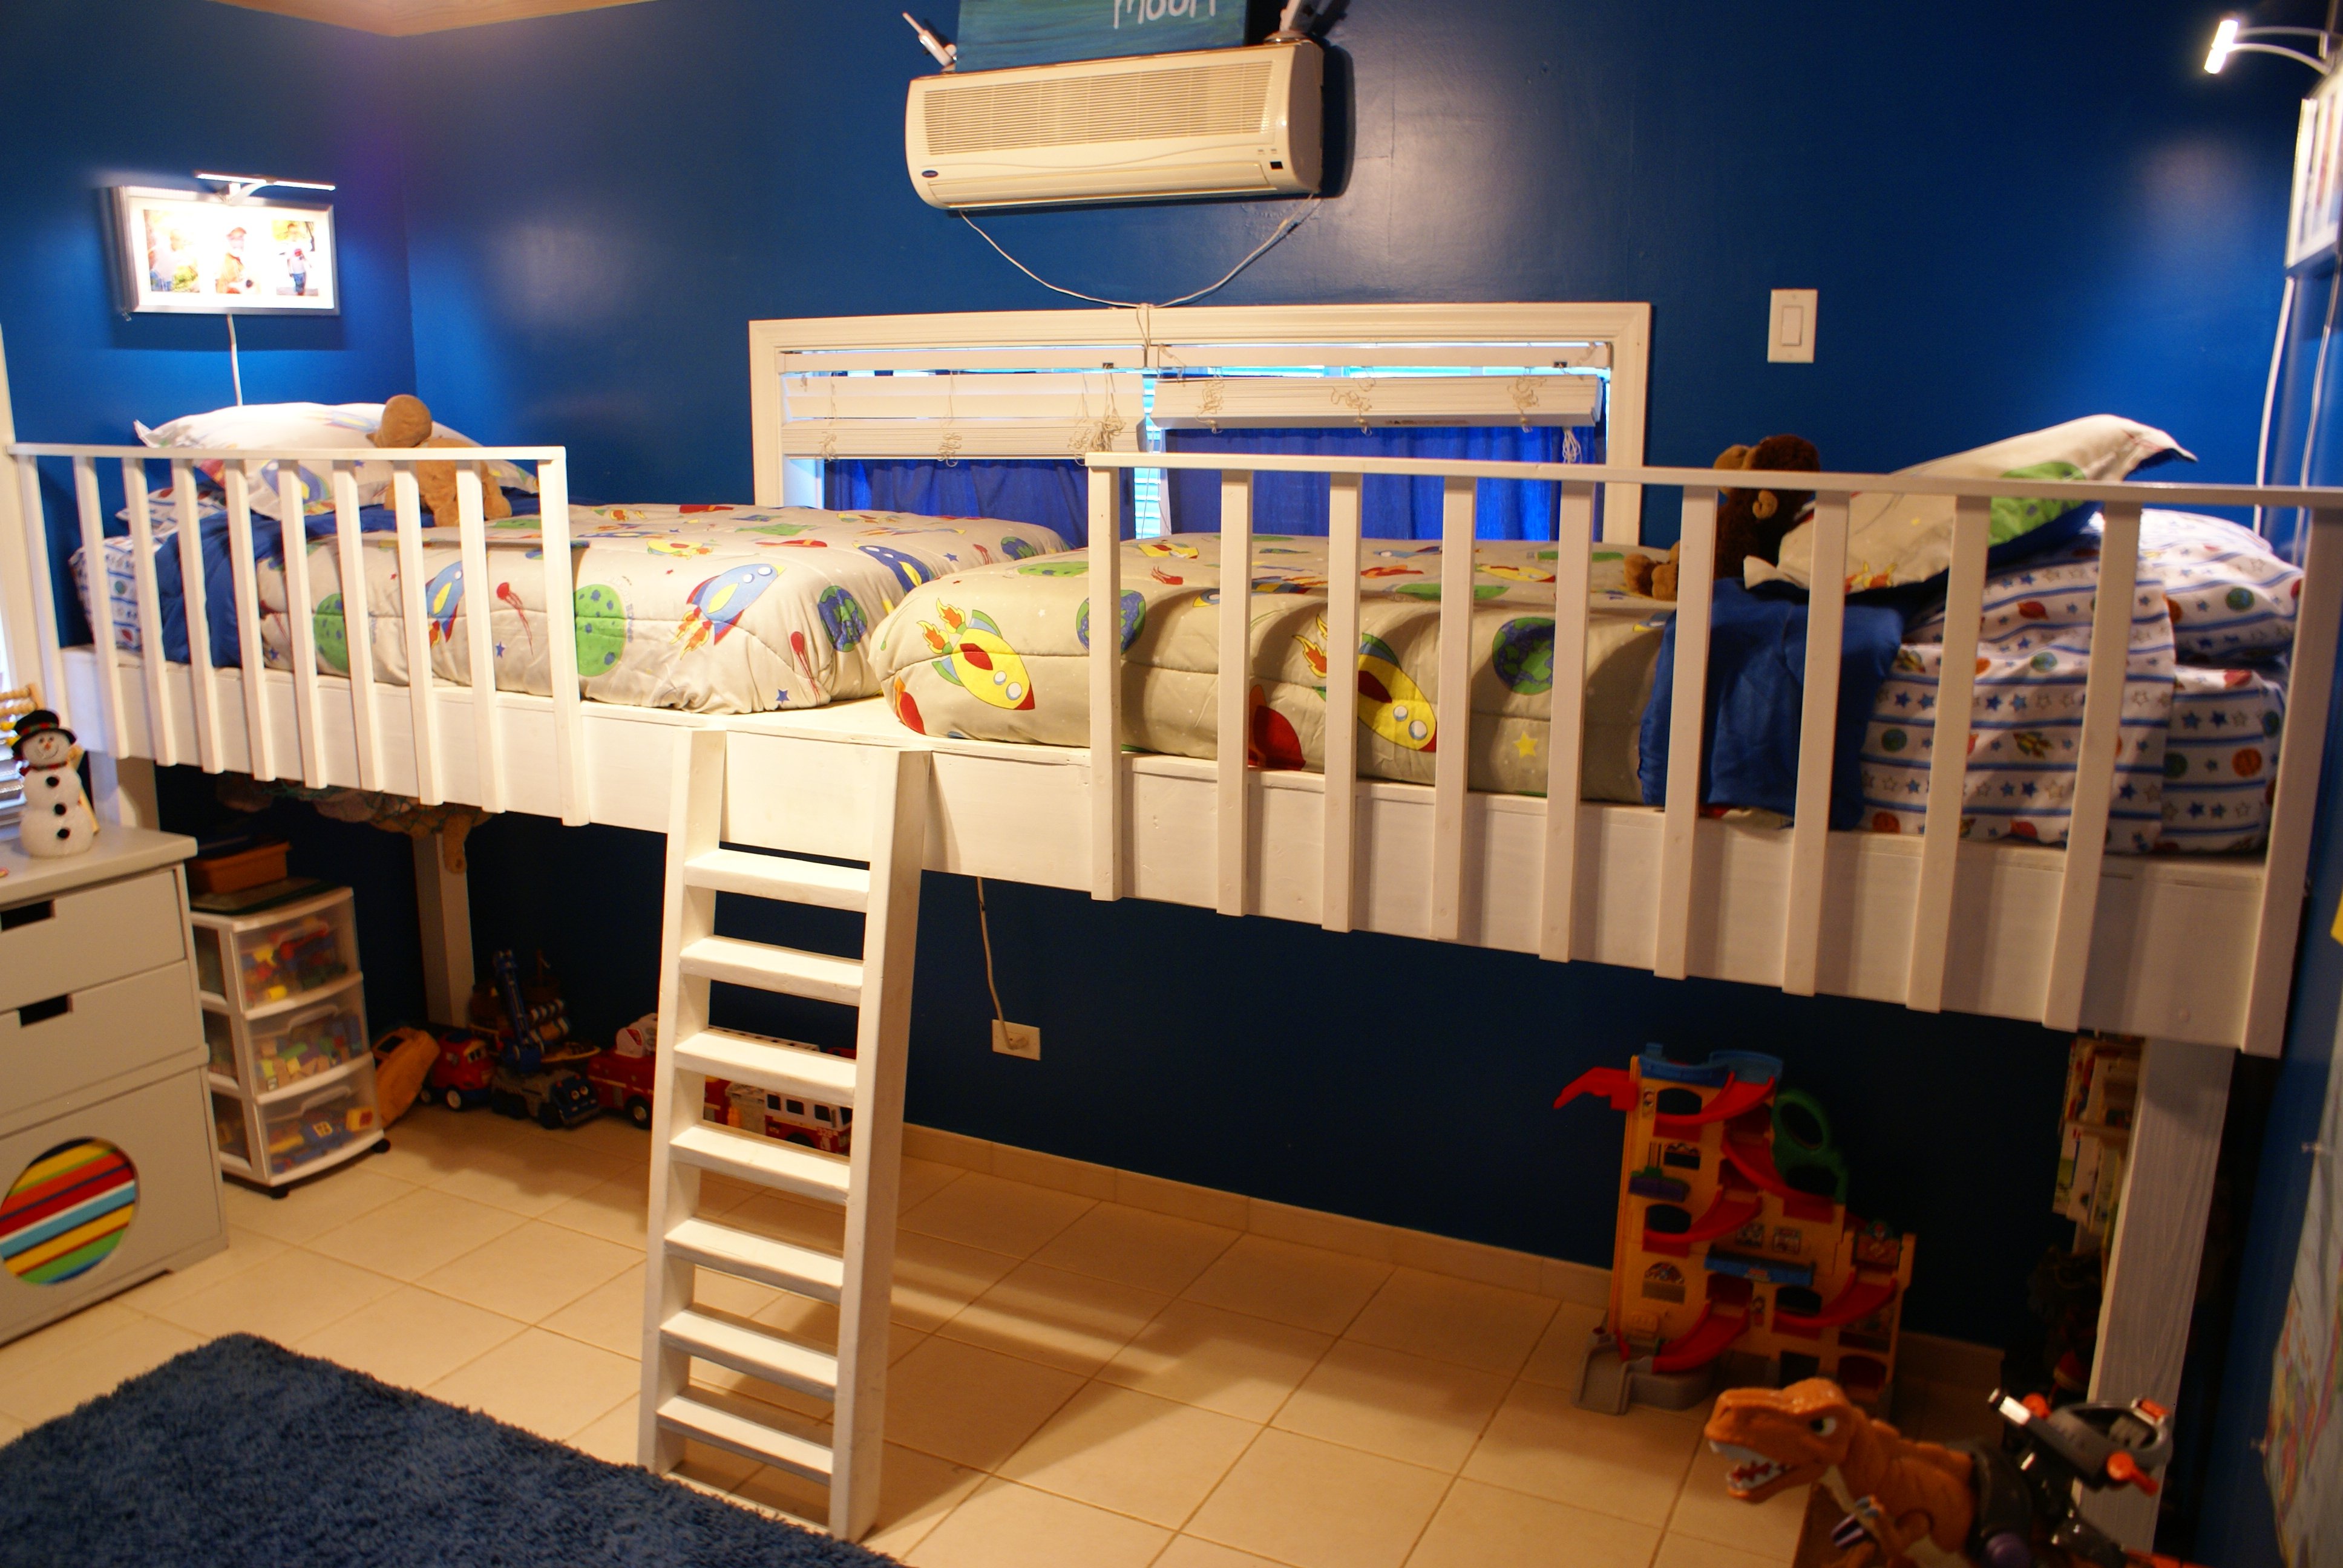
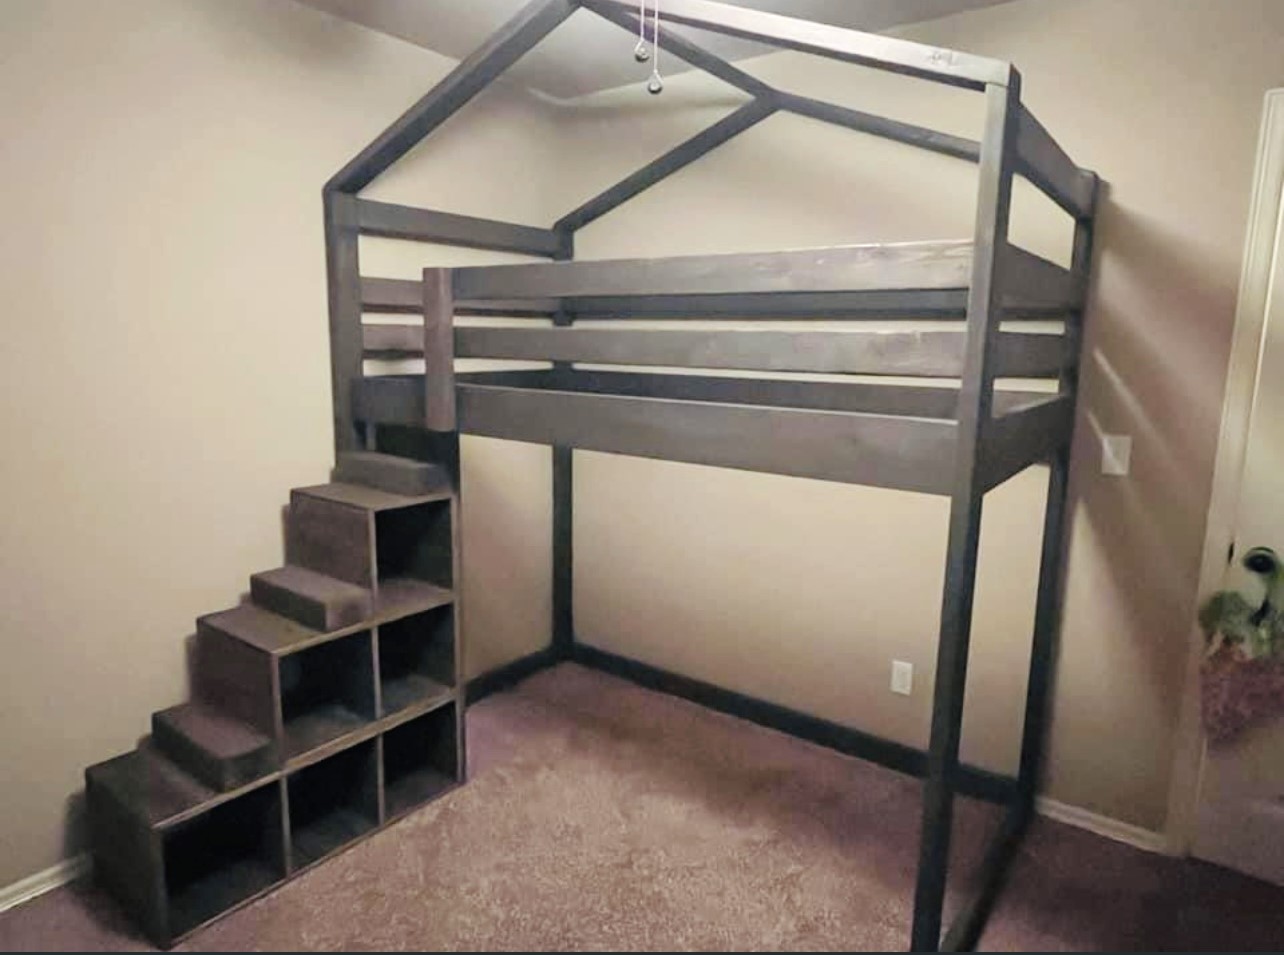
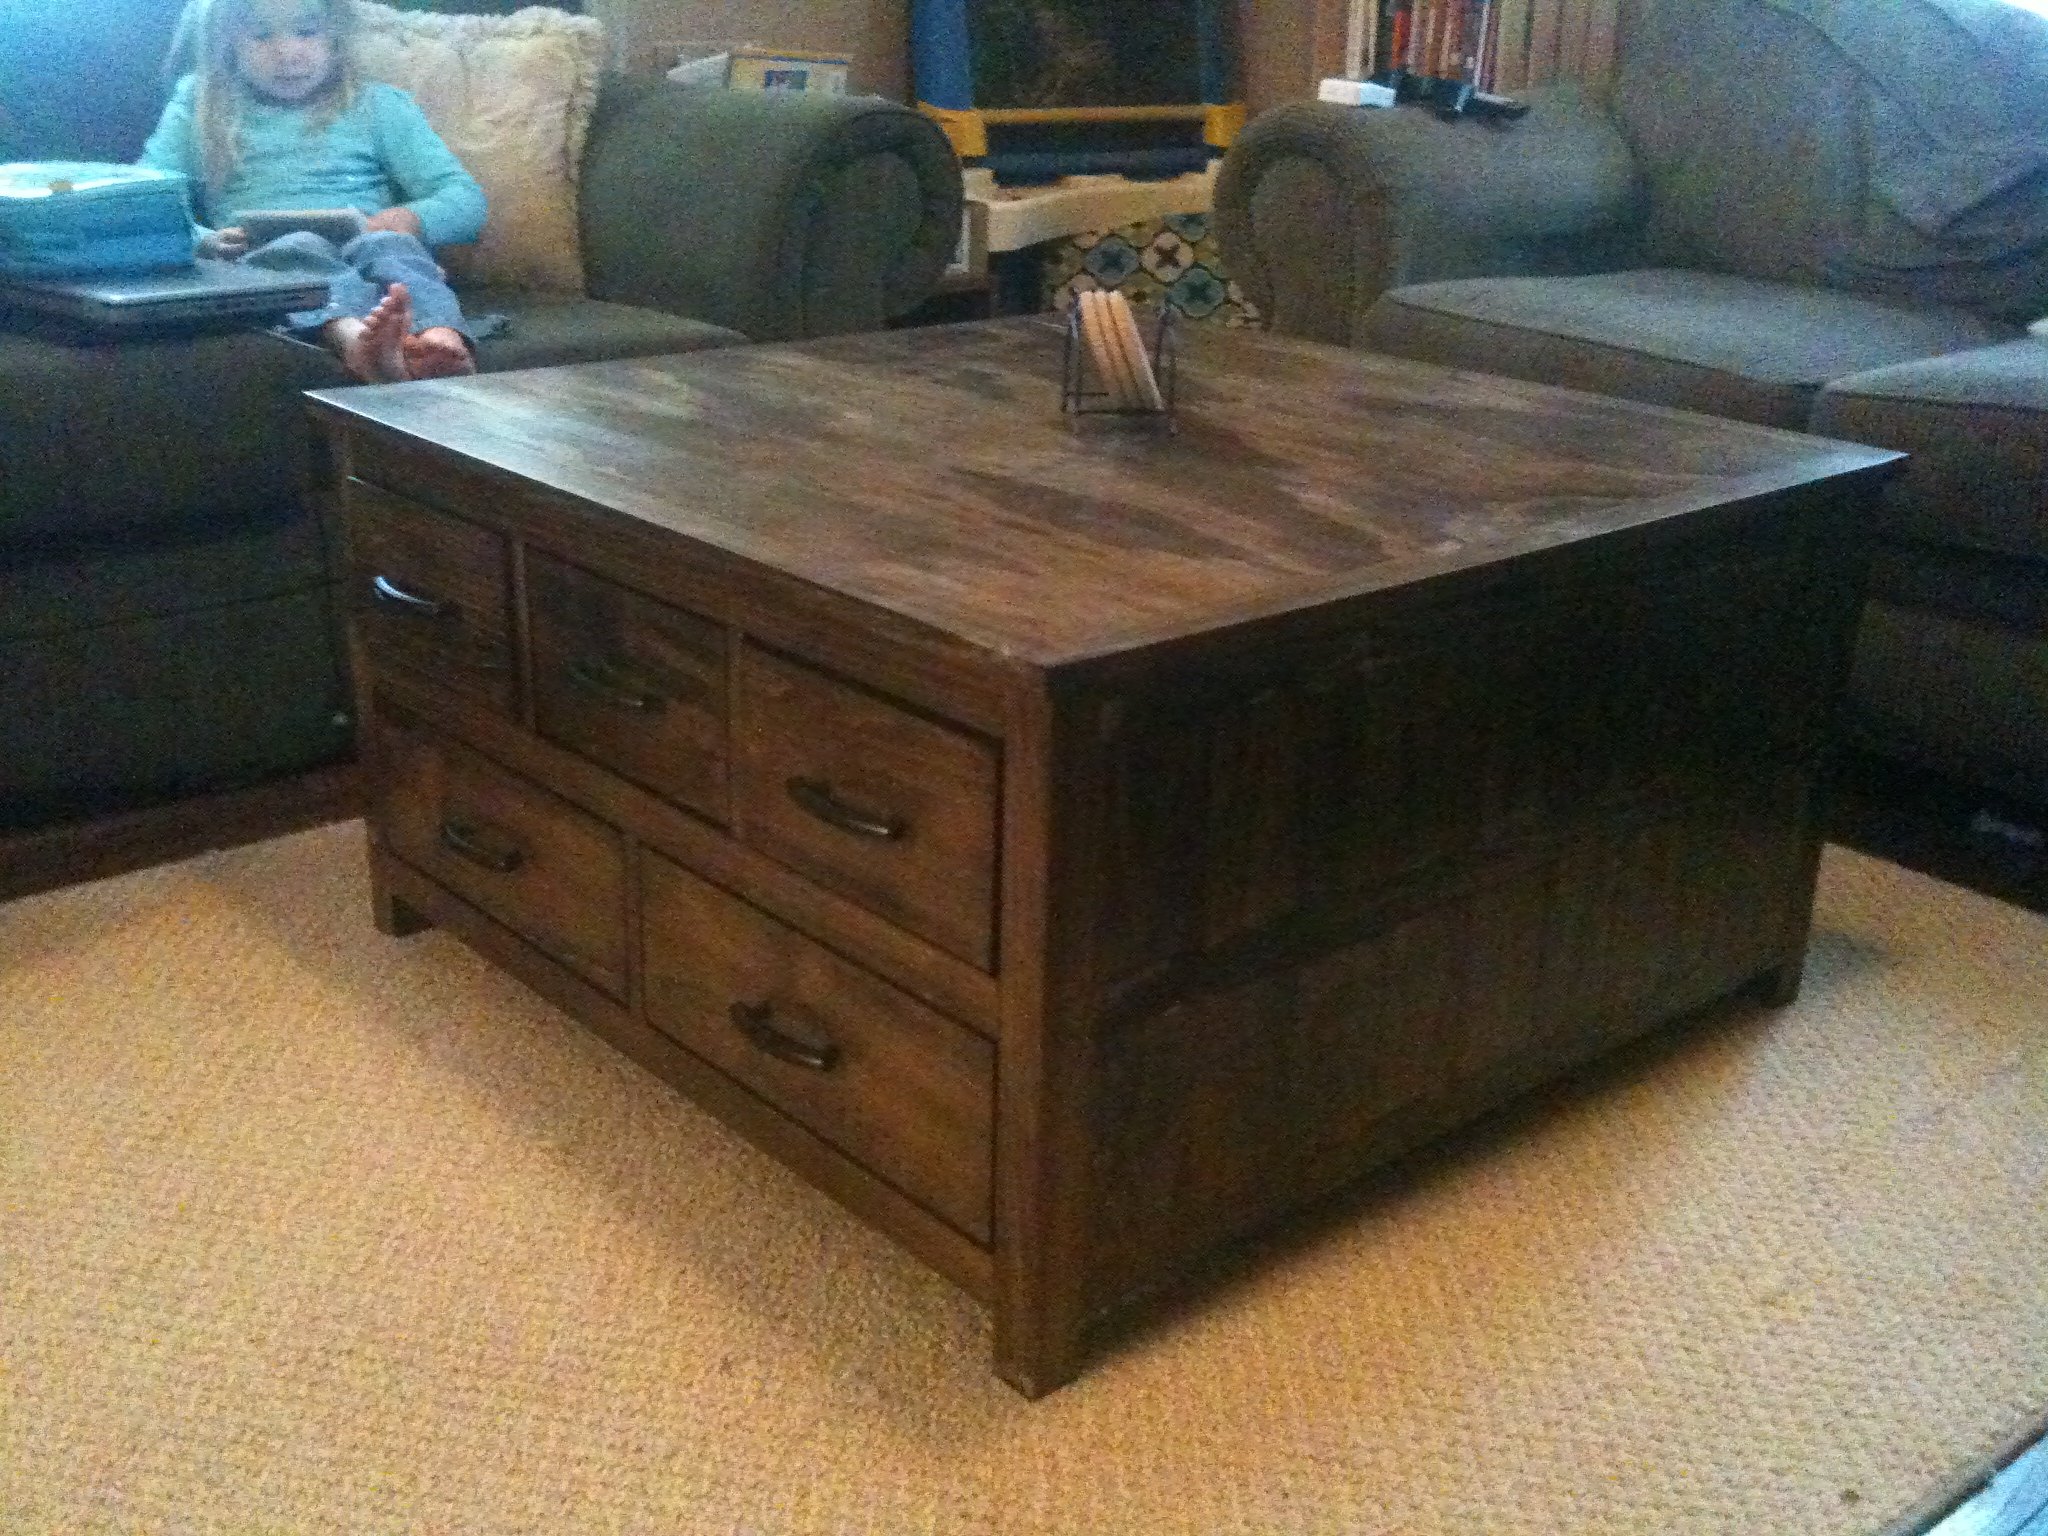
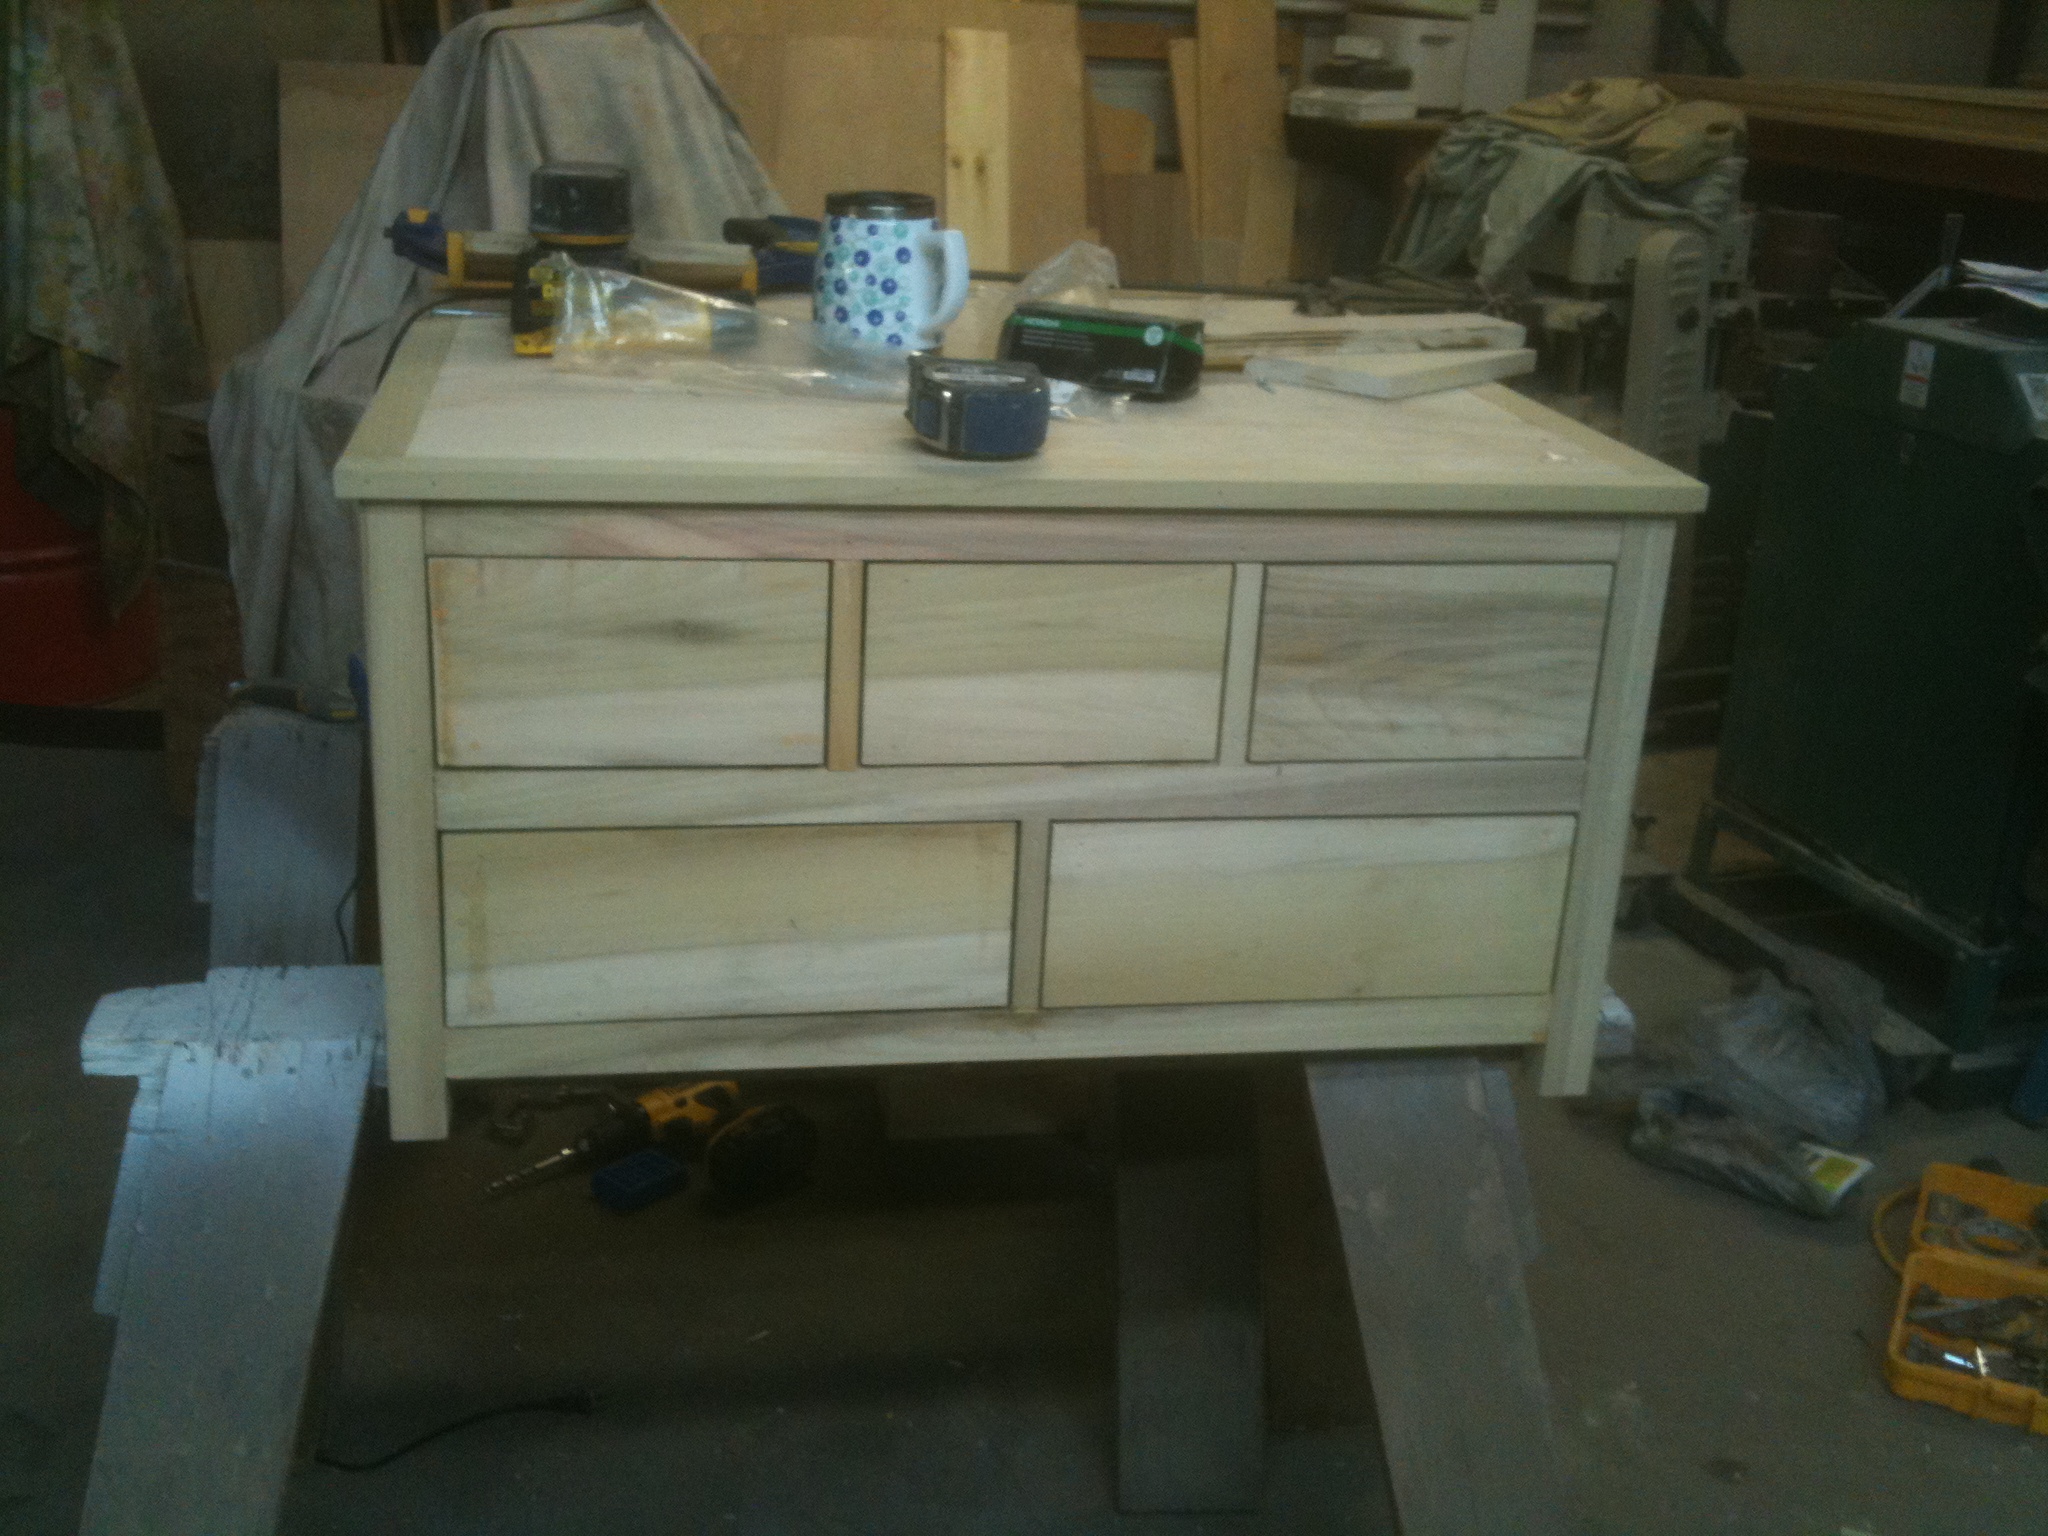
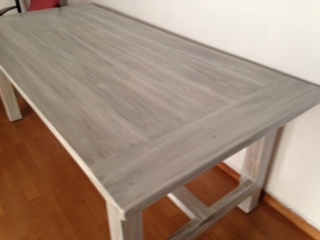
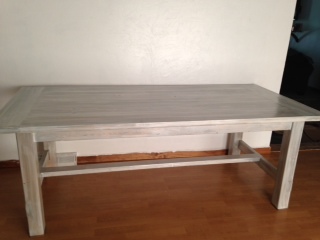
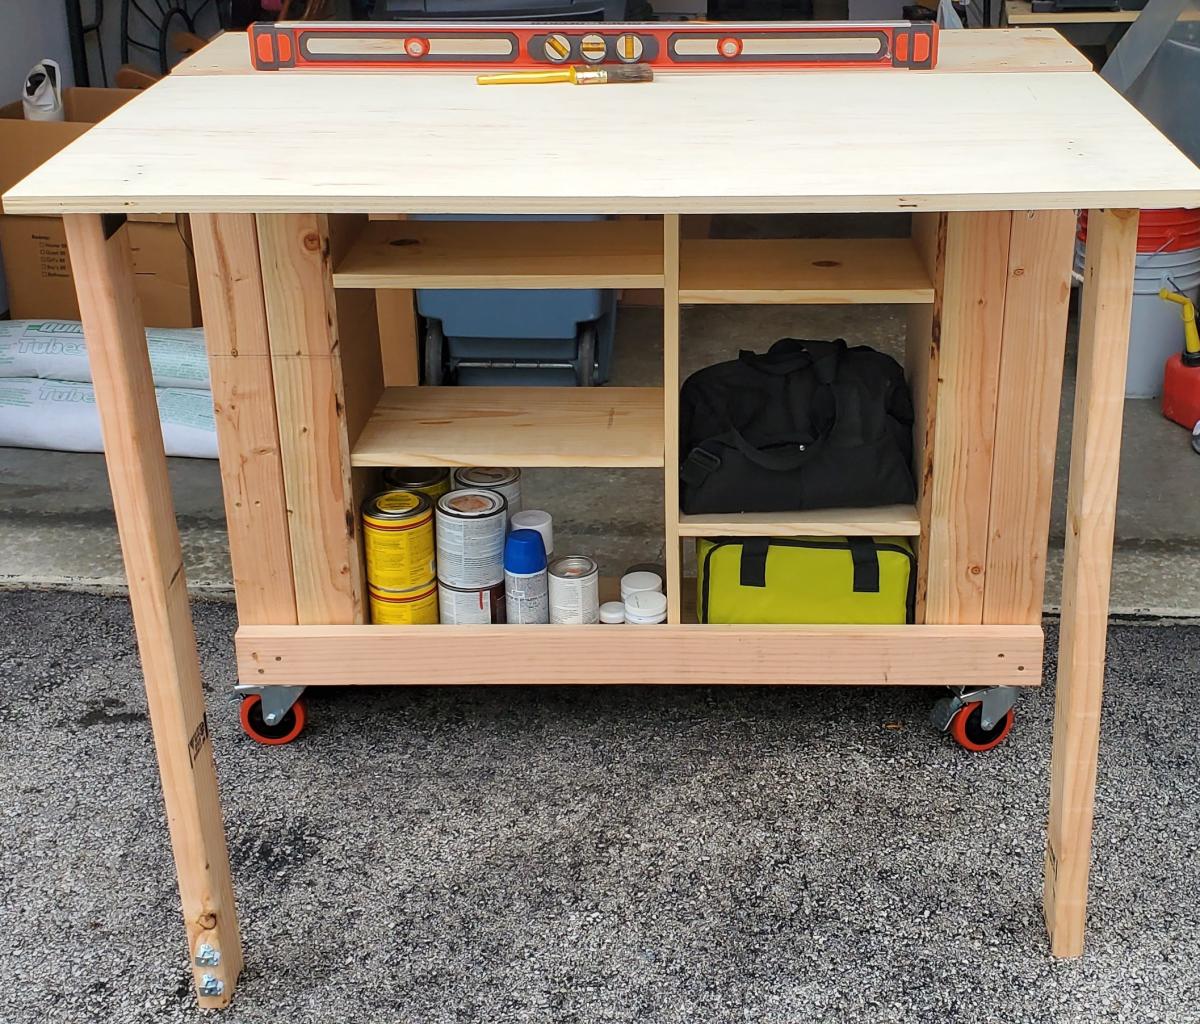
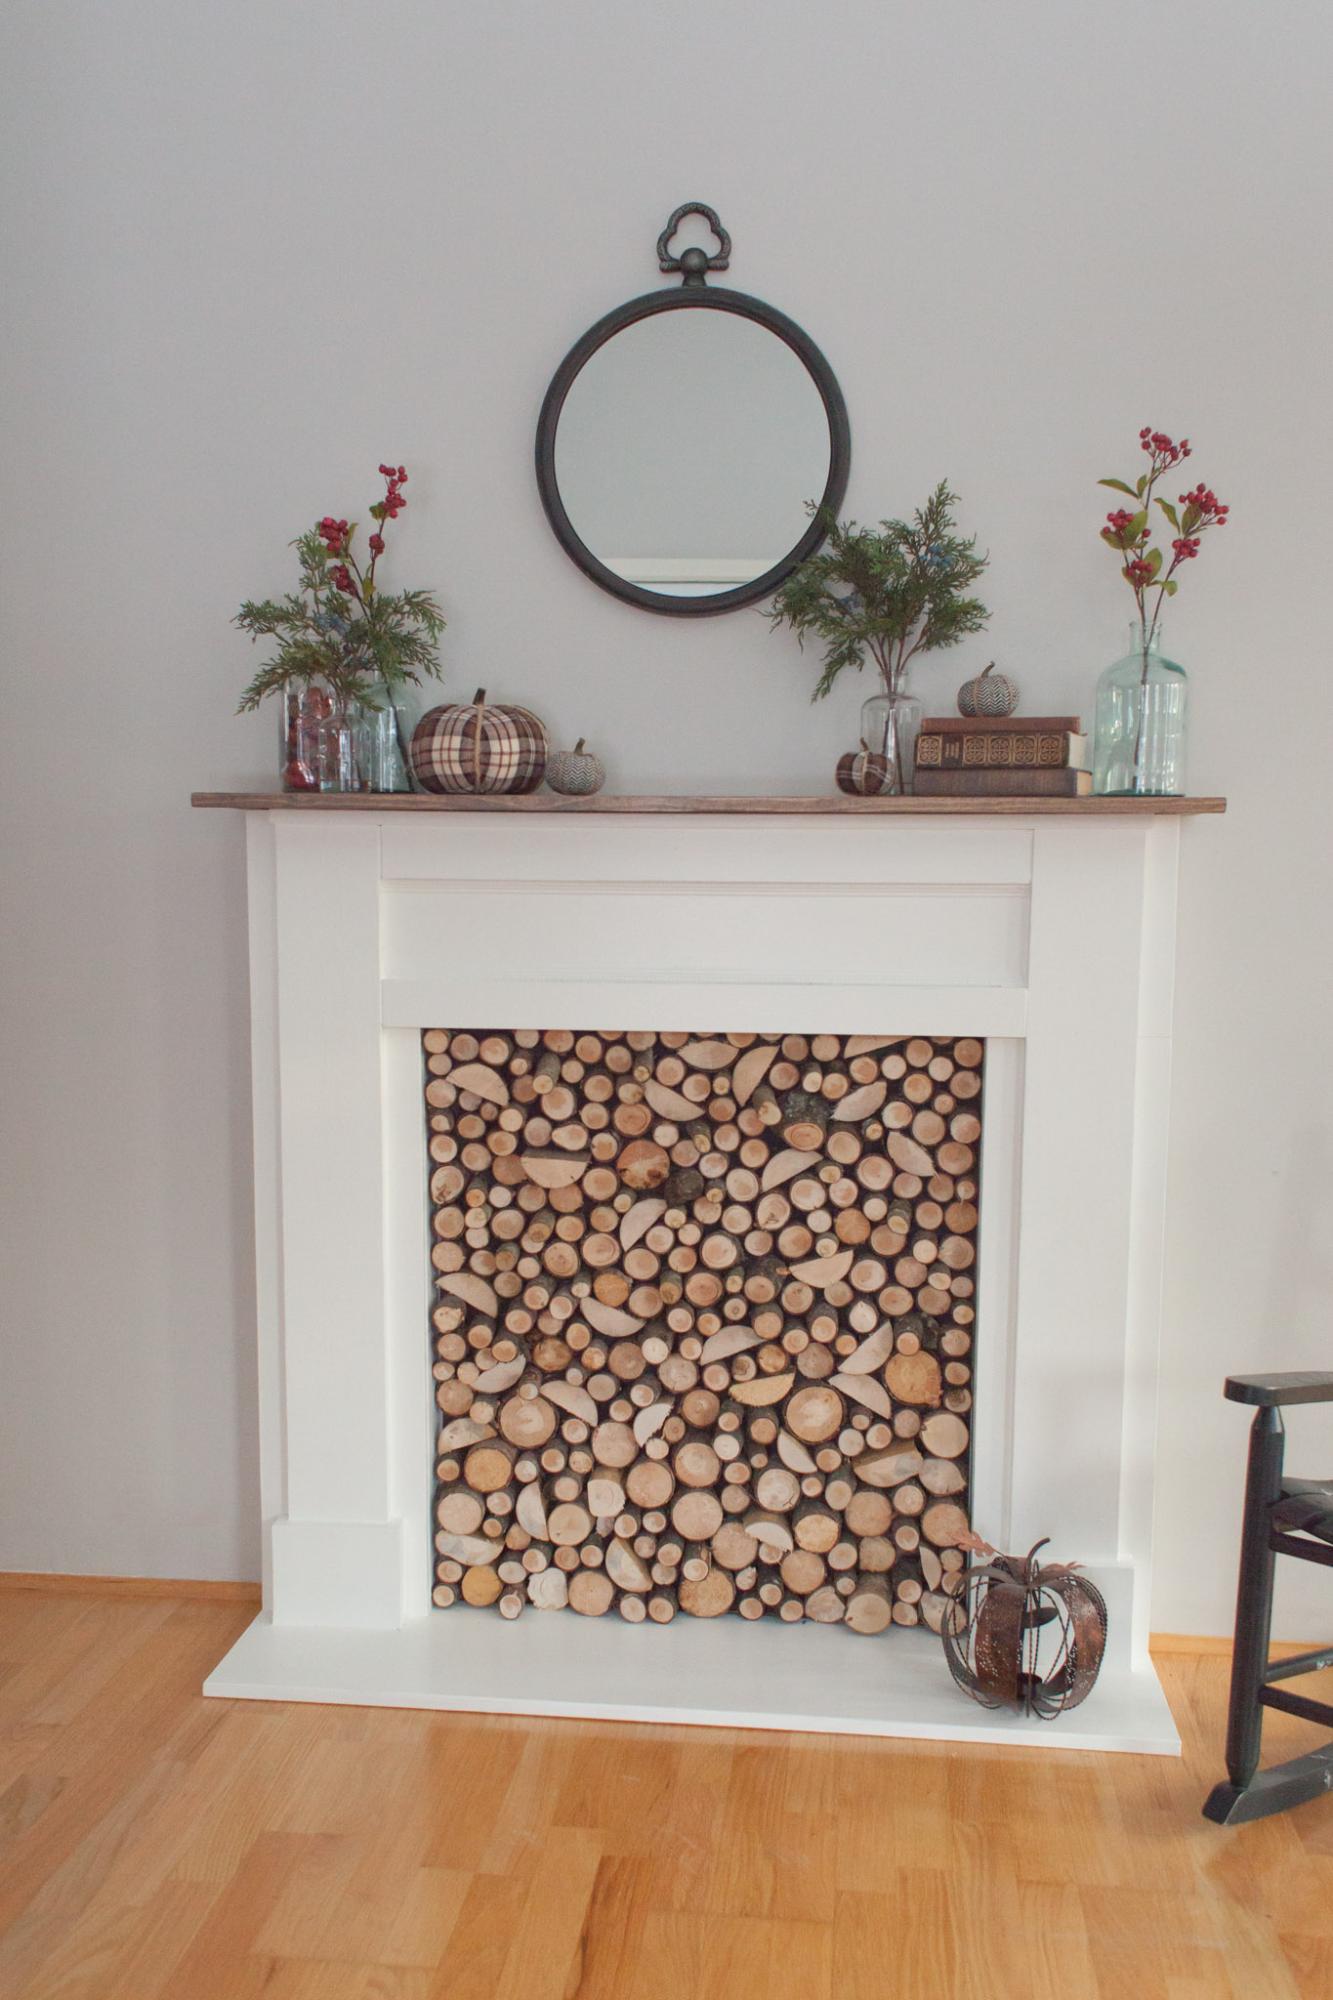
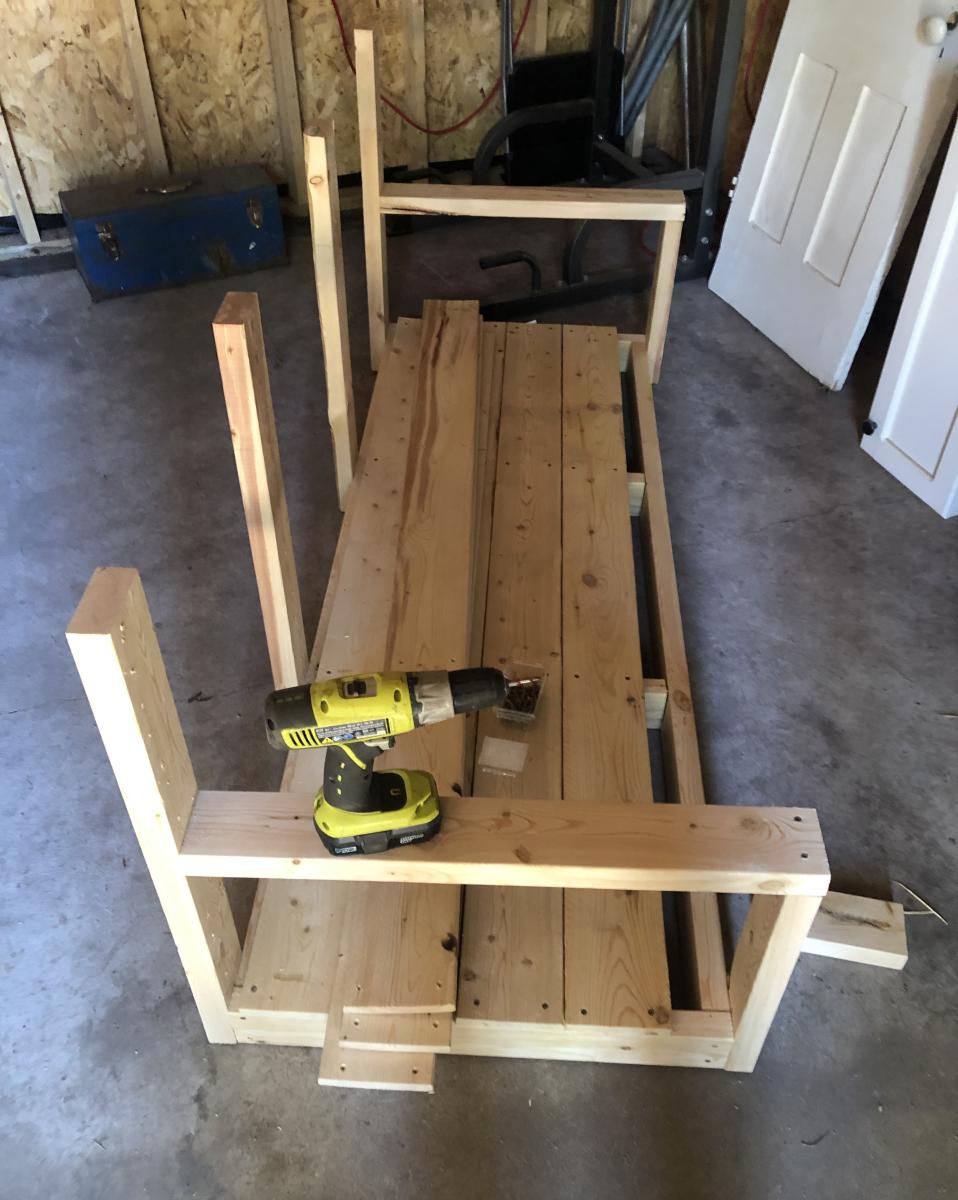
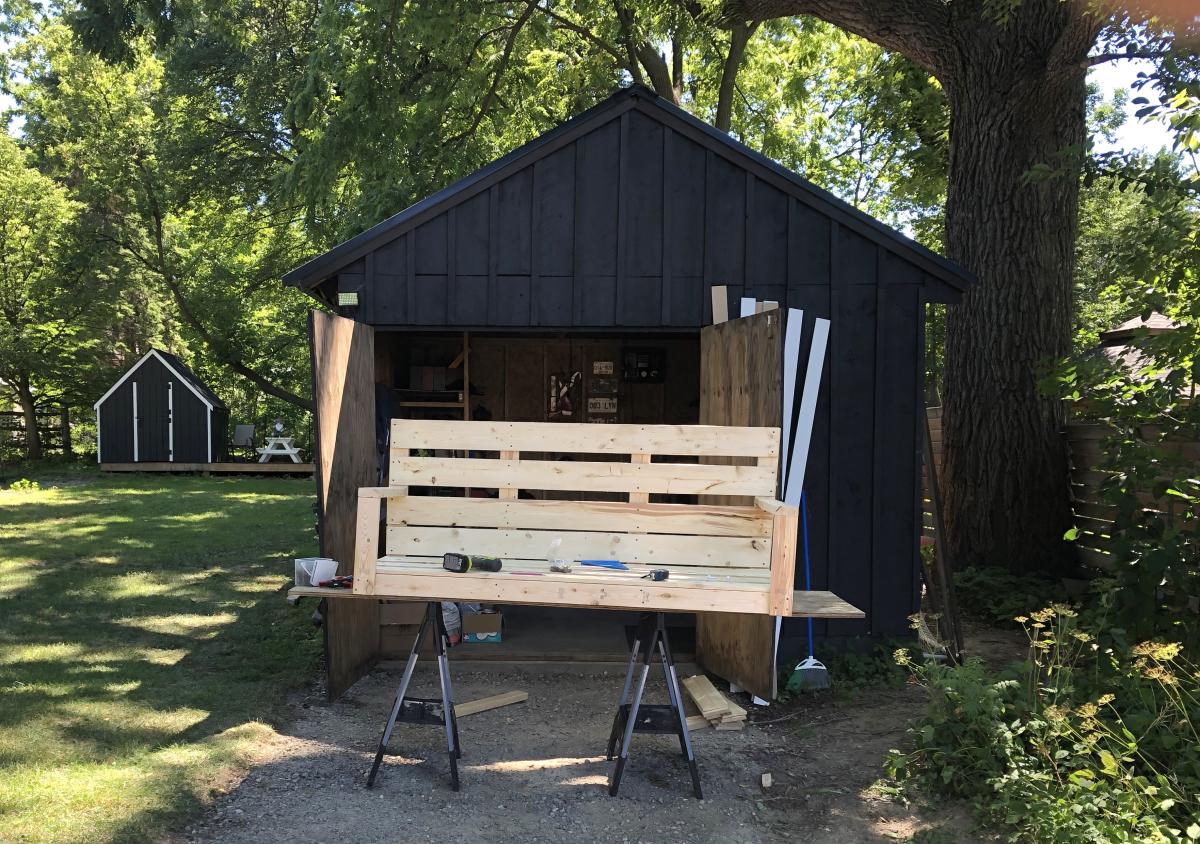
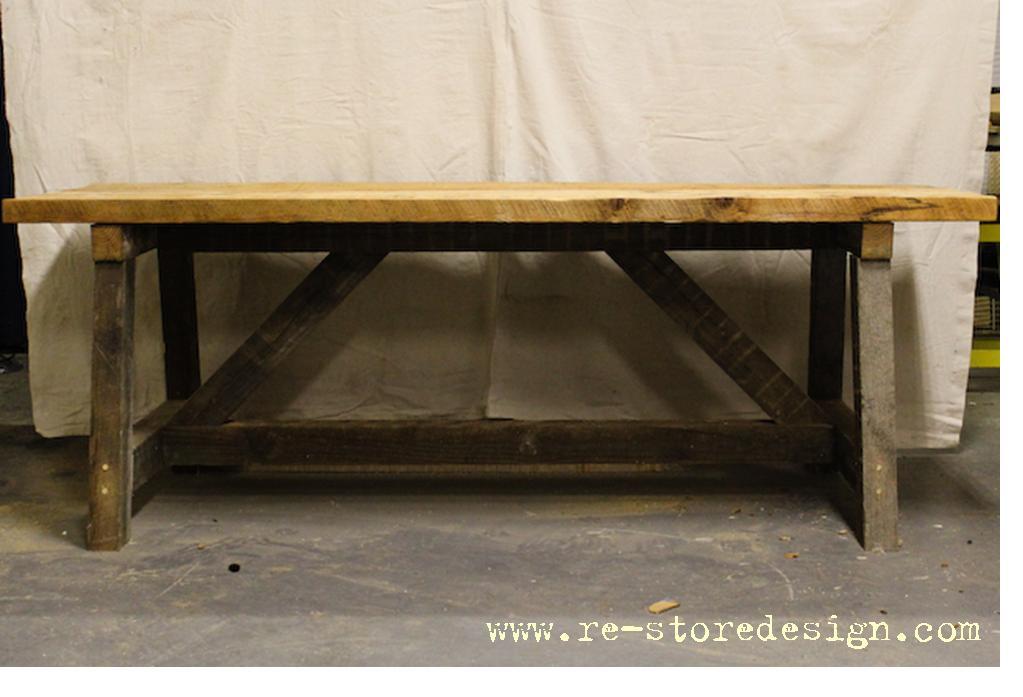
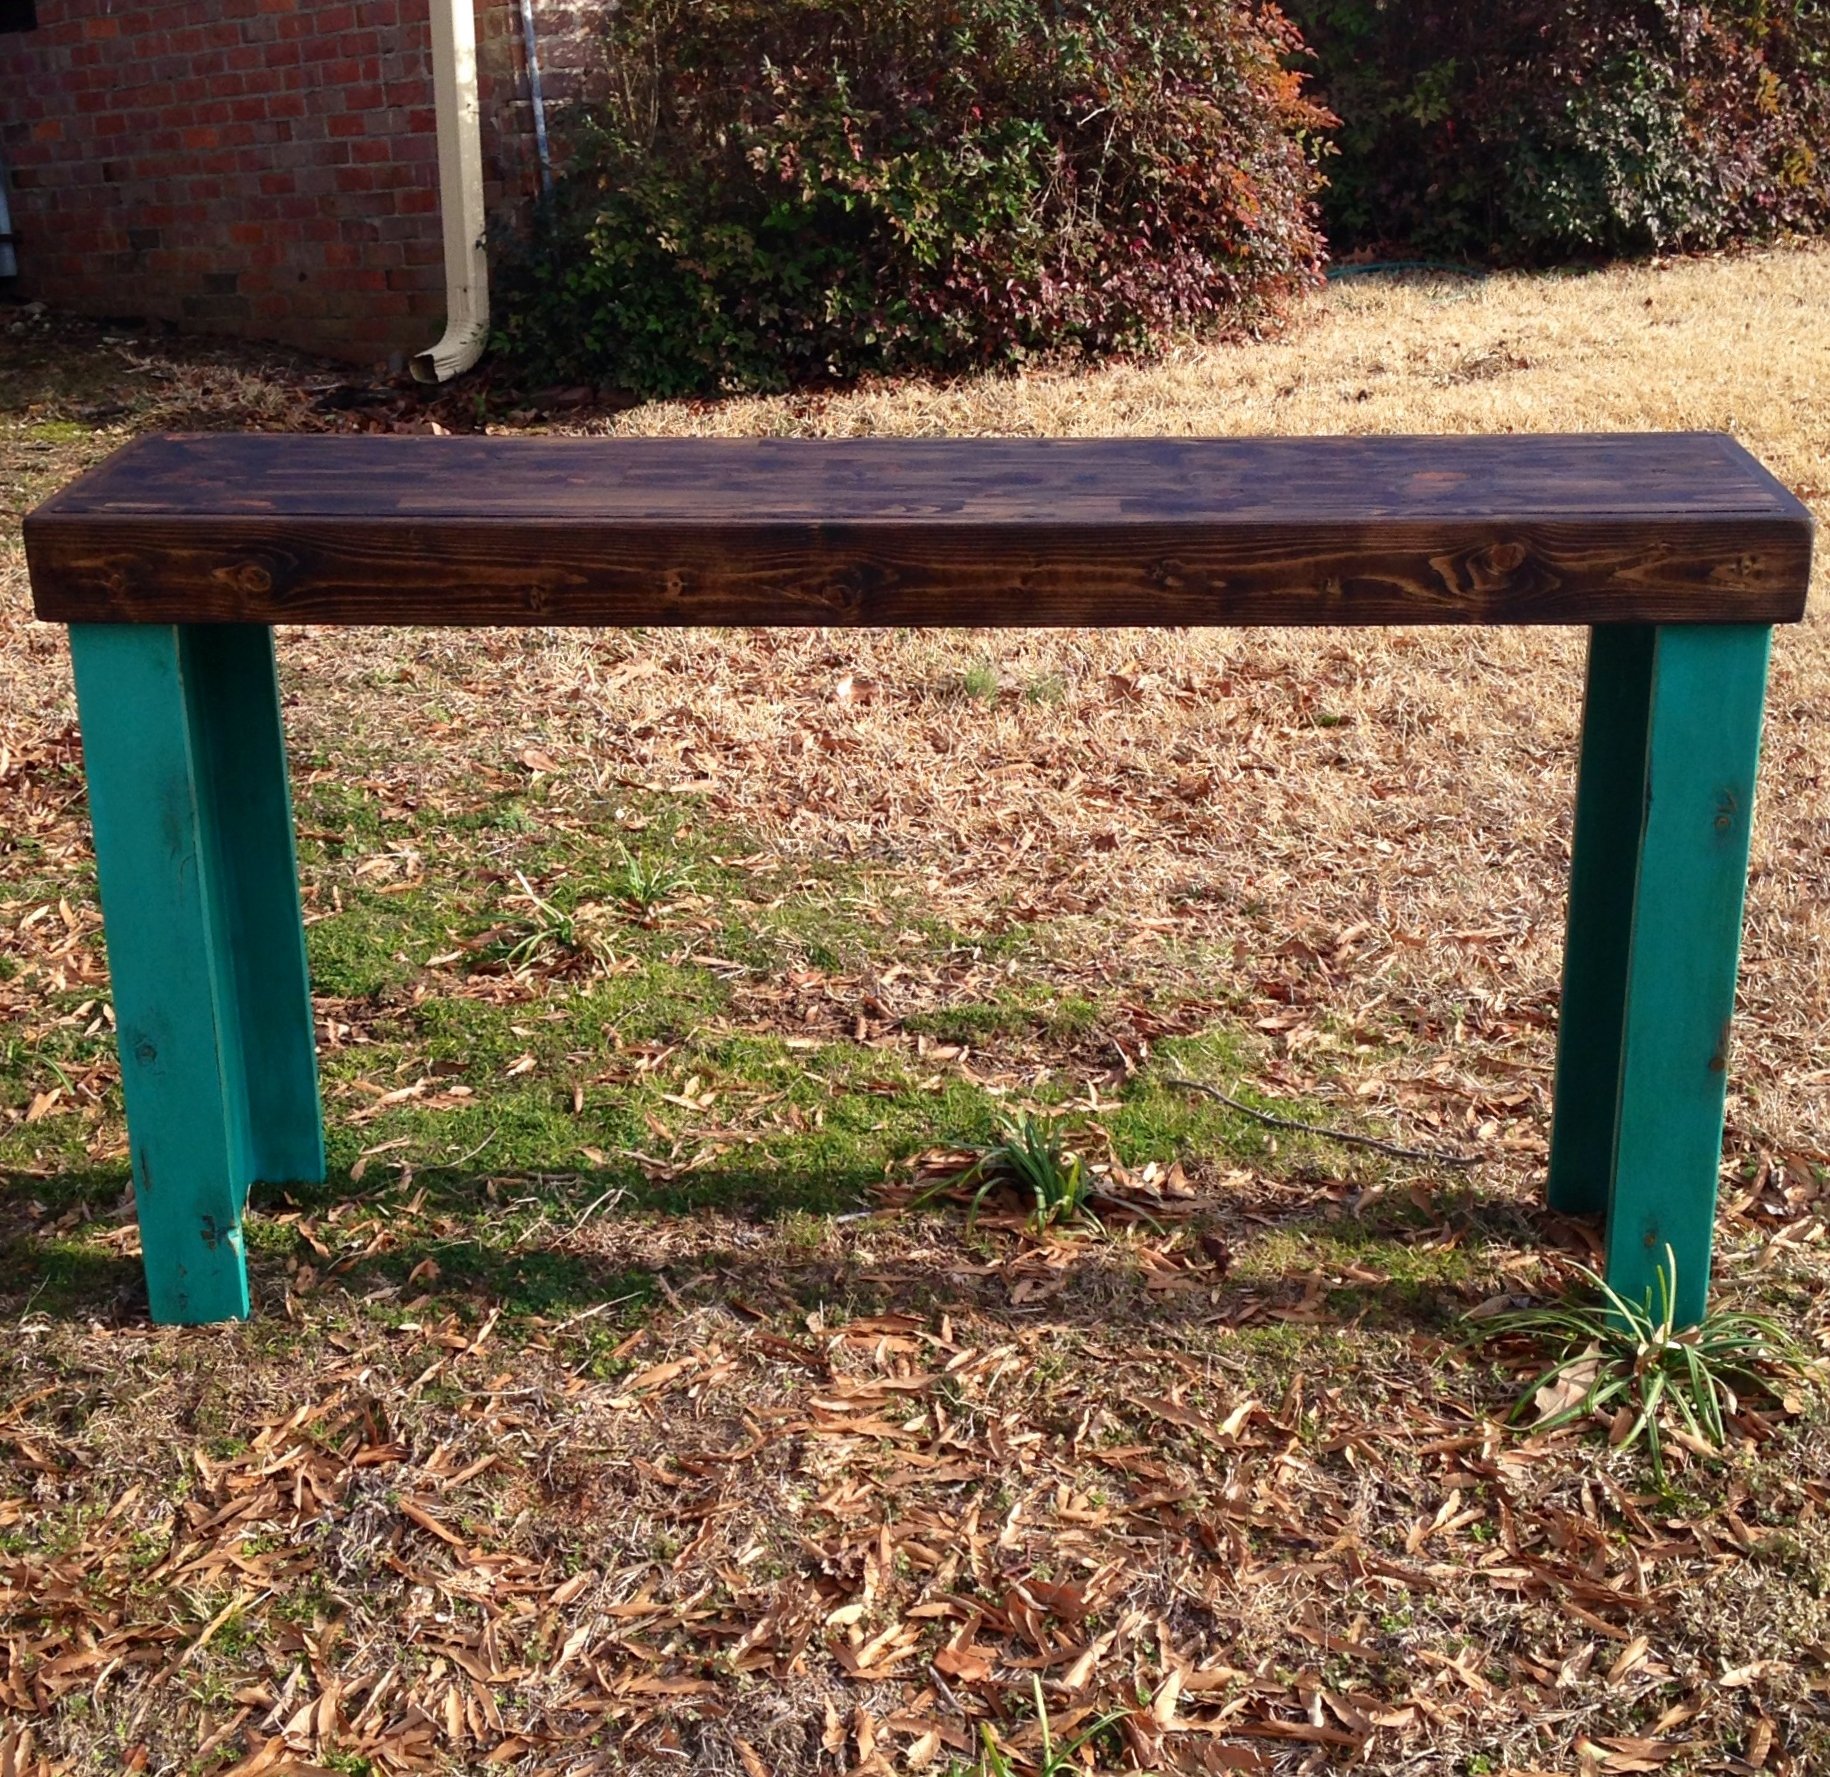
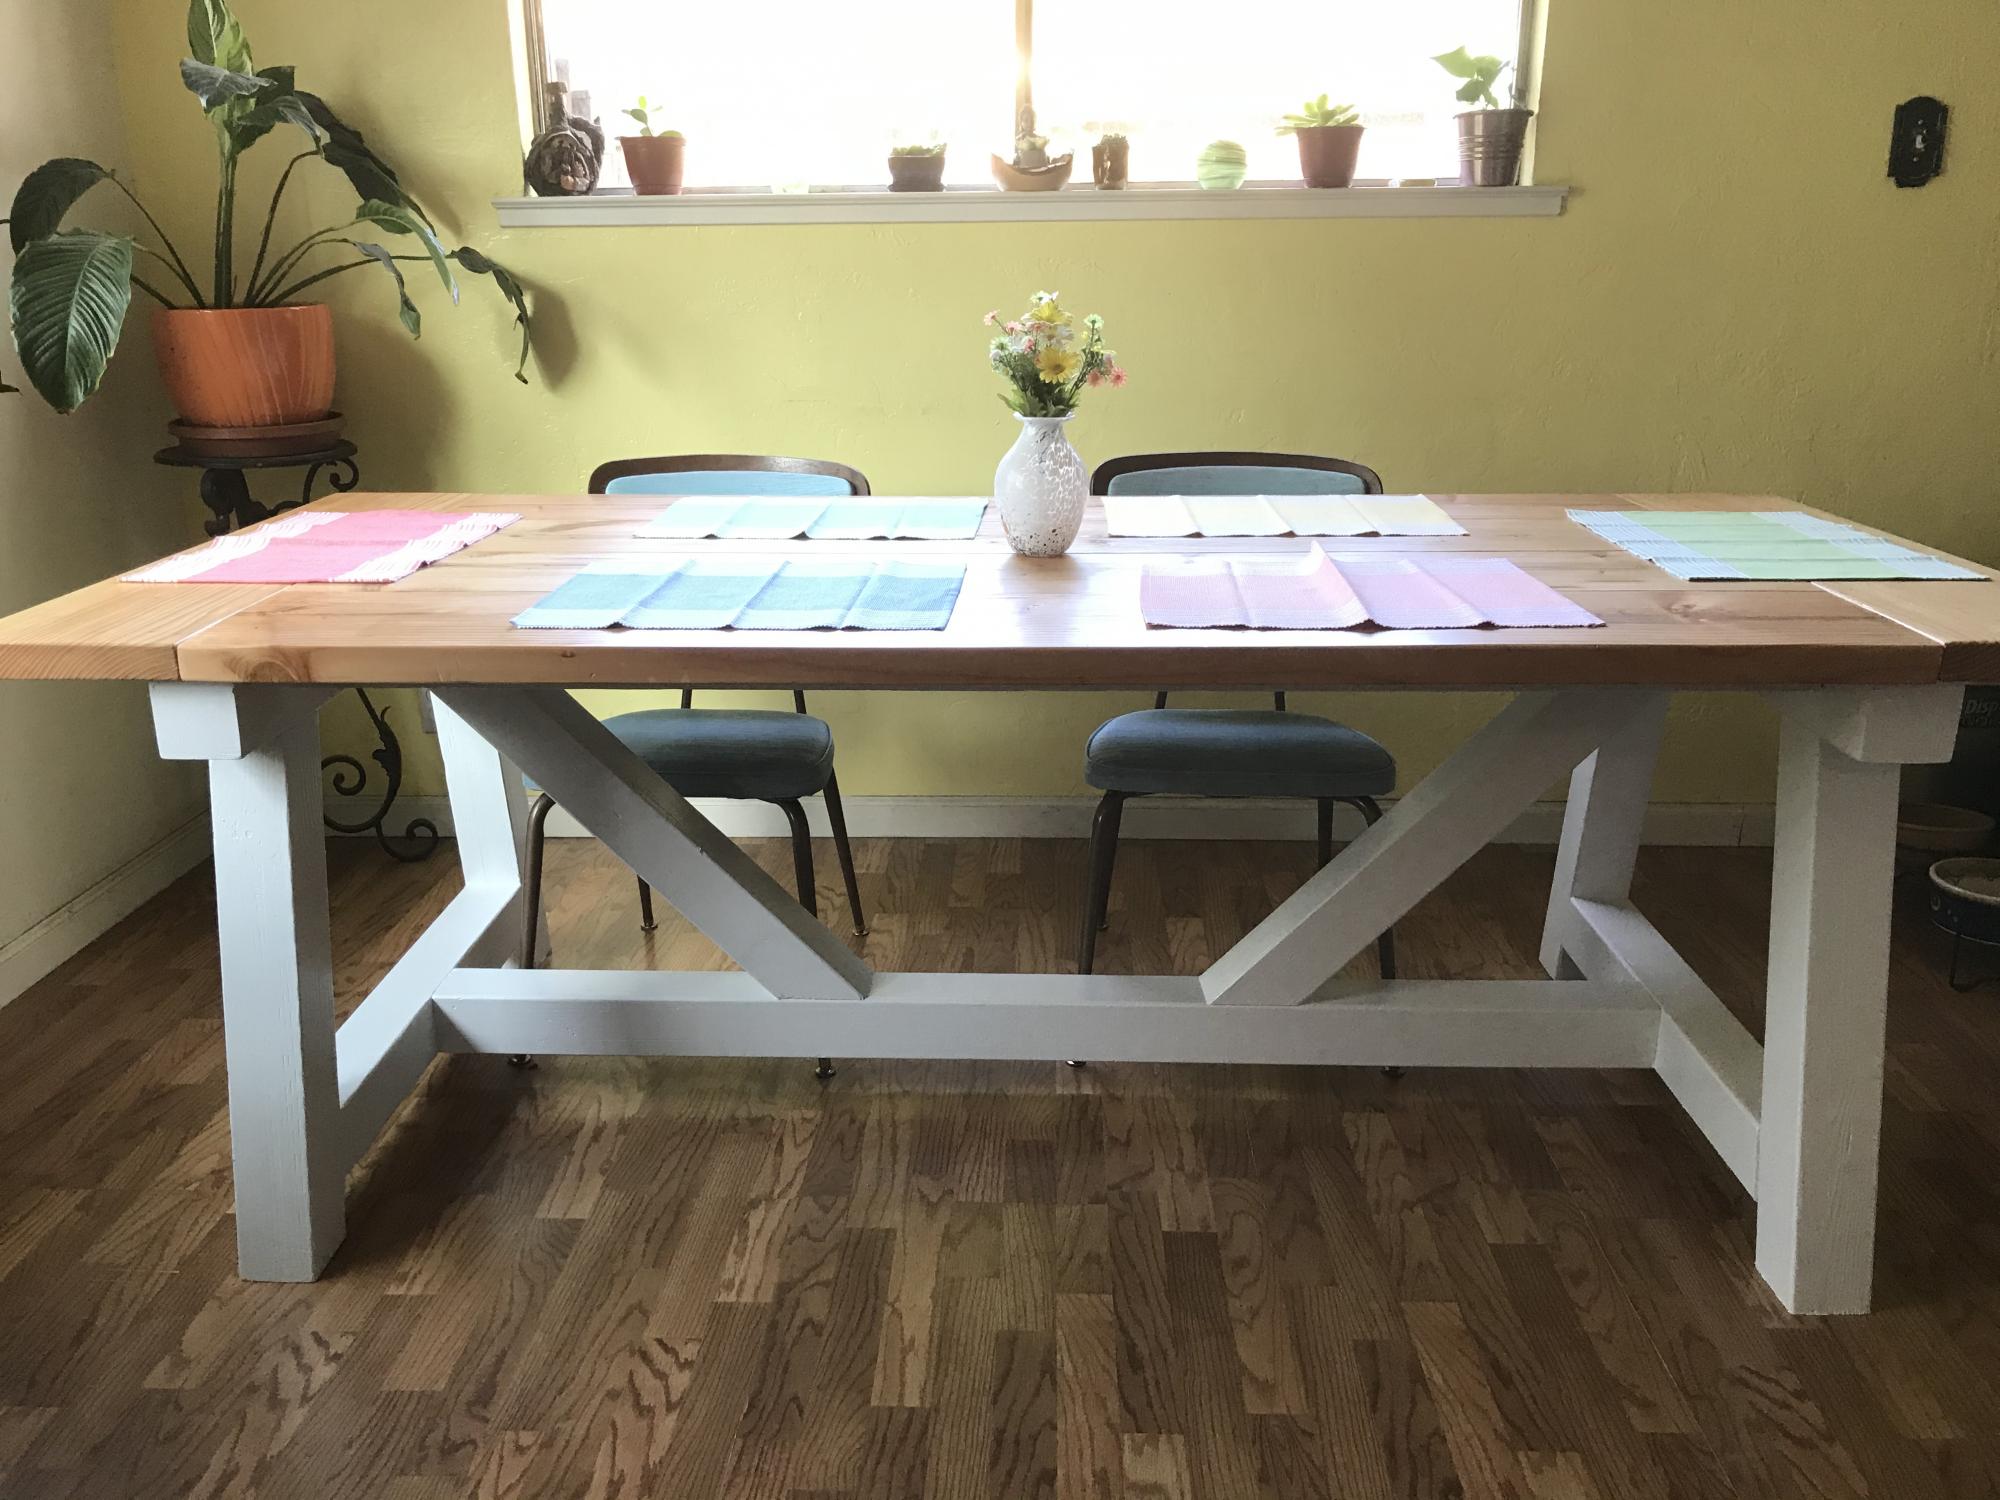
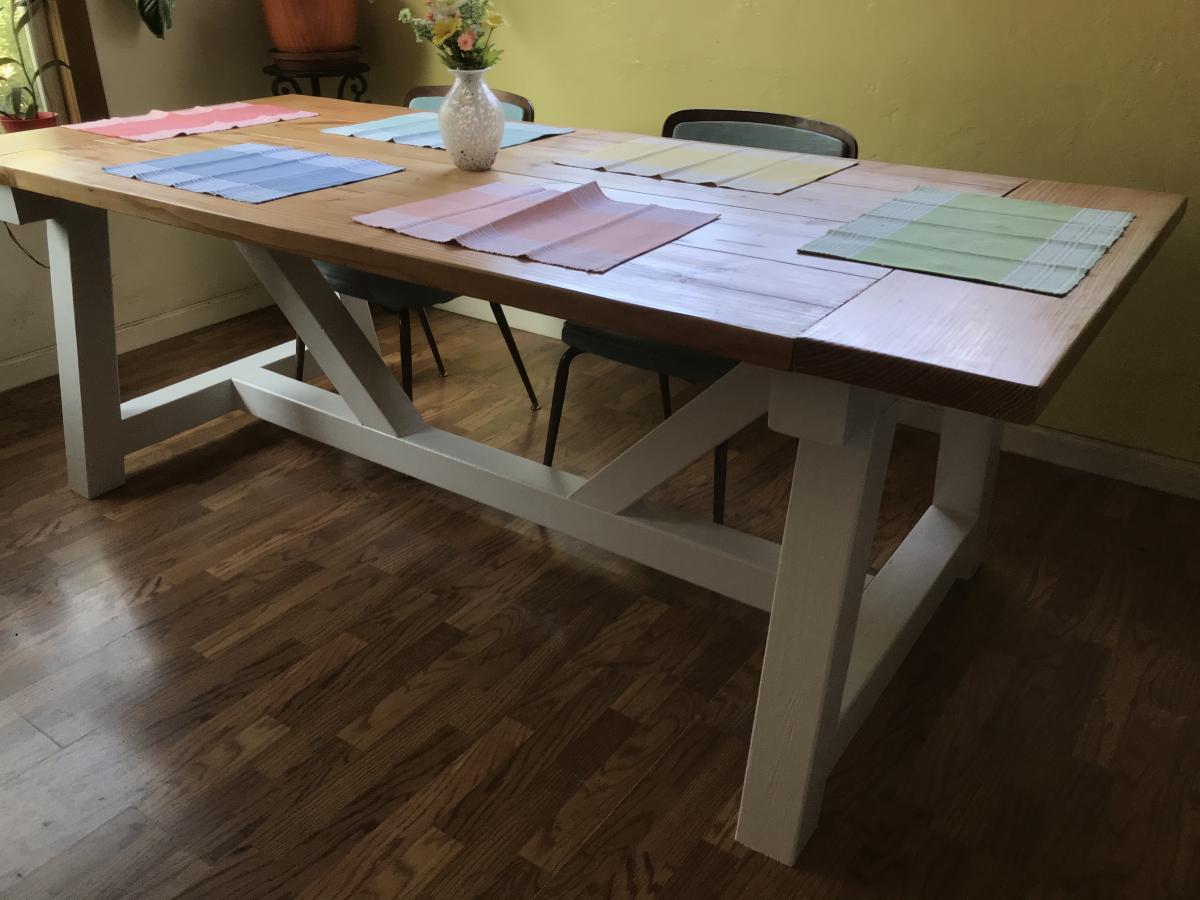
I followed the basic plans but added a couple 12x2” metal supports for each breadboard. This was a must. I used Douglas fir for the entire project from Home Depot.
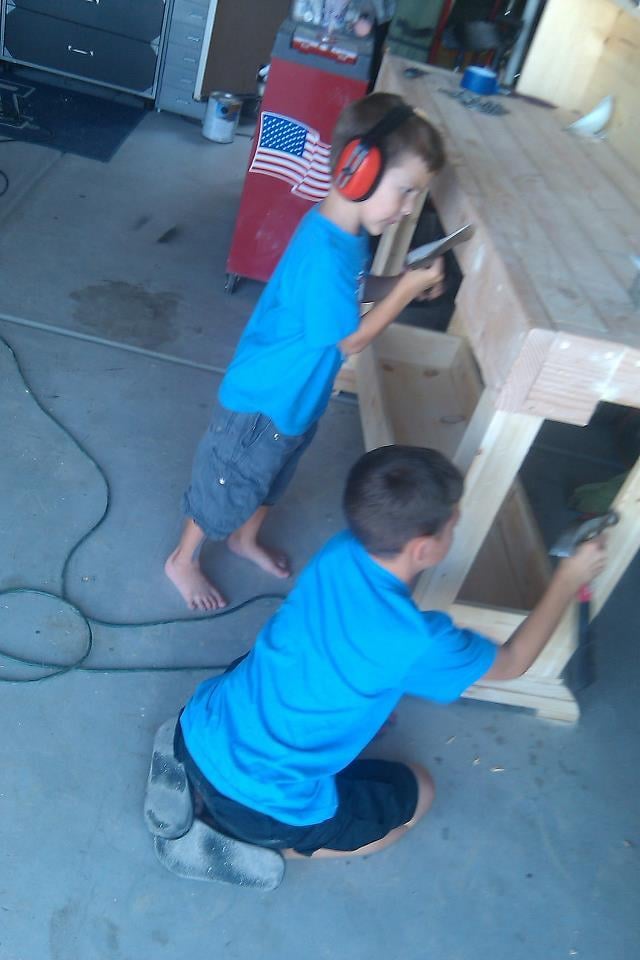
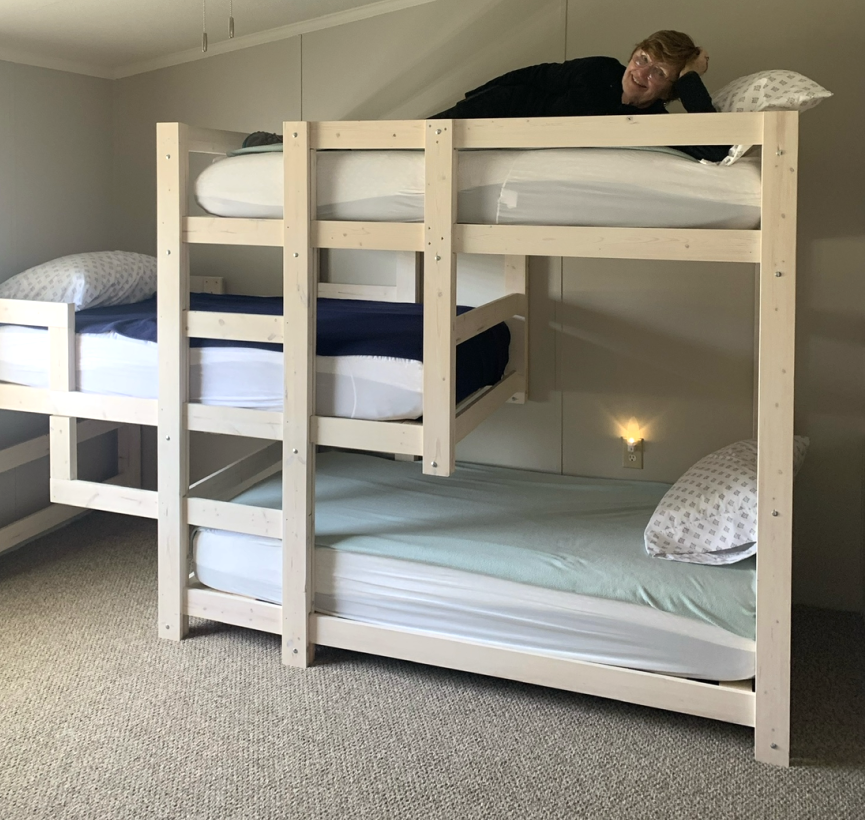
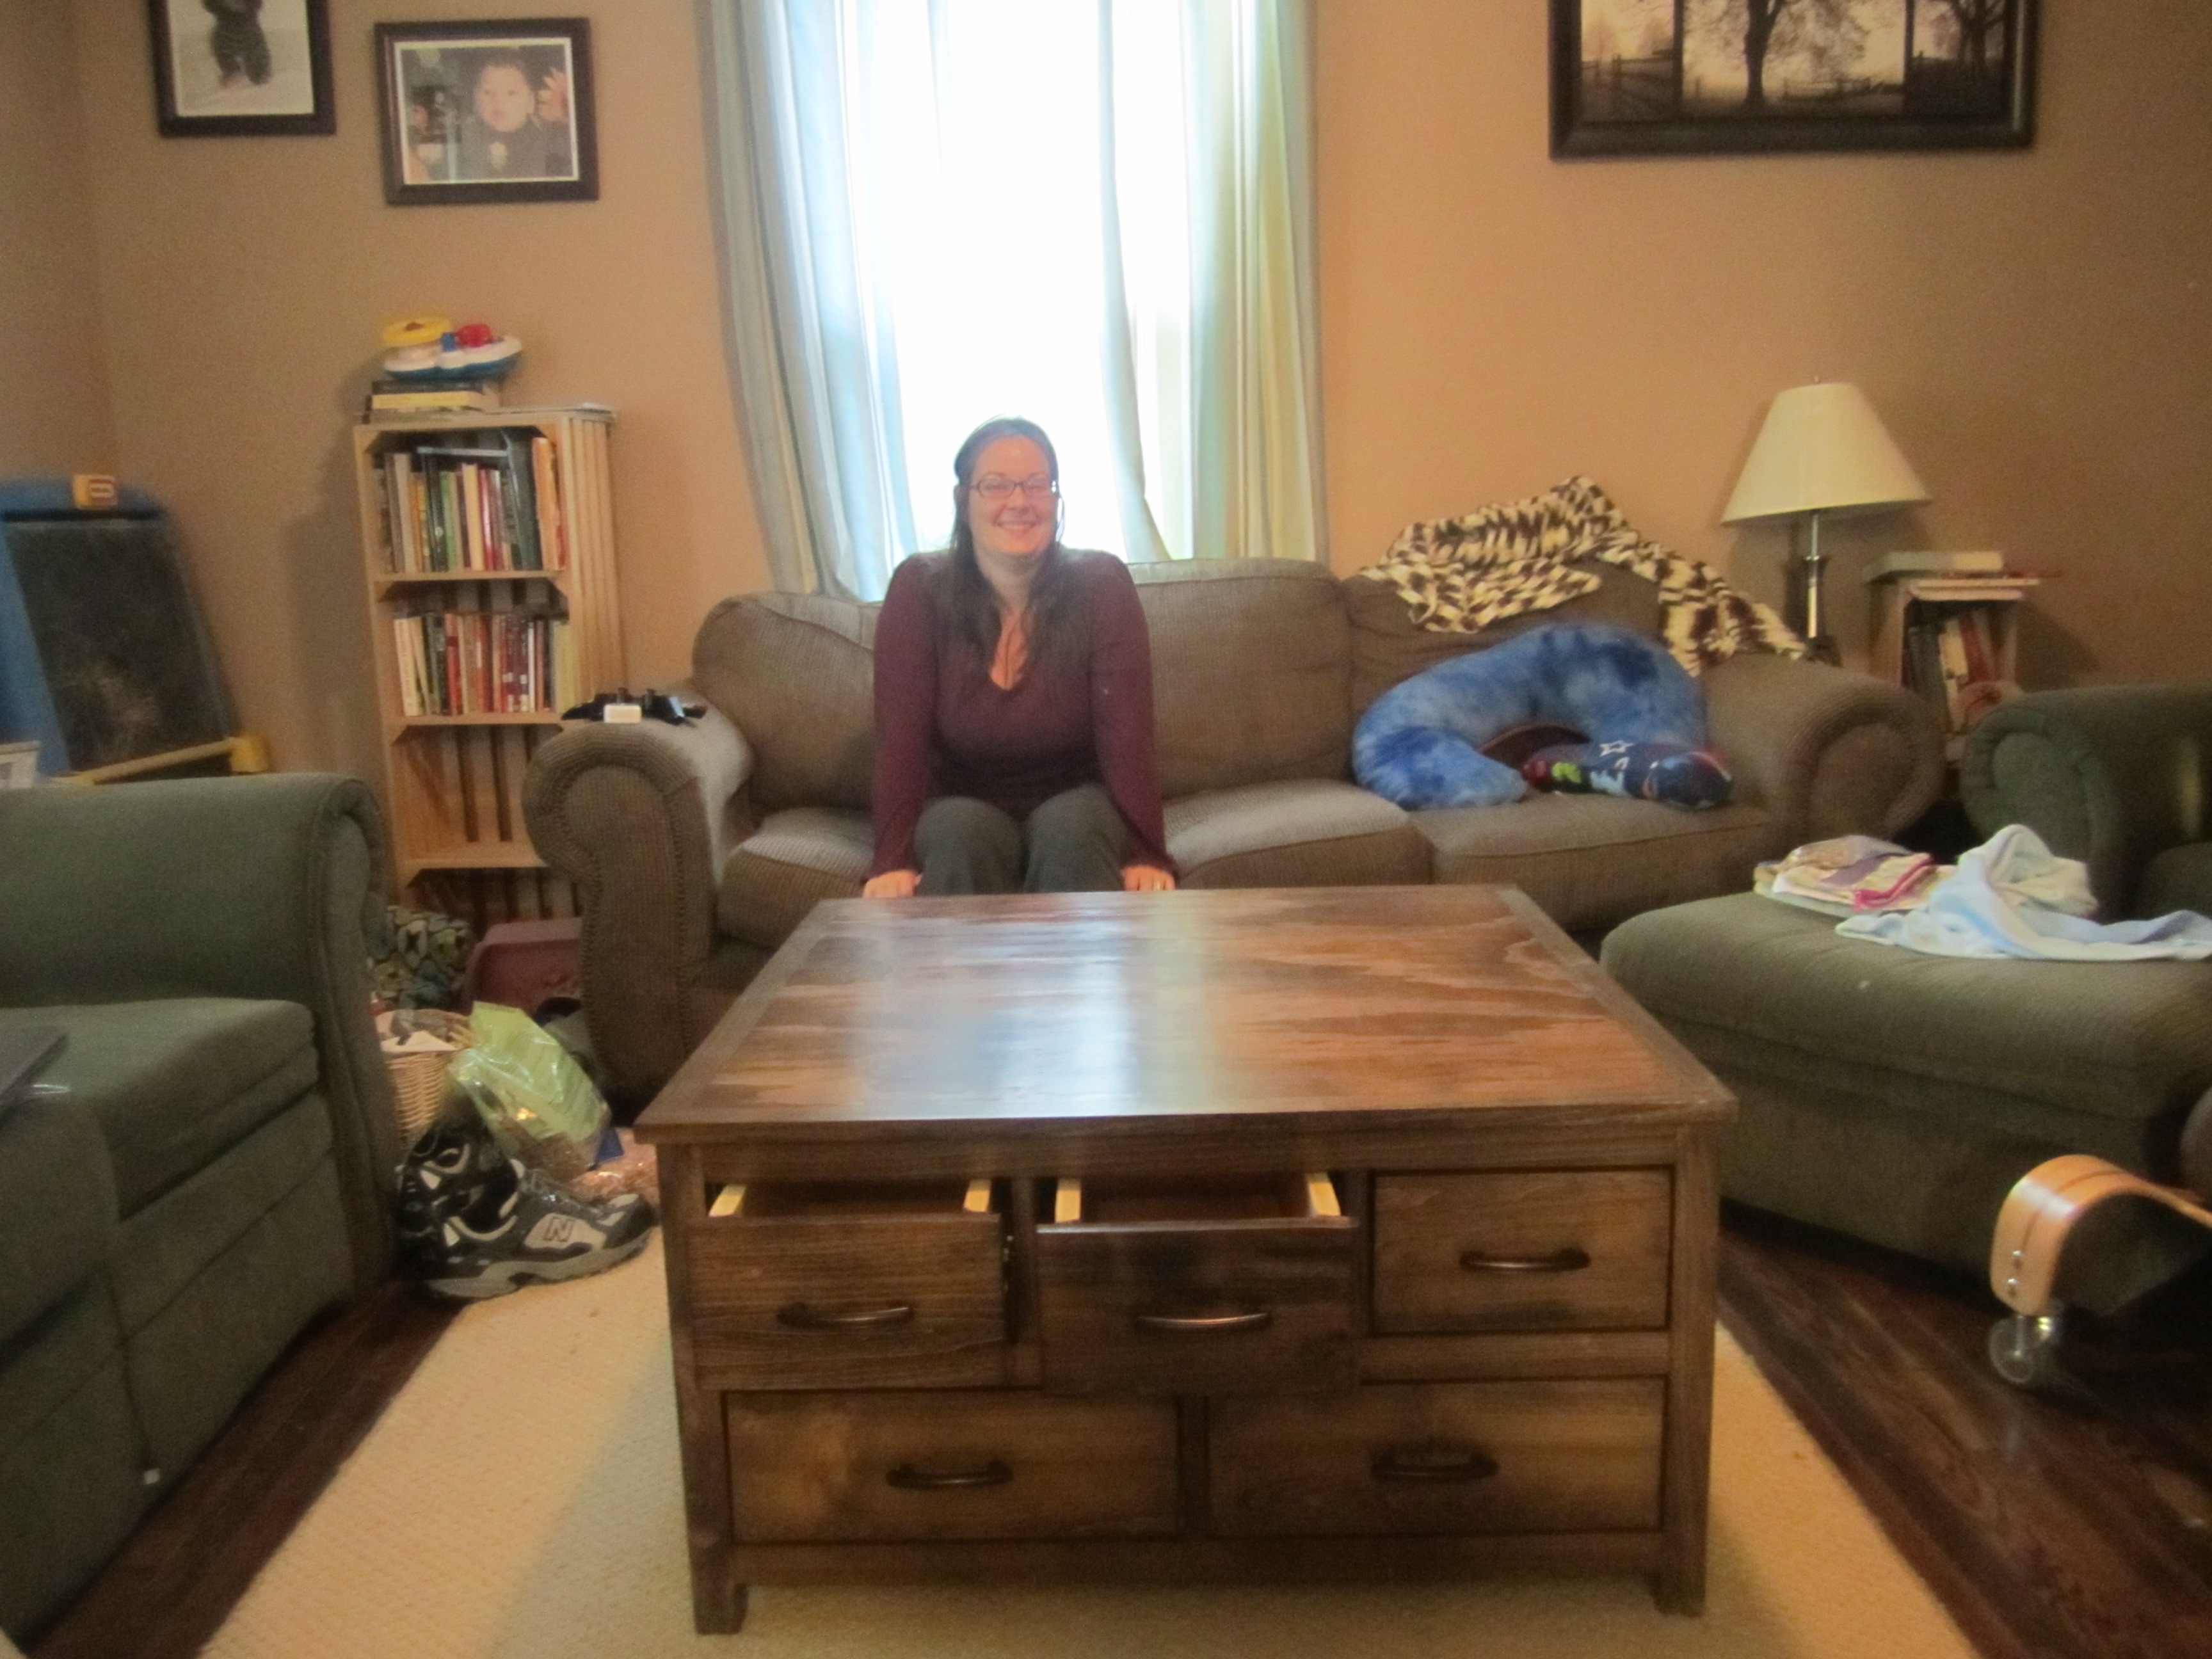
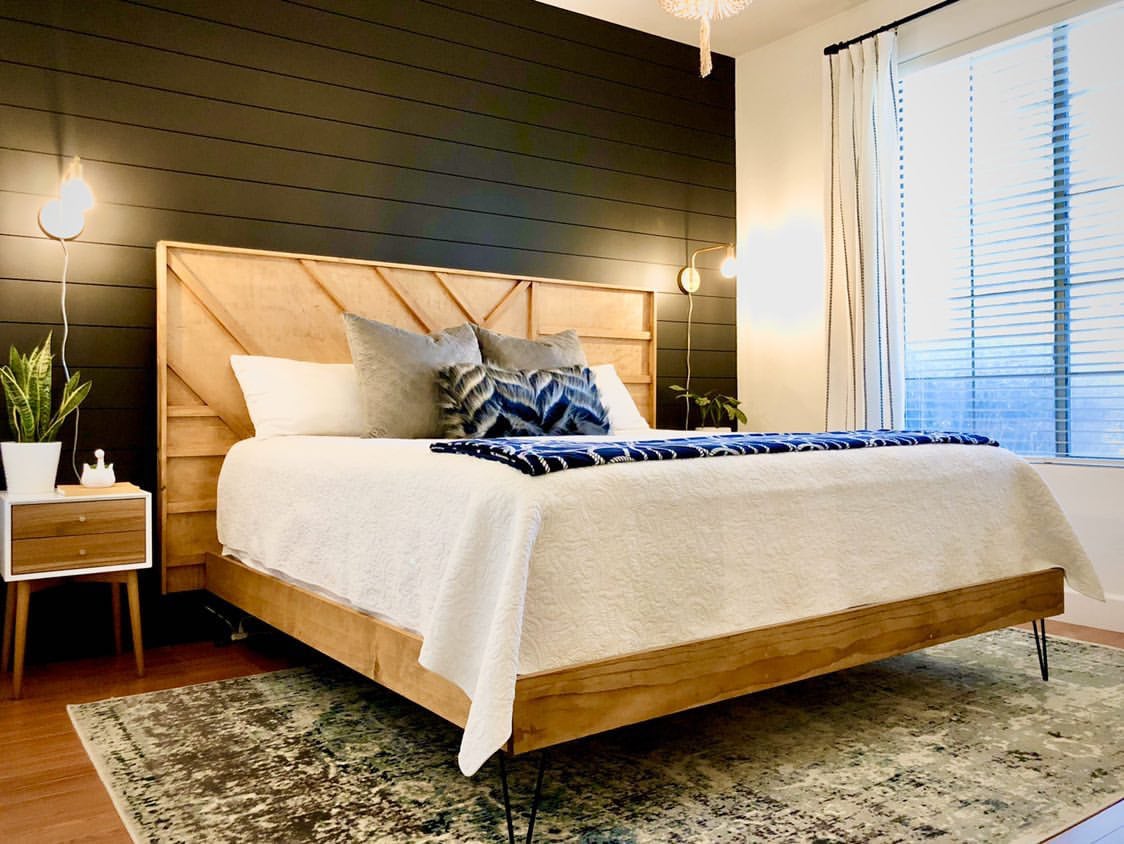
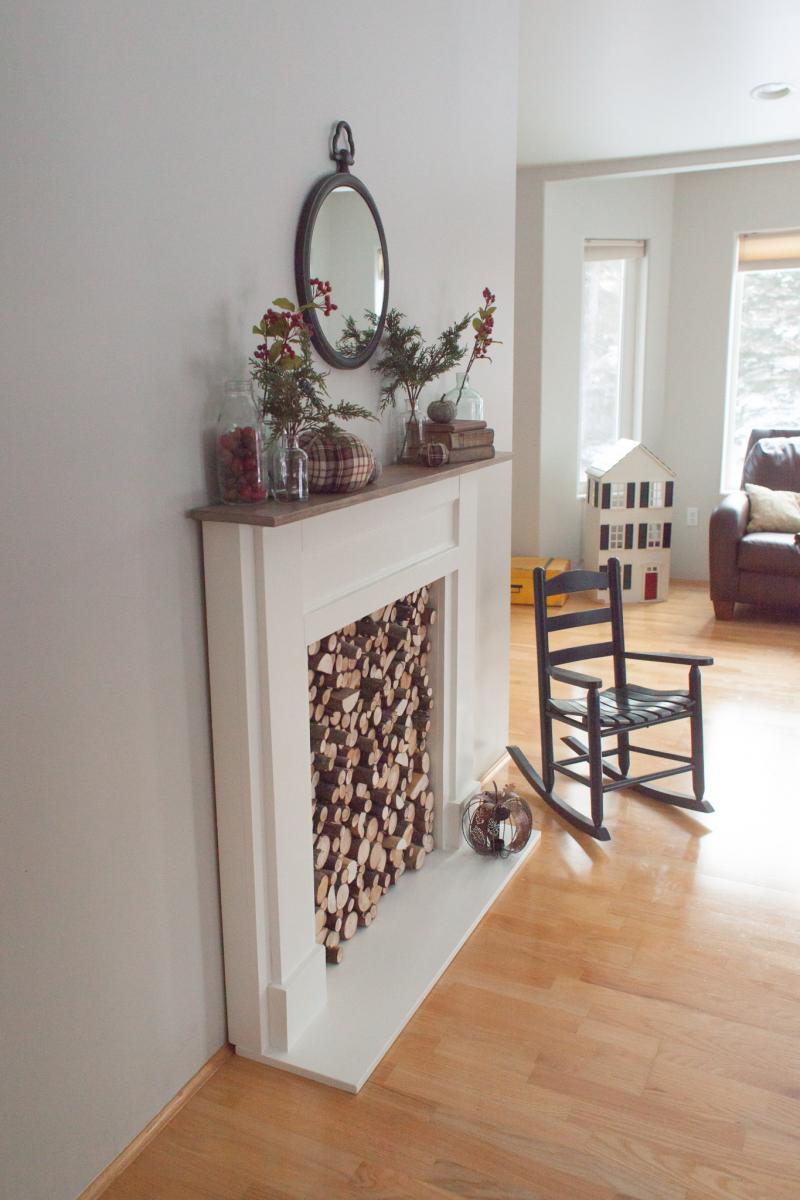
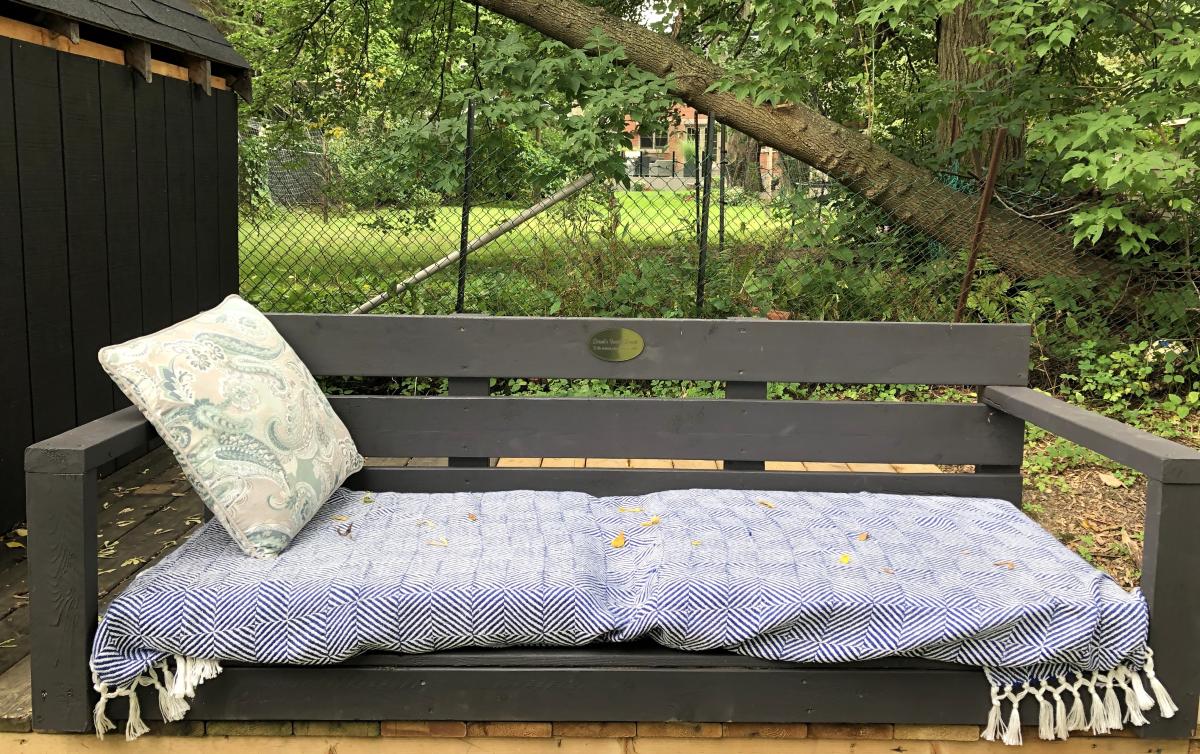
My 2 kids helped me put a few screws in, otherwise I did this myself. The wife really loved it and was a bit surprised coming back from her facial spot on Valentines Day. It turned out better than I could have hoped, especially considering this was my first real woodworking build.
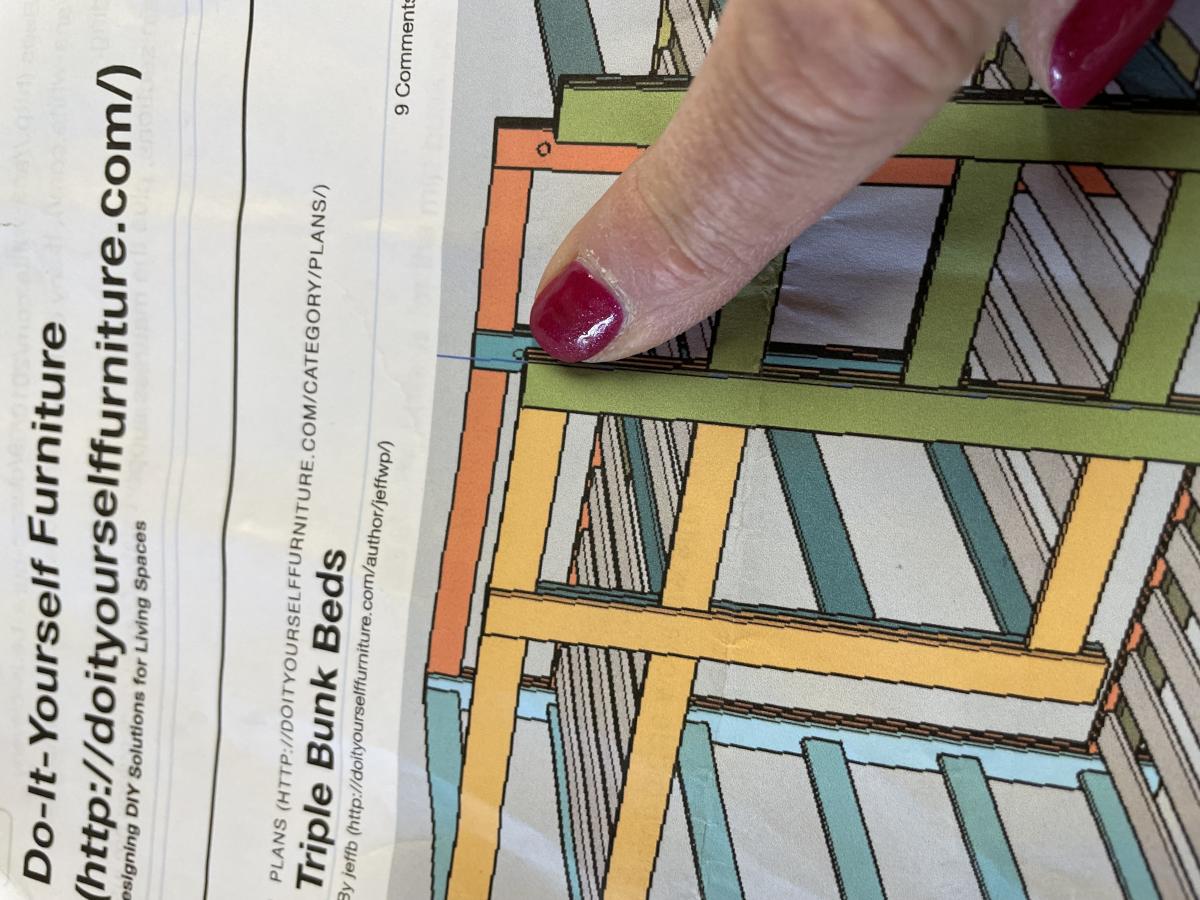
Great plans and nuggets of advice from everyone else made this really fun and not so scary!
Estimated Time Investment
Week Long Project (20 Hours or More)
Finish Used
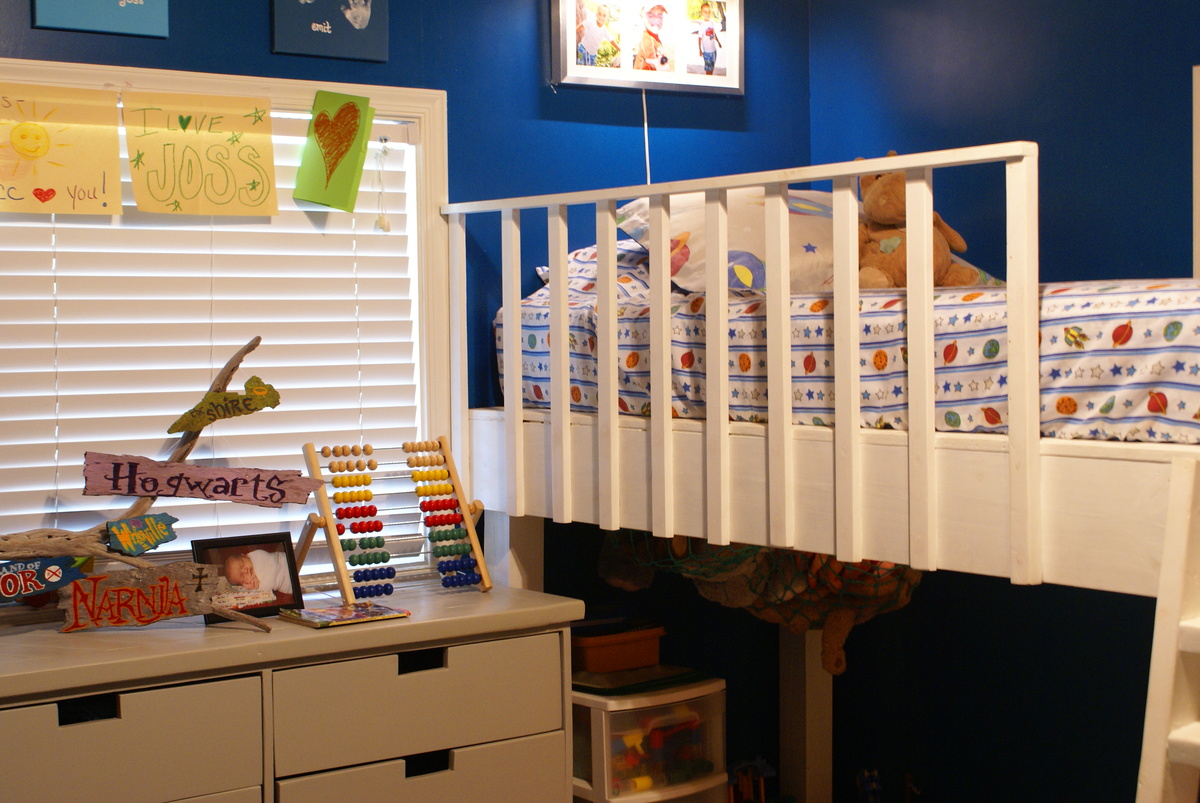
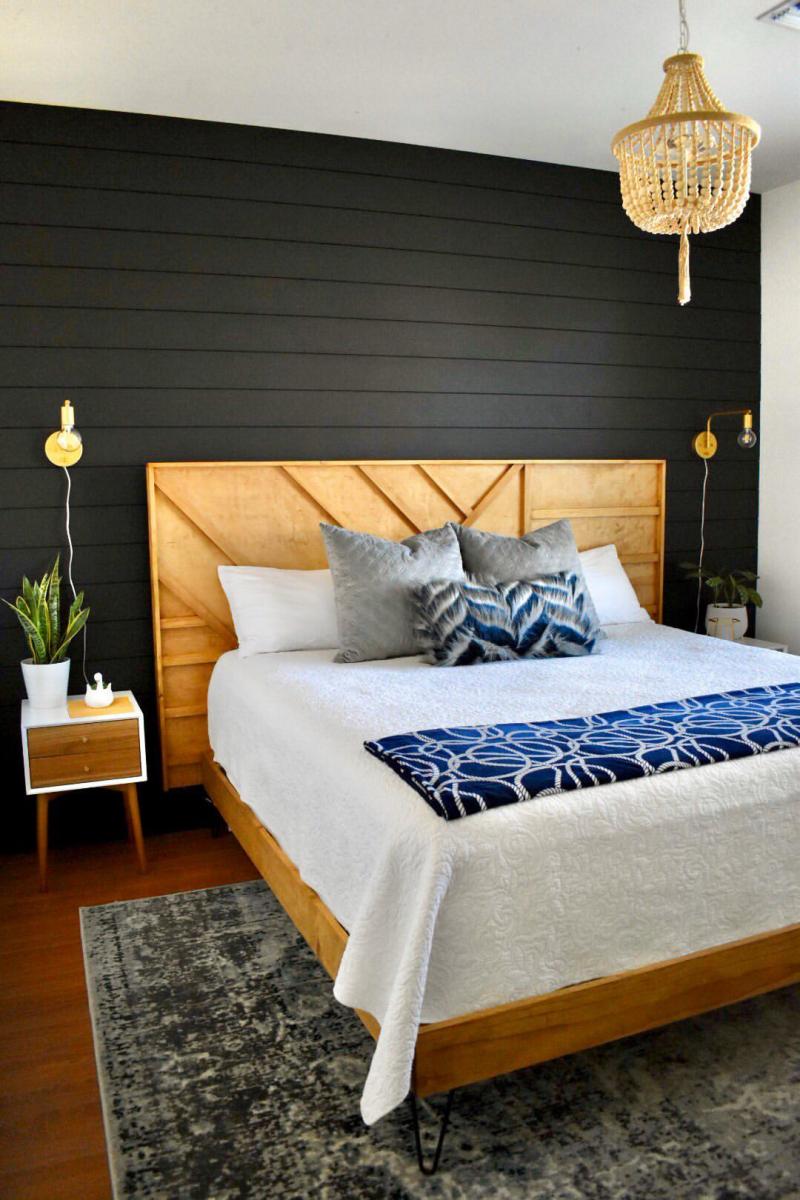
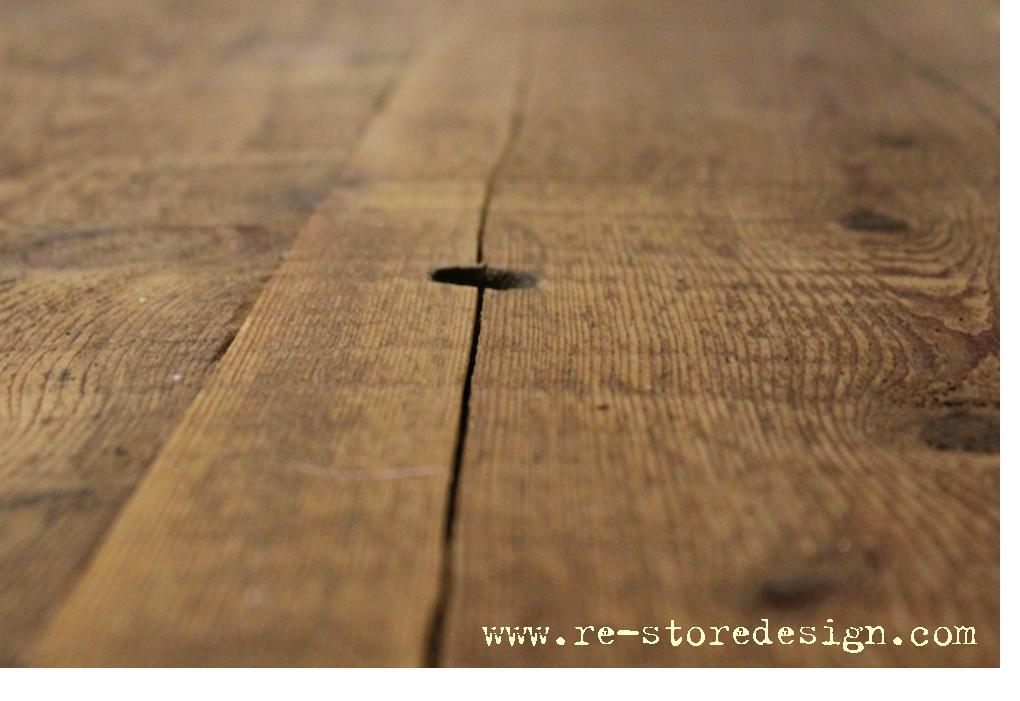
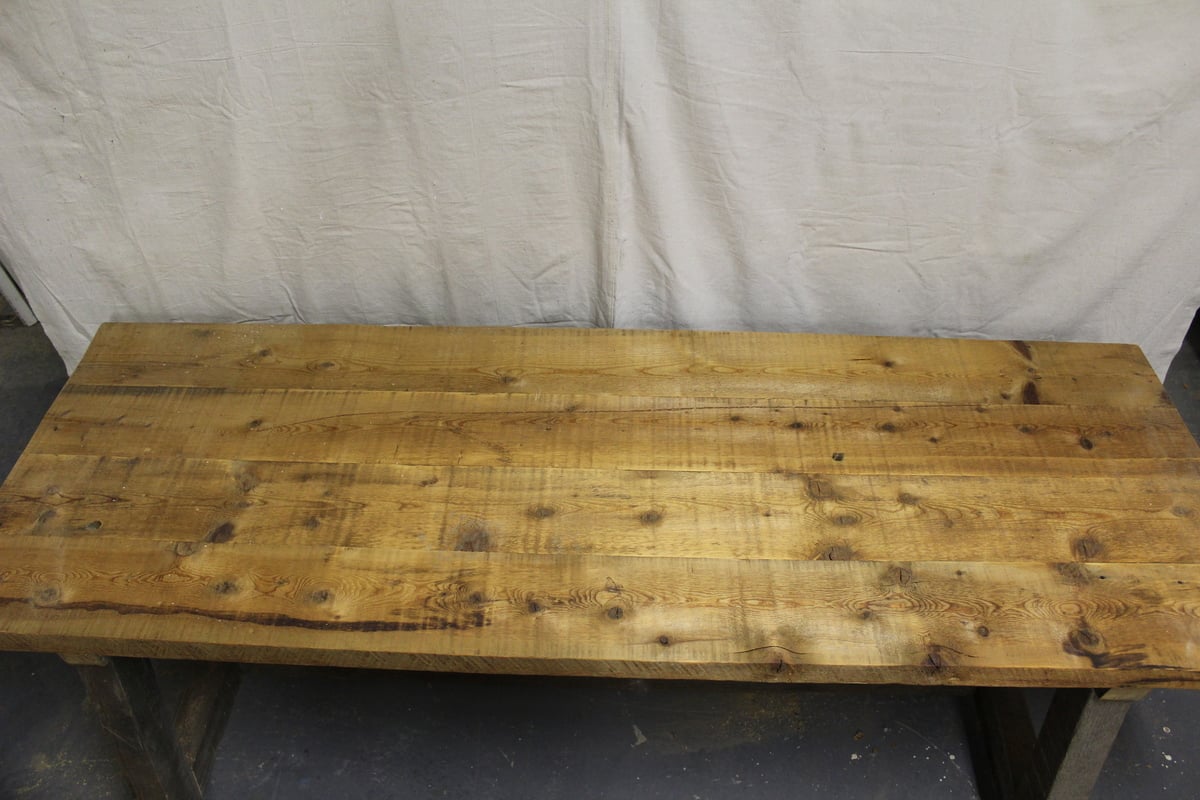
Used 2 coats of all-purpose primer and 2 coats of classic white indoor paint. For the top, I just used 3 coats of Semi-gloss polyurethane(thinned out with mineral spirits), but I most likely will be adding 2 more and finishing with a satin polyurethane to get extra protection from the kids.
Recommended Skill Level
Beginner